How to Build a Raspberry Pi Alarm that Sprays Porch Pirates
Detect when a package is missing and set off an alarm or your sprinklers.
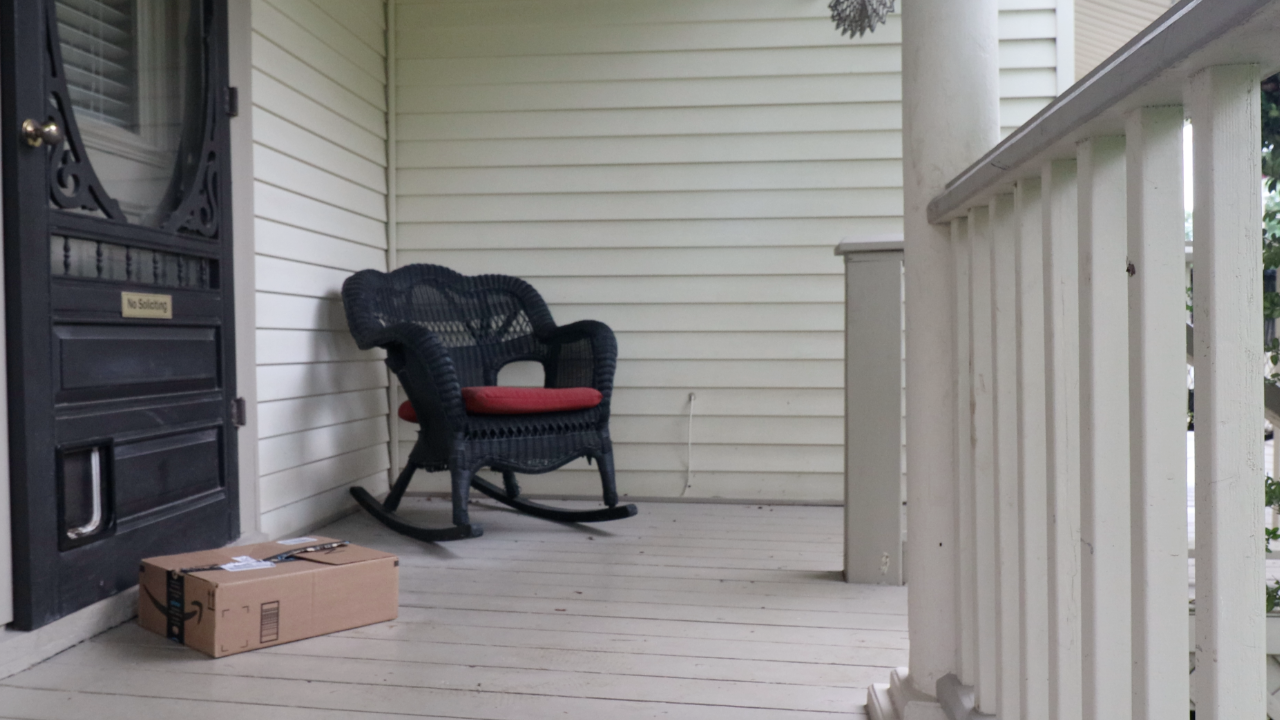
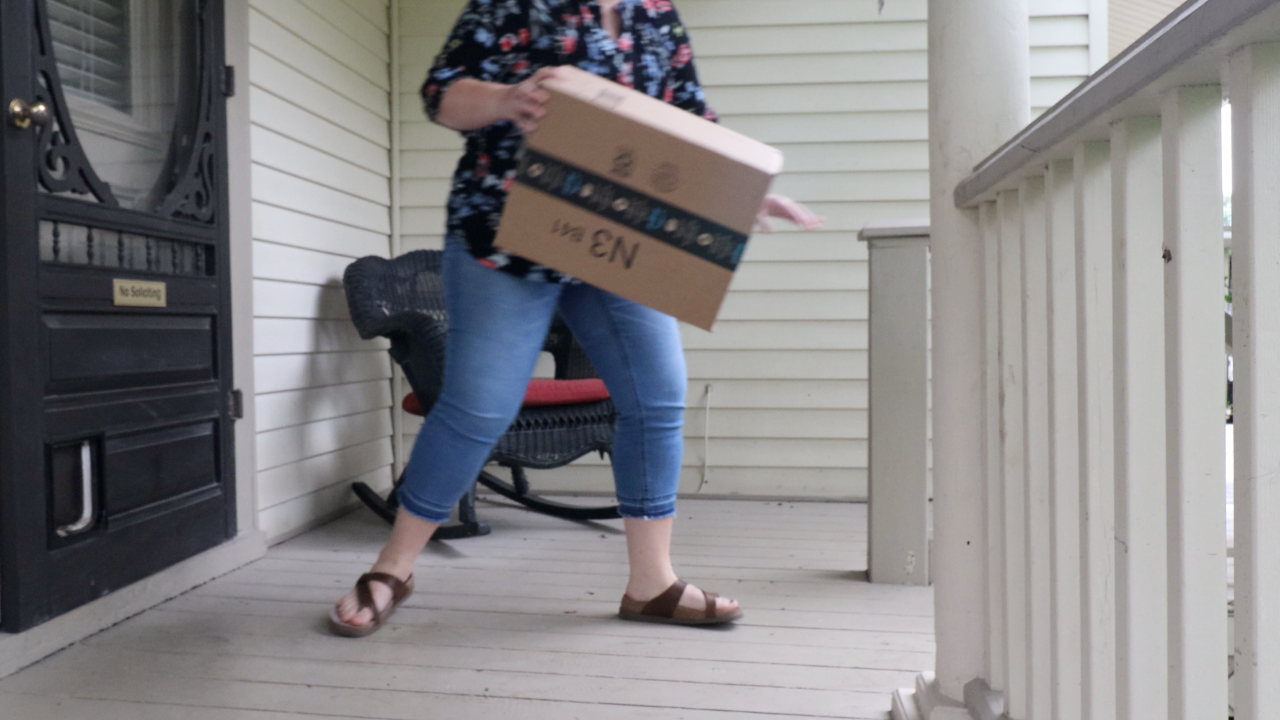
These days, everyone gets packages delivered on a regular basis and, if you don’t notice a drop off right away, a “porch pirate” could steal your stuff. According to C + R research, 43 percent of Americans had at least one package stolen in 2020.
To solve this problem, I built a Raspberry-Pi powered system that uses a camera and machine learning to determine if a package has been stolen from your door. When it detects the problem, it can either sound an alarm, turn on your sprinklers to wet the offenders or even shoot flour at the thieves. Tom’s Hardware covered my project in a previous news article, but today I’m going to show you how to do it yourself.
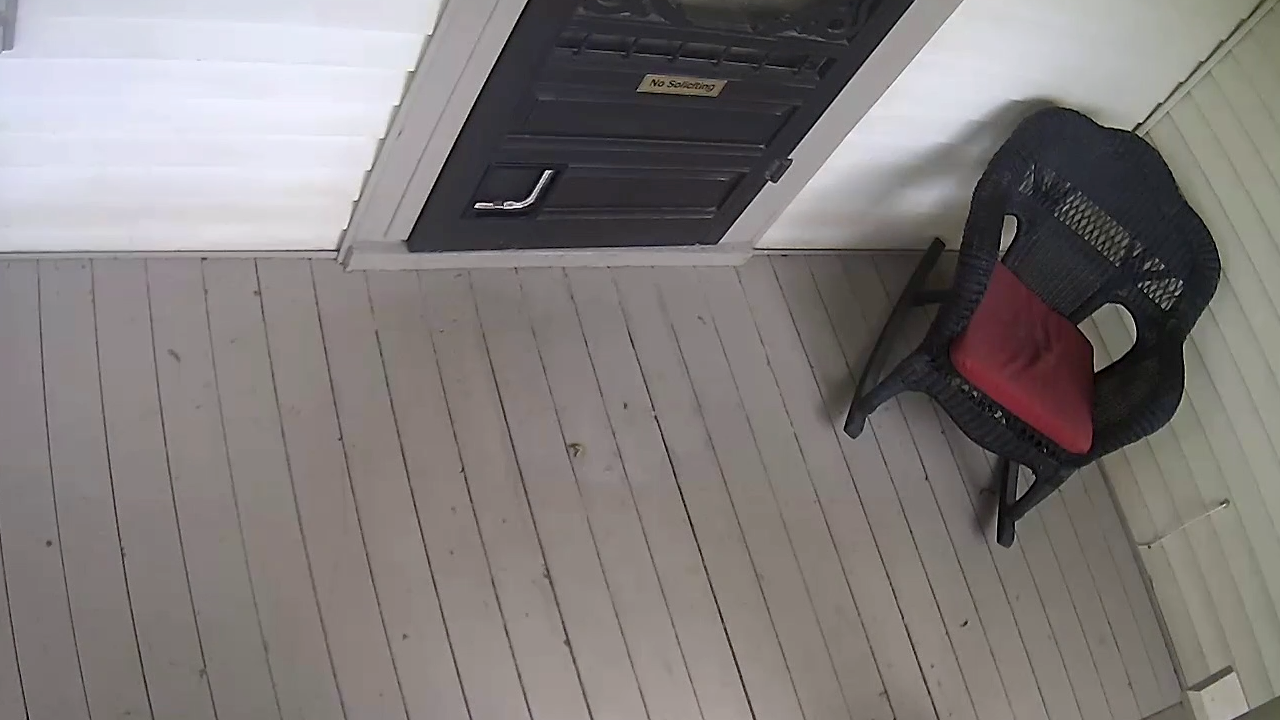
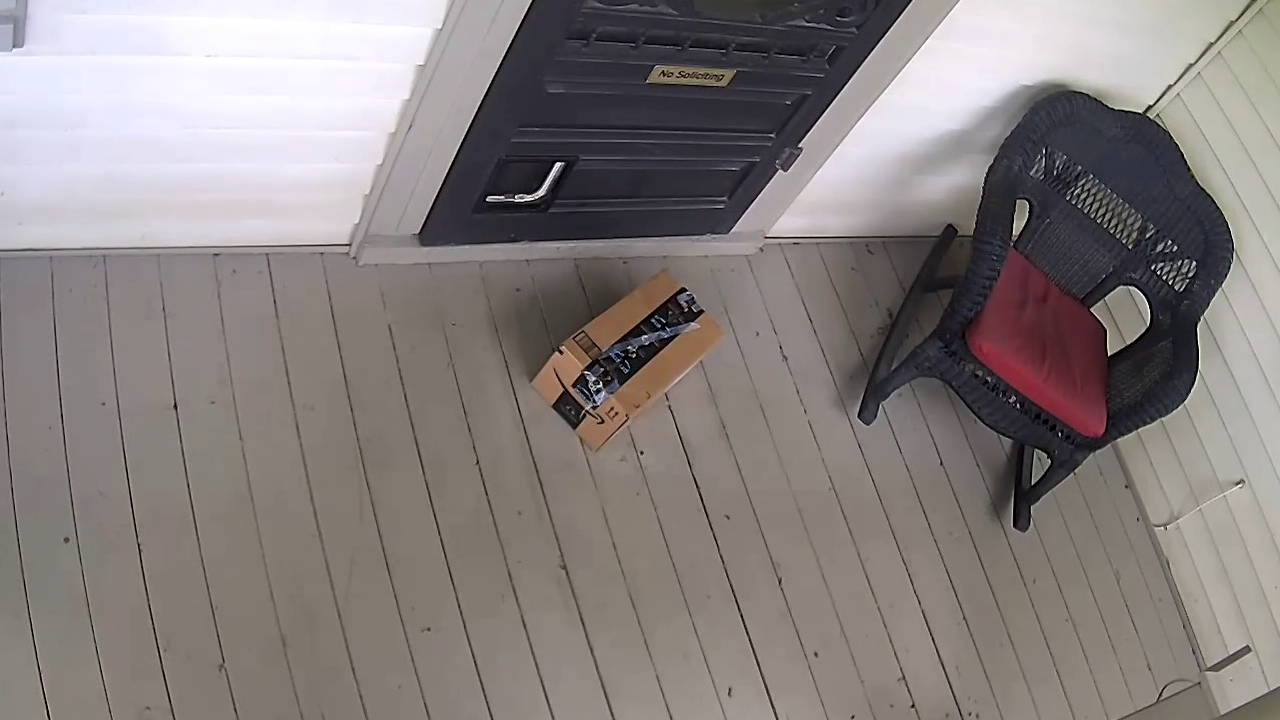
If you’ve never worked with machine learning before, this should be an easy enough project to get your feet wet. We’ll be using a type of computer vision called image classification to determine if there is, or is not a package at your front door. To train it, we’ll be using a tool called Google Cloud AutoML which takes away a lot of the complexity behind training a machine learning model.
What You’ll Need For This Project
- Raspberry Pi 4 with Internet connectivity and a memory card of at least 16GB
- Raspberry Pi Power Supply
- 12 volt power supply
- A relay module compatible with the Raspberry Pi
- At least 5 jumper cables
- 12 volt sprinkler valve
- A few feet of extra wiring suitable for a 12v circuit
- A Google Cloud Account for Google Cloud AutoML (this will cost approximately $10-15)
- A 12 volt siren
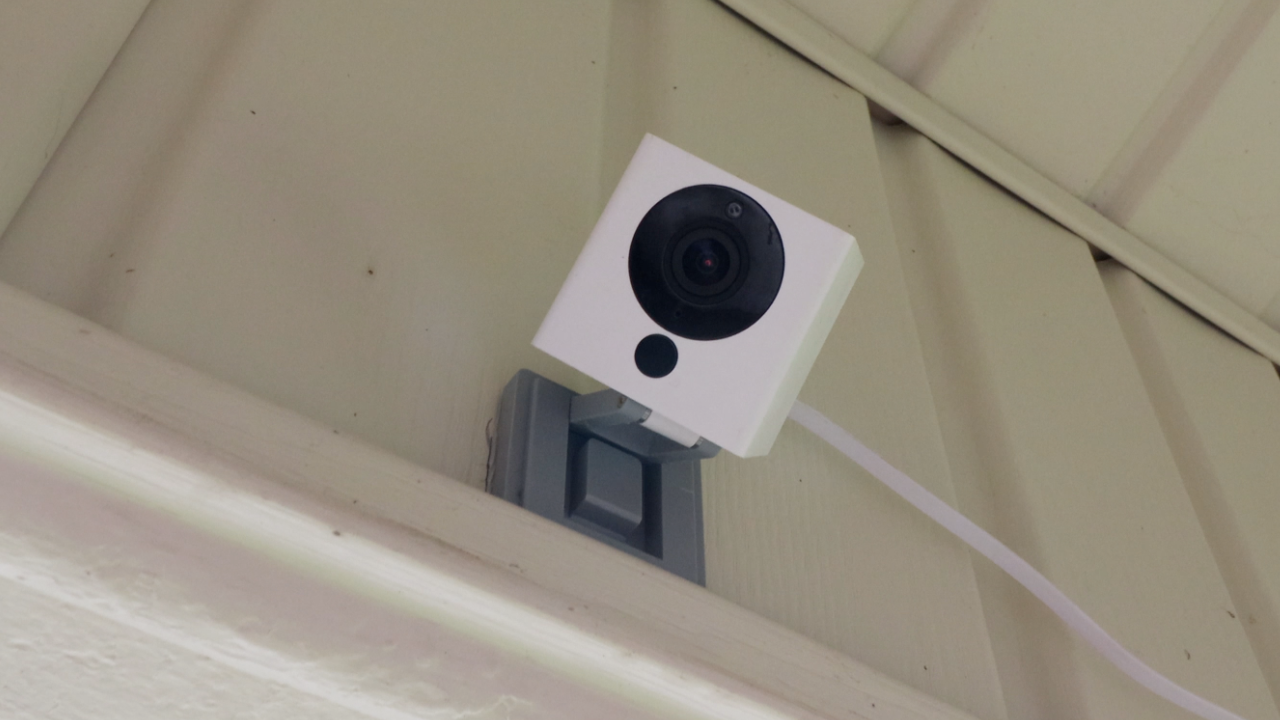
- A Wyze V2 camera (with memory card) or other RTSP compatible camera
Initial Setup
To get started, we’ll need to set up a few things to gather data for our machine learning model.
1. Set up your Raspberry Pi. If you don’t know how to do this, check out our story on how to set up your Raspberry Pi for the first time or how to set up a headless Raspberry Pi (without monitor or keyboard).
2. Plug in your pi, Install base dependencies, and clone the repository to your Raspberry Pi.
cd ~/
sudo apt-get update && sudo apt-get -y install git python3-pip && python3 -m pip install virtualenv
git clone https://github.com/rydercalmdown/package_theft_preventor.git
3. Descend into the training directory and set up a virtual environment.
Get Tom's Hardware's best news and in-depth reviews, straight to your inbox.
cd package_theft_preventor/training
python3 -m virtualenv -p python3 env
4. Activate your virtual environment and install python requirements.
source env/bin/activate
pip install -r requirements.txt
5. Set up your RTSP camera and point it at your front door. If you’re using a Wyze Cam V2, flash the custom RTSP firmware (instructions available here).
6. Get the RTSP url from your camera’s settings and set it as the stream url in the training/Makefile file.
nano Makefile

# update stream_url with your stream URL
RTSP_URL=rtsp://username:password@10.0.0.1/live
7. Run the code to test image collection. You should start to see images appear in the data directory.
make no-package-images
8. Use the code to collect images of your front door at various points throughout the day. The code takes a photo every 10 seconds which should account for various lighting and weather conditions. You will want approximately 1000 photos without a package to get started.
# take photos of your door without packages
make no-package-images
9. Once you’ve gathered enough images without packages, we’ll need to start taking images with various packages. Use a variety of different sized boxes and envelopes, in different positions and orientations around your door. When you have a good number of photos of various packages, and an equal number of your door without packages at various points throughout the day, you’re ready to start training.
make package-images
10. Go through the training/data directory and delete any photos that may not have turned out, or may not be good for training.
11. Create a Google Cloud Storage bucket to store your images in. You will need a Google Cloud account, and the gcloud command line tool installed on your local machine. You will also need a Google Cloud project if this is your first time using Google Cloud.
# gsutil is installed with gcloud
gsutil mb gs://your_bucket_name_here -p your-project-name-here -l us-central1
12. Set your bucket name as GCS_BASE in the training/Makefile file.
nano Makefile
# edit GCS_BASE=gs://your_bucket_name_here
13. Run the make generate-csv command to generate the CSV required for training.
make generate-csv
14. Upload the generated CSV to your new bucket.
gsutil cp training_data.csv gs://your_bucket_name_here
15. Upload your images to your new bucket.
gsutil cp -r data gs://your_bucket_name_here/data
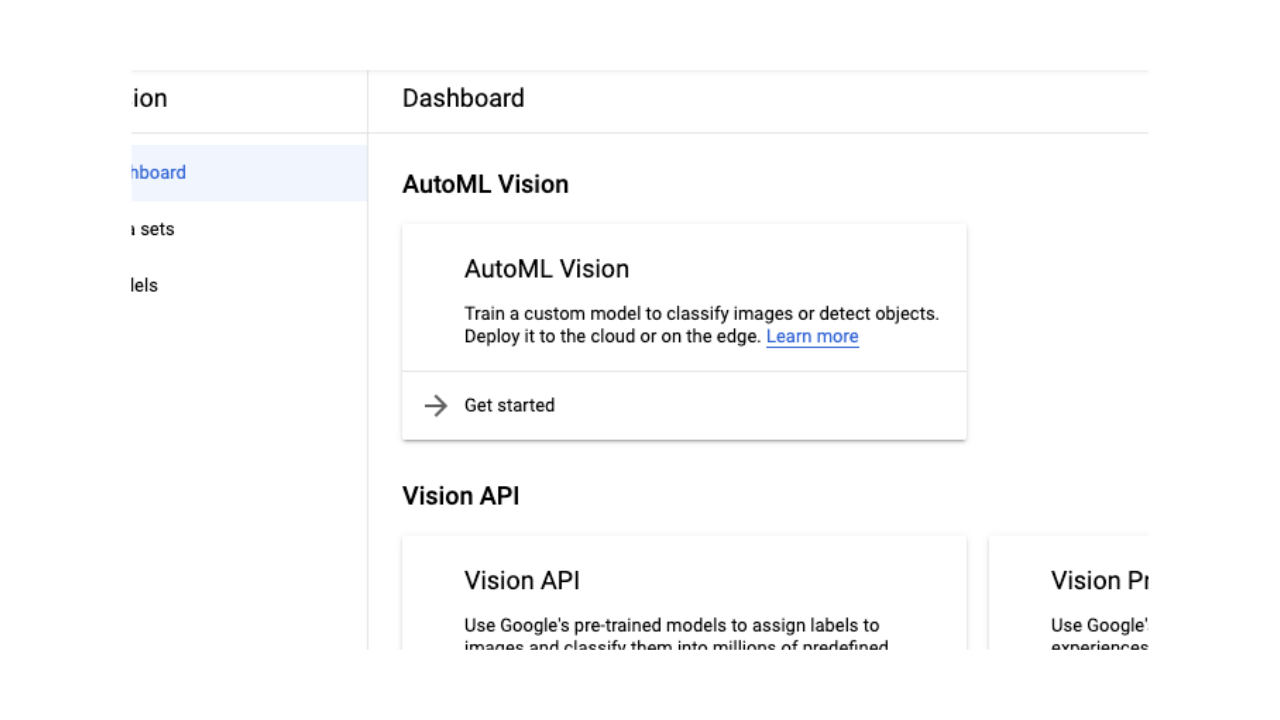
16. Navigate to the Google Cloud AutoML Vision Dashboard in the Google Cloud Console. Click “Get Started” with AutoML Vision.
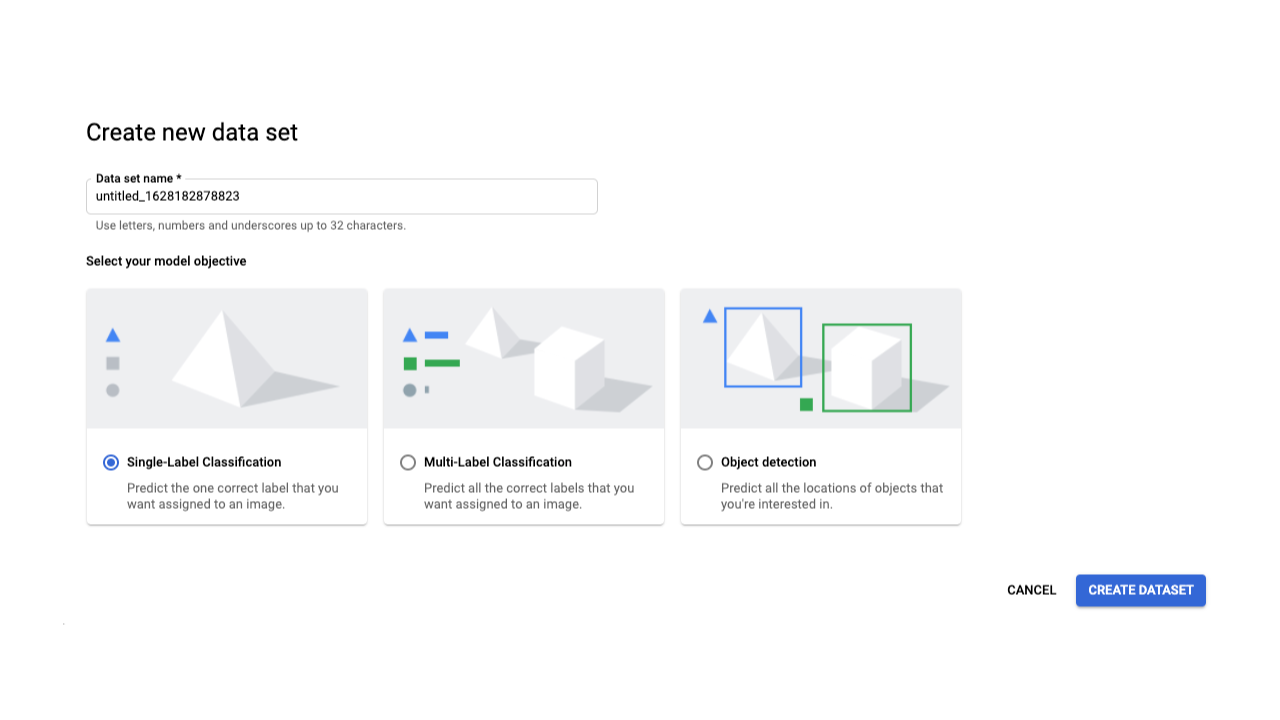
17. Click “New Data Set” and choose a name for this data set. Select “Single-Label Classification” as the model objective, and click “Create Dataset”.
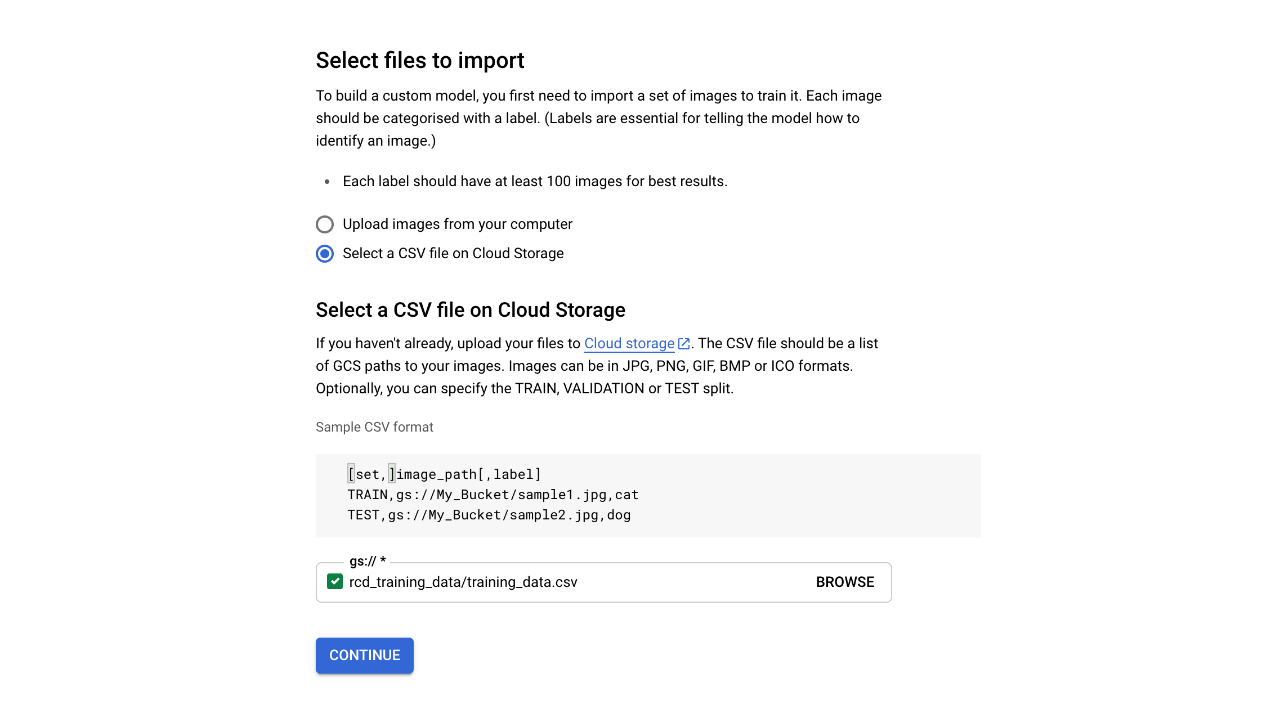
18. Choose “Select a CSV file on Cloud Storage”, and provide the Google Cloud storage path to your uploaded CSV file in the box below, then click continue.
gs://your_bucket_name_here/training_data.csv
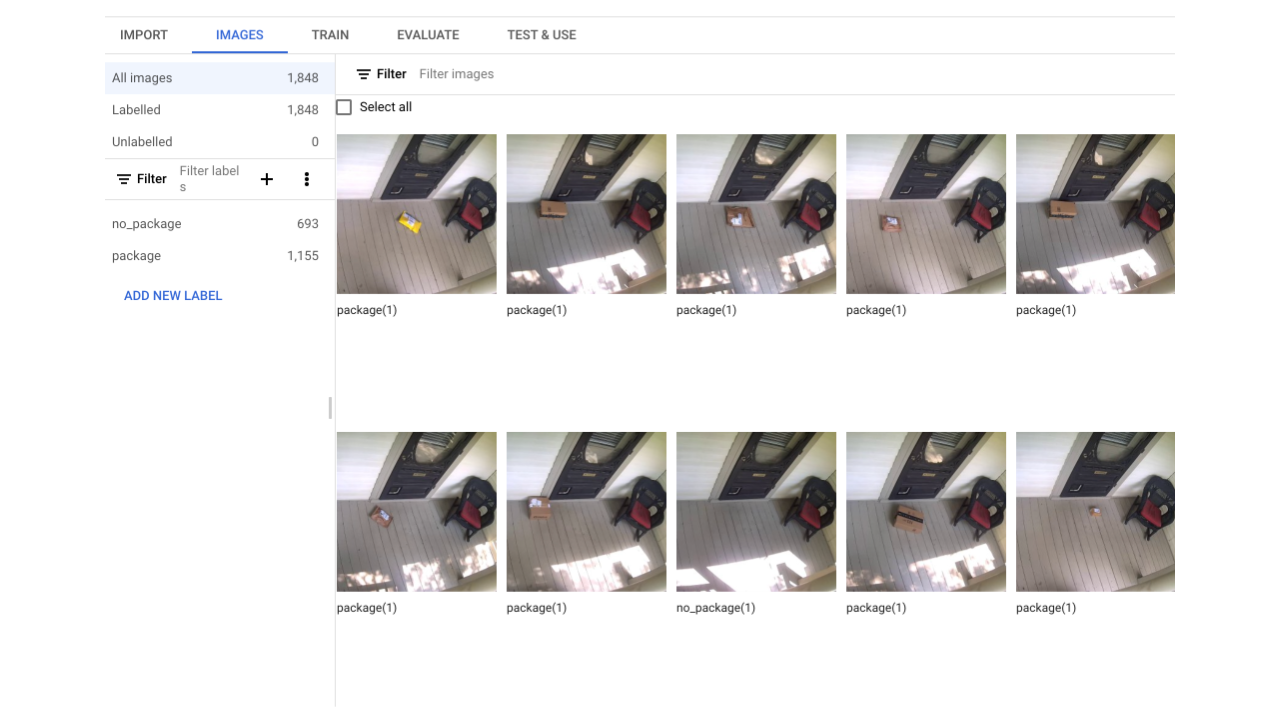
19. Google Cloud will return you to the import screen. After about 10 minutes you’ll be automatically taken to the “Images” section of your data set. Verify all your images are uploaded and properly labeled as package or no_package.
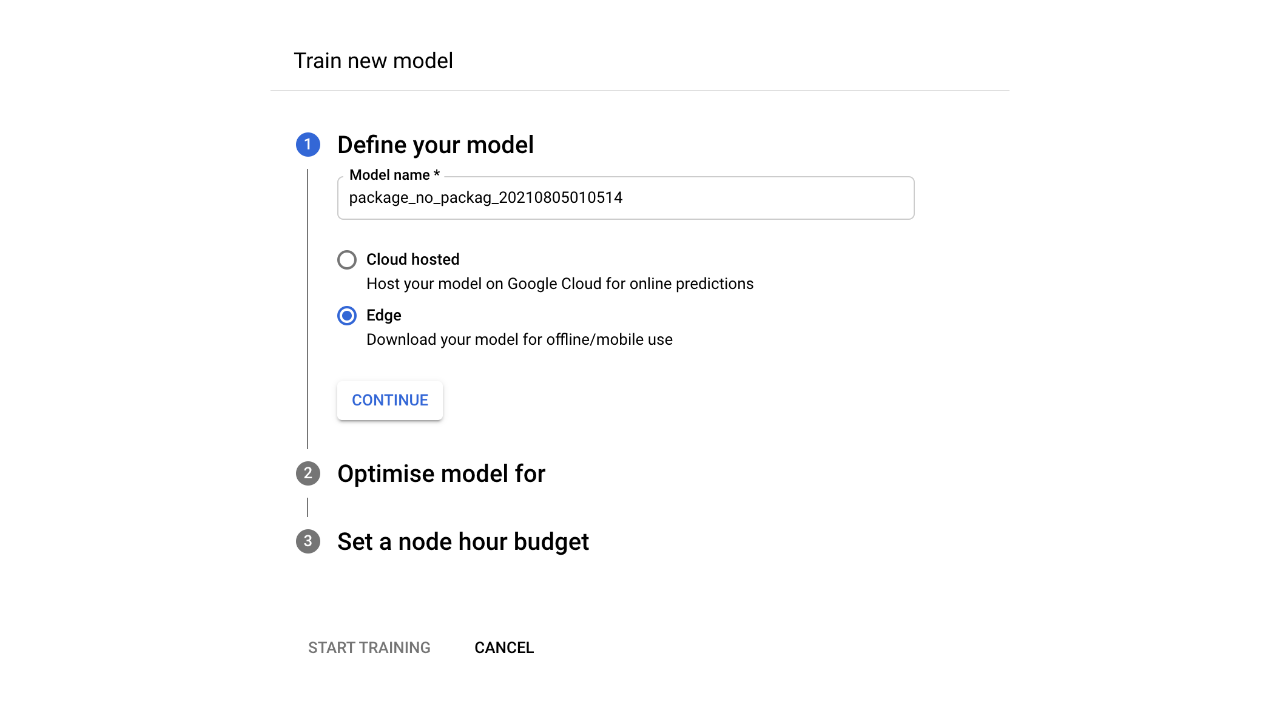
20. In the “Train” tab, click “Train New Model” and choose a name. Then choose “Edge” so the model can be downloaded from Google Cloud once complete. Then click Continue.
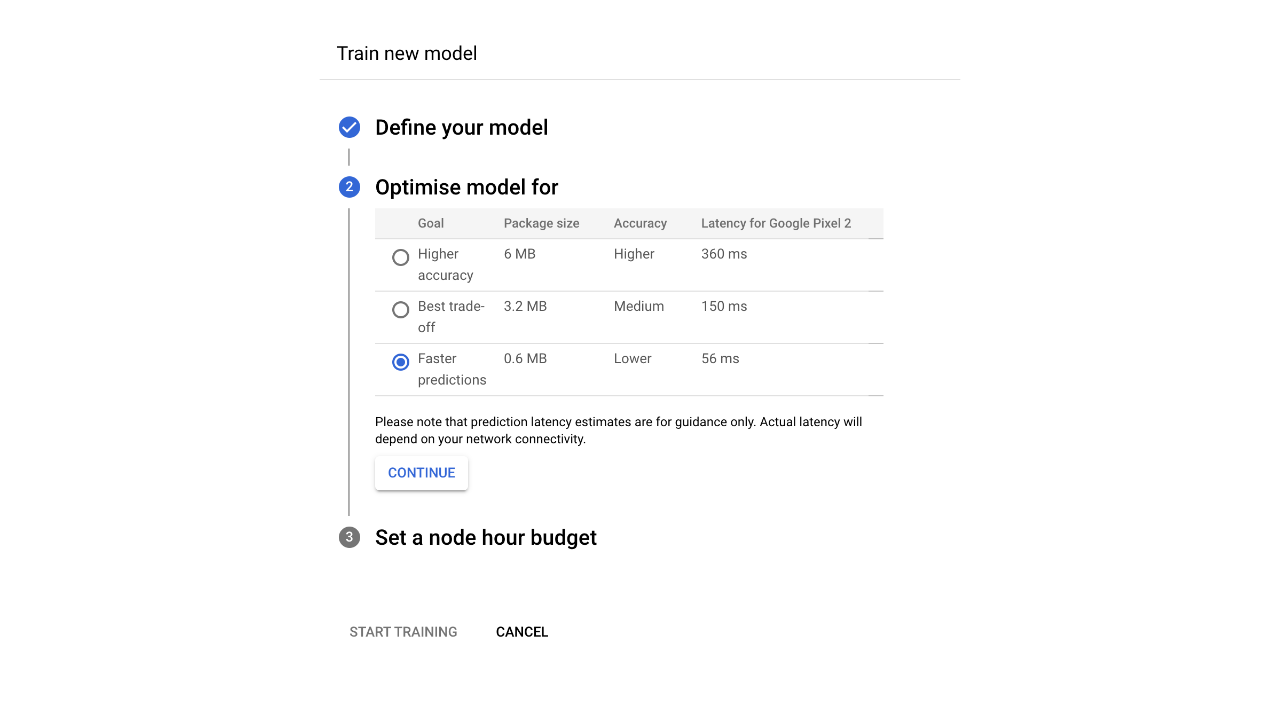
21. Click “Faster Predictions” for model optimization, since we’ll be running on a Raspberry Pi with limited computational power. Then Click Continue.
22. Accept the default recommendation for the node hour budget, but please note you will be charged for the hours these machines are training your model. At the time of writing this, the approximate cost is $3.15 USD per node hour, so this model should cost a little over $12 to train.
23. Click the start training button. You will get an email when your training is complete.
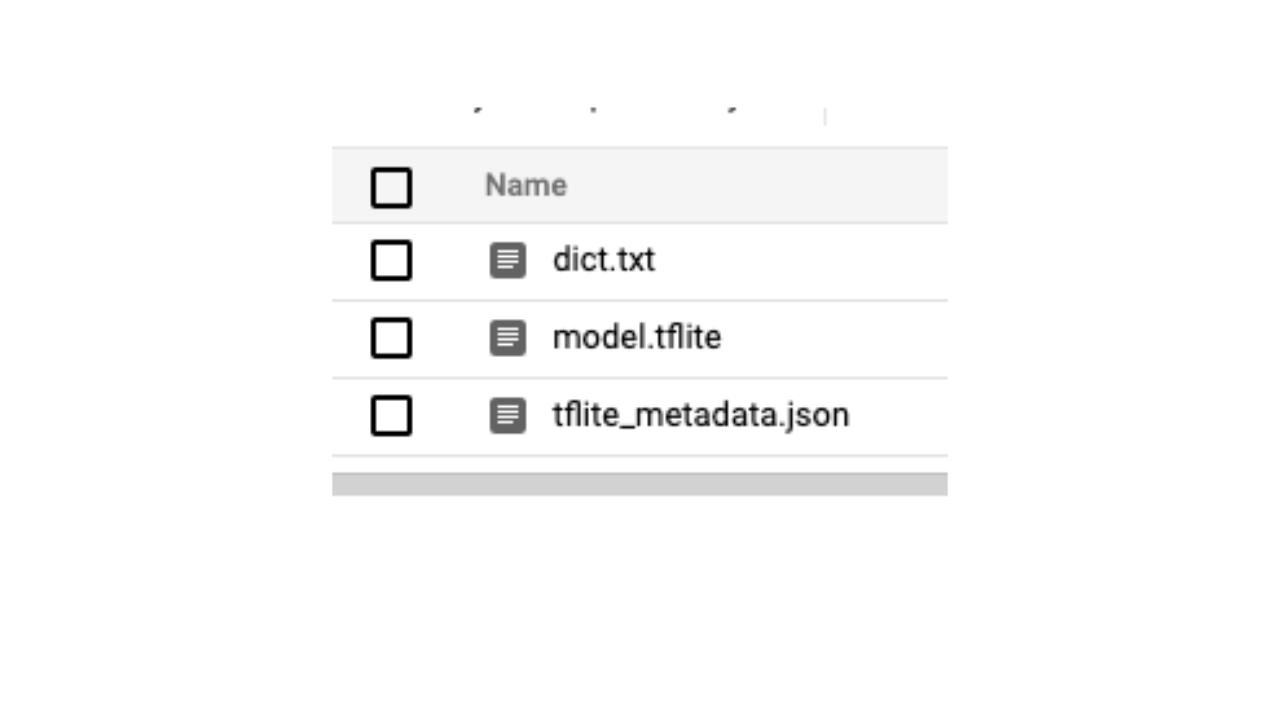
24. When training is complete, navigate to the “Test & Use” tab and download the model as a TF Lite file. As a destination, choose the bucket you saved your training data in, and download it with the following command. It will download a dict.txt, and model.tflite and a tflite_metadata.json file. You now have a machine learning model trained to identify whether there is or is not a package at your door.
gsutil cp -r gs://your_bucket_name_here/model-export/ ./
Setting Up The Raspberry Pi Package Alarm System
1. Navigate to the root of the repository and run the installation command to install all lower-level and python-based requirements for the project to work.
cd ~/package_theft_preventor
make install
2. Copy your downloaded model files from your computer to your Raspberry Pi and use them to replace the existing files in the src/models directory.
# From your desktop machine
mv training/model-export/dict.txt /home/pi/package_theft_preventor/src/models/dict.txt
mv training/model-export/tflite_metadata.json /home/pi/package_theft_preventor/src/models/tflite_metadata.json
mv training/model-export/model.tflite /home/pi/package_theft_preventor/src/models/model.tflite
3. Set the STREAM_URL in the Makefile to the RTSP stream URL of the camera pointing towards your door. This will be the same URL as the one you used to train your model.
nano Makefile
# Edit STREAM_URL=rtsp://username:password@camera_host/endpoint
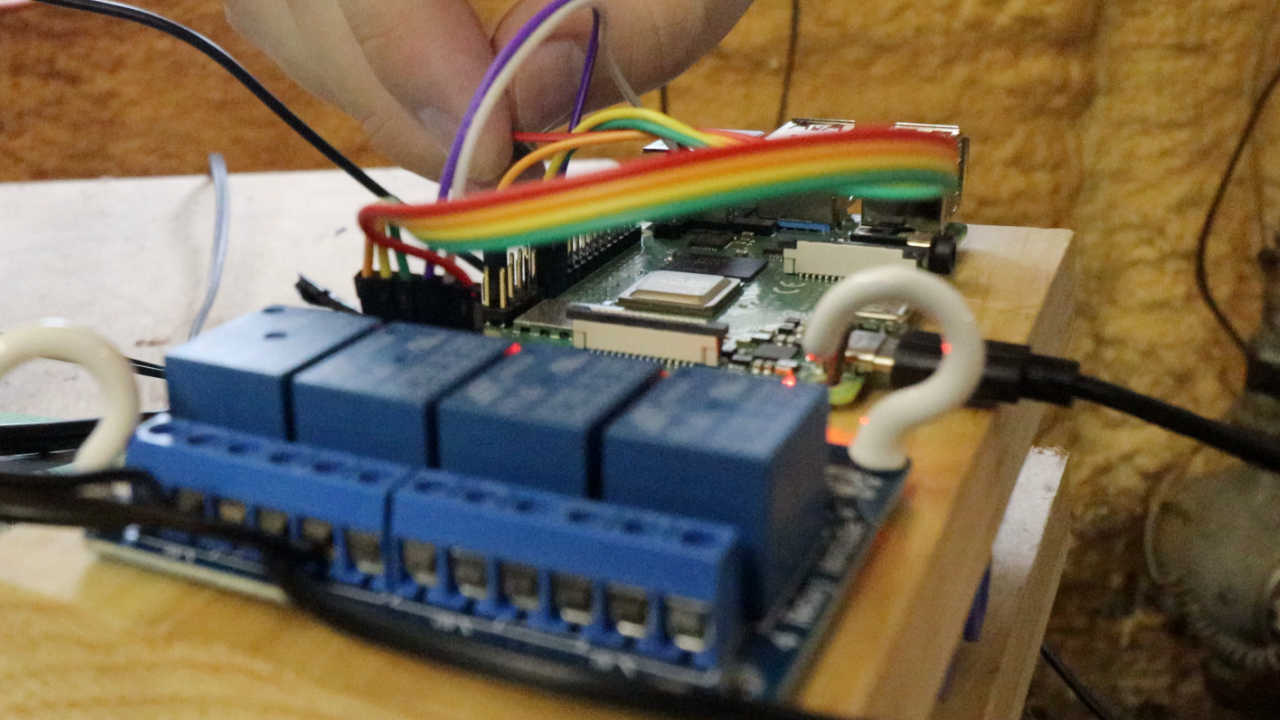
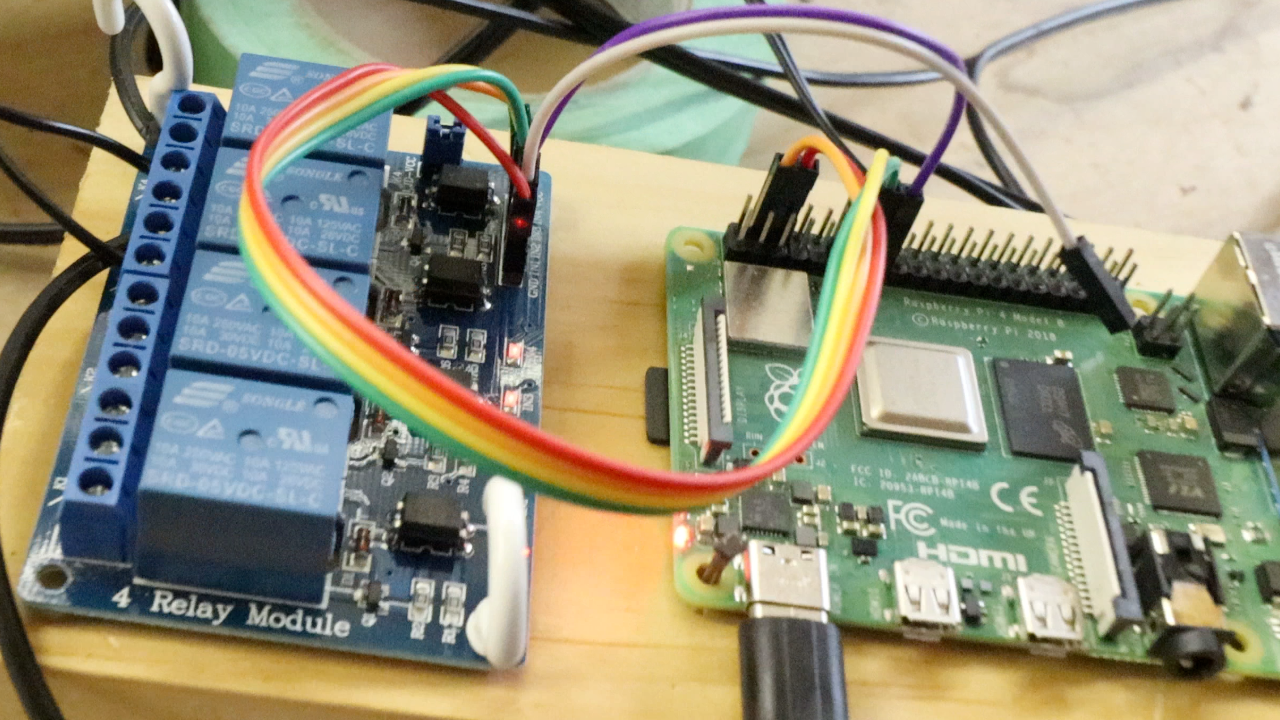
4. Connect the VCC and ground pins of your relay board to your Raspberry Pi, using board pins 4 (VCC) and 6 (ground) respectively.
5. Connect the data pins on the relay to the following Raspberry Pi BCM pins. You can modify the order, just keep track of which channel each pin is connected to for later wiring.
Relay Pin 1 = Raspberry Pi BCM Pin 27 (Sprinkler Pin)
Relay Pin 2 = Raspberry Pi BCM Pin 17 (Siren Pin)
Relay Pin 3 = Raspberry Pi BCM Pin 22 (Air Solenoid Pin)
Note: For my project I used a combination of a 12v siren, a 12v sprinkler controller, and a 12v air solenoid to trigger a variety of alarms. For the purposes of this tutorial we’ll be connecting only a siren - and I don’t recommend connecting anything other than that for real life use. If you’re connecting other modules, follow the same three steps as below.
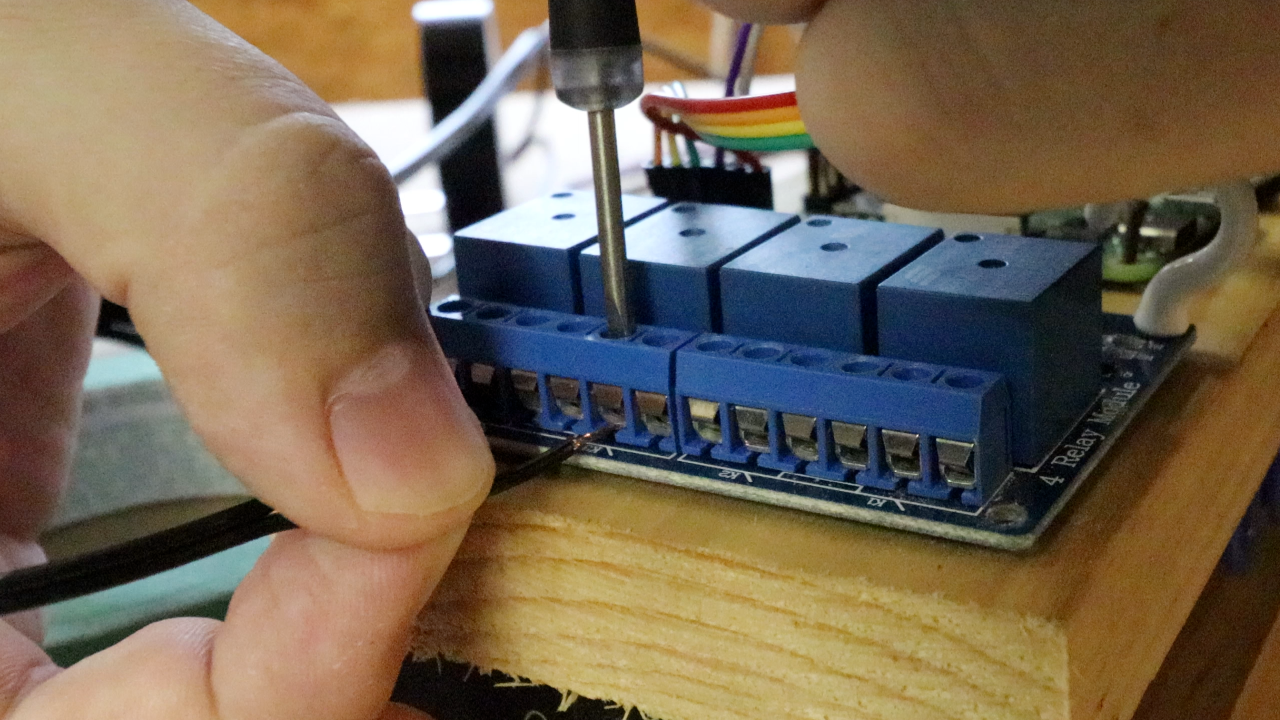
6. Wire the positive end of your 12 volt power supply into the common port of relay channel 2.
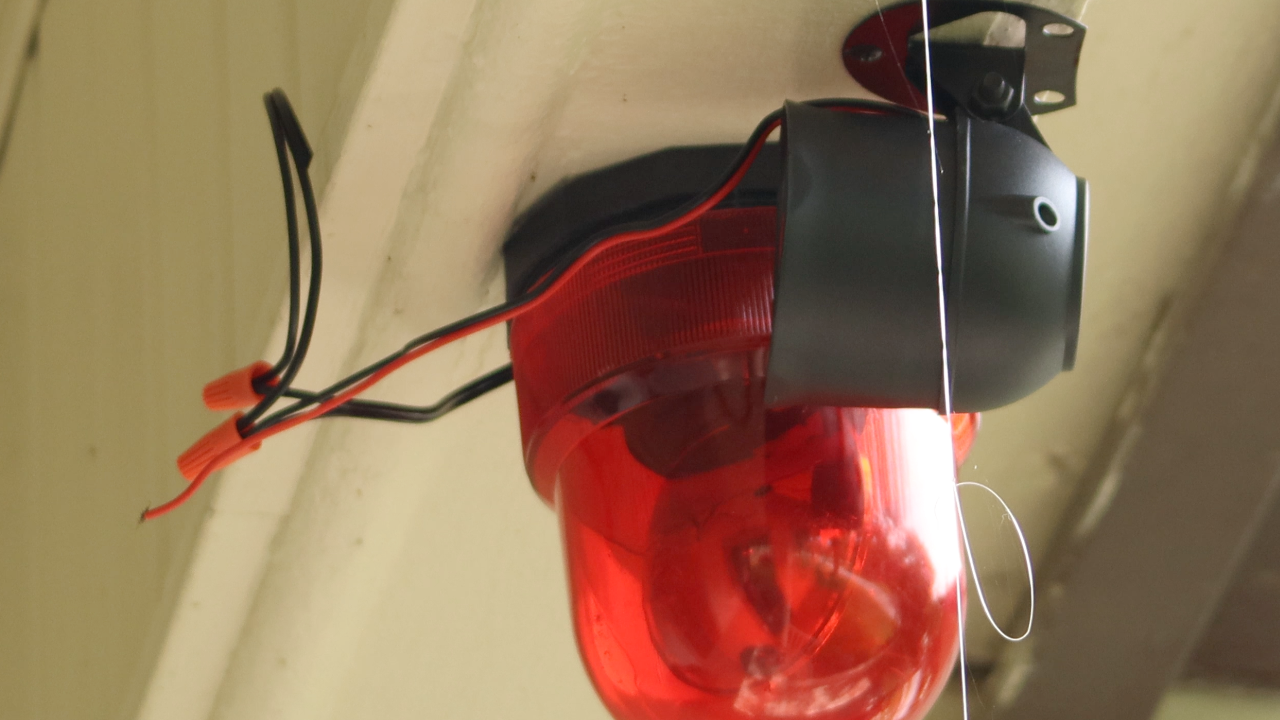
7. Connect your 12v siren to the normally open port of relay channel 2.
8. Connect the other end of the siren directly to the 12v power supply ground.
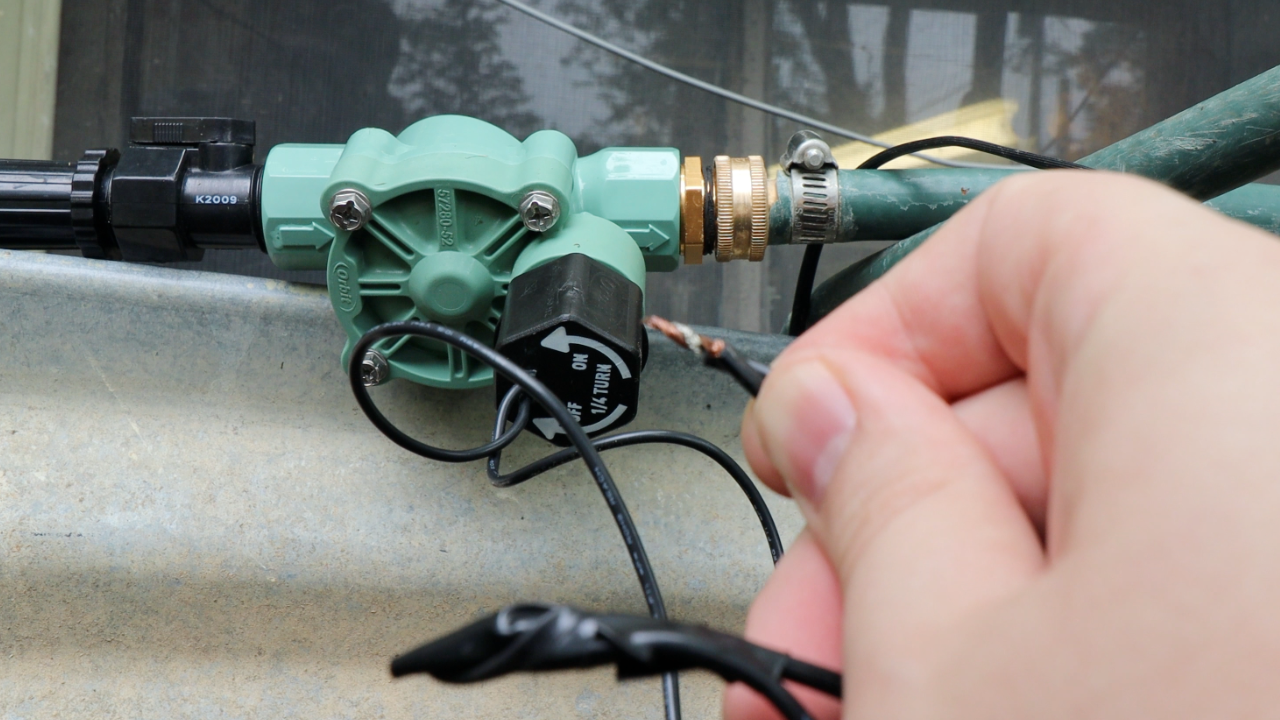
9. If you’re connecting a sprinkler, wire in your 12v sprinkler controller in the exact steps above using Relay channel 1, connecting the common port of relay channel 1 to the positive end of the power supply, one end of the sprinkler controller to the relay, and the other end of the sprinkler controller to ground. The code controls the sprinkler and the siren independently.
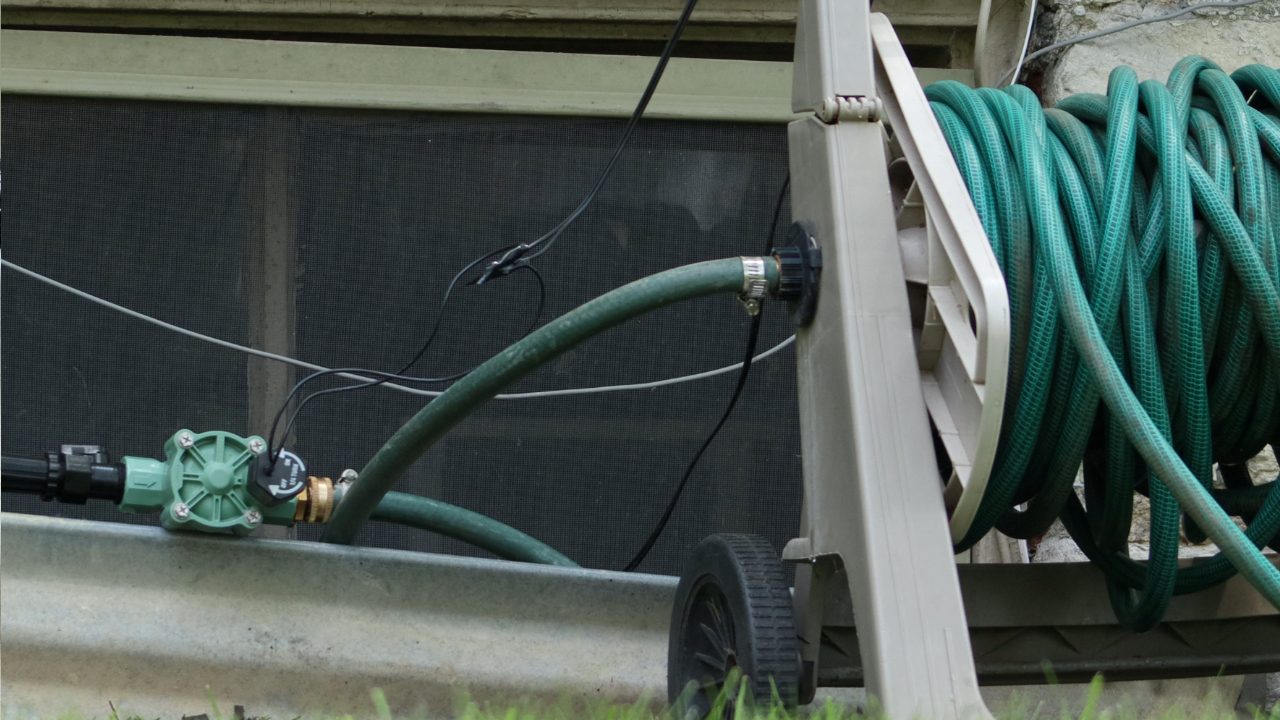
10. If connecting a sprinkler, connect the supply end to a pressurized water source and turn on the tap. Connect the other end to a hose leading to a sprinkler.
11. Connect your 12v power supply to a power source.
12. Add a photo of your face to the src/faces directory as a .jpg file (optional). This enables the system to periodically check to see if you are in the area, and disarm the system accordingly.
13. Start the system and test it. You will see a variety of log statements indicating the current state the system is in:
make run
# Starting stream - The system is connecting to the camera
# System watching - The system is classifying images of your porch as package/no_package right now
# System Armed - A package has been definitively detected, if it is removed the alarm will go off
# Activating Alarm - The package has been removed, activating the alarm
14. Invite your friends to steal packages from you to test out your new theft alarm. Mine had a great time doing it.
Once you’re satisfied, your Raspberry Pi package theft detection system should work. However, we’d advise caution as, if it doesn’t work perfectly, you could end up alerting

Ryder Damer is a Freelance Writer for Tom's Hardware US covering Raspberry Pi projects and tutorials.
-
gravagehulk Okay, I have so many concerns here.Reply
What if Fedex drops off a package, then UPS comes to deliver another package the same day? Isn't the UPS driver going to get sprayed? I get multiple deliveries/day from Amazon, UPS, Fedex, etc. This seems like something that would only really work well if you occasionally get one package delivered/day.
I love the idea, but there are just so many things that can go wrong here. -
apiltch Supposedly this only triggers if a package is "missing" that was previously there. Adding a package to the pile should not trigger it, according to Ryder who made the script. Certainly, you'd want to test it if you made it.Reply -
HummingFish Don't do it! This might not be a good idea. You do not know what the pirates will do to your house. They might take revenge and come back later to do something really bad to your house. Your house is fully exposed, whereas they are in the dark.Reply -
Neilbob ReplySippincider said:Take off the kid gloves. No mere water or sirens.
Expand on the previous article, this time dumping an entire bucket of flour on the thieves.
They'd be screwed. They're leaving footprints, plus they're not getting the stuff off quickly; a flour-covered person fleeing the area WILL get noticed.
Suppose one could go further still, using powdered sugar or starch, plus lawn sprinkers to turn it into a sticky mess which they're not brushing off.
Why limit ourselves here? I'd personally go even further than that and install a flamethrower. -
waltc3 Instead of sprinklers going off, how about low-energy lasers, tasers, and a couple of 12-gauge shotgun blanks going off? You could have a couple of warning yard signs, "Package thieves will be shot on sight. You have been warned!", too. A nice touch would be to use a sprinkler head at the same moment as the thief is being tased! (The deluxe setup would catch the hilarious spasming on camera.)Reply
--From the "Things We'd Like to Do" Dept files...;) -
woot All of this is pointless, thiefs will thieve, alarms or not, the problem lies in the fact that people are willing to receive their packages this way and delivery companies dont care about it.Reply
