How to turn an old PC into a Linux web server
Host your own web content without splashing out on a dedicated server
The World Wide Web (www often referred to as The Web), invented by Sir Tim Berners-Lee way back in 1989 was created as a “universal linked information system” which shared documents and information through web servers that used Hypertext Markup Language (HTML). HTML on its own can’t do much, it needs a web server that accepts requests from remote machines, and serves the HTML content to the user via a web browser. All of which we take for granted now, but at the time, web servers and HTML were a big deal.
The first web server was a desktop computer. Specifically an NeXTcube computer, at CERN — taken from the French “Conseil européen pour la Recherche Nucléaire” and translated into English it is European Organization for Nuclear Research — which is based in Meyrin, on the France-Switzerland border. A note stuck to the computer “This machine is a server do not power down”, instructed that the computer must not be switched off, otherwise the first web server would go offline.
From those early days, the web has grown into the labyrinthian behemoth that we have today but we can still make a web server from a desktop computer.
In this how to we will build a simple web server using a low power Intel based SBC, the LattePanda 3 Delta but this how to can be recreated on any computer. That old laptop from 2012, an old desktop computer or even a Raspberry Pi 1. We don’t need much processing power to create a simple web server.
A quick note before we dive in. Yes we know that web hosting is available, and offers better performance than what we will create, but there are times when getting hands on with a project provides you with the best learning experience. That said, this how to does not show you how to secure the web server, so we would not recommend exposing it to the web at large. With that said, let's get hands on and build a web server.
Phison Pascari X200: Whether you're working from a desktop PC or a high-capacity data center, the importance of storage can't be understated. Built to suit enterprise workloads, Phison's Pascari X200 SSD delivers unmatched PCIe Gen5 performance, reliability, and efficiency. With cutting-edge technology, Phison is providing innovative solutions for high-density, high-performance, and energy-efficient storage at scale.
1. Open a terminal and ensure that the OS is running the latest software.
sudo apt update && sudo apt upgrade 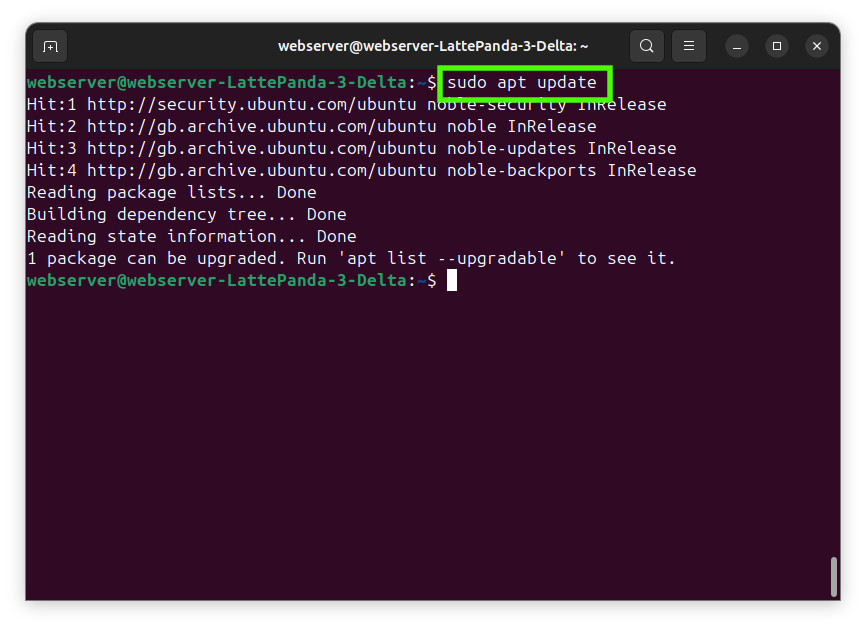
2. Install the Apache web server. There are many different choices of web server (nginix or even a super simple Python web server), but Apache is a good place to start.
Get Tom's Hardware's best news and in-depth reviews, straight to your inbox.
sudo apt install apache2 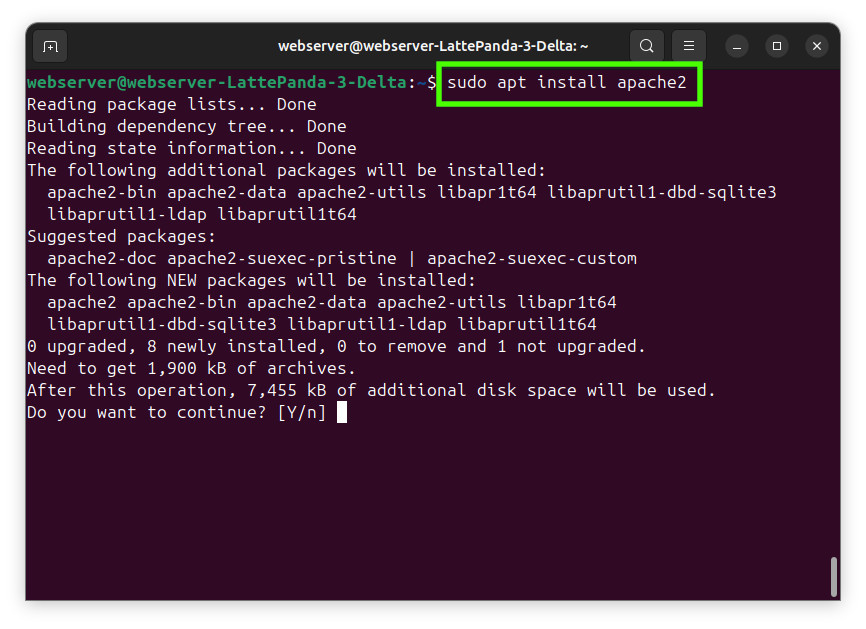
3. Tweak the firewall so that web traffic (port 80) for the Apache web server, is allowed through the firewall. Uncomplicated Firewall (ufw) is a simple tool to configure the firewall without digging too far into the technicalities.
sudo ufw allow 'Apache Full' 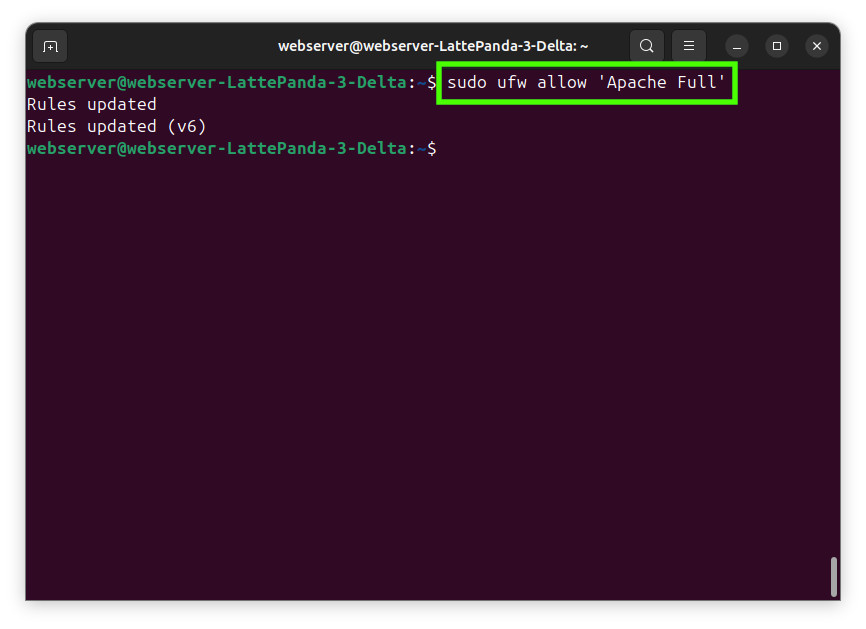
4. Verify that Apache has been installed and is running.
sudo systemctl status apache2 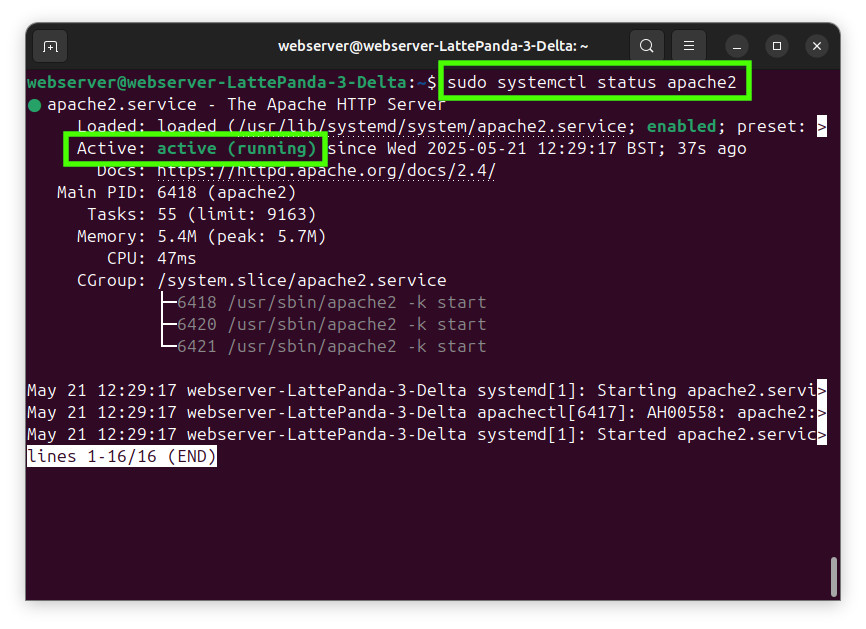
5. Install an SSH server on the web server. This isn’t an essential step, but having remote and secure access to the web server means that we can tweak the settings, make quick fixes and power cycle the server without having physical access. If you do not want to use an SSH server, please skip to step 9.
sudo apt install openssh-server 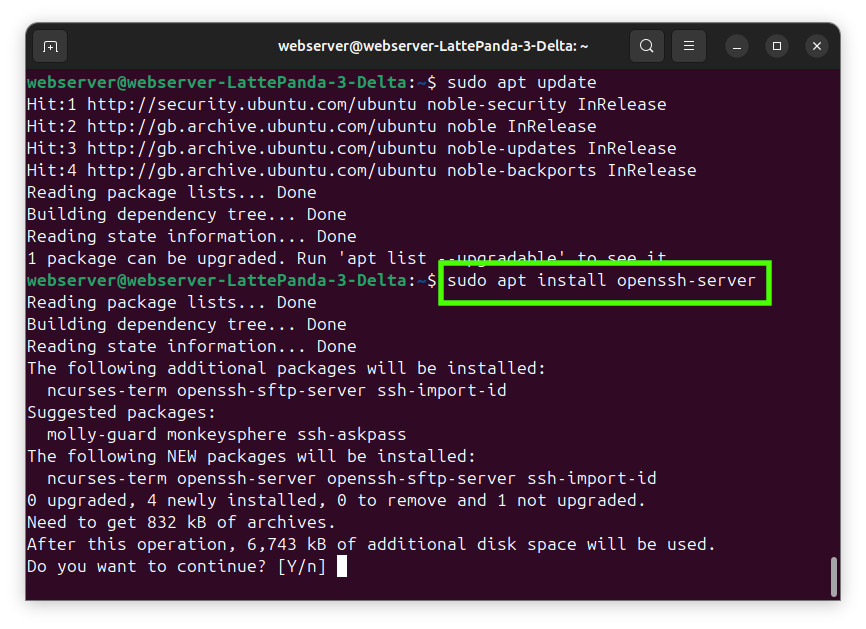
6. Enable the SSH server.
sudo systemctl enable ssh 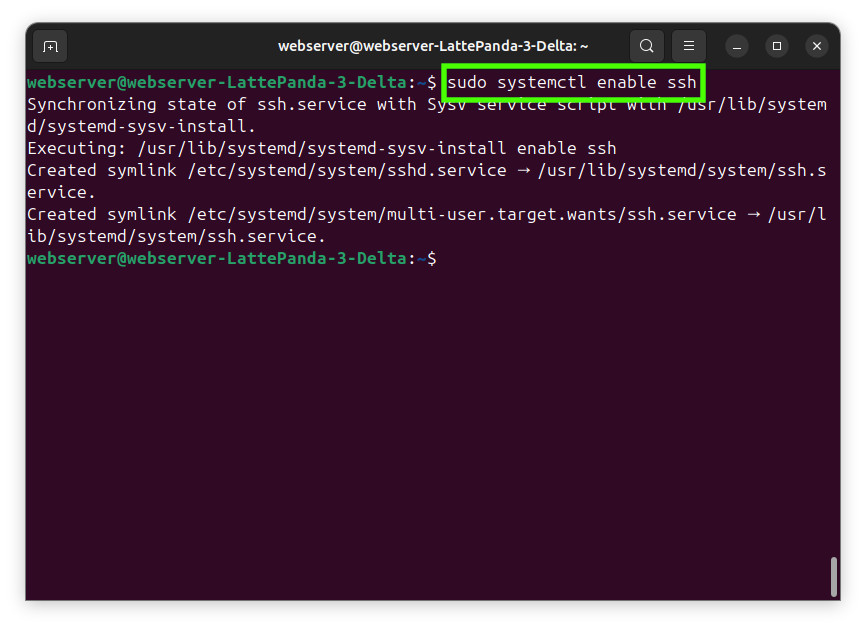
7. Start the SSH server.
sudo systemctl start ssh 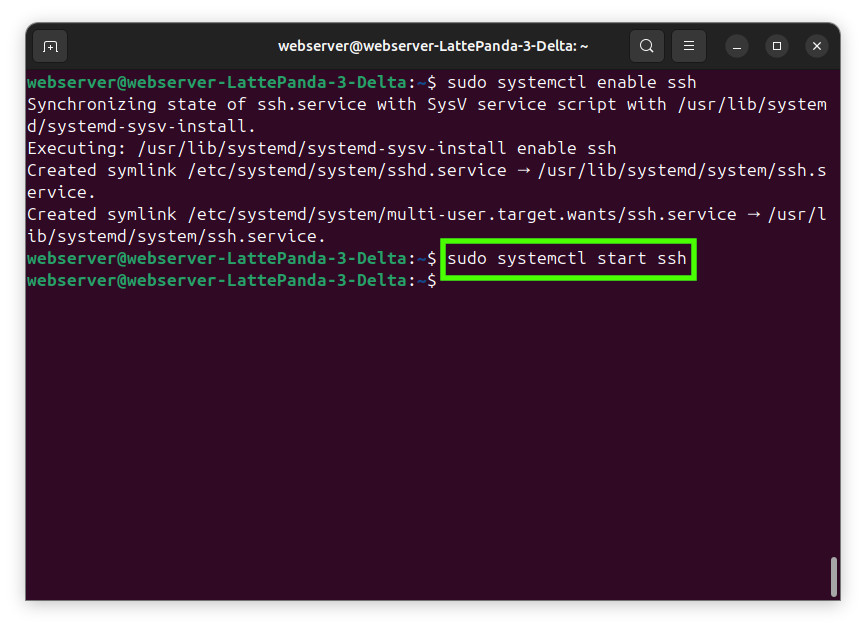
8. Tweak the firewall to allow SSH traffic through. SSH typically uses port 22 but using "ssh" we do not need to know the port number.
sudo ufw allow ssh 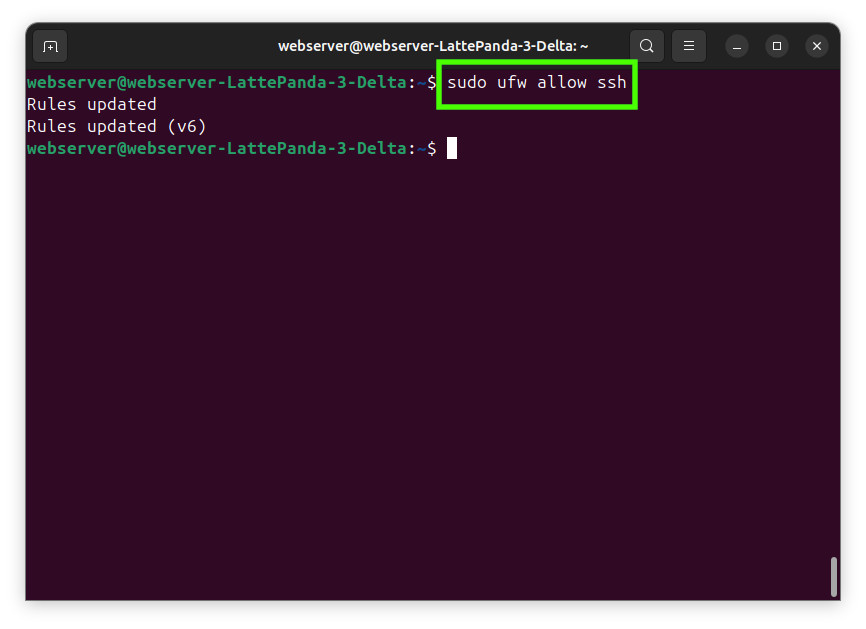
9. Reboot the system. This isn't strictly necessary as we can use systemctl to restart the services. Rebooting does the same thing, but it also resets the underlying system, providing a fresh start for the server.
sudo reboot10. Log in and open a new terminal, create a new test file that will contain a few lines of simple HTML. This will create a file called hello.html in the root of the web directory /var/www/ which is where the Apache web server is serving content from.
sudo nano /var/www/html/hello.html11. In the file, add the following HTML.
<html>
<title>Test Page</title>
<head>
</head>
<body>
<h1>Hello, world!</h1>
</body>
</html>
12. Save the code by pressing CTRL + X, then Y and ENTER.
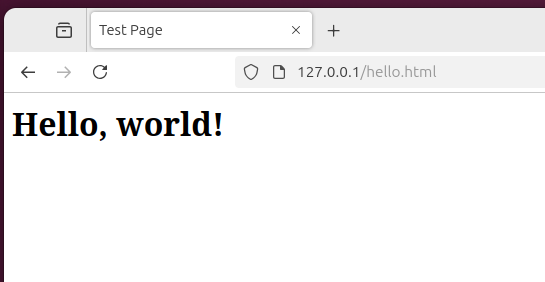
13. On the server, open a web browser to 127.0.0.1/hello.html and you will see the page that we have just created.
14. In the terminal, get the server's IP address. Make a note of the address.
hostname -a15. On another computer / device, open a browser to the IP address of your server, followed by /hello.html. Below is our example.
192.168.0.138/hello.html 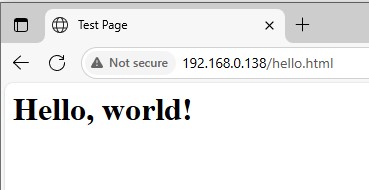
Your simple web server is now complete and ready to serve content to users on your home network. Using this as a foundation, you can use frameworks to make your web content more visually interesting.

For example we created another file, tom.html and used Bootstrap to create a big and bold page to announce the content. This is called a hero in Bootstrap parlance. Follow the Bootstrap examples and play around with how your content is displayed.
Externally serving the site

Having an internal web server (sometimes called an Intranet) is great, but what if you want to share your creations with the world? For that you will need to tell your router to let traffic through to the server using port forwarding. But then, an IP address isn’t the most user friendly means, so lets use a DNS service to send traffic to your server.
Before we begin, take great care. Opening your router to the world means that somebody may / will take a look at your IP address and attempt something nefarious. Ensure that you take all the necessary security steps to keep yourself, and your property safe. Do not attempt this on production hardware, this is for personal use only.
1. Open a terminal and use this command to get the IP address of your router. Make a note of the IP address.
hostname -I2. Open your router settings and navigate to the Port Forwarding section. Where this is varies depending on your router, for our example it was under Advanced Settings >> Security.
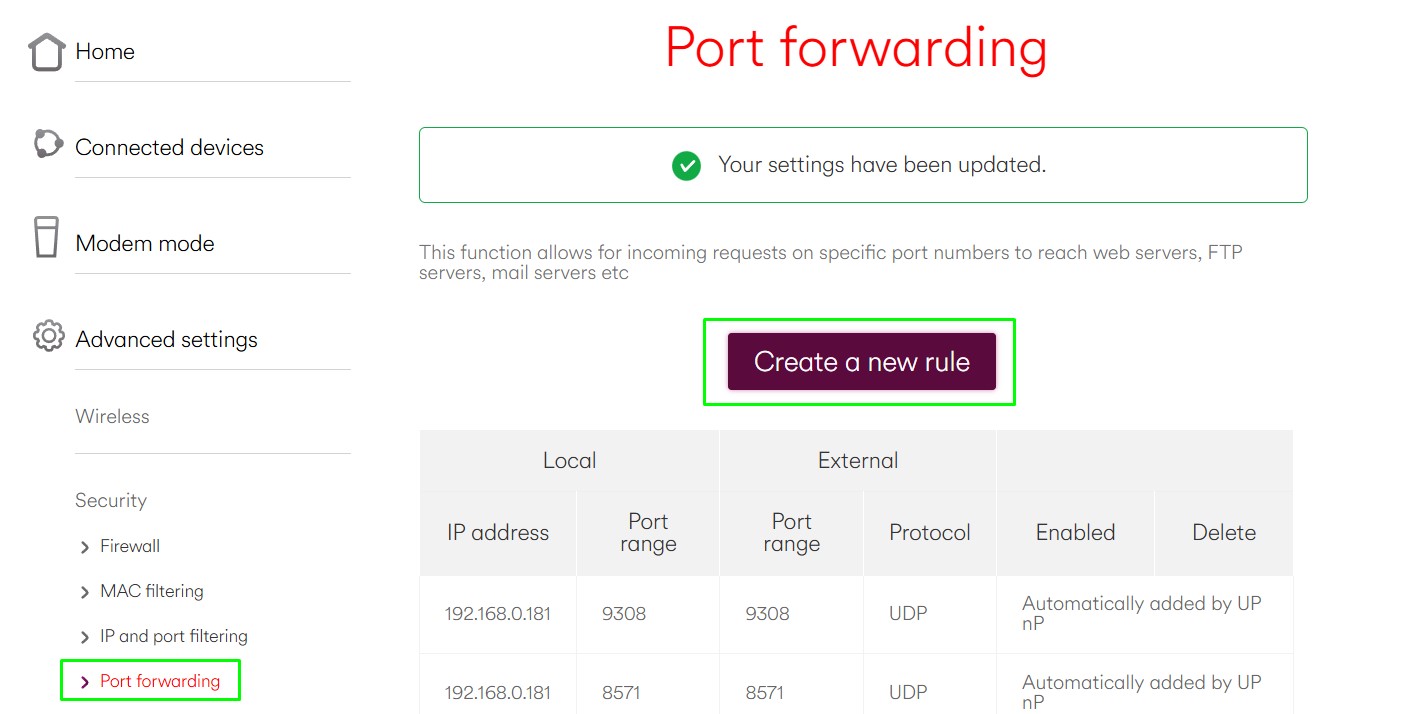
3. Set the router to direct traffic to the IP address of your server. Set the ports internally and externally to just use port 80 (the default port for web traffic). Save the changes for them to take effect.
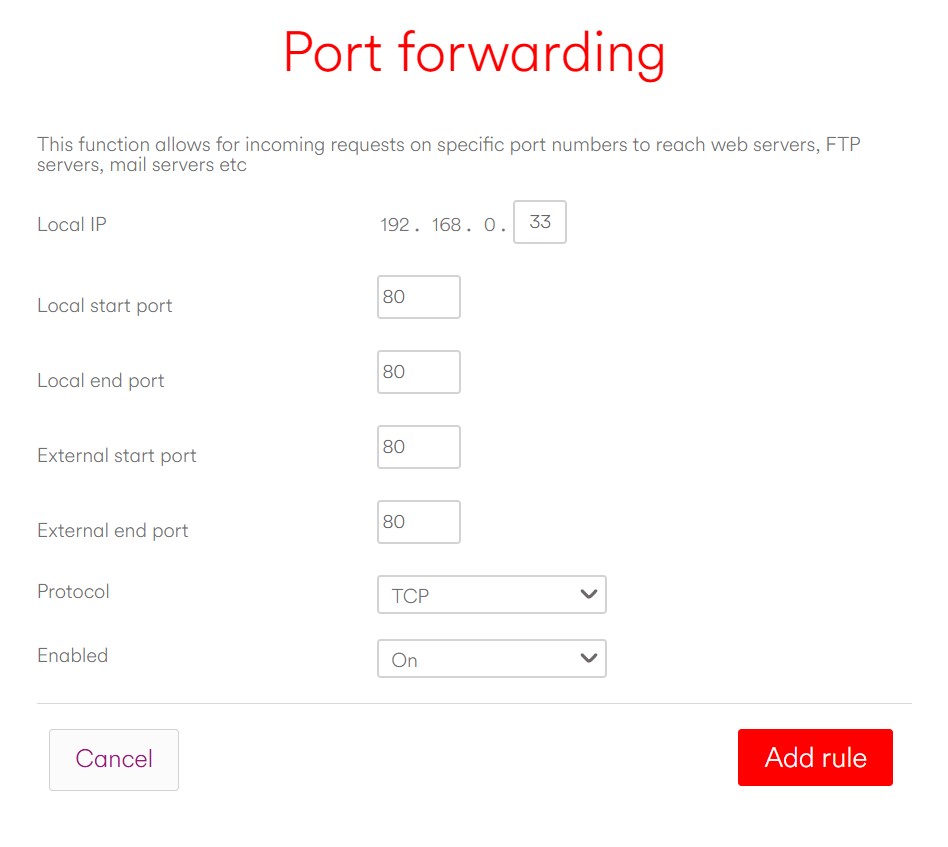
4. Using https://whatismyipaddress.com/ get the external IP address of your server.
5. On another device, open a browser and enter the external IP address followed by /hello.html. For example http://xxx.xxx.xxx.xxx/hello.html
If the page is accessible, move on, if not, check the router settings before moving on.
6. To create a URL for the server, go to https://www.duckdns.org/index.jsp and create a new account.
7. Create a new domain name and click add domain, we chose tomshardware.duckdns.org. This will automatically grab your external IP address and point the URL to it.

8. Open the URL on another device, add /hello.html to the end.
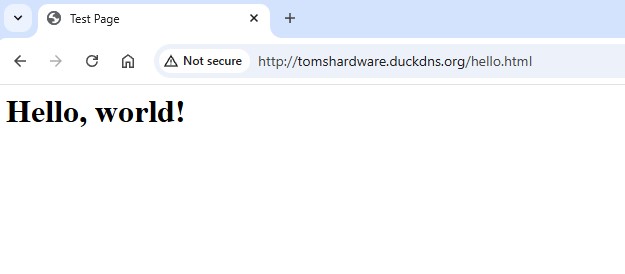
9. You should see the test page in your browser. We reused the boot strap page to show a more interesting goal for the project.


Les Pounder is an associate editor at Tom's Hardware. He is a creative technologist and for seven years has created projects to educate and inspire minds both young and old. He has worked with the Raspberry Pi Foundation to write and deliver their teacher training program "Picademy".
