Creating an X Days Until Xmas Sign with Raspberry Pi
Use an LED matrix to show many days left to the holiday.
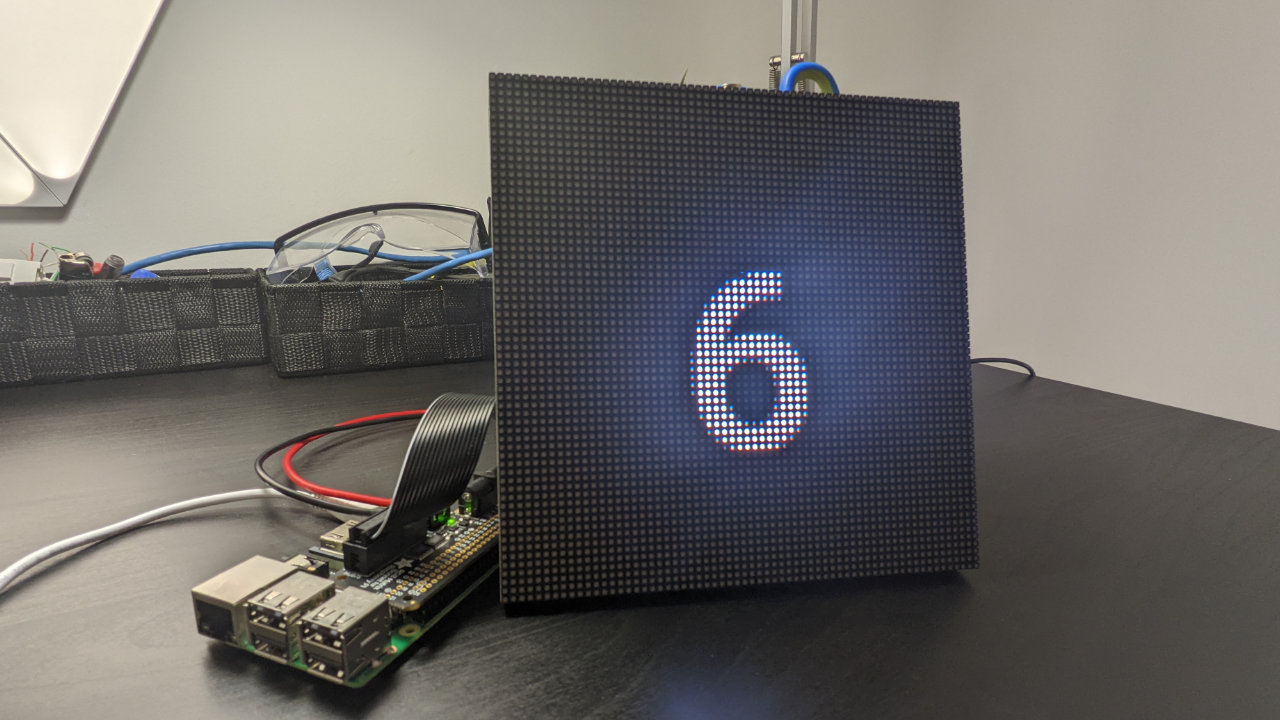
My city has a very popular Christmas market, with a giant sign advertising the number of days until Christmas. I wanted something similar for my apartment to improve my festive spirit, but more importantly let me know how long I have to get my gift shopping done.
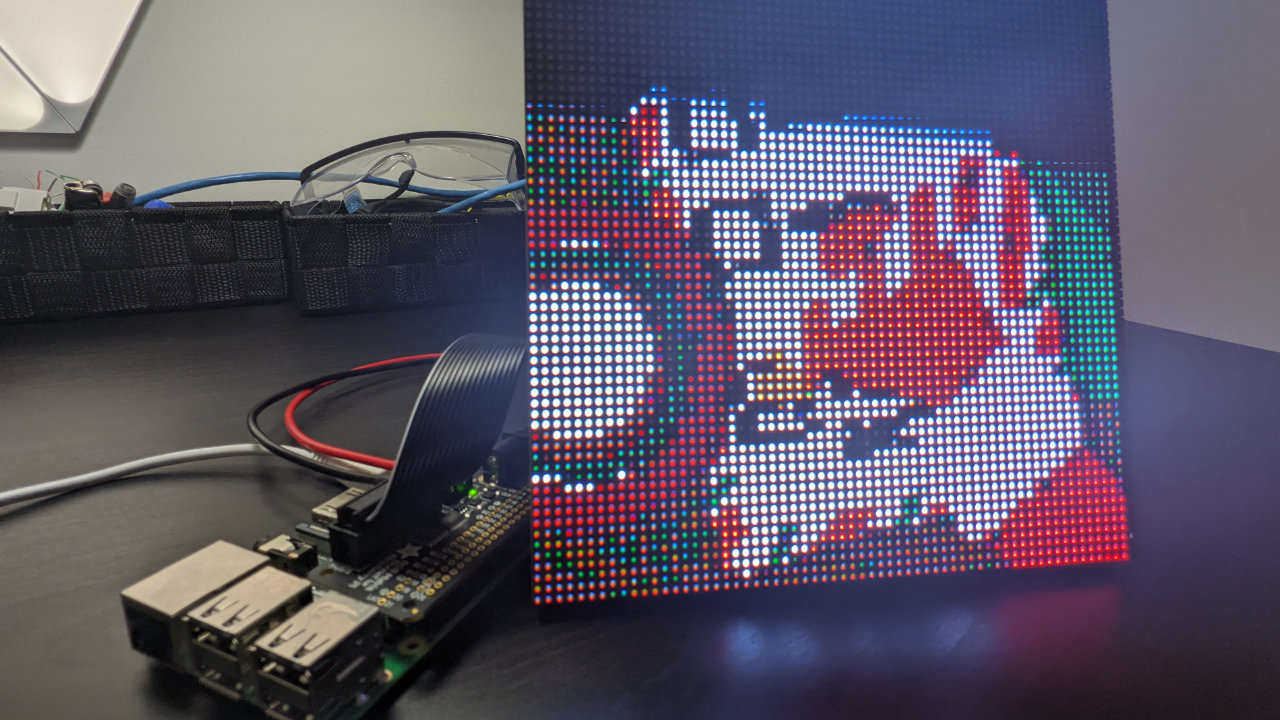
Using a Raspberry Pi and an Adafruit 64x64 pixel matrix we can build a festive sign that displays the number of days left, as well as a number of festive Christmas GIFs to get you in the holiday spirit.
What You’ll Need For This Project
- Raspberry Pi 4, Raspberry Pi 3, or Raspberry Pi Zero with power adapter
- 8 GB (or larger) microSD card for Raspberry Pi
- Adafruit 64x64 LED Matrix
- Adafruit RGB Matrix Bonnet for Raspberry Pi
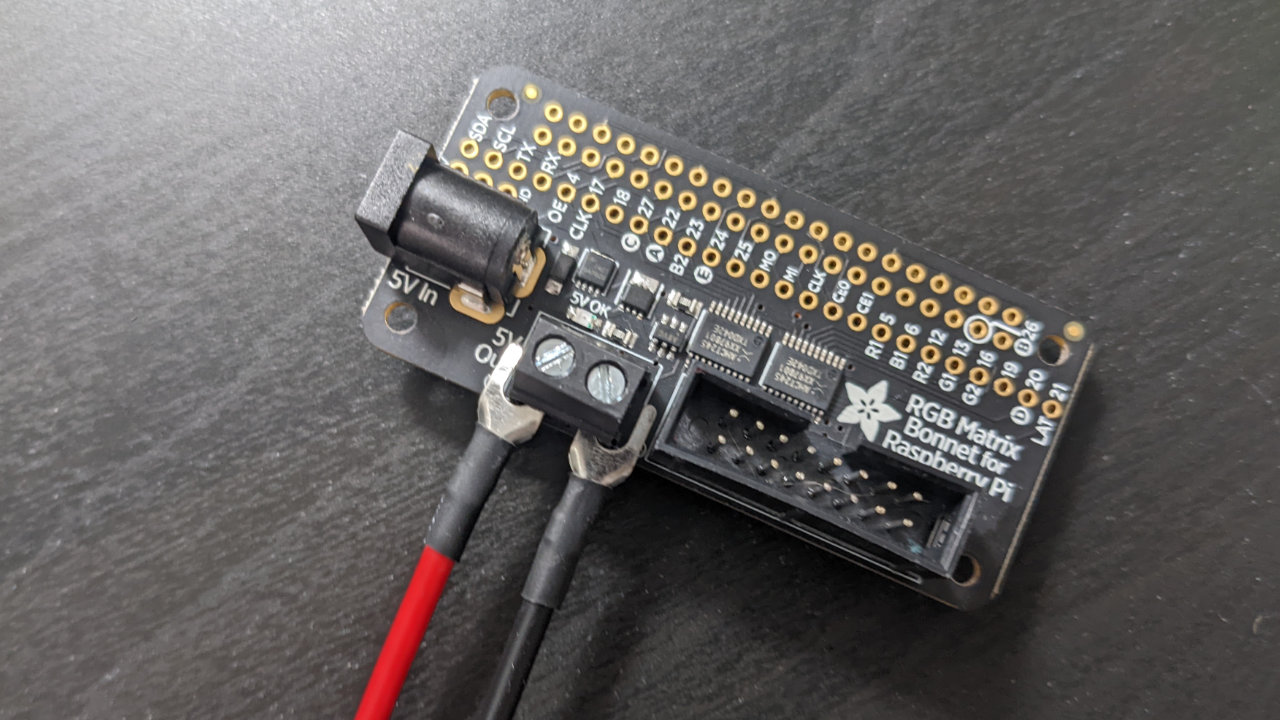
- Soldering Iron & Solder
- 5V Power Supply with barrel connector
- Small flat head screwdriver
How to Build a “X Days Until Xmas” Sign with a Raspberry Pi
Before you get started, get your Raspberry Pi set up. If you haven’t done this before, see our article on how to set up a Raspberry Pi for the first time or how to do a headless Raspberry Pi install (without the keyboard and screen). For this project, we recommend a headless Raspberry Pi install.
1. Install git. We’ll need it to download the code from GitHub.
sudo apt-get update
sudo apt-get -y install git
2. Clone the repository to your home directory. This will ensure we have all the code and audio files we need to run the project.
cd ~/
git clone https://github.com/rydercalmdown/days_until_xmas_sign.git
3. Run the “make install” command to install all project dependencies. This script will take care of installing lower level dependencies, as well as the Python libraries you need for the project to run.
cd ~/days_until_xmas_sign/
make install
4. Run the “make setup” command to download and run the Adafruit LED matrix setup script.
Get Tom's Hardware's best news and in-depth reviews, straight to your inbox.
make setup
5. Follow the instructions in the setup script, selecting the Adafruit RGB Matrix Bonnet, and then selecting “CONVENIENCE” instead of “QUALITY” when prompted.
6. Select Reboot on the Pi when requested by the script.
sudo reboot
7. Connect the LED matrix to the included 5V power cable, careful to align them correctly.
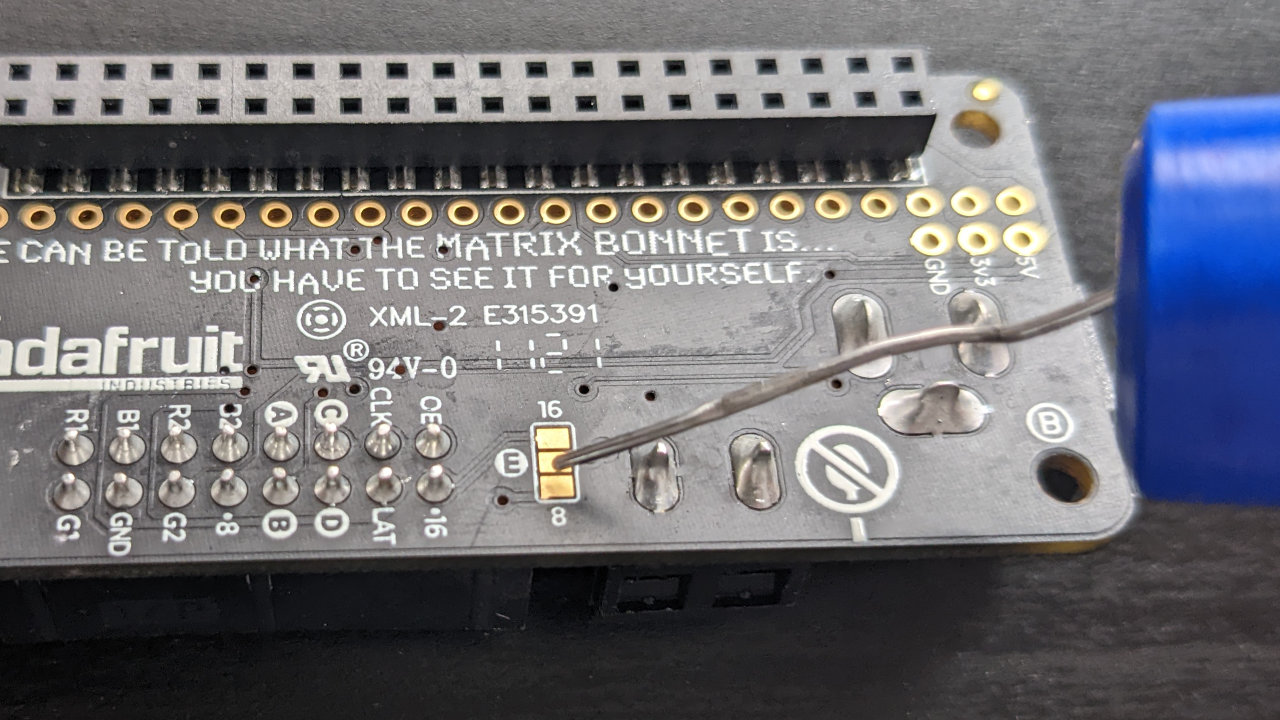
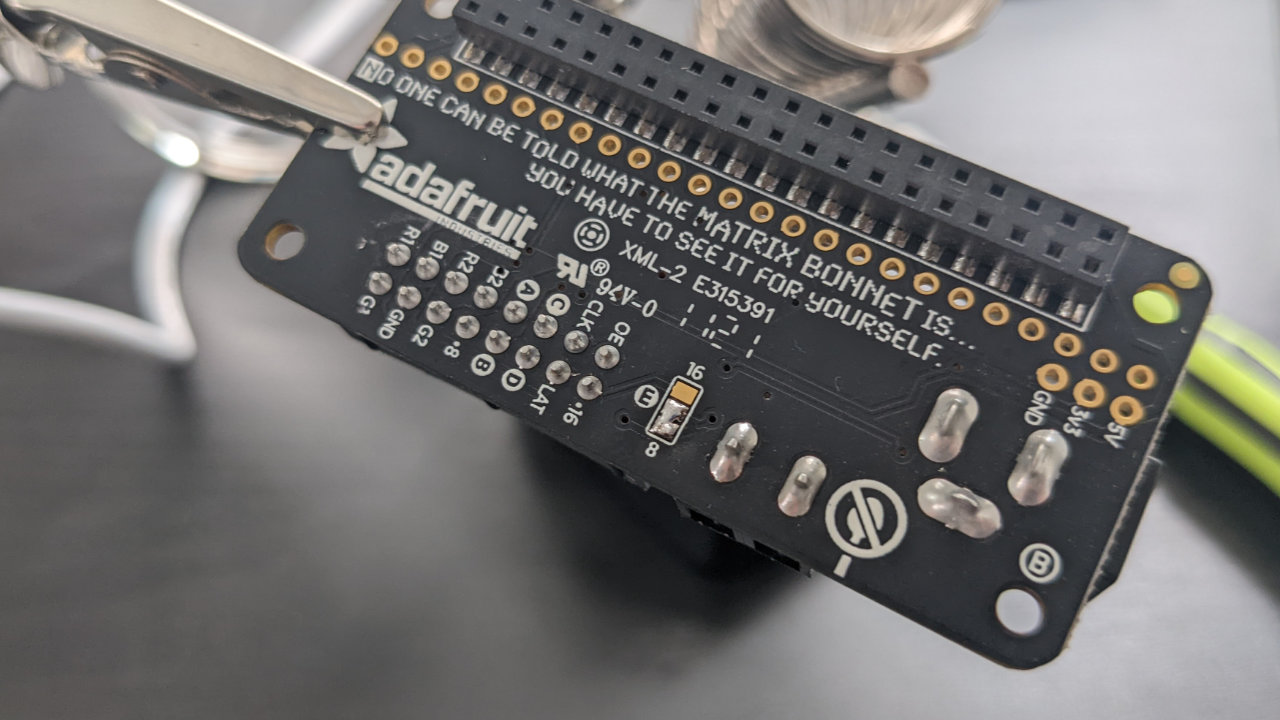
8. Flip over the Raspberry Pi LED Matrix Bonnet and apply a small bit of solder shorting the 8 and E pins on the back. This is necessary for the 64x64 matrix to function.
9. Using a small flat-head screwdriver, connect the other end of the power cable to the bonnet, careful to align ground and 5v in the correct places.
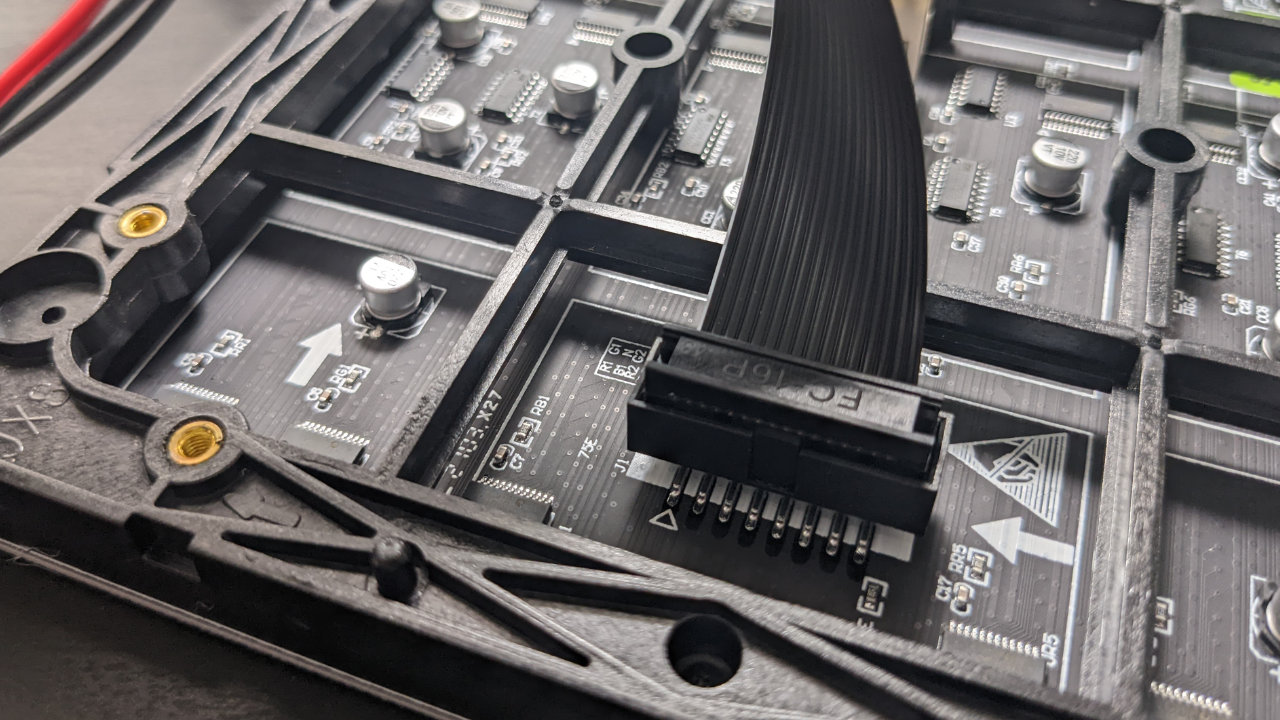
10. Attach the data pins to the input side of the matrix; look for multiple arrows pointing in one direction on the board; the connection will be to the most “upstream” port, IE the source of the arrows, not the destination.
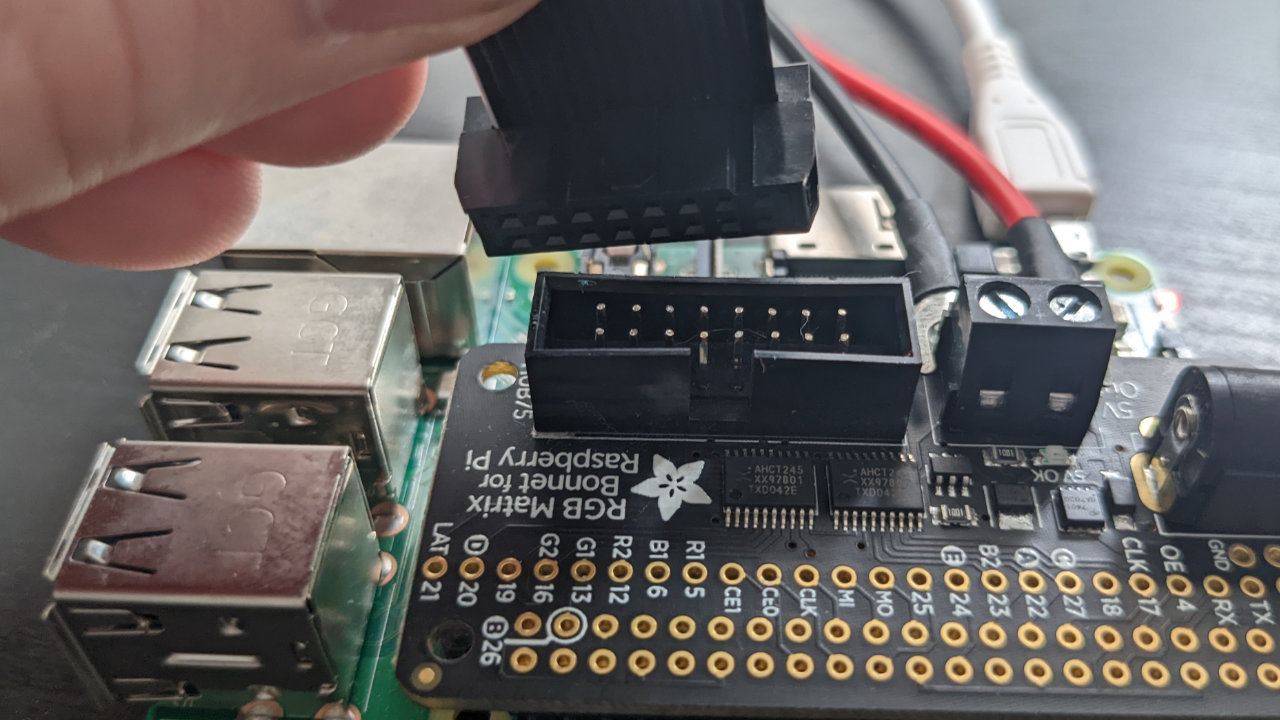
11. Attach the other end of the data cable to the bonnet.
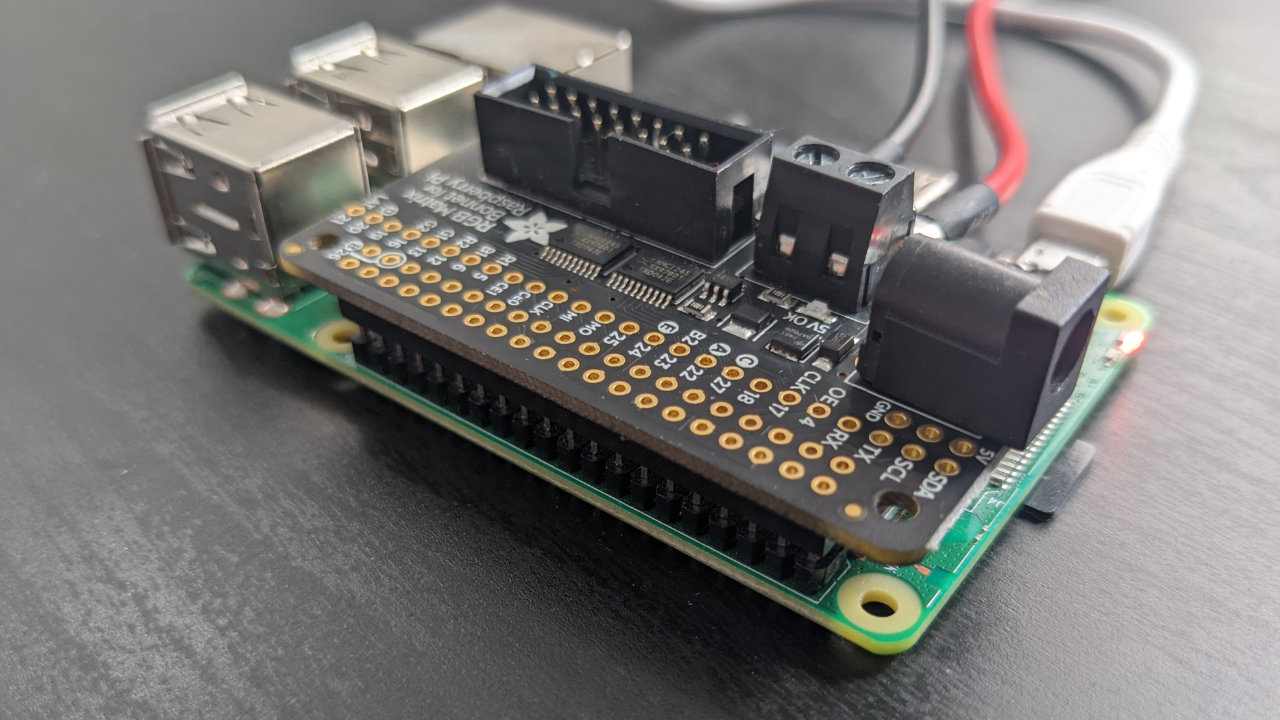
12. Affix the bonnet on your Raspberry Pi GPIO pins, lining up and then pushing down on the GPIO pins until it's snug.
13. Using a barrel connector, connect your 5V power supply to the bonnet.
14. Use the Make run command to start the application. If you’ve set everything up correctly, you should see logs with details about what’s being shown on the display, and the display should flash to life.
cd ~/days_until_xmas_sign/
make run
15. Download any gifs you may want into the src/images directory. I’ve left you a few starter christmas gifs, but feel free to add any of your own. As long as they end in .gif, the application will pick them up and display them. For best results, make sure they’re square.
And that’s it - enjoy! The sign will display the number of days until xmas, with a gif break every 2 minutes. If you’re looking to customize this, you can do so by editing the src/display_controller.py variables. Make sure to get your shopping done early!

Ryder Damer is a Freelance Writer for Tom's Hardware US covering Raspberry Pi projects and tutorials.

