How To Build a Piano LED Light Strip with Raspberry Pi
Show lights whenever you hit a key.
I often see piano tutorial videos on YouTube where lights appear to illuminate the players’ hands right as they play the keys. Using the power of a MIDI, a Raspberry Pi, and some programmable LEDs, I wanted to see if I could turn my piano into something similar. If you dabble in technology as much as you do music - here’s how to build a LED strip for your piano that lights up as you play it.
What You’ll Need For This Project
- Raspberry Pi 4 or Raspberry Pi 3, or Raspberry Pi Zero with power adapter and SD card
- Digital Piano with MIDI USB output and corresponding USB cable
- Programmable LED strip (1 meter or greater)
- Jumper cables
How to Turn a Raspberry Pi into a Piano LED Light Up Strip
Before you get started, get your Raspberry Pi set up. If you haven’t done this before, see our article on how to set up a Raspberry Pi for the first time or how to do a headless Raspberry Pi install (without the keyboard and screen). For this project, we recommend a headless Raspberry Pi install.
1. Install git. We’ll need it to download the code from GitHub.
sudo apt-get update
sudo apt-get -y install git
2. Clone the repository to your home directory. This will ensure we have all the code and audio files we need to run the project.
cd ~/
git clone https://github.com/rydercalmdown/piano_key_illuminator.git
3. Run the “make install” command to install all project dependencies. This script will take care of installing lower level dependencies, as well as the Python libraries you need for the project to run. This should take about 10-15 minutes on a Raspberry Pi 4.
cd ~/piano_key_illuminator/
make install
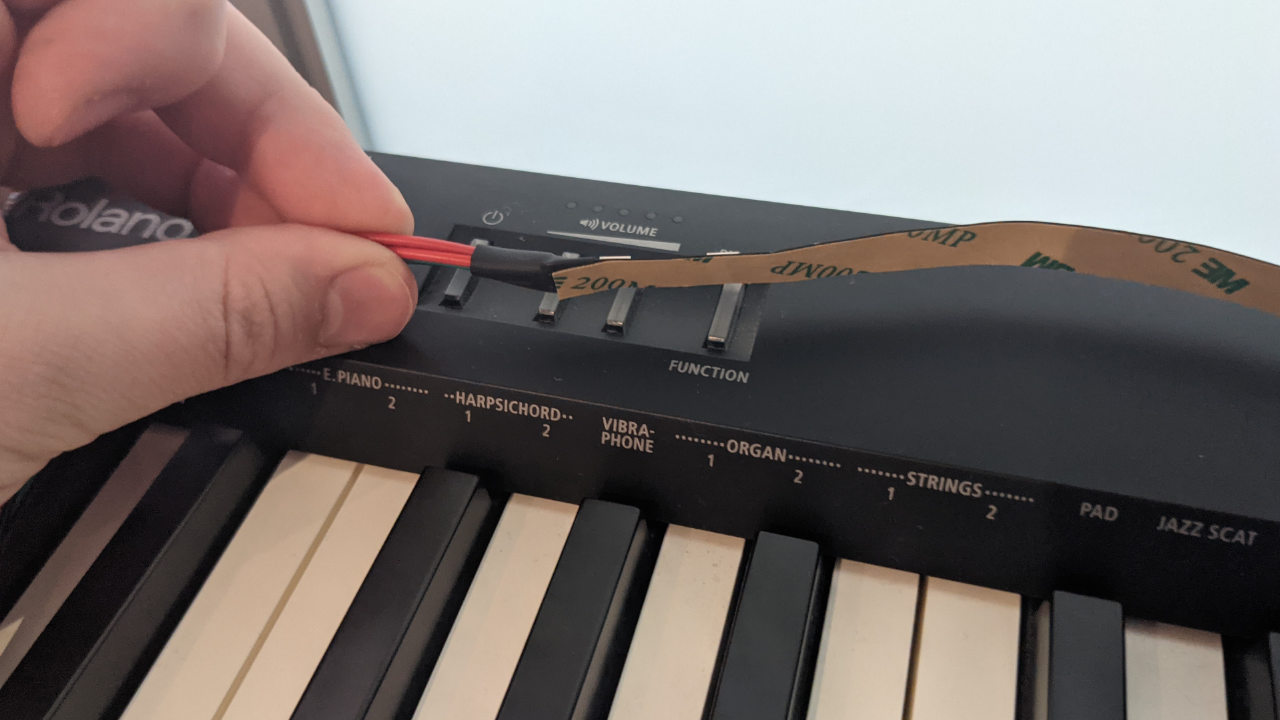
4. Unbox your LED strip and affix it to the piano with the sticky tape on the back. If it’s not long enough to cover the entire length of the keys, place it in the middle of the piano.
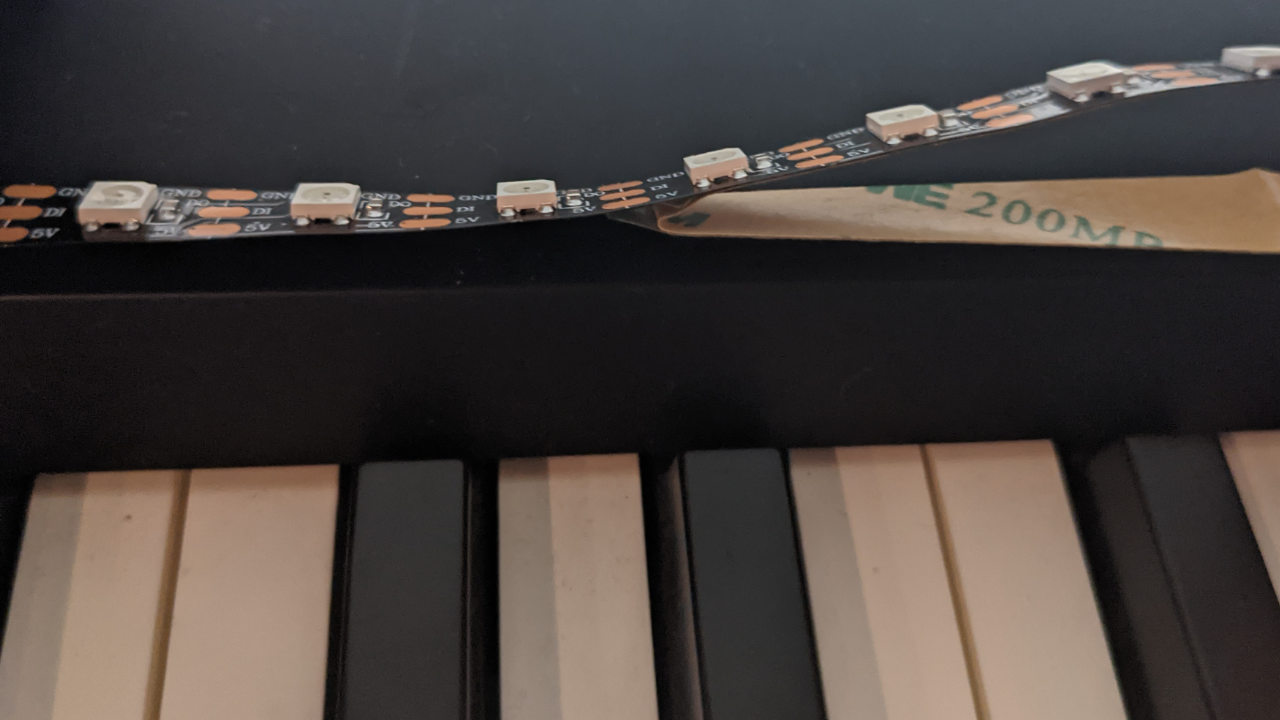
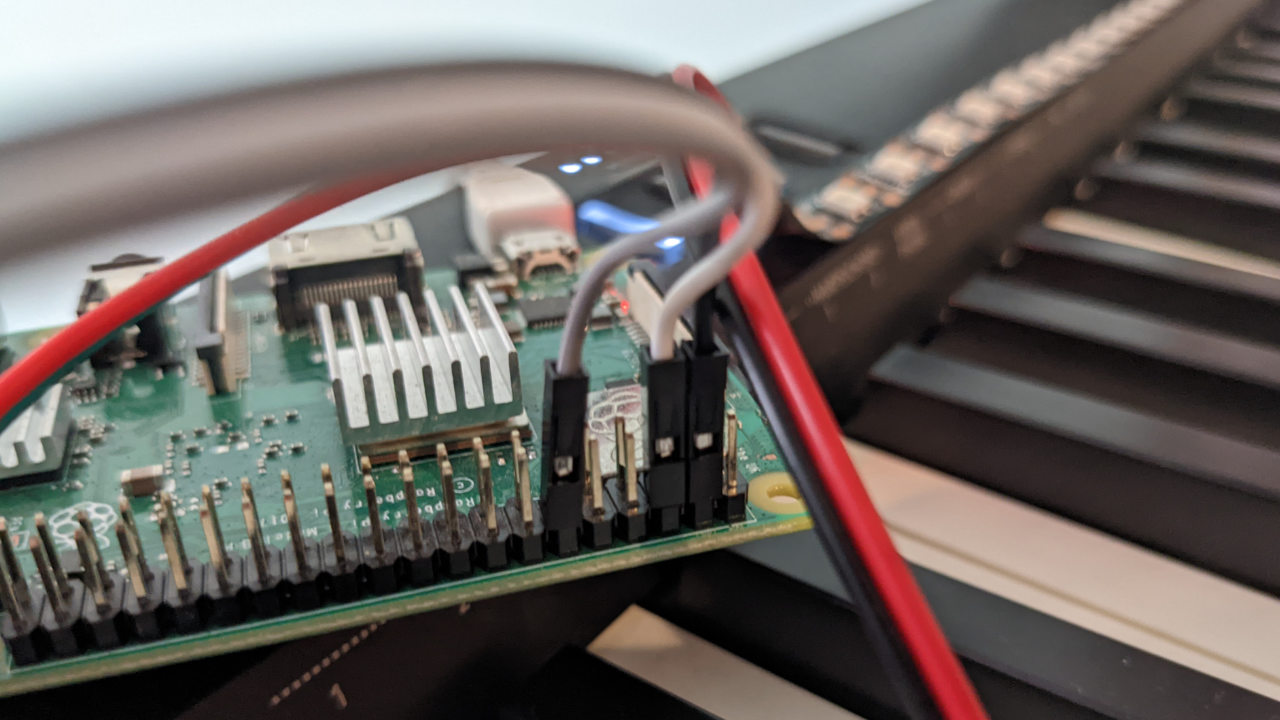
5. Attach the 5V and ground pins of your LED strip to your Raspberry Pi board pins 4 and 6 respectively.
Get Tom's Hardware's best news and in-depth reviews, straight to your inbox.
6. Attach the data-in pin of your LED strip to your Raspberry Pi board pin 12.
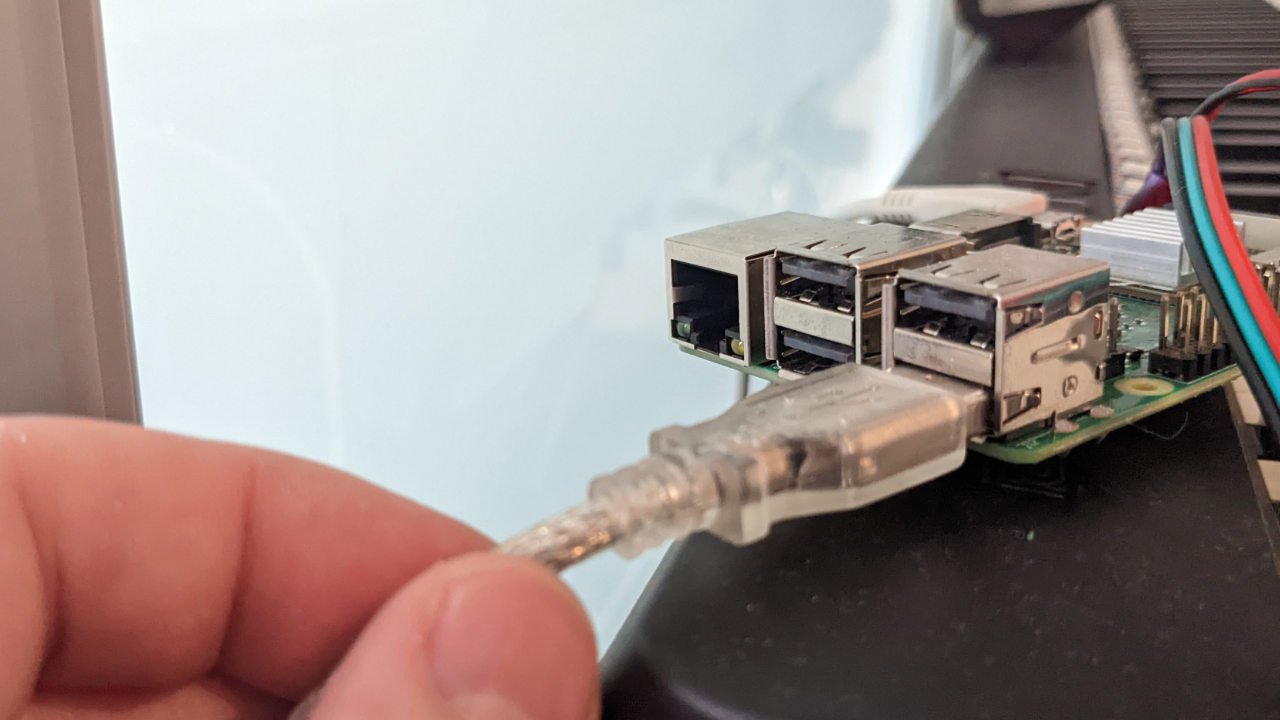
7. Using a USB cable, attach the MIDI out of your piano to your Raspberry Pi (any USB port).
8. Turn the piano on and confirm it is listed with the following command. You should see the name of your instrument.
amidi -l
9. Set the self.lc.led_count variable in the src/app.py file to the number of LEDs on your strip (default 60).
nano src/app.py
# self.lc.led_count = 60
10. Use the following command to start the application on the Raspberry Pi. If successful, the LEDs will flash a few times before the application starts. When a key is depressed, the corresponding LED will illuminate, and the console will show the ID of that key.
make run
INFO:root:41 - note_on
INFO:root:41 - note_off
11. Press the lowest key on your piano covered by the LED strip, then the highest. Note the number/id of these keys in the console output and set the following variables in app.py:
INFO:root:30 - note_on
INFO:root:30 - note_off
INFO:root:101 - note_on
INFO:root:101 - note_off
self.lc.highest_key = 101
self.lc.lowest_key = 30
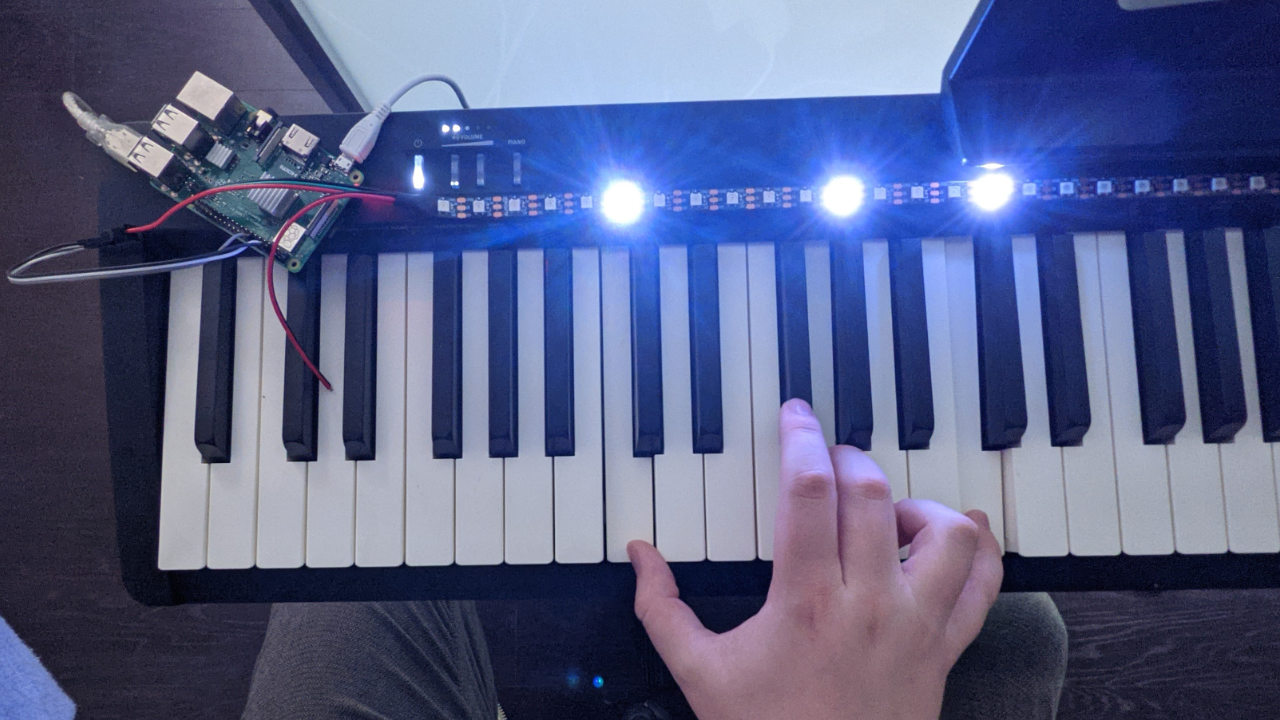
12. Run the program as before. With the adjusted settings, it will now approximate which LED to illuminate based on which key is pressed. This is done due to different LED strips having different spacing, or not having enough to cover the entire board.
make run

Ryder Damer is a Freelance Writer for Tom's Hardware US covering Raspberry Pi projects and tutorials.
-
boultoa This looks like a lovely project, thank you. I've always found it frustrating when people demonstrate chords on the piano and I'm unable to clearly see which keys they are showing, so this nicely solves that. Also, it may be possible to create a program that could post-process video footage and partially recover the MIDI!Reply
Anyhoo, I have a couple of questions:
- which LED strip type did you use (Neopixel, DotStar, other)? (I read that some cannot work with the RPi because of timing instability)
- what density did you find works for you (e.g. LEDs/metre = 30, 60, 144, other)?
- what power adapter did you use?
- did you measure the current or power consumption in use? What was it?
Thanks again for sharing this cool idea.
