How to Build a Morse Code Receiver with Raspberry Pi
Find out what your neighbor is sending to you.
Get Tom's Hardware's best news and in-depth reviews, straight to your inbox.
You are now subscribed
Your newsletter sign-up was successful
This tutorial is the second in a two part series for building a building-to-building morse code communications system. In it, we’ll explore how to create a morse code receiver using a Raspberry Pi and a Wyze camera. In a prior article, we explained how to build a morse code transmitter light with Raspberry Pi so this is for the receiving end of the communication.
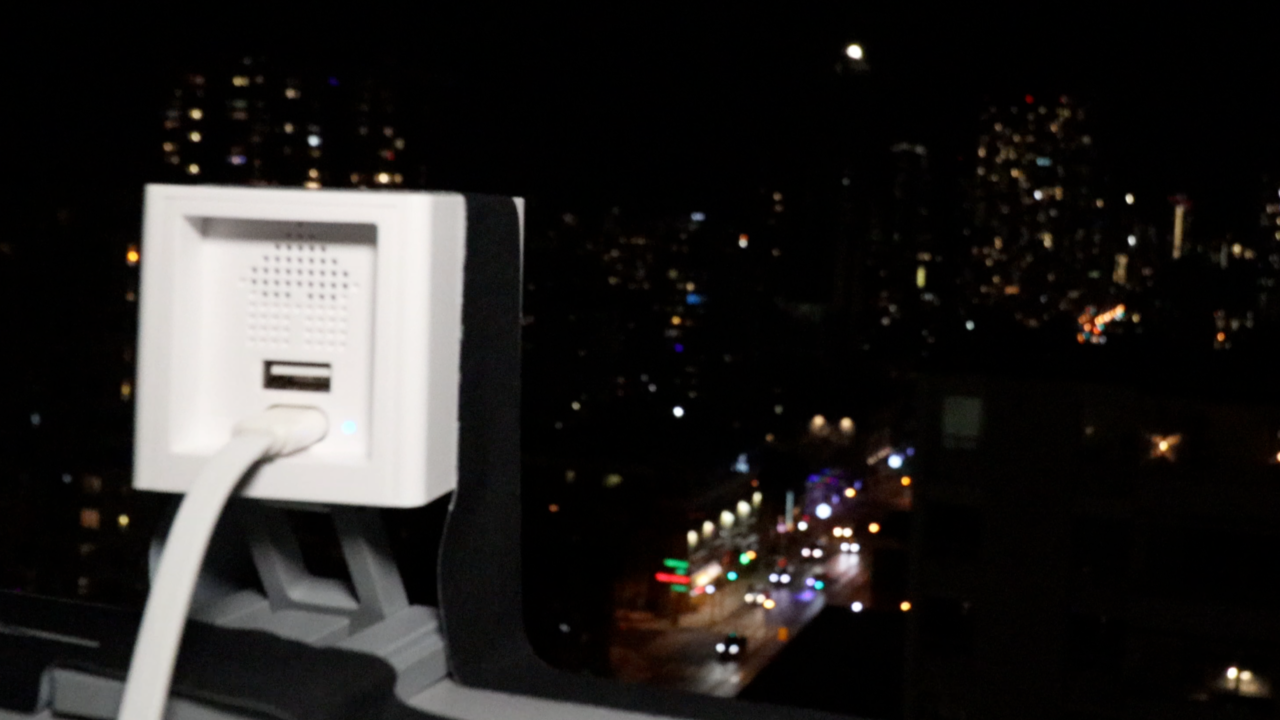
I recently moved into a new place, and discovered that my friend and I live in buildings that face each other. We’re about a kilometre apart, but both our balconies have line of sight to each other. I’ve always wanted to build a communications network with my friends since I was a kid, so I dusted off an old book about Morse, one of my Raspberry P’s and got to work. I’m a big fan of mixing old and new technologies, so instead of using something modern, I decided to use Morse code.
This project is the second (and more difficult) part - receiving and interpreting morse code. Thankfully morse has constant time values for each component of the message, and we use that - with some error bands - to make assumptions about which letters are being transmitted based on the length of the light pulses. Here’s how to do it.
What You’ll Need For This Project
- Raspberry Pi 4 or Raspberry Pi 3 with power adapter
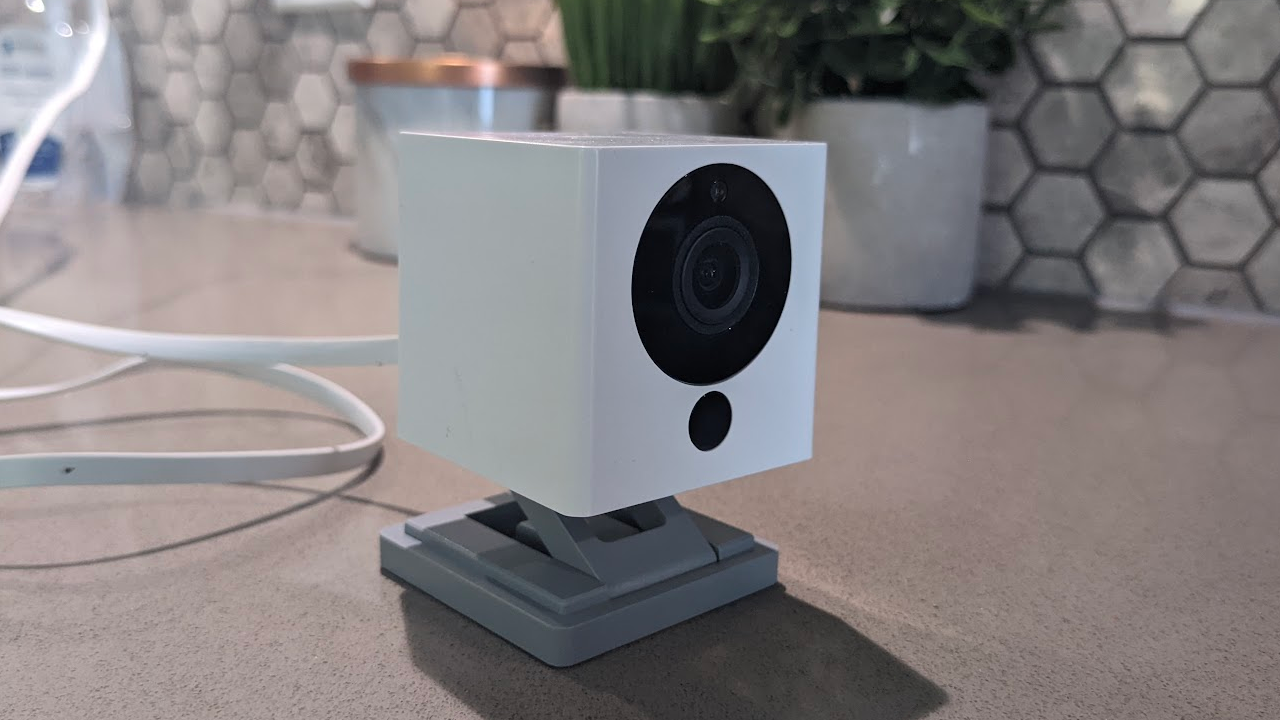
- Wyze Cam V2 or V3
- 8 GB (or larger) microSD card
- Monitor with HDMI and power cables
How to Build a Morse Code Receiver with a Raspberry Pi
Before you get started, get your Raspberry Pi set up. If you haven’t done this before, see our article on how to set up a Raspberry Pi for the first time. This project requires the full version of Raspbian - not a headless installation.
1. Install git. We’ll need it to download the code from GitHub.
sudo apt-get update
sudo apt-get -y install git
2. Clone the repository to your home directory. This will ensure we have all the code necessary to run the project.
cd ~/
git clone https://github.com/rydercalmdown/building_to_building_morse.git
3. Run the “make install-receiver” command to install all project dependencies. This script will take care of installing lower level dependencies, as well as the Python libraries you need for the project to run.
Get Tom's Hardware's best news and in-depth reviews, straight to your inbox.
cd ~/building_to_building_morse/
make install-receiver
4. Set up the Wyze camera. I’m using a Wyze Cam V2 (V3 also works) to handle the detection.
5. Flash the custom RTSP firmware to your Wyze camera using this tutorial. Installing RTSP support allows us to connect to the camera and grab frames directly with Python.
6. Get the RTSP URL value from your Wyze application, and export the STREAM_URL variable on your Pi to point the Raspberry Pi to your camera. You can find the RTSP URL in the “Advanced Settings” section of your Wyze application on your phone.
export STREAM_URL=rtsp://your_username:your_password@your_camera_ip/live
7. Position your camera so it’s facing the source of the light.
8. Start the application with the Make run command. After a few moments, the application will connect to the camera stream and present an image.
make run
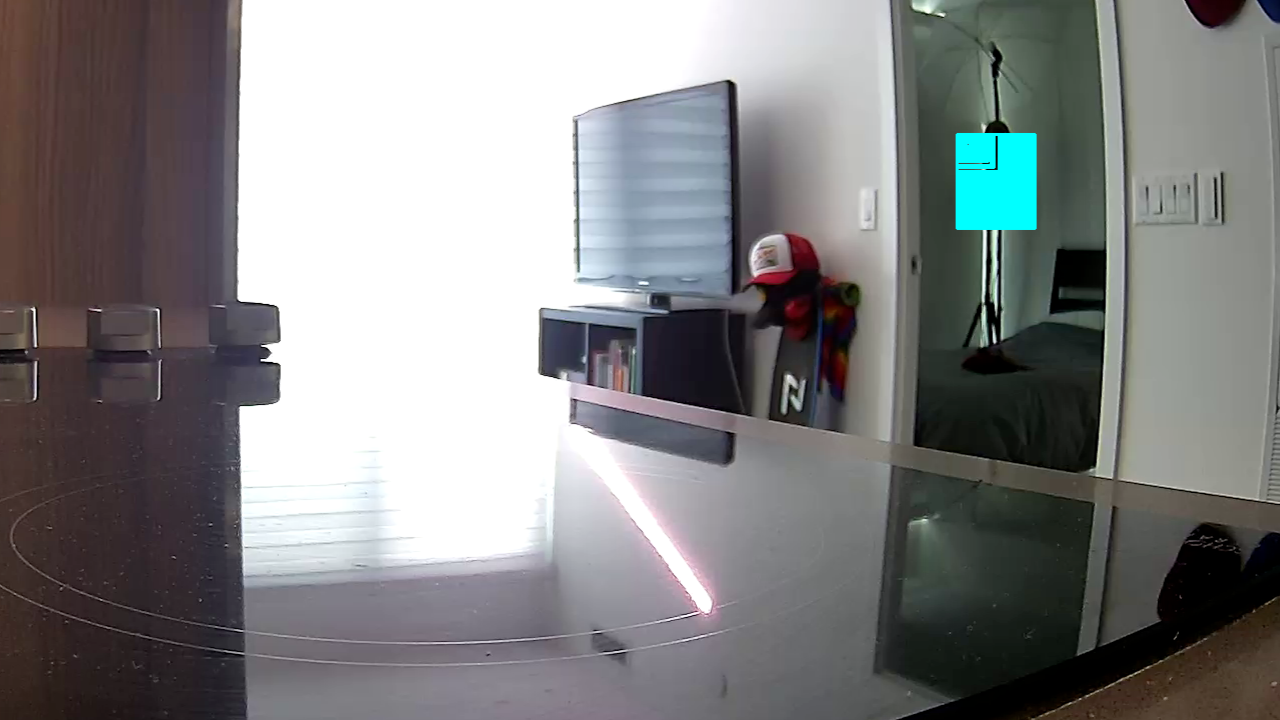
9. Drag and select on the image the area where the morse lighting will be coming from. For instance, if it is coming from a theatre light, click in the top left of the light, and drag a box down to the bottom right - this tells the code where to look for flashes.
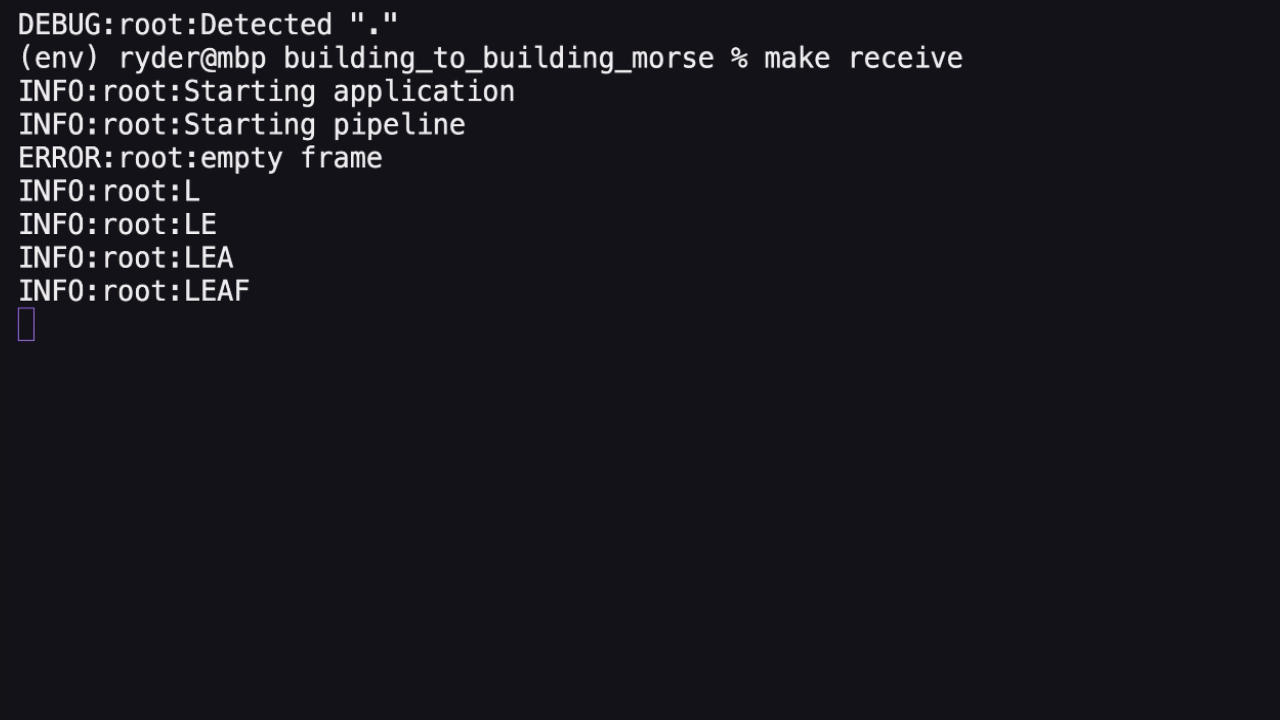
10. Transmit a message with the morse portion of this project - and receive the decoded messages in the console.
That’s it! These two tutorials should give you a basic idea of how to get started transmitting messages with morse. Feel free to adjust the code to increase resiliency, use different light sources, cameras, or even different encoding methods for communications.

Ryder Damer is a Freelance Writer for Tom's Hardware US covering Raspberry Pi projects and tutorials.


