3 Simple Raspberry Pi Sense HAT Projects for Kids and Families
Use the Raspberry Pi Sense HAT’s lights, sensors and joystick to create new neat programs.
One of the great things about Raspberry Pi is the plethora of HATs (hardware attached on top), boards that connect to the GPIO pins and provide extra functionality such as lights, sensors and motors. The Raspberry Pi Foundation’s own Sense HAT provides a great opportunity for kids and adults to learn about programming while creating fun, educational projects.
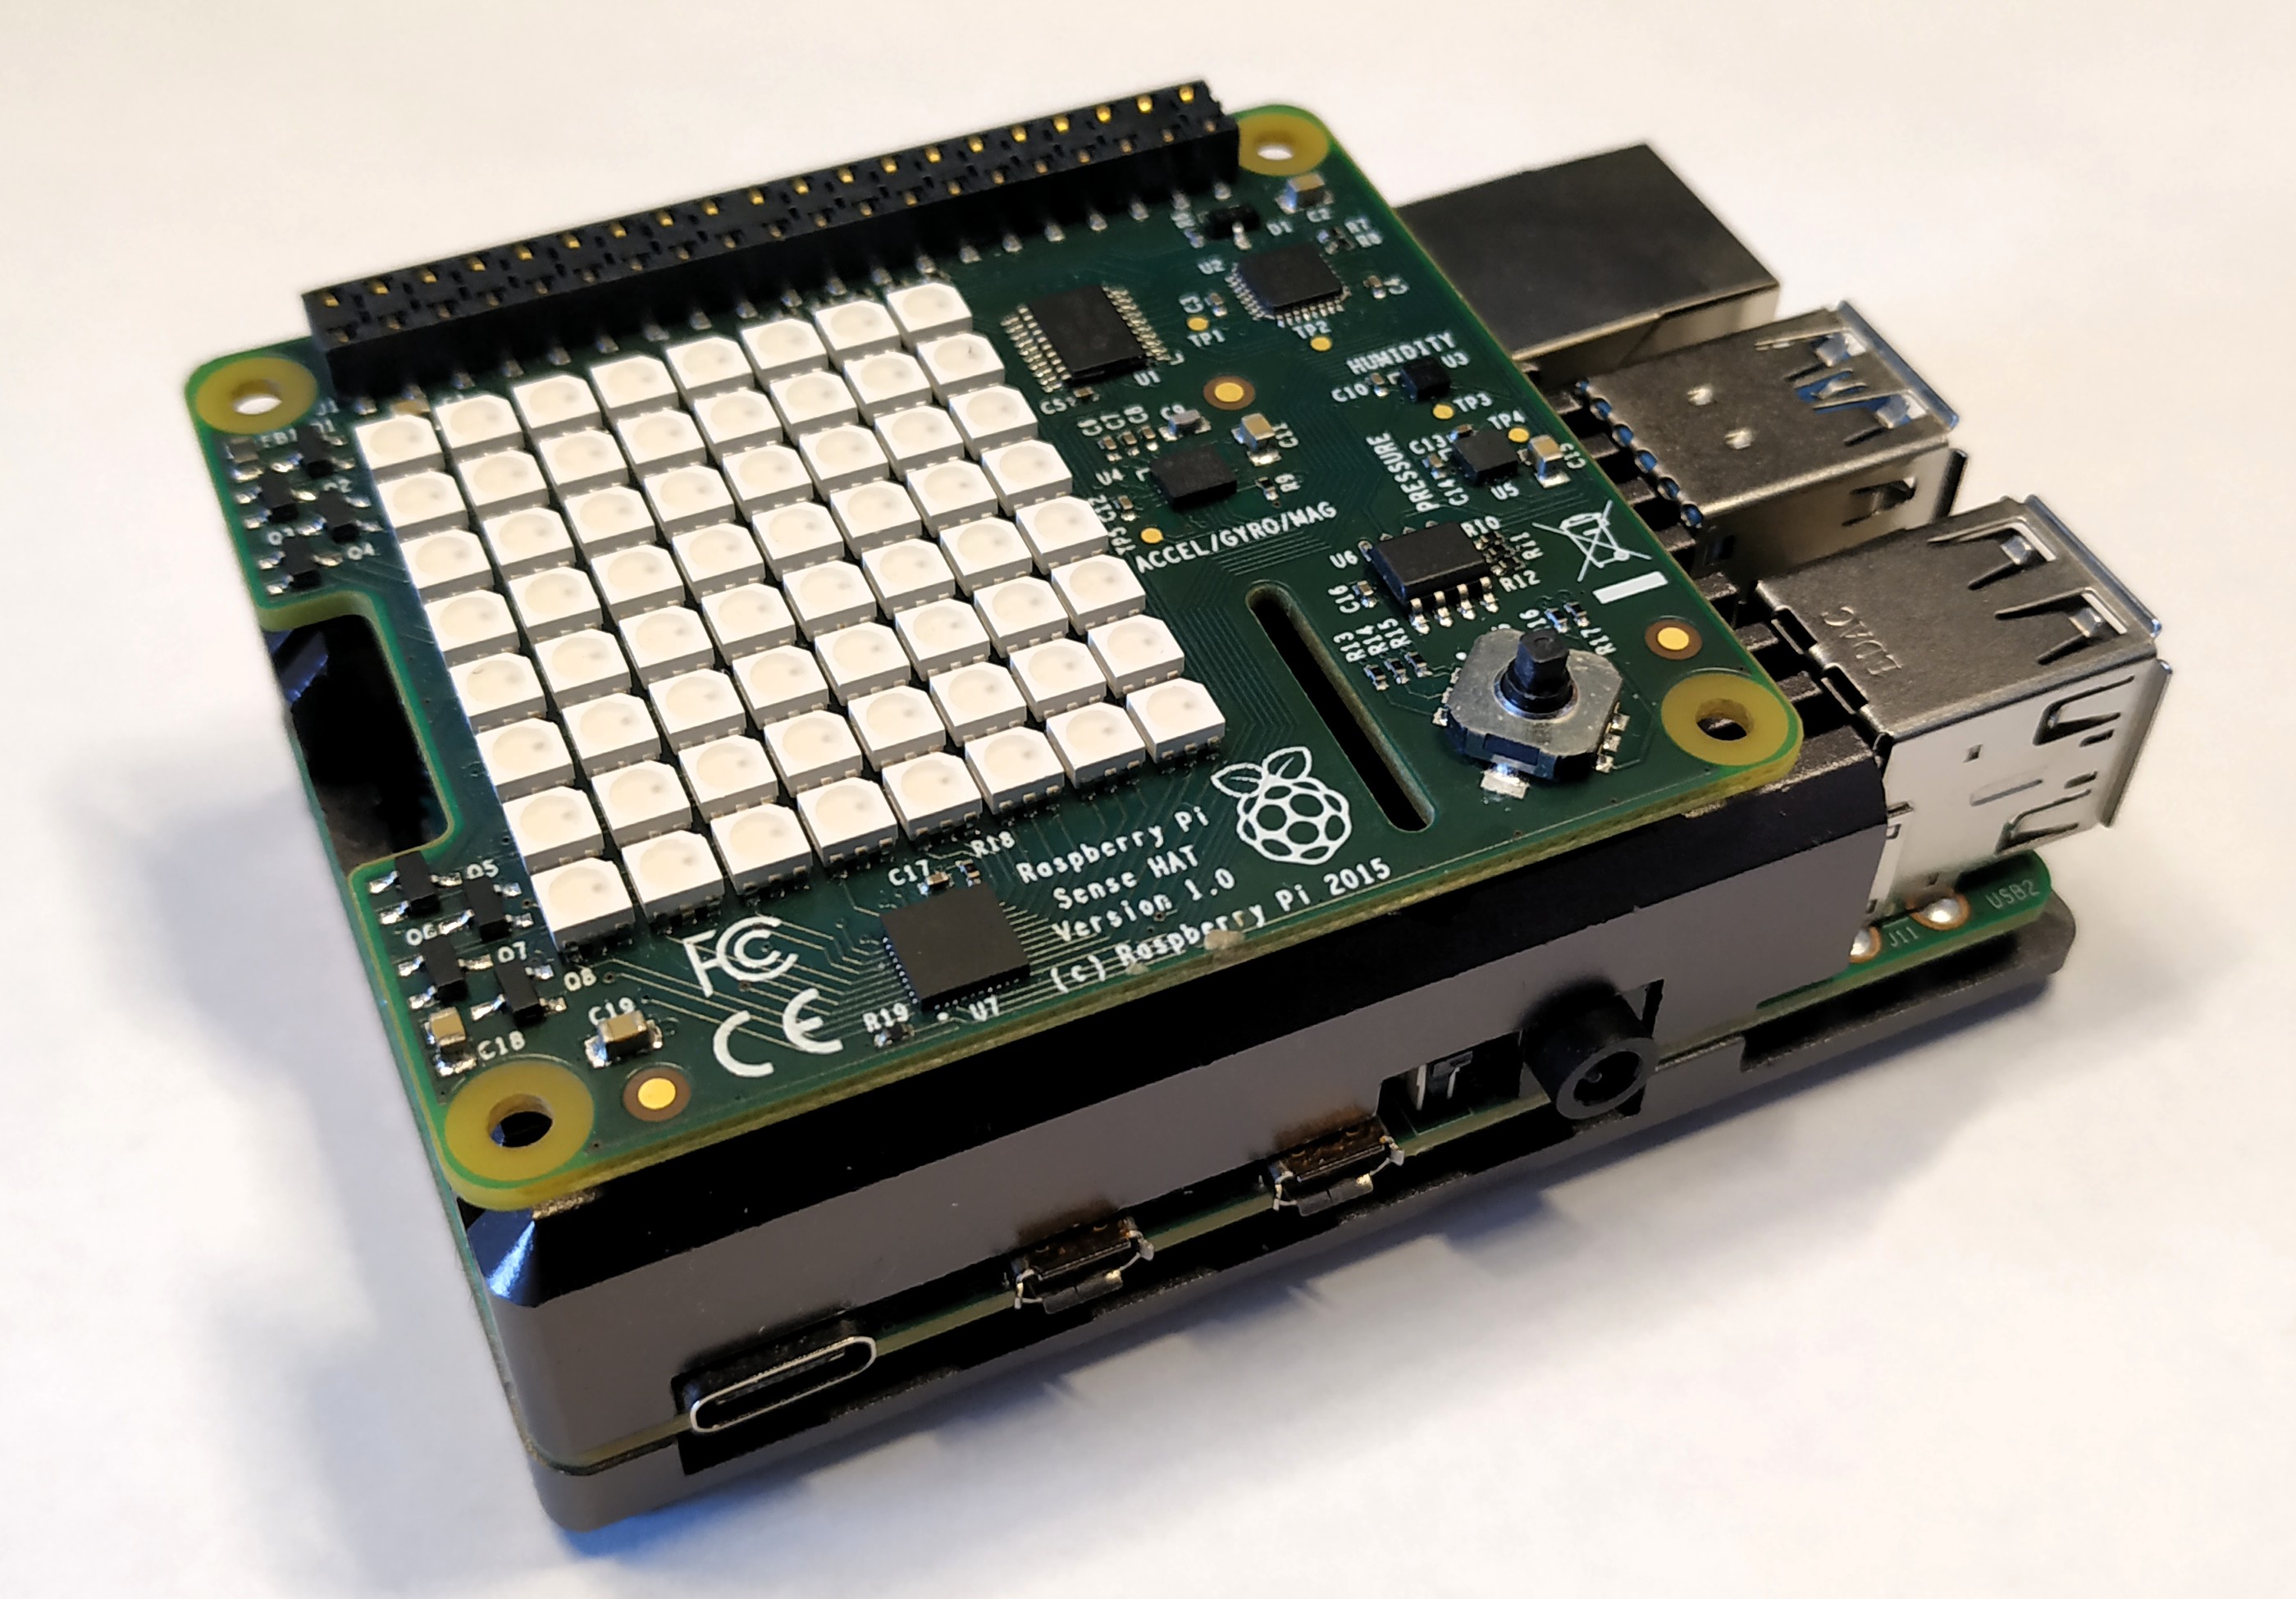
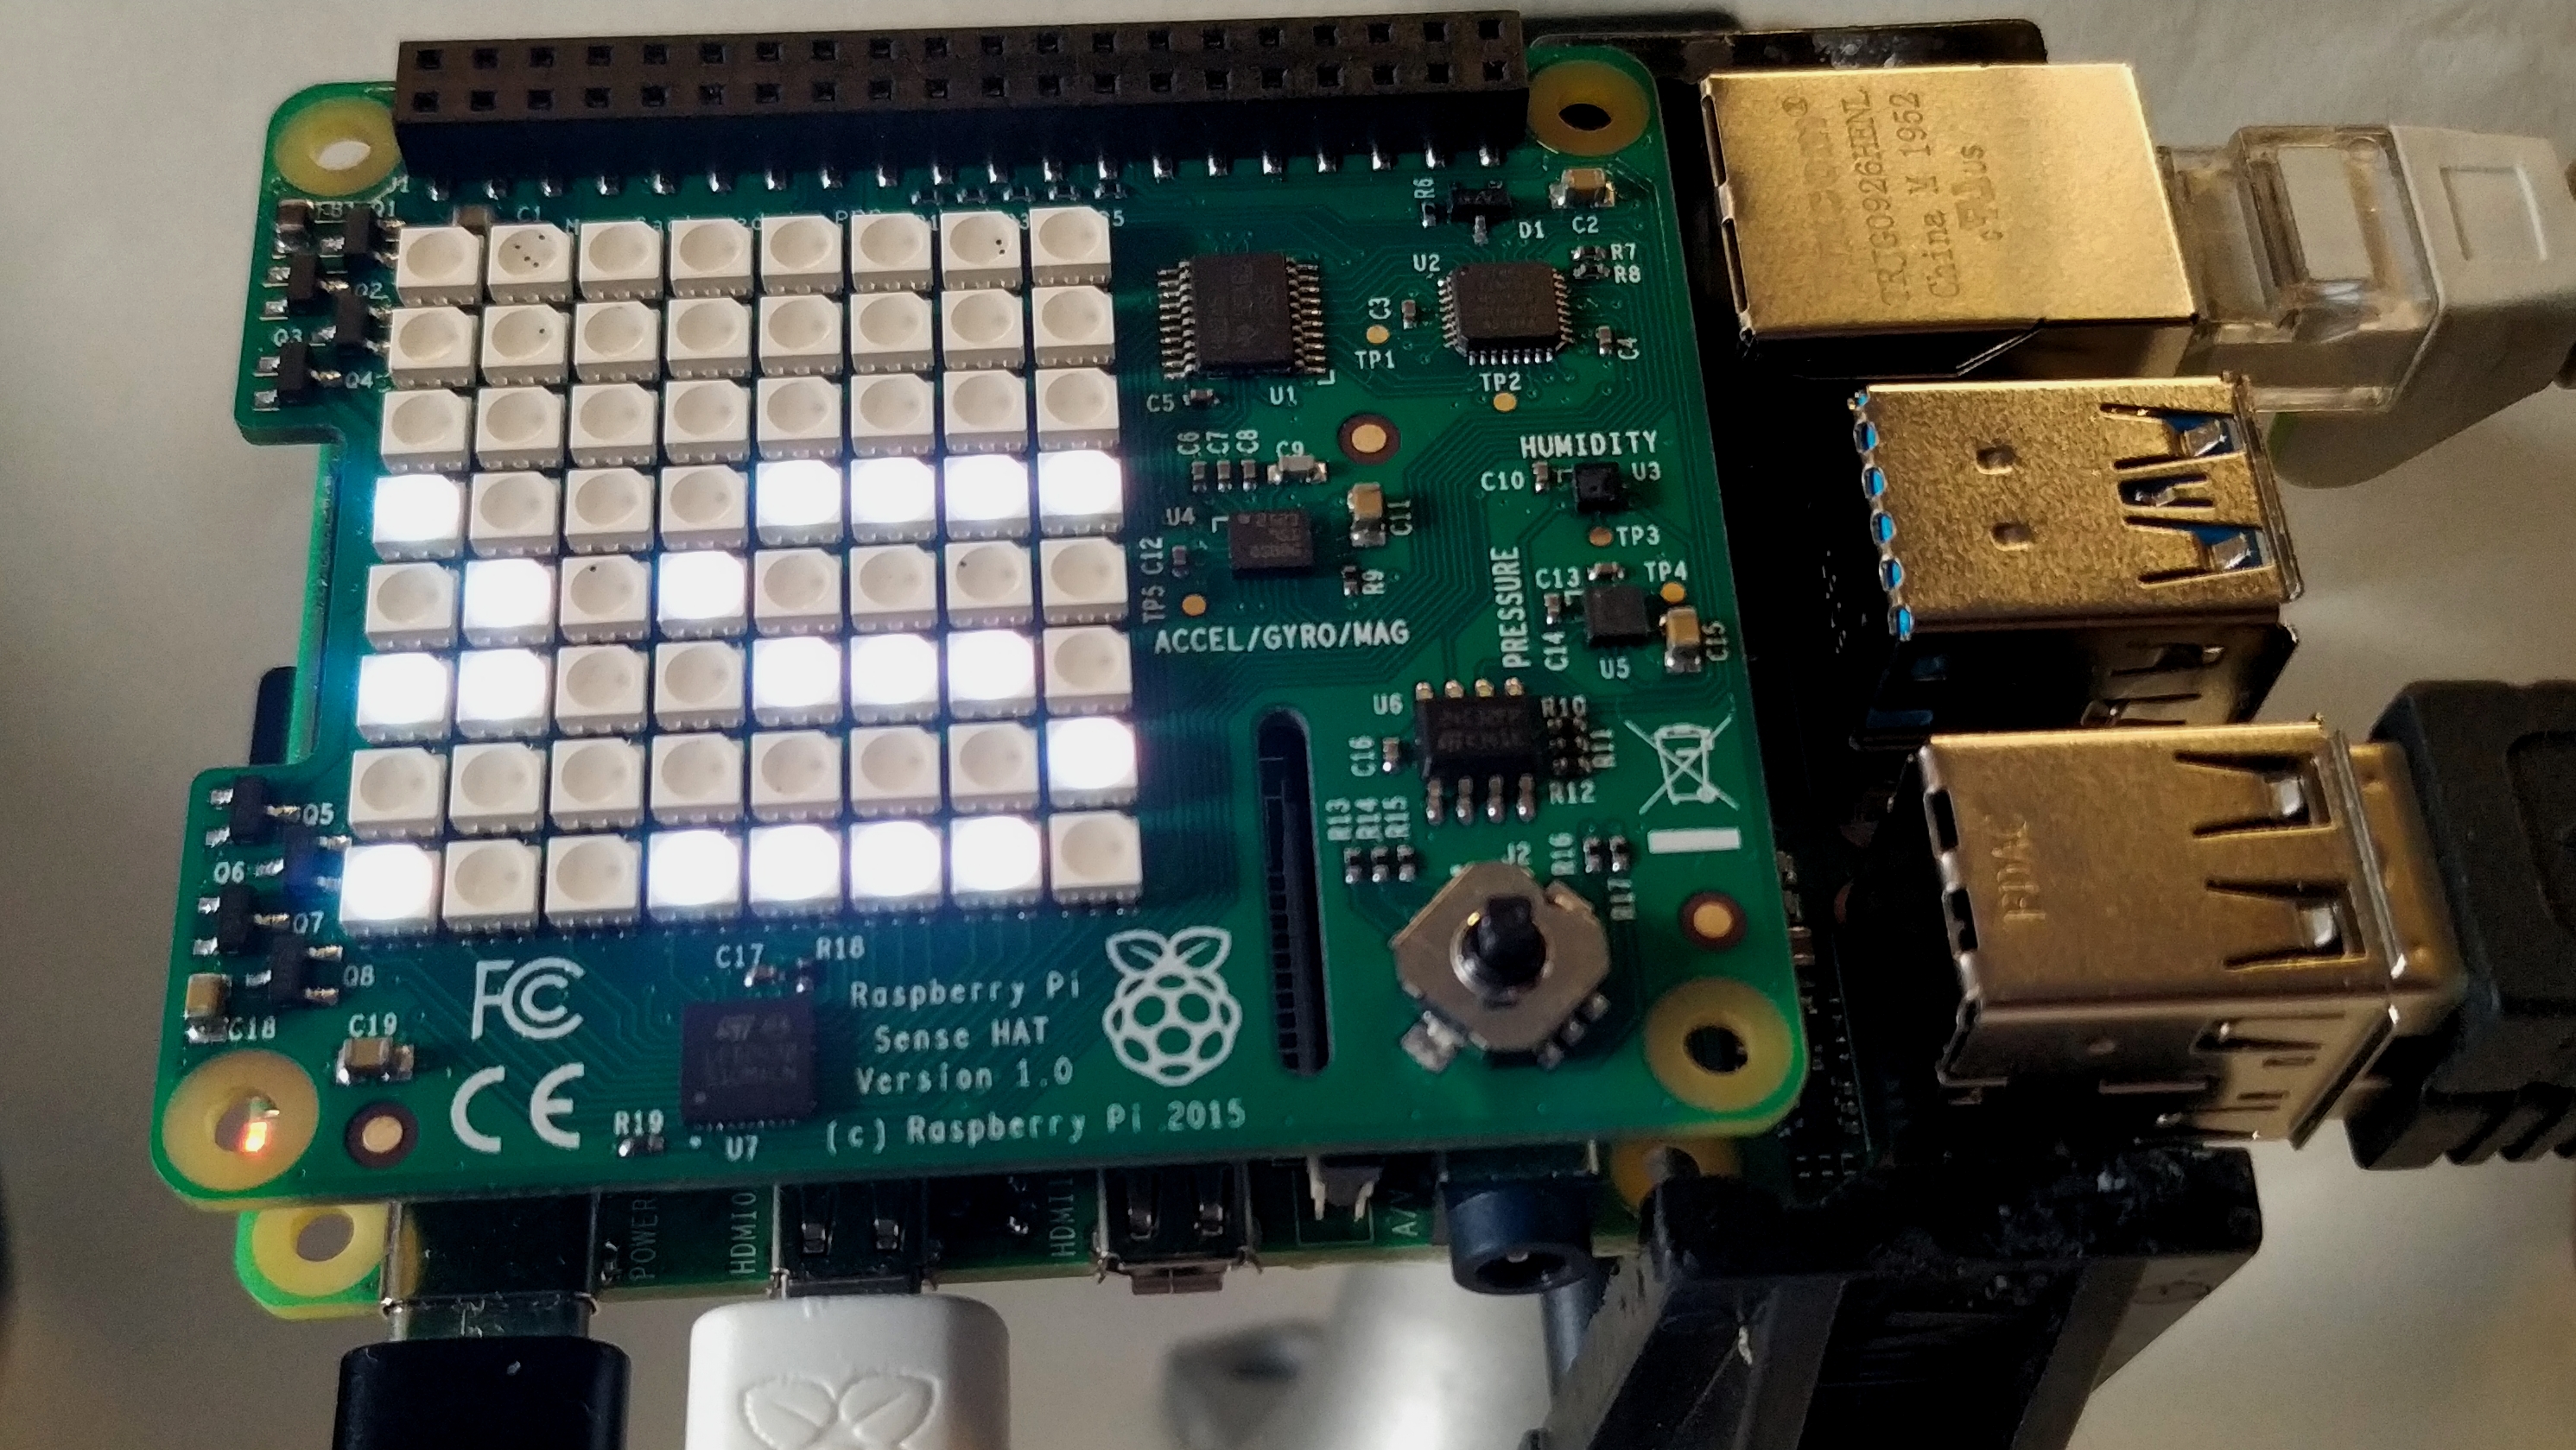
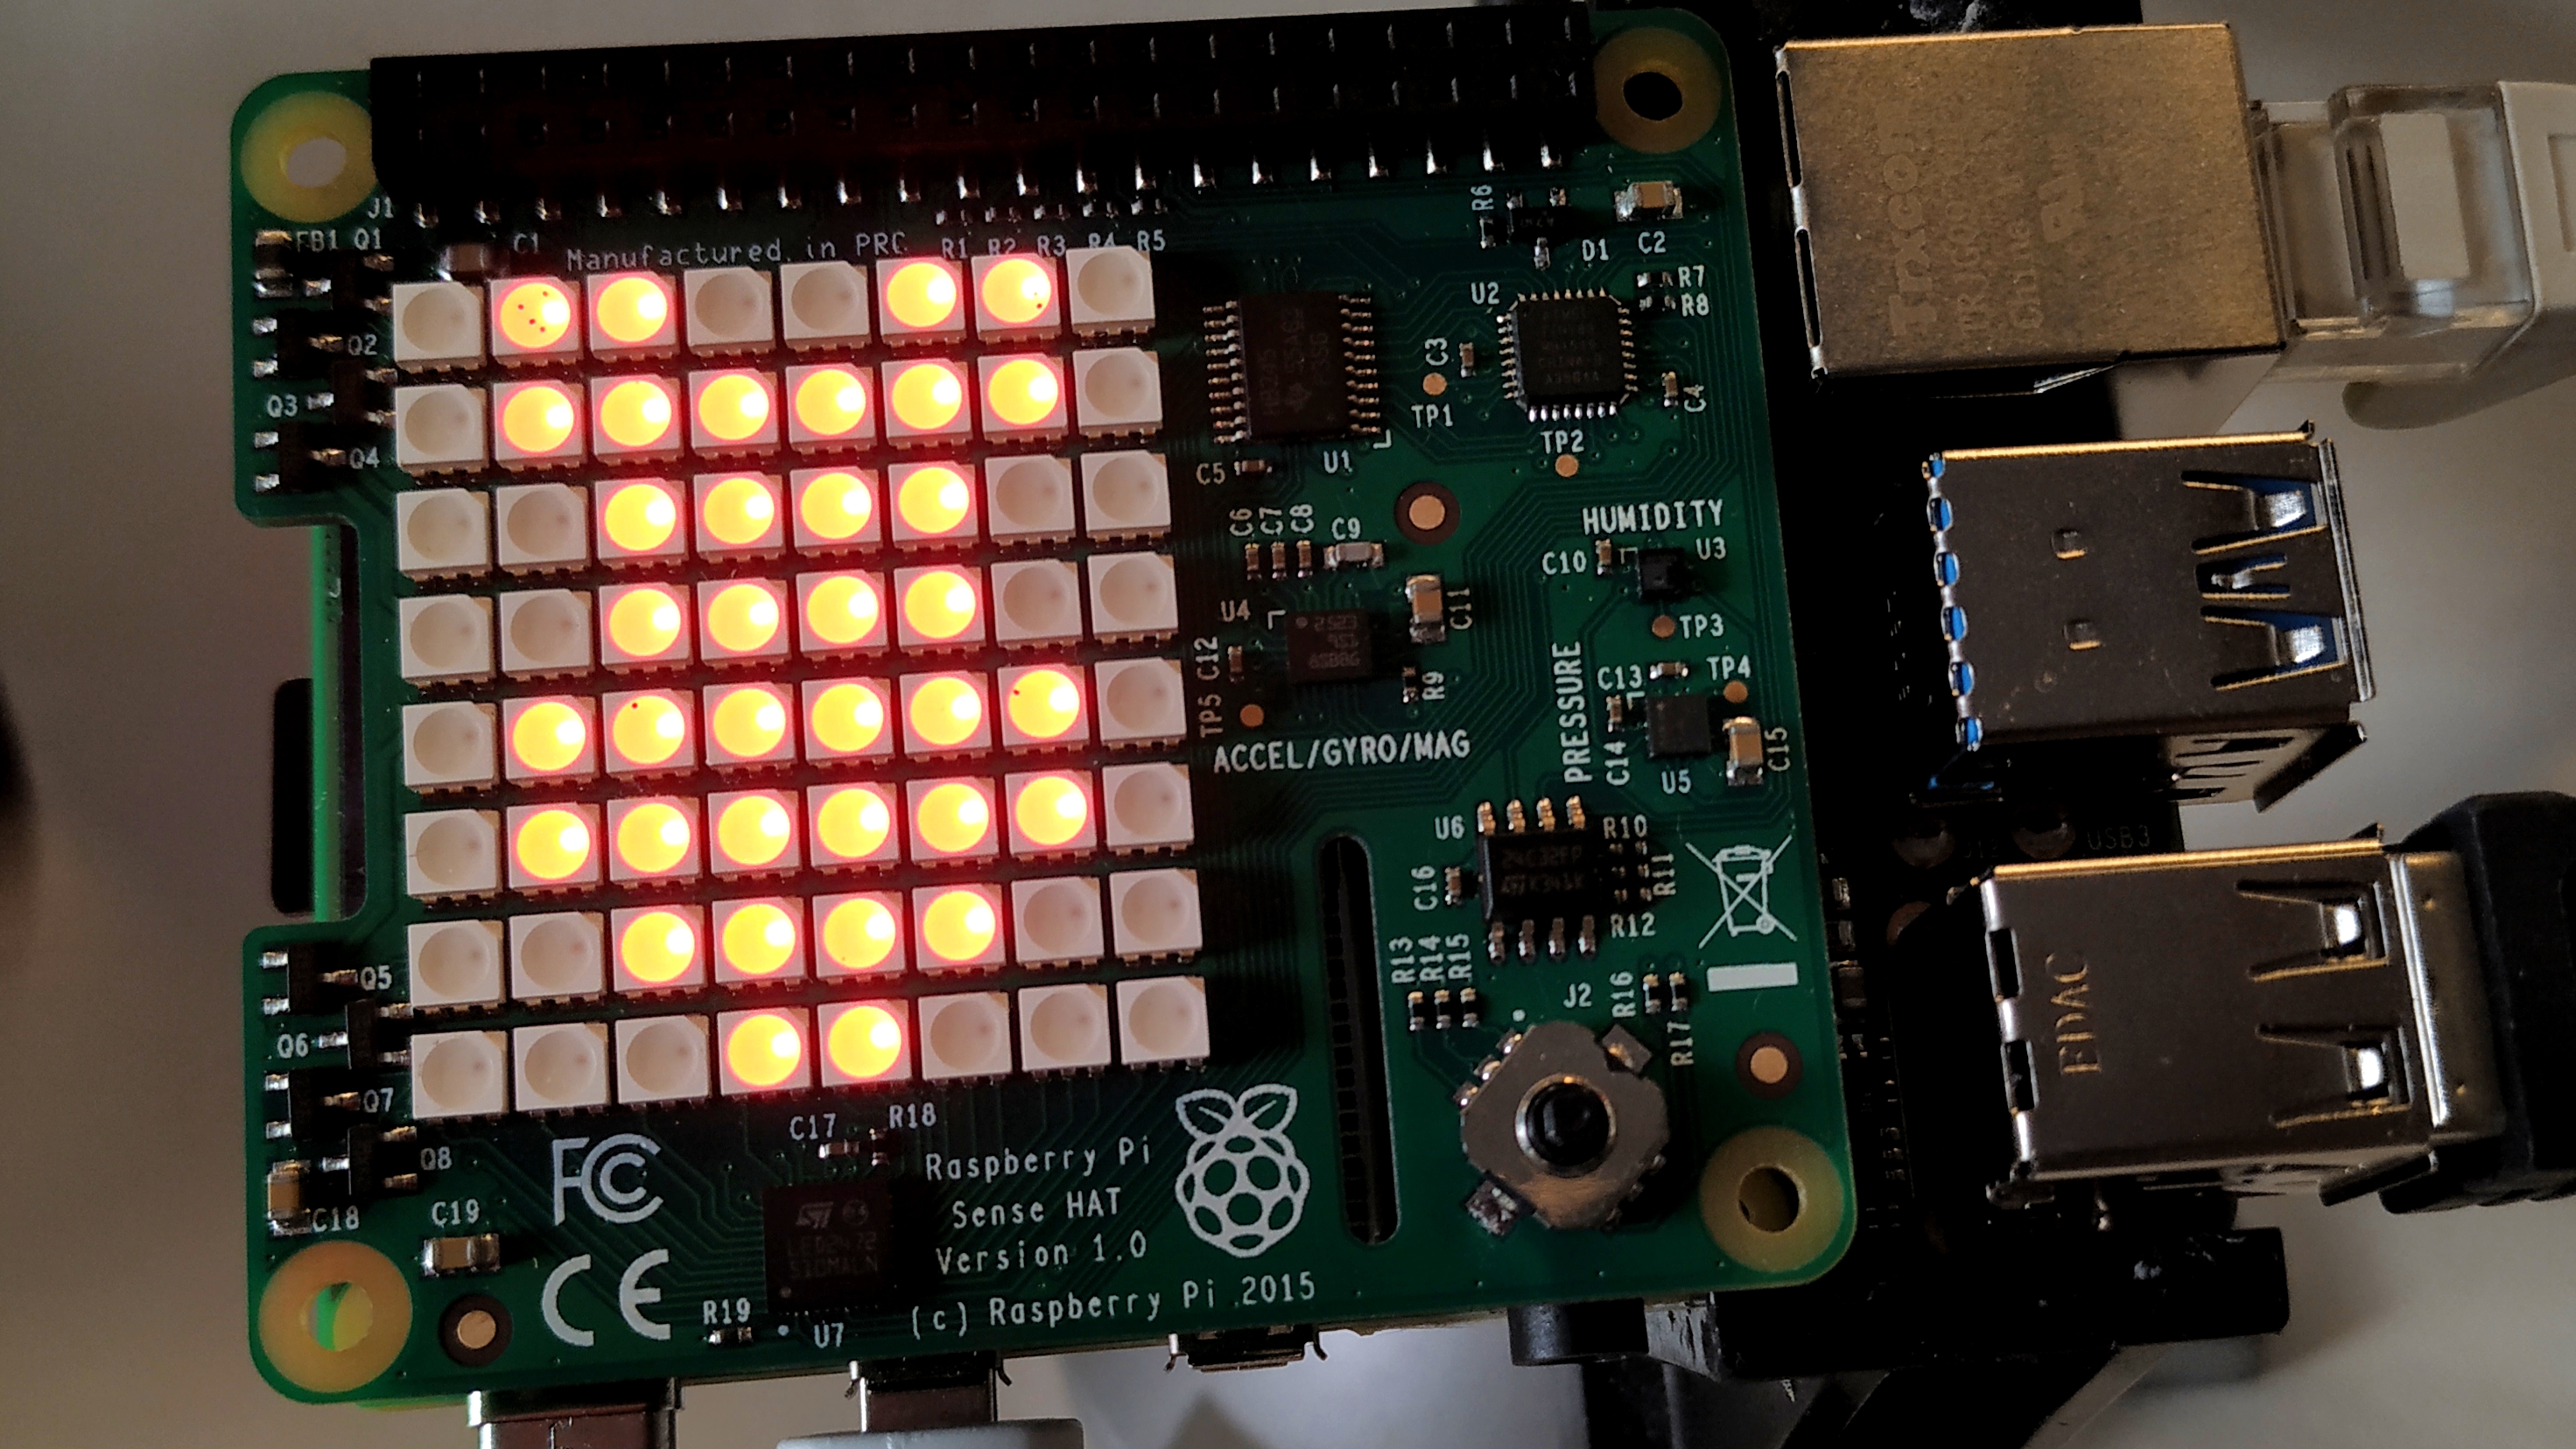
As its name implies, the Raspberry Pi Sense HAT has sensors to measure temperature, humidity, pressure, magnetic forces, orientation, acceleration. It also has a lovely 8 x 8 grid of multicolor LEDs on which we can scroll text and display pixelated images. The joystick provides us with basic input to use in our projects. The Sense HAT works with every model of Raspberry Pi, from the original B+ to the current Raspberry Pi 4, and it can be used with a variety of programming languages, including Scratch 3, a simple but powerful block-based language for kids.
Below, we’ll show you how to use Scratch 3 to program three different Raspberry pi Sense HAT projects: using LEDs to scroll our name, having joysticks to trigger input and reading sensors to get temperature and orientation.
What You’ll Need for Raspberry Pi Sense HAT Projects
- Raspberry Pi 4, ideally a Pi 4 with at least 2GB. You can use a Pi 3B+, but performance could be really slow in Scratch 3.
- The Raspberry Pi Sense HAT (normally goes for around $30 U.S. or less)
- Raspberry Pi gear. It almost goes without saying, but if you’re setting up a Raspberry Pi for the first time, you’ll need a microSD card and a power adapter (3 amps, 5 volts for Pi 4). You can do a Raspberry Pi headless setup that lets you control the Pi from your PC, but if not, you’ll need a keyboard, mouse and monitor
Setting Up the Raspberry Pi Sense HAT and Scratch 3
1. Attach the Sense HAT With the power off, connect the Sense HAT to all 40 pins of the GPIO, ensuring that the board fits neatly over the Pi. Use the brass standoff, provided with the Sense HAT to fix the board firmly in place.
2. Enable I2C in raspi-config (you can get there by typing “sudo raspi-config” at the command prompt then navigating to Interfacing Options->I2C. Reboot after.
3. Install Scratch 3 if it’s not already installed. The easiest way is to type
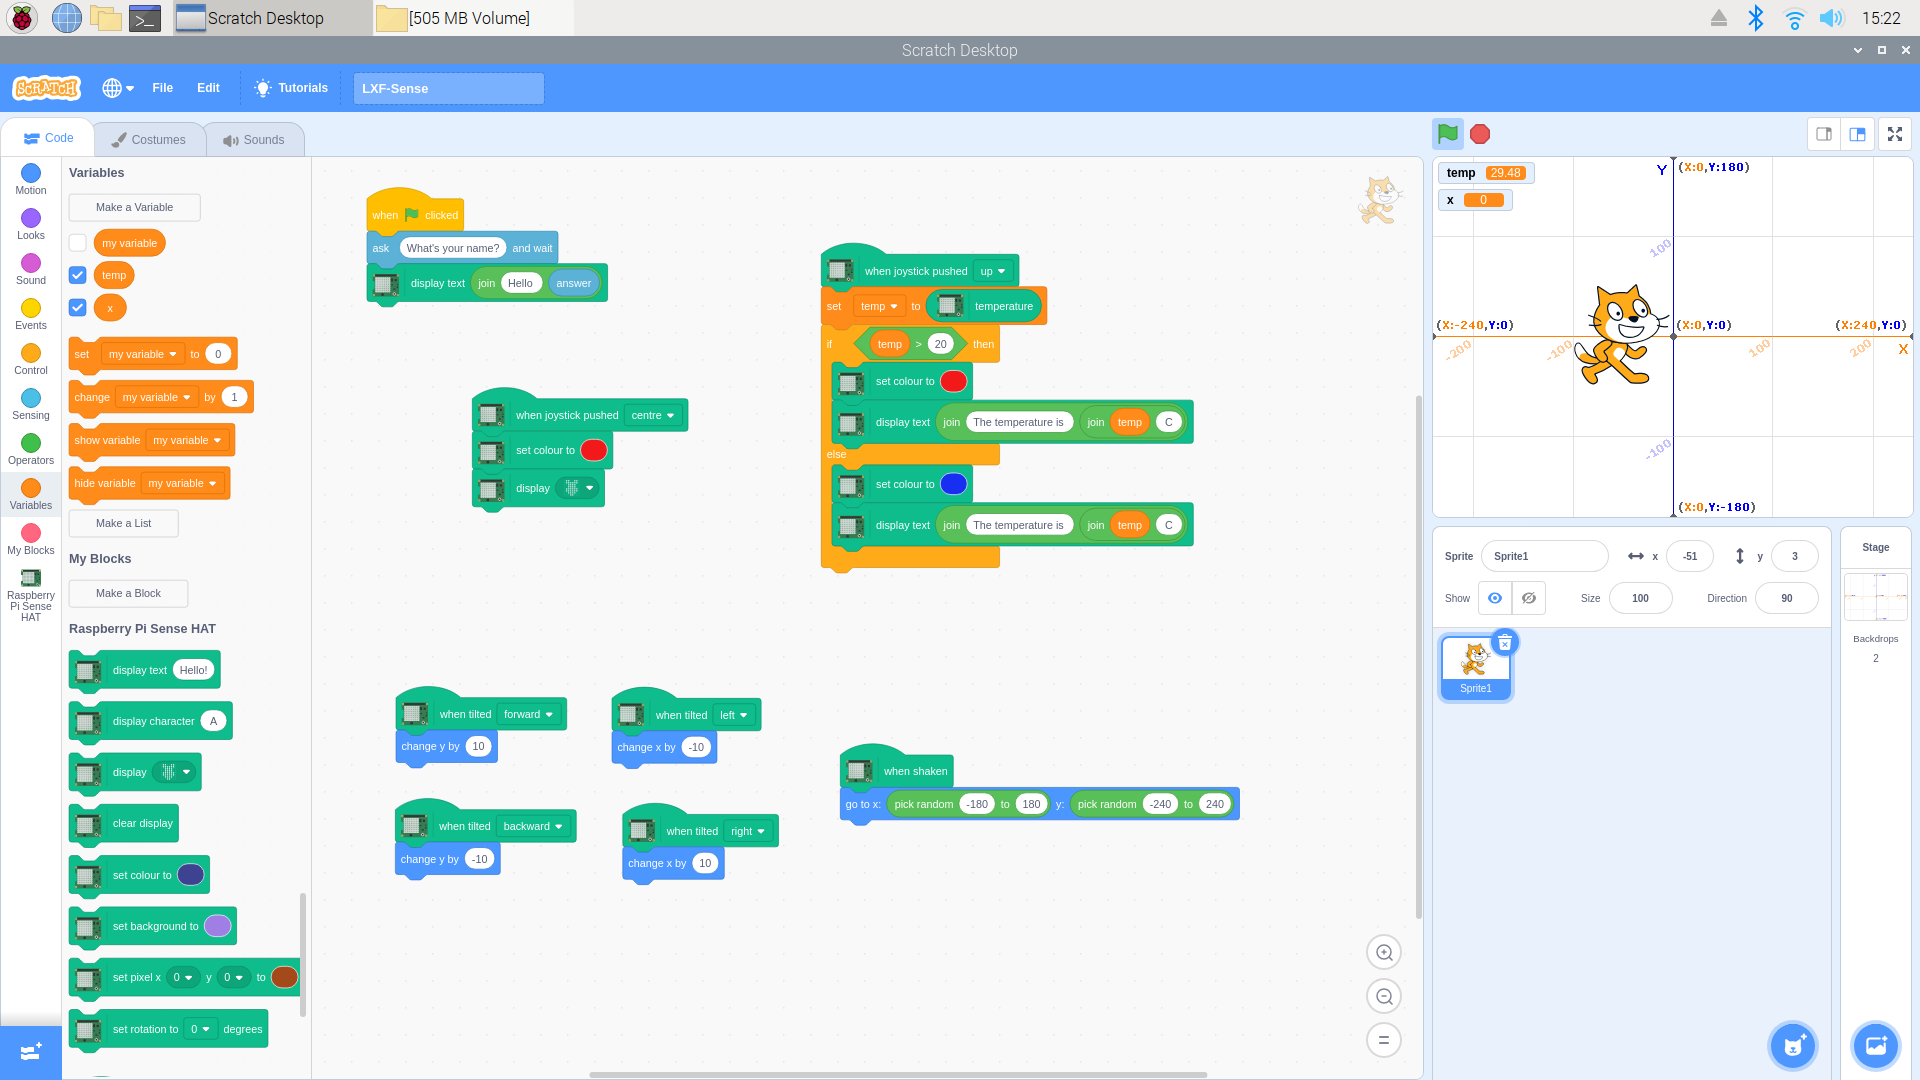
sudo apt-get install scratch3Scratch 3 has three main sections, from left to right they are:
Get Tom's Hardware's best news and in-depth reviews, straight to your inbox.
- The blocks to code a project, grouped by function. These colour coded blocks can be filtered by function. There are also tabs for costumes, to change how a sprite looks, and a tab for sounds associated with a game.
- The central area is the coding area where blocks are dragged to make a project.
- The right section is the stage, a place where our sprite reacts to input and produces output in a project. Underneath the stage is a section to manage sprites and backgrounds.
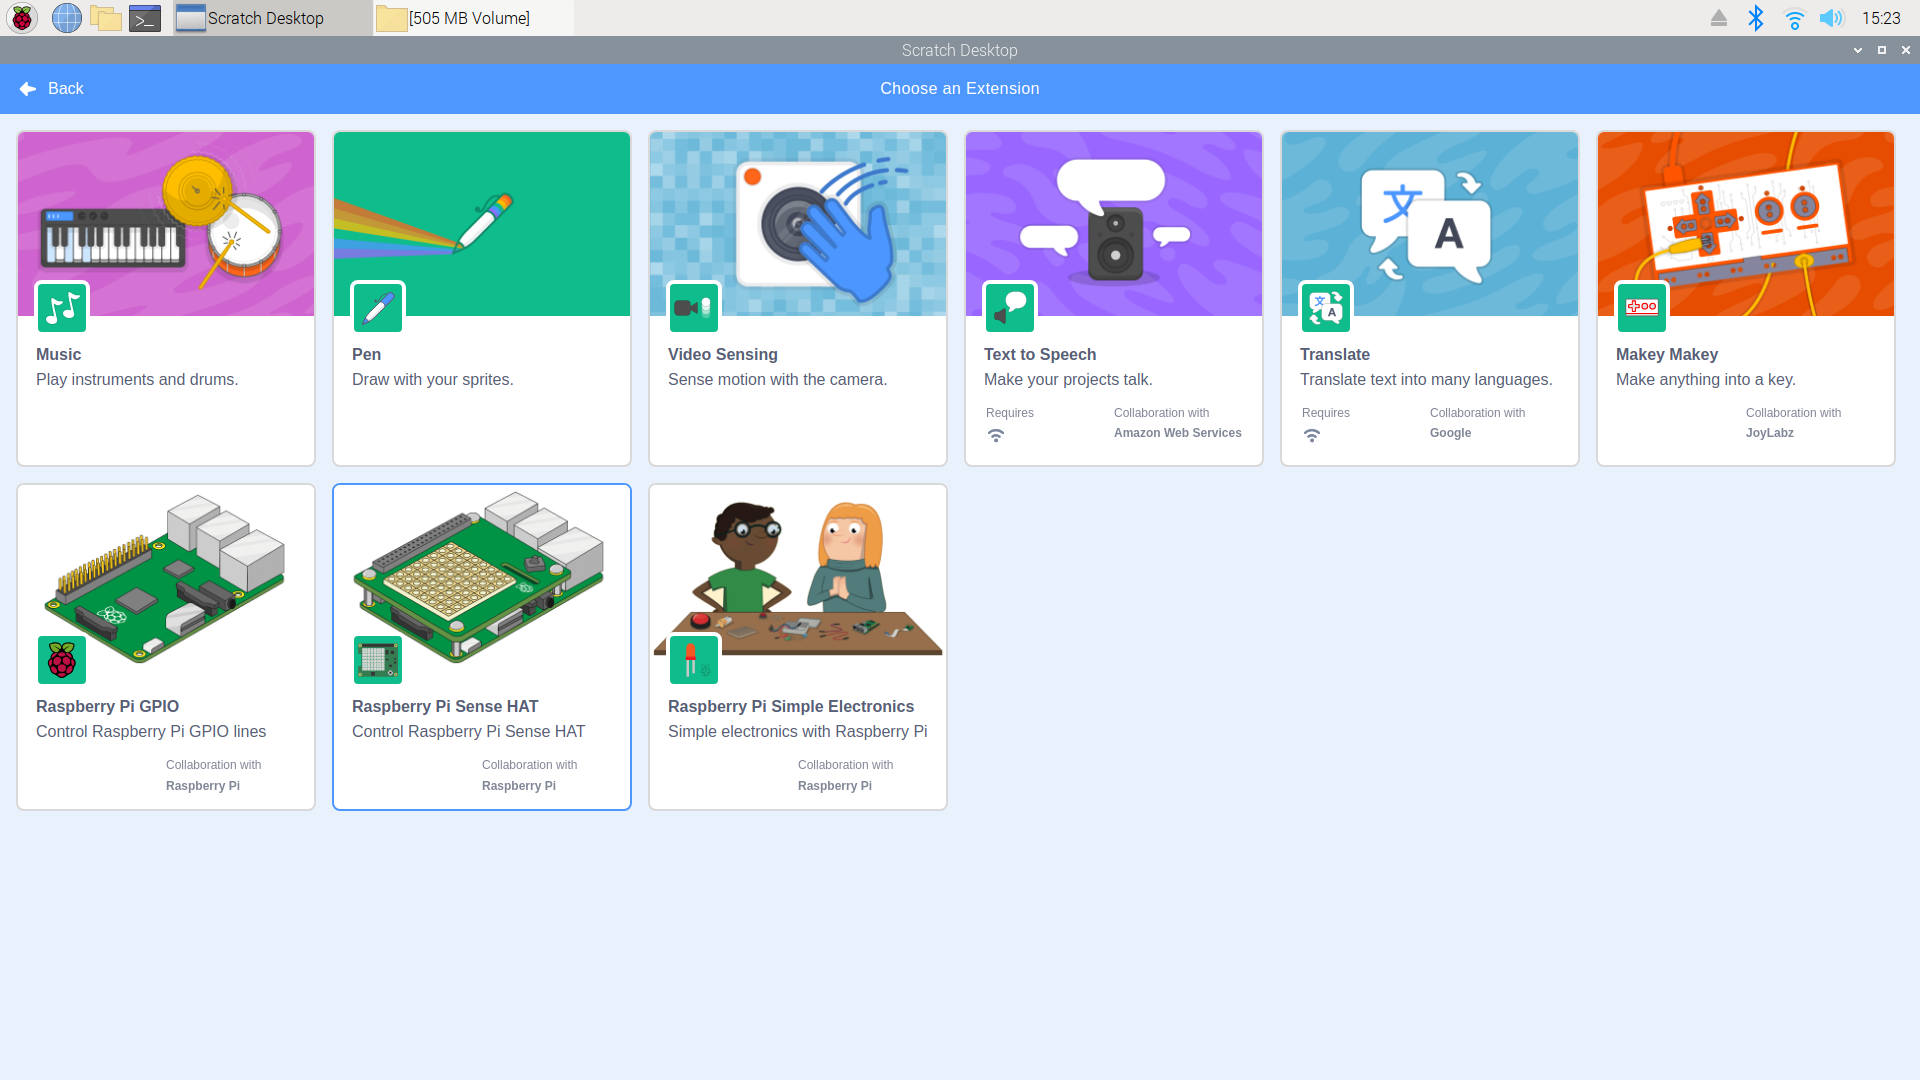
4. Install the Sense HAT Scratch 3 extension. To use the Sense HAT we need to install an extension, a library of code that Scratch uses to provide extra blocks. Click on the icon to the bottom left of the screen and a series of extensions will be offered. Look for Raspberry Pi Sense HAT and click on it to install. In a few moments a new section of blocks will appear and we are ready to make our first project.
Scrolling “Hello World” App with Raspberry Pi Sense HAT
To get used to using the Sense HAT extension we are going to create a simple scrolling name project.
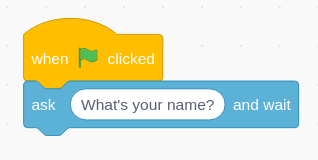
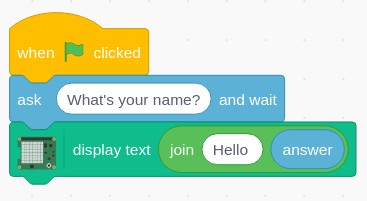
1. Drag “When Green Flag is clicked” from the Events section into the coding area.
2. Drag the “What is your Name” block from “Sensing” and connect it under the previous block.
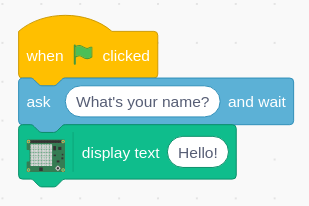
3. Connect the “Display Text” block from the Sense HAT section to the “what is your name” block. We want to say hello to the user, but we also want to call them by their name.
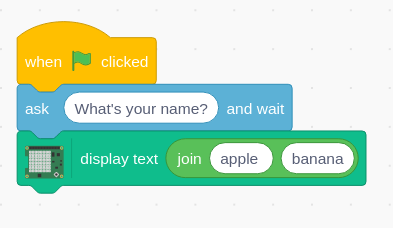
4. Find the “join apple banana” block under Operatorsand drag it over to replace the word “hello” in display text.
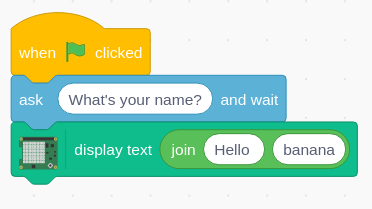
5. Change “apple” to “Hello " (the space after Hello is important!).
6. Drag the “answer” block from Sensing and drop it on top of the “banana” section of the join block. By doing this the answer to the question “Who are you?” is saved as a variable called “answer” which is then used to greet the user by their name.
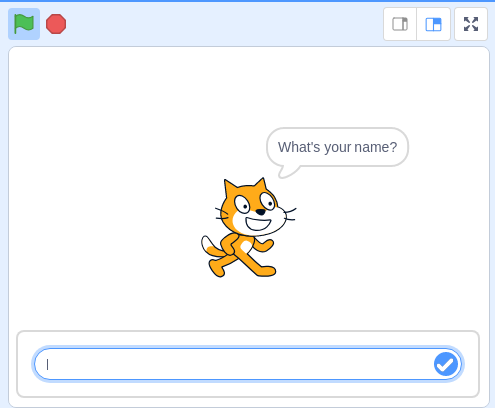
7. Click on the Green Flag icon, just above the stage and the sprite will ask your name.
8. Enter your name and watch as your Sense HAT greets you by name.
Joystick Input, Temperature Reading with Raspberry Pi Sense HAT
The Sense HAT has a simple joystick that we can use for input. To test that it works we are going to write one simple project, and one more complex project. For the test project:
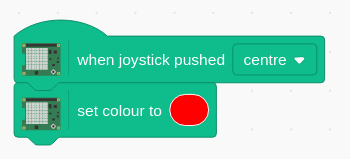
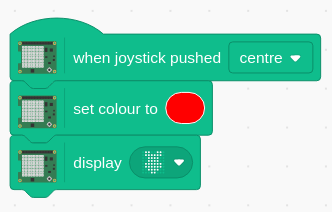
The test project uses the “When joystick pressed up” block found in the “Sense HAT” section.
1. Drag the “When joystick pressed up” block from the “Sense HAT”section into the coding area then change the direction to push the joystick from up to centre.
2. Add the “set color to” block, also from the “Sense HAT” section. Then change the color to something interesting.
3. Connect the “Display..” block to the previous block. The default image is some pixel art of the Pi logo.
With the code complete, test by pressing the joystick centre, similar to how we can a PS4 / Xbox One analog stick. You should see the Pi logo on the LED matrix, in a colour of your choosing.
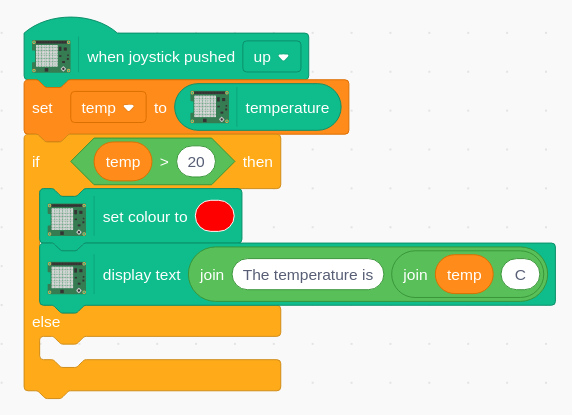
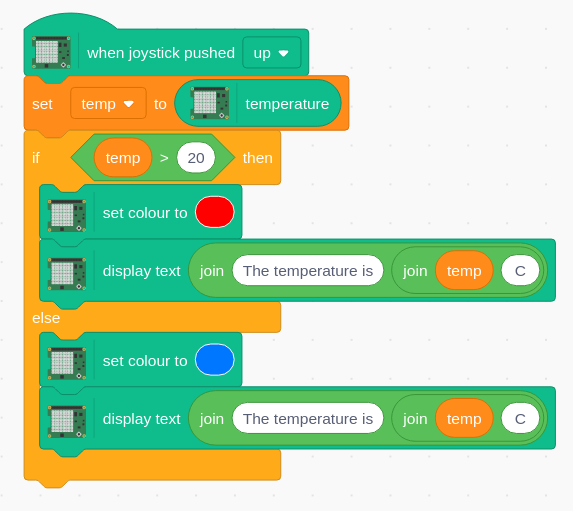
Still in the same coding area, we now move on to a more complex project. This project will check the temperature using the onboard temperature sensor of the Sense HAT. It will save the temperature to a variable, then compare that variable to see if it is greater than 20 degrees Celsius. If so, then the text scrolling across the Sense HAT will be in red. If below 20C then it will be blue.
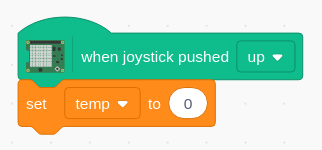
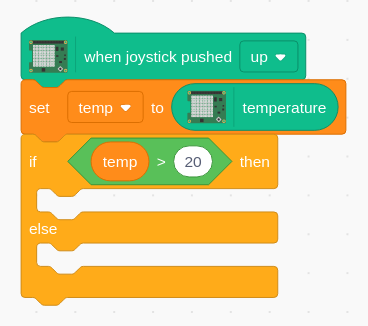
1. Drag the “When joystick press up” into the coding area.
2. Click “Make a variable” in the variables section. Call the variable “temp” and accept the default options.
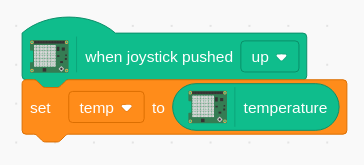
3. Drag “Set my variable to 0” and place it under the previous block.
4. Change “my variable” to “temp” using the drop down menu.
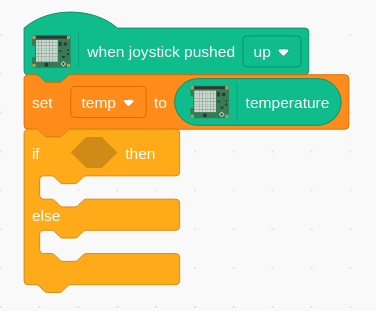
5. Drag the “temperature” block and place it over the 0 of our “set variable” block. This will update the contents of the variable “temp” with the current temperature read from the Sense HAT.
6. Add the "If, then, else” block and connect it to the previous block.
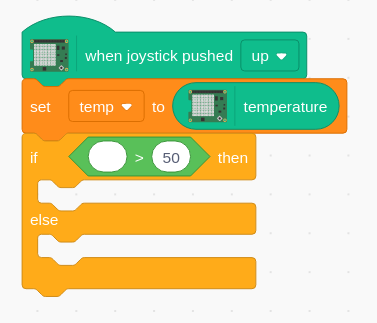
7. Drag “_ > 50” and place it inside the blank shape between “if and then,”
8. Drag the “temp” variable block and place it over the first blank of “_ > 50” and then change the 50 to 20. This means that if the temperature is greater than 20 degrees Celsius, something will happen.
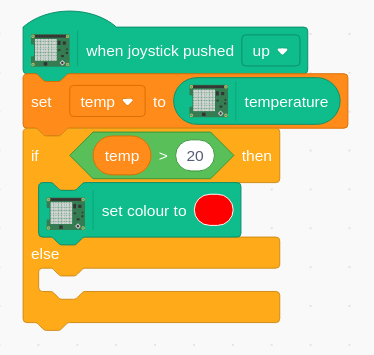
9. Connect the “Set color to” block from Sense HAT blocks to the IF portion of the block and change the option to red.
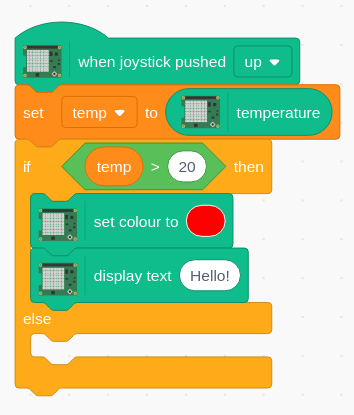
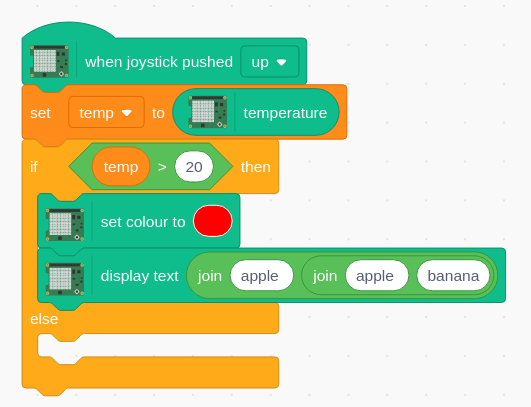
10. Connect a “Display text” block from Sense HAT, and drag a “join” block from Operators and place it over the “Hello!” of that block.
11.Change the first section of text to read “The temperature is " and, in the second space, drag another “join” block.
12. Drag the “temp” variable and place it in the next space, and in the last space type “C.”
13. For the else condition, activated if the temperature is below 20C, duplicate (right click) the color and text blocks and place them inside the Else condition. Just remember to change the color!
Now you can run your app and press Up on the joystick to get live temperature data!
Accelerometer Detection on the Raspberry Pi Sense HAT
The final project uses the accelerometer to detect movement and we shall use that to control a sprite on screen.
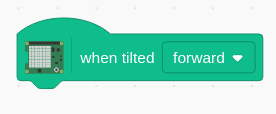
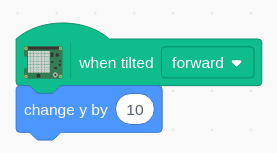
1. Drag “When tilted forward” from the “Sense HAT” section into the coding area.
2. Connect “Change Y by 10” from the “Motion” blocks area.
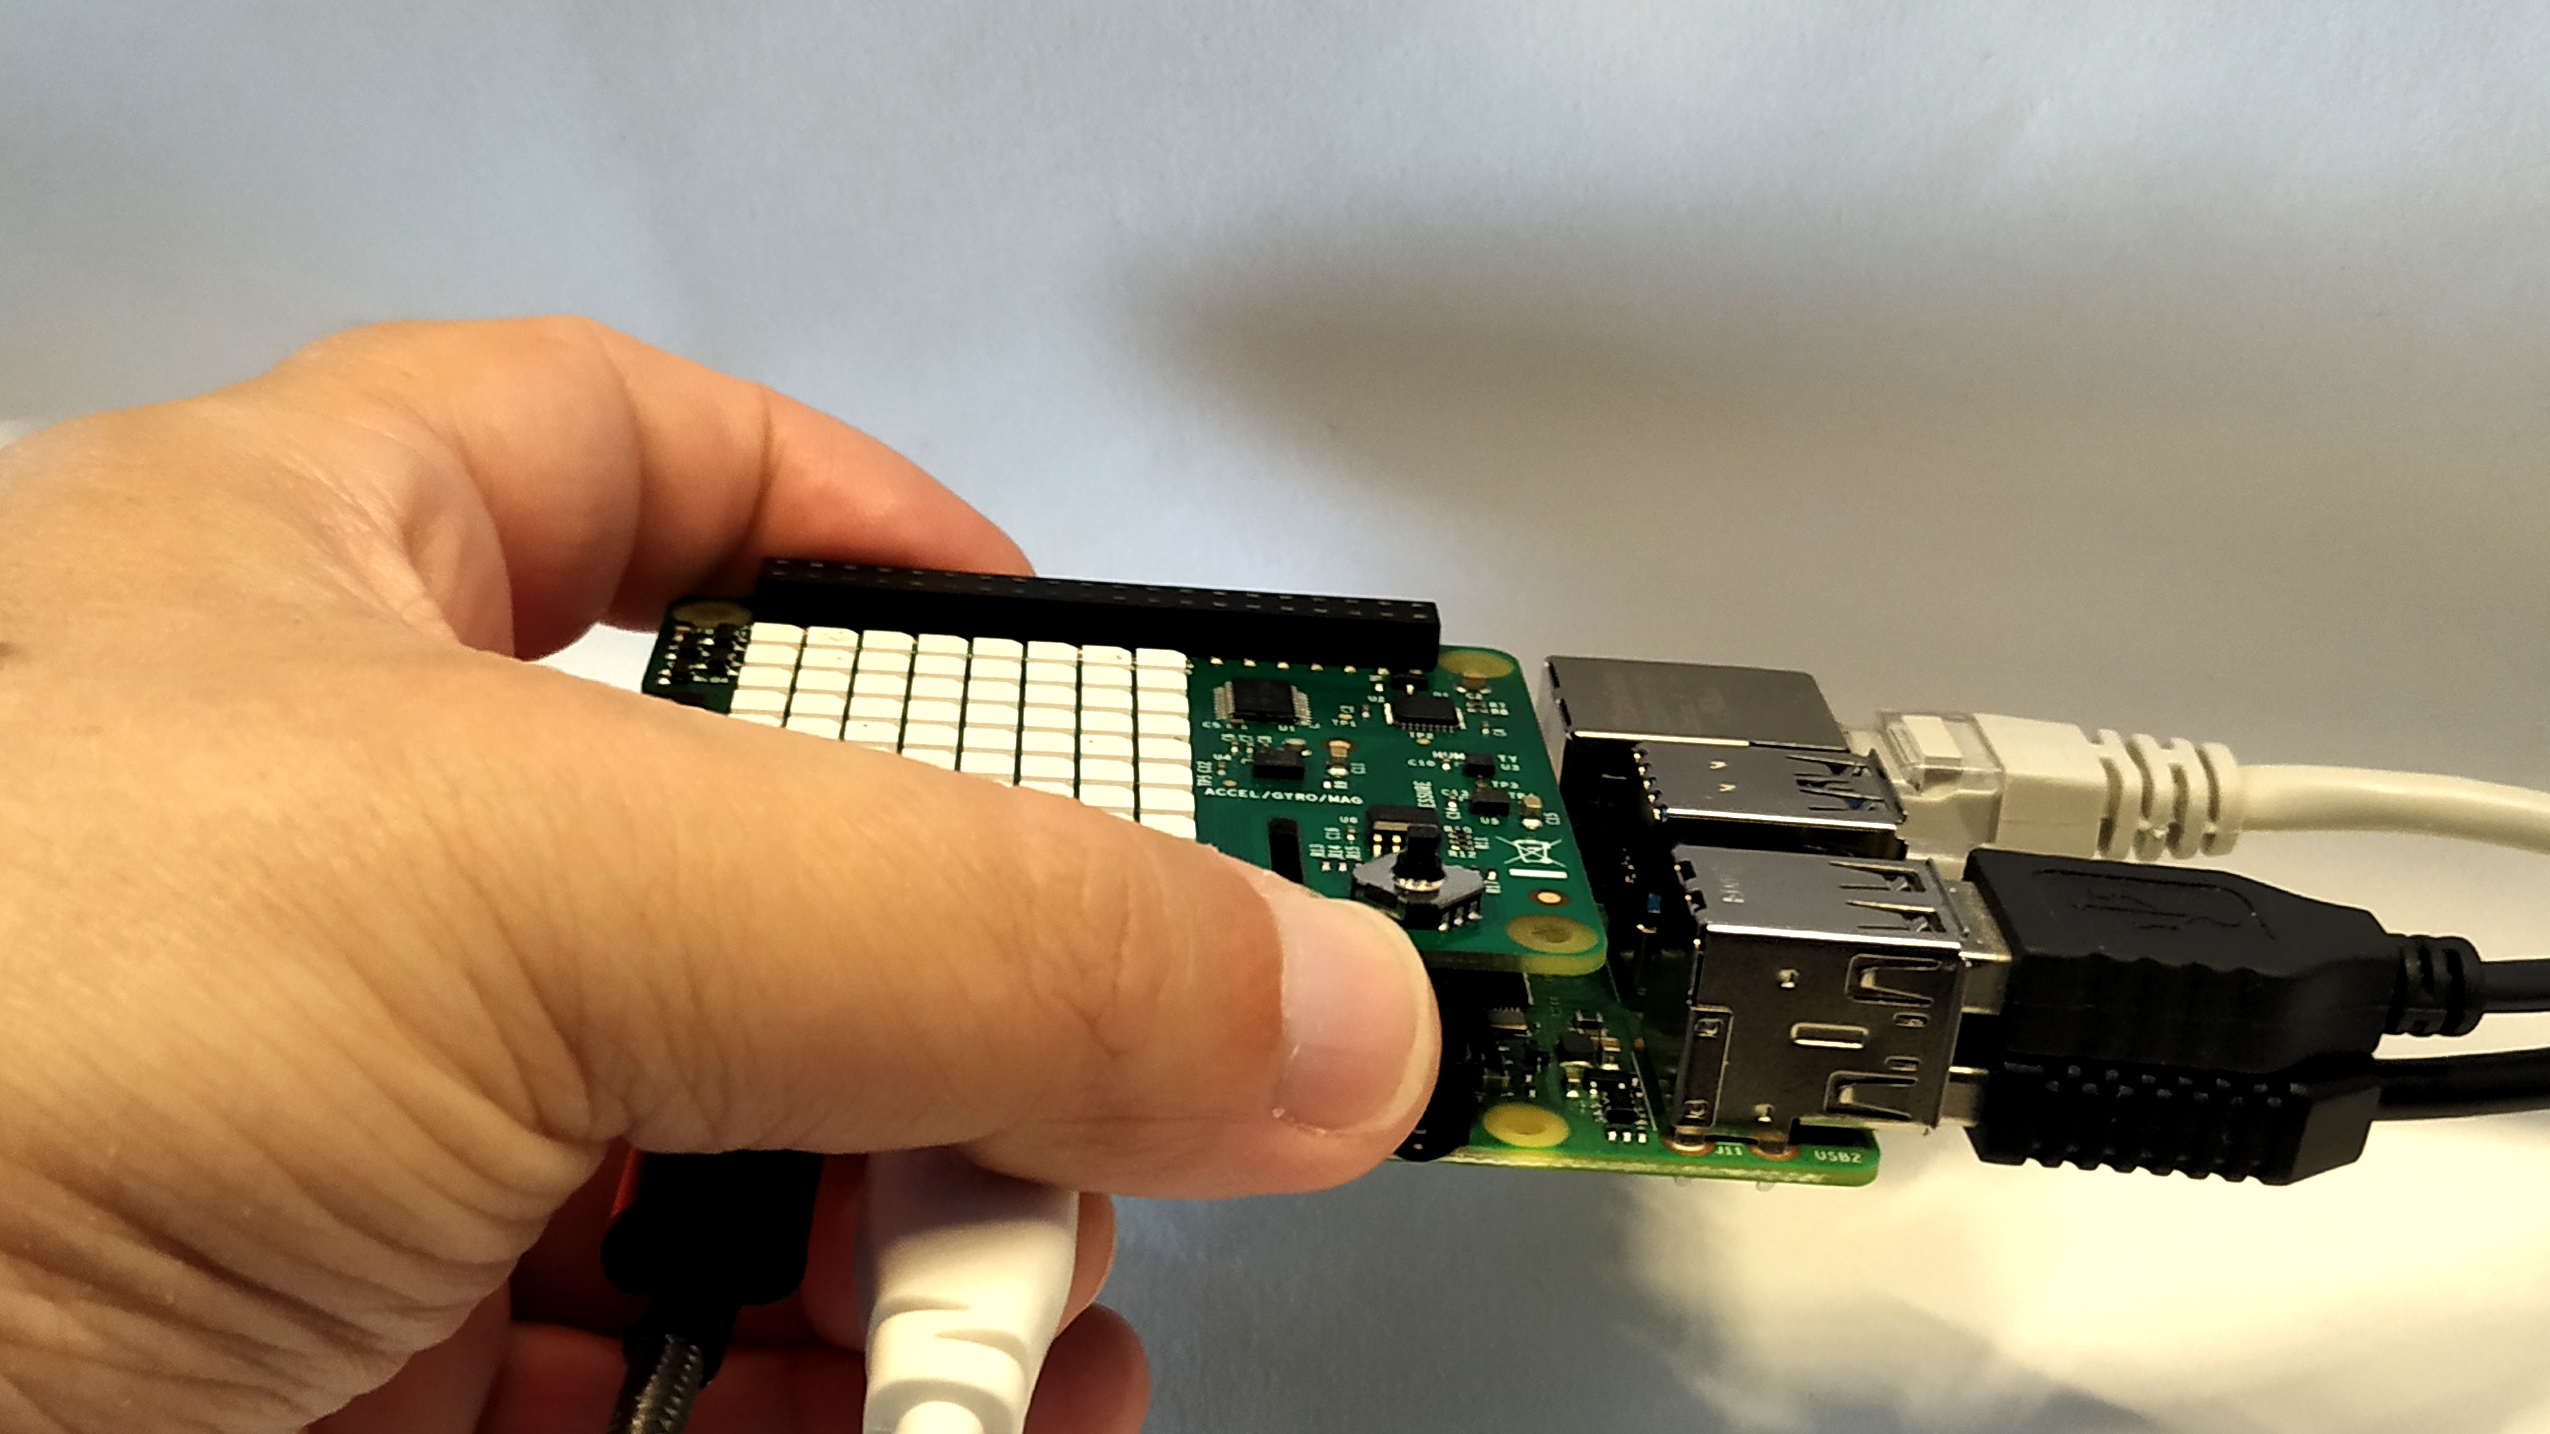
3. Tilt the Pi so the HDMI lead points to the ceiling and the sprite moves once.
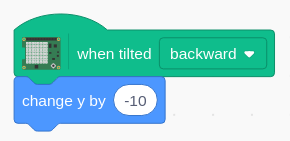
4. Duplicate these blocks (right click), change the tilt to backward, and the 10 to -10.
5. Move the Pi so the HDMI lead points to the floor and the cat moves down.
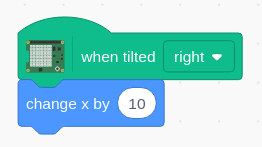
6. To move right we need to use another “When tilted forward” and change it to “right” and then from Motion use “Change X by 10”. Tilt the Pi right and the cat moves.
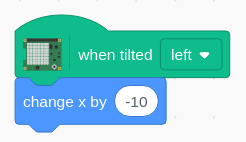
7. Duplicate and alter the code to go left in a similar manner to going Backward. Test the code by moving the Pi around.
So there we have it, three quick projects to work with Sense HAT via Scratch 3.
This article originally appeared in Linux Format Issue 261.

Les Pounder is an associate editor at Tom's Hardware. He is a creative technologist and for seven years has created projects to educate and inspire minds both young and old. He has worked with the Raspberry Pi Foundation to write and deliver their teacher training program "Picademy".
