How to Make a Raspberry Pi Random Video Player
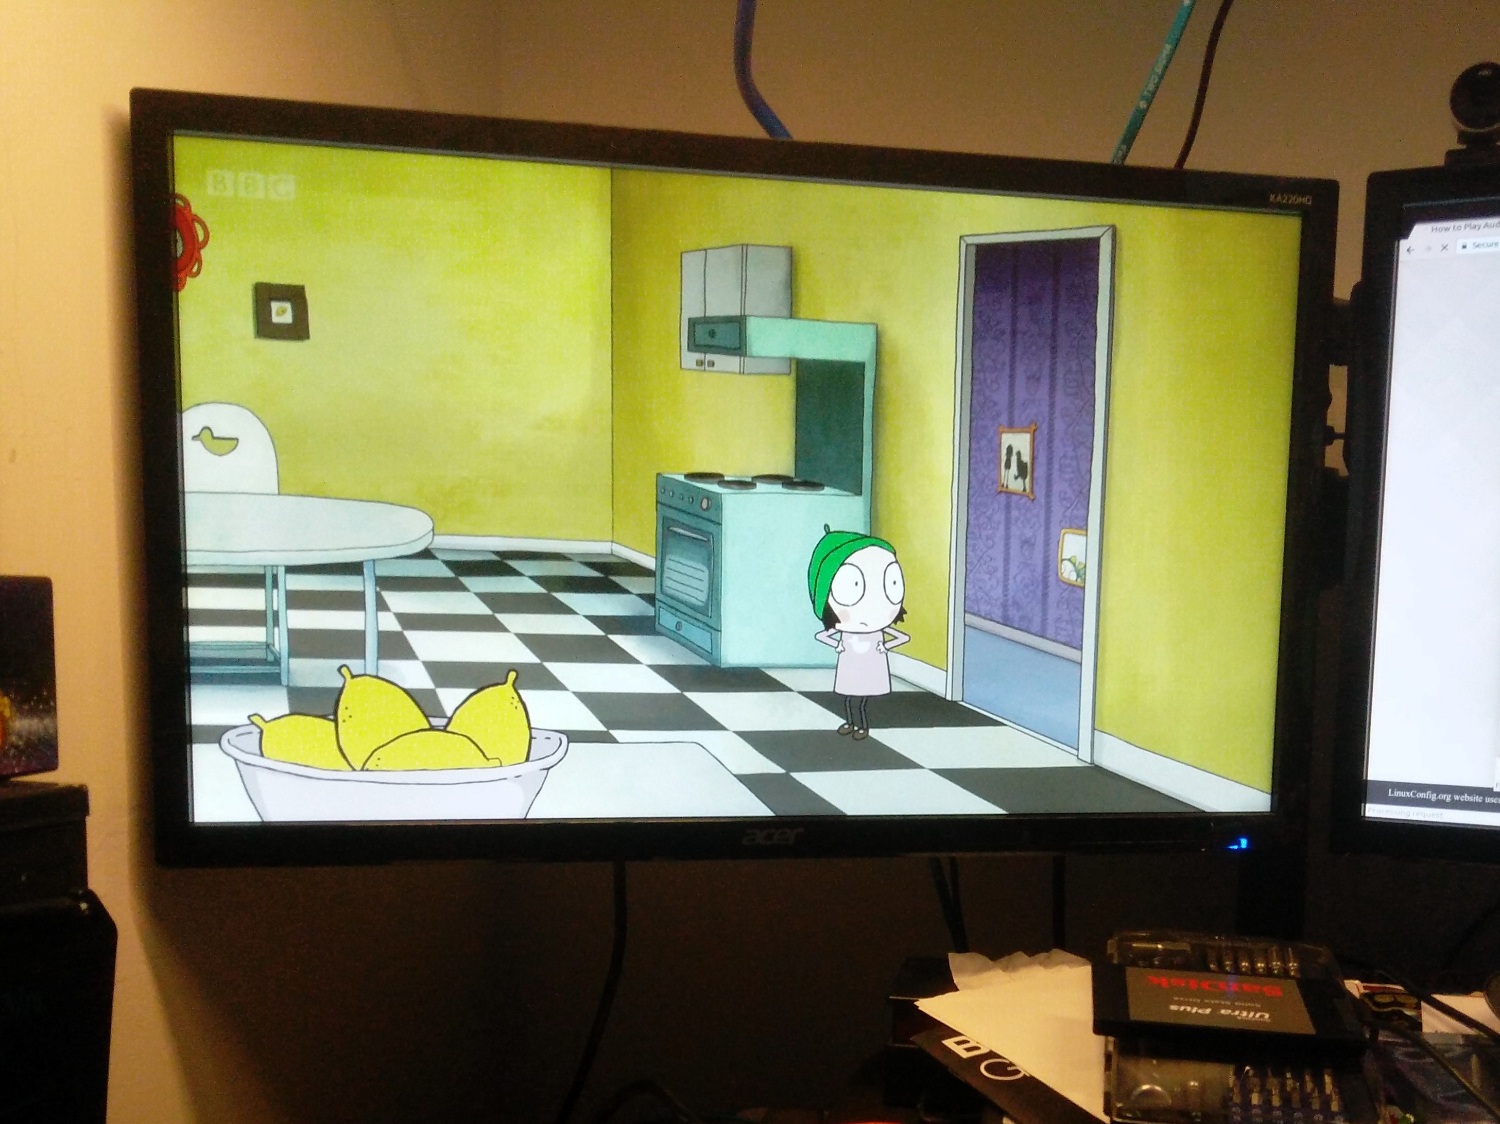
If you’ve got a bunch of movies, shows or other local video files and can’t decide which one to watch, you can make Raspberry Pi choose for you, at the touch of a button. To be fair, there are easier ways to play a random video, either from local files or on the web, but they aren’t as fun as this project. So grab the popcorn and let’s start building and coding our own Raspberry Pi random video player!
Hardware
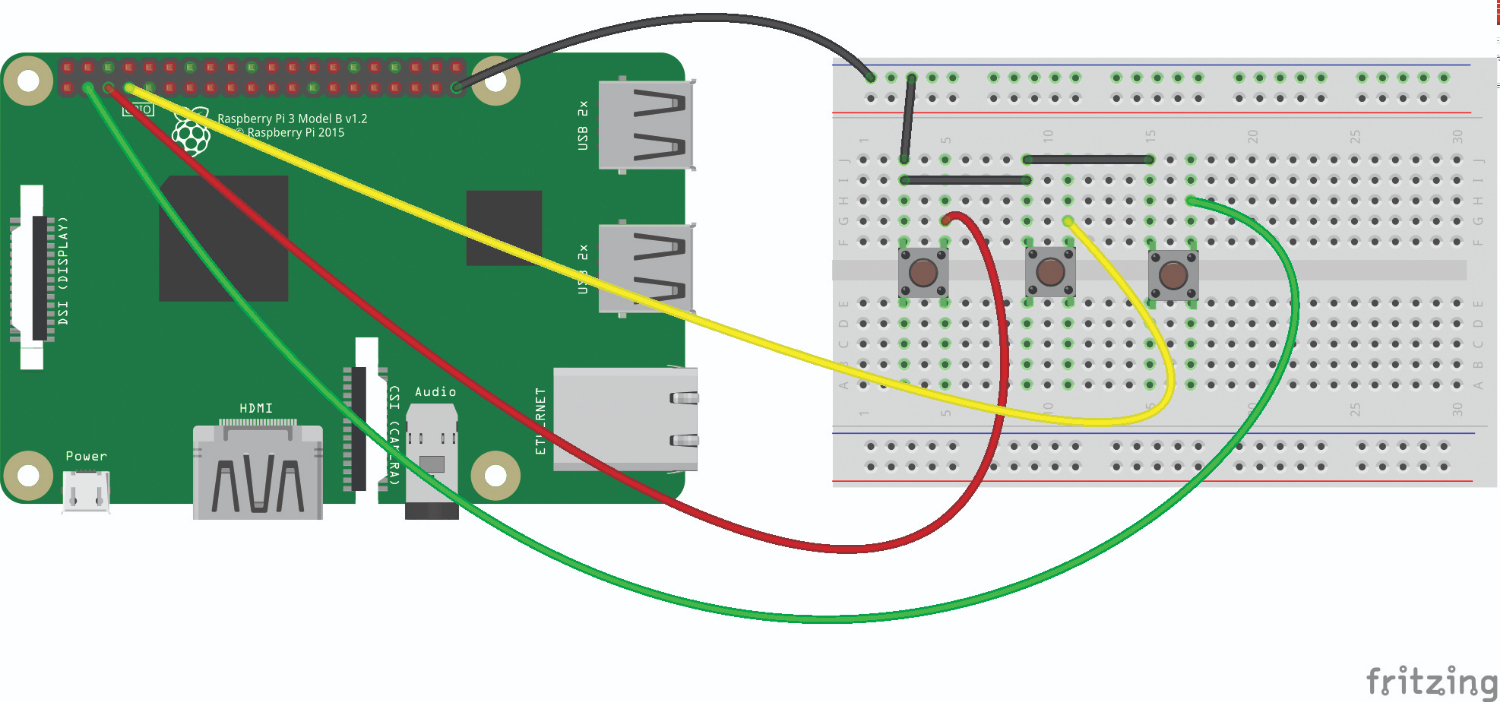
Building the circuit for this project is simple. We only require three buttons, connected to the GPIO at pins 2,3,4 and each of these buttons also needs to be connected to GND, for this we can use a single GND pin on the Pi, and a female to male jumper wire. Connected to the - rail of a breadboard means that we have multiple GND connections that can be connected via the two male to male jumper wires. See the diagram in the download for this project for more information.When the hardware is built, attach all of the accessories required for your Pi and boot to the Raspbian desktop.
Software
As with most Pi projects, before you do anything else, you'll need to set up your Raspberry Piwith a current copy of the Raspbian operating system. If you don't want to use a dedicated keyboard and mouse, you can create a headless Raspberry Pi that you access from another computer via VNC.
Before we can write any Python code, we need to install two libraries that will help us create the project. Open a Terminal, and type the following, remember to press Enter at the end of each line.
$ sudo pip3 install glob$ sudo pip3 install keyboard
We’ll talk more about them later. For now open the Python 3 editor, found in the Programming menu and click on File >> New to create a new blank file. Immediately click File >> Save in the new window. Save the code as VideoPlayer.py and remember to save often!
So now we start writing the code, and our first act is to import the libraries that we require. The first three libraries are used to detect the button presses (GPIO Zero), stop the code from running once and exiting (pause) and to choose a random video (choice.)
Get Tom's Hardware's best news and in-depth reviews, straight to your inbox.
from gpiozero import Buttonfrom signal import pausefrom random import choice
The final three imports are a library that we shall use to list the contents of a directory (glob), run terminal commands (subprocess) and the last is a library to emulate a keyboard (keyboard.)
import globimport subprocessimport keyboard
Moving on we create three functions, blocks of code that we can later reuse by calling their name. The first function is called “play_video” and it first creates a list (a data storage object) called “videos”.
def play_video():videos = []
To fill the list with information, specifically a list of all the videos we can play, we use a for loop, that will iterate over every file in a directory, as long as it is an mp4 video file. For this we use “glob” to access the directory “/media/pi/Videos” which is really a USB stick called “Videos” full of mp4 files. Change this to match the name of your chosen directory full of videos. Everytime an mp4 is found, it is appended to the “videos” list we have just created.
for file in glob.glob("/media/pi/Videos/*.mp4"): videos.append(file)
So now let’s check that the list has been populated with file names by printing the contents of the list to the Python shell.
print(videos)
Then we shall choose a random video from the list and store it in a variable called “chosen”, again we print this to the Python shell.
Then we shall choose a random video from the list and store it in a variable called “chosen”, again we print this to the Python shell chosen = choice(videos) print(chosen) print(chosen)
The last line in this function uses the Popen class from the subprocess library to run a command as if we were sat at the terminal, and this command is to open the omxplayer media player, and then play the chosen video.
subprocess.Popen(['omxplayer’,(chosen)])
The next function is called “stop_video” and as you can guess it will stop the currently playing video. For this we use the keyboard library, specifically the “press_and_release” function to simulate pressing the “q” key.
def stop_video(): keyboard.press_and_release('q')
The last function is called “pause_video” and it emulates pressing the space bar on the keyboard, which is how omxplayer pauses video.
def pause_video(): keyboard.press_and_release('space')
With the functions created, we next need to tell our code where our buttons are connected. We have three buttons connected, randomiser (play), stop and pause_button. These buttons are connected to the GPIO at pins 2, 3 and 4 respectively.
randomiser = Button(2)stop = Button(3)pause_button = Button(4)
Ok so on to the last part, and this is the part that looks for when a button is pressed, and reacts accordingly. But first we wrap this section in an exception handler. It will try to run the code, but if the user presses CTRL + C then the code will exit. So for the try section our code will first print three lines to the shell, these are the instructions to the user. You will notice “n” between each colour. This is Python shorthand to insert a new line between each of the instructions.
try: print("Press the GREEN button to startnYELLOW to pausenRED to stop")
Our three buttons are waiting to be pressed, and using the GPIO Zero library we call the “when_pressed” class to detect when each of the buttons are pressed. When this happens the corresponding function is run. So when we press the Green randomiser (play) button it will randomly choose a video from the USB stick and play it. You’ll notice that the functions do not have a () at the end of the function name. This is because if they did, then the code would run automatically. Right now they are ready to run on demand.
randomiser.when_pressed = play_video stop.when_pressed = stop_video pause_button.when_pressed = pause_video
The last line in this section is a simple pause(), and this is used to keep the code running, and not just exiting after running once.
pause()
But what happens if the user presses CTRL + C? Well this is a “Keyboard Interrupt” and if that occurs we shall simply print an empty line then“Exit” on the screen.
except KeyboardInterrupt: print("nEXIT")
So now save your code, and open a Terminal to the directory where you have saved the code. In order to use the code we need to run it with sudo (root powers) as the keyboard library used in the project can only be used as root / sudo.
To run the code type:
$ sudo python3 VideoPlayer.py
When ready press the Green button to play the randomly chosen video, to pause press Yellow, and to stop press Red. Enjoy your evening and don’t spill the popcorn!
You can embed the project in a tough box, so that little hands don’t break the electronics. You can also use arcade style buttons which are far more robust and less likely to be broken.
The Complete Code
If you just want to copy and paste the content into VideoPlayer.py file, here it is:
from gpiozero import Buttonfrom signal import pausefrom random import choiceimport globimport subprocessimport keyboarddef play_video(): videos = [] for file in glob.glob("/media/pi/Videos/*.mp4"): videos.append(file)print(videos)chosen = choice(videos) print(chosen) print(chosen)subprocess.Popen(['omxplayer’,(chosen)]) def stop_video()keyboard.press_and_release('q')def pause_video()keyboard.press_and_release('space')randomiser - Button(2)stop = Button(3)pause_button = Button(4)try:print("Press the GREEN button to startnYELLOW to pausenRED to stop")randomiser.when_pressed = play_videostop.when_pressed = stop_videopause_button.when_pressed = pause_video pause()except KeyboardInterrupt: print("nEXIT")Keyboard Library and Privacy
In this project we used the Keyboard Python library to emulate a keyboard using just the push buttons that controlled playing, pausing and stopping video playback. The Keyboard library is rather powerful and it can be used to press any keys, so we can automate multiple key presses all from one push button (handy for exiting vim.) The library can also be used to write text to the screen, in a similar manner to Neo’s “follow the white rabbit” scene from the The Matrix. But the most dangerous function of this library is that it can be used to record every key press on the target machine.
These key presses can be recorded to a list, then saved to a file and then used for nefarious purposes. So let’s be clear kids, adults. Recording the key presses of a user, without their consent is illegal and can land you in a lot of trouble with school / work / authorities. So do not do it! With that said, it can be used as a powerful tool when debugging how a user interacts with your code, so for software testing (under consent with the general public and in house testers) you can see what keys they were pressing right before the code locked up / went thermonuclear!
The Keyboard library works with Linux and Windows and it is lots of fun to play with. To read a little more about this library head over to this blog post https://bigl.es/tuesday-tooling-record-replay-keystrokes-with-python/ and see a few examples of how it can be used.
This article originally appeared in Linux Format Magazine.

Les Pounder is an associate editor at Tom's Hardware. He is a creative technologist and for seven years has created projects to educate and inspire minds both young and old. He has worked with the Raspberry Pi Foundation to write and deliver their teacher training program "Picademy".

