EKWB Factory Tour
Flipping Blocks
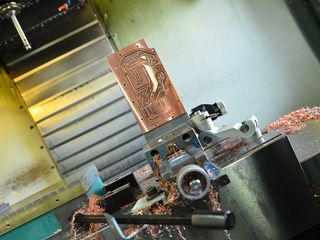
Between sides, a worker has to take each block out and flip it around. This is because the milling machine can only work on a block from above. The block's placement has to remain precise, though. If it's slightly off, the milling machine can start drilling into the wrong part of the block.
Micro-Channel Structure
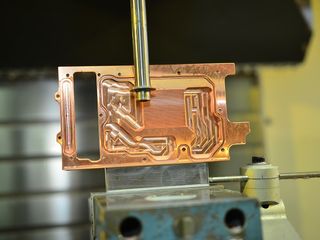
Cutting out the coolant channels happens from above the water block. But to create the micro-channel structure, the block has to be placed on its side. This is because the tool that is used employs a blade, and doesn't drill into the copper from above.
The micro-channel blade is not something you can pick up from Home Depot. EKWB worked with the milling company to design it, and then had the tool custom-made. The computer-controlled milling machine is perfectly capable of using it.
Also Used For CPU Blocks
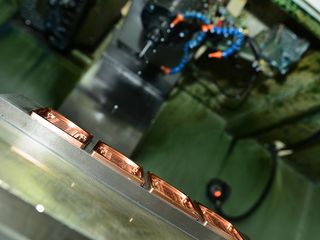
It isn't the most durable tool, however. The micro-channels must be etched down to a certain depth, and the blade cannot reach it in one attempt. Instead, it passes over each channel three times, cutting out a little bit more until the proper depth is reached. You can see this in the simulation video.
Acrylic And Acetal
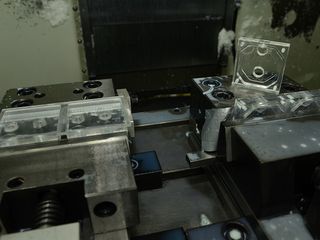
The acrylic and acetal tops are machined out the same way, and all the parts are shipped back to EKWB's headquarters for assembly.
Assembly Team
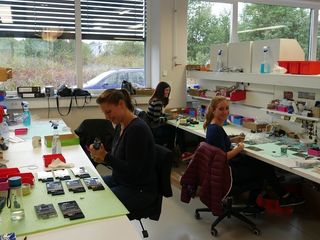
The first step in assembling a water block is collecting all of the required parts. A handful of employees handle this stage, and they all operate through work orders telling them what block to make and how many to put together.
Jets, Jets And More Jets
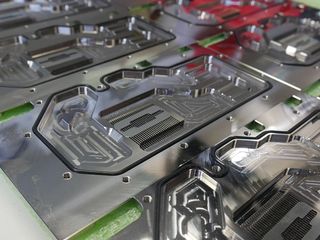
The first step in assembling a GPU block is placing the water jet over the micro-channel structure, and getting a rubber gasket onto the base of the block.
Stay on the Cutting Edge
Join the experts who read Tom's Hardware for the inside track on enthusiast PC tech news — and have for over 25 years. We'll send breaking news and in-depth reviews of CPUs, GPUs, AI, maker hardware and more straight to your inbox.
Not Always Easy
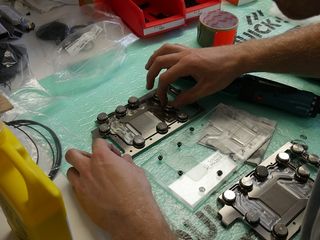
While EKWB has pre-shaped rubber gaskets made for the blocks it sells in high numbers, some blocks don't move in such high volumes and therefore don't get pre-shaped gaskets. This saves money in production, but doesn't make installation any easier. In fact, I've heard that installing these gaskets is a huge pain.
Perhaps Even Frustrating
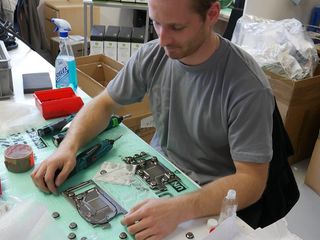
Once the gasket is placed, the weights have to be removed in order to position the top. Sometimes the gasket then pops out of place, forcing the process to start over.
Torqued To Spec
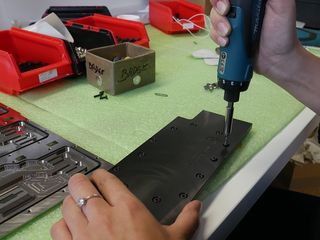
Next, EKWB employee places the top over the block and screws in the bolts using an electric torque-sensitive screwdriver that hangs from above. Not only is this very quick, but because the tool is set to a specific torque setting, it also ensures that the bolts are not over- or under-tightened. Over-tightened bolts can cause the top to crack (especially with acrylic), and under-tightened bolts result in leaks.
Badge It
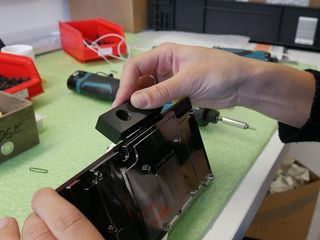
The EKWB badge is placed, nuts on the opposite side are tightened, the block is wiped clean and the inlet/outlet terminals are installed. After this, the block moves to pressure testing.
Niels Broekhuijsen is a Contributing Writer for Tom's Hardware US. He reviews cases, water cooling and pc builds.
-
kgrevemberg His name is the name of his company. Straight pimpin. I wonder whose name made google.Reply -
toddybody These are the articles that make Tom's special IMO :)Reply
@ Tom's...I'd love to see more of these manuf/vendor tours en leu of filler reposts. A tour of EVGA one month, Sapphire the next/etc... -
getochkn Cool. I wondered how they cranked them out fast. Seems like when a new GPU/top end MB comes out, they have a block in no time. I thought they had their own CNC setup to do it that fast.Reply -
horaciopz This is such a great read! Very interesting and very informative of why these parts are rather expensive compared to other hardware.Reply -
AndrewJacksonZA "After spending just over a day talking to the employees and figuring out how everything works, it became clear to me why nobody was nervous about my presence -- they had nothing to hide."Reply
A sign of a great company. :-)
Thanks for the lovely article Niels, I really enjoyed reading it and seeing the pictures. I agree with @toddybody, these articles add to the special feeling of Tom's Hardware. Keep them coming! :-D -
rhenry01 Great tour. I'd like to see more of these tours at some of the top component manufacturers.Reply -
Shankovich Awesome, looks like they were genuinely happy to have you guys there! Going to do my first custom loop this year, can't wait now :)Reply
Most Popular


