EKWB Factory Tour
EKWB In Pictures
If there's one company in the enthusiast computer hardware space that we all love, but nobody really knows much about, it's EKWB. The company, which is celebrating its 10th anniversary soon, has never had a media visitor to its headquarters.
Recently, EKWB moved into new offices. Of course, when I heard this, I just had to ask if Tom's Hardware could take a look. After a couple months of figuring stuff out, I boarded a flight to Slovenia and paid EKWB a visit.
The company's primary focus is on water blocks, but it also sells the other parts you need to build a water-cooled system, including reservoirs, fittings, tubing and pumps. Some components are made by EKWB, others are resold or re-branded.
MORE: Best Cooling
MORE: Cooling in the Forums
MORE: All Cooling Content
Meet EKWB Owner And Founder
Edvard König is the man behind EKWB. That's also where the company gets its name: Edvard König Water Blocks. EKWB started as a garage effort when König realized that he wanted to water-cool his PC. At the time, he worked in a shop and had access to a milling machine, allowing him to build his first water block. Enthusiasm on the Slovenian forums was huge, and in 2003 König started mass production of one design, selling 100 units. In 2005, König went to business workshops and participated in a business plan competition. He won, and in 2006 he launched EK Water Blocks.
Within six months, he had resellers on every continent. The days were long, but growth was strong, and slowly König started taking on employees and building a team. Today, König primarily plays a strategic role in the company, having handed most control to the CEO, Mark Tanko. The company employs about 45 people at its headquarters.
EKWB's Design Process
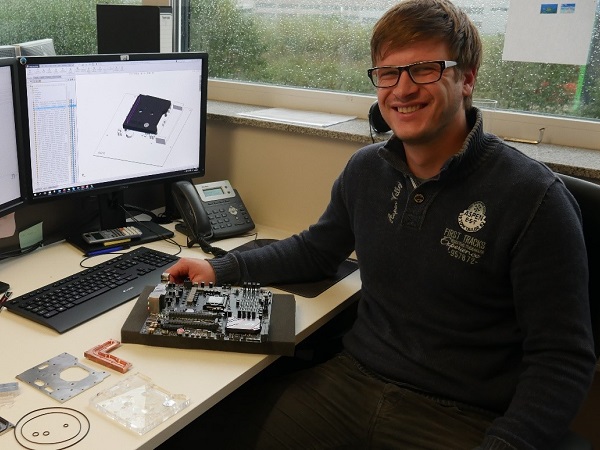
One of the block designers is Rok Dolinar, an R&D engineer at EKWB. As Dolinar explained the design process to me, he was working on a model for a water block compatible with three of Asus' Maximus VIII motherboards, which later came to be known as the EK-FB Asus M8G Monoblock.
Get Tom's Hardware's best news and in-depth reviews, straight to your inbox.
Mapping The Hardware
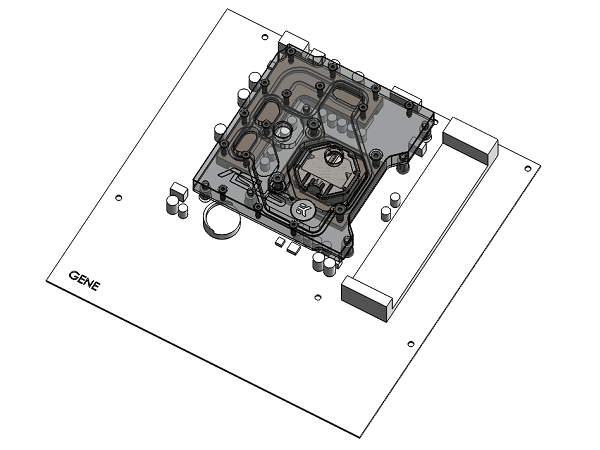
The first step in building a water block is designing it. There are multiple ways to go about this, but for most blocks, the process starts with digitally mapping out the hardware.
This particular block would cover the CPU as well as the VRM circuitry around the socket. Therefore, the entire CPU socket area is mapped out, as well as the space around it.
Split It Up!
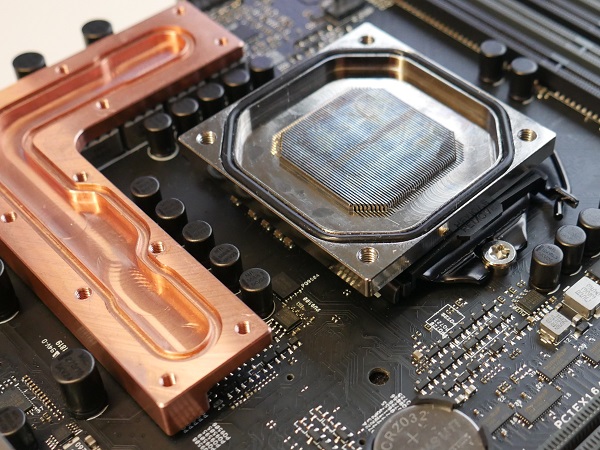
Following the creation of the motherboard in virtual space, Dolinar went on to build the water block's base. He opted for a split base, with the area over the CPU separate from what covers the VRM circuitry.
The space over the CPU is the easiest to design; it's just a copy of the EK-Supremacy EVO's based, EKWB's flagship CPU water block. Conversely, the part covering the VRM circuitry has to be designed by hand.
Over the bases goes a metal plate, followed by the top of the block.
Oops, Didn't See That
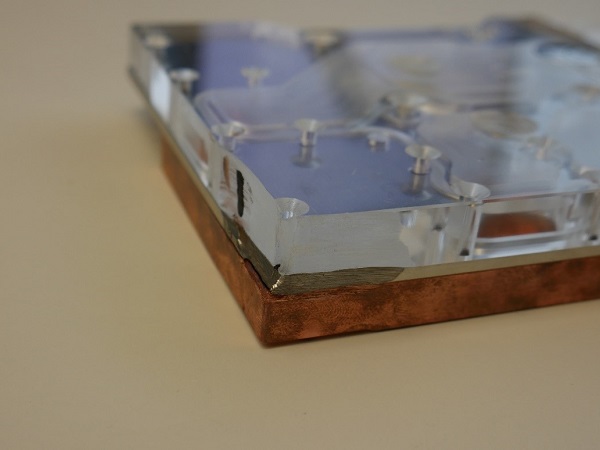
Once a block has been designed, it goes off to manufacturing and comes back in pieces as a prototype. The designer can then test-fit the hardware to make sure it works as intended. Of course, that's not always the case.
After Dolinar made some "non-retail" adjustments to the prototype, he added them to the block design, sent the update back to production and tried again.
Manufacturing
Contrary to what you might expect, EKWB doesn't actually manufacture any of its water blocks in-house. Instead, it partners with various manufacturers that own CNC (computer numerical control) milling machines. EKWB pays them to build the blocks.
The reason for this split is to keep the company flexible. Admittedly, EKWB could achieve higher margins if it brought manufacturing in-house. But outsourcing allows more agility, making it easier to absorb changes in the market.
Optimize Print
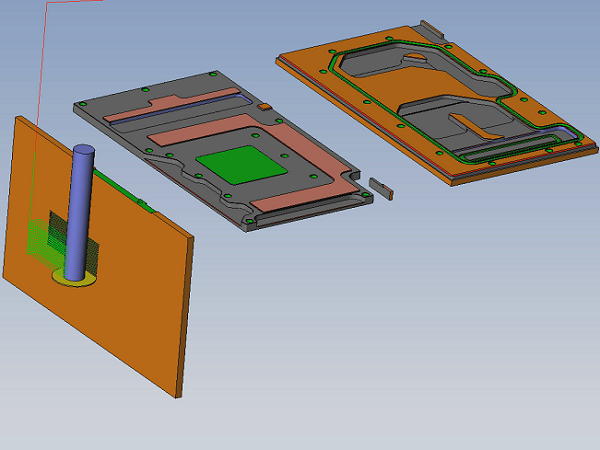
When a milling company receives a block design, an engineer must specify how the CNC machine should build the block. For a prototype, this step isn't very time consuming, but for final designs, the engineer has to ensure that each block spends as little time as possible inside the machine. An engineer told us this can take a full day of simulation.
We captured one such simulation for your viewing pleasure. You can watch a video showing the simulation of milling a GPU block here.
The three objects you see are not different blocks. Rather, because the milling machine can only cut from one angle, a worker has to move the block around when switching from front to back, to cutting the micro-channel structure.
The CNC Milling Machine
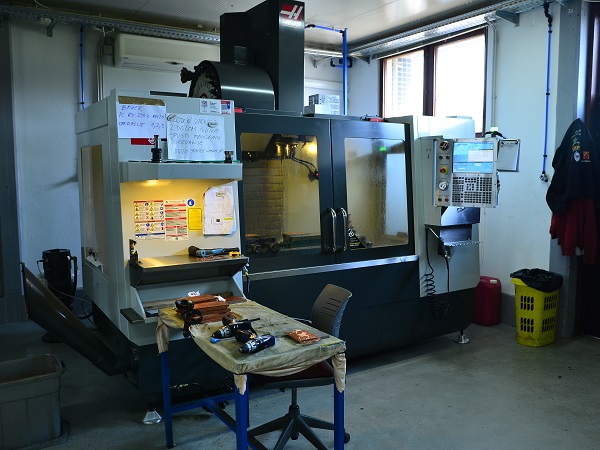
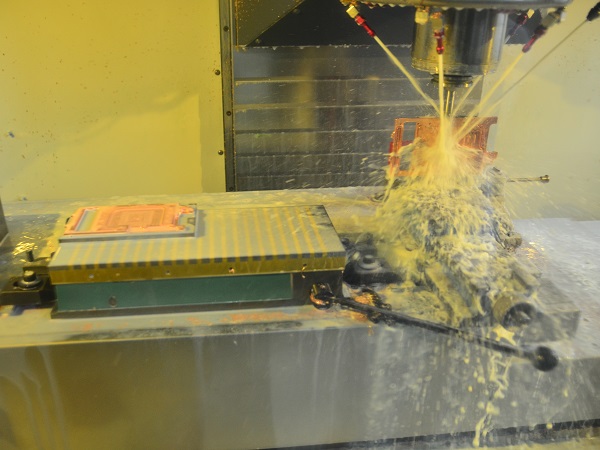
Water blocks may be small, but the CNC milling machine is actually quite large. Much of what it does is automated, including switching tools. However, the people operating the machines do need certain qualifications.
This Is What You See
In person, it's hard to see what the milling machine is doing as a result of the fluid being sprayed everywhere. Regardless, we did get a couple of pictures at the factory.
Many Drills
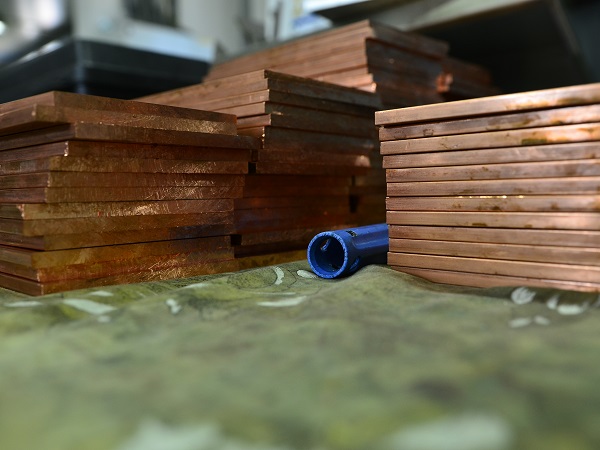
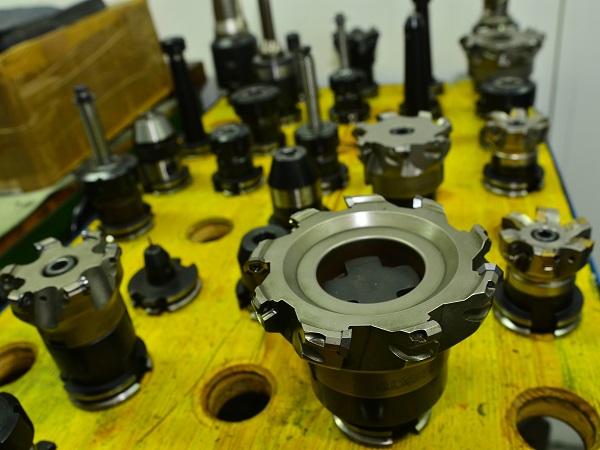
The machine works with various sets of drills, which it uses to cut parts out of the copper block by following the path set by the engineer. Each has a different shape and can be used for different purposes. Naturally, the milling machines can make all sorts of objects.
Niels Broekhuijsen is a Contributing Writer for Tom's Hardware US. He reviews cases, water cooling and pc builds.
-
kgrevemberg His name is the name of his company. Straight pimpin. I wonder whose name made google.Reply -
toddybody These are the articles that make Tom's special IMO :)Reply
@ Tom's...I'd love to see more of these manuf/vendor tours en leu of filler reposts. A tour of EVGA one month, Sapphire the next/etc... -
getochkn Cool. I wondered how they cranked them out fast. Seems like when a new GPU/top end MB comes out, they have a block in no time. I thought they had their own CNC setup to do it that fast.Reply -
horaciopz This is such a great read! Very interesting and very informative of why these parts are rather expensive compared to other hardware.Reply -
AndrewJacksonZA "After spending just over a day talking to the employees and figuring out how everything works, it became clear to me why nobody was nervous about my presence -- they had nothing to hide."Reply
A sign of a great company. :-)
Thanks for the lovely article Niels, I really enjoyed reading it and seeing the pictures. I agree with @toddybody, these articles add to the special feeling of Tom's Hardware. Keep them coming! :-D -
rhenry01 Great tour. I'd like to see more of these tours at some of the top component manufacturers.Reply -
Shankovich Awesome, looks like they were genuinely happy to have you guys there! Going to do my first custom loop this year, can't wait now :)Reply
