How to Build an Alexa Speaker with Raspberry Pi
Alexa, install Voice Services on Raspberry Pi.
In this tutorial, we’ll install Alexa Voice Service (AVS) on a Raspberry Pi 4 to essentially “make” our own Alexa speaker. We’ll nickname this project, “AlexaPi.” This project is possible thanks to the Amazon Alexa Voice Service (AVS) SDK. If you have your heart set on an Echo Show on Raspberry Pi (Alexa with a screen), we’ll cover a Raspberry Pi Alexa with a visual interface in a future article. Completing the steps in the article is a prerequisite to the AlexaPi with screen project.
Why Build an Alexa when you could just buy one?
If you don’t already own a Raspberry Pi, it is less expensive to buy an Amazon Echo device. As of this writing, a brand new Echo Dot sells for $24.99 on Amazon’s website which is $10 cheaper than the cheapest Raspberry Pi 4 and that’s not including the cost of other components.
The joy of AlexaPi is not the outcome, but the educational journey. You’ll get a glimpse of how Alexa works behind the scenes, and possibly spark an interest in designing your own custom device with Alexa embedded. Amazon has made this Pi project possible for the purpose of encouraging device manufacturers to embed Alexa in their products.
What is the difference between AlexaPi and Echo devices?
AlexaPi has many of the basic features of an Echo device, but is not intended to be a replacement for purchasing an Echo device. Below are a few of the key similarities and differences between Echo and AlexaPi.
- Music services enabled by default include iHeartRadio, TuneIn, and Audible (for US users, at the time of the writing of this article). According to Amazon, additional Music Service Providers (MSPs) must be requested with “your Amazon point of contact.” Once again, this project was created for hardware manufacturers to embed Alexa in their commercial products.
- Smart Home devices such as TP-Link Kasa, Teckin, Avatar, and more can be controlled via your AlexaPi with the same process as an Echo device.
- Alexa Skills are available on AlexaPi. For example, say, “Alexa open cat food.” This is a skill I wrote that plays the sound of opening a can of cat food.
- Calling & Messaging - At the time of the writing of this article in the US, calling via AlexaPi is not supported.
What You’ll Need
- Raspberry Pi 3 or Raspberry Pi 4
- 16GB (or larger) microSD card (see best Raspberry Pi microSD cards) with a fresh install of Raspberry Pi OS
- Power supply/Keyboard/Mouse/Monitor/HDMI Cable (for your Raspberry Pi)
- USB Microphone
- Speaker with 3.5mm or USB connector. We’ve only tested with a 3.5mm speaker but USB should also work.
Timing: Plan for a minimum of 1 hour to complete this project. The main install step takes 30 minutes to over an hour depending on your Pi model and internet speed.
The majority of this tutorial is based on terminal commands. If you are not familiar with terminal commands on your Raspberry Pi, we highly recommend reviewing 25+ Linux Commands Raspberry Pi Users Need to Know first.
AlexaPi Setup and Install
1. Connect your USB microphone and speaker to your Raspberry Pi.
Get Tom's Hardware's best news and in-depth reviews, straight to your inbox.
2. Boot your Raspberry Pi. If you don’t already have a microSD card see our article on how to set up a Raspberry Pi for the first time or how to do a headless Raspberry Pi install.
3. Launch Chromium browser on your Pi desktop.
4. Create or login to your Amazon developer account at: https://developer.amazon.com/
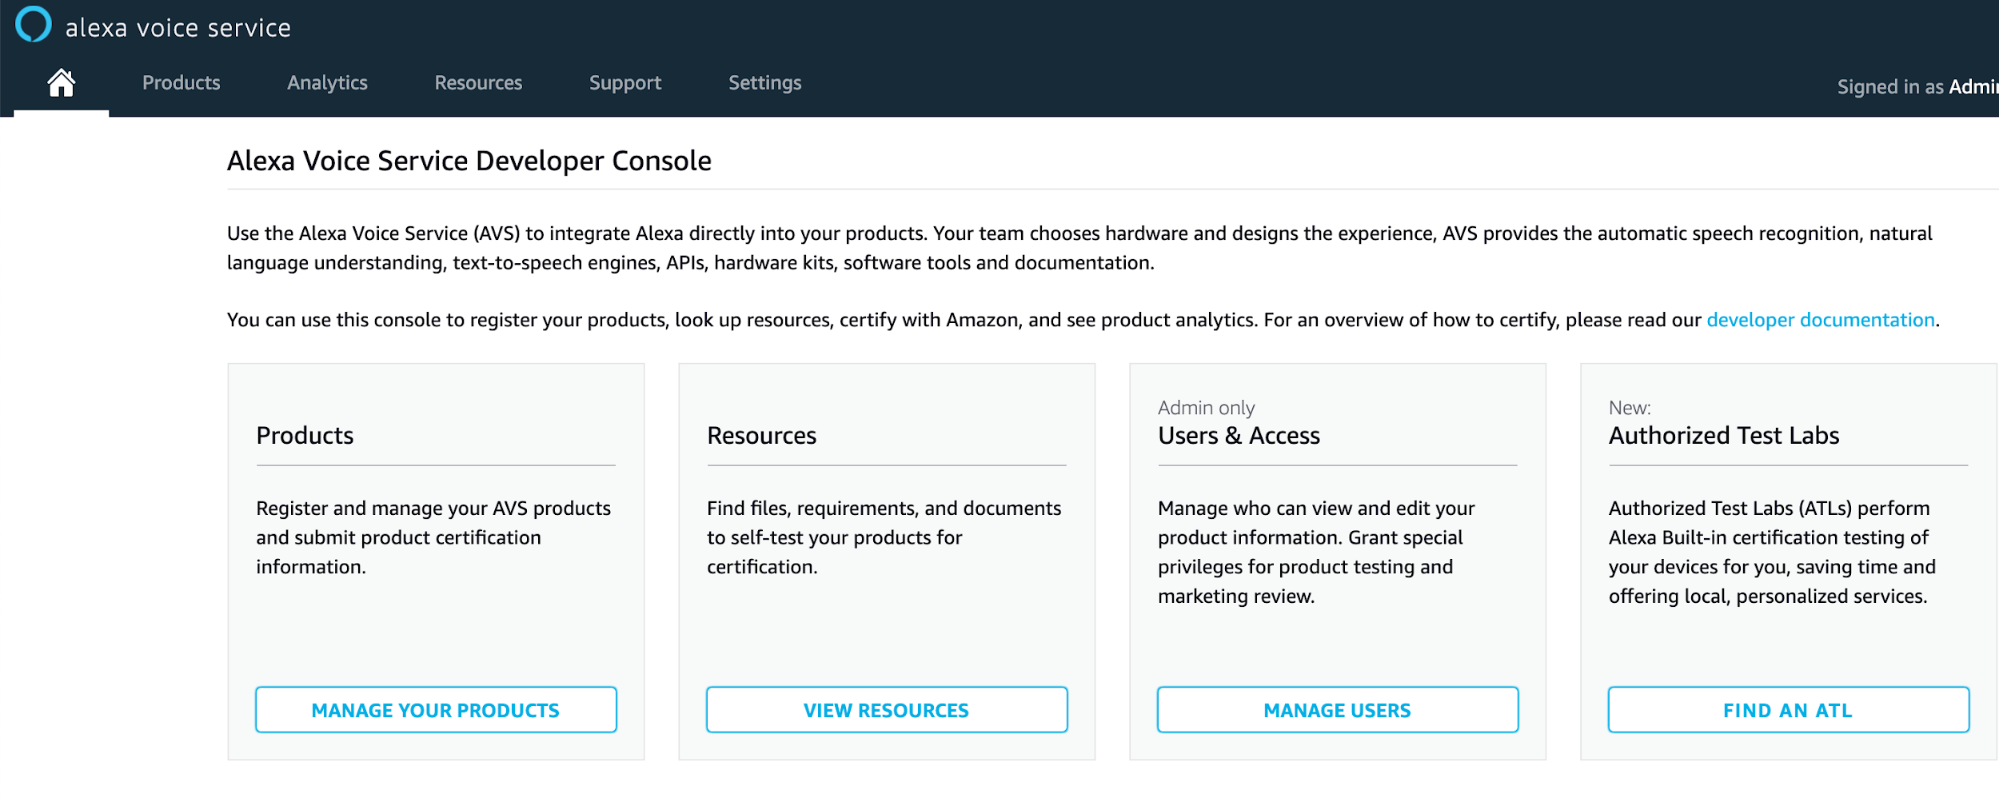
5. Click on Developer Console in the top right corner.
6. Mouse over Alexa and click Alexa Voice Service.
7. Click MANAGE YOUR PRODUCTS
8. Click ADD NEW PRODUCT.
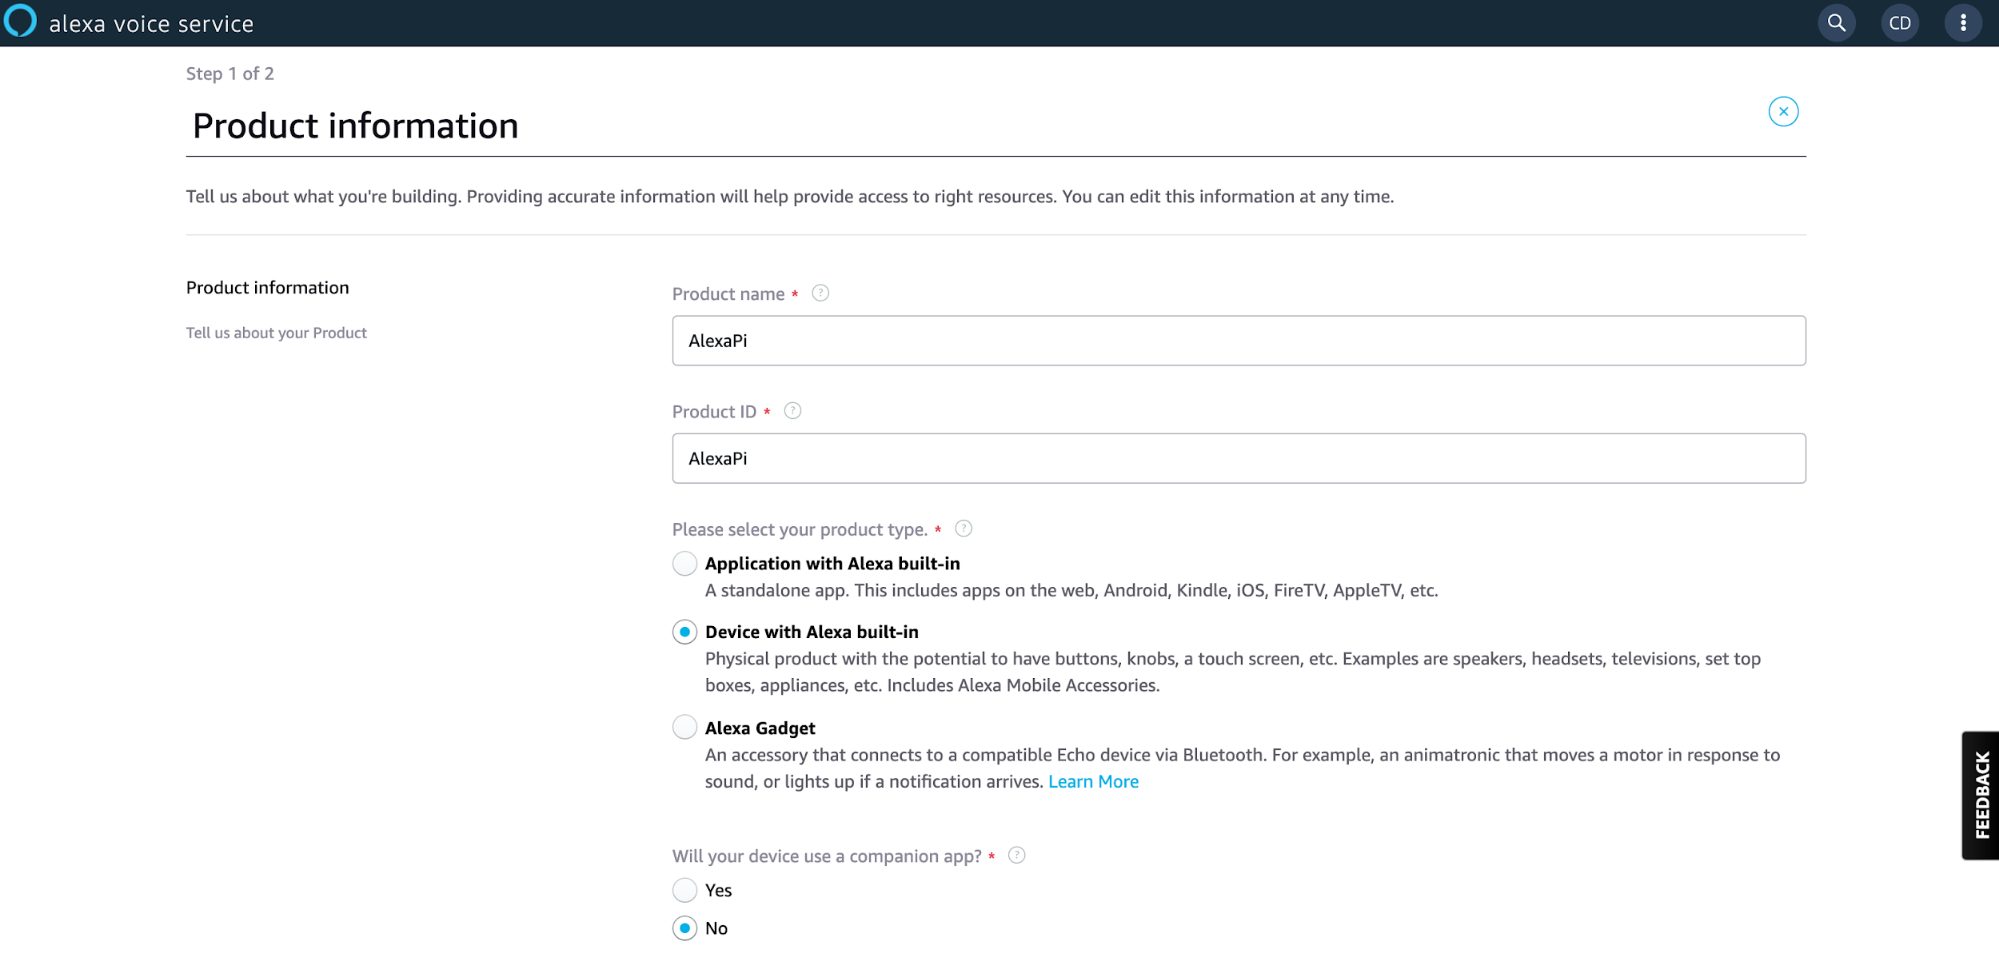
9. Complete the Product Information form.
- Give your product a name and ID.
- Select Device with Alexa built-in for product type.
- Select No for companion app.
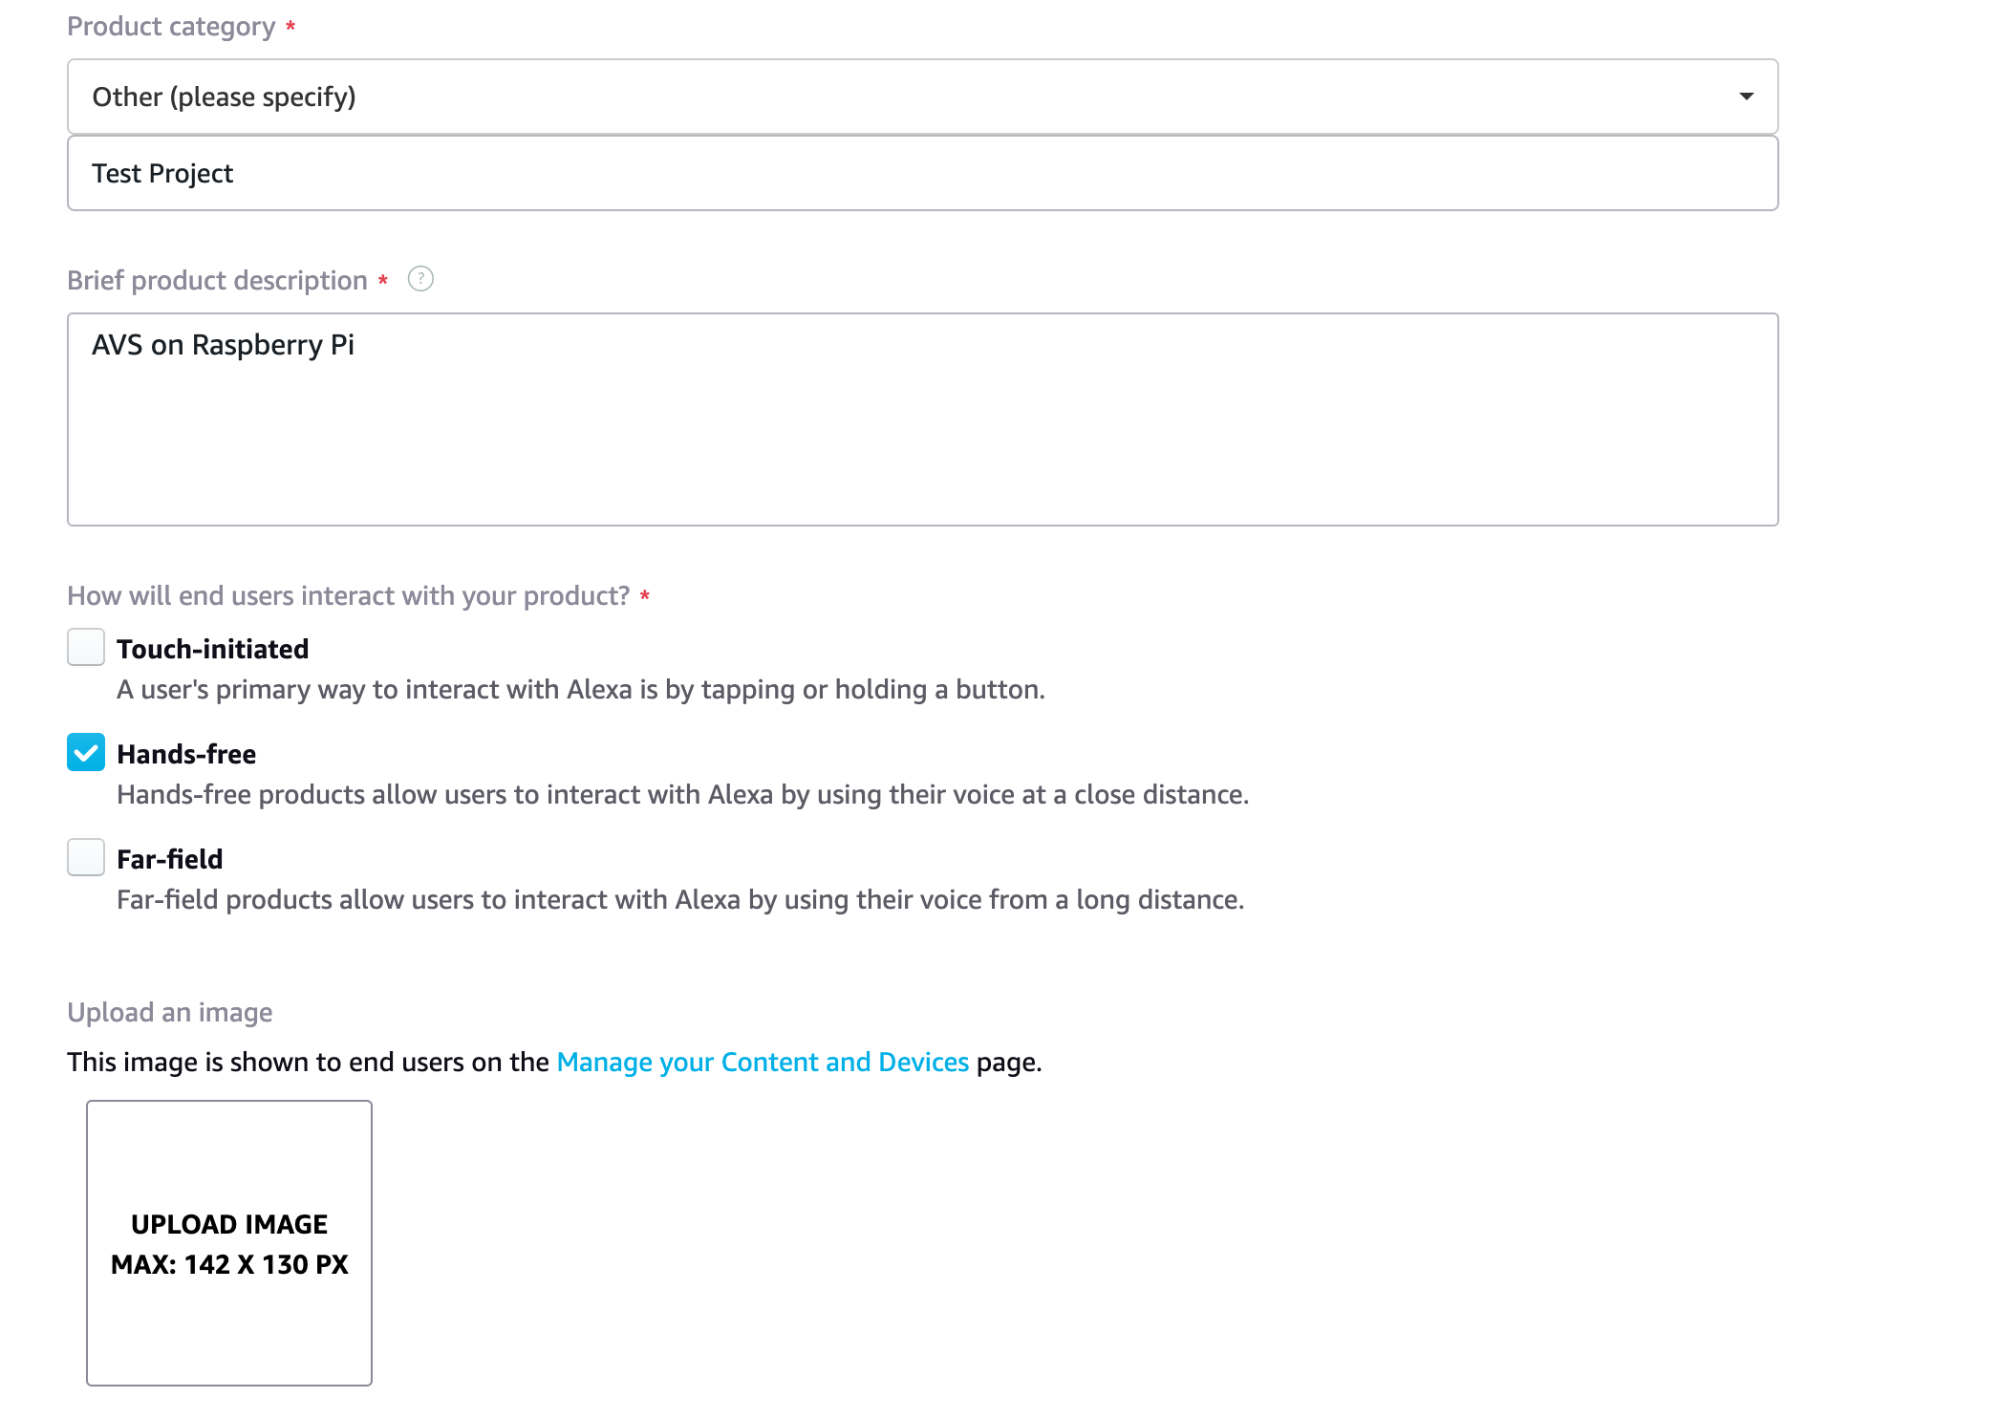
- Select Other for Product Category and enter your value in the text field.
- Enter your Brief product description.
- Select Hands-free for “How will end users interact with your product?”
- Uploading an image is optional.
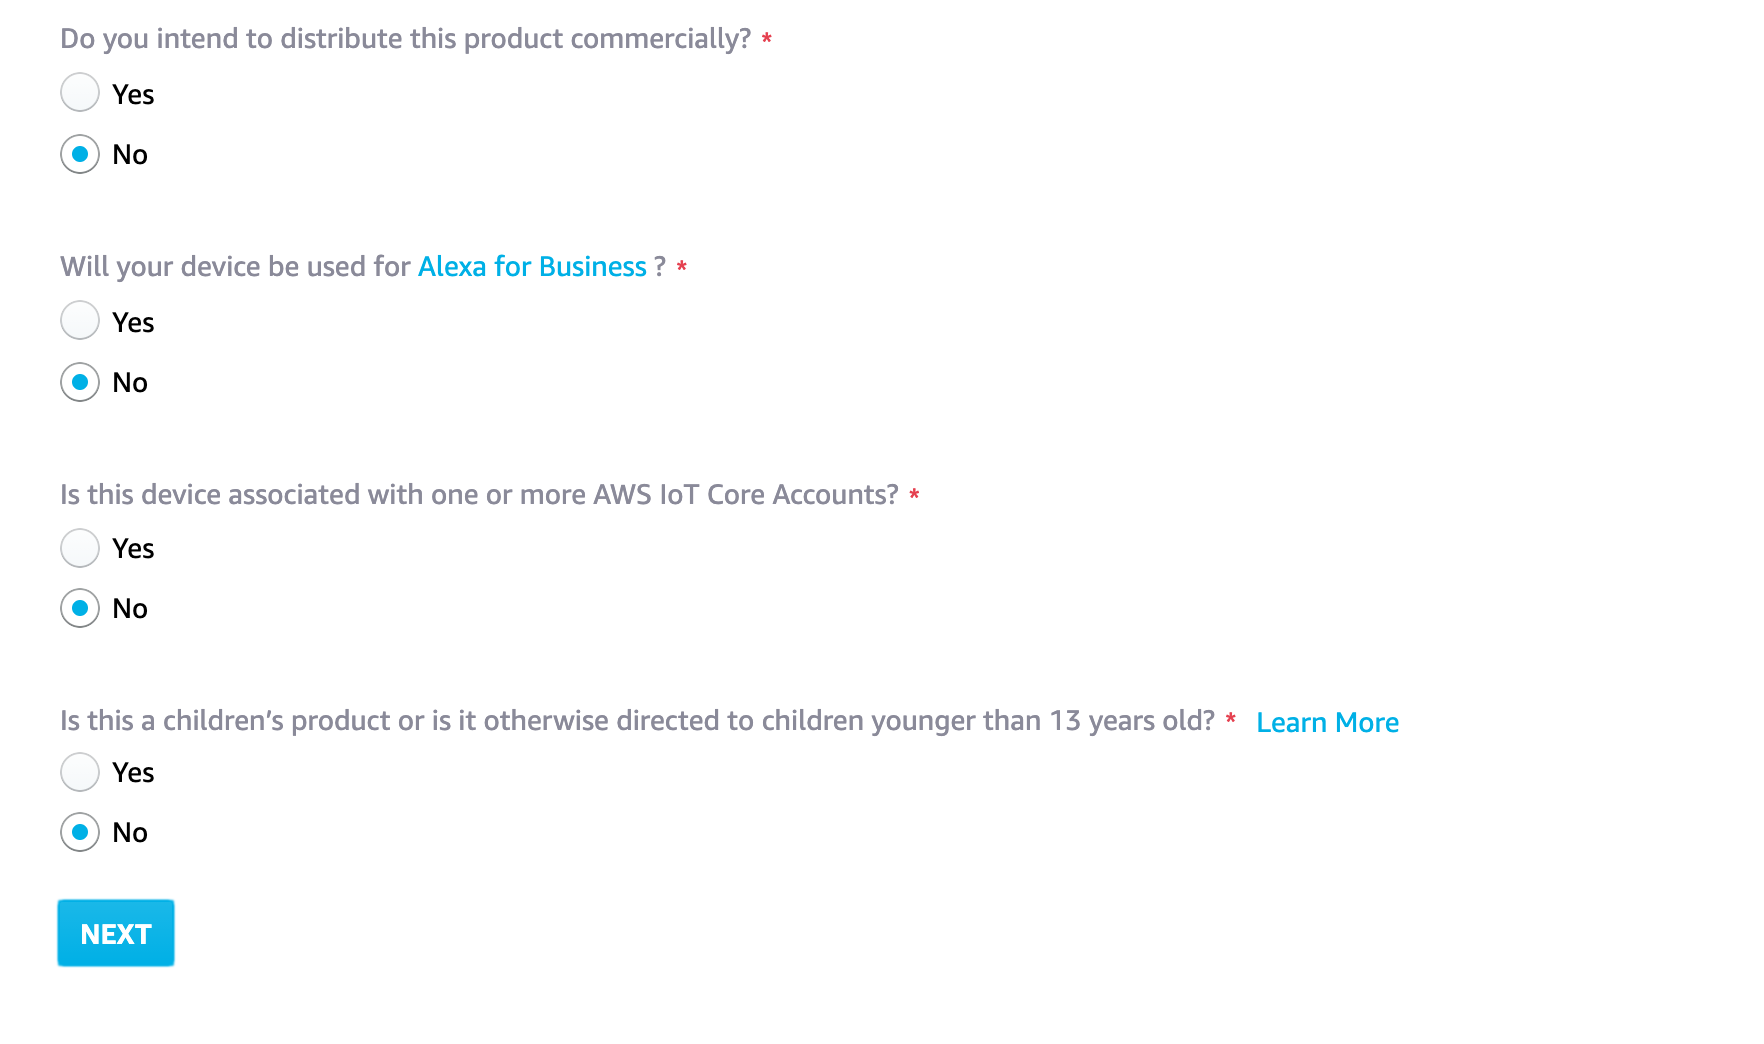
- Select No for commercial distribution, Alexa for Business, AWS IoT Core, and children’s product.
- Click Next.
Next, you’ll be prompted to set up your AVS Security profile.
10. Click CREATE NEW PROFILE
11. Enter your profile name and description.
12. Click Next
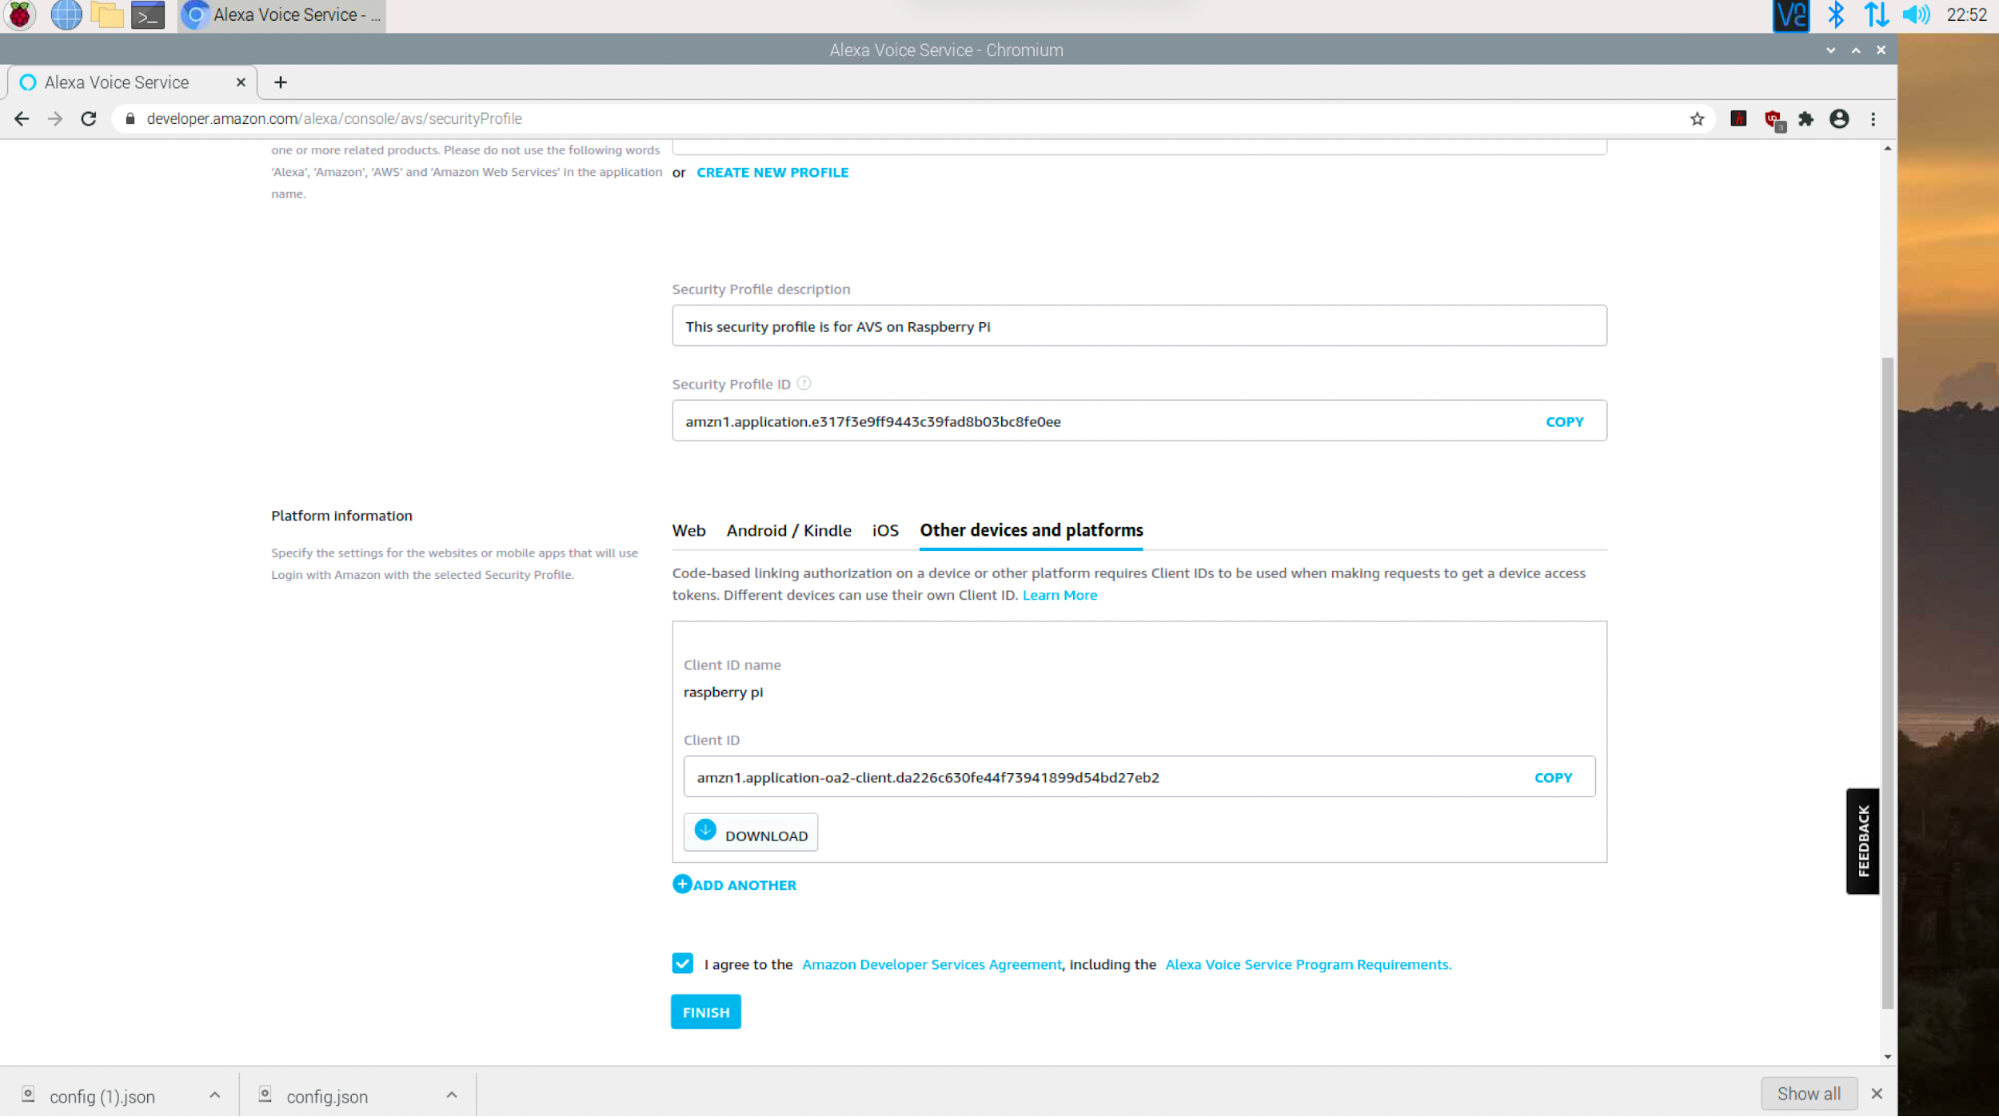
13. Click Other devices and Platforms in the Platform Information area
14. Enter a Client ID name of your choosing.
15. Click GENERATE ID
16. Click Download and a config.json file will download to your Pi.
17. Check the box for terms and conditions and click Next.
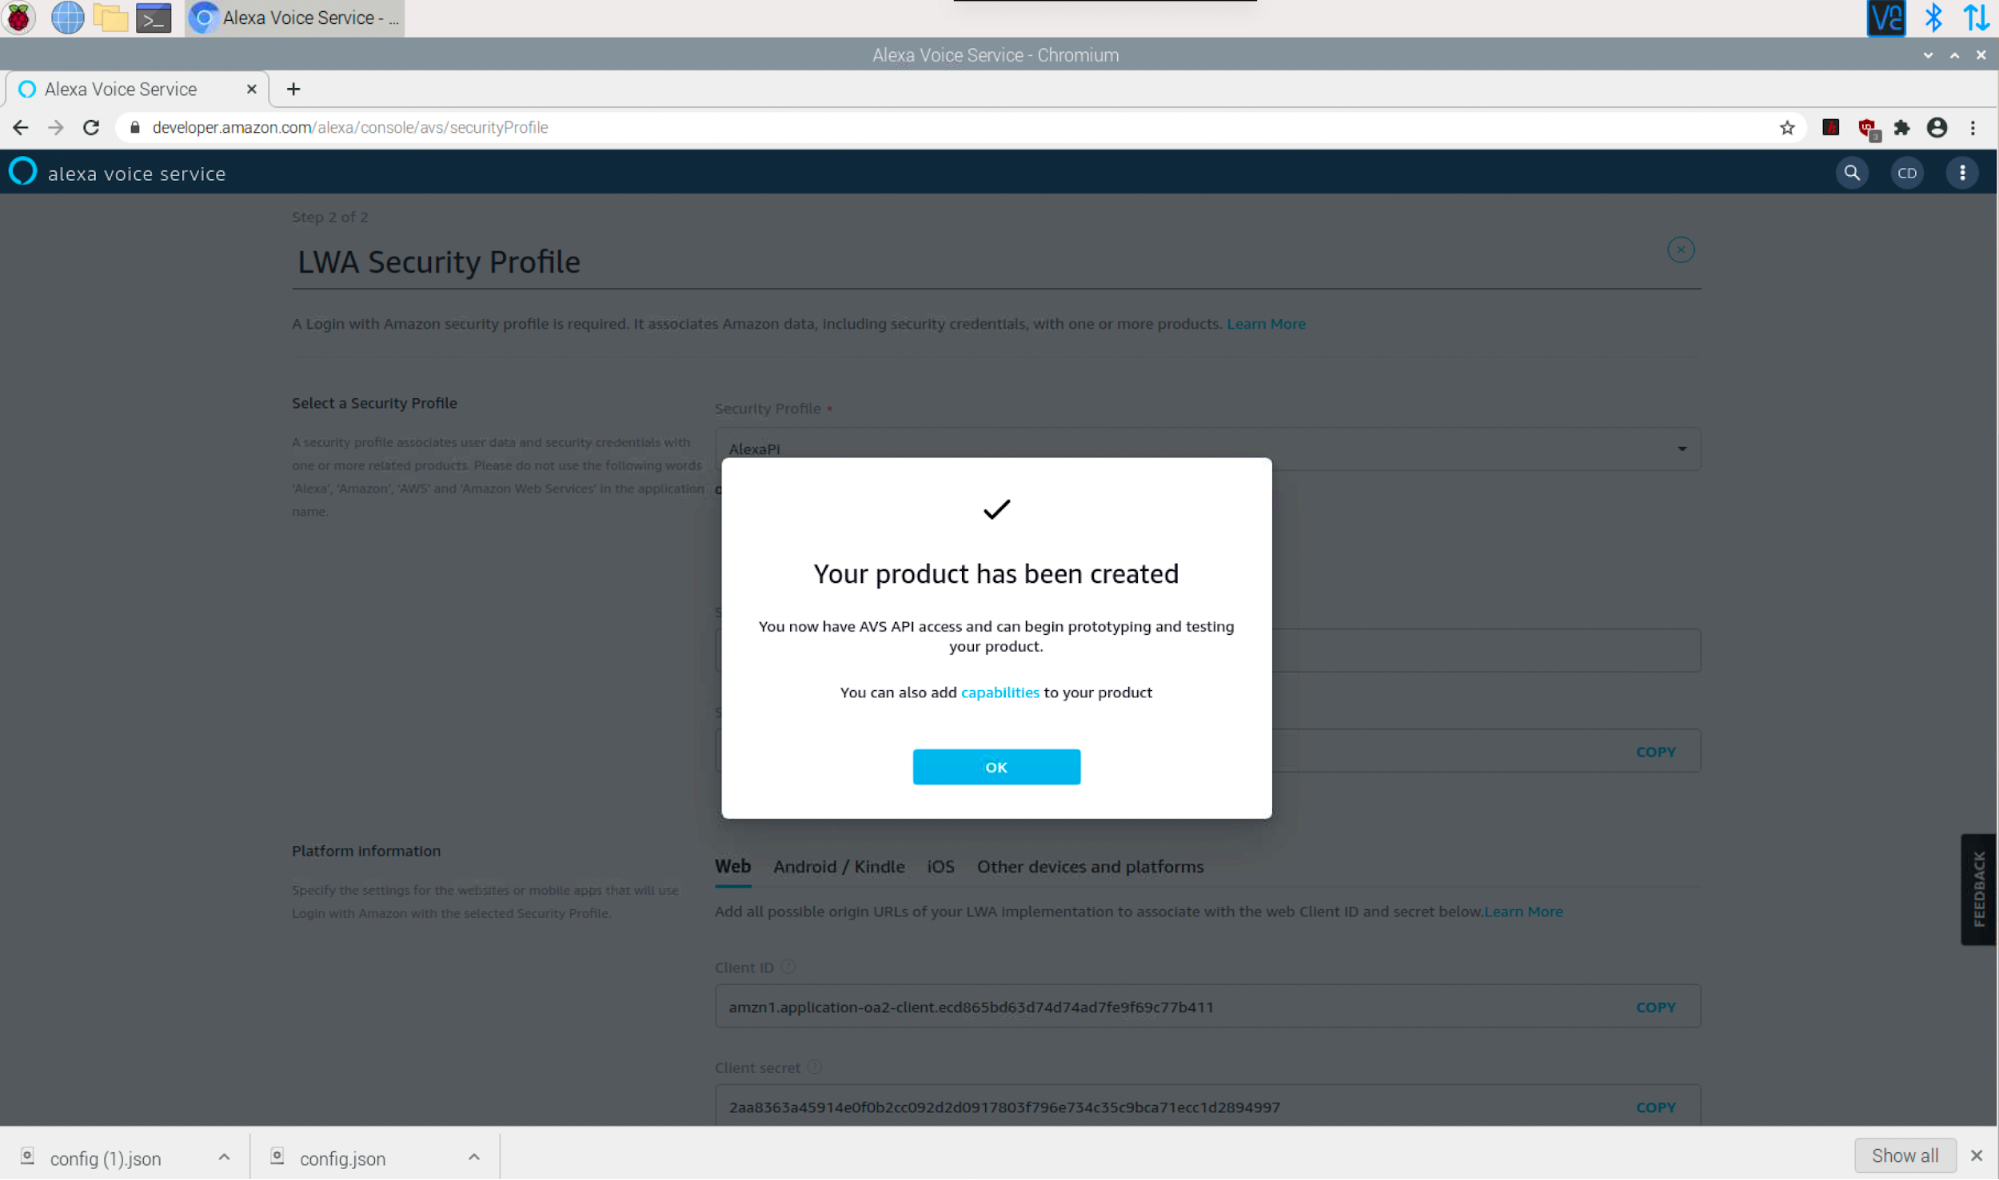
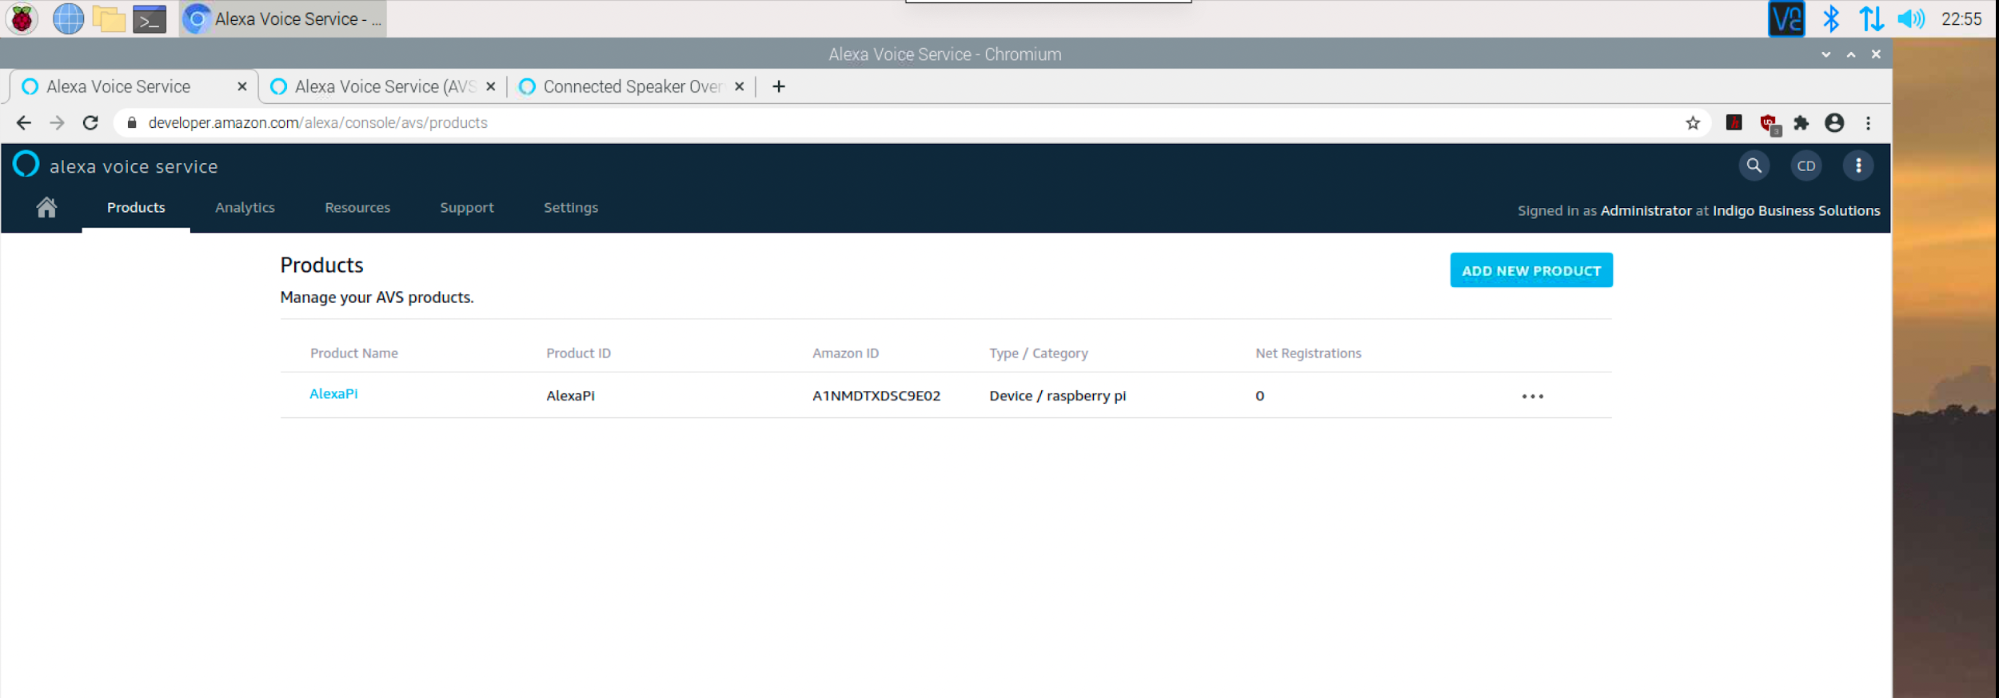
18. Click OK. You’ll be taken back to the product page. You should see the product you just created.
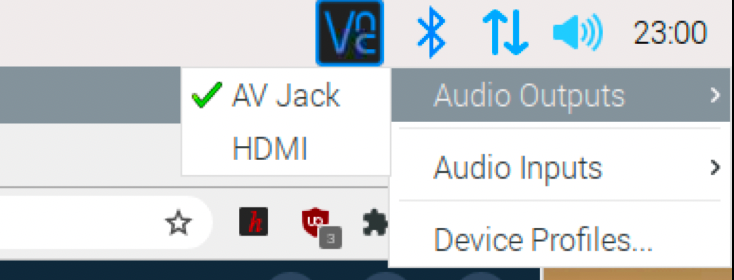
19. On the top right corner of your Raspberry Pi desktop, right click on the speaker icon and select AV Jack.
20. Left click on the same speaker icon and set the volume to 100%.
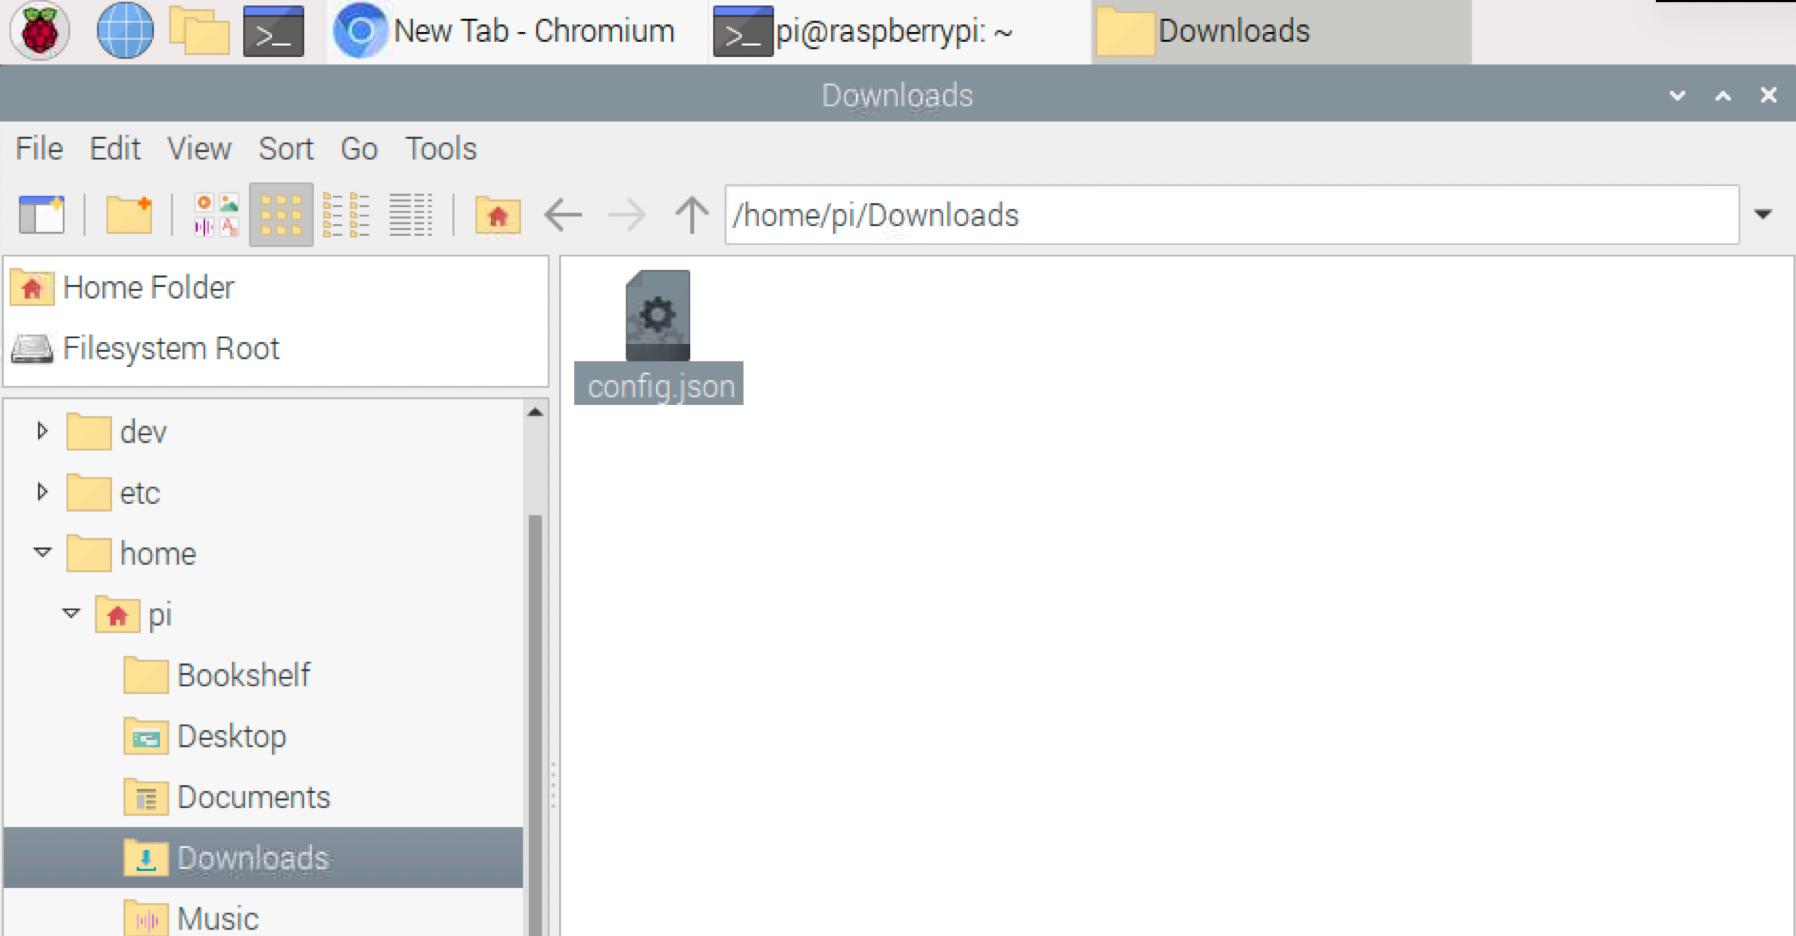
21. Open your file manager and navigate to your Downloads folder.
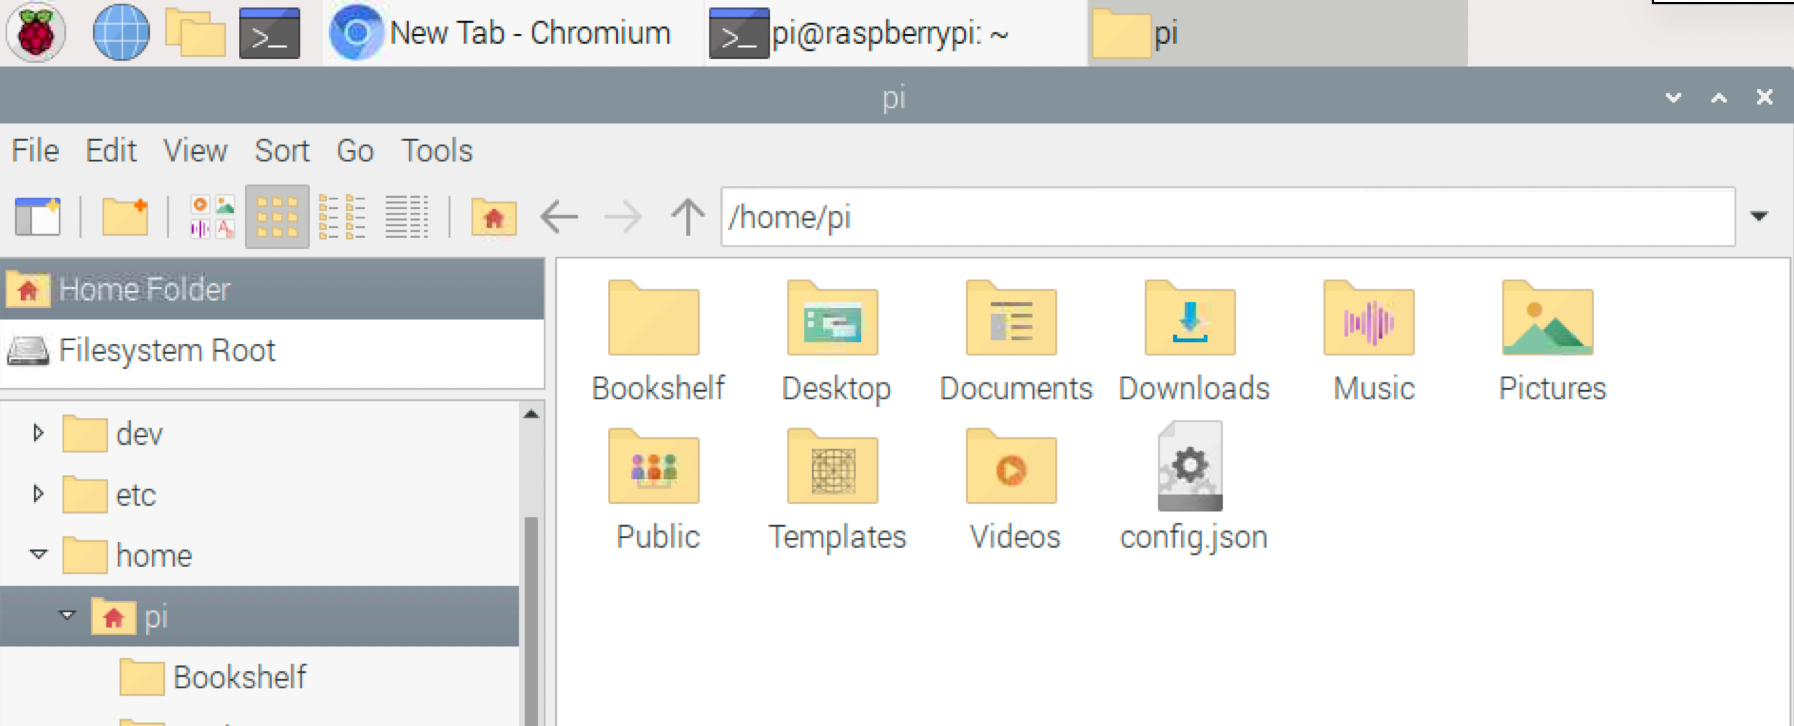
22. Move your config.json file from Downloads to pi.
23. Open a Terminal on your Raspberry Pi desktop.
24. Run updates:
udo apt-get update && sudo apt-get upgrade
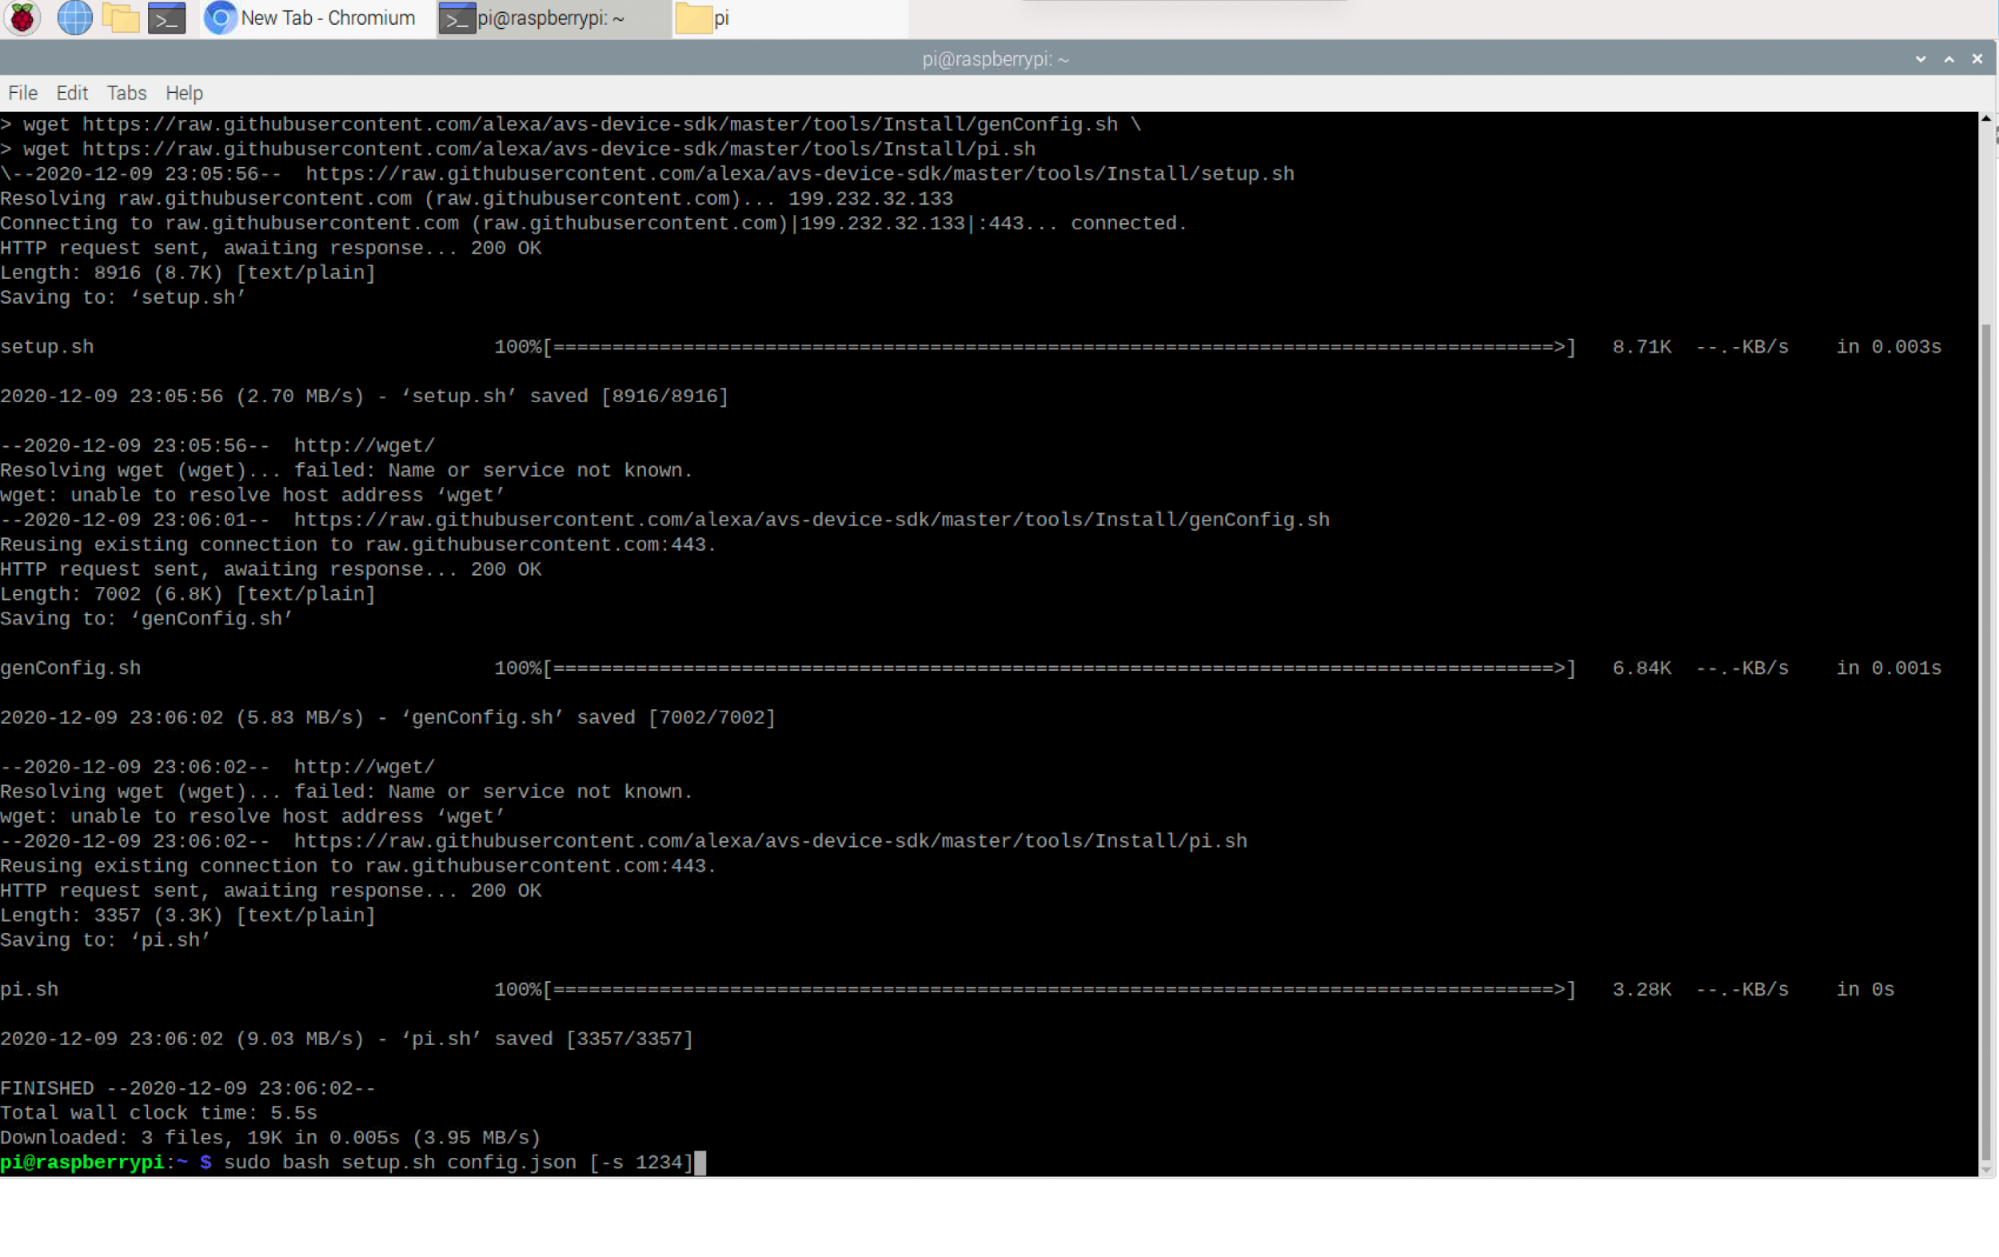
25. Next, enter the following as one command.
wget https://raw.githubusercontent.com/alexa/avs-device-sdk/master/tools/Install/setup.sh \

wget https://raw.githubusercontent.com/alexa/avs-device-sdk/master/tools/Install/genConfig.sh \

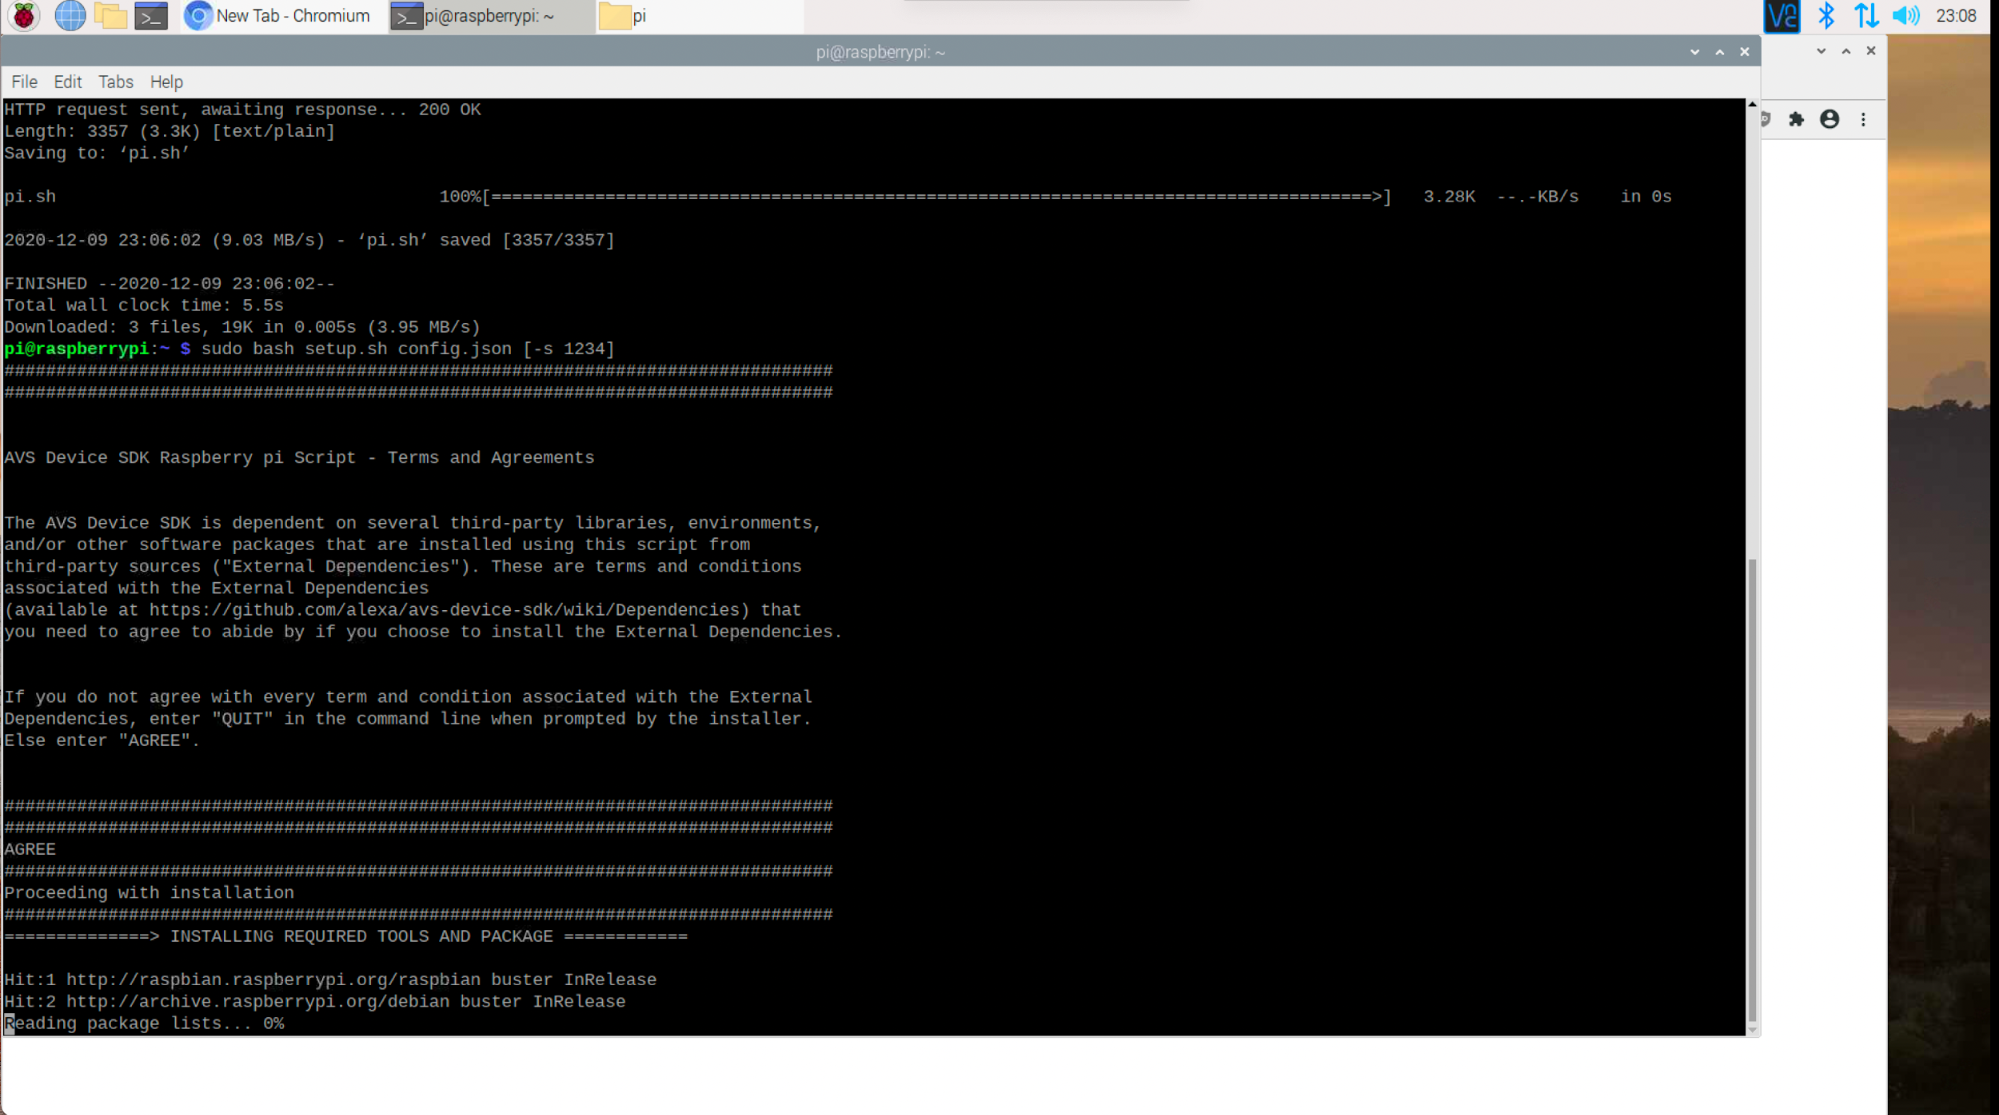
wget https://raw.githubusercontent.com/alexa/avs-device-sdk/master/tools/Install/pi.sh26. Next, run the install script
sudo bash setup.sh config.json [-s 1234]27. Type AGREE and hit Enter (if you agree with AVS Terms and conditions). This step can take 30 minutes to over an hour depending on your Raspberry Pi model and internet speed.
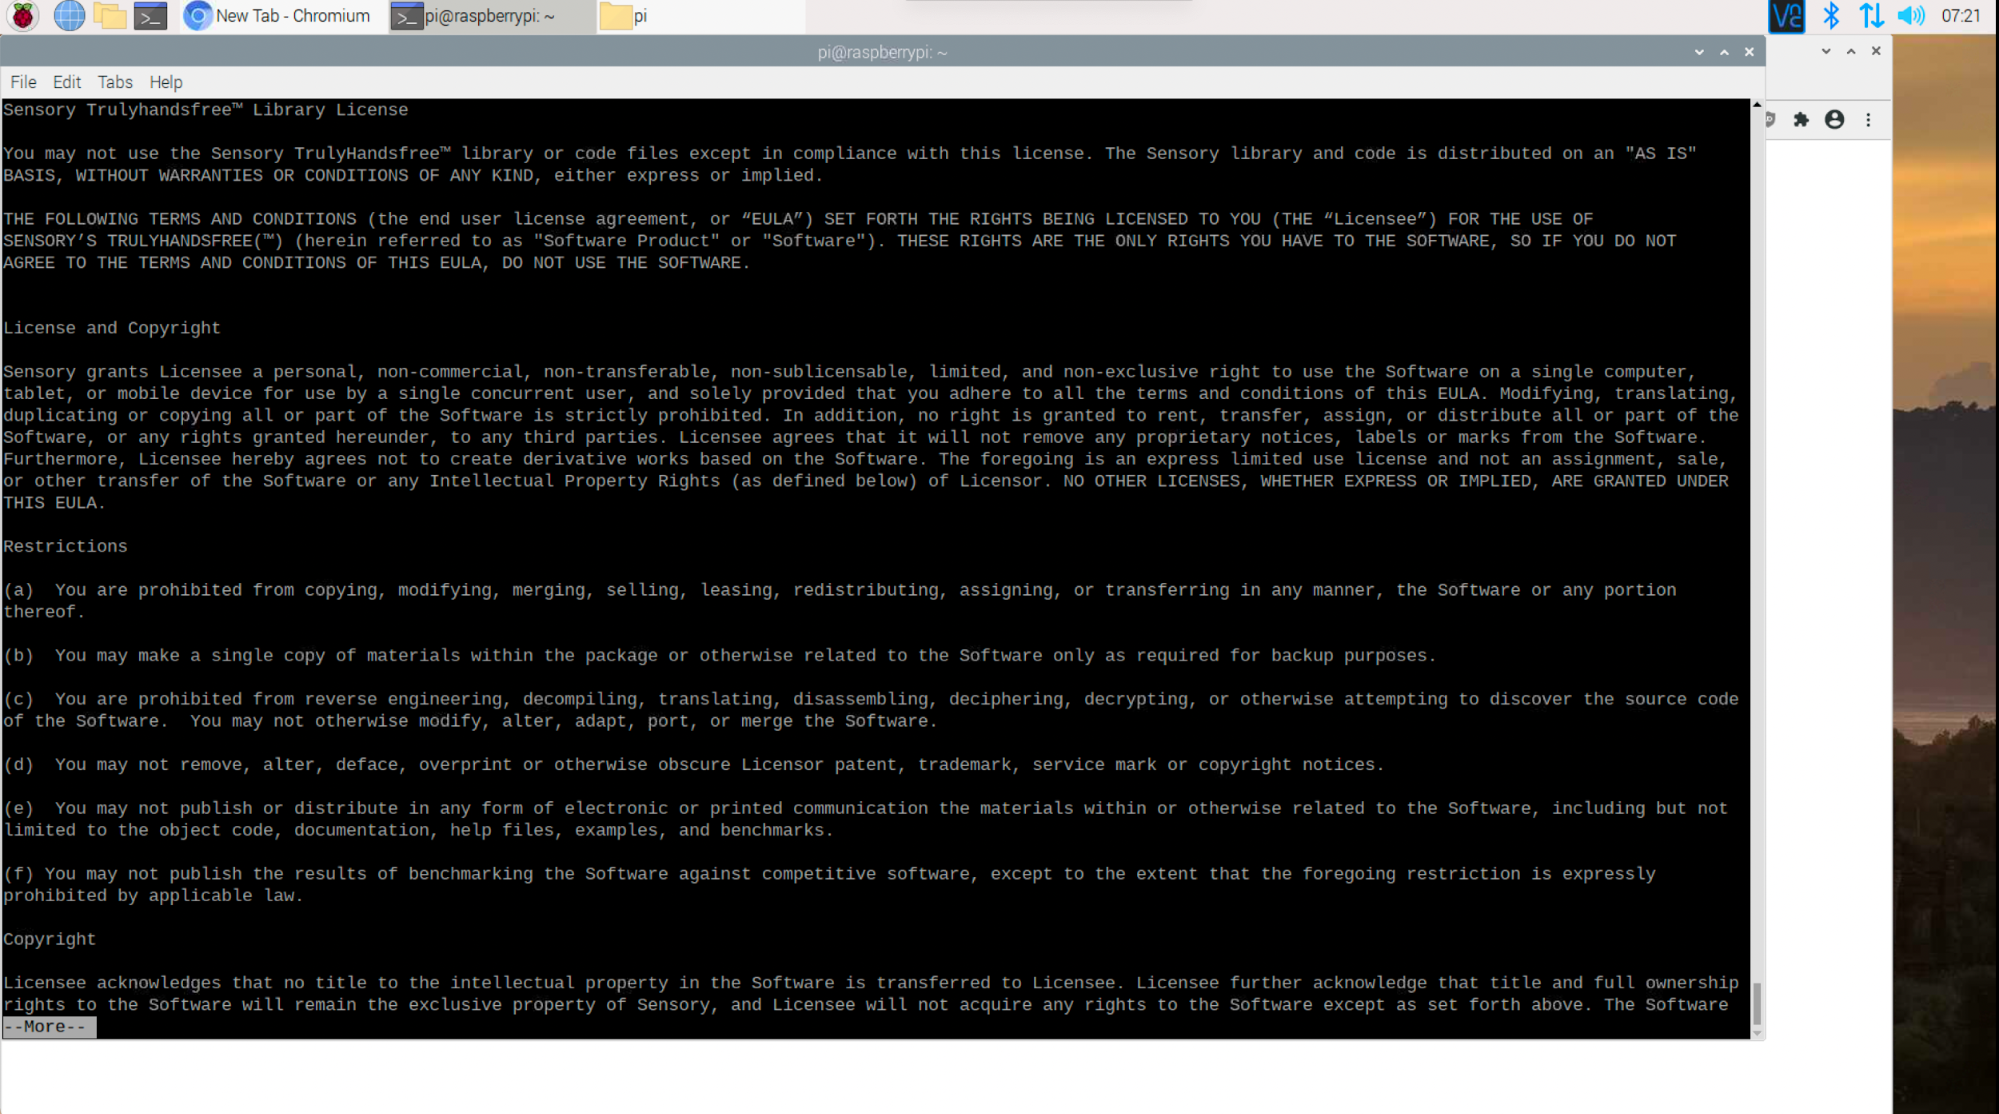
28. During the install process you’ll be prompted to review the license agreement. Press Enter to view the agreement. Press the spacebar to page down through the agreement.
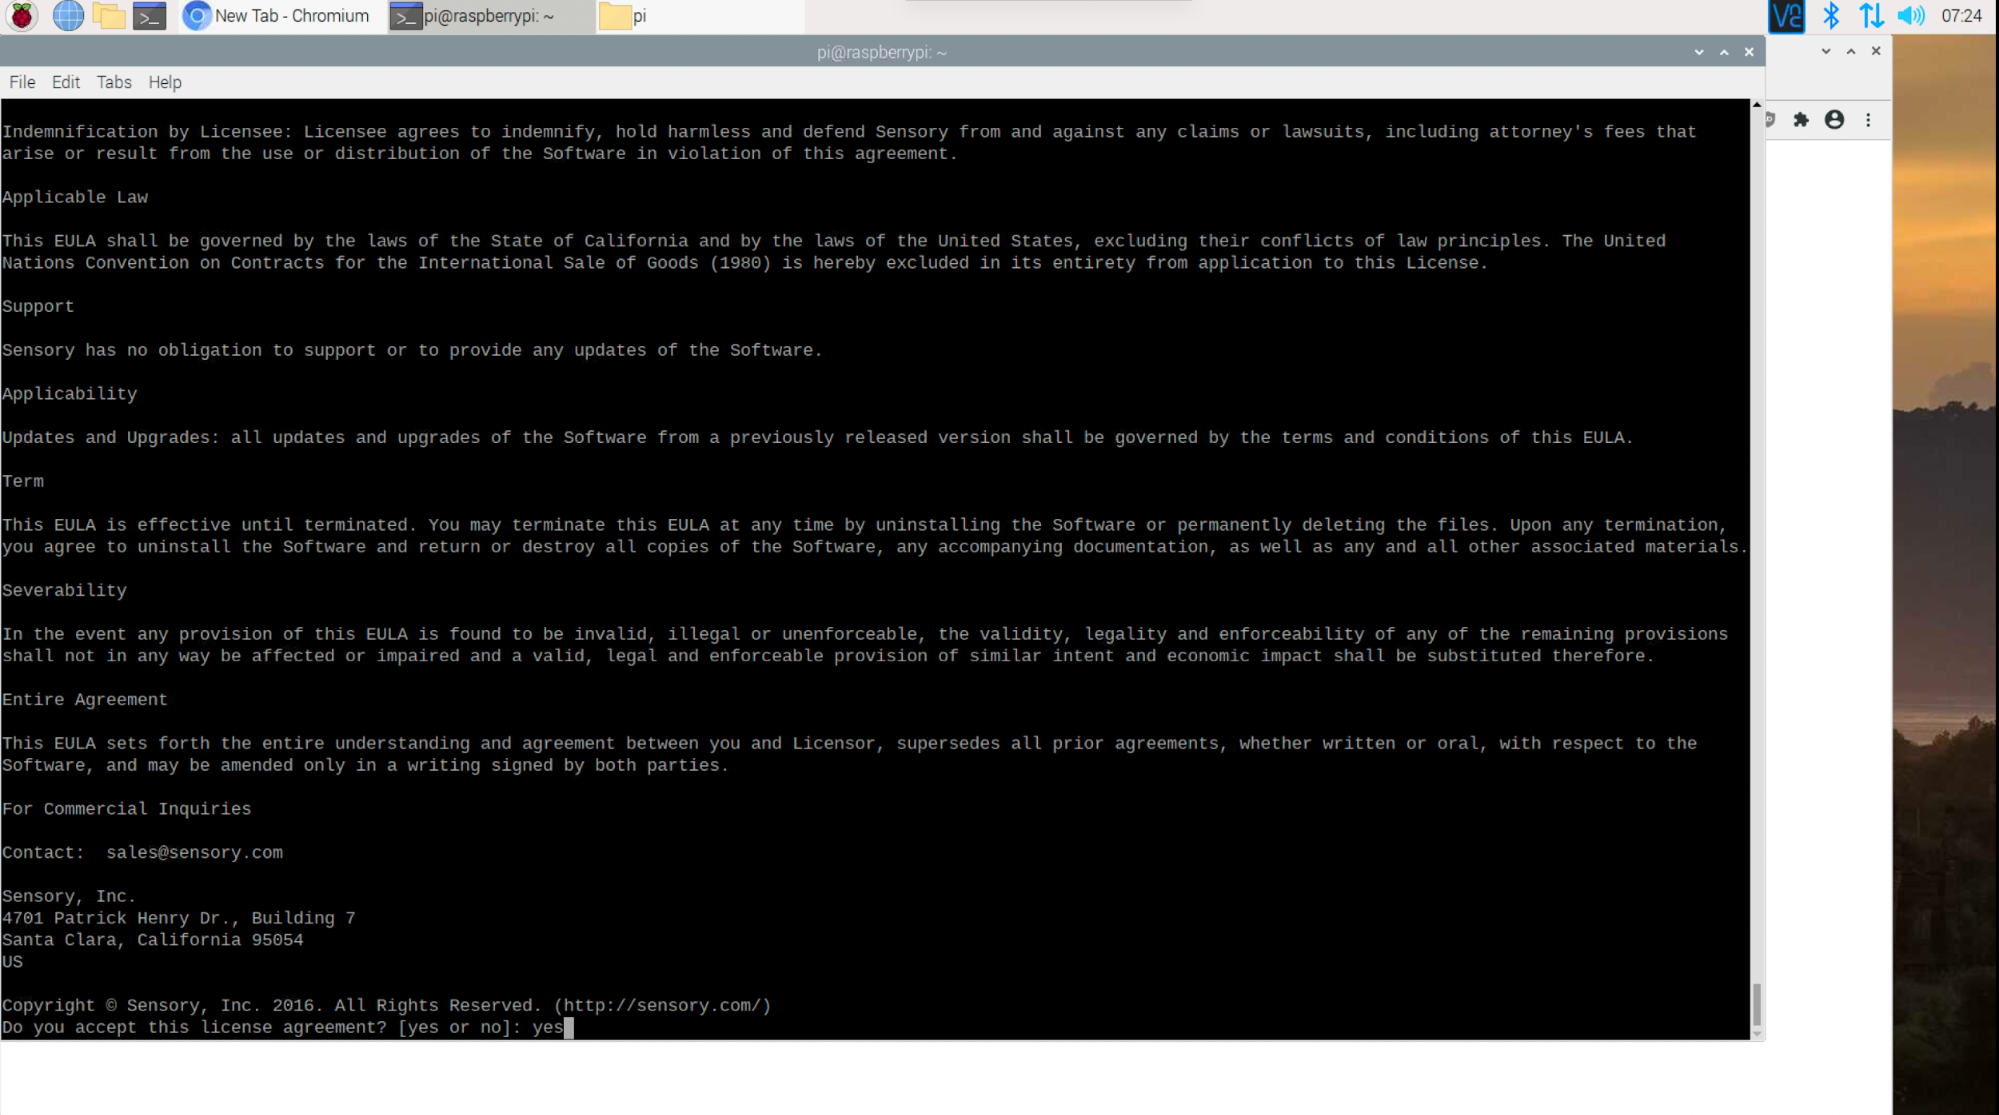
29. If you accept the license agreement, type yes when prompted.
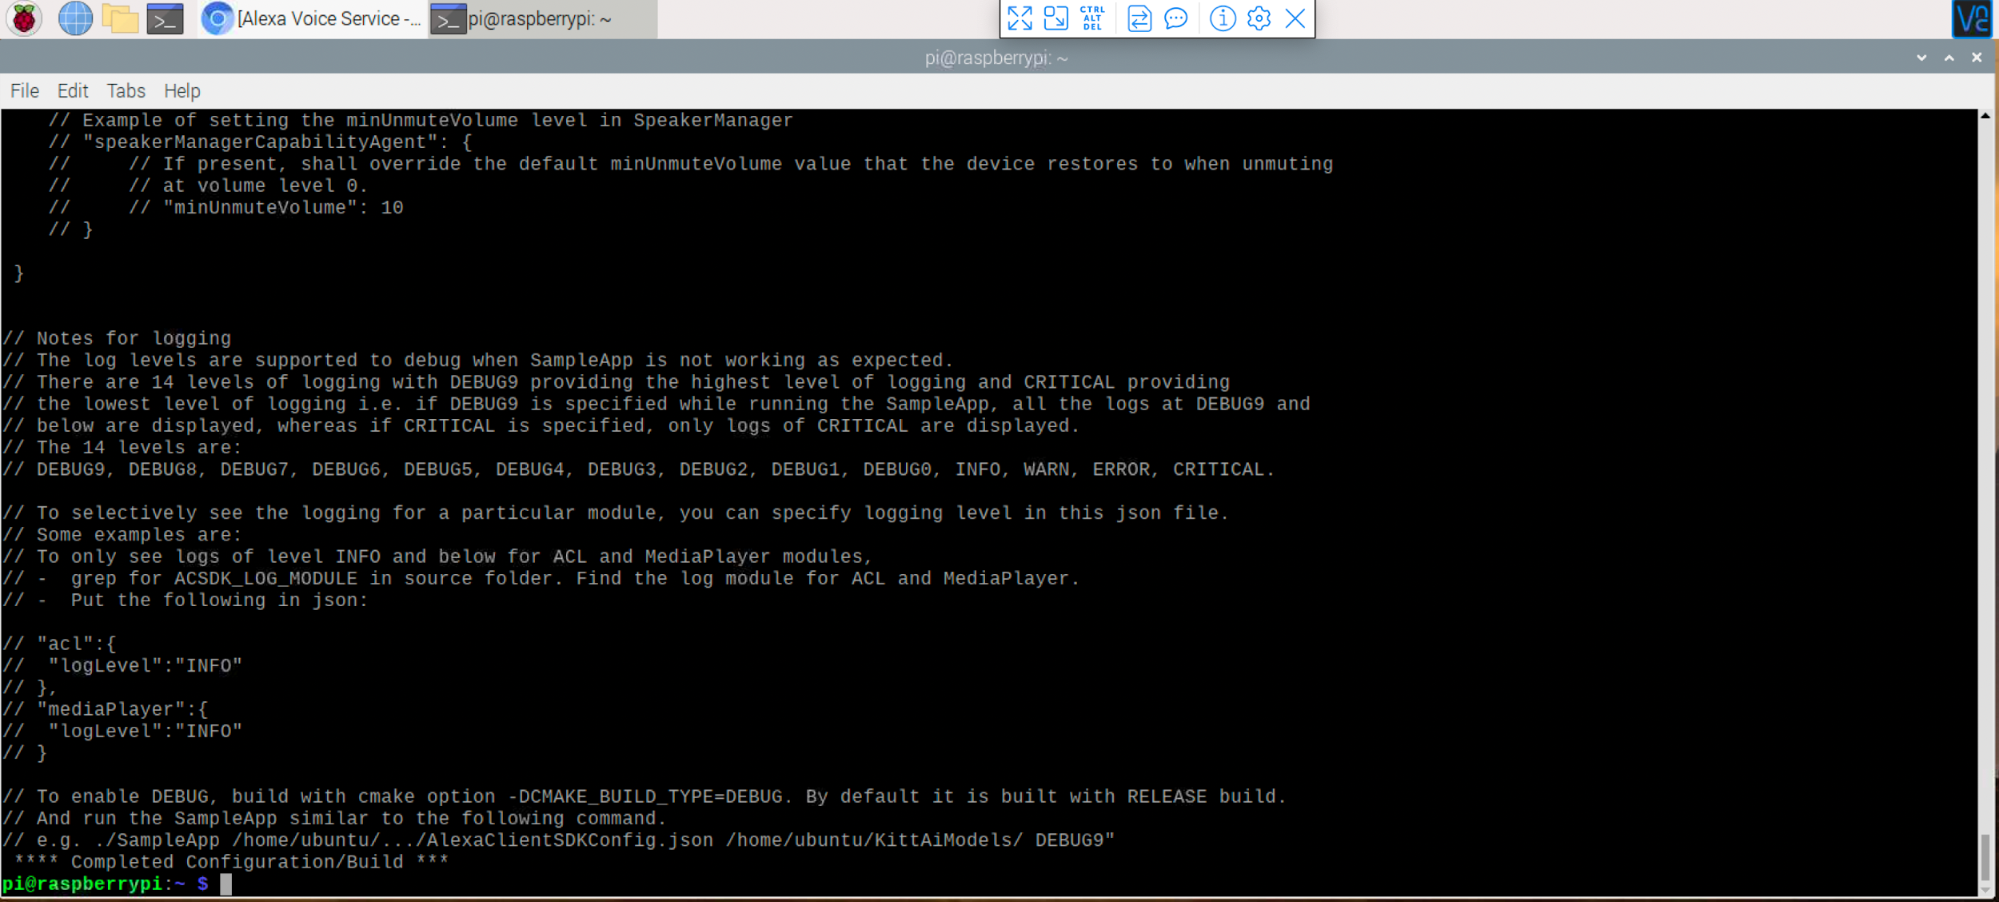
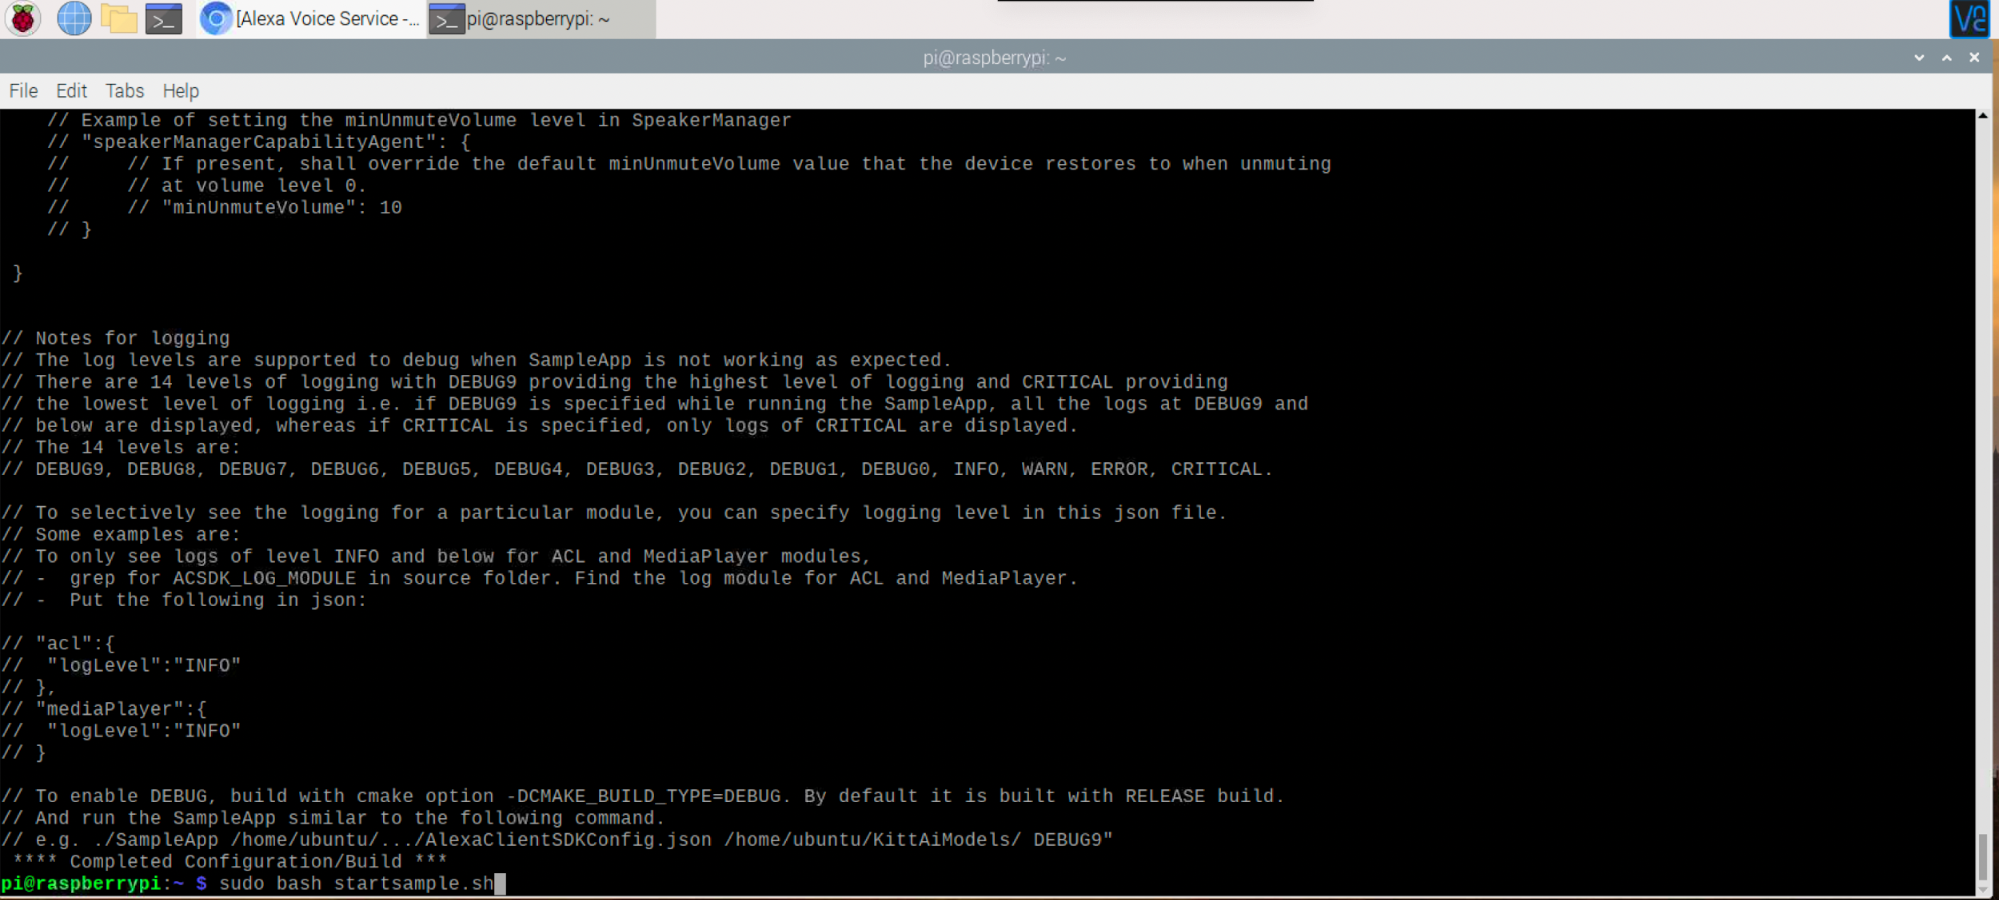
Your build is complete when you see **** Completed Configuration/Build ***
Troubleshooting
- In some cases, your Raspberry Pi may freeze and/or over heat during installation. If this happens to you, unplug your Raspberry Pi and allow it to cool for at least 5 minutes. Once your Pi has cooled, plug it back in and restart your terminal command sudo bash setup.sh config.json [-s 1234]
- If you get a fatal error: curl/curl.h: No such file or directory that means you need to install curl. In your Terminal enter:
sudo apt-get install libcurl4-openssl-dev

sudo apt-get install libcurl4-gnutls-dev
Launching AVS on Raspberry Pi
If you reached **** Completed Configuration/Build *** in the previous step, Congratulations! In the next step, we will start our Alexa app, and Authenticate Alexa on our account. Authentication only needs to be done once per AVS app.
1. In the terminal, enter
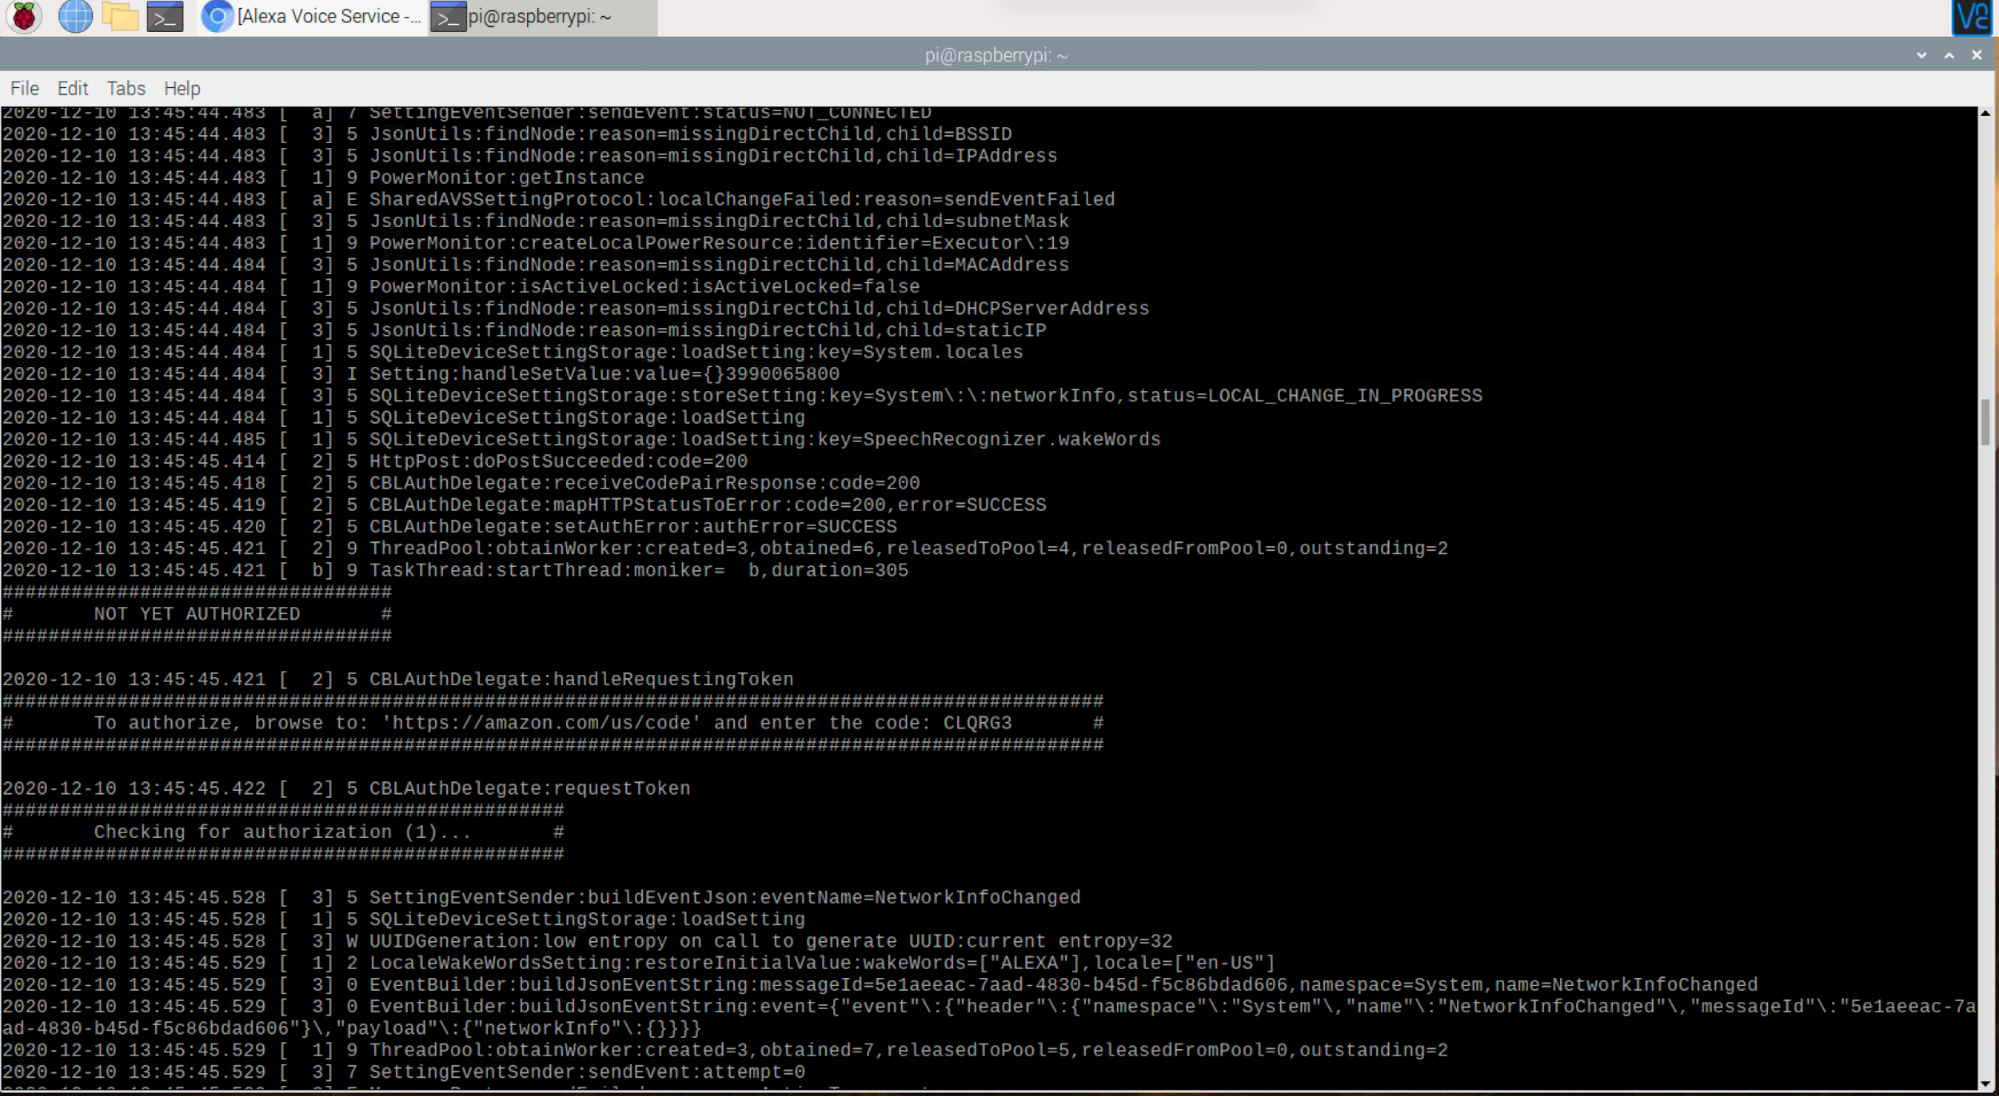
sudo bash startsample.sh2. You’ll see many lines scroll quickly on your terminal. Scroll up until you see: To authorize, browse to: 'https://amazon.com/us/code' and enter the code: [your unique 6-digit code here]
3. In your Chromium browser, navigate to https://amazon.com/us/code
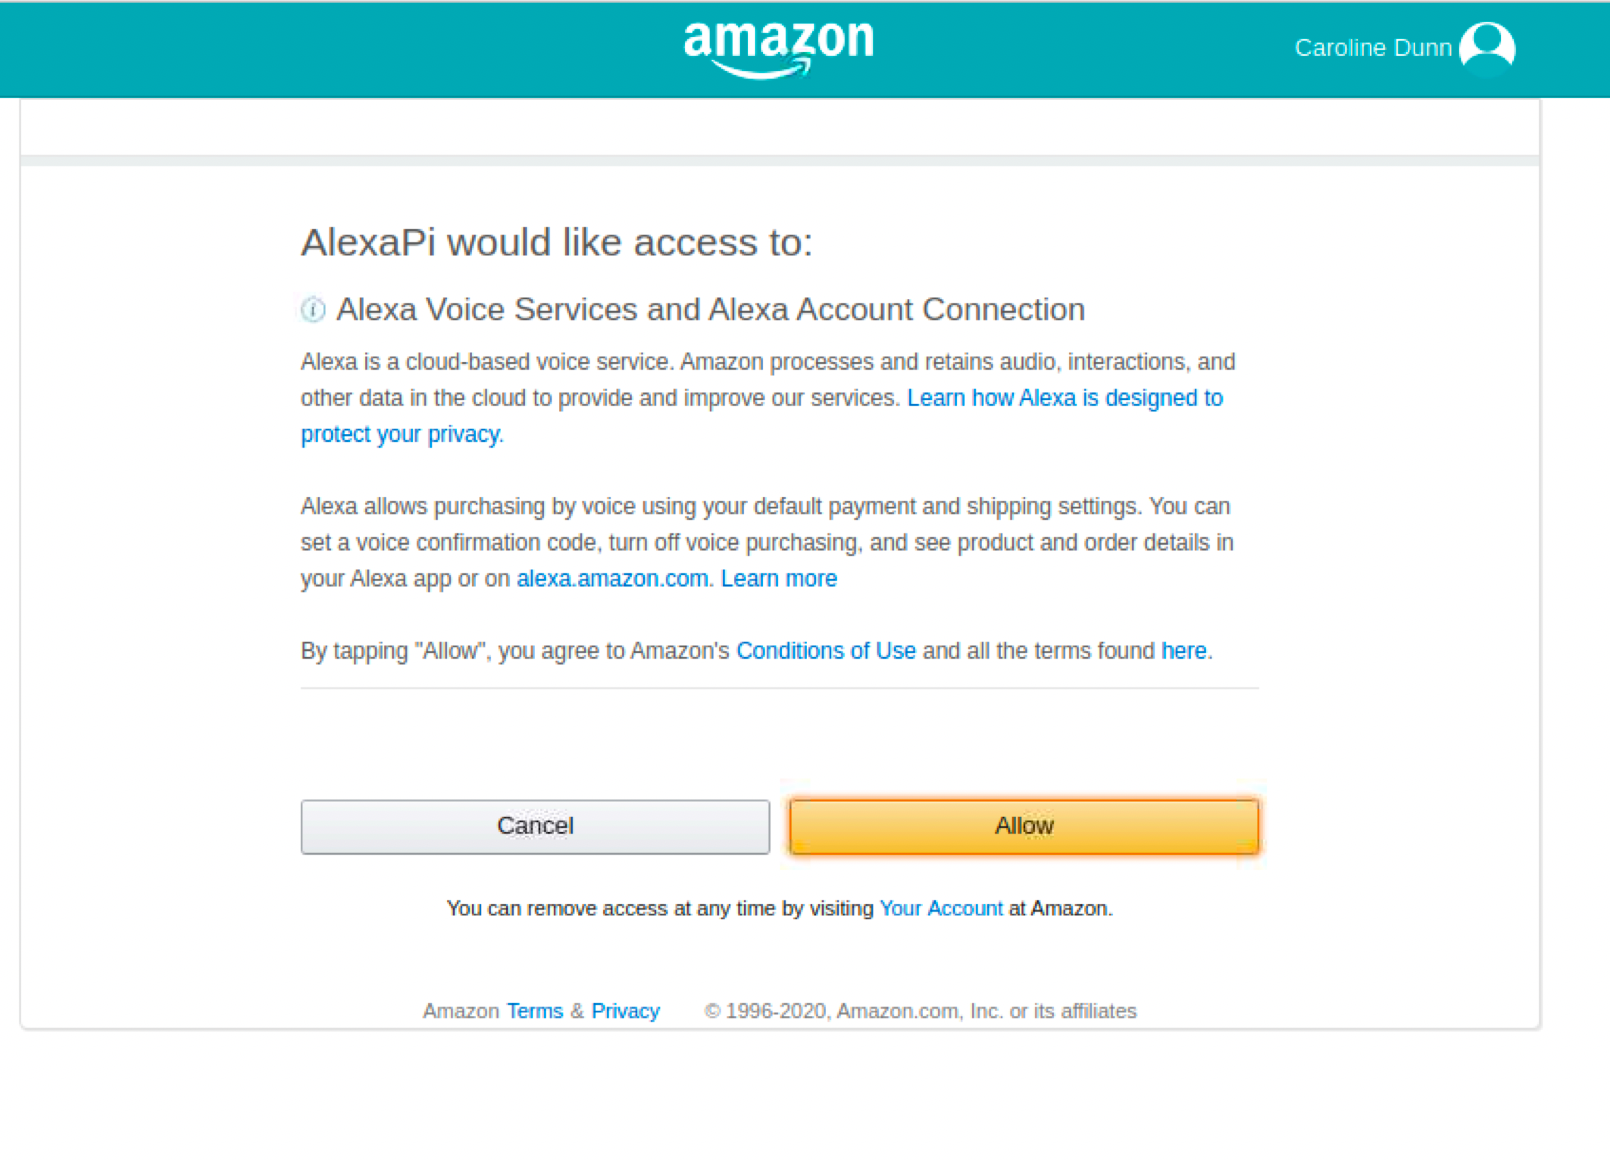
4. Enter the provided code and click Continue.
5. Click Allow.
6. If you see “Success! Your registration is now complete,” you can start testing your AlexaPi.
7. Say, “Alexa, good morning.” This should be a “hands-free” experience that does not require you to press additional keys to work. If your AlexaPi responds back, Great Job!
8. At this point, you can continue to test your AlexaPi by saying, “Alexa, ….” We have provided a list of “Fun Things to Ask Alexa” below.
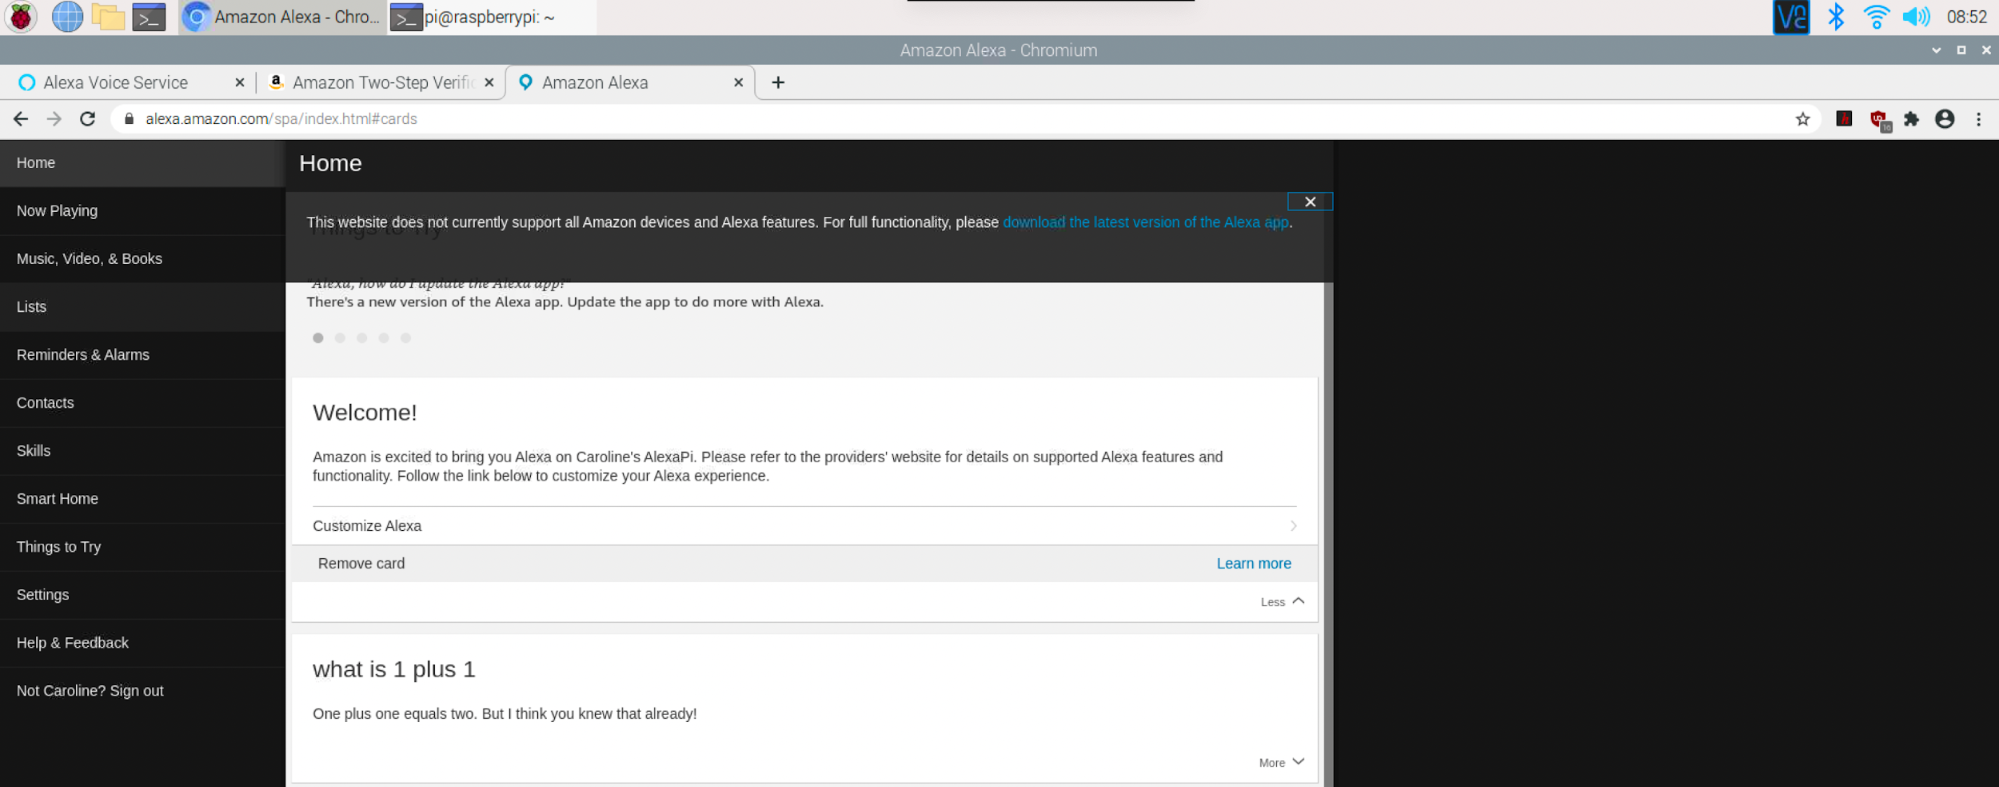
9. In your Chromium browser, navigate to https://alexa.amazon.com
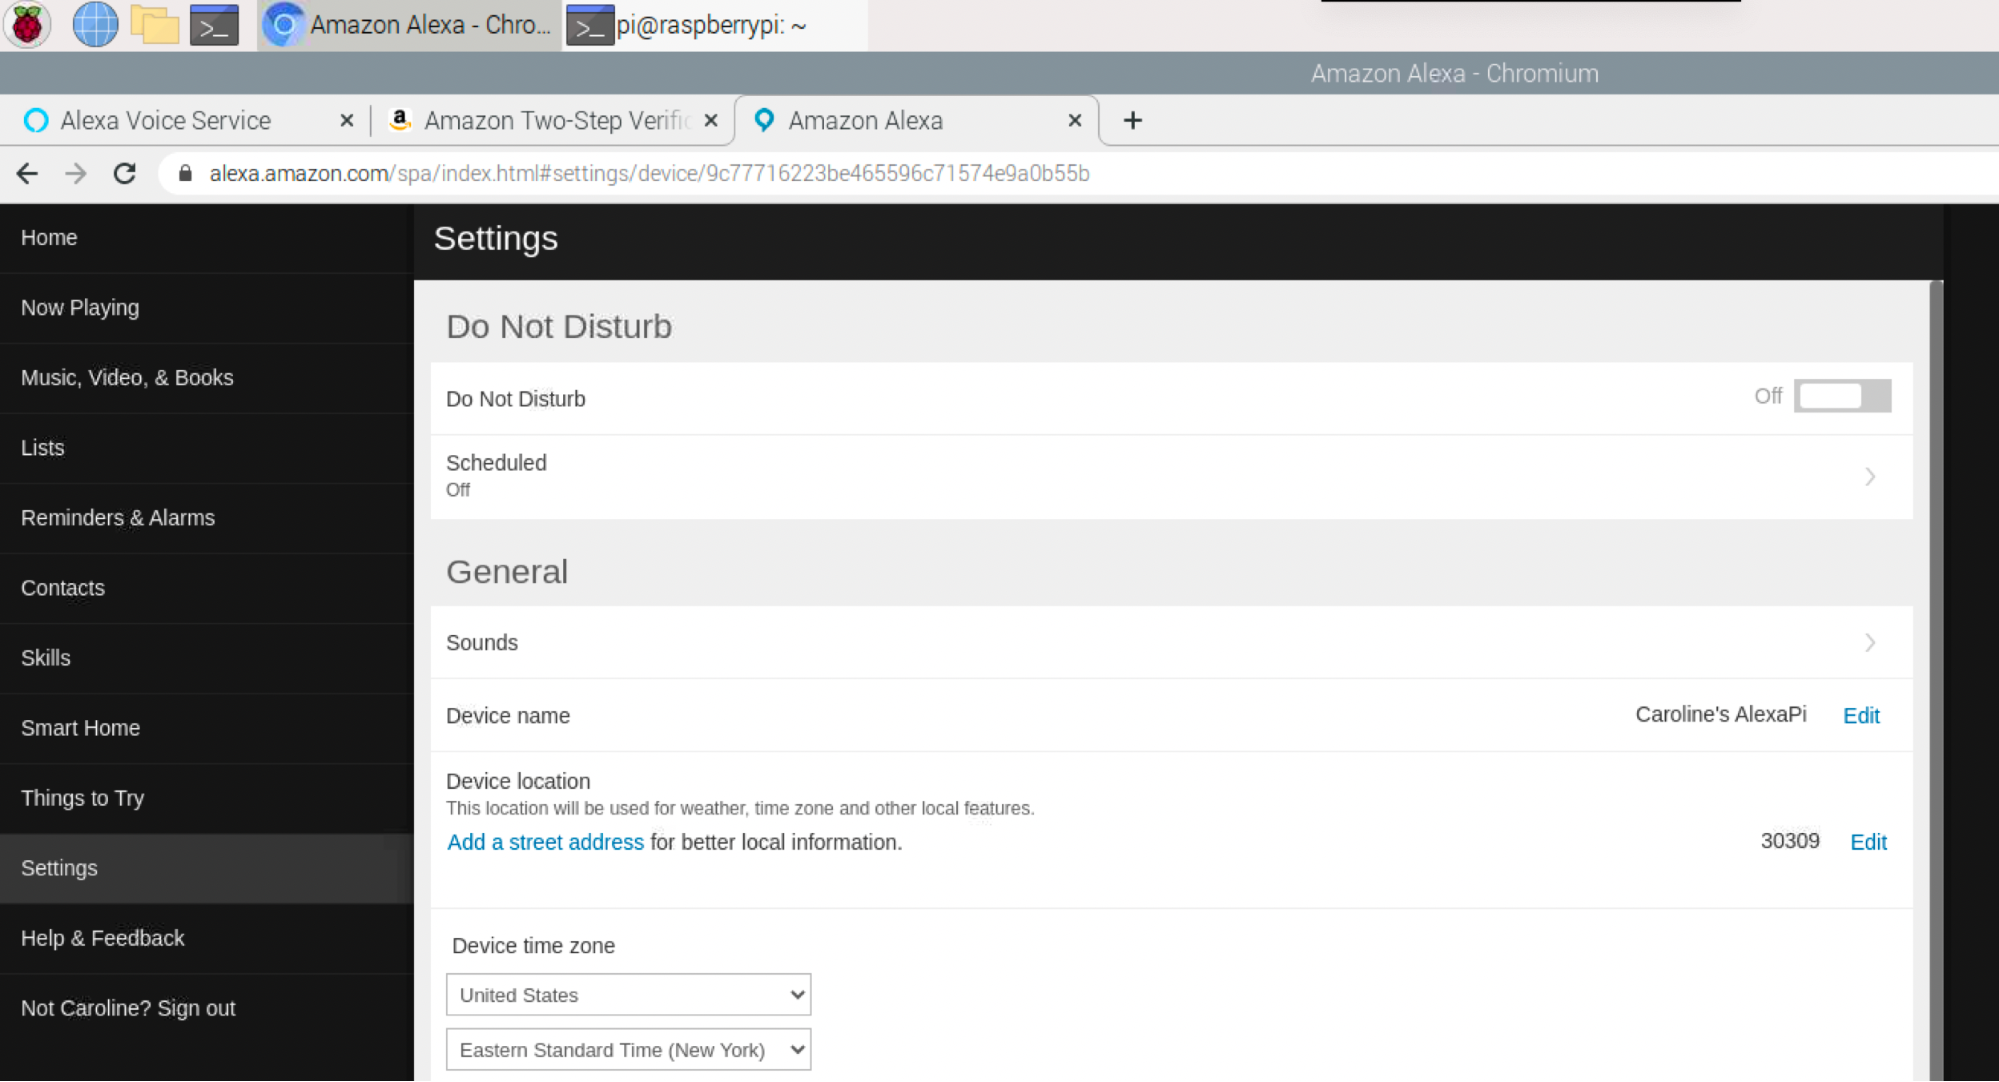
10. location. After you set your device location, you can listen to your current local weather by saying, “Alexa, tell me the weather.”
11. To add Smart Home devices click on Smart Home on the left menu and enable account linking per the instructions from your device manufacturer.
12. When you are done with AlexaPi, return to the Terminal and press Ctrl-C.
Fun Things to Ask Your Raspberry Pi-Powered Alexa
Now that you have Alexa working on your Raspberry Pi, what will you ask her? Here are a few suggestions.
- Play music.
- Can you sing?
- Talk Like a pirate.
- Can you rap?
- Open cat food. (Disclaimer: This is a skill that I wrote)
- Make me a sandwich.
- What’s the first rule of fight club?
Next Steps
To mimic the lighted ring on the top of the Echo device, you could add a few LEDs to your project with this LED tutorial from Amazon.
If you have completed this tutorial and were disappointed that there was no Echo Show functionality, we will add screen functionality in a future article.
Caroline Dunn is a freelance writer for Tom's Hardware. Her expertise lies in covering Raspberry Pi projects, creating video tutorials, writing guides, and exploring other entertaining tech DIY initiatives.
-
gdmaclew If I finished all the steps successfully, how can I tell if the Alexa App is running after I reboot the Pi?Reply
Amazon Alexa can't find it.
OK. You have to run the
"
sudo bash startsample.sh"
command when you reboot your RPi. I'm not sure how to get it to automatically run it on boot. It works perfectly!

