How to Build a Raspberry Pi-Powered Teleprompter
There are many options out there for content creators when it comes to teleprompters, but most affordable ones involve an app on your phone that can be clunky or extra hardware that may not work well with your camera setup. However, you can build your own Raspberry Pi-powered teleprompter, using some Python code, basic electronic components and 3D printed parts.
What You’ll Need: Raspberry Pi Teleprompter
- Raspberry Pi 4B
- 3 tactile momentary buttons
- sliding switch
- Adafruit Perma-Proto HAT
- Adafruit TFP401 HDMI/DVI Decoder to 40-pin TTL Breakout Without Touch
- 5" 40-pin 800x480 TFT Display without Touchscreen
- HDMI to Micro-HDMI cable
- Black PLA Filament
- Wire and Soldering Iron
Software Setup of Raspberry Pi Teleprompter: Install Dependencies and Scripts
The Python code requires a few dependencies. You'll need to install two libraries: Tkinter and pynput, along with Adafruit’s Blinka layer.
1. Install Tkinter using the apt-get command in the terminal. Tkinter is a Python library for creating basic graphical user interfaces and here it's being used to create the teleprompter application portion of the project.
sudo apt-get install python-tk
2. Install Pynput using pip3. Pynput is a keyboard and mouse simulator Python library. For this project, it's being used to simulate mouse scrolling for the text box created with Tkinter.
pip3 install pynput
3. Install Blinka,, an Adafruit CircuitPython compatibility layer for single-board computers running Linux. Blinka also lets you run CircuitPython libraries alongside Python libraries. The basic setup just involves entering these three commands:
sudo pip3 install --upgrade adafruit-python-shell

wget
https://raw.githubusercontent.com/adafruit/Raspberry-Pi-Installer-Scripts/master/raspi-blinka.py

sudo python3 raspi-blinka.py
If you have issues, see Adafruit’s Blinka install guide.
4. Download all three .py files from my github page and place them in your /home/pi directory.
Get Tom's Hardware's best news and in-depth reviews, straight to your inbox.
Python Scripts for Raspberry Pi Teleprompter
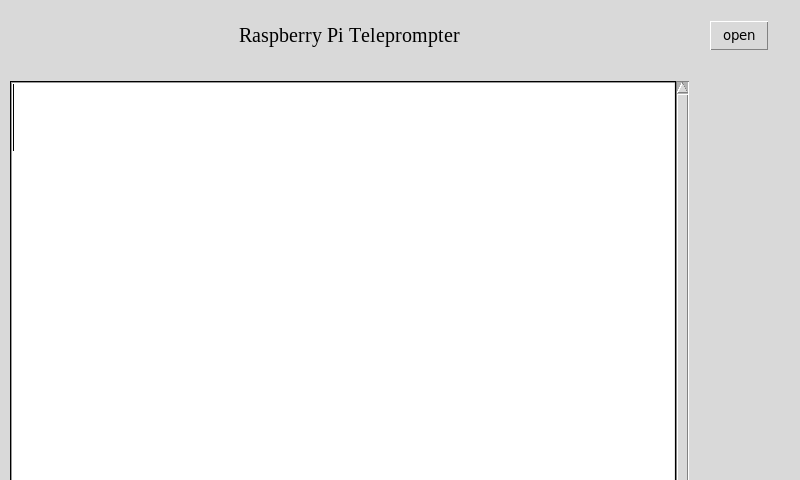
The software for the teleprompter involves two Python scripts (you downloaded above) plus one Bash script. The first Python is the actual teleprompter app written with Tkinter. The code creates a scrollable text box where you can display your scripts. There is also a button on the side of the app. When you click it, you can open text files to load into the text box. If you need to make any edits to your script while it is open in the app, you can type directly into the text box.
The second Python script is for controlling the teleprompter app with external digital inputs. In this program, we're using the pynput library and Blinka, to simulate mouse scrolling inputs and the buttons. It can be thought of as the control interface for the Tkinter script.
When the switch is engaged, pynput will begin scrolling allowing your teleprompter to run. Two buttons are also available to increase or decrease the speed for the scrolling. Finally, one additional button is available to toggle between having the teleprompter app be full screen or windowed on the Pi.
We can use a bash script to run the two Python scripts concurrently. The Bash script is launched from the terminal using “sudo ./tele.sh”.
Wiring the Raspberry Pi Teleprompter
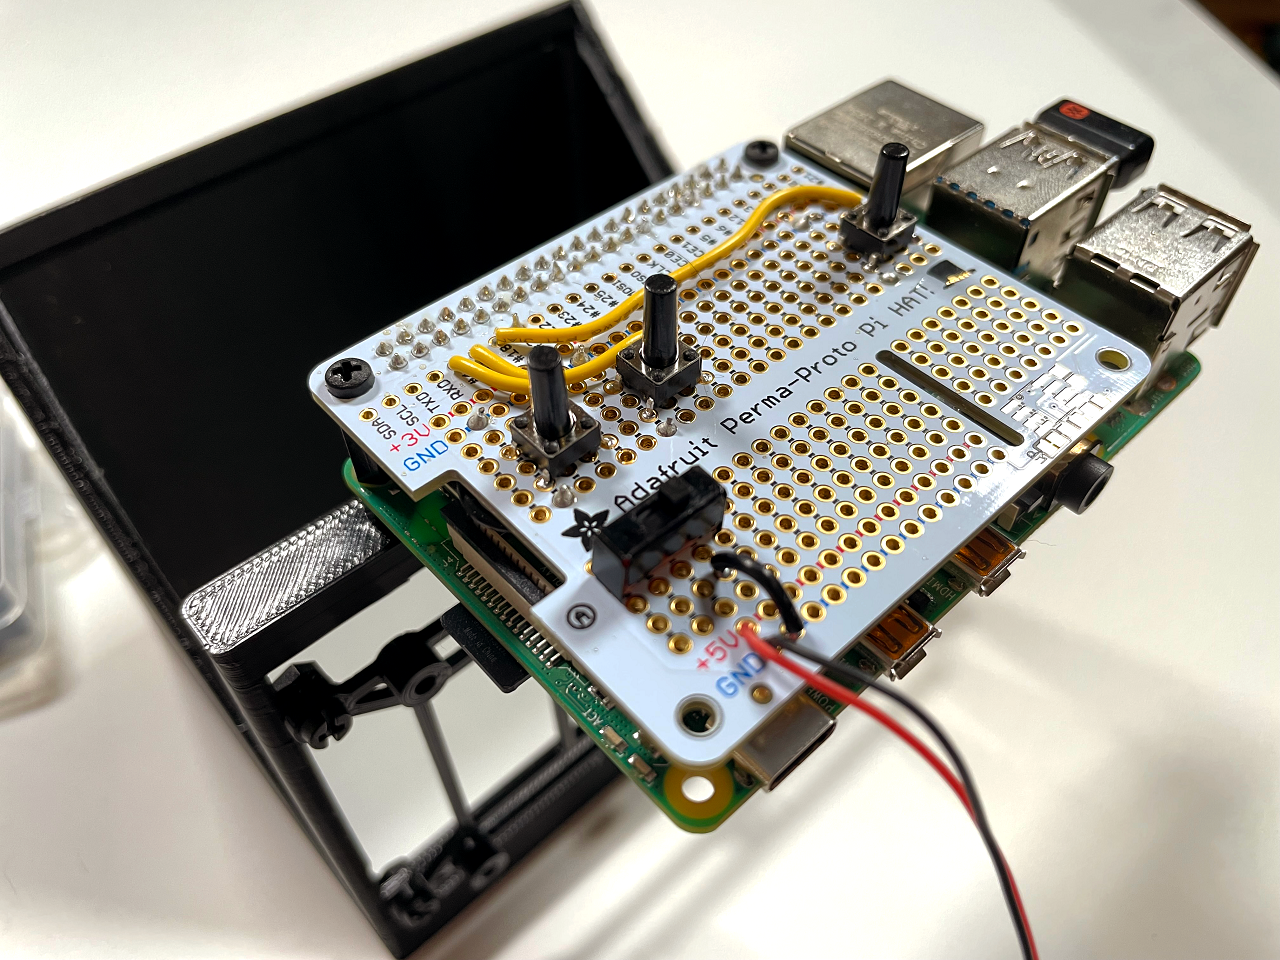
To interface with the buttons to control the teleprompter on the Raspberry Pi, we're using an Adafruit Perma-Proto HAT. It is a breadboard-style blank board that lets you easily solder circuits for use with the Pi. It has power, ground and GPIO pins broken out and labeled.
The Fritzing circuit diagram will show you how to wire up the three buttons and the sliding switch. The two buttons on the upper left of the Perma-Proto HAT control the speed of the teleprompter and the one button on the right switches between fullscreen and windowed mode.
The switch controls whether the teleprompter is running or not. Additionally, the HDMI decoder board can receive ground and 5V power from the Perma-Proto HAT. Otherwise, it needs to be powered through USB.
3D Printing the Raspberry Pi Teleprompter
There are three 3D printed parts you need to create the body of the teleprompter. The .STL files can be downloaded from my GitHub page. The two larger parts snap fit together to make the main portion of the teleprompter. One side has a tripod mount and a cutout for a DSLR lens to fit into. The other side has mounts and cutouts for the reflective acrylic, screen and Raspberry Pi.
It's important to print the part, or paint it after, in black. It needs to be dark so that you can see the reflection of the screen in the acrylic.
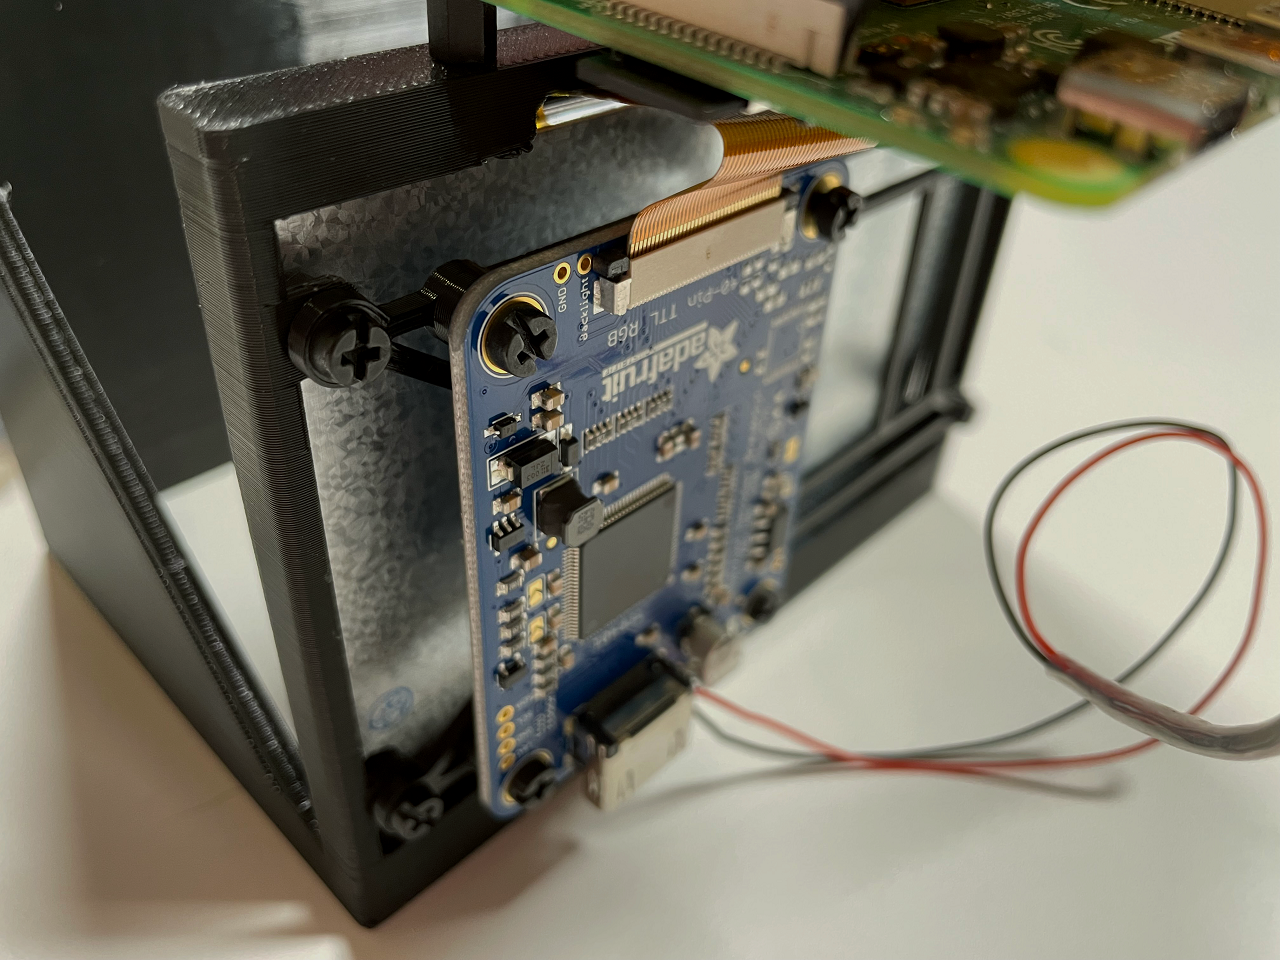
The third 3D printed part is a PCB mount for the HDMI decoder board that is used with the 5-inch HDMI monitor that carries the video signal from the Raspberry Pi.
Assembling the Raspberry Pi Teleprompter
After you’ve 3D printed your parts, it’s time to put them together.
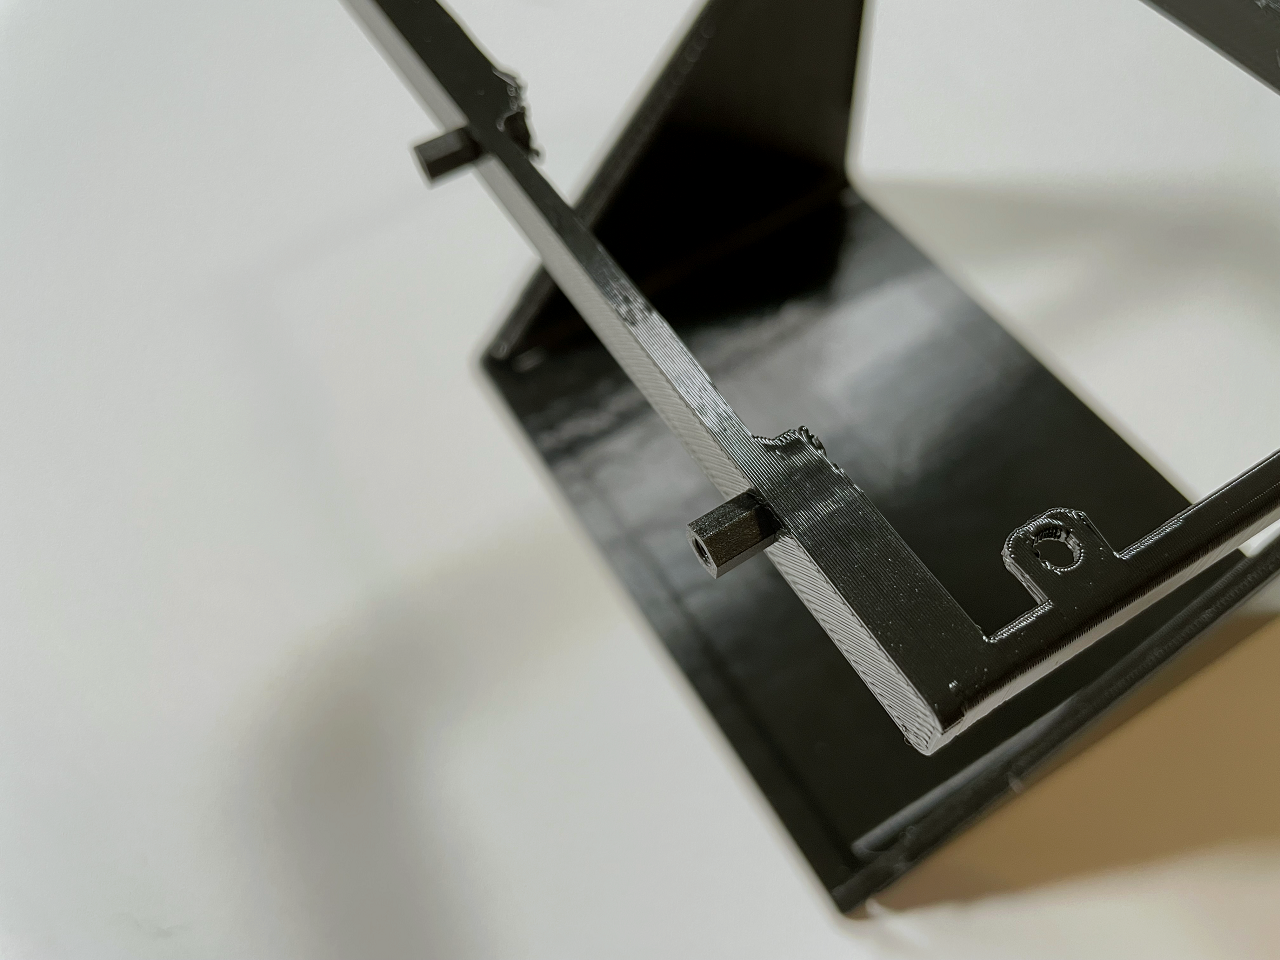
1. Attach two M2.5 standoffs with two M2.5 nuts in the front mounting holes of the front 3D printed part for the Raspberry Pi.
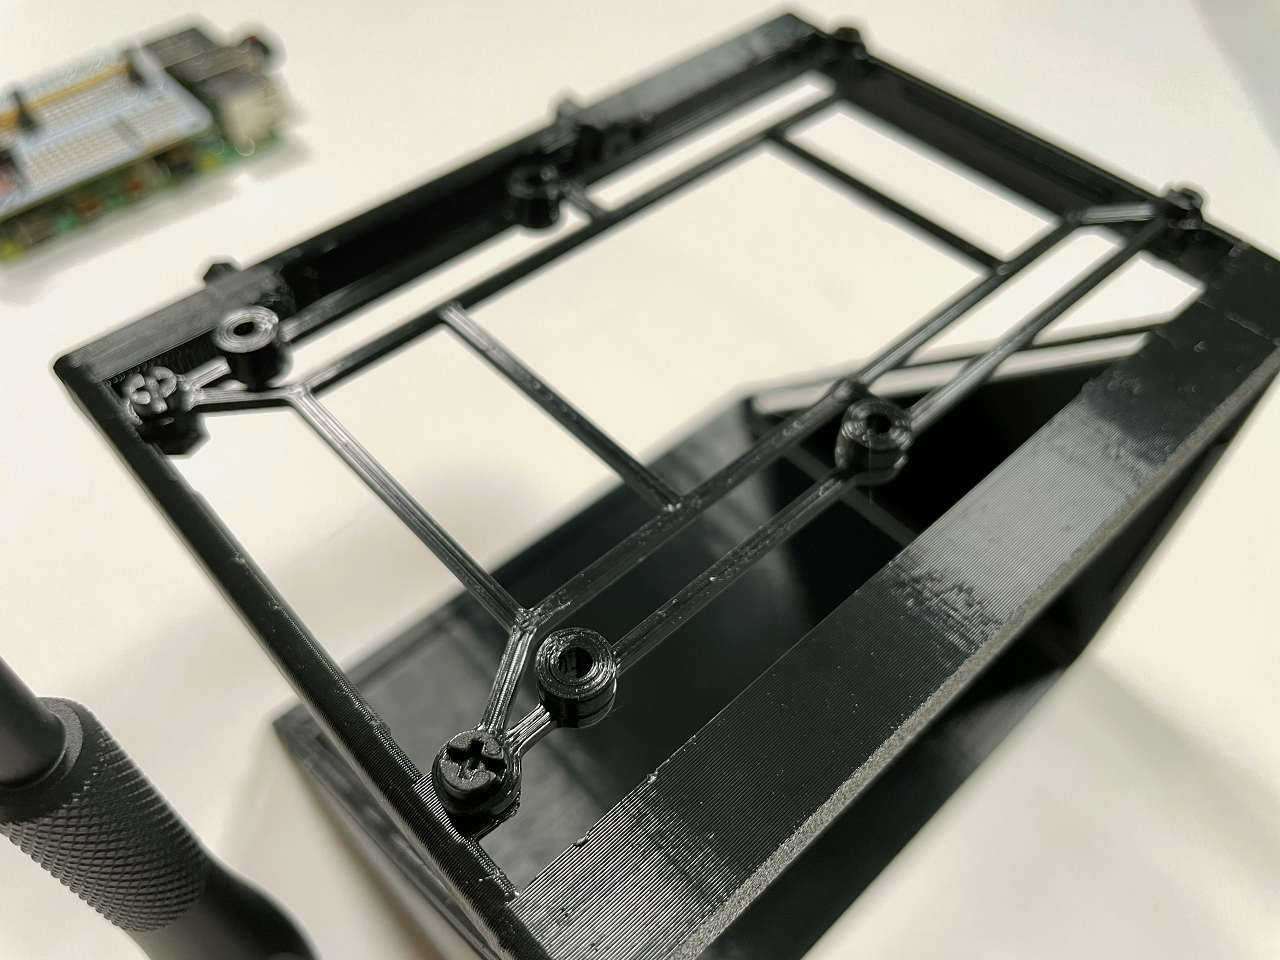
2. Attach the PCB mount for the HDMI decoder PCB with four M3 nuts and screws at the bottom of the 3D printed part.
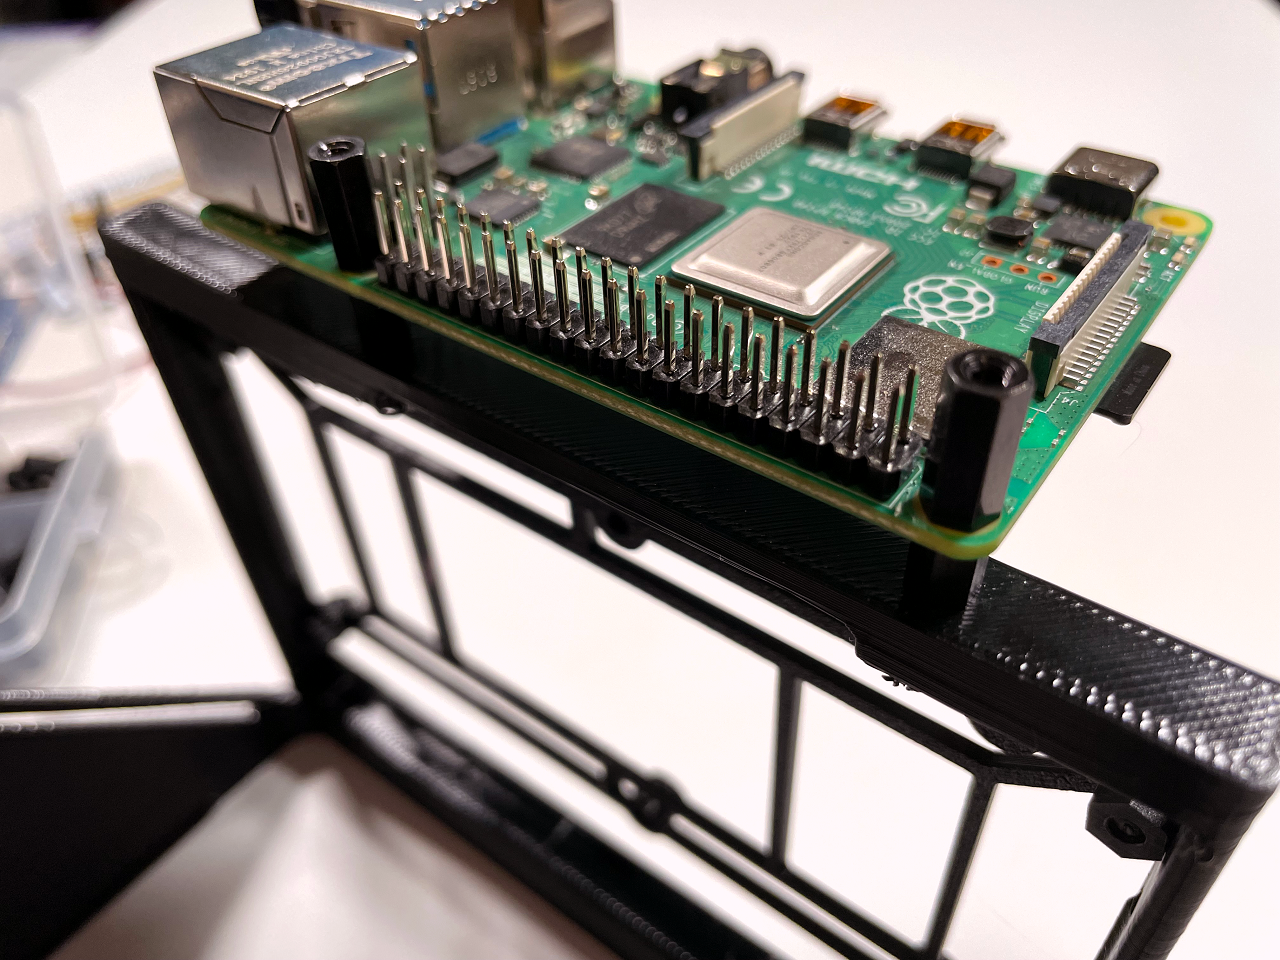
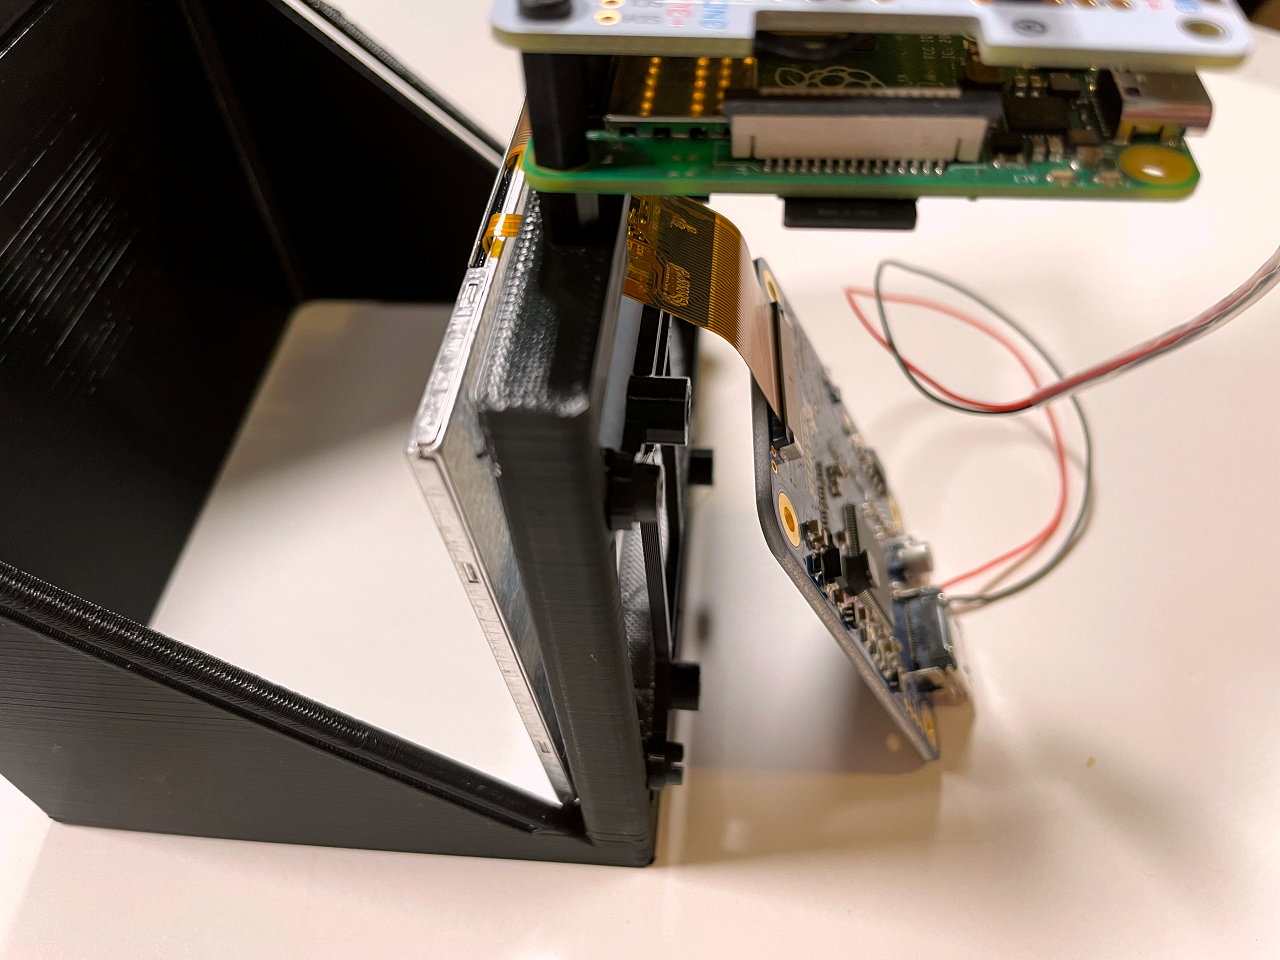
3. Use two M2.5 standoffs to attach the Raspberry Pi to the mounted M2.5 standoffs. The Pi is going to be mounted to the front of the teleprompter for easy access.
4. Place the Perma-Proto HAT on the Raspberry Pi's GPIO header and secure it to the M2.5 standoffs with two M2.5 screws.
5. Insert the 5" screen into the 3D printed part and carefully run its flexible connector through the bottom of the case. Be careful because the connector can easily become damaged. Then insert the connector into the slot on the HDMI decoder board.
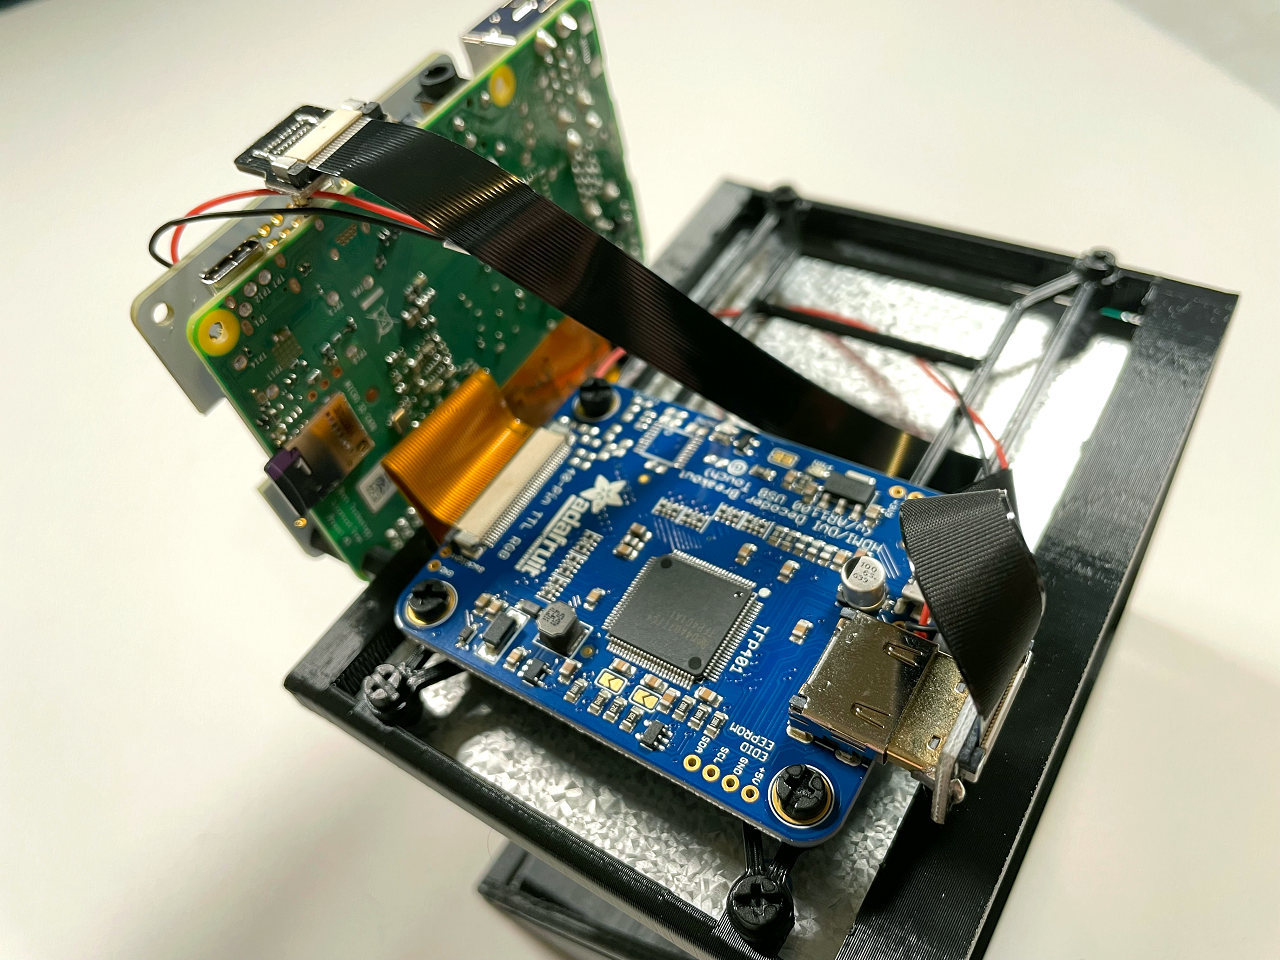
6. Mount the HDMI decoder board with 4 M3 screws onto the 3D printed PCB carrier.
7. Run an HDMI cable between the Raspberry Pi and the HDMI decoder board. You can use any cable, but a modular, ribbon cable can keep the build compact. However, much like the screen's connector they can be fragile so handle with care.
And that concludes the hardware assembly for the teleprompter!
8. Cut a piece of acrylic approximately 109 mm by 127 mm. Do this using a safety knife or other cutting tool that is recommended for acrylic. Then slide the acrylic into the slots on the 3D printed part.
Display Setup of Raspberry Pi Teleprompter
The final step is to invert the Raspberry Pi's display so that it is mirrored on the screen and is reflected properly in the acrylic. To do this, you'll edit the /boot/config.txt file a bit. We’ll list the changes below but you can also see them in my sample config.txt file.
1. Open /boot/config.txt for editing.
sudo nano /boot/config.txt
2. Disable the FKMS graphics driver by putting a # sign (for comment out) in front of any line that has dtoverlay=vc4-kms-v3d on it. Normally this isn't recommended, but legacy graphics gives you more control over flipping and inverting the display.
3. Force an 800 x 480 resolution by making sure the “force a specific HDMI mode” section looks like what you see below. The resolution of the screen is also forced to 800x480, because since the HDMI decoder does not have scaling.
# uncomment to force a specific HDMI mode (this will force VGA)
hdmi_group=2
hdmi_mode=1
hdmi_mode=87
hdmi_cvt 800 480 60 6 0 0 0
4. Add the line display_rotate=0x20000 to the bottom of config.txt in order to invert the display.
display_rotate=0x20000
5. Save and reboot your Pi.
After rebooting, your Pi's display will be mirrored but appear correctly in the acrylic, making it ready to be a teleprompter.
Using the Raspberry Pi Teleprompter
There are a few different workflows that you can use with your Raspberry Pi teleprompter. You can use VNC or SSH to access the Pi remotely to load your video scripts and run your code or you can still use a wireless keyboard and mouse to use the teleprompter's display as a monitor for the Pi.
Going further, you may choose to have the bash script run every time you start up (see how to run a script at Raspberry Pi boot). However you choose to use it, you will have a compact and open source teleprompter option to use during your videos or presentations.
-
Nichols120 Reply
When it comes to teleprompters, content creators have many options, but the most affordable option involves an app on your phone, which may be bulky or additional hardware that may not work well with your camera settings. However, you can build your own Raspberry Pi-powered teleprompter with some Python code, basic electronic components, and 3D printed parts.Admin said:Using a Raspberry Pi, some electronics and some 3D printed parts, you can create a teleprompter to help with making videos.
UPSers LoginHow to Build a Raspberry Pi-Powered Teleprompter : Read more
