How to Control DMX Lights with Raspberry Pi
Make programming stage / DJ lights easy.
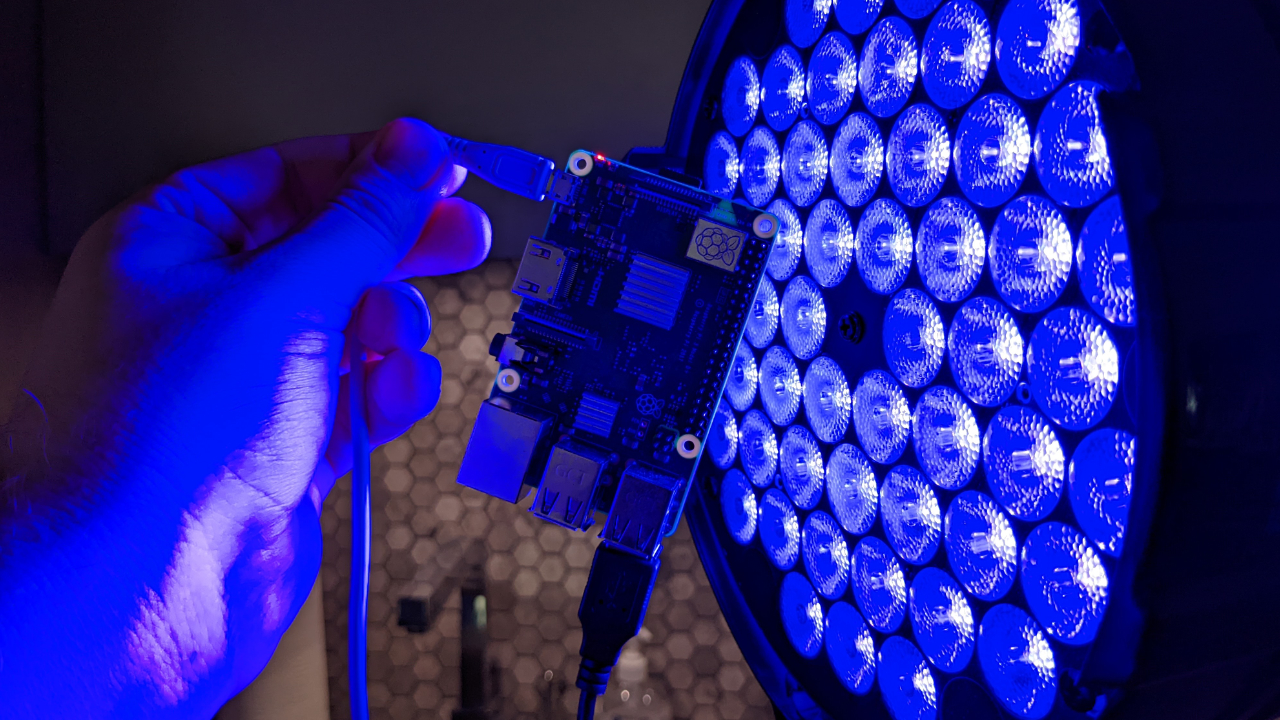
I have an upcoming project where I’ll be controlling the exterior lights on a prominent building in my city, and in order to do that, I need to master controlling DMX fixtures with a Raspberry Pi. I have an old DJ style light sitting at home that uses the DMX protocol that is perfect for testing. With a Raspberry Pi and a DMX adapter, we can use a bit of python to program the fixture. Getting it to work was an arduous process, so I hope I can make it simpler for the next person. If you’re looking to control DMX lights with a Raspberry Pi, here’s the easy way to do it.
What You’ll Need For This Project
- Raspberry Pi 4, Raspberry Pi 3, or Raspberry Pi Zero with power adapter and SD card
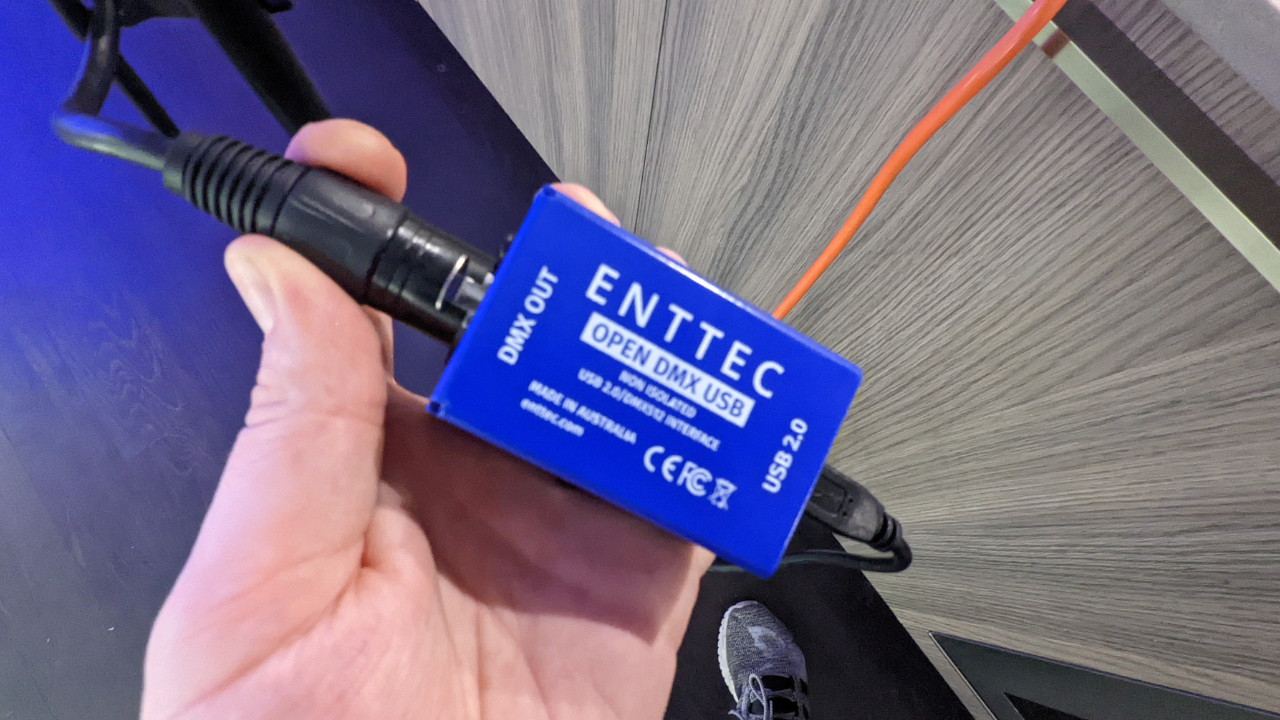
- Enttec Open DMX USB Adapter
- A DMX-compatible lighting fixture
- A 5-pin DMX cable (with 5 to 3 pin adapter if necessary for your fixture)
How to control DMX lights with a Raspberry Pi (the easy way)
For this project, we’ll be using the Open Lighting Architecture (OLA) to send DMX frames to the lights. Before you get started, get your Raspberry Pi set up. If you haven’t done this before, see our article on how to set up a Raspberry Pi for the first time or how to do a headless Raspberry Pi install (without the keyboard and screen). For this project, we recommend a headless Raspberry Pi install.
1. Install base requirements necessary for the project, including OLA, python, and python-bindings for the project.
sudo apt-get update
sudo apt-get install -y \
   ola \
   git \
   ola-python \
   python3-pip
2. Add the pi user to the olad group.
sudo adduser pi olad
3. Descend into the OLA configuration directory and back up a few plugin config files. We won’t use the backups, but it’s helpful in case you need to reference something later on.
cd /etc/ola/
sudo cp ola-ftdidmx.conf ola-ftdidmx.conf.bak
sudo cp ola-usbserial.conf ola-usbserial.conf.bak
sudo cp ola-opendmx.conf ola-opendmx.conf.bak
4. Edit the ola-ftdidmx.conf file to set `enabled=false` to` enabled=true`. You can use a text editor, or the command below.
sudo tee ./ola-ftdidmx.conf > /dev/null <<EOL
enabled = true
frequency = 30
EOL
5. Edit the ola-usbserial.conf and ola-opendmx.conf files to set `enabled = false`. You can use a text editor, or the commands below.
Get Tom's Hardware's best news and in-depth reviews, straight to your inbox.
sudo tee ./ola-usbserial.conf > /dev/null <<EOF
device_dir = /dev
device_prefix = ttyUSB
device_prefix = cu.usbserial-
device_prefix = ttyU
enabled = false
pro_fps_limit = 190
tri_use_raw_rdm = false
ultra_fps_limit = 40
EOF
sudo tee ./ola-opendmx.conf > /dev/null <<EOF
device = /dev/dmx0
enabled = false
EOF
6. Reload the plugins by restarting the OLA daemon.
sudo killall -s SIGHUP olad
7. Plug in your Enttec Open DMX USB adapter to your Raspberry Pi, any USB port will do.
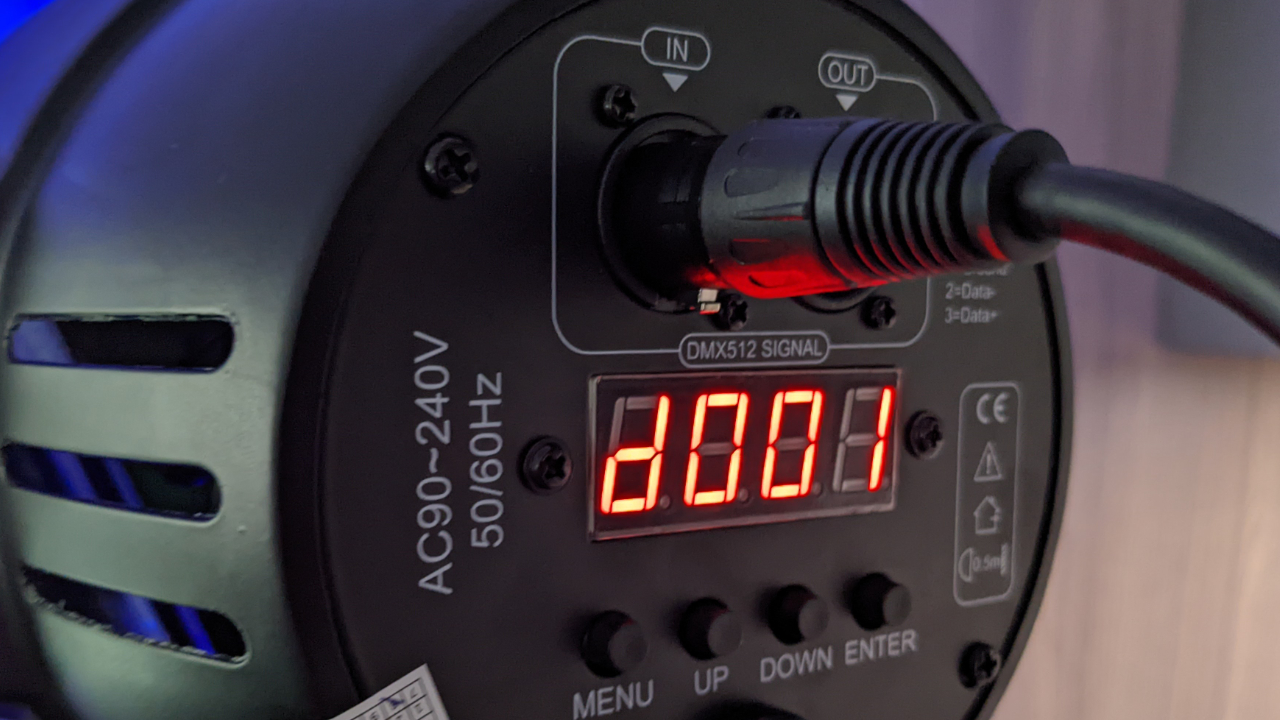
8. Using a DMX cable connect your Open DMX adapter to your fixture; make sure it is powered on and in DMX mode.
9. Run the following command to discover your device, note the number next to device ID.
ola_dev_info | grep FT232R
Note: if your device is not discoverable, navigate to the web interface in step 11, and click “Reload plugins” - then try again.
10. Patch your device into a DMX universe (we’ll use universe 0) with the following command:
# Adjust device ID (-d 8), and port (-p 1) to match your device from the previous command
ola_patch -d 8 -p 1 -u 0
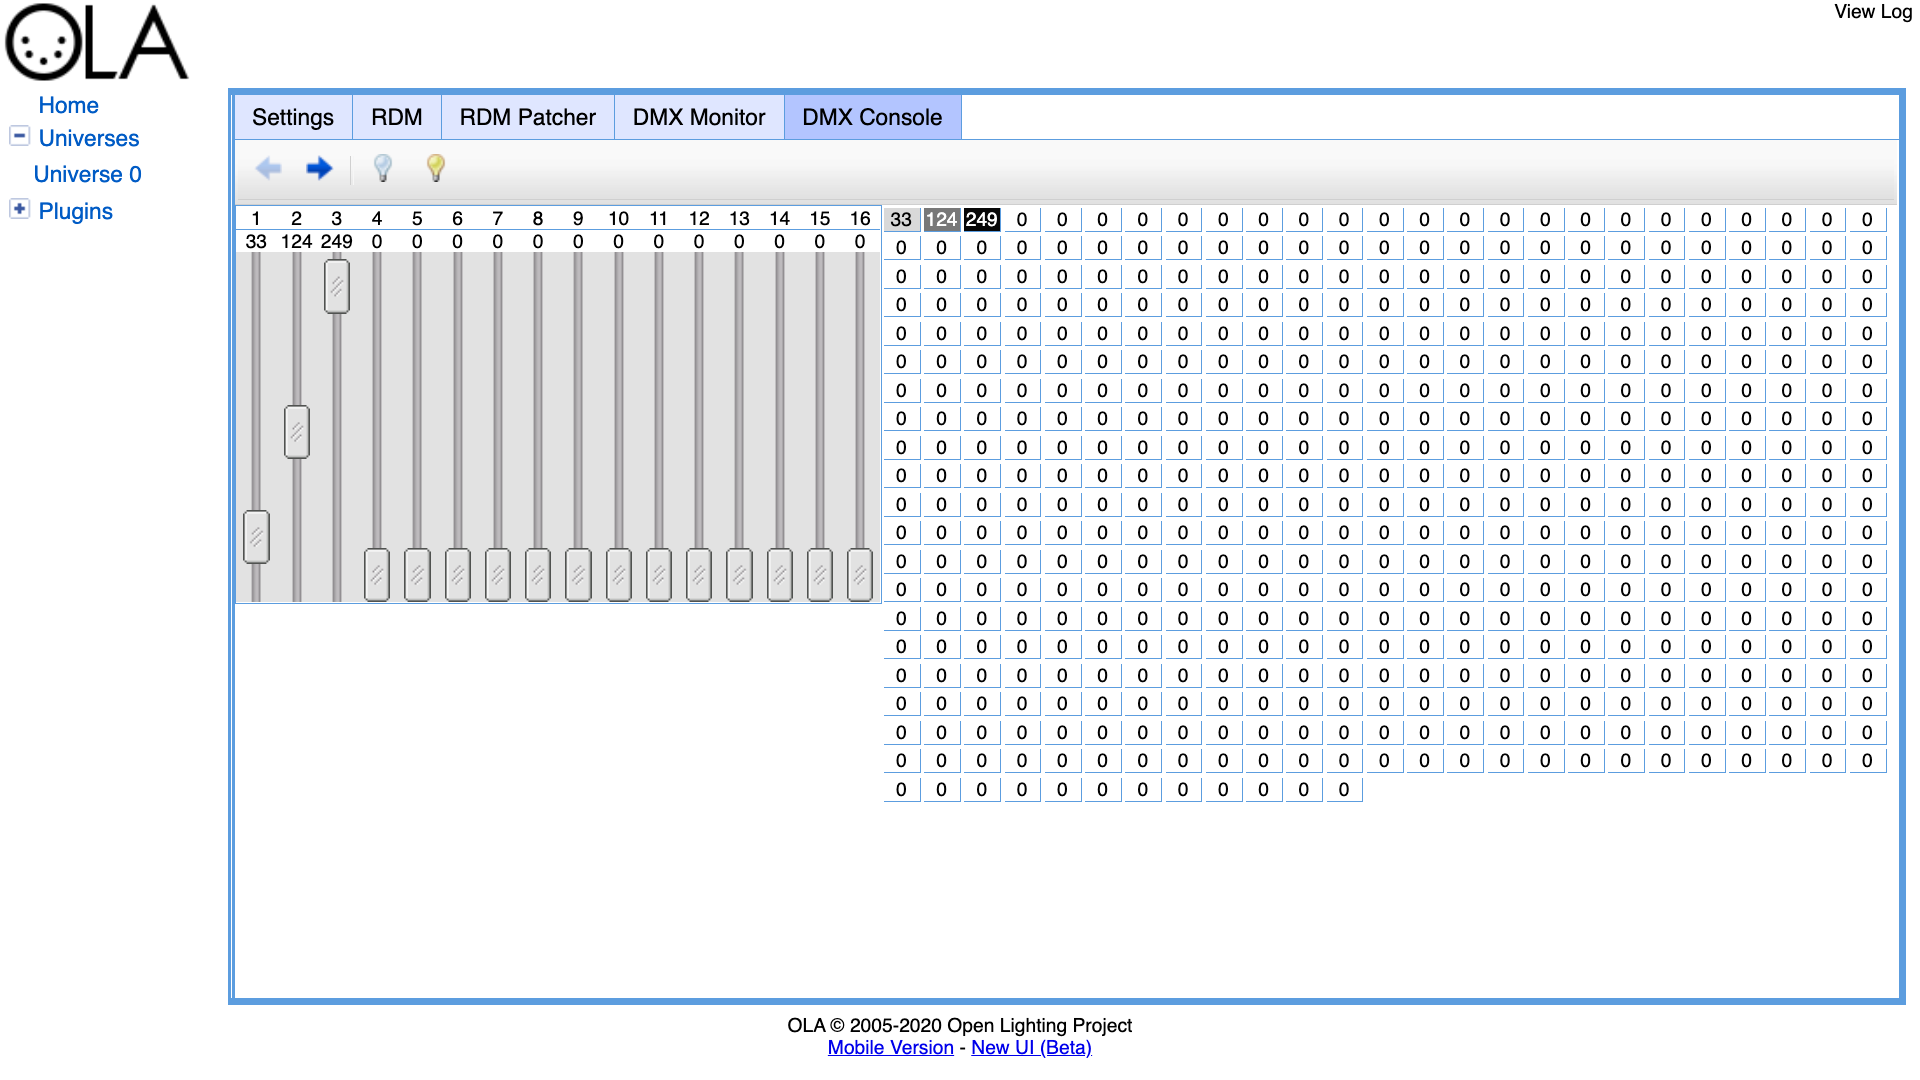
11. Visit the IP address of your Raspberry Pi in your web browser, followed by the port 9090 to confirm the universe has been created.
open http://10.0.0.1:9090
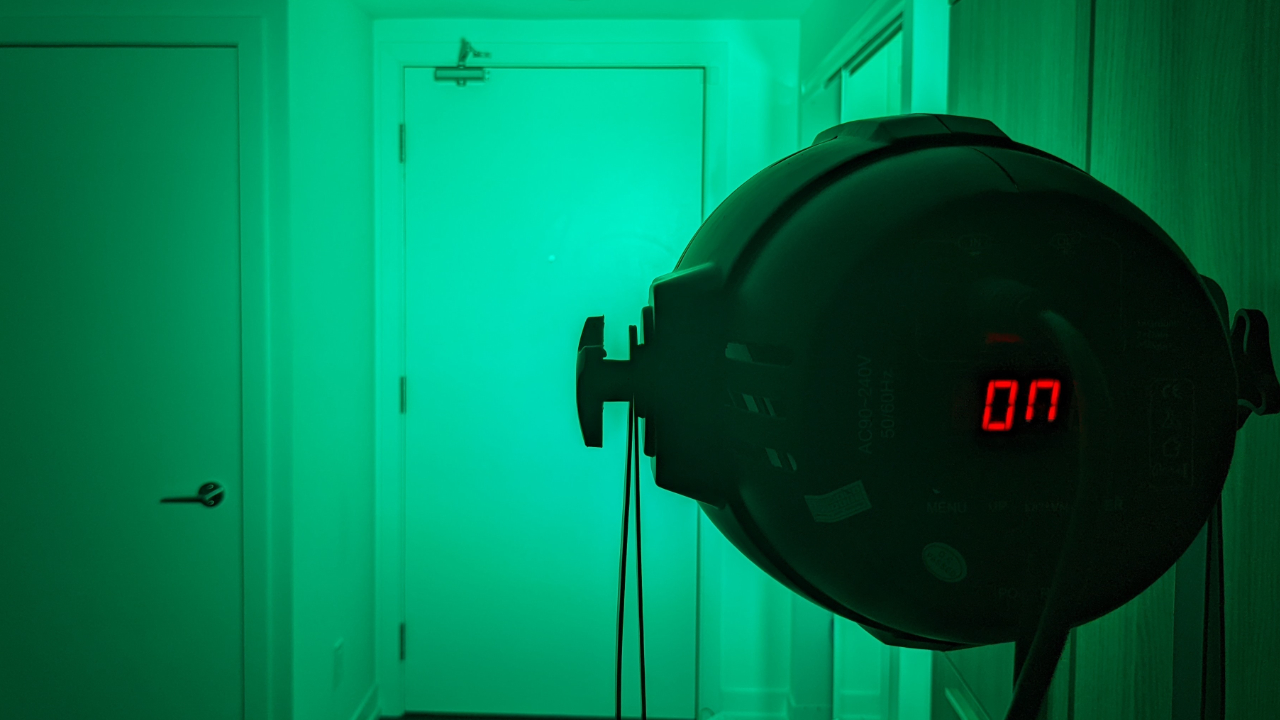
12. In the web interface, select your universe, navigate to the DMX Console tab, and increase the sliders for each channel until you see your fixture start lighting up. For my fixture, channel 1 controls red, 2 controls blue, and 3 controls green. By adjusting individual channels we can control the color of the fixture.
13. Using git, clone the example python repository to your home directory.
cd ~/
git clone https://github.com/rydercalmdown/dmx_lights.git
14. Descend into the directory and install the repository requirements.
cd dmx_lights
make install
15. Start the flask server with the following command. You can then visit the IP address of the Pi on port 8000 to see the server.
make run
16. Change the colour of the lights by visiting the wash endpoints with curl or in your browser.
curl http://IP_ADDRESS_OF_YOUR_PI:8000/wash/red/
curl http://IP_ADDRESS_OF_YOUR_PI:8000/wash/random/
curl http://IP_ADDRESS_OF_YOUR_PI:8000/wash/blue/
curl http://IP_ADDRESS_OF_YOUR_PI:8000/blackout/
Hopefully, this gives you an example of how to get started with python and a Raspberry Pi to control DMX fixtures. Getting this to work properly for me was a weekend-long affair, but by following these instructions you should be able to get it done in under an hour. Good luck!

Ryder Damer is a Freelance Writer for Tom's Hardware US covering Raspberry Pi projects and tutorials.
-
jmlassen I'm having an issue with this setup, when I use OLA to change any light channel I get sporadic flashing of the lights. This is my first light control project so it could be something obvious but I've been stuck on this for a while and I haven't been able to move forward. Any help is appreciated.Reply
gHQO5C9wVdk
Light channel programming guide
