From 8088 to Pentium: How To Emulate an Old PC Using PCem
Sample the history of PC computing, and gaming.
Get Tom's Hardware's best news and in-depth reviews, straight to your inbox.
You are now subscribed
Your newsletter sign-up was successful
Whether you used computers in the 1980s and 1990s or you’ve just read about the period, it’s exciting to take a trip back in time and experience an old PC. Most of us don’t have a museum of old, working computers at home so the solution is to use an emulator such as PCem.
PCem is a multi-machine emulator for PC hardware. With the correct set of BIOSes you can emulate computers with processors that go from 8088 (the first PC) to Socket 7 Pentiums. But not only does it emulate the CPU, it can also emulate sound cards and GPUs of your chosen era. That’s important because a lot of older software can’t run properly in a modern operating system with present-day components.
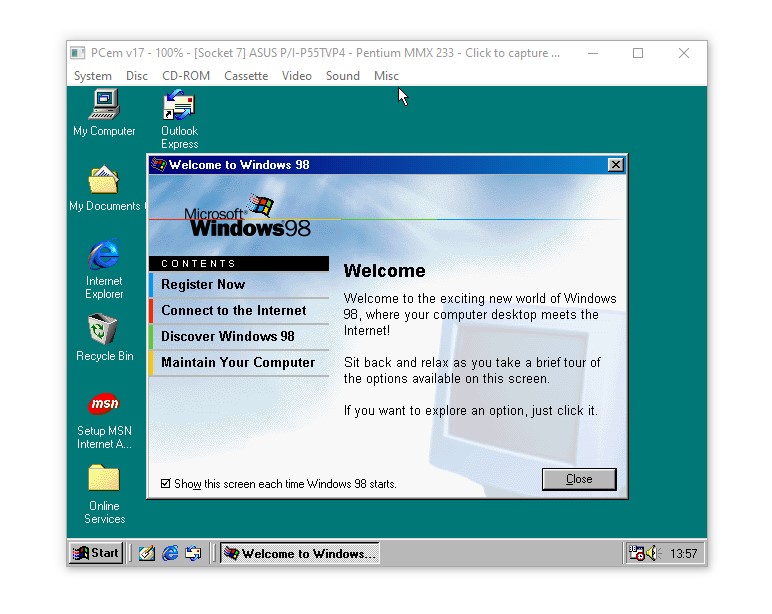
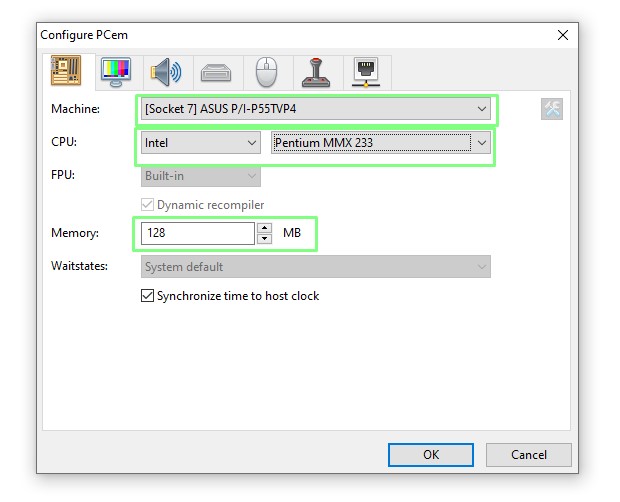
In this how to, I’ll show you how to emulate a late 1990s era PC with an Intel 233MHz CPU, 128MB of RAM, SoundBlaster 16 (not period accurate but I do love that sound card) and a Voodoo 3 GPU. I’ll then install Windows 98 SE (any excuse for a game of Doom).
Installing PCem
PCem is a free download from its official website. Its last update was some time ago, but the emulator has proven to be reliable during our testing for this how to.
1. Download the latest emulator for your operating system from the official website.
2. Extract the contents of the download to a folder.
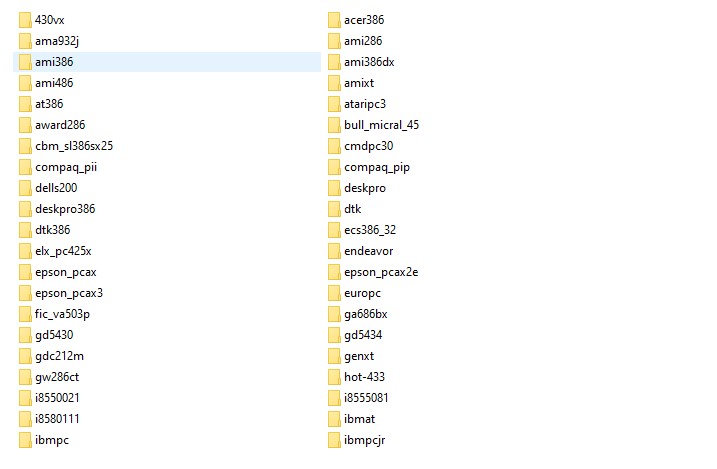
3. Download BIOS ROM images for the computers you wish to emulate. Generic BIOS ROMs can be found on the PCem downloads page. Bespoke / custom BIOS images can also be used and how you source these images is left as an exercise to the reader.
ROM images (typically called “dumps") of retro games are quite common for retro gaming projects, but dumps of BIOS and other specialist chips are also common in retro computing emulation. In the case of PC emulation we need dumps of the BIOS that are used to boot and test the hardware used in a build. Something like QEMU does not require these files.
Get Tom's Hardware's best news and in-depth reviews, straight to your inbox.
4. Copy the BIOS images into the roms folder. Each BIOS should have its own folder to prevent contamination.
5. Double-click on the PCem application to start.
Using PCem
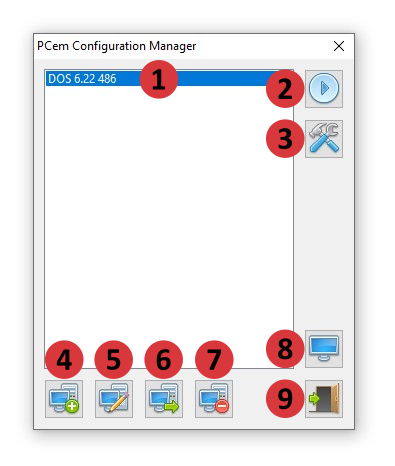
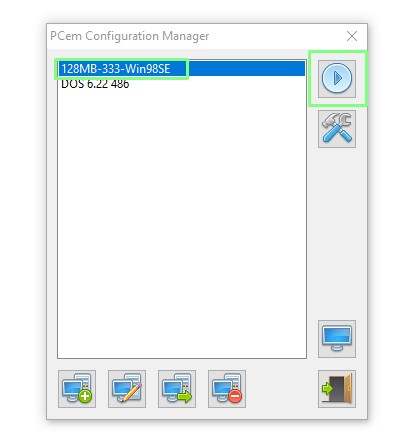
The PCem user interface has nine key areas.
- Your PC configurations are selected from this list.
- Loads the selected PC configuration.
- Configures the selected PC configuration.
- Creates a new PC configuration.
- Rename the selected PC configuration.
- Copy the selected PC configuration.
- Delete the selected PC configuration.
- Configure a network host.
- Quit PCem.
Creating a new Configuration
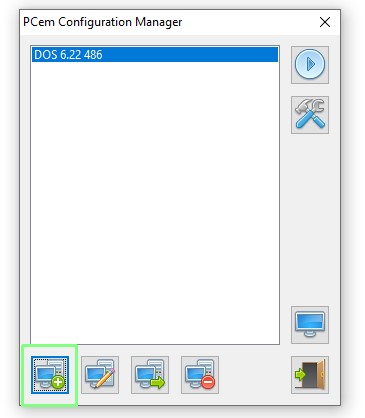
1. Click on New (3) to start the configuration process.
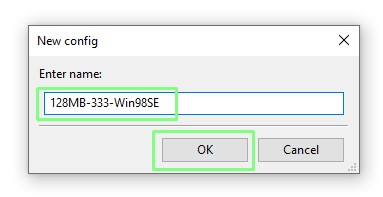
2. Give the configuration a name. I tend to use the basic specifications and OS as the name.
3. Set the machine type, CPU speed and RAM for your configuration. The list of available machines is controlled by the BIOS images in your roms directory. You can set the CPU brand, Intel, AMD , IDT and Cyrix for your chosen era of computing.
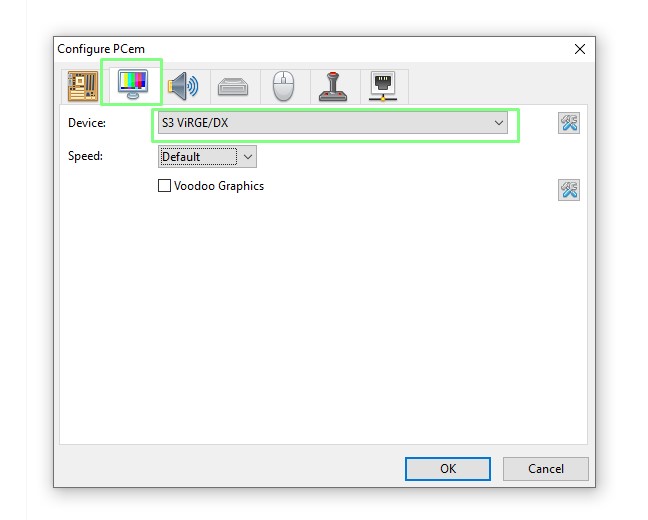
4. Click on the Monitor tab and set the Device to your chosen video display standard. Note that you can use 3D accelerators / GPUs to play games from your chosen era.
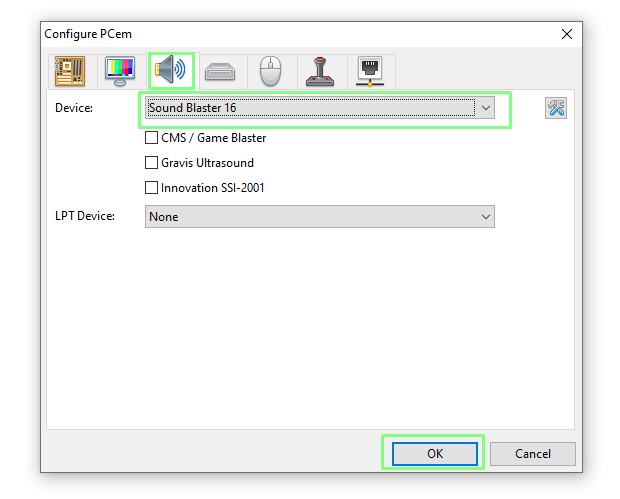
5. Click on the Sound tab to configure a sound card. The SoundBlaster 16 is a venerable sound card with great DOS gaming compatibility.
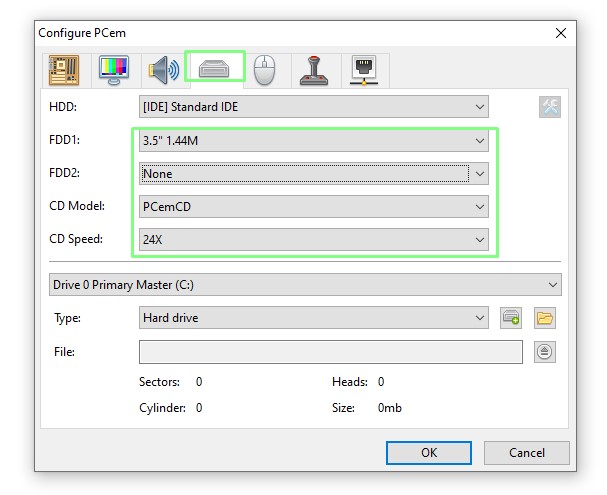
6. Click on the Drives tab and configure your floppy and CD ROM drives. I chose to have just one 3.5 inch 1.44MB floppy drive (A:) and I left the CD ROM settings as is.
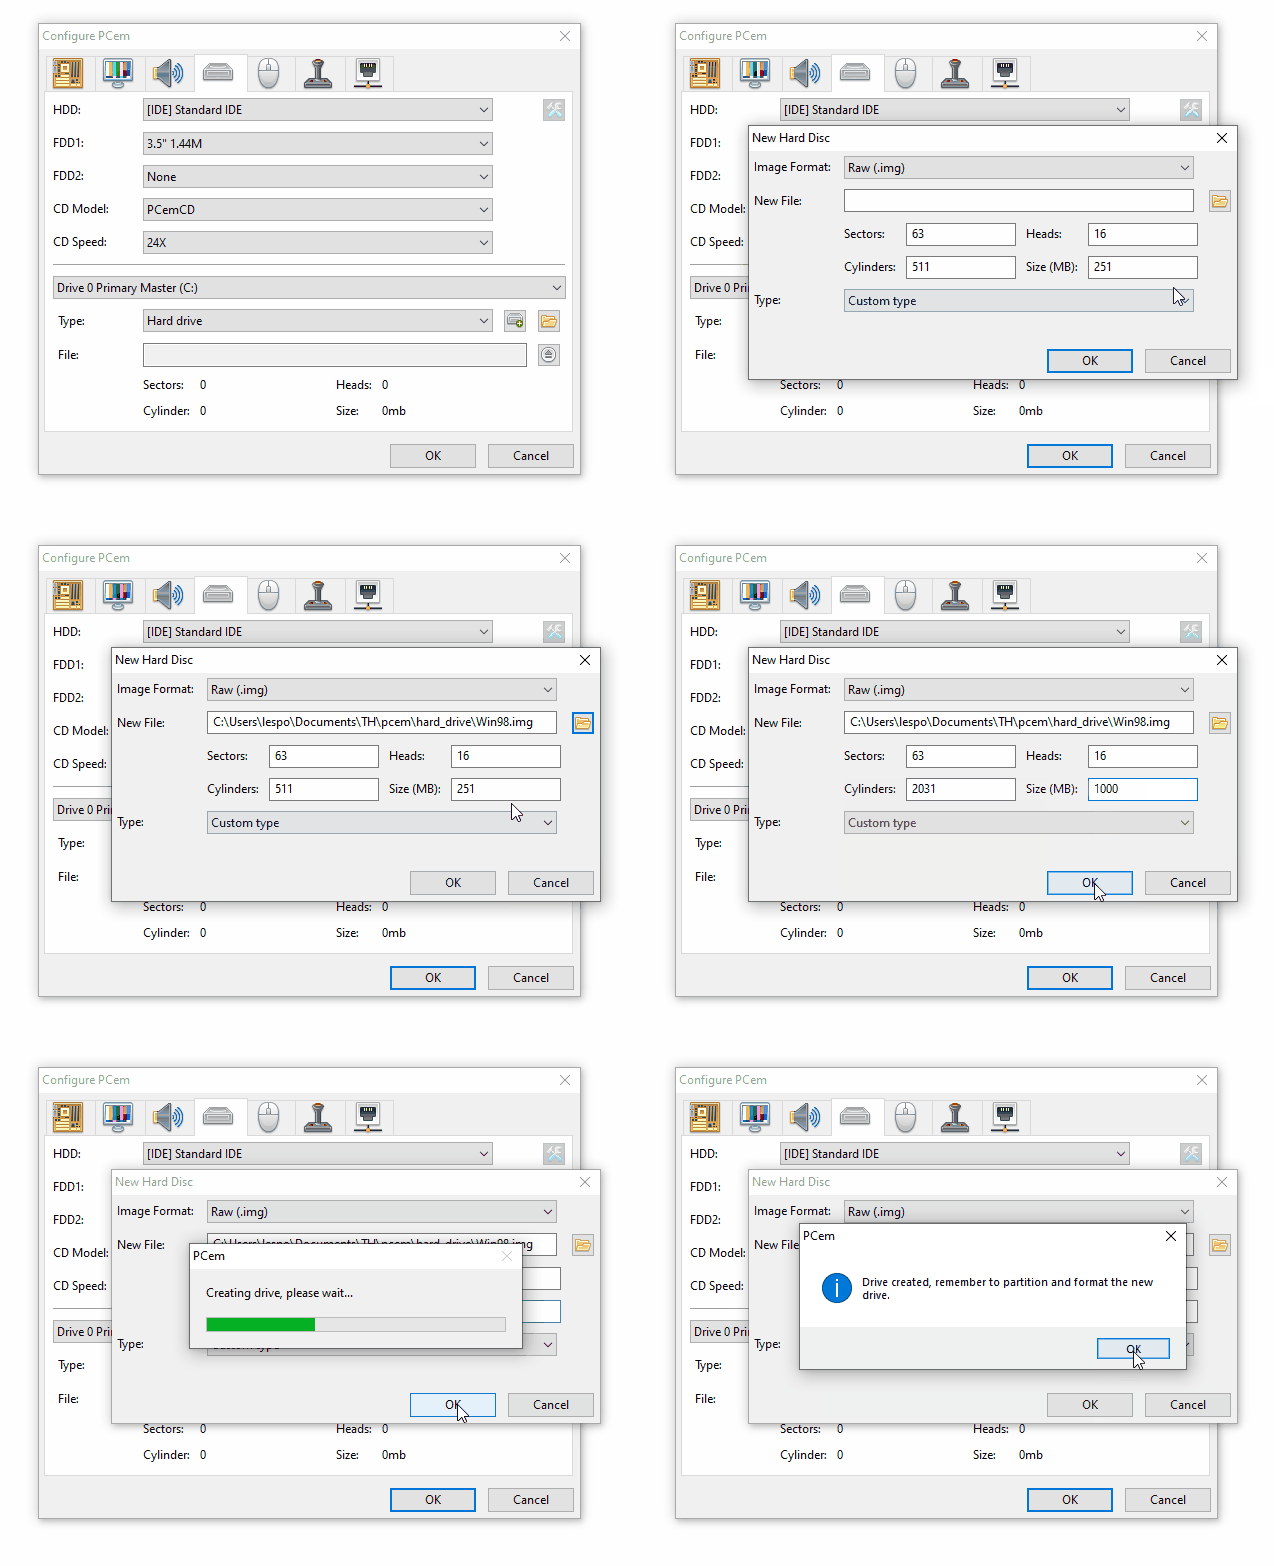
7. Still in Drives, Click on New to create a new hard drive image, in a folder of your choosing. Using a .img file will help the image be used with other emulators.
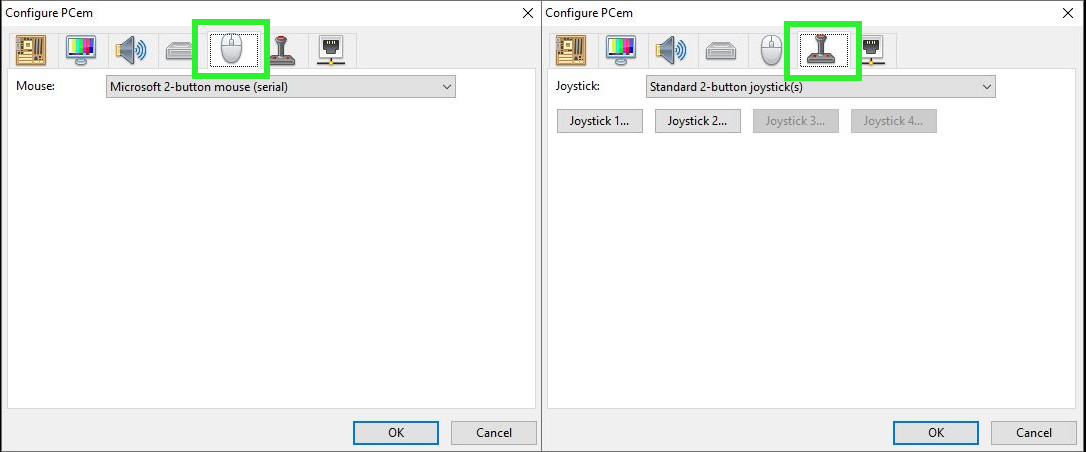
8. Leave the Mouse and Joysticks tabs at their default settings.
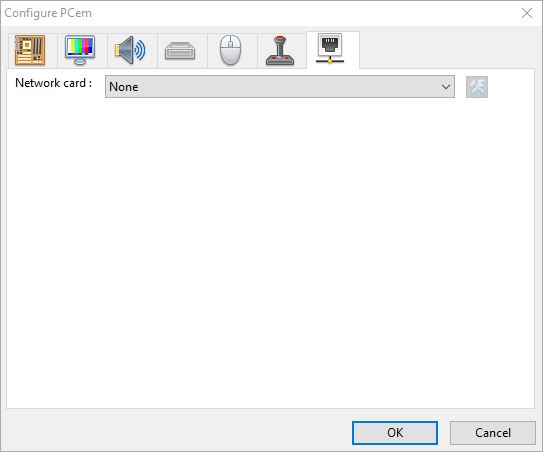
9. Leave the Networking tab as is for now.
First Boot
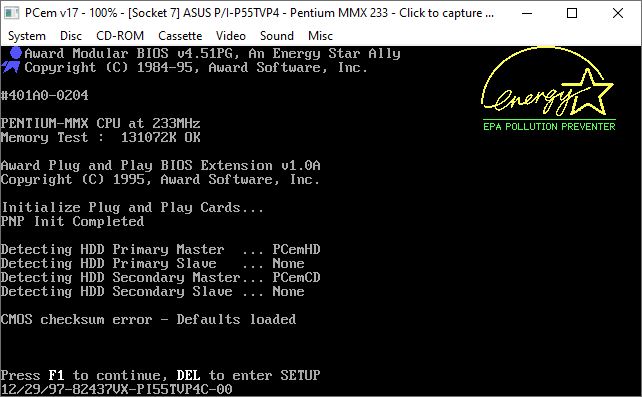
1. Select the configuration and click on Load to start the emulator.
2. Enter the BIOS and configure your system. The BIOS will differ depending on the BIOS image, and your chosen configuration.
PCem will capture your mouse pointer if you click inside the window. To release press CONTROL + END.
From here on it is business as usual. Installing and configuring your chosen OS using images of your existing OS install disks, or exercising your Google-Fu.
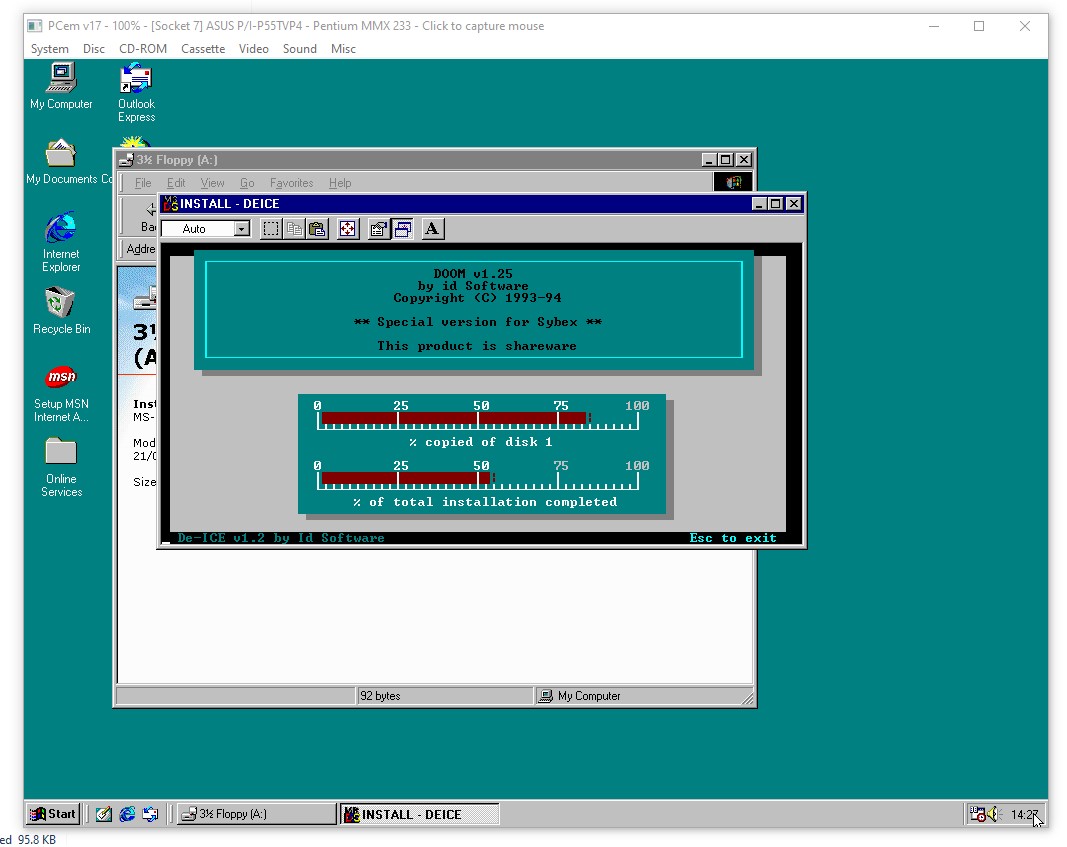
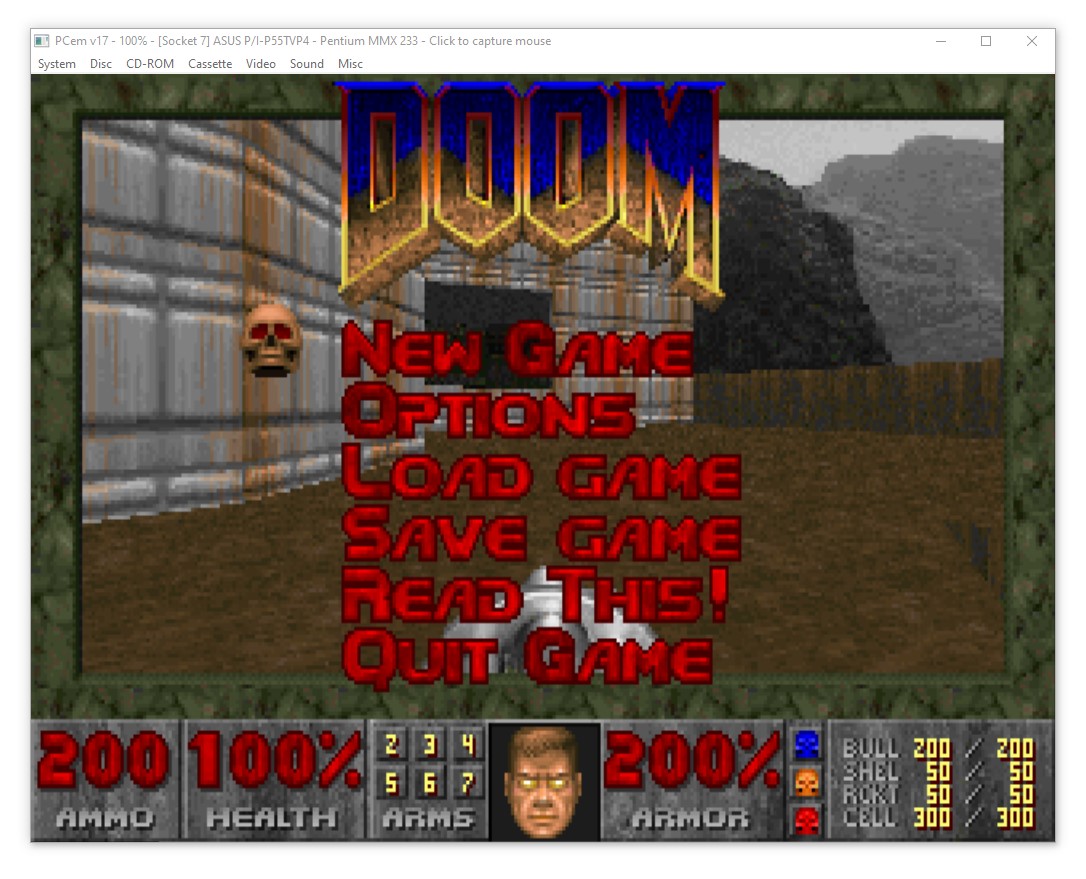
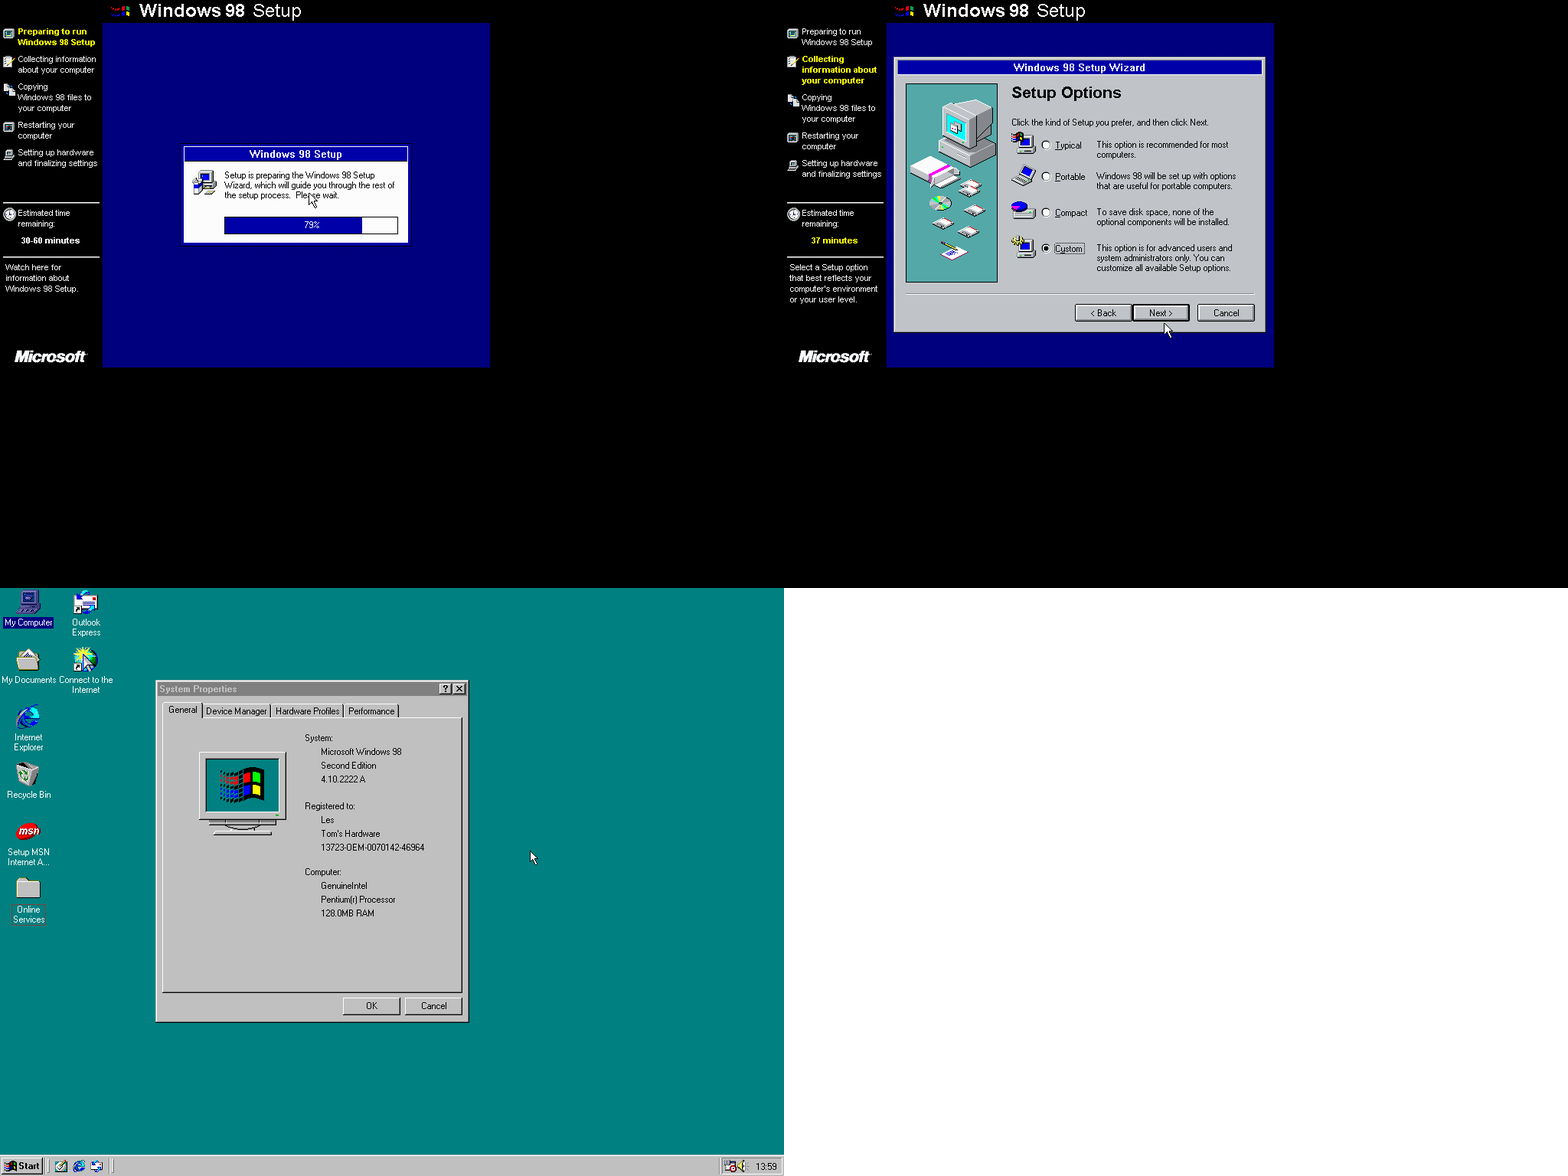
Within an hour, I was able to install Windows 98 (remembering that I needed a floppy boot disk as the CD ROM did not boot) and then installed the shareware version of Doom, just to test that the mouse and soundcard were working properly.
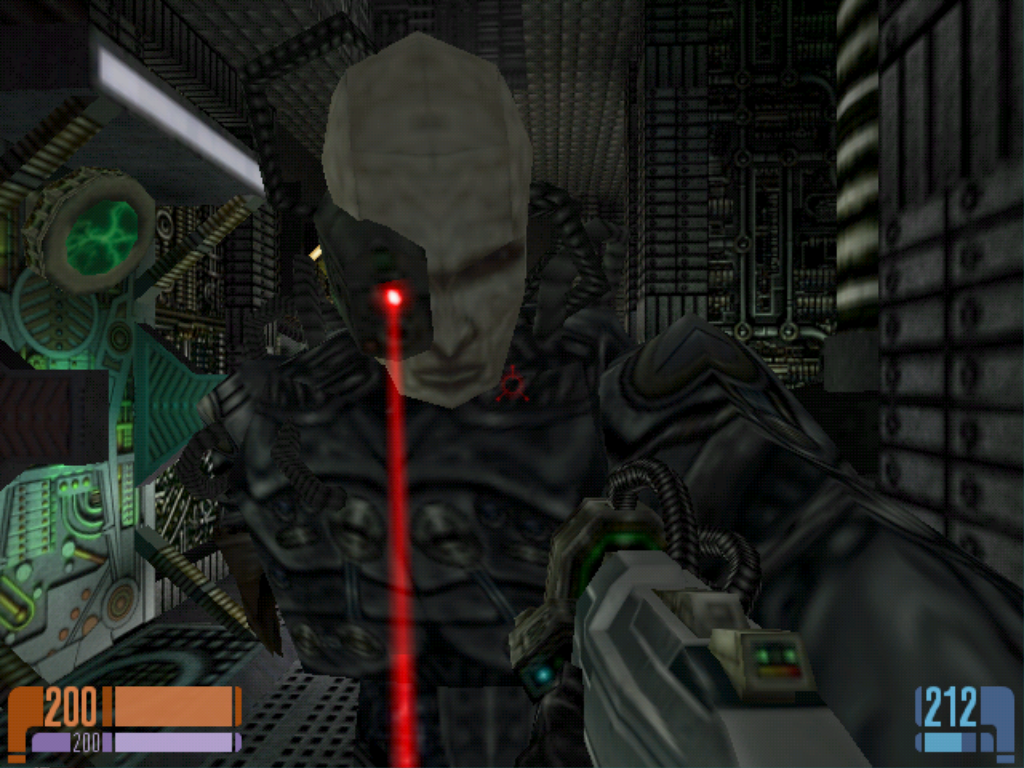
Pushing the setup a little further, I installed my own copy of Star Trek Voyager: Elite Force. The same copy that I played on my AMD K6-2 333 and later the original AMD Athlon 1GHz. The game played well, but was a little choppy when the action got intense, so much so that a Borg managed to sneak attack! I dropped the resolution to 640 x 480 (not unheard of in this era) and the action was much smoother.

Les Pounder is an associate editor at Tom's Hardware. He is a creative technologist and for seven years has created projects to educate and inspire minds both young and old. He has worked with the Raspberry Pi Foundation to write and deliver their teacher training program "Picademy".
-
Tandy80 Good article about PCem, concise and well developed ! I love articles like this where retrocomputing is the inherent subject.Reply
