Tom's Hardware Verdict
The upfront cost is steep, but you get a quality soldering experience for your money. Our first impression was tarnished by the unit "dying" on us, but the replacement unit performed exceptionally well.
Pros
- +
Excellent soldering performance
- +
Large battery
- +
Precise application of power
- +
USB C connections for everything!
- +
Easy to repair
Cons
- -
First review unit developed a fault
- -
Price
- -
Larger than other smart soldering irons
Why you can trust Tom's Hardware
Update 9/12 06:44 PT
Ifixit has answered a few queries that we had from our review. The key points are.
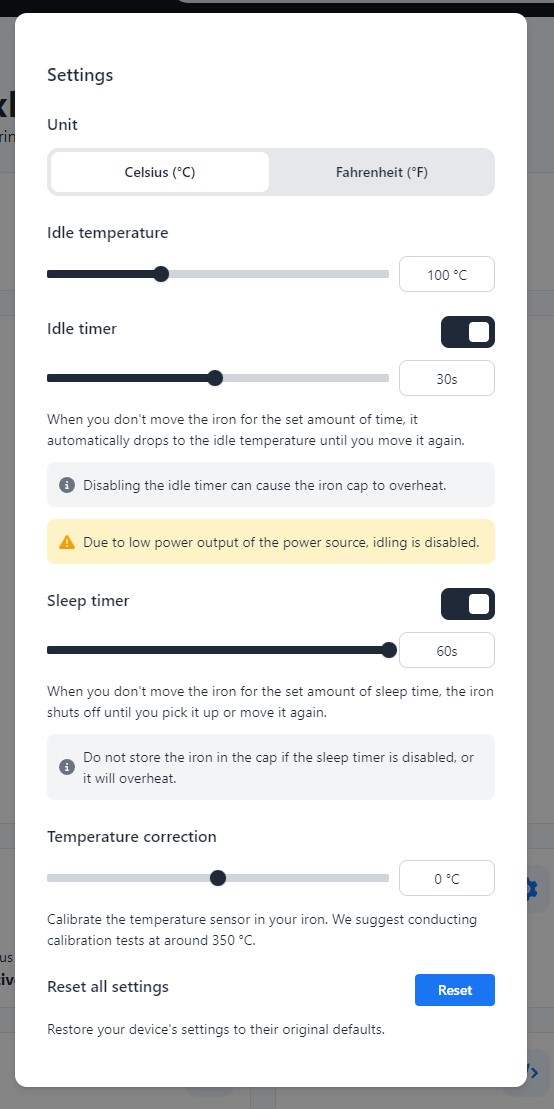
Two soldering irons can be connected at once, pressing the blue button switches the controls between the two. Enabling us to have different temperatures for each soldering iron.
The Smart Soldering Iron (SLD101) can be configured using the Fixhub Console.
From the console you can set the temperature, idle temperature and timers as well as calibrating the temperature.
The original review has been updated accordingly, and the score remains the same.
Updated Review:
Get Tom's Hardware's best news and in-depth reviews, straight to your inbox.
Ifixit is well known in the maker space. They make tools and guides that help us fix or tech. If you’ve got a Steam Deck (like me) then chances are that you used Ifixit’s guides to upgrade to the best SSD for Steam Deck (again like me).
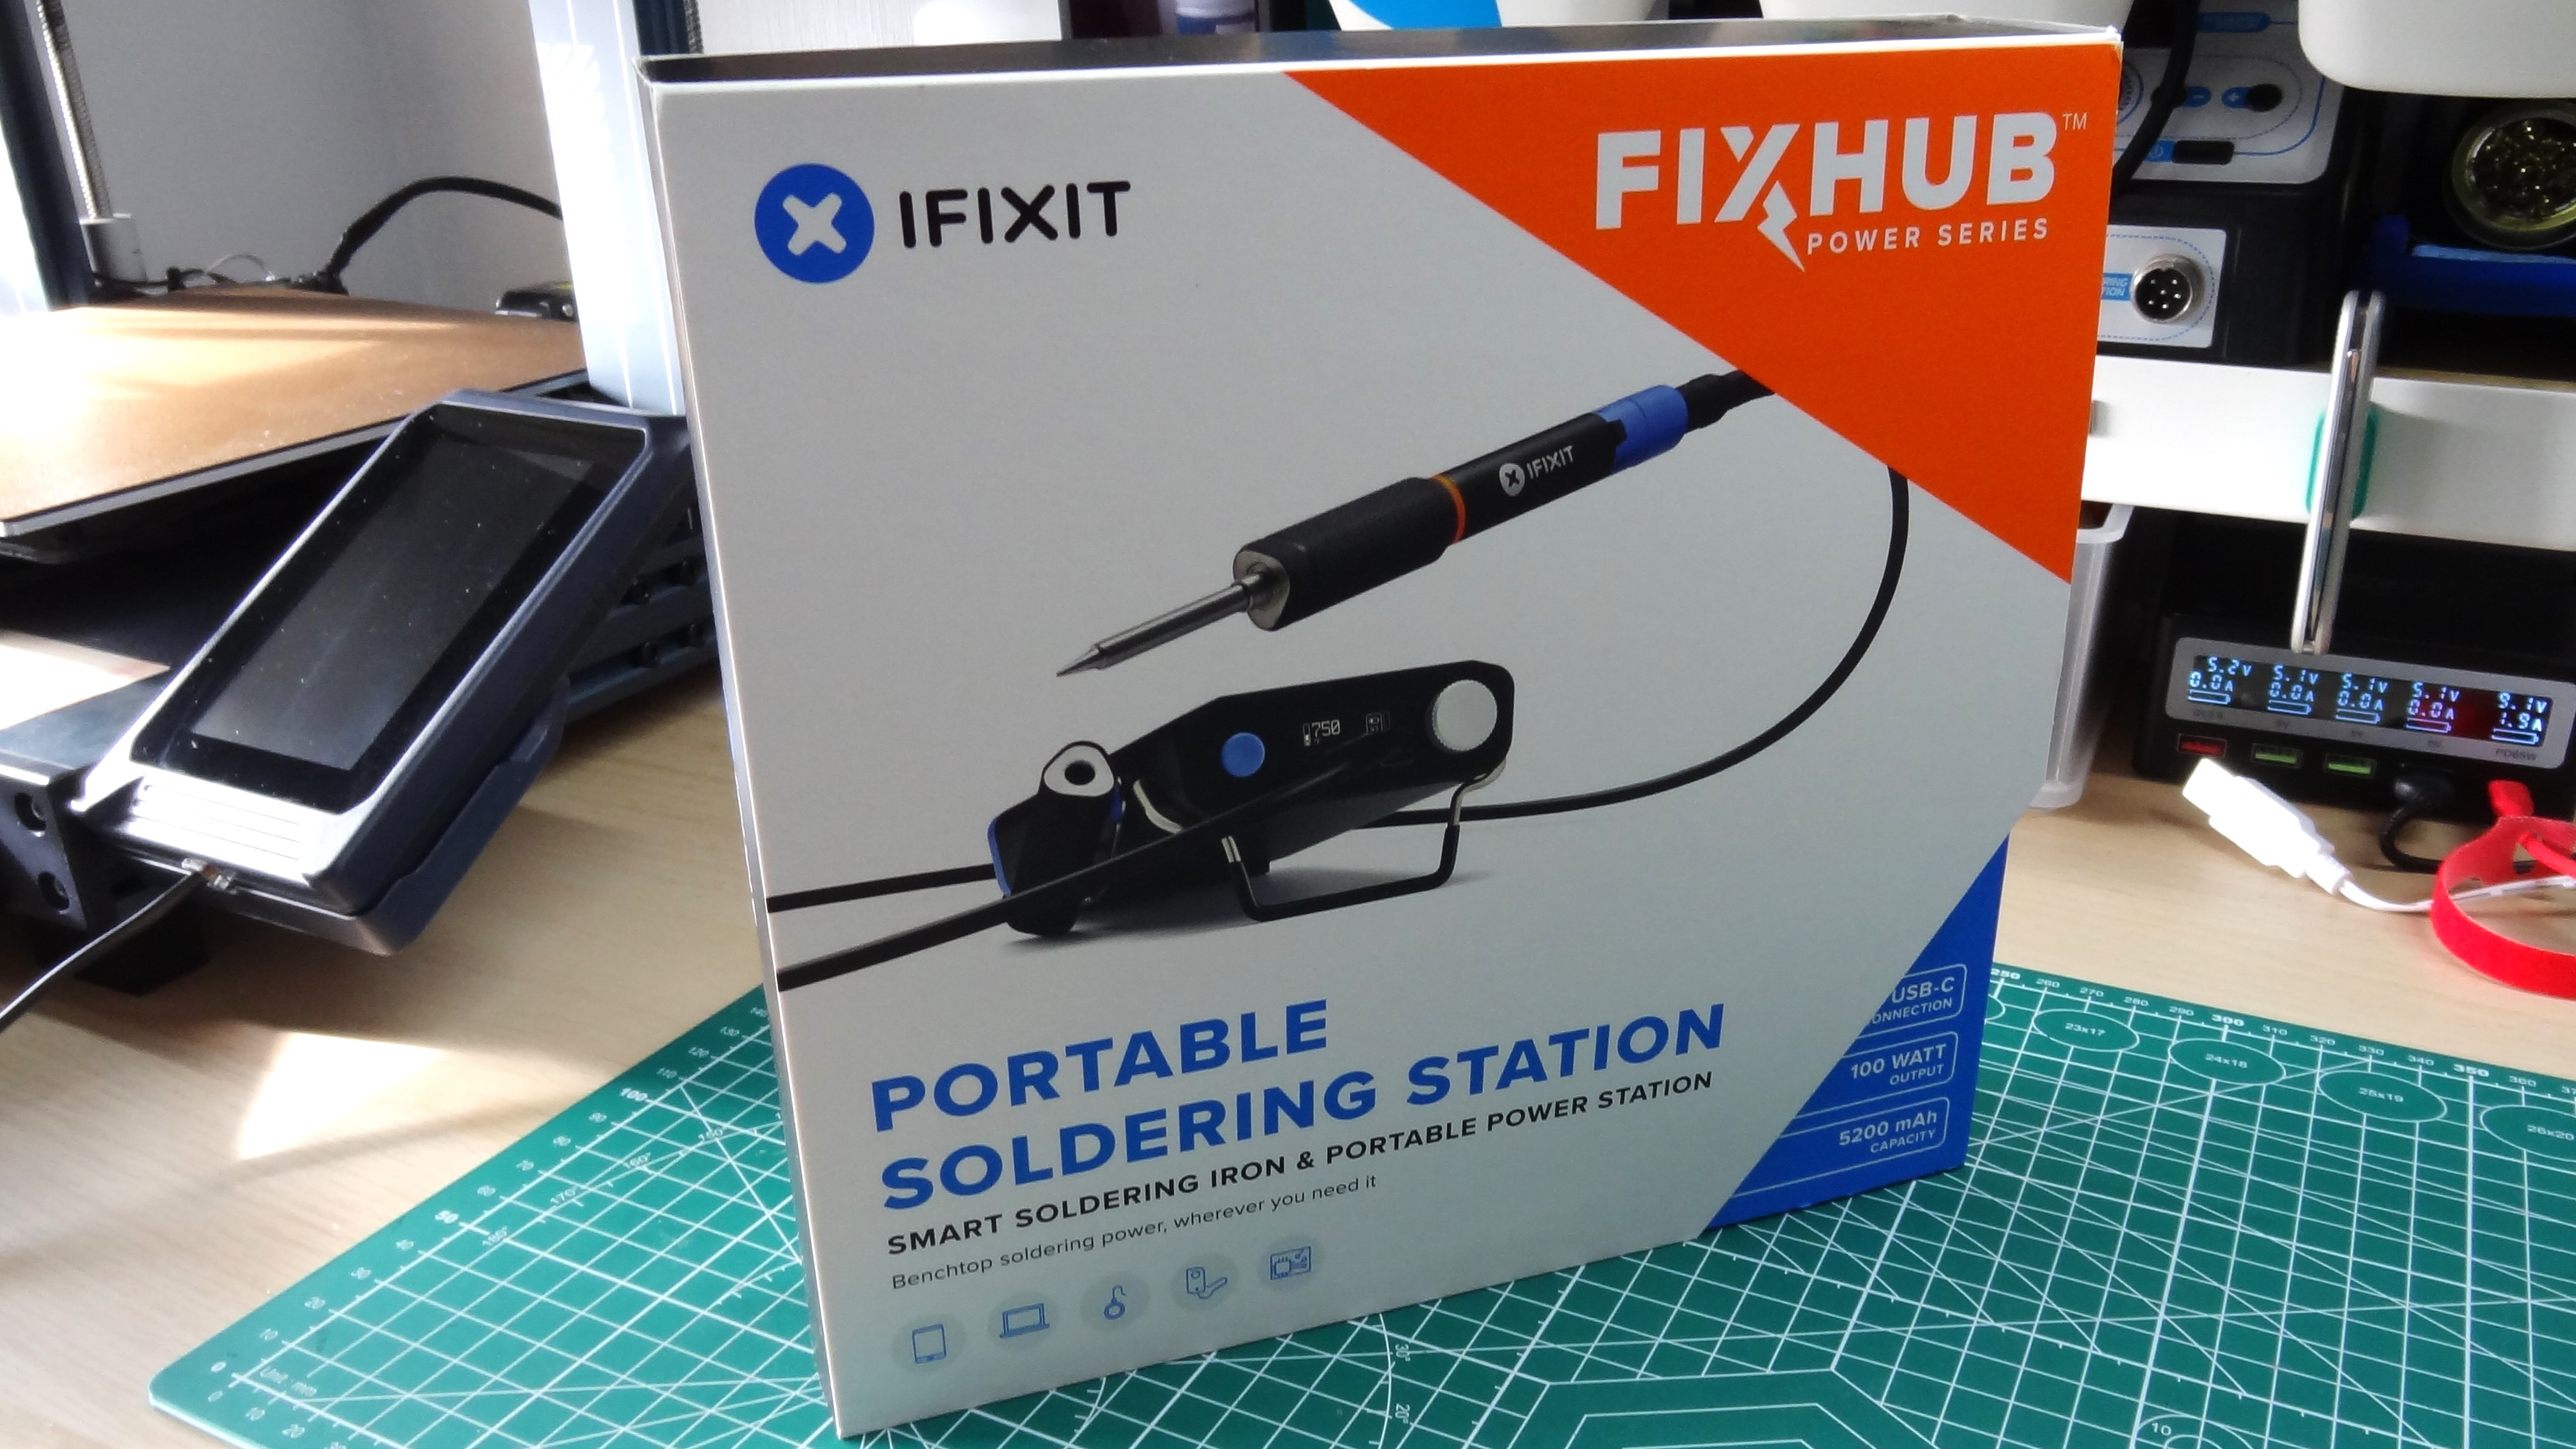
Ifixit’s latest tool is something new to its product range. It's not a screwdriver, spudger or ESD safe silicone mat. No, this is the Ifixit FixHub Portable Soldering Station, part of the FixHub range of tools and Ifixit’s first foray into soldering. The $250 kit packages a smart soldering iron, and a portable battery pack to give you 100W of soldering power, for up to 2,000 through hole solder joints, wherever you need it!
The kit is available for pre-order today, with orders shipping October 15. Ifixit sent Tom’s Hardware a review unit ahead of time for my review. Could it make it on to our list of the best soldering irons and soldering stations? We shall find out!
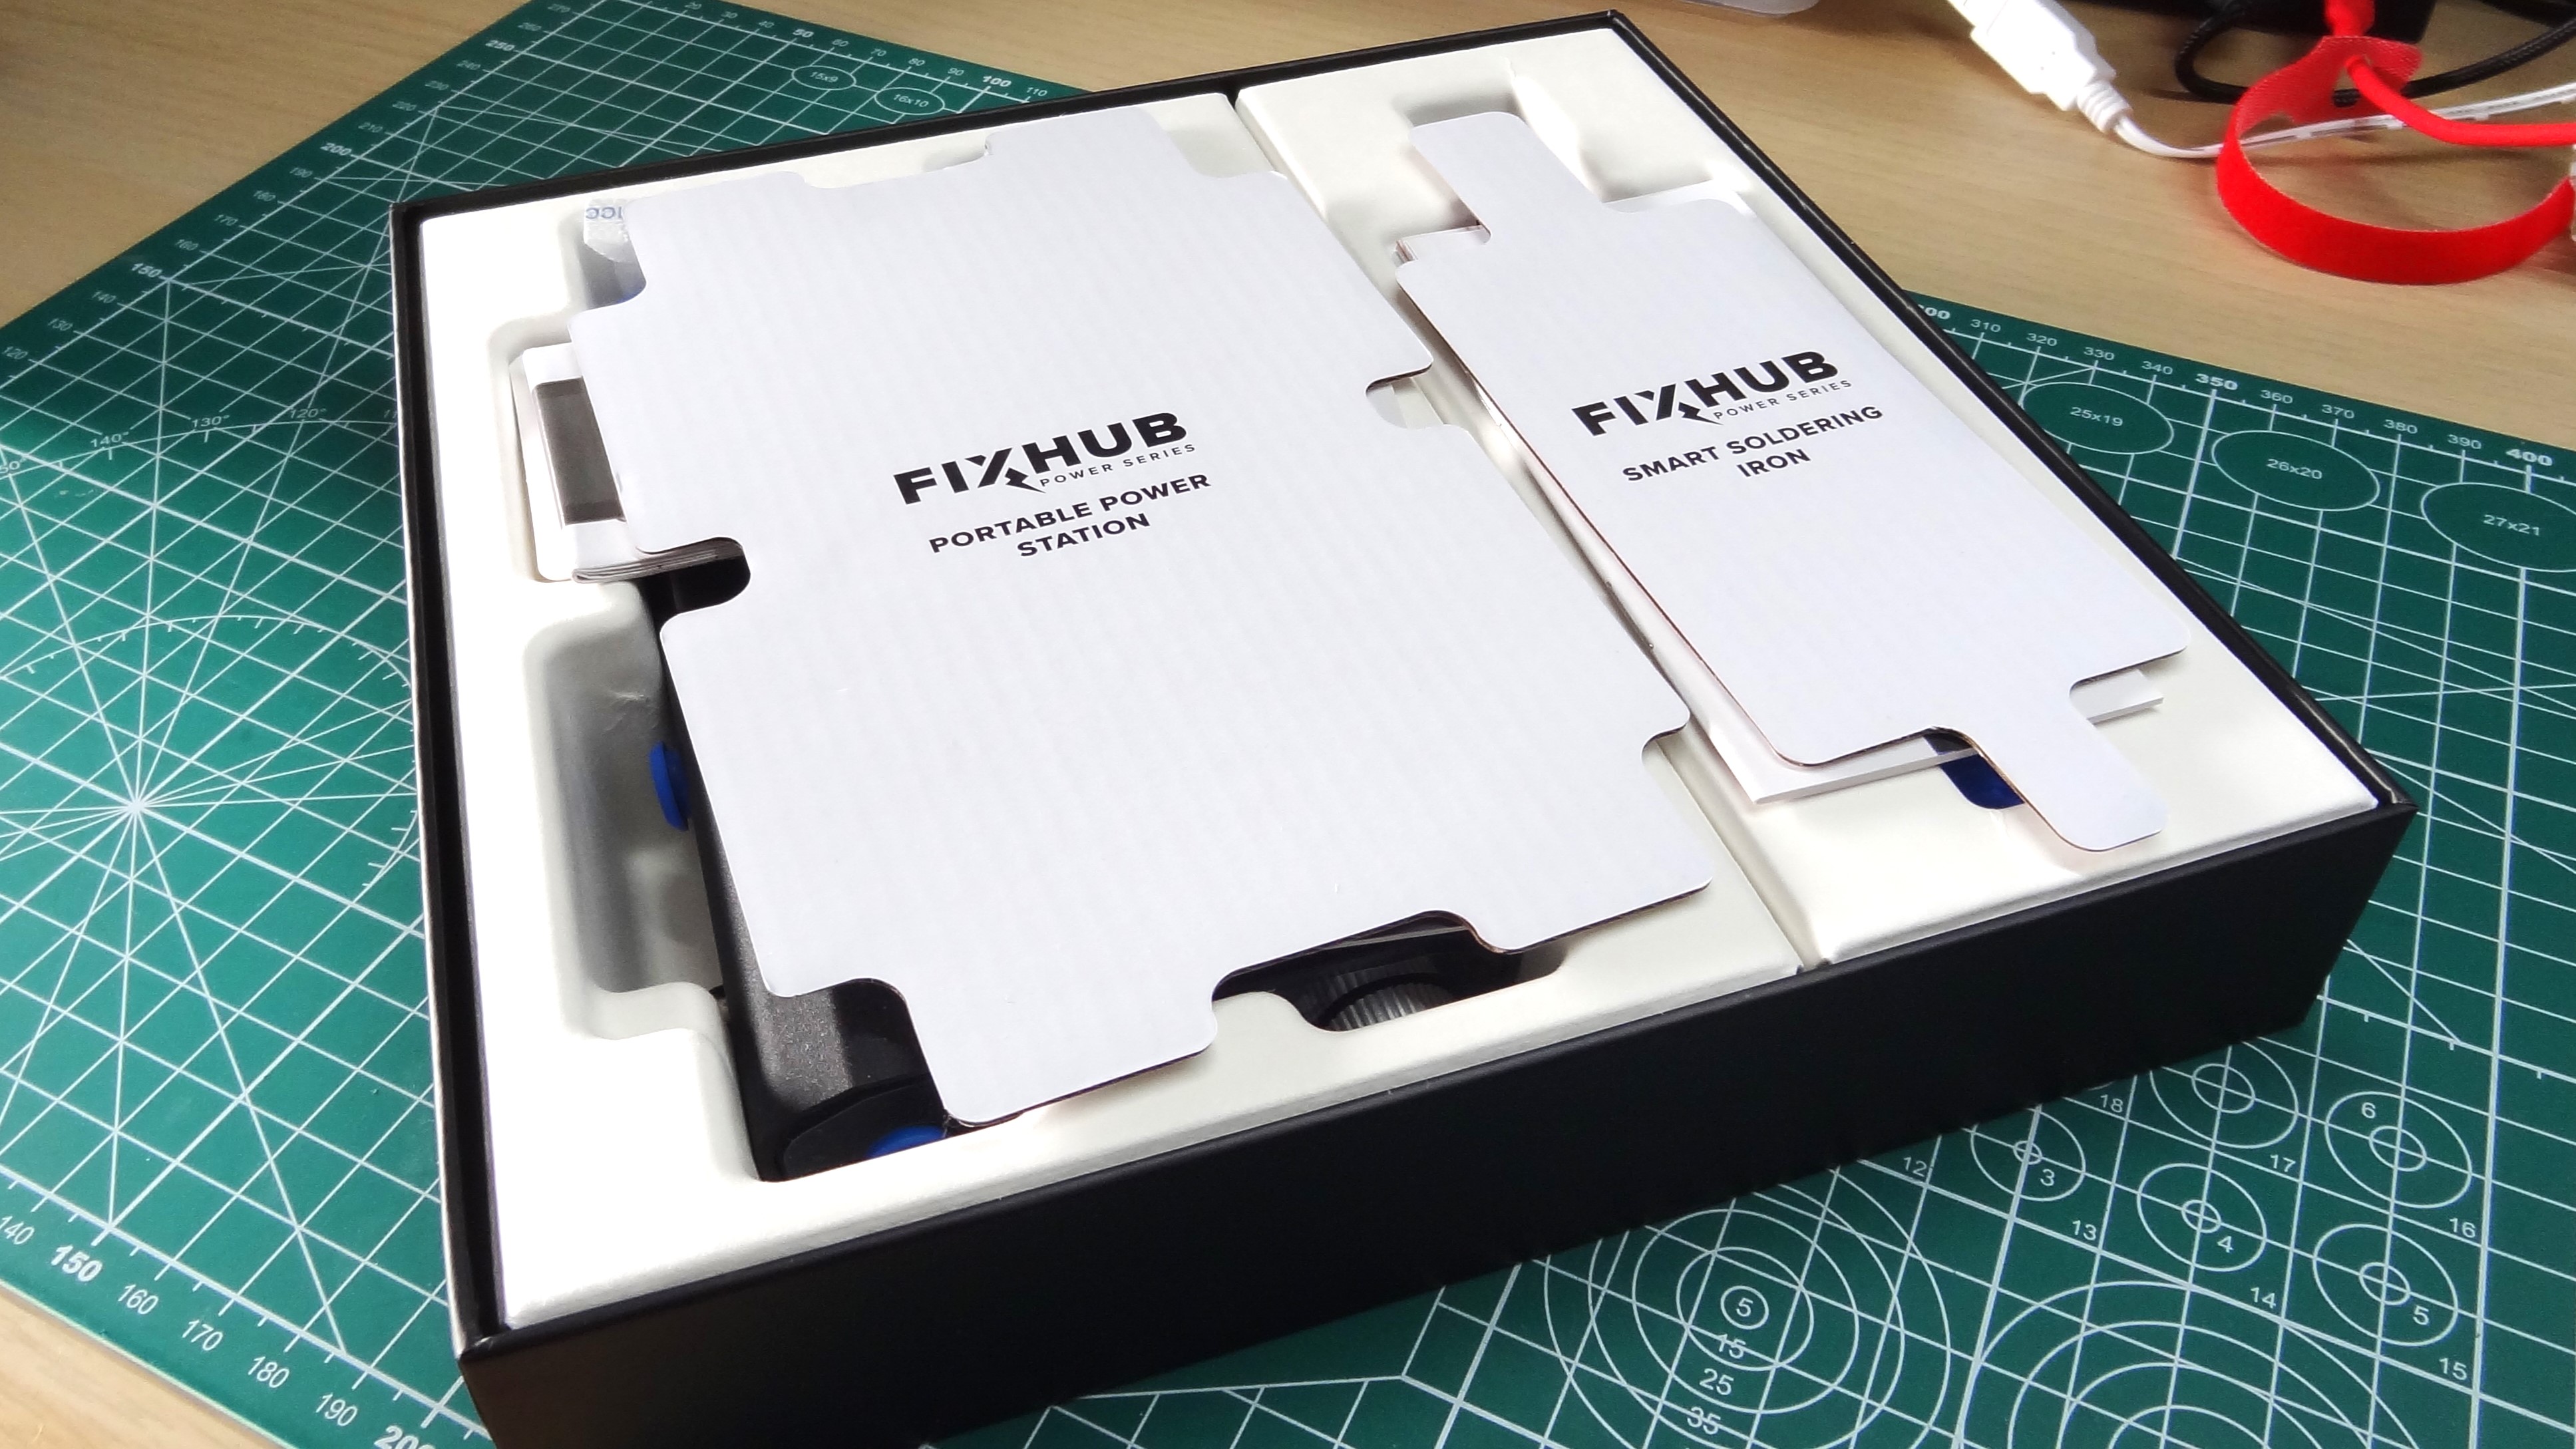
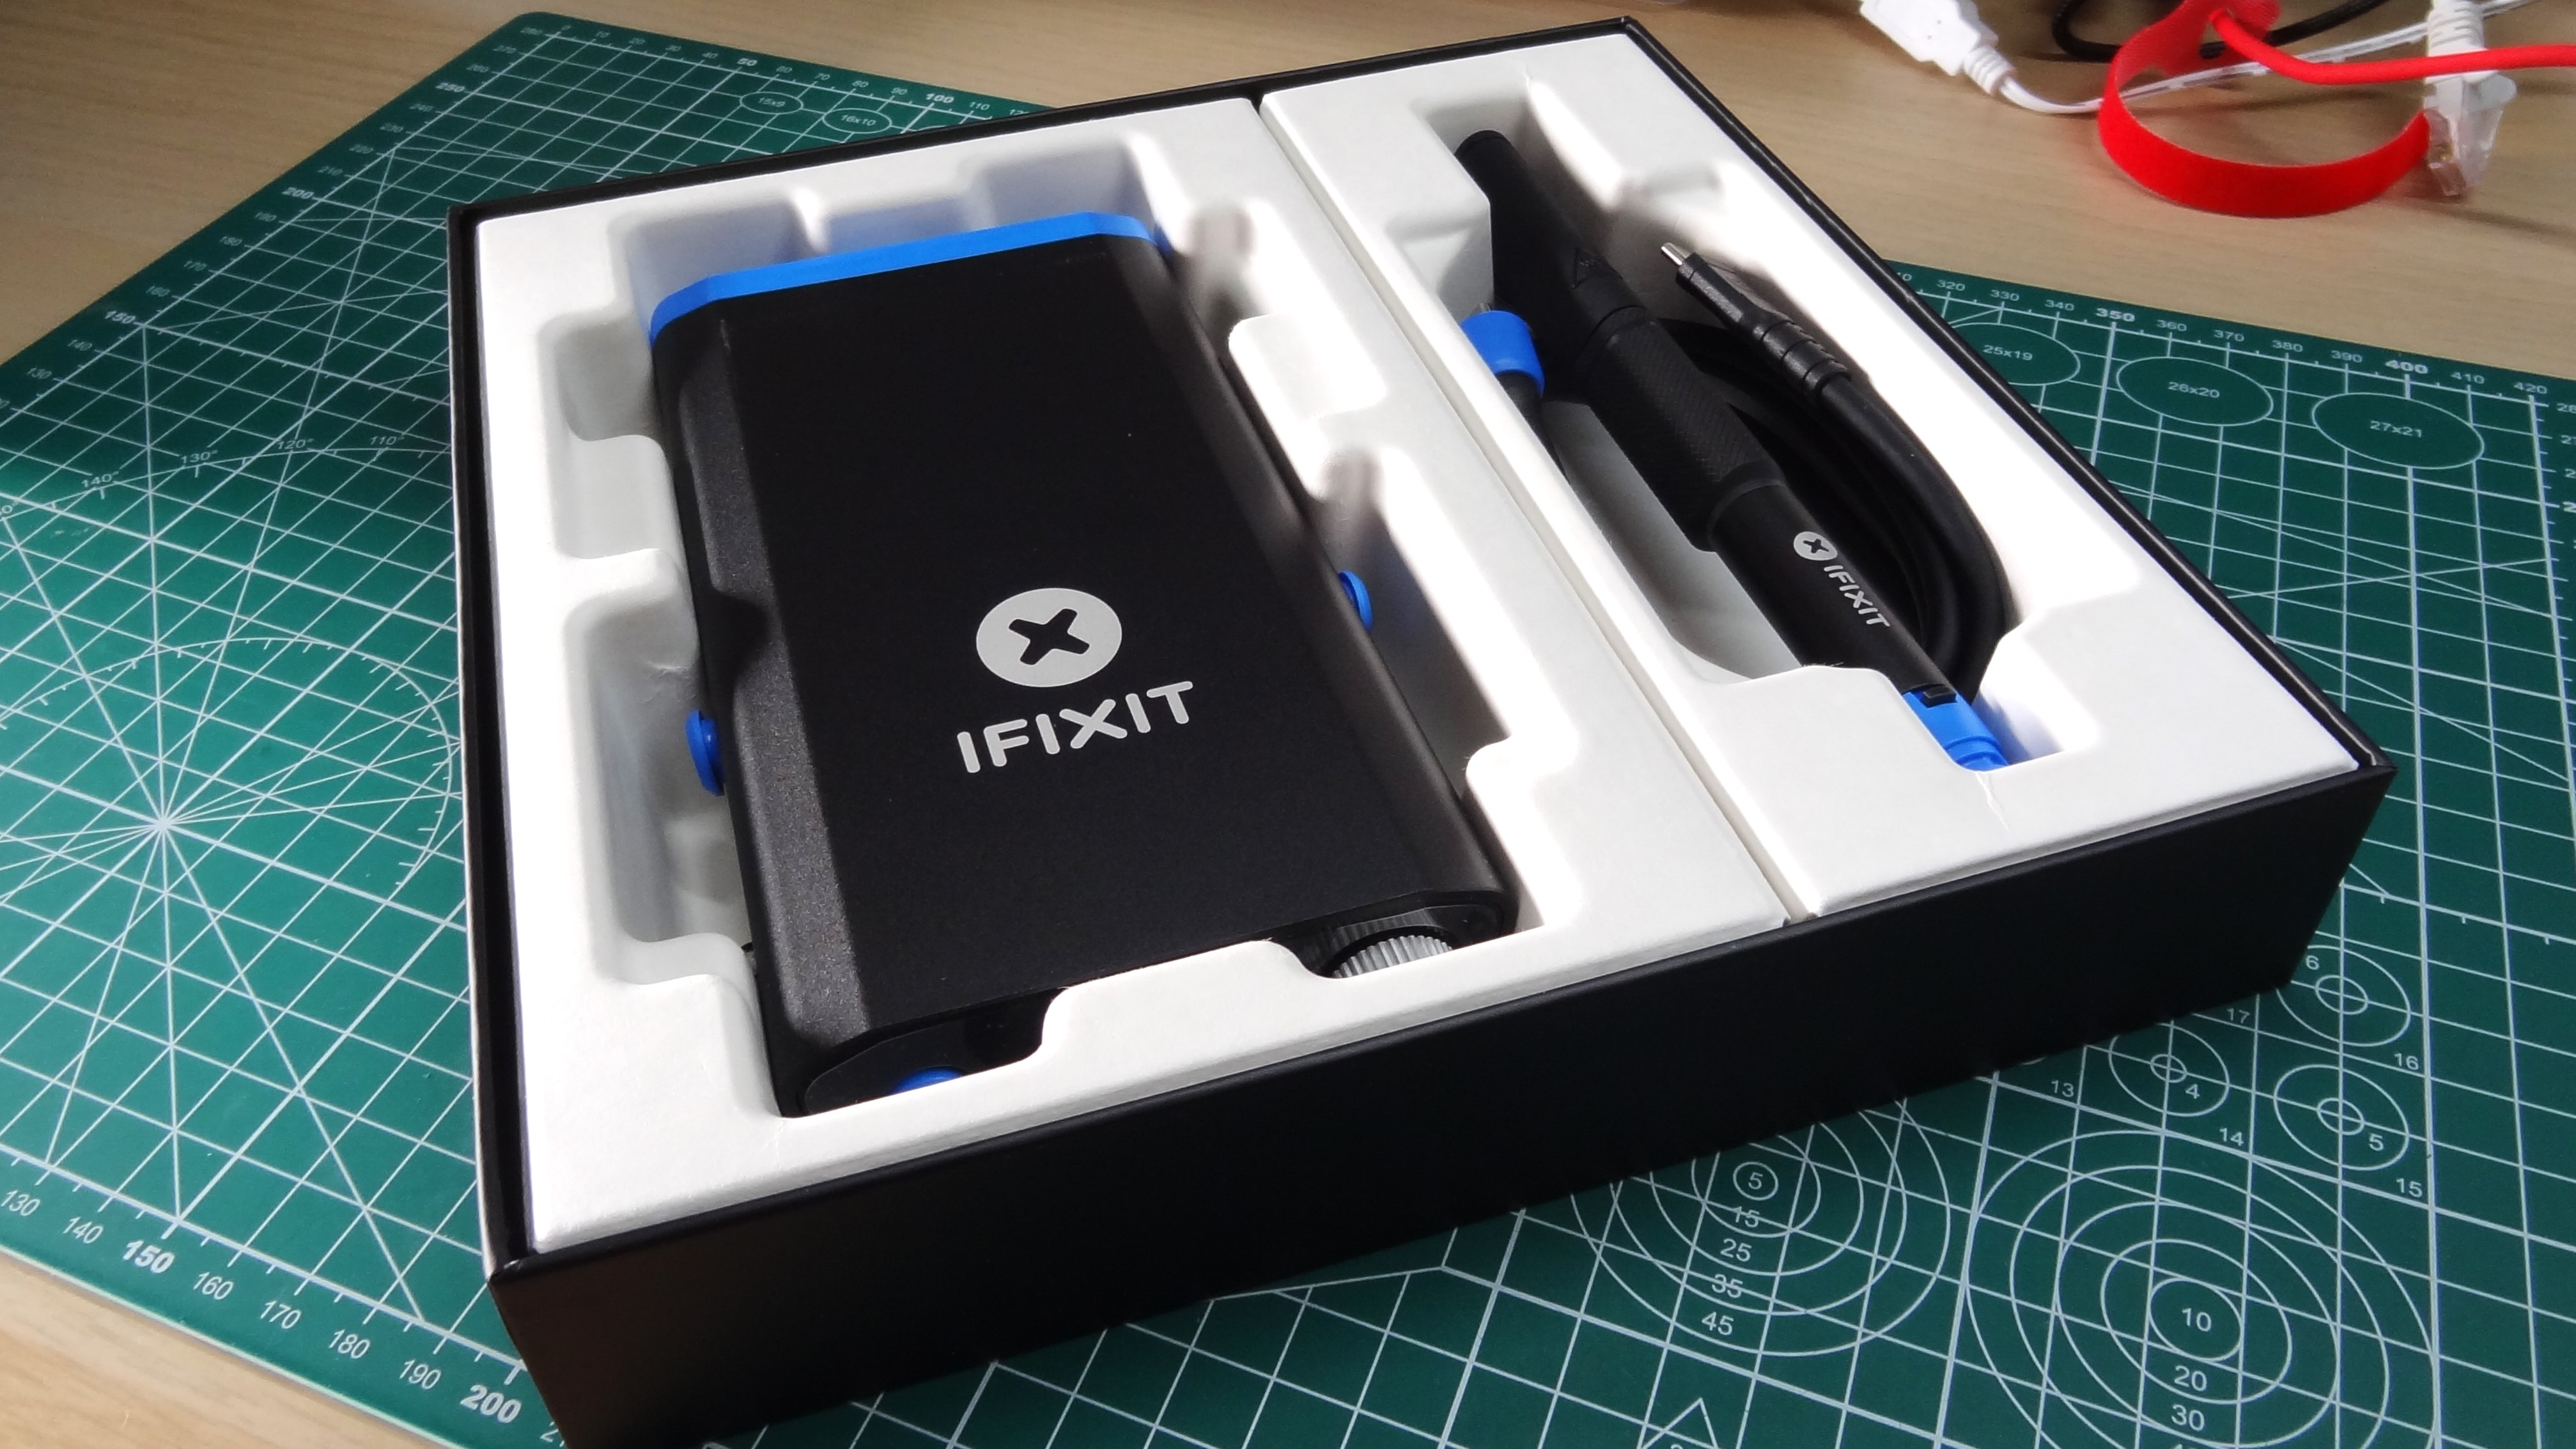
Can it beat your favorite desktop soldering station? Is it as portable as the best smart soldering irons? Can it deliver the power for those heavy solder joints? Can we fix it? There is only one way to find out and that involves lots of soldering, and two screwdrivers!
Just a note to state that Ifixit sent two Fixhub Portable Soldering Station kits for review. The first unfortunately ceased working after a short while due to an unknown issue. The symptoms of the issue manifested as an inability to power on, or accept a charge. This was reported to Ifixit and the first review unit is being sent back for investigation. Ifixit supplied a second unit for our review. The second unit has worked exactly as designed and forms the focus of this review.
Ifixit Fixhub Portable Soldering Station Specifications
| Power | Up to 100W for SLD101 Soldering Iron USB C input supports 65W GaN charger 55WH battery |
| Soldering Iron Tip(s) | Bevel (supplied in kit) Conical, Knife and others available separately |
| User Interface | 0.96 inch OLED display, rotary encoder selector, push button power |
| Temperature | Max 420 degrees Celsius / 790 degrees Fahrenheit |
| Dimensions | 165 x 90 x 30mm |
Ifixit Fixhub Portable Soldering Station Look and Feel
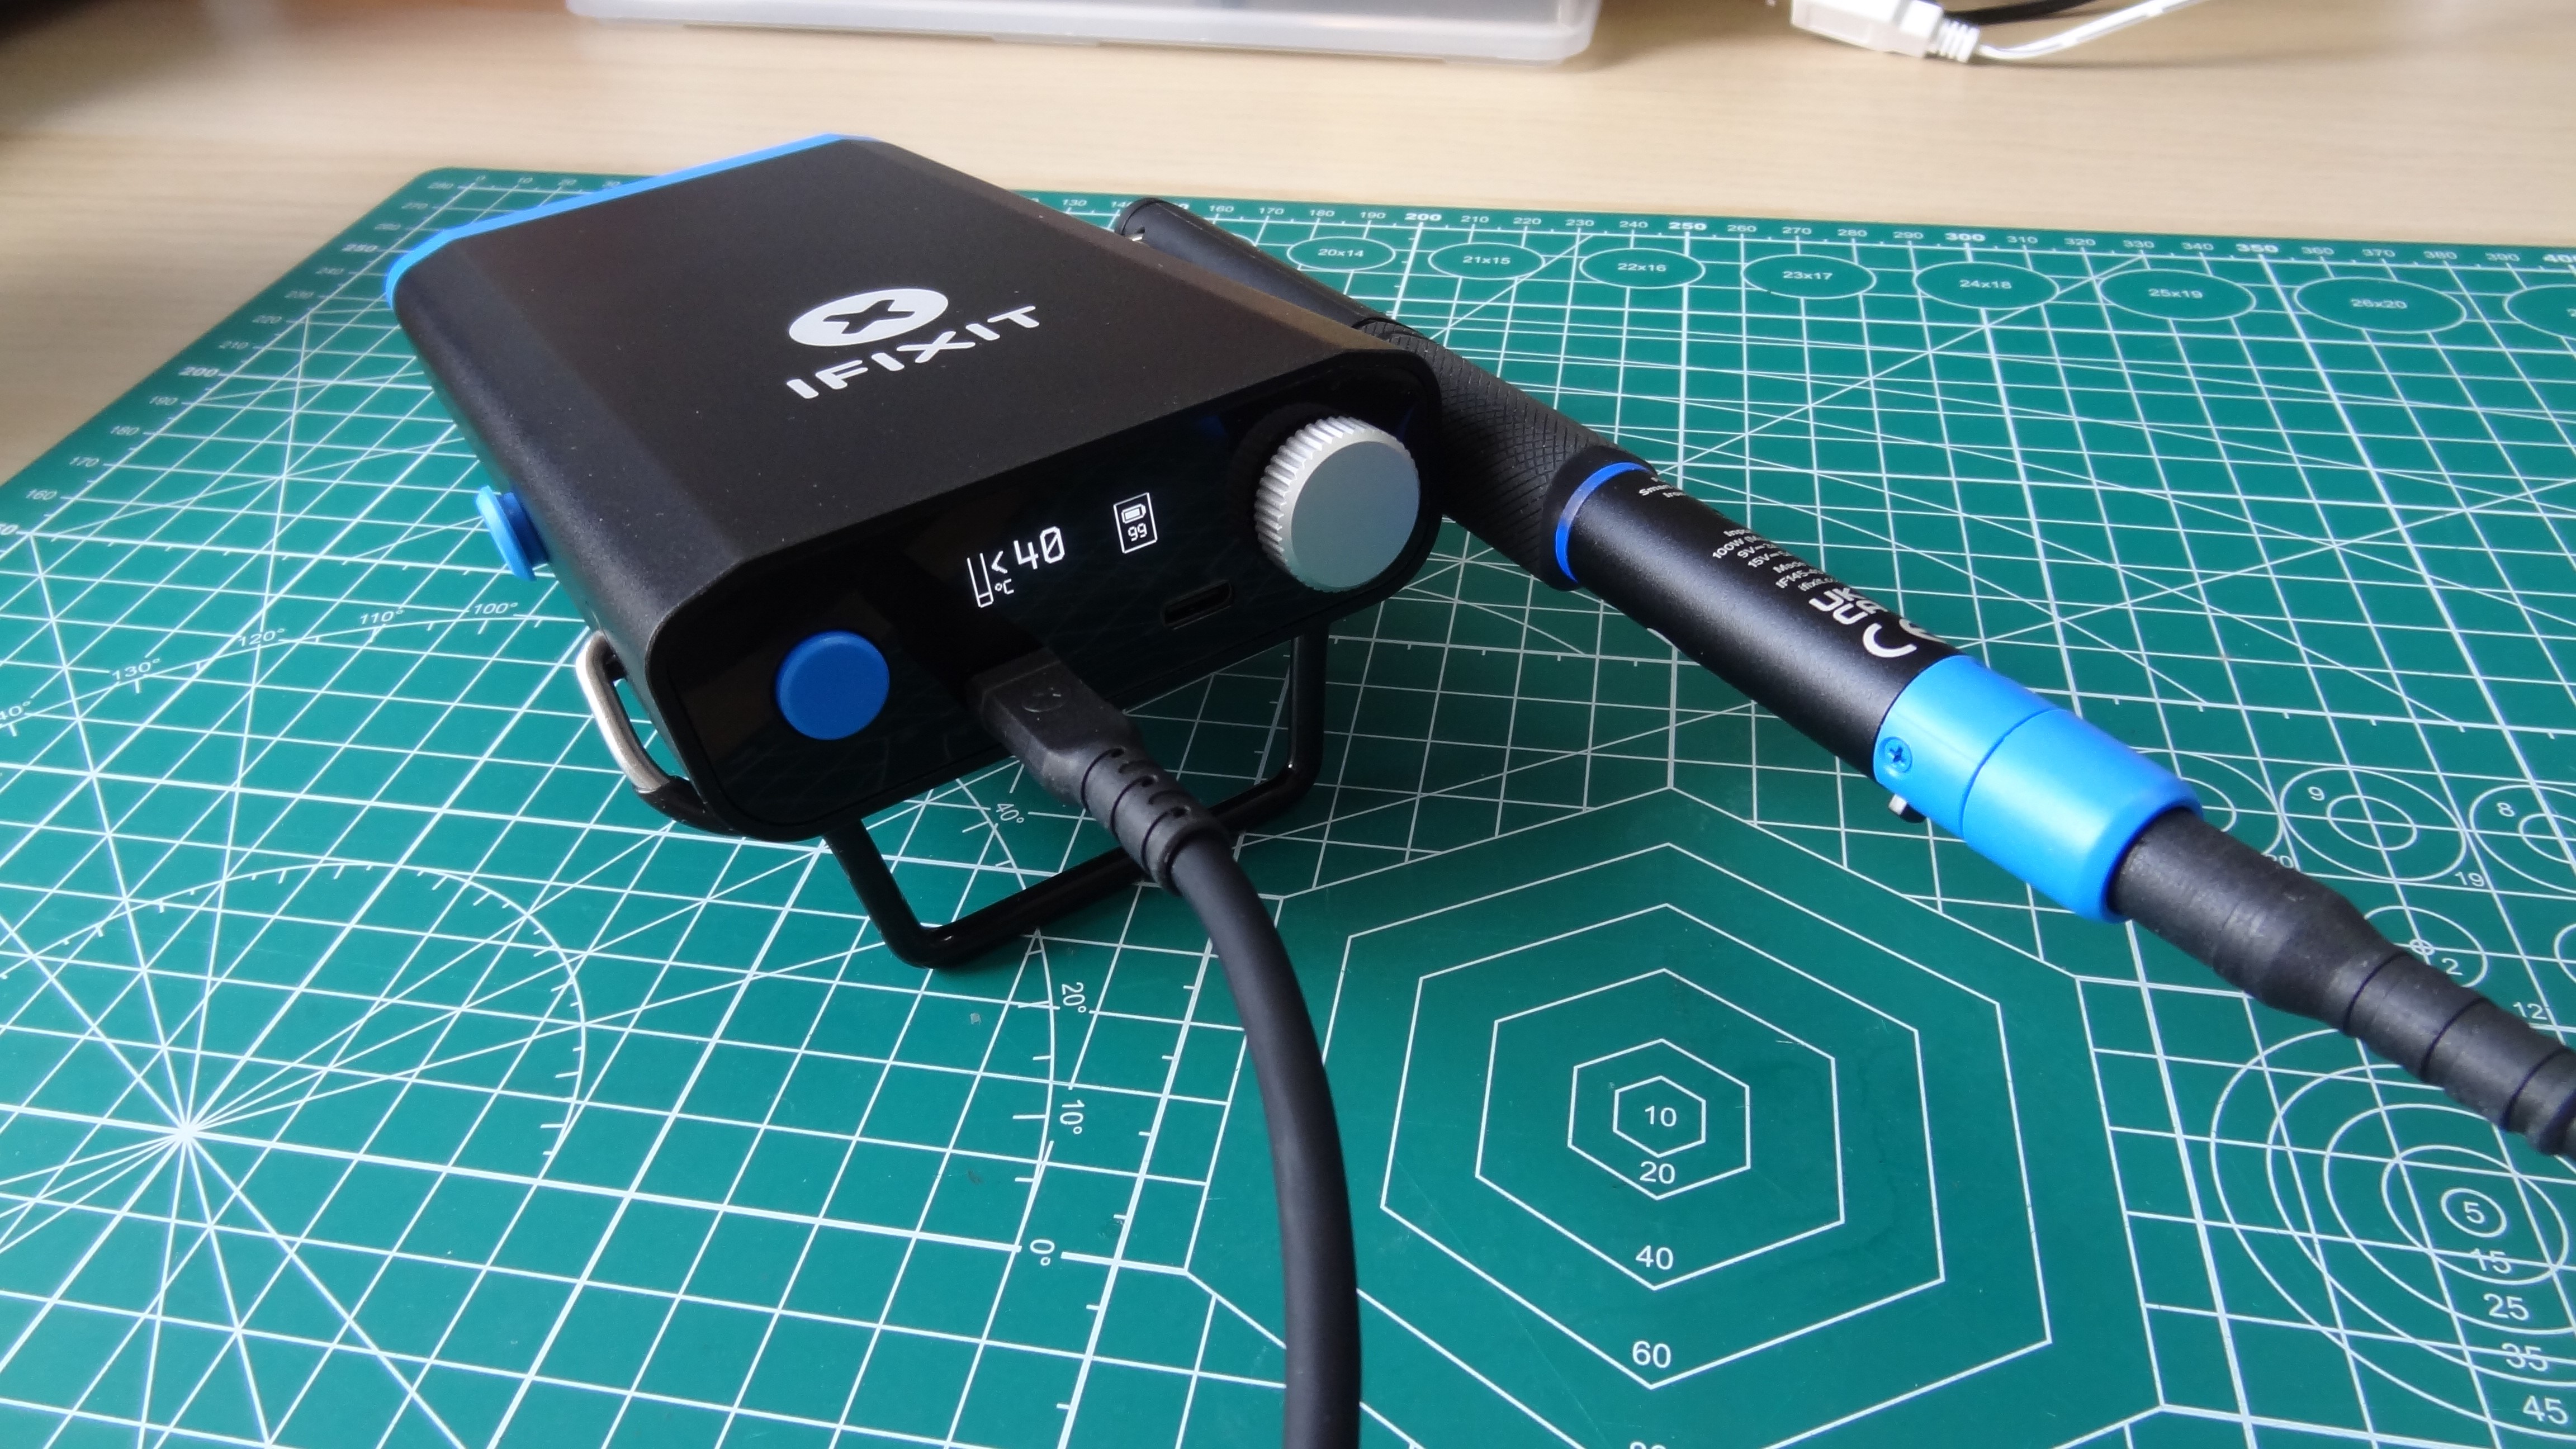
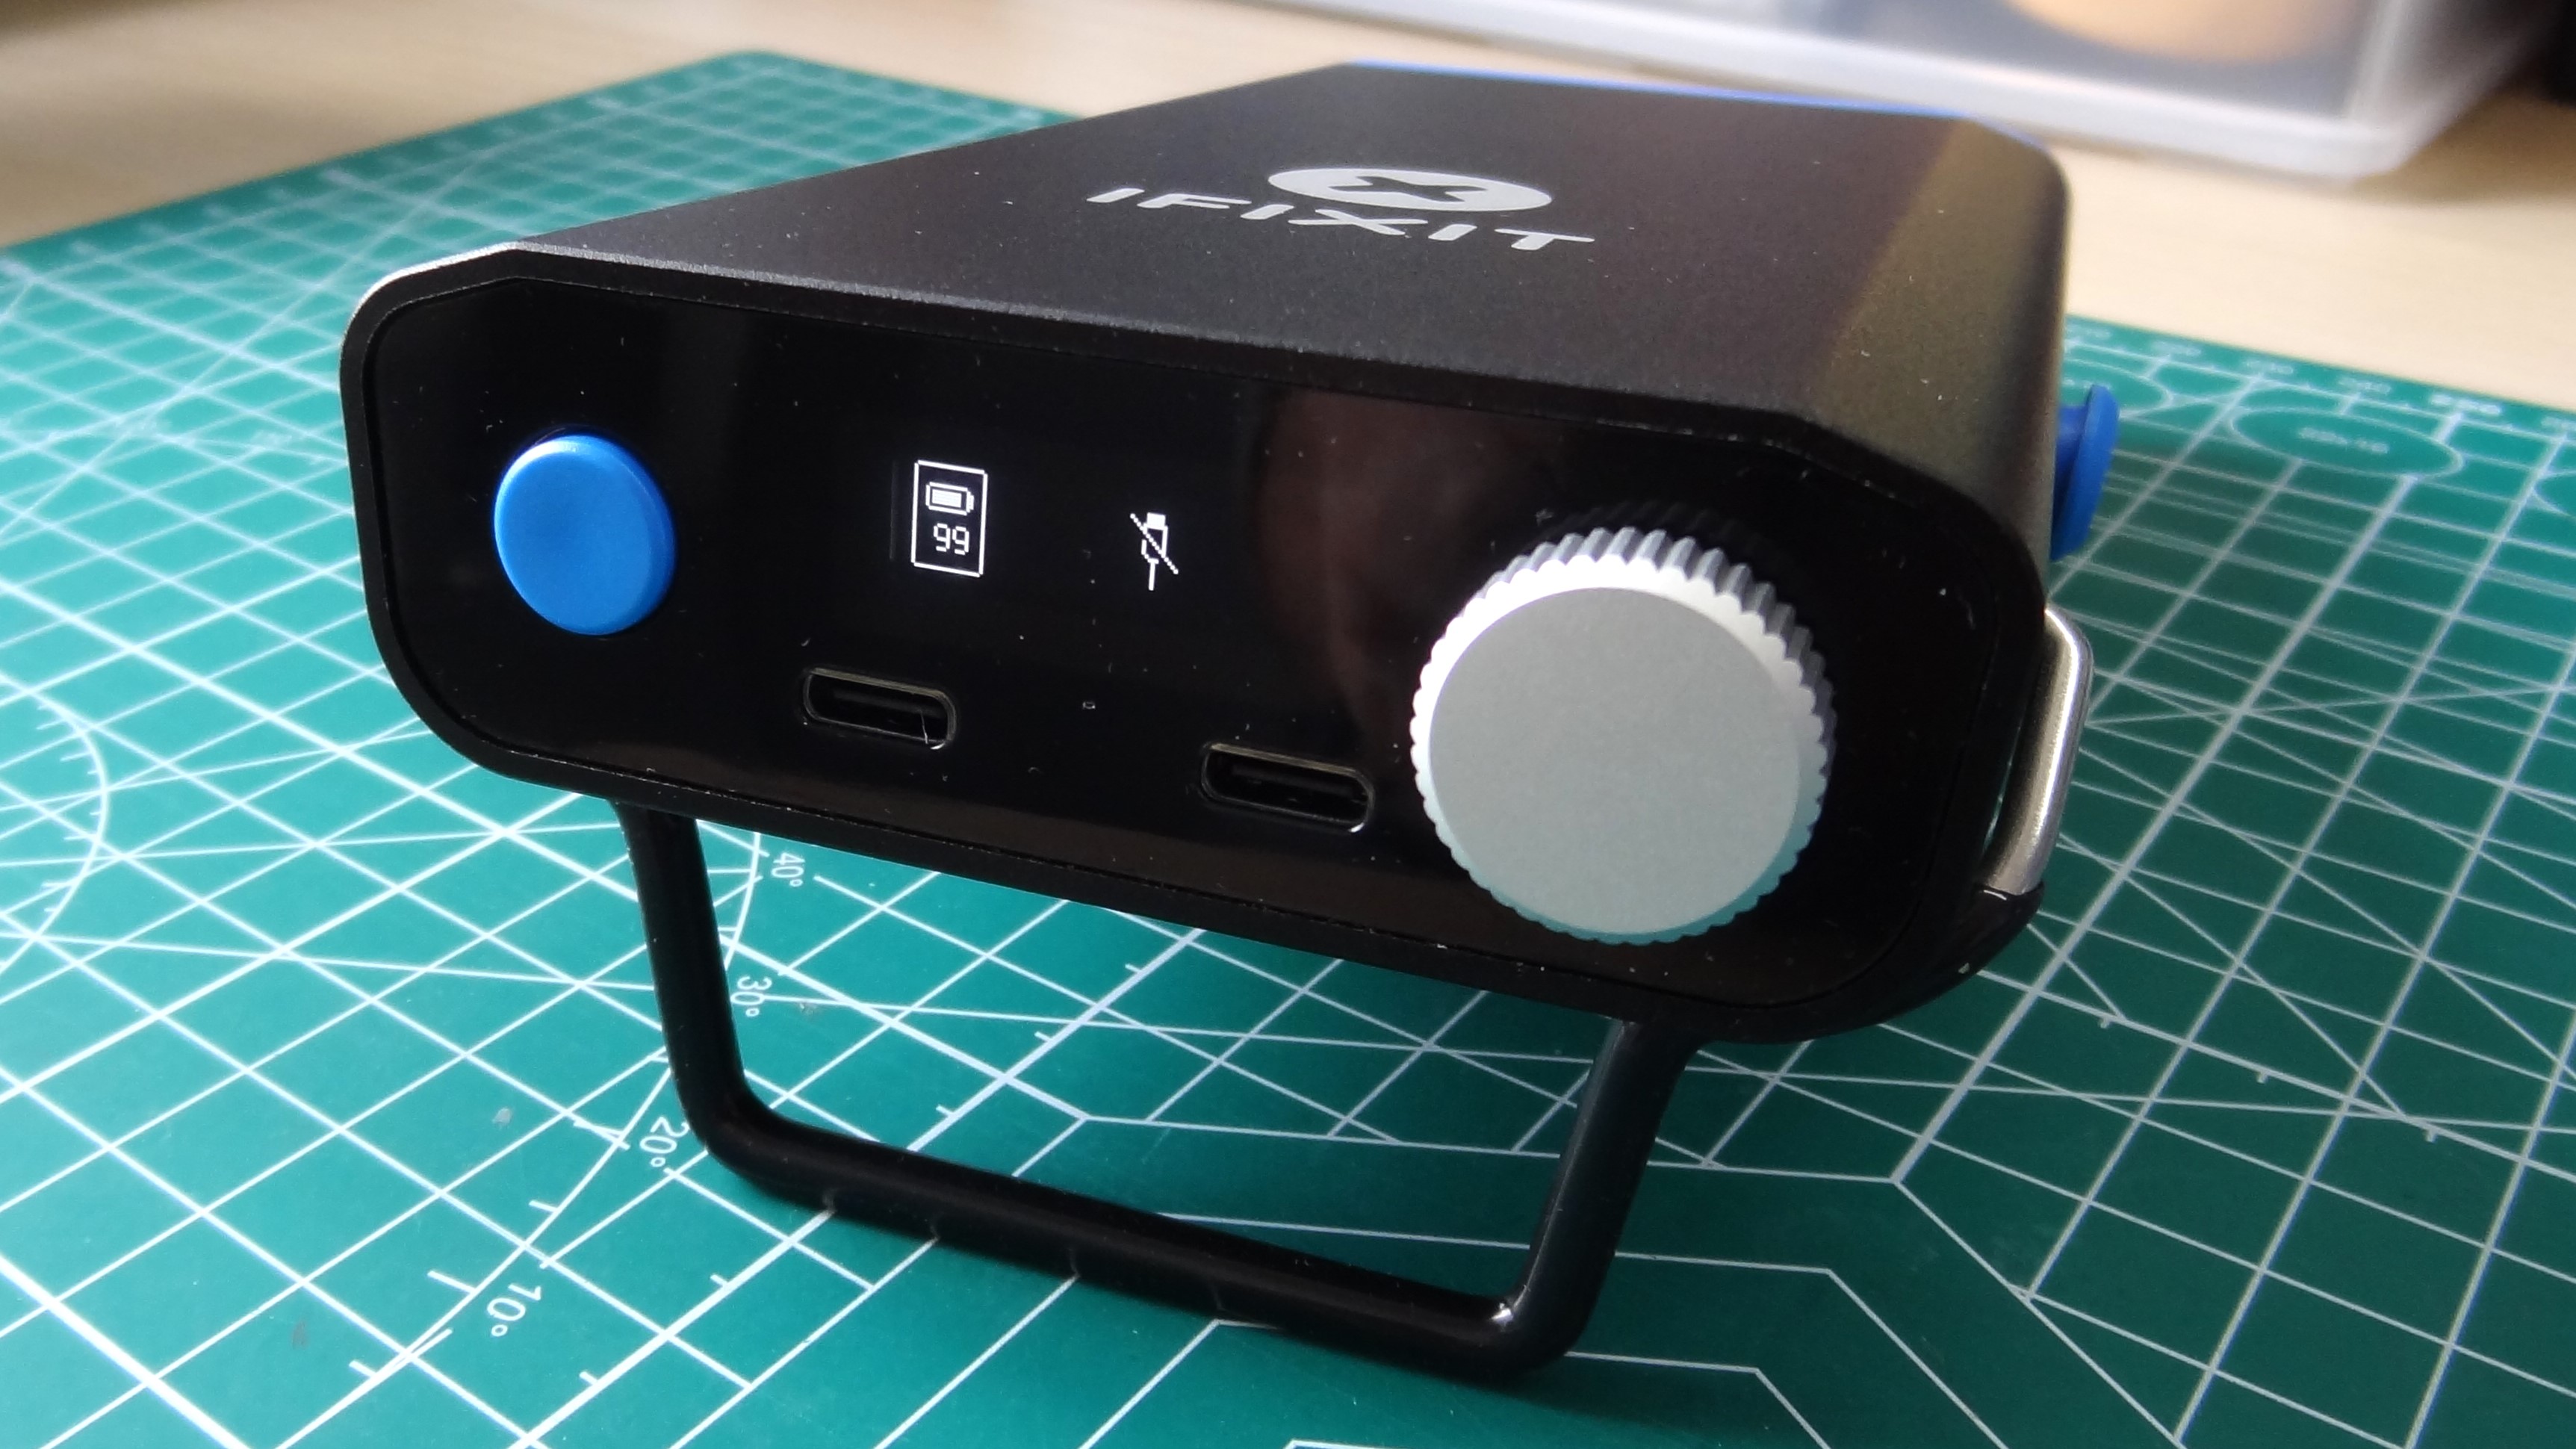
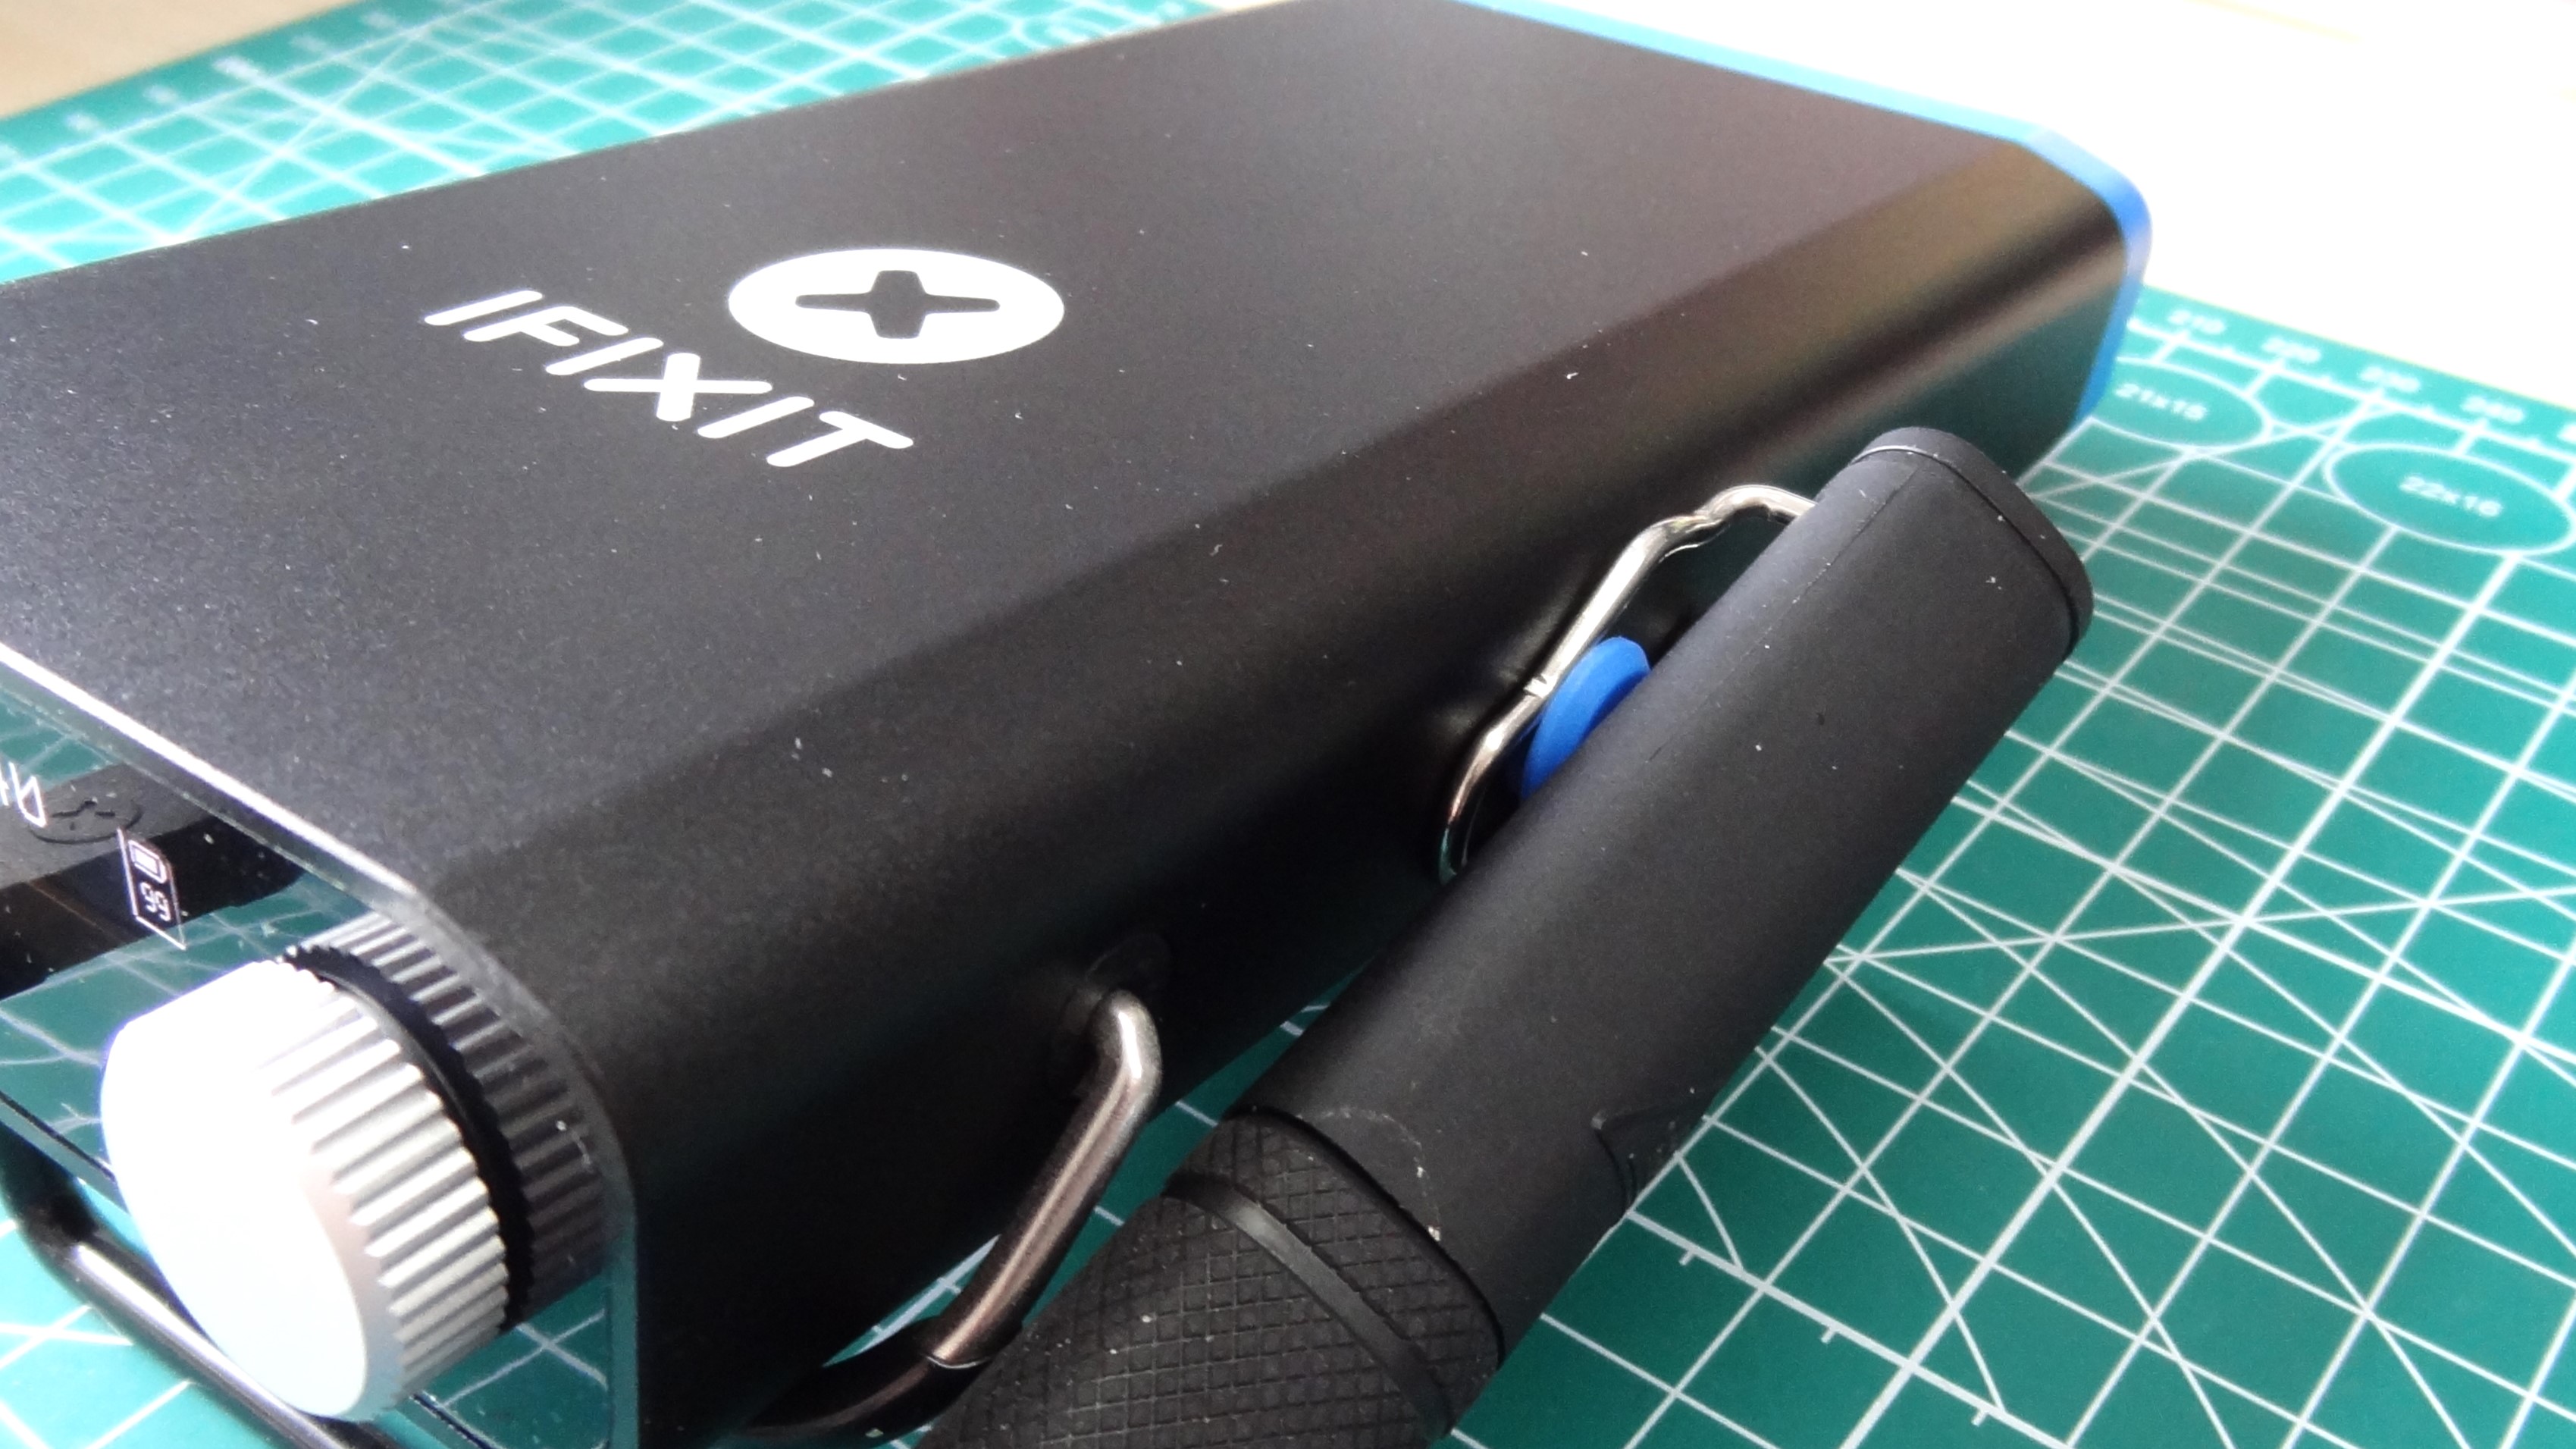
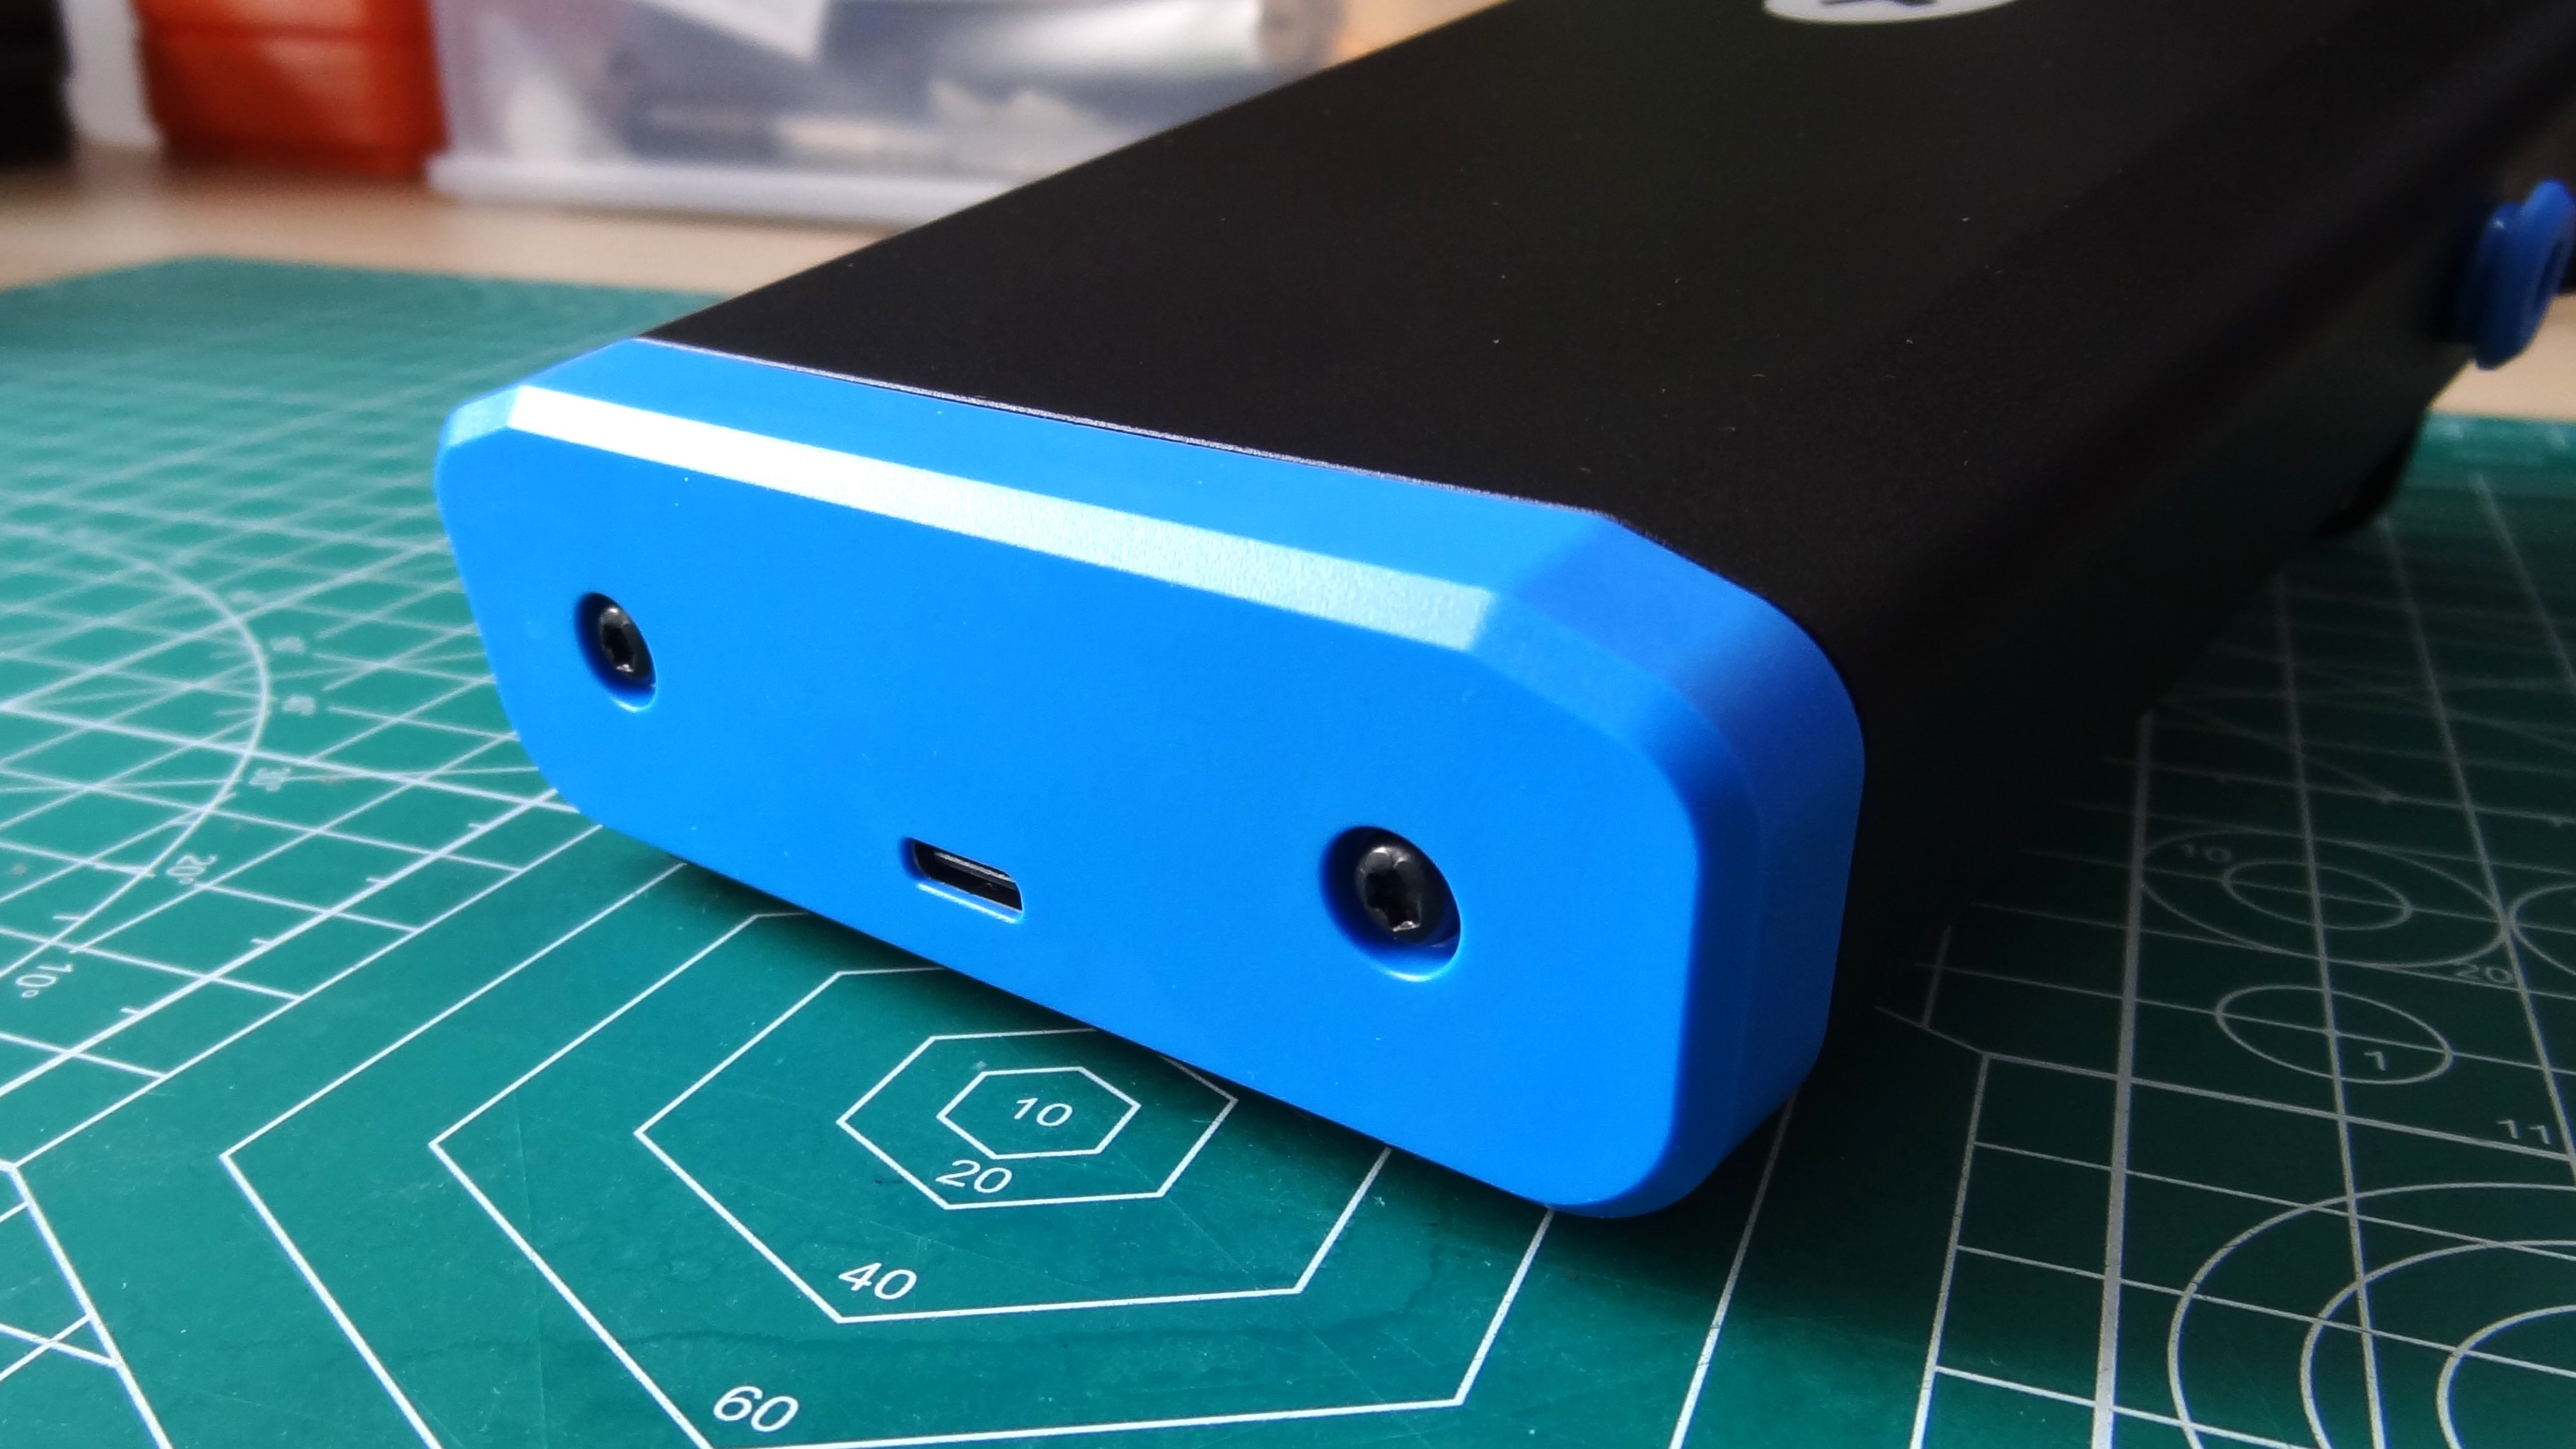
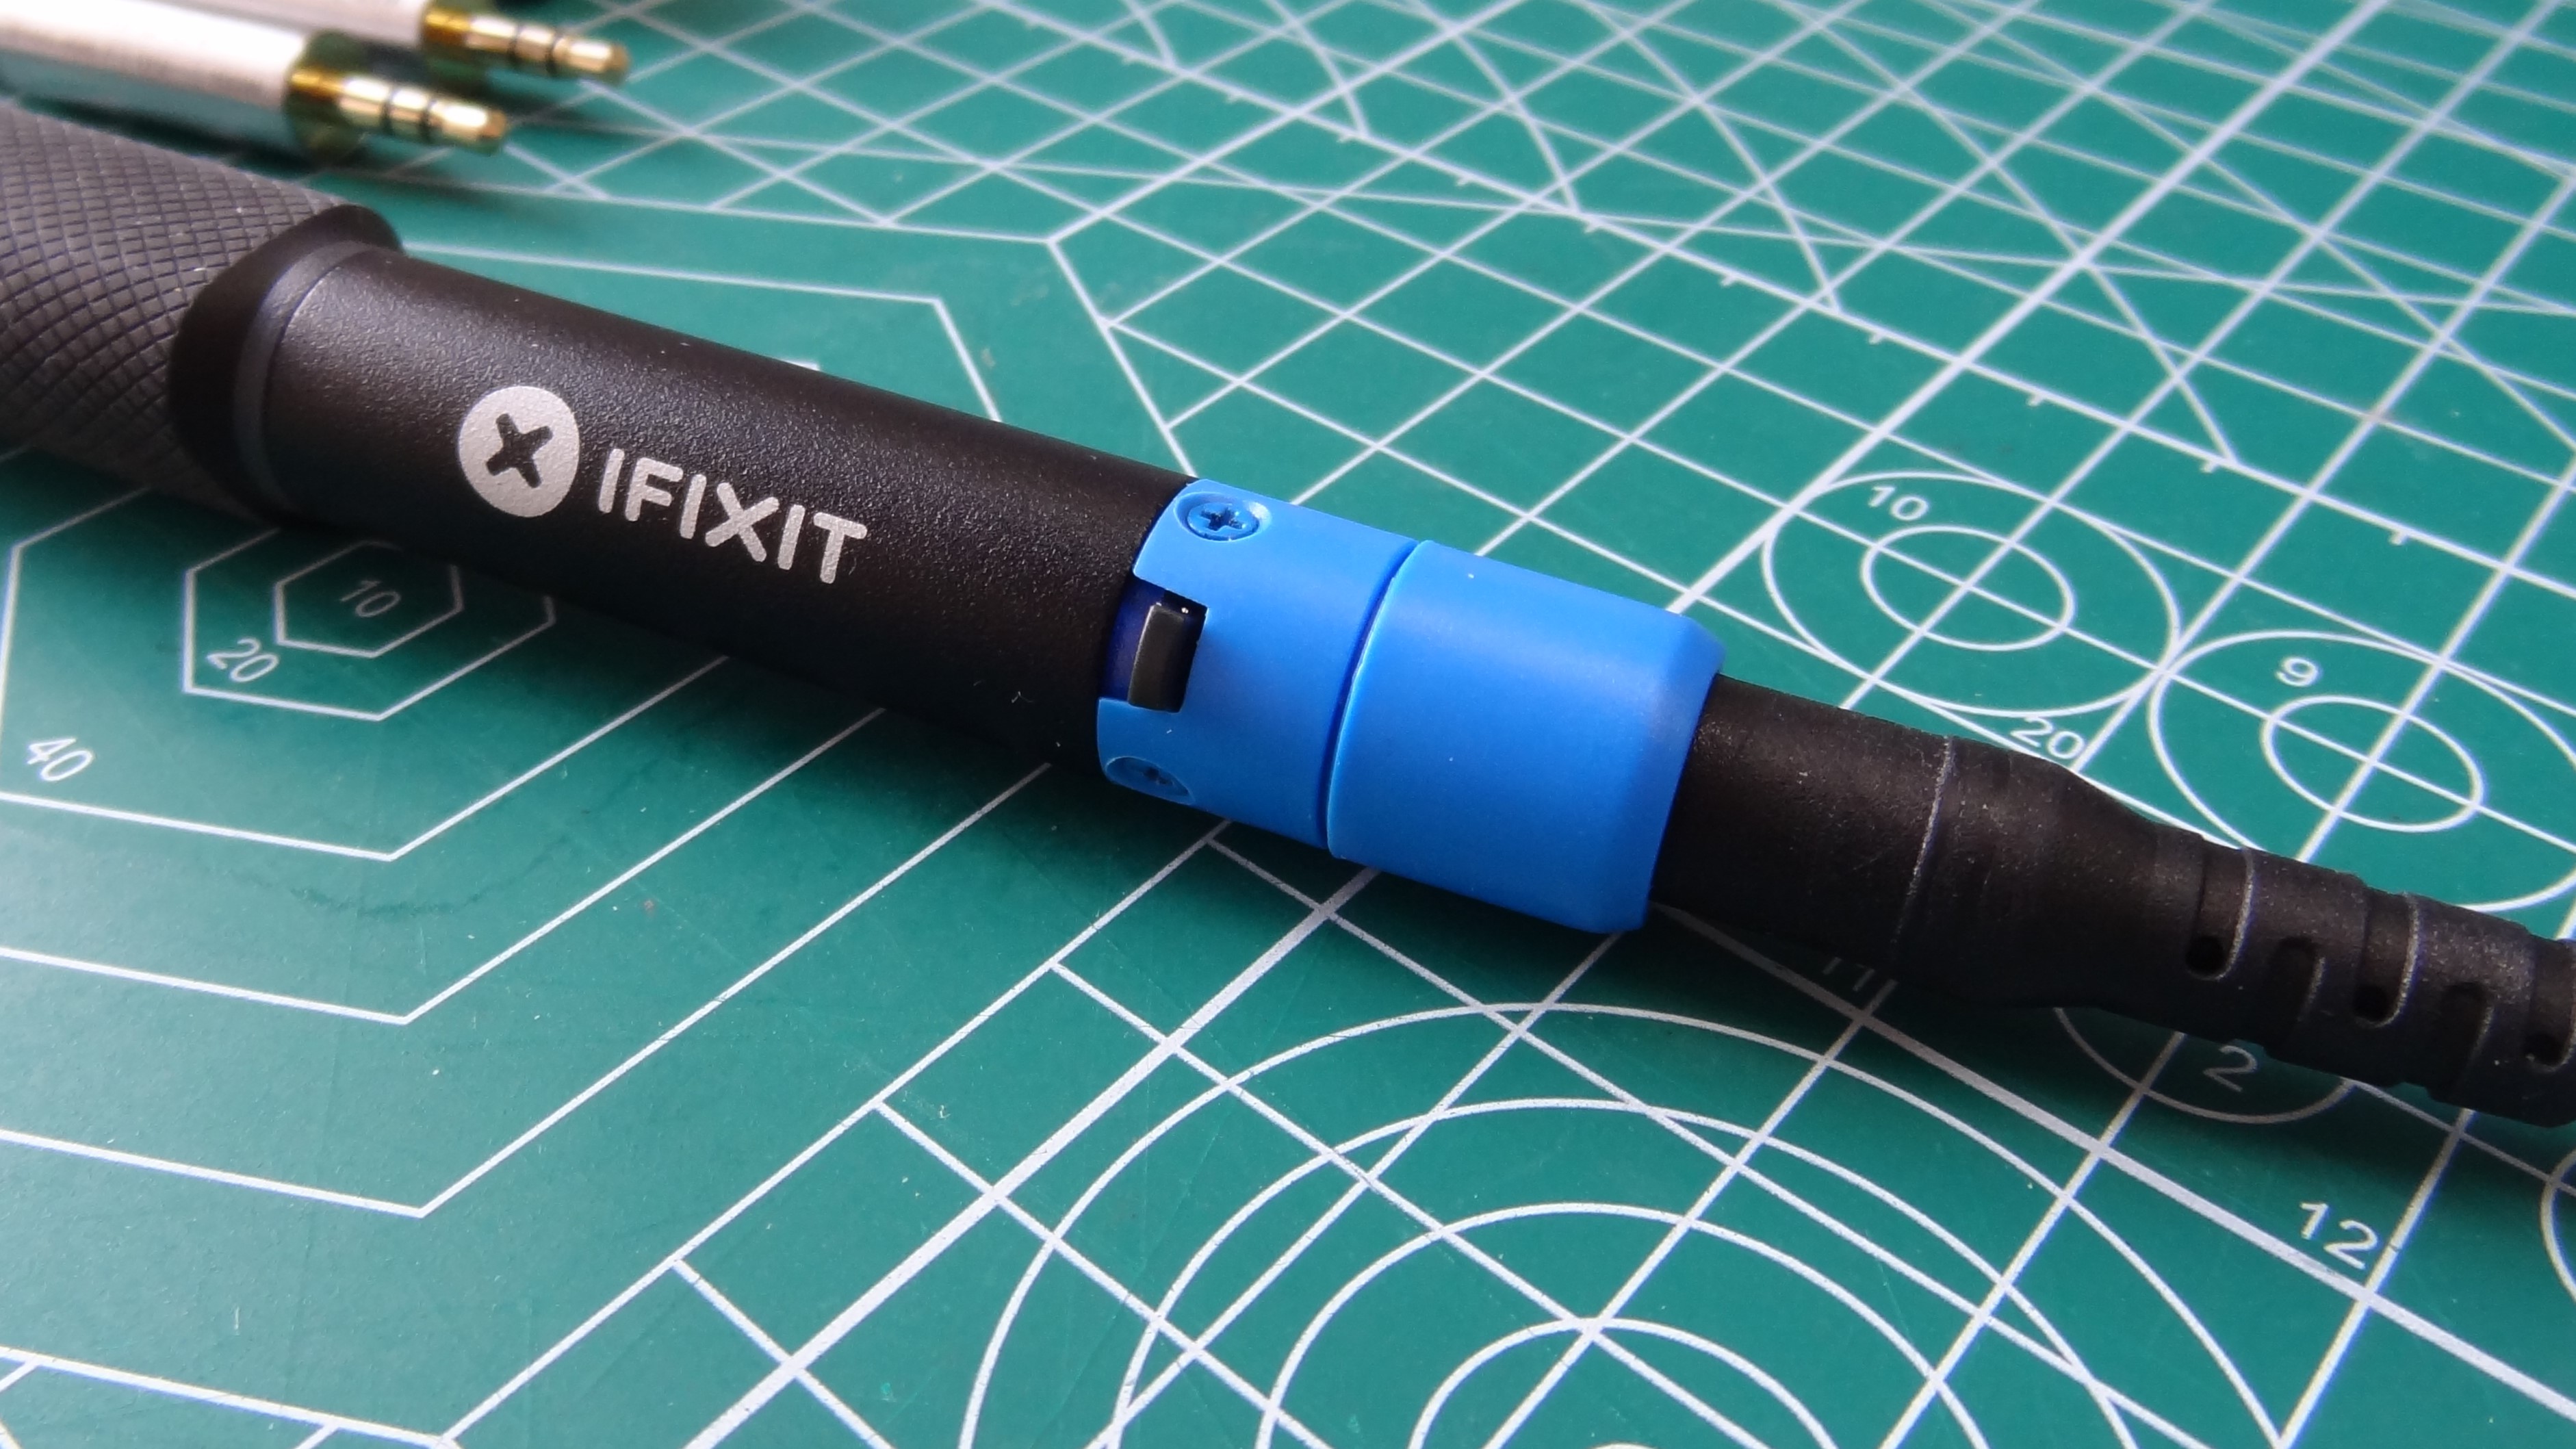
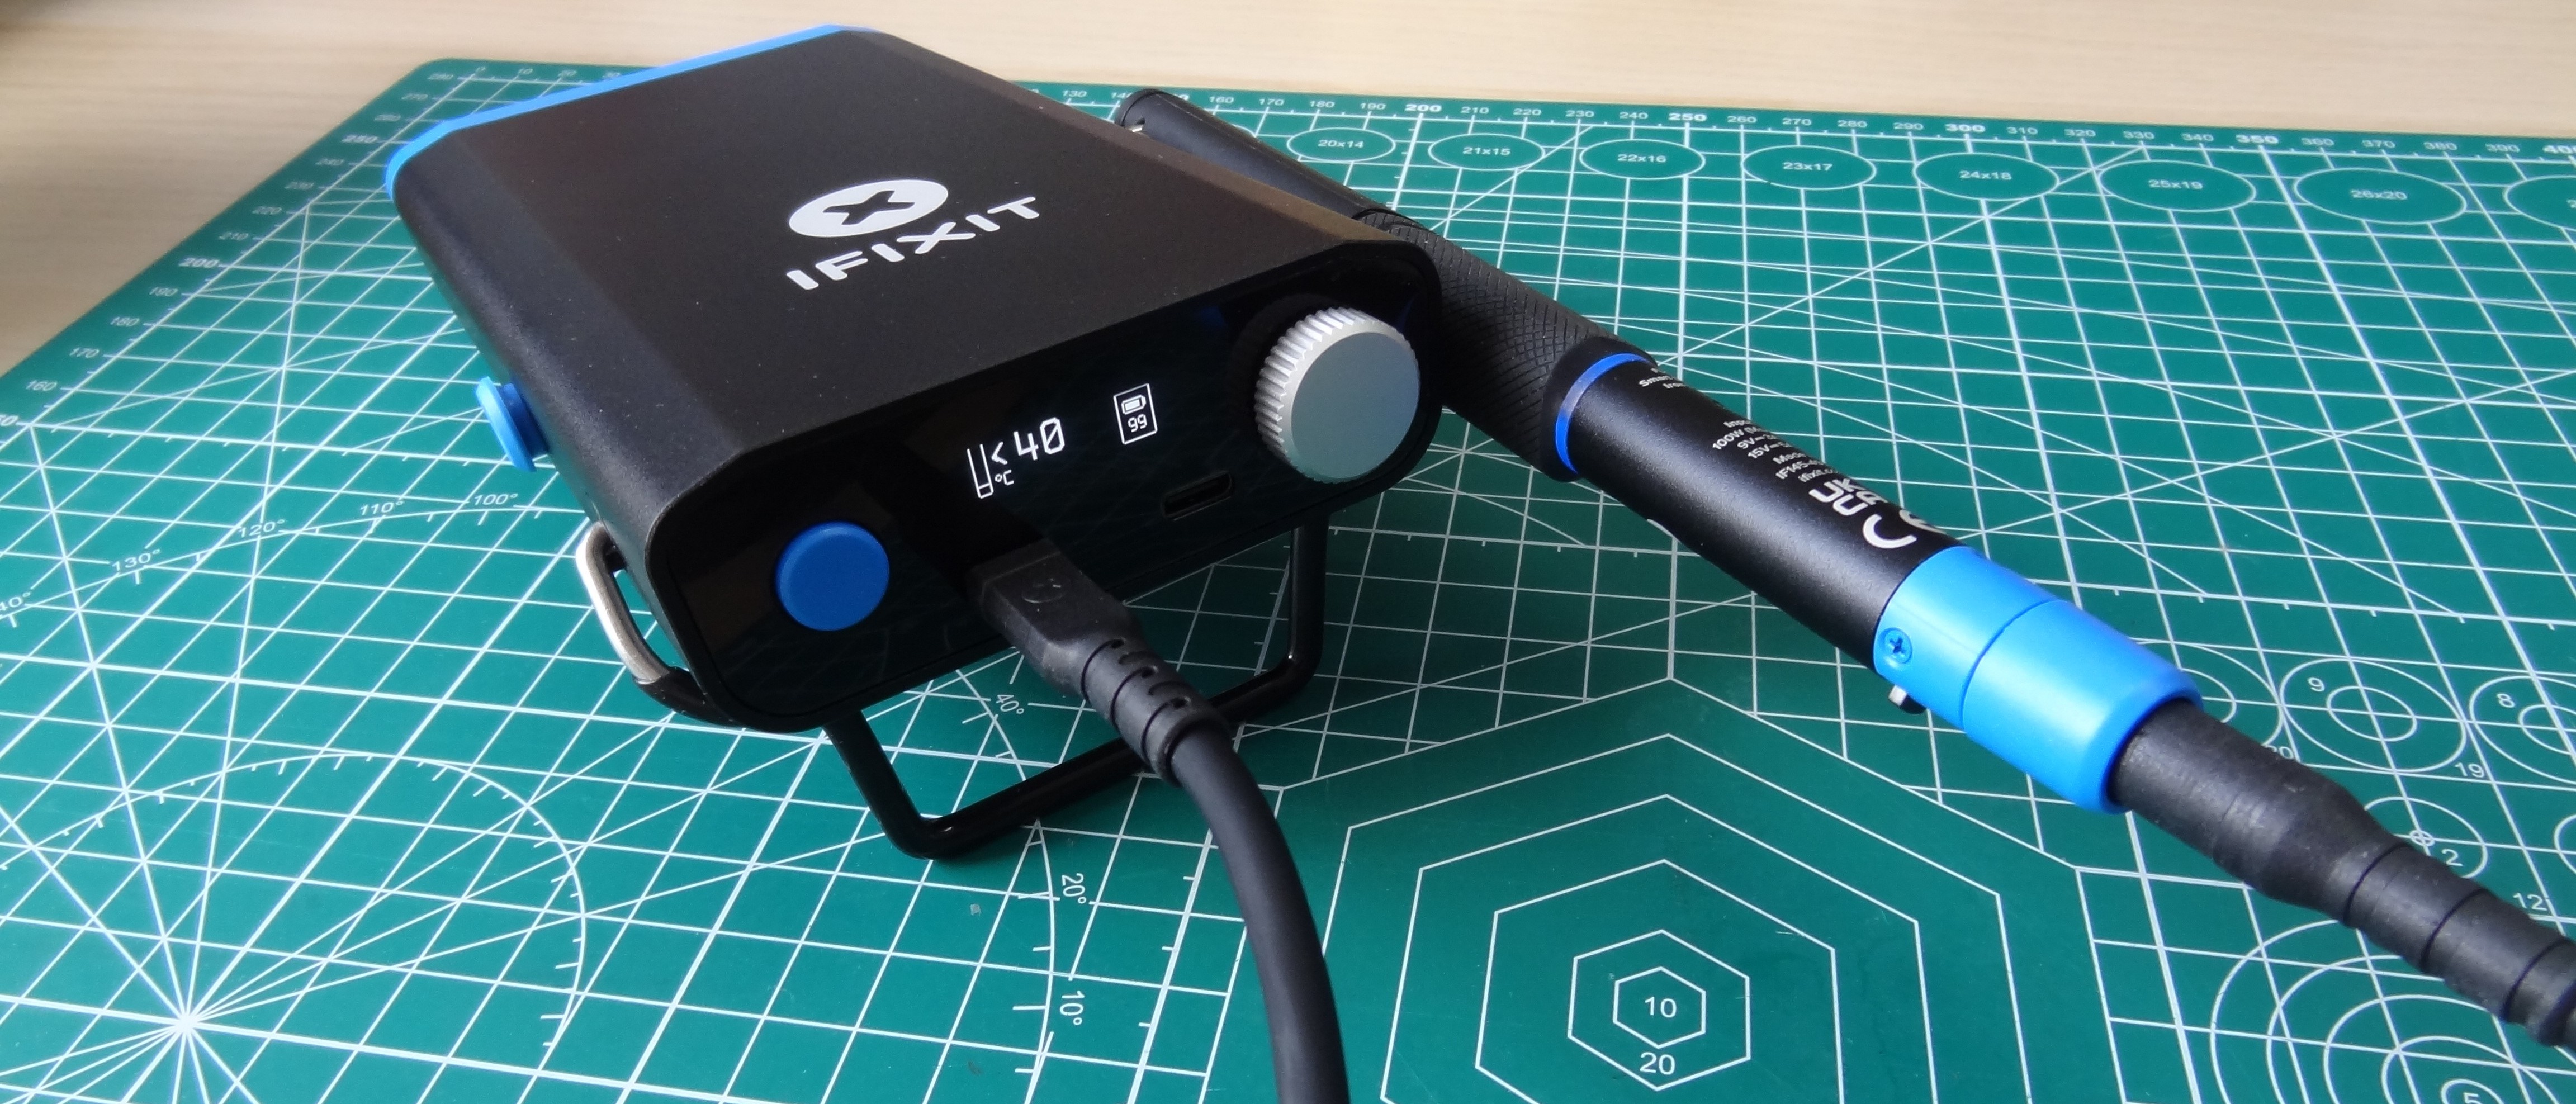
The Ifixit Fixhub Portable Soldering Station is made up of two parts. First we have the battery pack, which Ifixt calls the Portable Power Station. This is a 5,200 mAh USB battery pack with two USB Type-C outputs for our soldering iron and another USB-C powered tool. You can also use the portable power station to charge your smartphone or your laptop. I tried this with my Lenovo X390, and it was able to deliver 38.5W (20.7V at 1.86A), enough to top up my laptop battery. I did notice that the onboard OLED display was incorrectly reporting 0.1W output, but my USB-C power meter reported the correct power consumption.
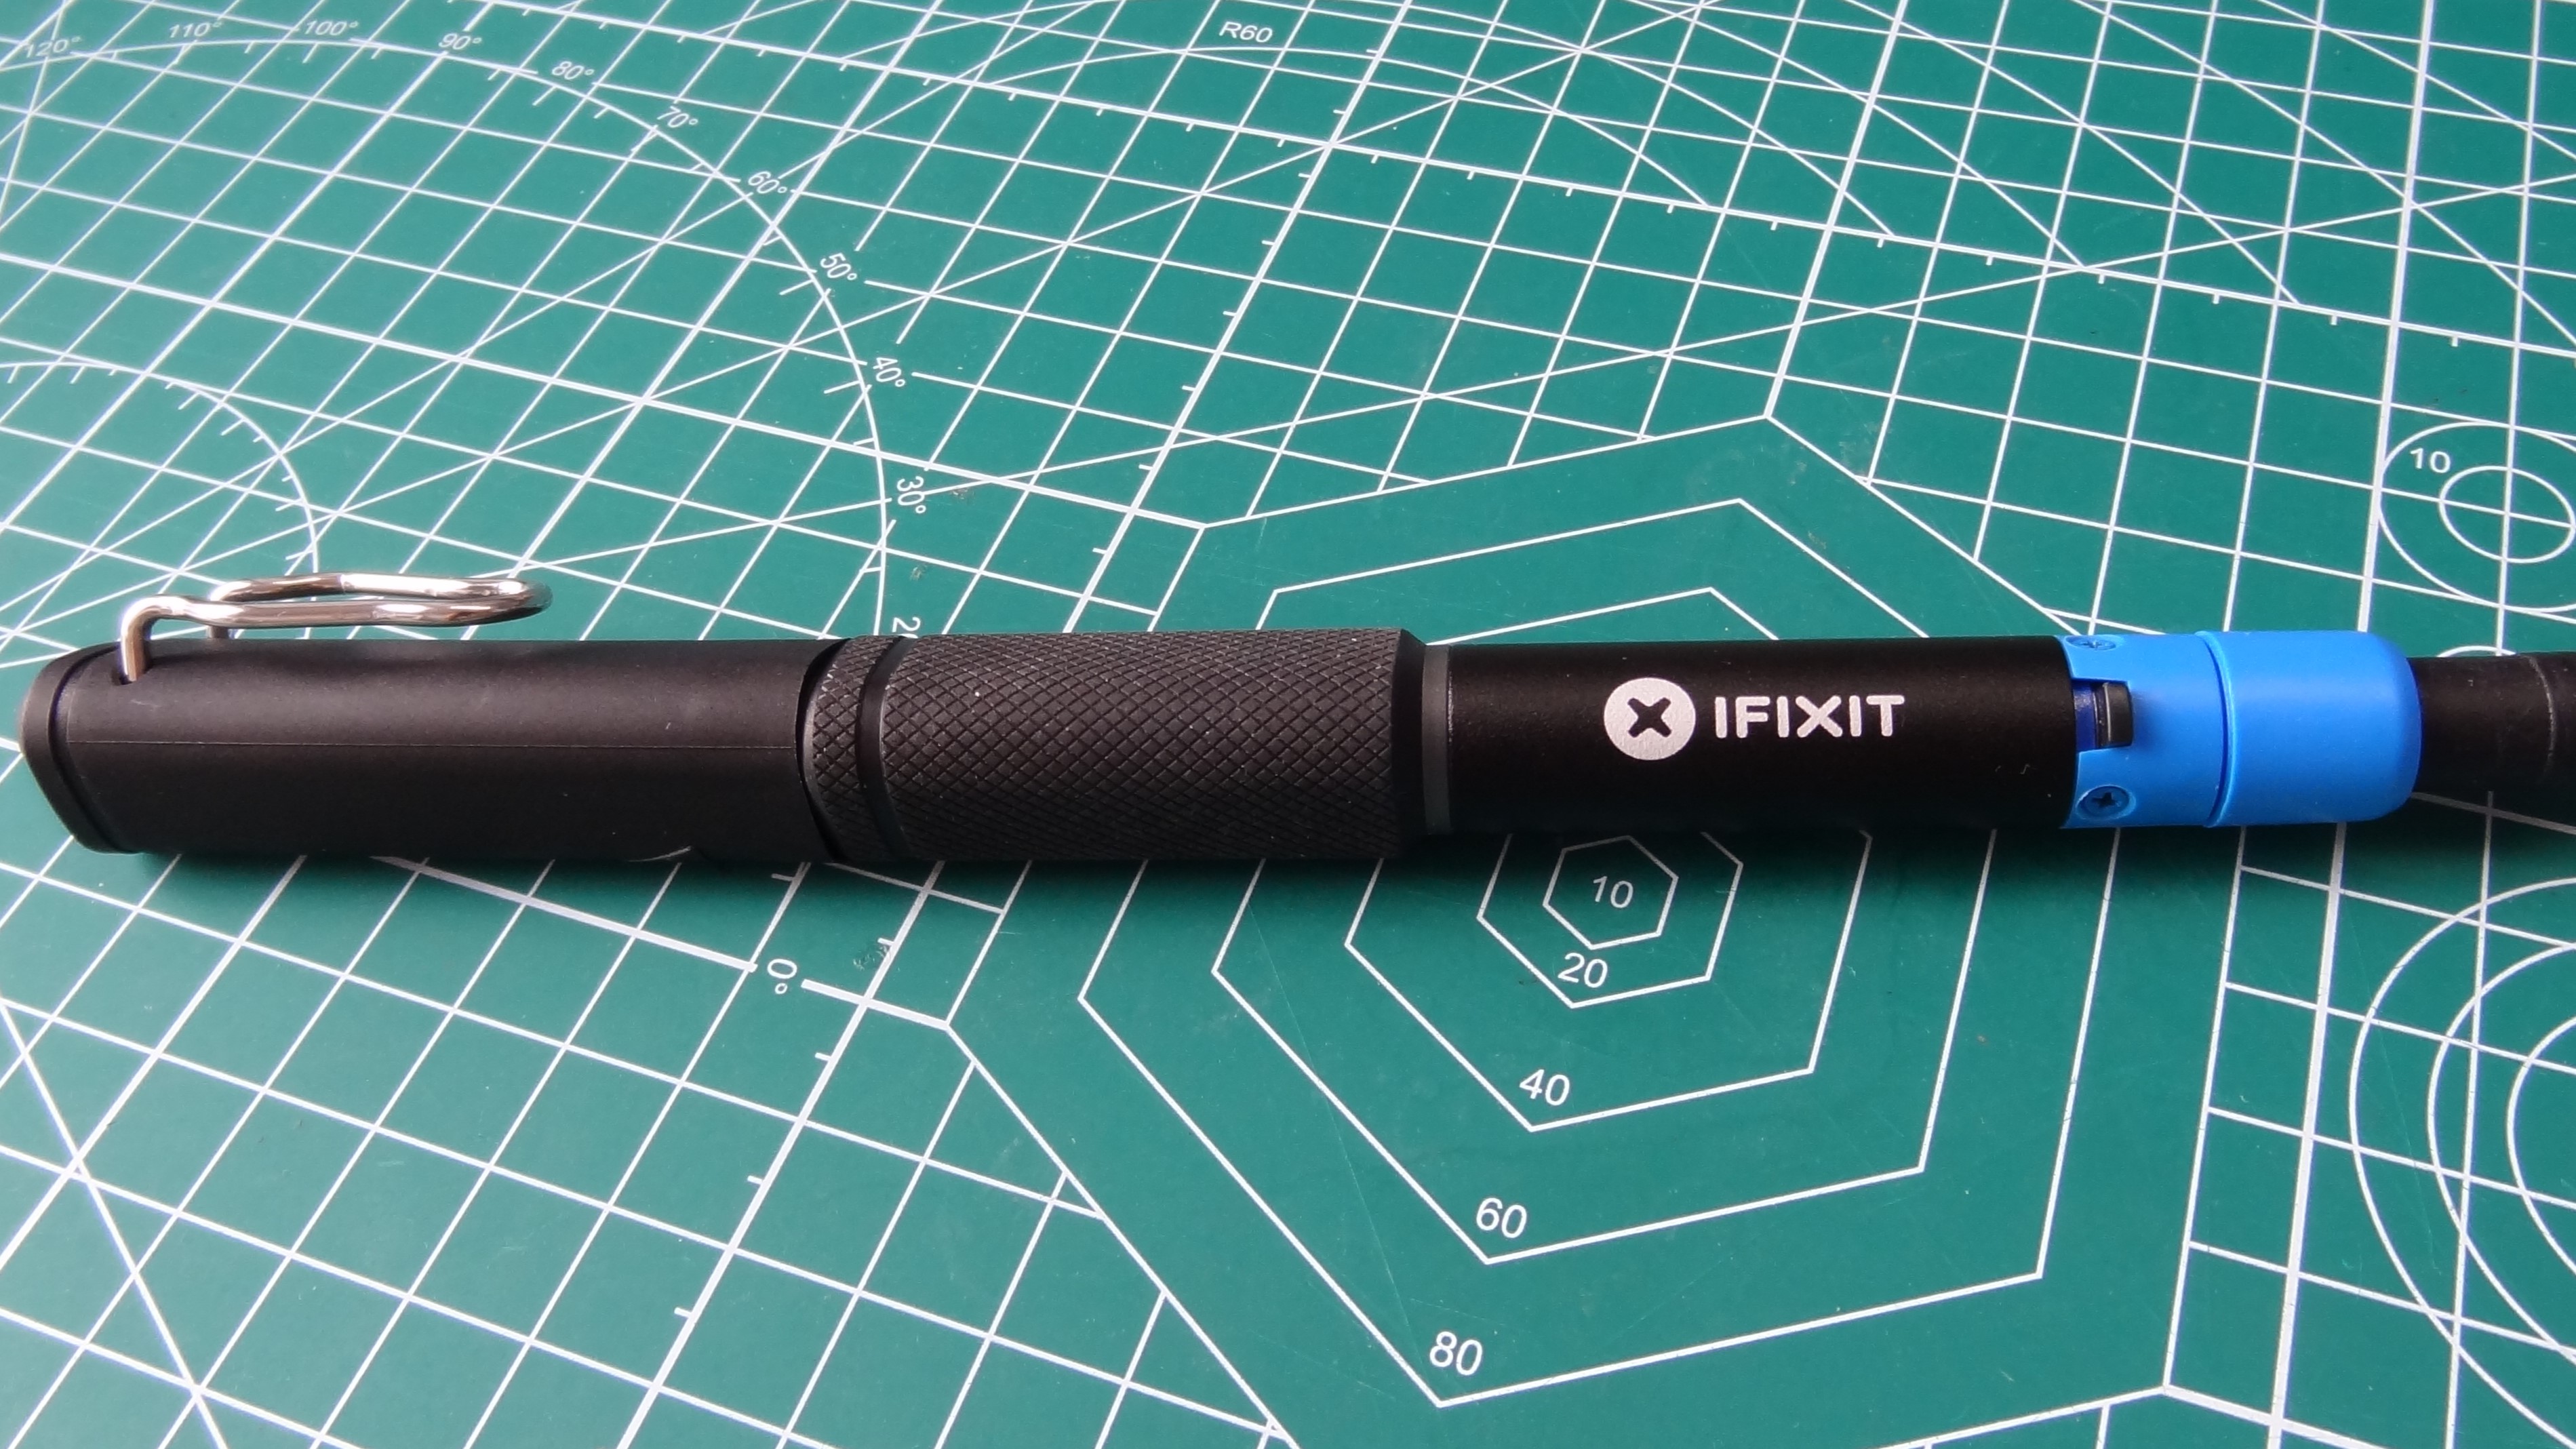
The $80 Smart Soldering Iron (SLD101) comes in a rounded triangular prism shape, so it won’t roll off your desk while providing plenty of surface to comfortably hold. It feels exceptionally comfortable to hold, and you can easily solder for a few hours without cramping up. The included cap is heat resistant, but it does transfer heat so it will get hot if you leave a scorching hot soldering iron inside. Ask me how I know. The cap connects to one of two blue plastic grommets on the side of the battery pack, providing a means to store the soldering iron. The grommets hold on quite well, but to ensure that your iron is secure, you need to ensure that the metal clip is firmly around the grommet. This feels like you are going to break it, but it does clip into place.
Your choice of soldering tips can be replaced by simply pulling them free, then inserting a new tip. Just make sure that the soldering iron is cold (more on this later.) Only Ifixit tips are compatible with the soldering iron, as they communicate with the iron to provide temperature data. Inserting any other soldering tip will generate an error which is saved to an error log.
On the soldering iron there is an integrated LED light ring, the Touch-Safe Indicator. It provides feedback on whether the soldering iron tip is hot. Orange means on, and hot. Purple is cooling down, but still too hot to touch. Blue indicates that the soldering iron tip has cooled enough to be removed.
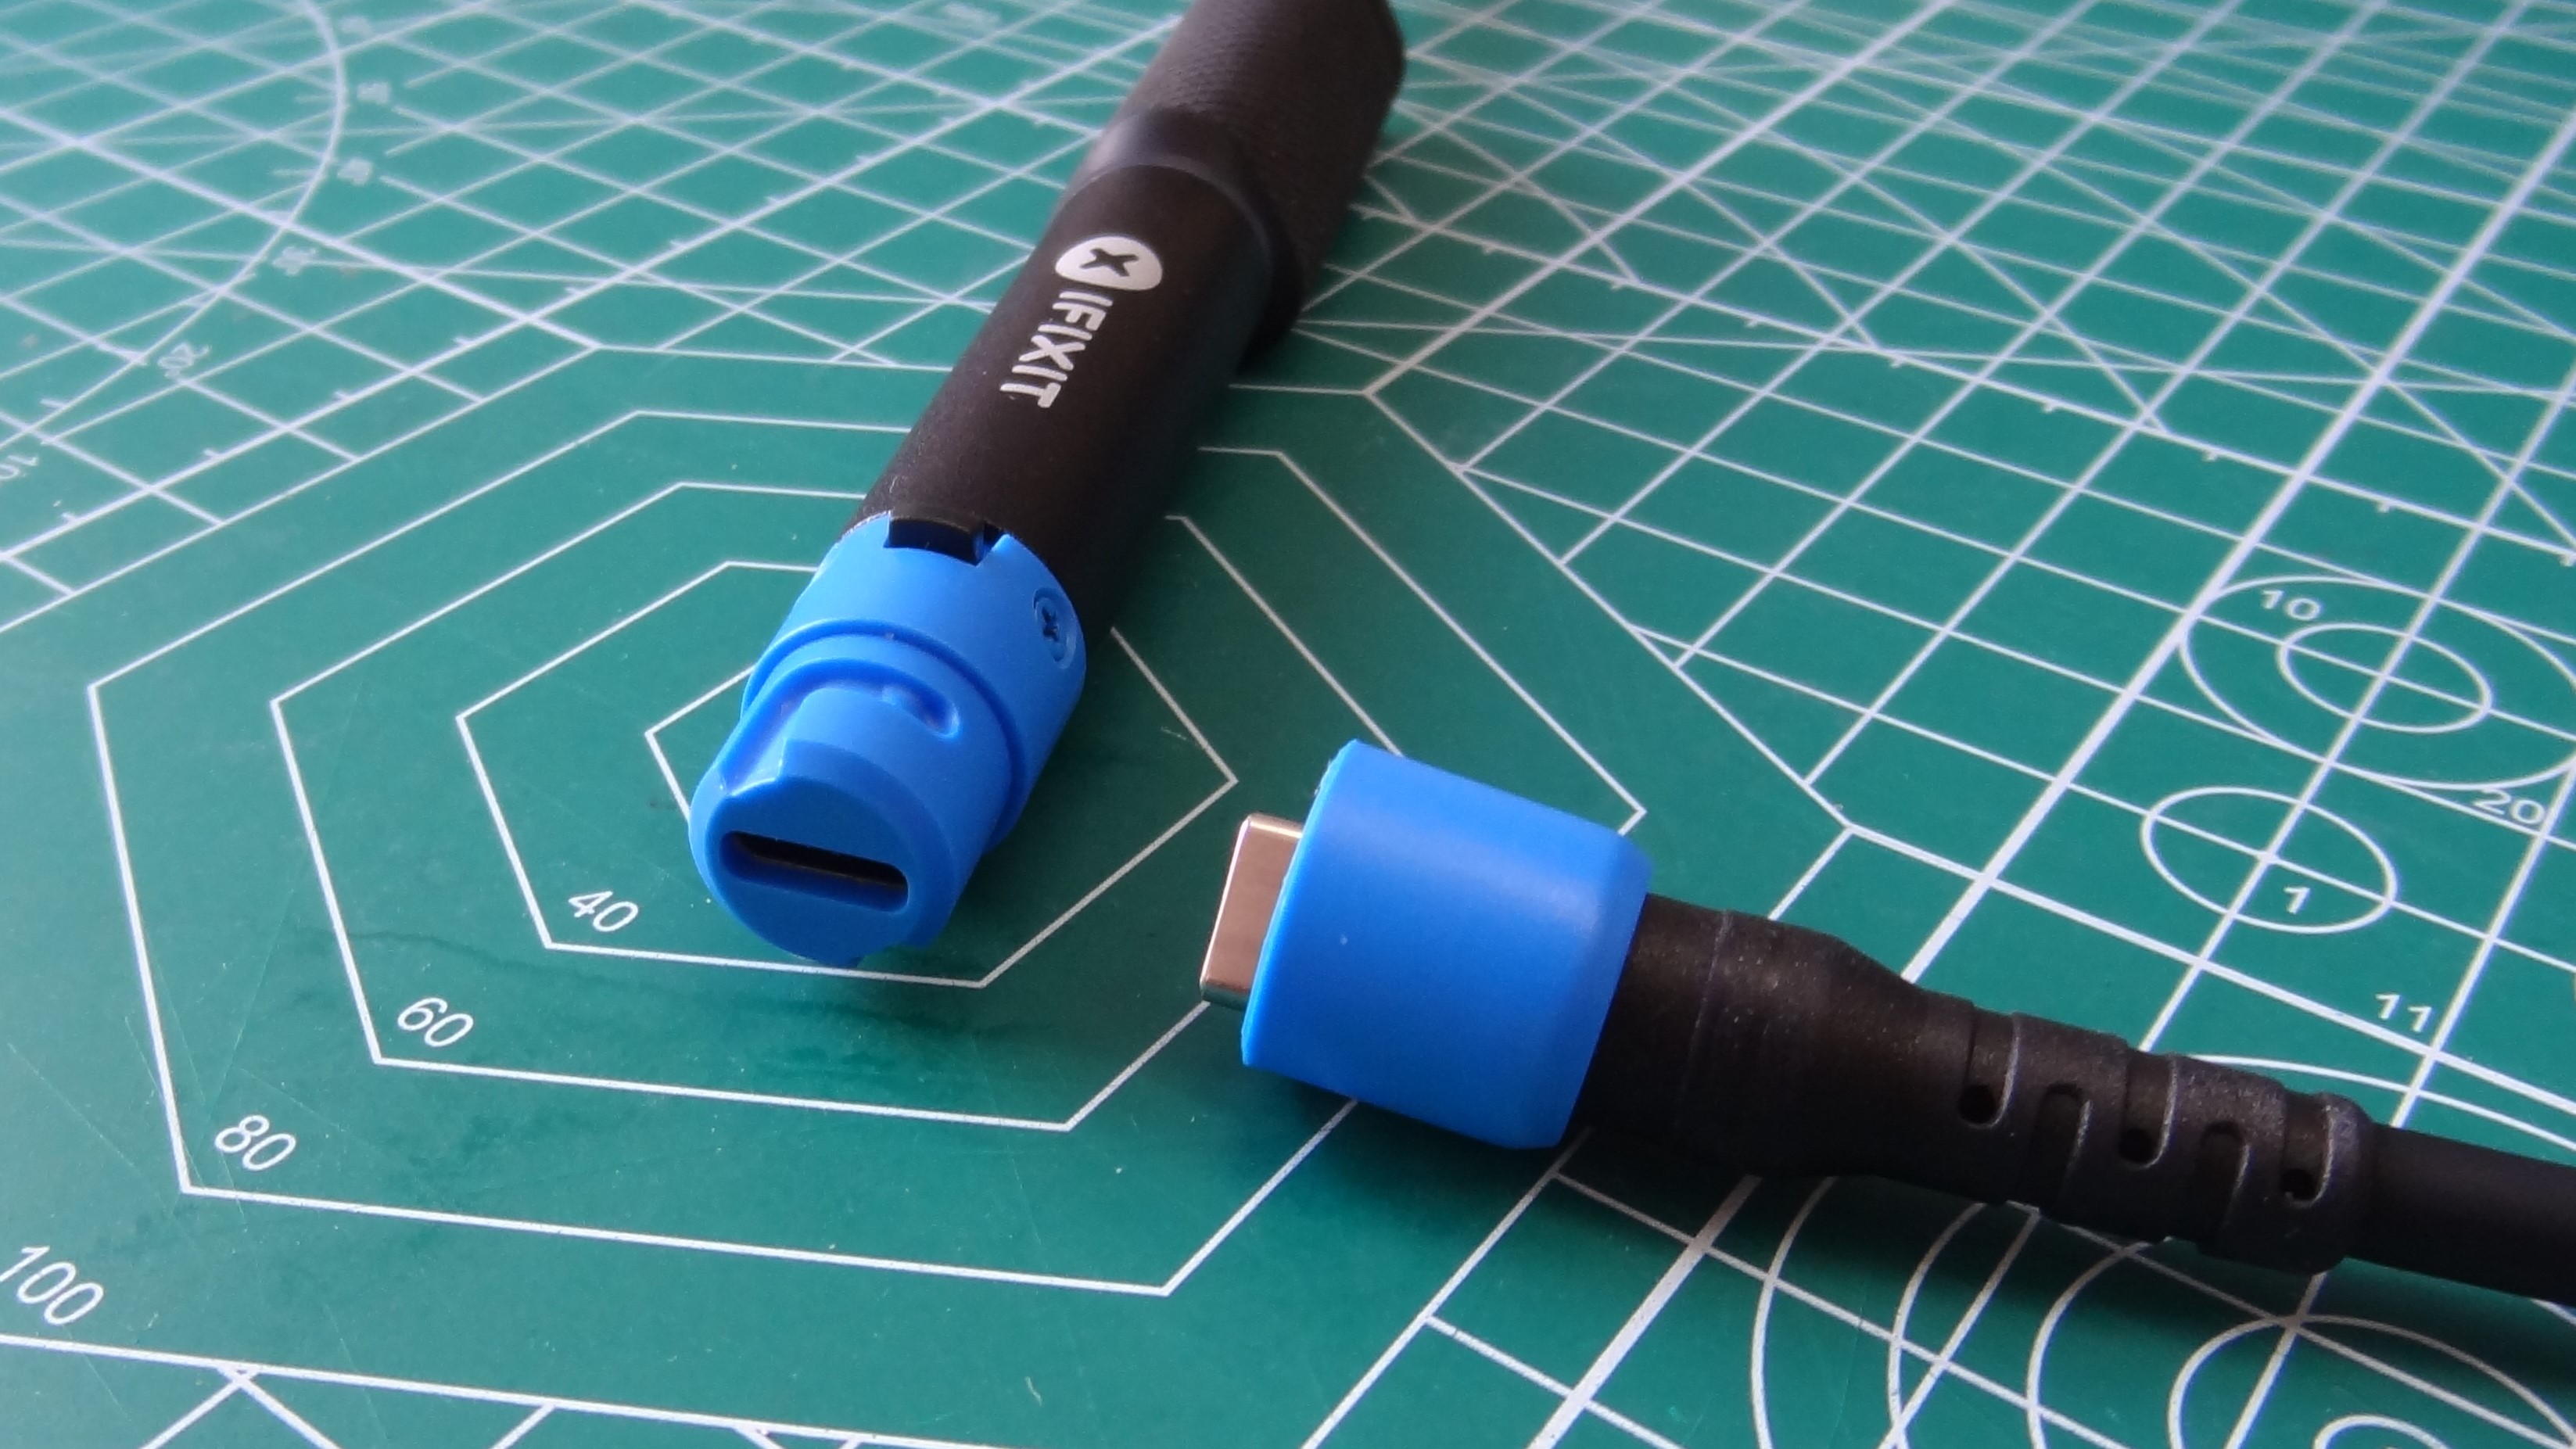
The other end of the soldering iron, identified by the blue plastic cap, is where we find a USB Type-C connection to a power source, and a L-channel shape used to lock the included USB C cable’s cap to the iron. Next to here is where we find the on/off switch. I hate to admit it, but at first I missed the switch, thinking it was part of the locking mechanism. The switch is a little stiff to operate, but I got used to it.
The soldering iron can be purchased separately for $80, There are no temperature controls on the soldering iron. Instead we need to connect the soldering iron to our computer and open the Fixhub Console, a web interface that uses Web Serial to talk to the iron. Here we can set the soldering iron's temperatures and timers. Then all we need to do is plug the iron into a suitable power source and away we go!
Another $50 sees an additional soldering toolkit added. This kit offers general purpose soldering tools such as flush cutters, wire strippers, spudger, tweezers, safety equipment and a silicone work mat. There are also chemicals used to desolder components, like no-clean flux, a dispensing pen, desoldering wick and a rather useful soldering splint, which I use as part of the test. We didn’t receive every part of this kit, it wasn’t ready in time for the review. We were missing the flush cutter, wire stripper, spudger, tweezers, dispensing pen and safety glasses. Luckily we have all of these to hand. Remember to solder in a well ventilated room, with all of the proper personal safety equipment.


Ifixit Fixhub Portable Soldering Tips
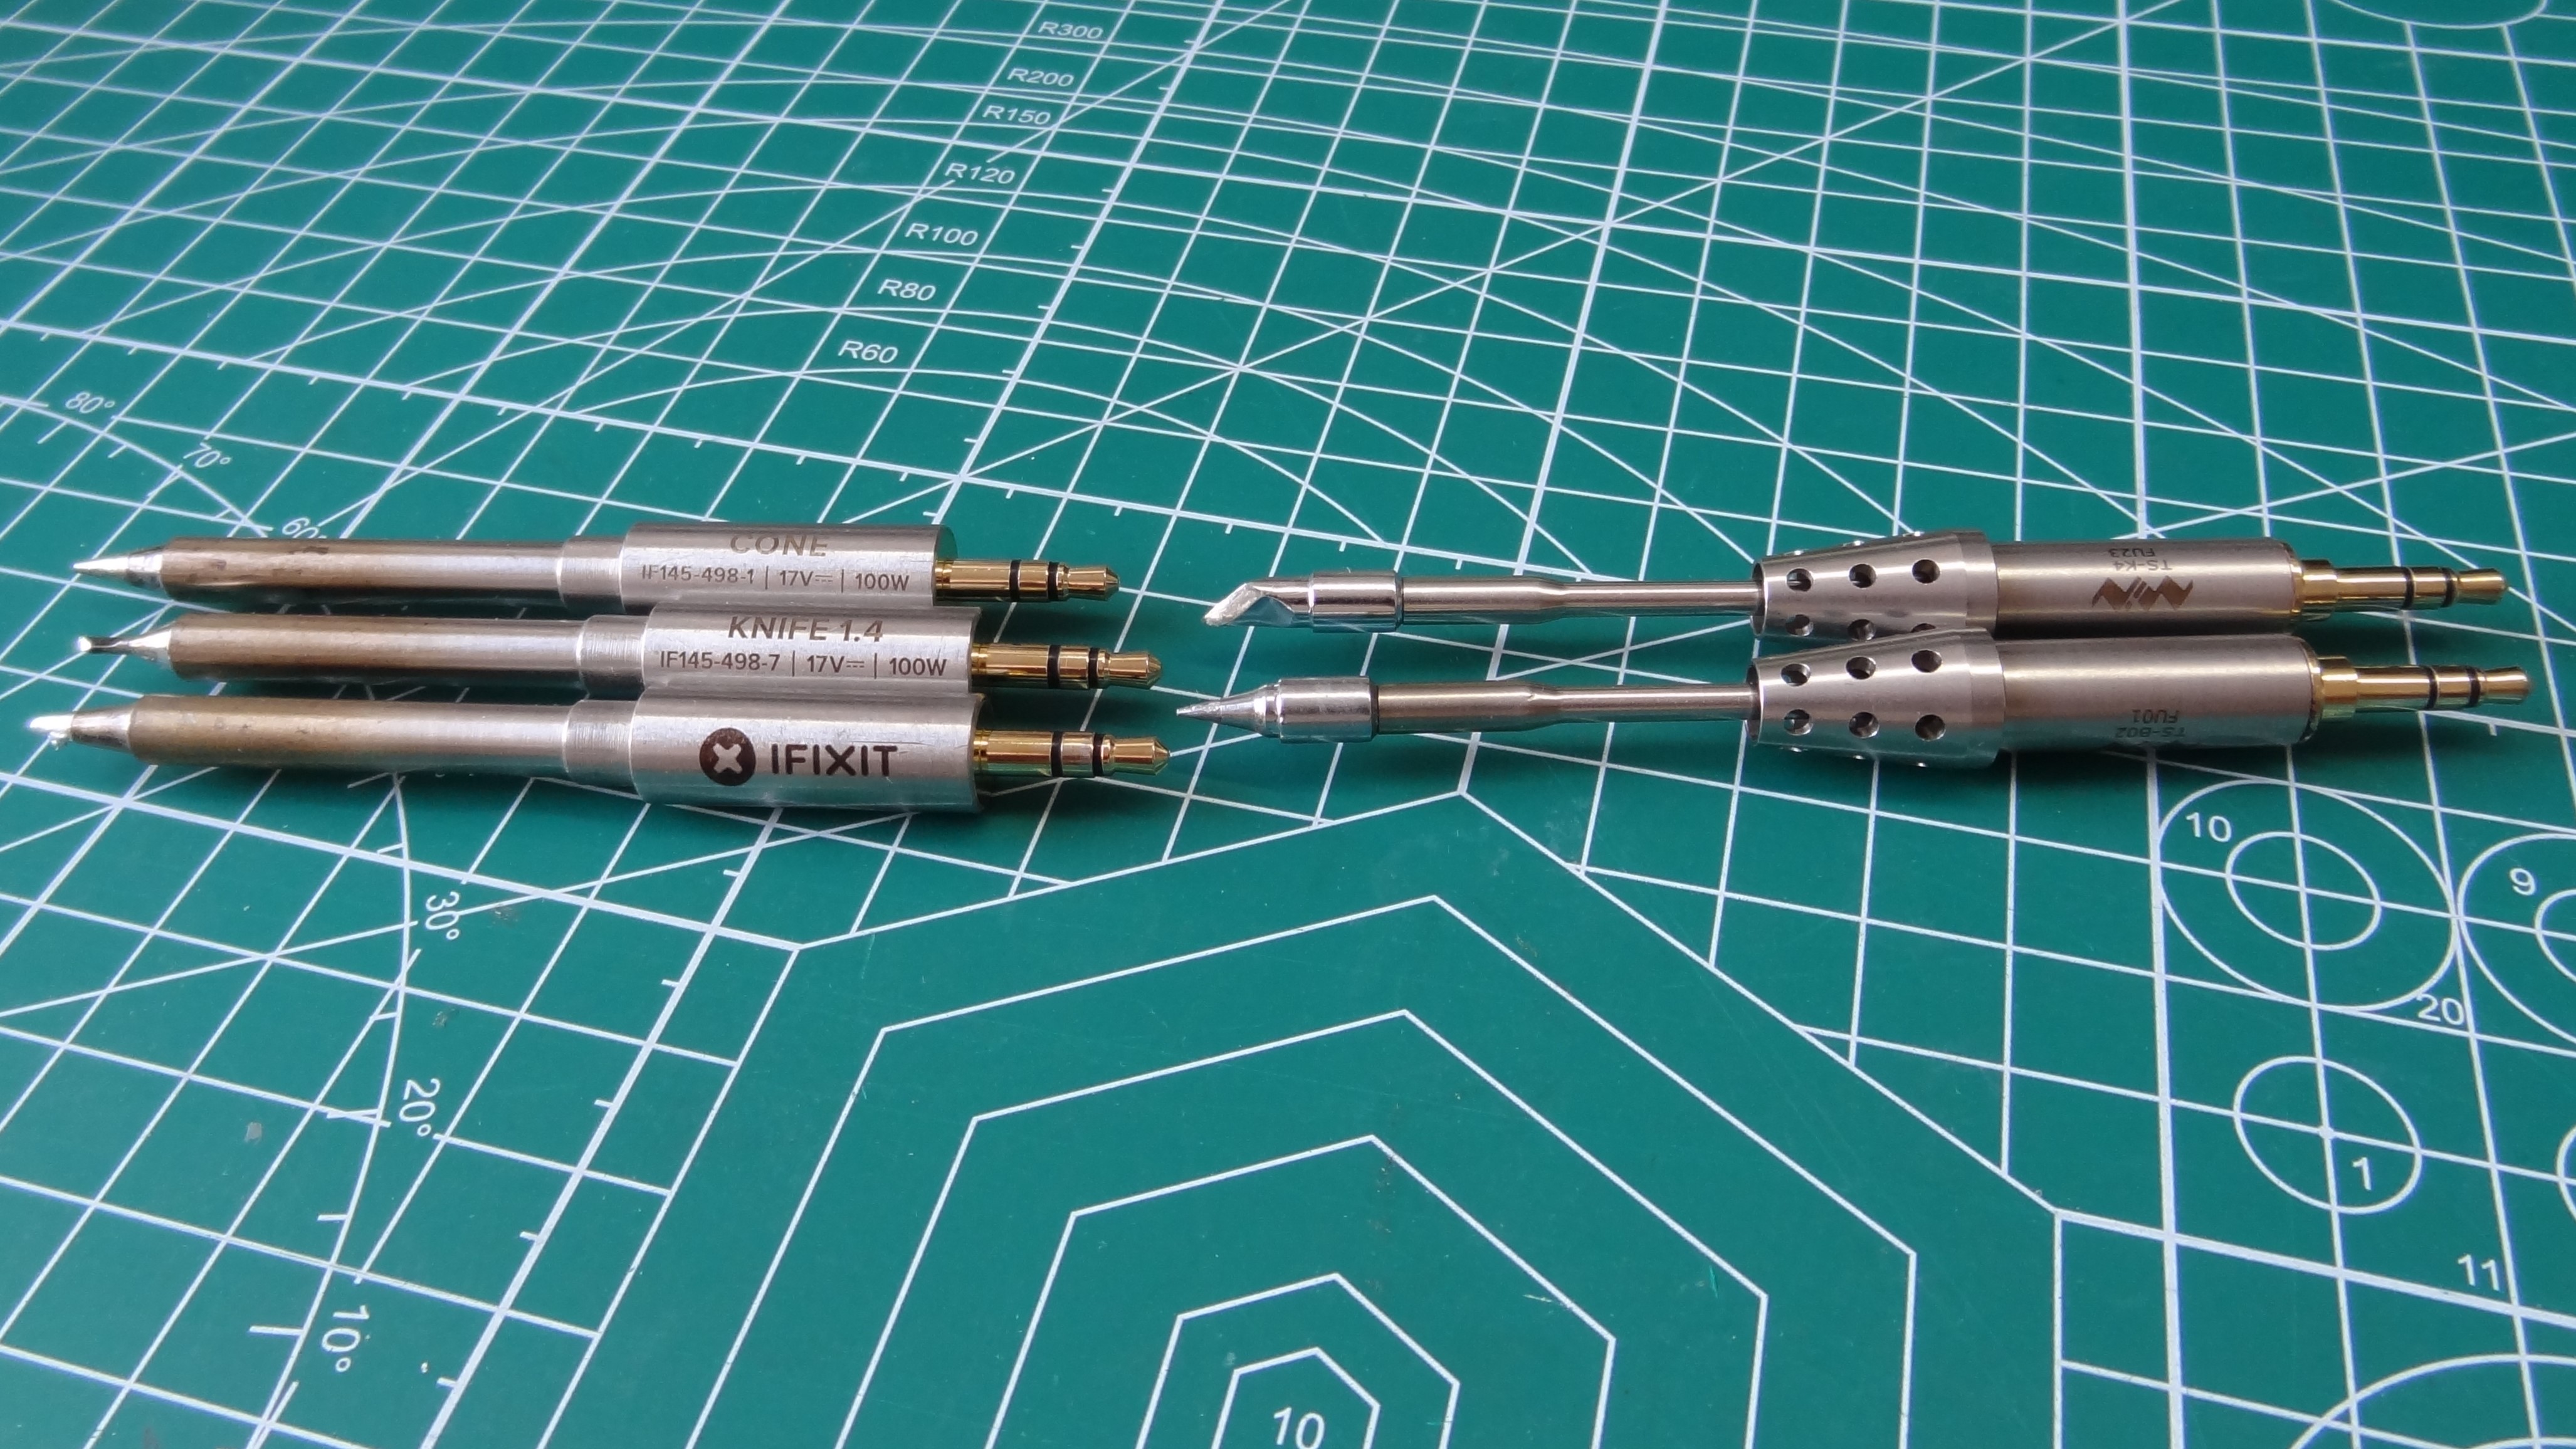
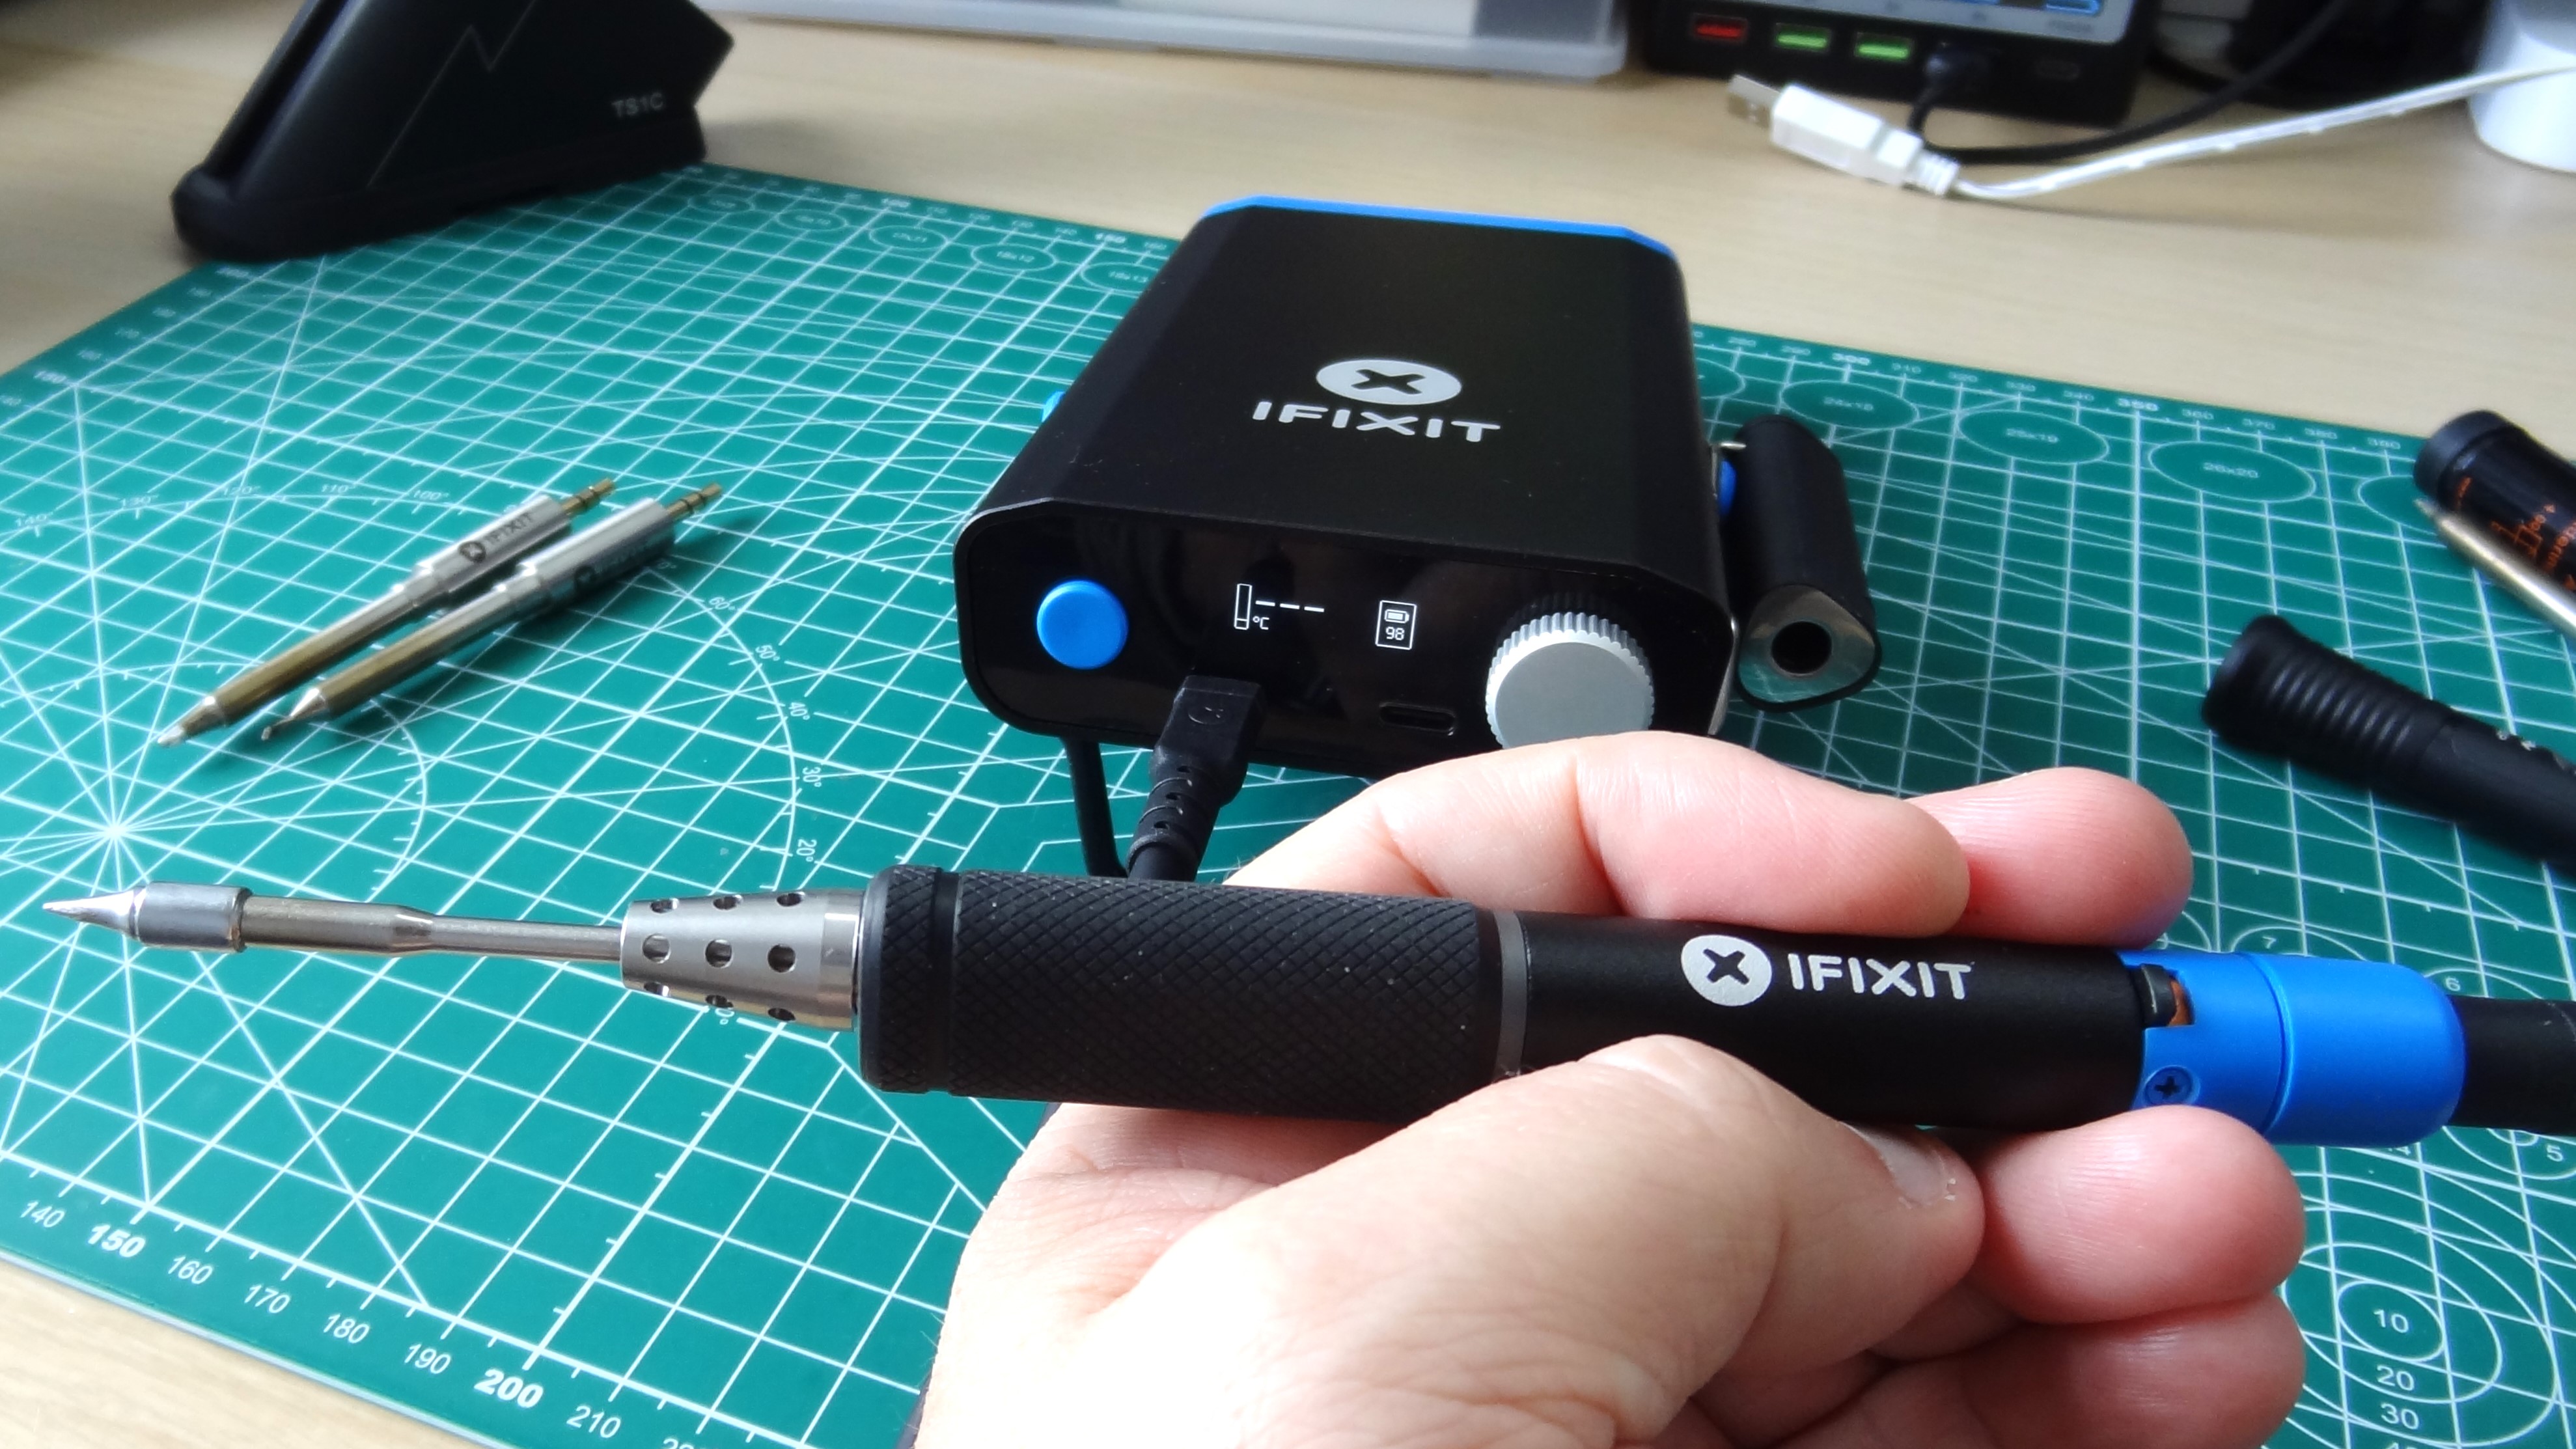
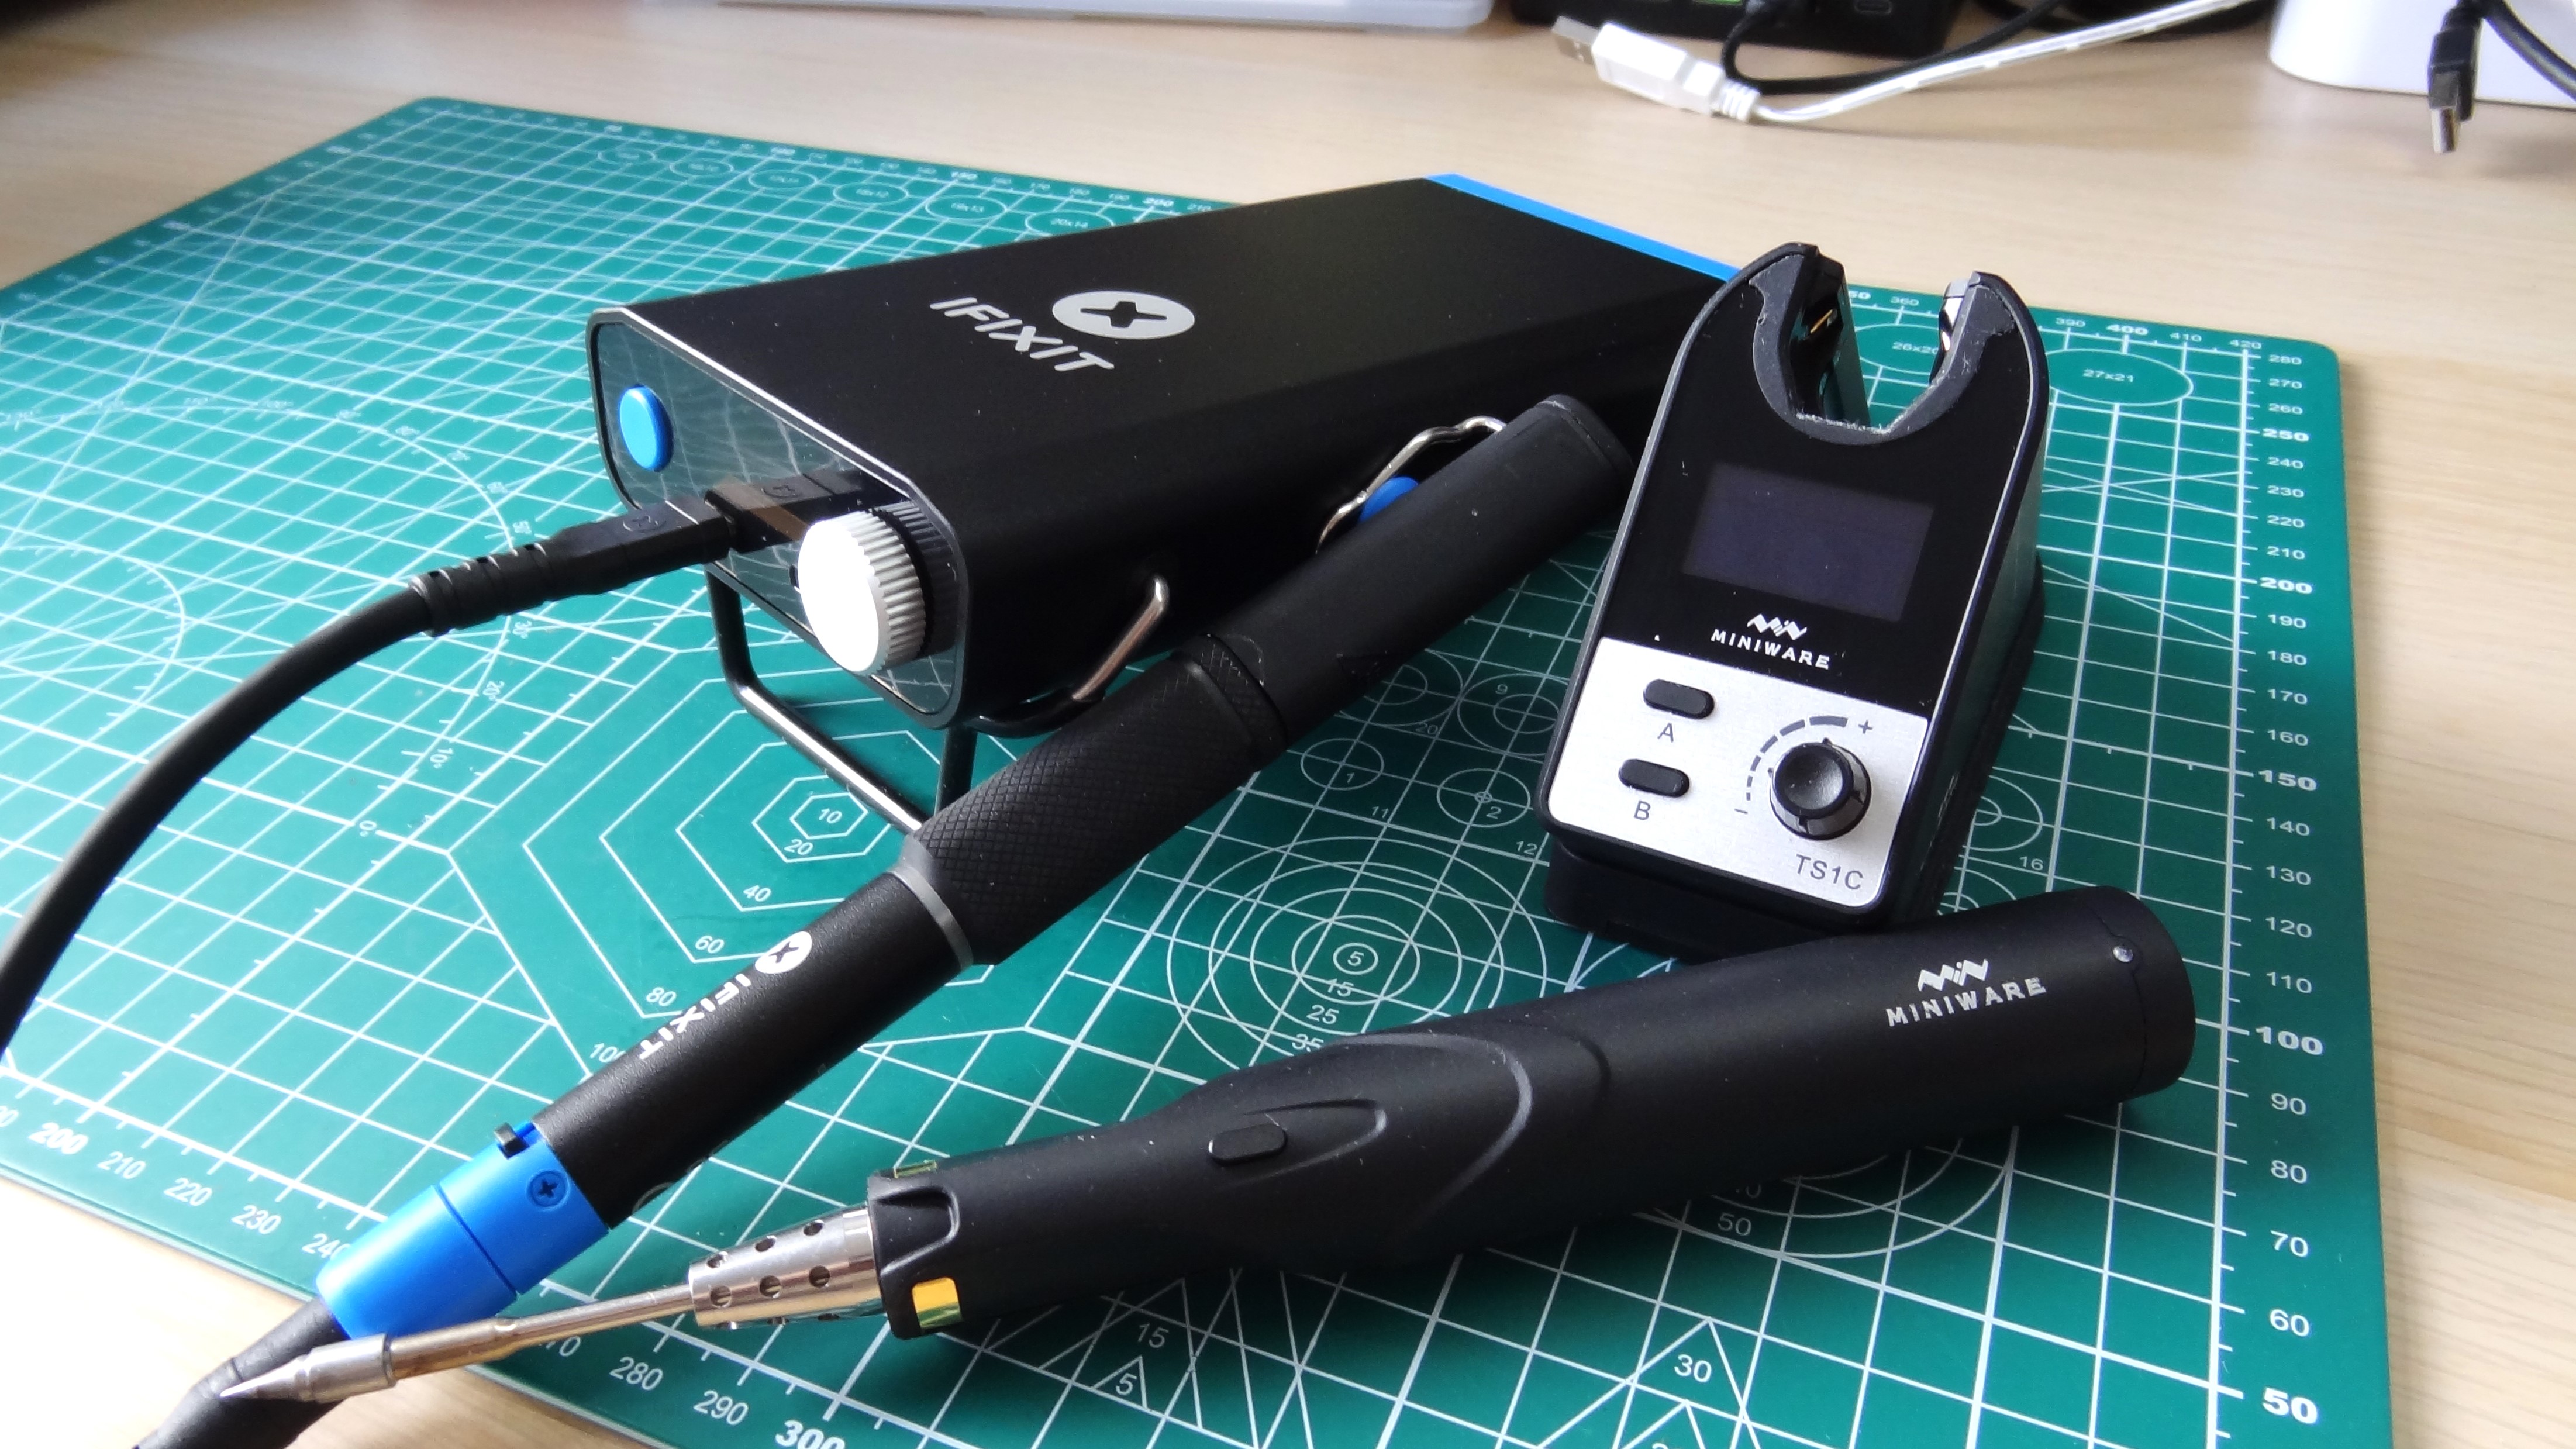
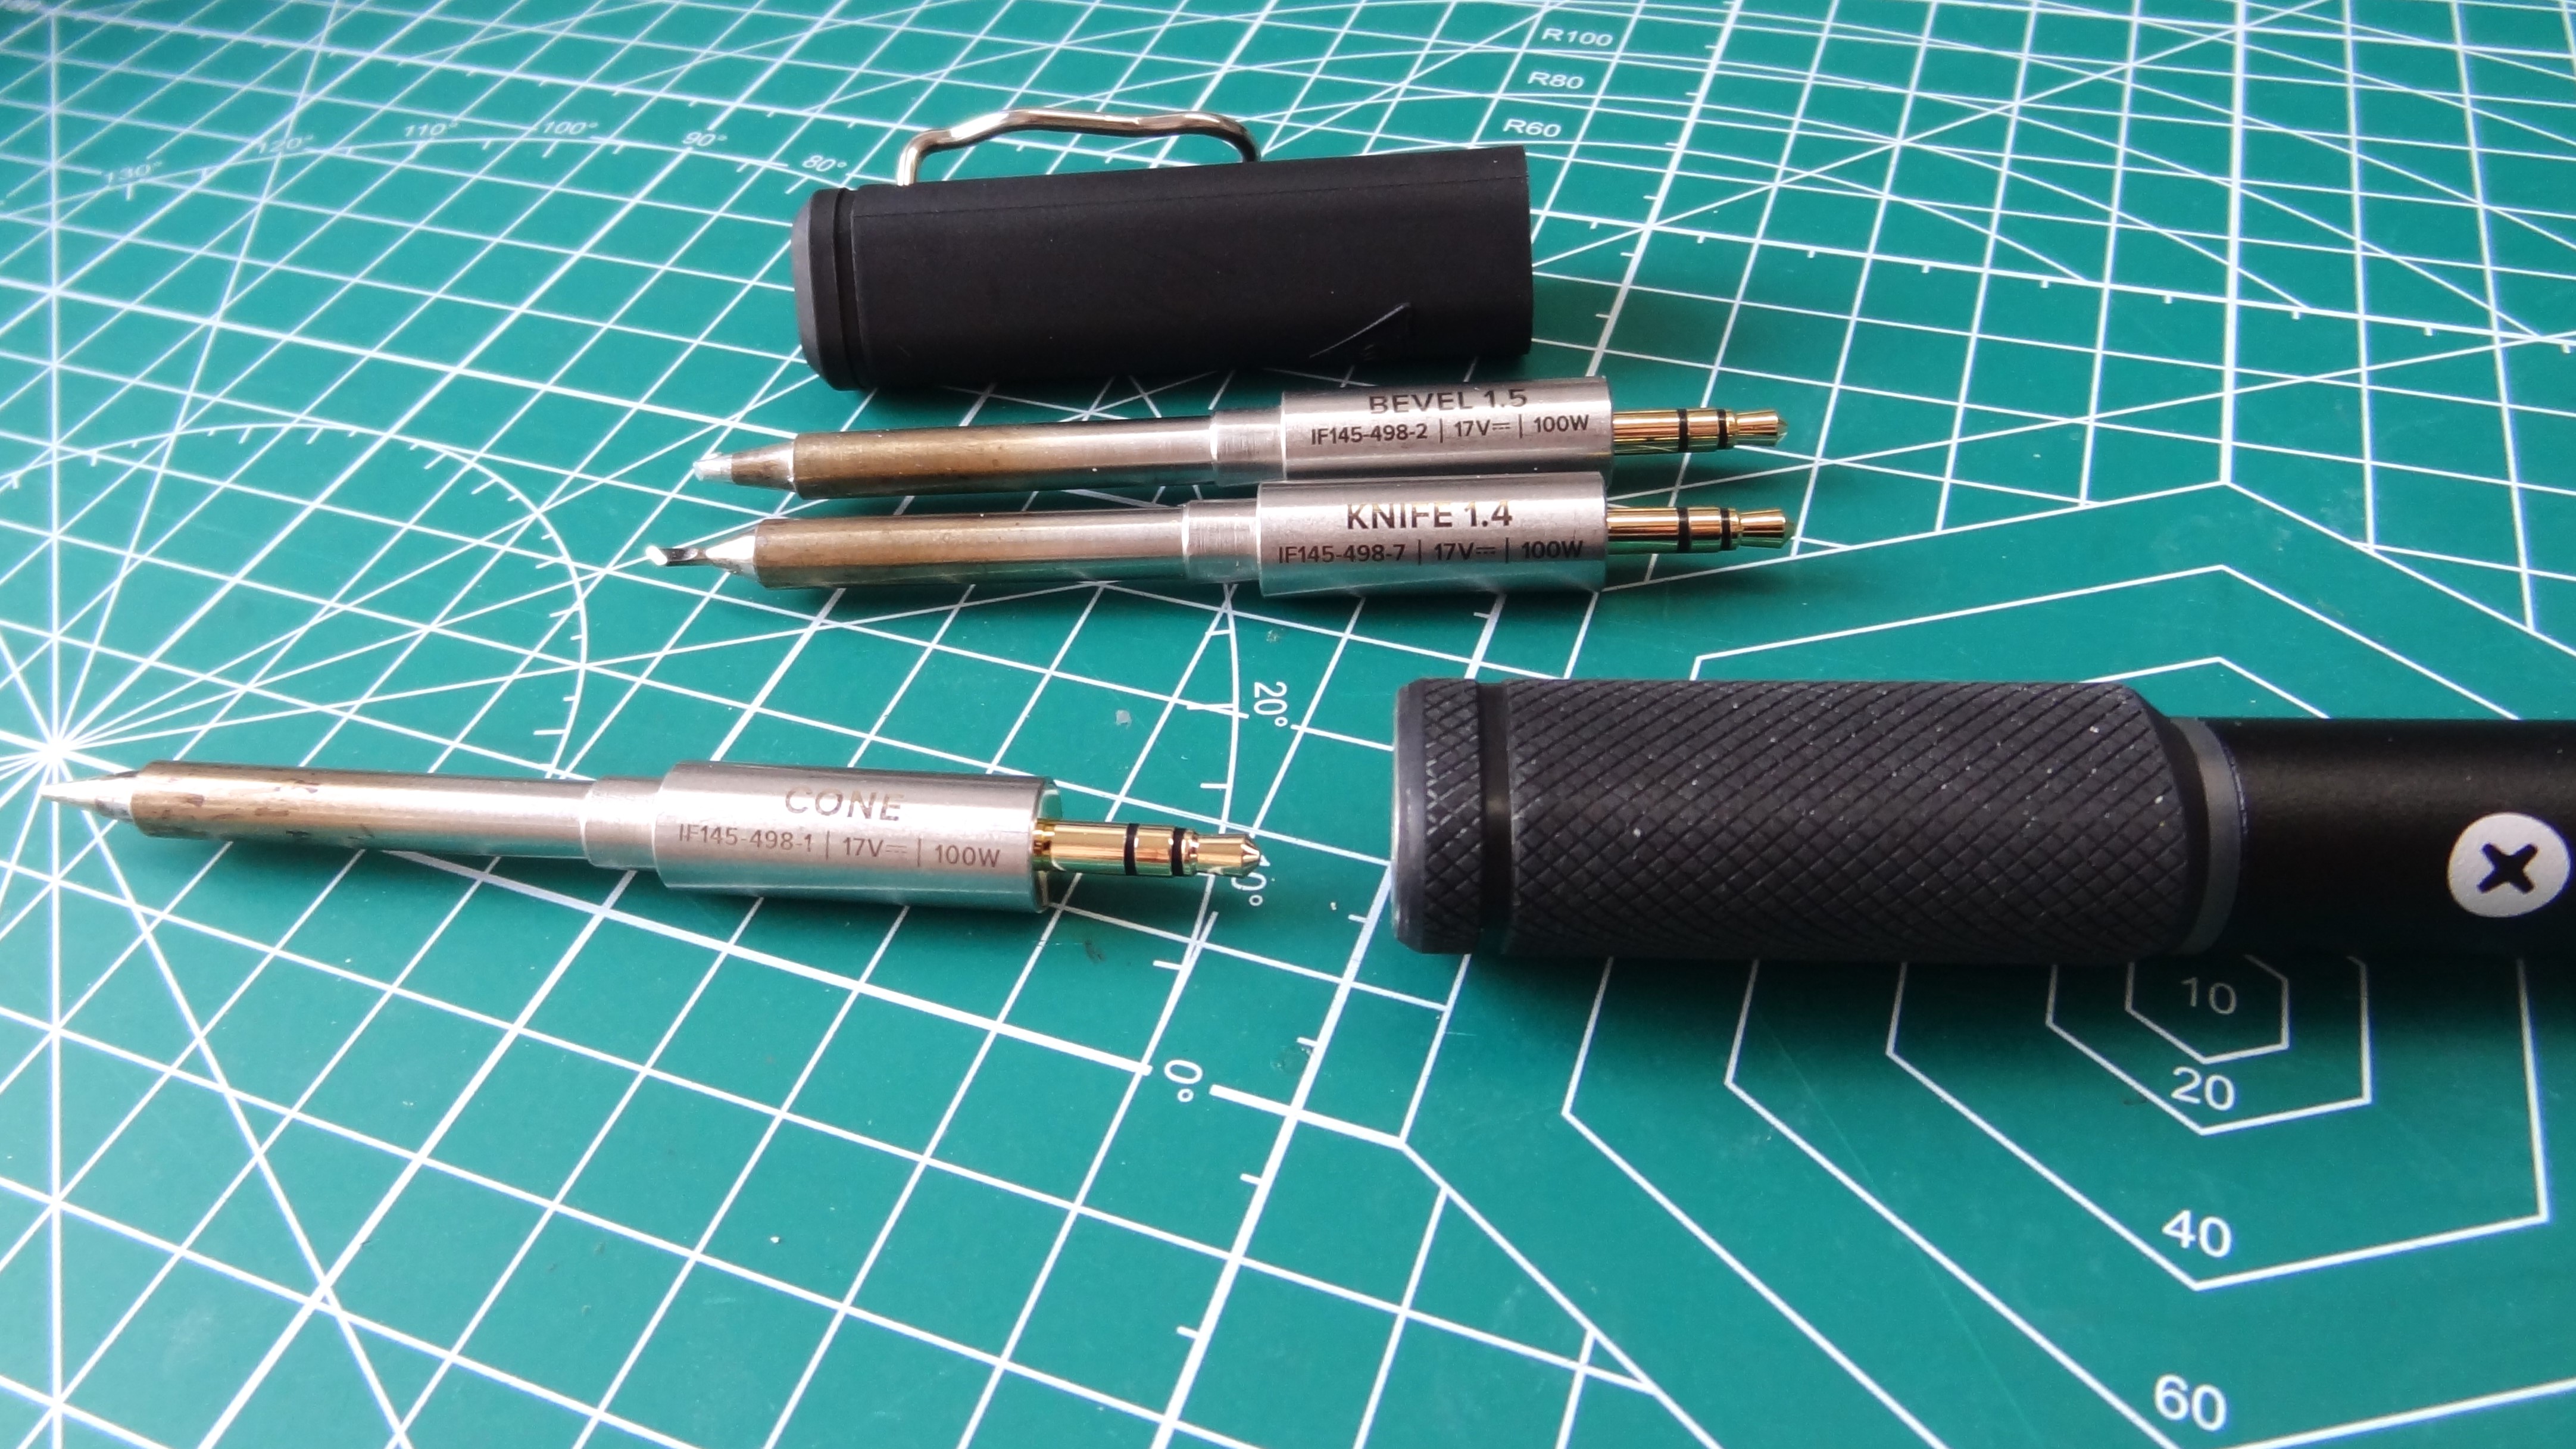
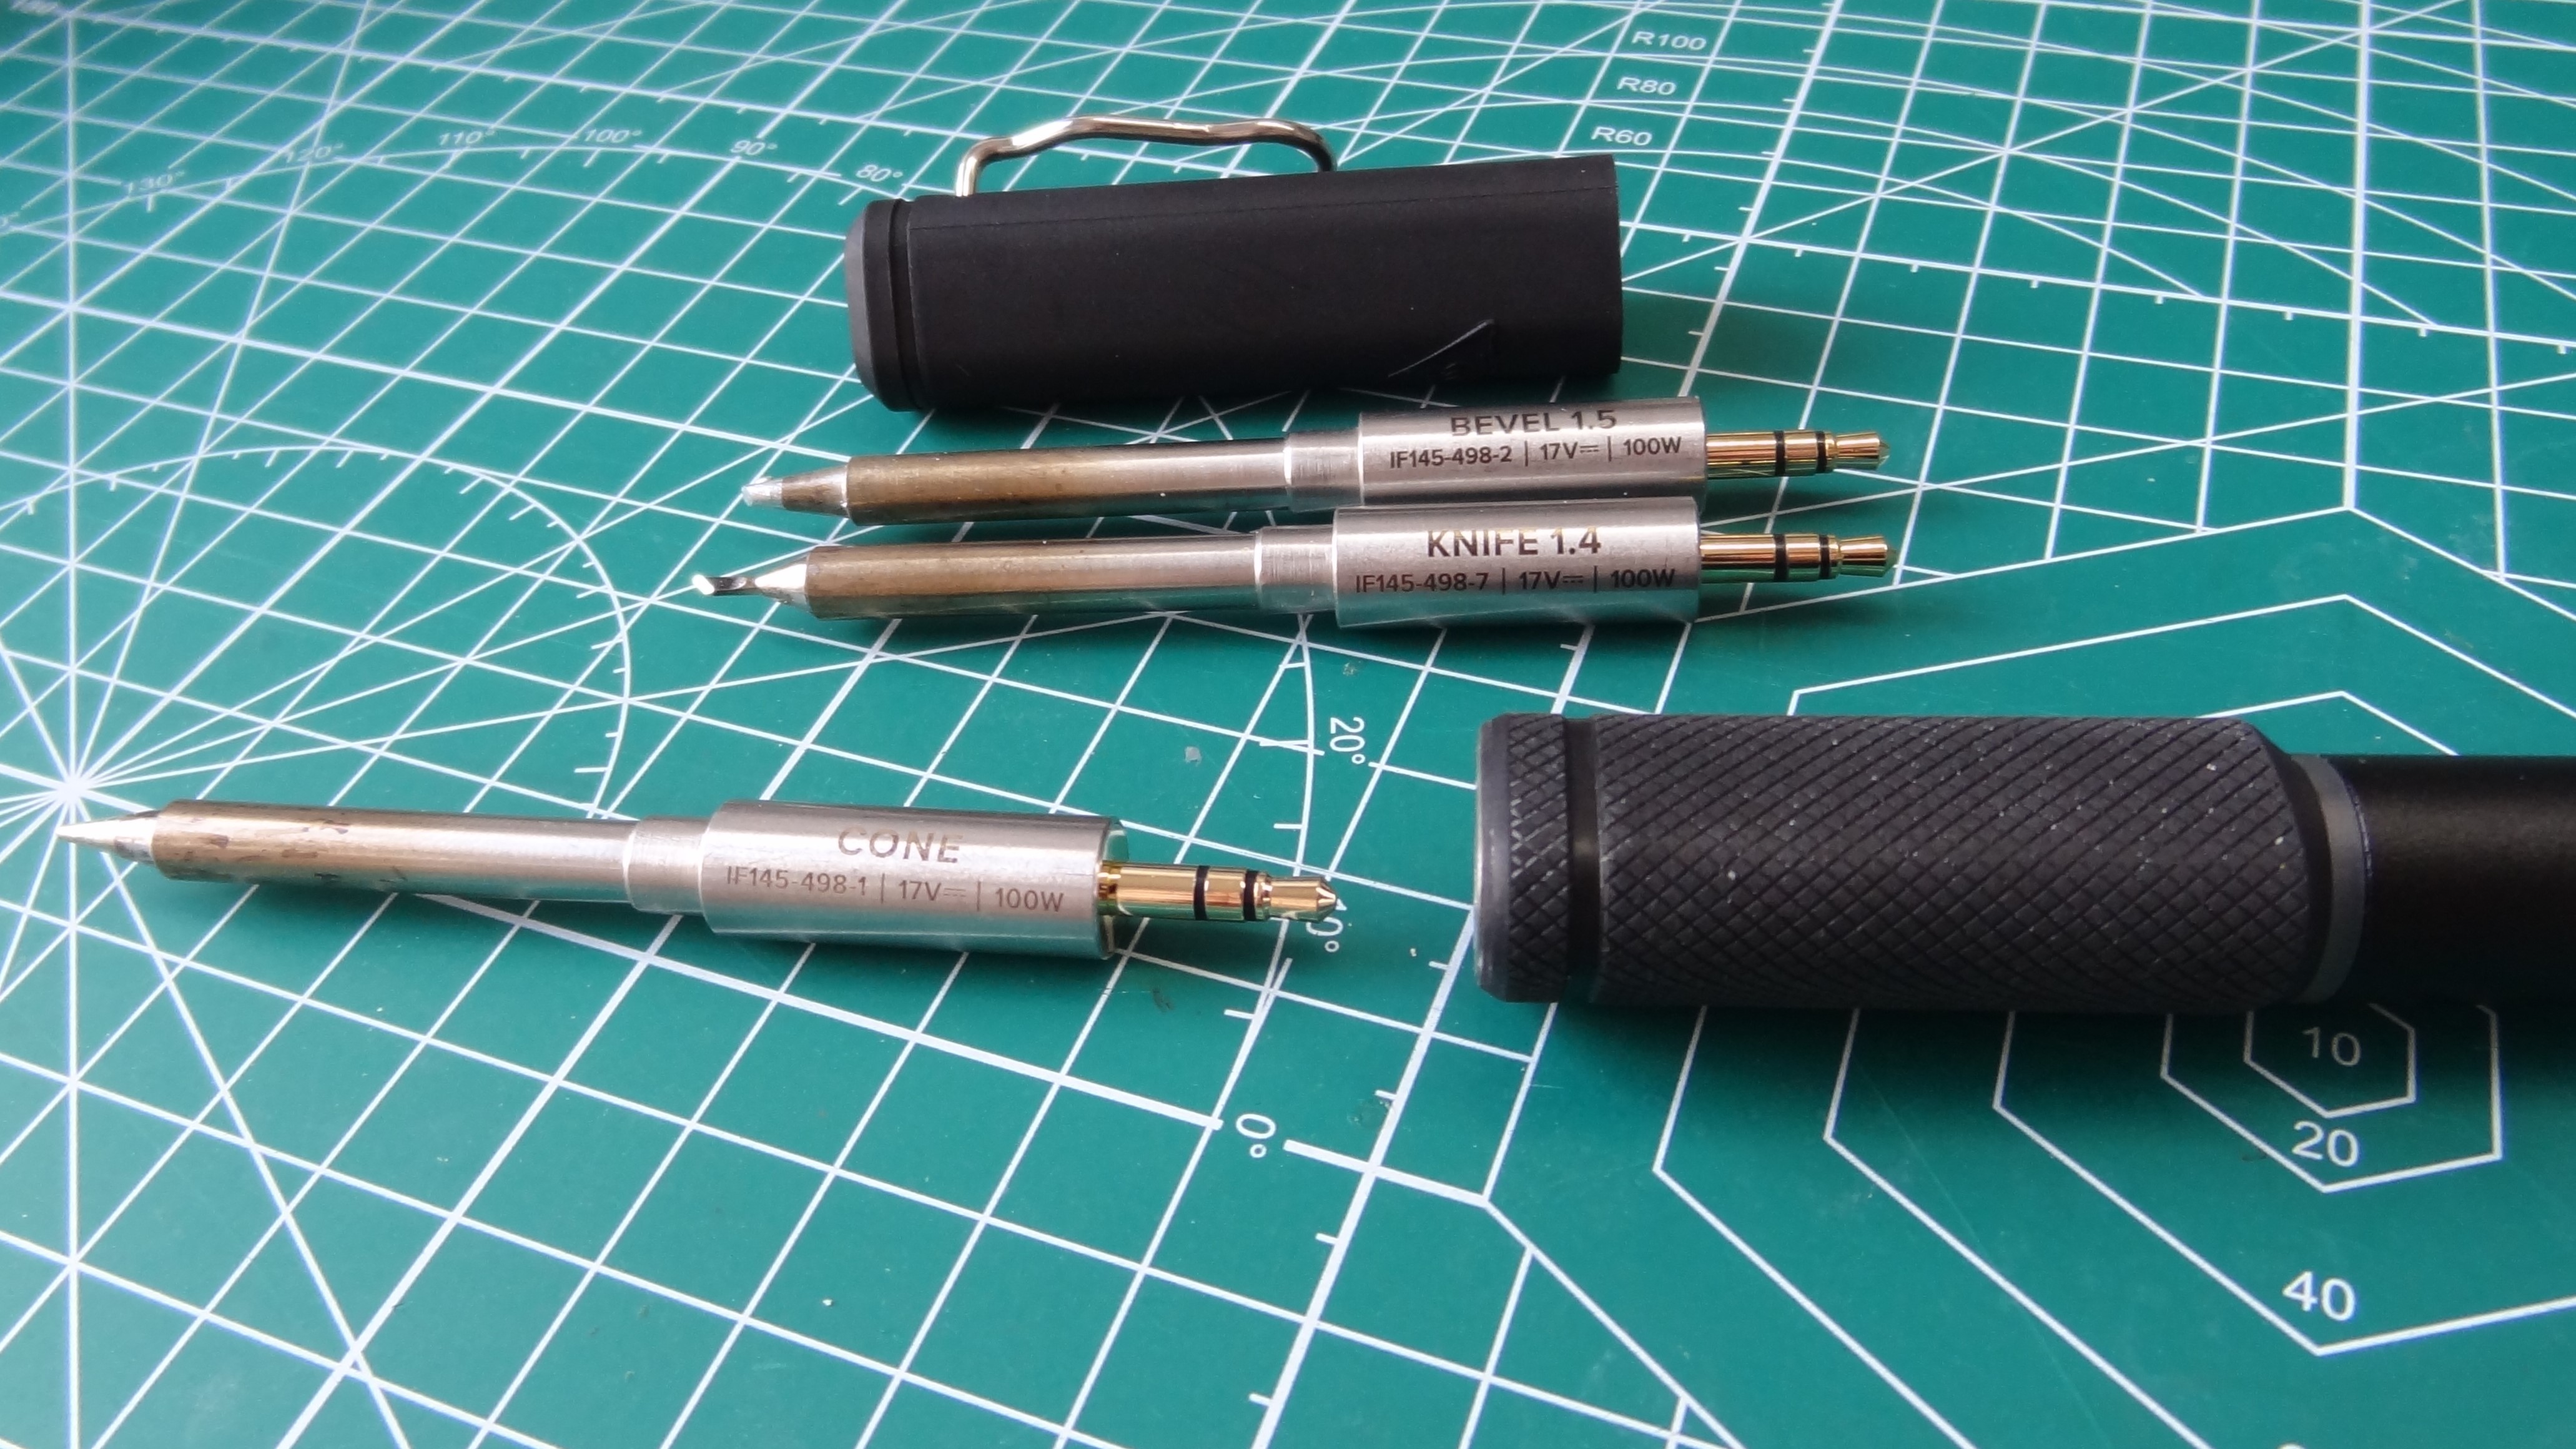
The soldering tips look very similar to those used with the Miniware TS80 and TS80P. Resembling a 3.5mm audio jack plug, the Ifixit tips differ by having a wider section in the middle. This prevents the Ifixit tips from being used with the TS80P. You can insert a TS80 soldering tip into the Ifixit soldering iron, but the Power Station will report that no soldering iron is connected. The audio plug design makes it really easy to replace a soldering iron tip. Just make sure that you wait for it to cool! There is no collet or locking mechanism, just a simple “snap” to indicate that the soldering tip is in place. If the soldering tip is not fully inserted, the portable power station will issue an error and fail to heat up.
I mainly used the included bevel edged soldering tip. It was a great mix of precision and surface area, covering most soldering tasks. I also asked Ifixit if it could send other tips for testing, and I received a conical tip and a 1.4mm knife tip.
The conical tip is another great all-rounder. It has the thermal capacity to dump a lot of heat into a solder joint, and it can be relatively precise. Using some Ifixit rosin flux core lead-free solder I was able to solder up the pins on a DIP socket. I then switched to the knife tip and its smaller profile provided me with more precision, but it still had the mass to get the heat where I needed it.
Ifixit confirms that the full range of tips, available from October 15, will be.
- Cone
- Bevel 1.5
- Wedge 1.5
- Point
- Bevel 2.6
- Knife 2.5
- Knife 1.4
The lead-free solder was a little “clumpy”, not the soldering irons fault, merely the composition of the solder (99% tin, 0.3% silver and 0.7% copper) and my skill using it. The soldering tips were precise enough for PCB work, but lead-free solder just doesn’t suit the way that I solder. Switching to my Loctite lead solder (Tin 30-60%, Lead 30-60%, Rosin 0.1-1% Acrylic acid resin 0.1-1%) improved my soldering. It was more precise, clump free and the joints flowed smoothly. Your mileage may vary, leaded versus lead free solder is a long fought argument which is not the focus of this review.
Soldering with the Ifixit Fixhub Portable Soldering Station

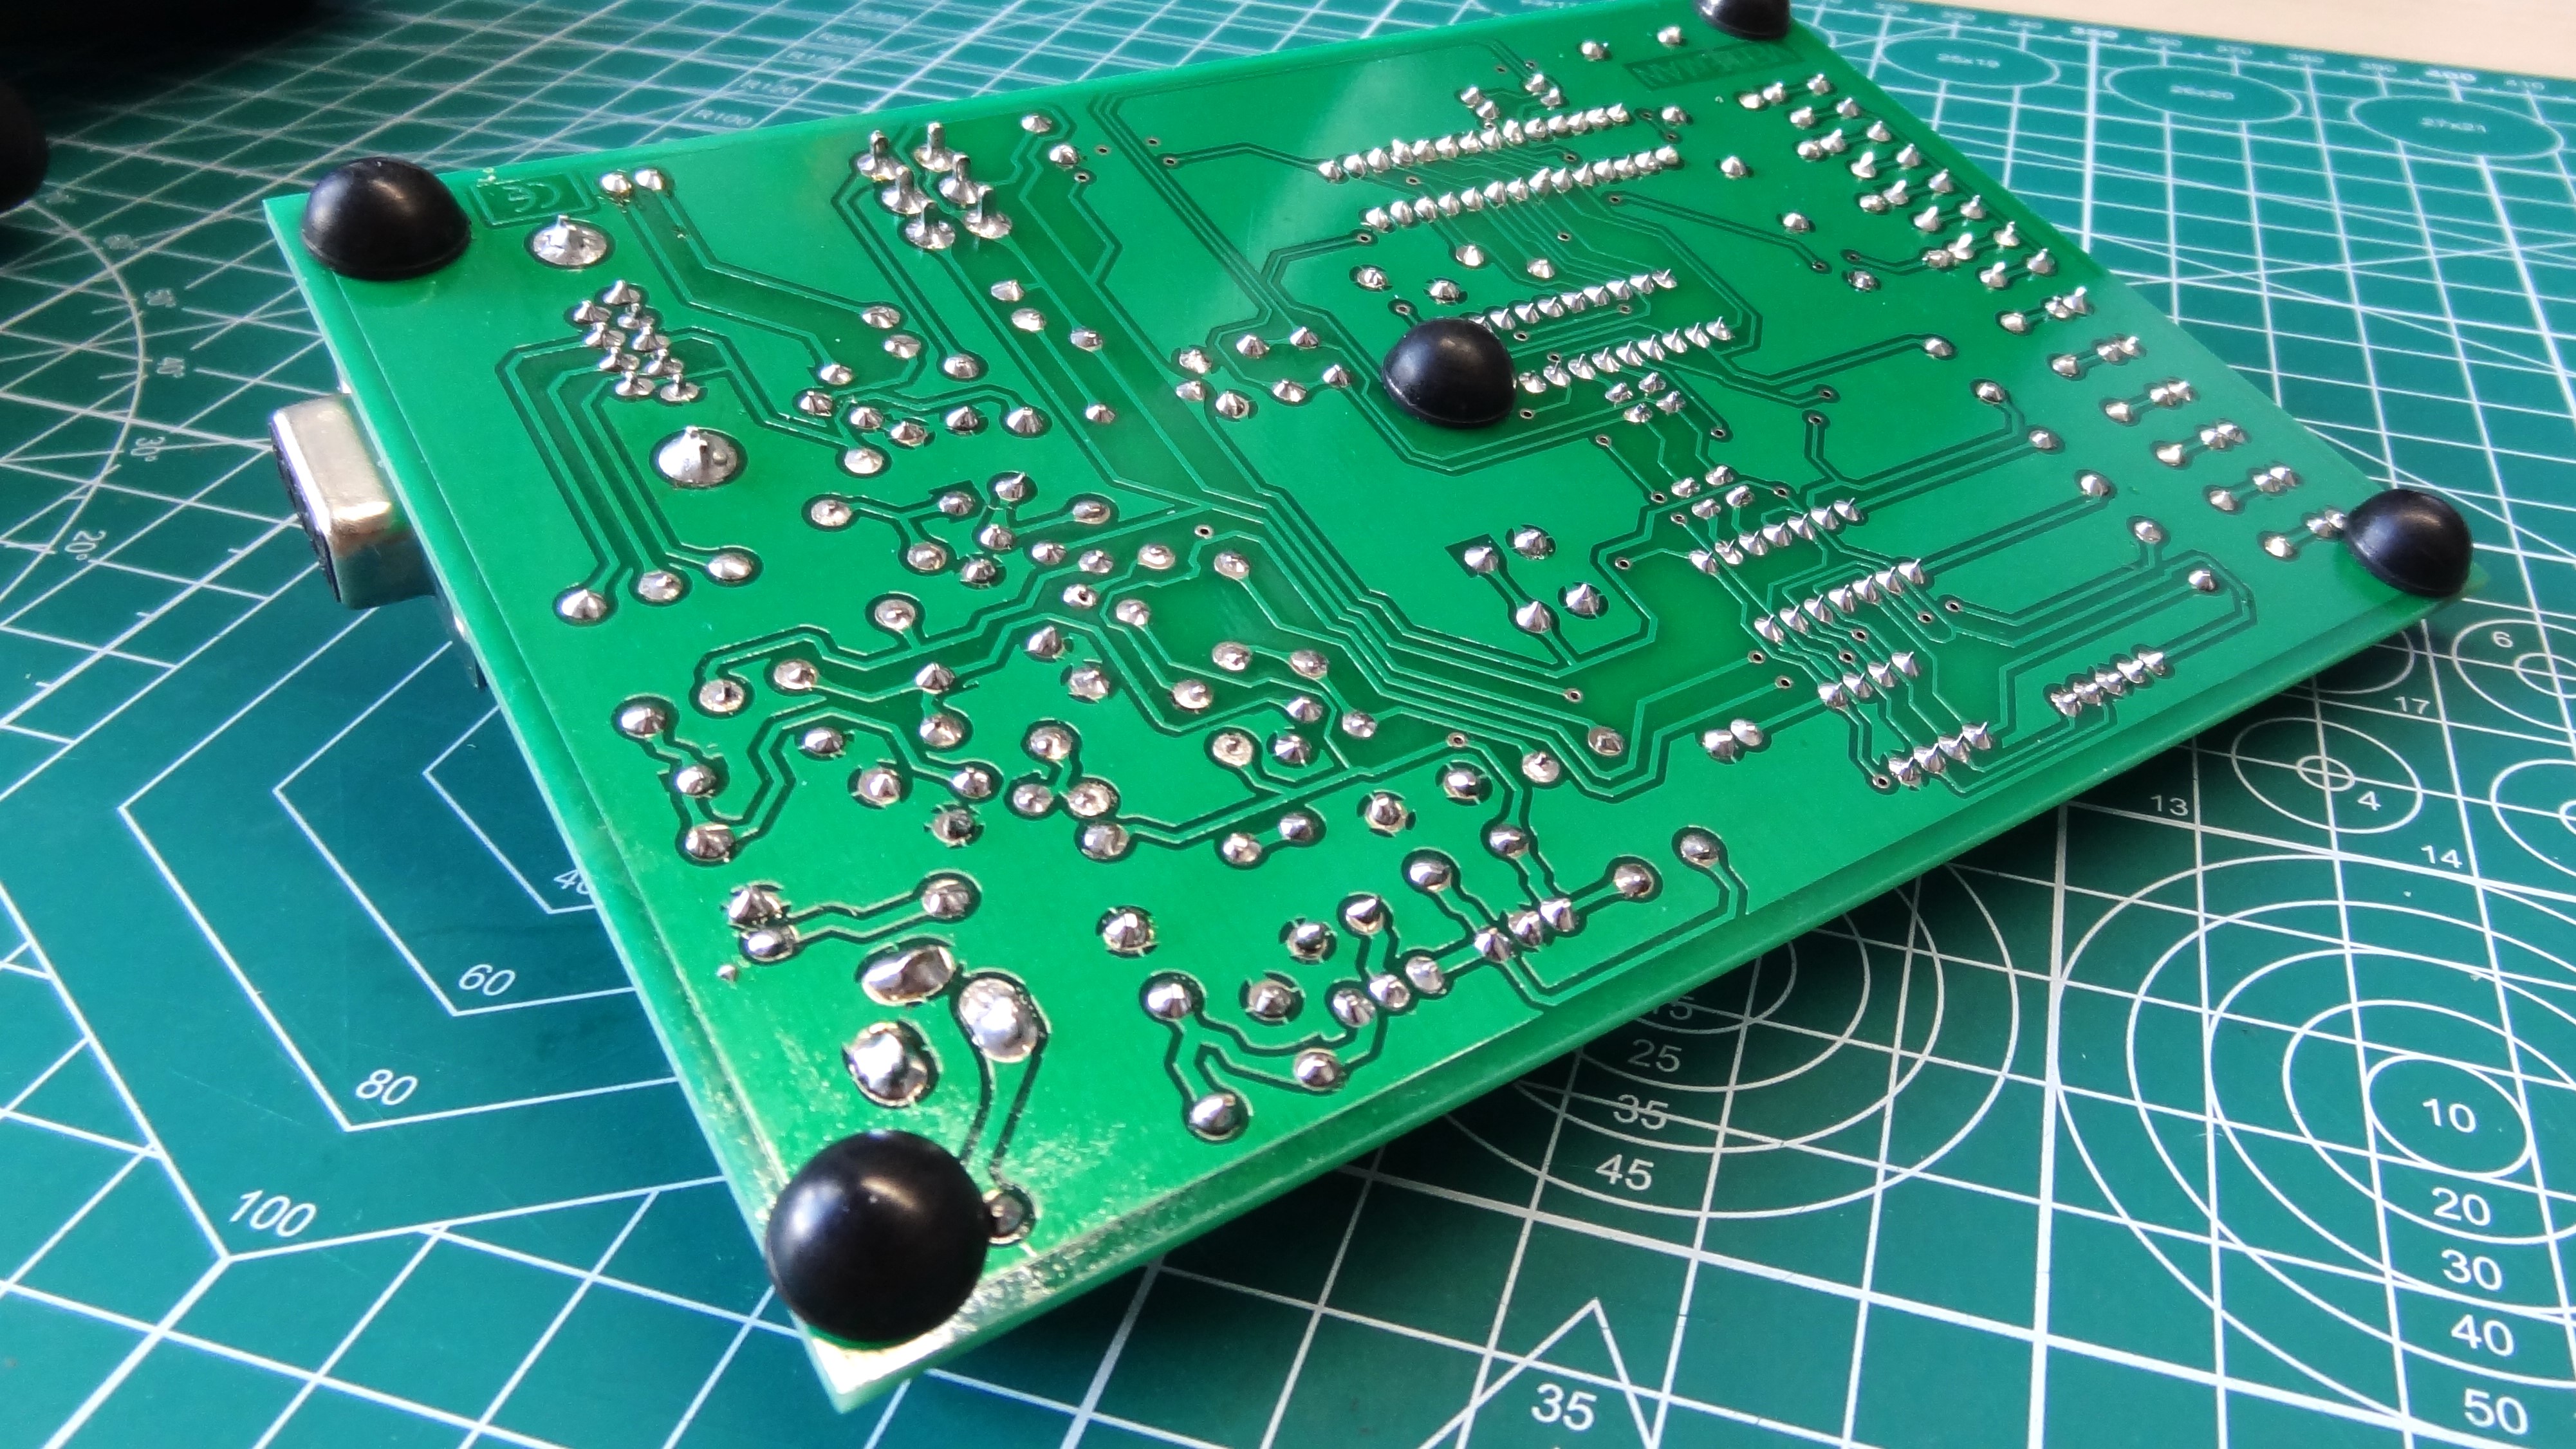
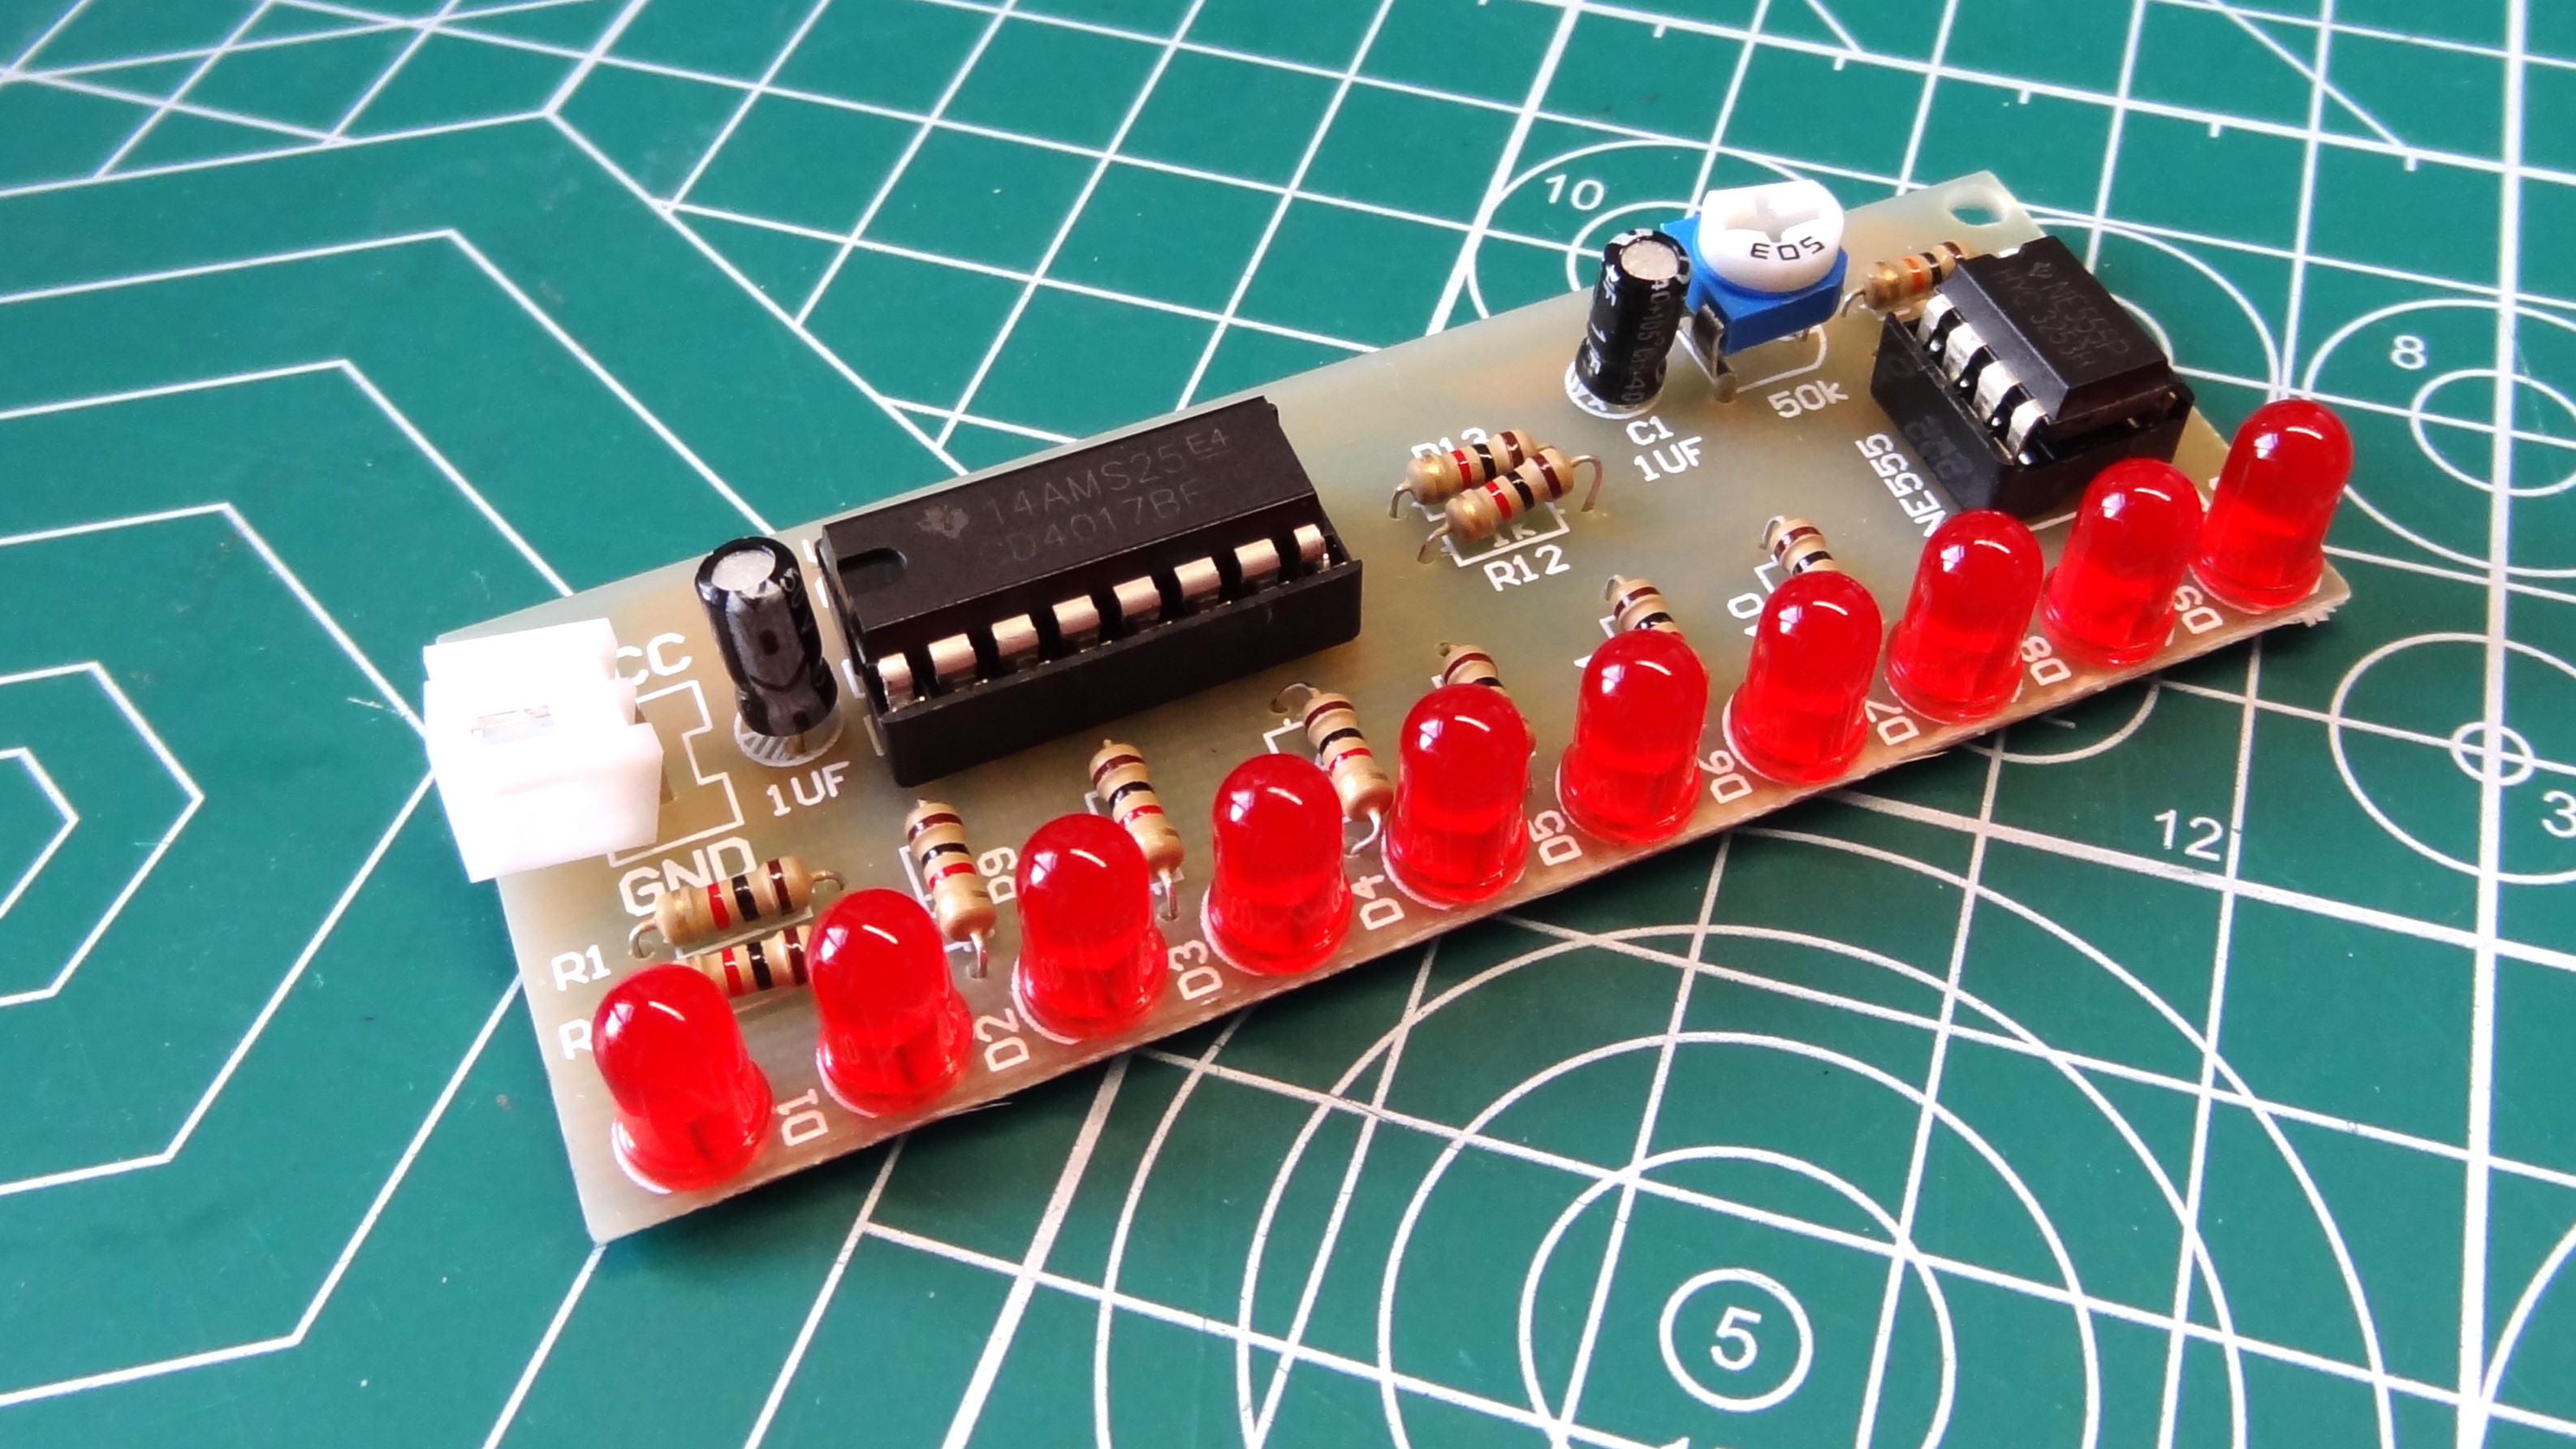
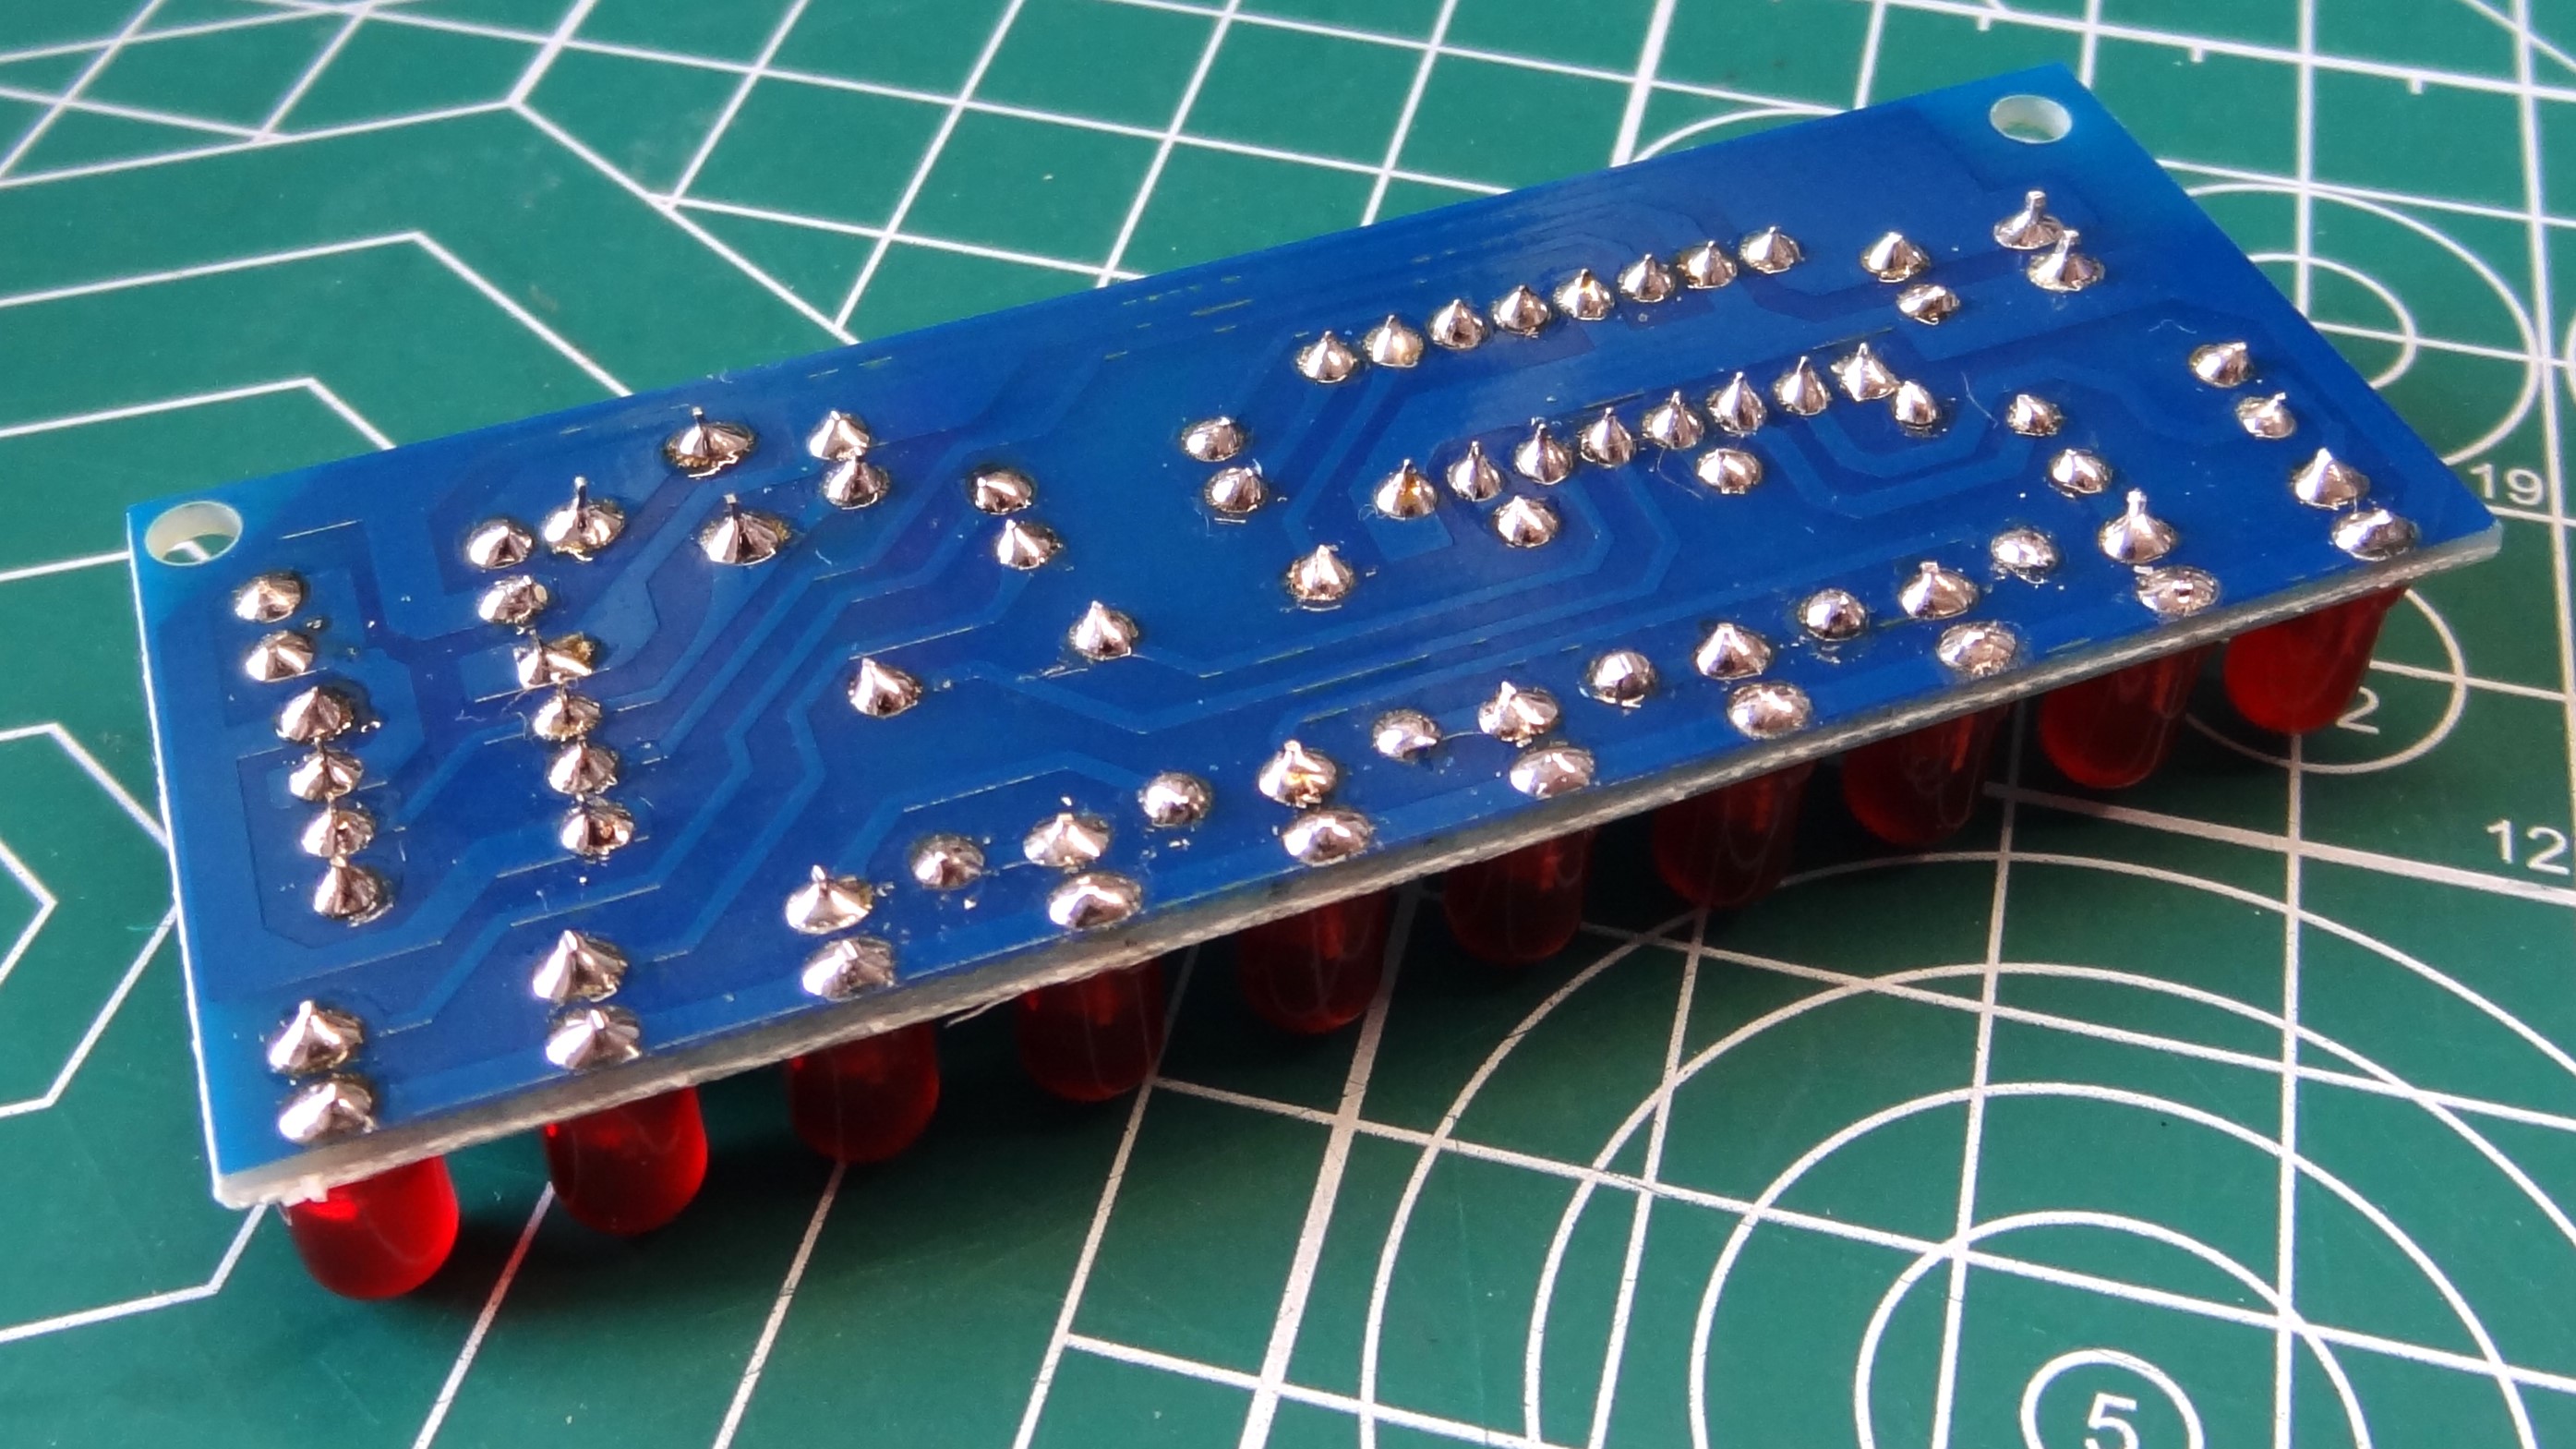
My usual bench soldering station is a Yihua 938BD+. This is a combined soldering and hot air rework station that isn’t as fancy as a Hakko, but it performs exceptionally well, has cheap tips and an easy user interface. Its downside? Slow working speed. Getting up to temperature takes an age, well it feels like it! Taking 33 seconds to reach 350 degrees Celsius, the Yihua has the power to keep up the heat, but it's not exactly portable.
So how would the Ifixit Fixhub Portable Soldering Station cope? By taking 8 seconds to reach 350°C is how! This makes it the fastest smart soldering iron we have tested! The next nearest smart soldering iron is the Fnirsi HS-01 which managed nine seconds. The Weller 9400PKS 120V is technically the fastest soldering device that we have tested, but that is a soldering gun designed for short bursts, not sustained output.
Using the Ifixit Fixhub Portable Soldering Station is a breeze, just plug in the soldering iron, turn it on and you’re ready to go. The soldering iron body feels comfortable in the hand. It can get a little warm, but never worryingly hot. At the business end of the soldering iron, the heat is constant, and we can apply it precisely where we need to.
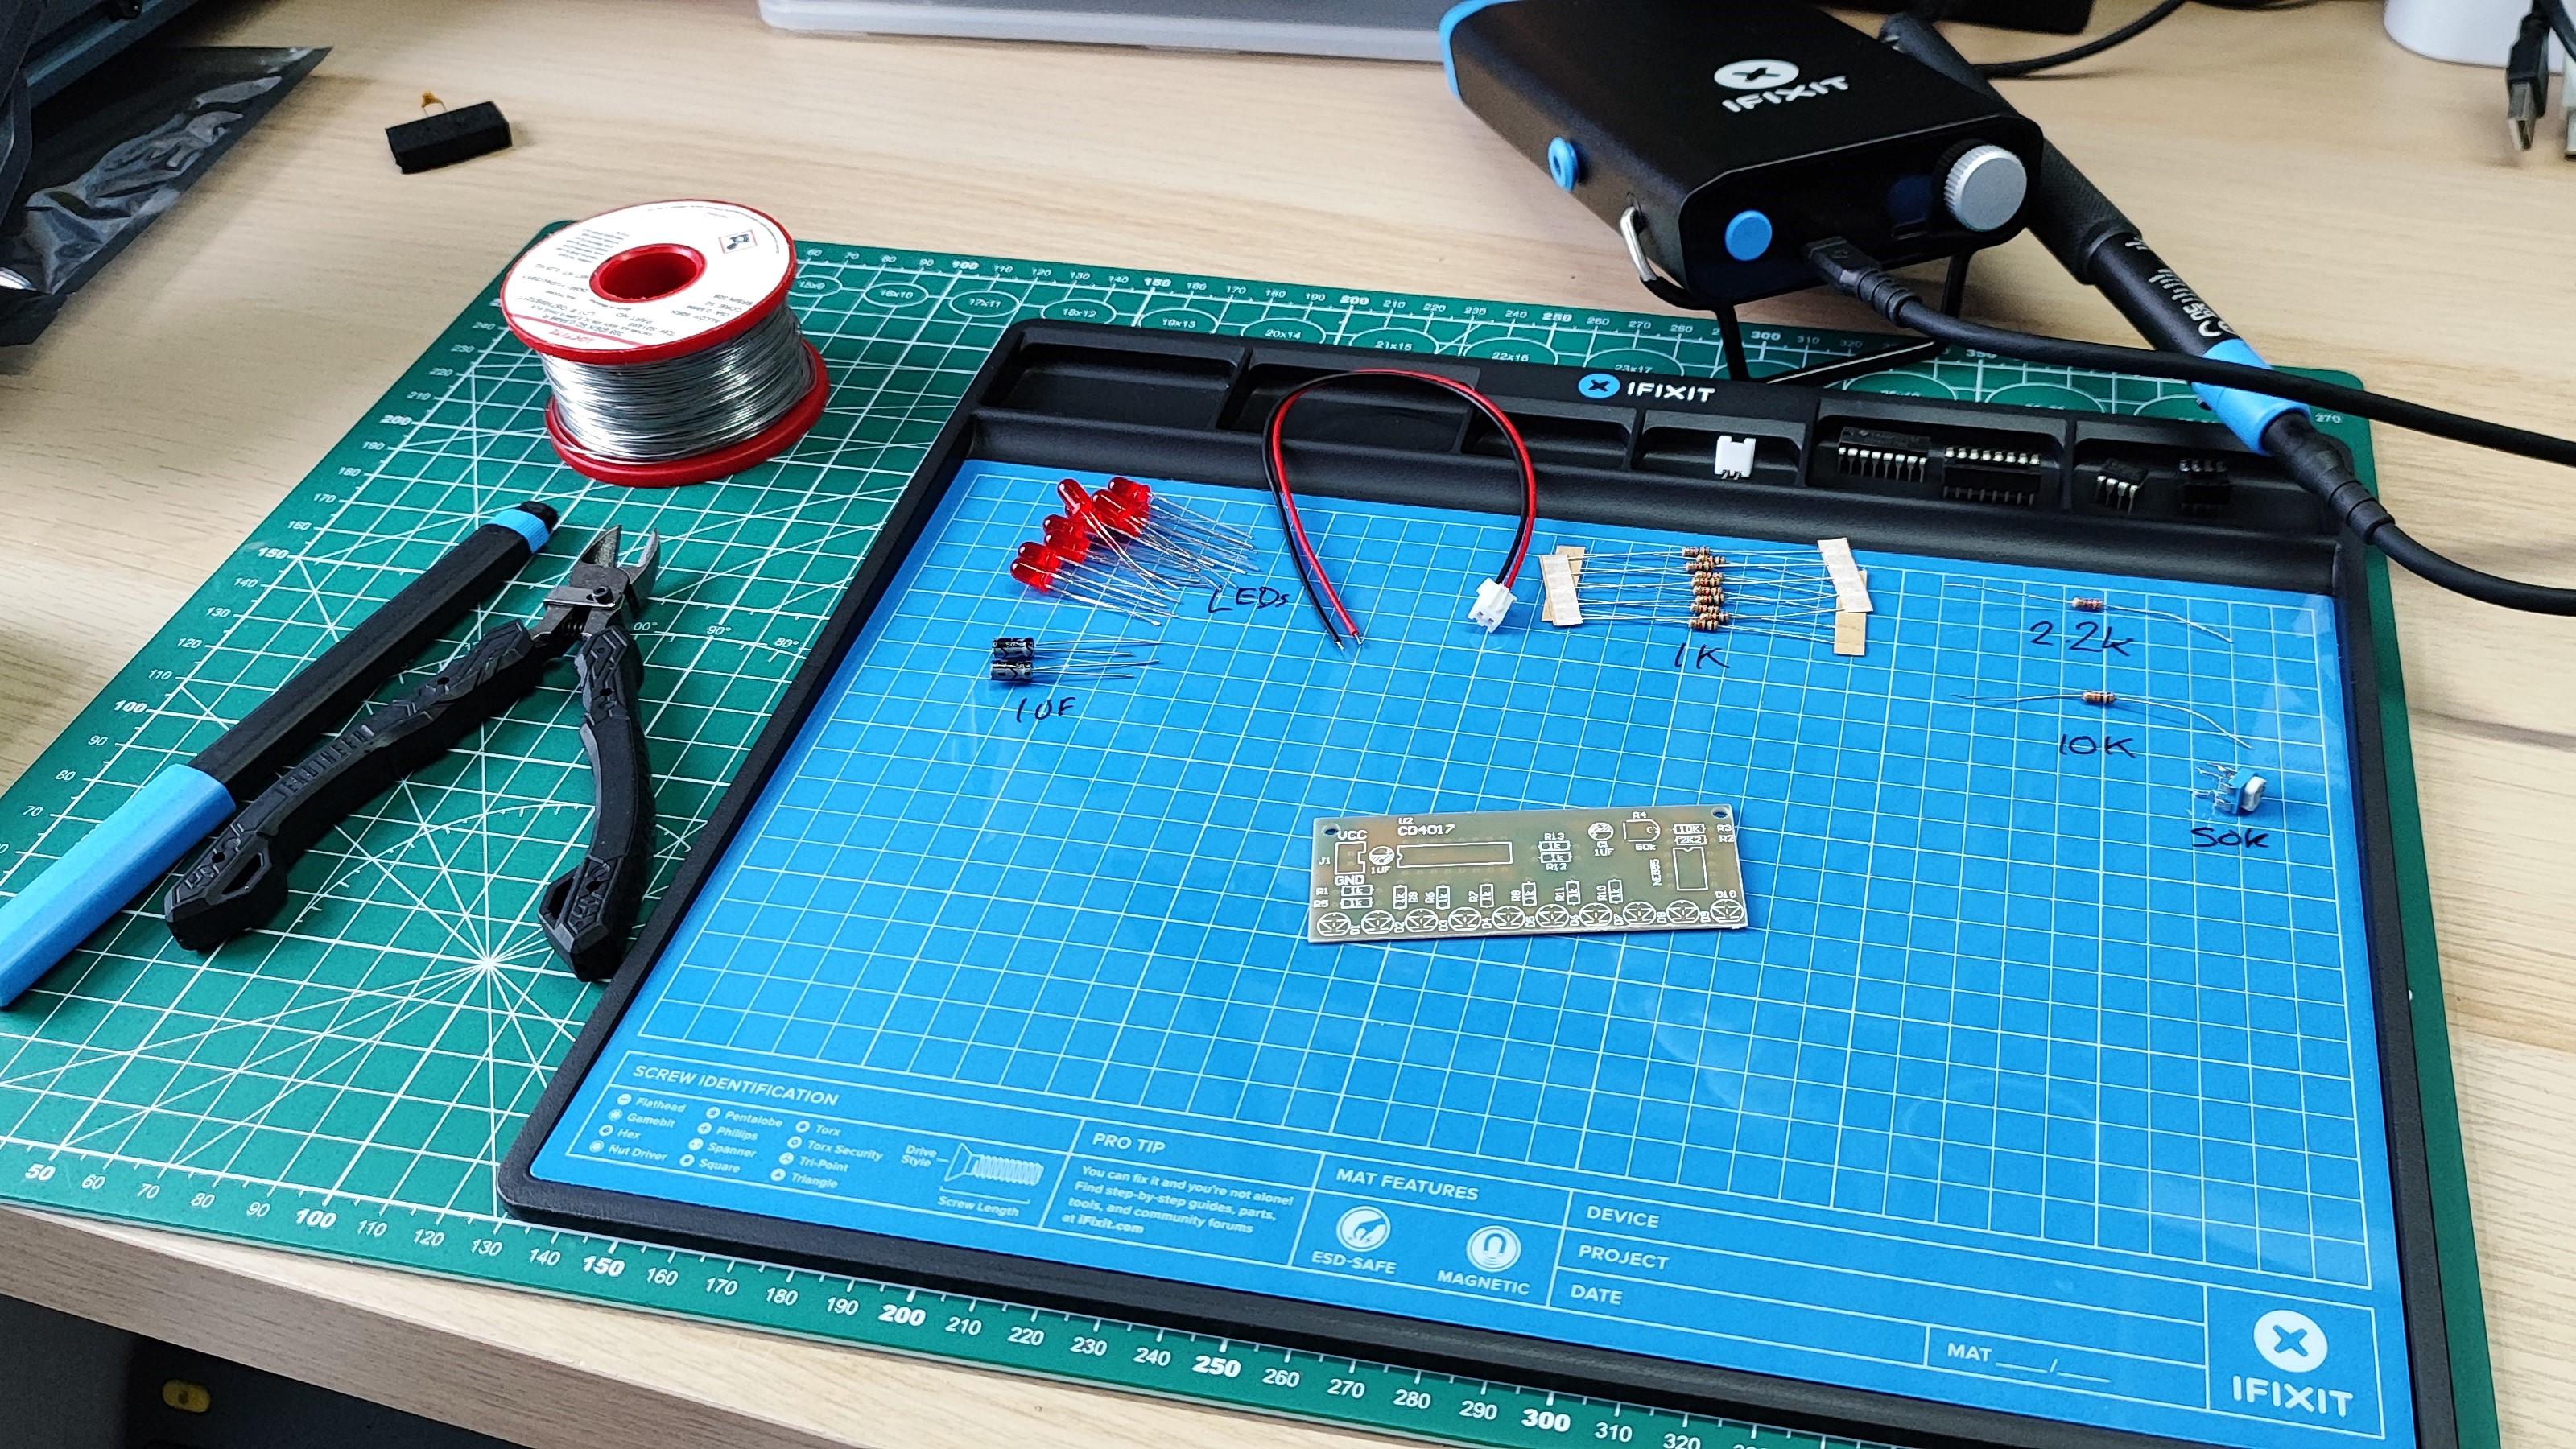
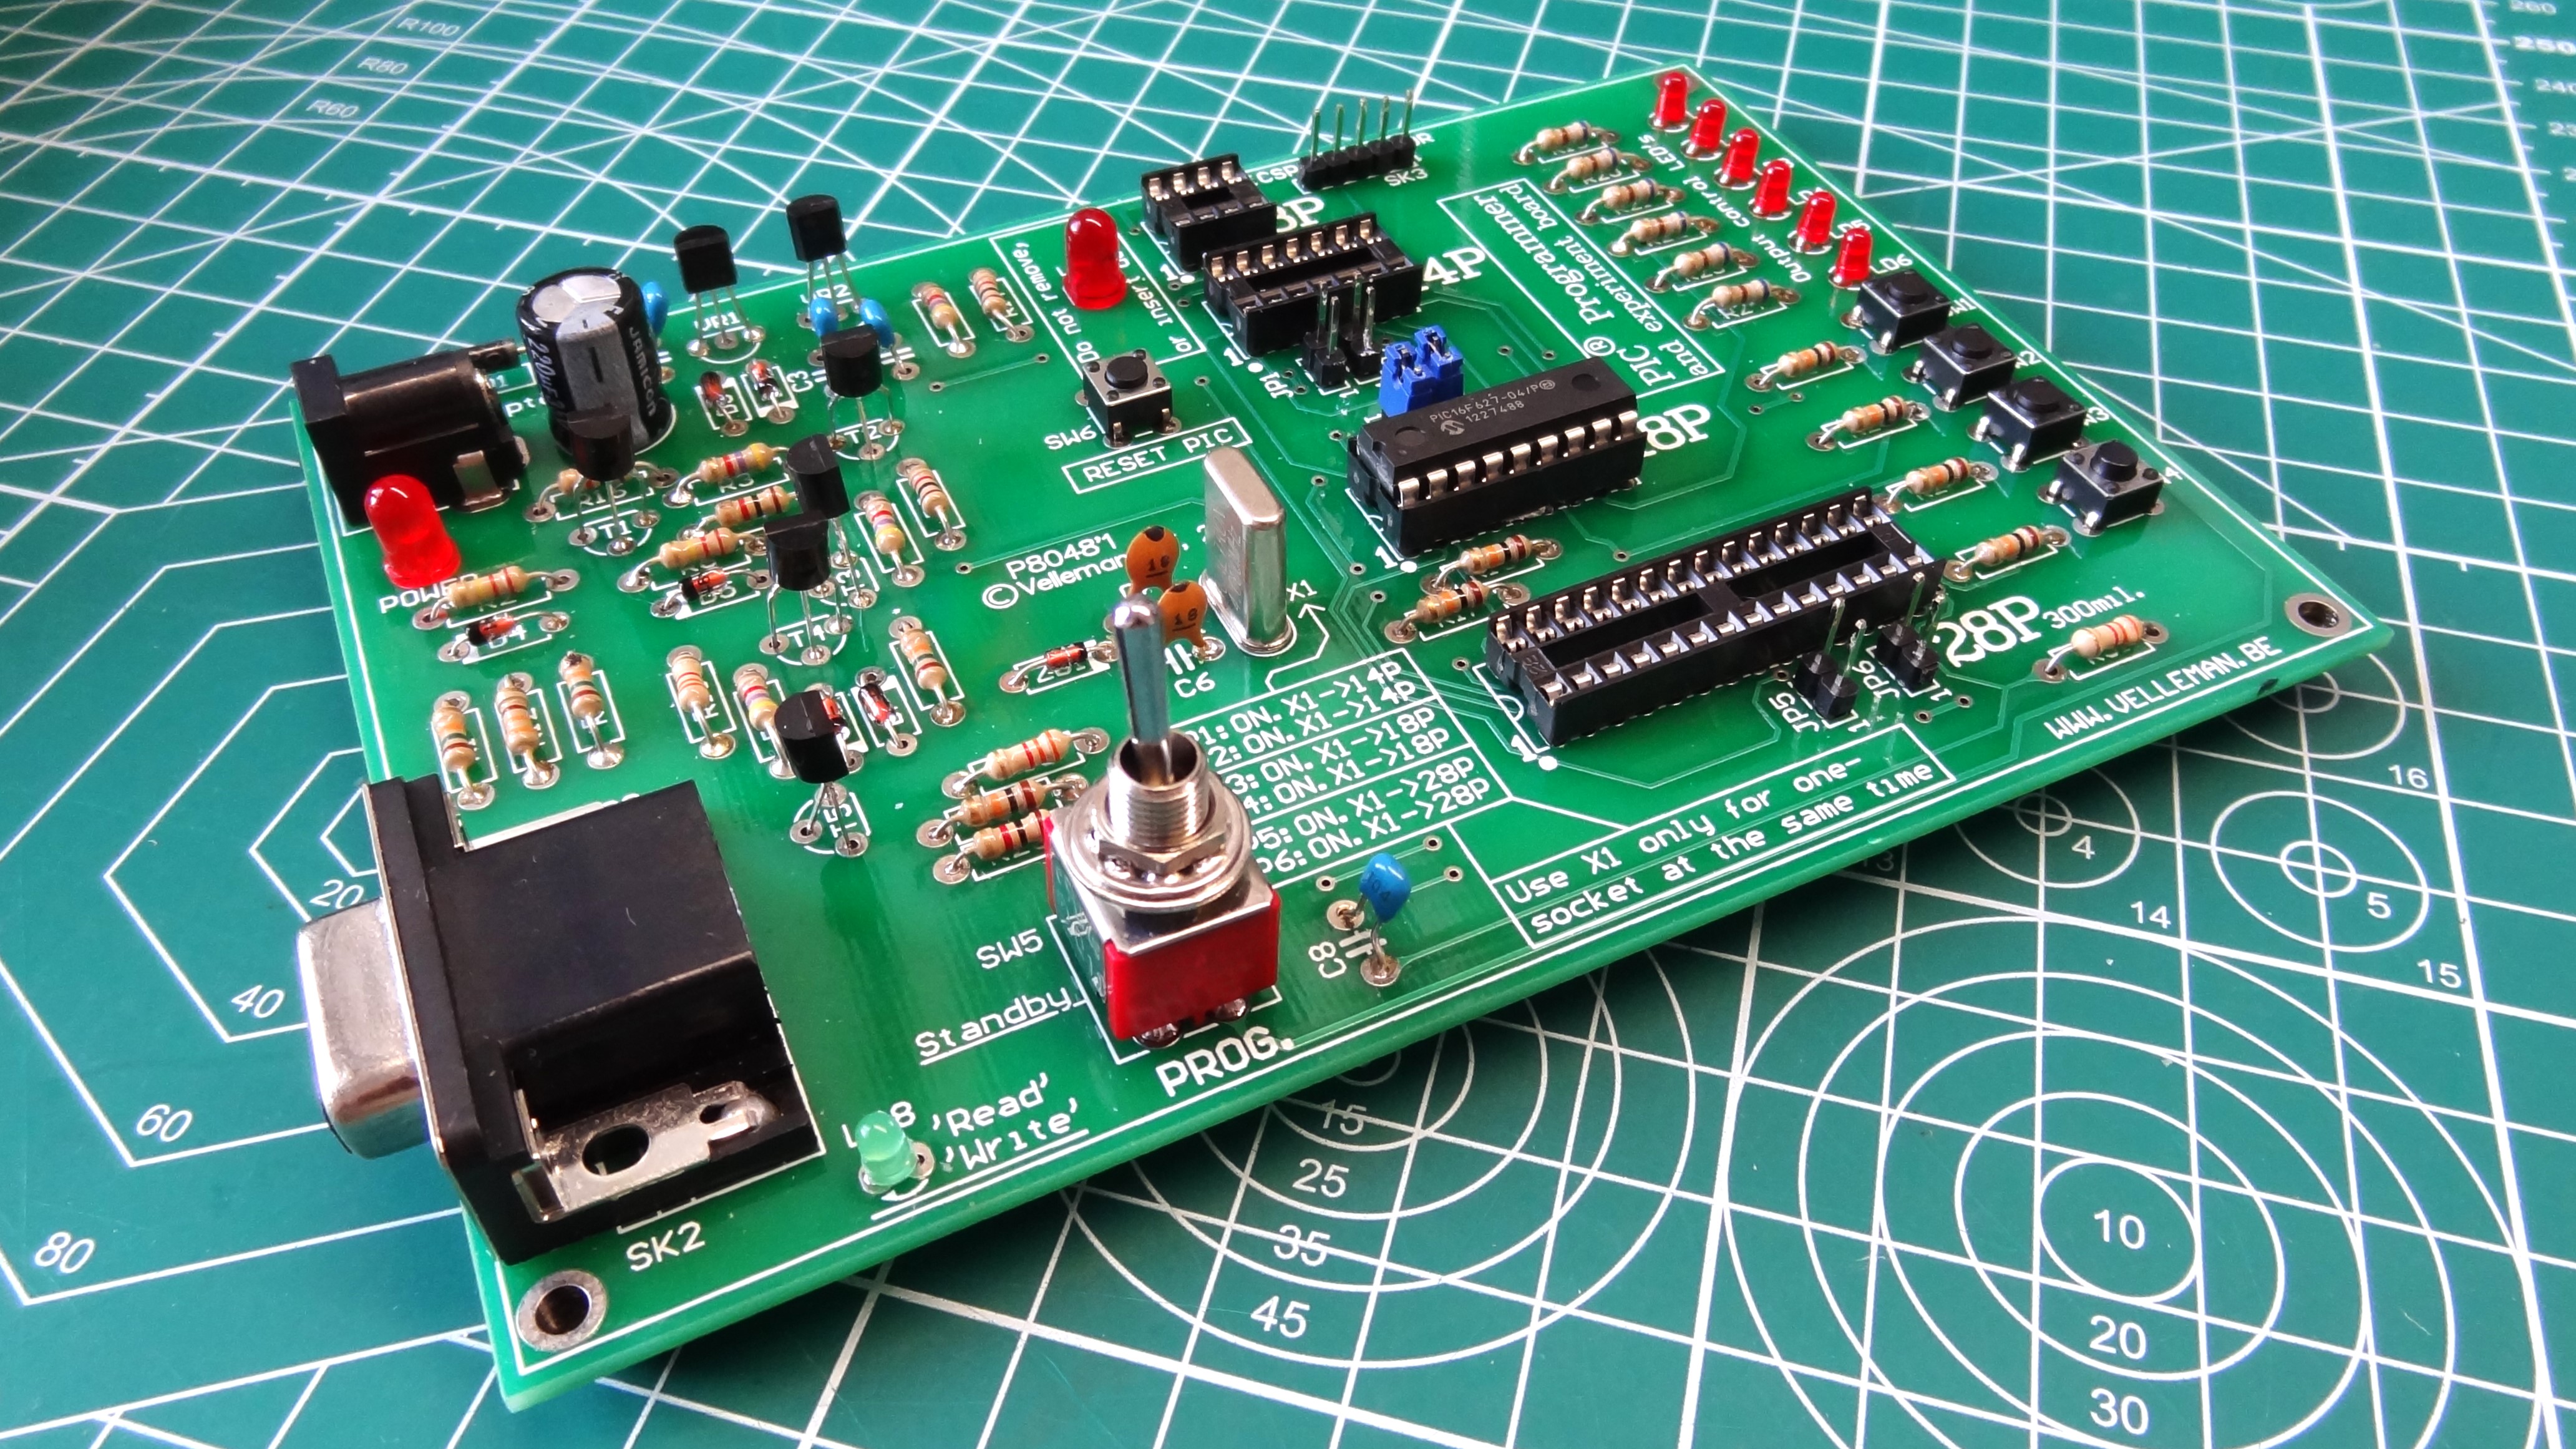
I soldered up two kits. The first was a classic Velleman PIC programmer and experiment board. This board is a good mix of small components, chunky connectors and a quality PCB. The second kit was an Aliexpress “electronics suite” which uses a CD4017 and a 555 timer to control ten LEDs on a rather flimsy PCB.
The Ifixit Fixhub Portable Soldering Station made short work of both kits. Let's start with the smaller components. All of the review-supplied soldering tips (bevel, conical and knife) made short work of dropping the heat where I needed it. The bevel tip supplied in the kit will be more than ample for the job. The Ifixit lead free solder is decent, and others may prefer it to lead based solder, but for me I had to move to my old Loctite lead solder. It just flowed better. Be it leaded or lead free, the soldering iron melted and applied the solder to the components. It took around three hours to go from 100% to 25% battery capacity with a mixture of through hole components.
Ifixit claims that 2,000 through-hole joints can be soldered using a full battery and I can definitely see that, but it would depend on the solder joints. Heavyweight joints such as DC power jacks and speaker cable will need more power, and will reduce the final figure. But you can comfortably solder for a couple of hours at the very least.
Speaking of heavy soldering joints, I tested some marine grade multi-strand copper wire. This stuff is around 3mm thick and made from multiple strands of good quality copper. It also means that it wicks away heat like a champ. Using the conical tip and the Ifixit soldering splint I tinned a one inch (2.54 cm) section of bare copper at 350°C. It took a bit of time, bumping the temperature to 400°C would be a smart move, but it worked nonetheless. It joined two sections of wire together, with just a little effort. Granted my resulting work was not a NASA grade linesman splice, but it would do the job here on Earth.
The Ifixit Fixhub Portable Soldering Station is more than capable of soldering larger connections. The caveat being that bigger joints need more heat, which will drain the battery faster. If we do some rough math, say the solder joints are four times larger than a typical through hole component, then 500 (2,000 / 4) solder joints is plenty for most projects.
In between soldering, placing the iron inside the holder on the power station will see the tip temperature drop to preserve the health of the soldering tip and the battery. This is all automatic, thanks to an accelerometer in the soldering iron.
Because I had two review units on the bench, I was able to borrow the soldering iron from the first unit, and run two soldering irons at once from the Ifixit Fixhub Portable Soldering Station's dual USB Type-C ports. The temperature of both irons can be set individually. With both soldering irons switched on, just press the blue button to highlight the left or right soldering iron. Then use the selector to set your temperature. This is a really useful feature for those of us who solder components that are temperature sensitive (crystals for example.) It also means we can have one soldering iron for precision work, and another for those large solder joints that require a little more heat.
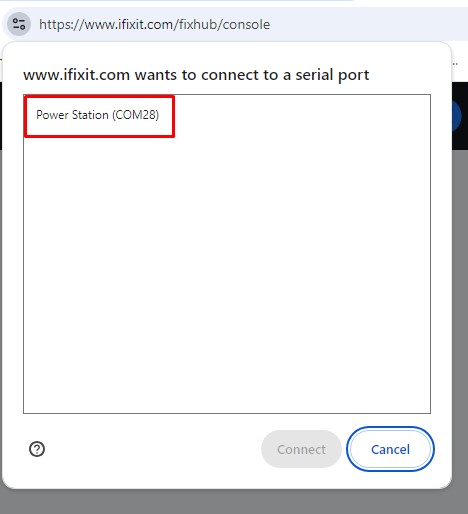
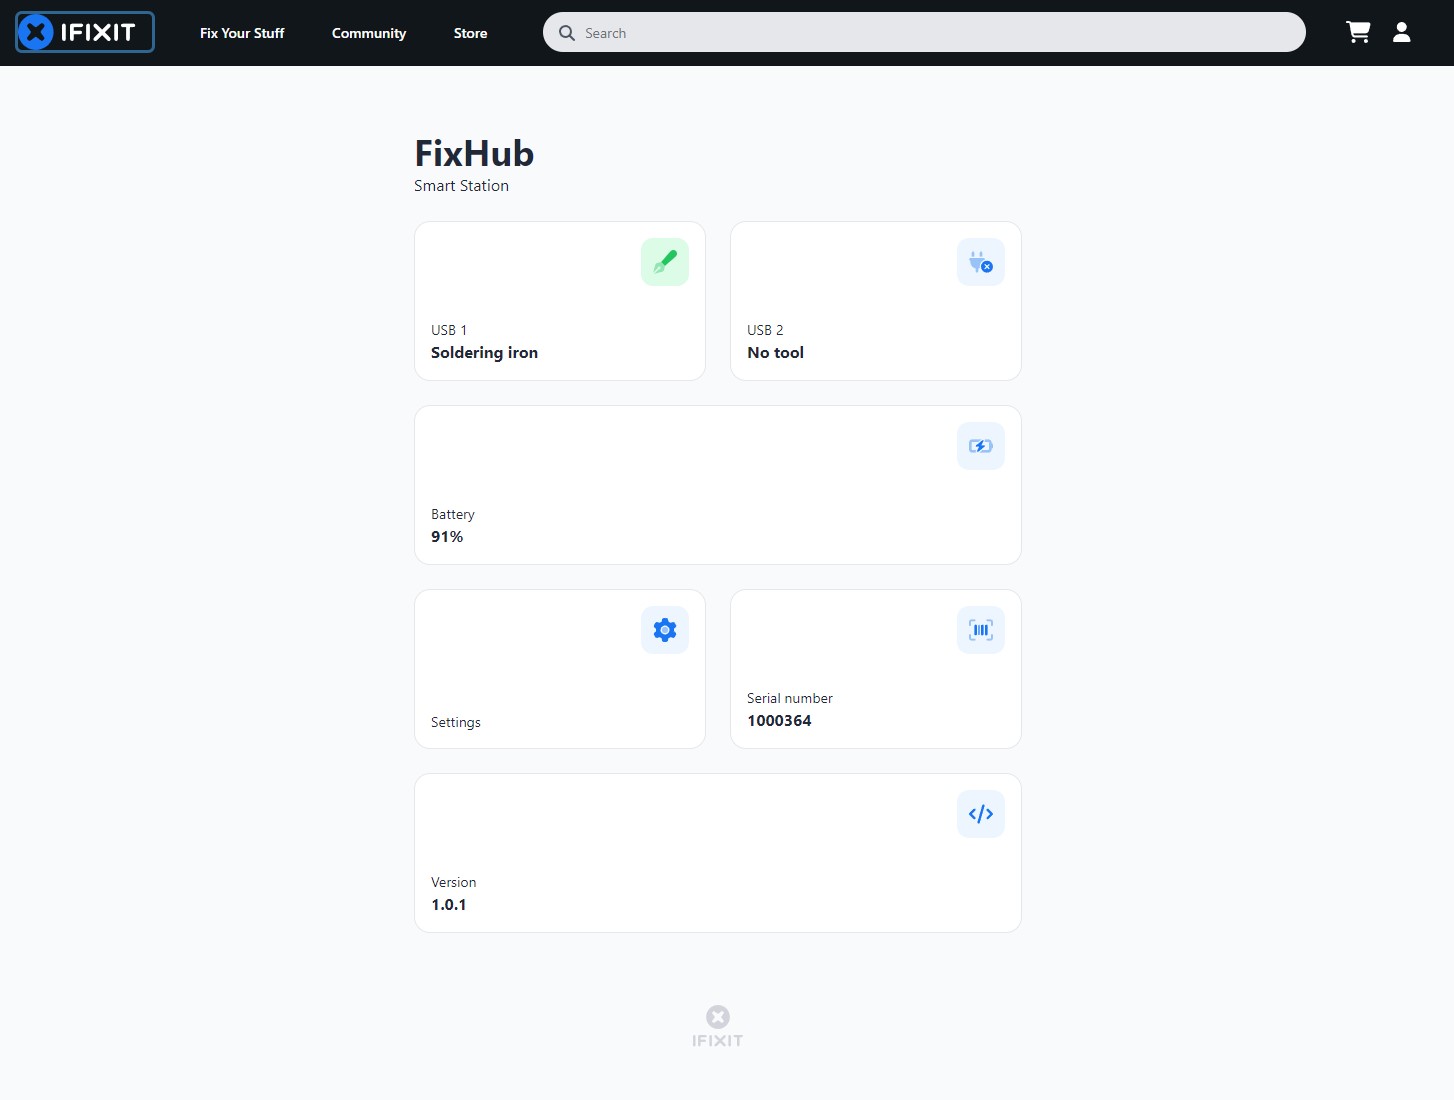
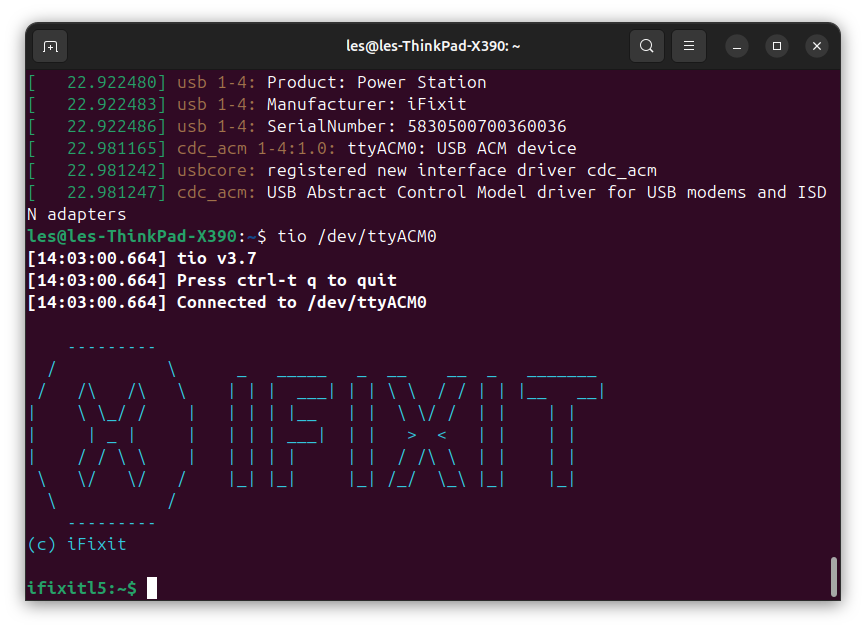
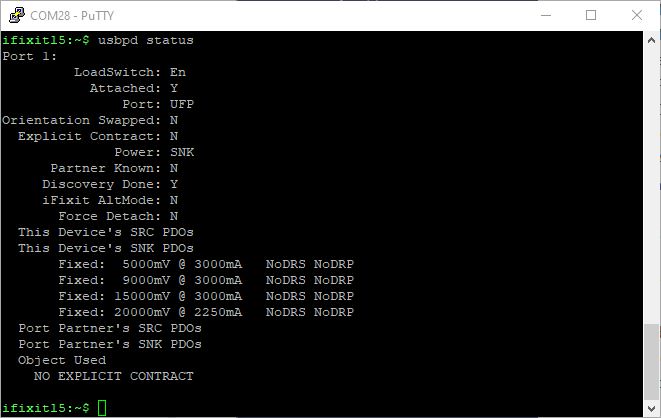
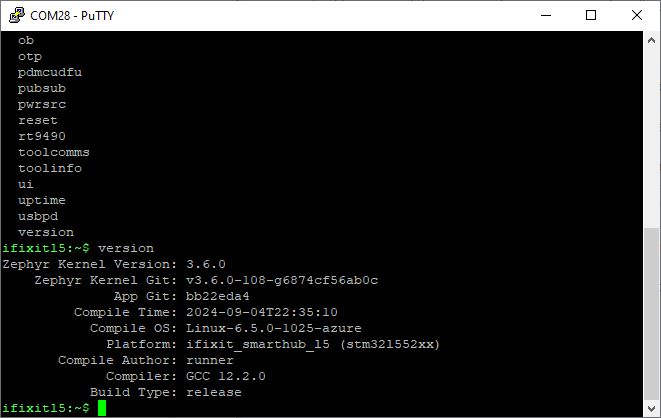
The Ifixit Fixhub Portable Soldering Station’s firmware can be updated by connecting to a computer and running a firmware update via a web interface. You’ll need to be running Chrome, Edge or Brave in order to use the Web Serial interface. The interface provides a means to monitor the battery, firmware version and recalibrate the battery. Out of interest, I connected the power station to my Ubuntu laptop and via a serial interface (tio, a great tool that makes serial connections easy on Linux) I noticed that it was running an “OS”.
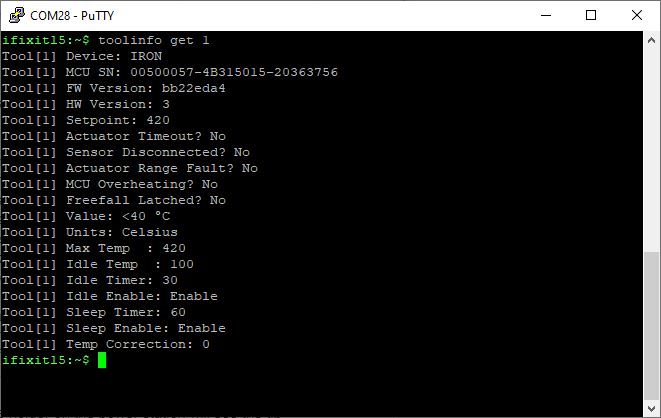
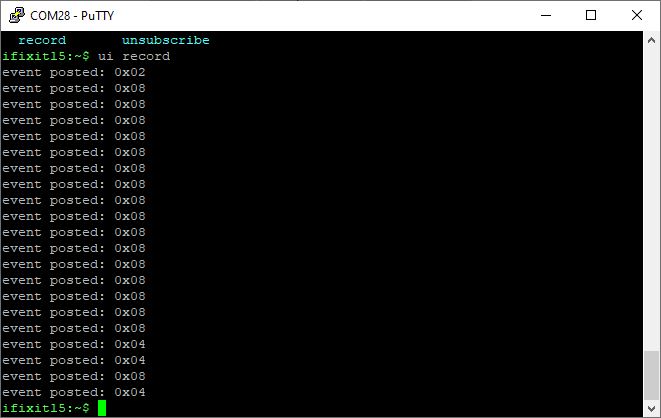
I moved over to my Windows machine and ran PuTTY, connecting to the serial console at 115200 I was greeted by an ASCII Ifixt logo. Running the “help” command I saw a slew of possible commands. Starting simple, “version” provides basic information on the soldering station and it seems to be using a lightweight Linux kernel called Zephyr OS. The “usbpd status” command told me that my soldering iron was connected to port 1 and it detailed the various power options available to me. There are many other commands, including one that logs UI events, handy for tech support debug sessions. Tinkering with the OS on my soldering iron is something that every maker strives to do.
Lets compare the Ifixit Fixhub Portable Soldering Station to another portable smart soldering solution. Miniware’s TS1C ($113) is a rather potent smart soldering iron. Instead of a battery, it has a super capacitor which offers around 180 - 200 solder joints from a single charge. It also has “audio jack” tips, designed for the TS80P. Its controls and interface are also away from the soldering iron. The TS1C isn’t as powerful, a “mere” 45W versus the 100W of the Ifixit. But, it does charge up really fast, thanks to the super capacitor. The TS1C is more for desktop projects, requiring a constant power source, versus Ifixit’s beefy portable power station which can provide power wherever we need it.
Ifixit Fixhub Portable Soldering Station User Interface
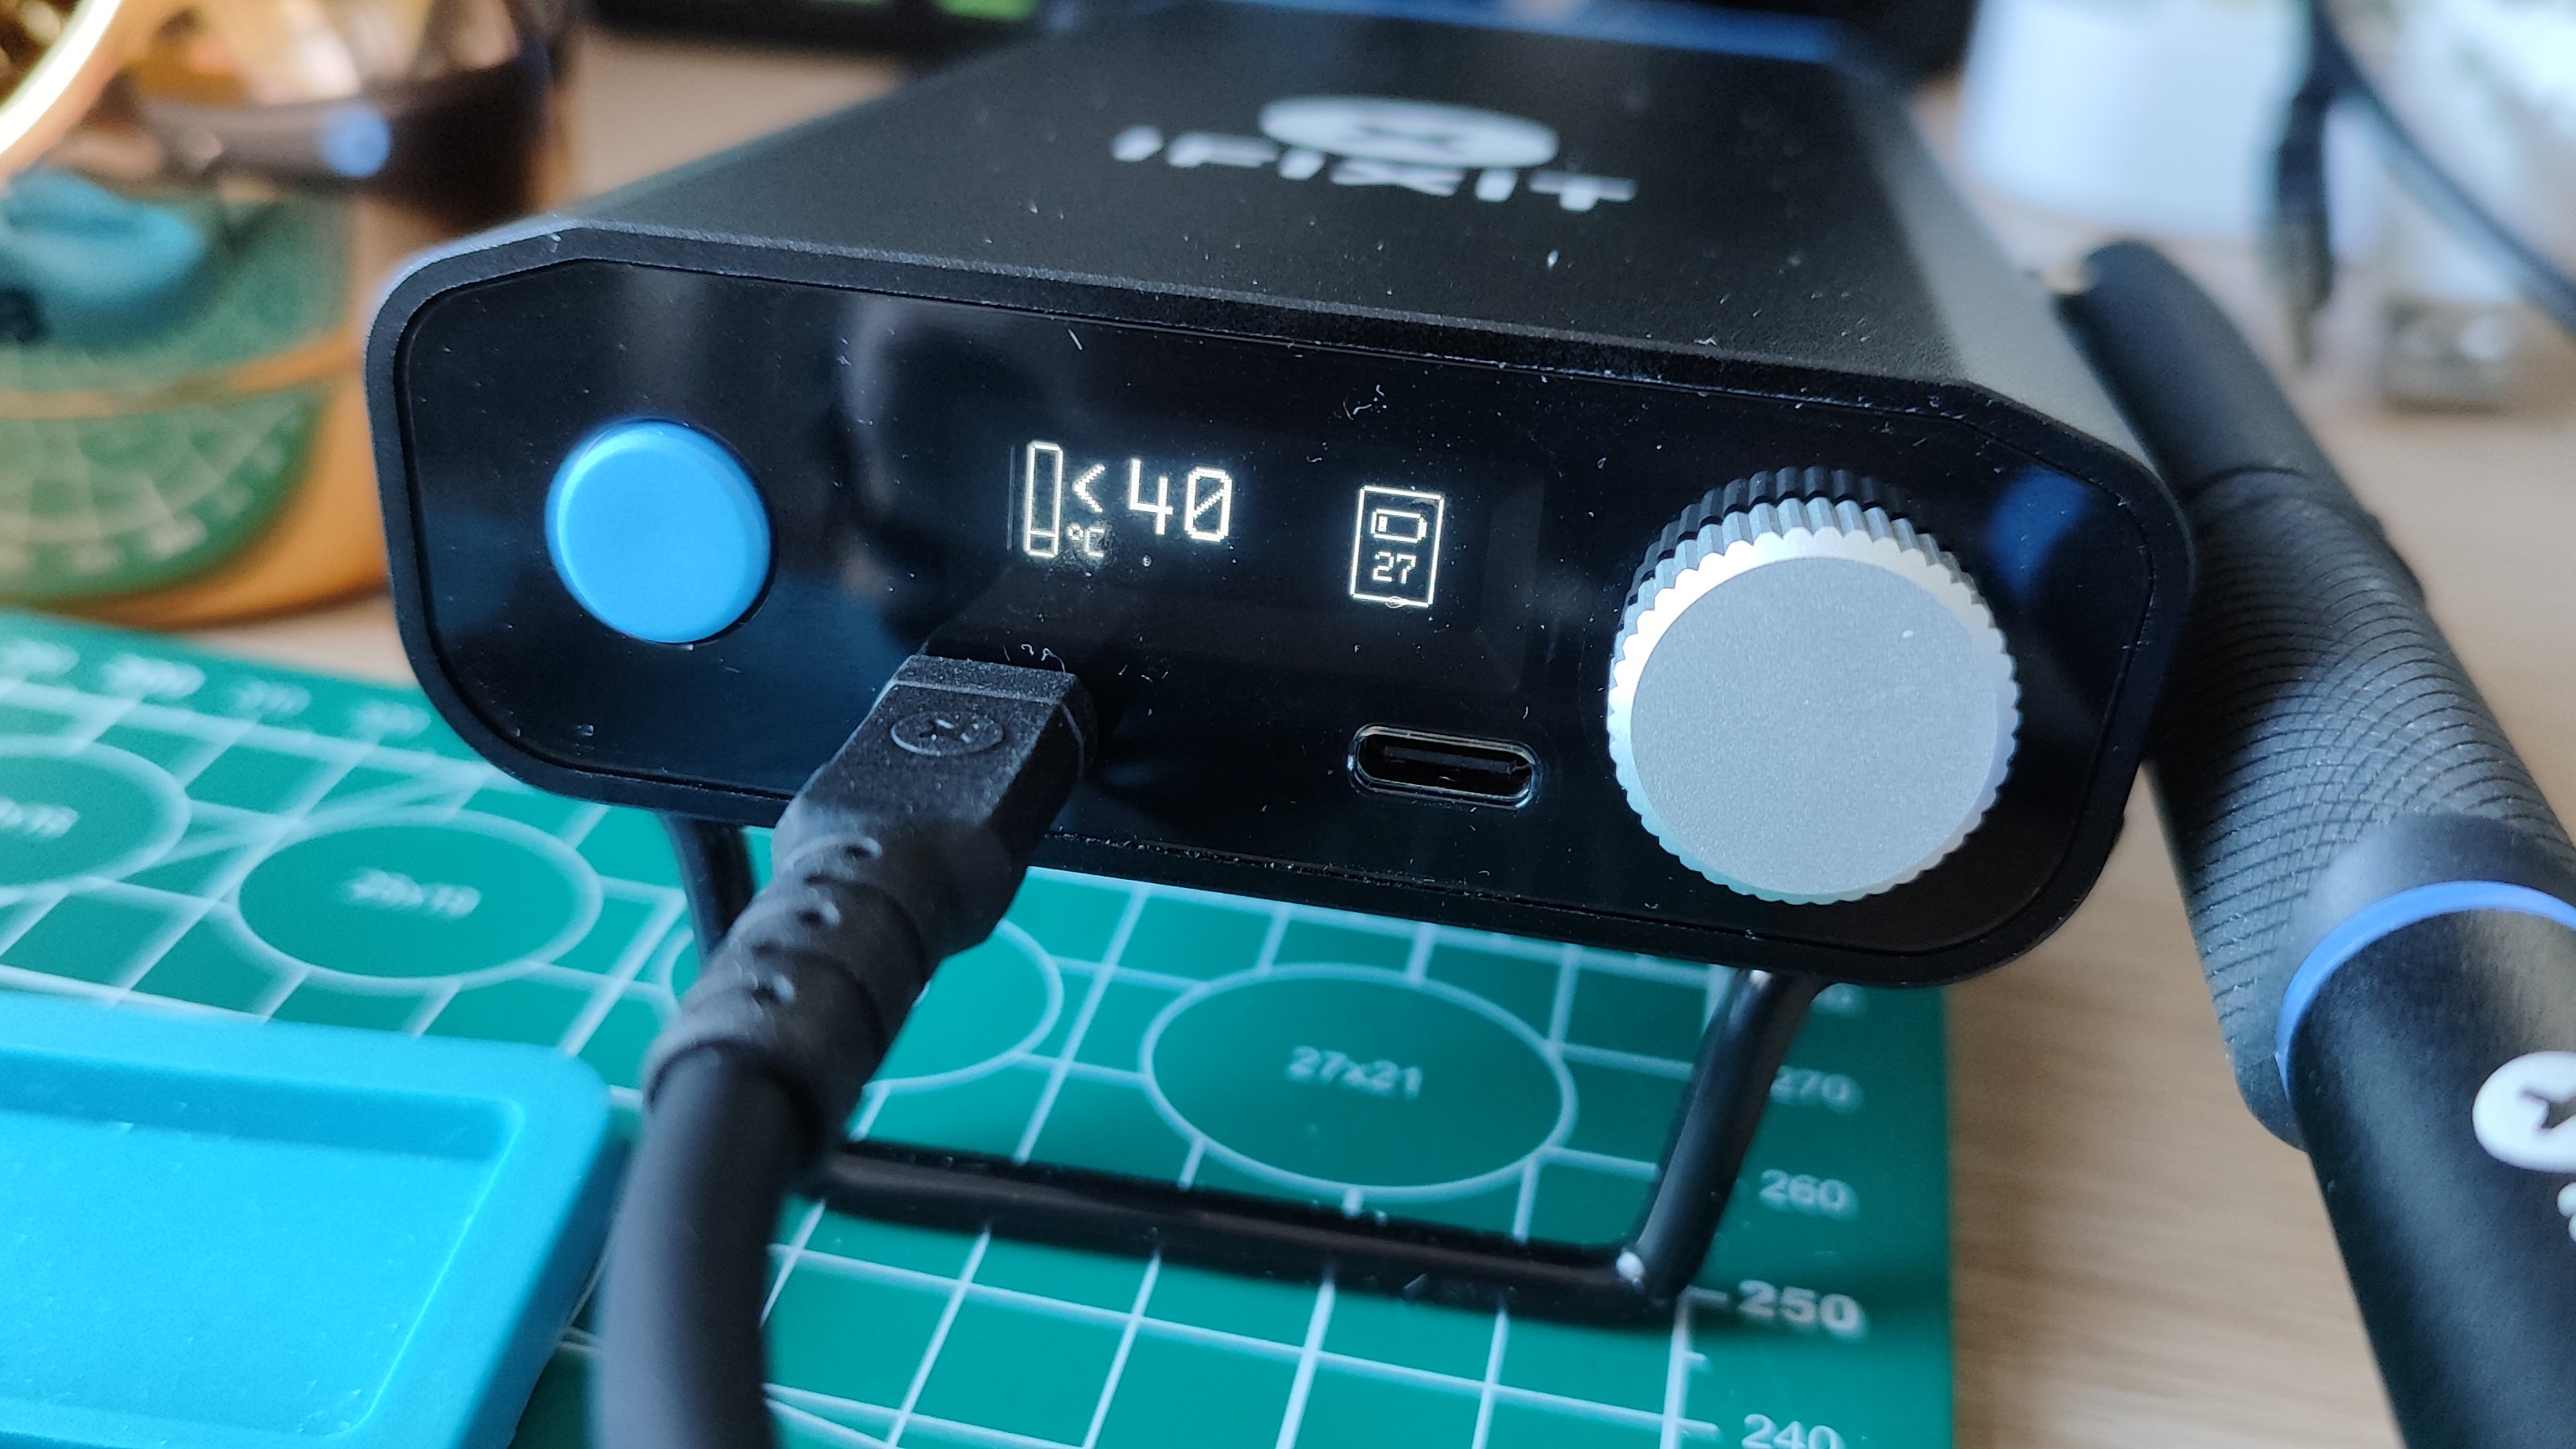
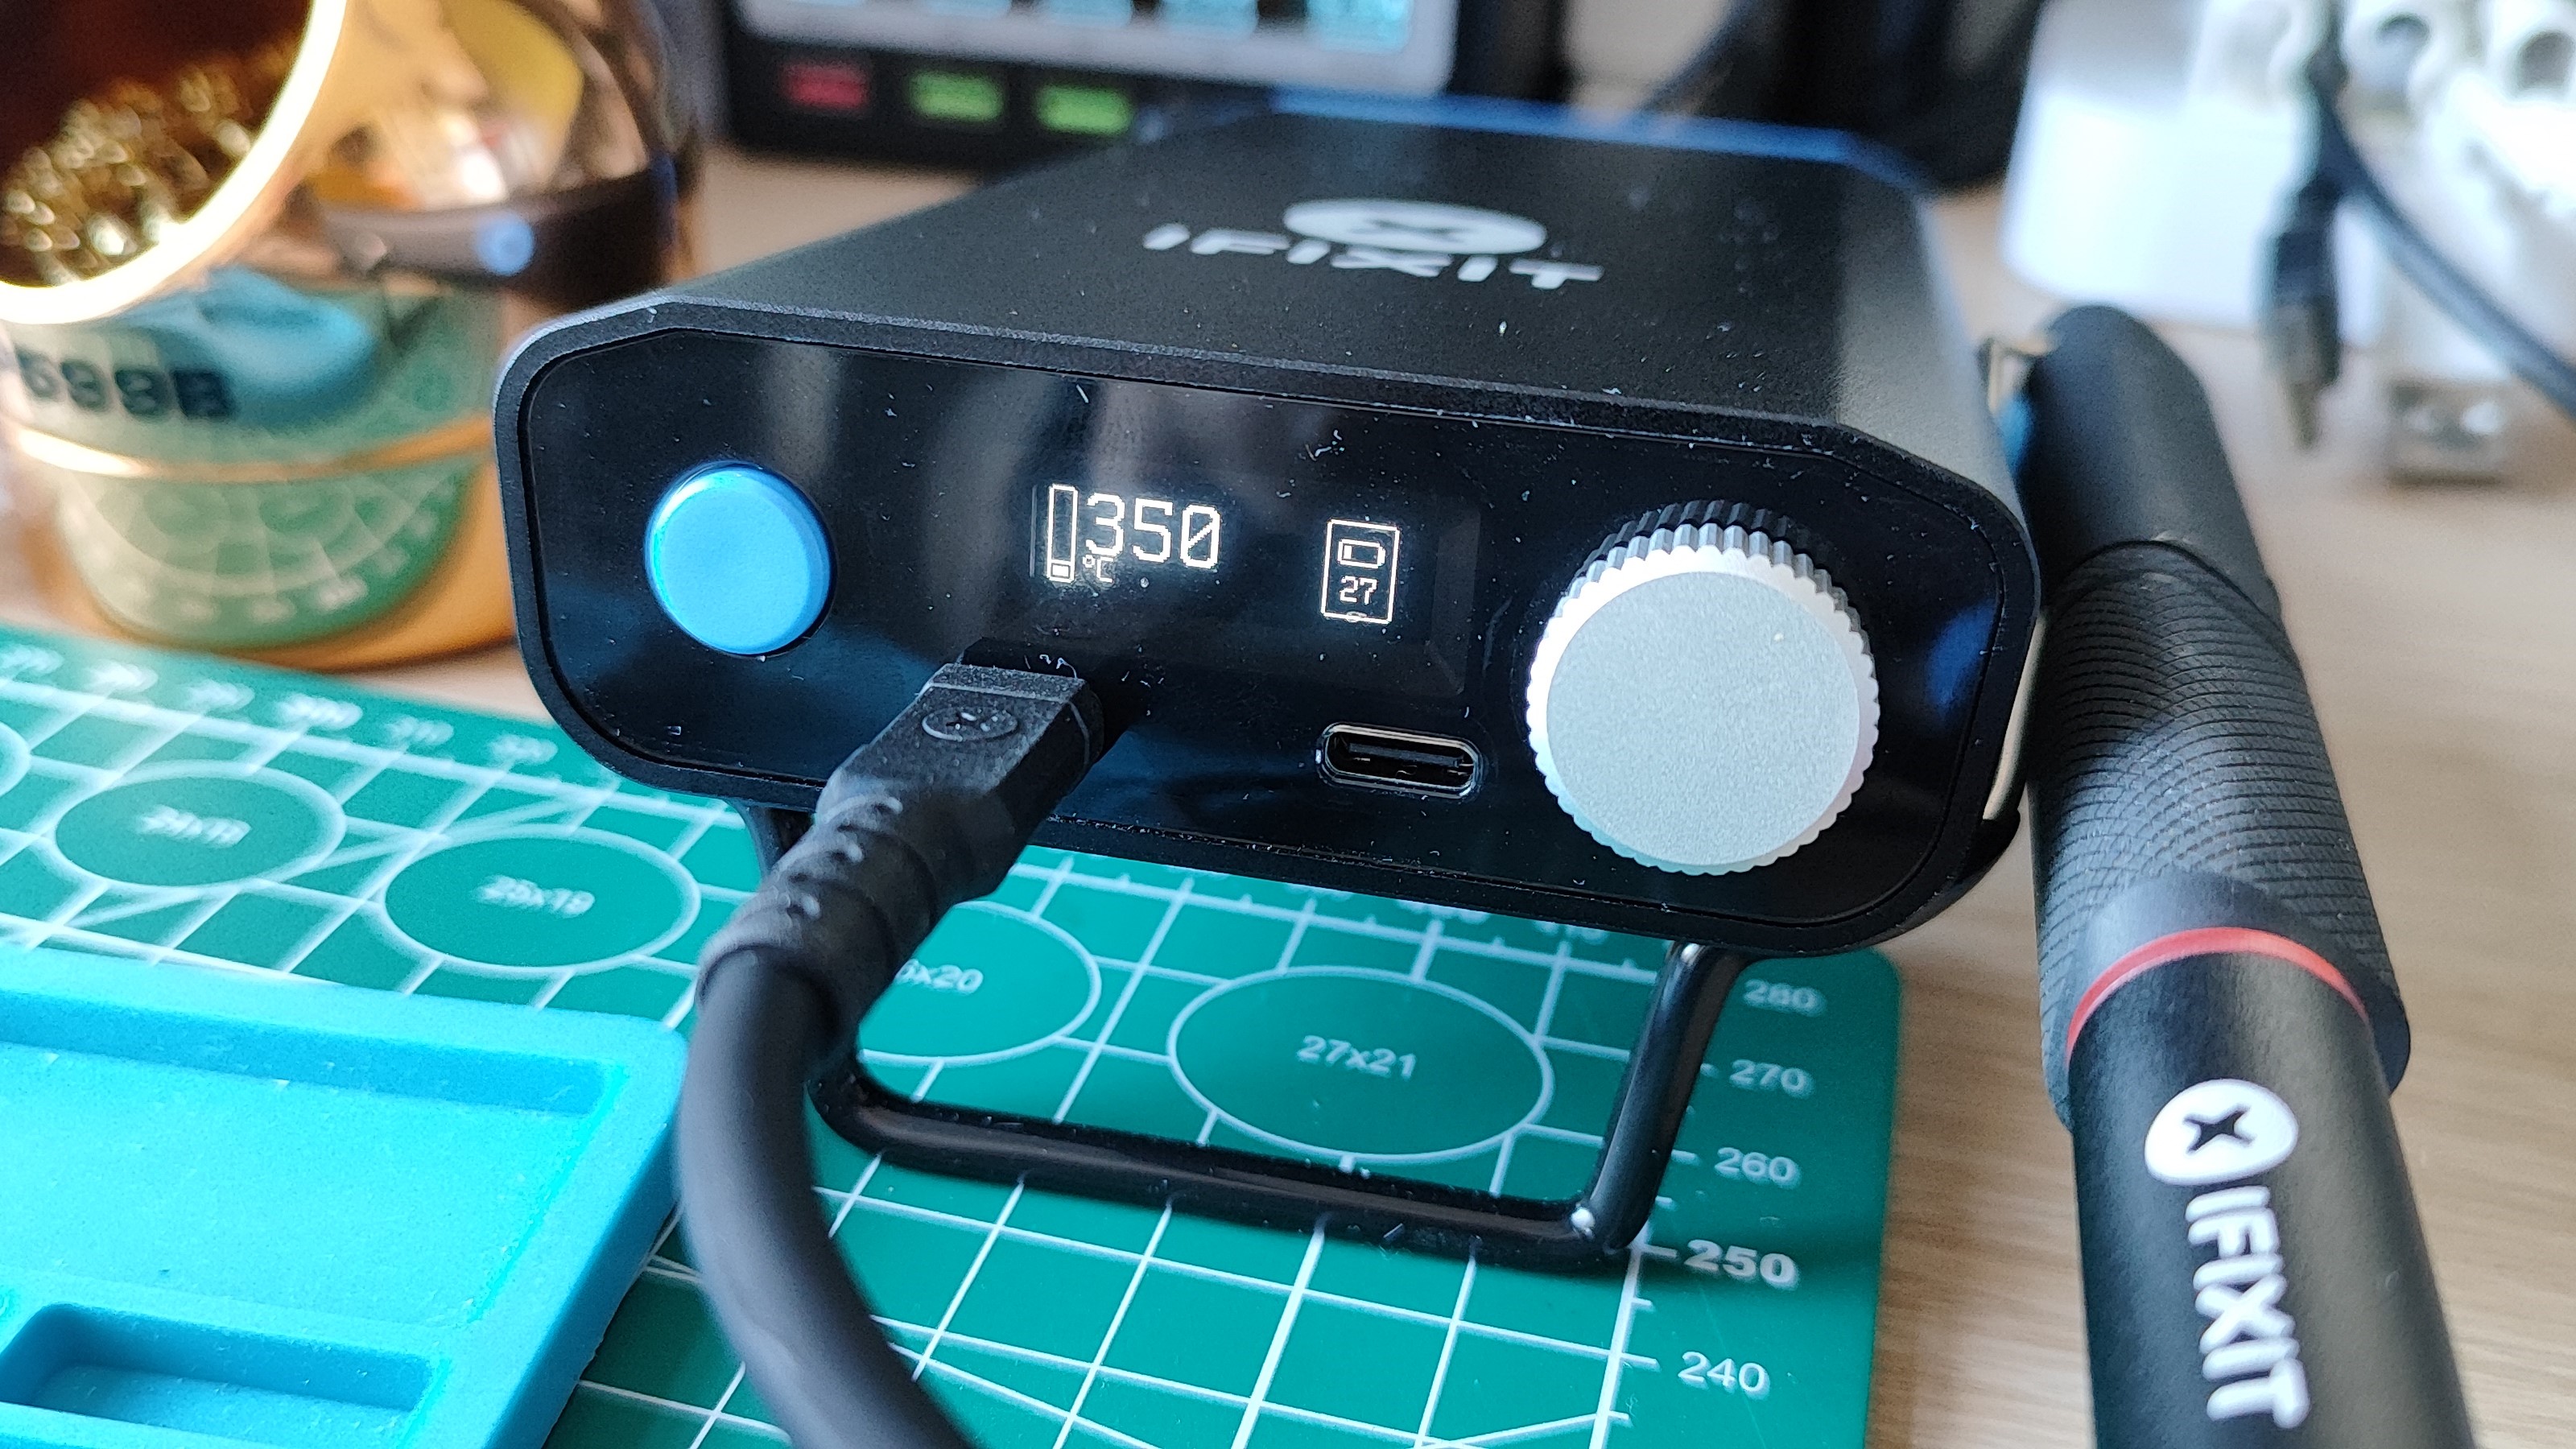
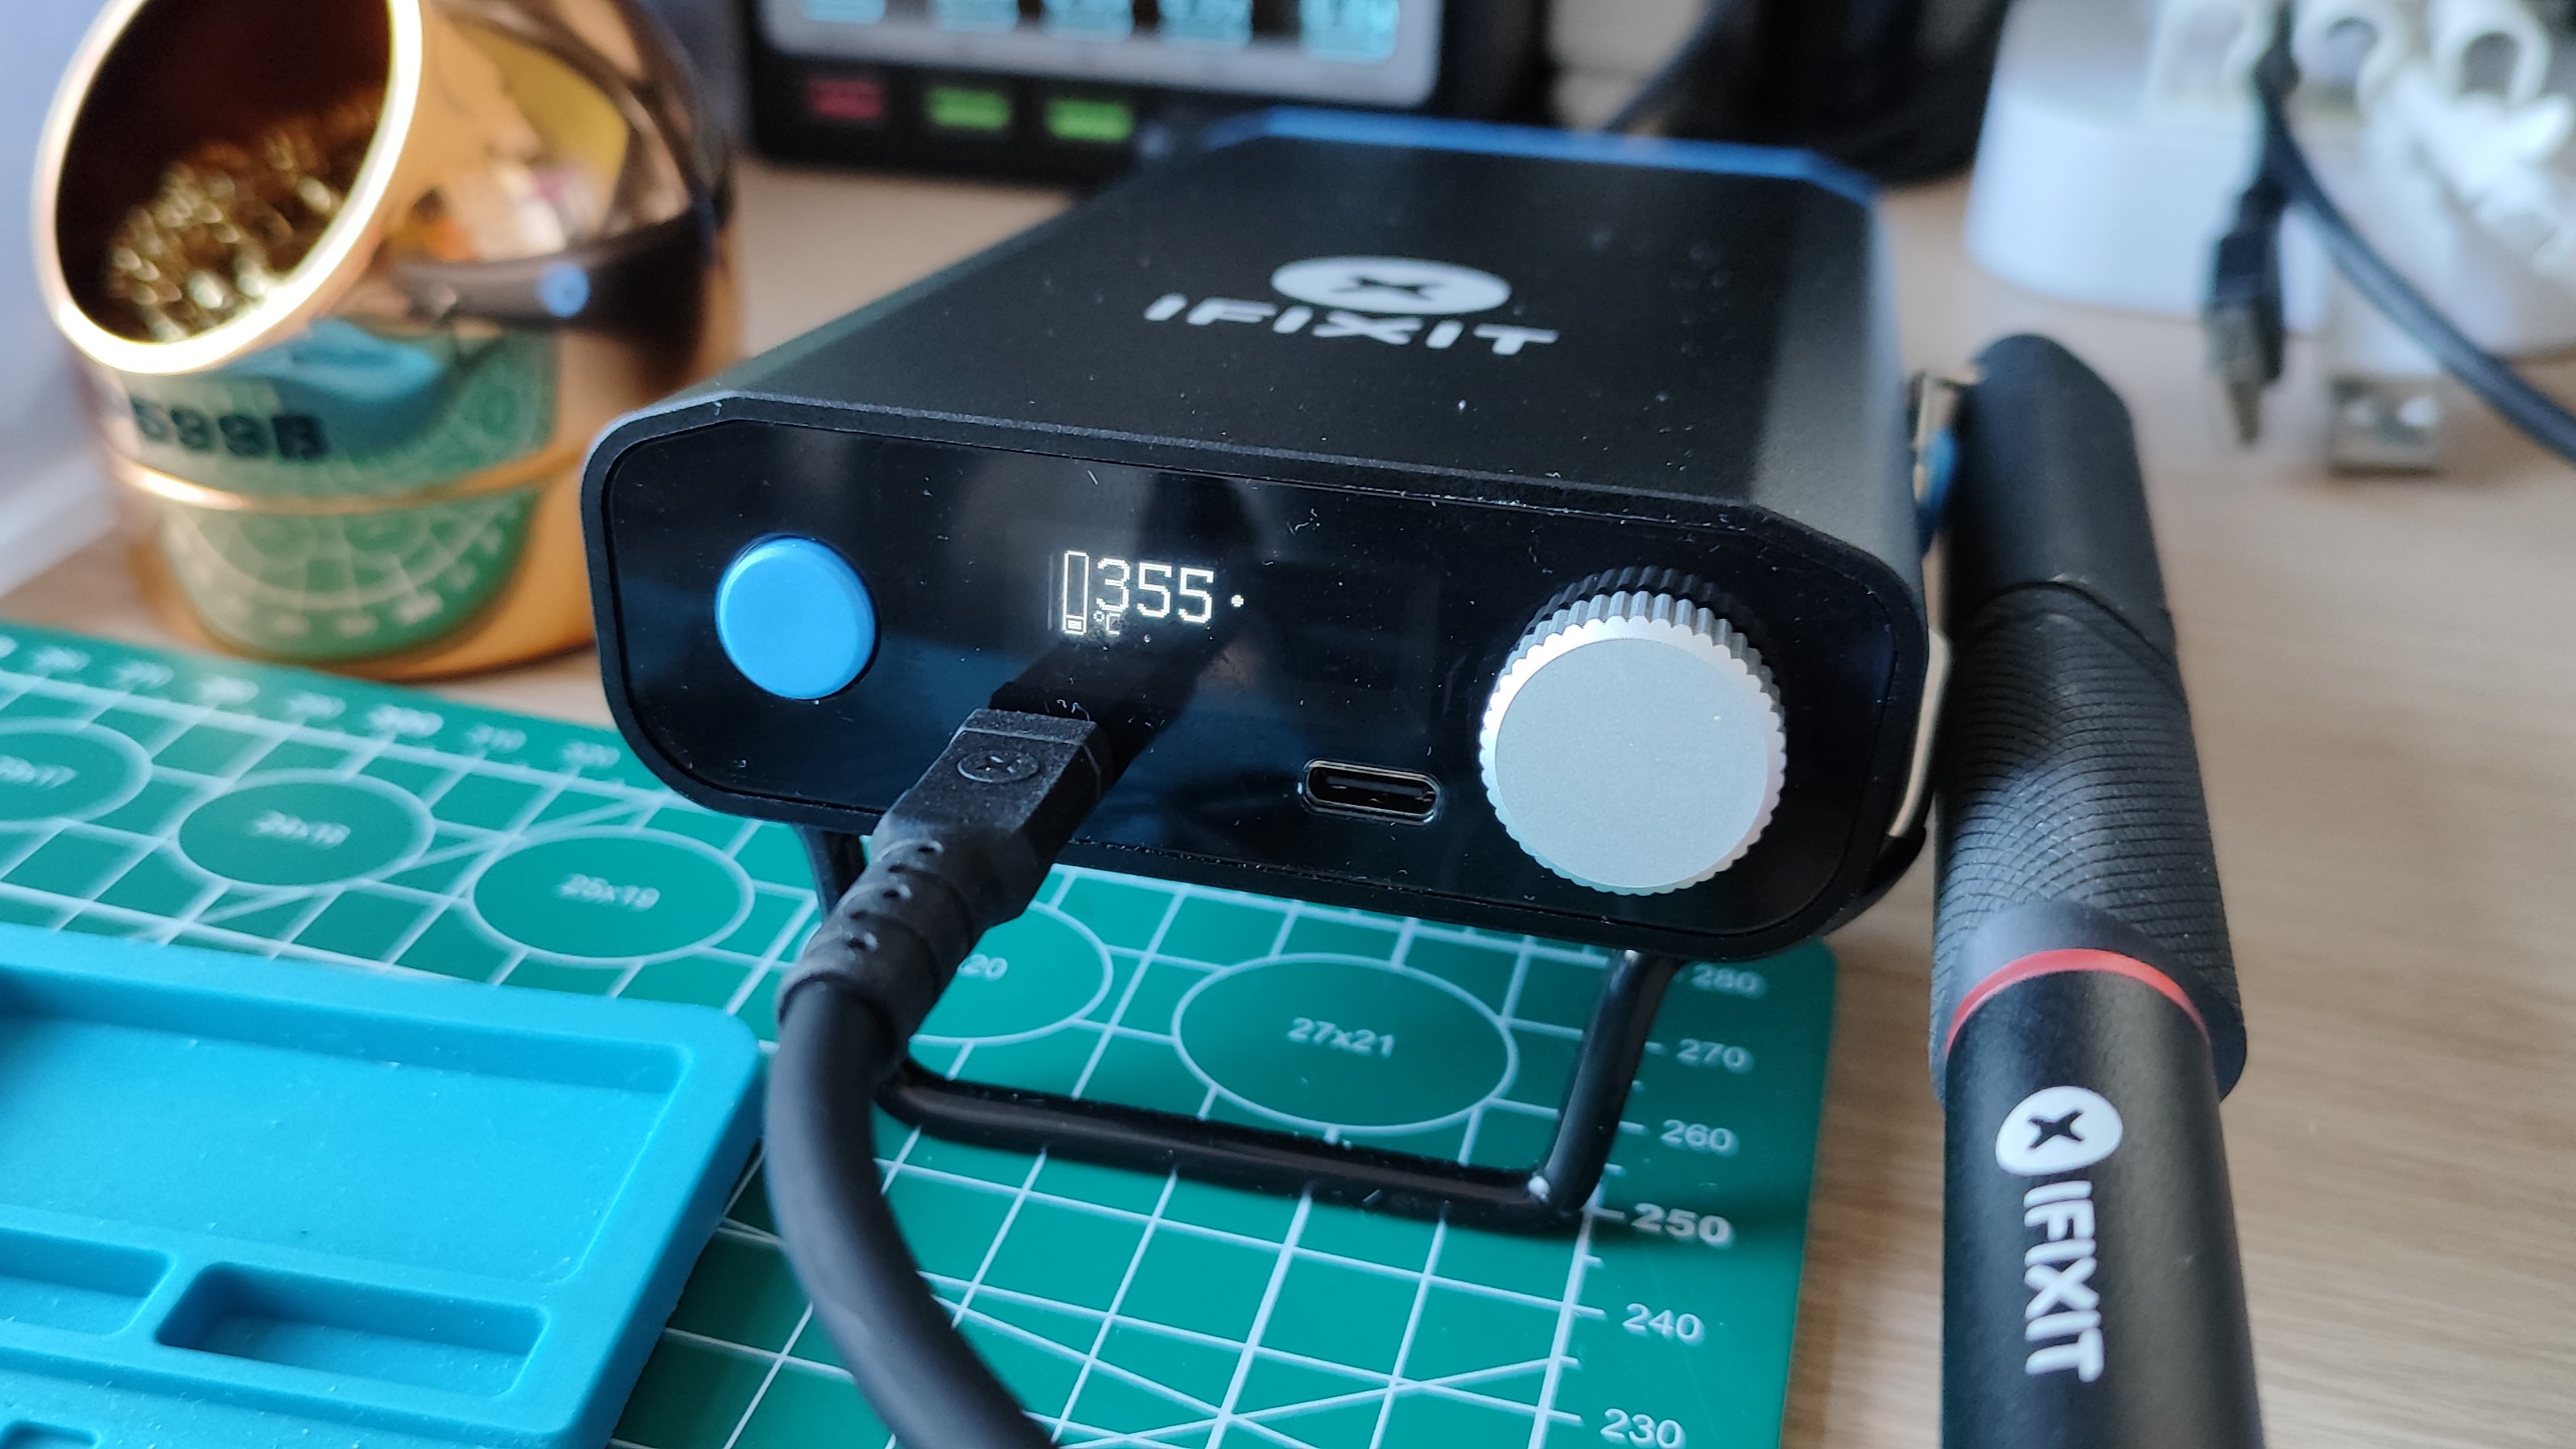
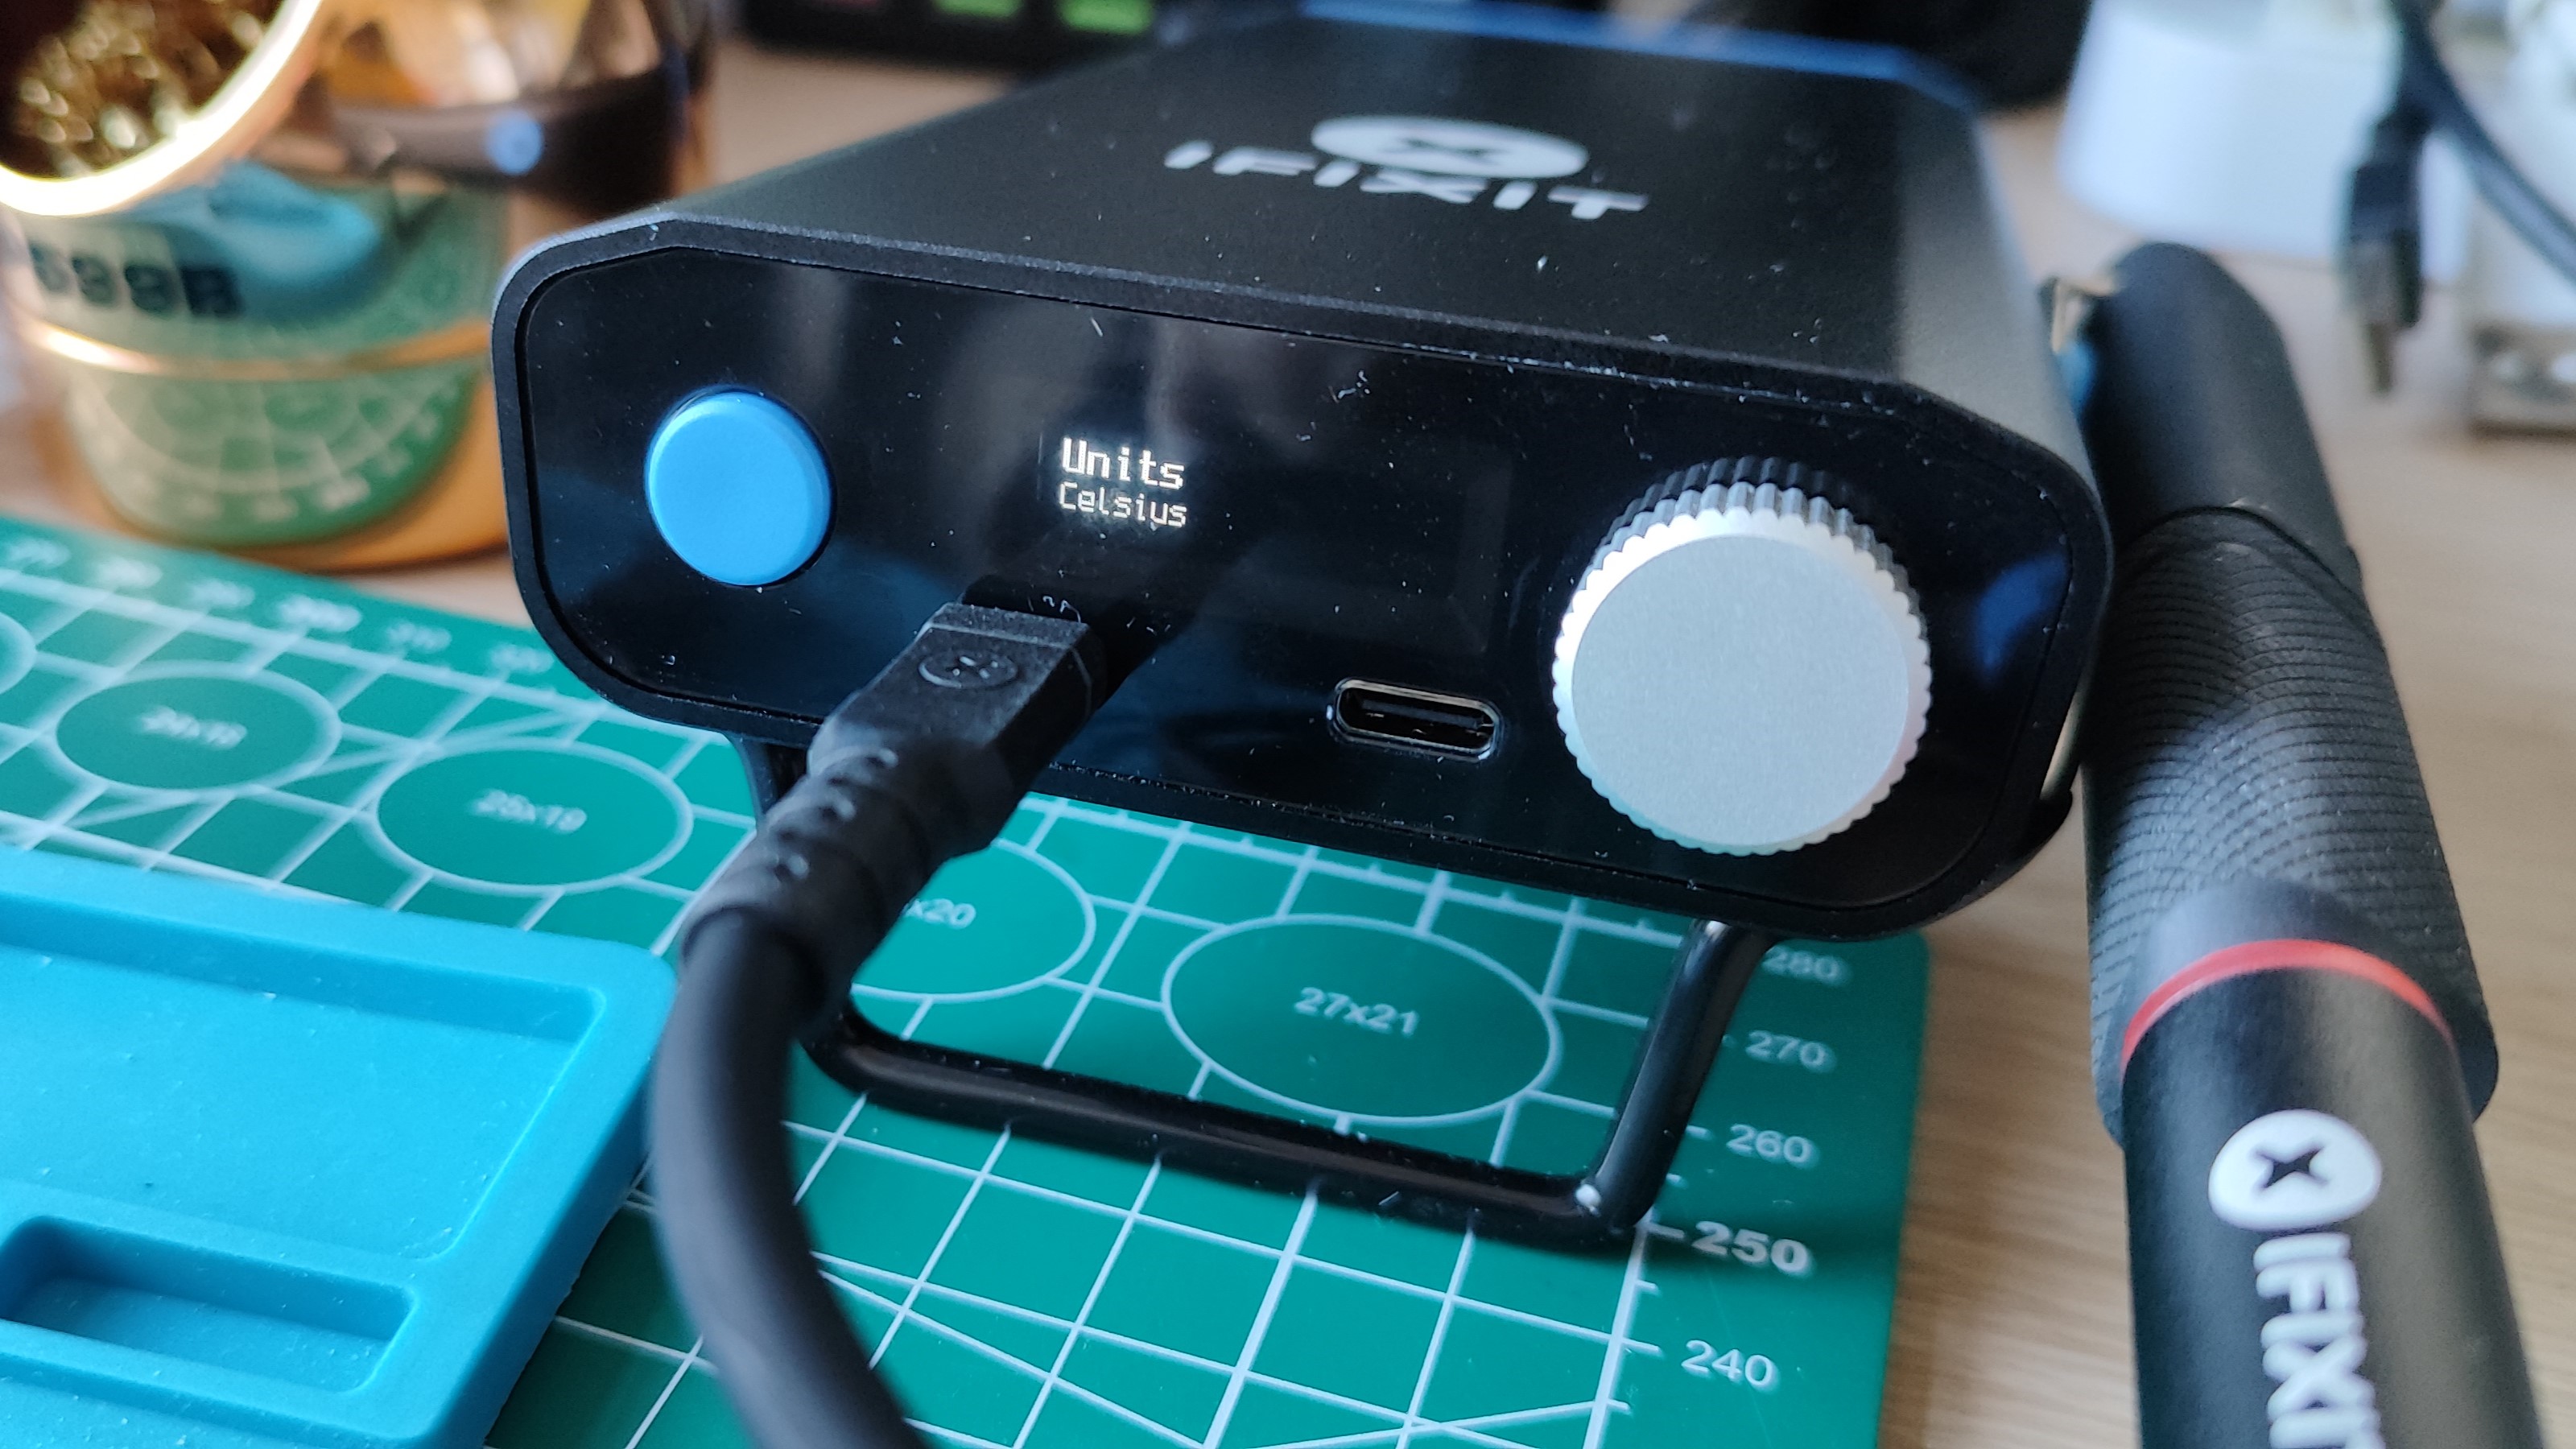
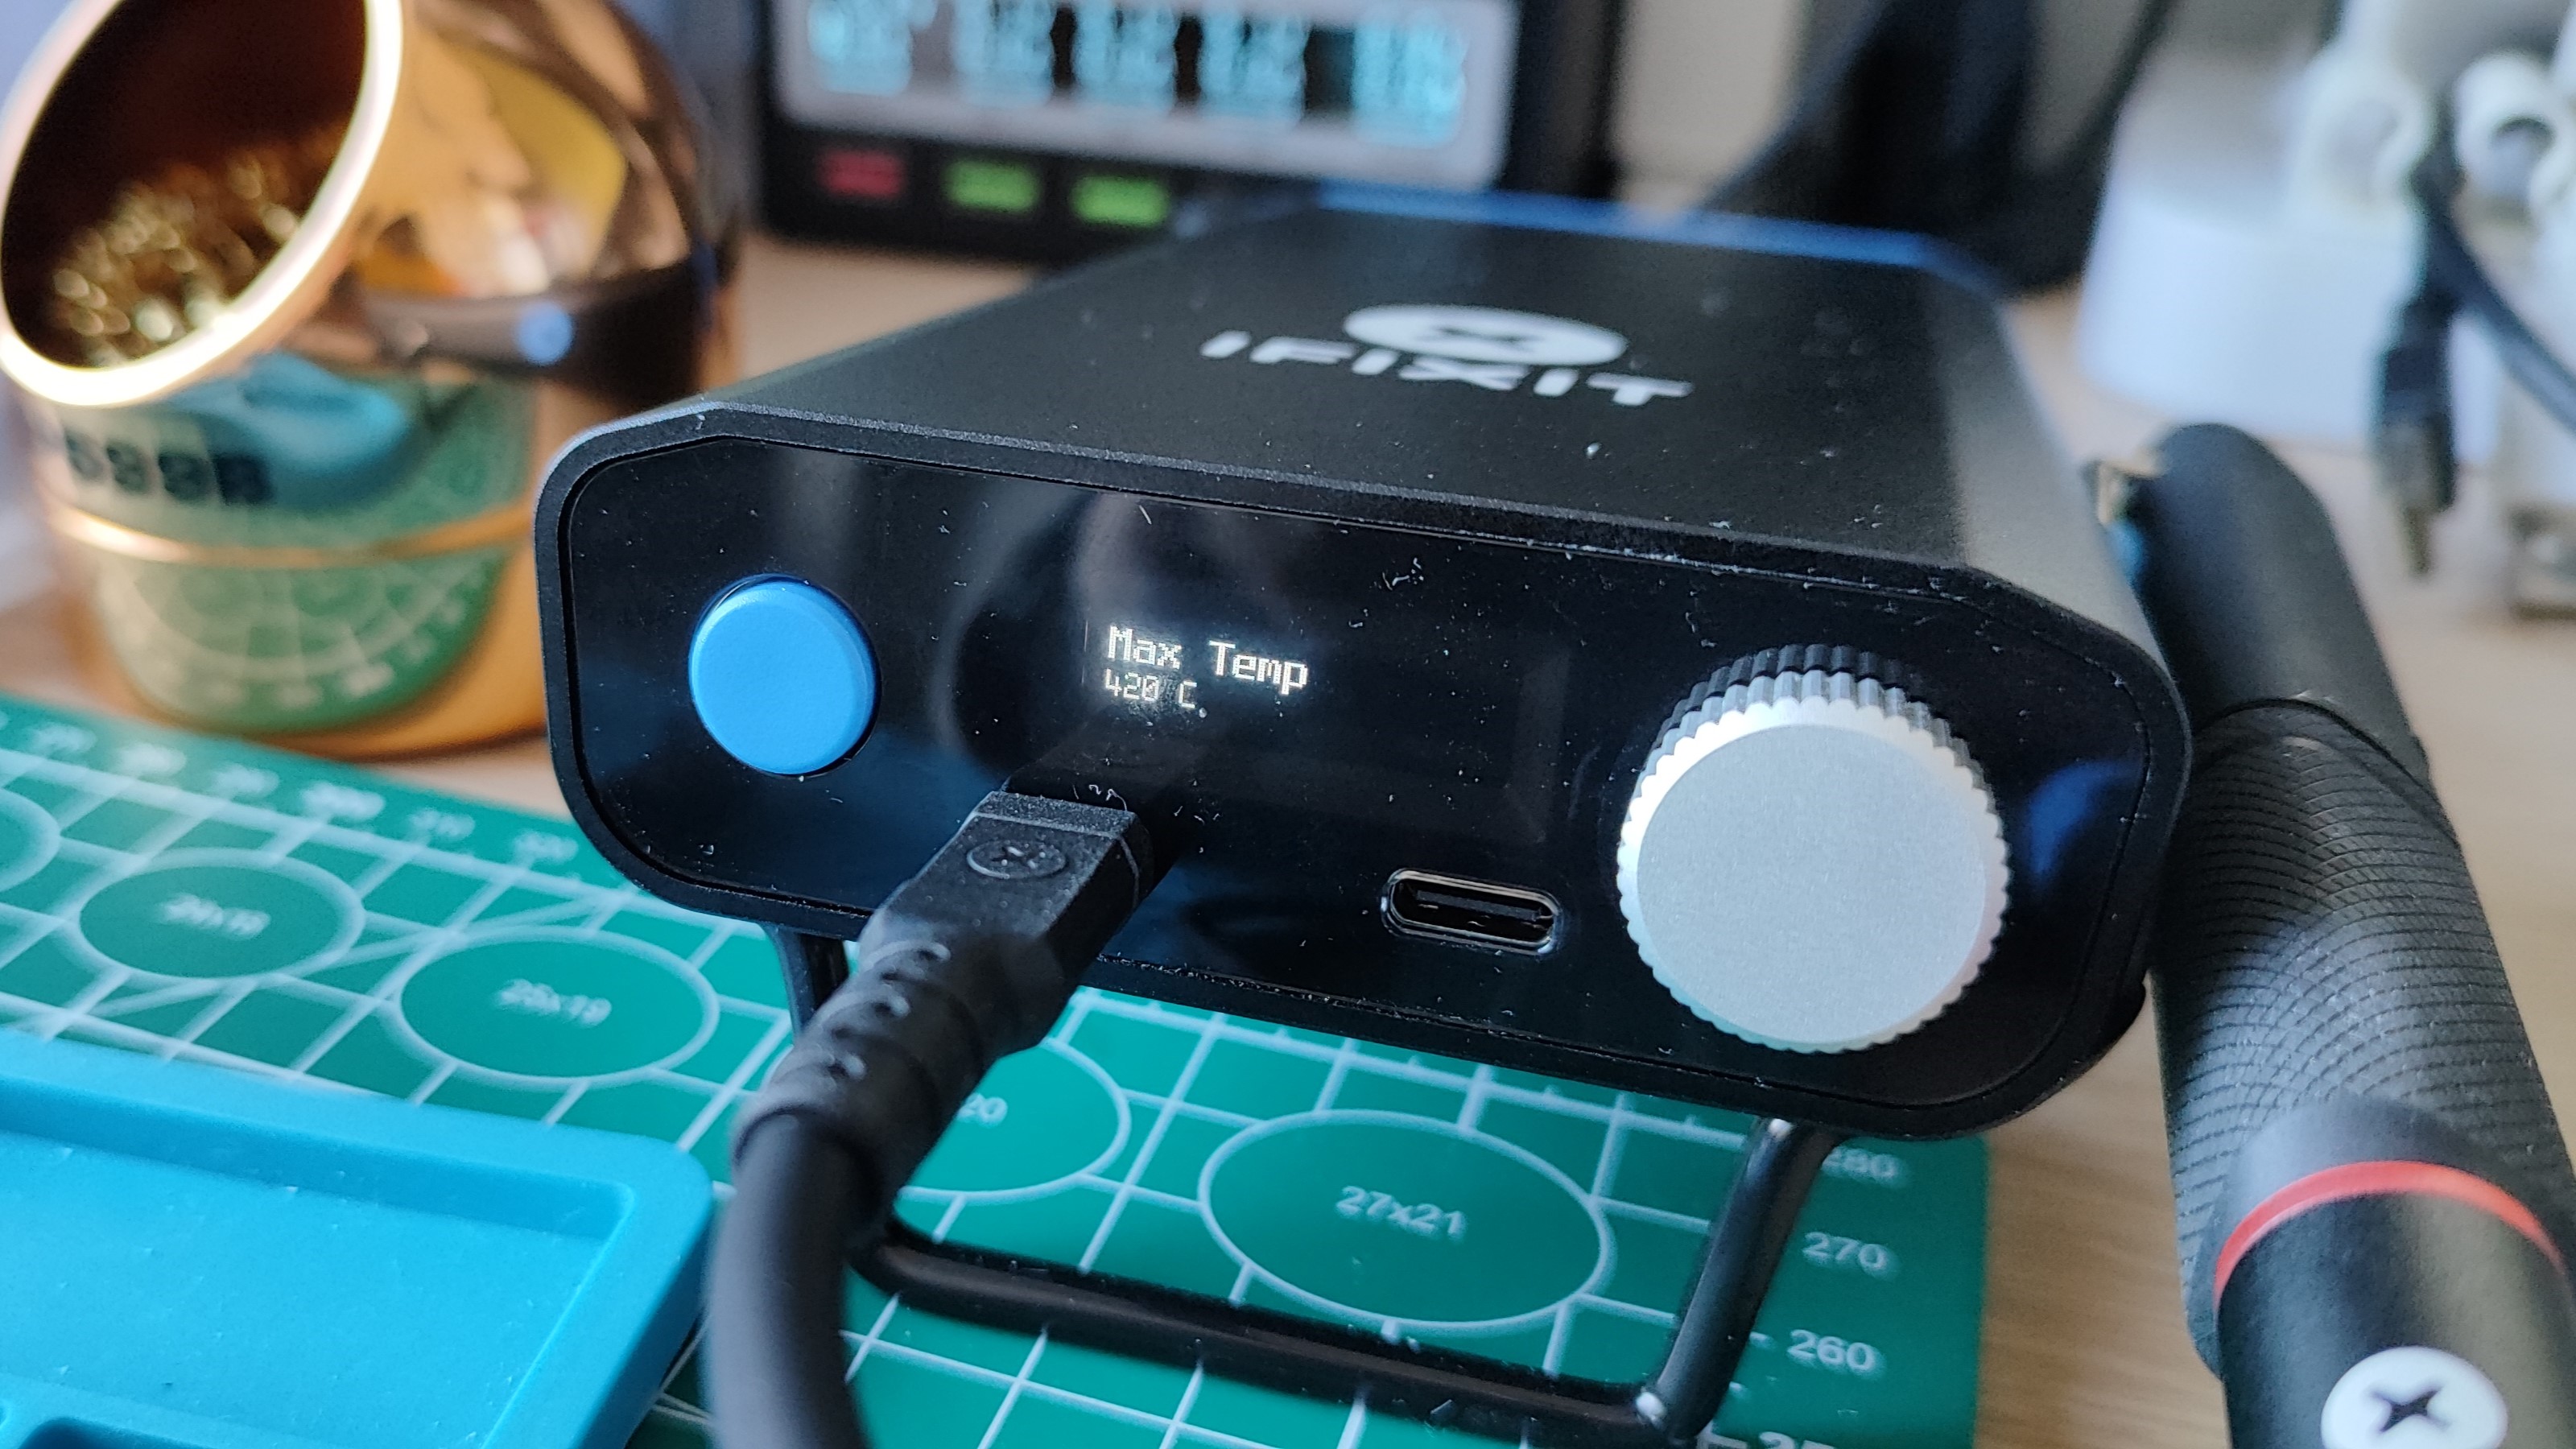
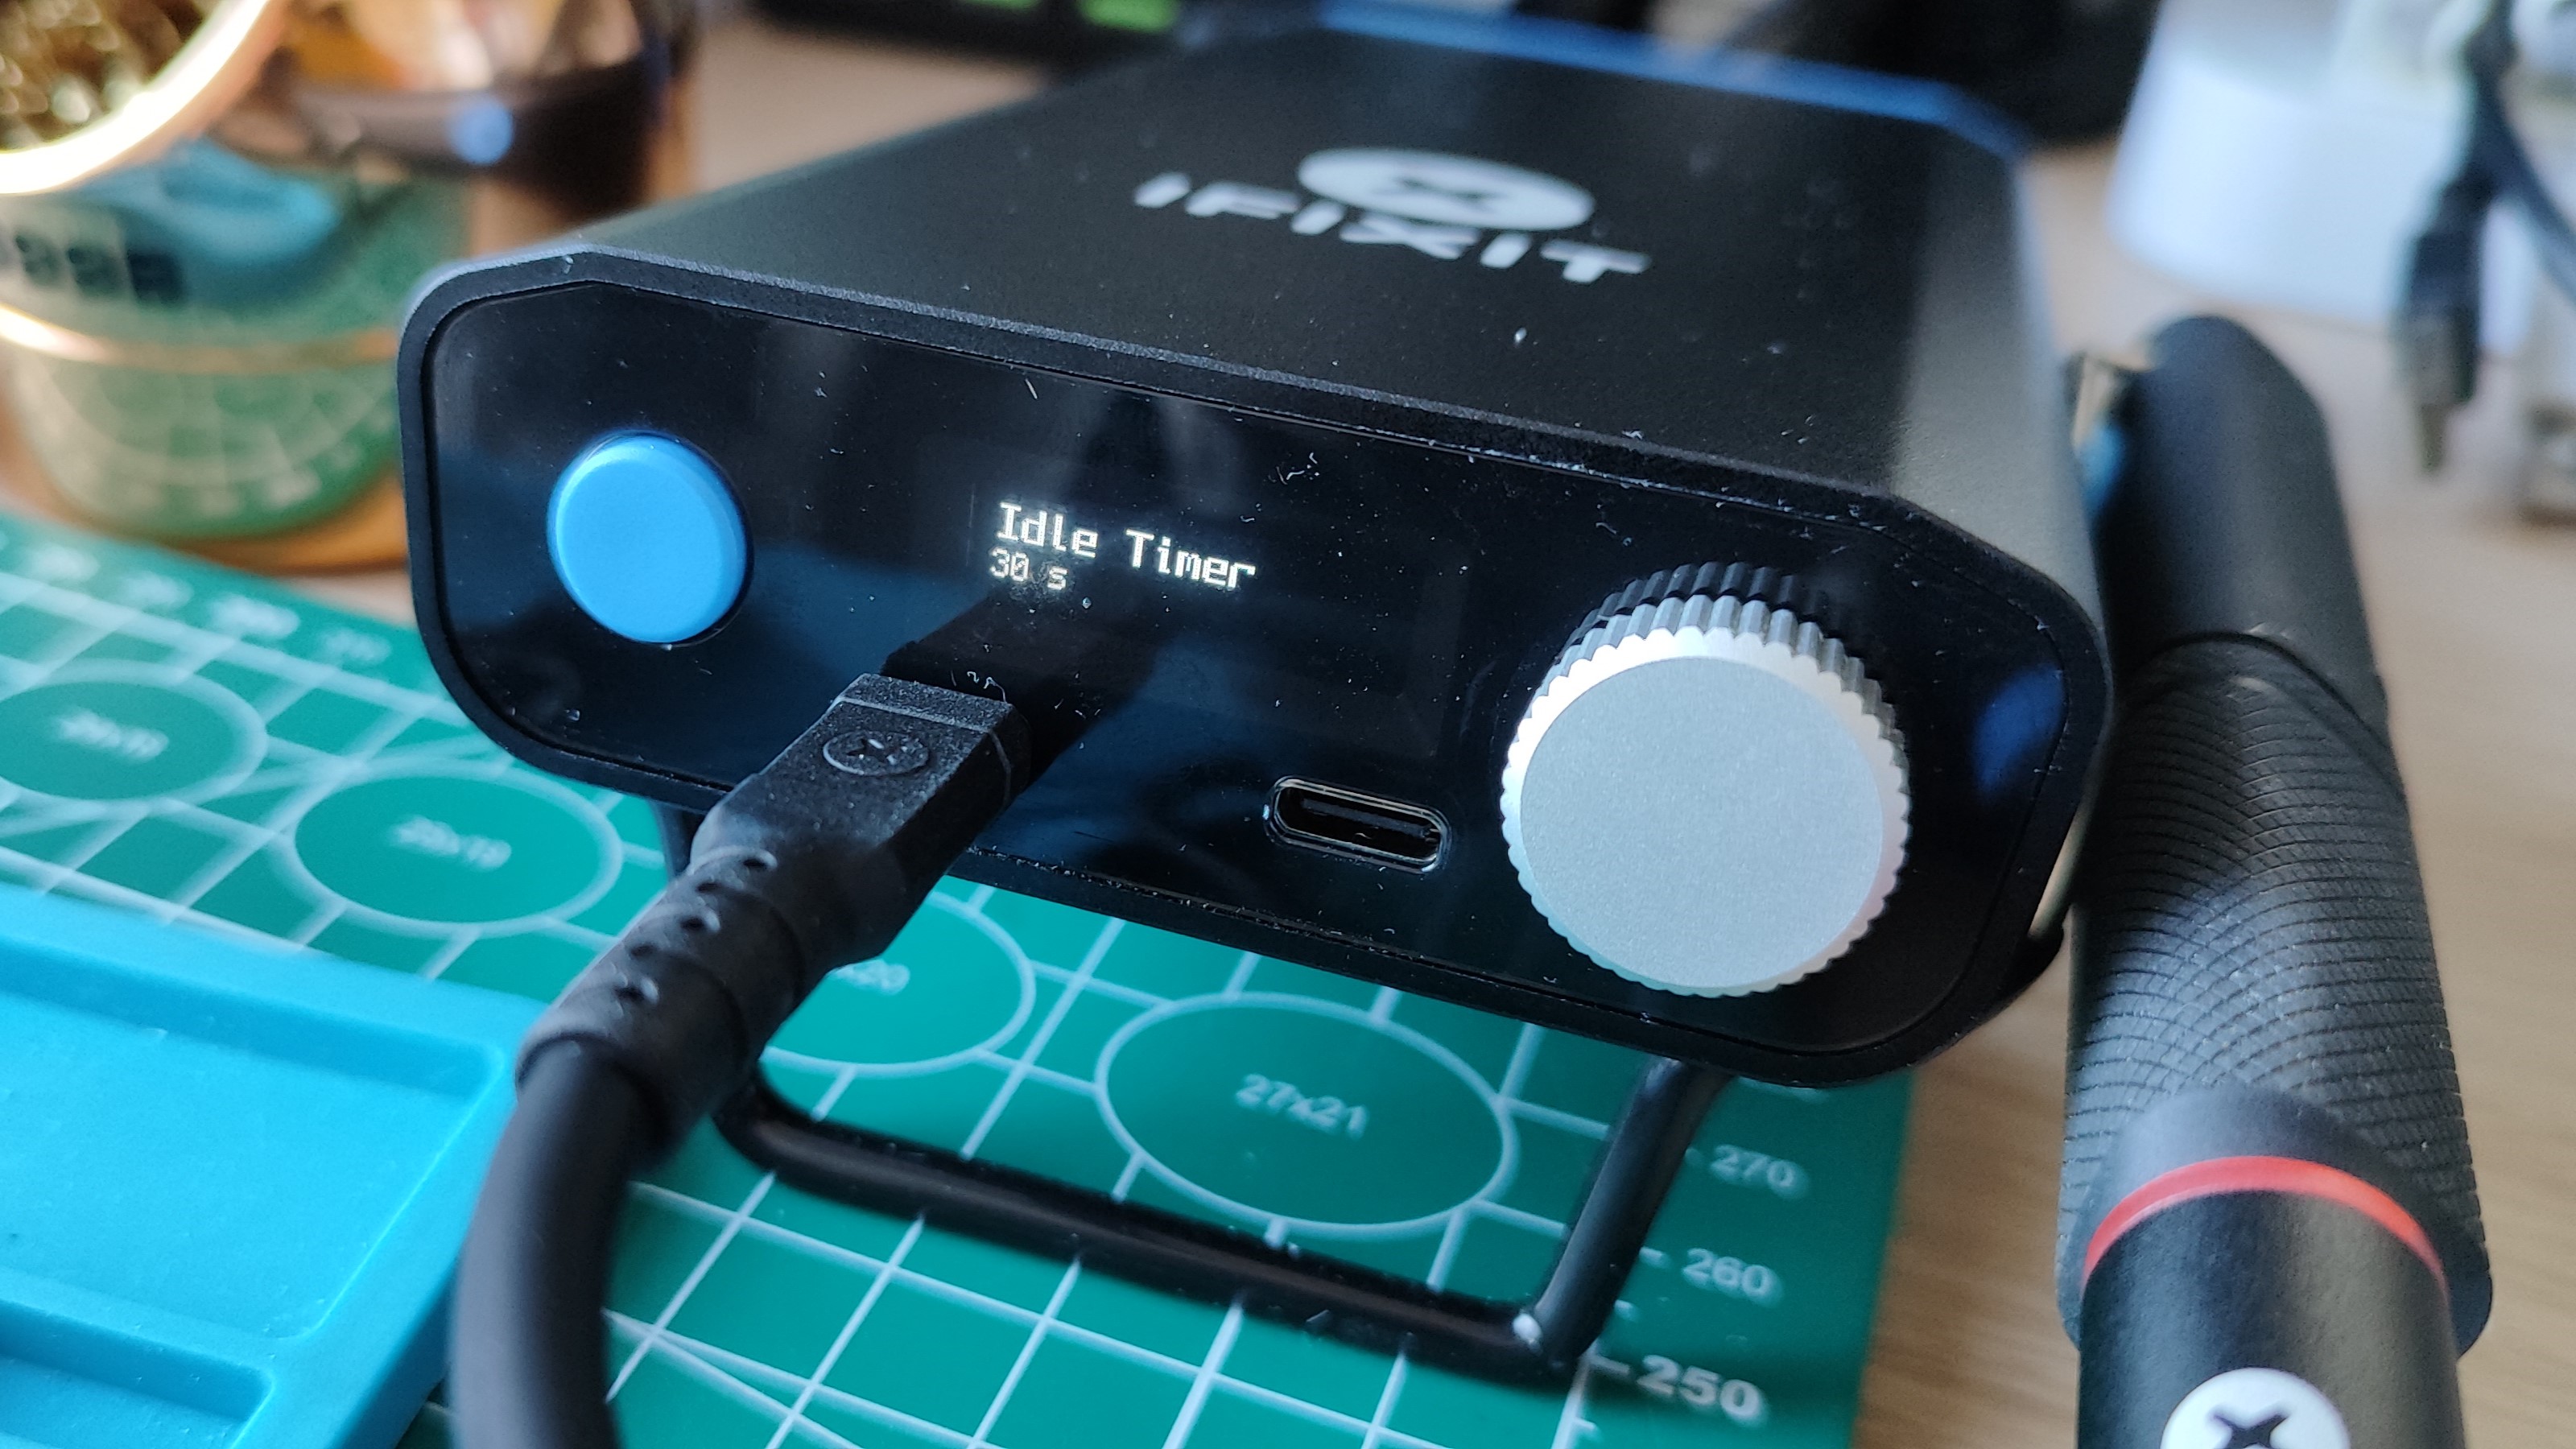
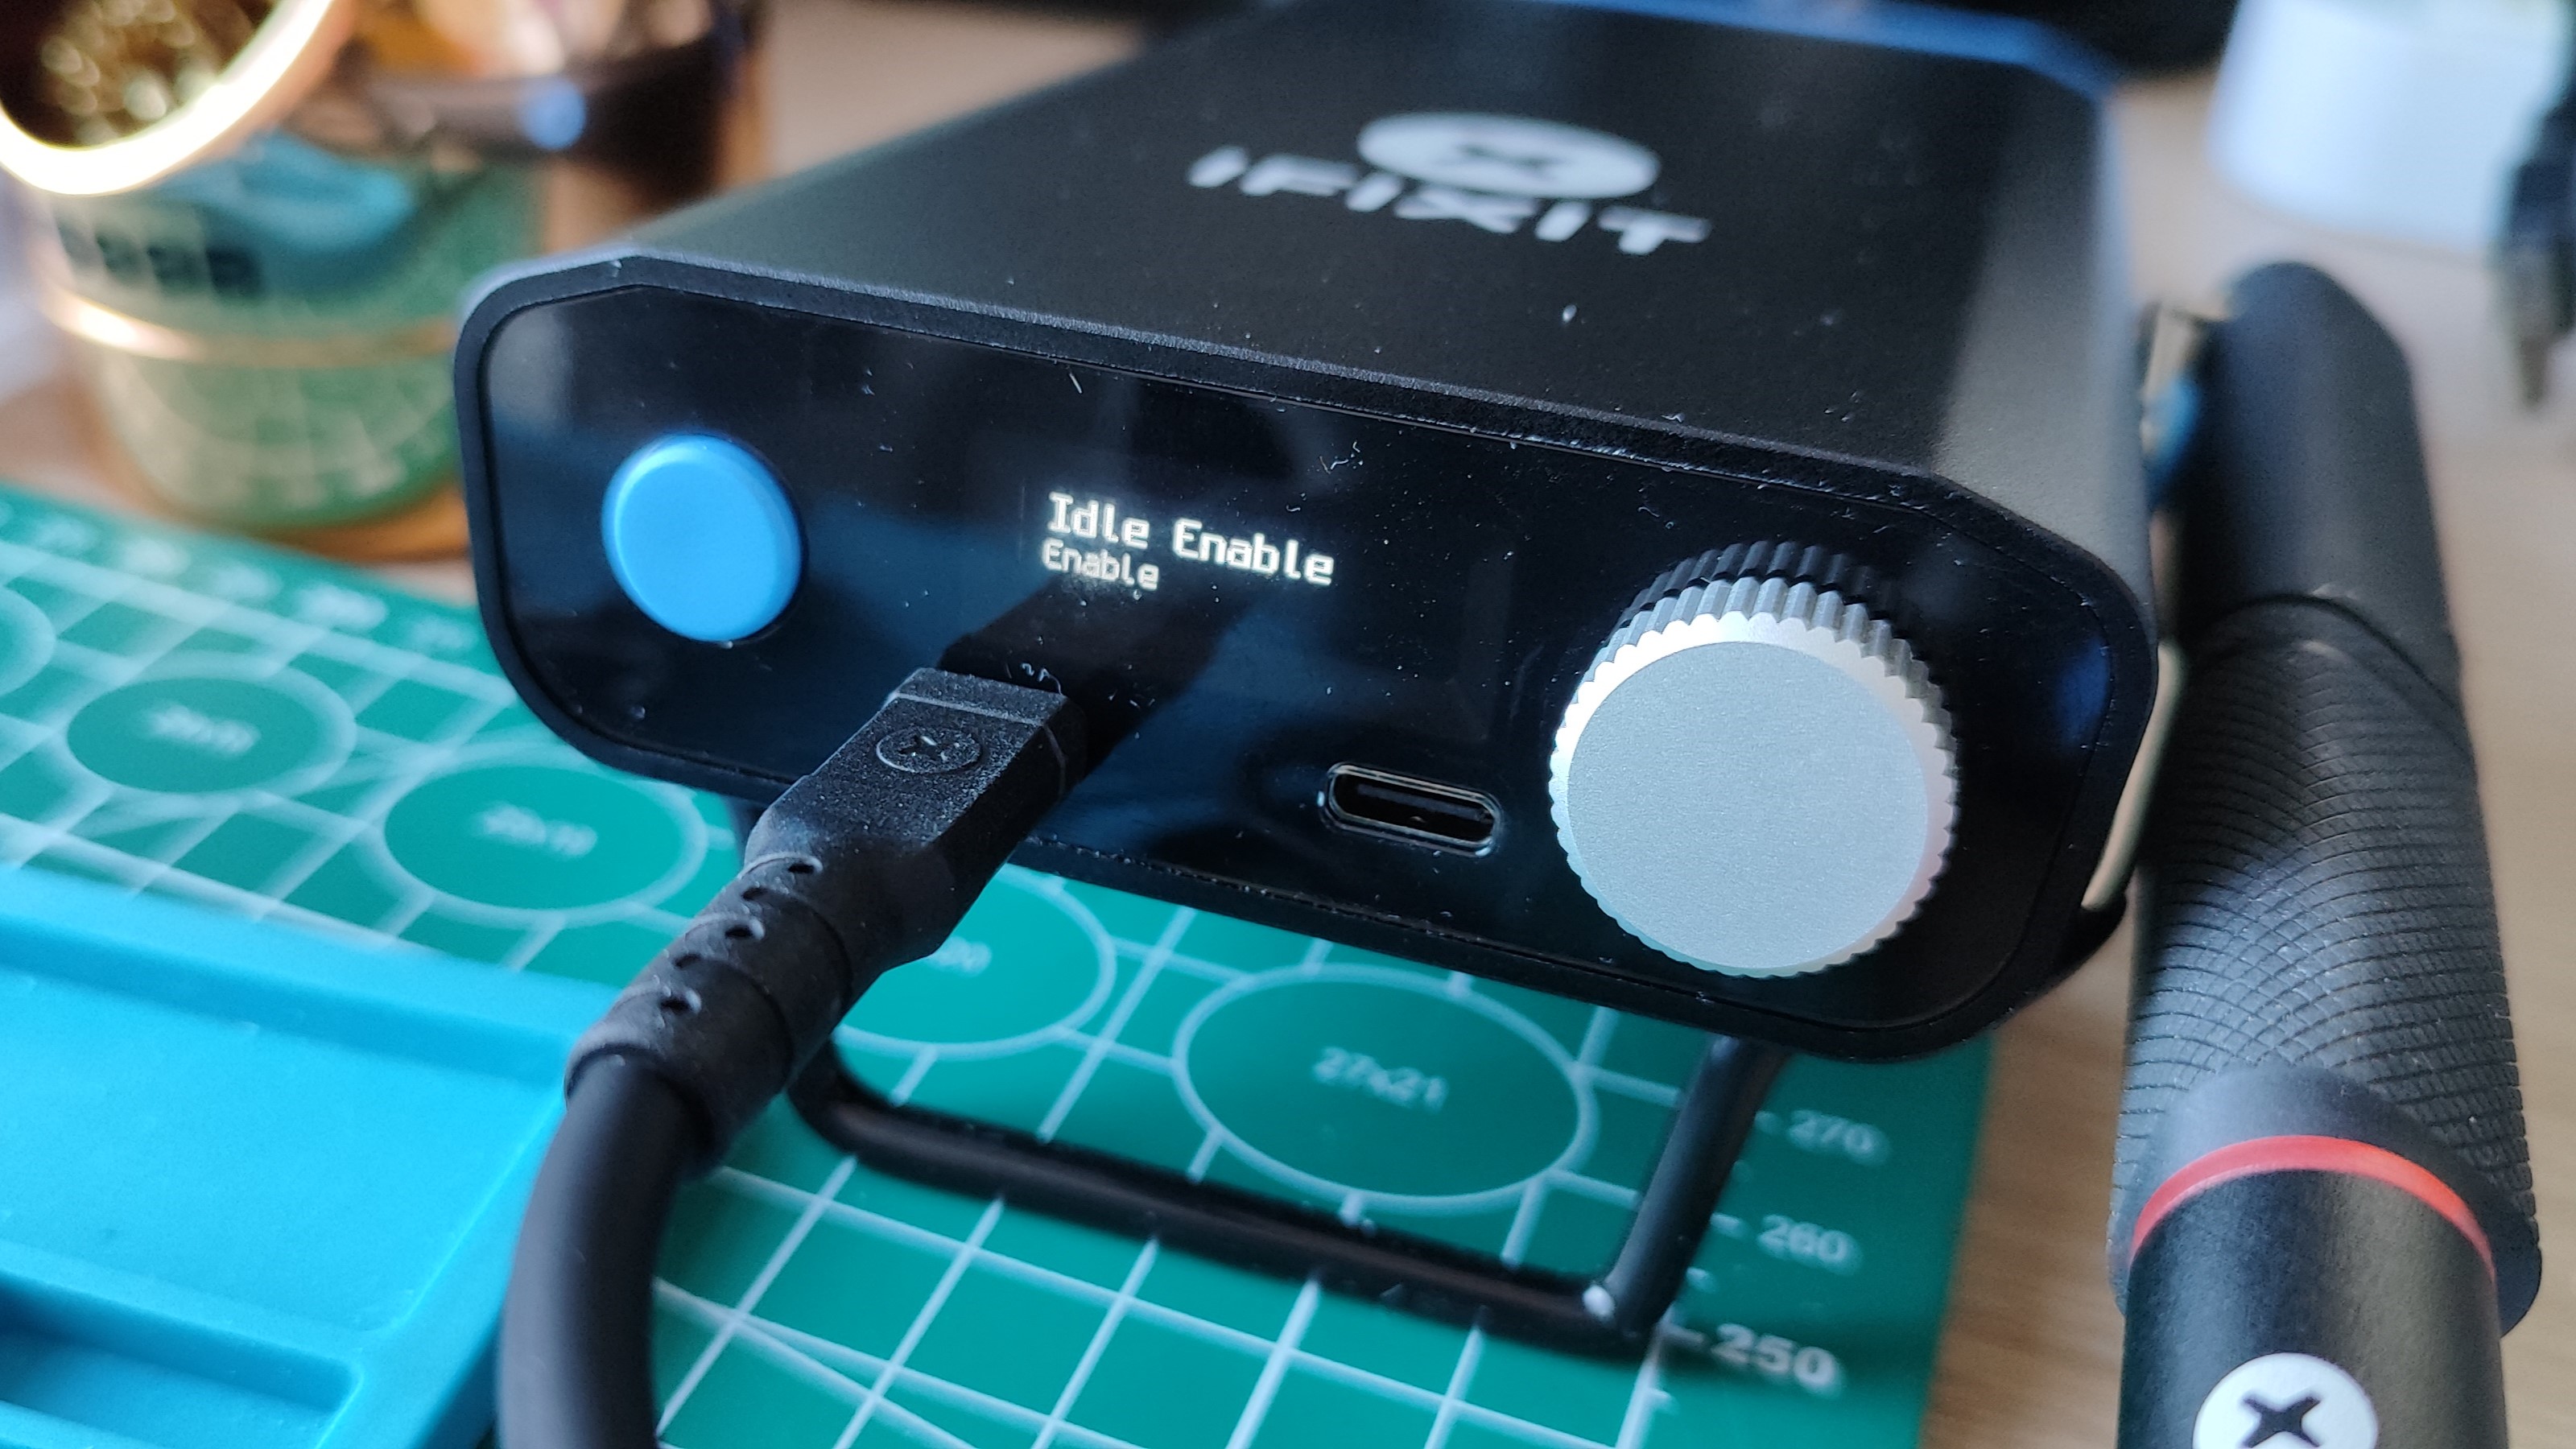
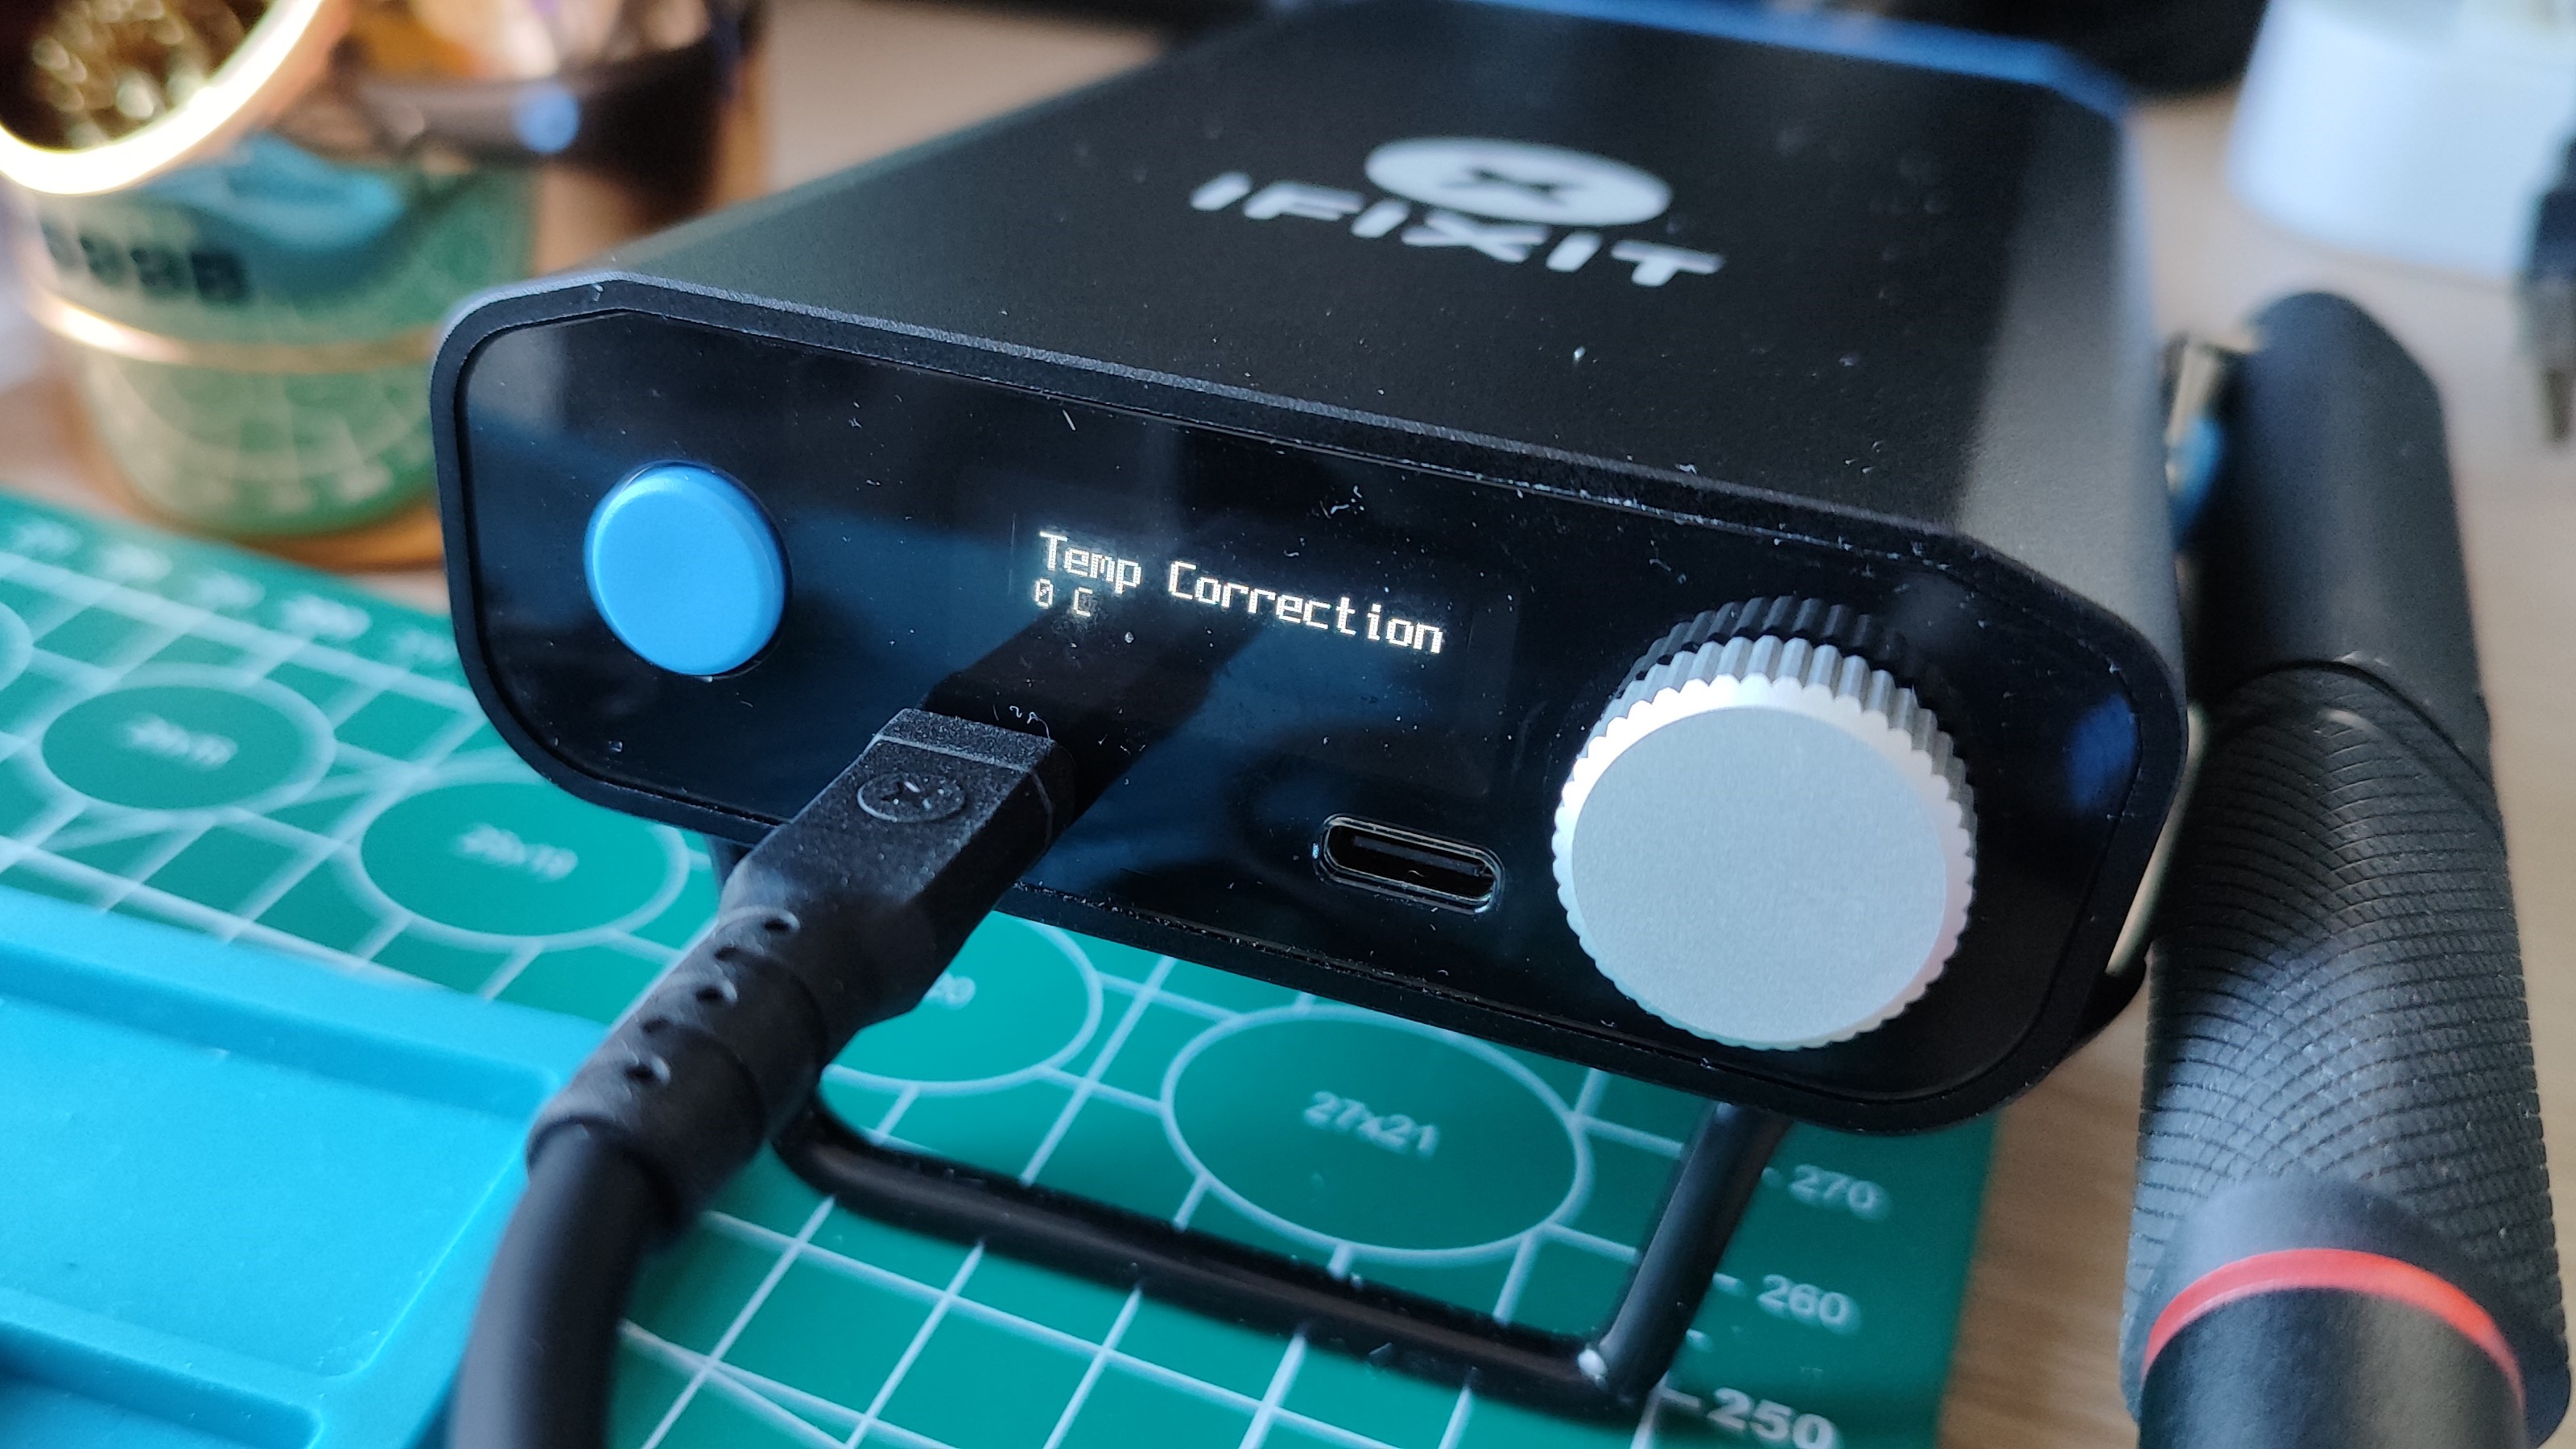
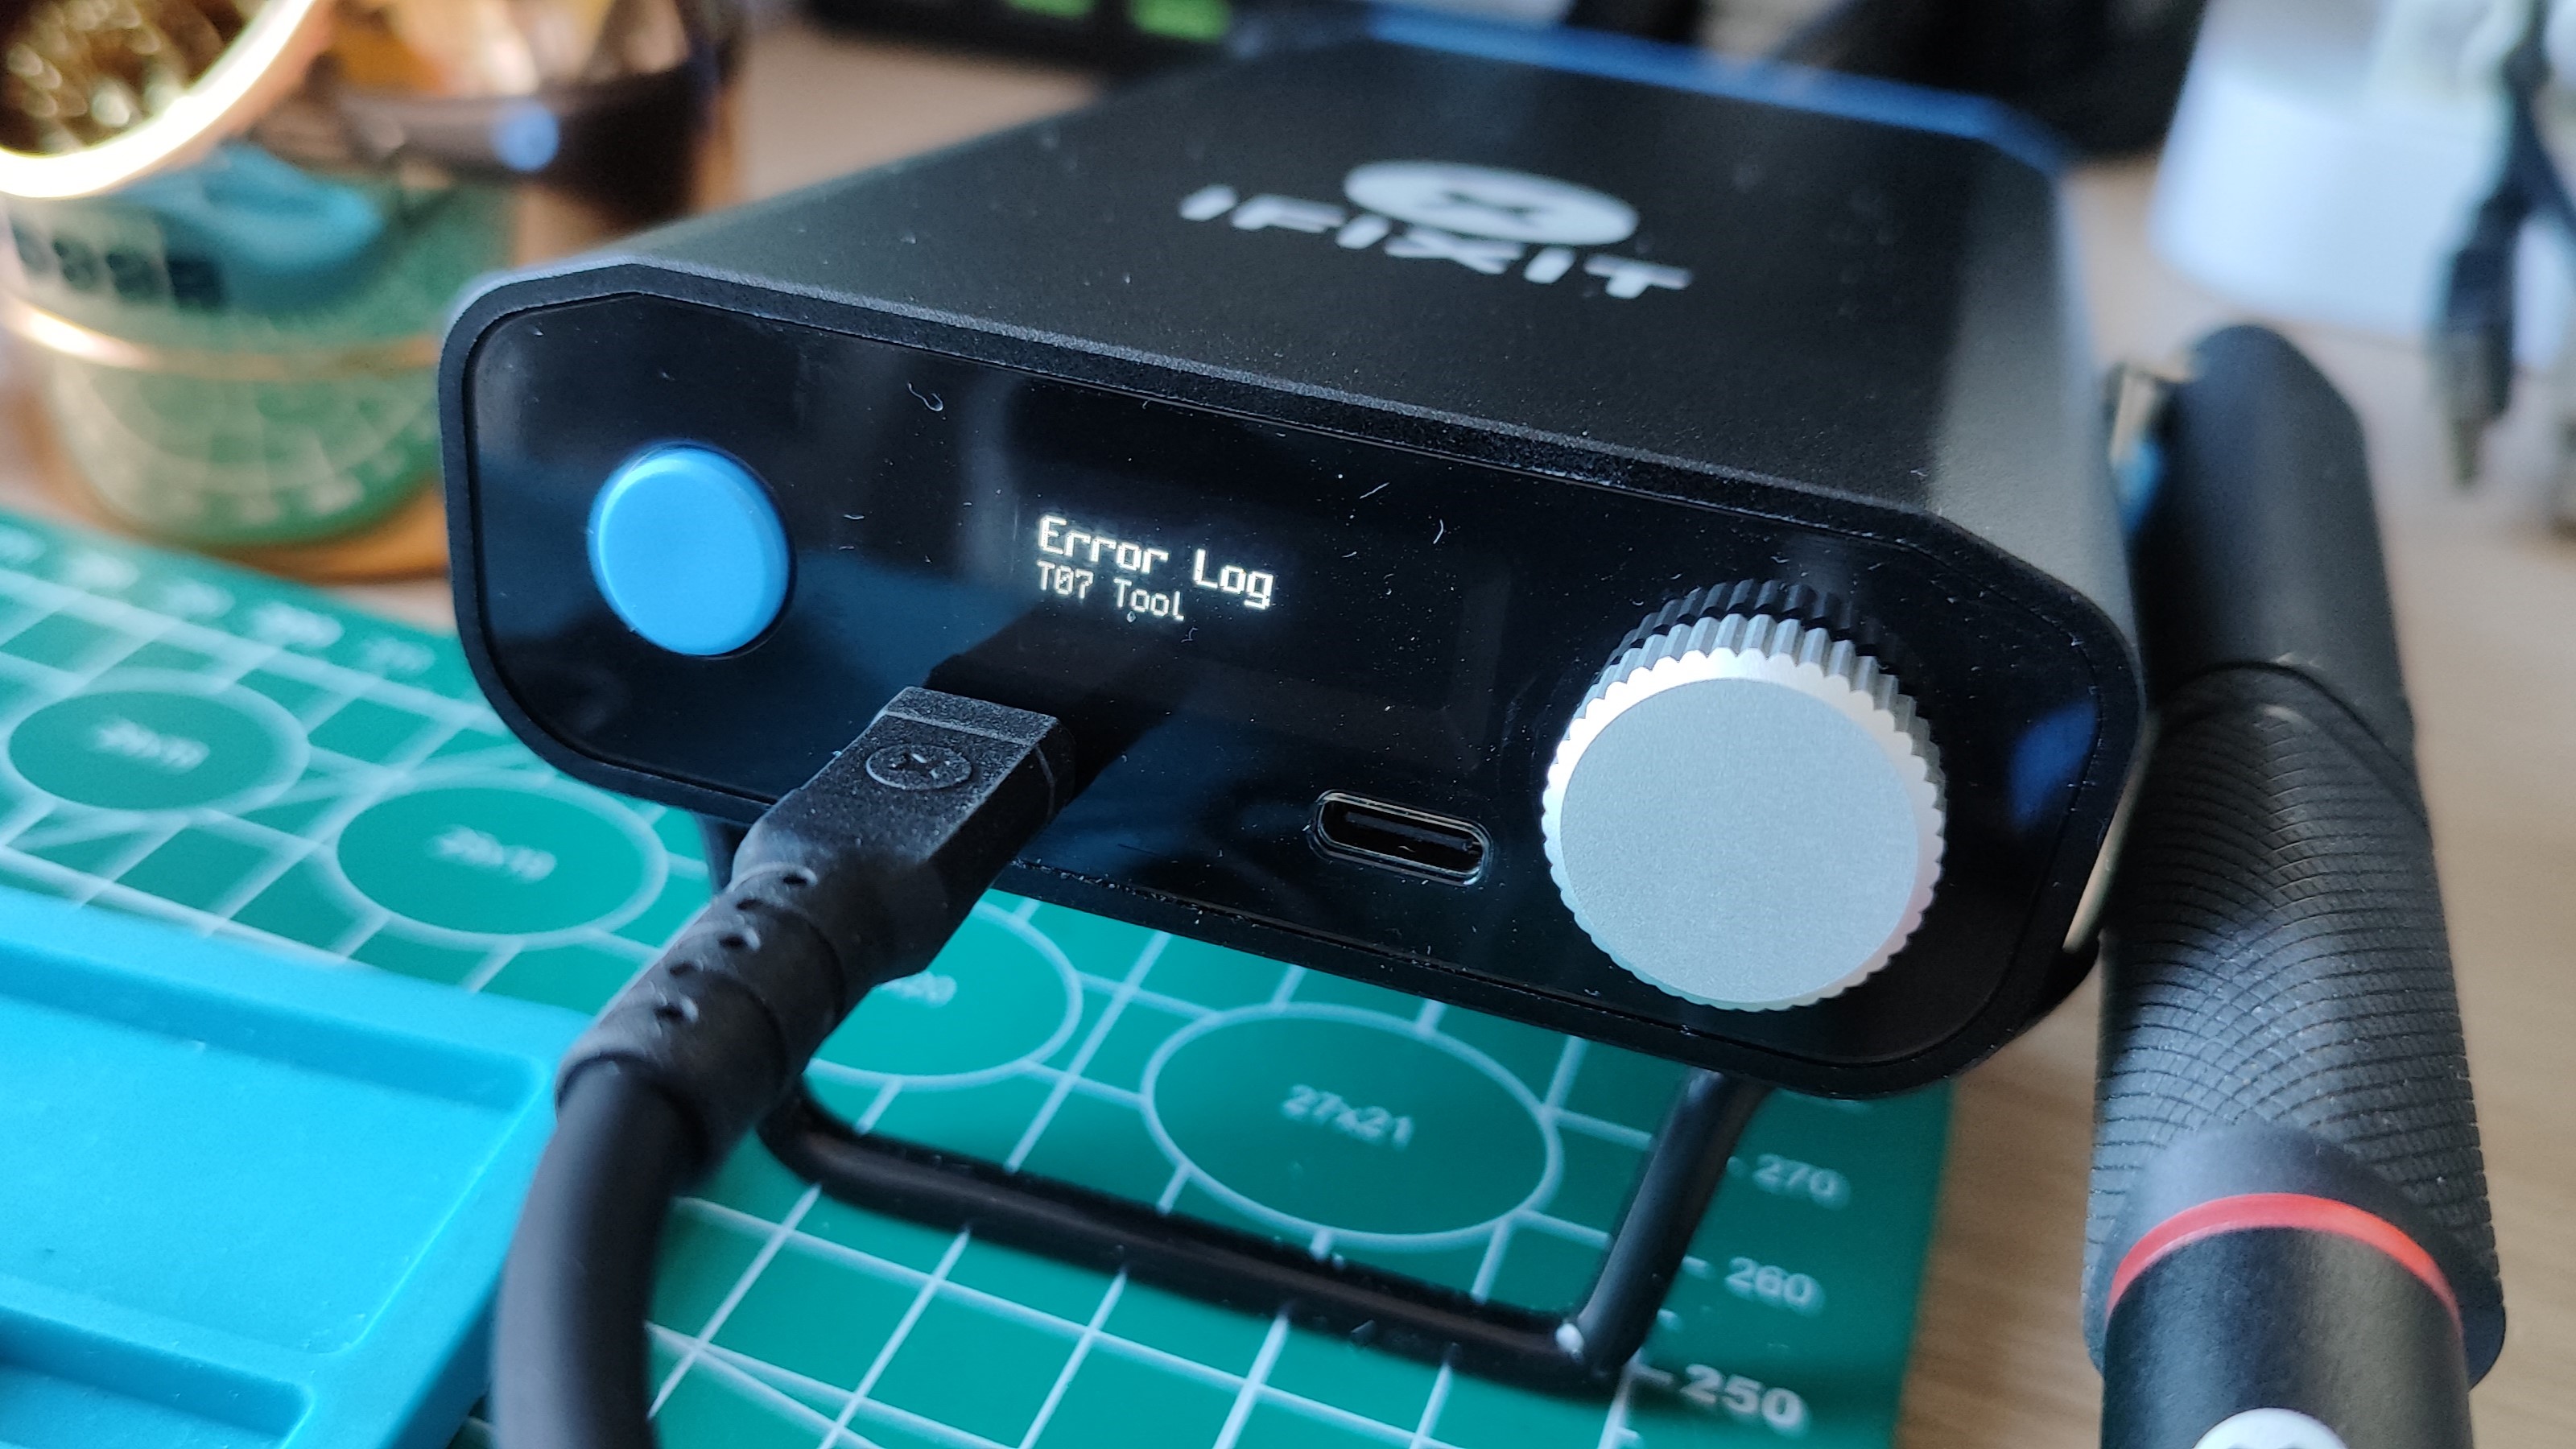
The user interface is all controlled via the power station’s selector wheel and action button. Pressing the action button for three seconds triggers the unit to life, and the default UI shows the soldering iron temperature, and the remaining battery power. To start soldering we need to flick the power switch on the soldering iron. We see the Touch-Safe indicator change color, with purple and orange meaning that the iron is too hot to touch. The OLED screen will update to show the temperature, which we can tweak by turning the selector clockwise / counterclockwise to increase or decrease the temperature. Pressing the selector will open a menu where we can tweak the temperature units, sleep timers, sleep temperatures, and an auto shutdown timer.
These smart features are often found on the body of other smart soldering irons. The problems with placing the controls on the body is that we can accidentally slip and tweak the temperature, or another menu option. Miniware’s TS100 and TS101 both have the controls right where our hand will naturally rest. Pinecil, Pinecil 2 Miniware TS80P and the Fnirsi HS-01 have the controls away from the hand rest.
Another problem is that you have to look at the iron to see the temperature. Ok, I know what you are thinking, it's not that difficult to look down at the iron, granted. But it can be fiddly to look down, change hand position and tweak the temperature. Moving the controls to the power station is smart and intuitive for those of us who have a desktop soldering station.
How Repairable is the Ifixit Fixhub Portable Soldering Station?
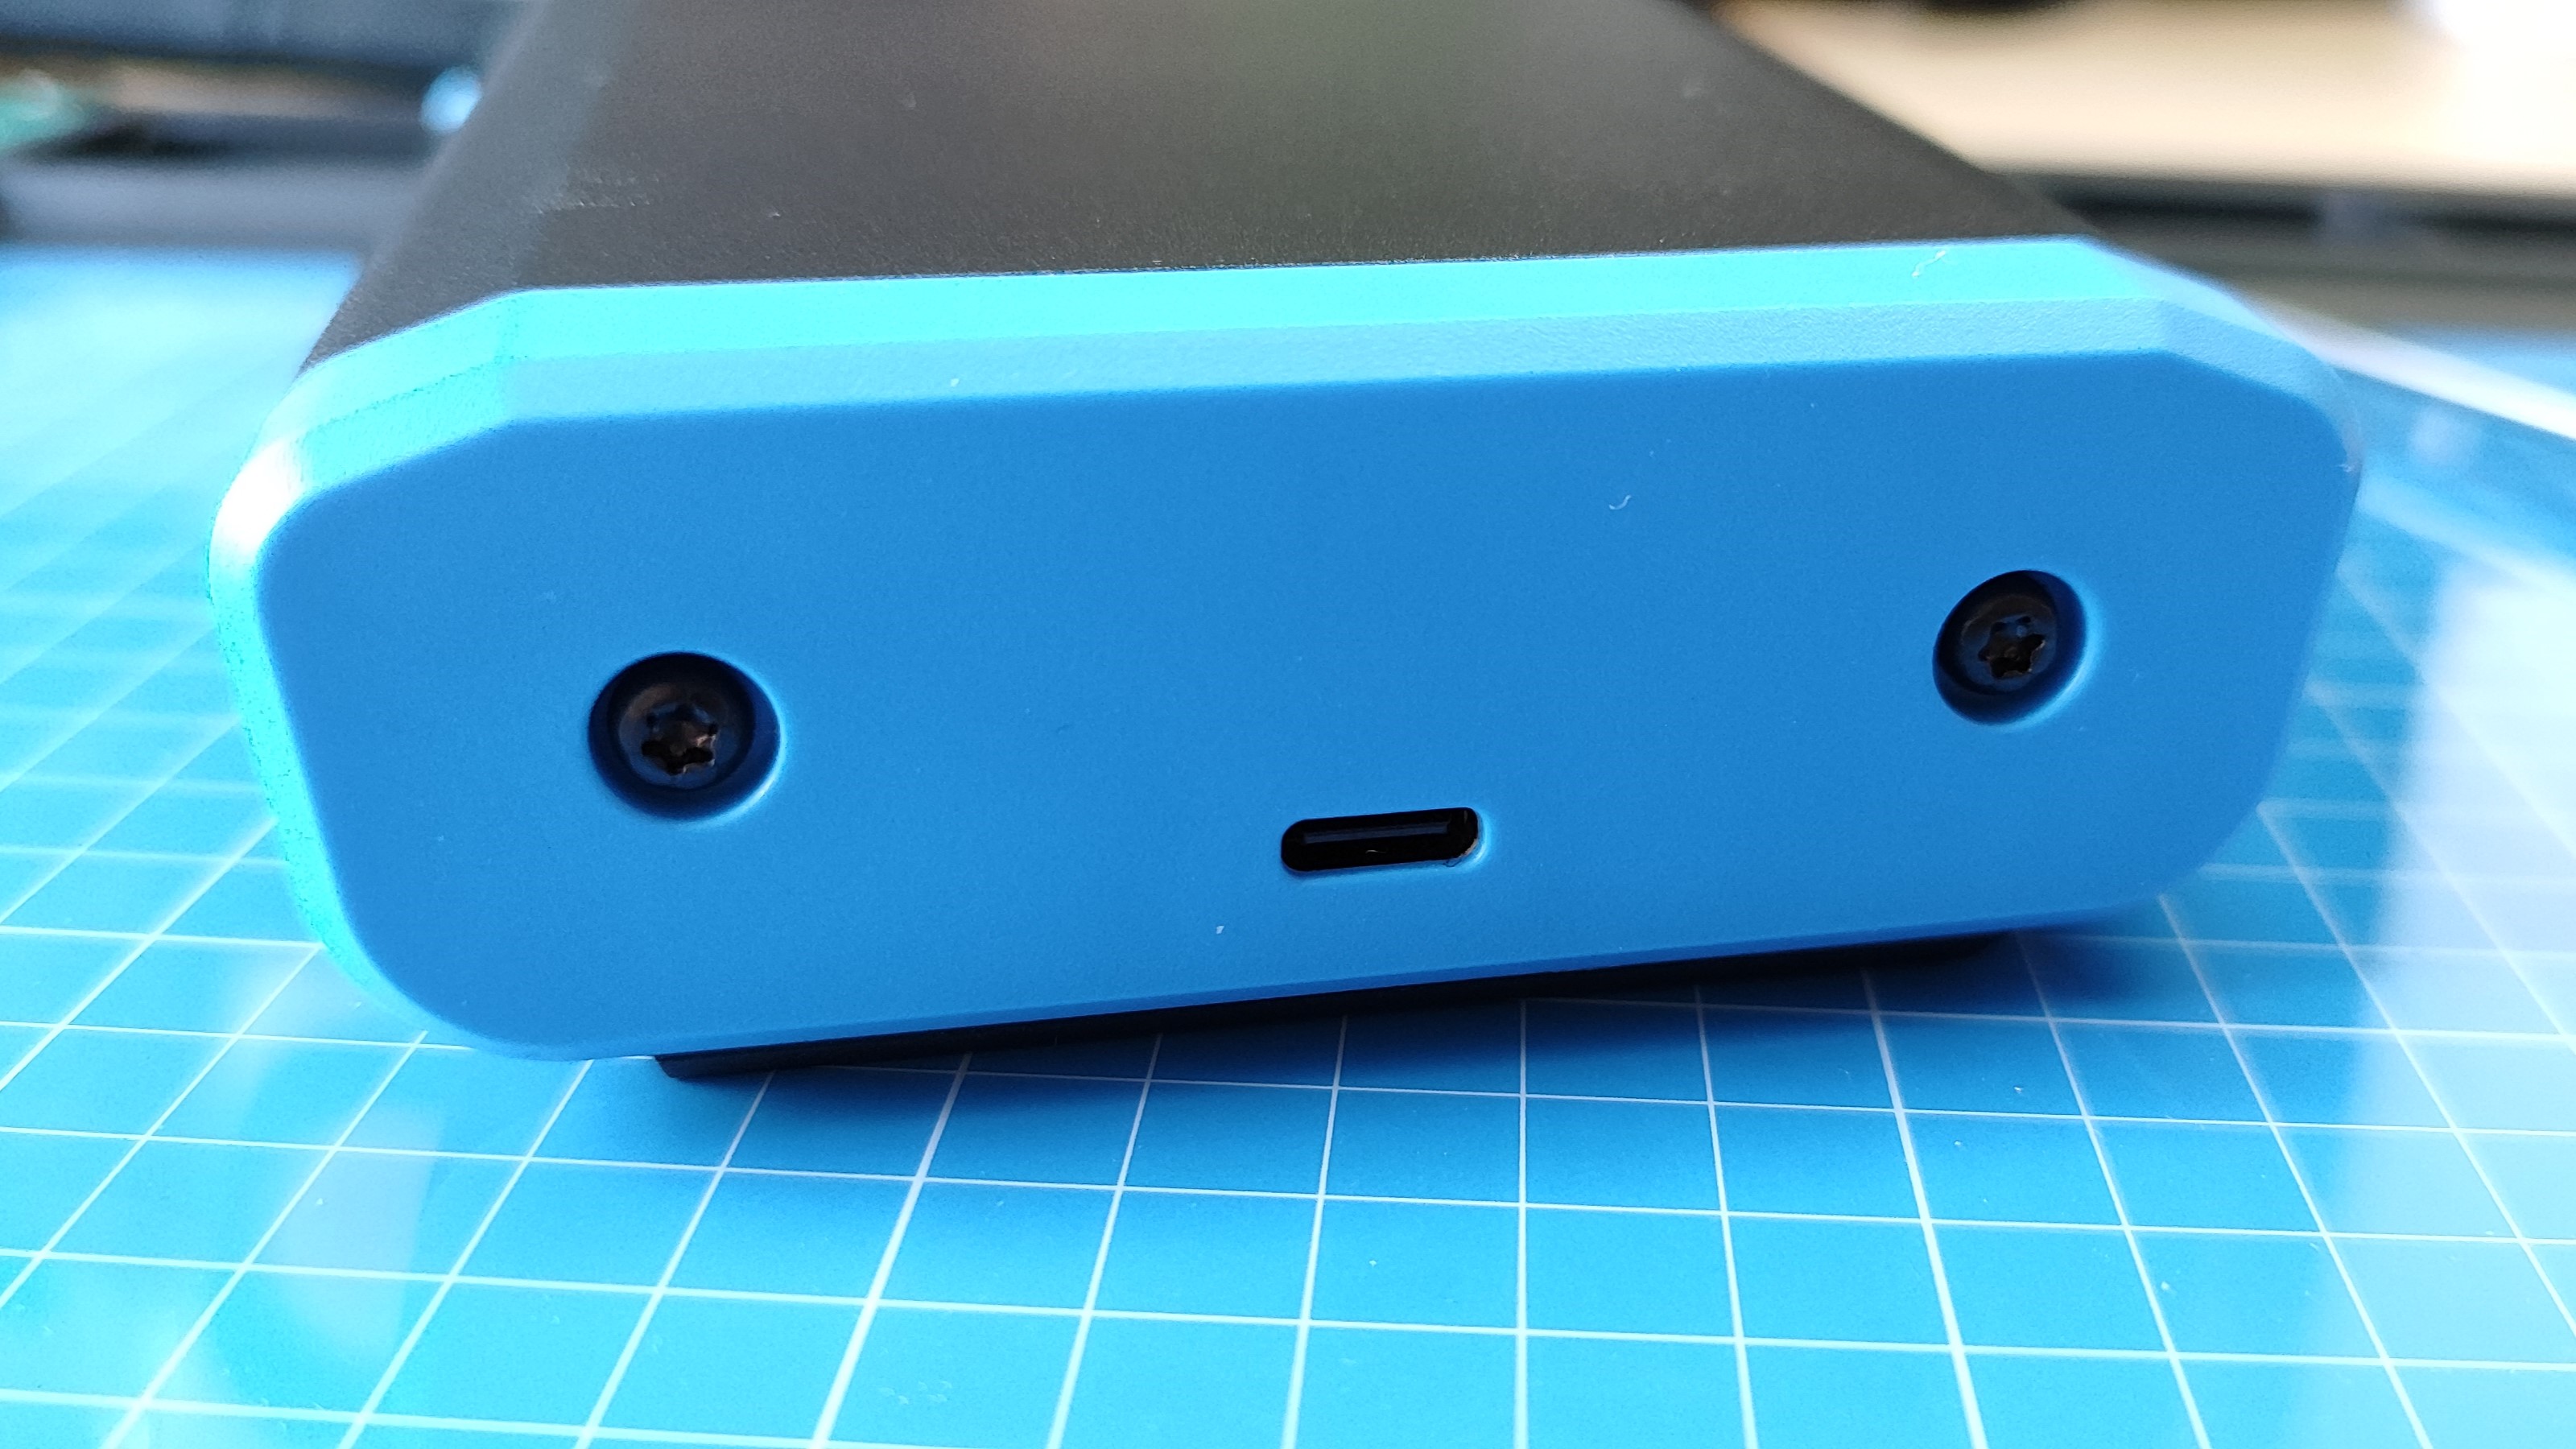
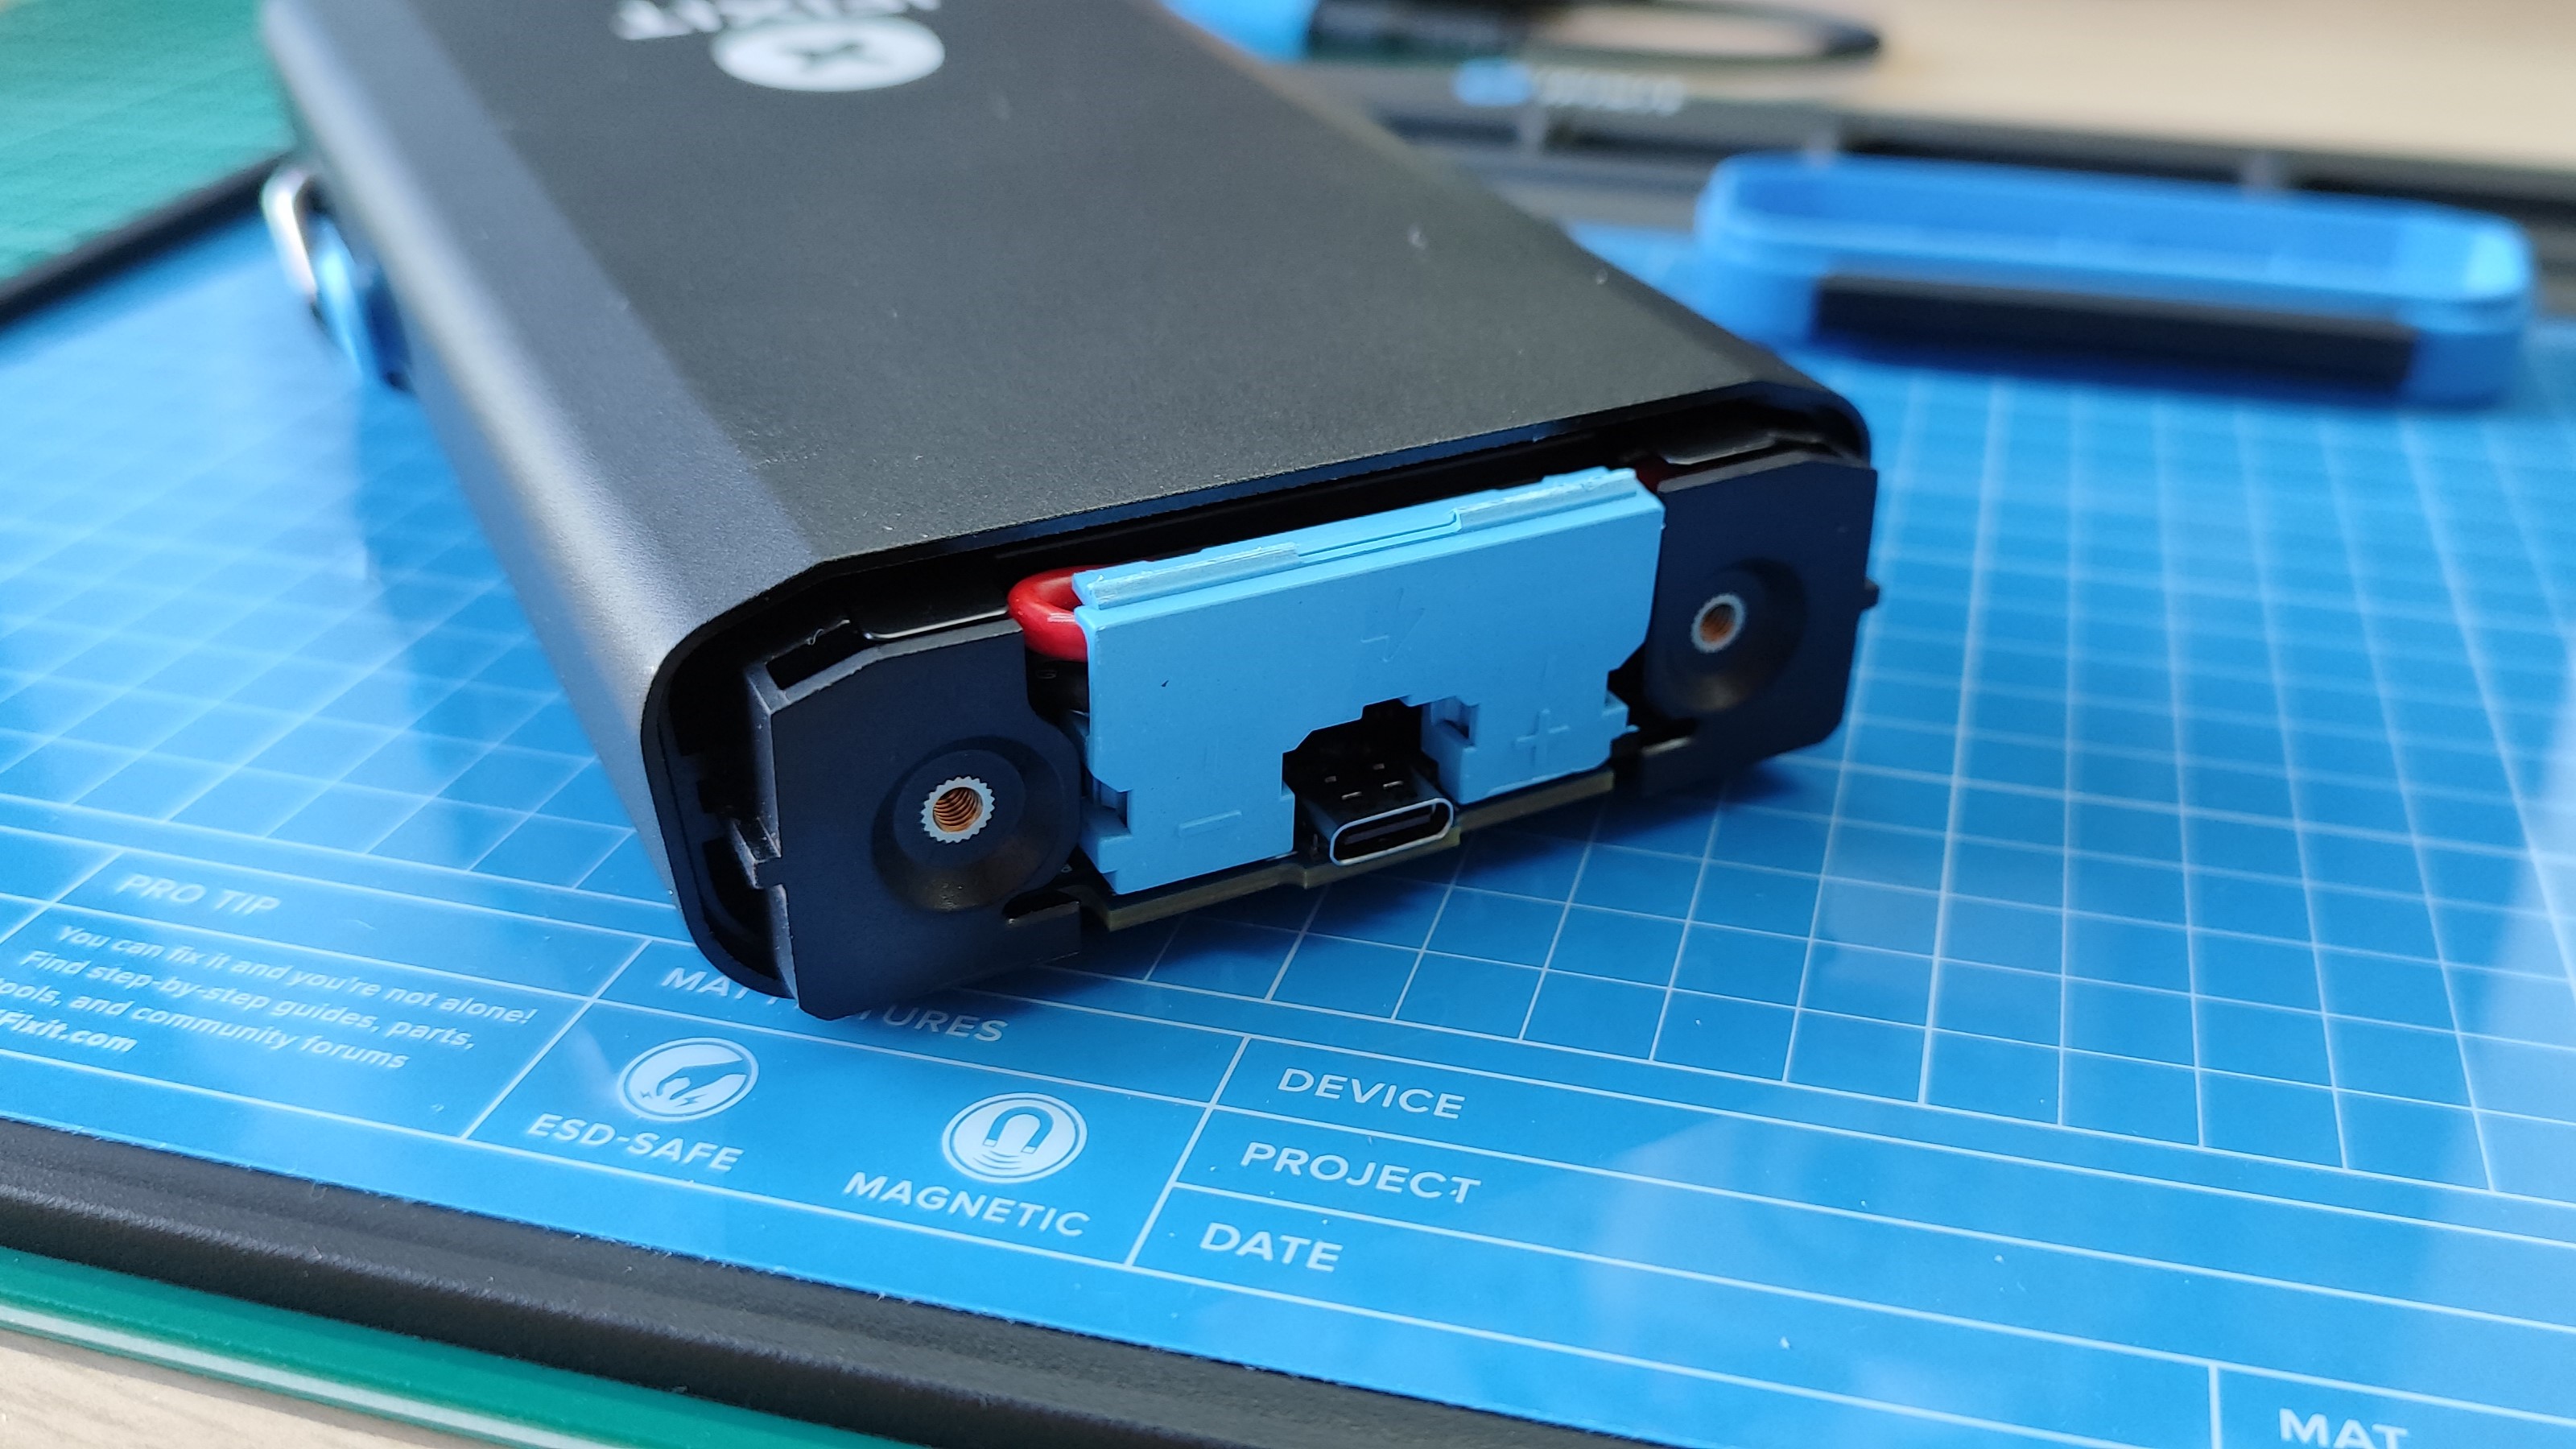
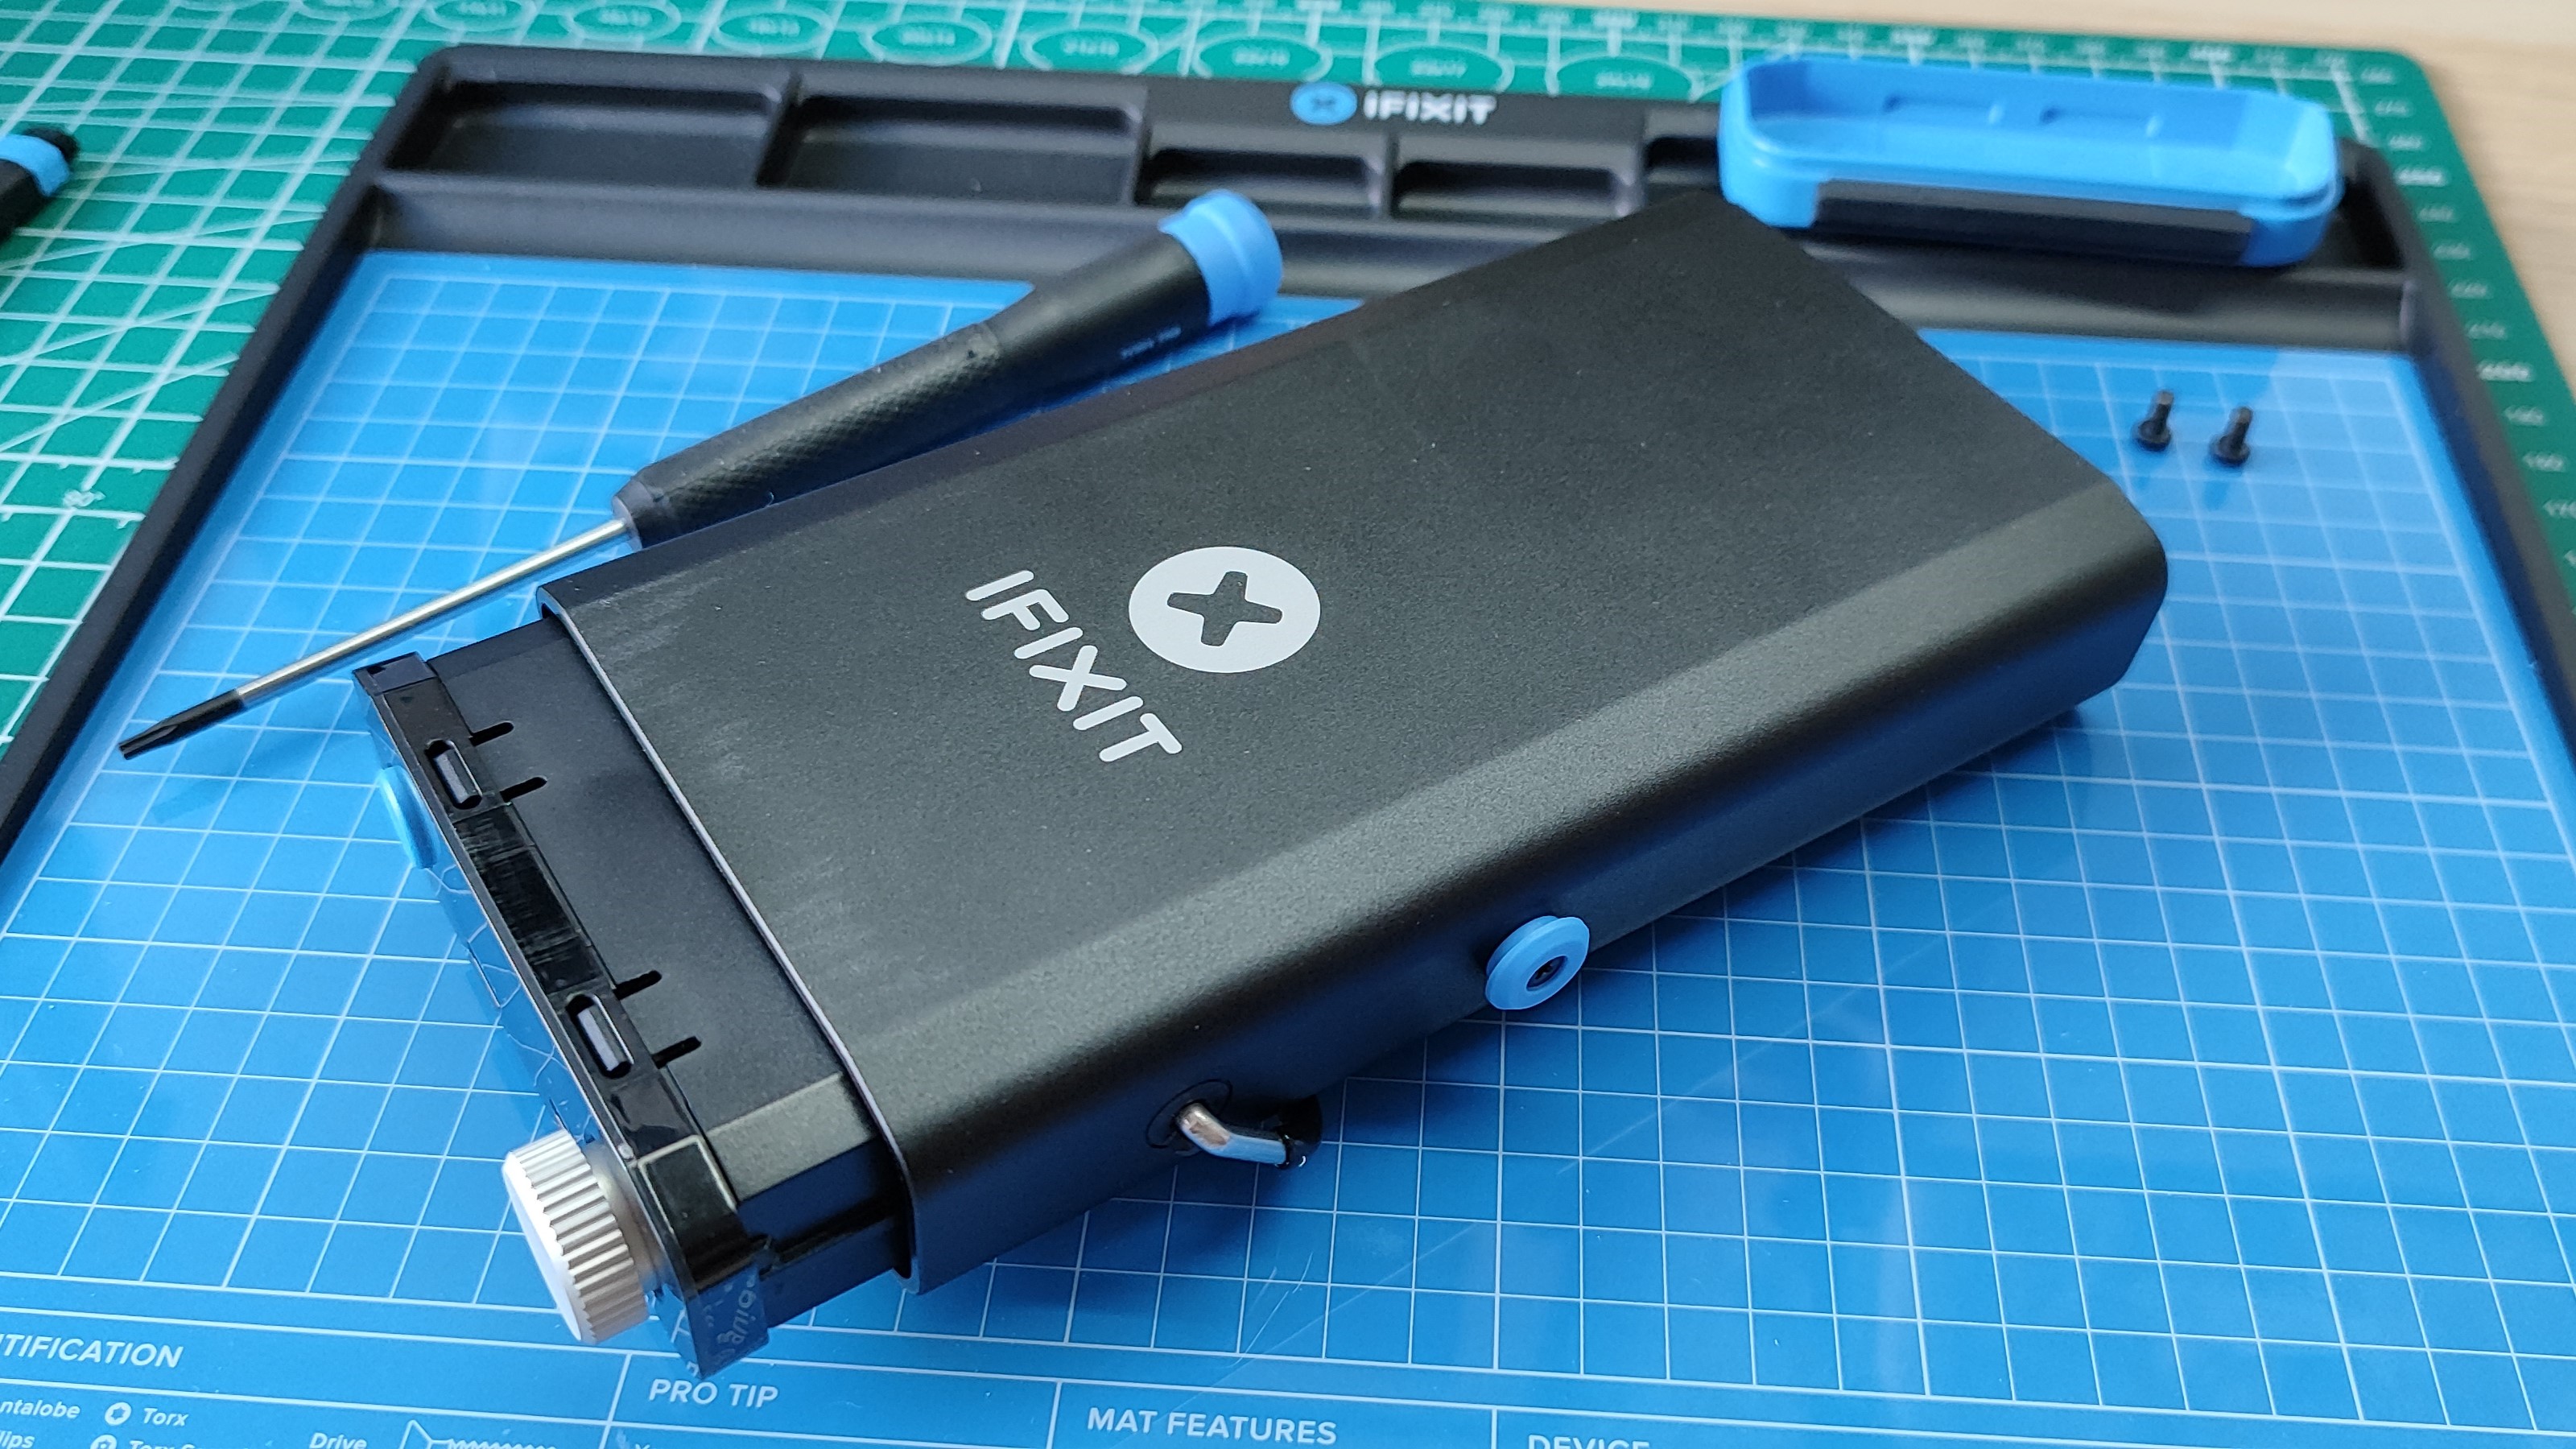
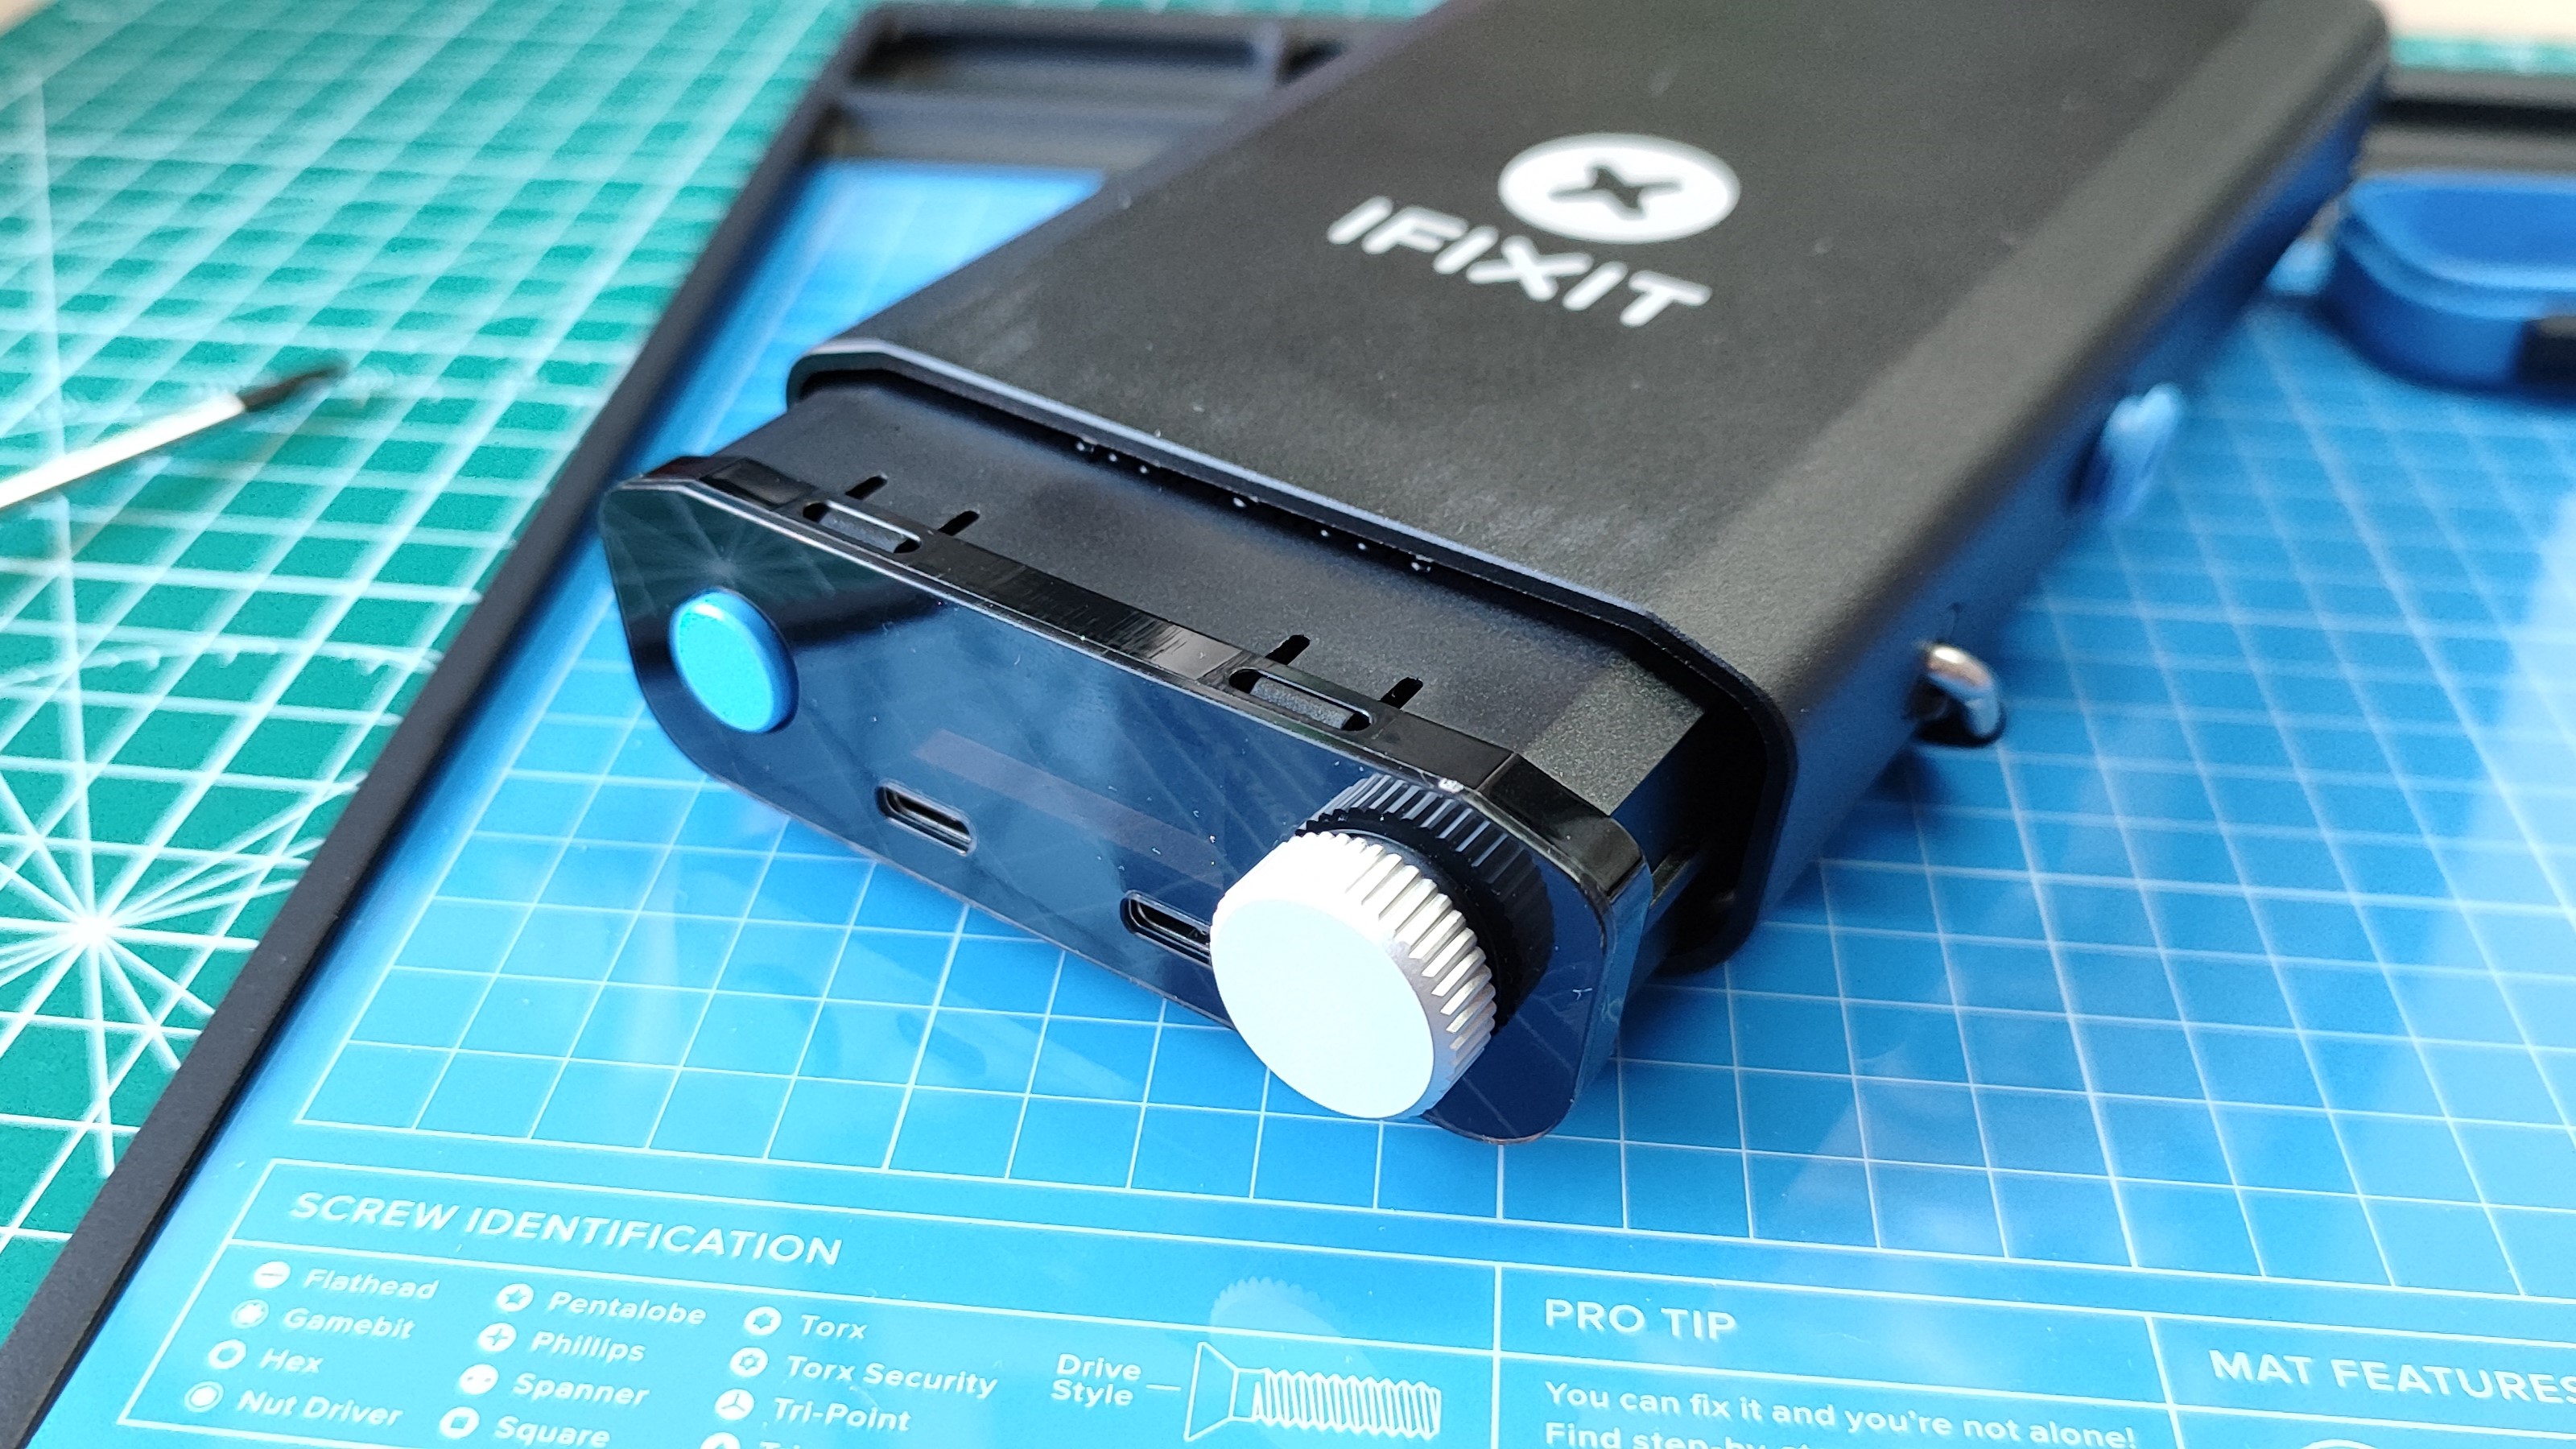
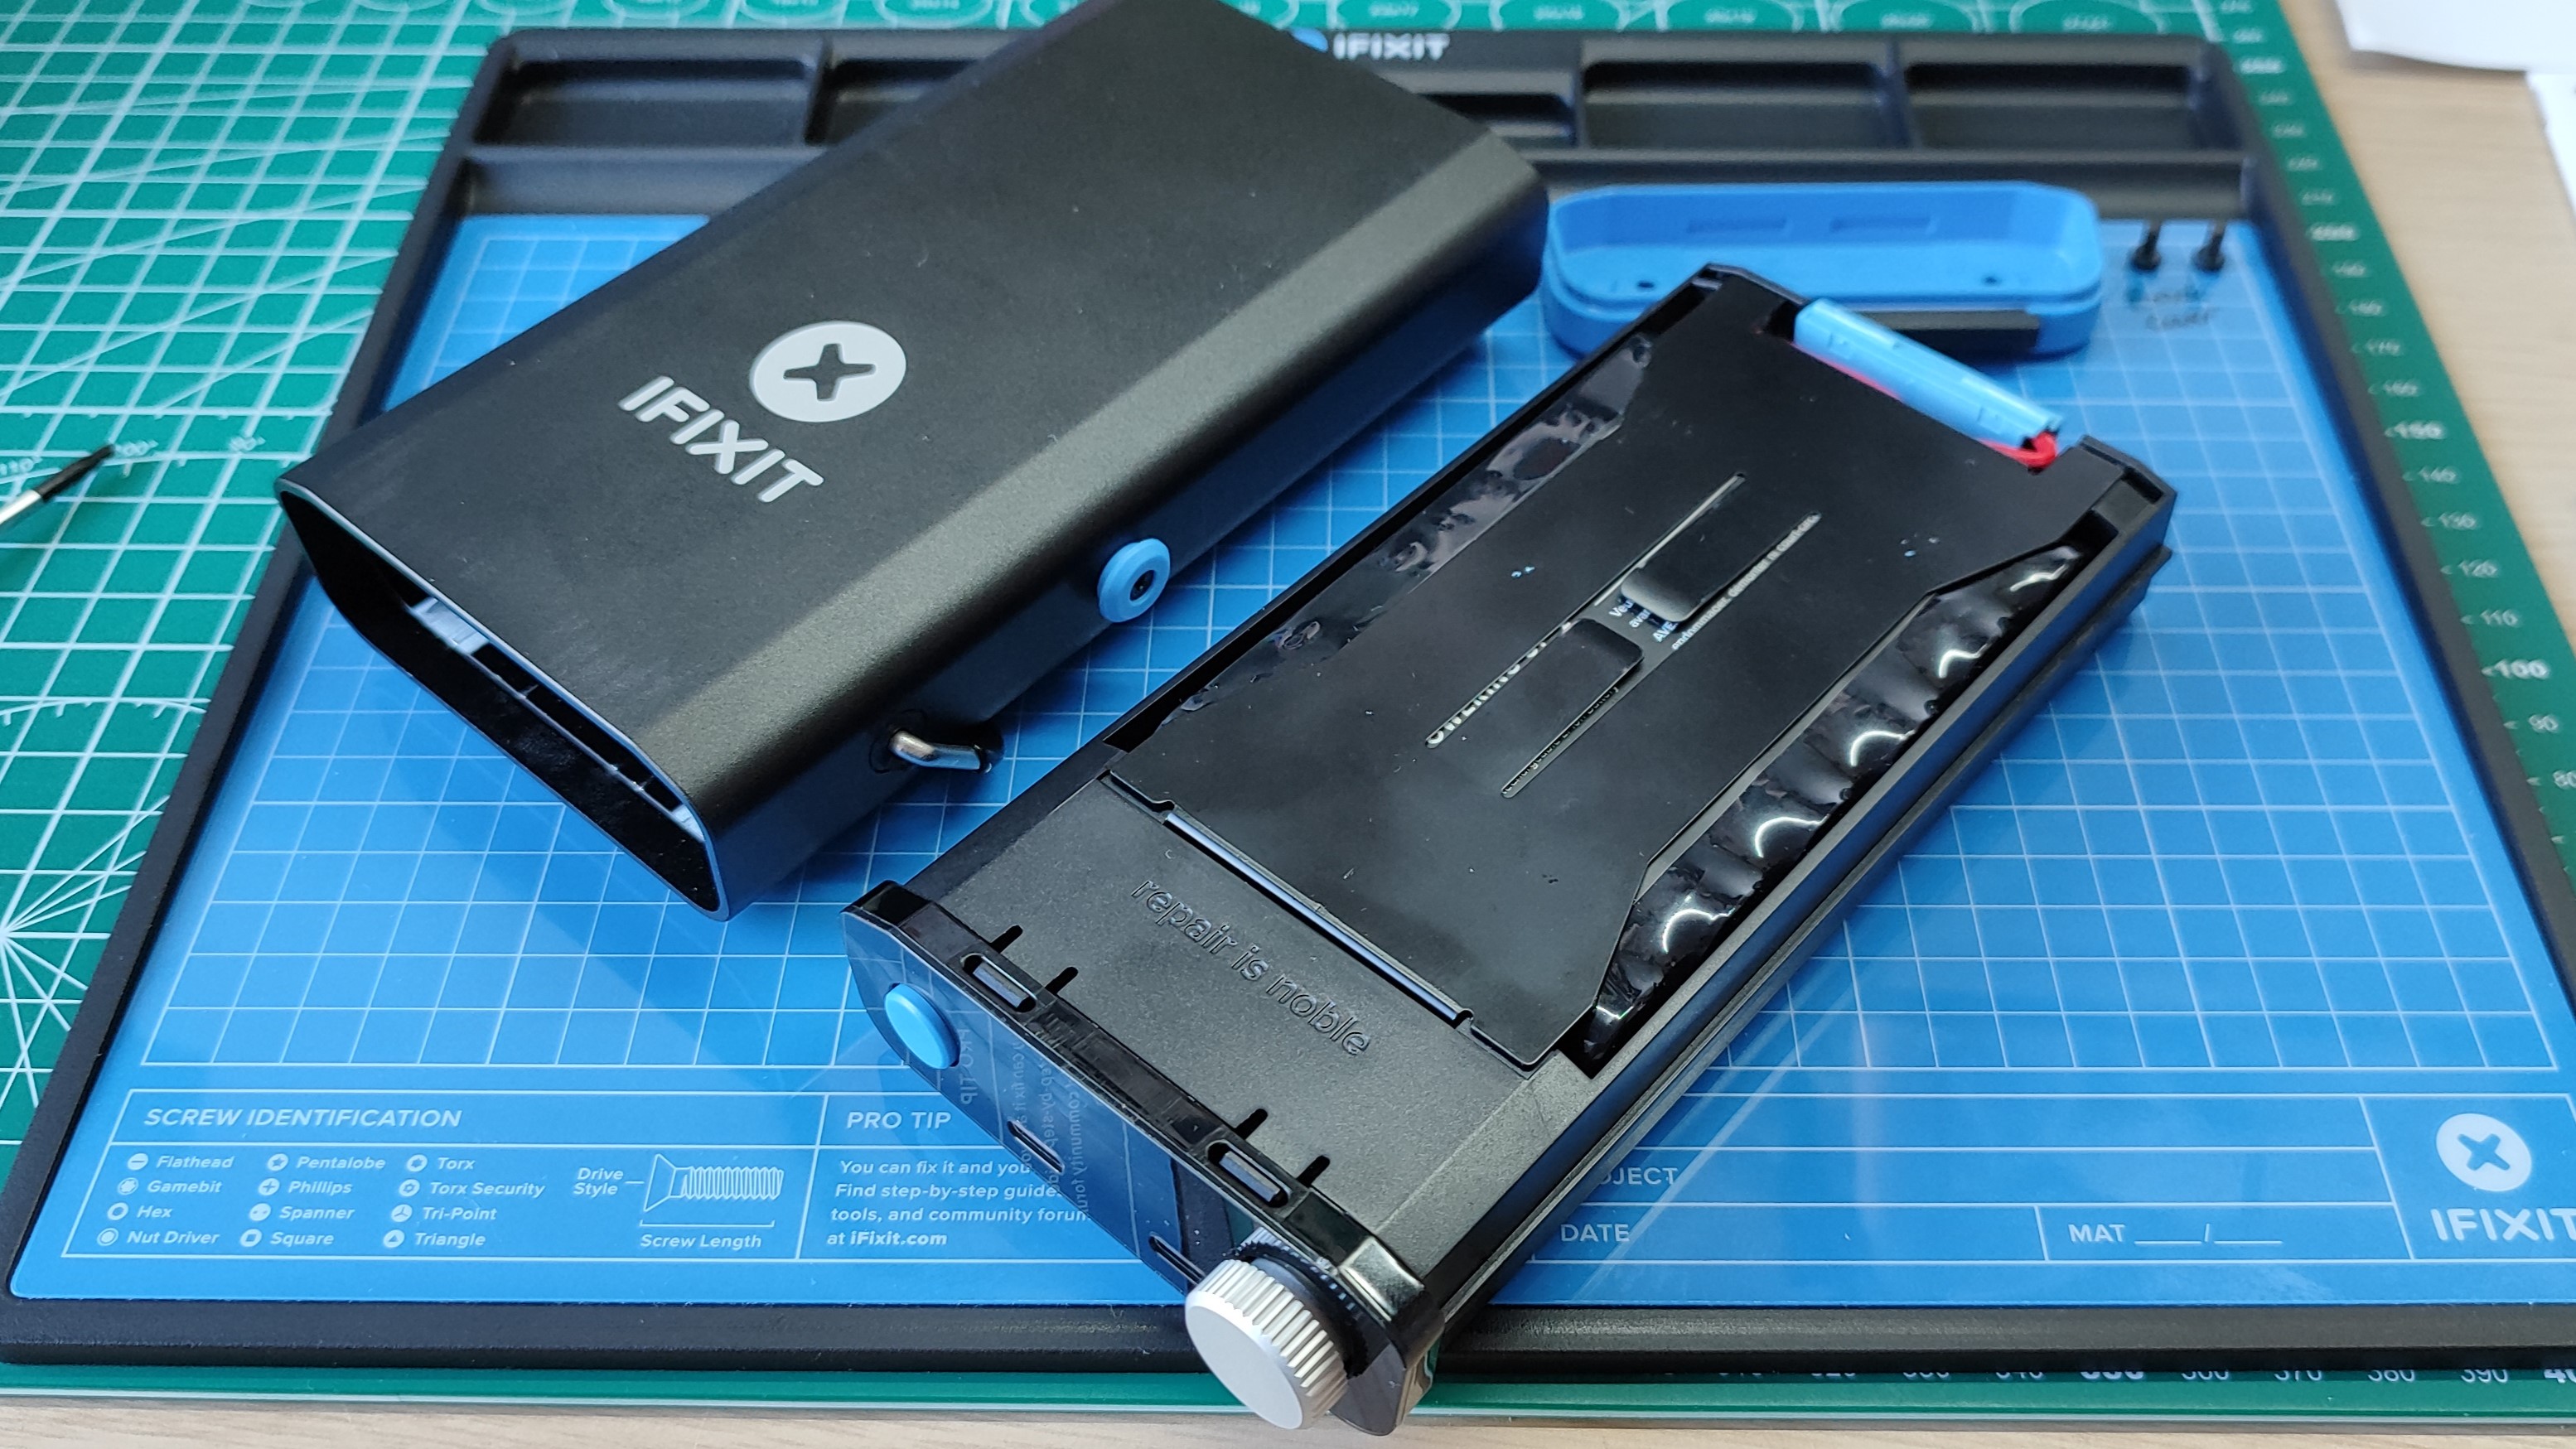
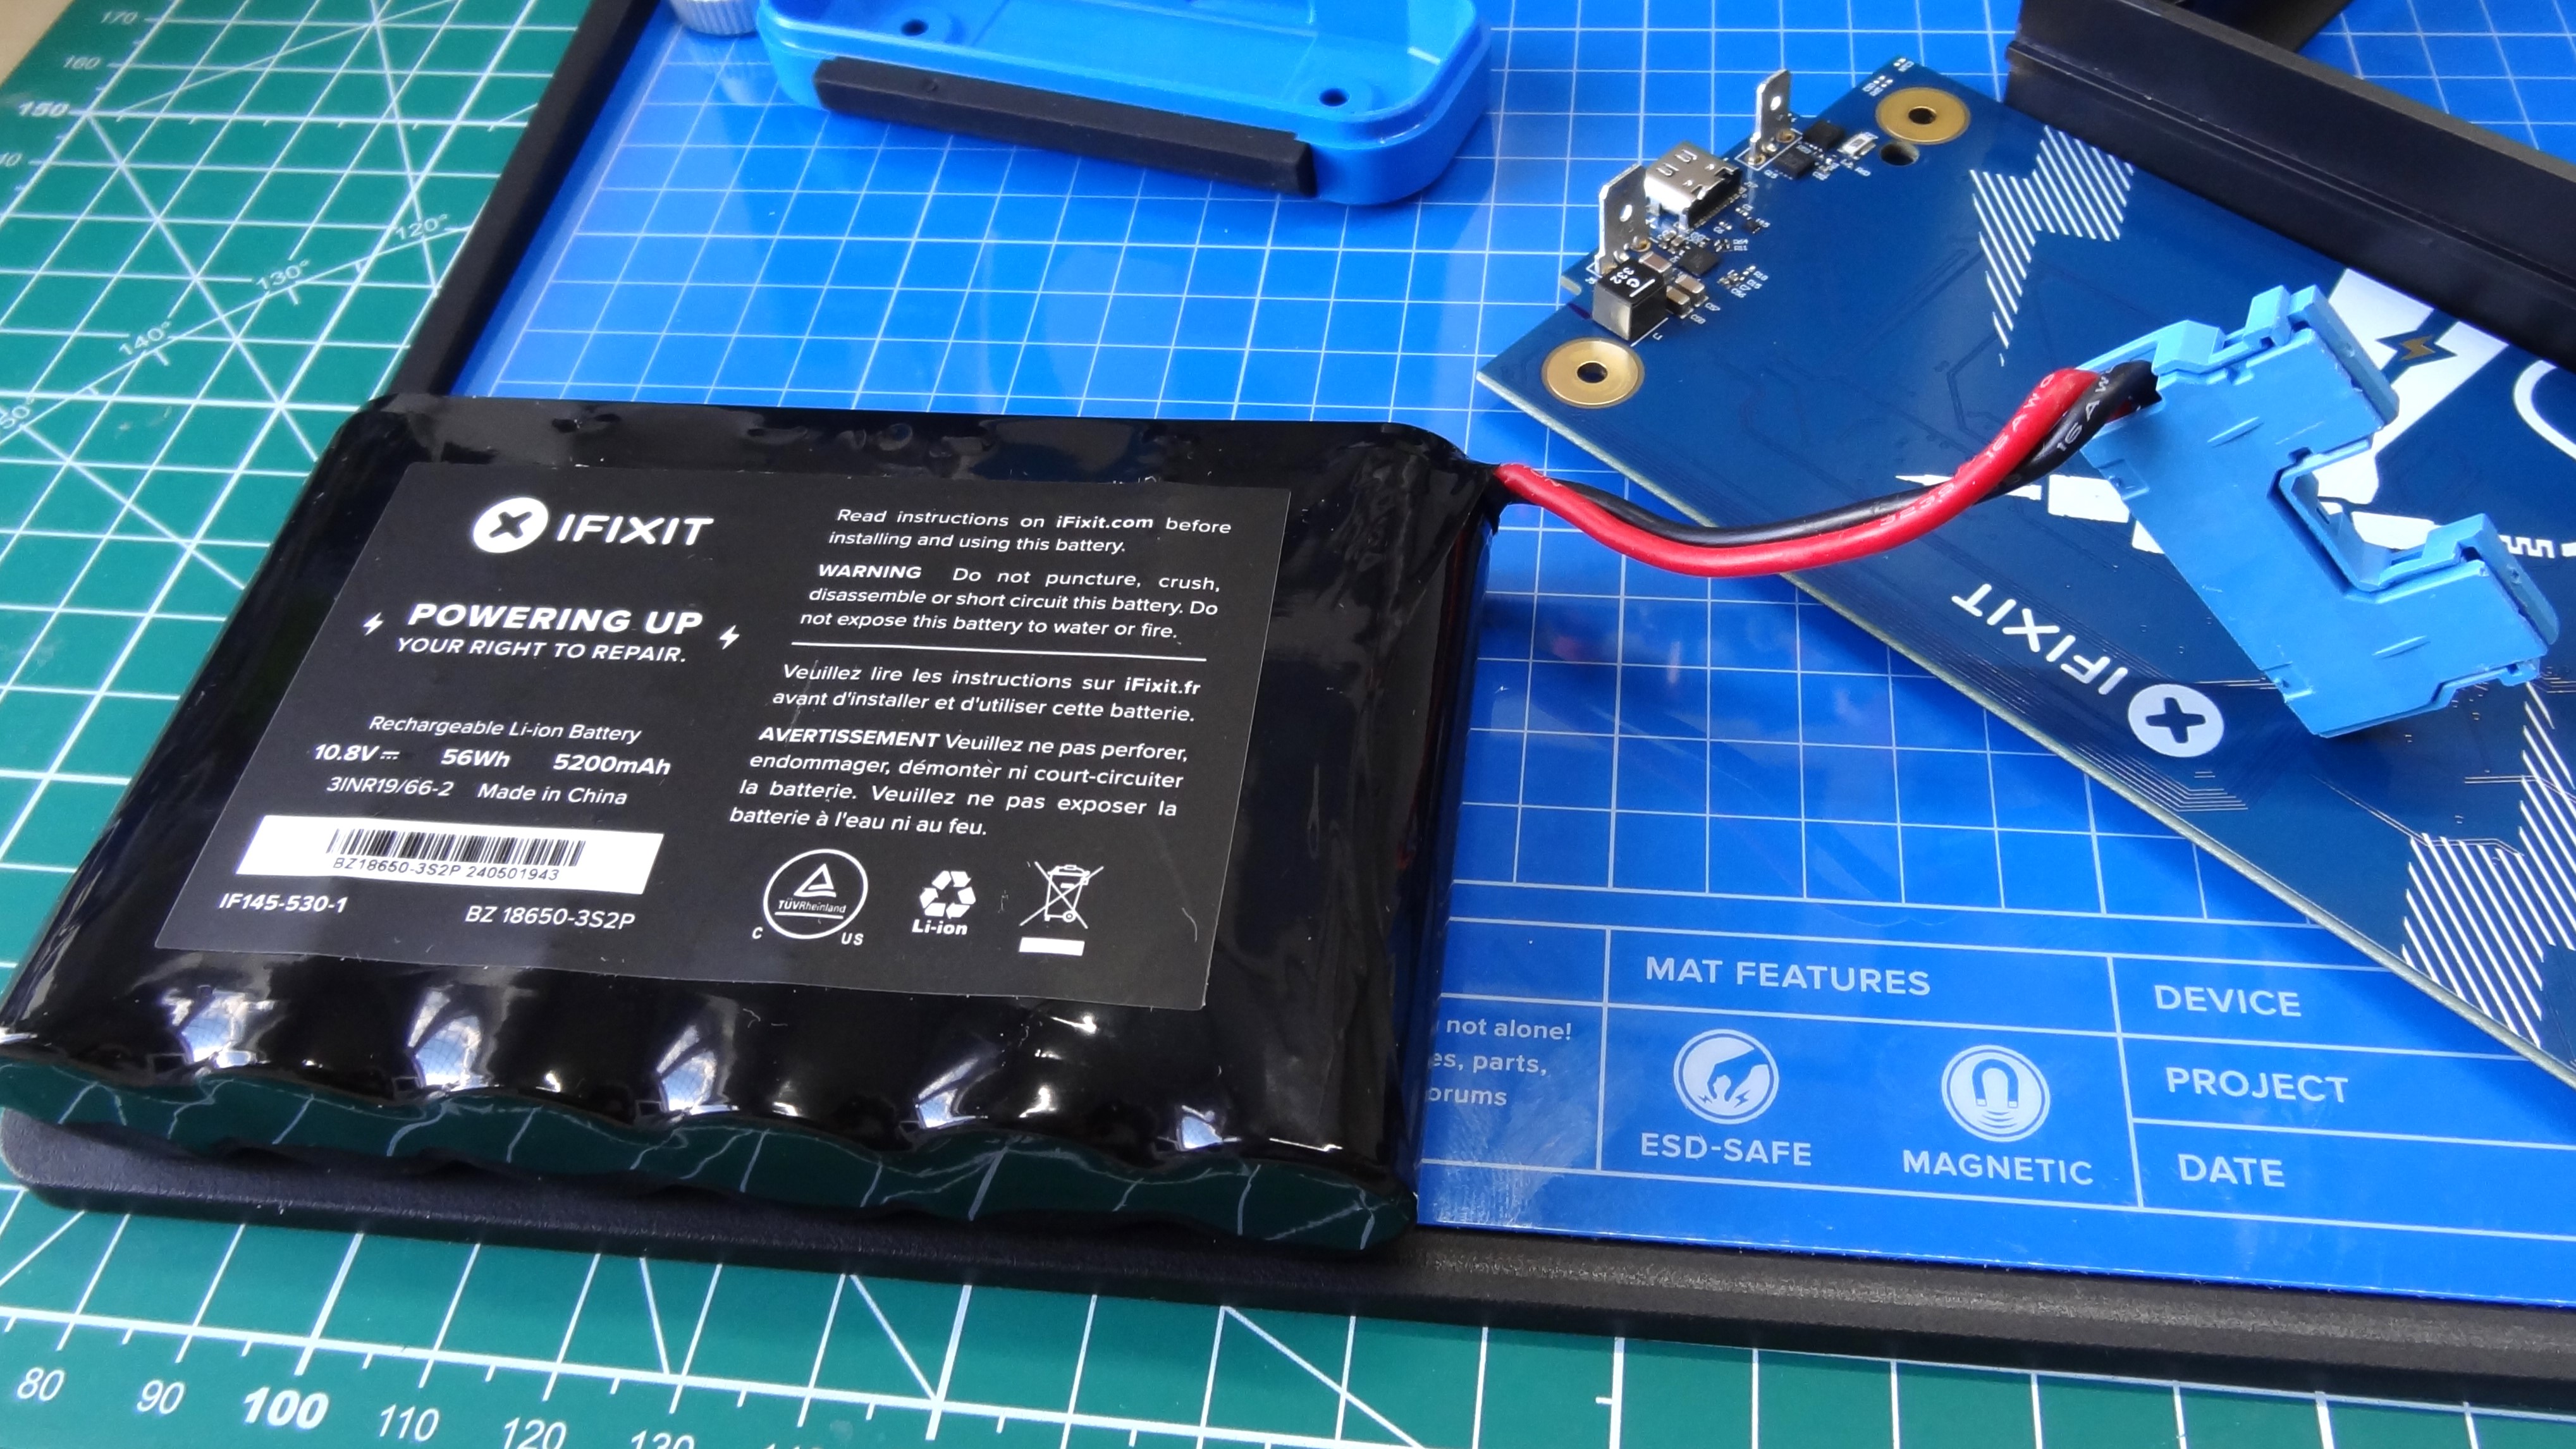
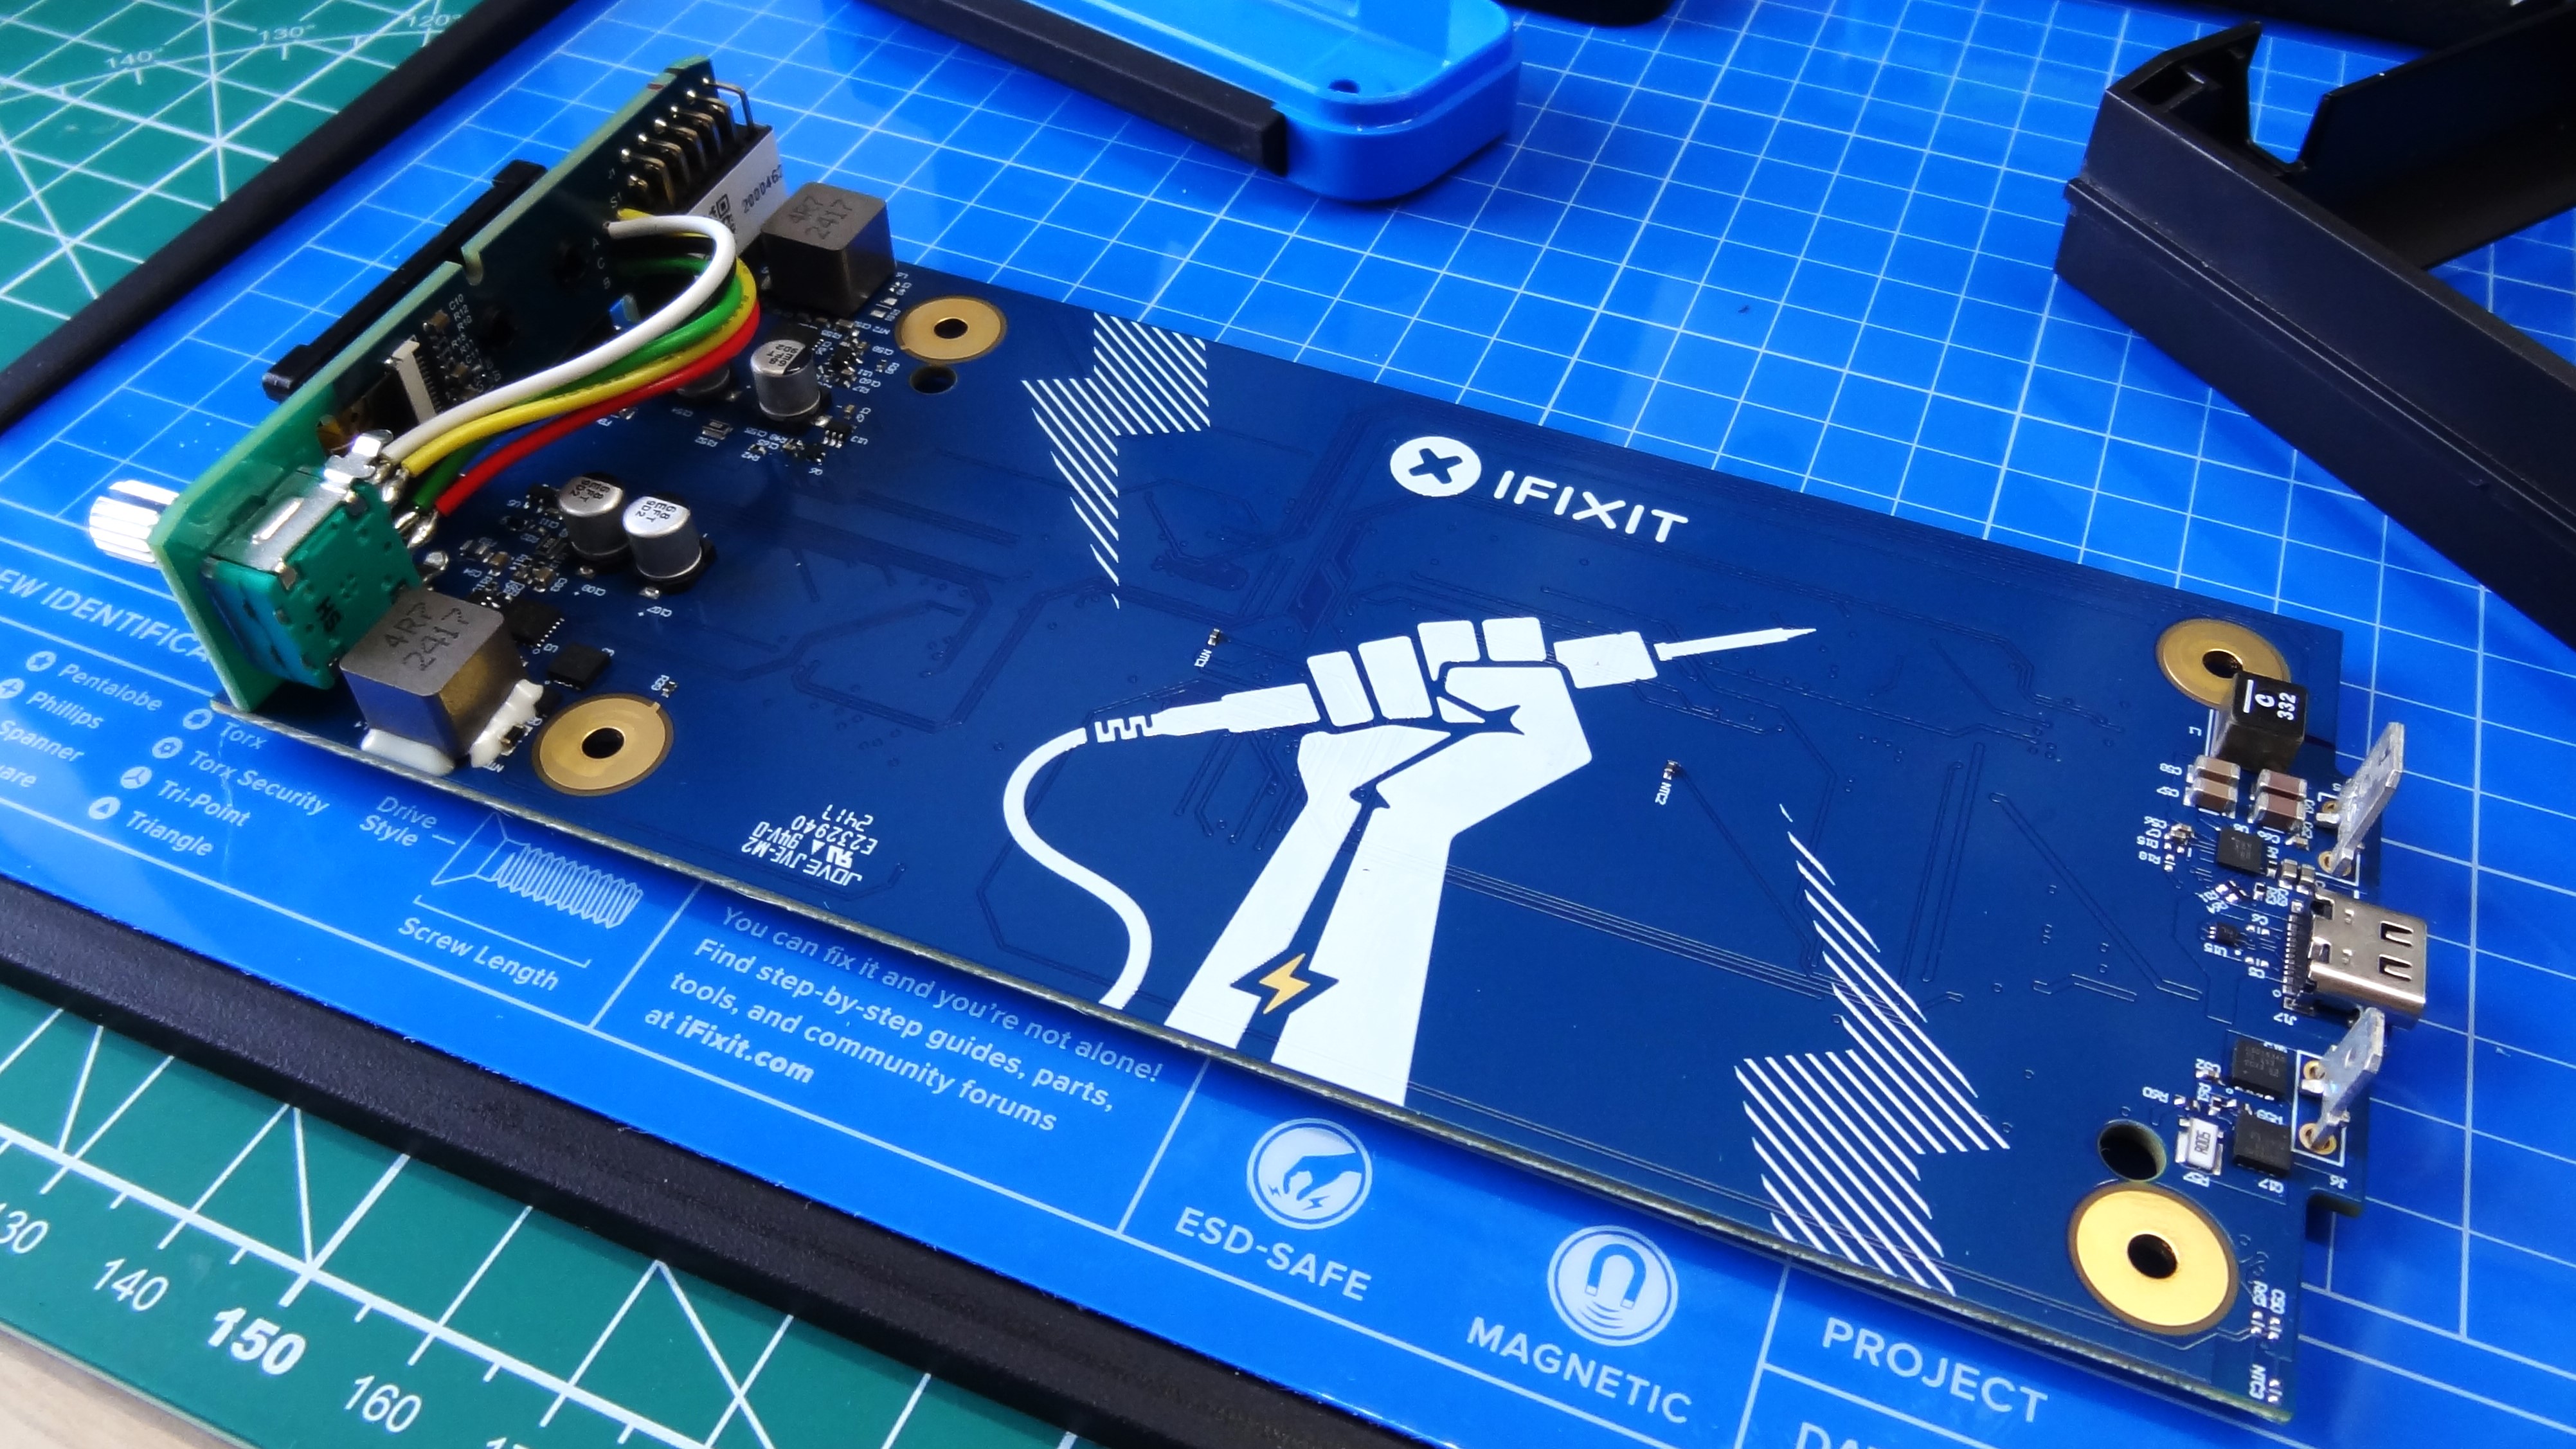
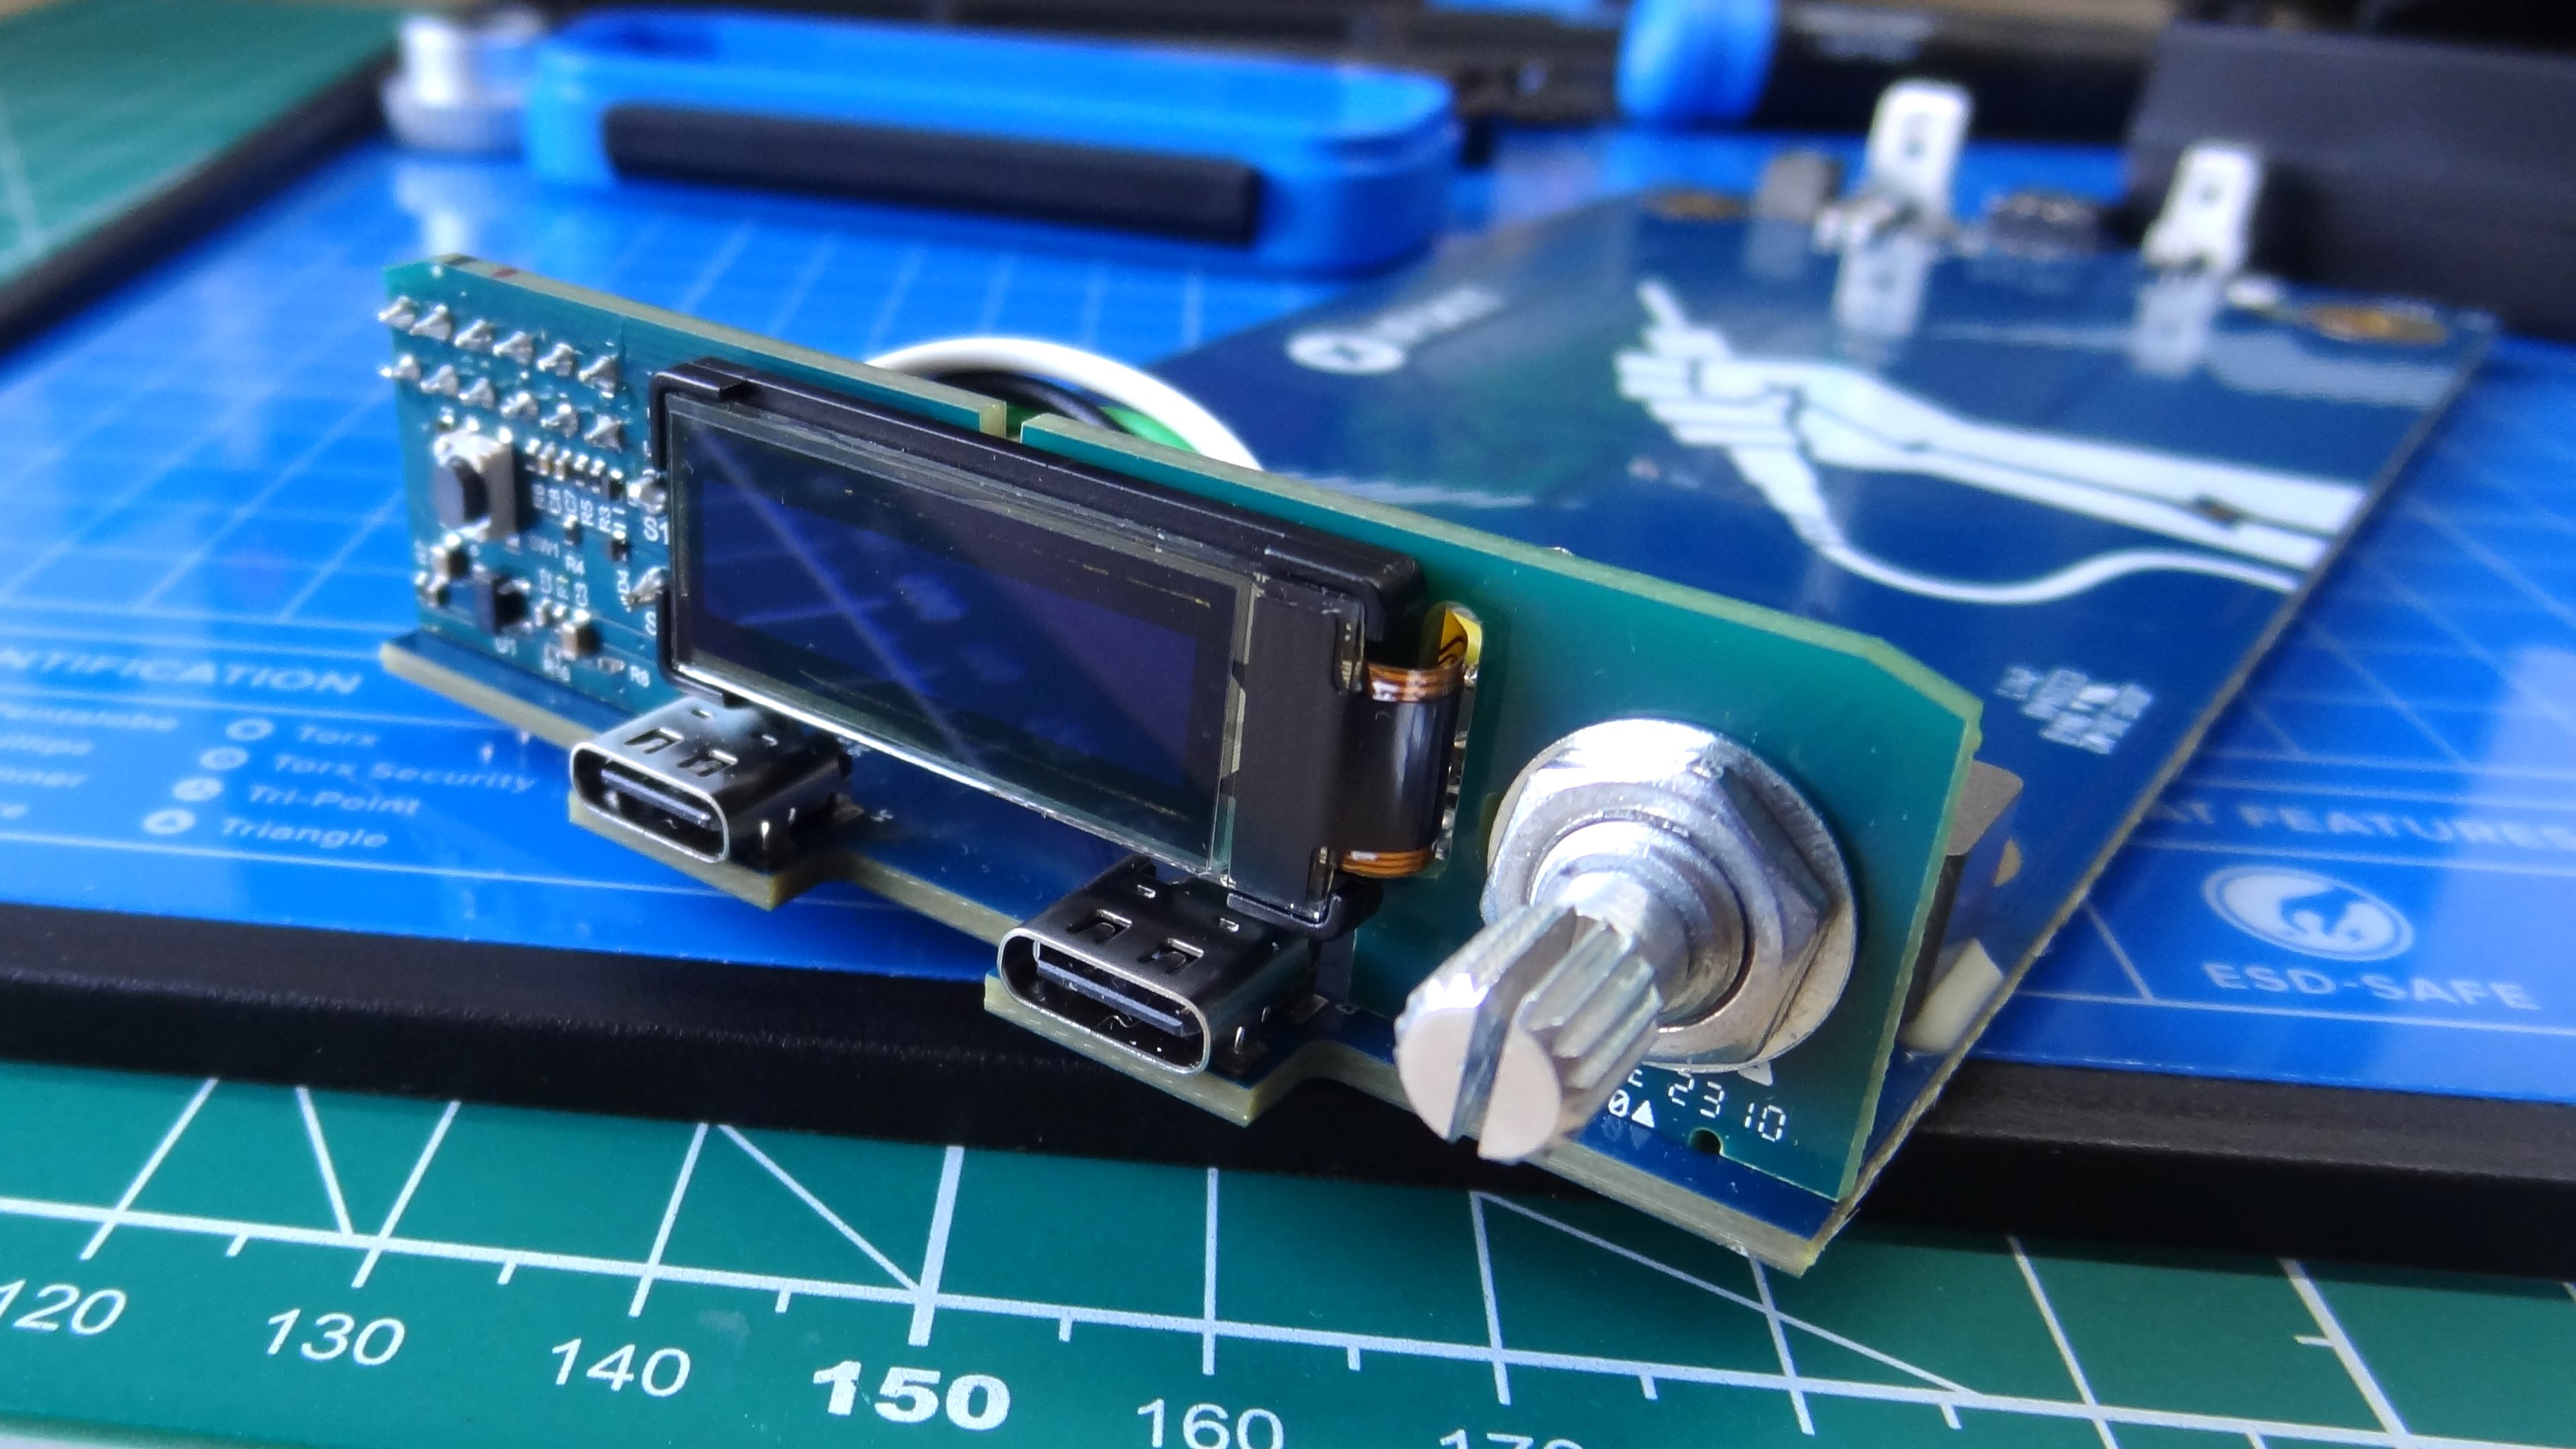
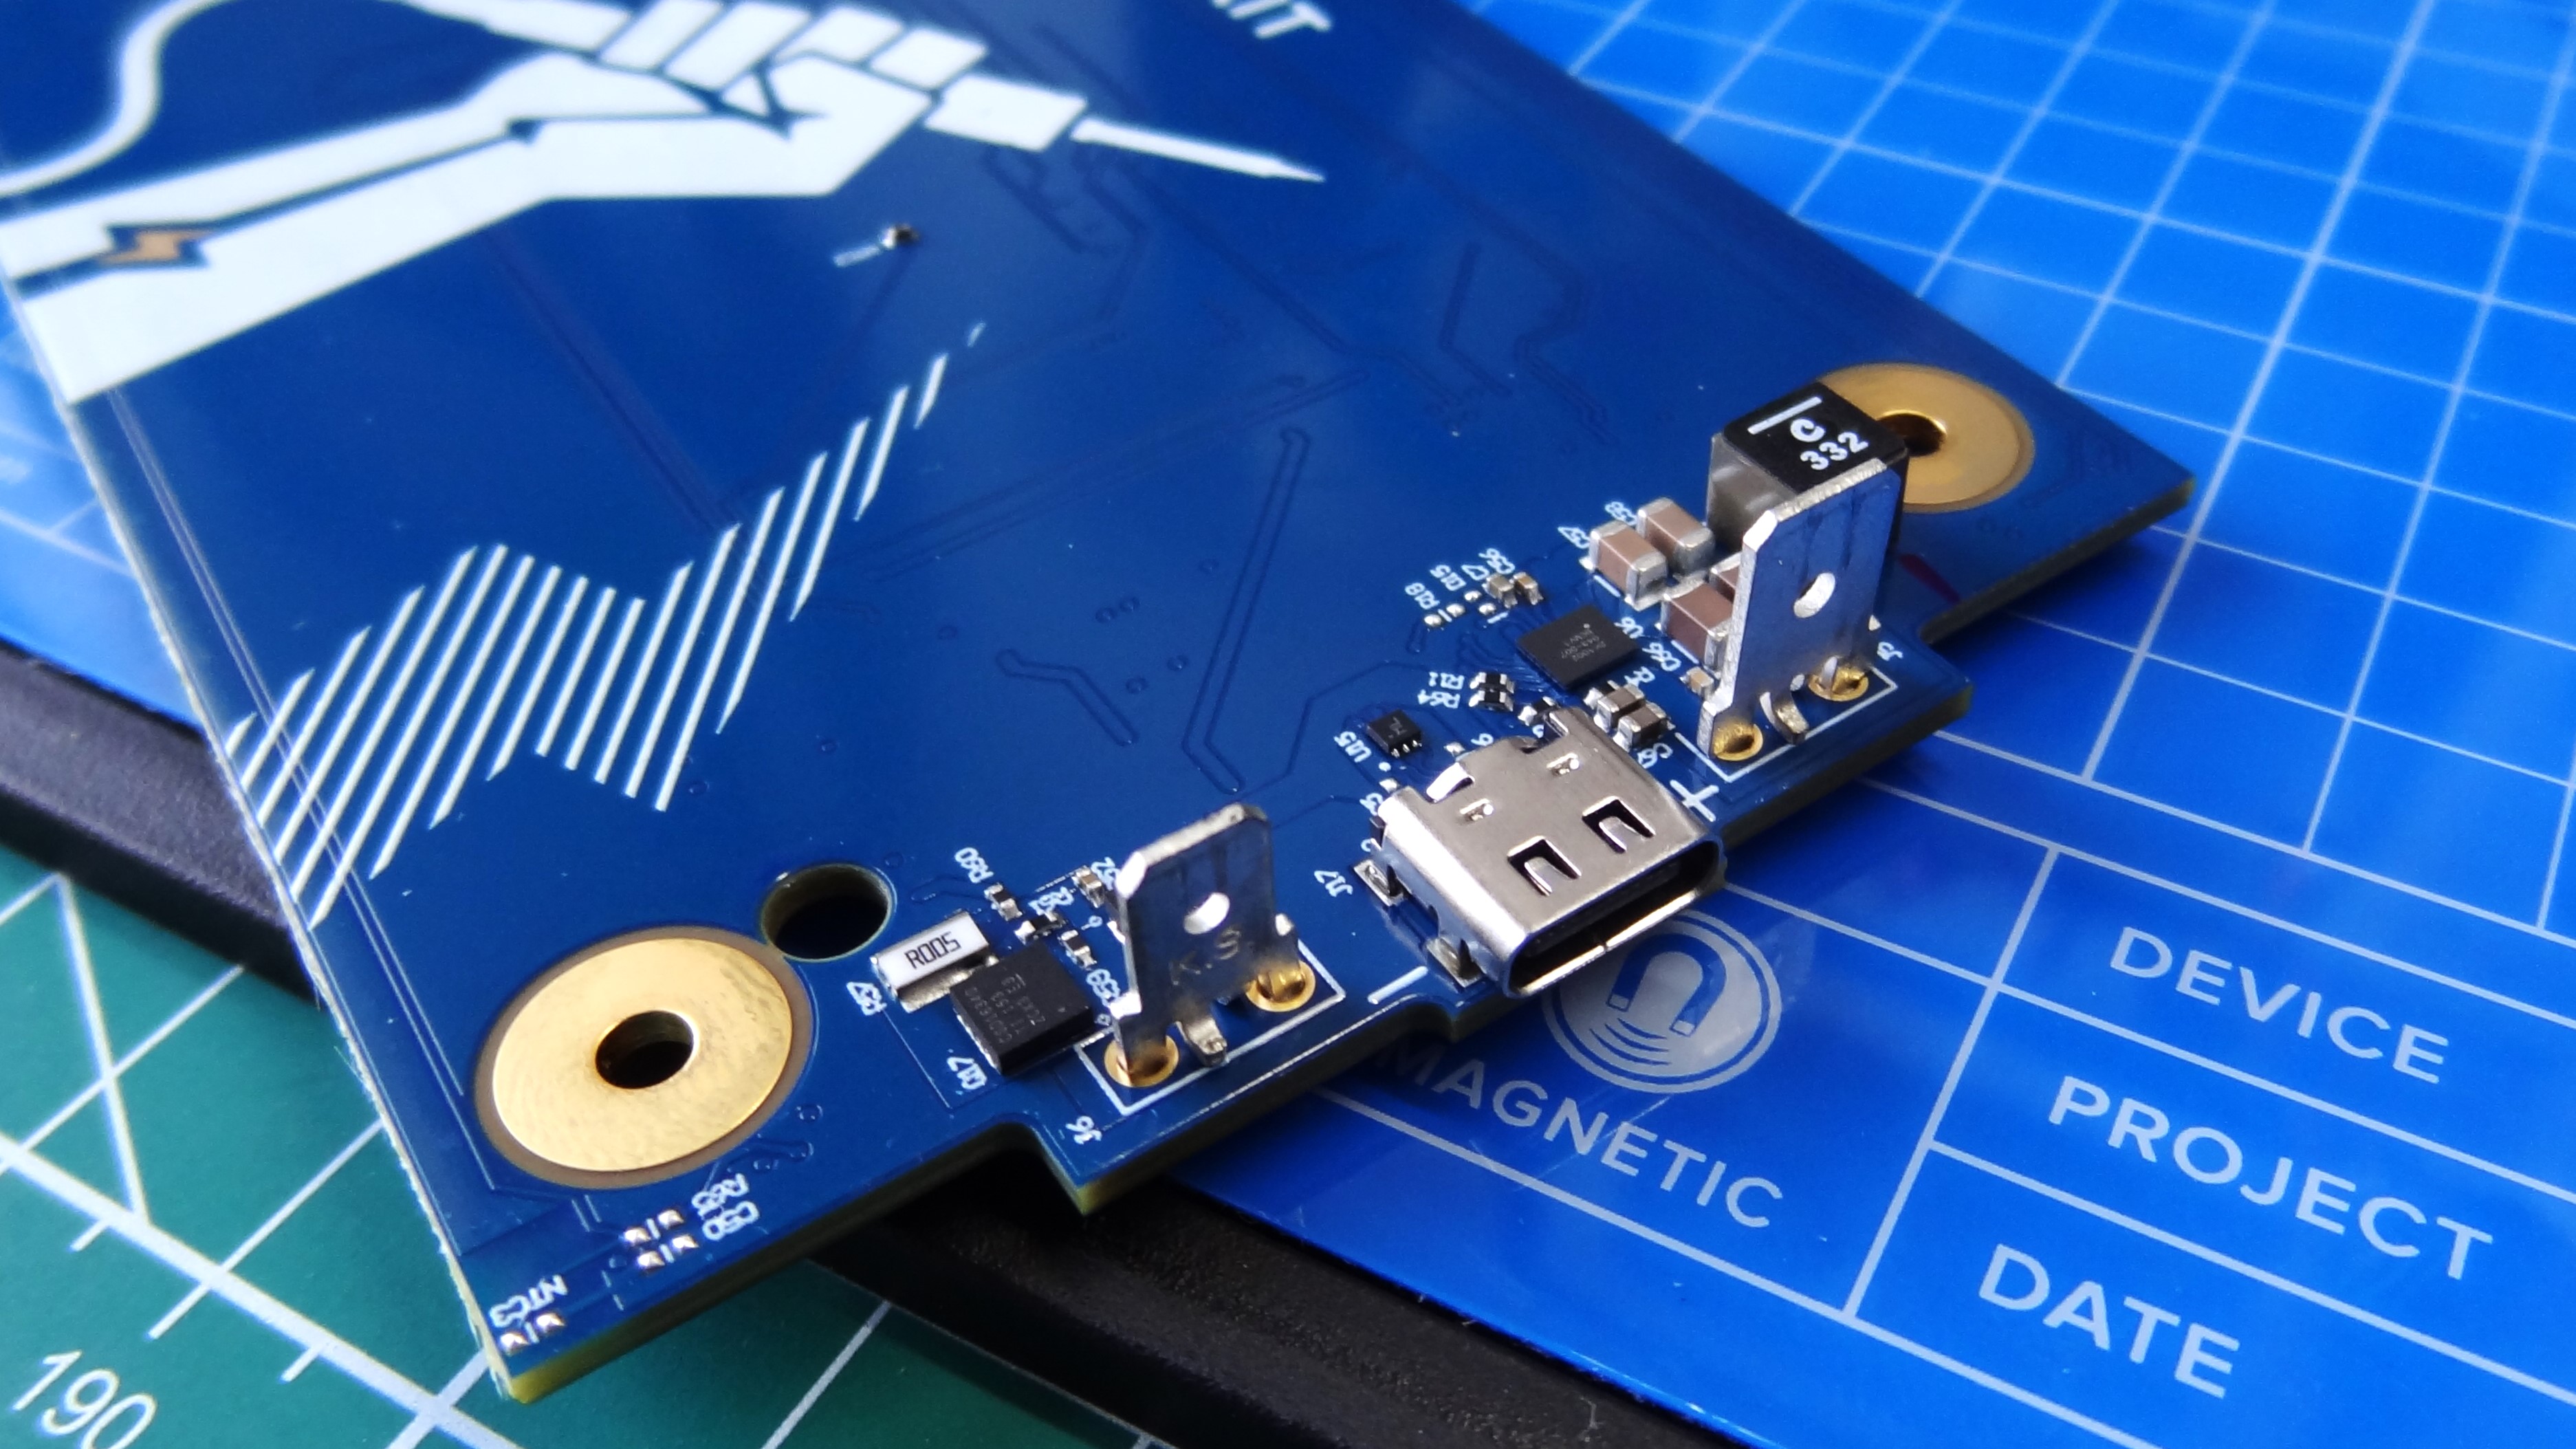
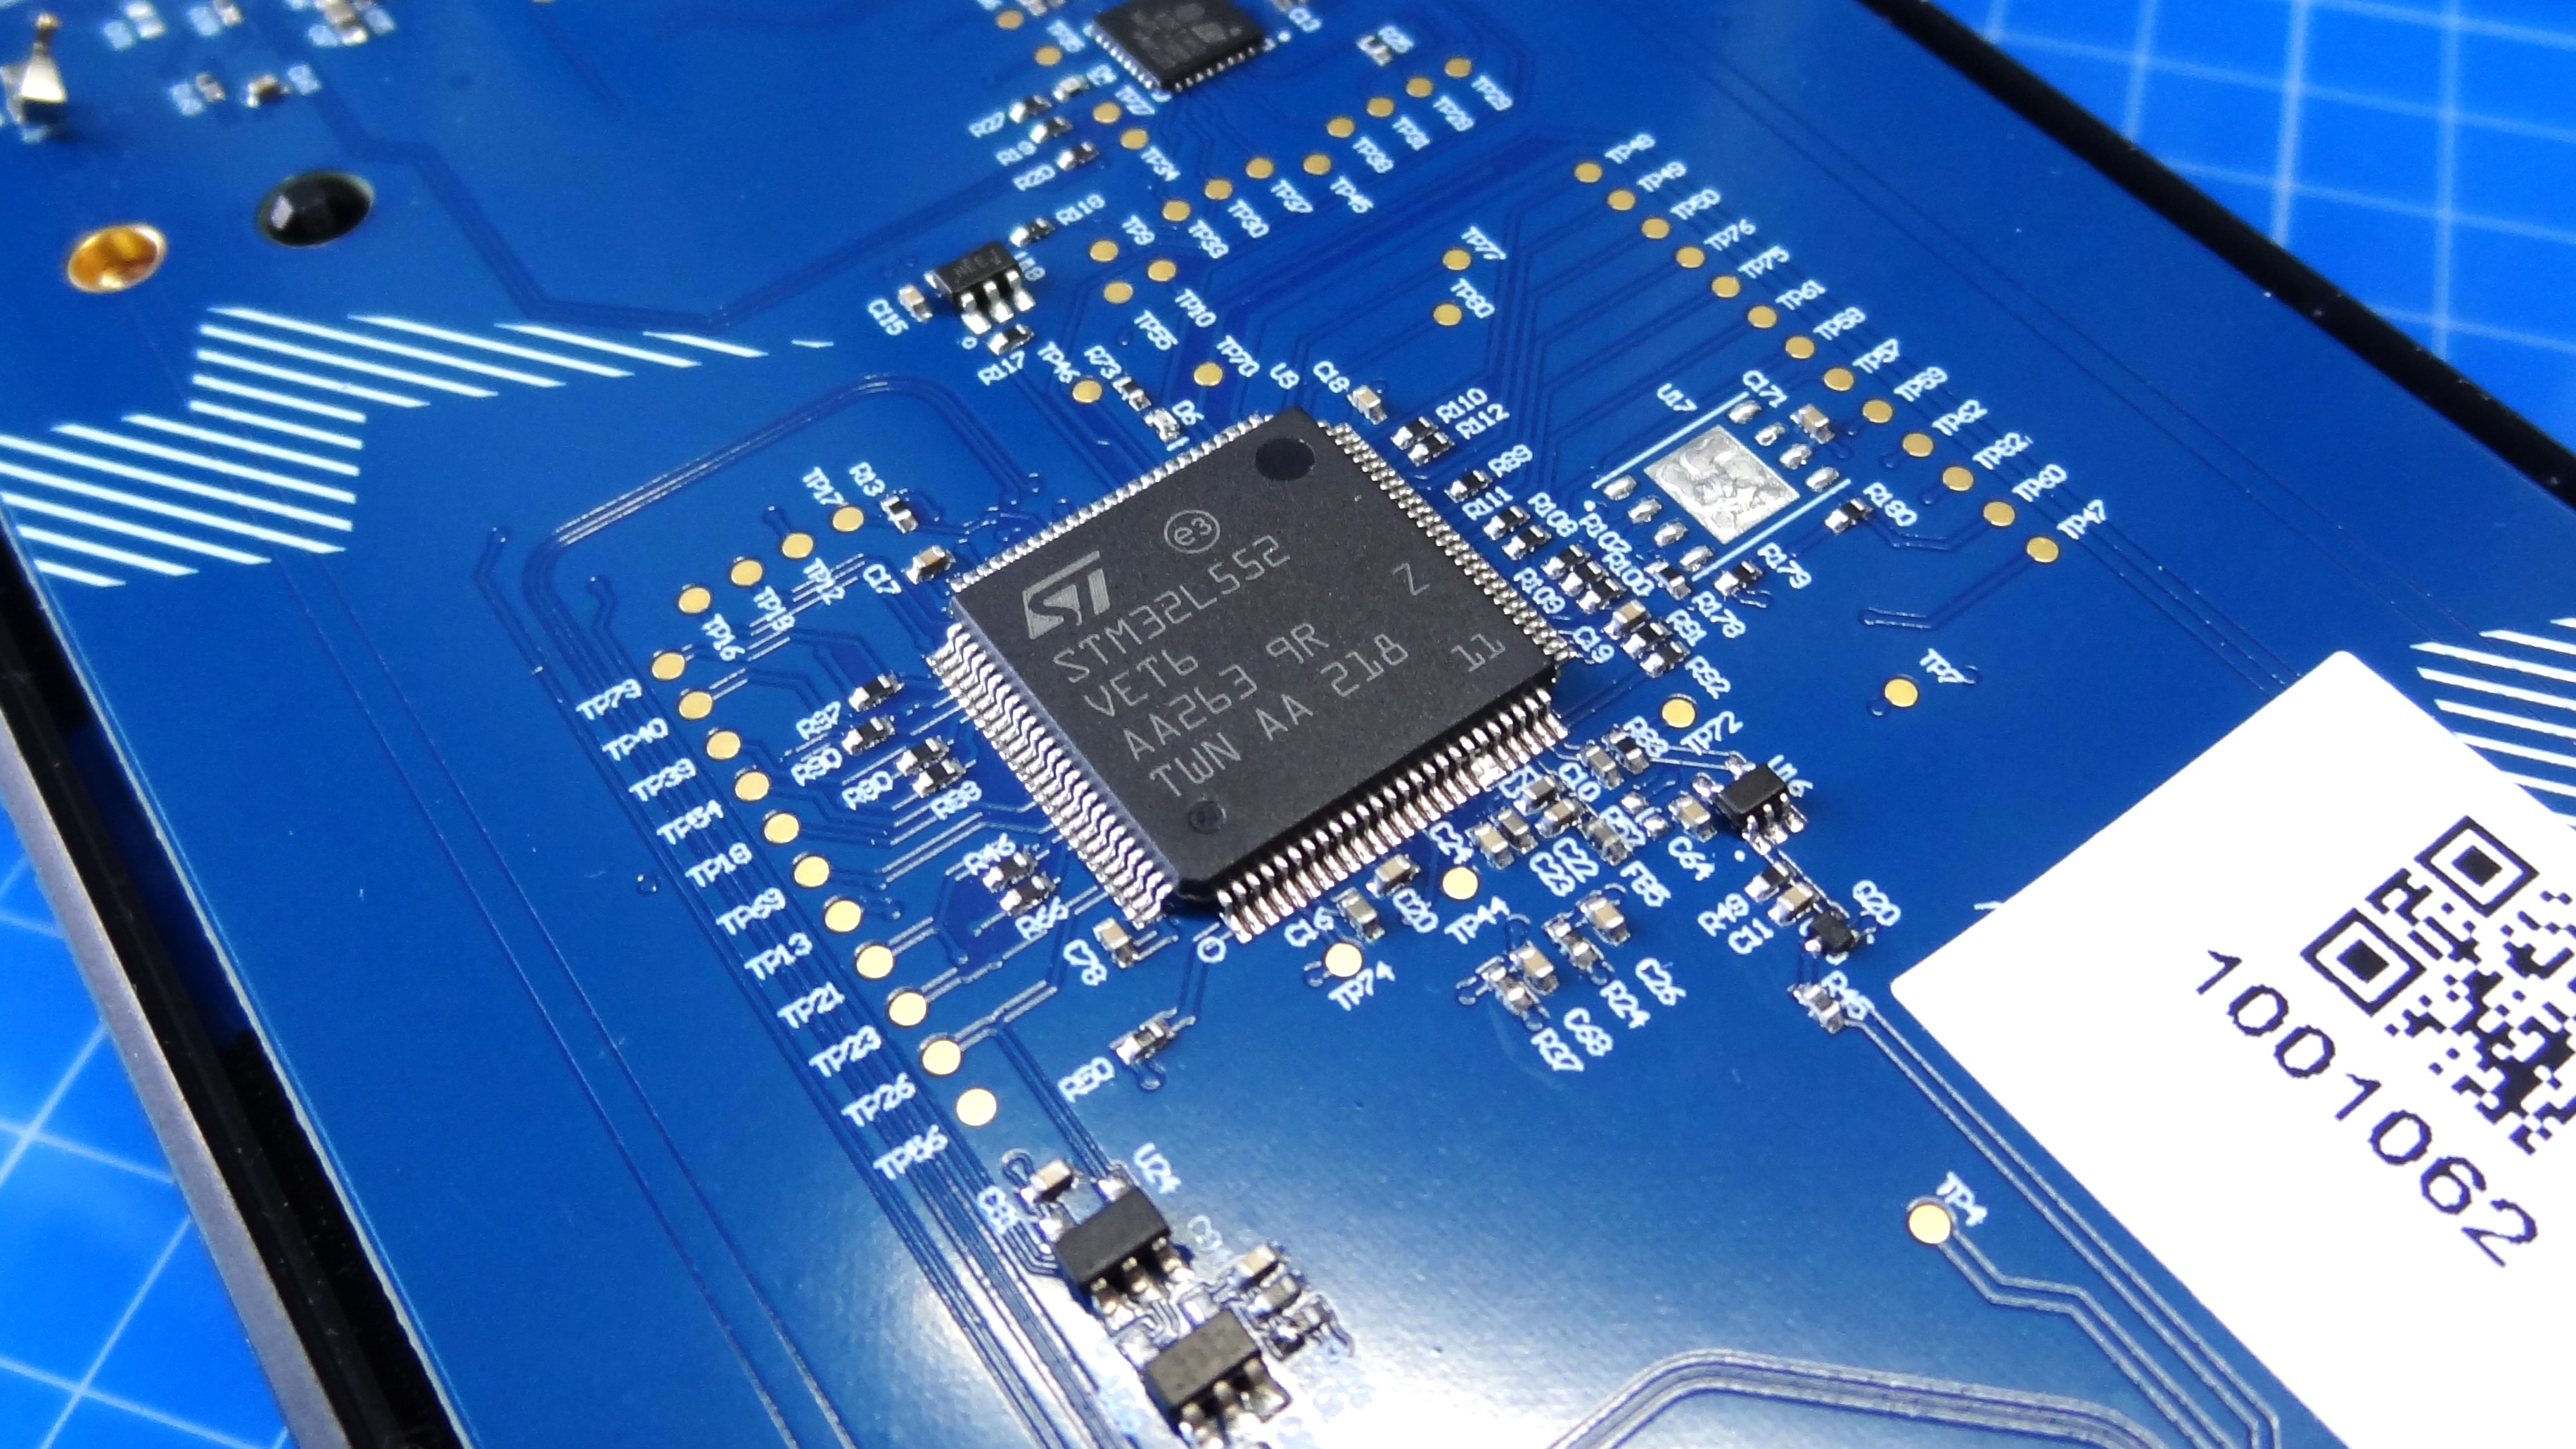
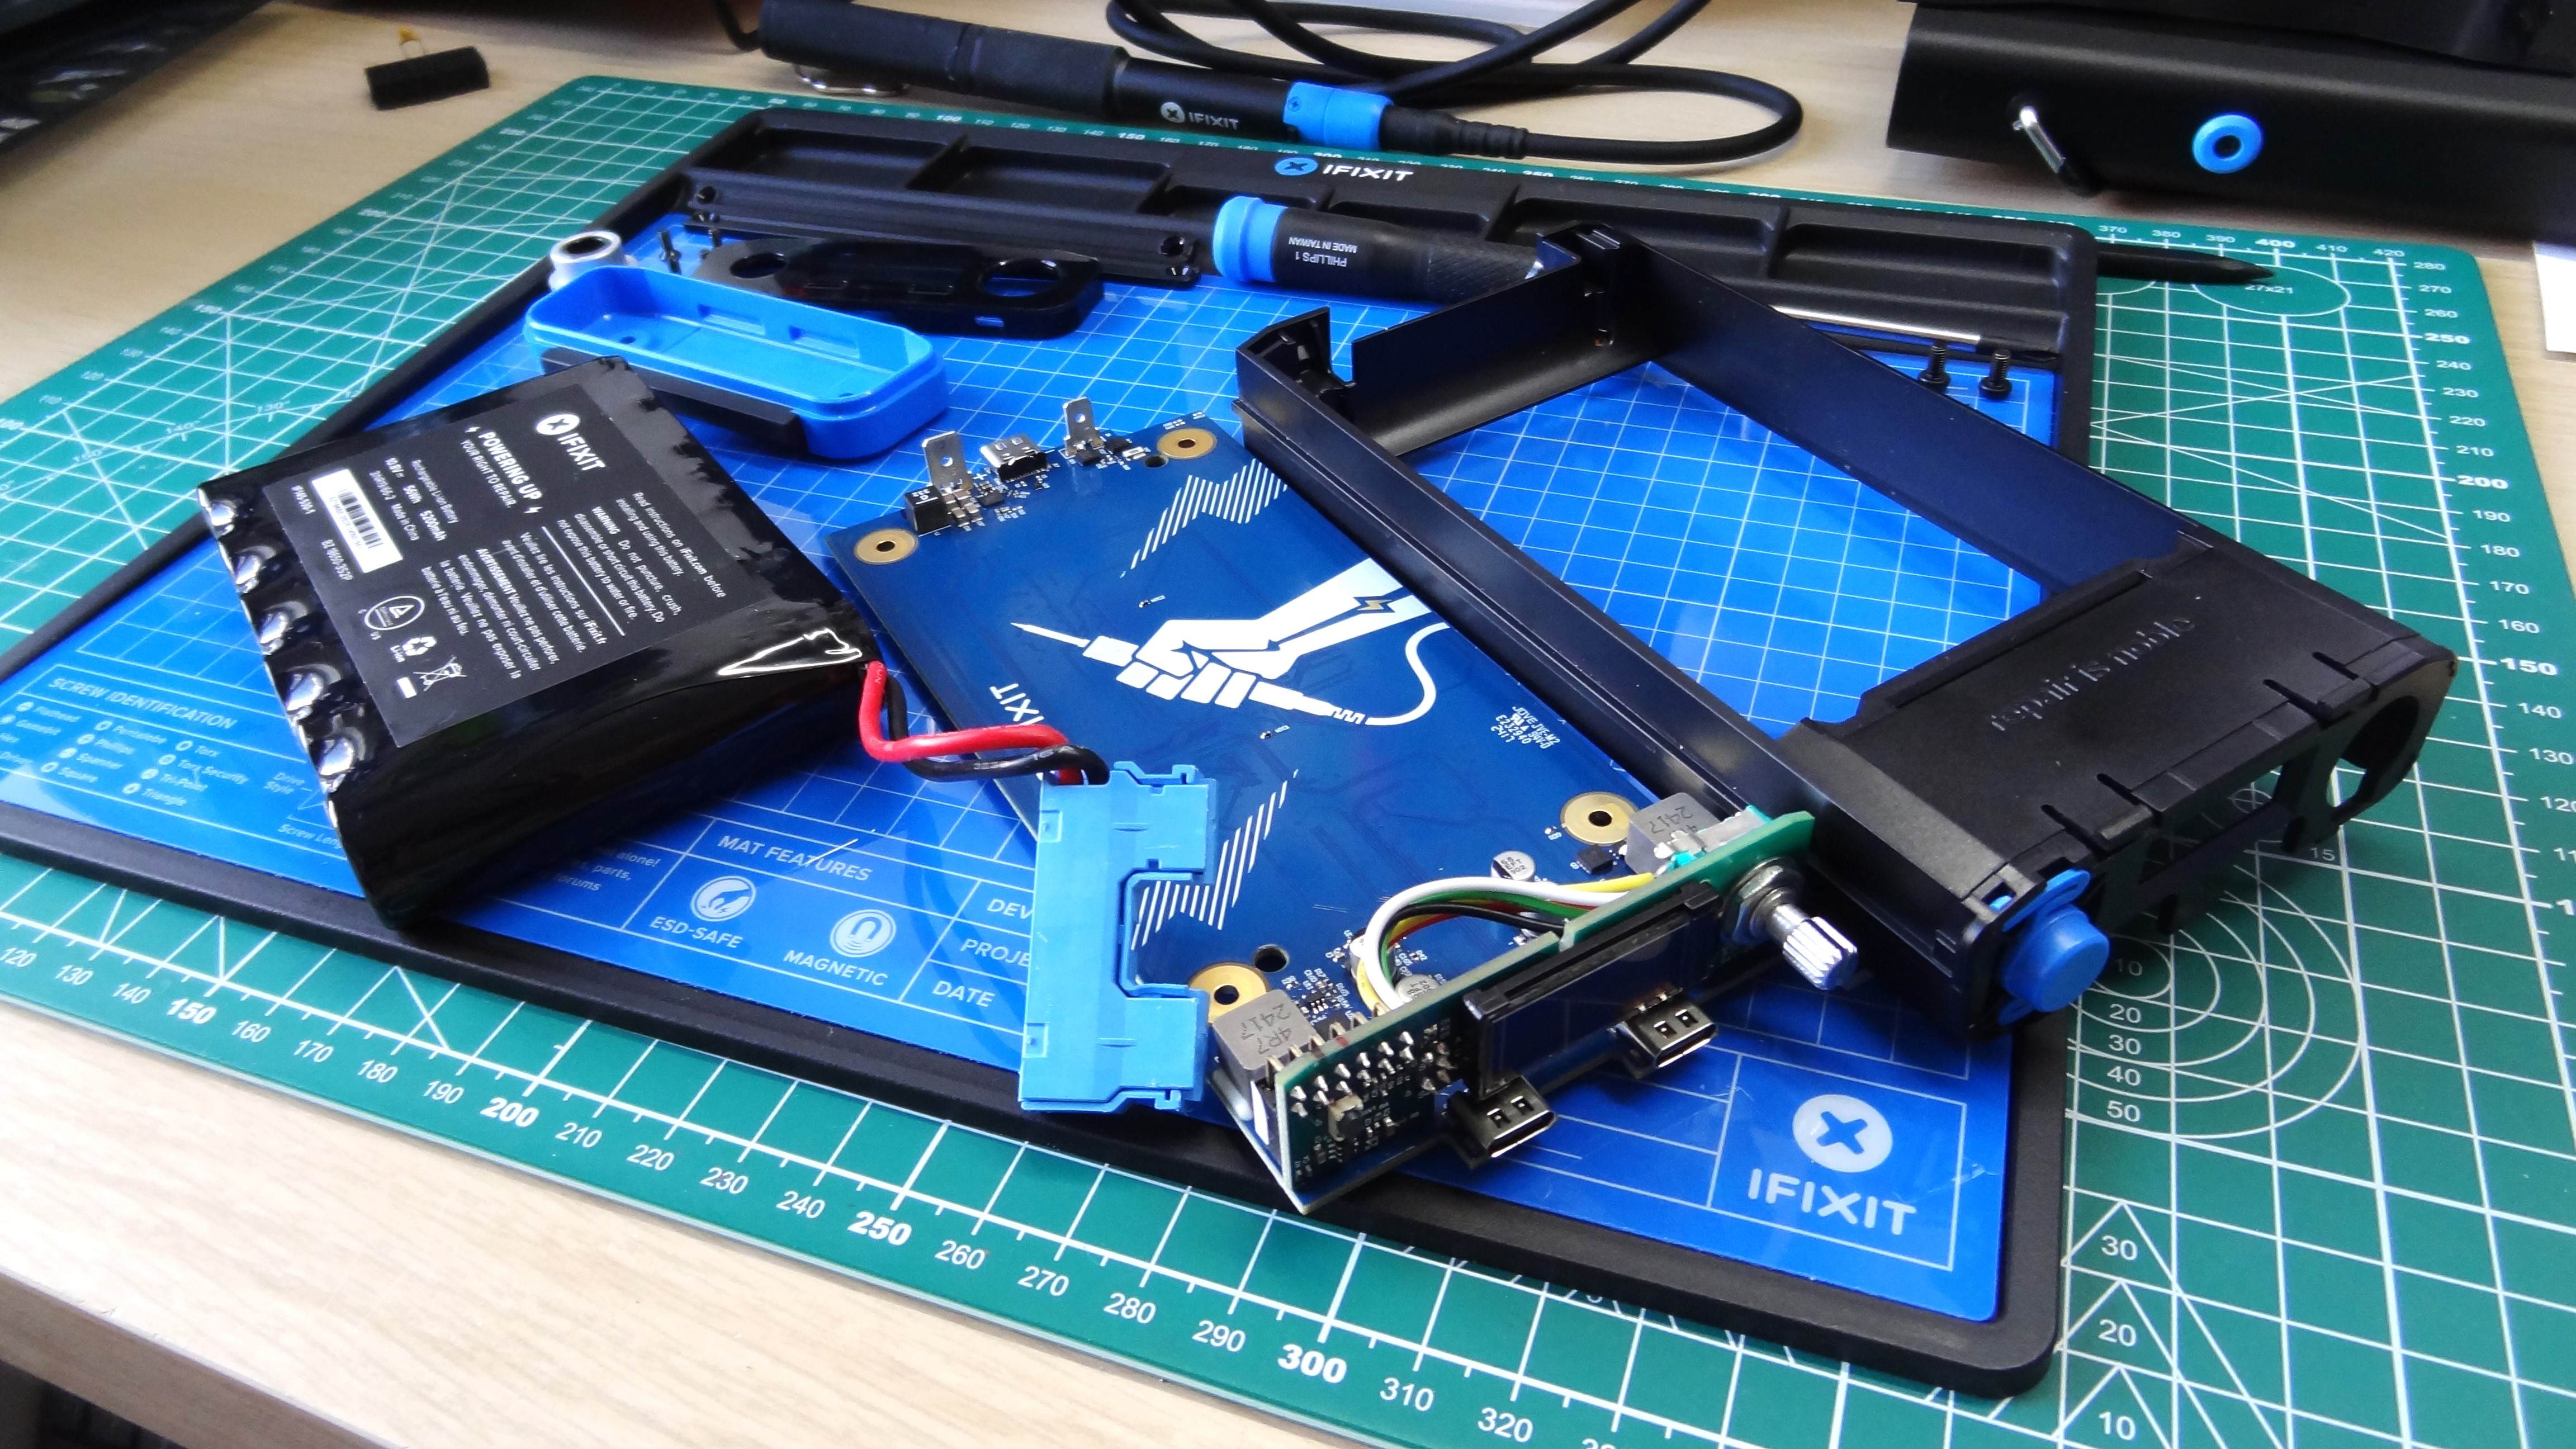
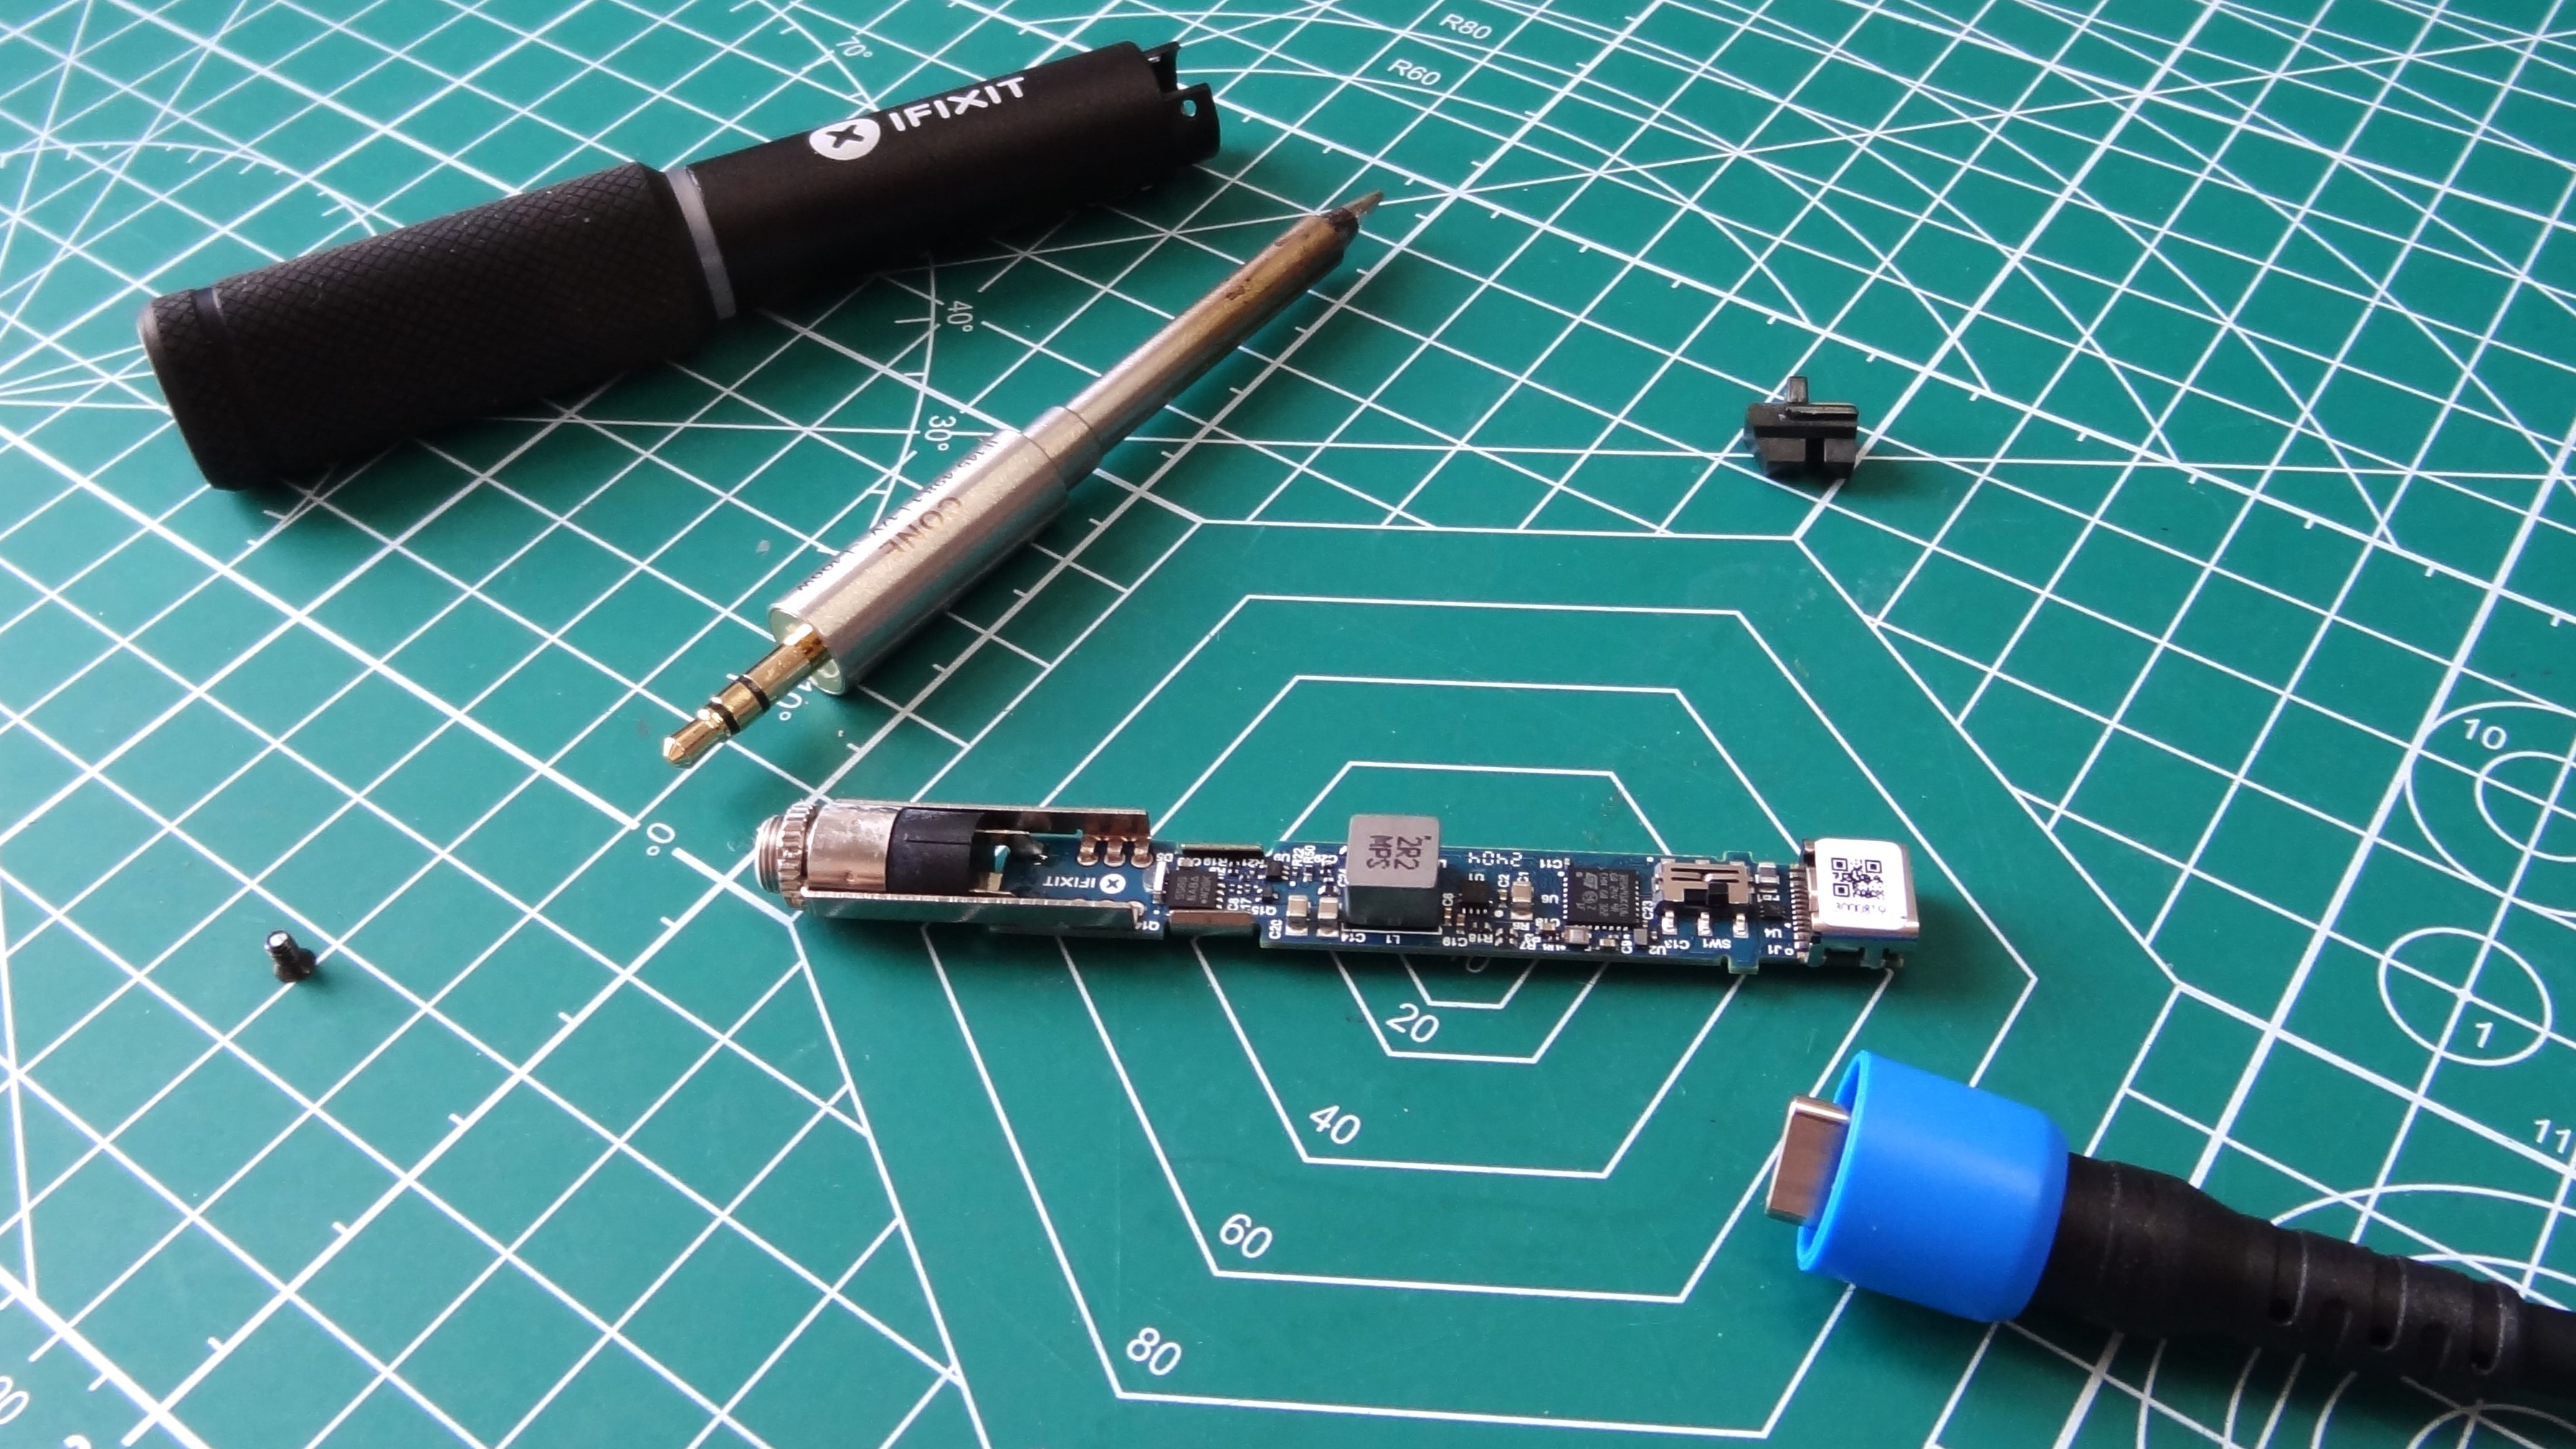
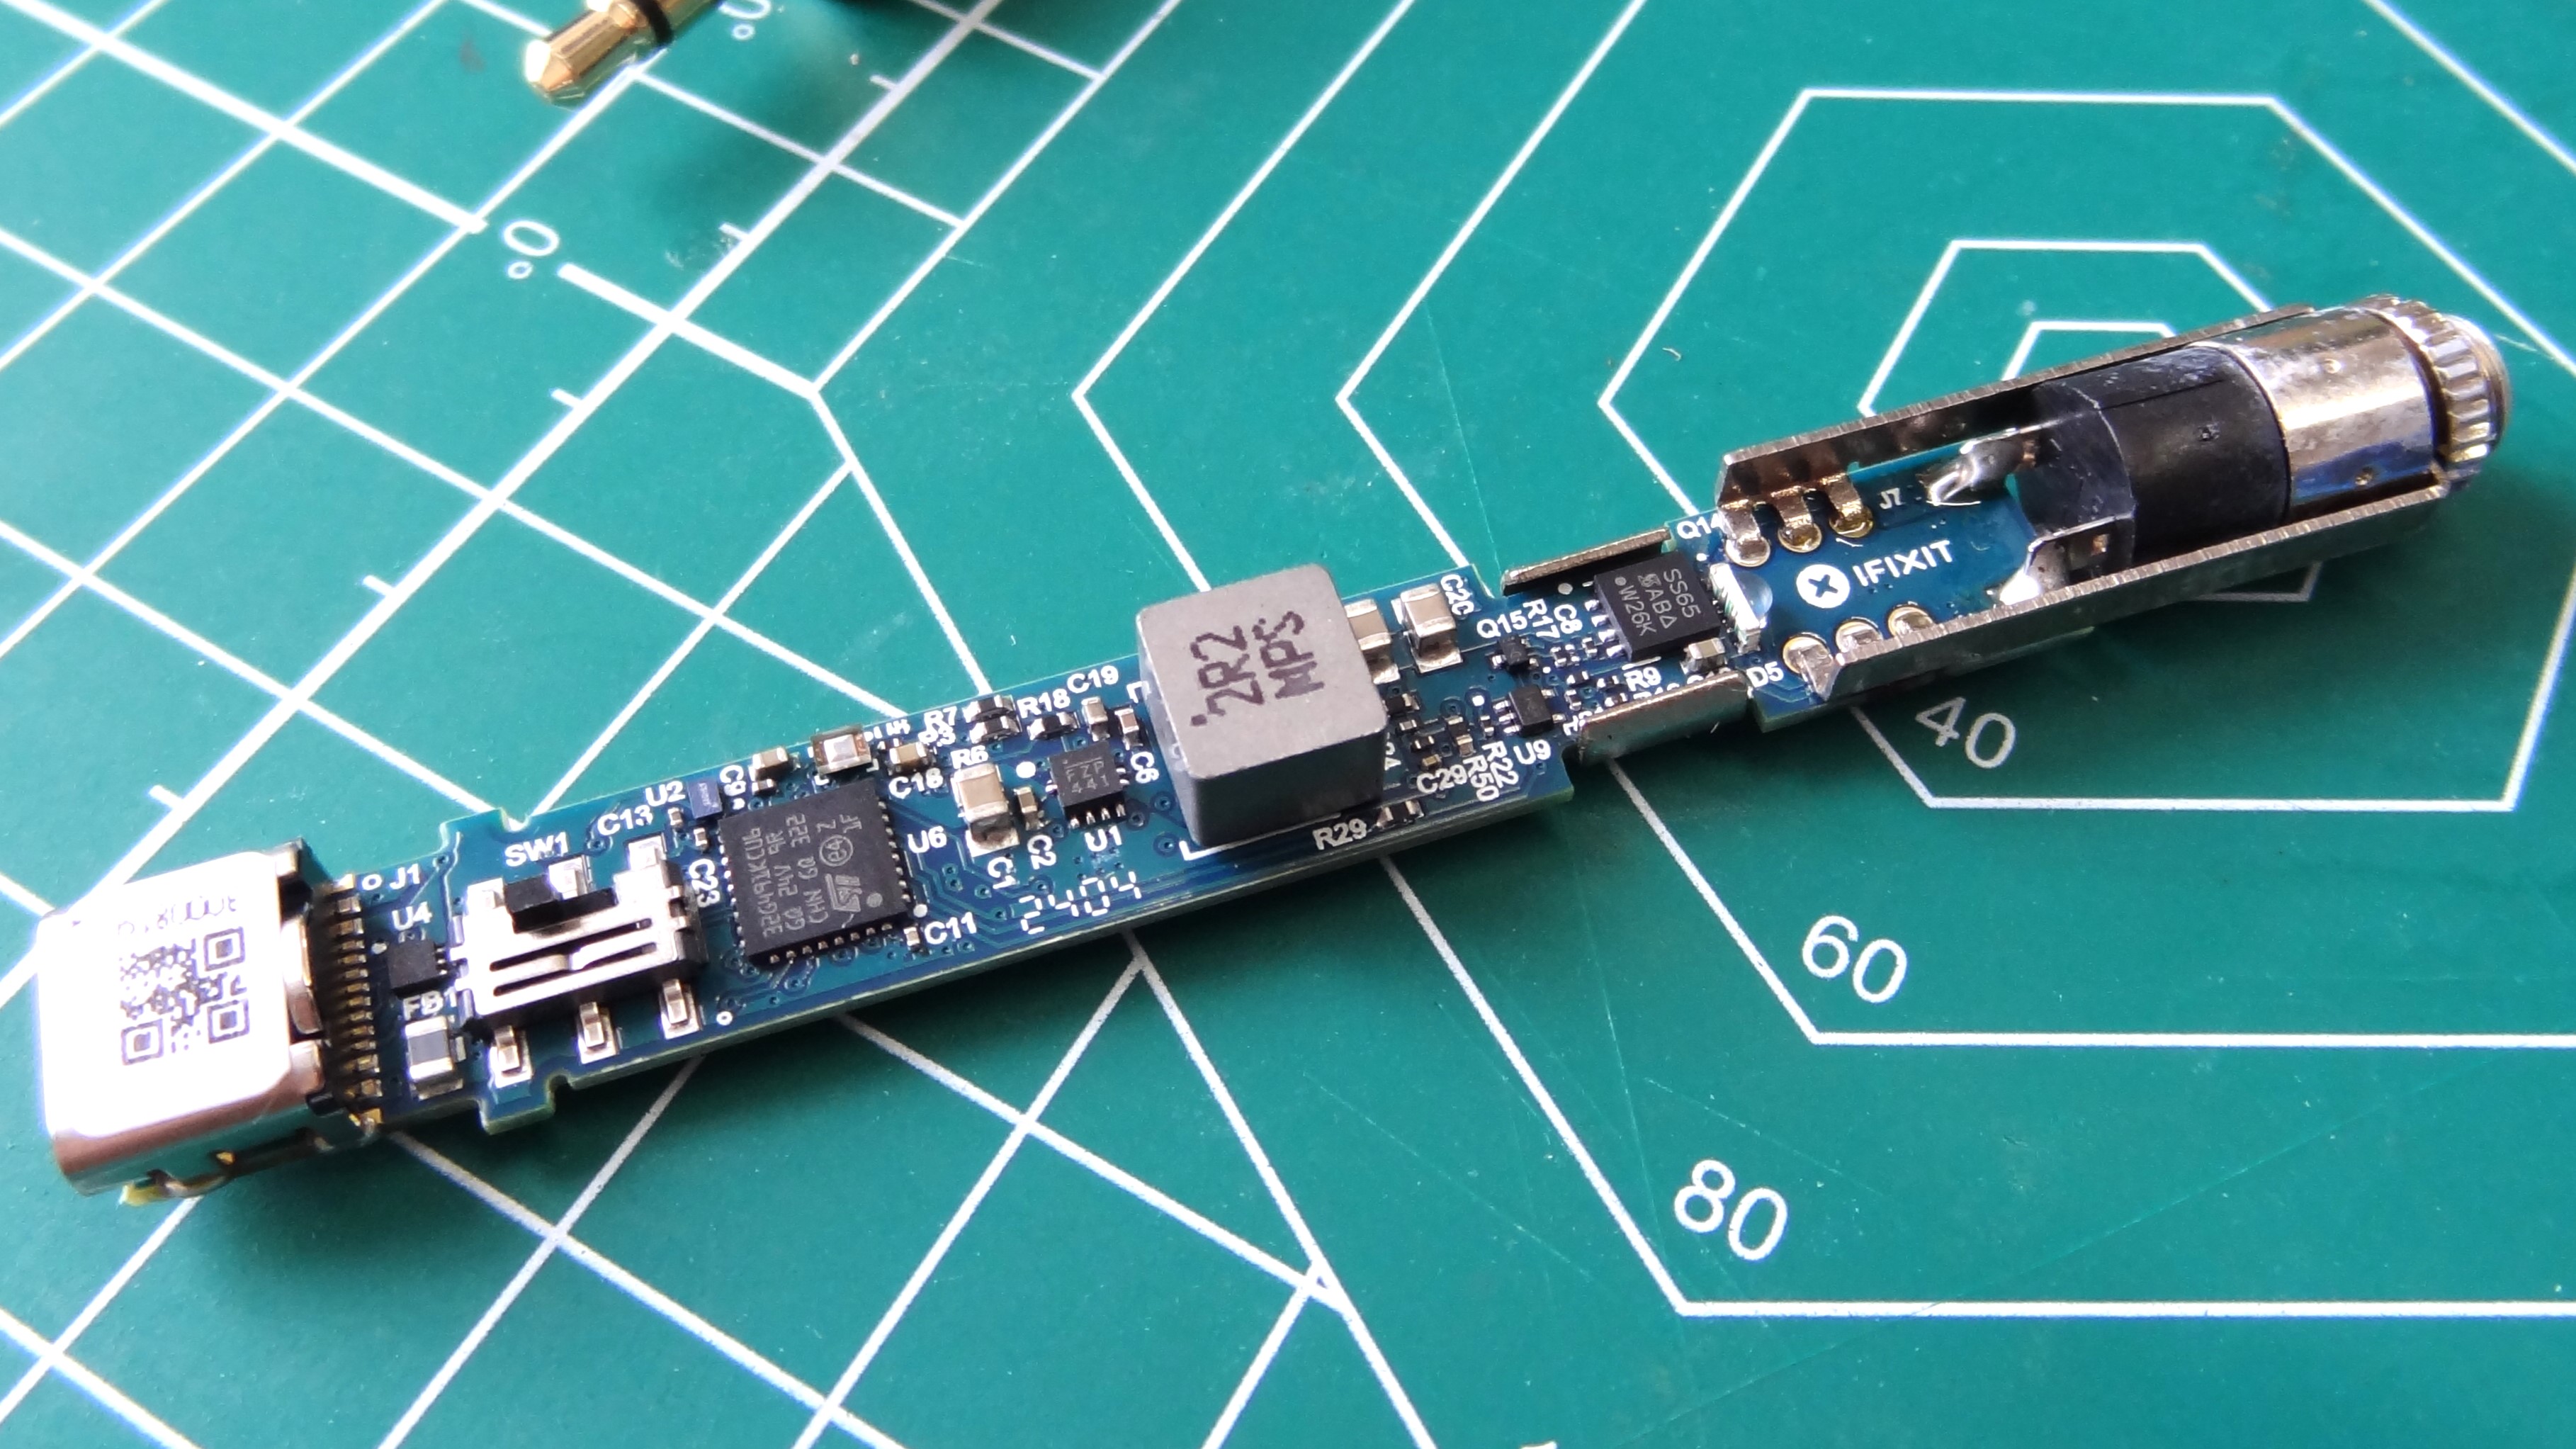
Ifixit claims that “True to iFixit’s mission, the FixHub is designed for easy servicing, with quick battery replacement and a durable design that will stand the test of time.” So can we fix it? The answer is yes, but you will of course need the Ifixit guide in order to do so. Around the back are two Torx T8 screws. Remove these and remove the blue plastic cover. Now, push the unit out from the back, the UI end of the unit should push forward, a little more pressure and the electronics will slide out. Now all we have to do is remove the four screws holding on to two rails, remove the metal bracket from the LiPo battery pack, then unplug the power connector.
The battery pack is a consumable Ifixit part, which will be available for sale. To get the PCB out of the case. Remove the selector knob by pulling it away from the face. Then using a plastic spudger, release the plastic clasps that connect the electronics to the front of the case. Hey presto! You’ve just taken it apart. I even took apart the soldering iron, four Phillips 0 screws and I was in. Putting it back together was a little more involved, thanks to a plastic switch cover that did not want to go back in without a fight.
It's great that Ifixit has openly stated that the product can be repaired and that there will be guides and parts to do so. Nobody likes spending $250 just to throw it away once the battery is dead. I’m looking at you smartphones.
Bottom Line: Who is Ifixit Fixhub Portable Soldering Station For?

The Ifixit Fixhub Portable Soldering Station is a great all-rounder. In your home workspace, the makerspace and the garage, the Ifixit Fixhub Portable Soldering Station has the power and precision for all of your soldering needs. But it is going to make a dent on your wallet. If you are a professional maker who needs a powerful soldering system around your shop, then the Ifixit Portable Soldering Station is for you.
If you are just starting out with soldering, grab a Fnirsi HS-01, it is cheap and will do most of what the Ifixit can do at this level. Personally, my Yihua 938BD+ is now at critical risk of disappearing from my desk. The Ifixit kit is smaller, and just as powerful. Sure I lose the hot air gun, but how often do I use that? The Ifixit Fixhub Portable Soldering Station is a large chunk of change, but if you are serious about soldering, then this smart little package is what you need. You get Hakko quality in a portable package.

Les Pounder is an associate editor at Tom's Hardware. He is a creative technologist and for seven years has created projects to educate and inspire minds both young and old. He has worked with the Raspberry Pi Foundation to write and deliver their teacher training program "Picademy".
-
jayjr1105 $300 is a bit steep when you can get Hakko and JBC clones anywhere from $50-100 or a Pinecil for $35. Yes the Pinecil will need a power source and some accessories but still, it's $35 to start with. No 2.4mm chisel tip is also a big letdown. I got excited when I first saw this but the price immediately popped my balloon.Reply -
gggplaya The price is way to high, for a desktop iron for that price I'll get a Pace ADS200, in fact that's what we use at work. Goes from 0 to 400c in 3 seconds.Reply
For travel, I use a Pinecil with a custom 3D printed case: https://makerworld.com/en/models/118986?from=search#profileId-128008
The Pinecil is amazing. For $26 + $11 shipping, you can't beat it. 65 watt iron that performs as well as most desktop irons because it uses a cartridge style tip that places the temp sensor closer to the very end of the tip which gives better closed loop heat control. It goes from 0 to 400c in 6 seconds. Beats out the Hakko FX888 that I used to use. It's also so cheap that I also keep 1 in my car just in case I have to help someone solder something at their house on a whim. -
gggplaya Replydimar said:Does it come with 10 years warranty, including the battery?
There's no battery, you use your own, any that are USB-C PD 3.0 compatible at 65watts will work. I use this cheap cuktech battery that I paid $25 for when it was on sale: https://www.amazon.com/dp/B0CS2MD9FP But also it uses a DC barrel jack as well, so some people use an 18v or 20v drill battery they have at home, or you can even run it directly to the 12v system in your car, albeit at a lower wattage. However, I'll always have a portable power bank because I travel often. I just have to make sure whatever I buy will power 65watts or more.
For the money, I can roll the dice, if it fails once a year for 10 years, the pinecil would still be cheaper. -
Lieutenant Barclay I almost ordered the $79 iron w/o the proprietary battery pack and good thing I read the details - w/o the iFixit battery, the only way to adjust the temperature is via web interface. That's ridiculous. And $250 for the kit seems ridiculous, too. Build quality seriously looks like the kit should be $79 and the iron should be $12. It's worse than Apple still shipping 8GB RAM - it's a blatant upsell just to get a basic feature.Reply
