Tom's Hardware Verdict
Snapmaker U1 is the machine we’ve been waiting for — an affordable four-color 3D printer that doesn’t waste your filament. It has speed, style, and out-of-the-box simplicity.
Pros
- +
Tool changer
- +
Core XY
- +
Klipper
- +
Excellent auto bed leveling
- +
Good direct drive tool heads
- +
Roomy build size
- +
Camera
Cons
- -
Kickstarter
- -
Enclosure is extra
Why you can trust Tom's Hardware
The Snapmaker U1 is the machine we’ve all been waiting for: an affordable tool changer that’s easy to use. Tool changers are next level when it comes to 3D printing in multimaterial, as each spool has its own dedicated filament path and tool head. This greatly cuts down on the time it takes to swap colors, eliminates most of the need to purge filament, and allows you to print in several materials at once.
Right off the top, I want to point out that Snapmaker appears to have gone back to the drawing board for this machine. It bears little to no resemblance to the Artisan bedslinger I reviewed last, or the problematic J1 series that we took a pass on. This machine uses Klipper and OrcaSlicer, which relieves many of the pain points associated with previous Snapmaker machines.
Tool changers are complex machines that so far have been priced out of reach for many consumer-level makers. Many expected Bambu Lab to step in with the next affordable tool changer, but instead we got the H2D. Ironically, that machine is simply a superior version of Snapmaker’s printer-laser-CNC 3-in-1 we reviewed in 2022. Snapmaker has beaten the competition to the punch and has delivered the machine that everyone wants.
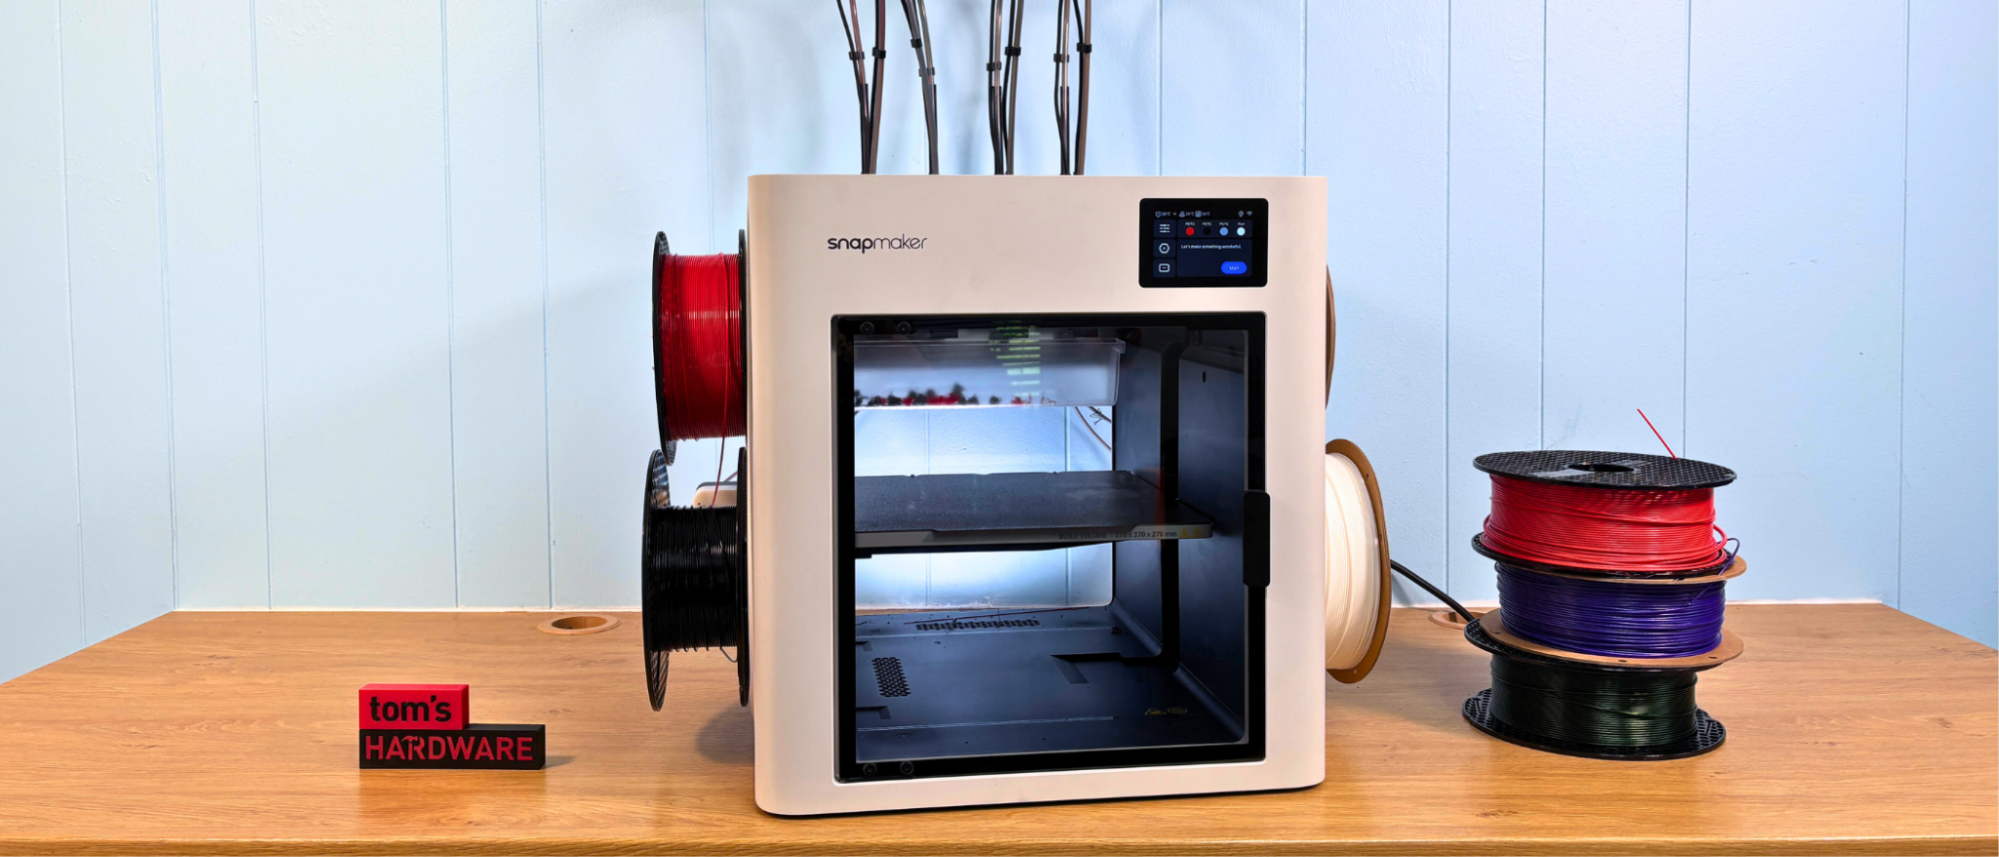
The Snapmaker U1 is slightly larger than average, with a 270 x 270 x 270 mm build volume, and is only sold with all four tool heads. There’s very little assembly required. You just pop the tool heads and spool holders into place, then attach the tubes and cables. It’s no different from setting up any other modern Core XY machine.
I do have to caution that the U1 is launching as a Kickstarter, which means if you jump on this 3D printer right now, you are getting the first wave of consumer-ready machines, and there may still be a few bugs. You’re also going to get a price break of $200 to $300 if you catch an Early Bird price. I accepted a Beta unit for testing in order to get a review ready before the Kickstarter date, and my machine did have a few wonky parts and software issues. However, I was also included in the Beta testing program, so all the issues I found were reported and should be fixed before the retail machine is shipped.
Even as a Beta unit, the Snapmaker U1 is impressive and produced quality prints faster than my Bambu Lab P1P. It was able to print a plate of three-color figures (with 90 color swaps), three hours faster, with no filament “poop” and only a 4-gram prime tower. The extra speed comes from the extra quick color swaps: it only takes the U1 about 10-12 seconds to change colors, while a Bambu Lab machine can take 90 seconds to reel the filament back and forth and clean the nozzle.
Even at the retail price of $999, the Snapmaker U1 is an excellent value, and power users will save significant amounts of time and filament. Our beta unit did not come with a lid to complete the enclosure – that will cost extra – but I was able to successfully print ASA without it. The Snapmaker U1 is definitely one of the best 3D printers we’ve seen this year, and I highly recommend checking it out for your next multicolor machine.
Get Tom's Hardware's best news and in-depth reviews, straight to your inbox.
Specifications: Snapmaker U1
Build Volume | 270 x 270 x 270mm (10.6 x 10.6 x 10.6 inches) |
Material | PLA/PETG/TPU (up to 300 degrees) |
Extruder Type | Direct Drive Tool Changer |
Nozzle | .4mm stainless steel proprietary |
Build Platform | Textured PEI steel flex plate, heated |
Bed Leveling | Automatic + Z height |
Filament Runout Sensor | Yes |
Connectivity | USB, LAN, Wi-Fi |
Interface | 3.5 inch Color Touch Screen |
Machine Footprint | 584 x 499 x 730 mm (22.9 x19.6 x 28.7 inches) |
Machine Weight | 18.2 KG (40.1 lbs) |
Snapmaker U1: Included in the box
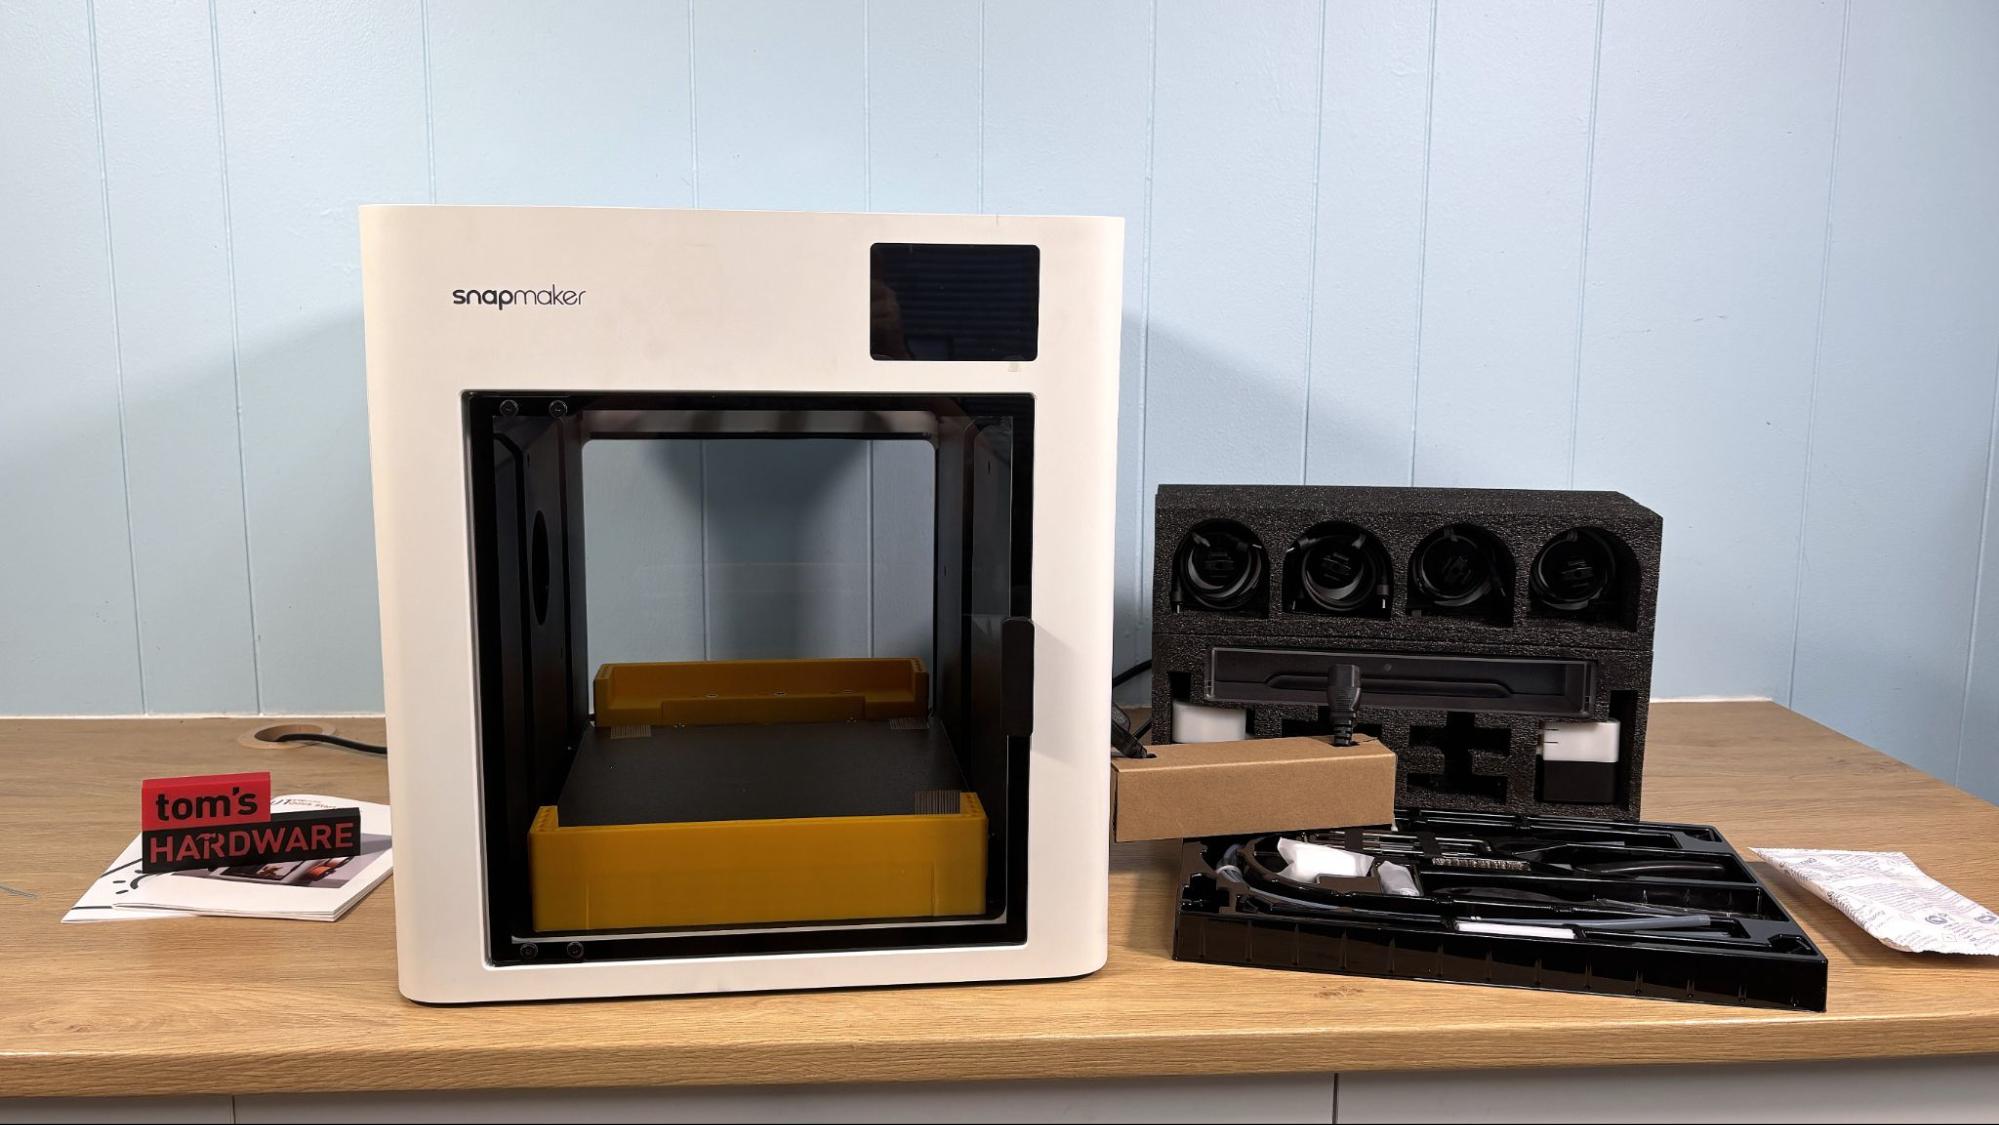
Unlike previous Snapmaker 3D printers, the U1 comes with minimal packing materials and a basic set of tools, accessories and a spare nozzle. There was no USB stick, and the slicer was available as a download.
Our review printer was a Beta unit, so yours may look different. It came with a serious 3D printed brace to keep the build plate safe.
Design of the Snapmaker U1
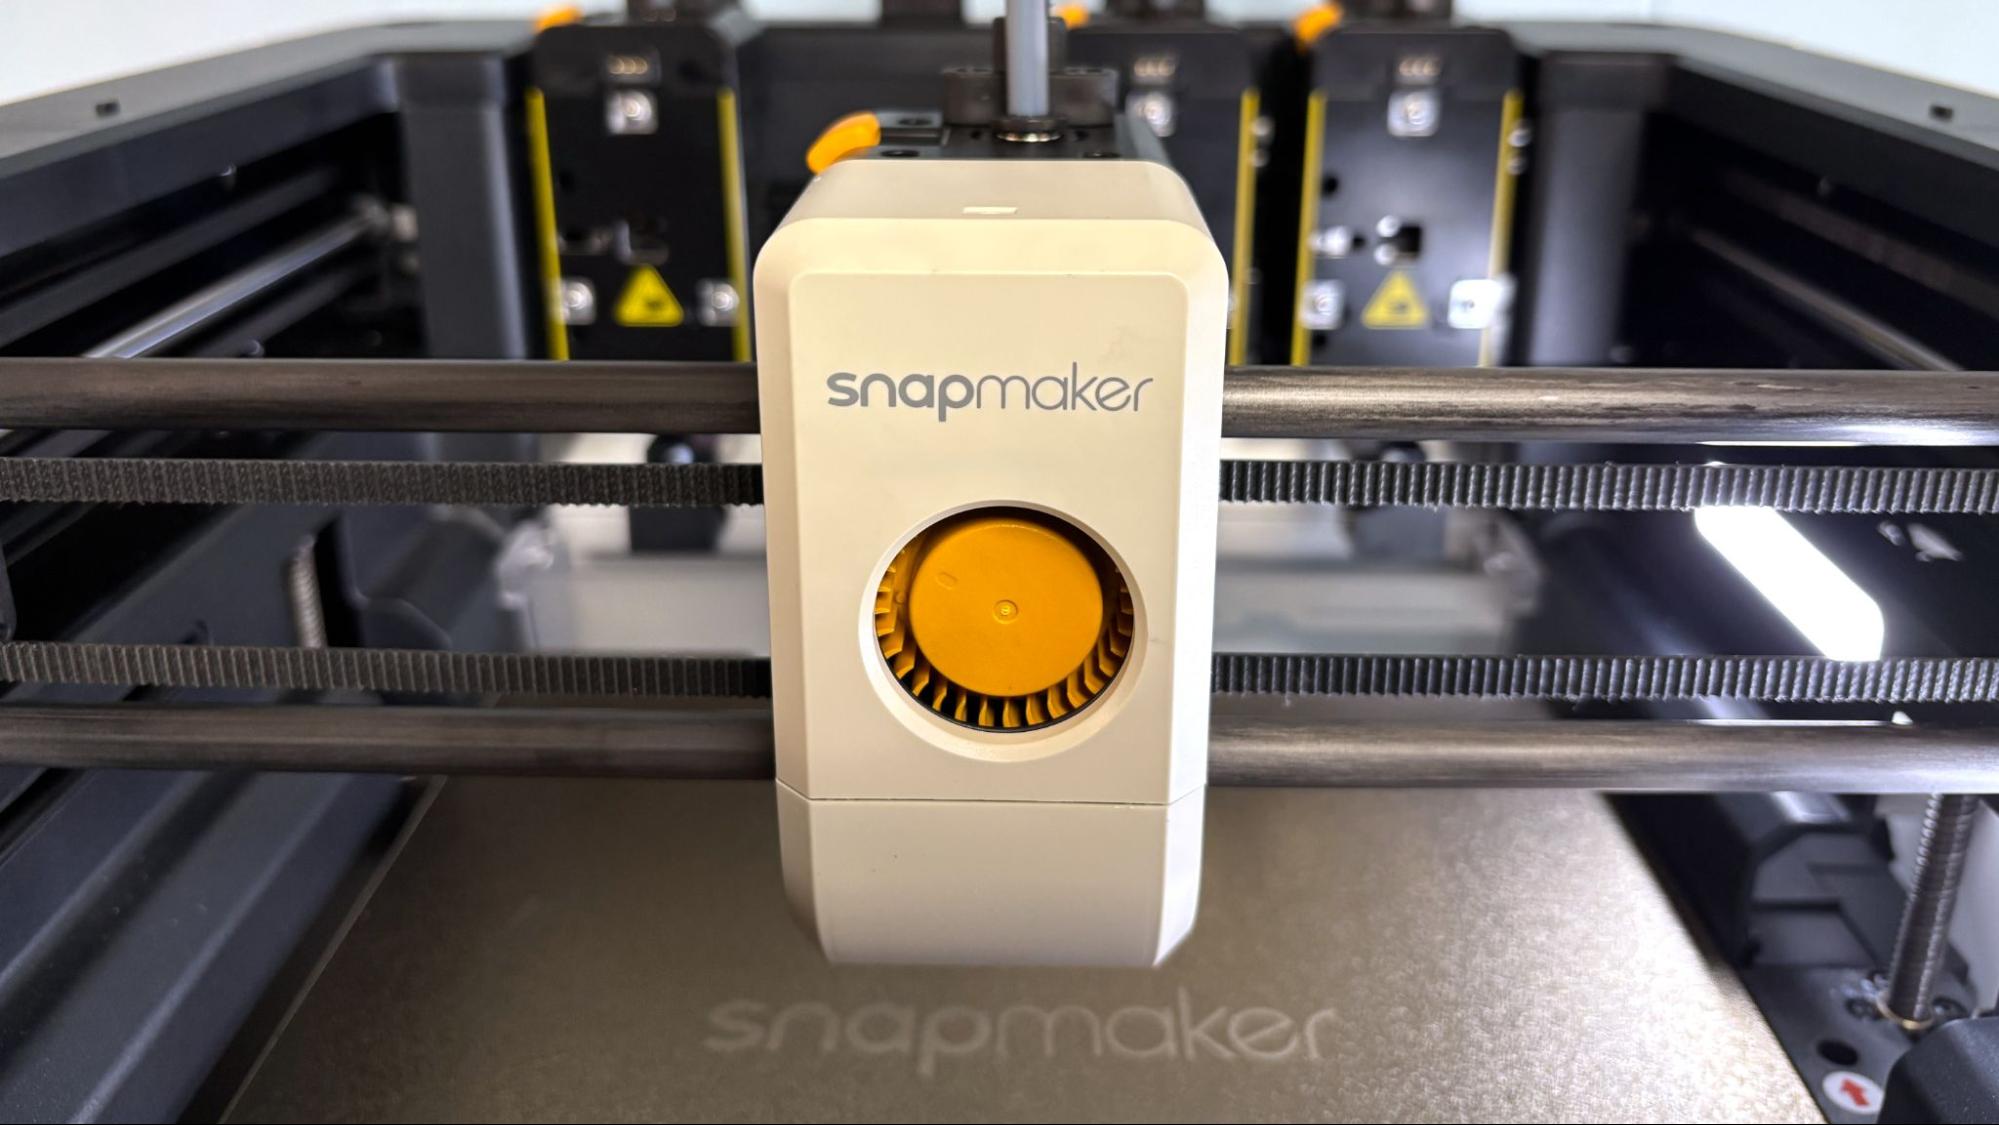
The Snapmaker went back to the drawing board on this one, and I’m not finding much in common with this machine and the Artisan or 2.0 I’ve reviewed in the past. I didn’t get a chance to review the J1s IDEX machine, so there may be similarities there I’m not picking up on. But that’s OK, and I’m happy they scrapped the overengineered, gigantor bedslingers of their past.
This machine is sleek, modern, and yes, a bit inspired by a Bambu-type machine, right down to the easily swappable nozzle with a stainless steel tip. It has carbon fiber rods on the X axis to keep it nimble, and lightweight parts, many injection molded, to keep costs down. It has die-cast aluminum and sheet metal where needed to keep the machine precise.
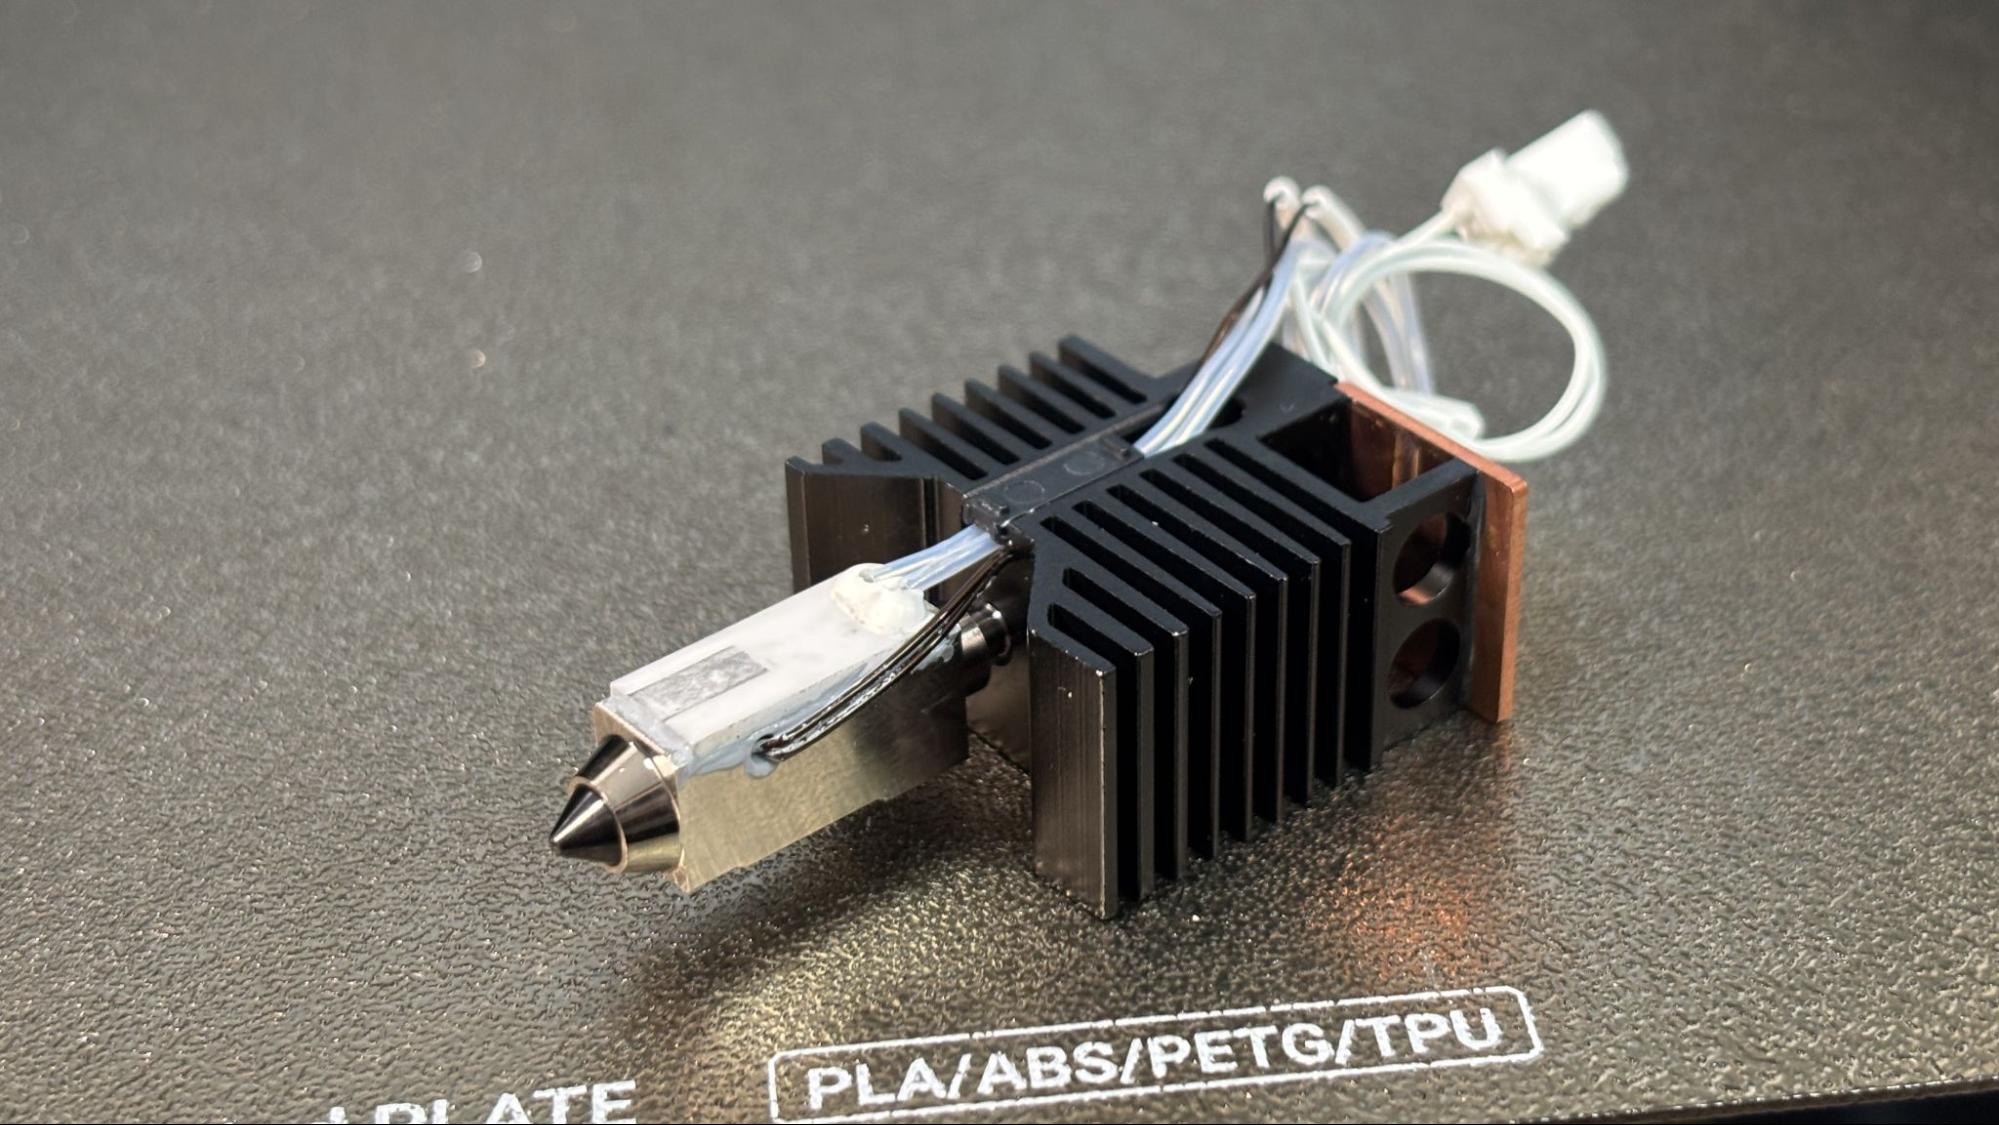
The steel-tipped nozzle can handle abrasives just fine, and it goes up to 300 °C. Combined with a 100 °C heated bed and optional top hat, the U1 can handle any material you throw at it. The body of the machine is semi-enclosed, with a clear back panel and a front door. The top hat/lid is optional and will be available after the launch. It would have to be fairly tall, rather like the Prusa XL’s enclosure, to accommodate the mess of bowden tubes for the four tool heads. However, I ran ASA without the lid, and it did fine, so you may not need it.
The machine has a “cavity” thermometer to track the interior temperature, but no active heating at this time. An interview with Snapmaker suggested that later updates to the machine could include not only some kind of lid, but also active heating and enclosed spool holders.
The U1 makes use of two open-source projects: Klipper and OrcaSlicer. It’s been in development for quite a while – remember the earlier leaks – and the Beta unit I tested was after Snapmaker’s engineers went through seven iterations.
Spools are mounted in pairs on both sides, with an auto feed system to push filament through extra-wide tubing to the tool heads. This makes loading the machine extremely easy. There’s no need for a reverse feeding system, as the filament remains loaded while in use, so the filament is removed manually. This is another cost-saving measure and one less moving part that could fail.
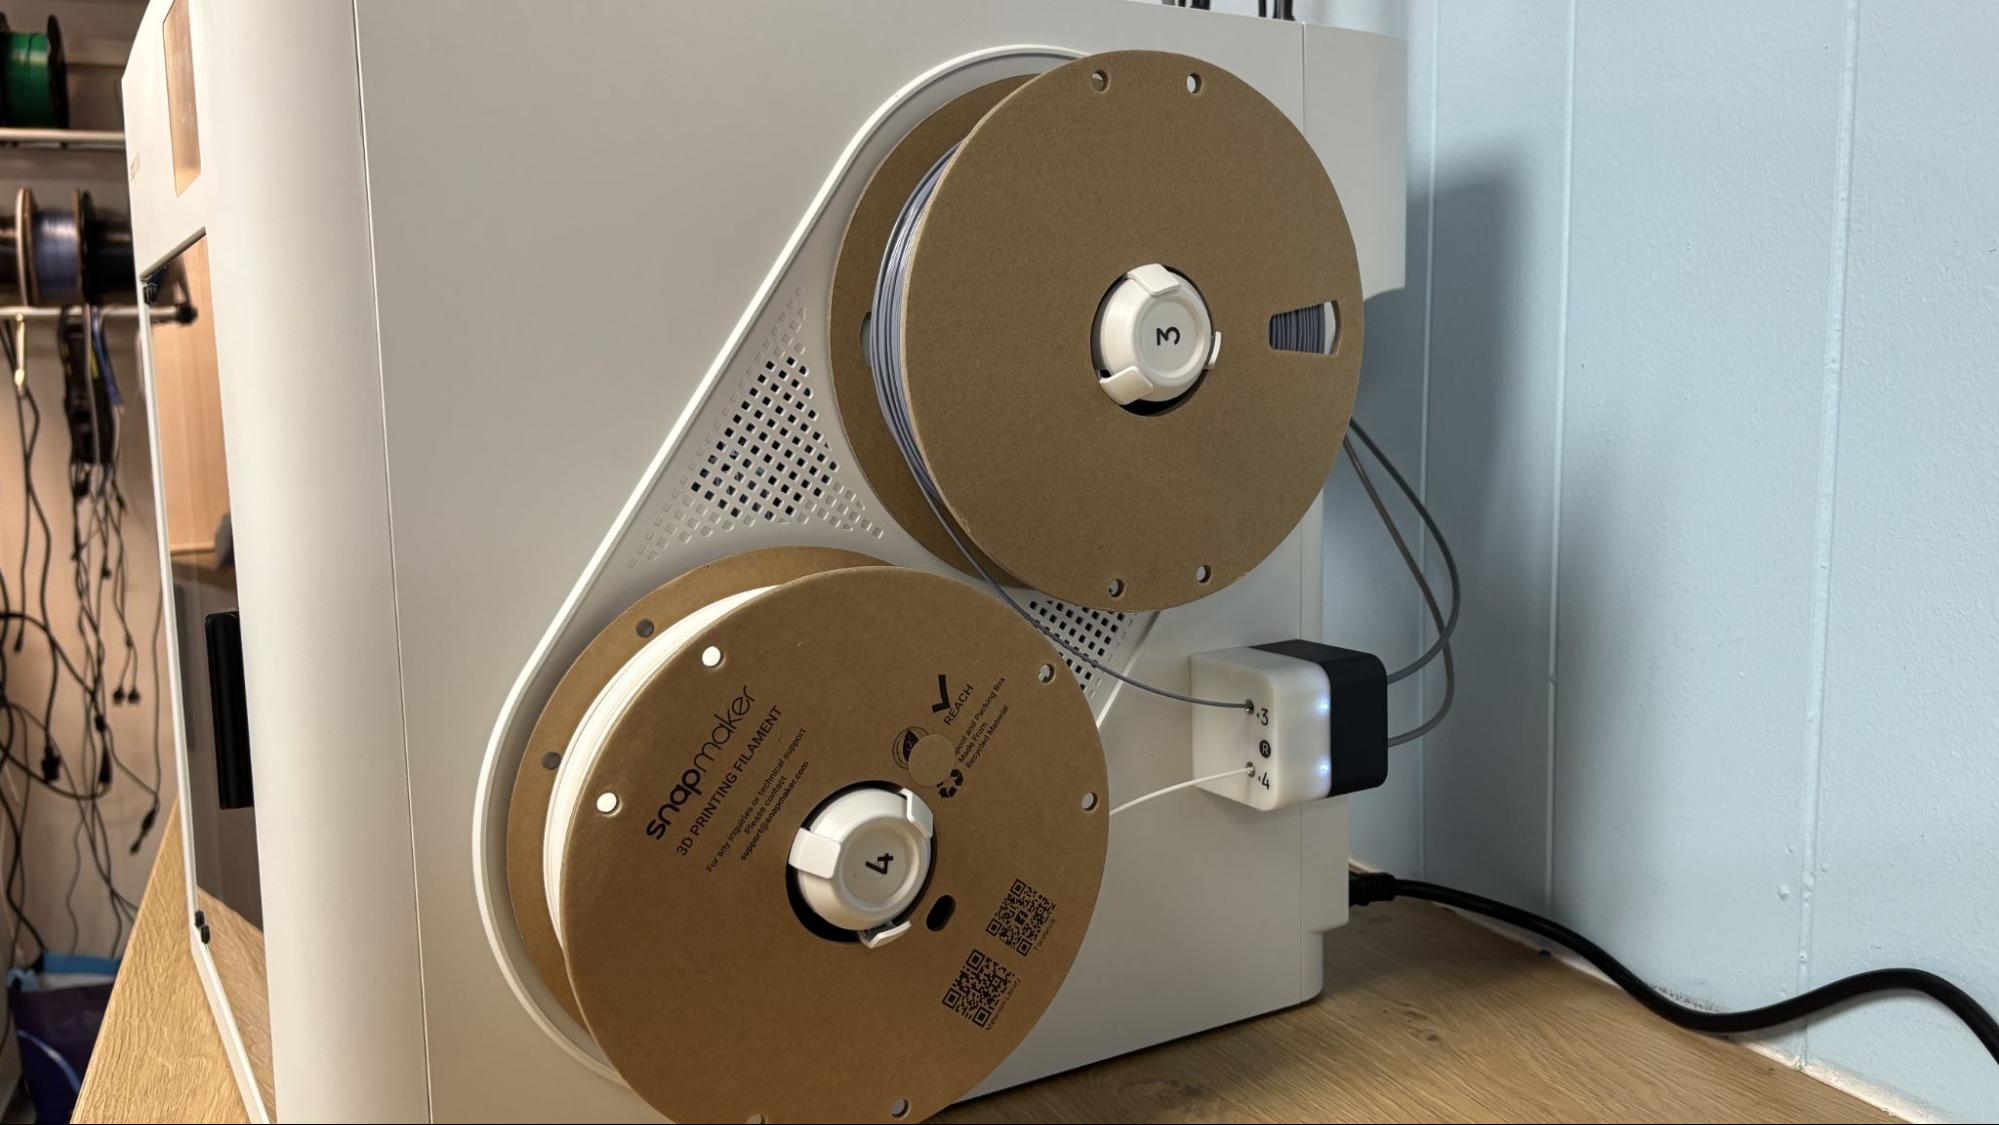
The spool holders have spring-loaded arms to grip the spools, but they spin freely without being motorized, unlike the Bambu AMS Lite they resemble. I’m assuming its purpose is to keep the spools evenly spaced for aesthetics.
The extra-wide tubing is a blessing and a curse. On the one hand, the tubes are wide enough that soft TPU slides right through without binding. On the other, if your filament is brittle and breaks off inside the tube, it’s wide enough for a second strand of filament to run along side it. This happened to me once, and I didn’t notice the cause of the jam until I looked more closely at the tubes.
The PEI-coated flexible build plate is double-sided and so thick you could smack someone senseless with it. Perhaps there’s still a little overengineering left in Snapmaker. The magnets holding it to the heated bed are also insanely strong – this plate will stay put.
The tool heads park in the back when not in use, with a crumb tray to catch the tiny squiggles it poops when loading filament. Each head is a complete system with its own wiper and a pad for the nozzle to rest on to keep it from oozing. The tool heads stay warm as needed, so there is little delay between swaps, which only takes about 10 seconds if you include the time to prime the nozzle.
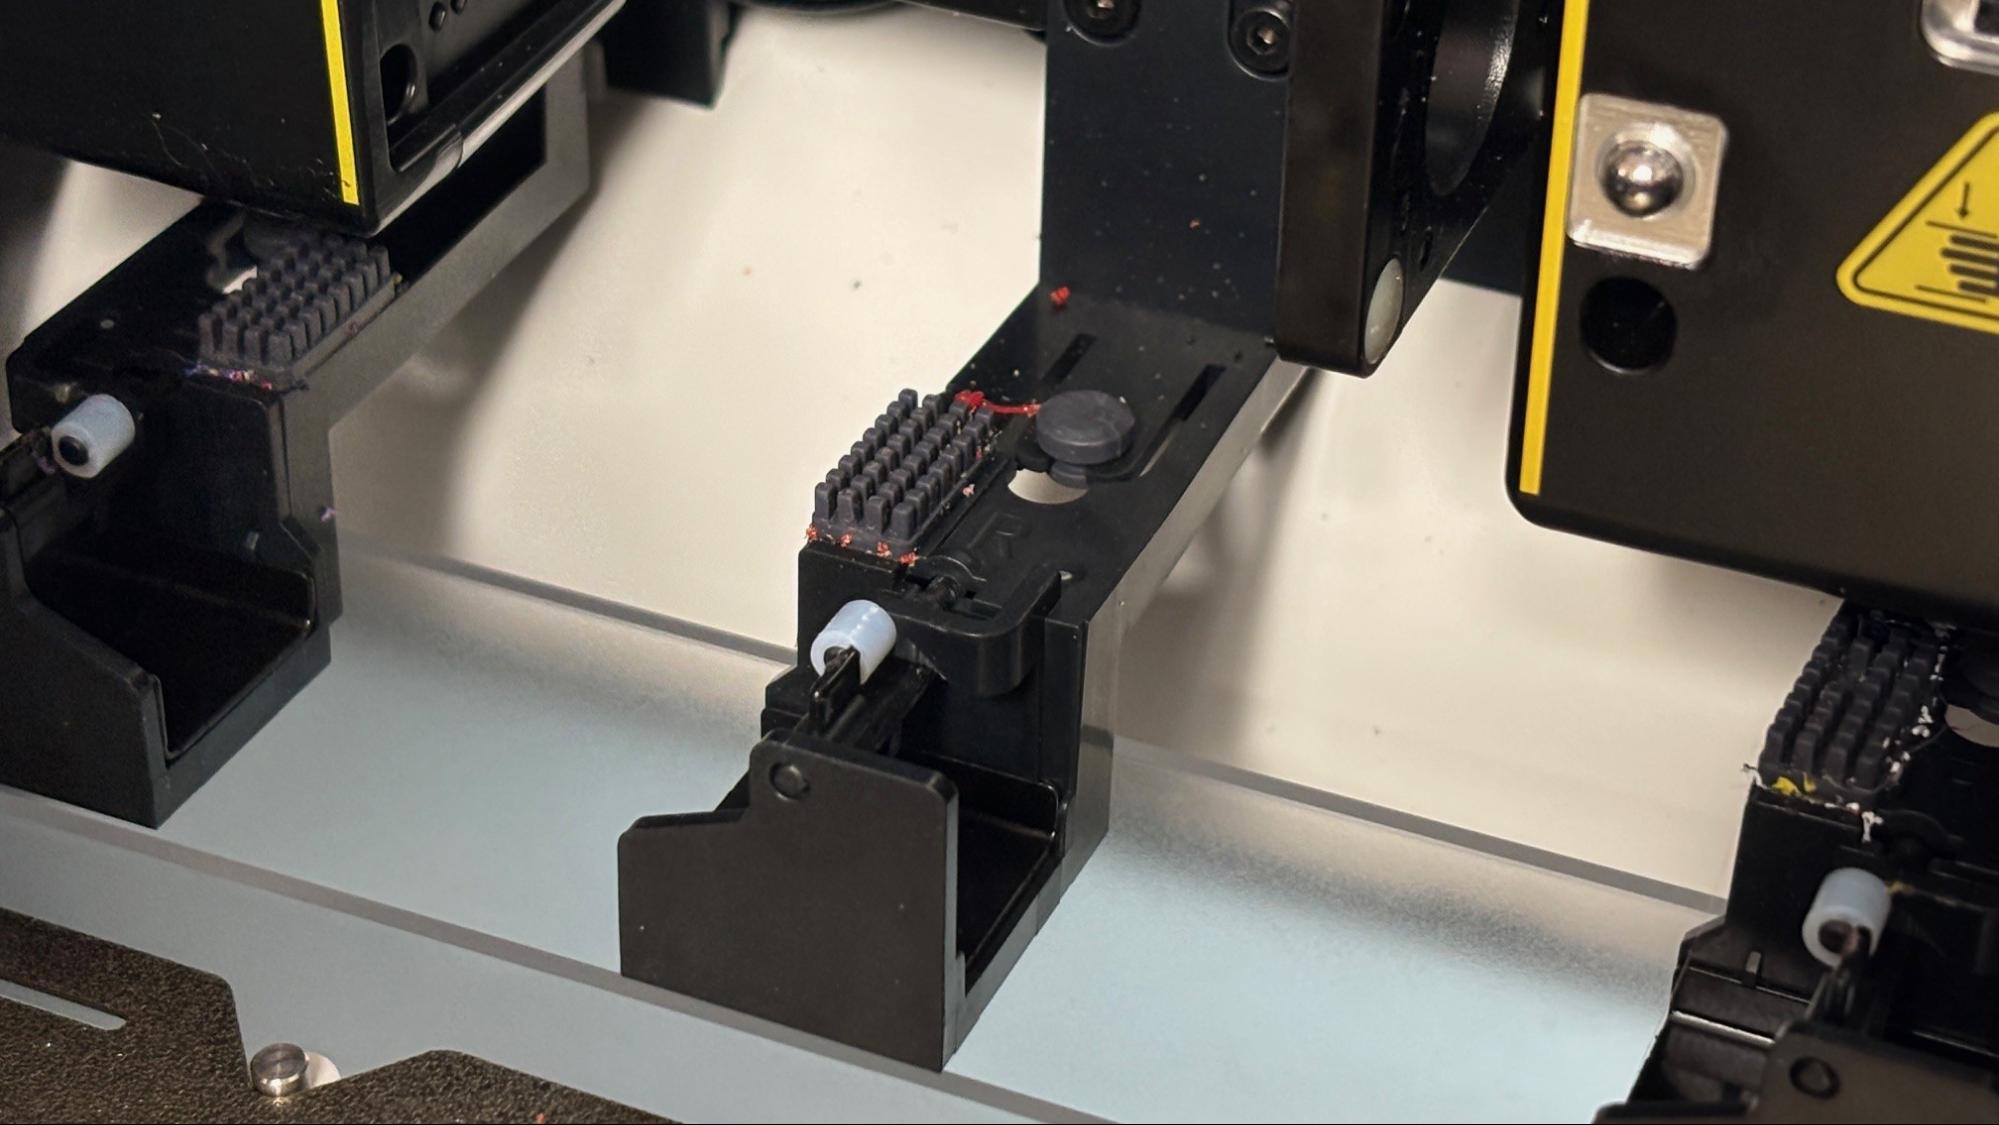
Snapmaker is using an eddy current sensor for aligning the tool heads. This means calibrating the tool heads is completely hands-free and quite accurate during our tests phase. Leveling the bed before printing is an option you can turn off if you want to save time.
Assembling the Snapmaker U1
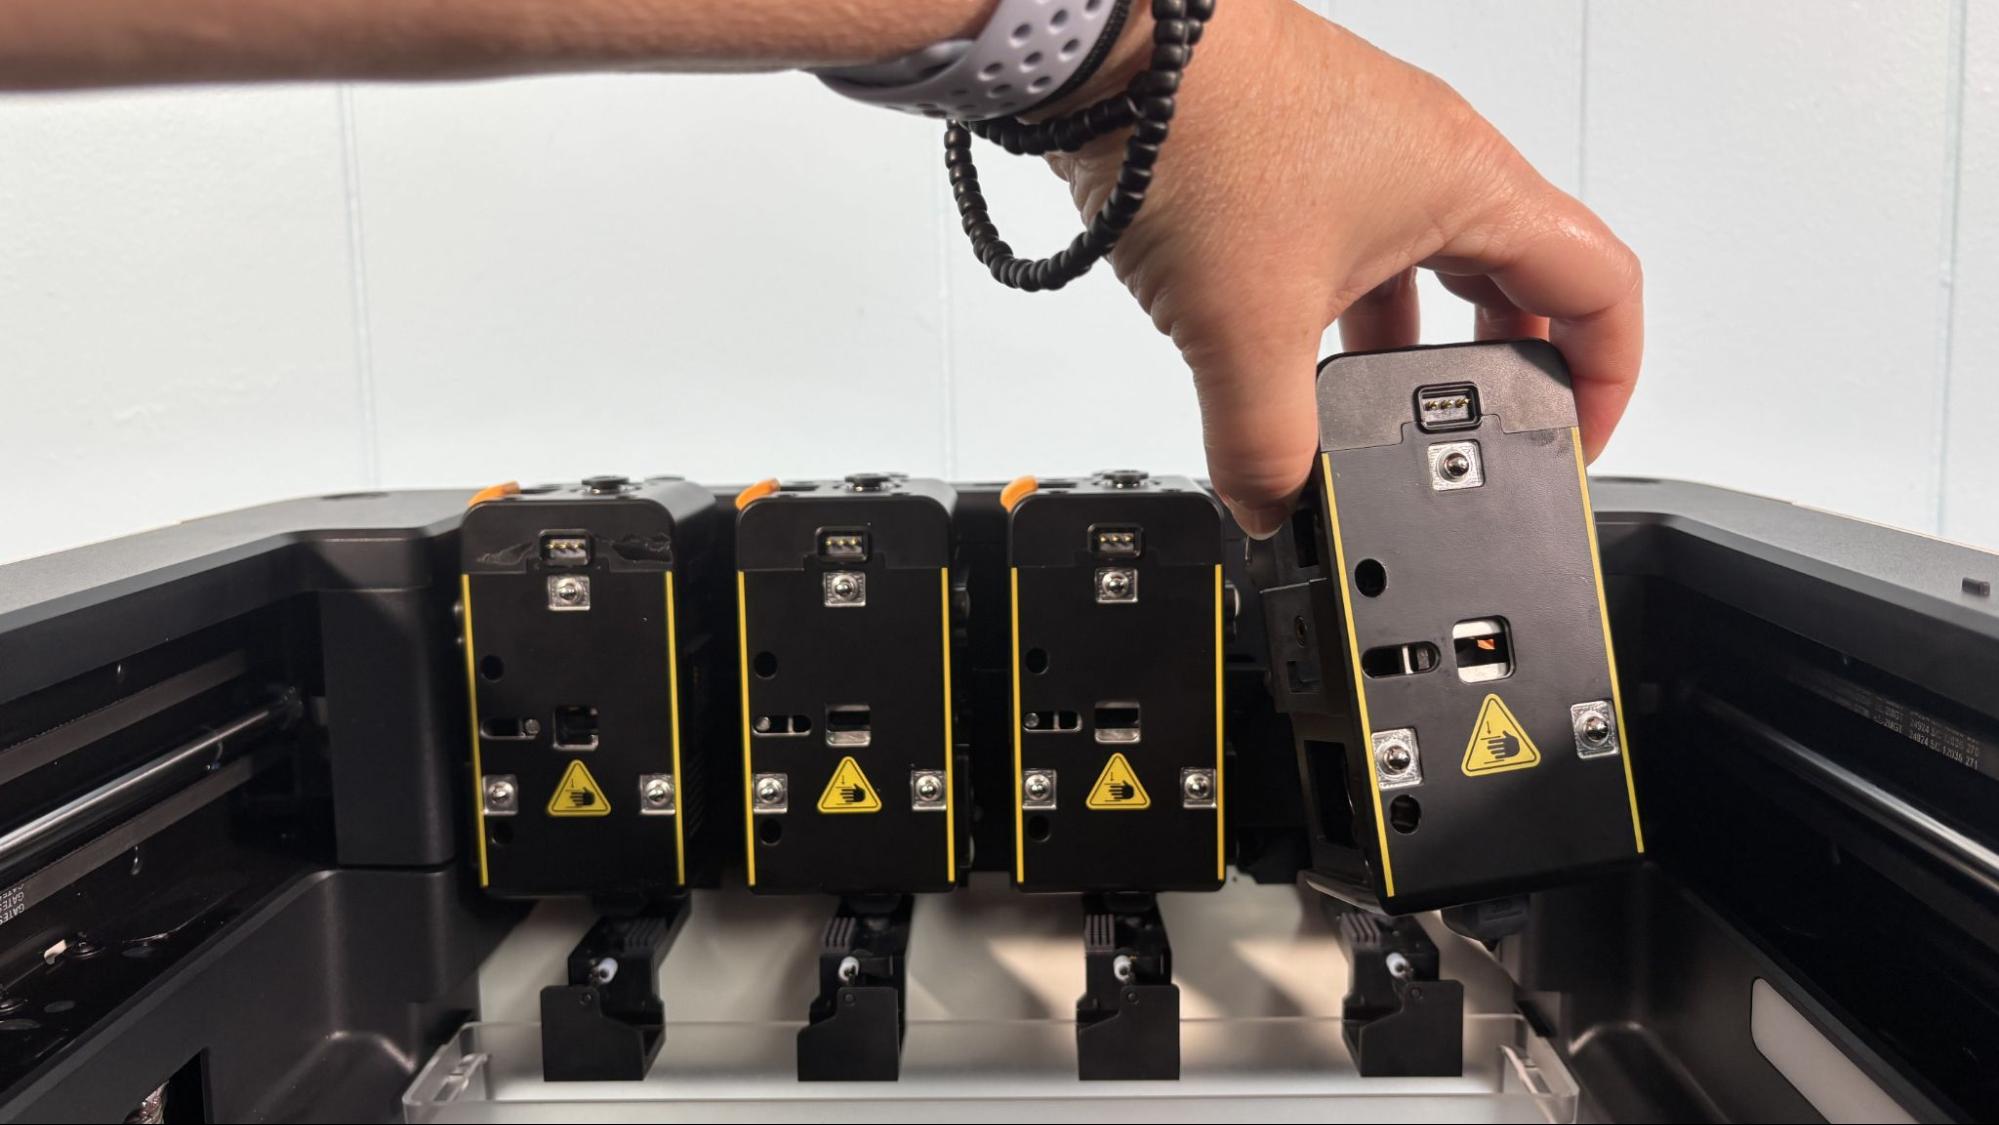
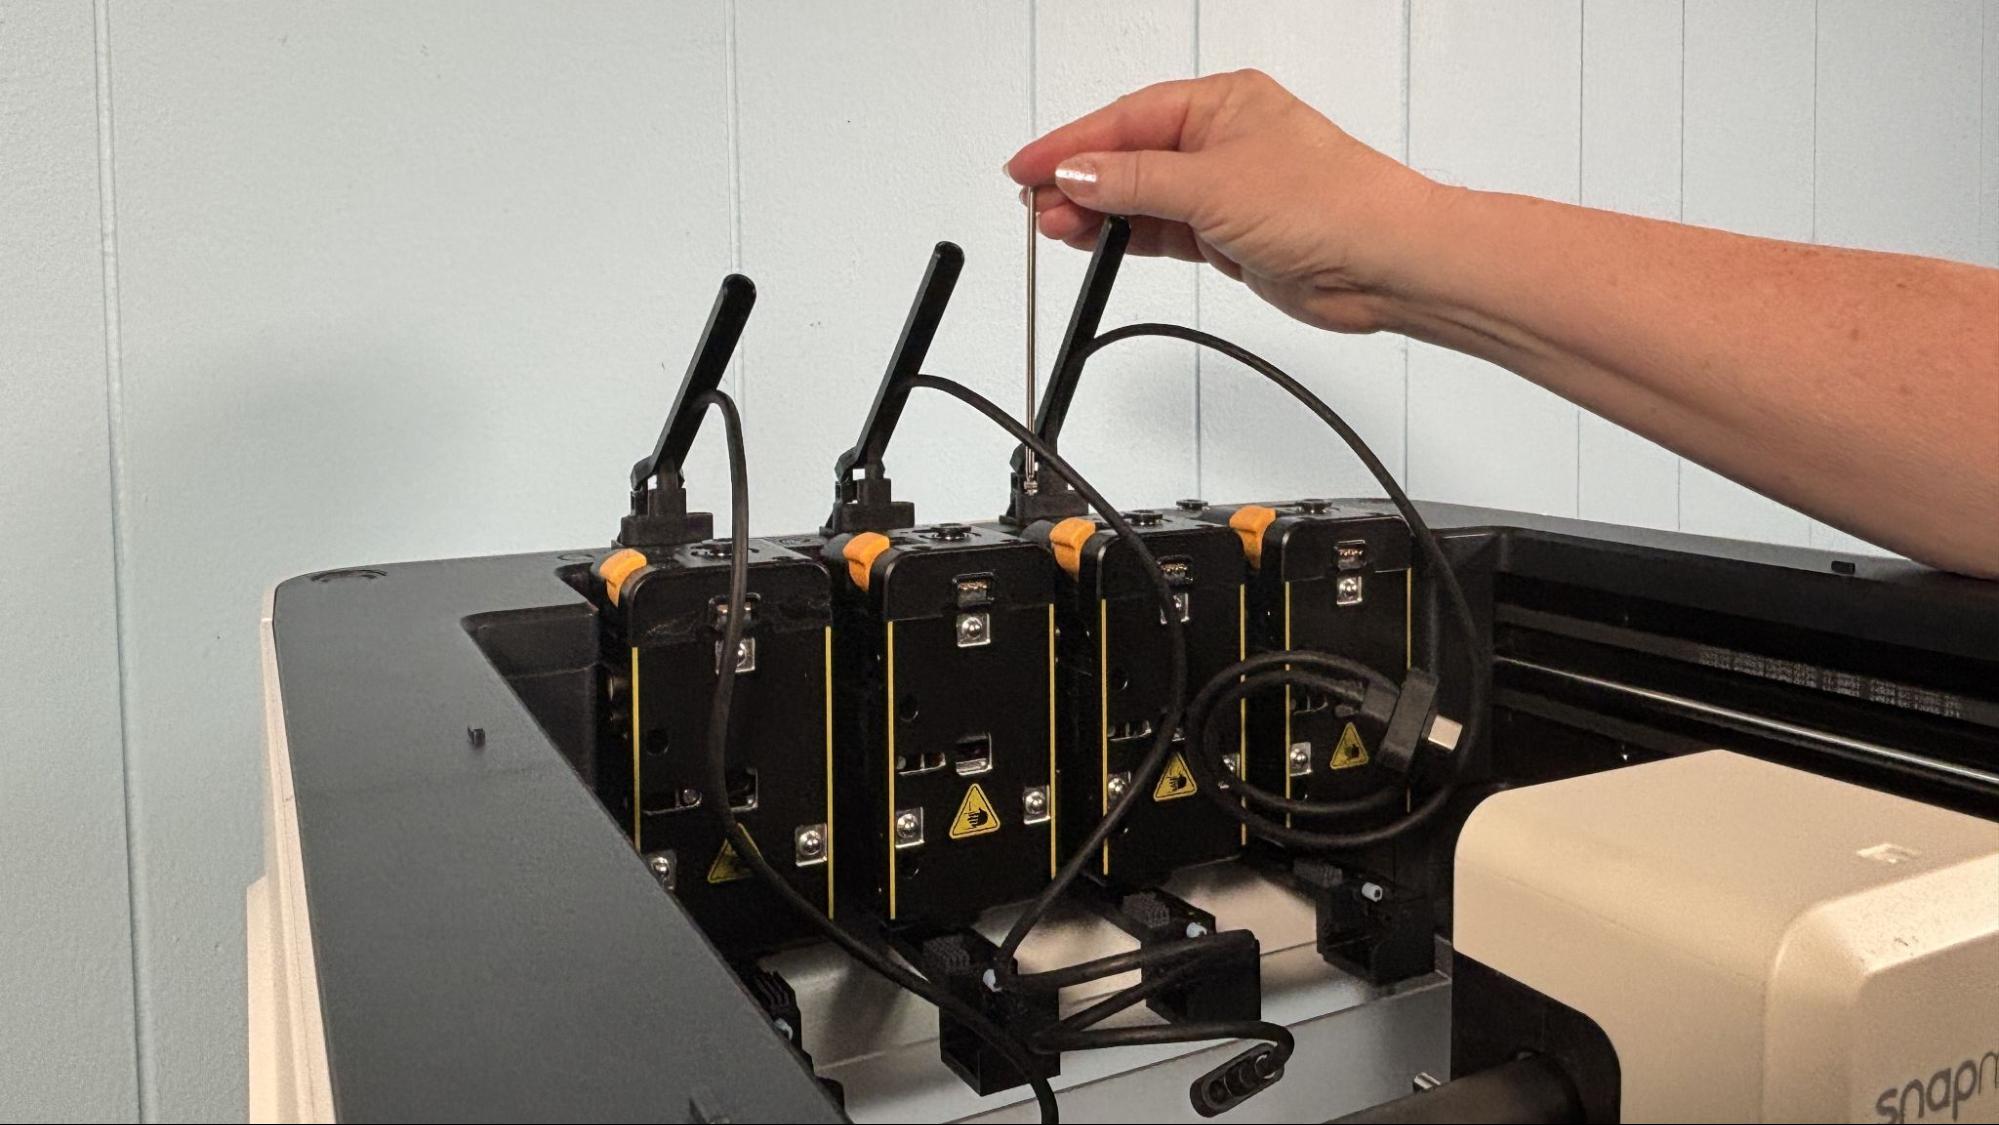
The Snapmaker U1 is largely preassembled, and only needs a few things snapped into place. The tool heads are packed separately, and slide into their docks very easily. Then you install the reverse Bowden tubes and plug in the cables.
The spool holders also snap into place. These are free spinning spindles, so there are no motors to worry about. Each pair of spool holders gets a motorize feeding unit that screws into place. This unit also has the filament run out sensors.
The bed is locked into place with screws. Once the packing material is removed and the screws taken out, it's ready to run its calibration routine.
Preparing Files / Software for Snapmaker U1
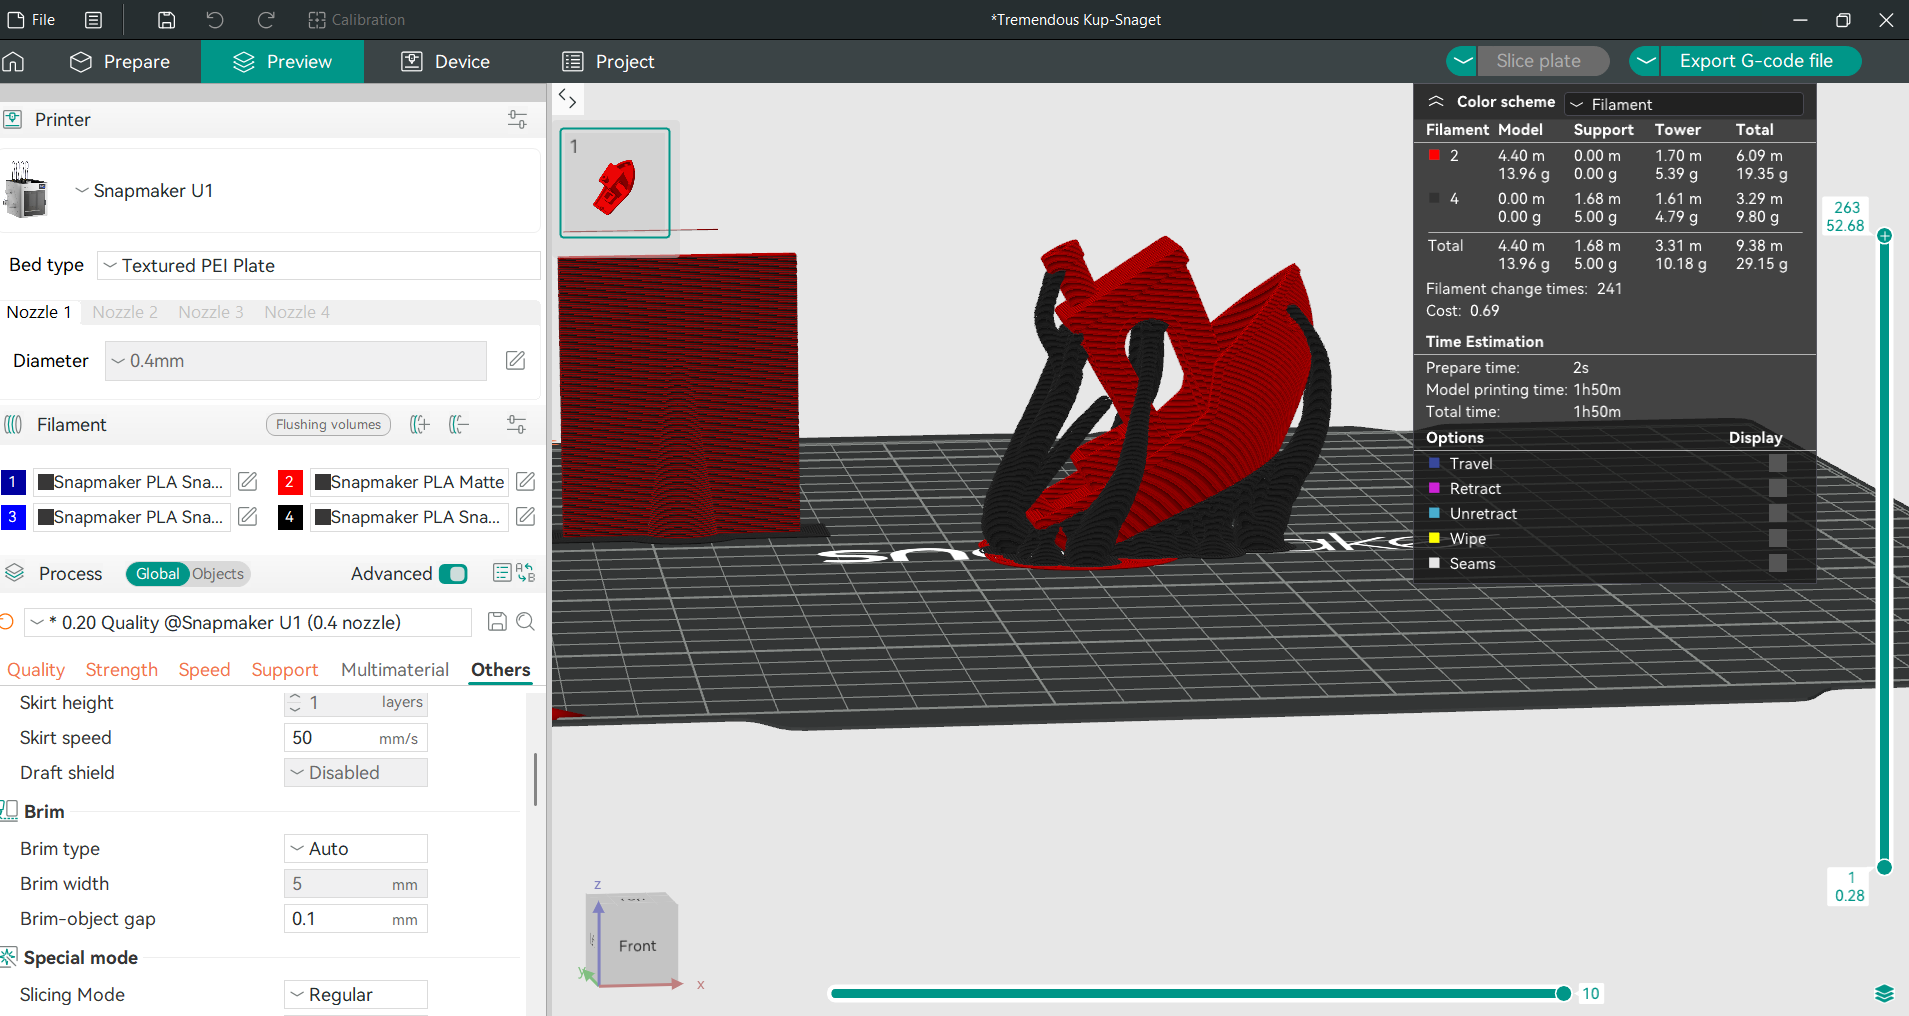
Snapmaker is using Open Source Orca Slicer for the U1, and that’s a good thing. The program is a fork of Bambu Slicer (which is itself based off of PrusaSlicer) and has an excellent track record. Orca Slicer should be familiar looking to anyone who’s used a modern 3D printer and it’s very easy to pick up for beginners.
The U1 also has a LAN mode if you want to skip the cloud, plus it runs Klipper which gives you full access to the Fluid interface.
During testing, the camera only worked while connected to the Snapmaker Cloud service, but this is a bug developers are working on and should solve before the printers are released to customers.
Leveling the Snapmaker U1
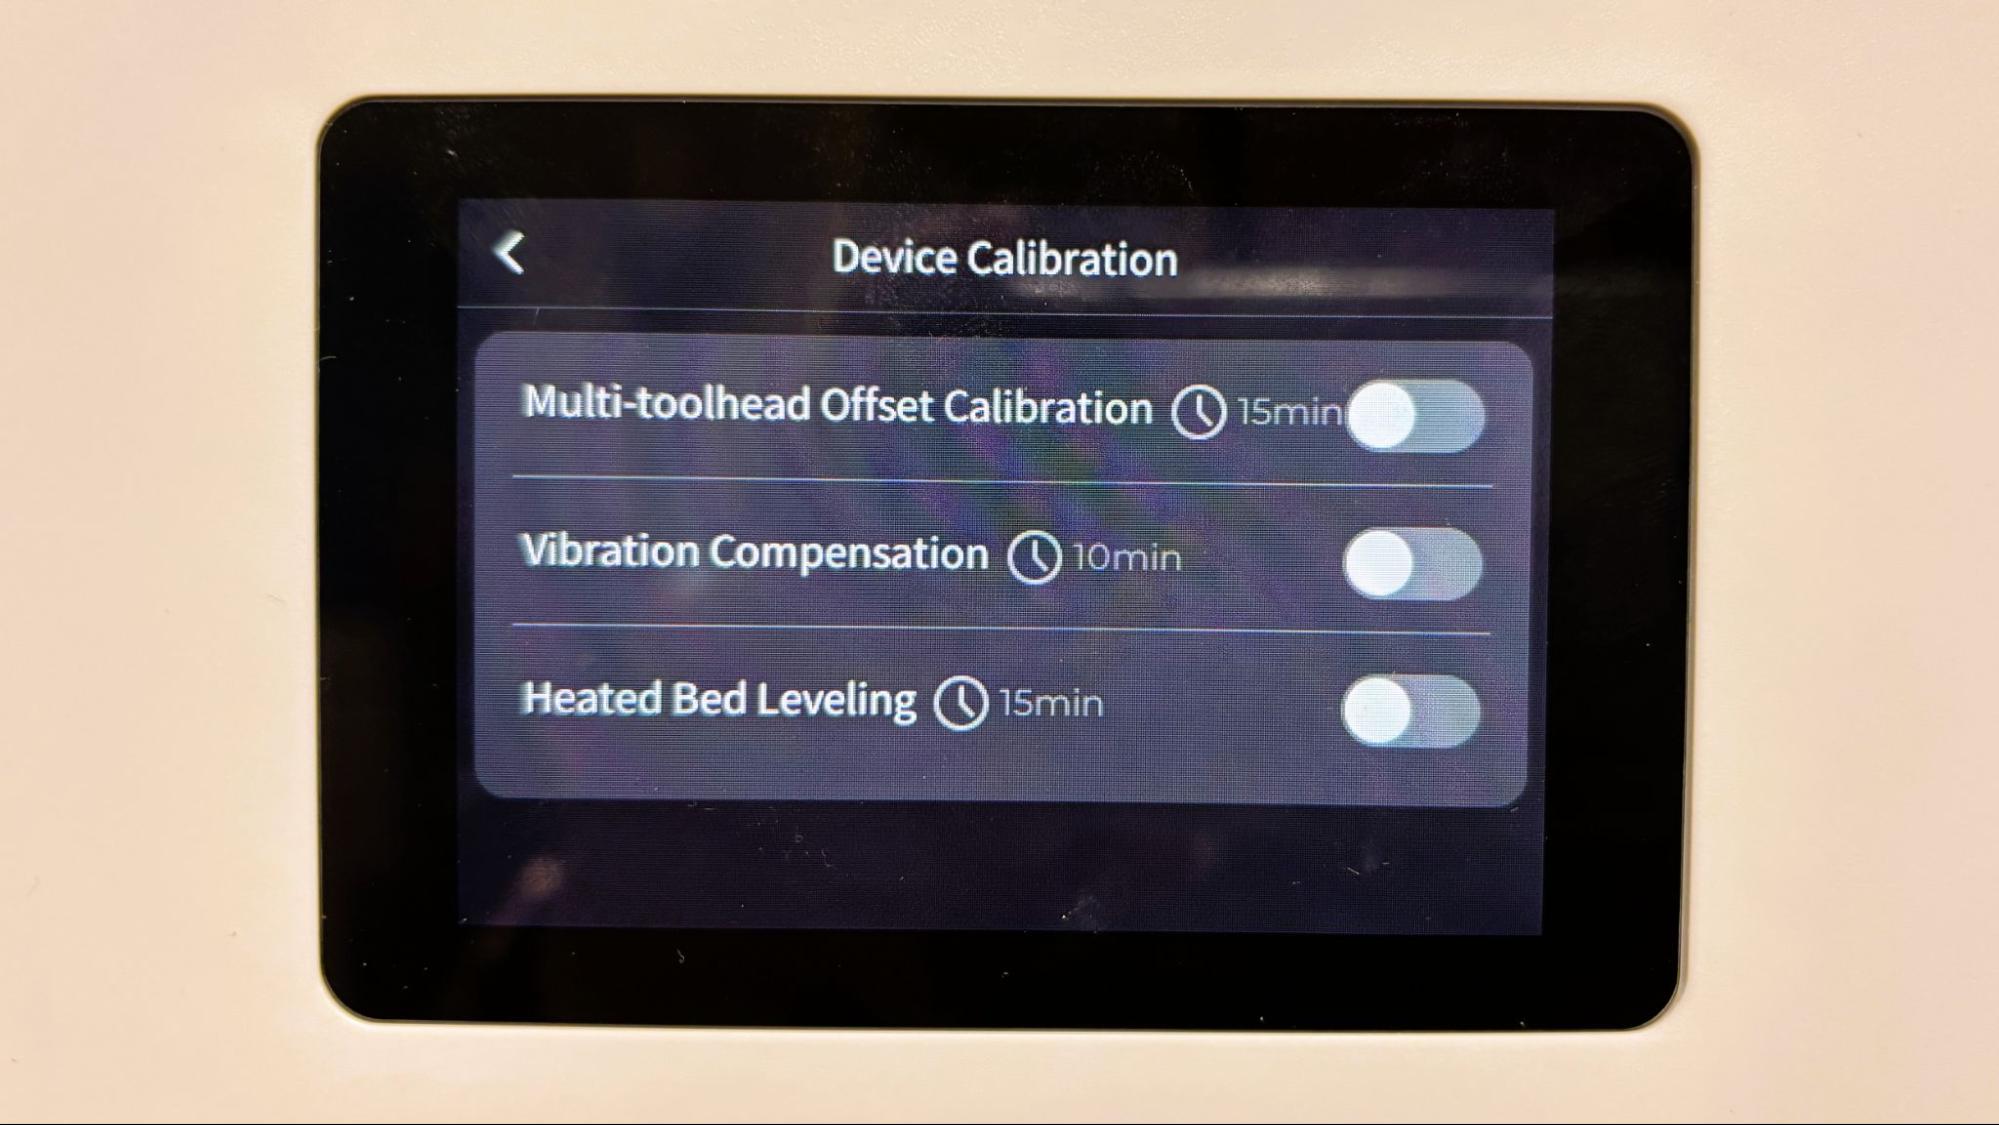
The Snapmaker U1 has a completely hands-free automatic leveling and calibration system. It also uses an eddy current sensor for aligning the tool heads, so there’s no need for special calibration steps. After set up, the machine will perform a full calibration, including vibration tests for input shaping.
Once the machine is set up, the bed leveling feature can be turned off and only used as needed.
Loading Filament on the Snapmaker U1
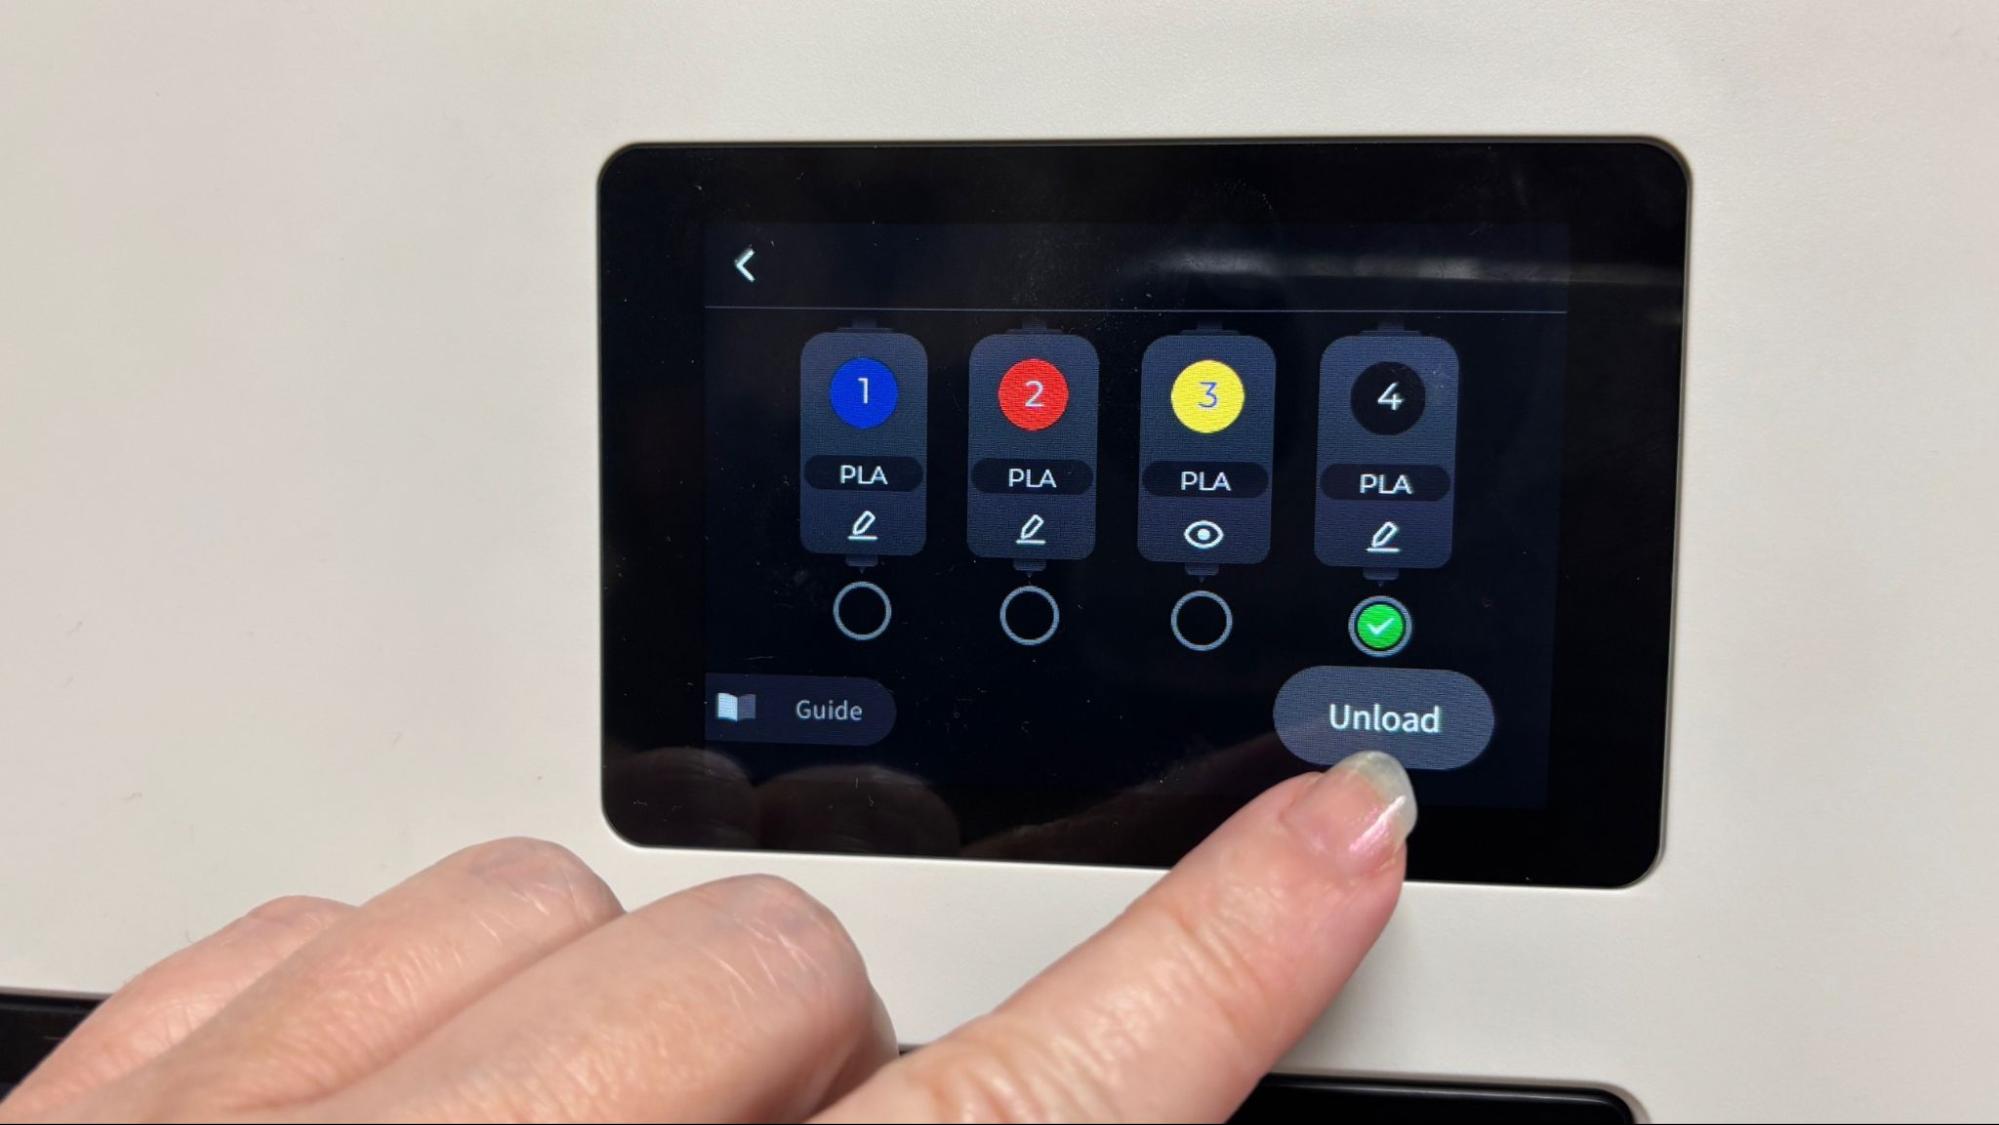
Loading filament in the Snapmaker U1 is very easy and automatic. If the tool head is already empty, simply place a spool on the holder, insert the end into the feed and off it goes. Snapmaker-branded filament has RFID tags to automatically select the correct type and color. Third-party filament needs to be manually ID’d on the touch screen.
A handy guide is located on the screen with directions if you need help.
Printing on the Snapmaker U1
New printers rarely come with enough filament, and with four heads to keep busy, you should check out our guide to the best filaments for 3D printing.
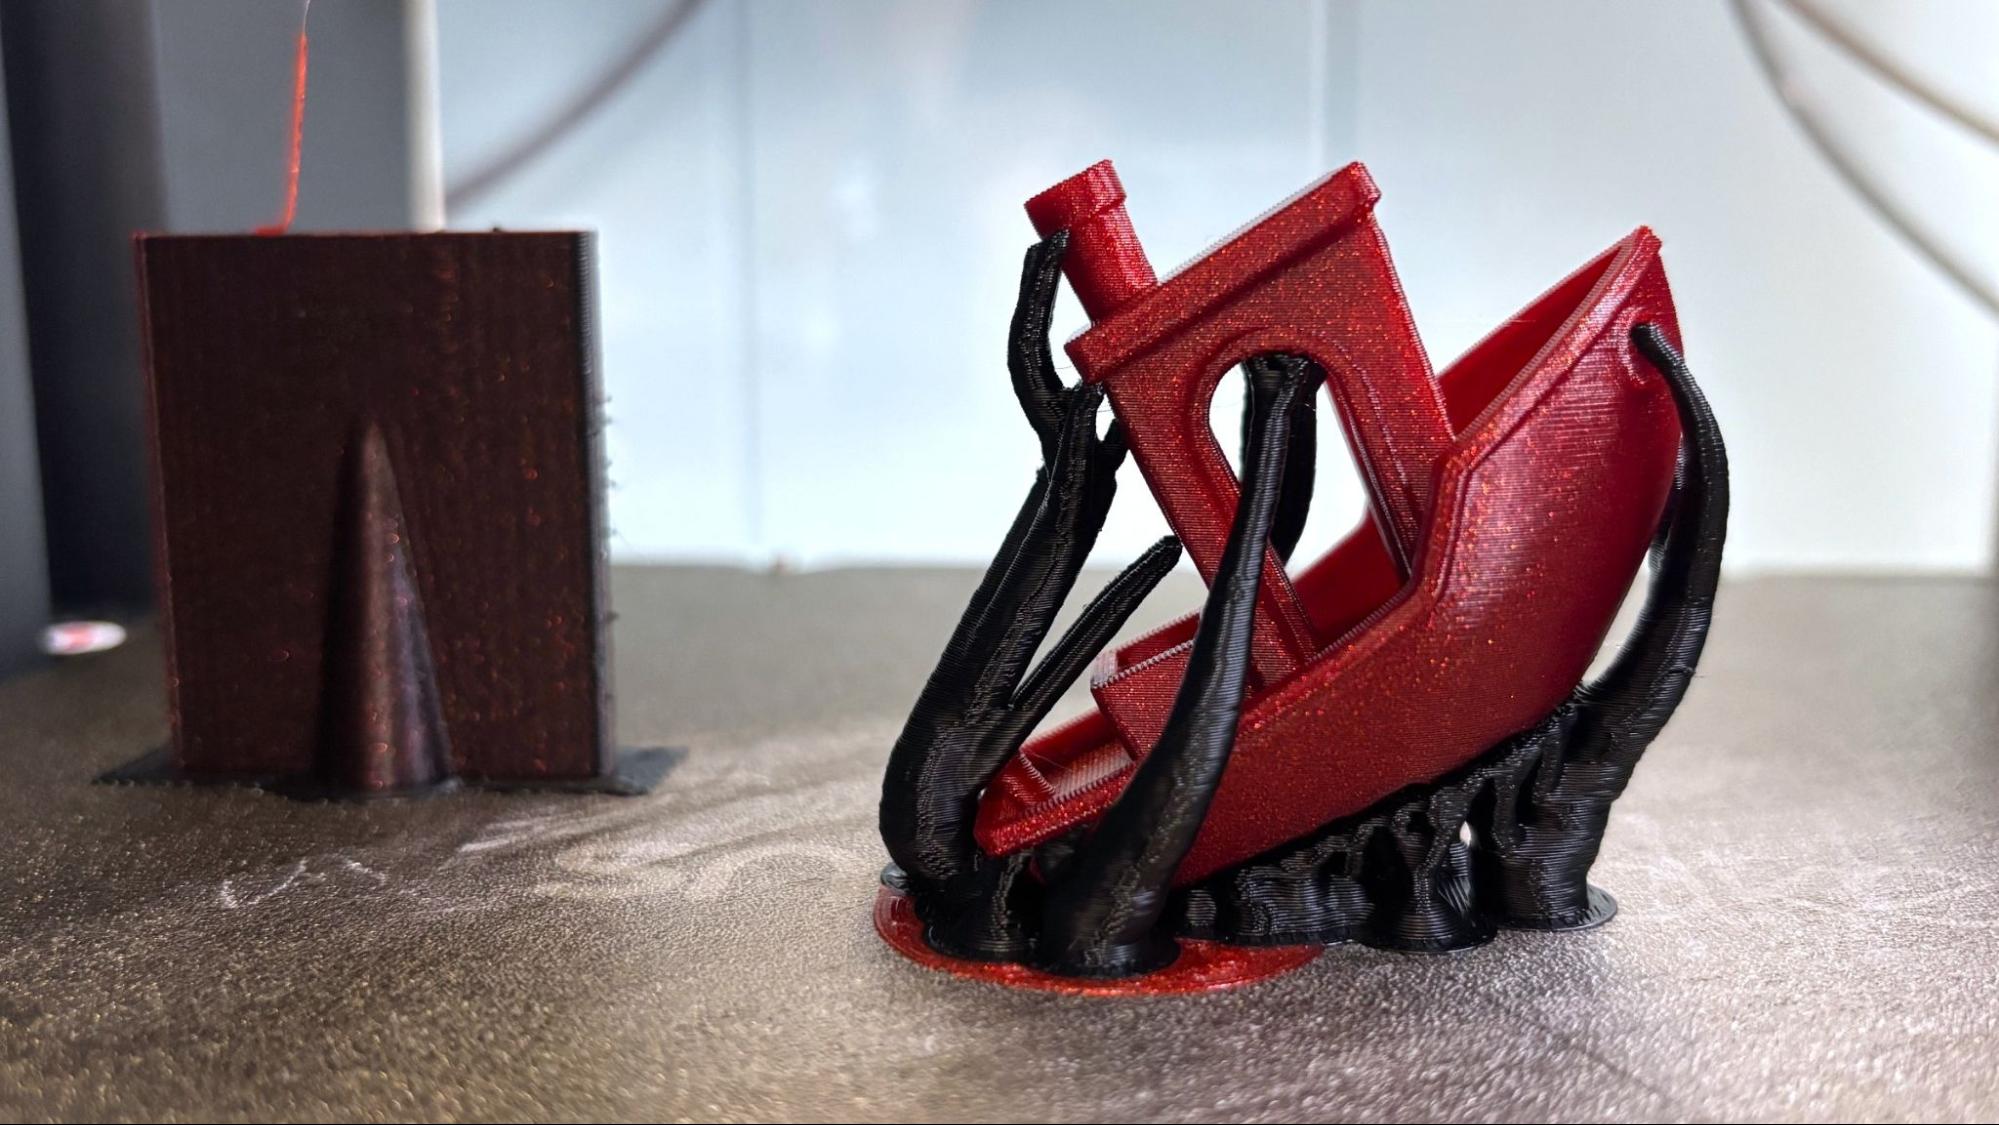
My first print was a not-so-traditional Benchy, tilted up on edge so that I could mix two different materials. The boat is printed in Aurora Red High Speed PLA from Flashforge, which has a nice sparkle to it. The supports are in black Polymaker CoPE, a newer product that prints at PLA temperatures but doesn’t stick to PLA. It makes really great support since you don’t have to adjust the bed temperature. I could have printed this faster if I had only used CoPE for the interface layer, but I like the dramatic contrast of the black on red. I still used the printer's normal speeds, but the “speed” Benchy rules for uniformity: 2 walls, 3 top and bottom layers, 10 % grid infill, a .25 layer height, and .5 layer width. The boat is nice and smooth with uniform layers and took 1 hour and 19 minutes to print, wasting only 7 grams in the prime tower.
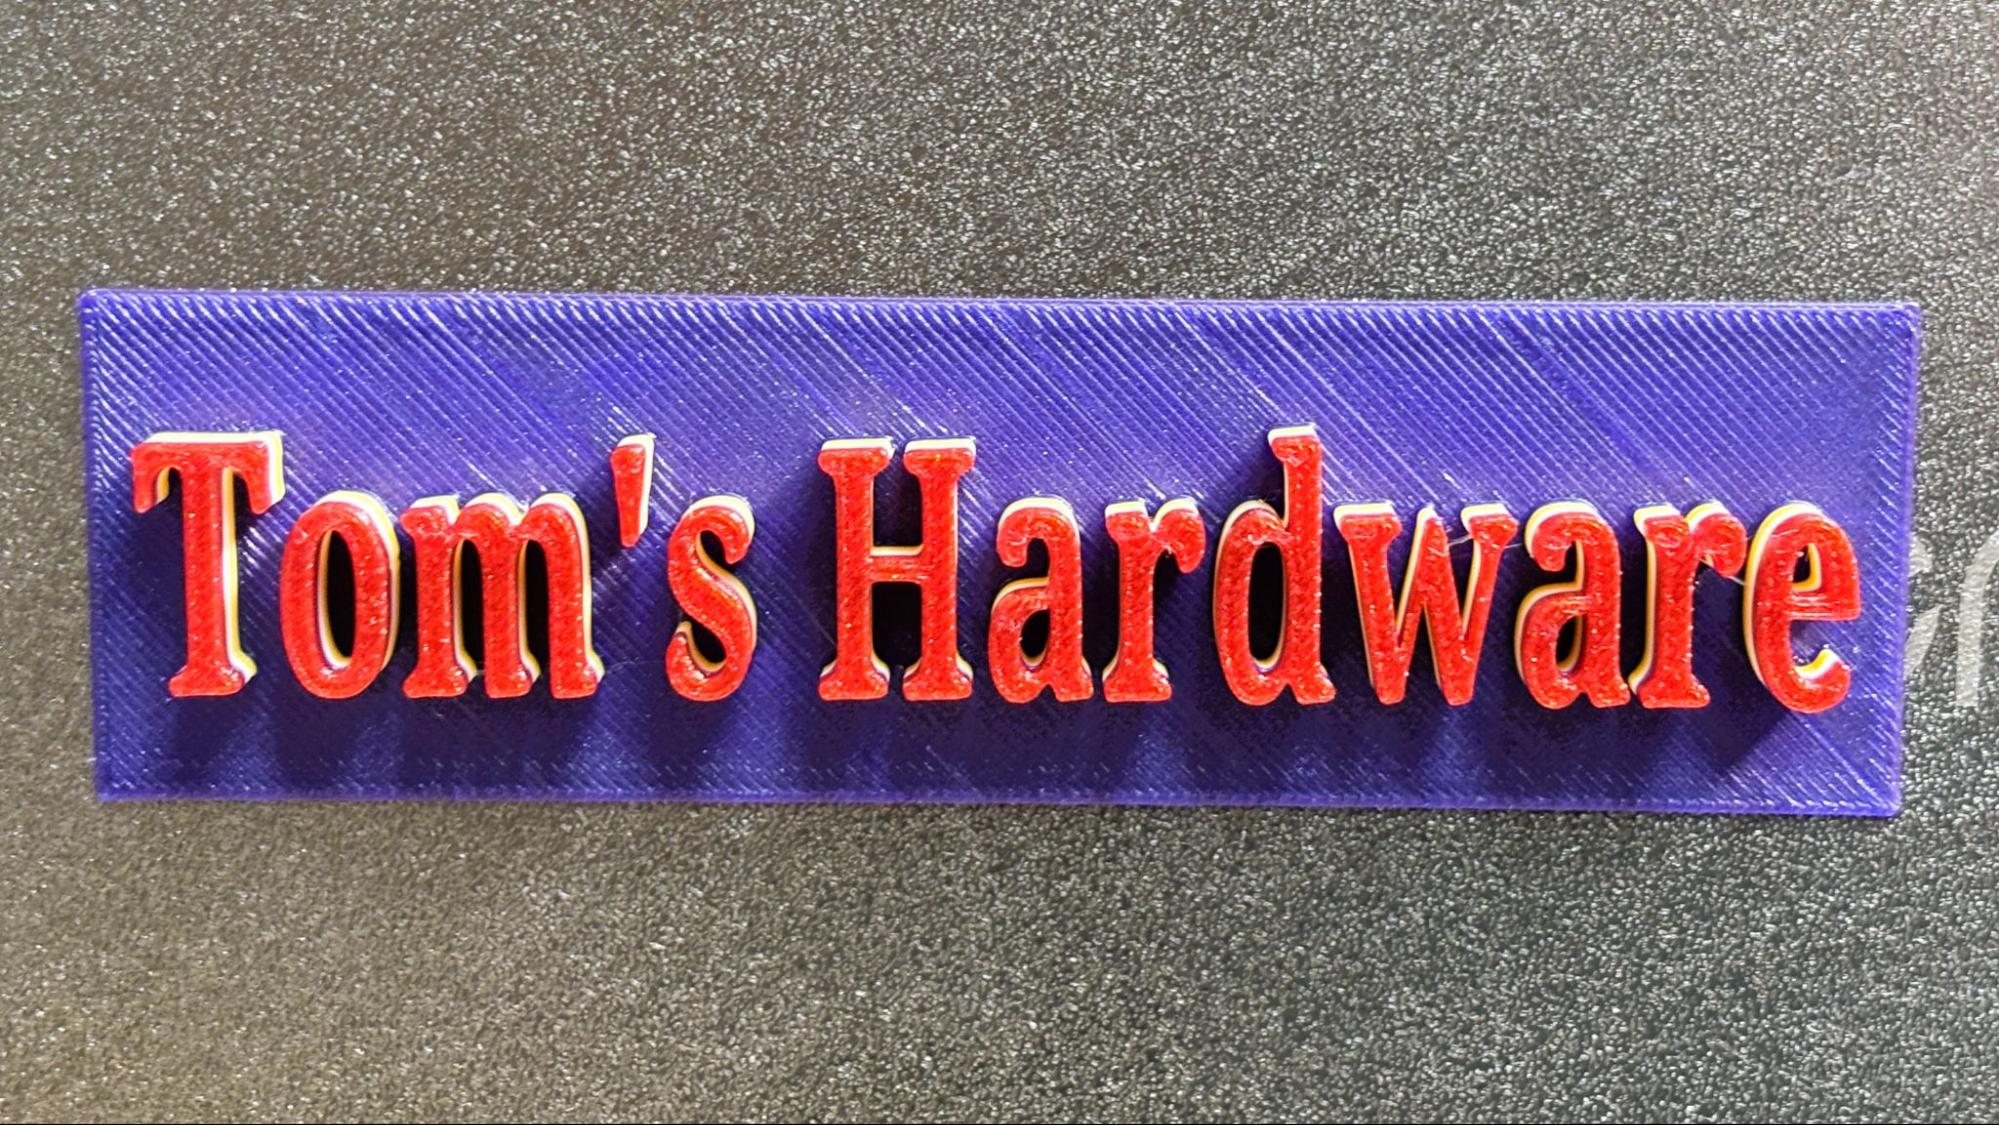
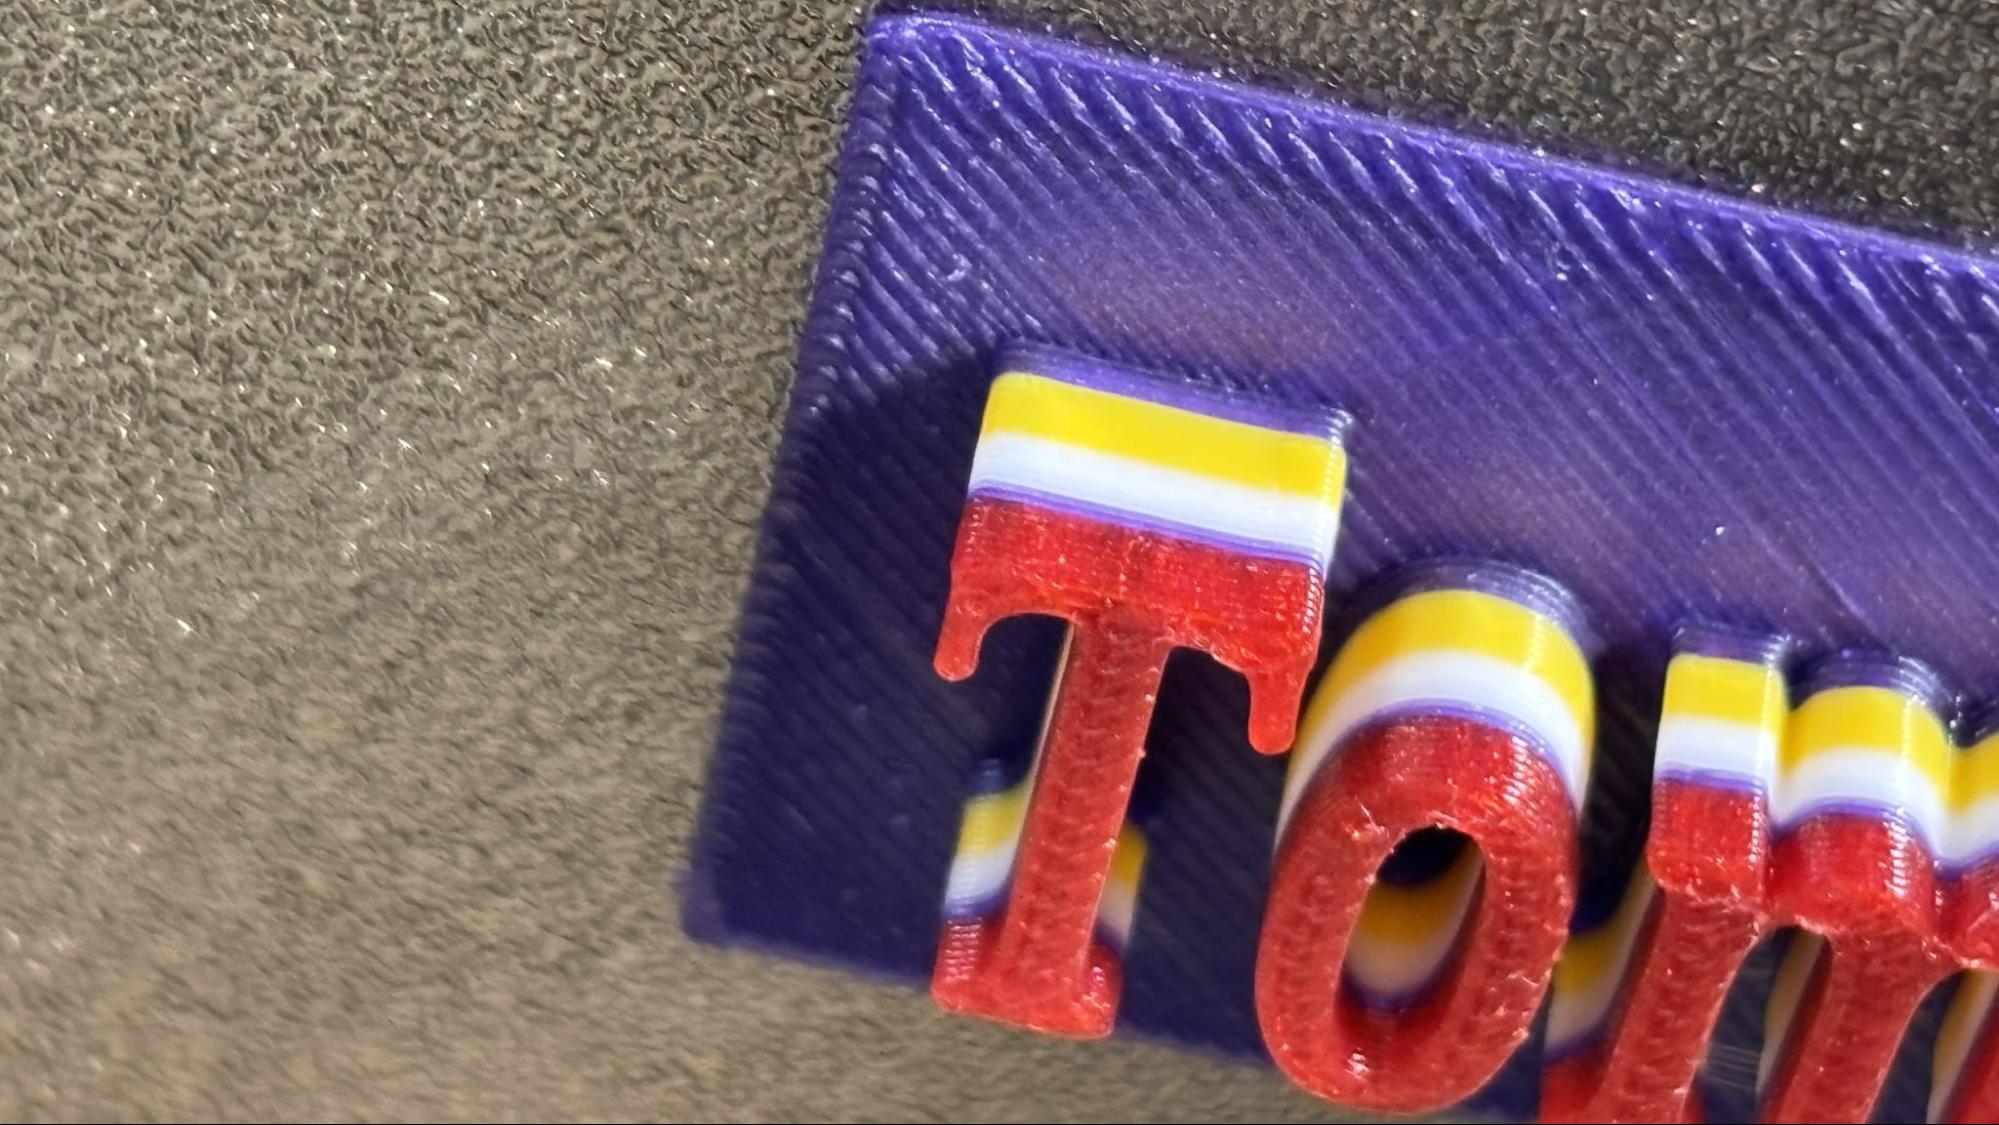
I wanted to test the printer’s ability to register all four heads, and this print shows that it did a great job of stacking and keeping everything in alignment. The bottom purple is a bit rough, but that can be fixed by slowing down the top layer. On the lettering, which was colored in the slicer, you can see how each color is exactly lined up. This print, made from various colors of PLA, took only 22 minutes and 45 seconds to print. It only wasted .76 grams on the color swaps.
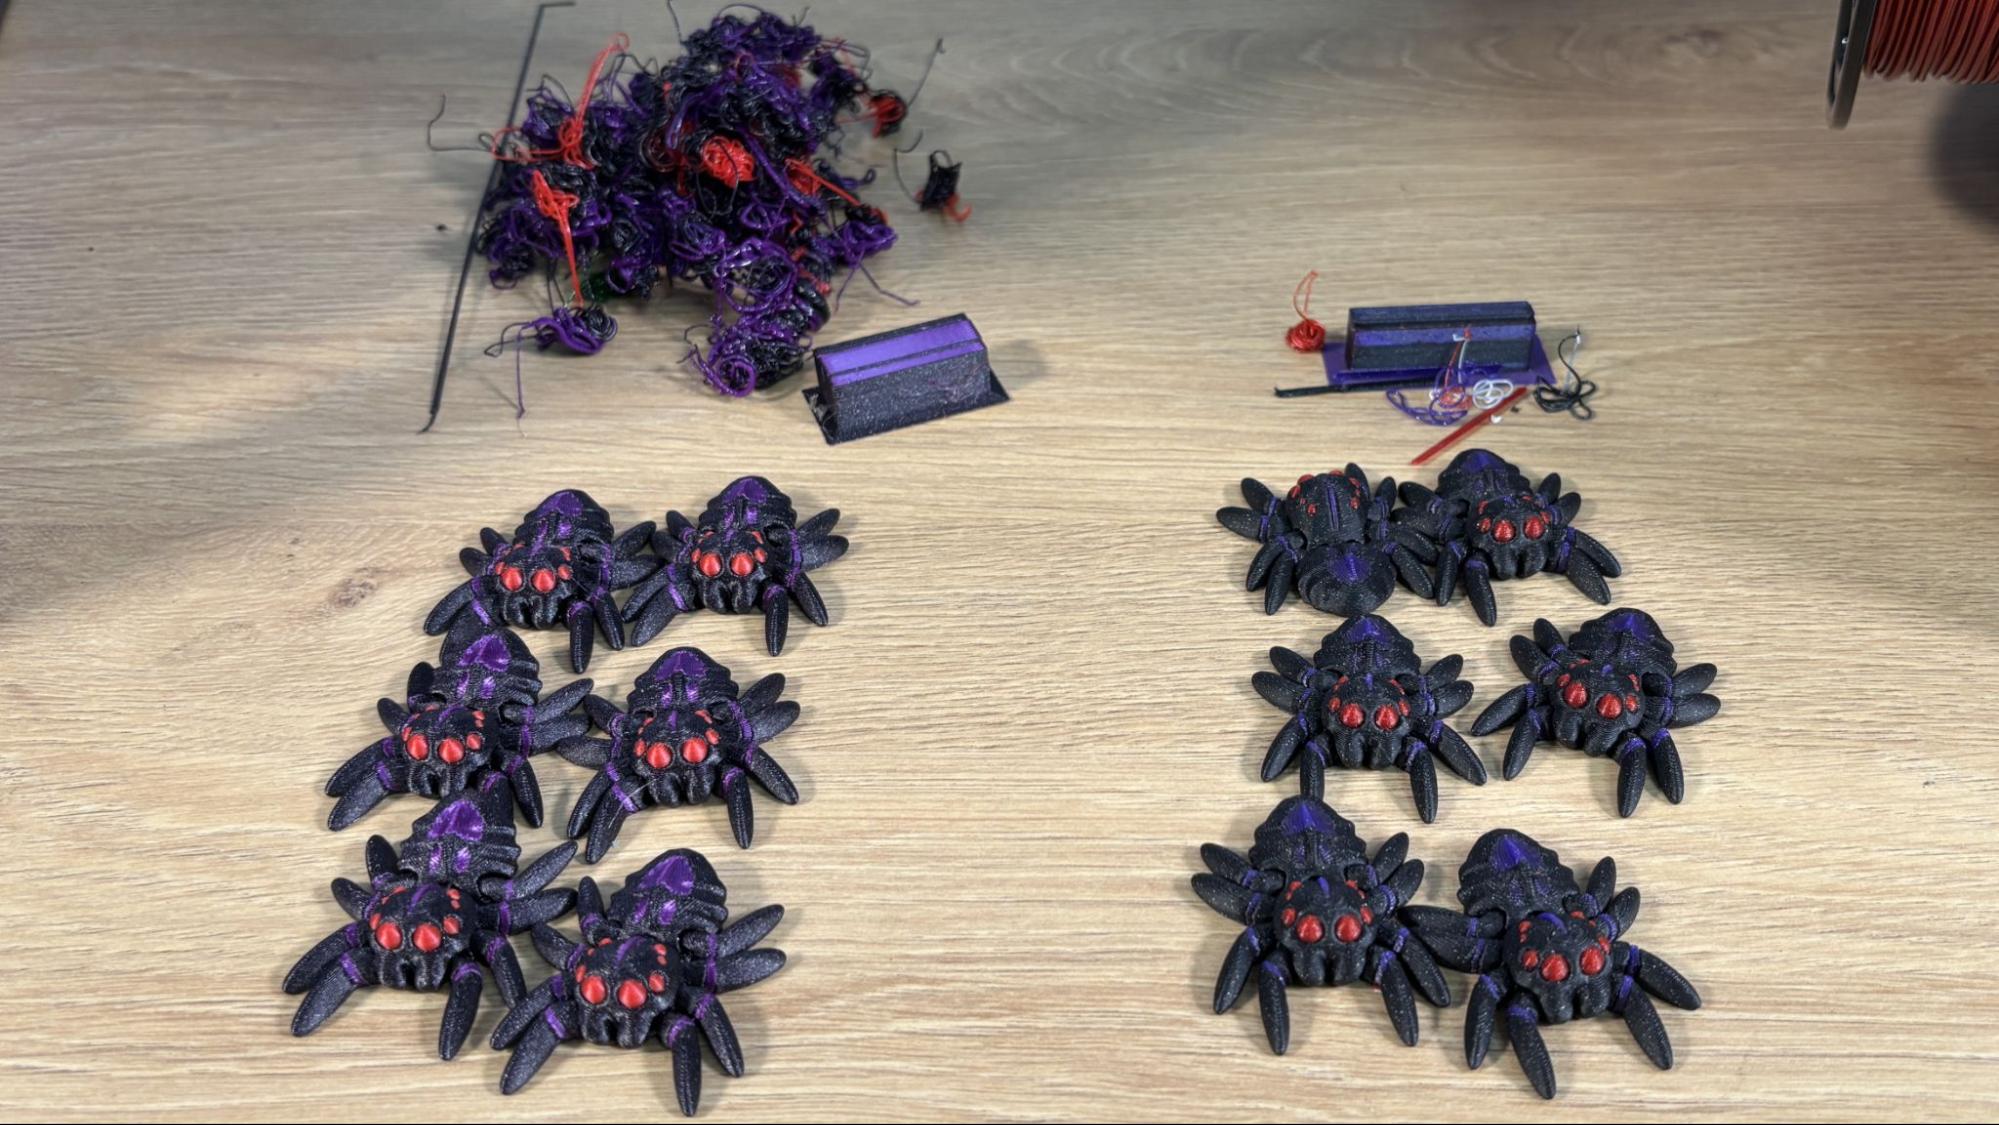
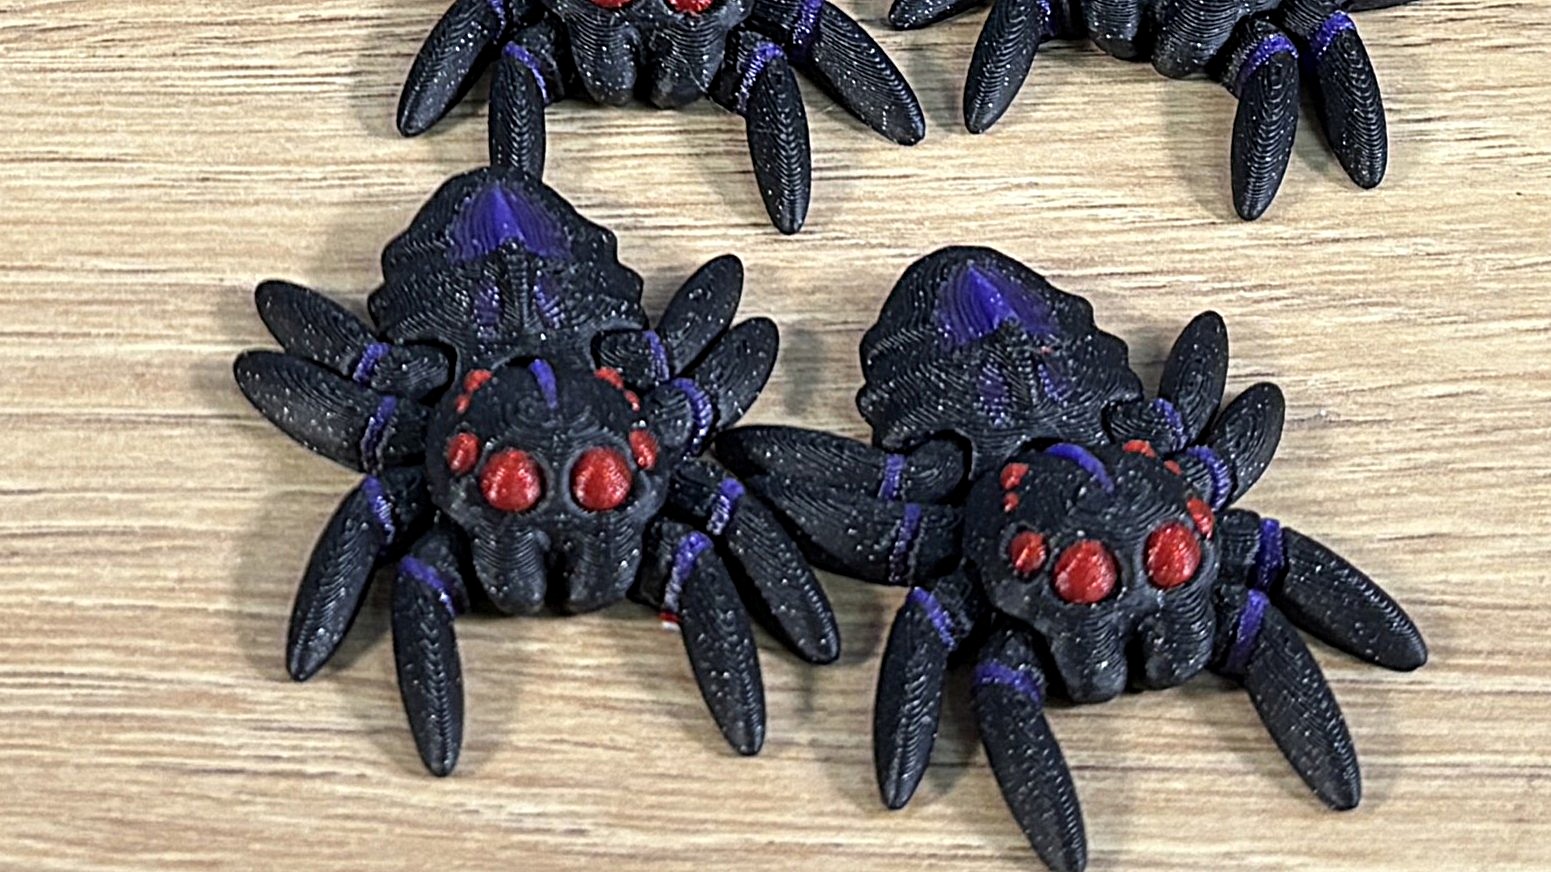
I printed a batch of Cinderwing3D Spiders on both the Snapmaker U1 and the Bambu Lab P1P, using PLA and the same settings on each machine. The prints both had excellent quality and no color bleeding, but the P1P took 2 hours longer and used 25 more grams of material in printer poop.
The Snapmaker spiders, on the right, are printed in matte black Galaxy and Aurora Red PLA by Flashforge, and Galaxy Purple Prusament PLA. The print took 3 hours and 20 minutes to print, and only wasted 4.4 grams of filament in the prime tower and a few crumbs when I loaded the spools.
For PETG, I printed this portable cable winder, a quick print that only took an hour and 31 minutes, even though I added a splash of color in the slicer. This printed nice and smooth with even layers in Bambu Lab PETG Carbon Fiber Violet Purple and Malachite Green. The U1 can handle abrasive materials without any problem because of the oversized reverse bowden tubs and the standard-issue steel nozzle.
I needed this print quickly, so I used the default PETG settings with chunky .28 layers and 2 walls. The slicer slowed the max volumetric speed to 13 mm³/s, giving me an average speed of 150mm/s.
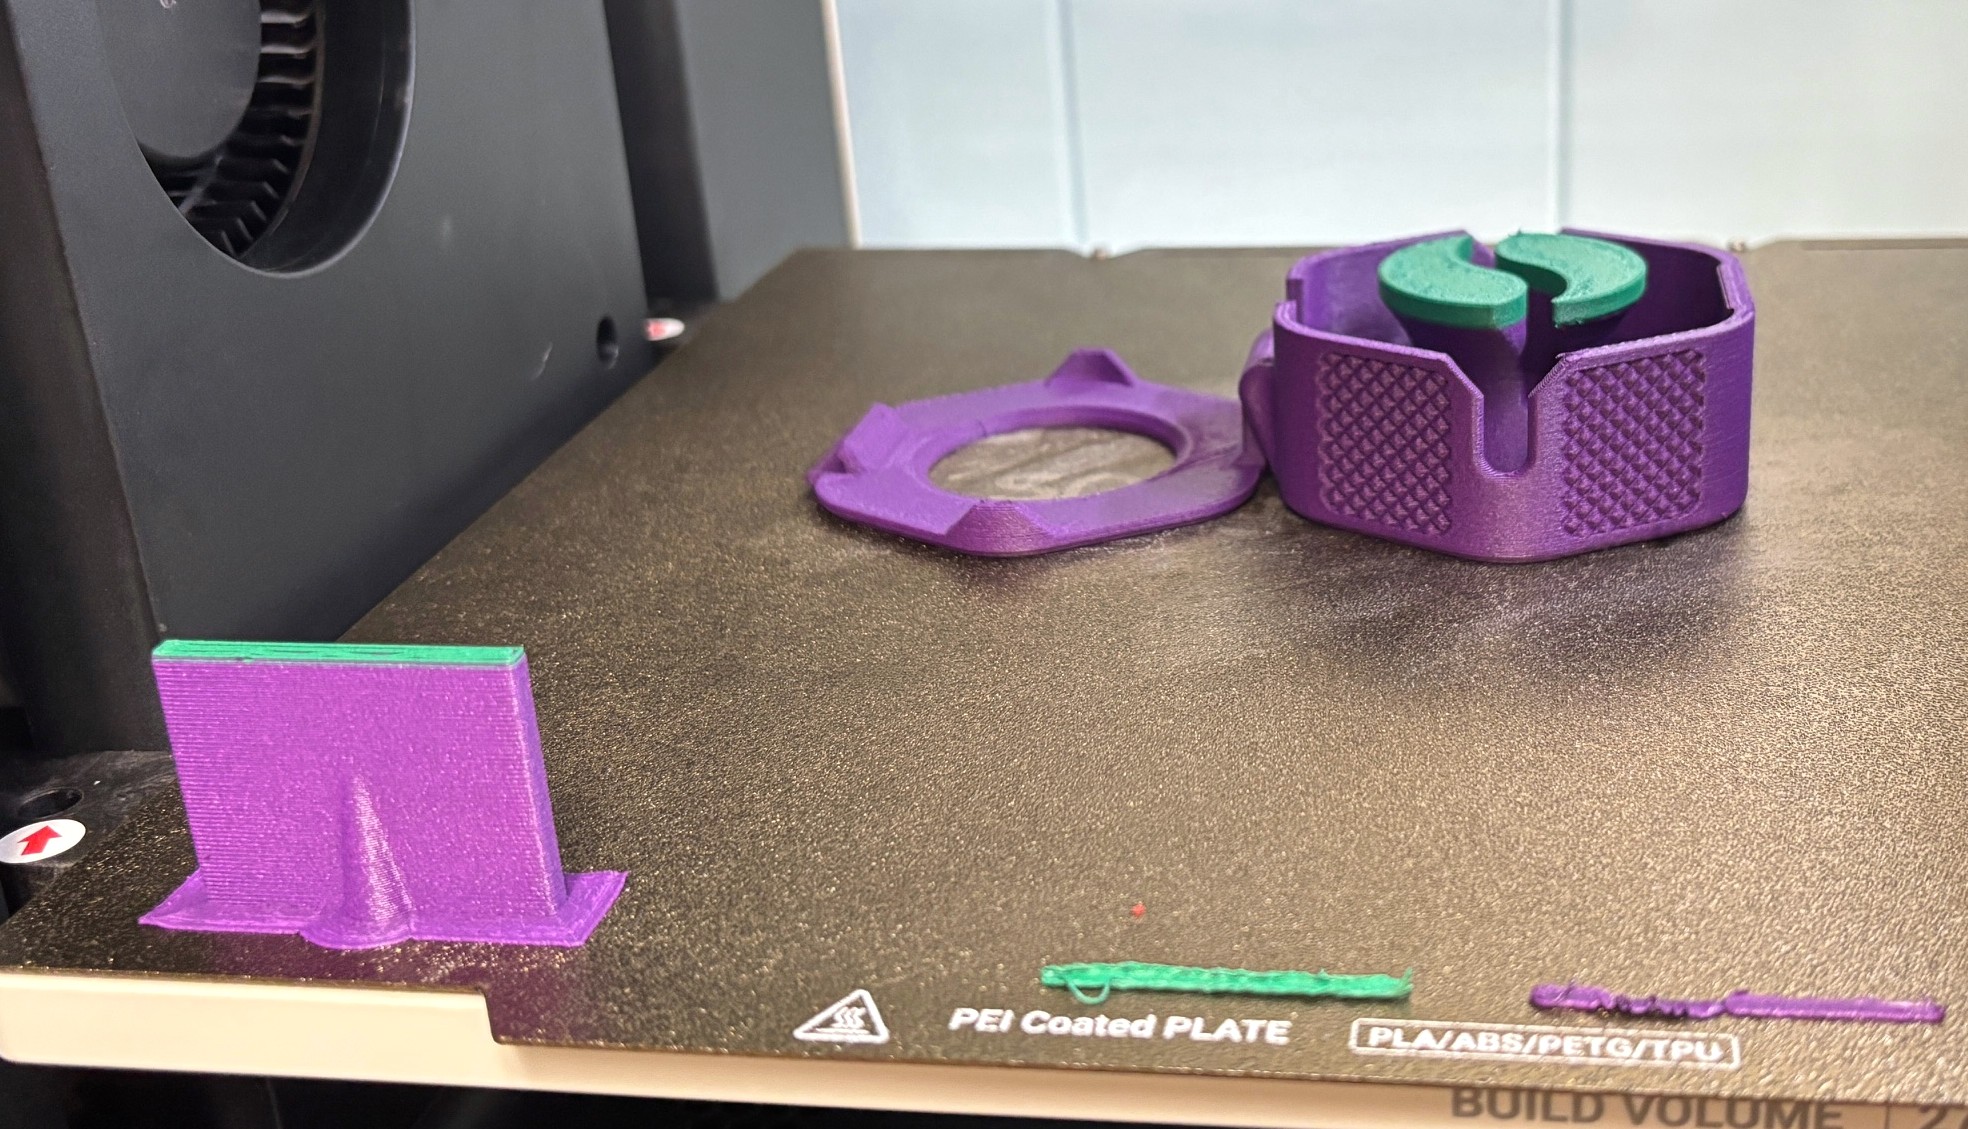
Squinn’s Portable Cable Organizer/Winder
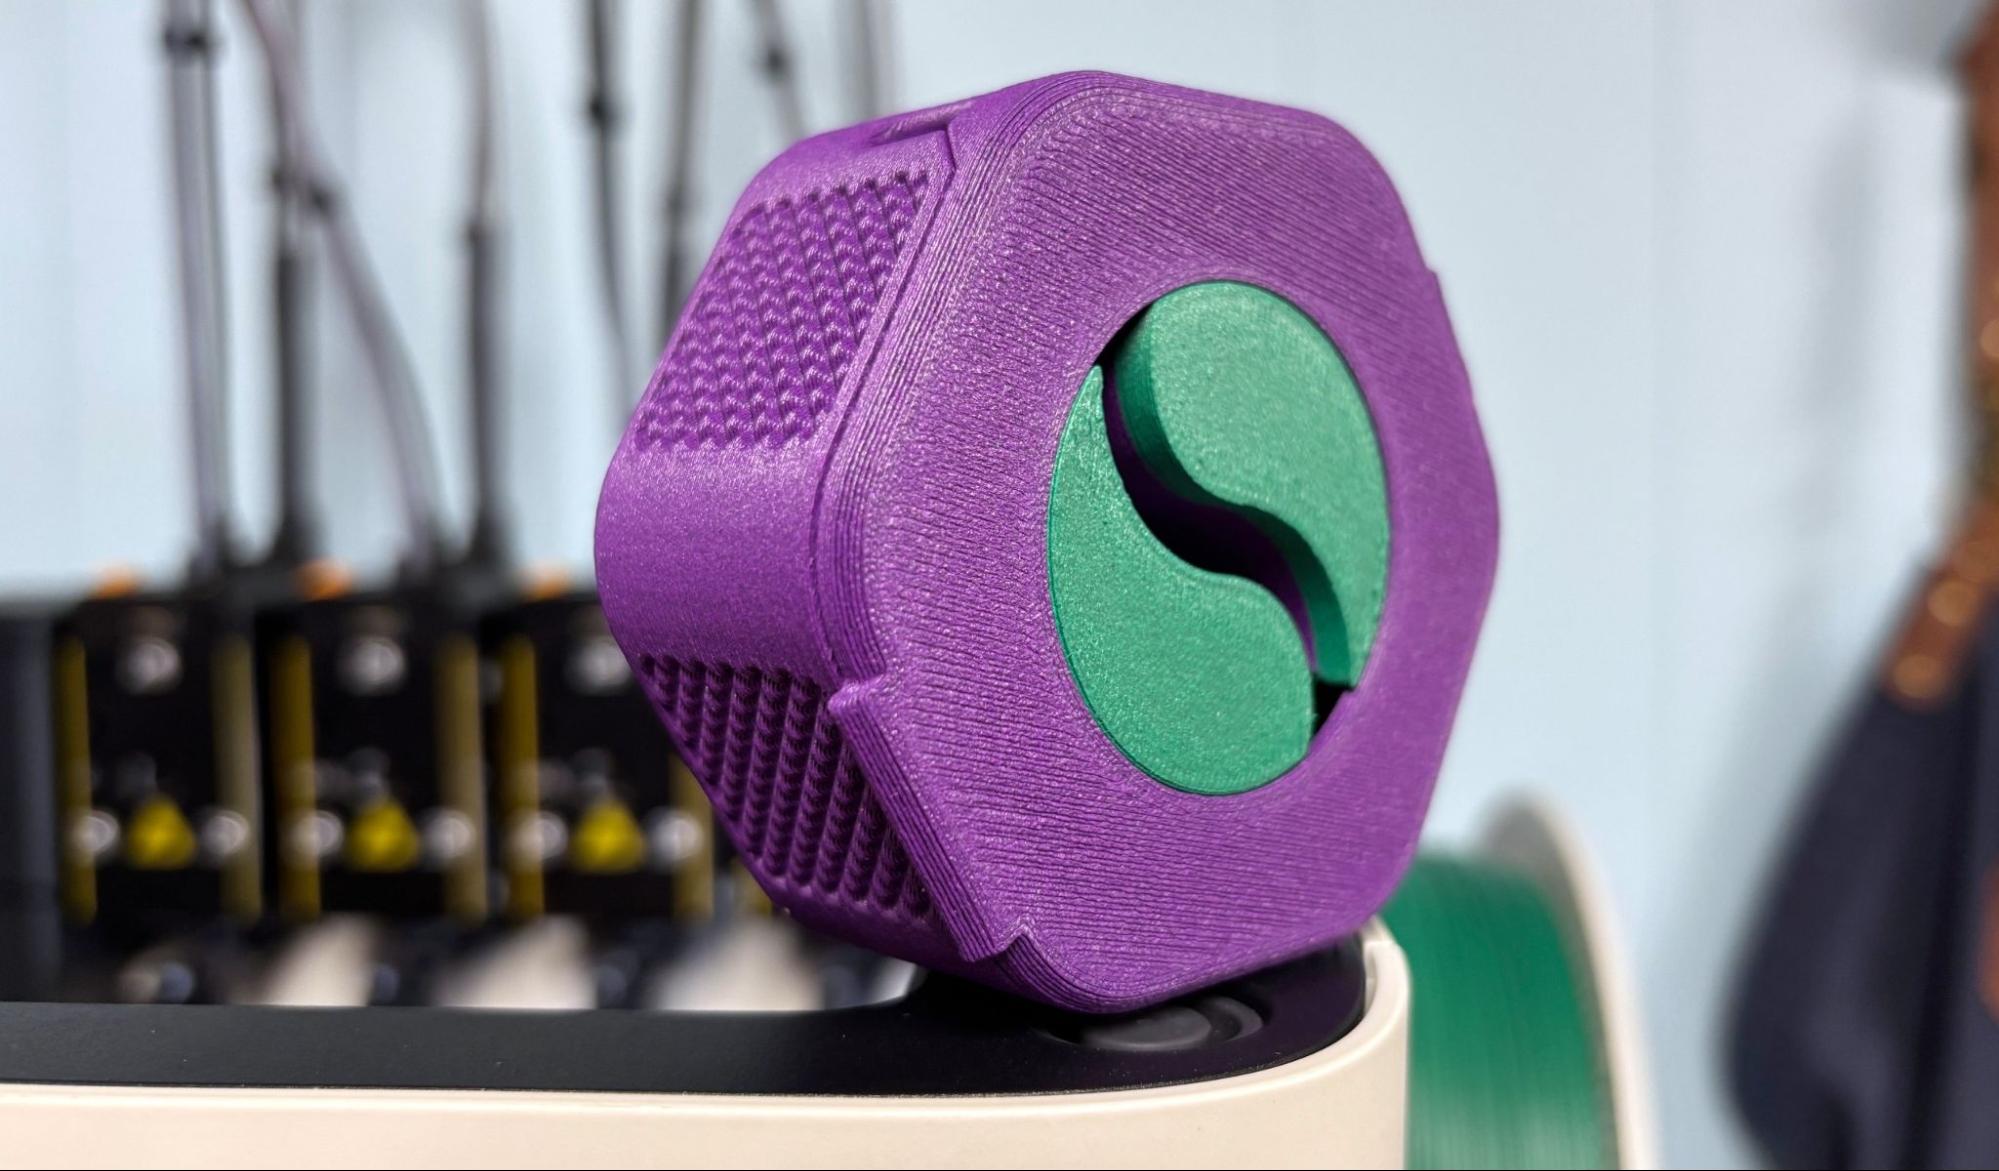
Squinn’s Portable Cable Organizer/Winder
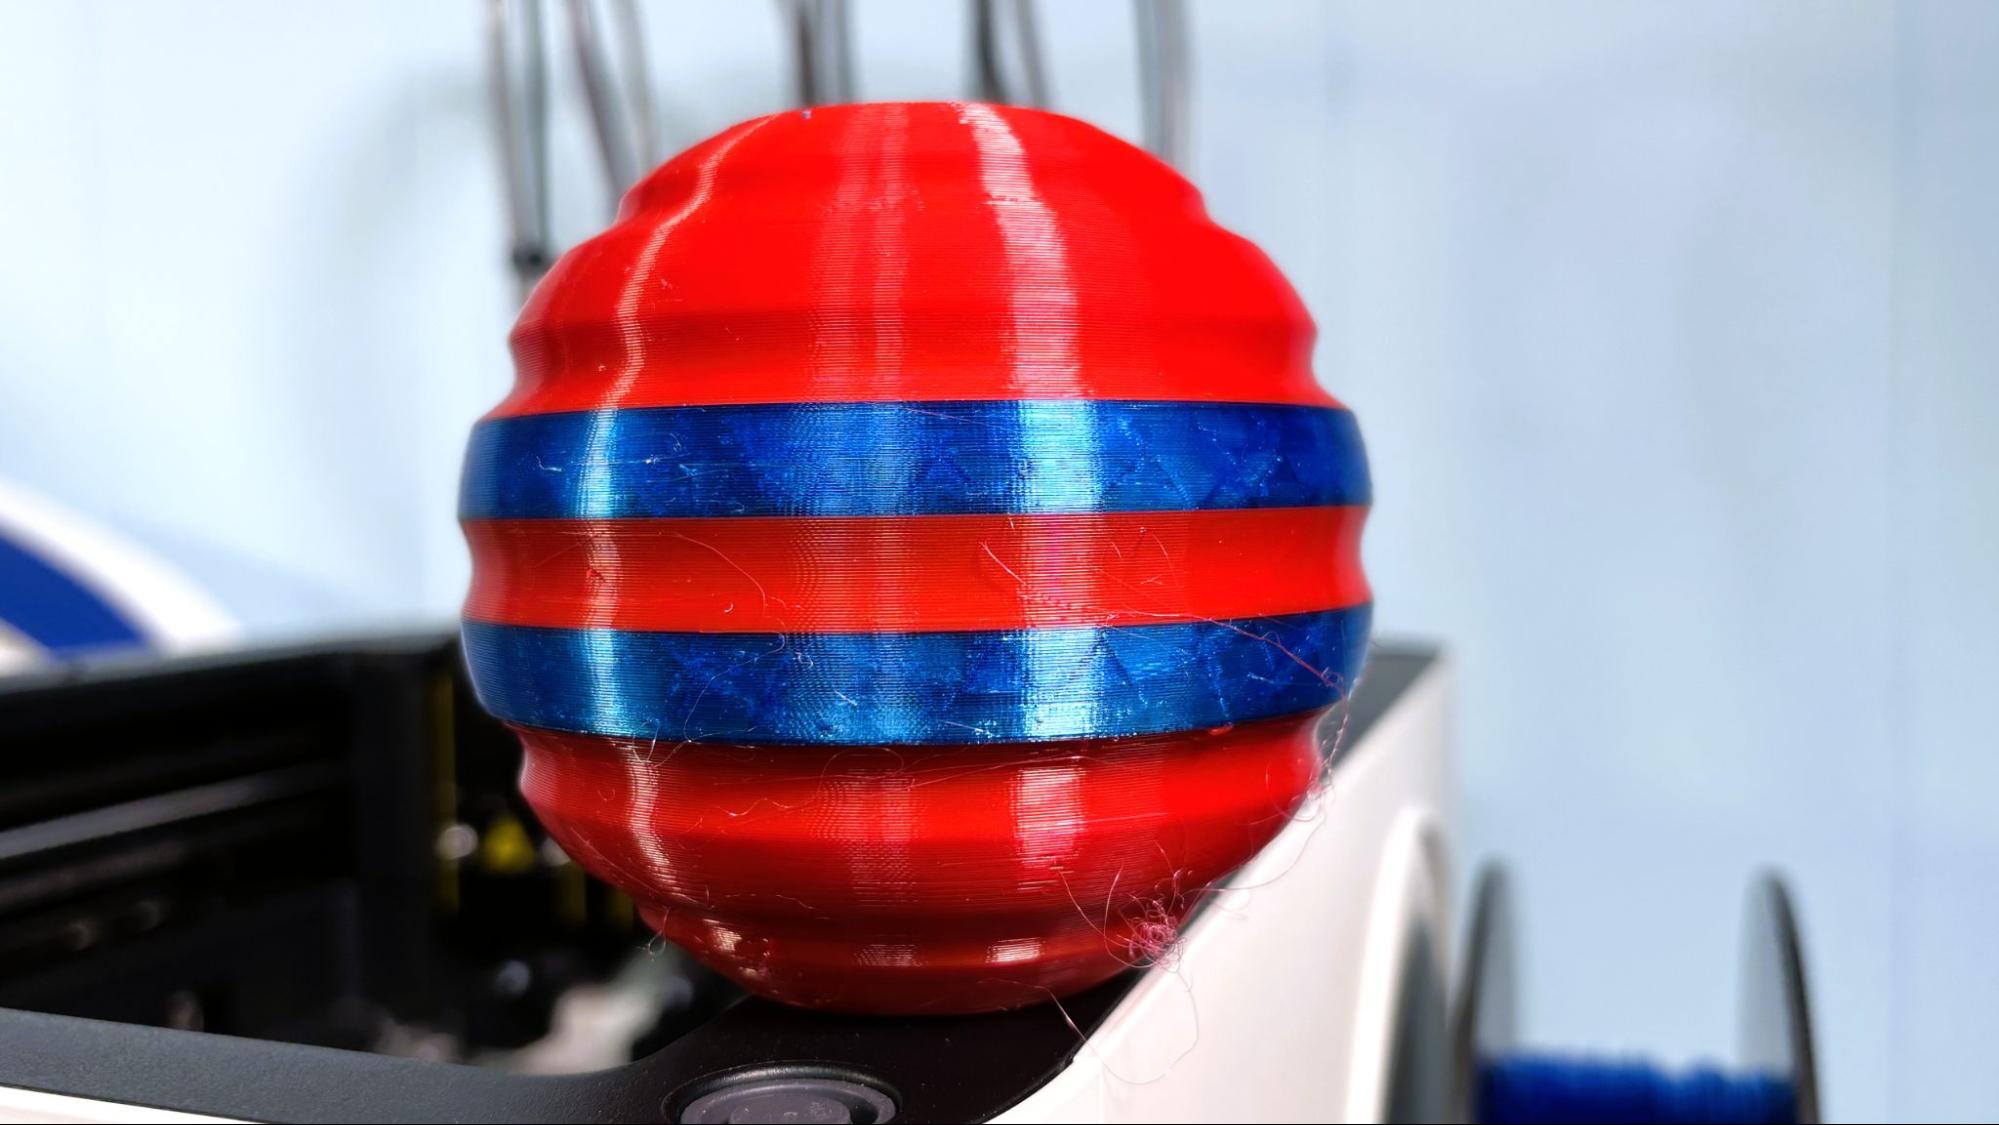
The filament that really impressed me was TPU, which has been getting more difficult to print as machines get more complex. Because the filament path on the U1 is extremely basic, it had no issue with soft TPU and was even able to feed it automatically. This is a big plus for anyone who wants to not only print TPU on a modern printer, but use several colors at once. This also opens the door for using TPU with supports in a different material.
This print is admittedly hairy, but that’s because I didn’t take the time to dry the filament beforehand. Considering it’s been stored in the open air for months since the last time it’s seen a drier, this is pretty impressive. The two different brands of TPU are very clean, with smooth layer lines, and have excellent layer adhesion. I used standard TPU settings and followed the designer's directions for a firm dog toy ball, using .2 mm layers, 15% infill, and 2 walls.
The print took 8 hours and 52 minutes to print, only wasting 7 grams in the prime tower. Settings slowed it to a max volumetric speed of 3.2 mm³/s, with a resulting speed of 40mm/s, but it probably could have gone faster.
This is printed in NinjaTek Fire Red and Inland translucent blue TPU from MicroCenter.
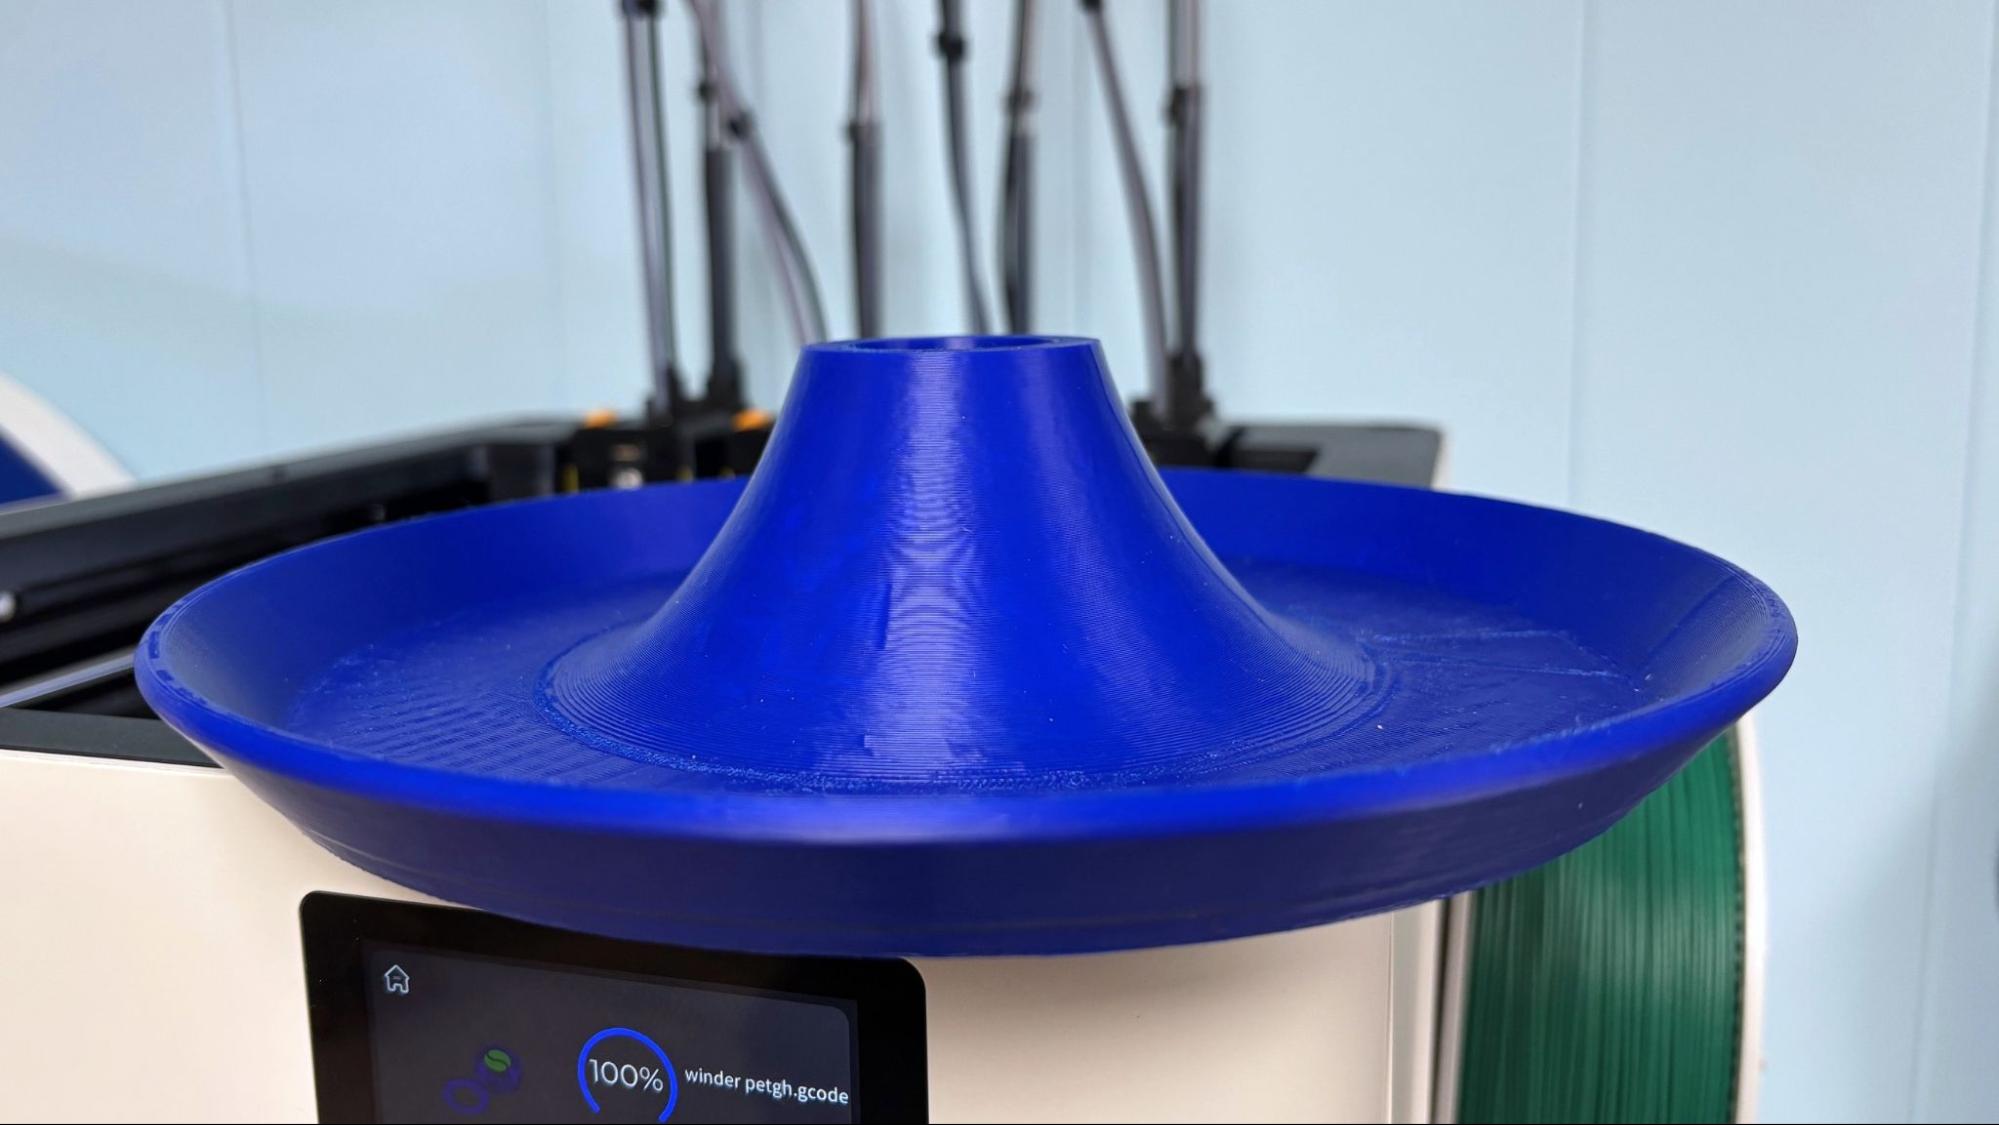
The Snapmaker U1 is not officially rated for high-temperature filaments without its optional top cover. However, the bed and nozzle certainly do get hot enough, and the partial enclosure is enough to keep drafts at bay for printing ABS and ASA. I printed this base for a display rack in Polymaker ASA, and the only issue was that my settings were too fast, so the top layer is not the best. Otherwise, it’s a nice functional print that’s plenty strong and looks ok at arm's length.
This is PolyLite ASA in Blue, and it took 4 hours and 45 minutes to print using default settings.
Bottom Line
The Snapmaker U1 is the affordable tool changer we’ve all been waiting for, one with both speed, precision, and respect for your filament budget. The machine is Kickstarter-only for now, so early adopters may run into some rough edges, but the launch also comes with a sizable early-bird discount. My beta unit had a few quirks, but Snapmaker was actively collecting feedback, which should make the retail version more refined.
It definitely looks like Snapmaker went back to the drawing board with this release, since the U1 bears little resemblance to its earlier machines. This one leans on Open Source Klipper and OrcaSlicer to address many of the frustrations users had with the Artisan and J1 series.
Performance-wise, the U1 already feels ahead of the competition. Even as a beta, it produced clean, multicolor prints faster than my Bambu Lab P1P, thanks to tool swaps that take seconds instead of minutes. At $999 retail, it’s a strong value, saving both time and filament for power users. While the lack of a fully enclosed lid at the base price is a small drawback, the U1’s speed, reliability, and ease of use make it one of the best multicolor 3D printers we’ve seen this year, and a machine we’re happy to recommend.
If you’re not ready to jump on a Kickstarter, but want an affordable multicolor machine, then you should check out the Bambu Lab A1 Combo for $499. The Kobra S1 Combo, normally $837, is currently on sale for $600. It is a fully enclosed multicolor 3D printer that also comes with a built-in filament dryer. And of course, the $3,499 Prusa XL tool changer is worth checking out if you want some oversized 3D prints in five different materials.

Denise Bertacchi is a Contributing Writer for Tom’s Hardware US, covering 3D printing. Denise has been crafting with PCs since she discovered Print Shop had clip art on her Apple IIe. She loves reviewing 3D printers because she can mix all her passions: printing, photography, and writing.
-
AndiThiGrat I wonder with a nozzle assembly like this, the replacement should have many issues, for one the cost and the even more troublesome the proprietary nature of it. Ouch!Reply -
Jimmy Fallin Very excited about this printer, I print a lot of muti-color prints and this will save time and material. I also love that is openness using Klipper and Orca slicer. I will buy one of these if not pre-order one on their crowd funding page. Cheers to Snapmaker for giving the printing community what they have been wanting.Reply
You know if this sells as well as I think it will, there is likely to be a large version following the U1.
