Tom's Hardware Verdict
The A1 is a reliable and quiet high speed printer at a competitive price. The optional AMS makes it an affordable introduction to four color printing for anyone who wants Bambu Lab’s quality without the premium price tag of the X1 series.
Pros
- +
Speed
- +
Intuitive Interface
- +
Quick change nozzle
- +
Inexpensive AMS (optional)
- +
Direct Drive
- +
Auto bed leveling
- +
PEI coated flexible build plate
Cons
- -
AMS takes up a lot of space
- -
AMS flings waste
Why you can trust Tom's Hardware
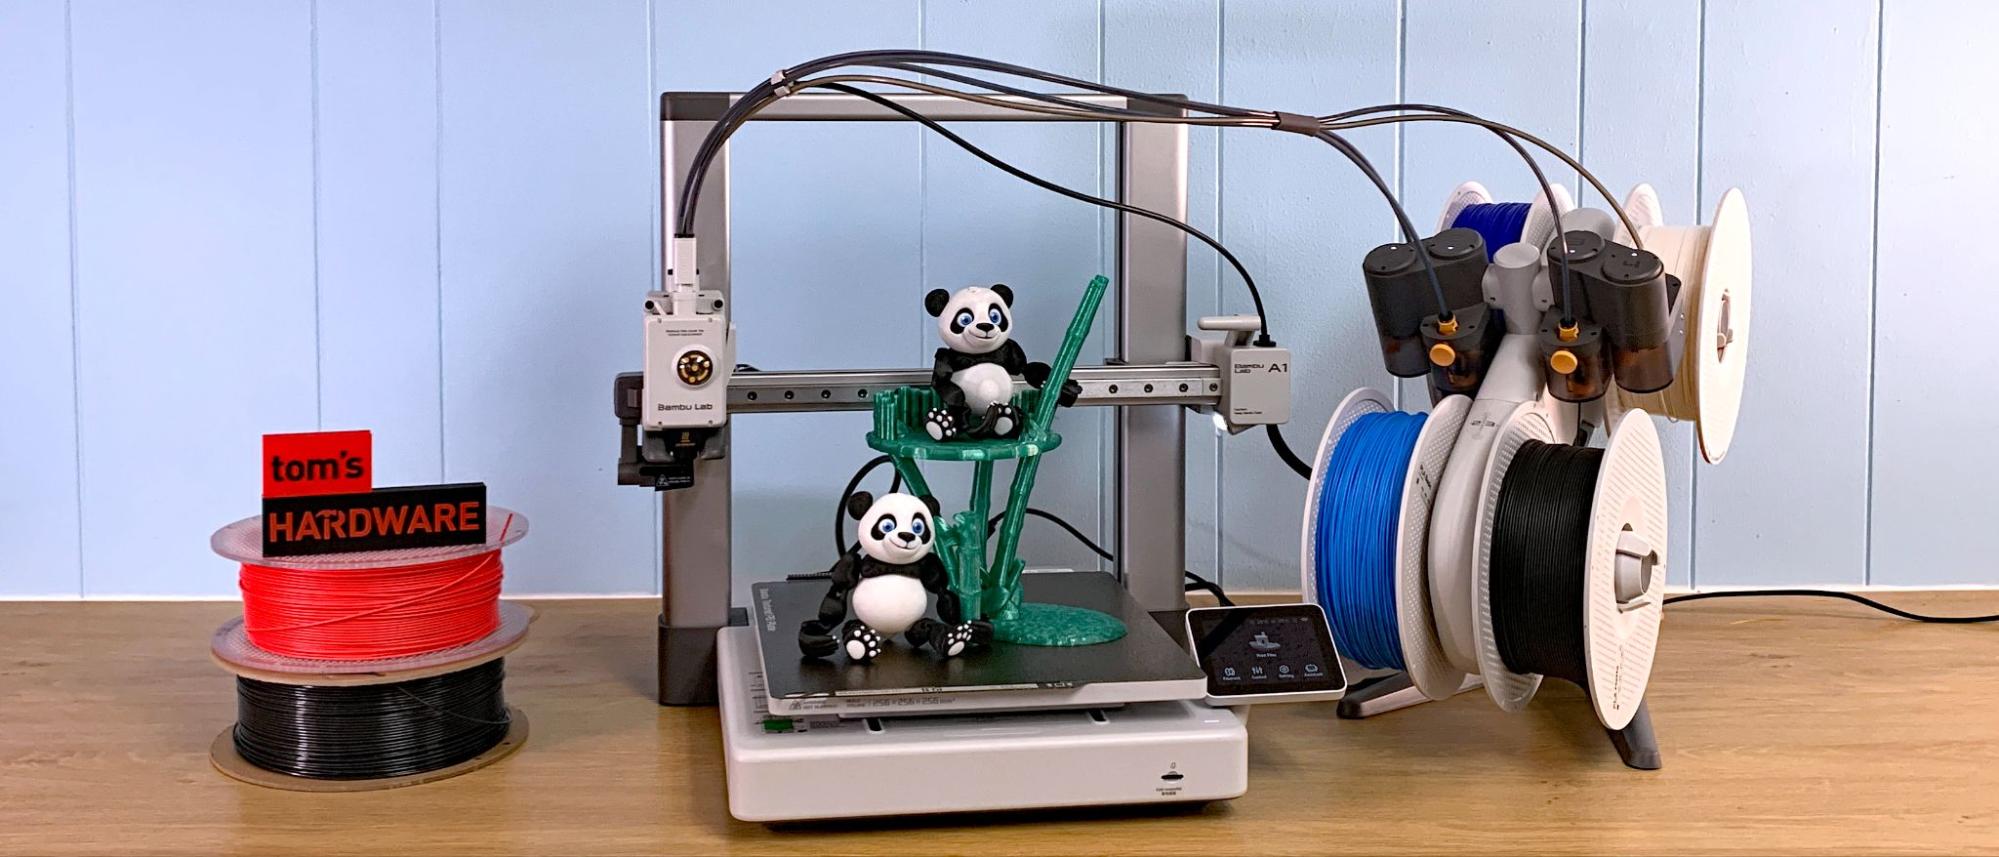
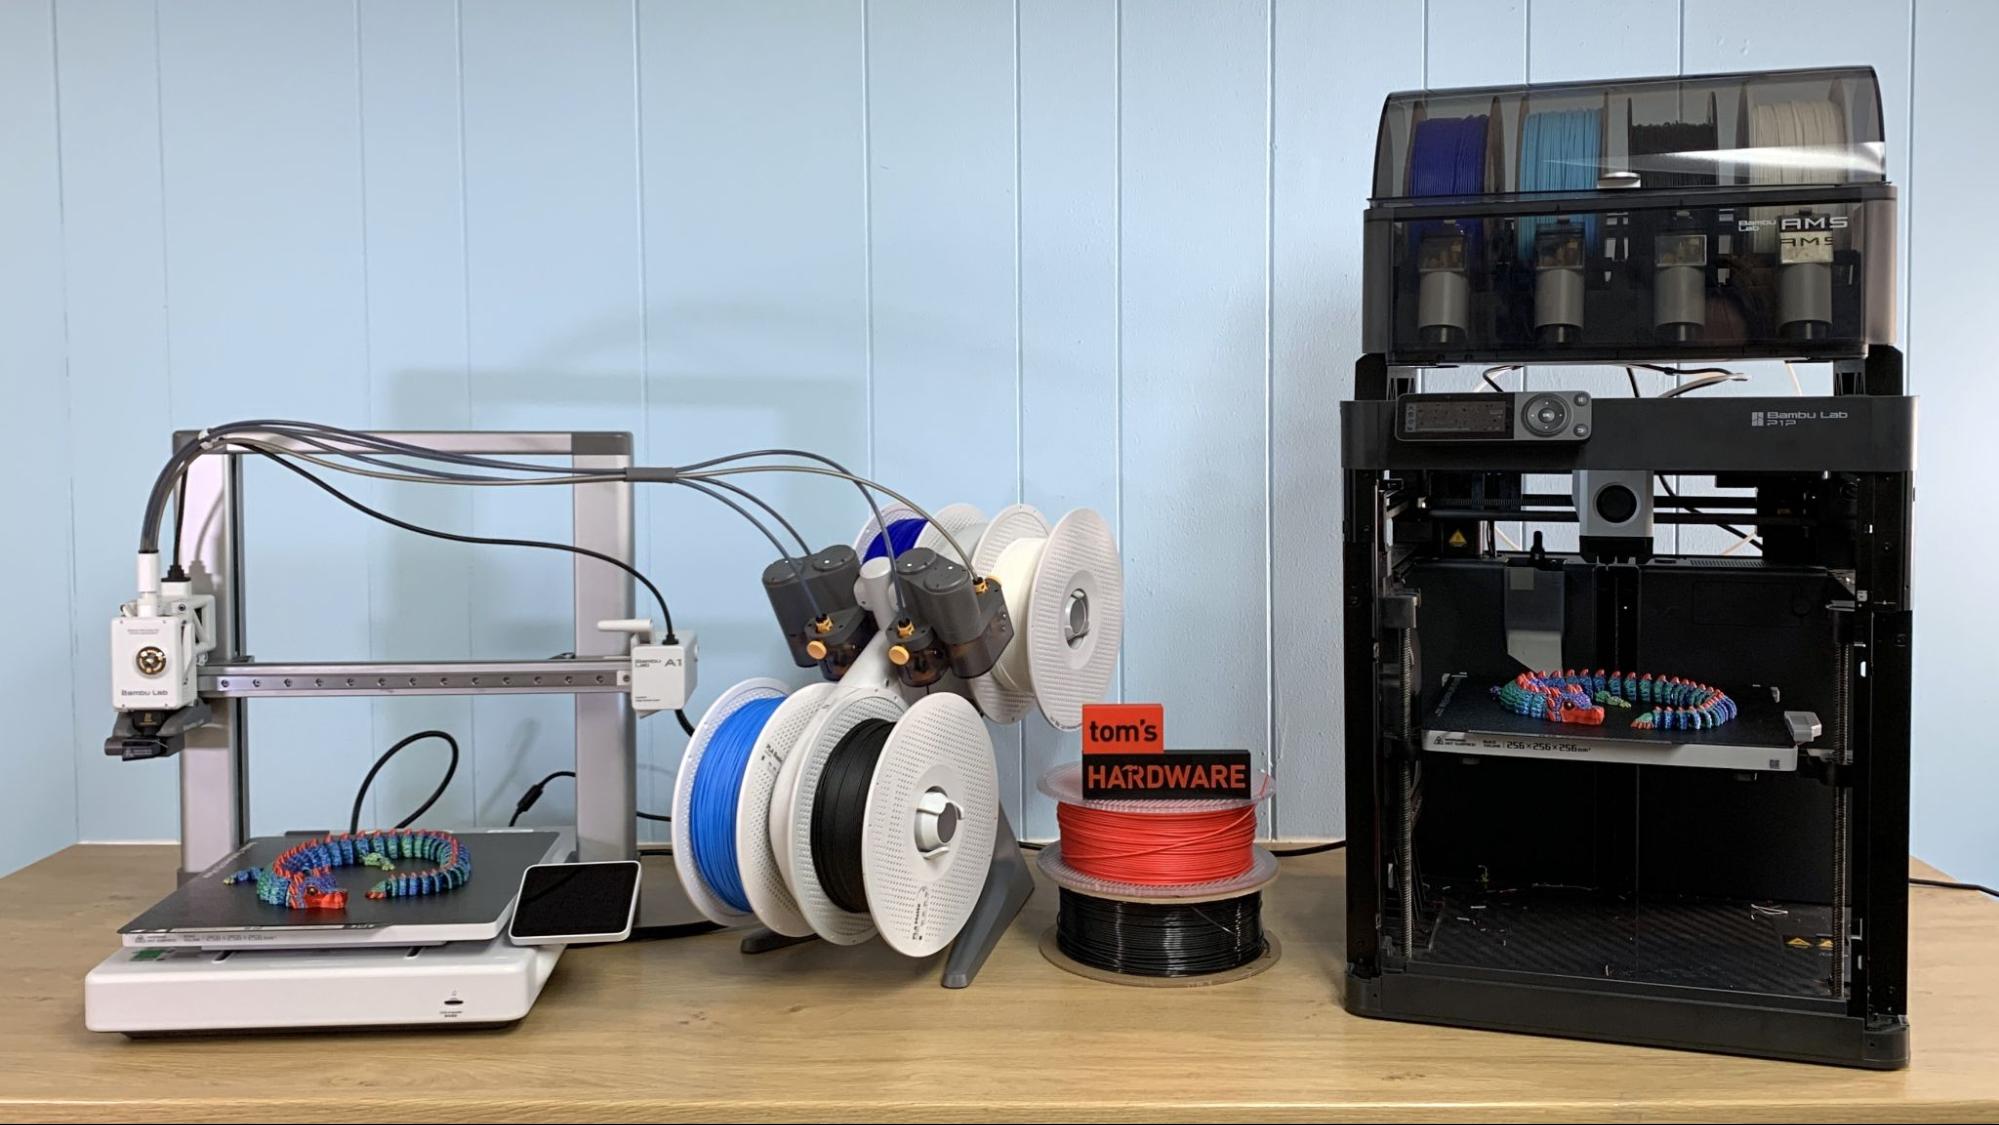
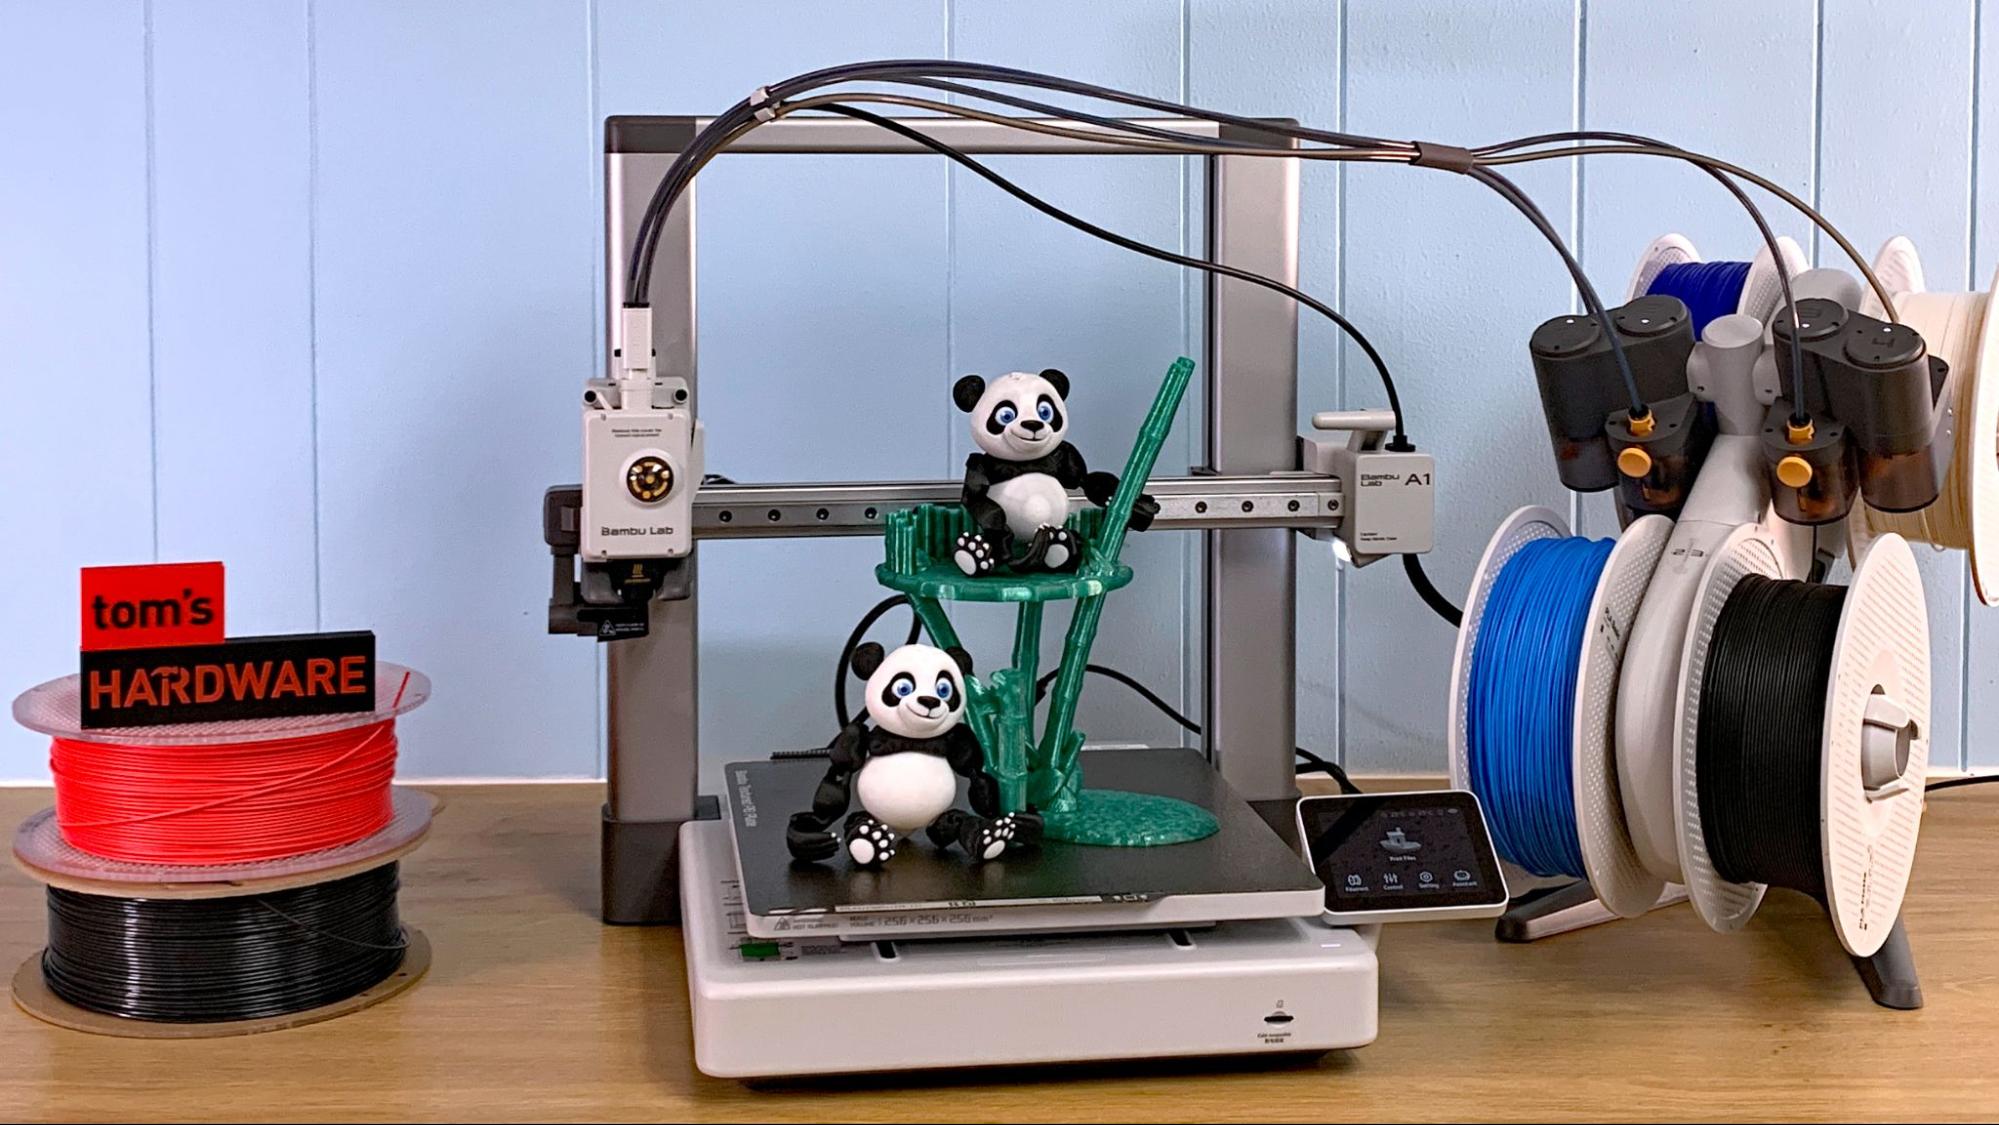
We’re not sure why Bambu Lab didn’t lead its journey into bed slingers with the A1, a standard sized, remarkably well-built high speed Cartesian 3D printer. It’s a delight to use and much more quiet than the current crop of speed freak machines. Its build size is the same as the P1 and X1 line up, but like the mini, uses a desk hogging “lite” AMS (Automatic Material System).
Retailing at $399 for the printer and $559 for a combo package with an AMS Lite, the A1 Combo is about the same price as Bambu Lab P1P without the AMS. It has an intuitive full color touch screen, quick change nozzles and an AMS unit less prone to jamming. The AMS also holds spools by the central core, making it compatible with more 3rd party filament.
Unlike other Bambu Lab printers, the A1 arrives with some assembly required, but has the same direct drive and steel tipped full metal hotend that can reach 300 degrees. It has a top speed of 500mm/s, but “only” half the maximum acceleration rate at 10,000mm/s², which is still enough to make it the fastest Cartesian printer we’ve reviewed.
Specifications: Bambu Lab A1
| Build Volume | 256 x 256 x 256 mm (10 x 10 x 10 inches) |
| Material | PLA/PETG/TPU (up to 300 degrees) |
| Extruder Type | Direct Drive |
| Nozzle | .4 high flow |
| Build Platform | PEI textured spring steel sheet, heated |
| Bed Leveling | Automatic |
| Filament Runout Sensor | Yes |
| Connectivity | WiFi, Bambu-Bus, Micro SD |
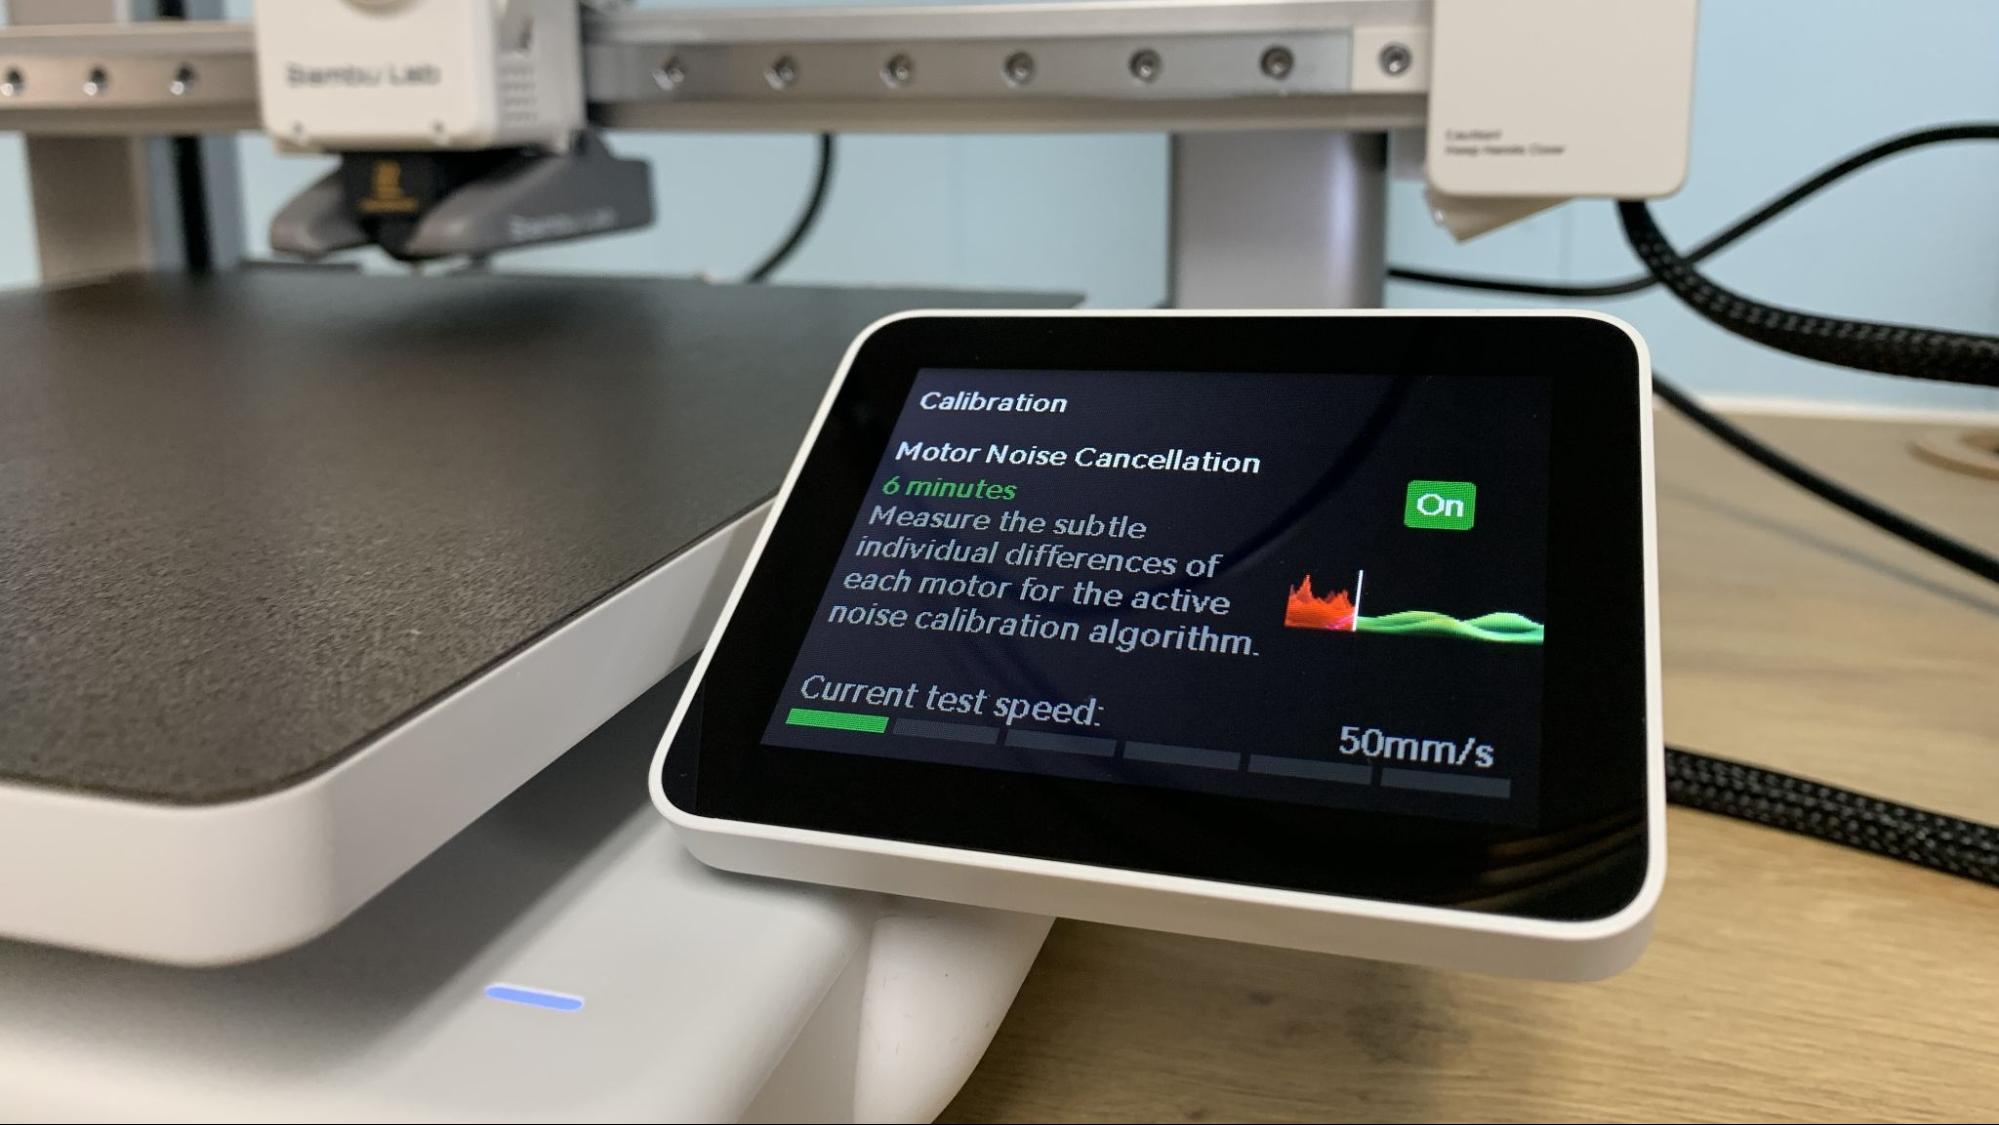
| Interface | 2.4 Inch Touch Screen |
| Machine Footprint | 385 × 410 × 430 mm (15 x 16 x 17 in) |
| Machine Weight | 8.3 KG (18.3 lbs) |
Included in the box: Bambu Lab A1 Mini
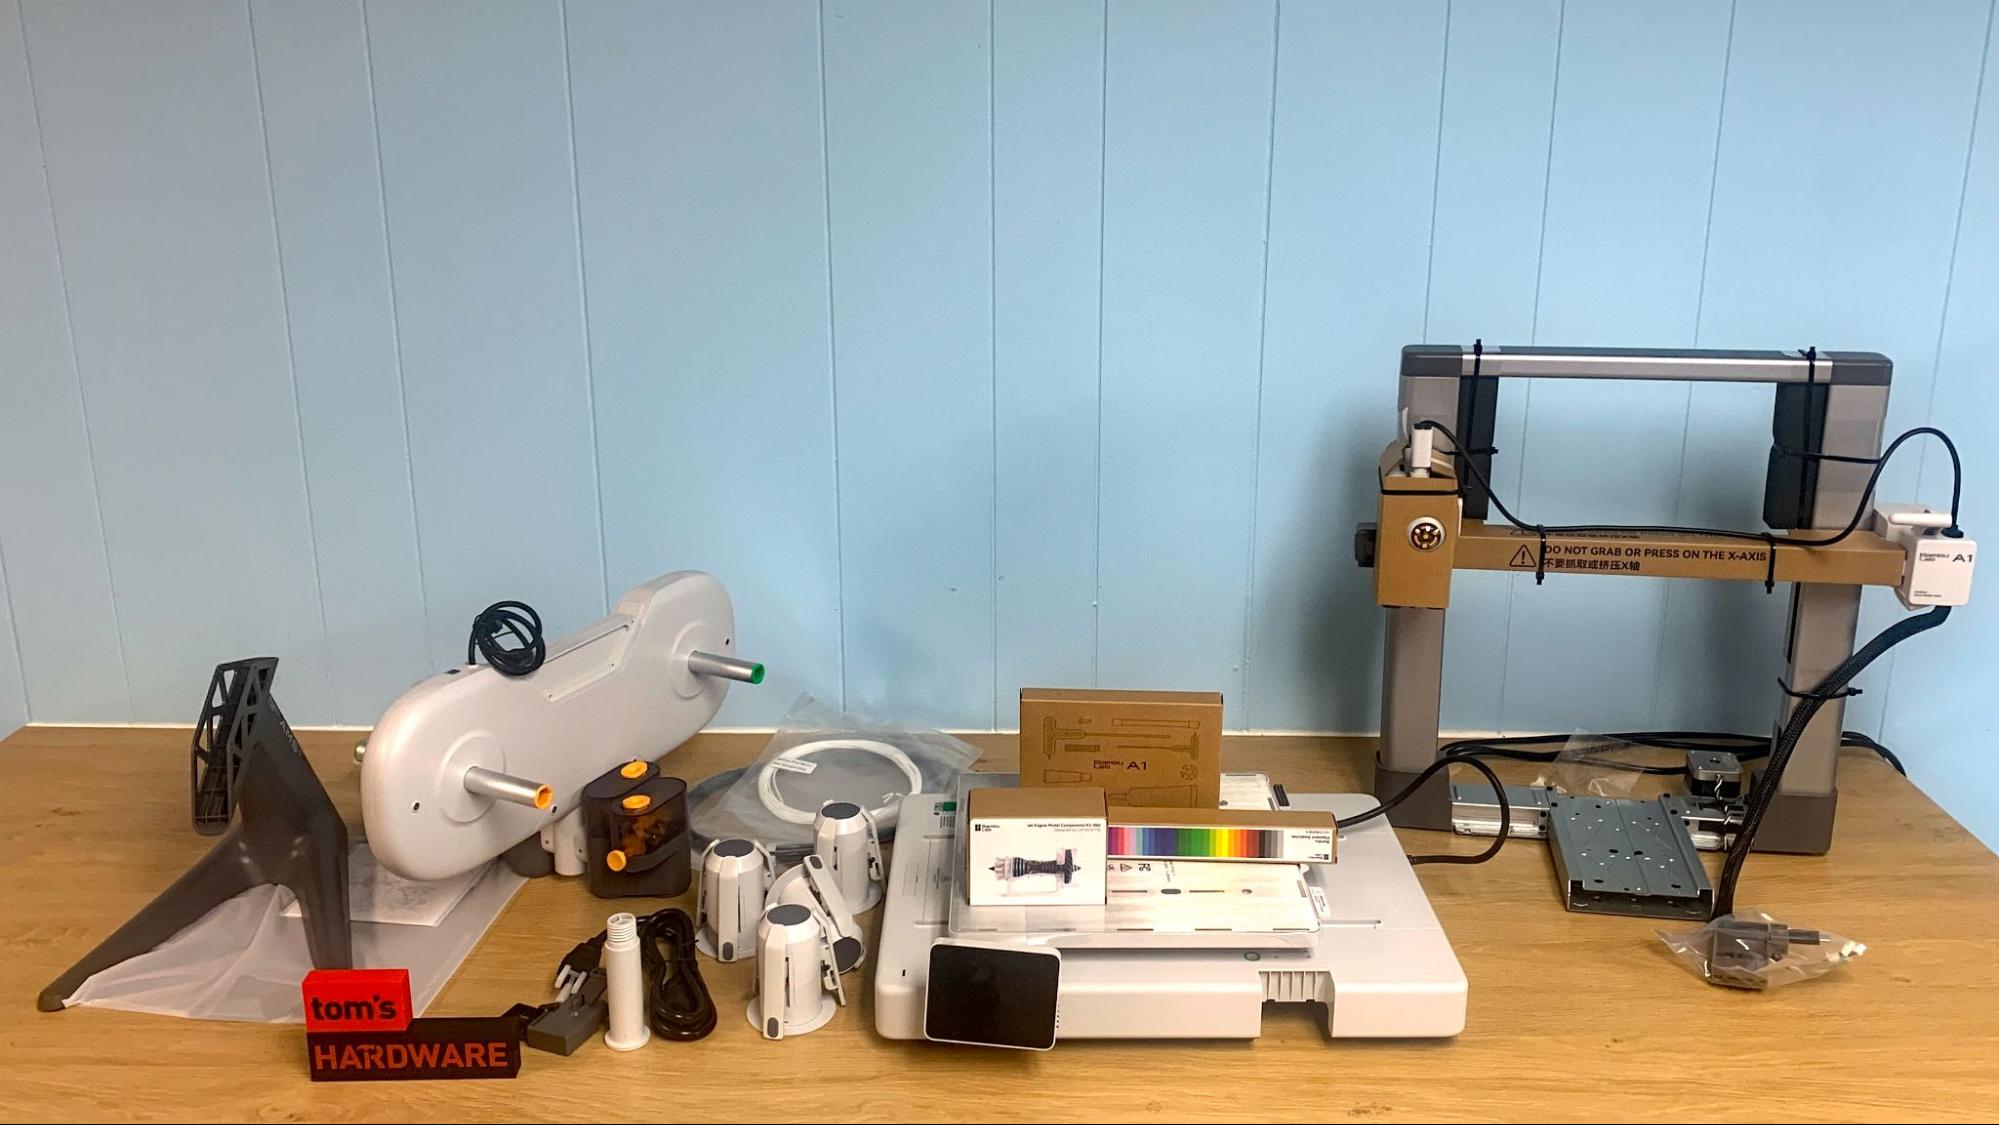
We reviewed the A1 Combo, so our unit came with the 3D printer and an AMS Lite on a stand. A cardboard toolbox holds all the tools needed to assemble and maintain the printer, plus a pair of side cutters, a project box and sample tiles of Bambu Lab’s filament. There was also a small coil for running a test print.
Assembling the Bambu Lab A1
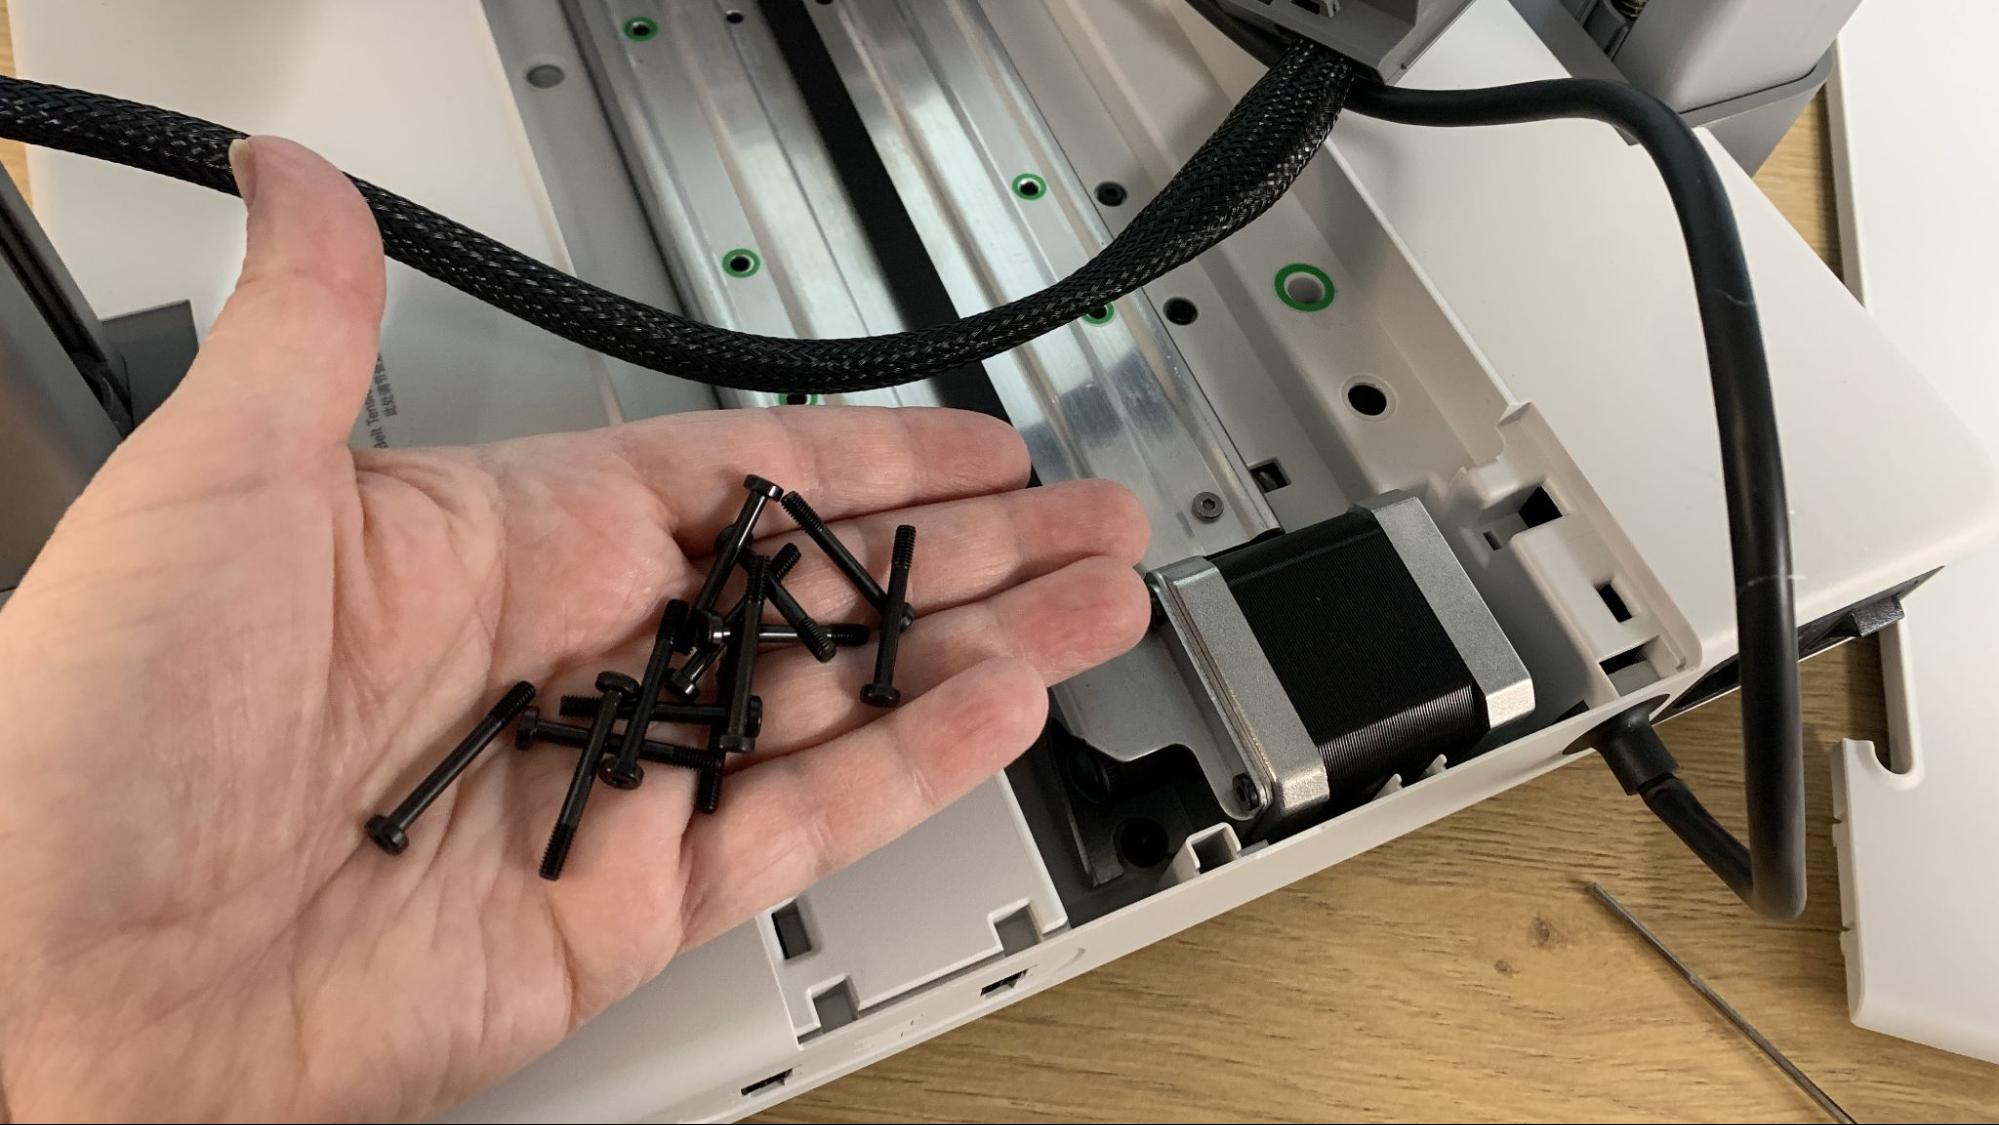
The Bambu Lab A1 arrives about 95 pre-assembled and requires a handful of screws to attach the gantry to the base. You then put the filament wiper and spool holder on with a few more screws. The AMS unit snaps together quickly before being secured onto its stand.
Leveling the Bambu Lab A1
The Bambu Lab A1 completely auto levels itself. It uses the nozzle as the probe so it can also set the z height for you. I had no problems with the settings and no need to make adjustments.
Loading Filament in the Bambu Lab A1
The Bambu Lab A1 can work from a single spool holder mounted to the gantry, or from four spools on the Lite AMS unit.
Get Tom's Hardware's best news and in-depth reviews, straight to your inbox.
For a single spool you must push filament through the Bowden tube to the toolhead, then tap “load filament” on the main menu. The machine will take over from there and display a checklist on the screen so you can follow along.
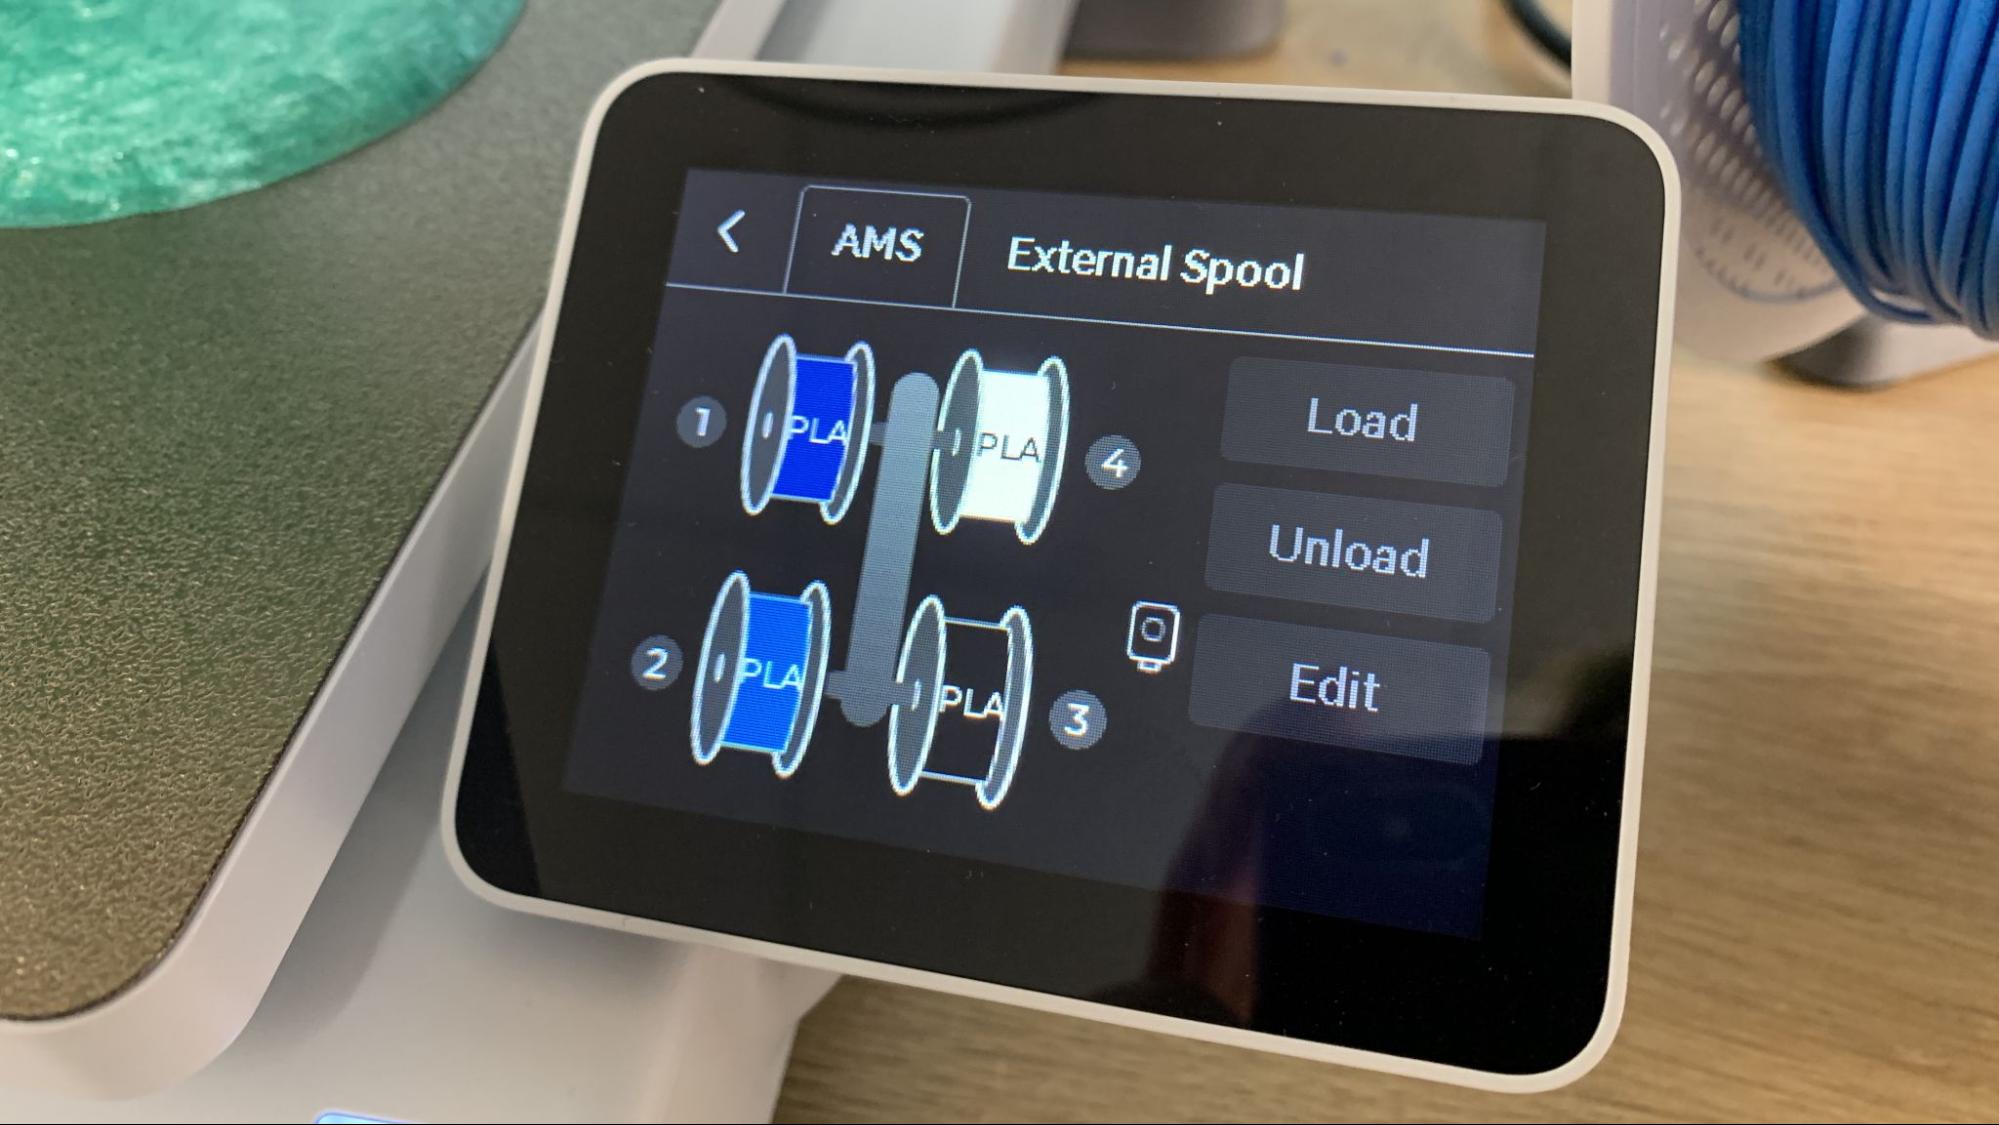
For the AMS, simply push spools onto the motorized spindles and poke the filament into the intake. The machine will detect the filament and draw it in.
The AMS has an RFID reader, which allows it to read tags on Bambu Lab branded filament. These tags will tell the machine what type and color of filament is on each spindle. If you’re using untagged filament, or the single spool holder, you’ll need to enter this information manually. This can be done directly on the A1 Mini or in Bambu Slicer.
Design of the Bambu Lab A1
The Bambu Lab A1 is a standard Cartesian, aka, bed slinger, 3D printer with a modern, IKEA-like style. It is extremely easy to use with a touch screen interface that contains guides to show you how to run the machine. It has the same build size as the P1 and X1 line of printers, but does not come with an option for an enclosure.
It has metal rails, linear bearings and dual Z rods, all tucked inside a smooth frame and base that makes it look much more polished than other printers.
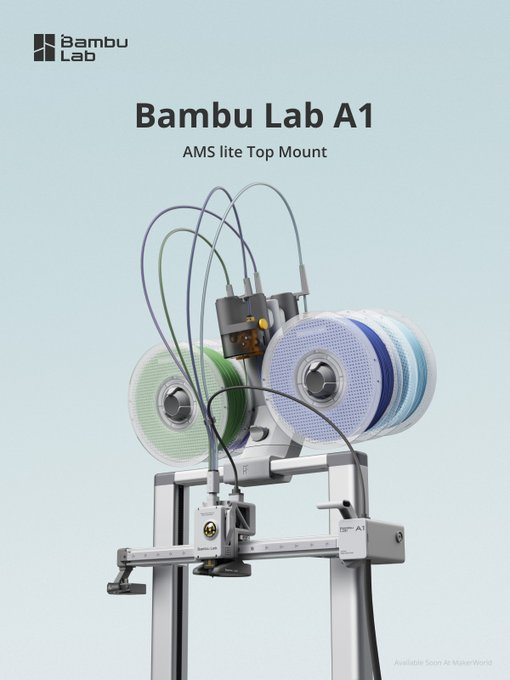
When equipped with an AMS unit, the A1 takes up noticeably more space, though it does need less headroom. Bambu Lab offered a clip that I could print myself that would attach the AMS to the X gantry, but it simply didn’t look appealing to me. The AMS is awkward enough as it is. I can’t imagine sticking it and 4kg of filament on top of the printer.
The A1 is just as fast as its Core XY siblings, but only has half the acceleration. Of course, 10,000 mm/s is nothing to sneeze at, and you’ll be hard-pressed to spot the difference as the Core XY machines keep half their acceleration in reserve during normal printing. It has vibration compensation to keep prints smooth at high speed – an Eddy Current sensor on the hotend to measure extrusion pressure for greater stability.
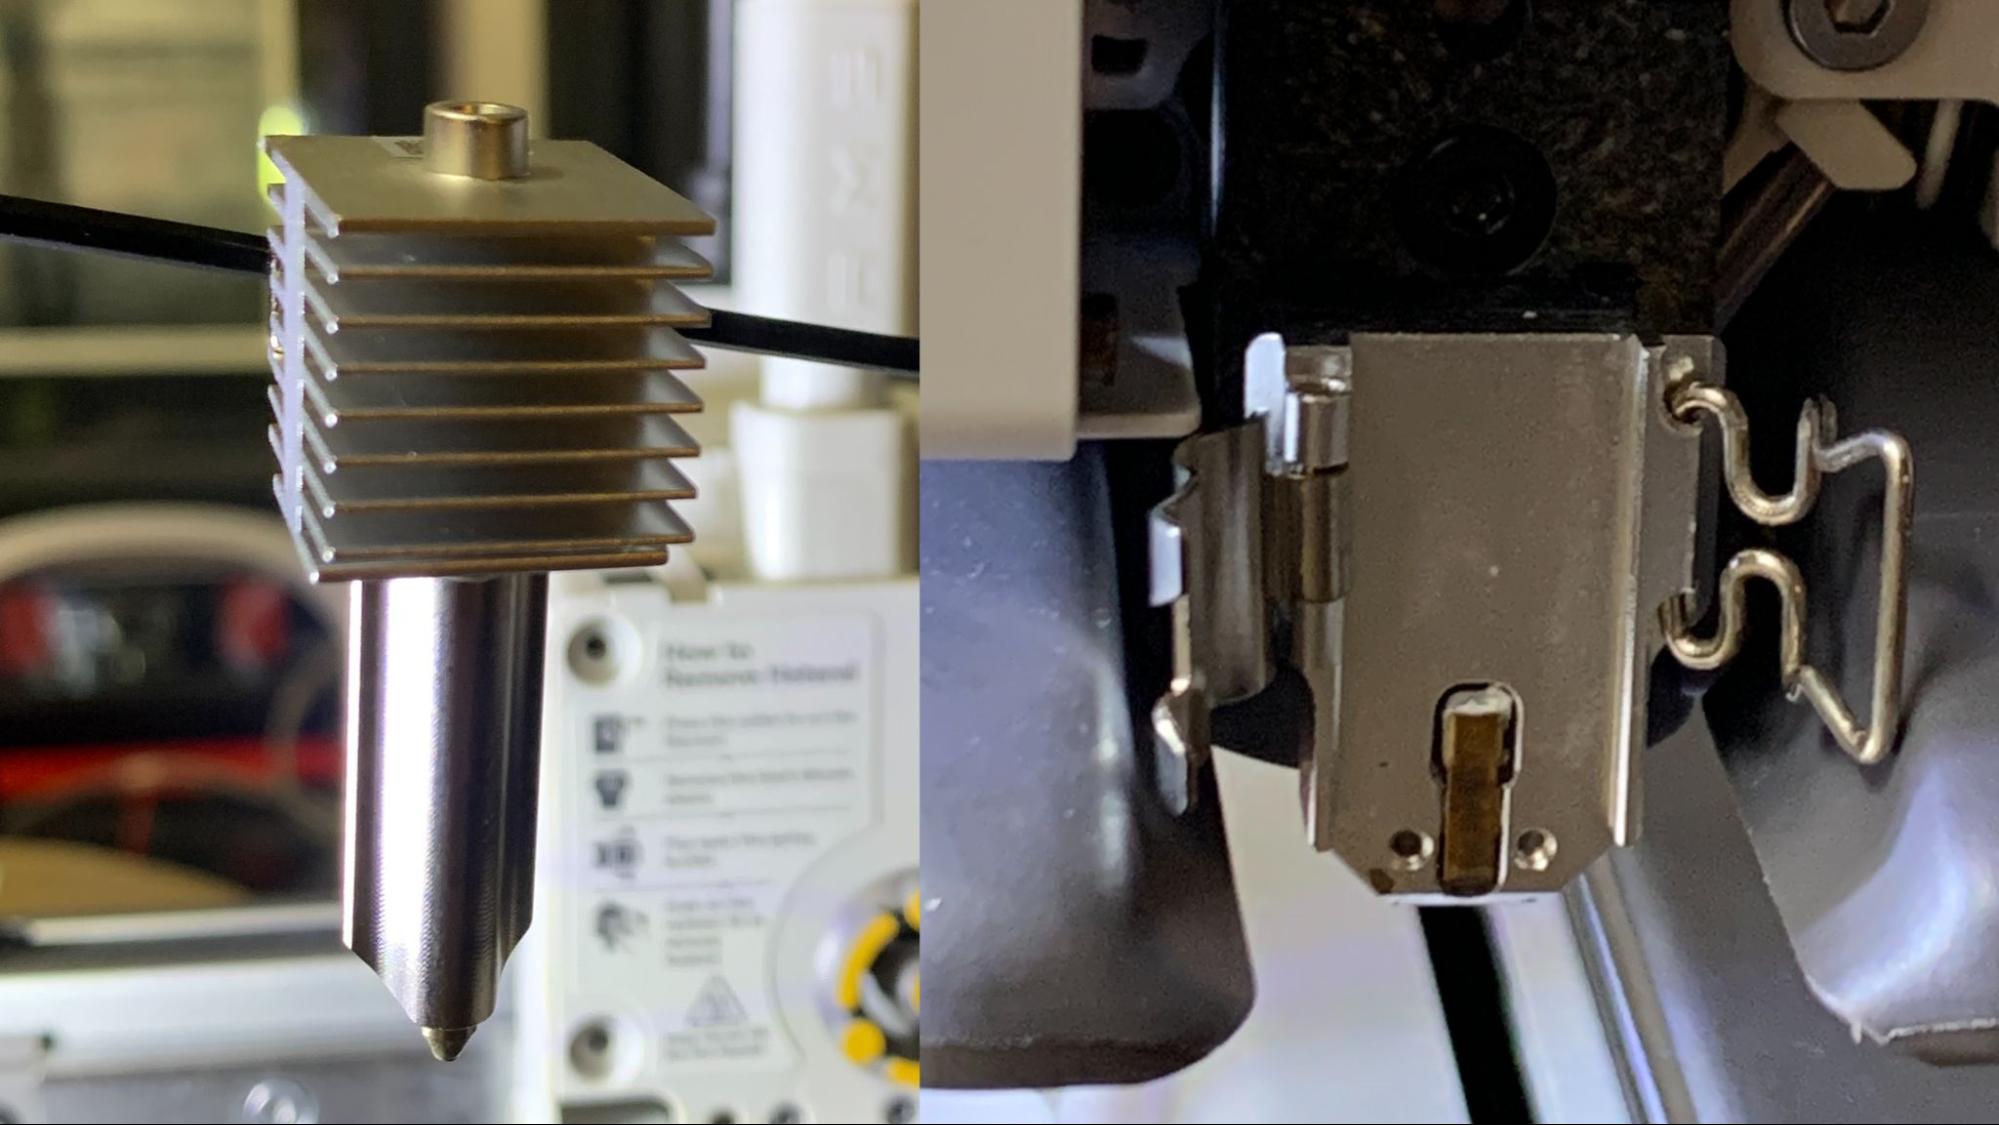
It has the same direct drive with a 300 degree hot end and quick swap steel nozzles as the mini, which is comparable to the Core XY machines. The nozzles contain the heat break and cooling fins, which like the Prusa MK4 nozzles, prevent leaks from haphazard user installation. Unlike previous Bambu Lab machines, these nozzles are literally a cinch to install, as they’re held in place with a strong magnet and metal buckle. There’s no screws, wiring or messy thermal paste involved with the process.
The toolhead has significantly slimmed down when compared to the one on a P1 or X1 printer. It has a similar filament cutter, though this one is triggered by a more obvious “finger” on the machine’s right side. The filament hub is no bigger than a pencil and is permanently mounted on top whether you need it or not.
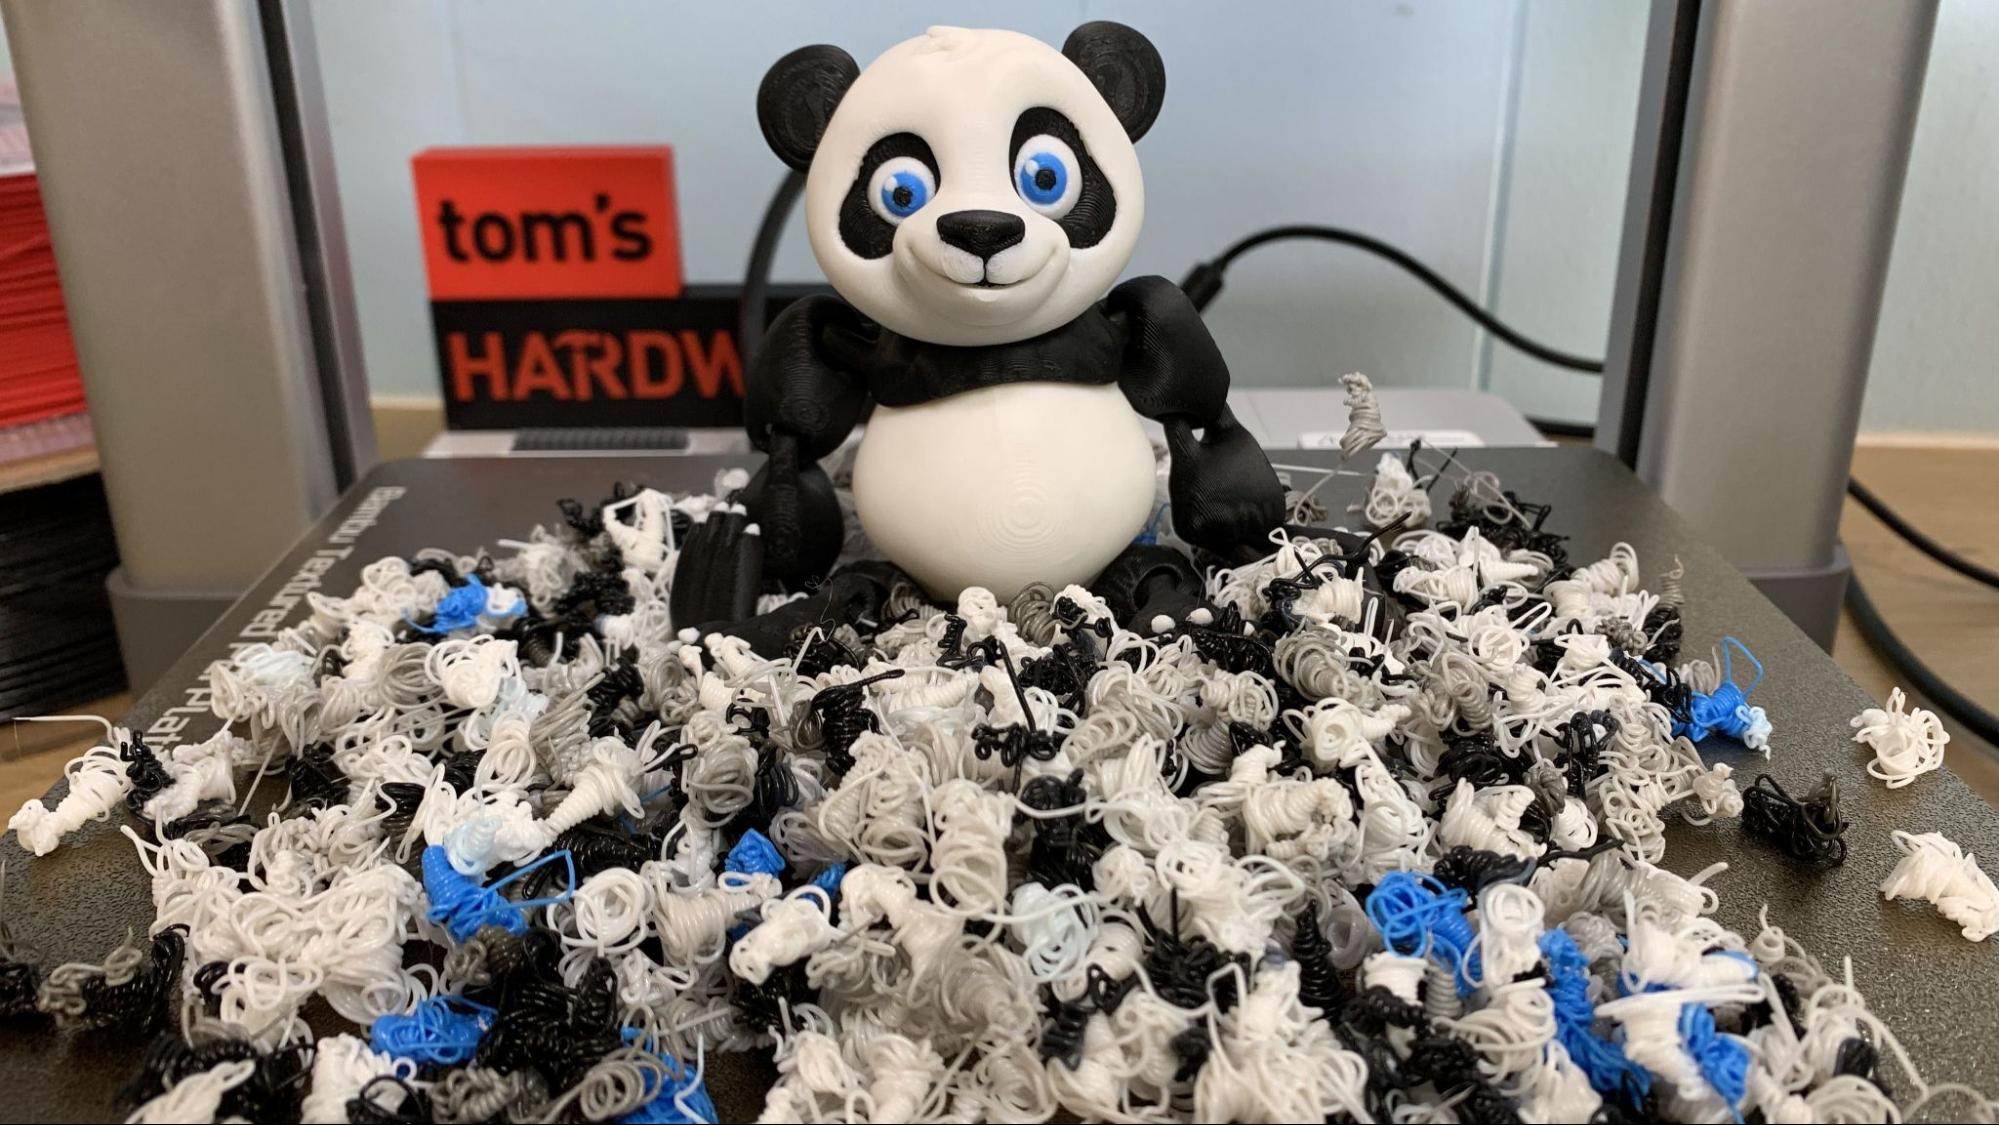
Like the A1 Mini, there’s a silicone brush near the back of the plate for wiping the nozzle before it taps the bed for calibration. It also has a weird little tray at the end of the X gantry for depositing purged filament, which it then flings off to the side in a hilarious fashion. These are easily collected with an open filament box next to the printer. As messy as it might seem, it’s better than the chute on the larger machines, which can clog up the printer if not kept clear.
The A1 has a filament run out sensor in the tool head, plus an odometer in the AMS to detect broken filament and tangles. It has the same camera as the A1 Mini for monitoring and recording time lapses, without the ability to detect print fails. The camera lens is a fisheye and can see a huge amount of the room beyond the built plate, but a manual privacy shutter is on the lens if you need it. I advise putting up a screen or parking the A1 in a corner if you don’t want a lot of background movement recorded.
When the A1 has an error, it tries to help you diagnose the problem by issuing an error code. The code is written out and can be displayed as a QR code leading to the Bambu Wiki, a knowledge base for operating any Bambu printer. The Wiki will help you identify and fix the problem, often with quick video tutorials.
Bambu Lab Automatic Material System (AMS) Lite
We received the A1 Combo, which includes an AMS Lite module. The AMS Lite is made specifically for the A1 line of printers and is not compatible with the Core XY machines. It’s not as clean looking as the old AMS, with four Bowden tubes stretching from each spool to the tool head. However, this simplified version is much easier to unjam should brittle filament break in the tube.
Each spool is mounted on a spring-loaded spindle, which provides the necessary retraction. Since each color has its own Bowden tube, the A1 only needs to pull the filament a few inches until it's clear of the tool head, not all the way back to the AMS Unit, which makes it a bit faster during color swaps than the original system. Each spool also gets a motor to push filament to the tool head. This new system solves the problem of cardboard spools with crushed edges, spools that are too wide or too tall, and spools that are too light.
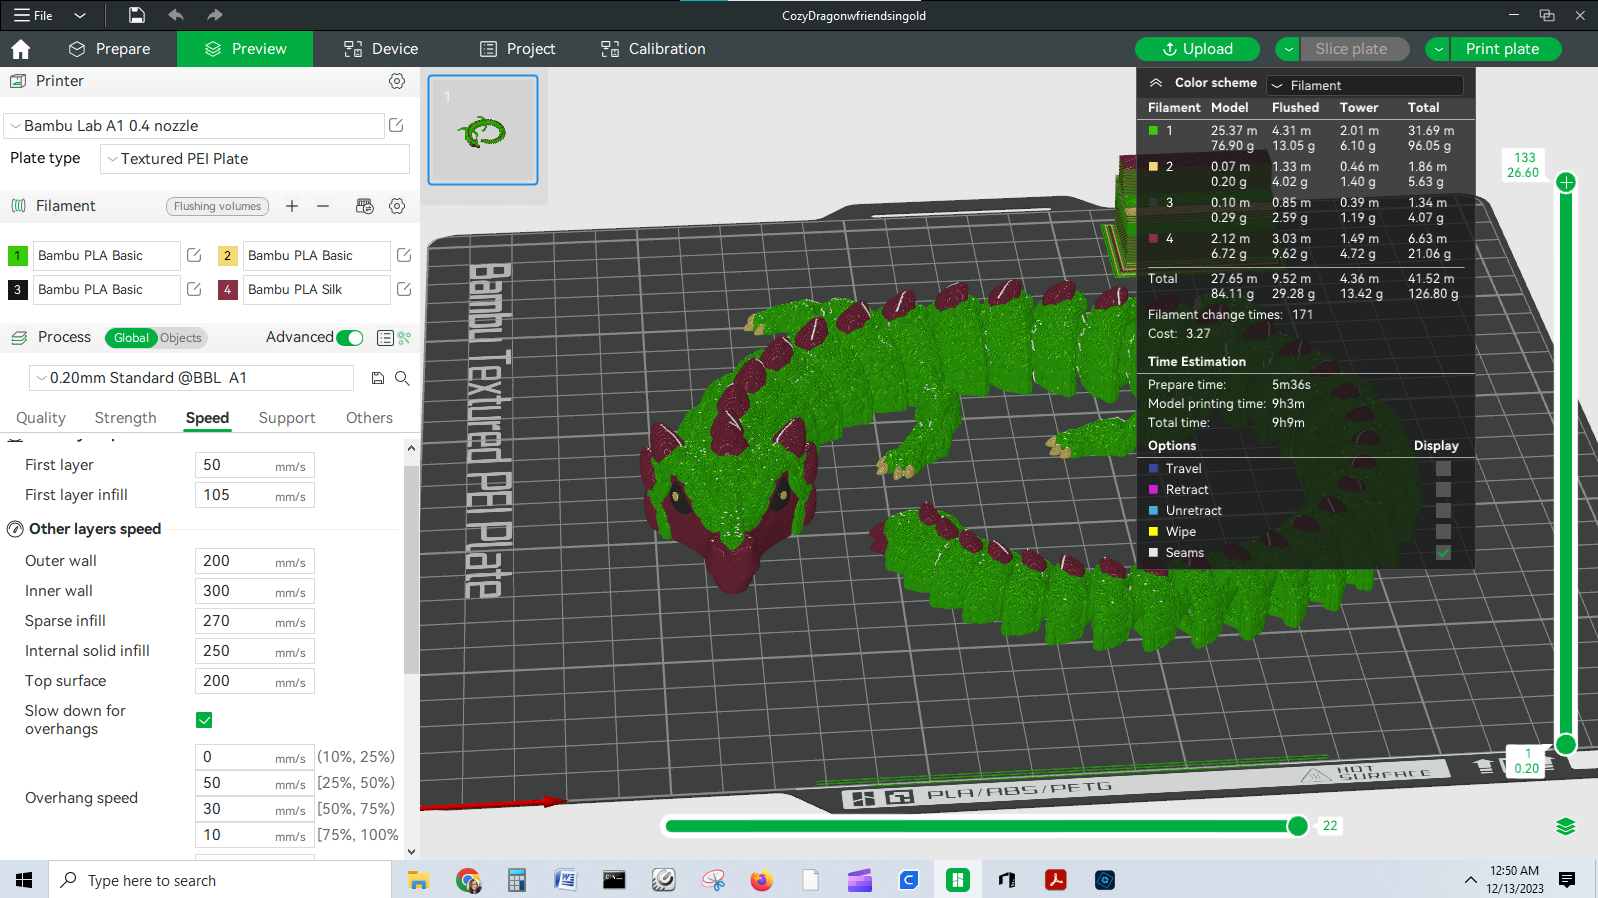
There are notable drawbacks to using either of Bambu Lab’s AMS systems. The printer wastes an amazing amount of material when it cleans out the nozzle between colors. The waste can be reduced with tuning, but takes time and patience. The slicer will tell you exactly how much it will use before you start a print.
The second drawback is loss of speed. The printer needs to pause between layers to purge filament, then do a nozzle wipe on the purge tower. The Flexi Factory Panda takes 2 hours and 40 minutes to print in one color using default settings, and 6 hours and 46 minutes to print in three colors.
Preparing Files / Software
Bambu Lab has its own custom slicer, Bambu Studio, which is a fork of PrusaSlicer. The slicer is also the primary means of transferring files via Cloud service or local LAN to the printer. Of course, you can also place files right on the microSD card and walk them to your printer.
Bambu Studio is also the “paint” program you need to assign color to your prints. The device tab allows you to talk directly to the printer to define the filaments in the AMS, heat up the printer and control the speed.
It has a wide range of presets for filament from both Bambu Lab and other manufacturers. I’ve found these presets to be incredibly helpful and accurate.
You also use Bambu Studio to access Maker World, which is a file sharing site for all printers and hosted by Bambu. All the files are available as STL files or pre-sliced by the designers and members of the community, which allows you to send the files directly to the printer if you access Maker World from a mobile device with the Bambu Handy app.
Printing on the Bambu Lab A1
The Bambu Lab A1 has a top speed of 500 mm/s, but the default slicer speed is in the 200-300 range. It has excellent input shaping to tame vibrations and eliminate ringing.
The printer arrived with several prints preloaded. You’ll definitely want to shop for filament before bringing this machine home, especially if you plan on doing a lot of AMS printing. We have a guide with our favorite filaments for 3D printing here.
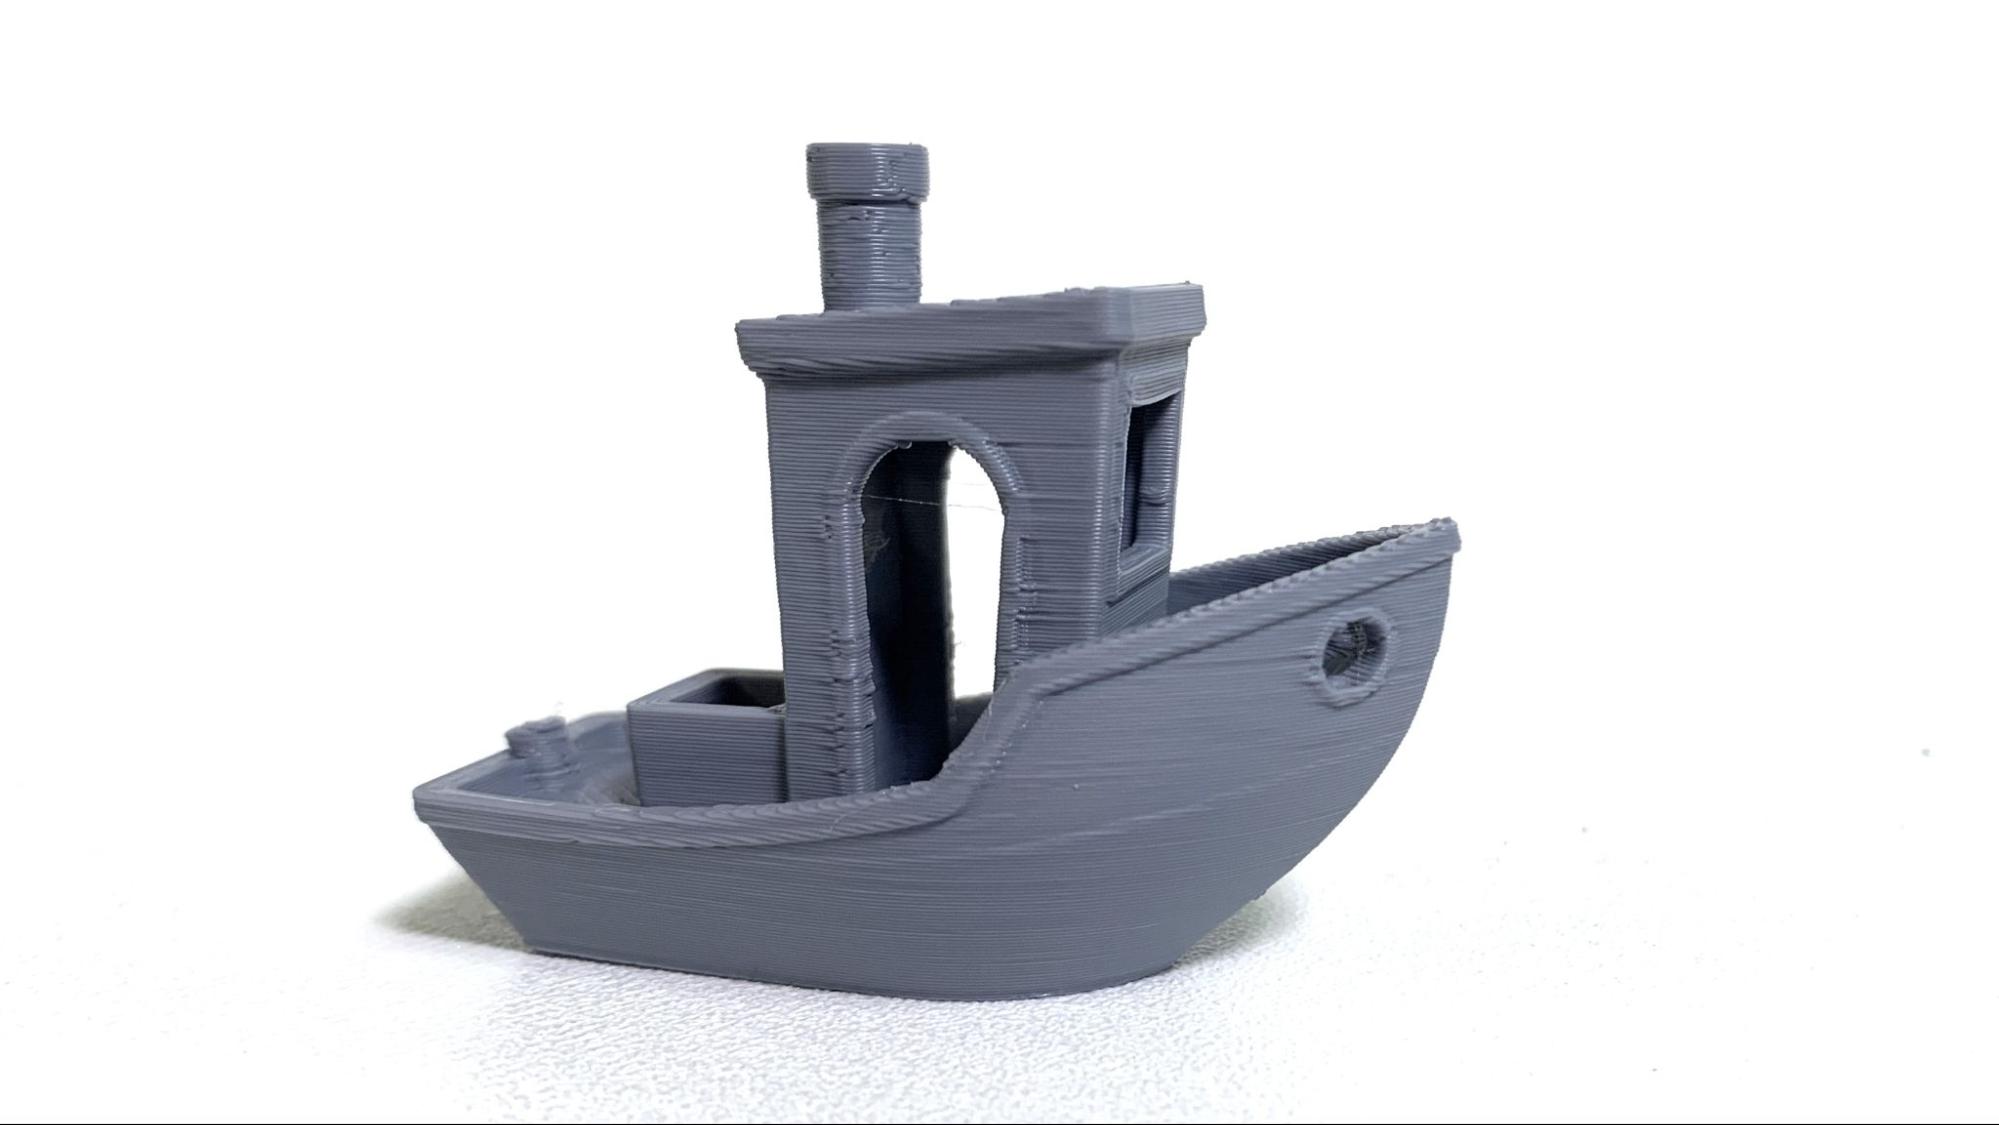
I ran an amazingly-fast 19 minutes 15 second Benchy using Speed Boat Rules (2 walls, 3 top and bottom layers, 10% grid infill, a .25 layer height and .5 layer width). The layers are mostly smooth with a surprisingly crisp bow which shows off the printer’s excellent cooling. We printed it in ordinary gray Inland PLA.
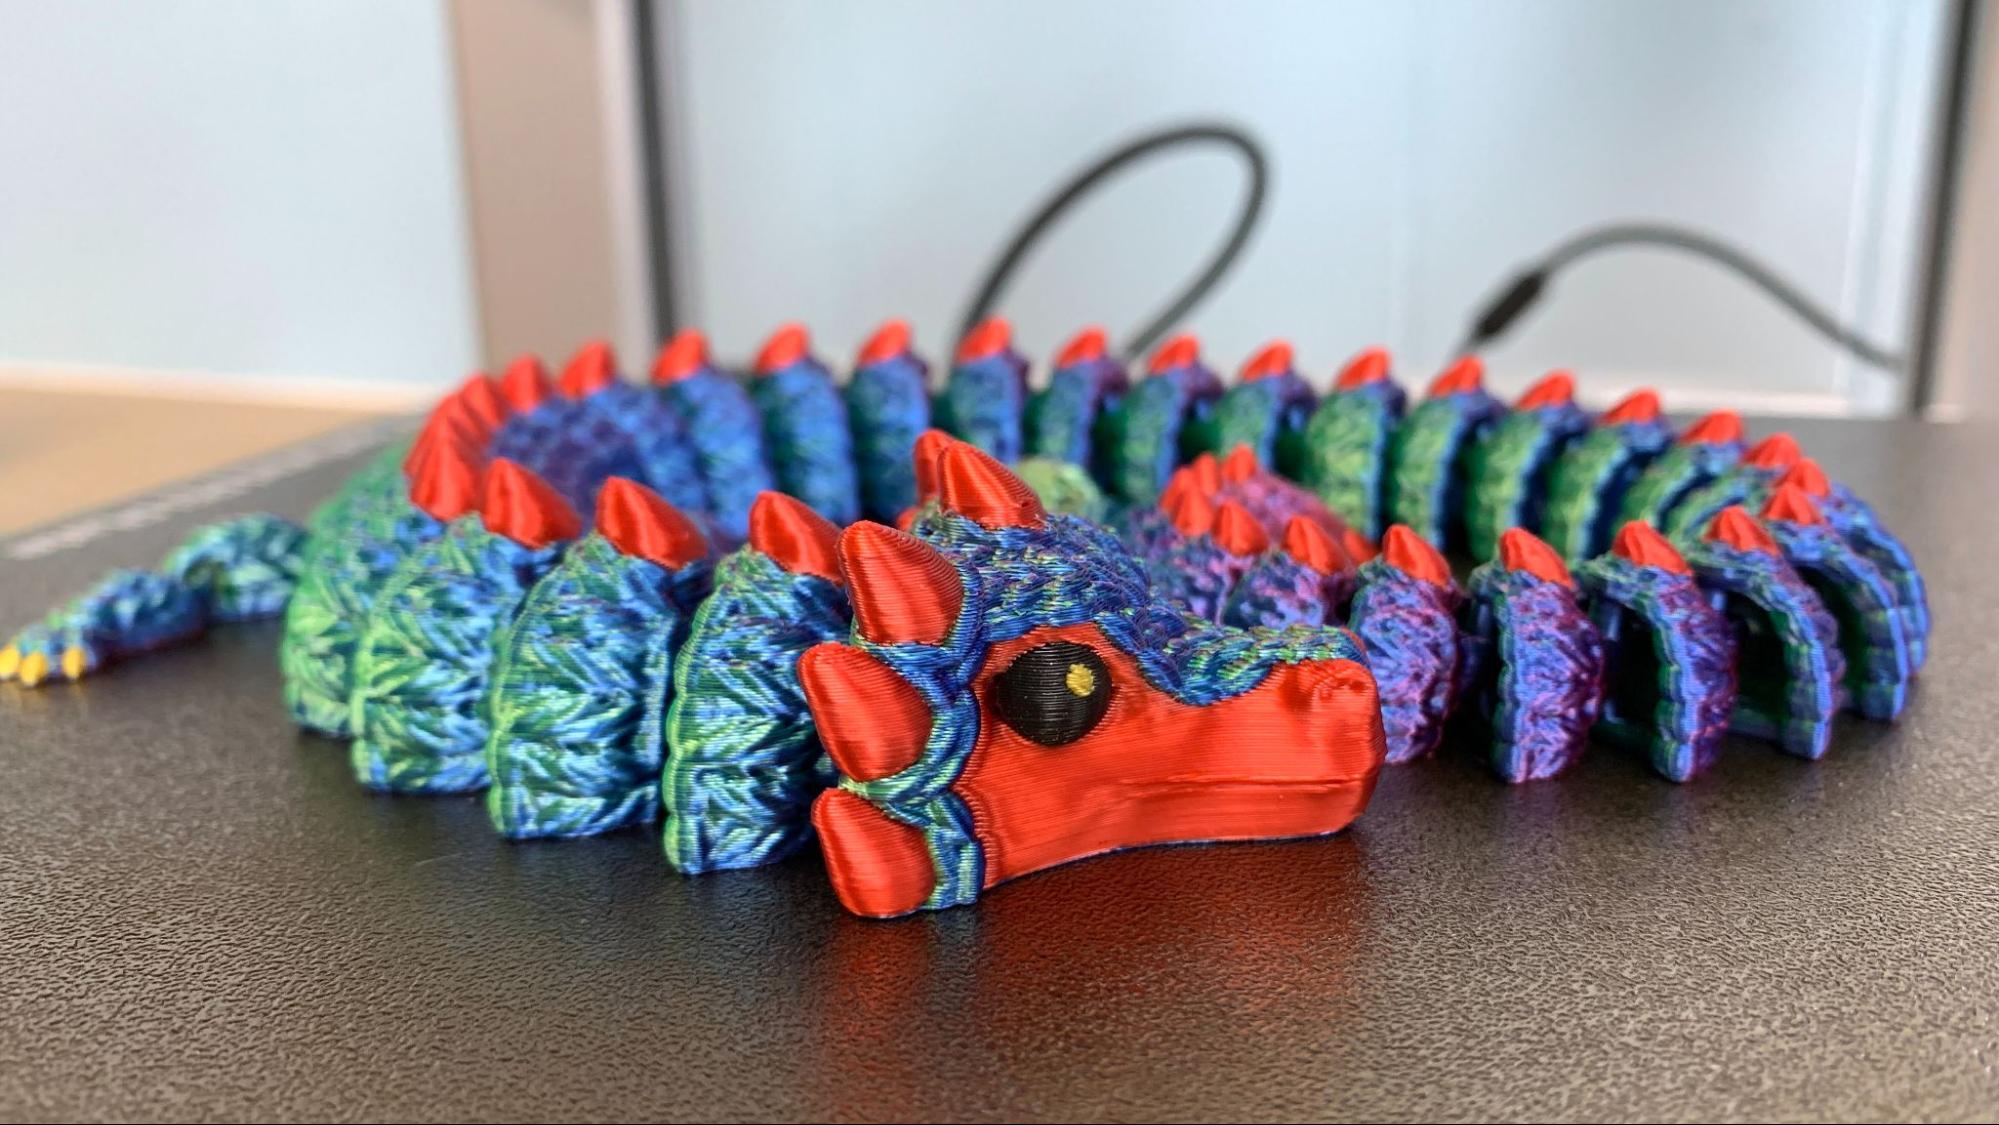
To show what the Bambu Lab A1 can do under normal conditions, I printed this Cozy Dragon using default settings of 200-300mm/s and a .2mm layer height, taking 11 hours and 5 minutes to print. I “painted” the colors myself in Bambu Studio.
It turned out beautifully smooth with no visible layer lines or ringing. The red face and spines are from a prototype roll of Printed Solid red silk PLA, which uses the Polyalchemy recipe. It’s currently unavailable, but should be ready to buy soon. The body is Sunlu tri silk in Blue/Green/Purple. The gold highlights are Sunlu Gold Silk PLA.
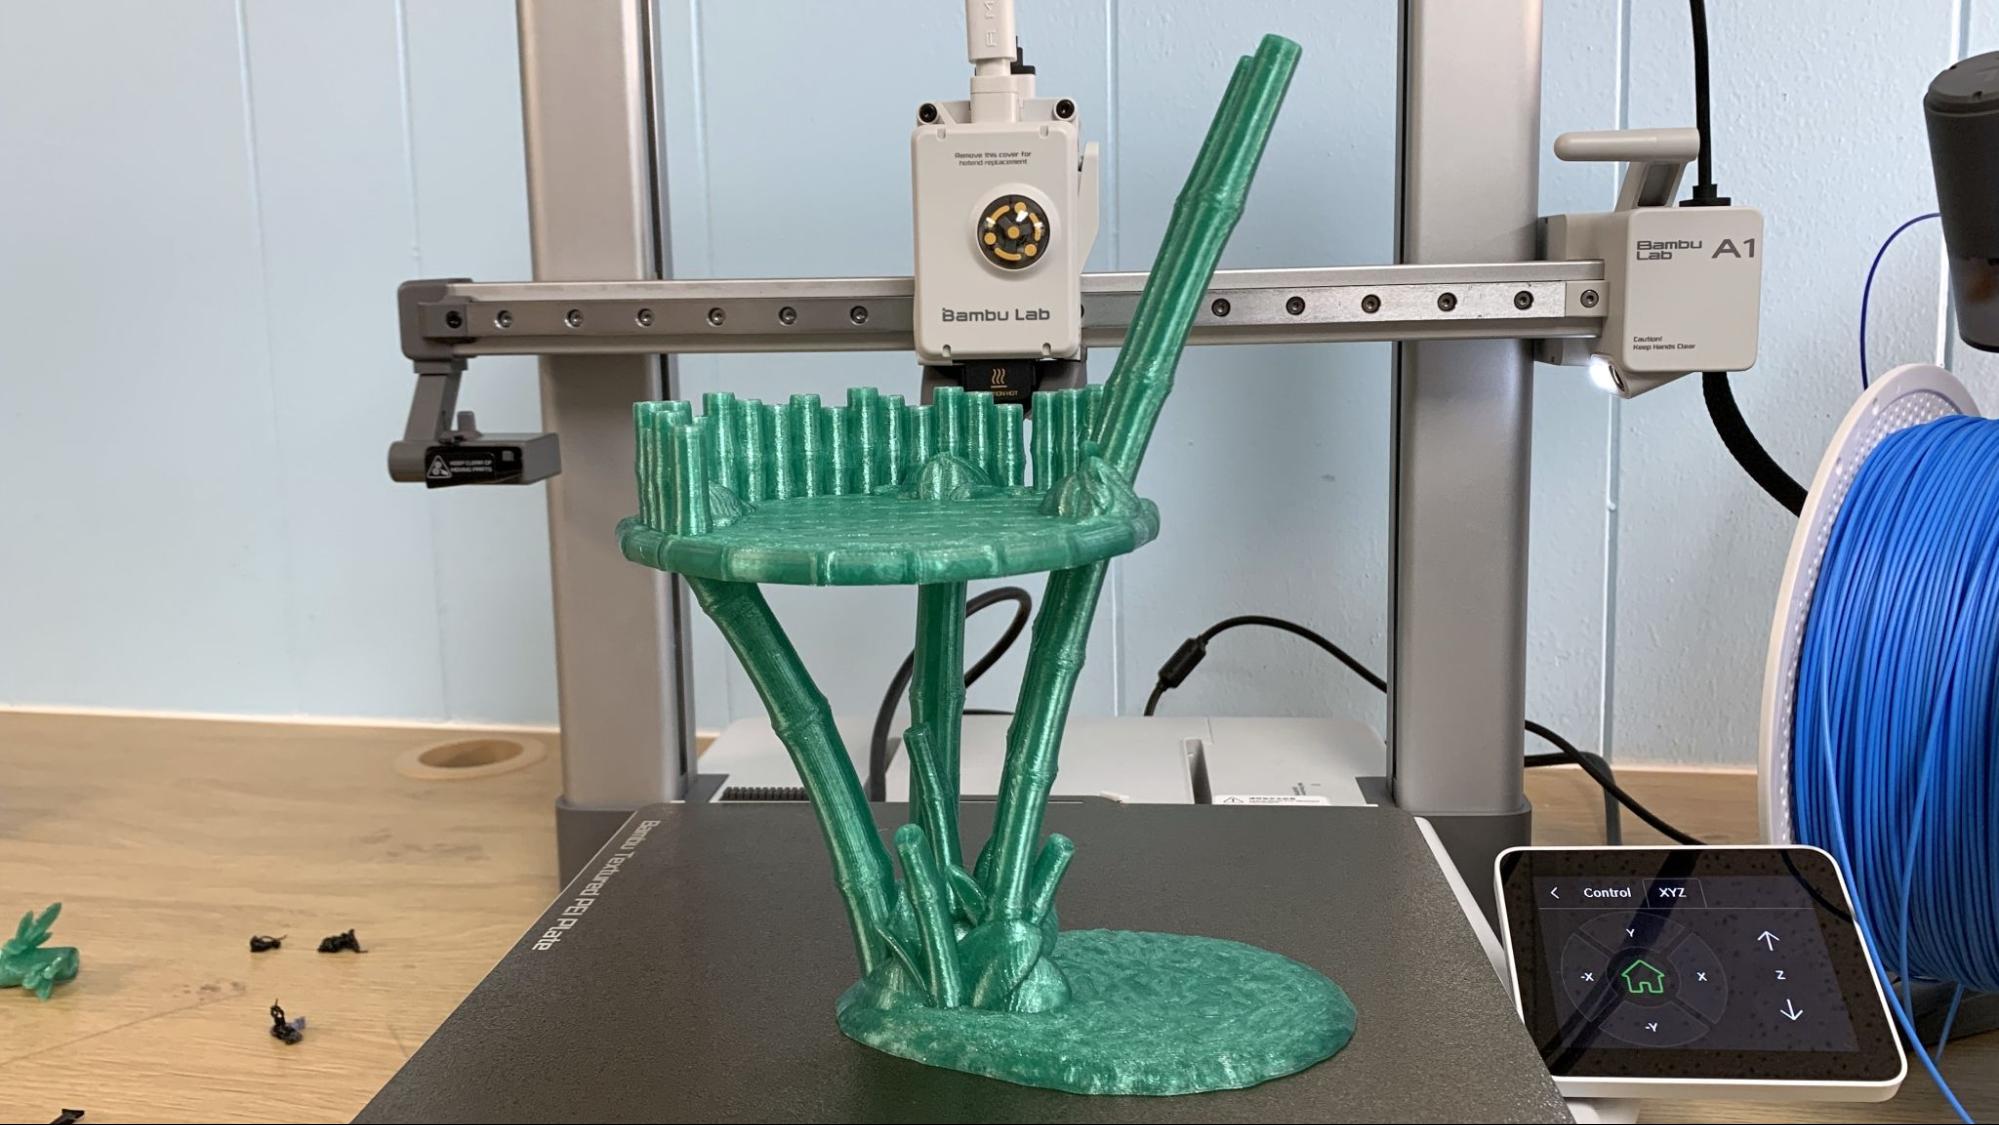
For a PETG test, I printed the Flexi Factory bamboo playhouse that came with the flexible panda. This printed fantastically in Greengate recycled Emerald Green PETG in 6 hours and 31 minutes using a .2 layer height and default settings. This print is smooth, without stringing or noticeable layer lines. The two flat bases printed separately – without supports– then snapped together.
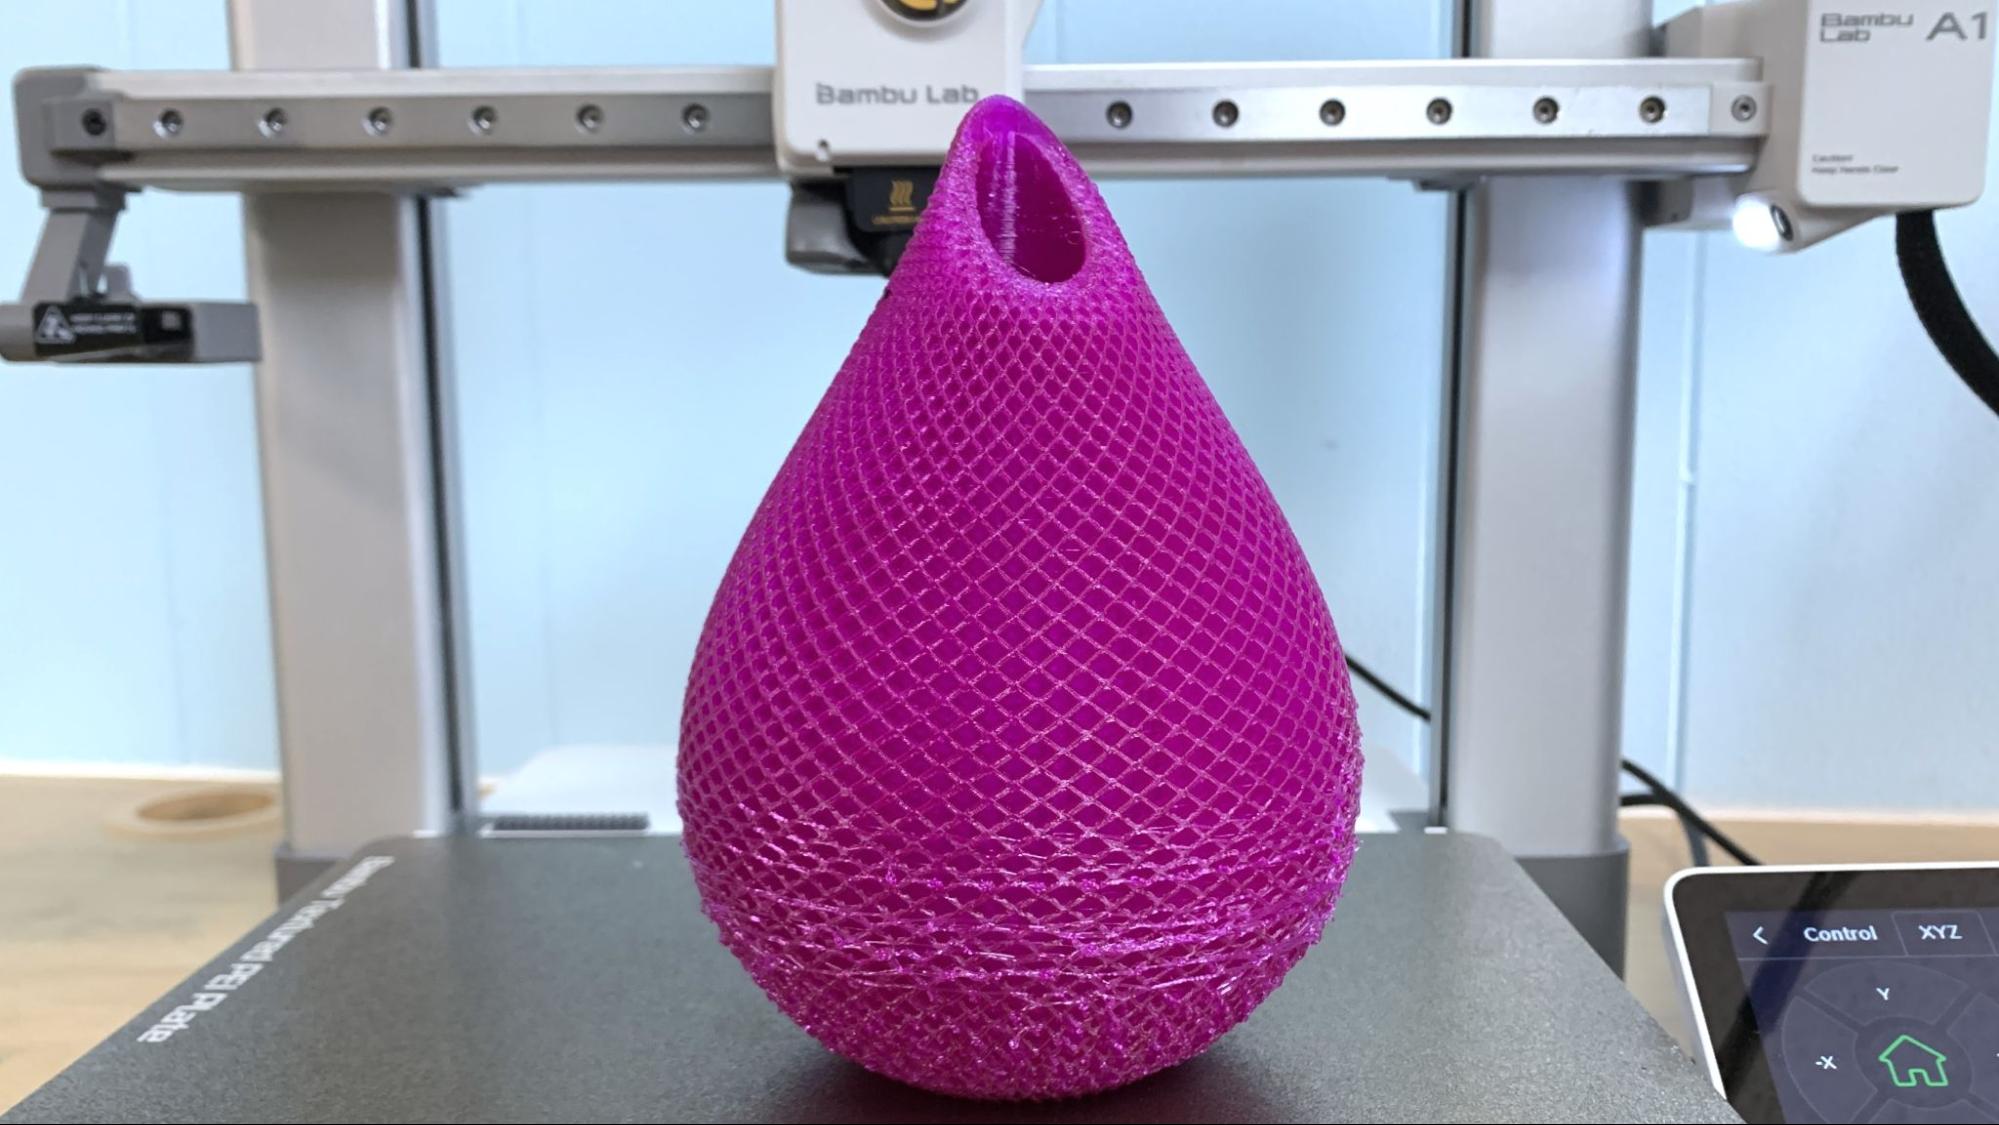
For TPU testing, I printed this vase from the printer’s sample files, and switched the filament inside the printer’s menu. While most of the vase worked out very nice, the lower part with overhangs did not do so well. The print took 10 hours and 23 minutes using the printer’s defaults.
Reminder – the AMS cannot handle TPU so the spool was mounted on the single spool holder directly on the machine.
Bottom Line
The Bambu Lab A1 is a smokin’ hot bedslinger – coming in just a hair quicker than the A1 Mini. It’s noticeably quieter than the latest batch of Klipper’d 3D printers with their extra cooling fans, and could reasonably sit next to your desk without annoyance.
Like the A1 Mini, it’s much easier to use and maintain than Bambu’s larger machines, with an AMS that isn’t prone to jamming. It takes up way more space than I’d like, but the options I’ve seen to mount it to the wall or the printer’s gantry seem to be more trouble than they are worth.
At $559 for the combo, the A1 is the perfect choice for makers who want speed and color, and also know they’ll stick with easy filament like PLA and PETG. At $399 it’s reasonably priced on its own as a single color machine, and offers a level of quality well beyond its mid-tier price tag.
If you’re interested in a larger color printer that can handle more materials, check out the fully enclosed Bambu Lab P1S for $949 when bundled with an AMS. If you want a speedy machine you can tinker with, check out the Sovol SV07 that runs vanilla Klipper for $339.
MORE: Best 3D Printers
MORE: Best Budget 3D Printers
MORE: Best Resin 3D Printers

Denise Bertacchi is a Contributing Writer for Tom’s Hardware US, covering 3D printing. Denise has been crafting with PCs since she discovered Print Shop had clip art on her Apple IIe. She loves reviewing 3D printers because she can mix all her passions: printing, photography, and writing.
-
alexgibson-edumaker Excellent review Denise, thanks for the very hands-on article. Between this and Adam @Vector3D's live teardown I've ordered an A1 Combo.Reply
Looking forward to the relatively boring but valuable benefit of printing PLA with PETG supports/vice versa. -
sstubbs91 BambuLabs has issued notice to cease using the A1 printer due to safety design flaws and quality issues. It would be nice if the review reflected the recall of the A1.Reply
