Tom's Hardware Verdict
A well thought-out compromise between the QT Py and Feather RP2040 boards. If you need the GPIO but not the size then ItsyBitsy RP2040 is the right choice.
Pros
- +
+ More pins than a QT Py, but not a full complement
- +
+ User programmable BOOT button
- +
+ Same price as QT Py RP2040
Cons
- -
No Stemma QT
Why you can trust Tom's Hardware
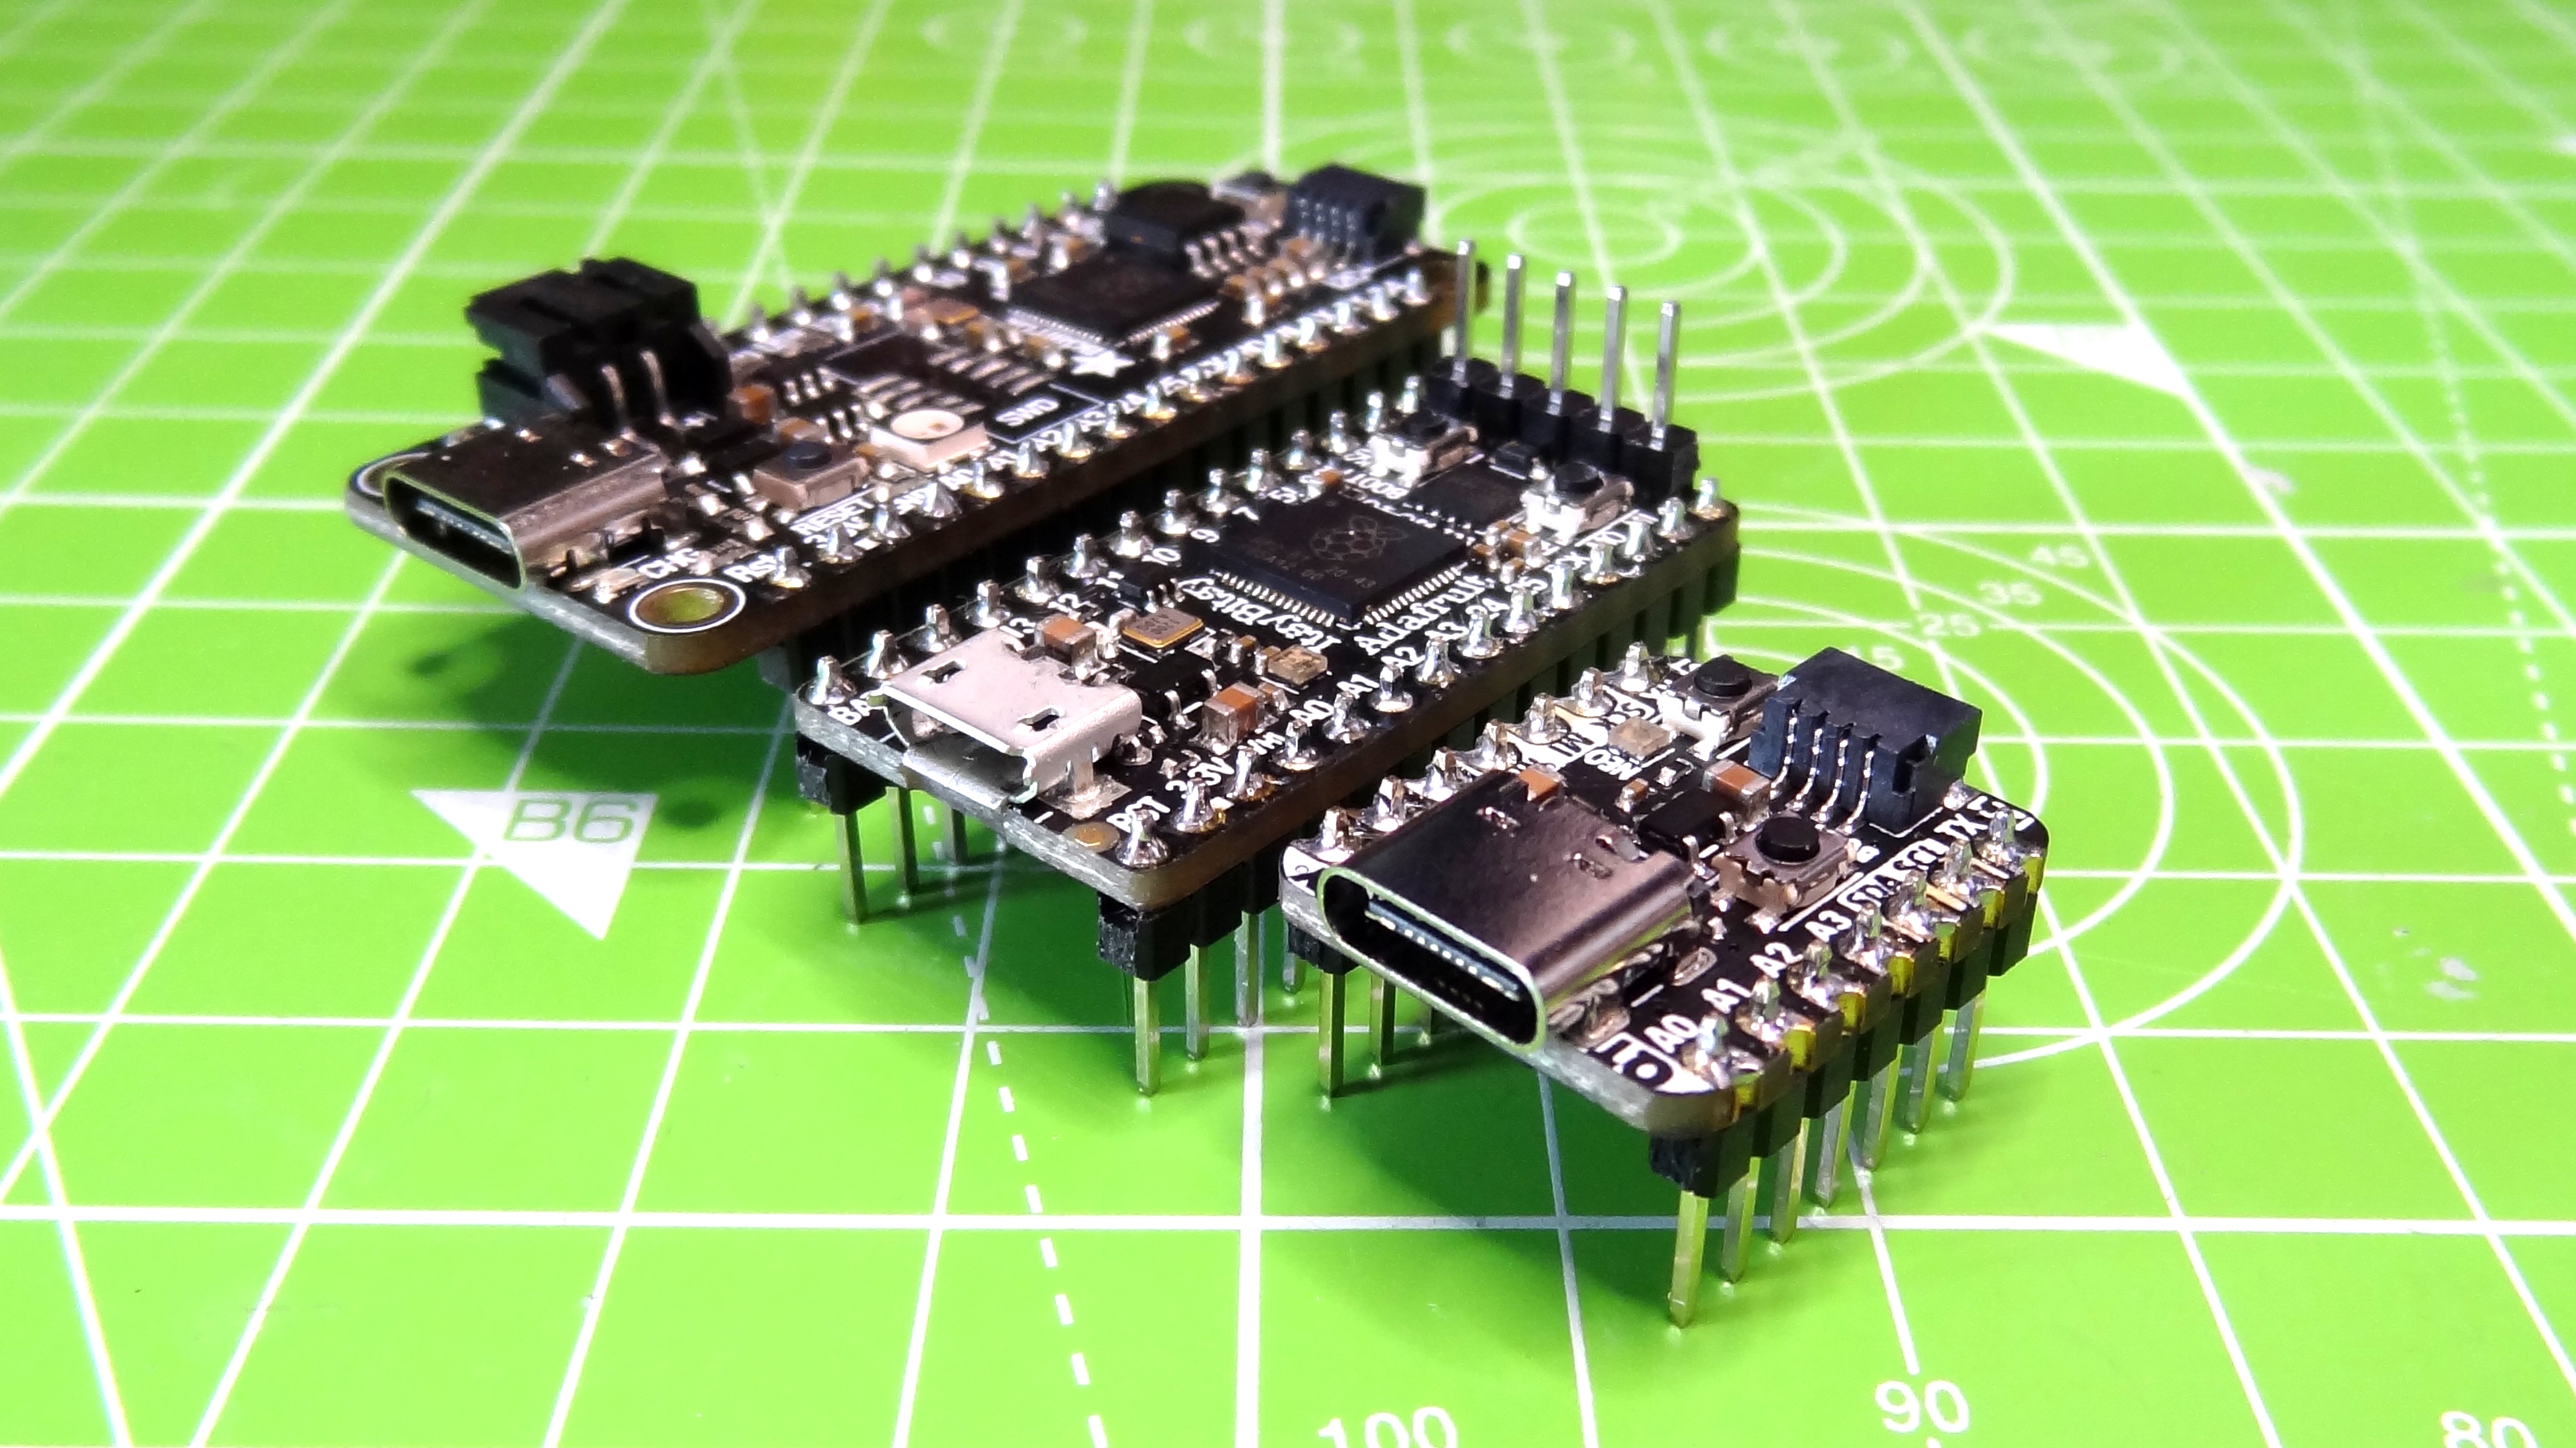
Adafruit’s latest RP2040 board is a compromise. It is not as small as the QT Py RP2040 nor is it as feature rich as their Feather RP2040 but it does offer a great selection of GPIO pins in a compact form factor. The $10 ItsyBitsy RP2040 is the ideal for those that need lots of GPIO pins in a small package. Continuing Adafruit’s range of ItsyBitsy boards, the RP2040 model brings the powerful Raspberry Pi RP2040 SoC to the form factor and from a distance you may be forgiven for thinking that this is an Arduino Nano, the resemblance is striking.
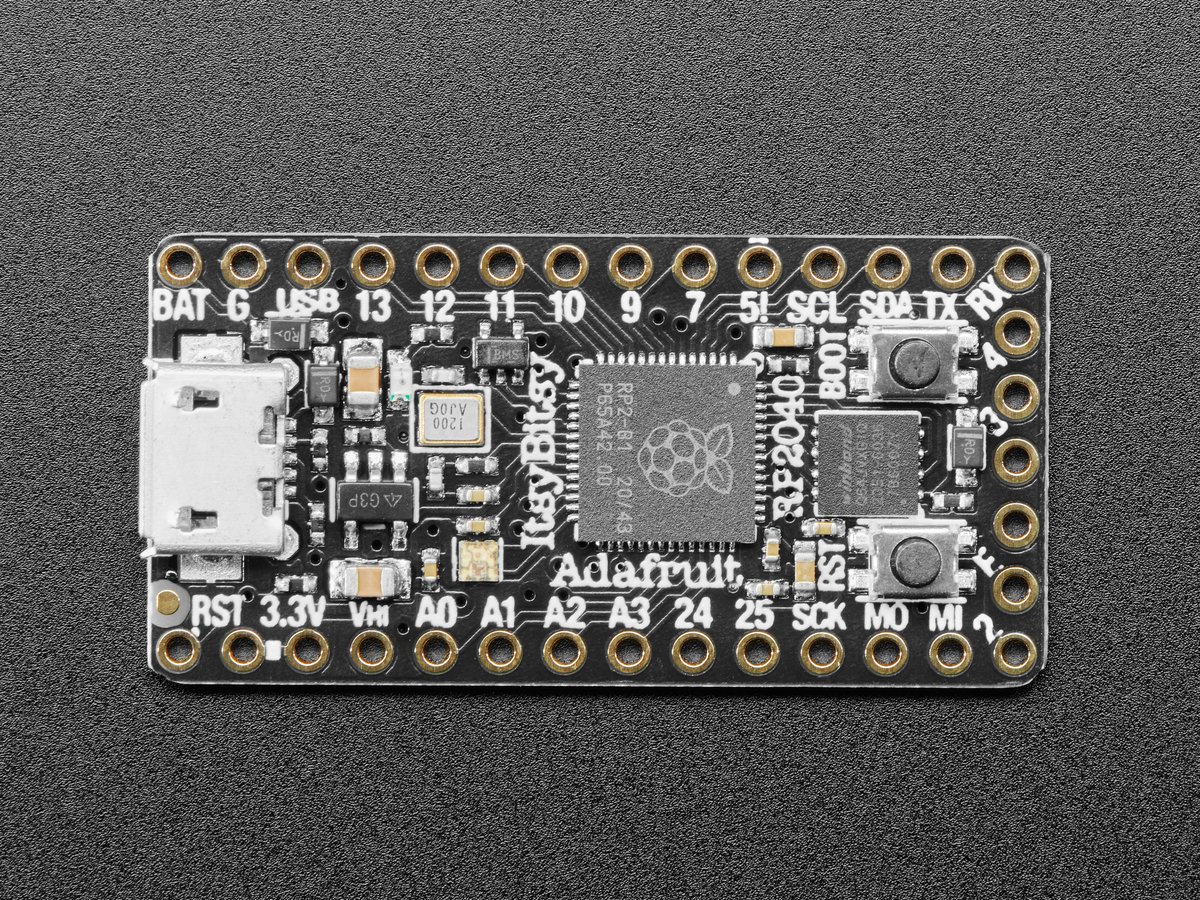
Adafruit ItsyBitsy RP2040
Direct Pricing $9.95
ItsyBitsy RP2040 is roughly twice the size of QT Py RP2040 despite being the same price. What we gain in GPIO pins we lose in the form of a Stemma QT connector. The Feather RP2040 is larger than the ItsyBitsy RP2040, but only by 14mm, not a great amount for general purpose projects but for those with limited space, every millimeter counts. Could the ItsyBitsy RP2040 be a compromise too far?
Adafruit ItsyBitsy RP2040 Hardware Specifications
| RP2040 SoC | ARM Cortex M0+ running at up to 133Mhz | Row 0 - Cell 2 |
| SRAM | 264kB | Row 1 - Cell 2 |
| Flash Storage | 8MB of QSPI | Row 2 - Cell 2 |
| GPIO | 30 GPIO pins with the following functionality 16 x PWM outputs 10 x Digital I/O, 4 x Analog 12-bit ADC, 2 x I2C, SPI, 2 x UART, Programmable IO, 1 x NeoPixel | Row 3 - Cell 2 |
| USB Port | Micro USB | Row 4 - Cell 2 |
| Dimensions | 1.4 x 0.7 x 0.2 (36mm x 18mm x 4mm) | Row 5 - Cell 2 |
Design of the Adafruit ItsyBitsy RP2040
The ItsyBitsy range is a compromise, when you need lots of pins for a project, but you still need the smallest board possible. As Adafruit states “What's smaller than a Feather but larger than a Trinket? It's an ItsyBitsy! “
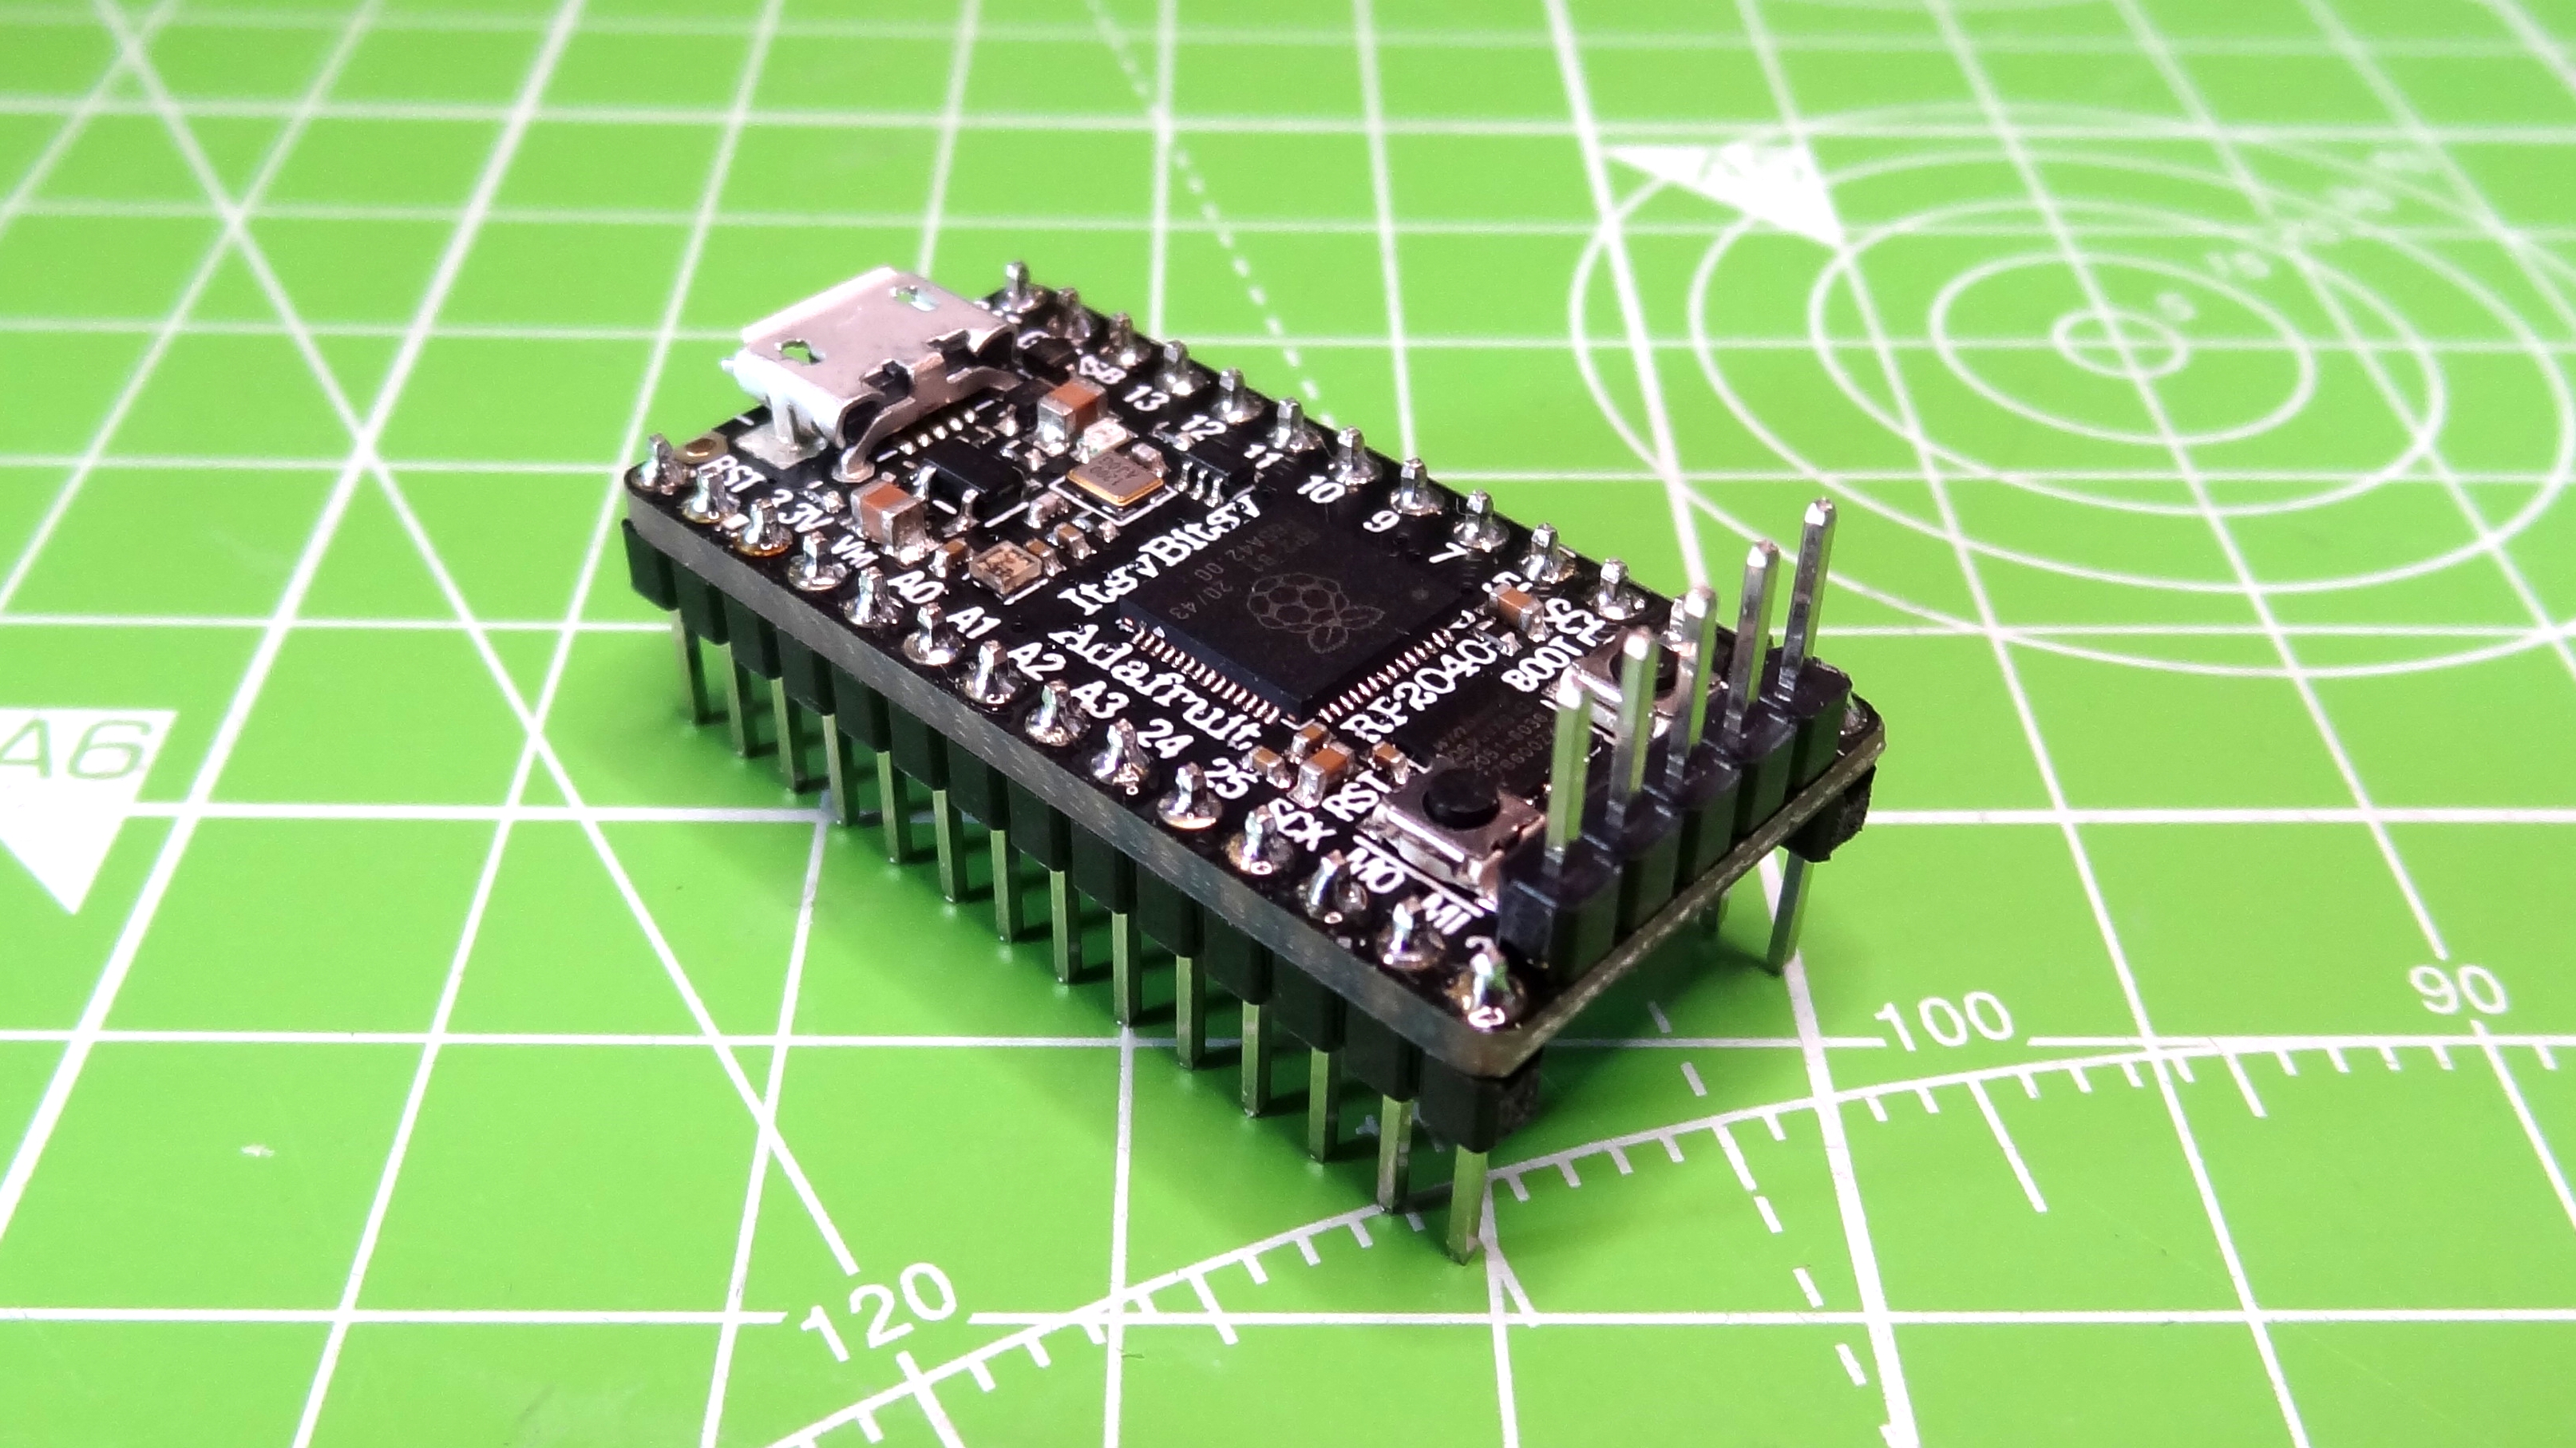
In our case the ItsyBitsy RP2040 is larger than the QT Py RP2040 but smaller than the Feather RP2040. The board is designed in a DIP configuration, which means it can be easily used in a breadboard. What is missing from ItsyBitsy RP2040 are castellated edges for surface mount soldering, in fact there are five extra GPIO pins opposite the micro USB connector which require soldering with their pins pointing upwards.
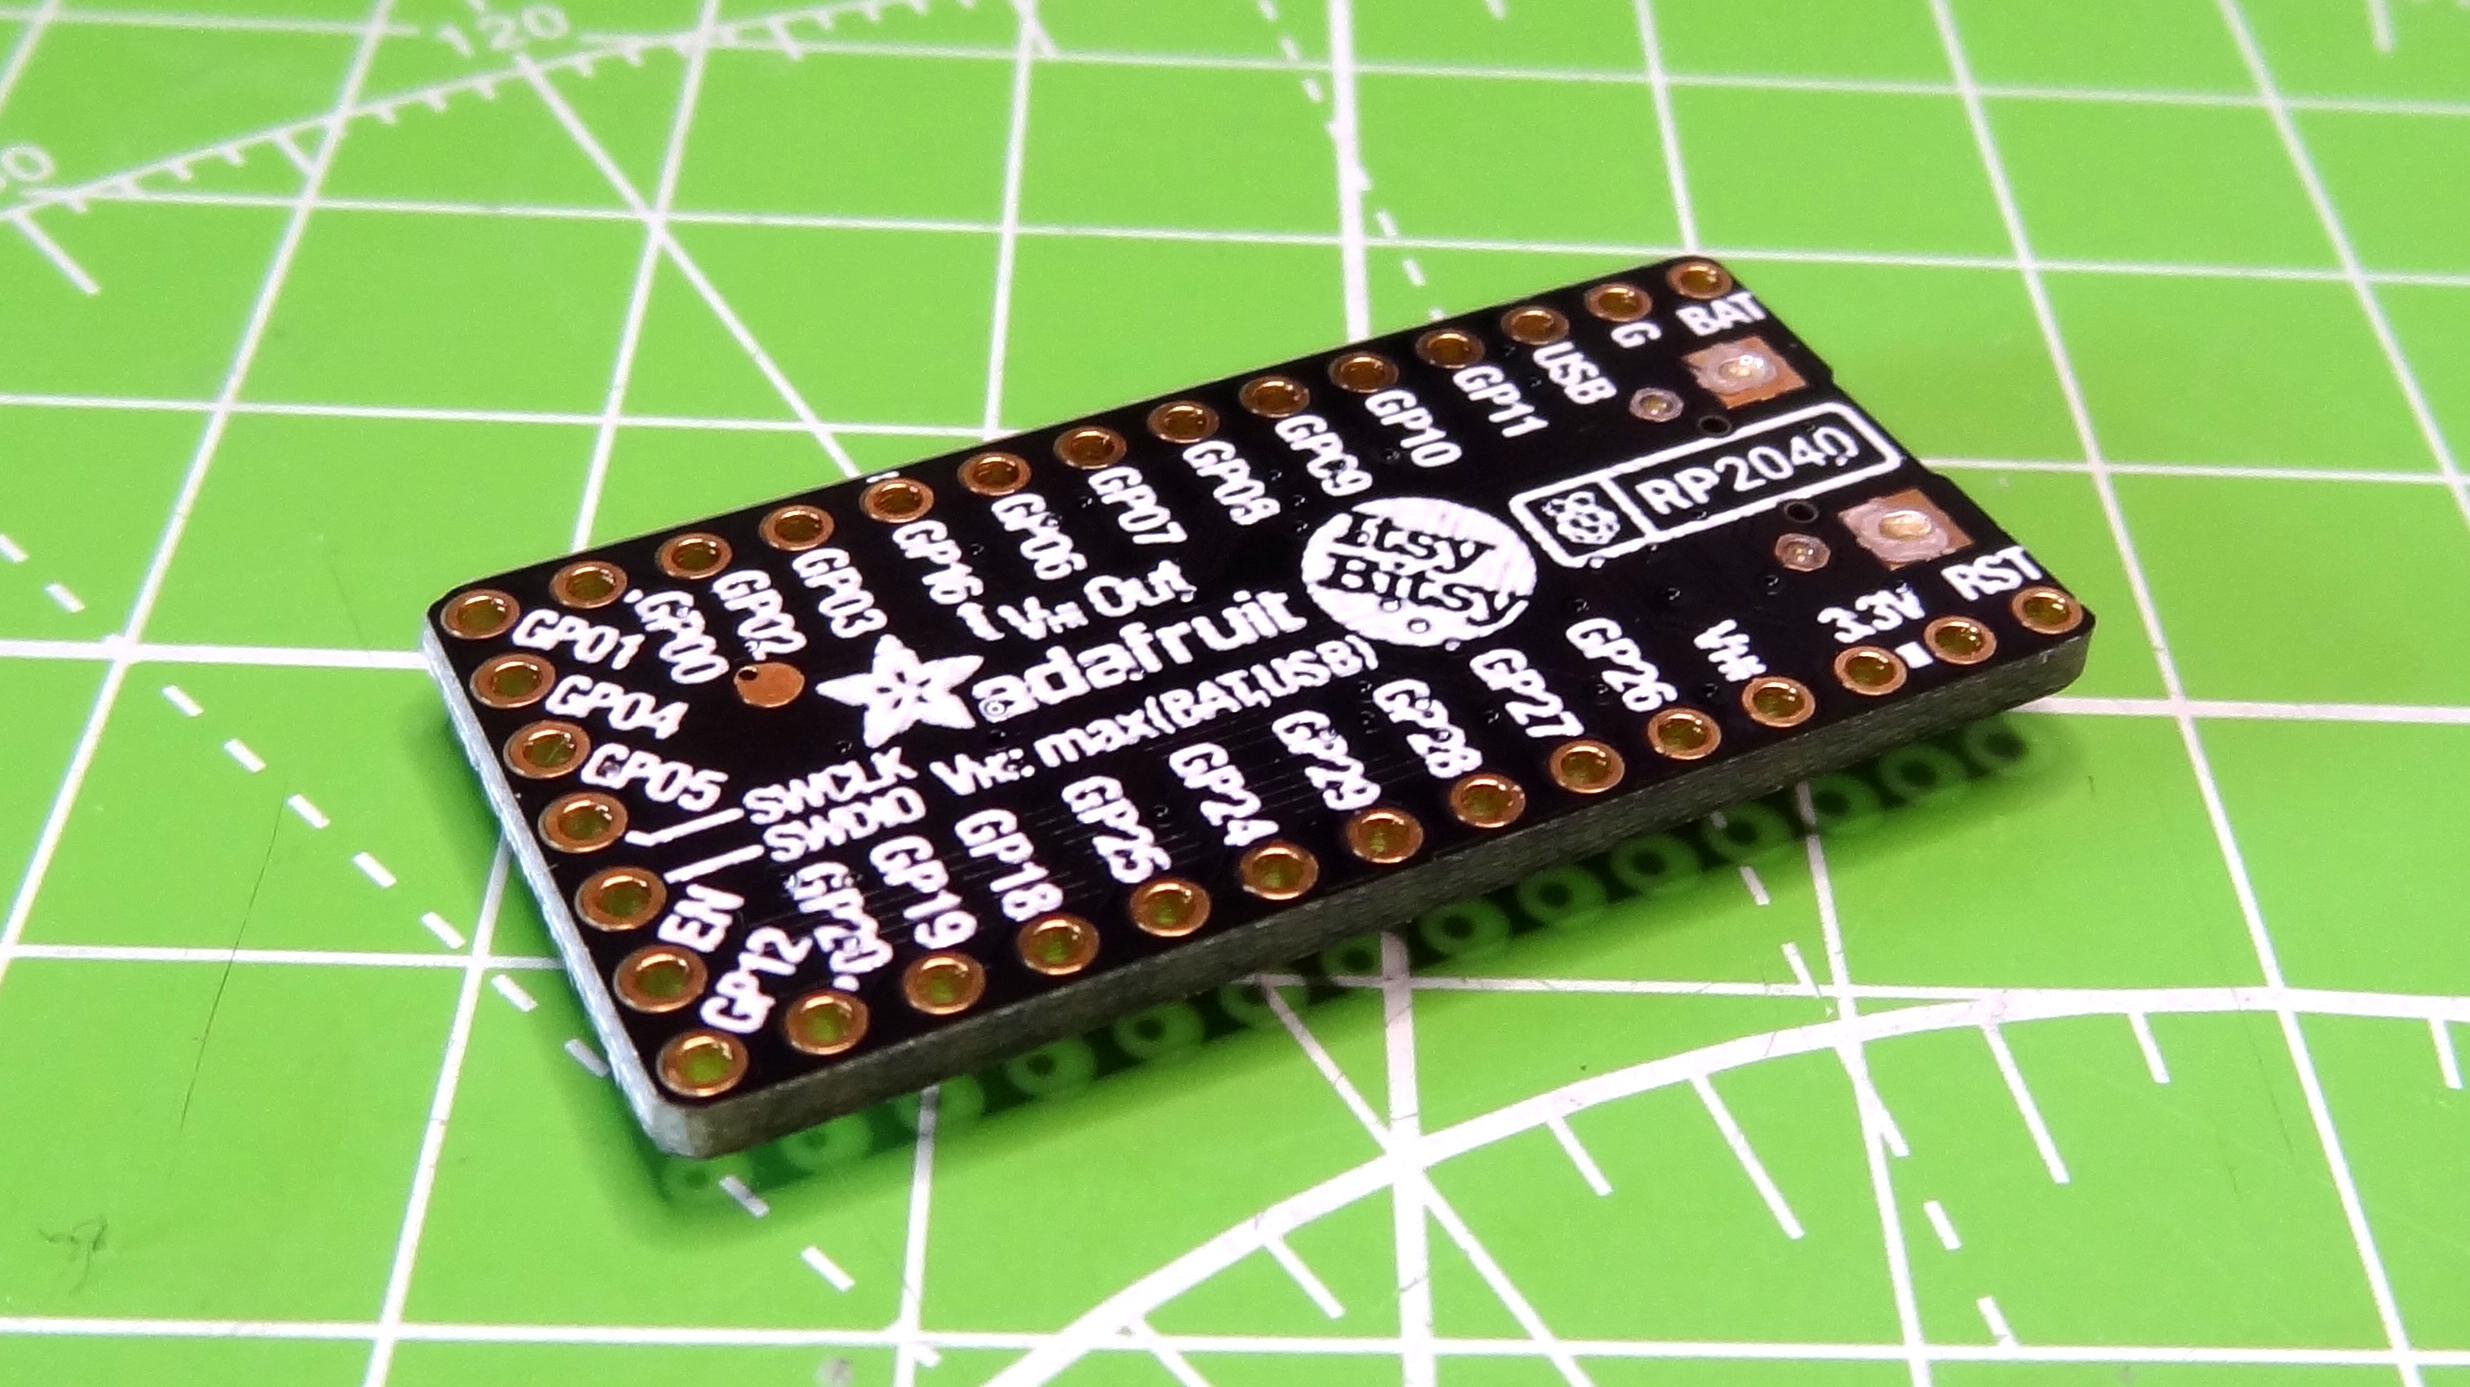
These extra pins are useful, but it means that we do not have any Stemma QT connectors, typically these are not present on the range. But their inclusion would’ve been a big connectivity boost for this small board. The GPIO pins are clearly labelled on both sides of the board, handily the SDA and SCL pins for I2C have their GPIO pin numbers on the reverse.
Using the Adafruit ItsyBitsy RP2040
The ItsyBitsy RP2040 is classic Adafruit: easy-to-use and with a well chosen selection of GPIO pins. As this is an RP2040 board, we can write code using MicroPython, CircuitPython, C/C++ and the Arduino IDE. We tested the ItsyBitsy RP2040 with CircuitPython and MicroPython, but in all honesty if you are purchasing an Adafruit board you are highly likely to favor CircuitPython.
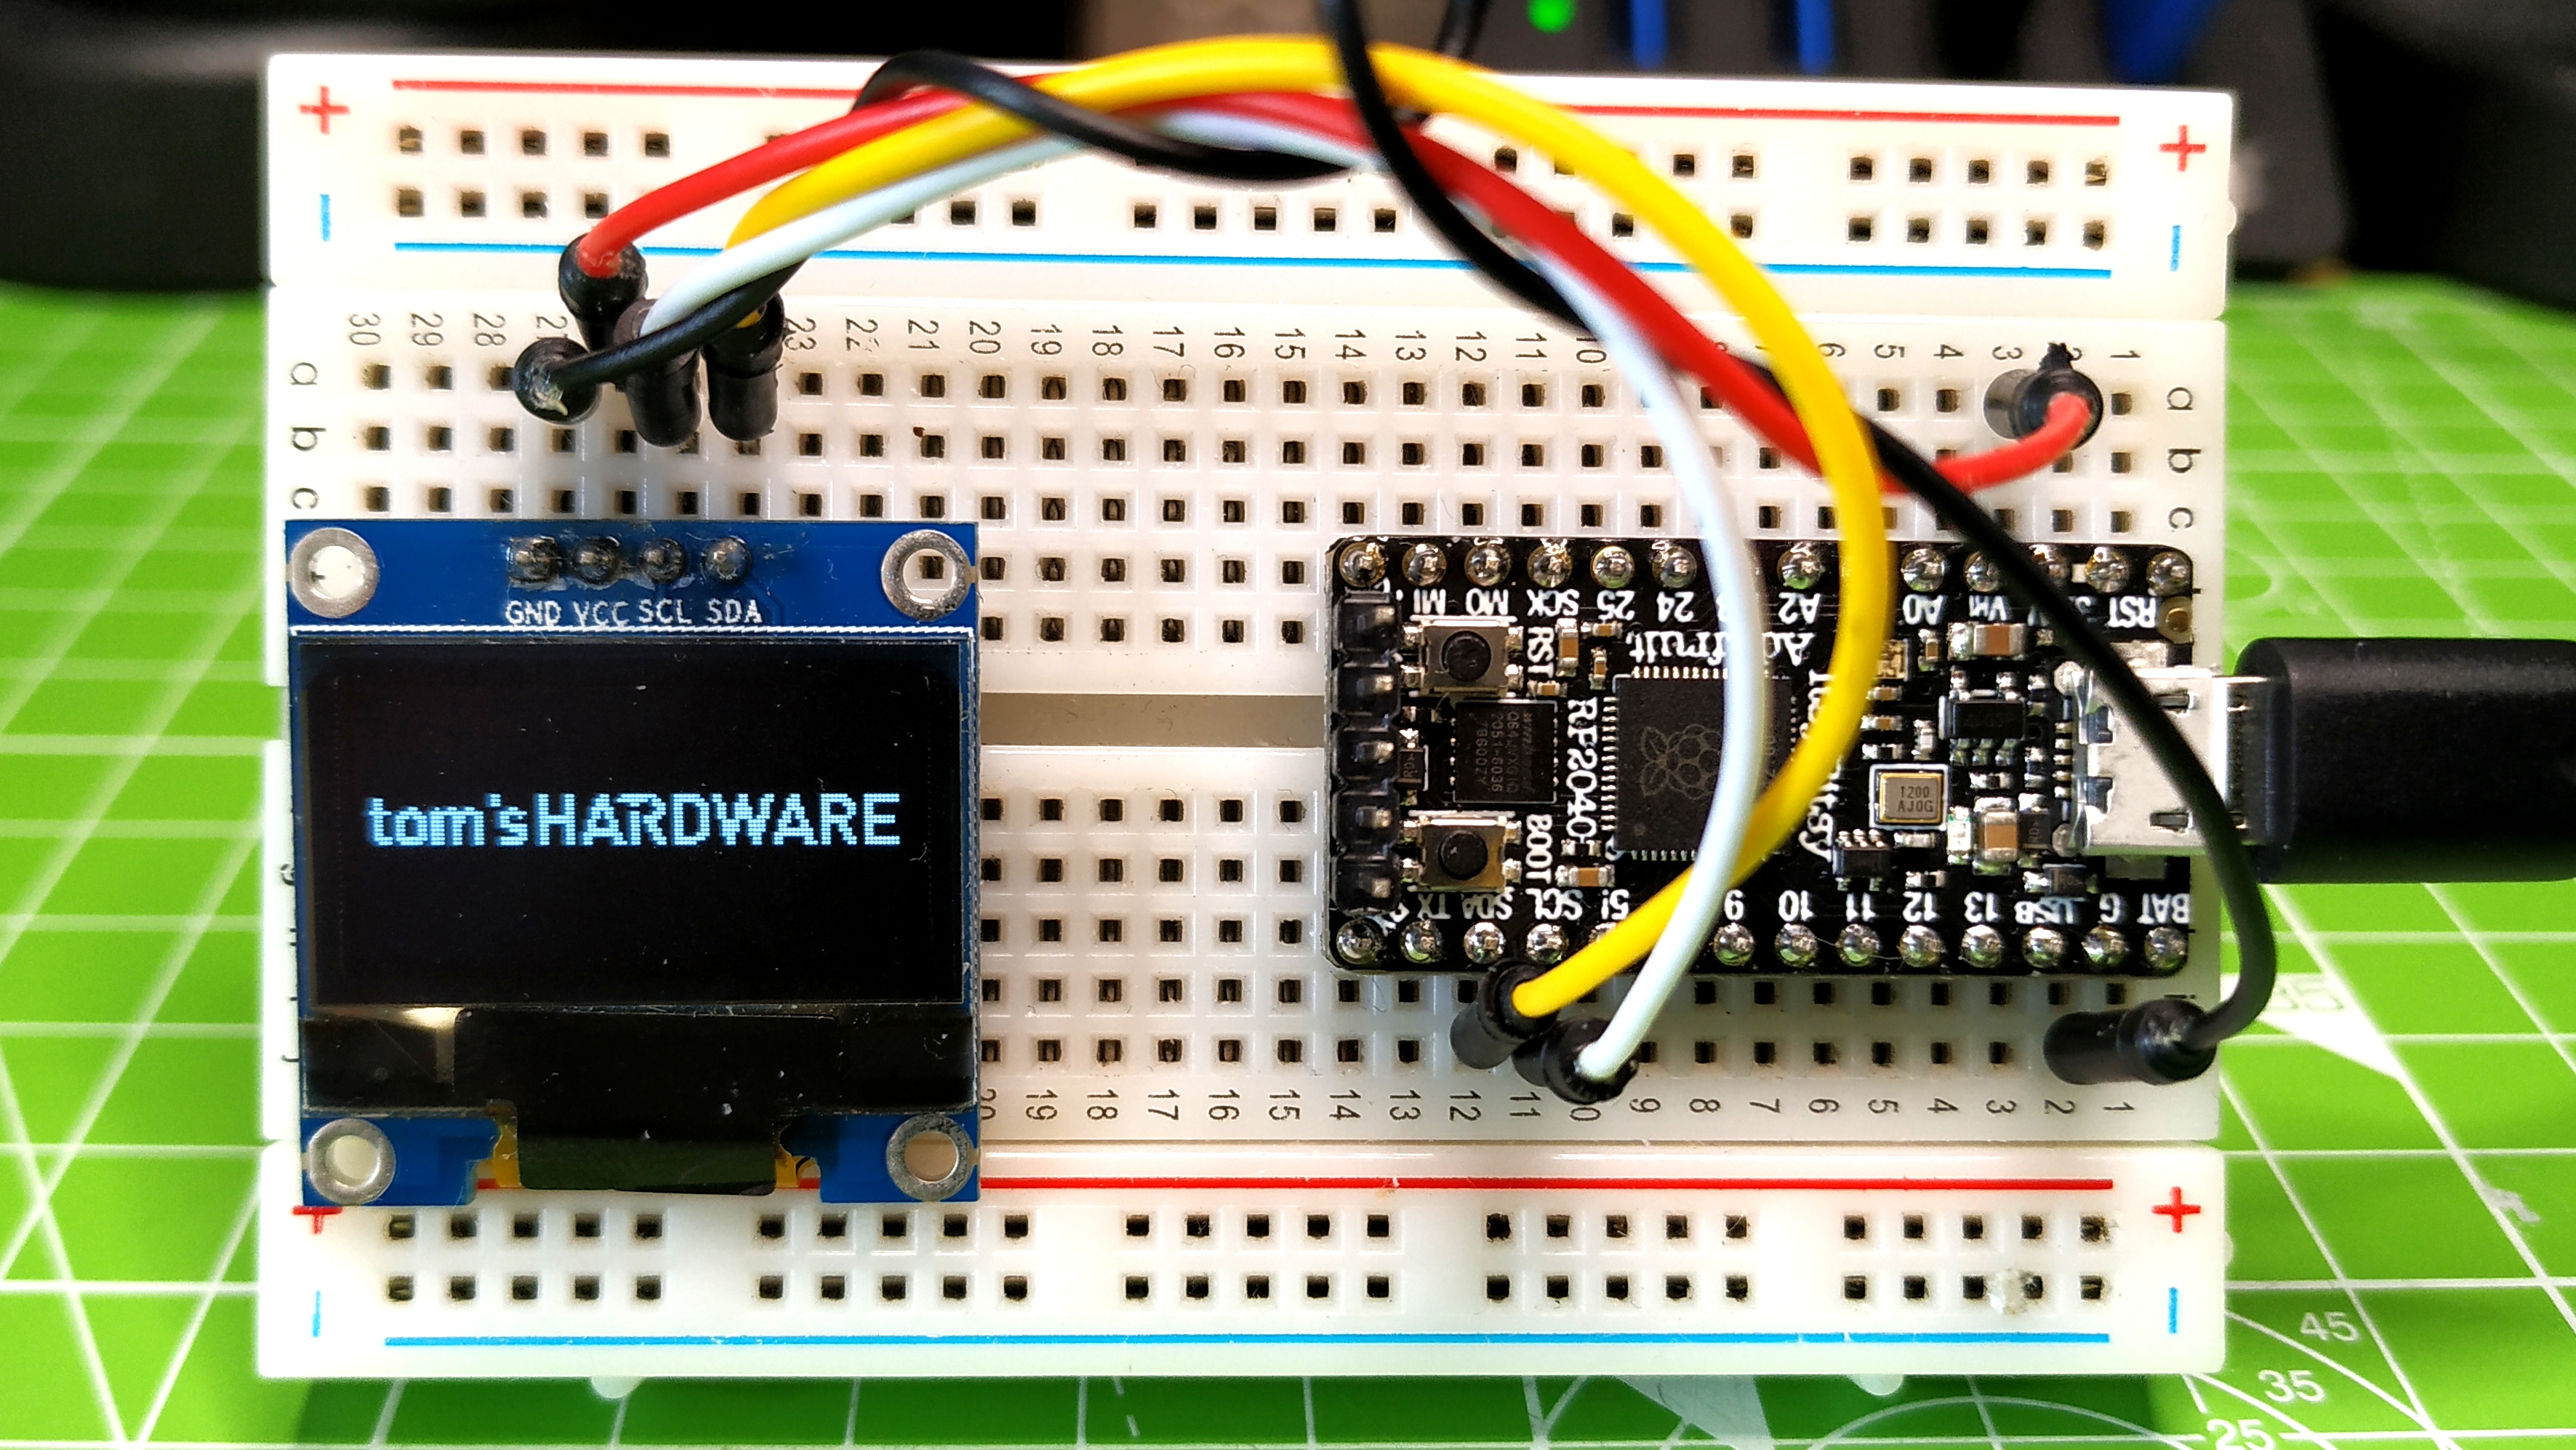
In operation, the ItsyBitsy RP2040 behaves exactly like the QT Py RP2040 and the Feather RP2040. We ran a few tests in CircuitPython starting with the obligatory flashing LED, and then we controlled the builtin NeoPixel. Despite not having a Stemma QT connector, we can use Stemma QT boards via a Stemma QT to jumper wire adapter and thanks to Adafruit’s expansive library of boards and drivers we can connect sensors, screens and many more addon boards. Our tests with MicroPython involved using an I2C OLED screen to display images and animations. After a small pin numbering issue, initially preventing us from using the I2C pins, we were able to solve the issue and scroll the Tom’s Hardware logo across the screen.
Get Tom's Hardware's best news and in-depth reviews, straight to your inbox.
Use Cases for the Adafruit ItsyBitsy RP2040
ItsyBitsy RP2040 is designed for those that need lots of GPIO pins in a small package. With QT Py RP2040’s 13 GPIO pins, and Stemma QT connector we have a smaller package, but that restricts what we can achieve, especially with Programmable IO (PIO) projects. The 30 GPIO pins of the ItsyBitsy RP2040 mean we can mix projects that use traditional GPIO with PIO.
The size and GPIO selection of ItsyBitsy RP2040 means we can easily build robots, and offload sensor input, say from an HC-SR04+ ultrasonic sensor to the PIO. With SPI and I2C we can attach screens, sensors and SD cards for data logging projects. The compromises made for the form factor are considered, cutting the wheat from the chaff and giving us exactly what we need.
Bottom Line
At around $10, ItsyBitsy RP2040 is the same price as the QT Py RP2040, and $2 cheaper than a Feather RP2040. The Raspberry Pi Pico is the cheapest alternative, at just $4, but is larger and doesn’t have the Neopixel light built-in (and has only 3 ADC ports). Each of the boards work in the same manner and so it comes down to what you want to do with the board.
If you are new to the RP2040 and favor Adafruit’s boards then the Feather RP2040 is the best overall value. It has Stemma QT, onboard LiPo charging and compatibility with FeatherWing expansion boards. If you need the smallest board possible and can handle the loss of GPIO pins, QT Py RP2040 is for you. But if you need a compromise, ItsyBitsy RP2040 is the solid choice.

Les Pounder is an associate editor at Tom's Hardware. He is a creative technologist and for seven years has created projects to educate and inspire minds both young and old. He has worked with the Raspberry Pi Foundation to write and deliver their teacher training program "Picademy".
-
renfe FWIW, there is a significant difference between Feather and ItsyBitsy boards distinct from size and number of pins: how the board is powered.Reply
By design, Feather boards can only by powered by an on-board LiPo (the VBAT pin can't be used for 3V3 input) or via USB 5V (the docs explicitly warn against using the 5V VUSB pin for input power from a non-USB source).
The ItsyBitsy, on the other hand, has a VBAT input pin that can accept anything from 3V5 to 6V, as well as a 3V regulated output.
So, if you have a design with one MCU and a few peripherals that don't exceed the current that the LiPo from the Feather can provide (or you're tethered to USB power) then Feather is great.
But if your power source is, say, a 12V battery that you need elsewhere for a high current load, you may want to supply your MCU(s) with 5V from that battery. In this case, you'll have to use the ItsyBitsy form factor instead.
