Tom's Hardware Verdict
An easy to use and fun introduction to HUB75 displays. Great for those new to the topic. Experienced users requiring Wi-Fi will need to look to Adafruit’s Matrix Portal M4.
Pros
- +
+ Well designed
- +
+ MicroPython library is easy to use
- +
+ Stemma QT / Qwiic connector
- +
+ Screw terminals for panel power
Cons
- -
No Internet connection
- -
CircuitPython support is troublesome
Why you can trust Tom's Hardware
LED matrices are all around us. In bus terminals, airports, arcades and even elevators these simple screens give us short, sharp pieces of information. A common matrix is the HUB75, and for years makers have hacked various microcontrollers to bend these devices to their will.
Now it is the turn of Raspberry Pi’s RP2040, in the form of Pimoroni’s Interstate 75. For $14 we get a custom designed RP2040 powered board whose sole purpose is to make a number of 32 x 32 and 64 x 64 matrix panel LEDs shine. Interstate 75 works with C, MicroPython and CircuitPython programming languages, though the latter language had some serious issues during our testing.
Interstate 75 Specifications
| SoC | RP2040 (Dual Arm Cortex M0+ running at up to 133Mhz with 264kB of SRAM) |
| Storage | 2MB of QSPI flash supporting XiP |
| Compatibility | 32 x 32, 32 x 64, 64 x 64 HUB75 LED matrices. |
| GPIO | 3 x Analog |
| I2C | |
| QW/ST (Stemma QT / Qwiic) | |
| 1 x User Button | |
| 5V Screw terminal for powering matrices | |
| Power | 5V via USB C or GPIO |
| Dimensions | 1.9 x 1.2 x 0.66 inches (48.5 x 31 x 17mm) |
Using Interstate 75
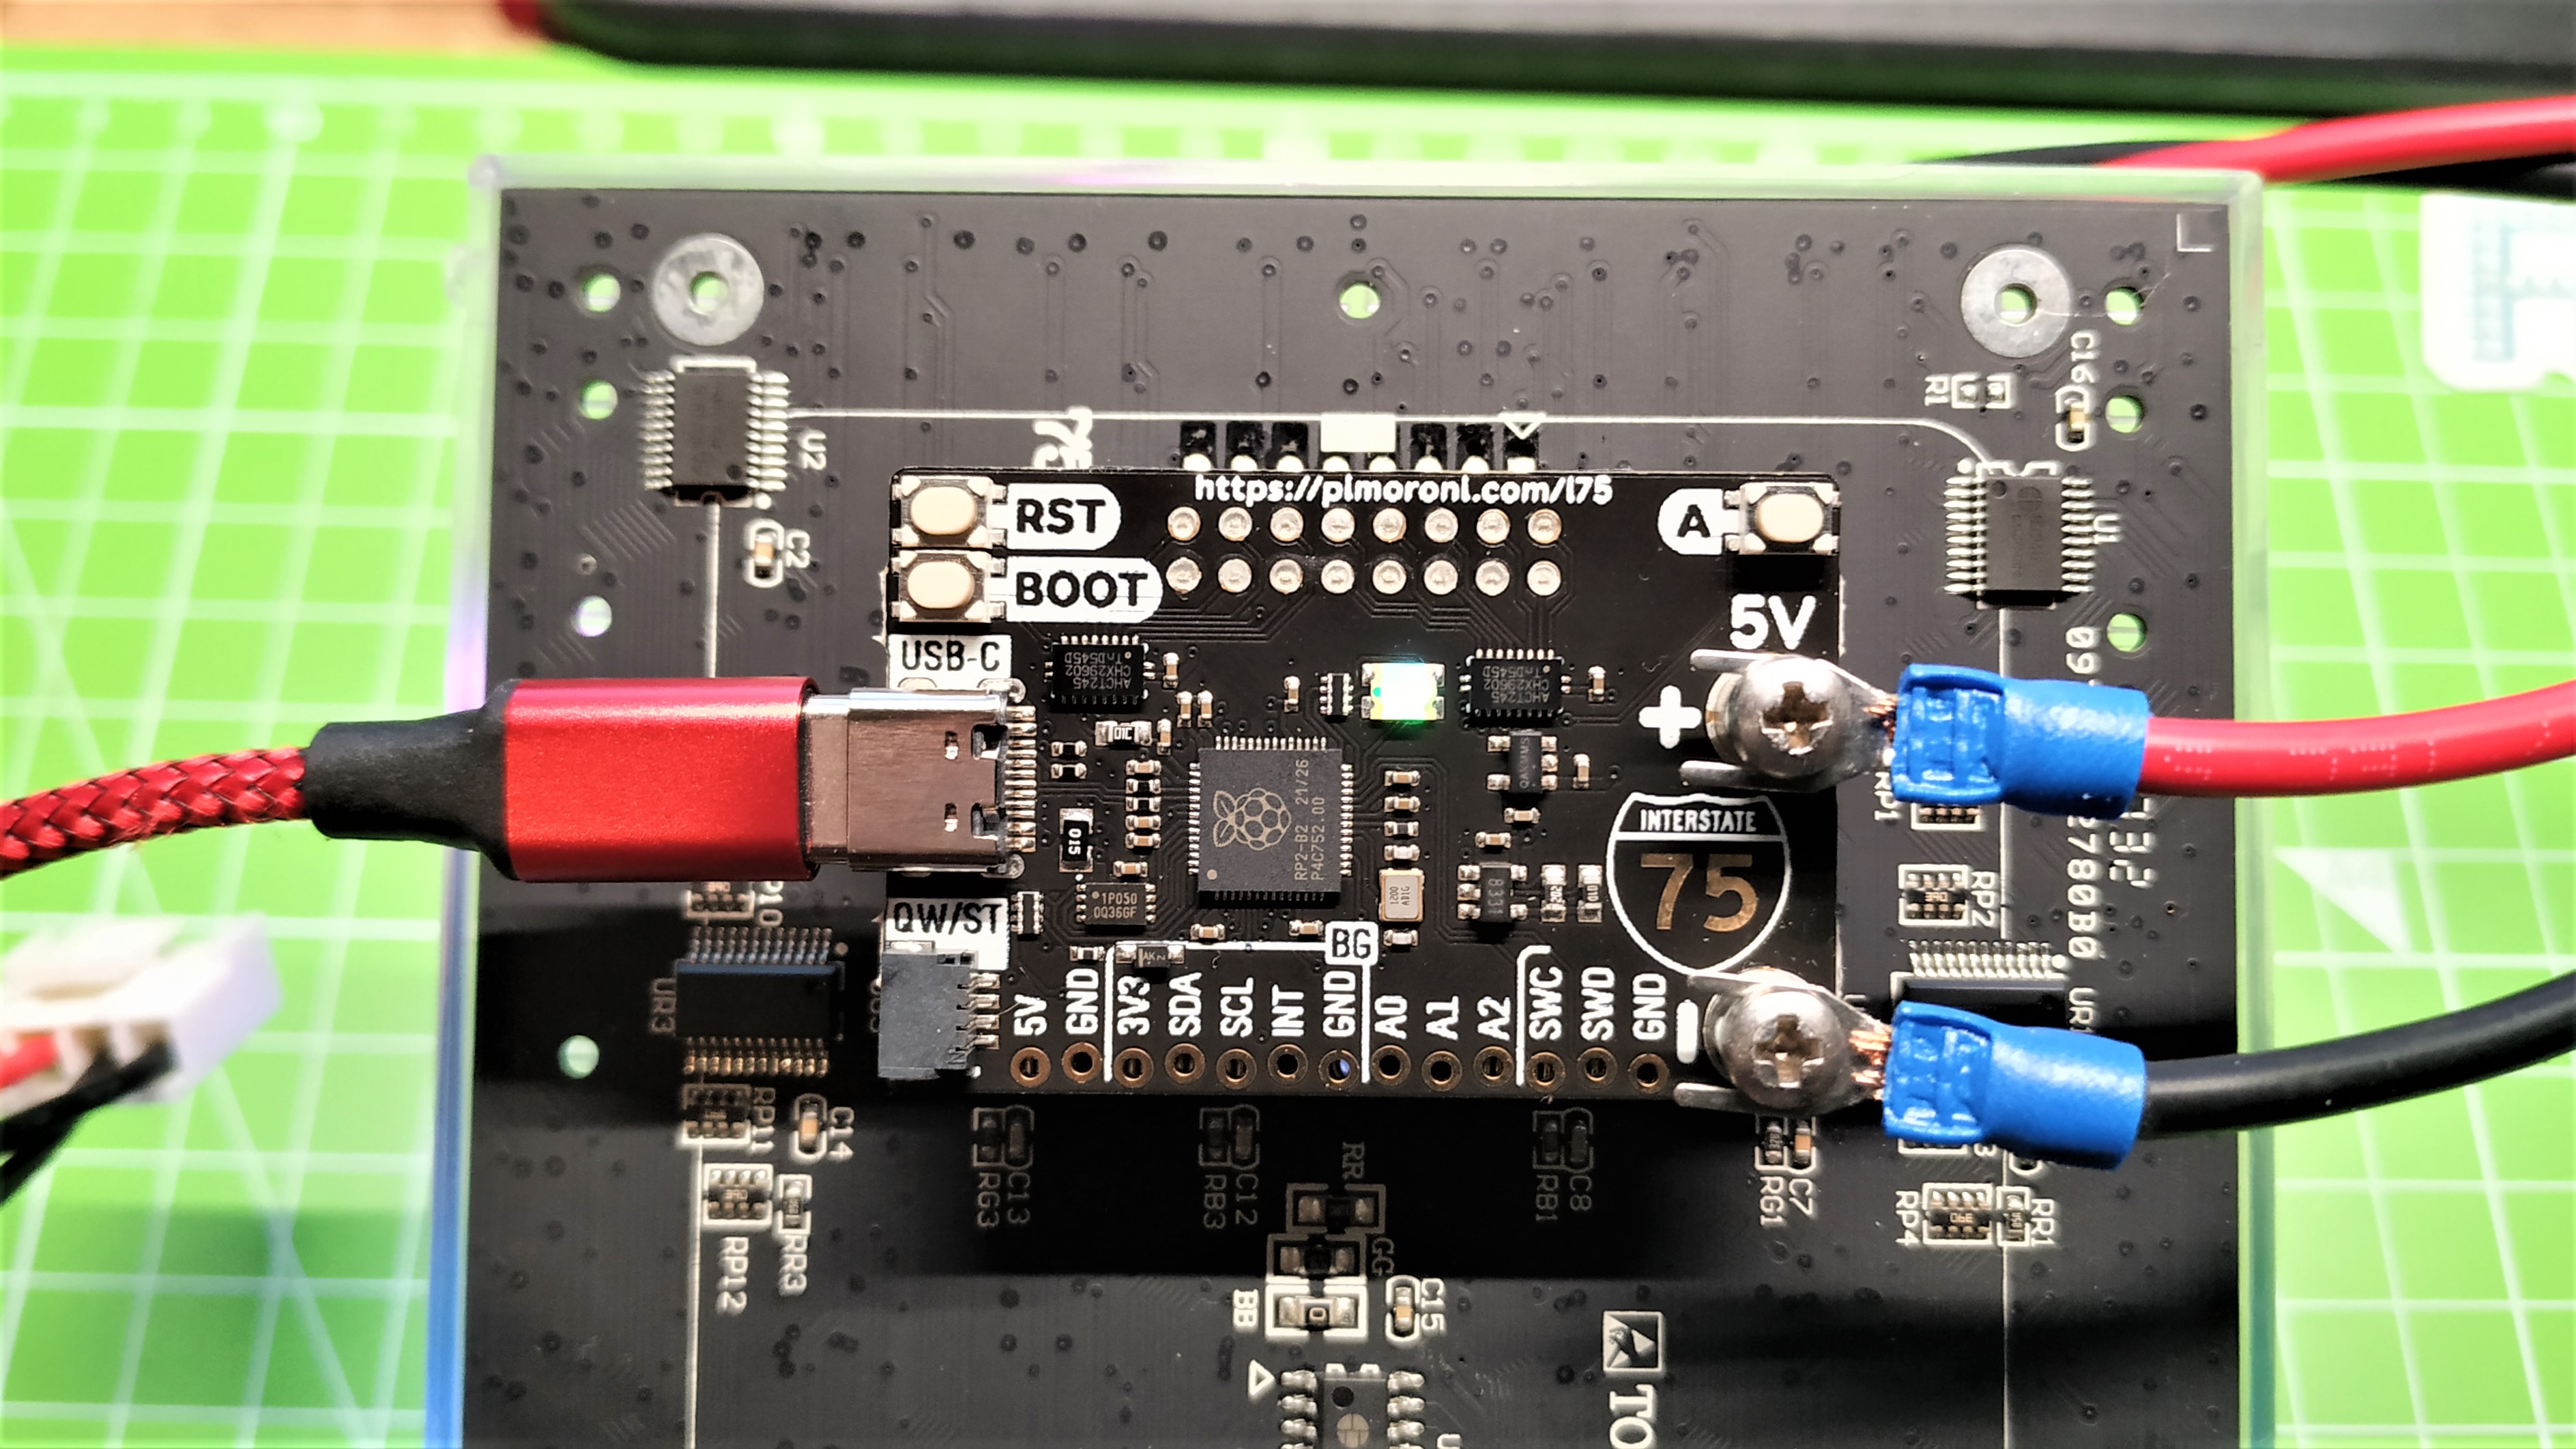
Interstate 75 is designed for HUB75 RGB displays, which are used when we need lots of data in a large format. Think bus terminals, grocery stores and shopping malls. They work differently than NeoPixel matrices which have addressable LEDs. HUB75 works with a series of shift registers which control two lines of the display at a time.
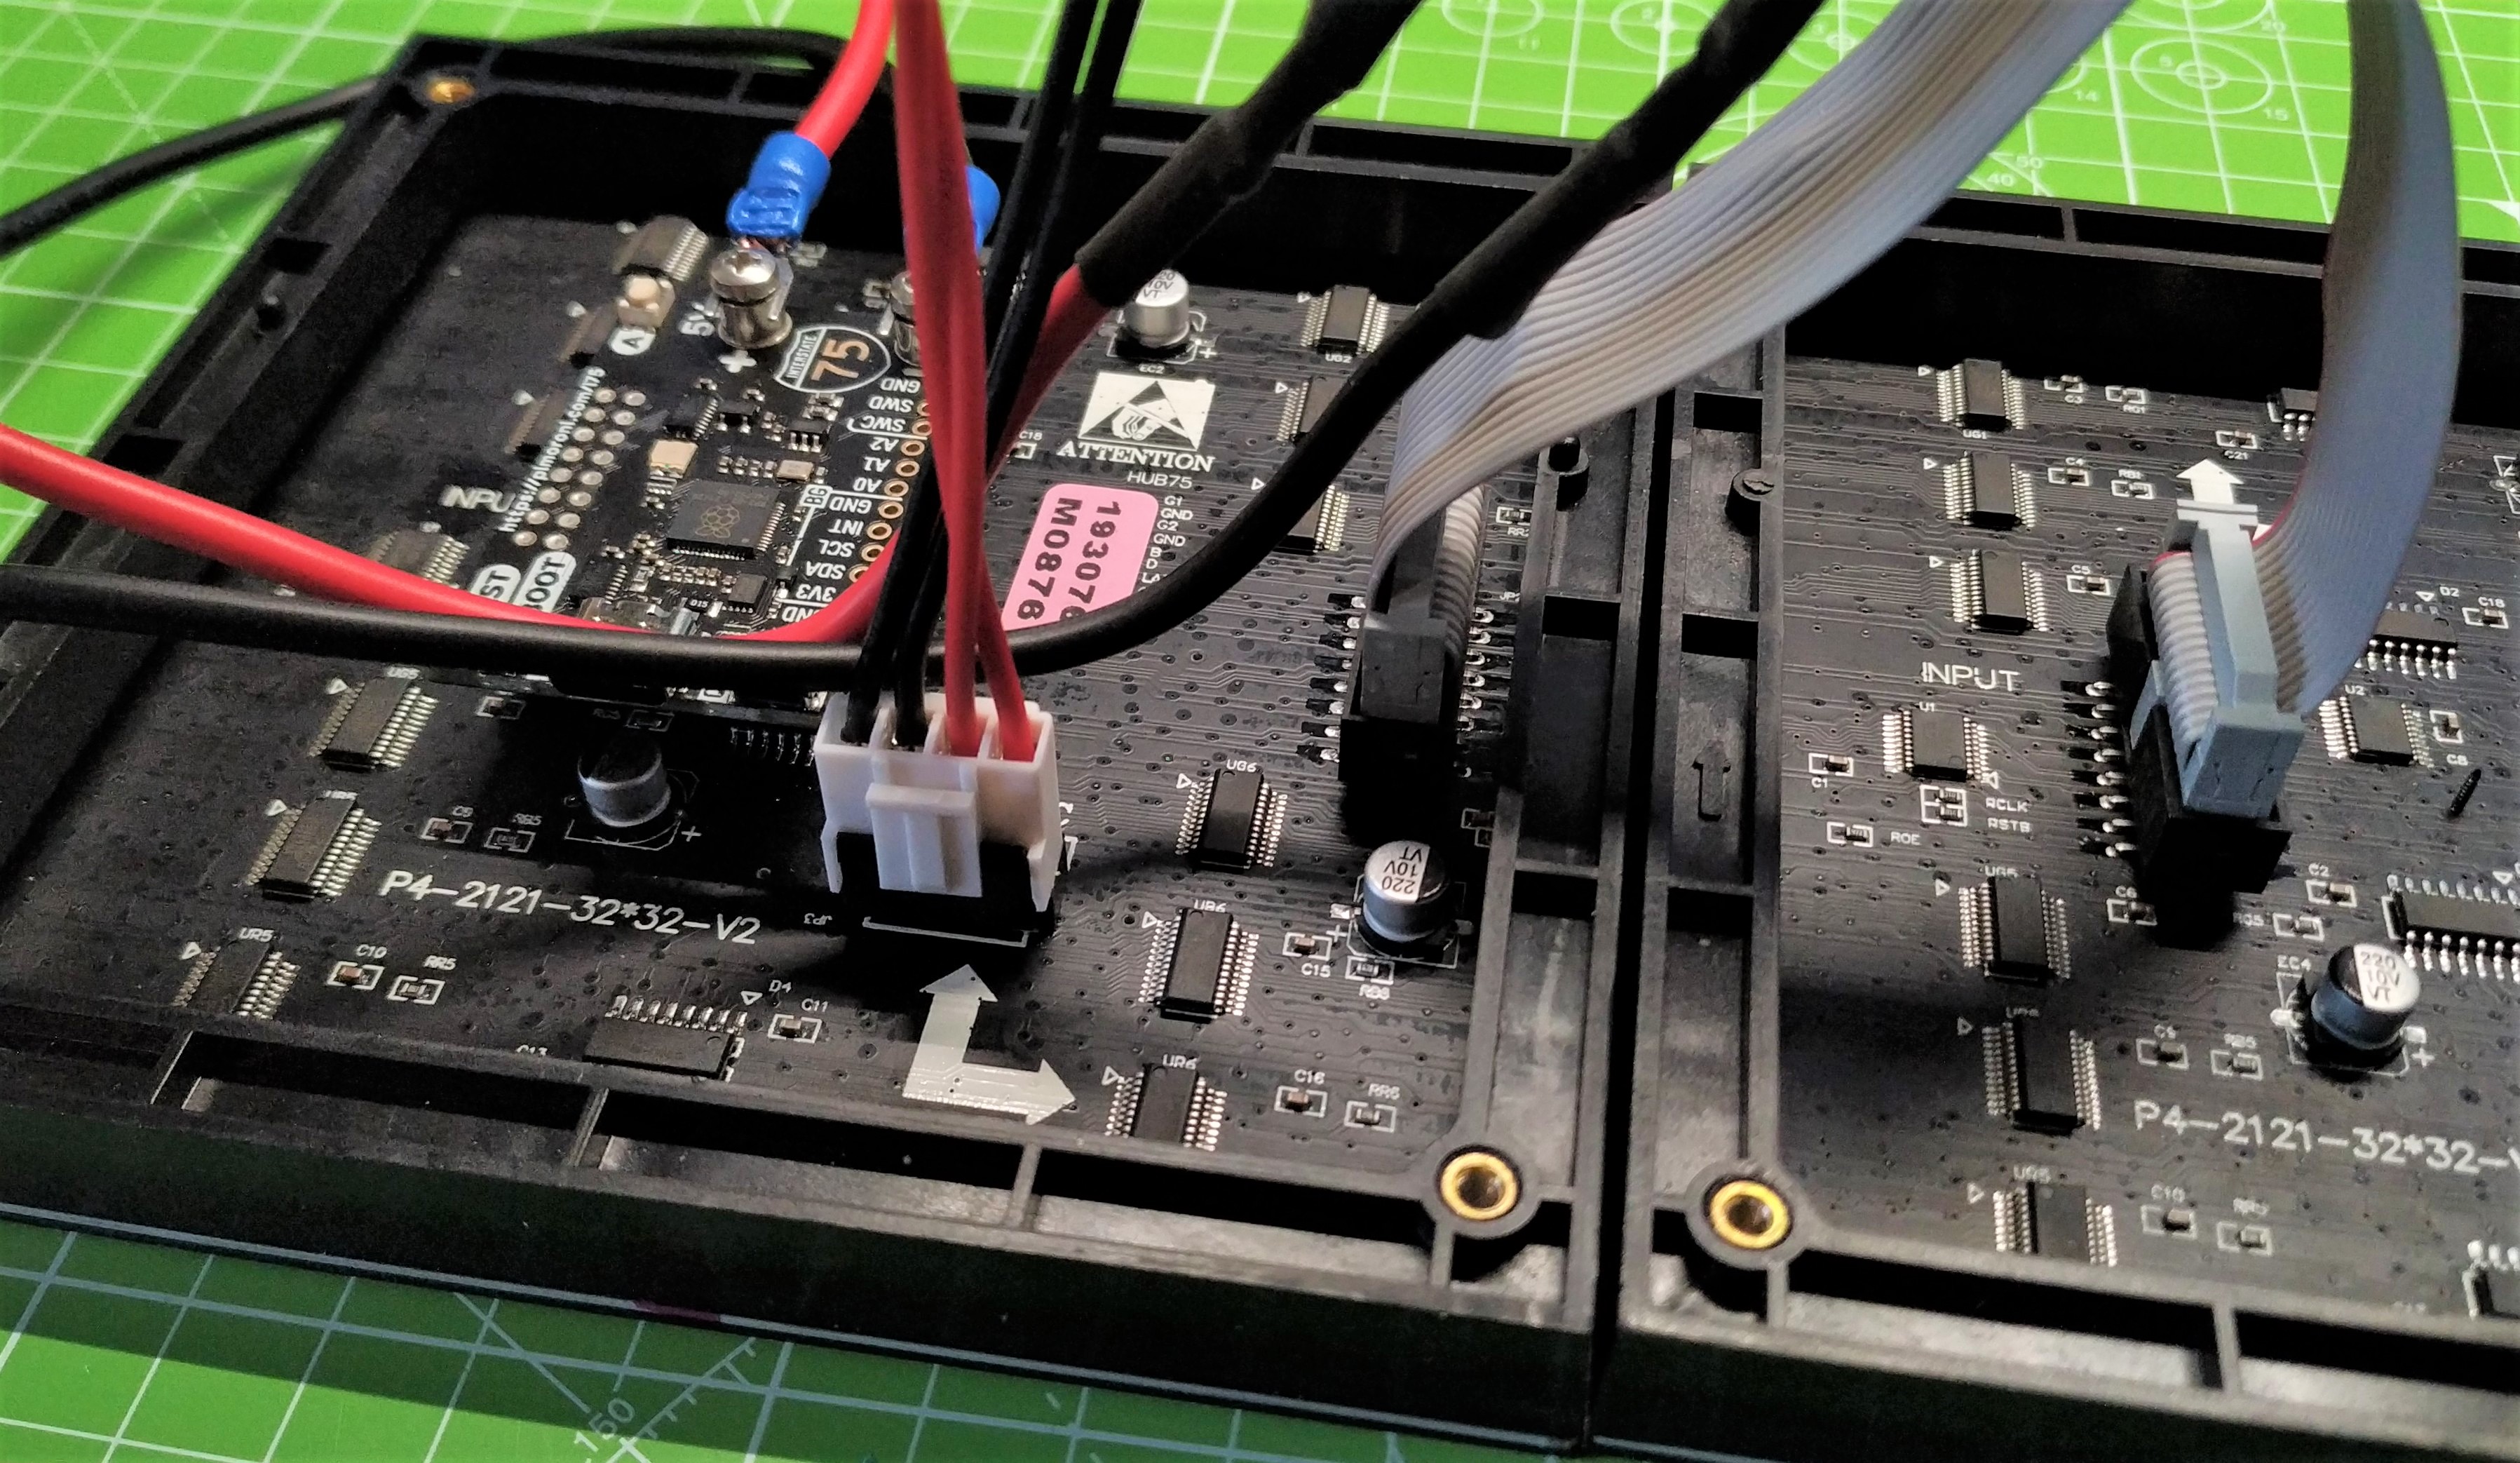
Updating just a small section of the screen requires a full refresh. Interstate 75 connects to the HUB75’s input header and provides power to the panel via two screw terminals. Your HUB75 should come with the appropriate power lead.
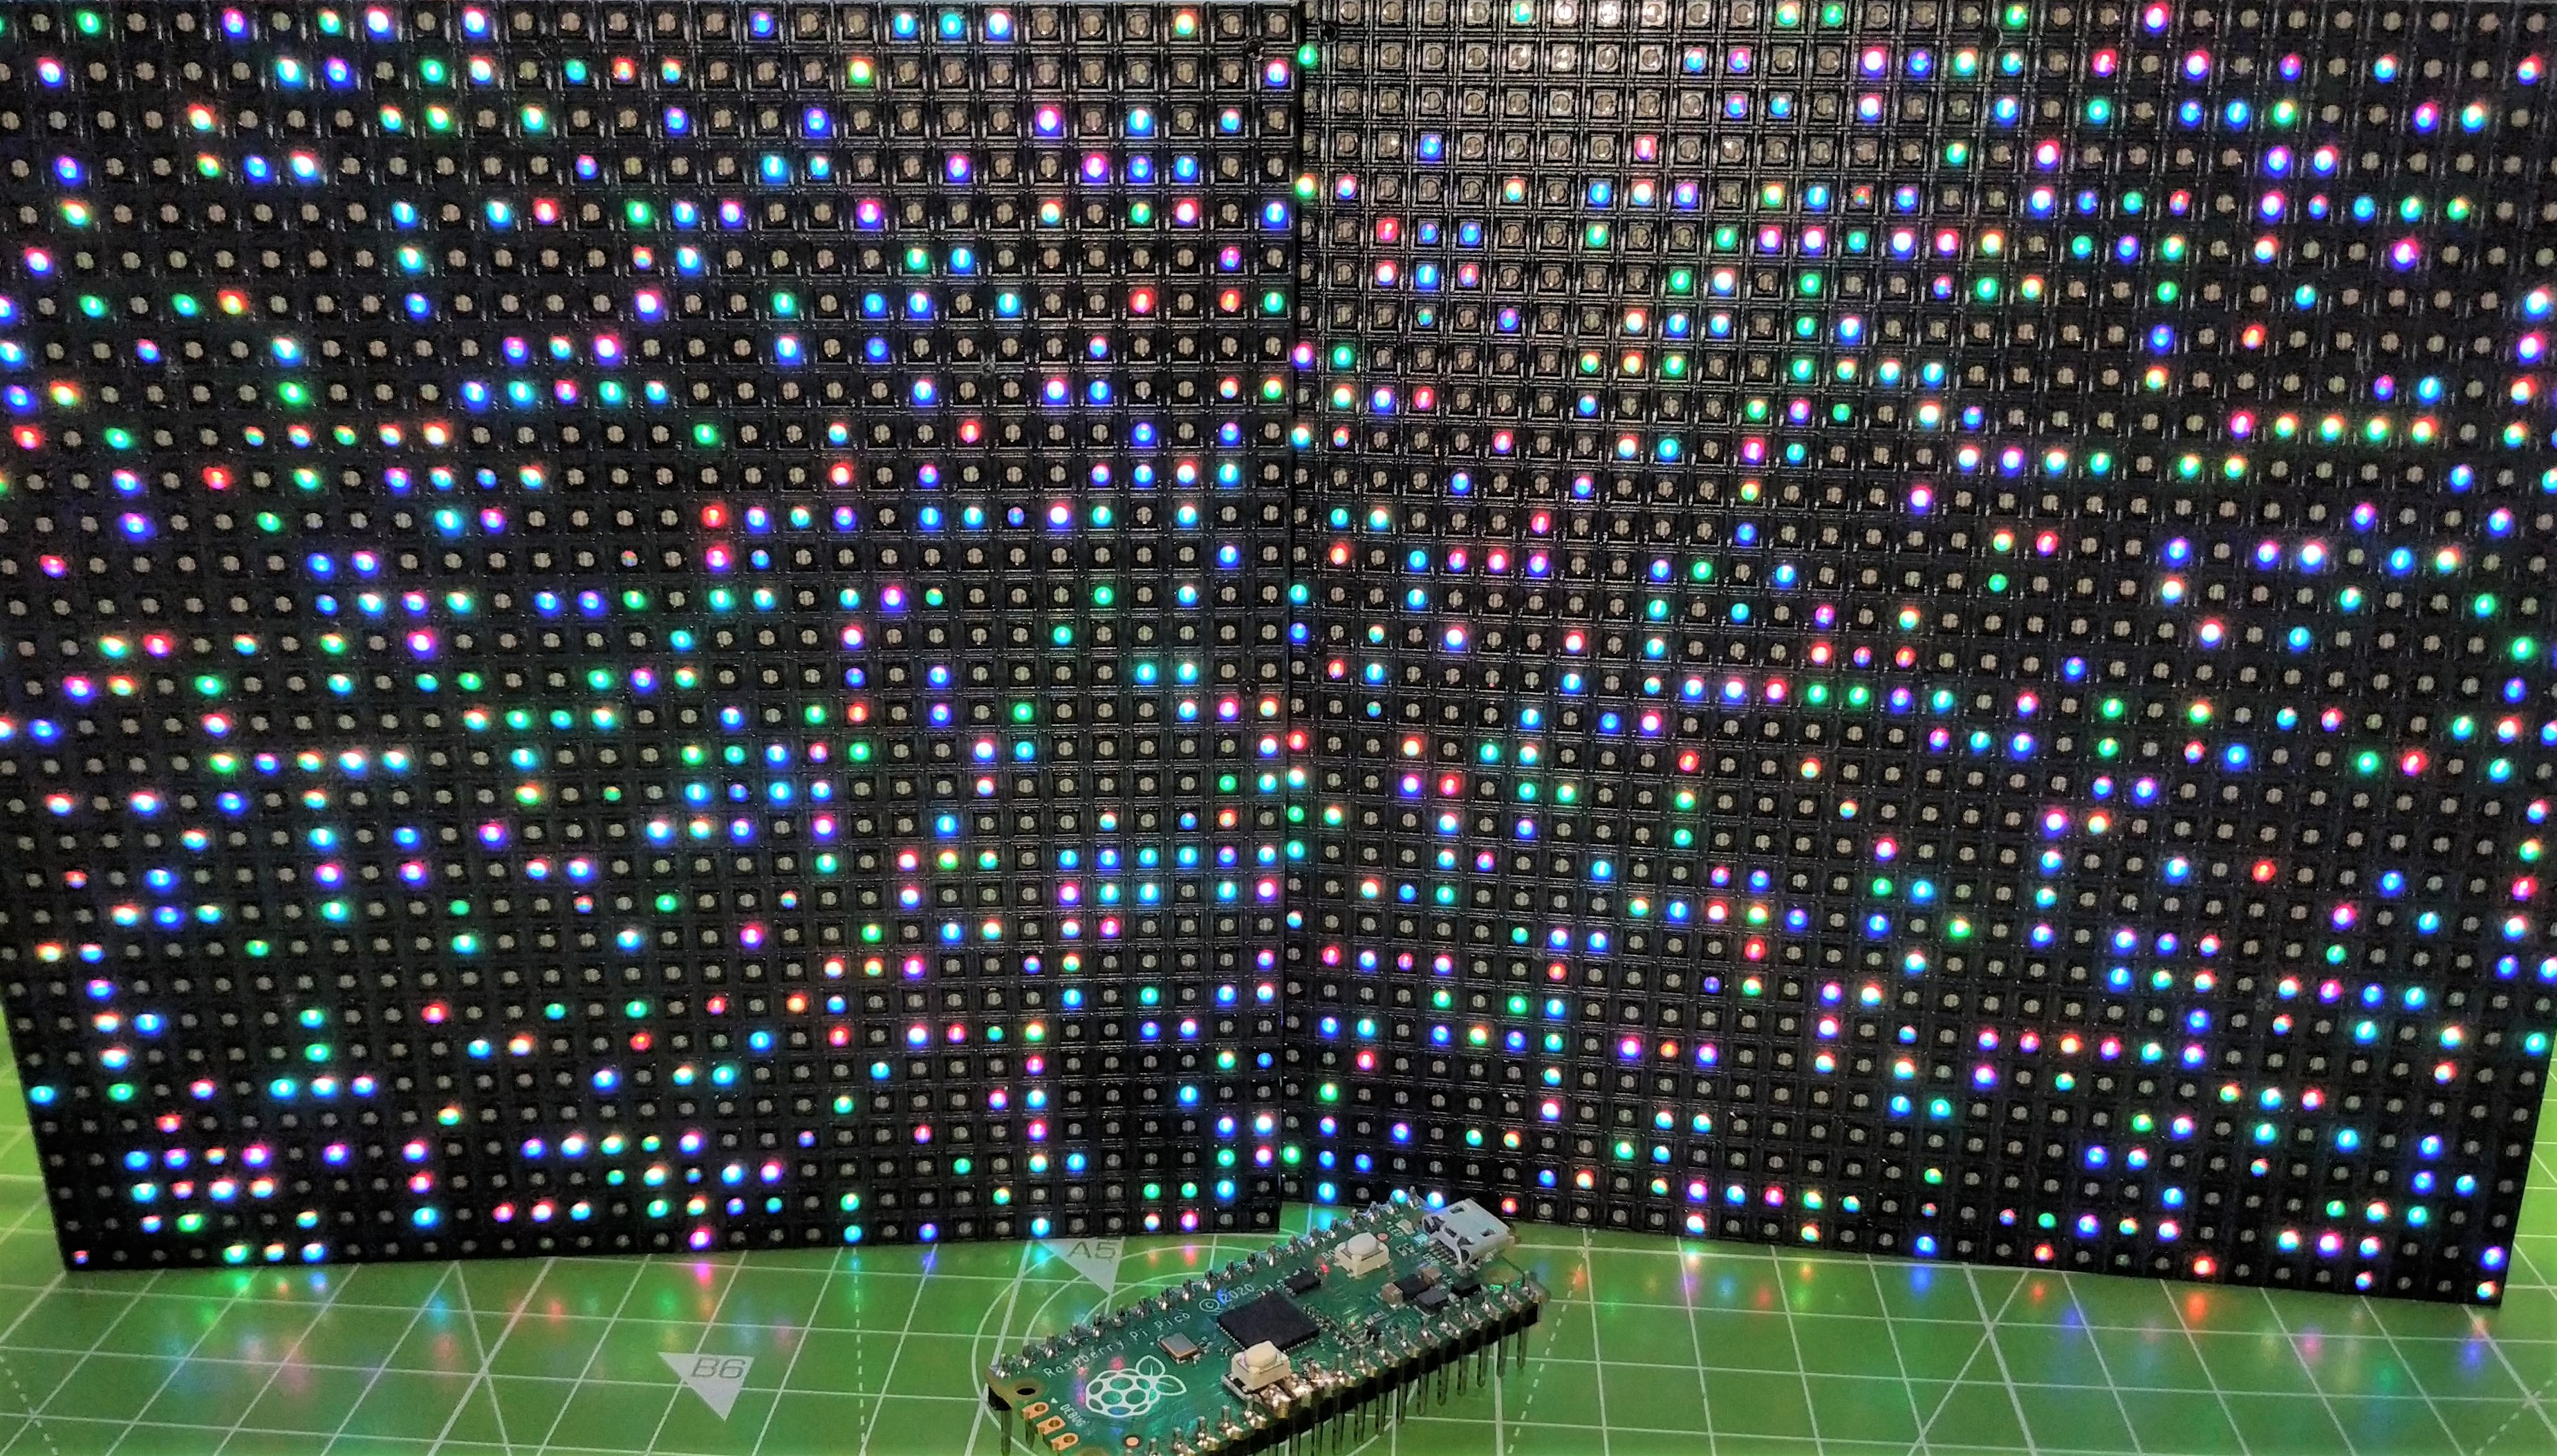
HUB75 panels are designed to be joined together to form larger panels and so come with ribbon cables and y-shaped power leads to “daisy chain” displays. We tested with two displays and saw around 1A (500mA per panel) at 5.22V when running the displays with solid colors. This means we can easily run the Interstate 75 and panels from a USB battery.
How many panels can you drive from one Interstate 75? We asked that question to Phil Howard, lead developer at Pimoroni on a recent episode of The Pi Cast and it seems that four 32 x 32 panels is your limit. That’s not a great deal of panels, but plenty for most projects.
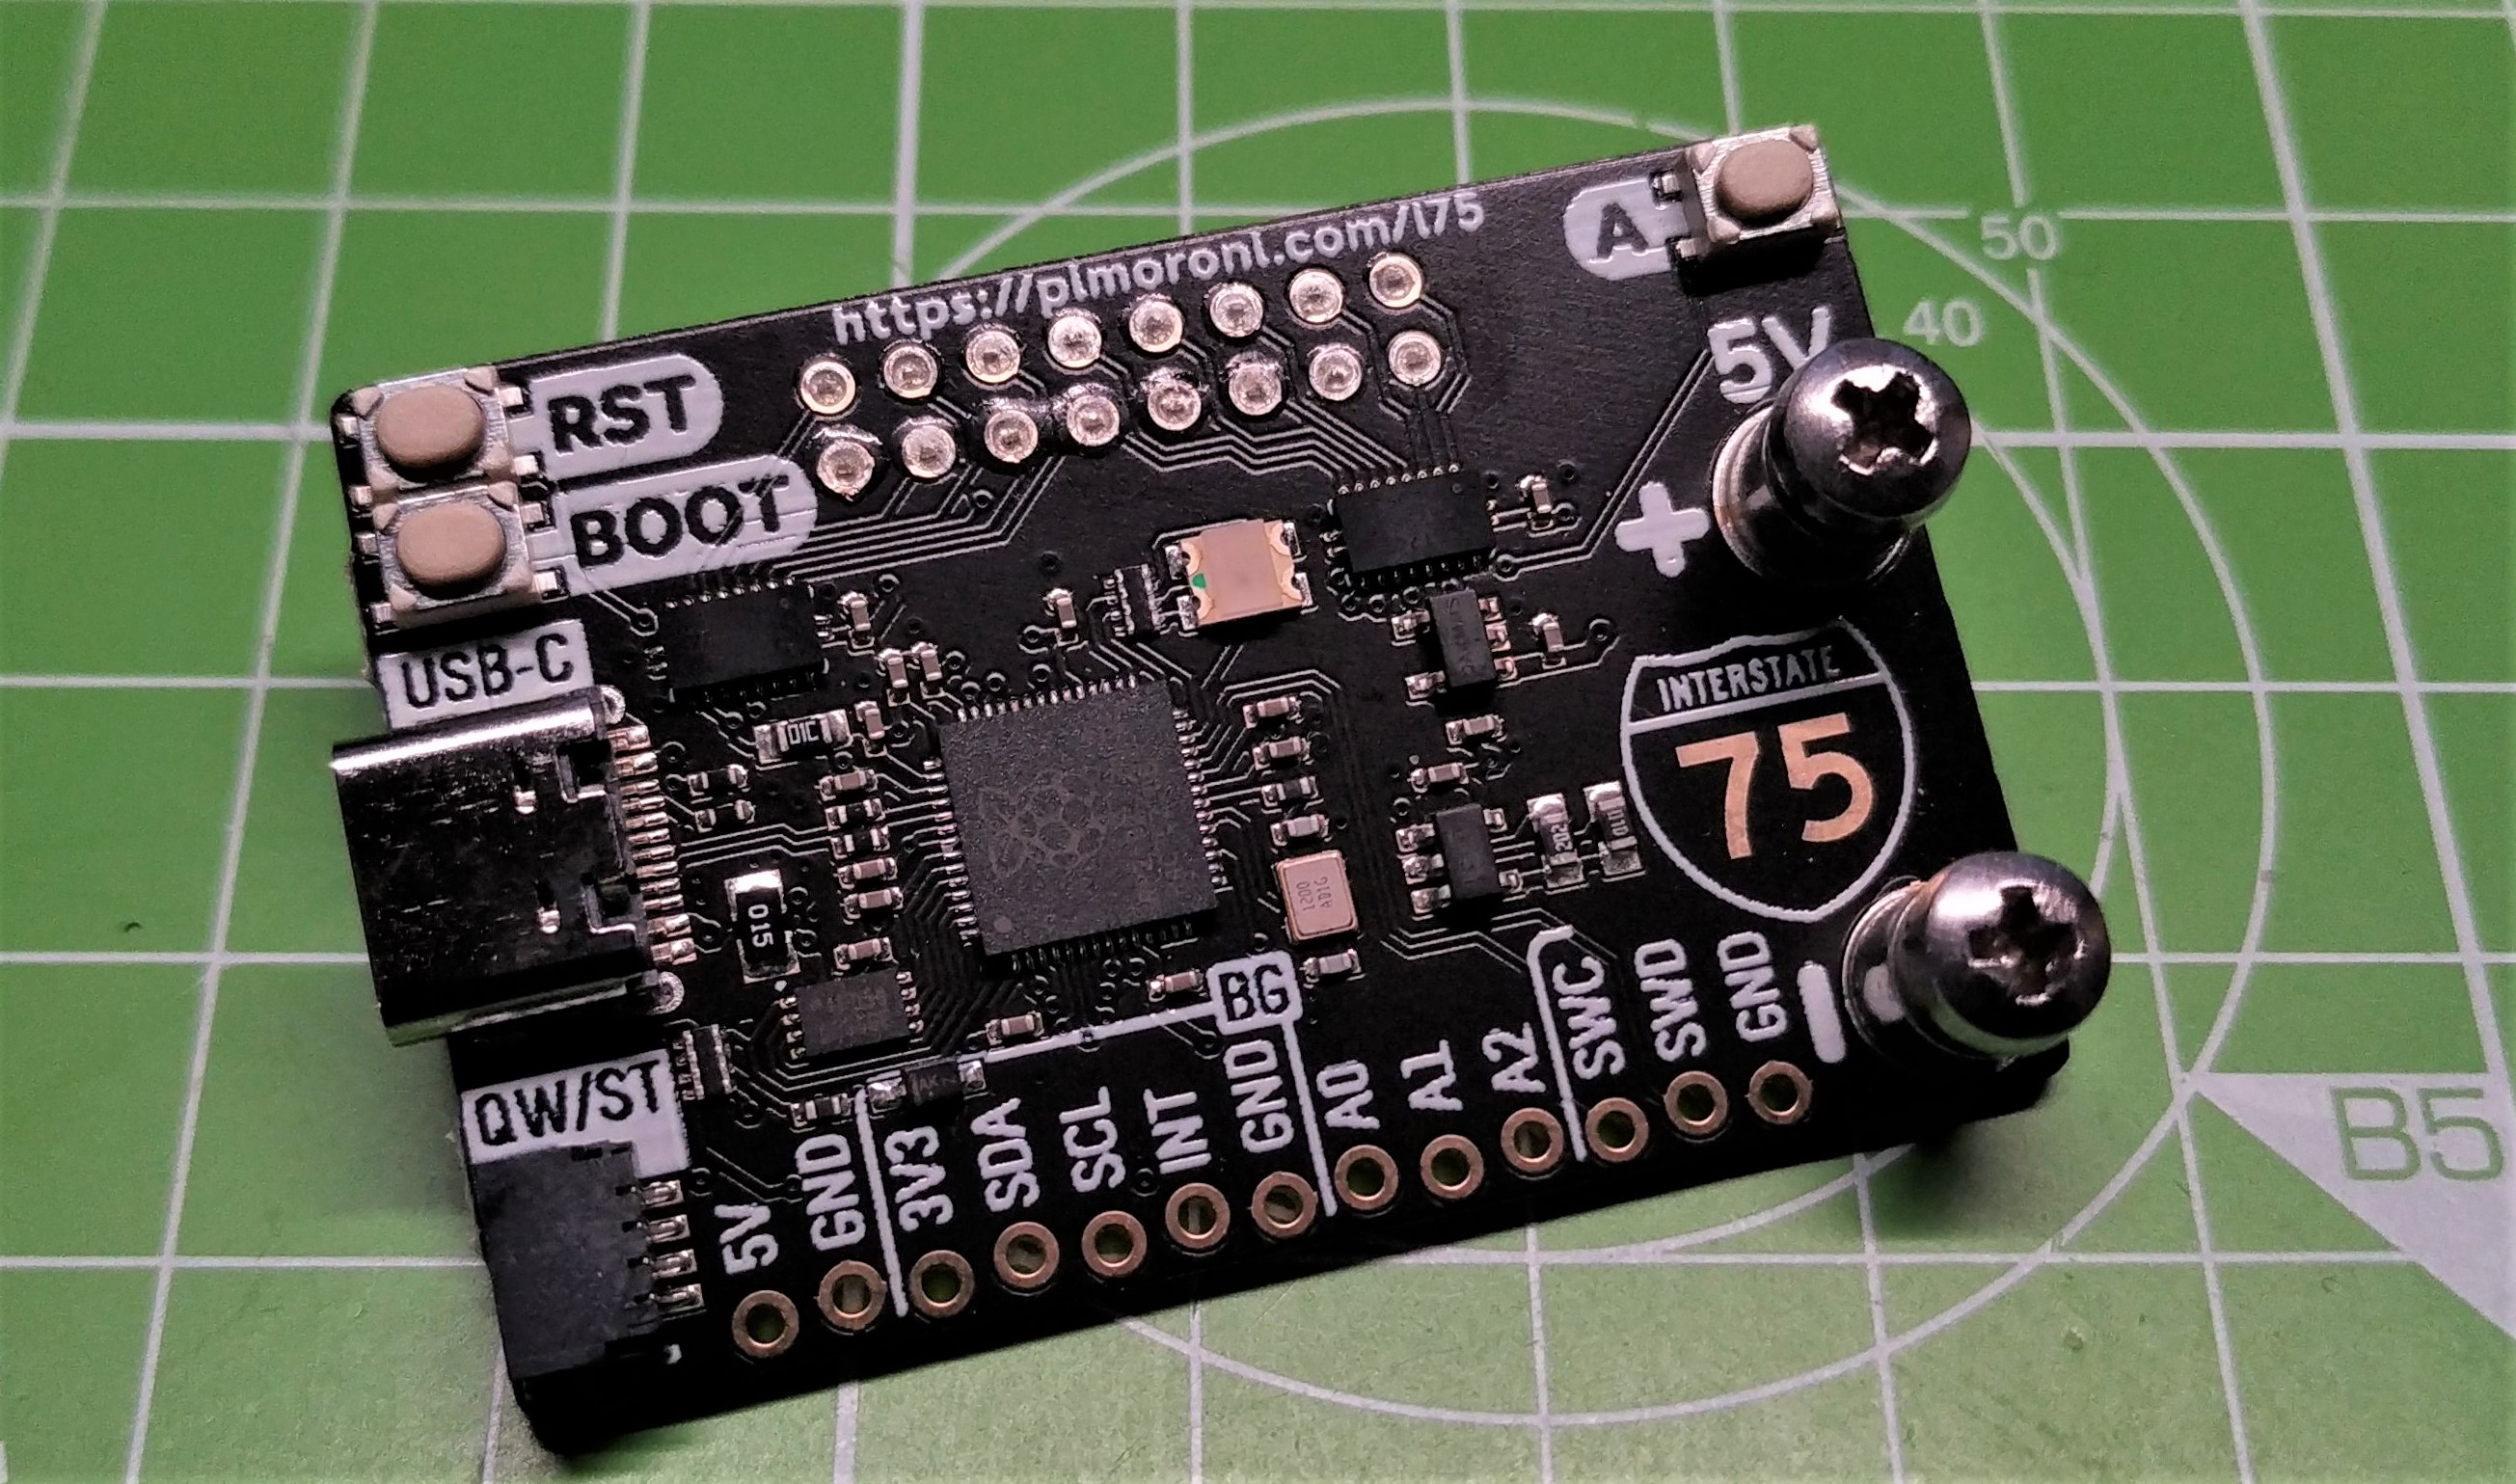
The Pimoroni Interstate 75 is wider than a typical Raspberry Pi Pico board, which is necessary given the form factor of the HUB75 interface and the extra ports Interstate 75 provides. We have a single Stemma QT / Qwiic connector, which Pimoroni calls QW/ST (Quest). Using this connector we can add sensors, buttons, potentiometers which can control the display and be used as a data source for experiments. We have a smattering of GPIO pins, basically all the pins which are not in use for the display. I2C, analog inputs and software debug pins are present.
Get Tom's Hardware's best news and in-depth reviews, straight to your inbox.
Power and data are supplied to the Pimoroni Interstate 75 via a single USB C cable but the GPIO breakout does have a 5V pin which can be used to power the unit. The 2MB of storage may seem paltry, and we lose 1MB with the firmware install but we still have enough storage for additional libraries and even images. A 32 x 32 pixel BMP file weighs in at ~3KB so we can have many images; even 64 x 64 images are a mere ~12KB.
As Interstate 75 is an RP2040 based board we have a range of programming languages to choose from. We first tested with Pimoroni’s own MicroPython release, the latest of which has support for Interstate 75. We followed the examples found in the GitHub repository and within 20 minutes we had scrolling text across two HUB75 panels.
Pimoroni’s MicroPython module is called hub75 and it abstracts away many of the complexities such as setting pixel color based on RGB or HSV values. One abstraction missing from the module is text. We would’ve liked to have seen a function or class which we could pass a string to. But this isn’t a deal breaker. We managed to write a simple script that would display integers on the matrix; admittedly the code will need refactoring but it served its purpose.
The QW/ST connector is where we can add extra features to Pimoroni Interstate 75. Using Stemma QT / Qwiic components, we can add sensors for temperature, accelerometers, magnetometers and UV light detection with very little wiring. Pimoroni’s MicroPython firmware works with some, but not all addons. From our collection, we sourced a BME688 temperature sensor and quickly re-wrote our simple script to get the current temperature and display it on the matrix. It worked well and it got us thinking about CircuitPython support.
An alternative to MicroPython is CircuitPython and Interstate 75 has its own official port. We connected up a single HUB75 panel, flashed the latest stable CircuitPython release and then modified an RGB matrix example to use Interstate 75’s GPIO pin mapping, and then we hit a dead stop. The board appeared to be dead. We were unable to flash CircuitPython back onto the board, so we were forced to “nuke” the storage using a custom uf2 firmware.
We repeated the install process and the error persisted. Requiring a little help, we reached out to Pimoroni and worked together to resolve the issue. The working assumption is that CircuitPython is performing an operation “behind the scenes” and this causes Interstate 75 to appear “dead”. After around 90 seconds, Windows informs us that the “USB drive is not recognized” but after pressing reset we are back in business and our code works.
We spent a lot of time on this debugging process, working with Pimoroni co-founder Paul Beech and lead developer Phil Howard. At times our debug process was akin to the startup process used to successfully power up Apollo 13’s command module. CircuitPython works with Interstate 75, but if you need access to the Adafruit library of software, especially for Stemma QT components, it is best to download Pimoroni’s MicroPython release with Adafruit library support.
Alternatives to Interstate 75
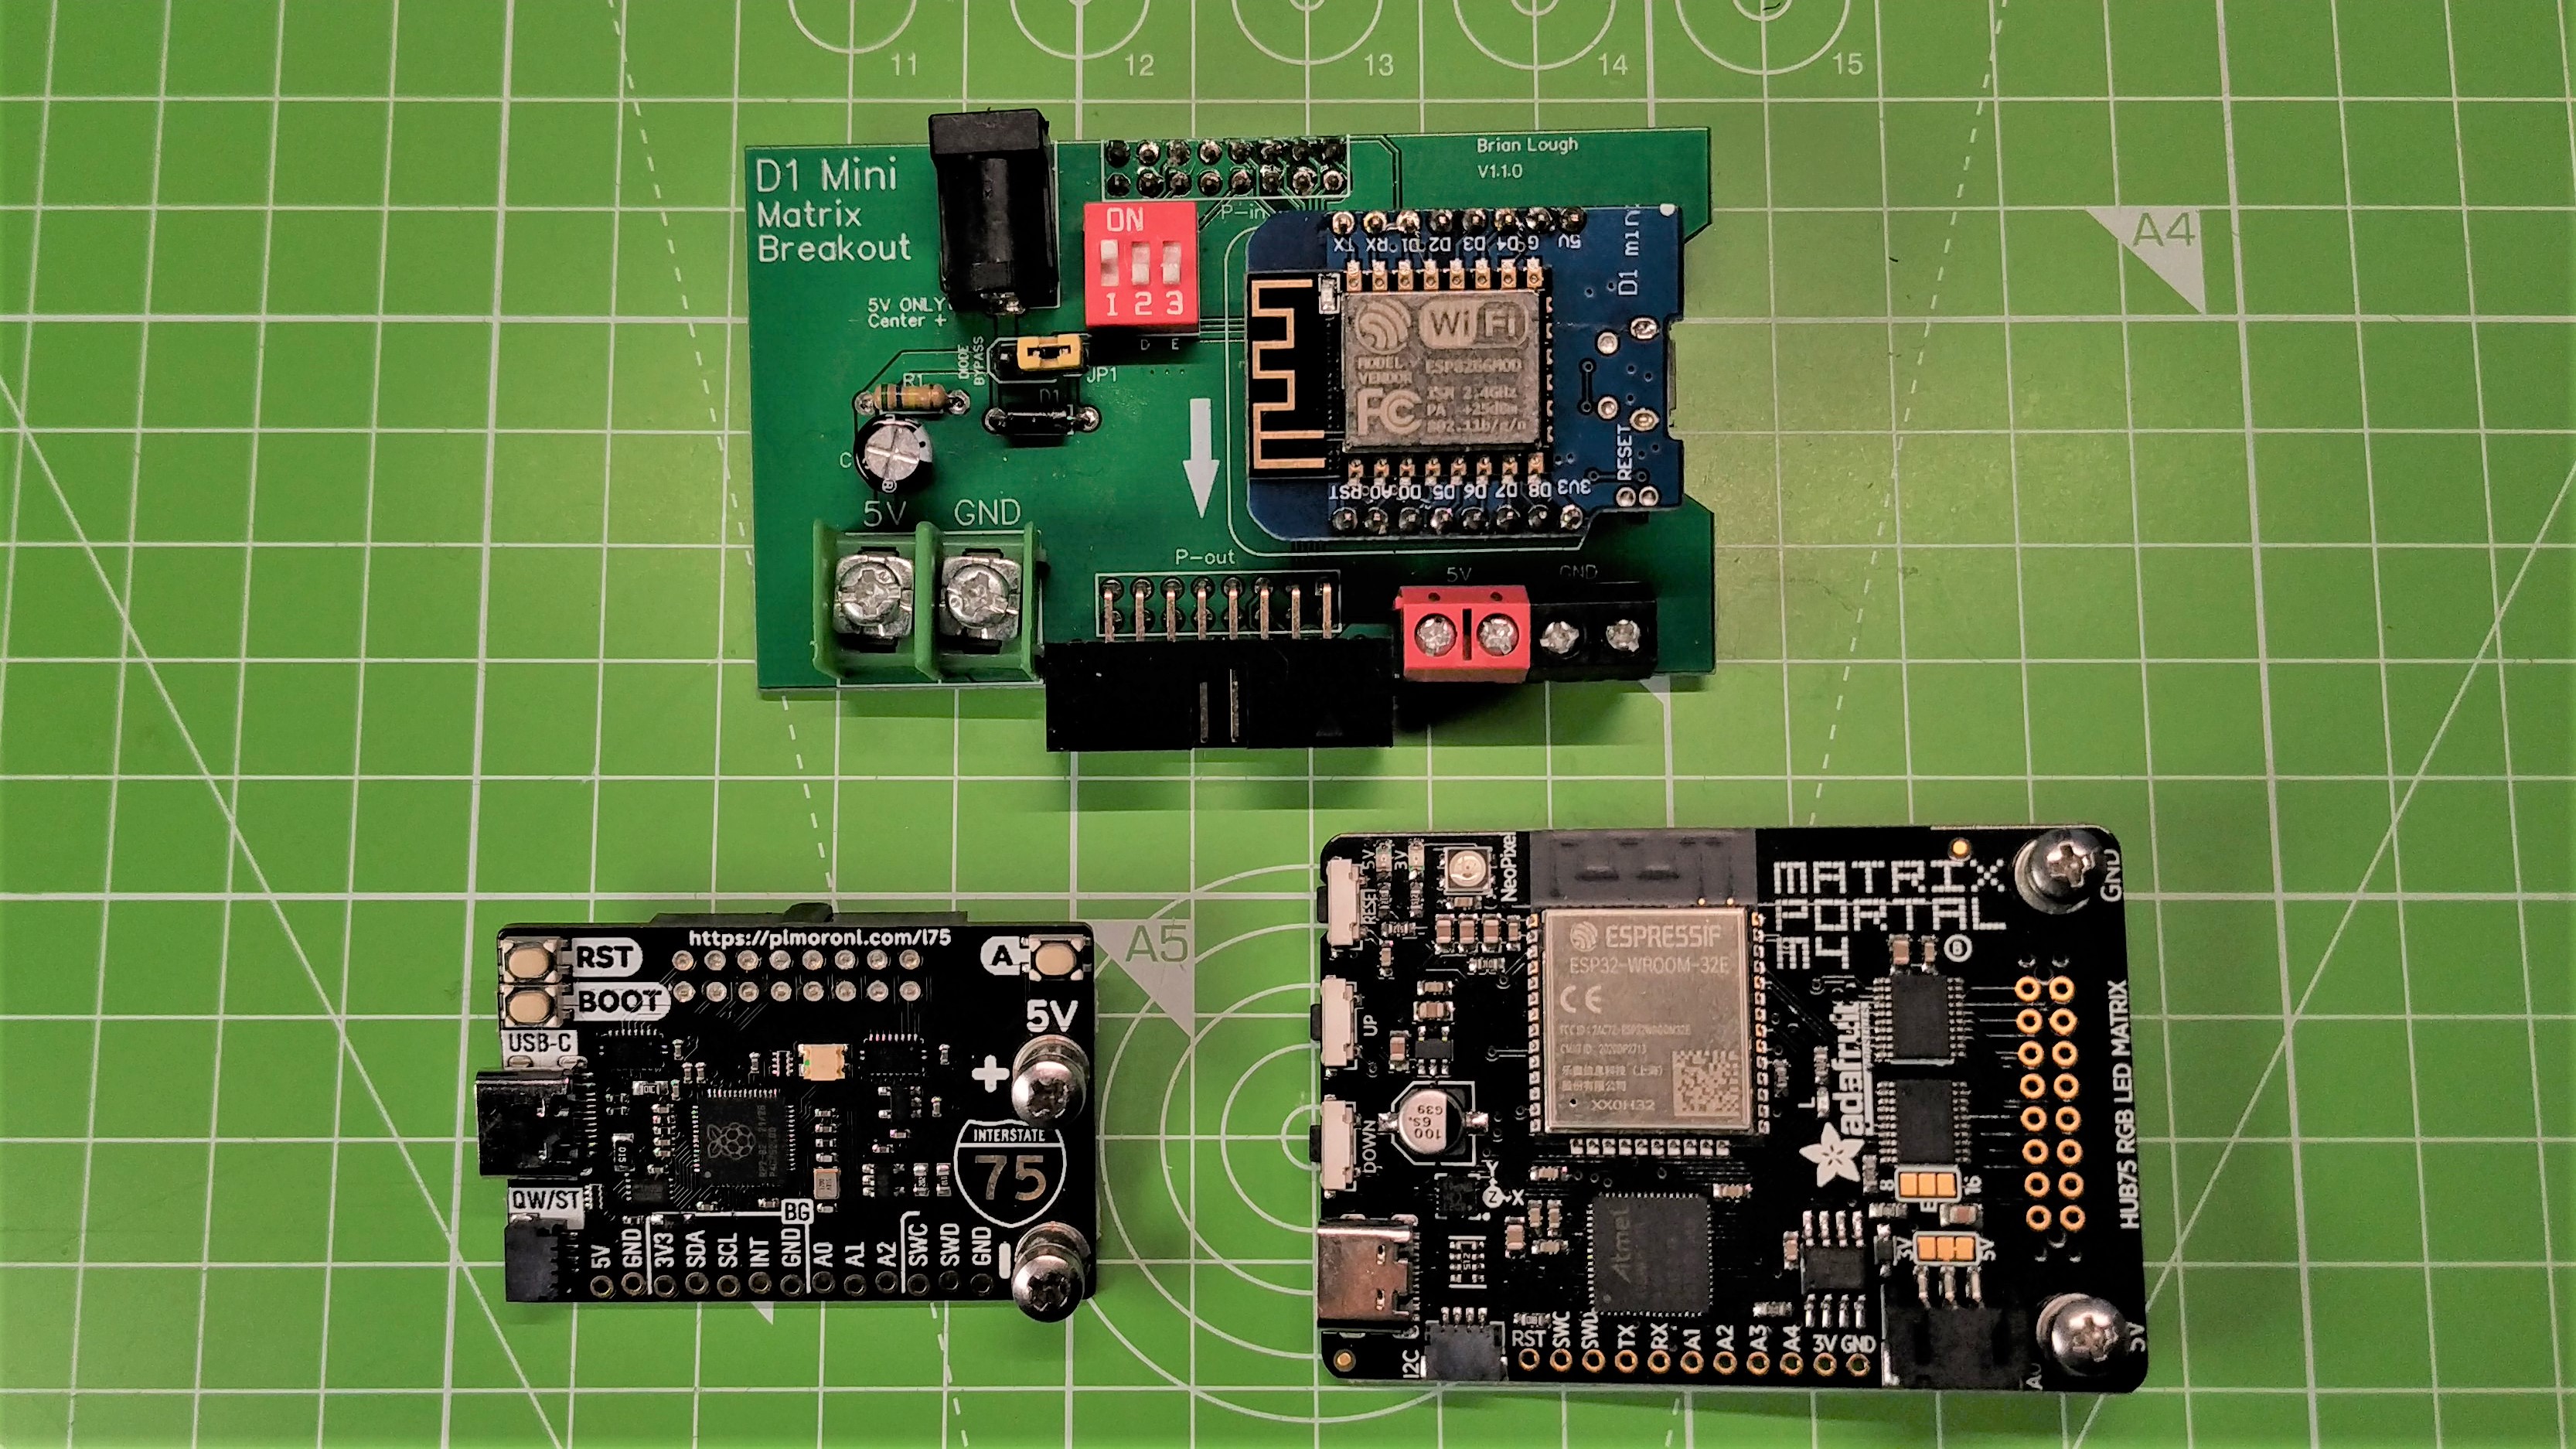
Interstate 75 retails for just over $14 and for that price you have a solid, if limited board. We don’t have any Wi-Fi connectivity, but it can be added via the GPIO. Adafruit’s Matrix Portal M4 is a beast of a board. Coming in at $25, the Arm Cortex M4 processor and ESP32 co-processor give us raw speed and Wi-Fi connectivity. It is fully supported by CircuitPython and the Arduino IDE. For the additional $10 we gain the ability to create IoT HUB75 projects, with very little wiring and this is desirable for some.
If you use the Adafruit Feather RP2040, one of the best RP2040 boards in its own right, you can add the Adafruit RGB Matrix Featherwing Kit, which costs $7.50, and offers similar functionality to the HUB75. If you add in the cost of the Feather RP2040, itself, $11.95, you’re spending close to $20 for the combination. However, you can also use stackable headers and buy an Adafruit AirLift FeatherWing for $12.95, which would give you Wi-Fi capability.
If cost is an issue, Brian Lough’s $14 D1 Mini Matrix Breakout and ESP32 Matrix Shield are community made projects that solved many makers problems, including ours. The Wemos D1 Mini is a $2 development board for the ESP8266 and with Lough’s boards we can use them to control HUB75 matrices, and connect them to the Internet.
Bottom Line
The Pimoroni Interstate 75 is a lot of fun. The board is small, well designed and easy to work with. If you just want simple scrolling text and images then you will get a lot out of it. If Internet of Things is more your thing, then spending another $10 for Adafruit’s Matrix Portal M4 is the smart move.

Les Pounder is an associate editor at Tom's Hardware. He is a creative technologist and for seven years has created projects to educate and inspire minds both young and old. He has worked with the Raspberry Pi Foundation to write and deliver their teacher training program "Picademy".
