Tom's Hardware Verdict
The RasPad 3 had an opportunity to blow us all away, but instead we get something that is interesting in concept but underwhelming in execution.
Pros
- +
Great size
- +
Completely portable
- +
External dual display
Cons
- -
Limited access to the GPIO and Camera
- -
Ethernet does not work
- -
Fan is incredibly noisy
- -
External display disable touchscreen
- -
Battery life is less than quoted
- -
Creaky plastic case
Why you can trust Tom's Hardware
A portable Raspberry Pi setup is the dream for many Raspberry Pi fans. There have been a few attempts in the past, some homebrew methods such as Motorola Atrix lapdock hacks, and others which are commercial products such as the pi-top laptop and the Elecrow CrowPi2 learning notebook kit. RasPad 3 from Sunfounder is the company’s third attempt at a portable “tablet” Pi. Priced from $150, not including a Raspberry Pi 4 we have a potentially powerful portable platform for learners.
A small-ish case, onboard battery, speakers and a large touchscreen would seem to be the ideal but just how convenient is it and can it replace bulky Raspberry Pi setups? The answer really depends on your expectations.
Specifications and Design of the RasPad 3
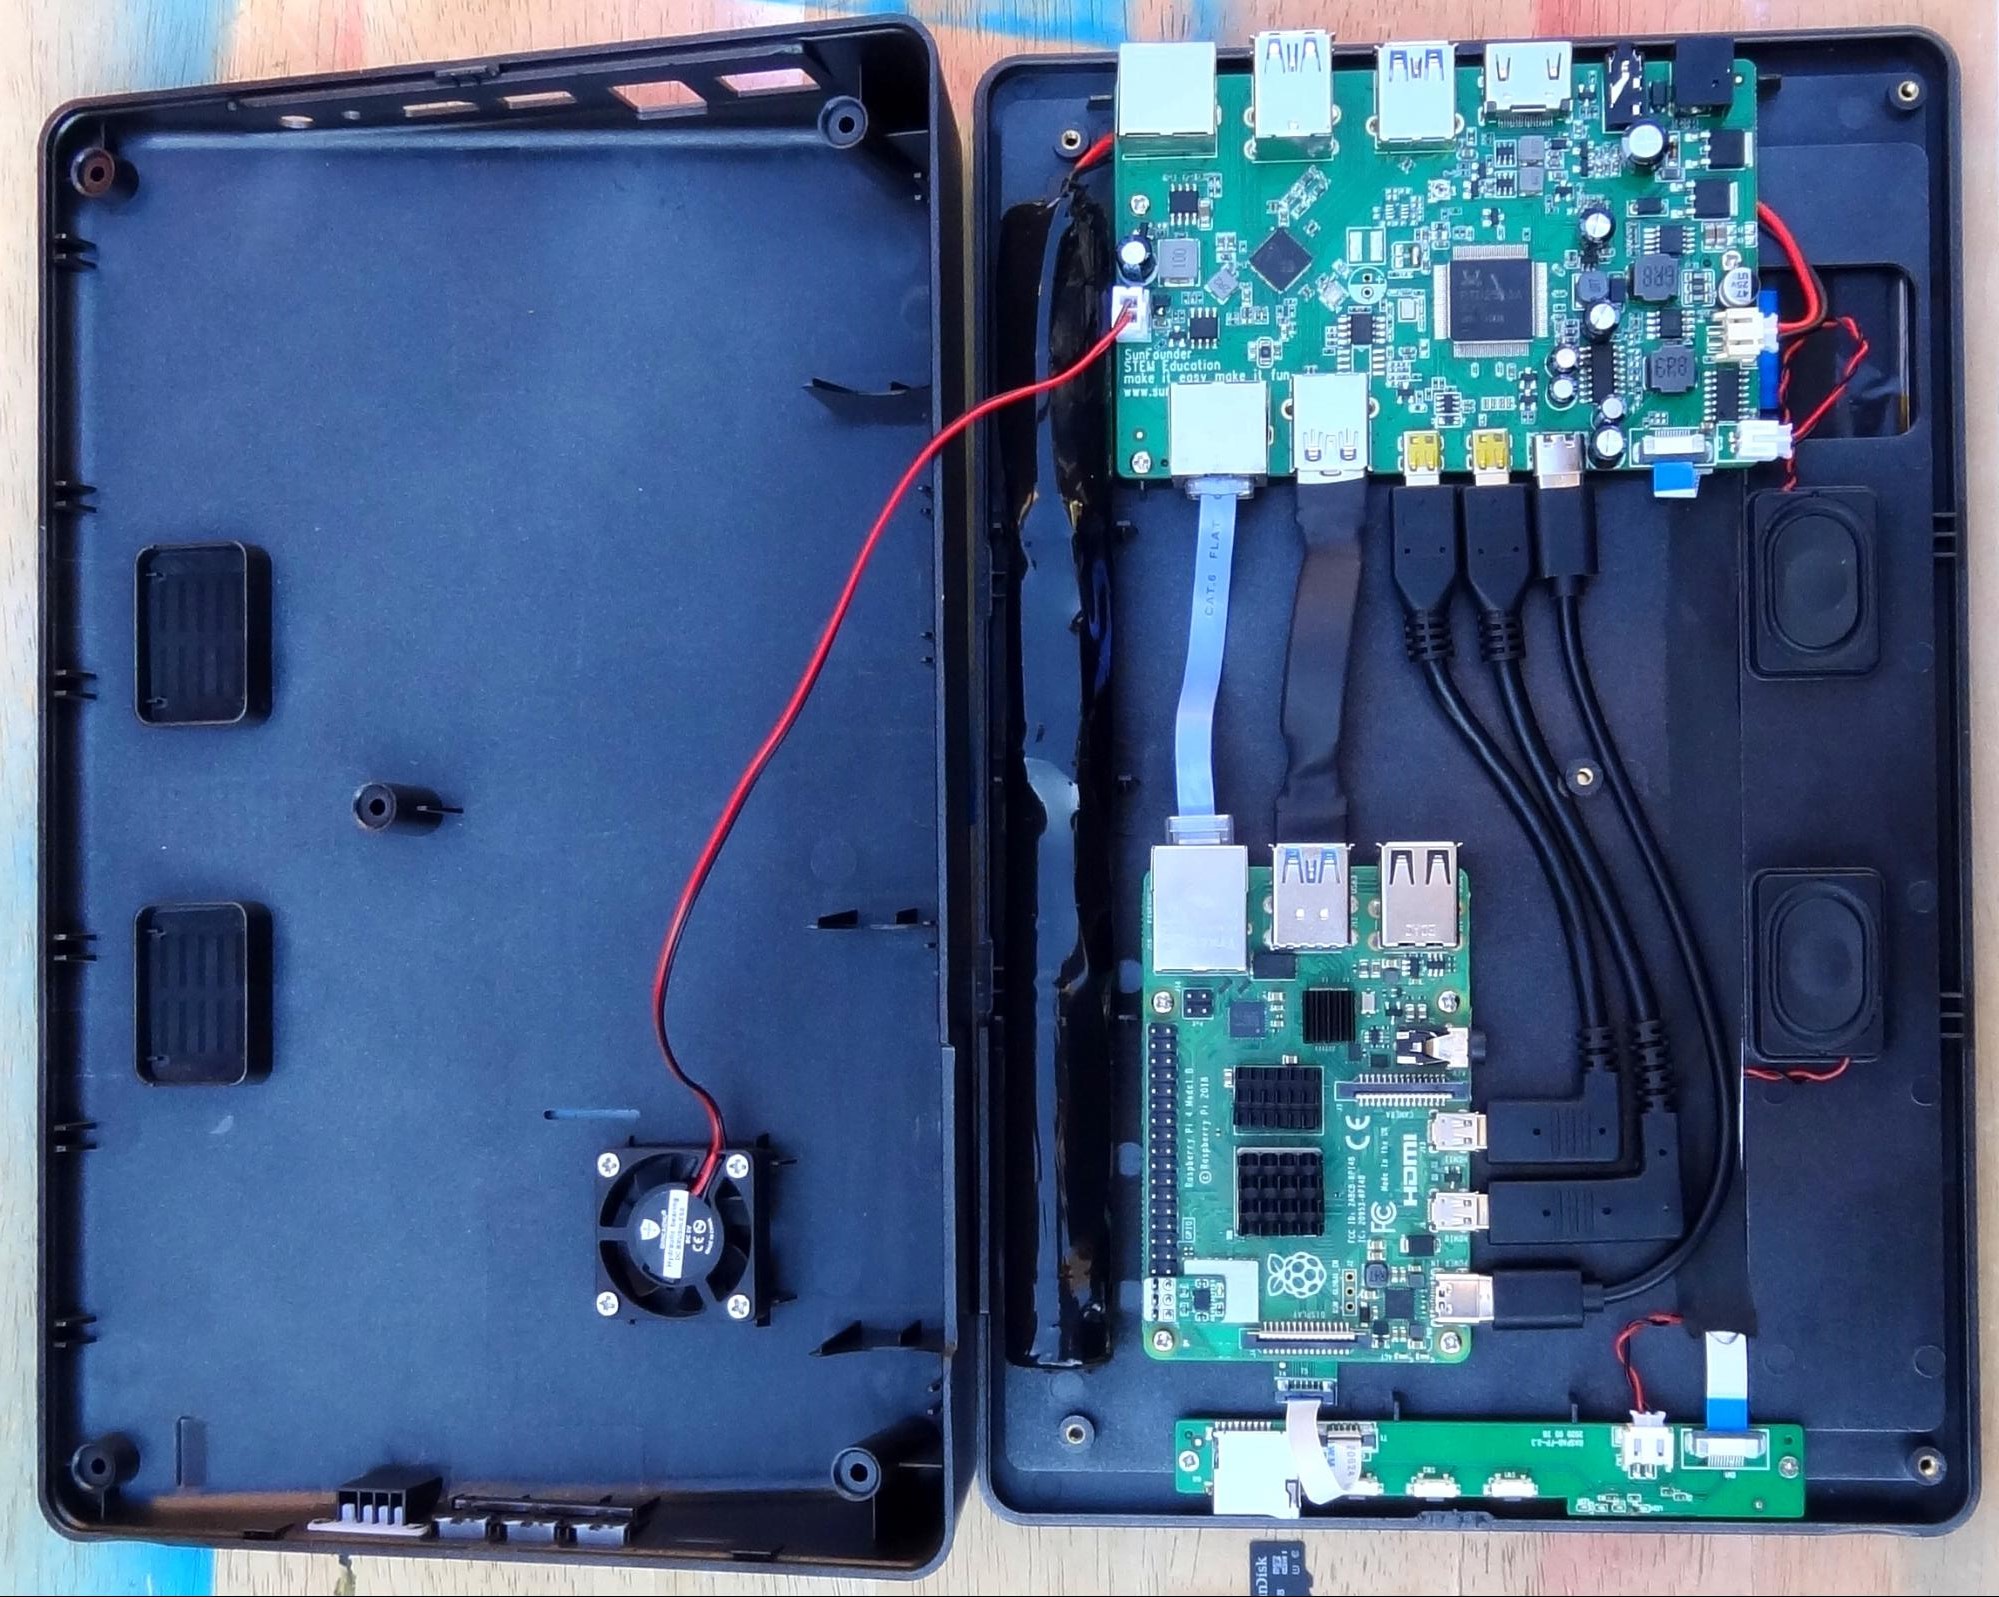
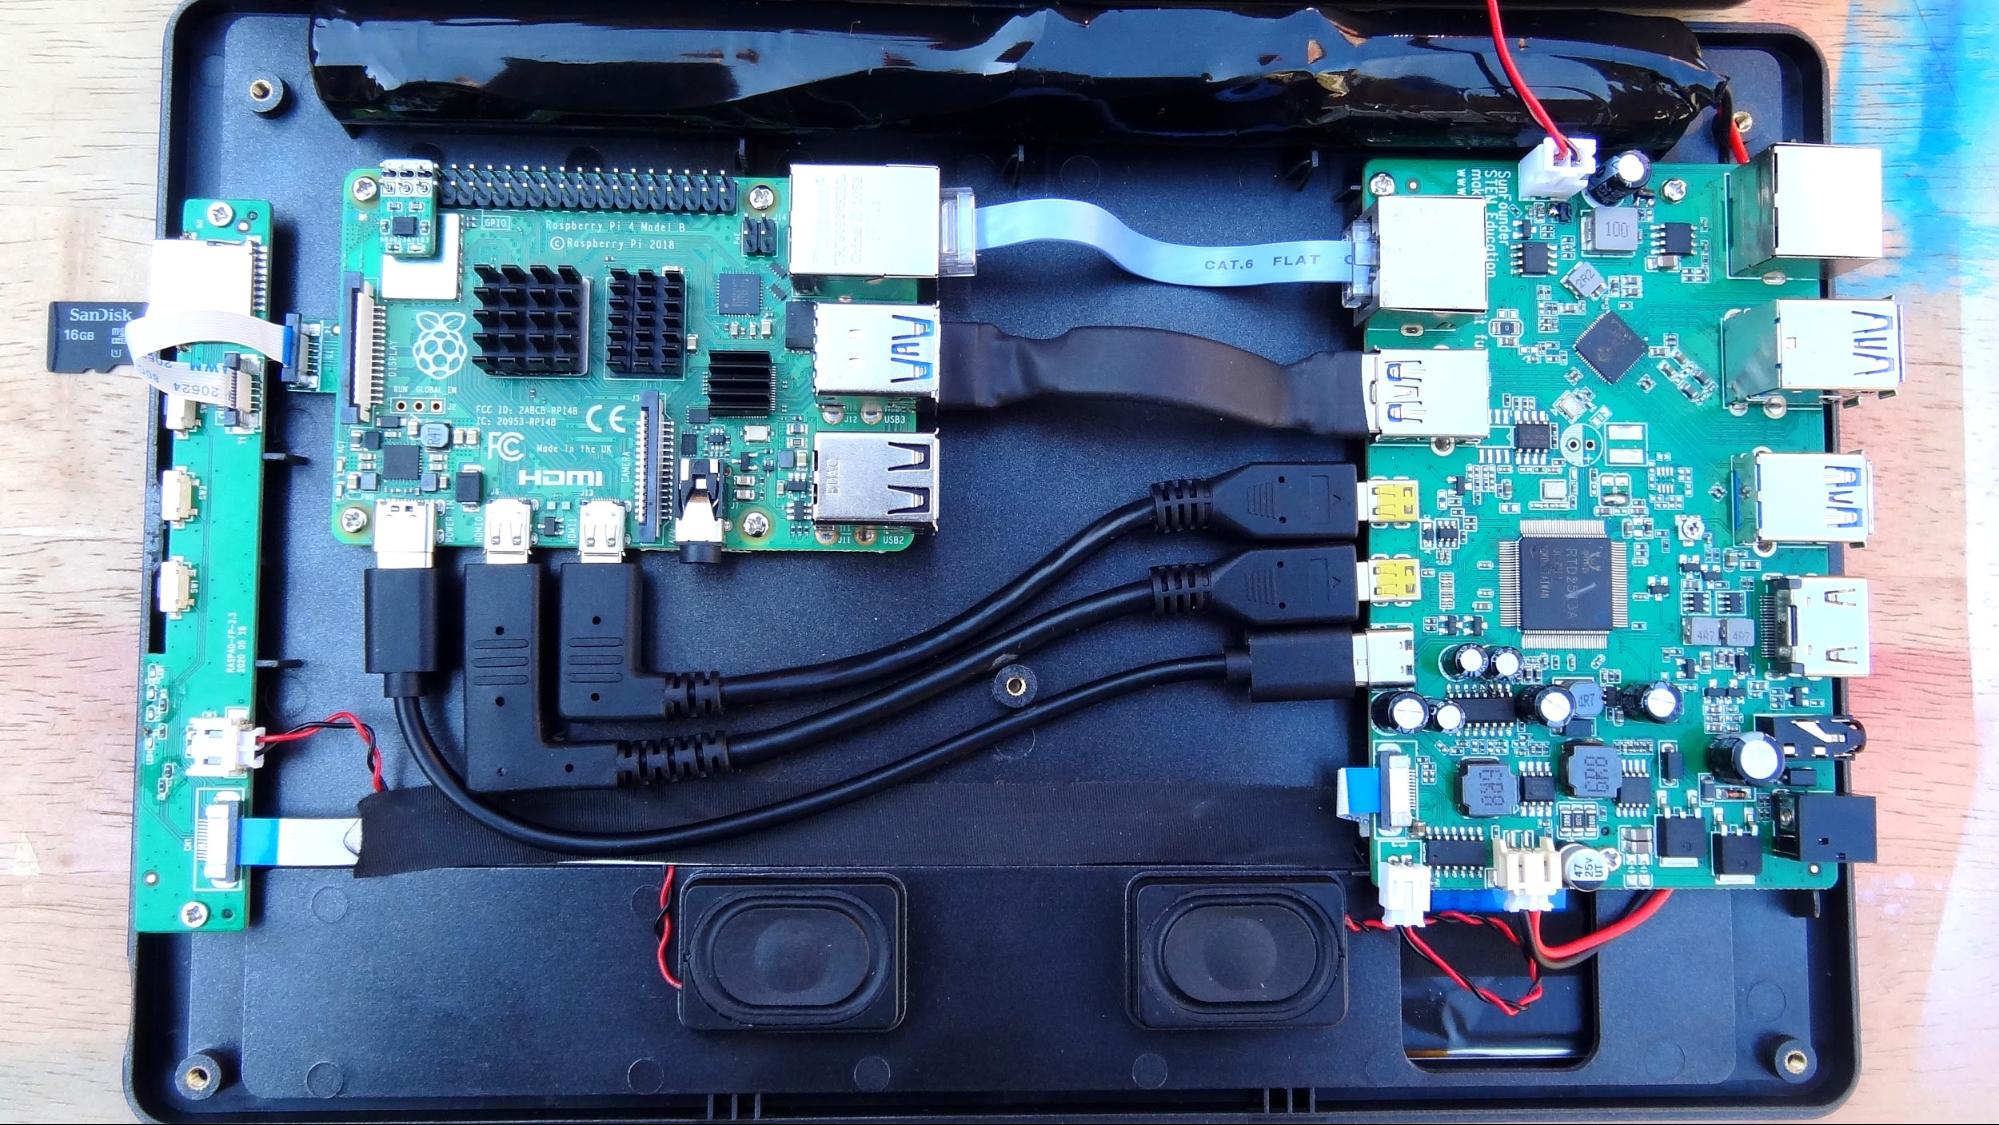
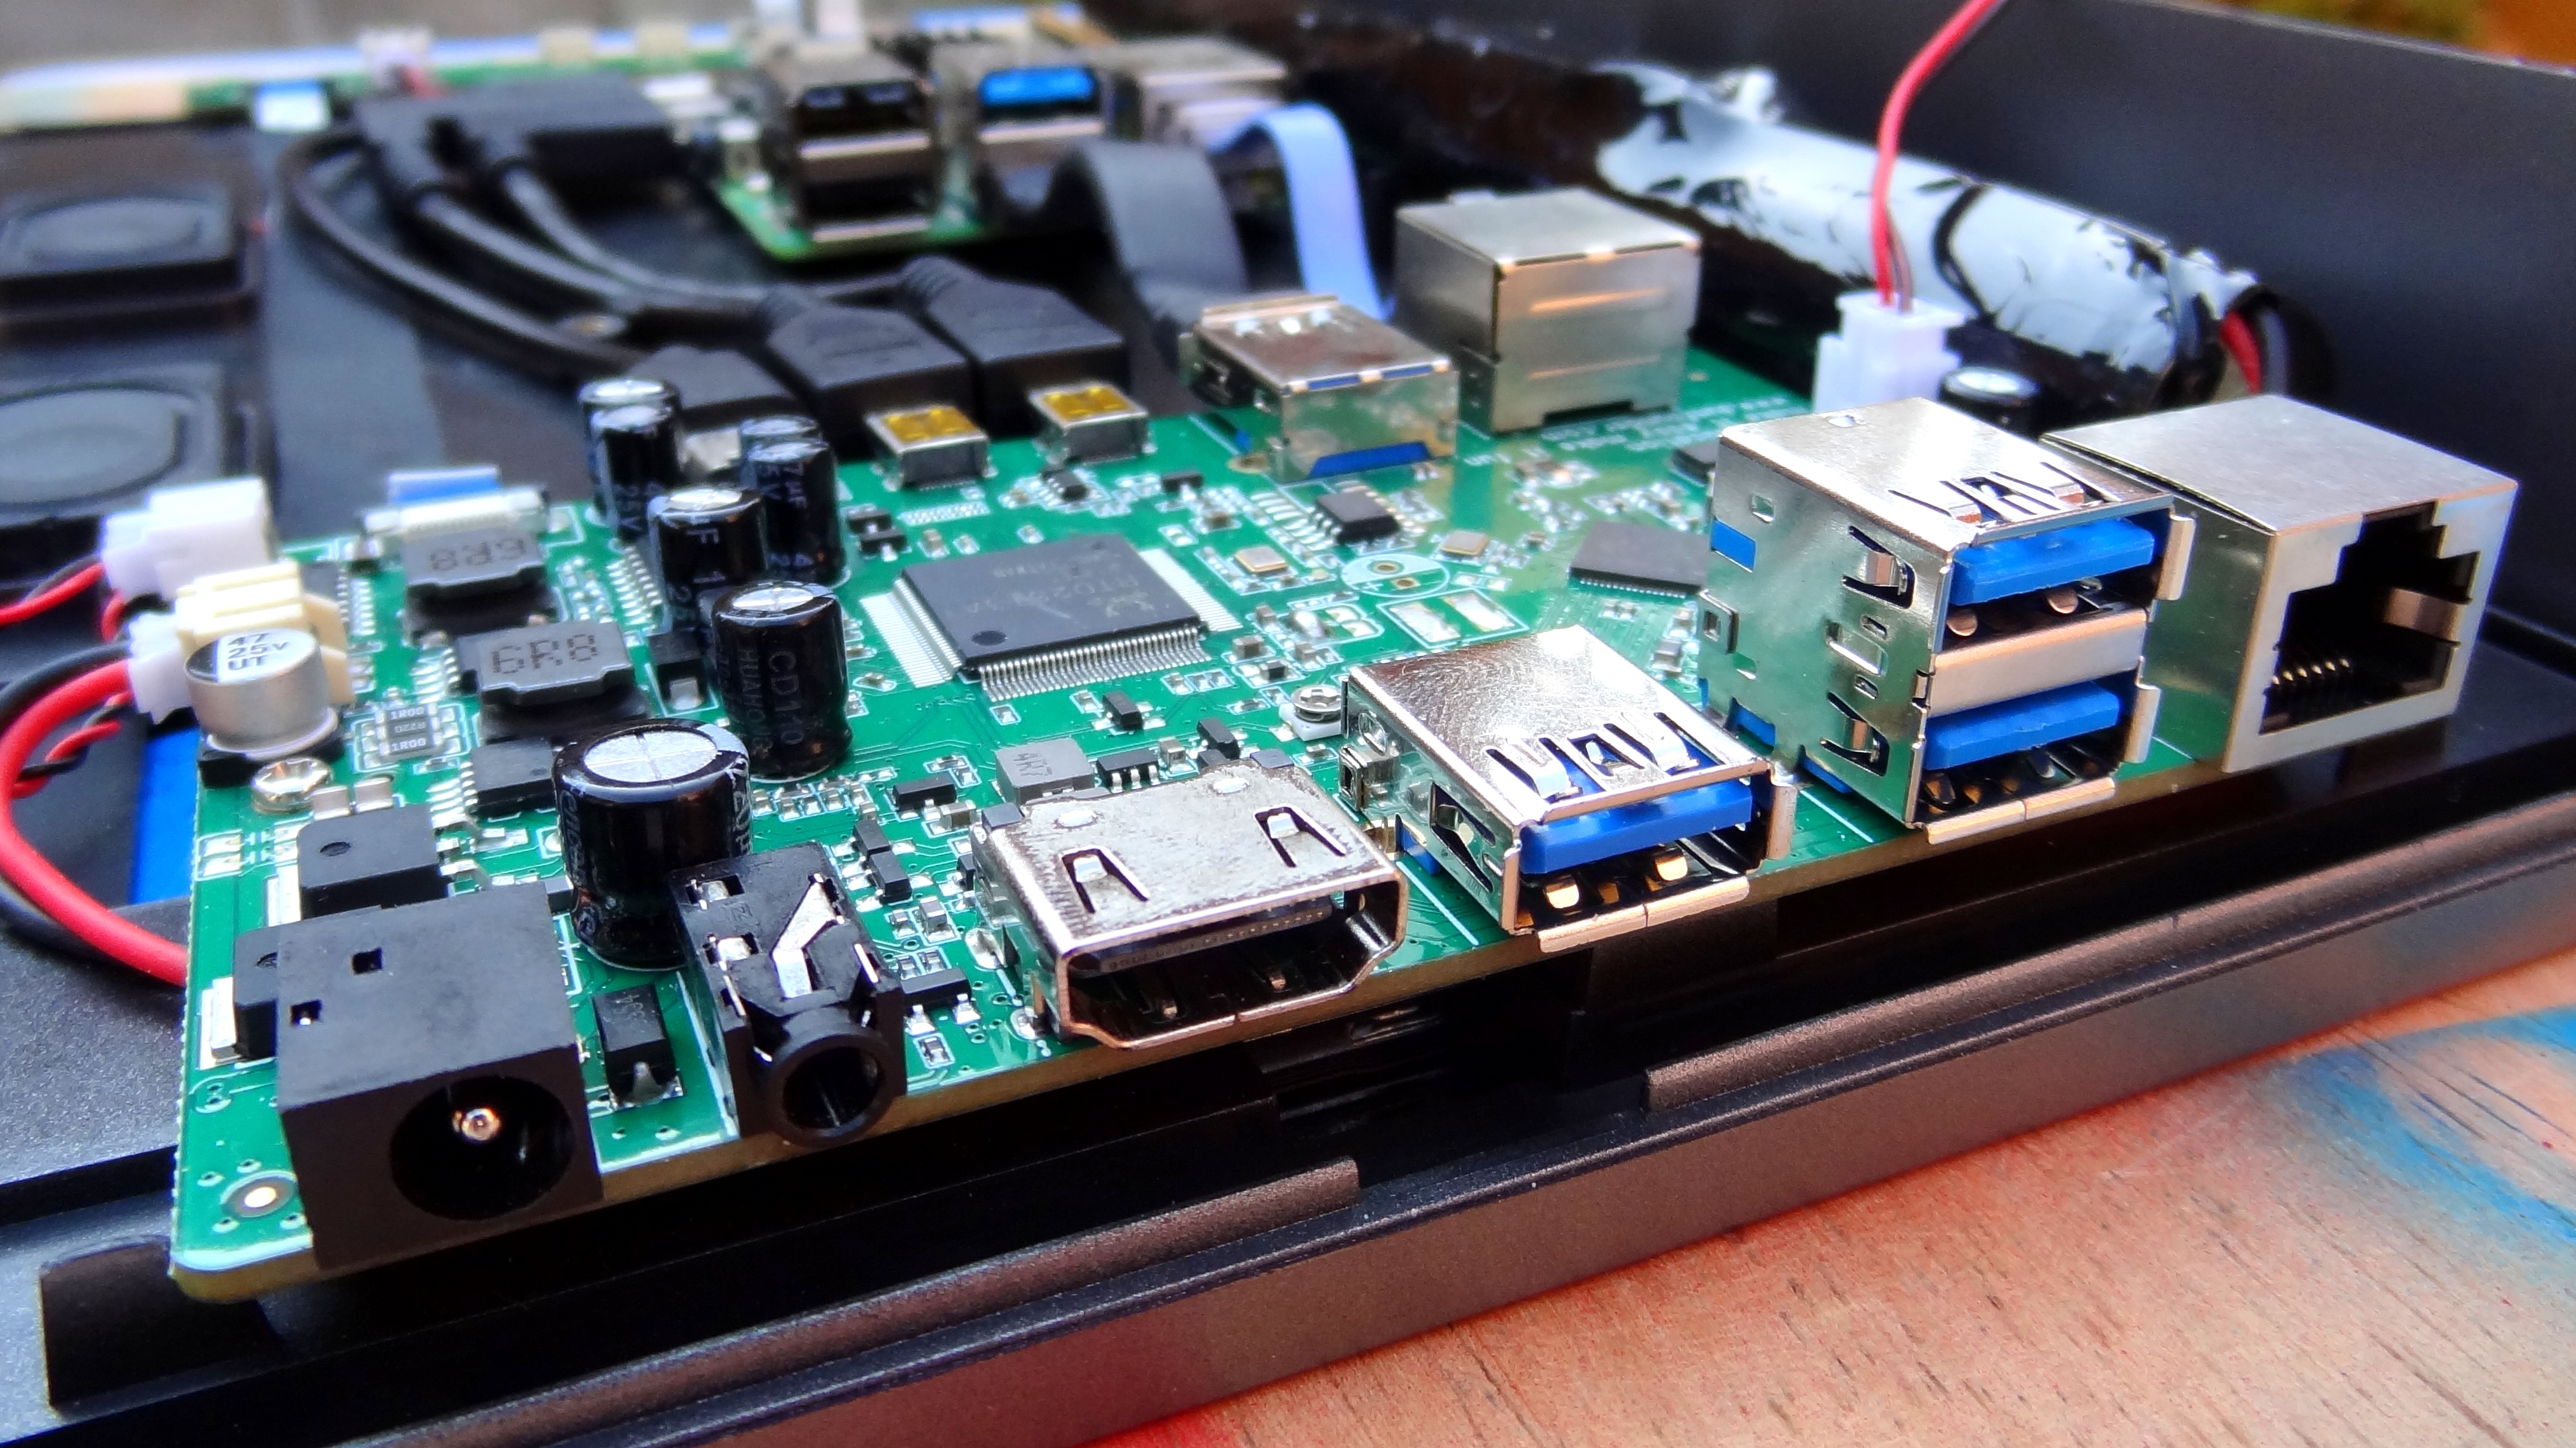
RasPad 3 comes in two pieces of injection moulded plastic which friction fit together and are secured using five machine screws. The main part of the case houses the 10.1 inch 1280 x 800 pixels touchscreen and electronics. The second part is merely a plastic shell that encloses the electronics and provides a mounting point for a small fan position over the center of the Raspberry Pi in fact it is rather close to the included heatsink on the Raspberry Pi, so take care when assembling. The design of RasPad 3 is more of a wedge than a tablet, which is 1.8 inches (47mm) at the thickest point and 0.6 inches (15mm) at its thinnest. This is a tablet in name only, in form factor this is far too bulky to be something that slips into a bag. Rather it is a wedge form factor necessary for the electronics. Inside we see two boards, a custom board that provides connectivity for the Raspberry Pi and the outside world. And another board used for battery management and On Screen Display (OSD) controls.
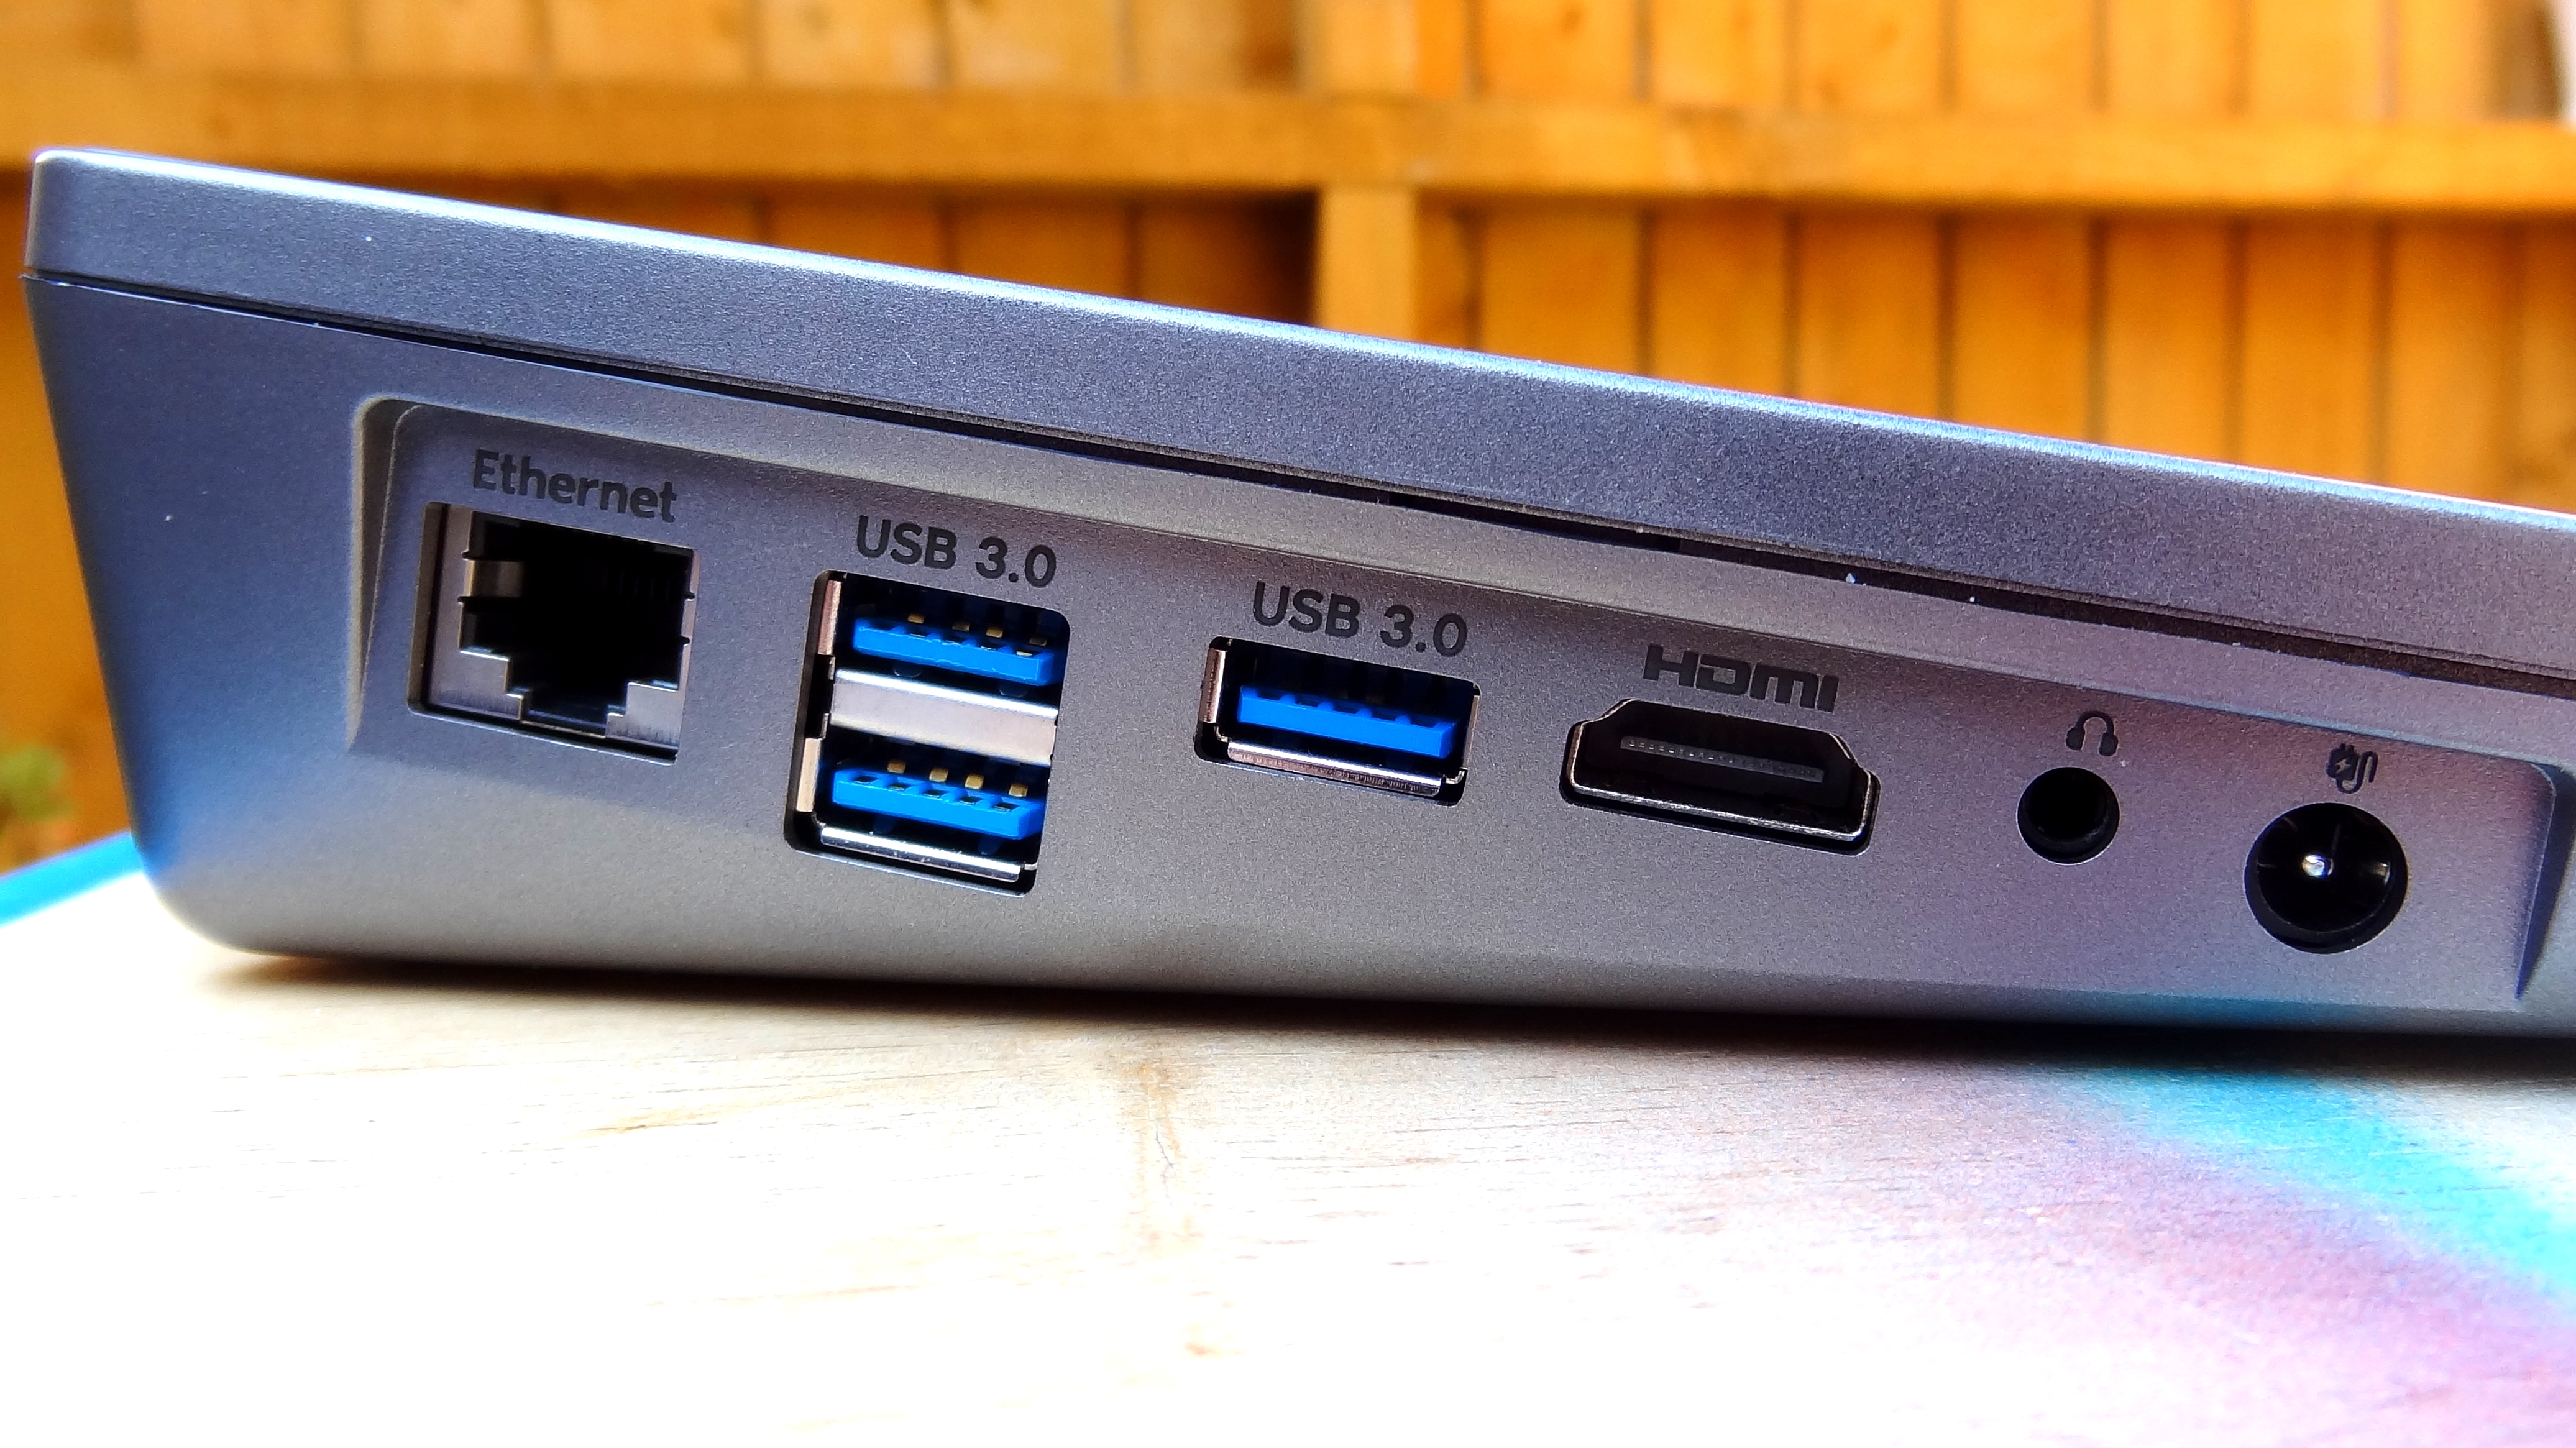
Internally the Raspberry Pi 4 connects to the custom board using a series of connectors. A short Ethernet and USB 3 cable provides wired networking and three USB 3.0 ports. On our supplied review unit, the Ethernet port was non-functional and had an added quirk where inserting an Ethernet cable would turn off WiFi on the Raspberry Pi.
The dual micro HDMI ports are connected to the board, one of which is routed to the touchscreen and the other to a full size HDMI port which enables dual screen support but will disable the touchscreen on the main unit. The board also provides power to the Raspberry Pi 4 via a USB C cable. The power offered can be sourced from the internal 18650 Lithium-polymer batteries or via the included 15V DC charger.
On the board, just next to the batteries is a two pin JST connector that connects to the onboard fan, a fan that you will soon disconnect as it is far too loud, approximately 49db which is the same volume as a conversation but it does provide adequate cooling when used with the heatsinks. During a Stressberry test with the heatsinks and fan connected we saw an idle temperature of 37 Celsius and a max temperature of 52 Celsius and the case temperature was 25.7 Celsius. Repeating the same test with the fan turned off we saw an idle temperature of 42 Celsius and a max temperature of 70 Celsius and with a case temperature of 29 Celsius. For general use the heatsinks provide plenty of cooling, but if you wish to overclock or push the Raspberry Pi to its limits then active cooling via the fan will be needed.
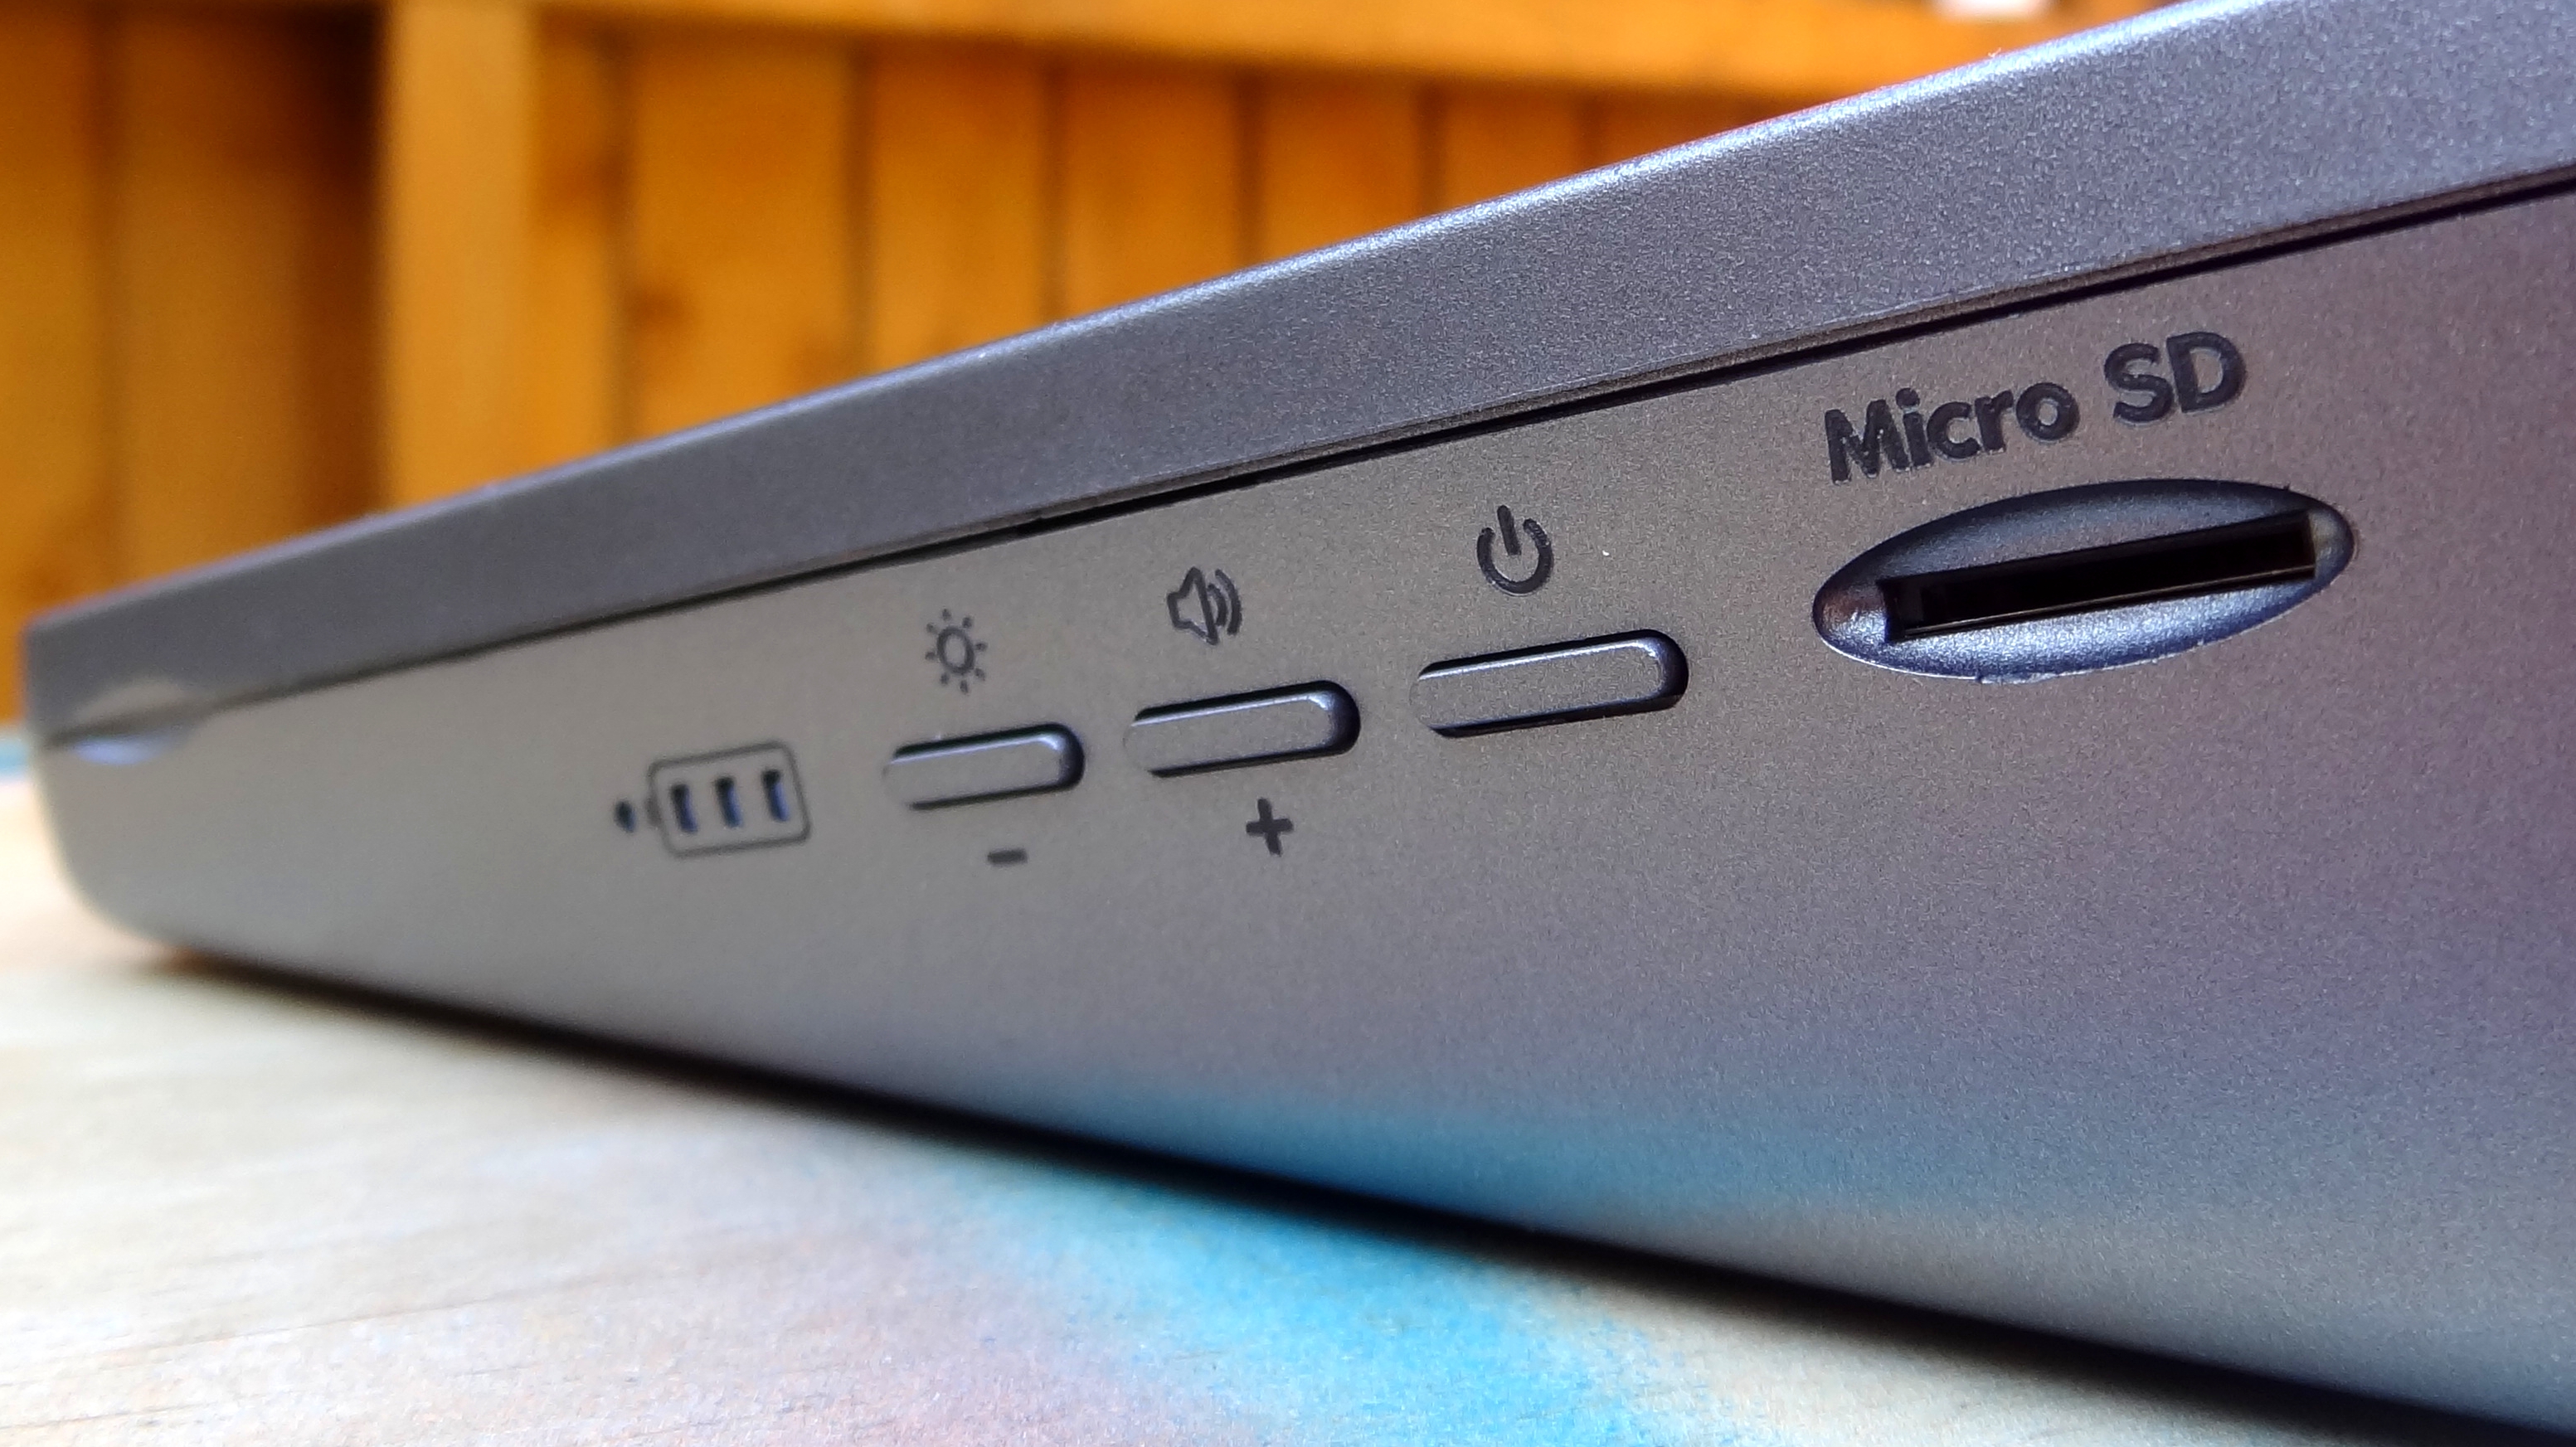
On the other side of the case is a smaller board which is a breakout for a micro SD card reader, buttons for volume and brightness control, along with a power button. A series of LEDs provide visual indication of battery charge, but they are on the opposite side of the case from the power socket, a small issue but an annoyance.
Get Tom's Hardware's best news and in-depth reviews, straight to your inbox.
Assembling RasPad 3 is straightforward and the included instruction manual details the steps necessary. The kit also comes with heatsinks for the CPU and USB controller, and a small Accel SHIM which is an I2C device responsible for detecting the orientation of RasPad 3. Support for this sensor is built into the RasPad OS and the screen will automatically rotate once we are at the desktop.
A top tip is to always check for a micro SD card in the external card slot. Removing the case with a card in the slot will damage the slot.
| Raspberry Pi Compatibility | Raspberry Pi 4 |
|---|---|
| Screen | 10 inch IPS Touchscreen |
| Dimensions | 10.6 x 5 x 1.8 inches (270 x 127 x 47 mm) |
| Battery | 3000mAh rated for 5 hours |
| Audio | Built in stereo speakers and headphone jack |
| Ports | 3 x USB 3.0, Gigabit Ethernet, Micro SD |
| Access | GPIO Slot, Camera (CSI) slot on rear |
Using RasPad 3
RasPad 3 is designed to be used as a tablet and the wedge design lends itself to a slanted angle which means it can be used on a table. Placed down with a shallow slant, RasPad 3 is comfortable for short term use. If it’s placed upright, the viewing angle improves, but using the touchscreen is difficult as the unit is unbalanced. However, this upright mode is great for use with a wireless keyboard and mouse.
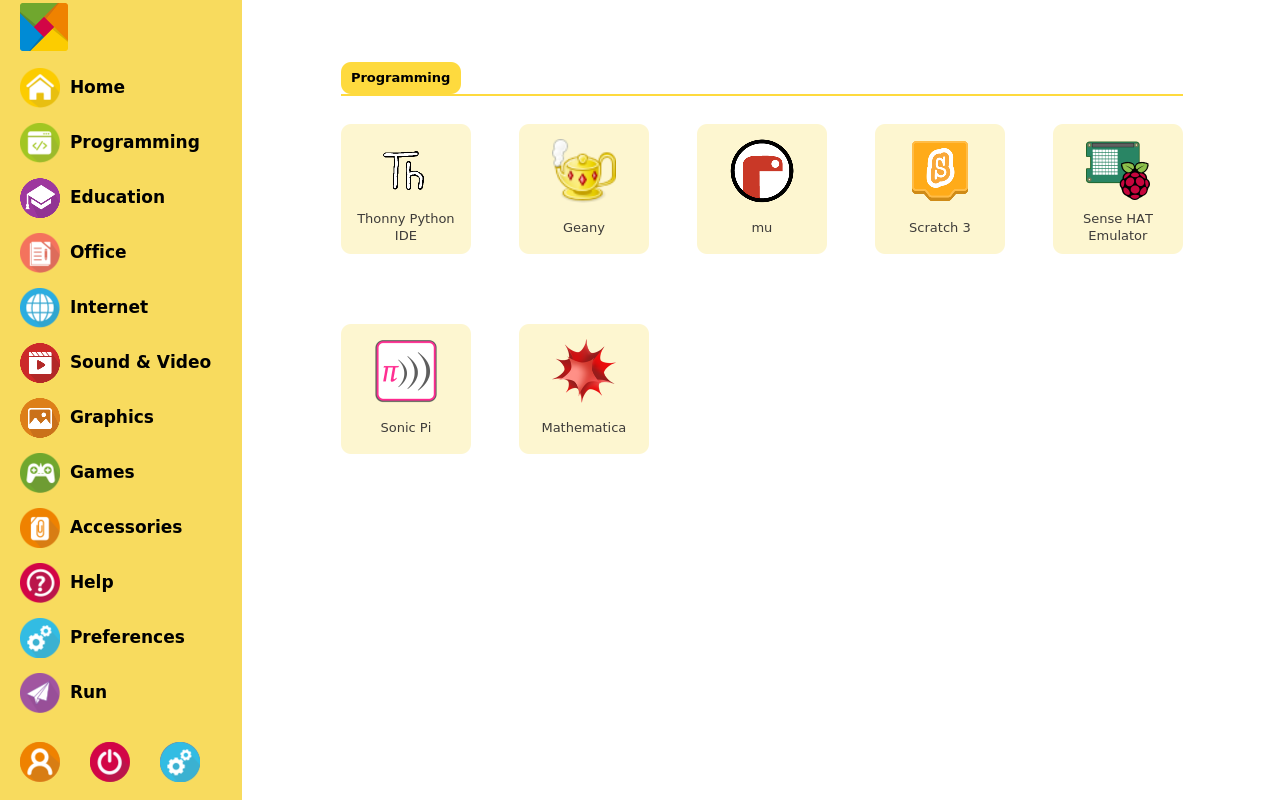
Using RasPad 3 flat on a table, we inserted a micro SD card with RasPad OS installed and powered up. RasPad OS is based upon Raspberry Pi OS 32 bit but it has a custom skin which is a little more finger friendly. After following the first boot steps, we are presented with the desktop, which is bright and colorful. Applications are available via a menu along the left side of the screen which groups them into categories. A typical desktop is underneath this menu and while it may be very yellow, it still functions just like Raspberry Pi OS.
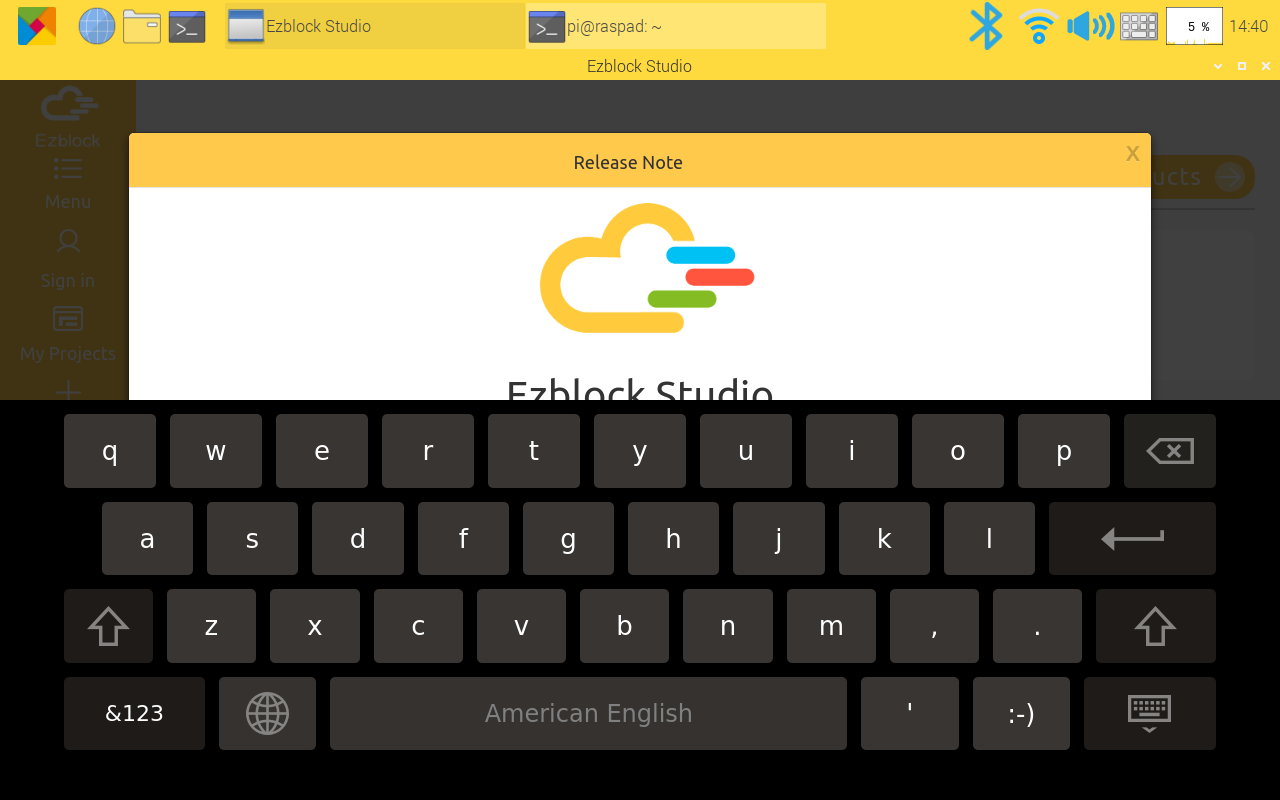
RasPad 3 is designed to be a tablet and it comes with two on-screen keyboards. One of these keyboards is only available via Sunfounder’s own apps such as Exblock Studio. It looks like a typical tablet / smartphone keyboard and it works rather well, despite taking up half of the screen.
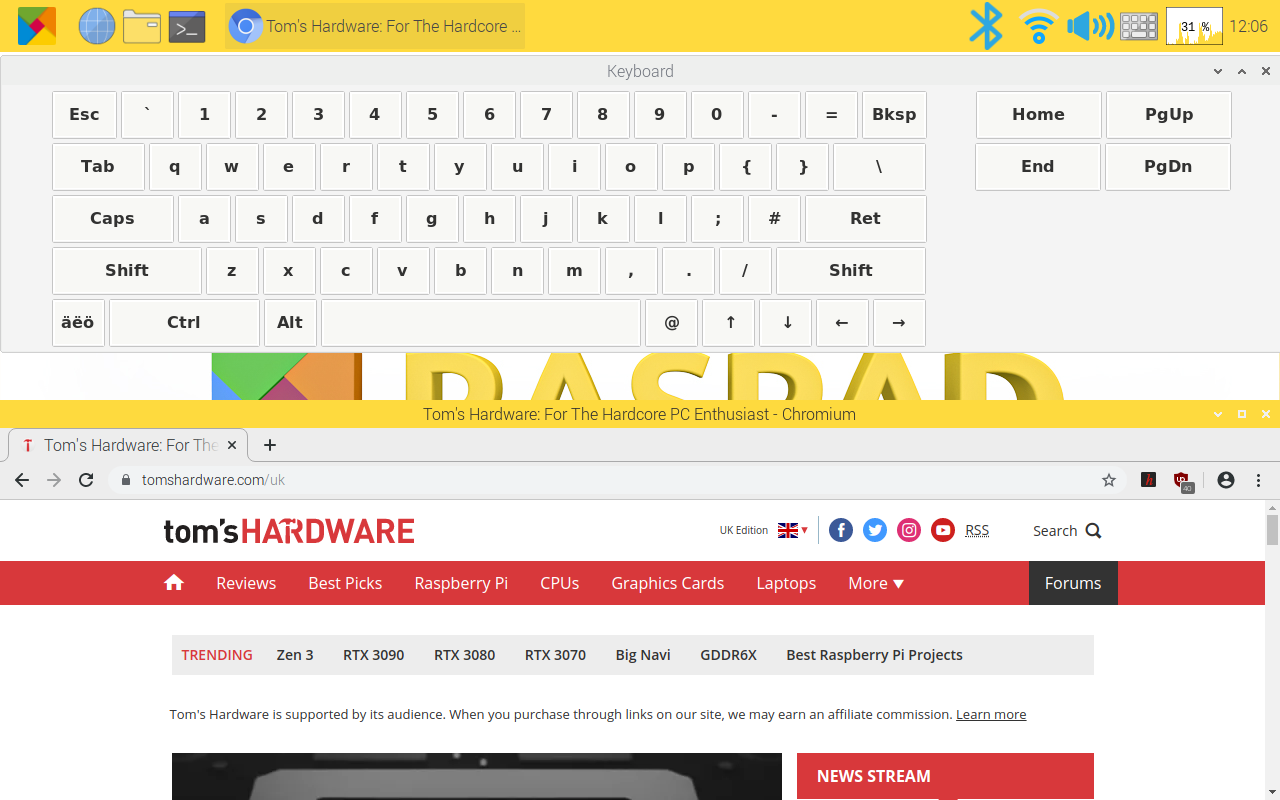
The second keyboard is available for other applications, such as Thonny, Terminal etc. It is hard to use given the small key size and we encountered many errors. It also covers most of the screen so a wireless keyboard and mouse would be a much more productive choice of input.
The internal speaker is decent, nothing an audiophile would praise but it provided sufficient volume and clarity for playback of music and videos.
GPIO Access on the RasPad 3
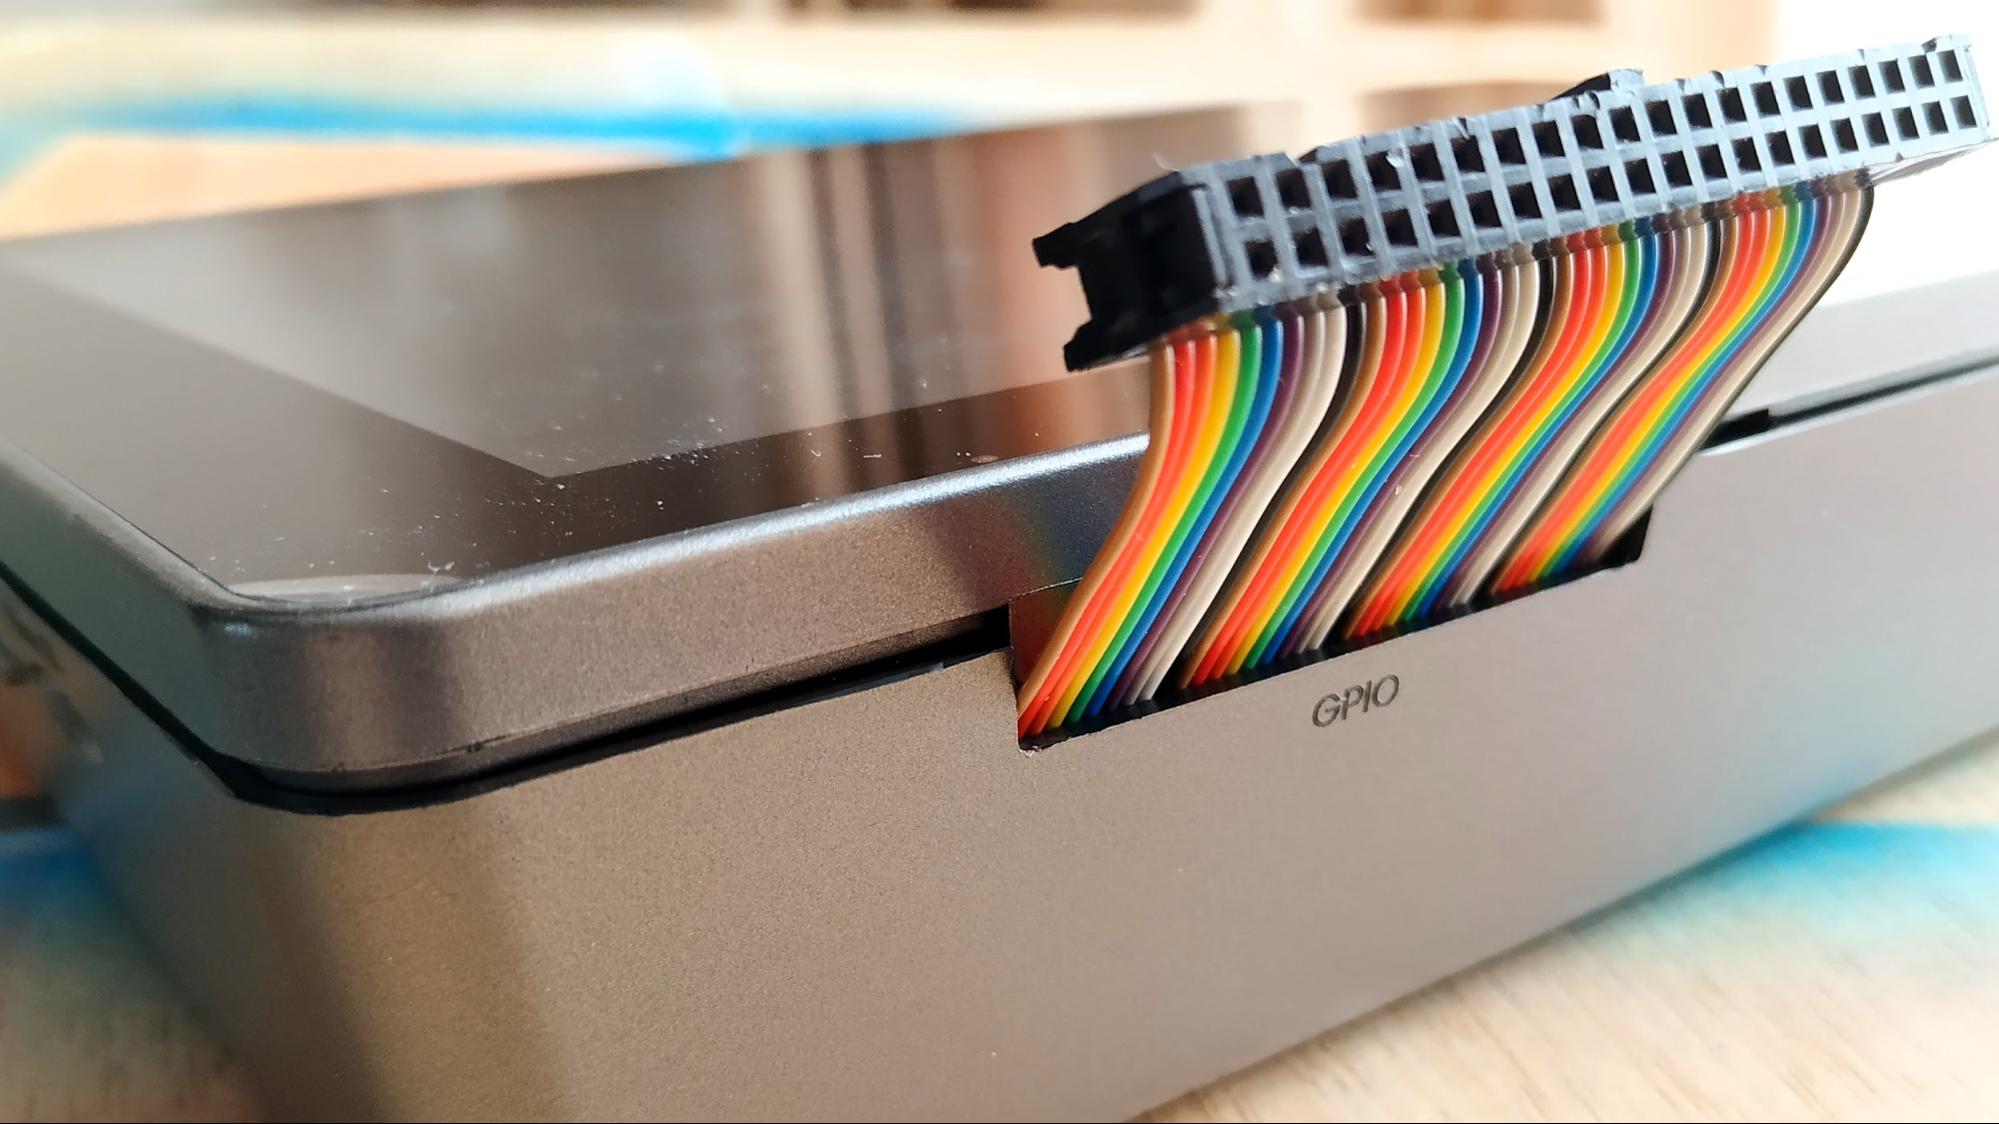
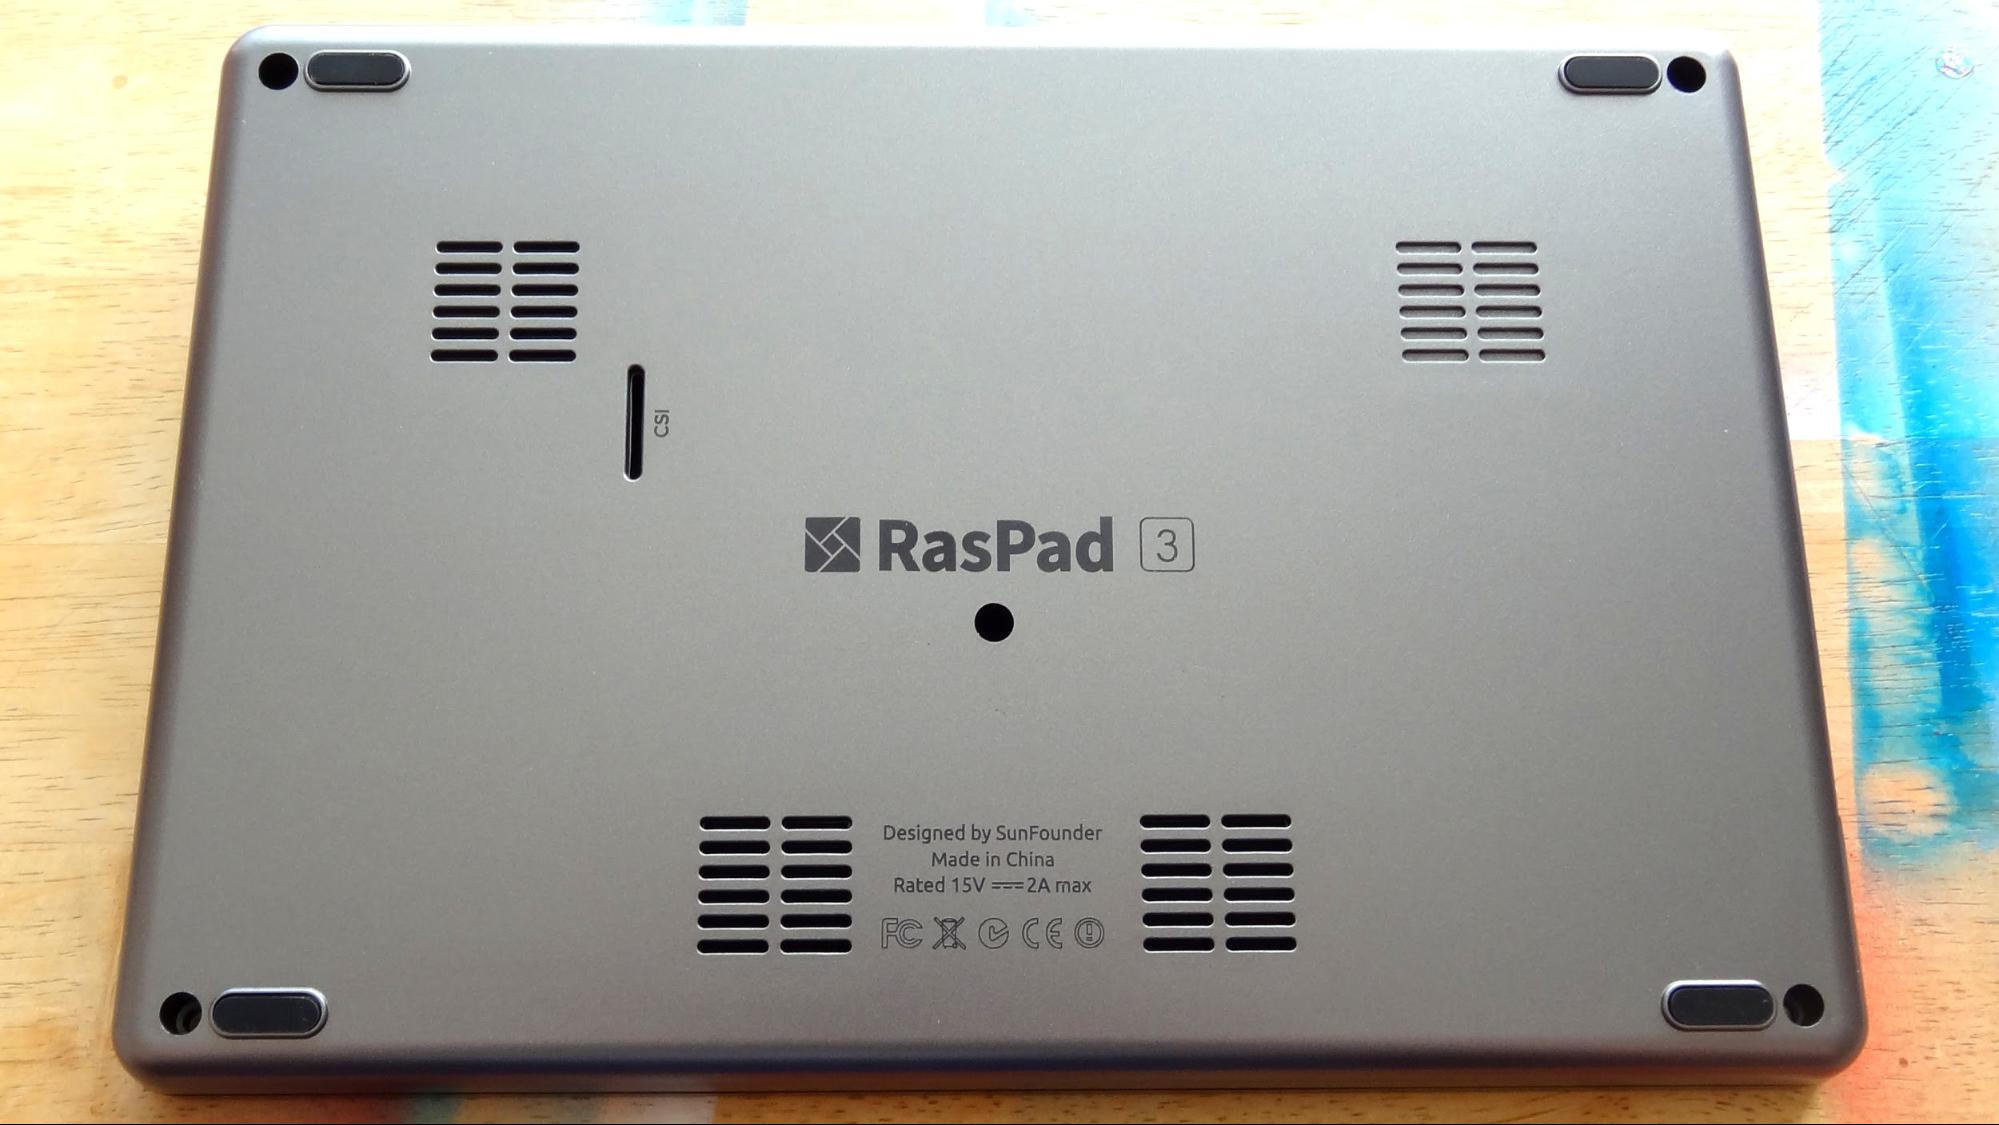
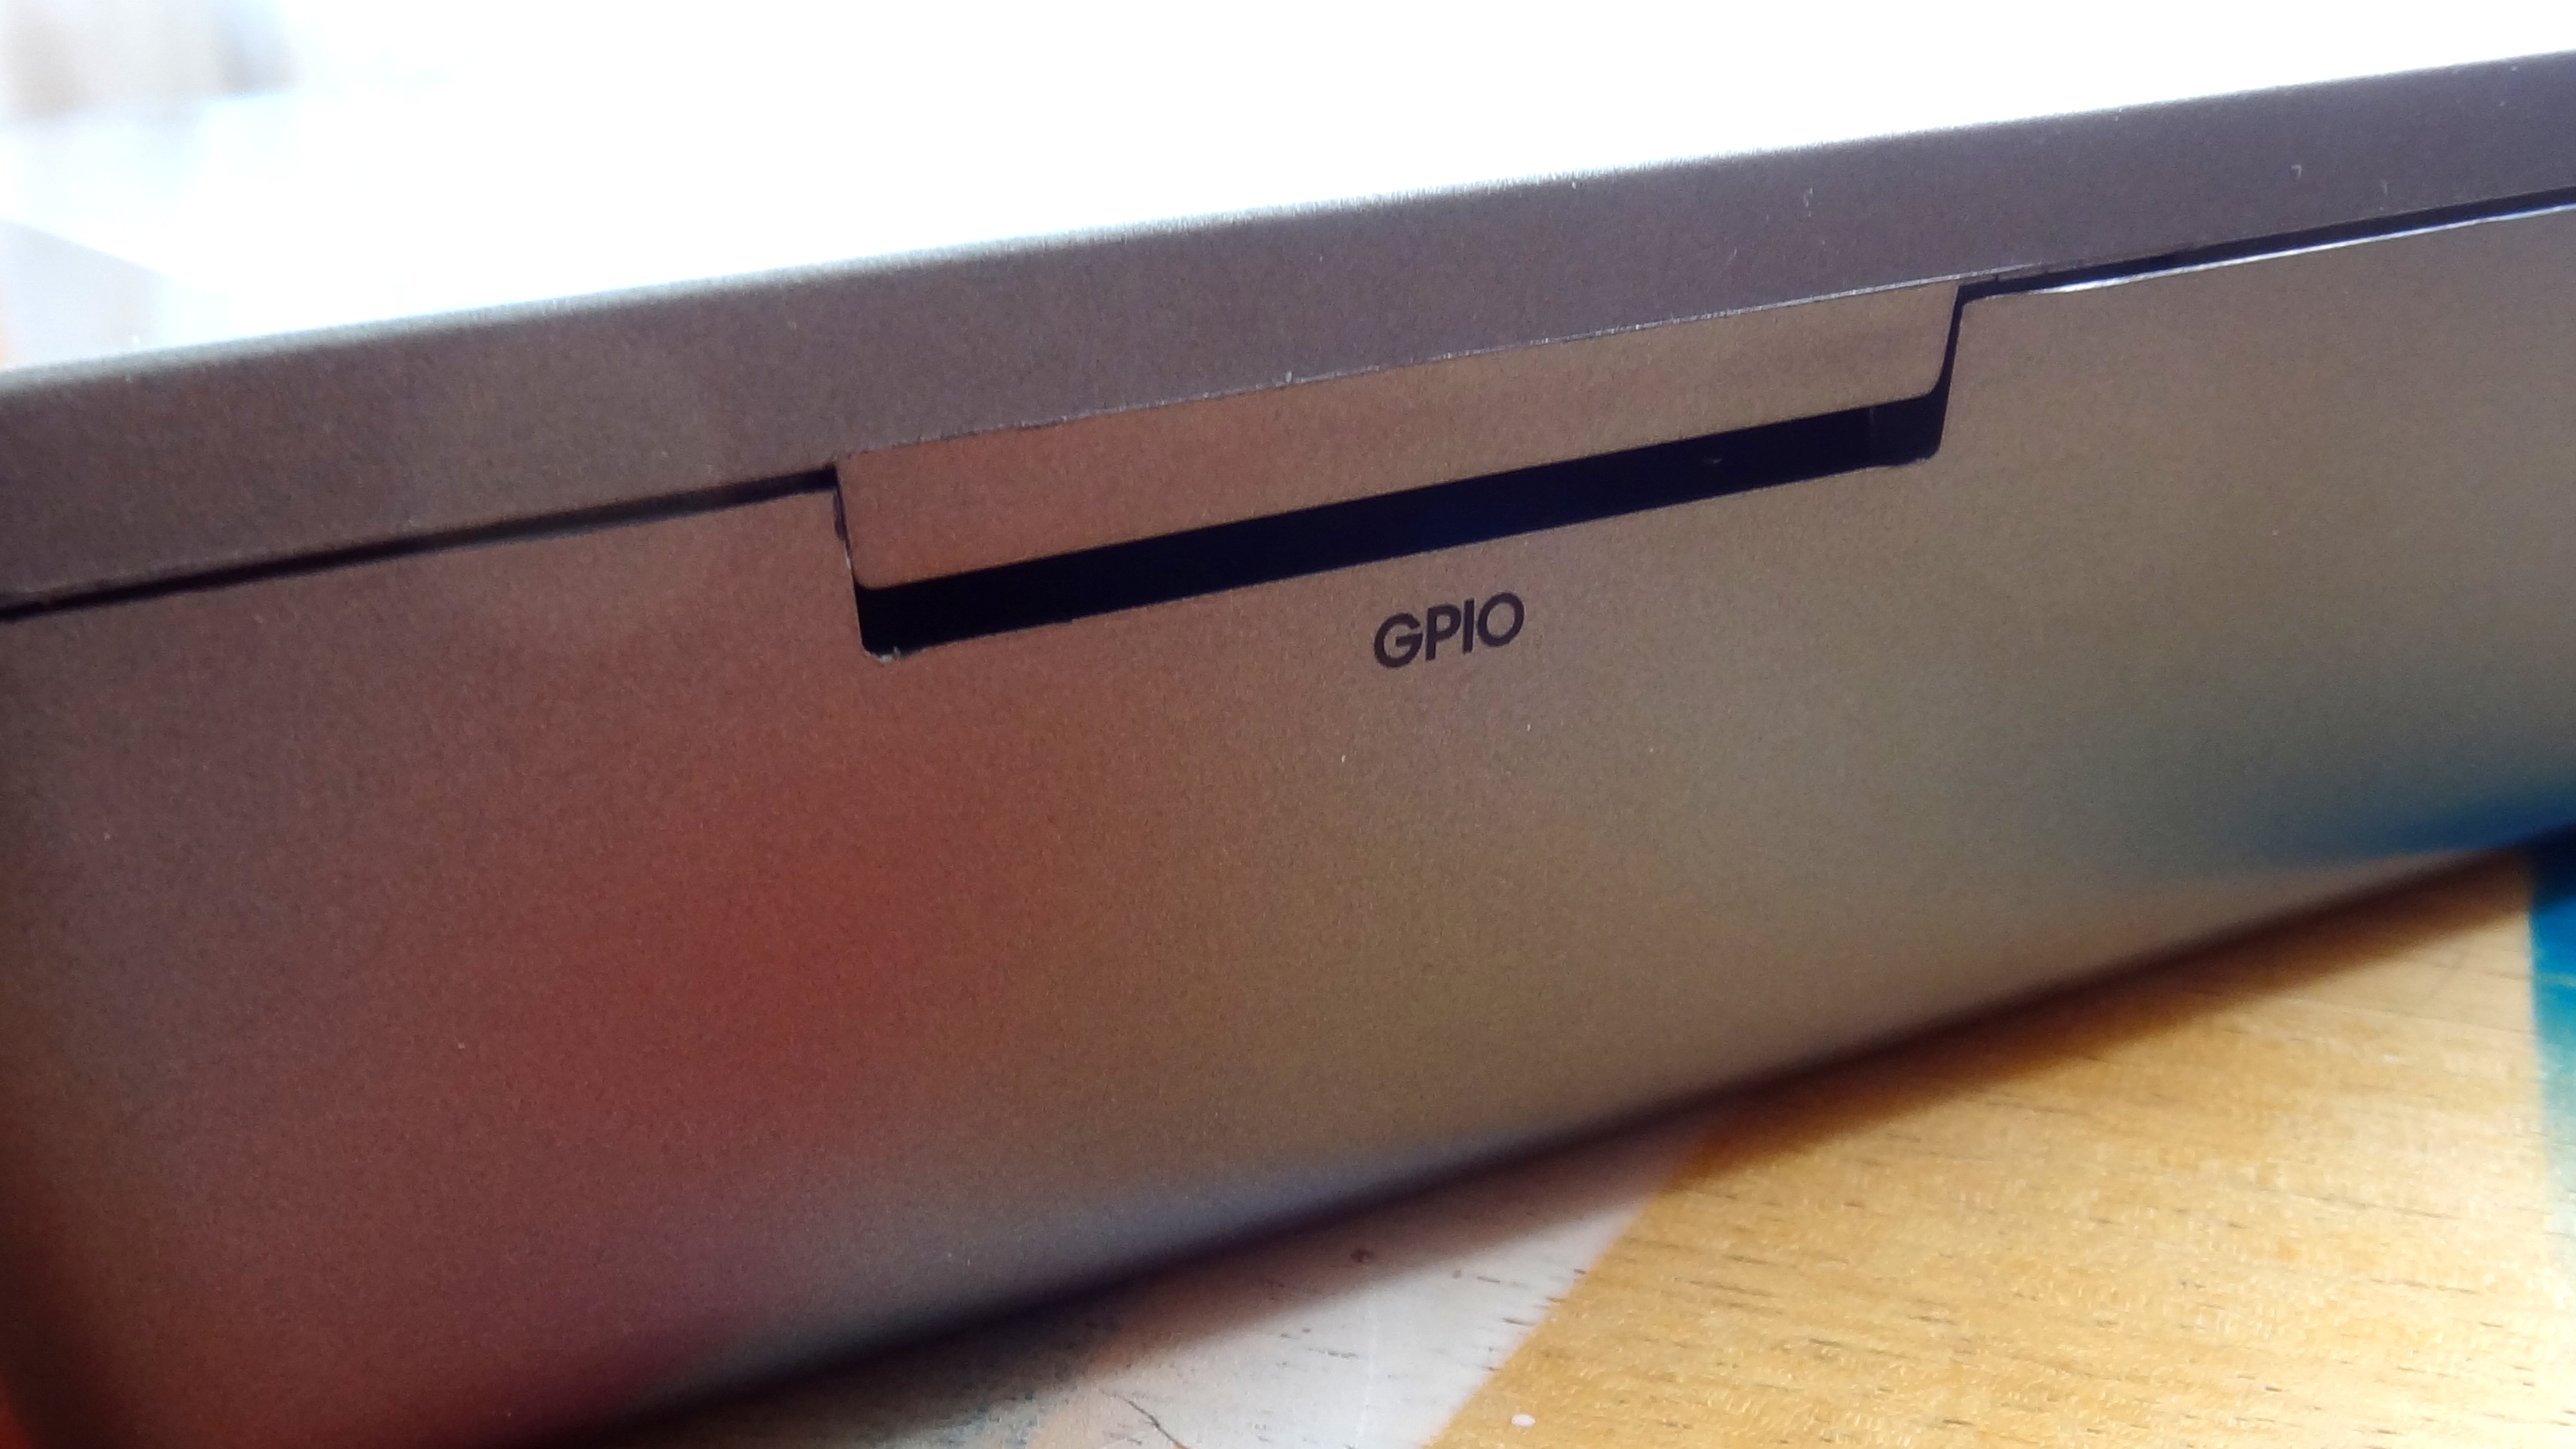
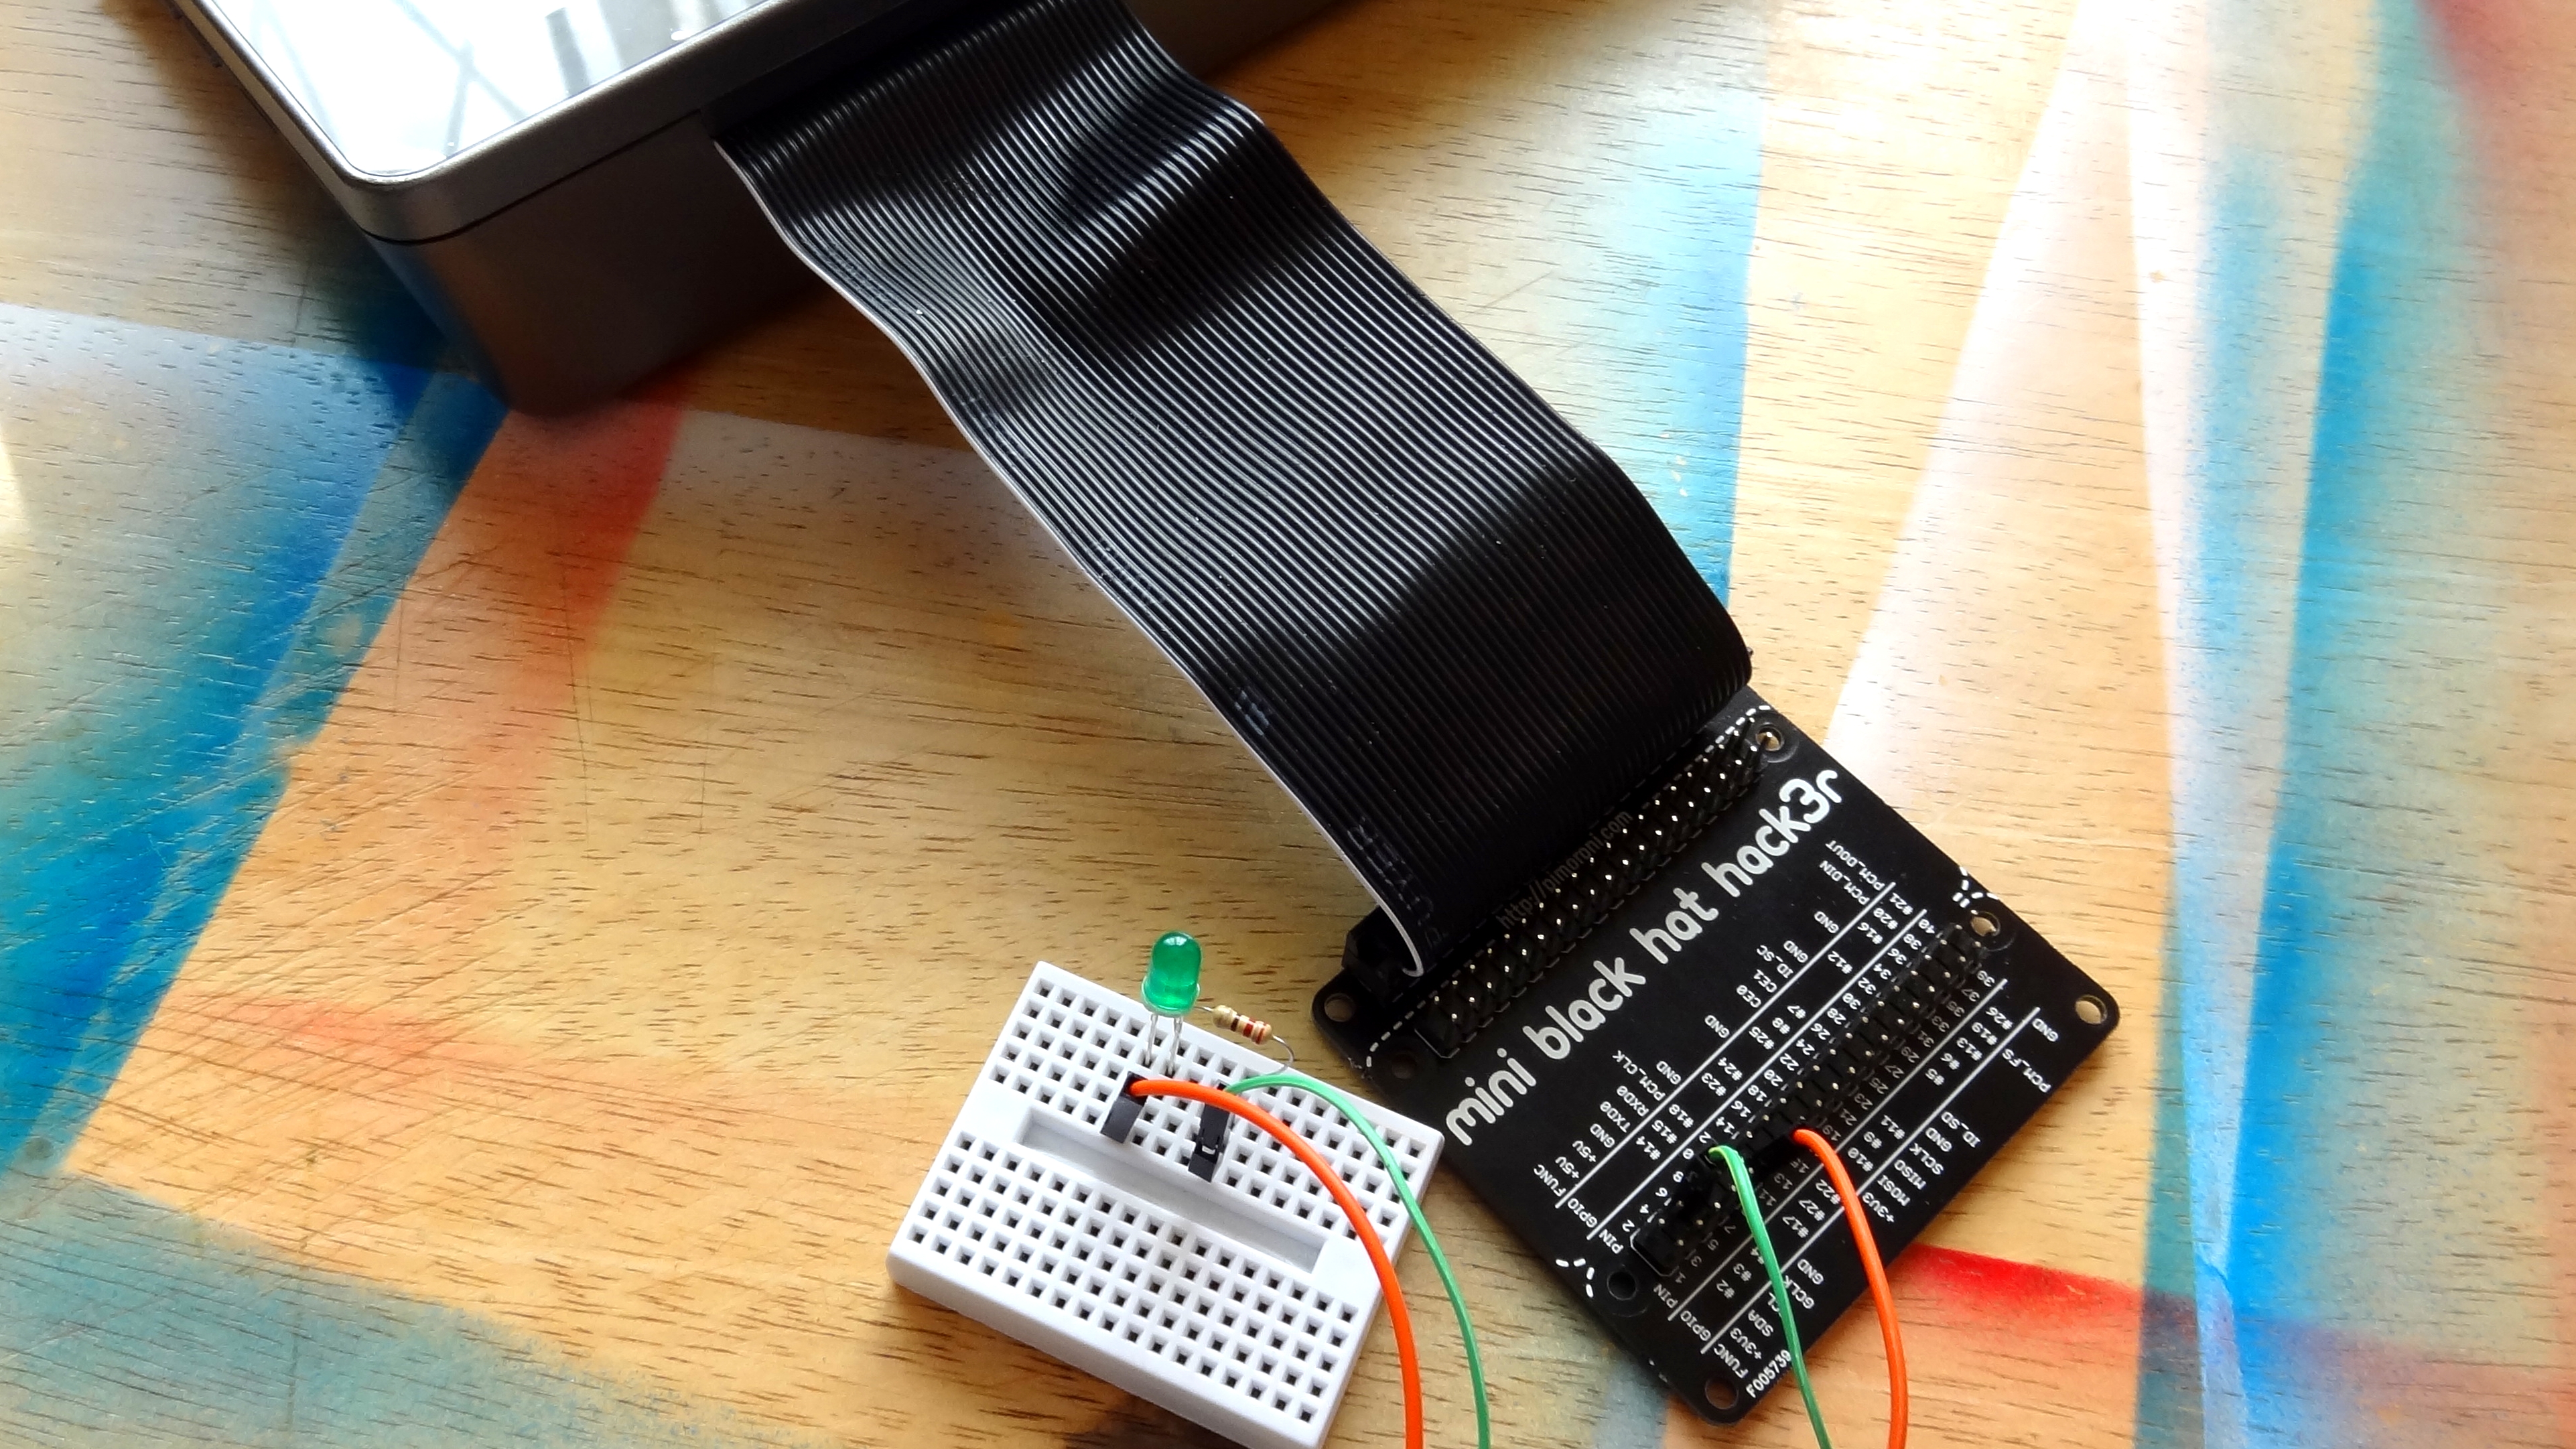
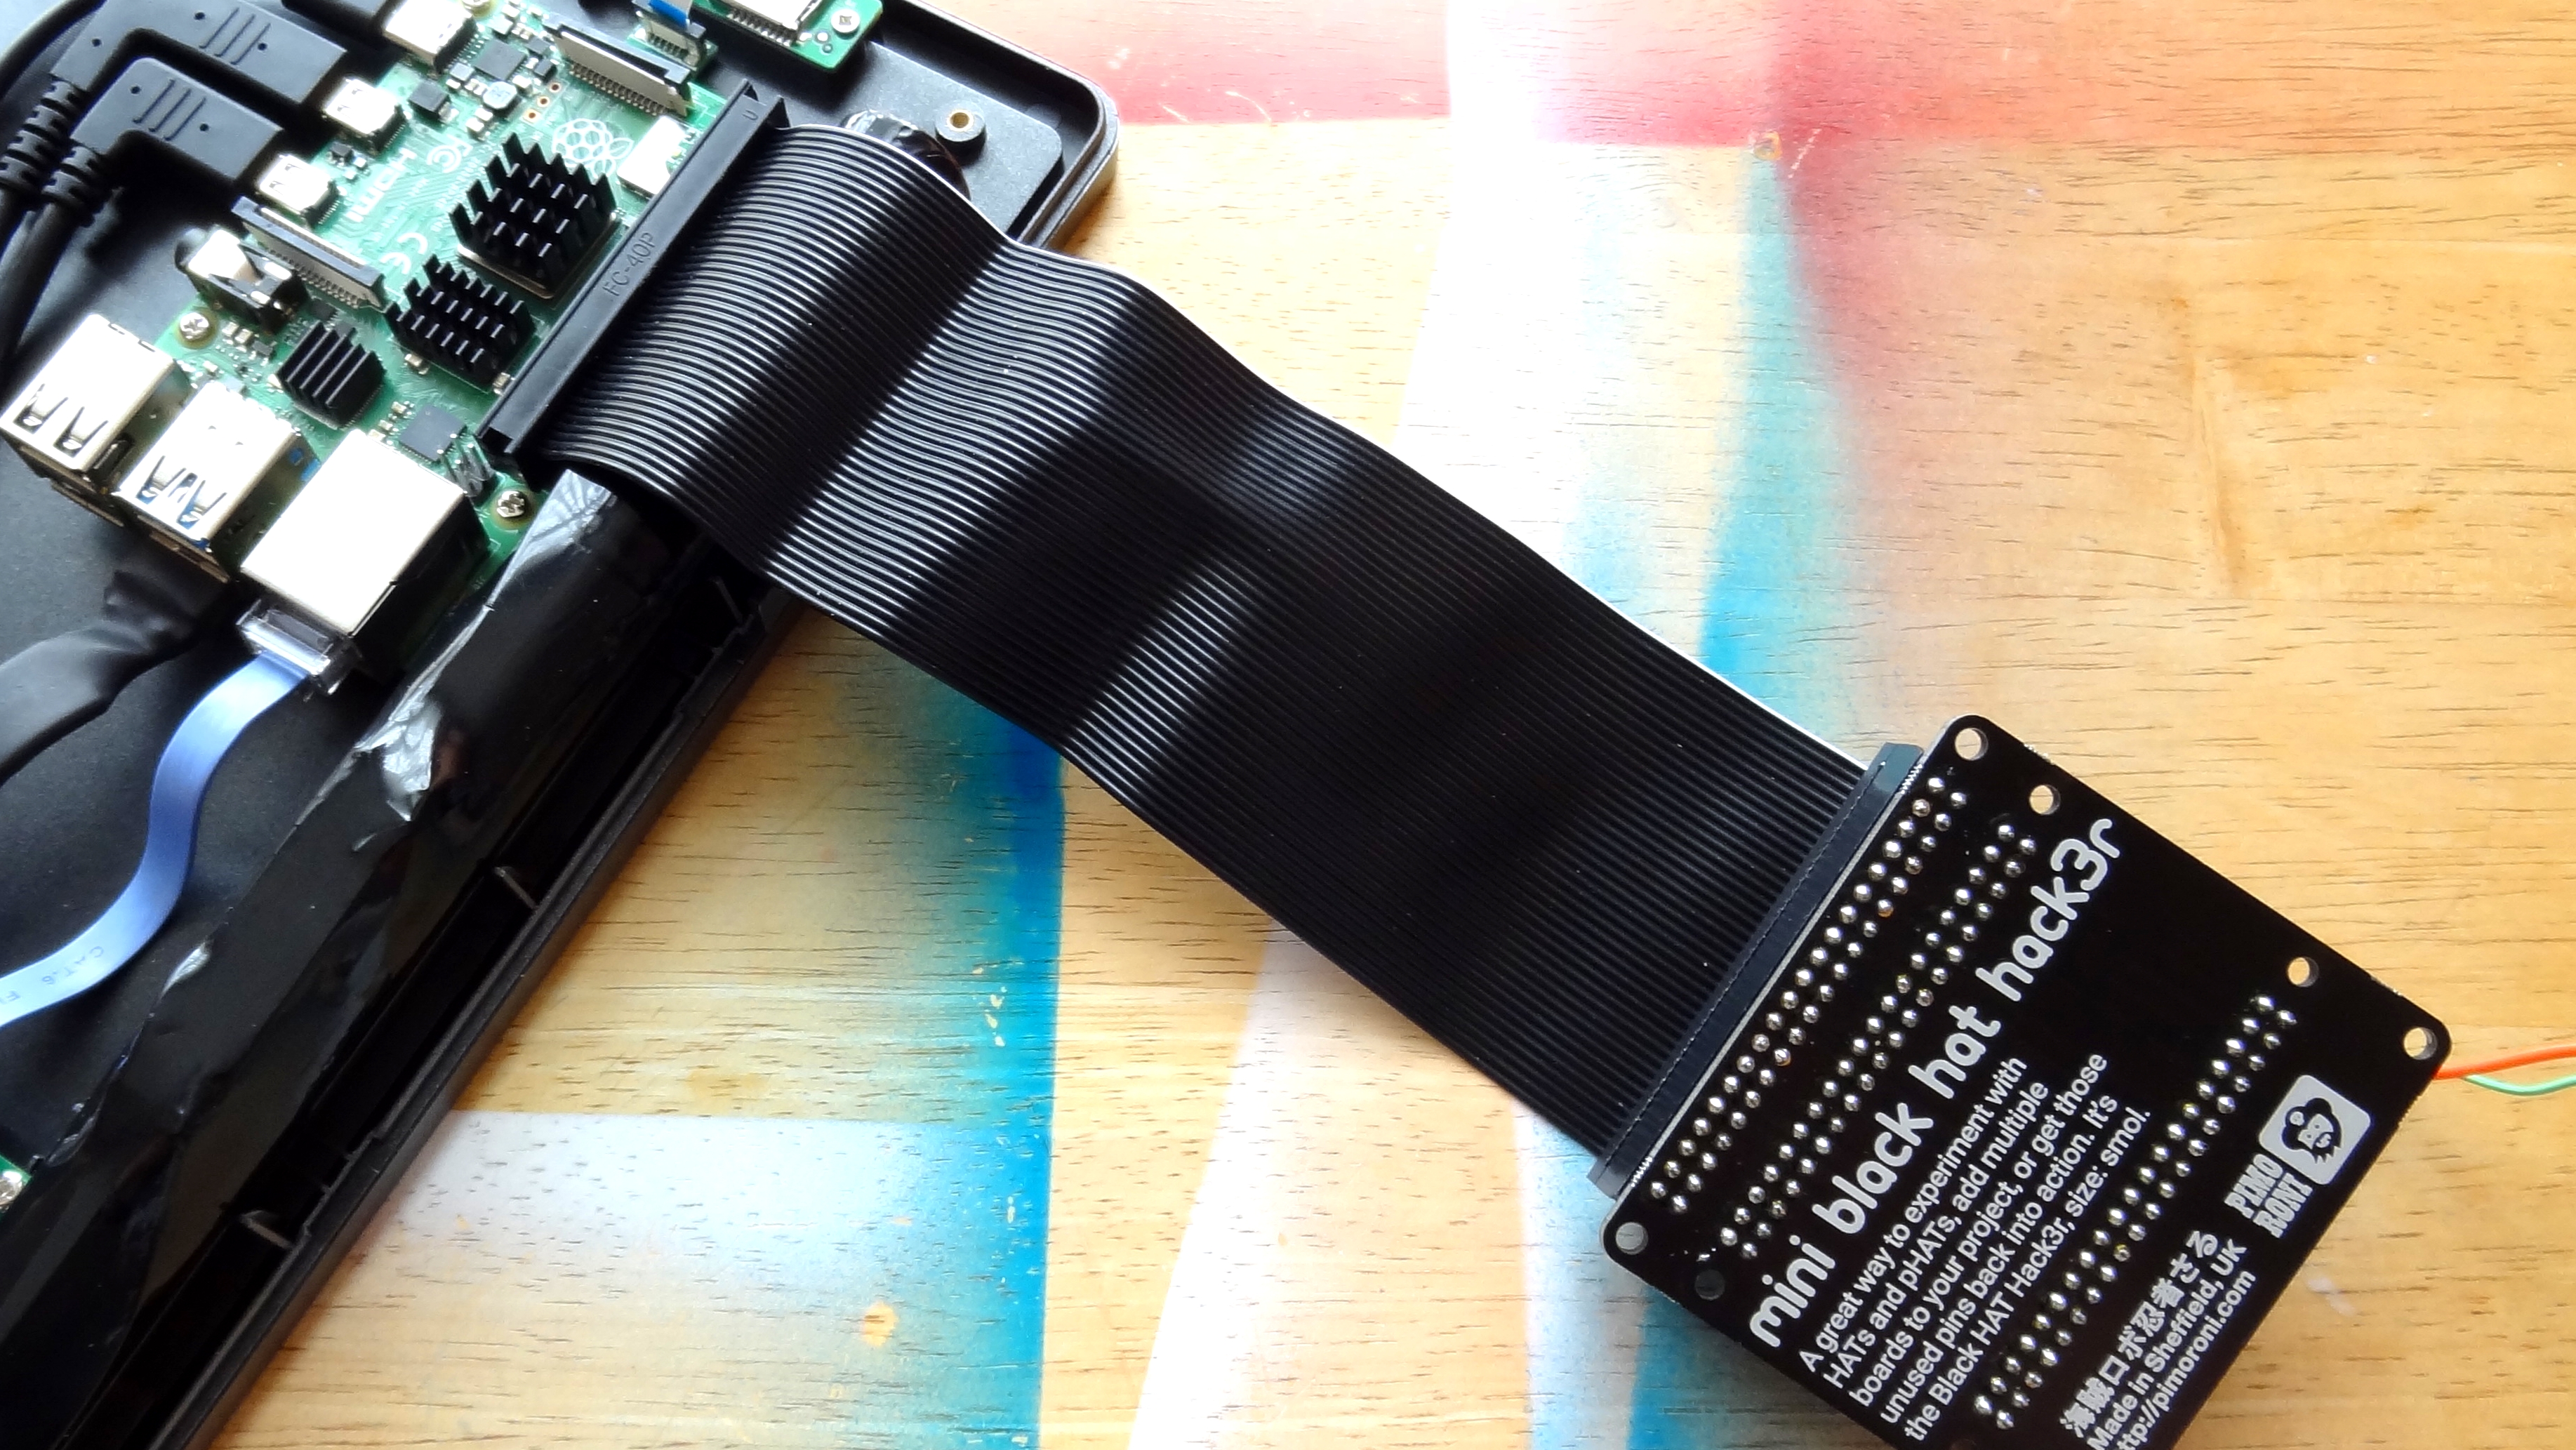
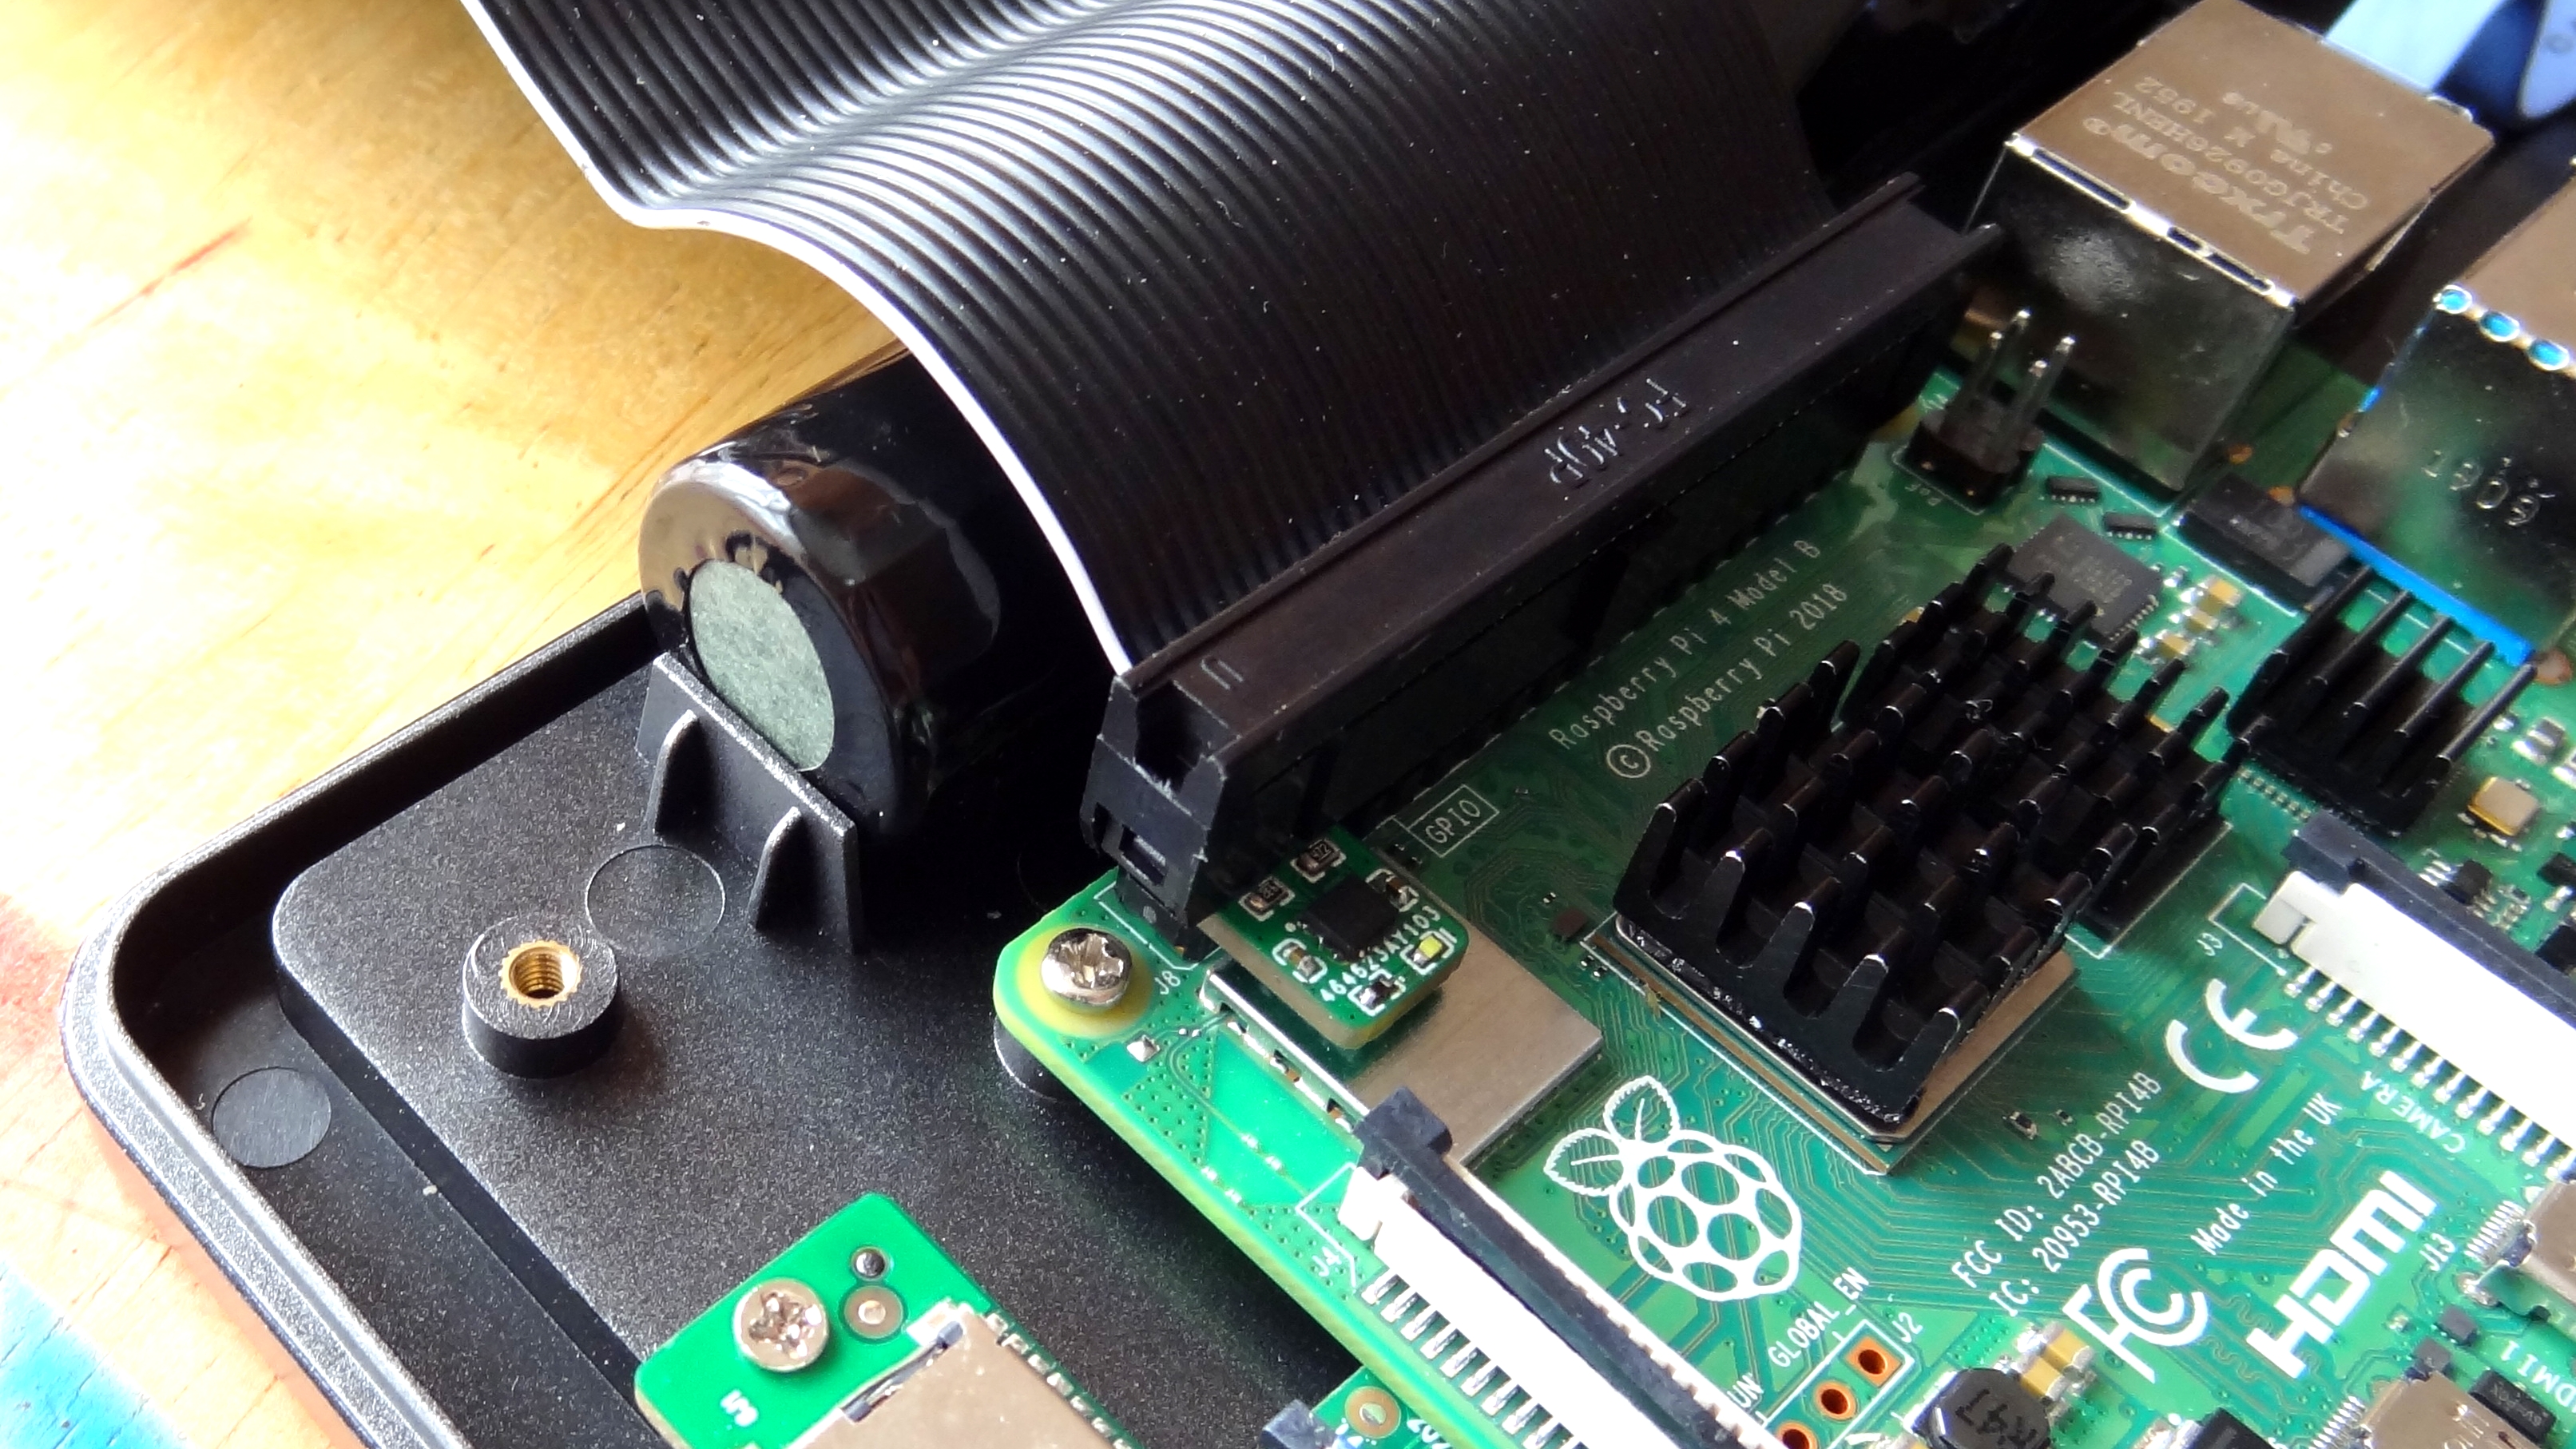
GPIO access is possible but there is only a small slot on the thick end of the case where we can feed wires through. The best option here is to use a GPIO breakout board such as Pimoroni’s HAT Hacker HAT or a Pi T-Cobbler Plus from Adafruit. These breakouts enable us to use the GPIO pins with a breadboard and without them we cannot easily use the GPIO. Not all breakout cables are created equally and in our tests we used a long IDE style cable to break out the GPIO, but this proved too thick for the case to safely close. It could be forced down and held in place by screwing the case closed, but do check your cable before forcing the case closed.There is a slot cut on the rear of the case which can be used with a sufficiently long flat flex cable but it does leave the camera unsecured to the case which is not great.
Battery Life of RasPad 3
Powering the RasPad 3 is the 3000mAh battery which is claimed to have five hours of charge. In our tests, watching a YouTube video at half brightness and volume with the fan constantly on, we saw 2 hours 40 minutes which was far below the advertised duration. When the battery gets low, we see an onscreen prompt, coming from the OSD of the screen rather than the Pi, but if we carry on the unit will abruptly power off, no safe shutdown.Charging the internal battery talks just over three hours with the included 15V 2A power supply.
The power button on the side of the case turns on the device and we can safely shutdown the device using the power menu in the OS, but be aware that this does not turn the unit off completely. The fan and screen will still be active, requiring a long press of the power button to cut the power.
Use Cases for RasPad 3
If you just want a learning device that’s compact and portable, the RasPad 3 is a workable choice. We have a small all-in-one form factor that enables on-the-go learning. As it runs a modified version of Raspberry Pi OS, we have great compatibility with projects and applications created to use that OS. Children, students and makers will get a lot of mileage from this device as it removes the need for much of the clutter that comes with a typical Pi setup. However, the difficulty of accessing the GPIO pins is a big drawback, should you want to experiment with lights, sensors, motors or HATs, all things that make the Raspberry Pi special.
If you are thinking about using the RasPad 3 as a laptop / tablet replacement then this is where common sense must take priority. As a tablet / laptop replacement the RasPad 3 is a poor choice. With an initial cost of $150, and then we need to add the cost of a Raspberry Pi 4 which is $35 for a 2 GB model or $55 for the 4GB or $75 for the 8 GB and then add the cost of a wireless keyboard and mouse, roughly $40. We are looking at $215 as a basic price for the kit.
Bottom Line
The RasPad 3 had an opportunity to blow us all away. Instead we get something that is interesting in concept but underwhelming in execution. Don’t think that we dislike RasPad 3; it is a nice piece of kit but the flaws are there for all to see. If you already have a Raspberry Pi 4, then $150 is a decent price for the portability provided by the form factor. If you are starting from scratch, then the CrowPi2 for $260 comes in a laptop form factor, a 1080P screen and a complete electronics lab hidden under the keyboard.

Les Pounder is an associate editor at Tom's Hardware. He is a creative technologist and for seven years has created projects to educate and inspire minds both young and old. He has worked with the Raspberry Pi Foundation to write and deliver their teacher training program "Picademy".
-
TheBeastFromOz Personally, I prefer the CutiPi tablet (https://www.kickstarter.com/projects/745629624/cutiepi-raspberry-pi-untethered), if they made a 10" version I would grab one, just find 8" a bit small.Reply -
rocwoof Reply
The big difference from the CutiePi is that it uses a RPi 3 compute module, so is well behind the Raspad's RPi 4 in computing power. A RPi 4 compute module in it would make it a lot more useful.TheBeastFromOz said:Personally, I prefer the CutiPi tablet (https://www.kickstarter.com/projects/745629624/cutiepi-raspberry-pi-untethered), if they made a 10" version I would grab one, just find 8" a bit small.
I have crammed a RPi 4 into a Kano kit that came with RPi 3, and it's very similar to the Raspad in its wedge shape, but is a lot less svelte-looking than the Raspad. Its battery is inadequate for the RPi 4, and together with my makeshift fit of the RPi 4 does not make it nearly as portable as the Raspad.
Too bad Kano shifted over to Intel with Windows 10 for its Next Gen PC "kit" instead of updating it for the RPi 4. Lots of complaints on the Best Buy forum for buyers of that model make it appear to have poor quality, and questionable features, not least of which is the idea that plugging in the battery and sound module(?) makes it a STEM computer hardware learning project - yeah, right... -
Isaac2k1 Les Pounder has published the Dimensions of the RasPad to be "10.6 x 5 x 1.8 inches (270 x 127 x 47 mm)".Reply
This means a 1 to 2.12 ratio of the screen or base plane and implies that the tablet is wider than high.
I think it shall read 10.6 x 7 inches, giving a 2 to 3 ratio. This is similar to what you get as ratio if measuring the dimensions on the first photograph.
Personally, I like the idea of the RasPad to have everything in one closed case, like in the Pi-Top but having a RPi4 in it and maybe be more versatile to upgrade to the next RPi5 or whatever will come. The Pi-Top can take only the RPi3 and there is not enough space to upgrade and no new boards available. I think with the Sensor Kit V2.0 I'll get nice tools to connect outside to the RasPad, with the ability to quickly disconnect if no longer needed.
