Tom's Hardware Verdict
An awesome product that extends the life of Lego’s rather expensive kits. If your wallet can take it, this is a great way to introduce Python with familiar components.
Pros
- +
+ Easy to use
- +
+ Build HAT is cheap
- +
+ Great Python module
- +
+ Works with all Raspberry Pi
- +
+ Powers the Raspberry Pi
- +
+ Can be battery powered
Cons
- -
Incompatible with some HATs
Why you can trust Tom's Hardware
Update 10/20/2021 02:45 PT:
This review has been updated based upon information received from Raspberry Pi Programme Manager Richard Hayler during an episode of The Pi Cast. While the cost of full Lego kits containing the sensors, motors and other components is still quite high, individual elements can be bought much cheaply. Hayler also elaborated on alternative power supplies for the Build HAT and a Lego designed "maker plate", the first Lego component designed for use with an SBC. All of this information has been added to the review and the score has been revised upward based on the new information.
Original Article
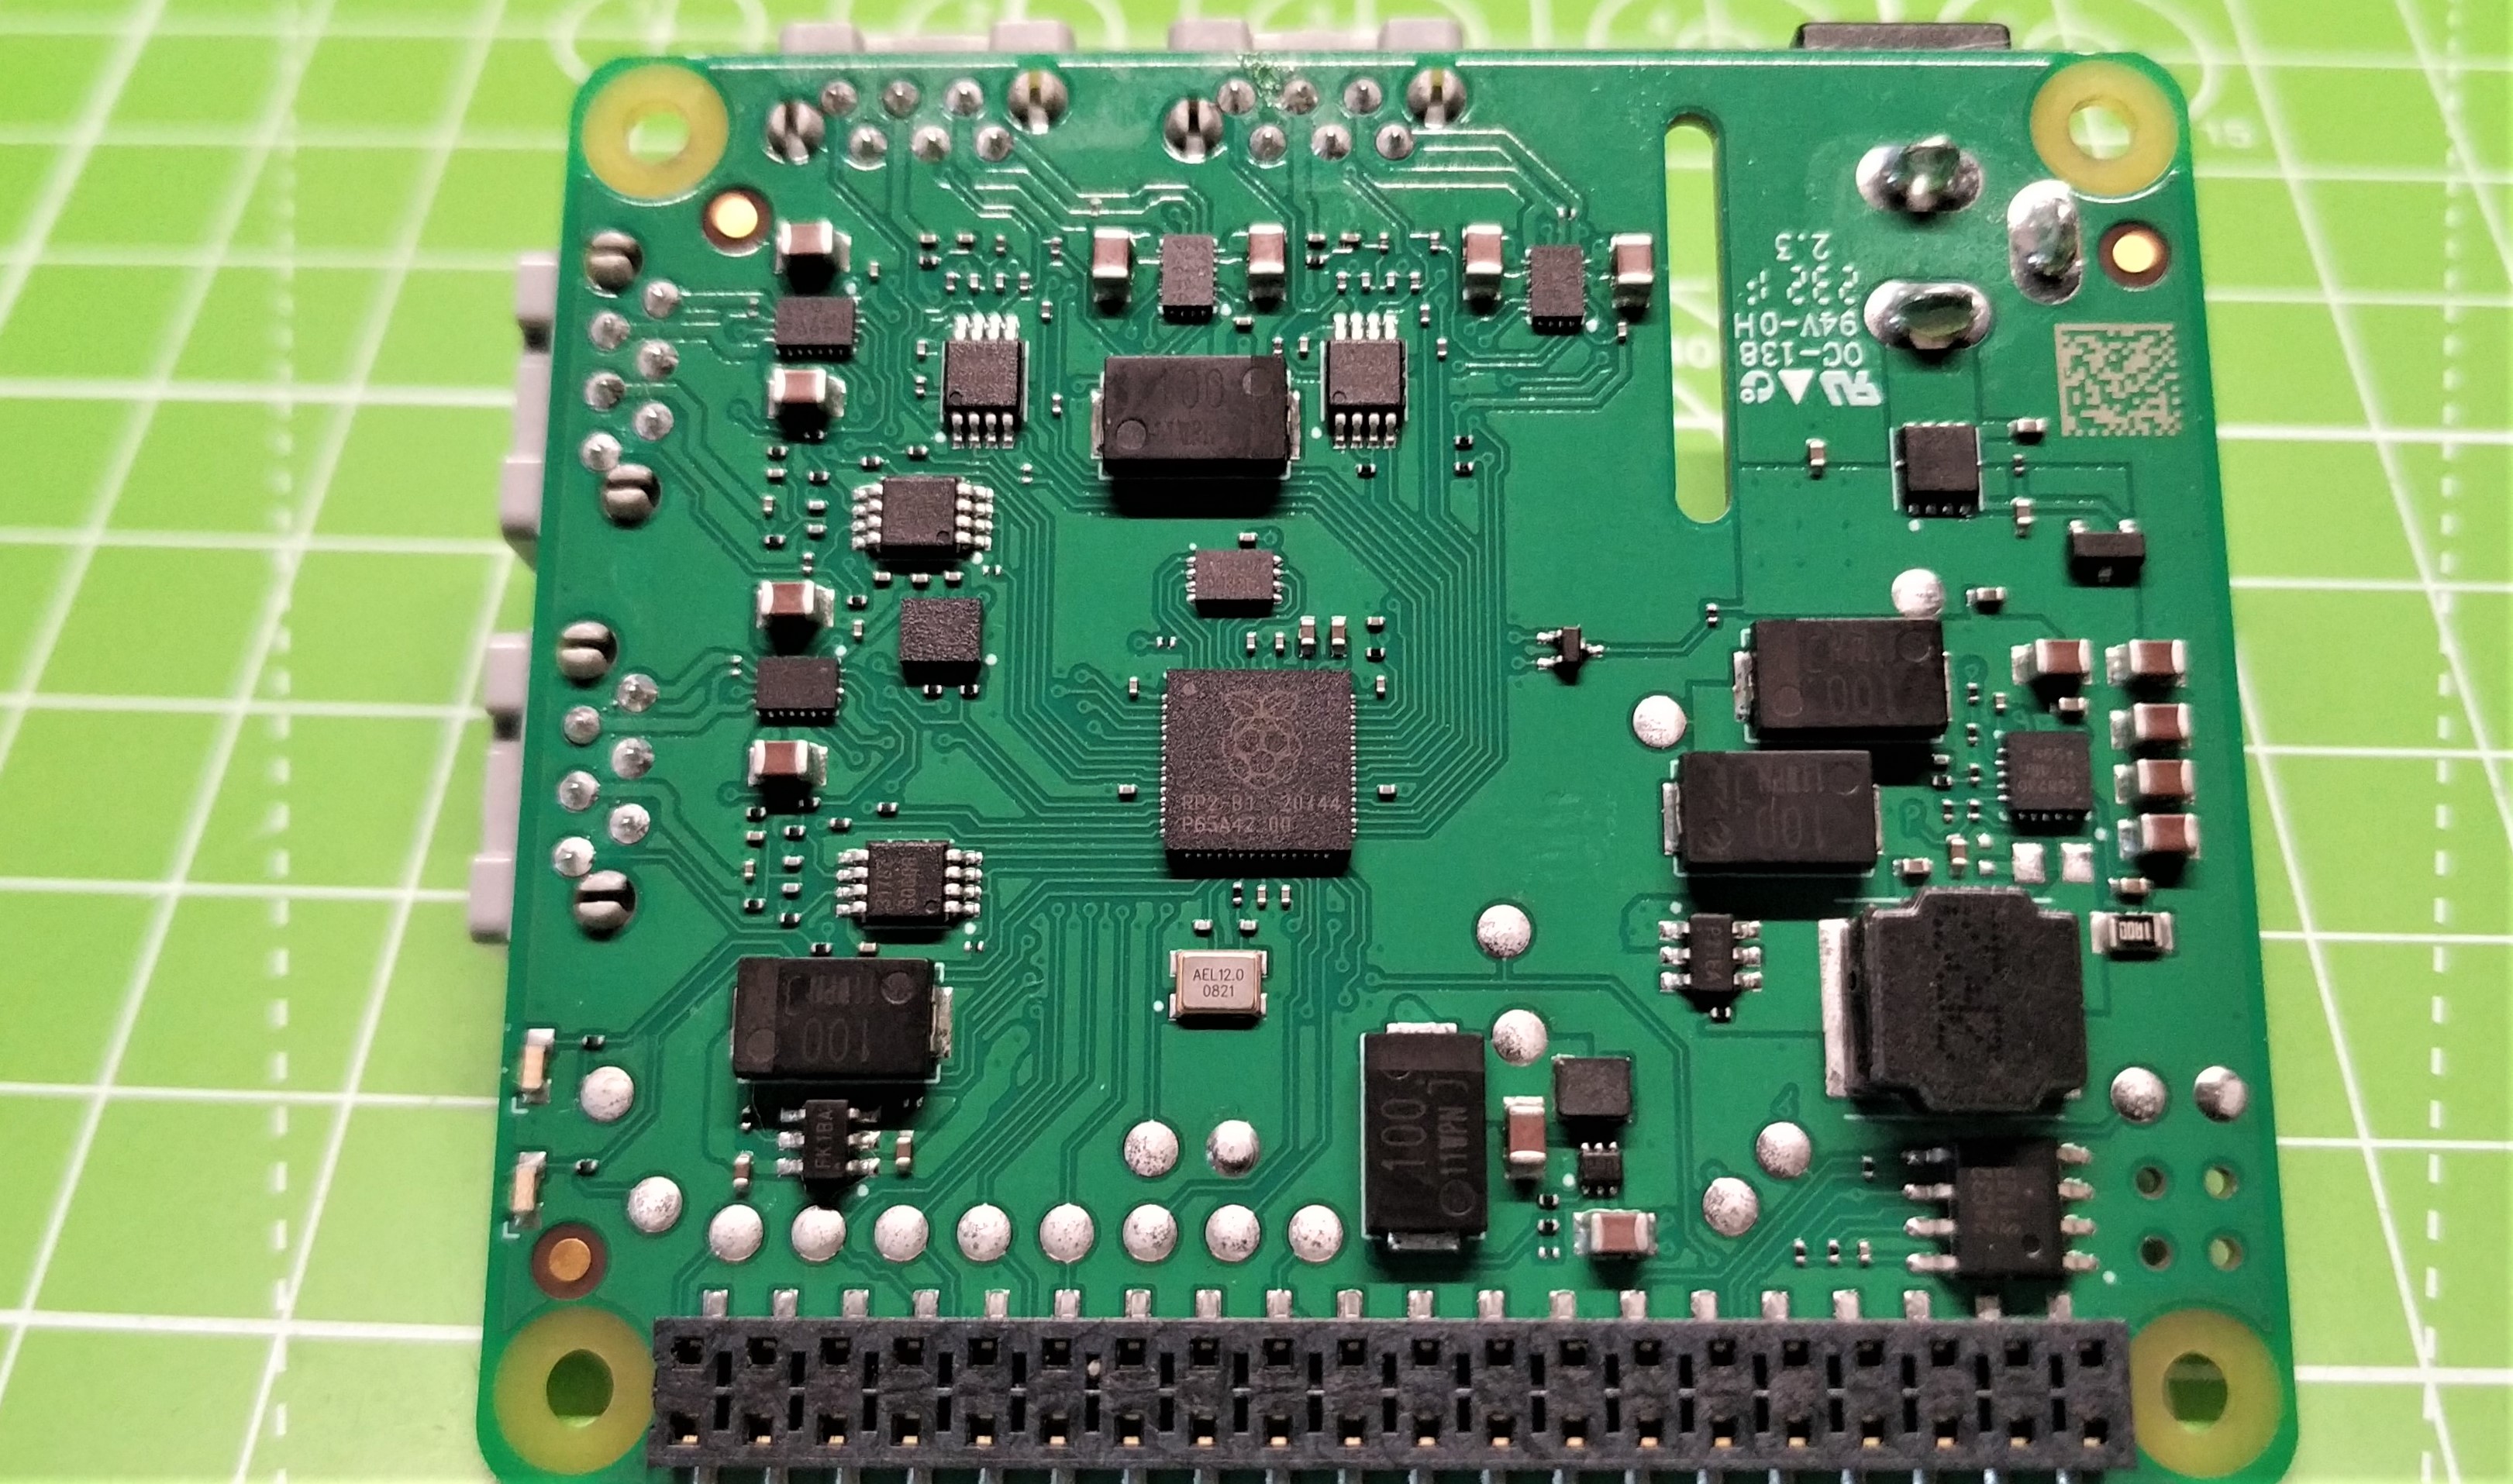
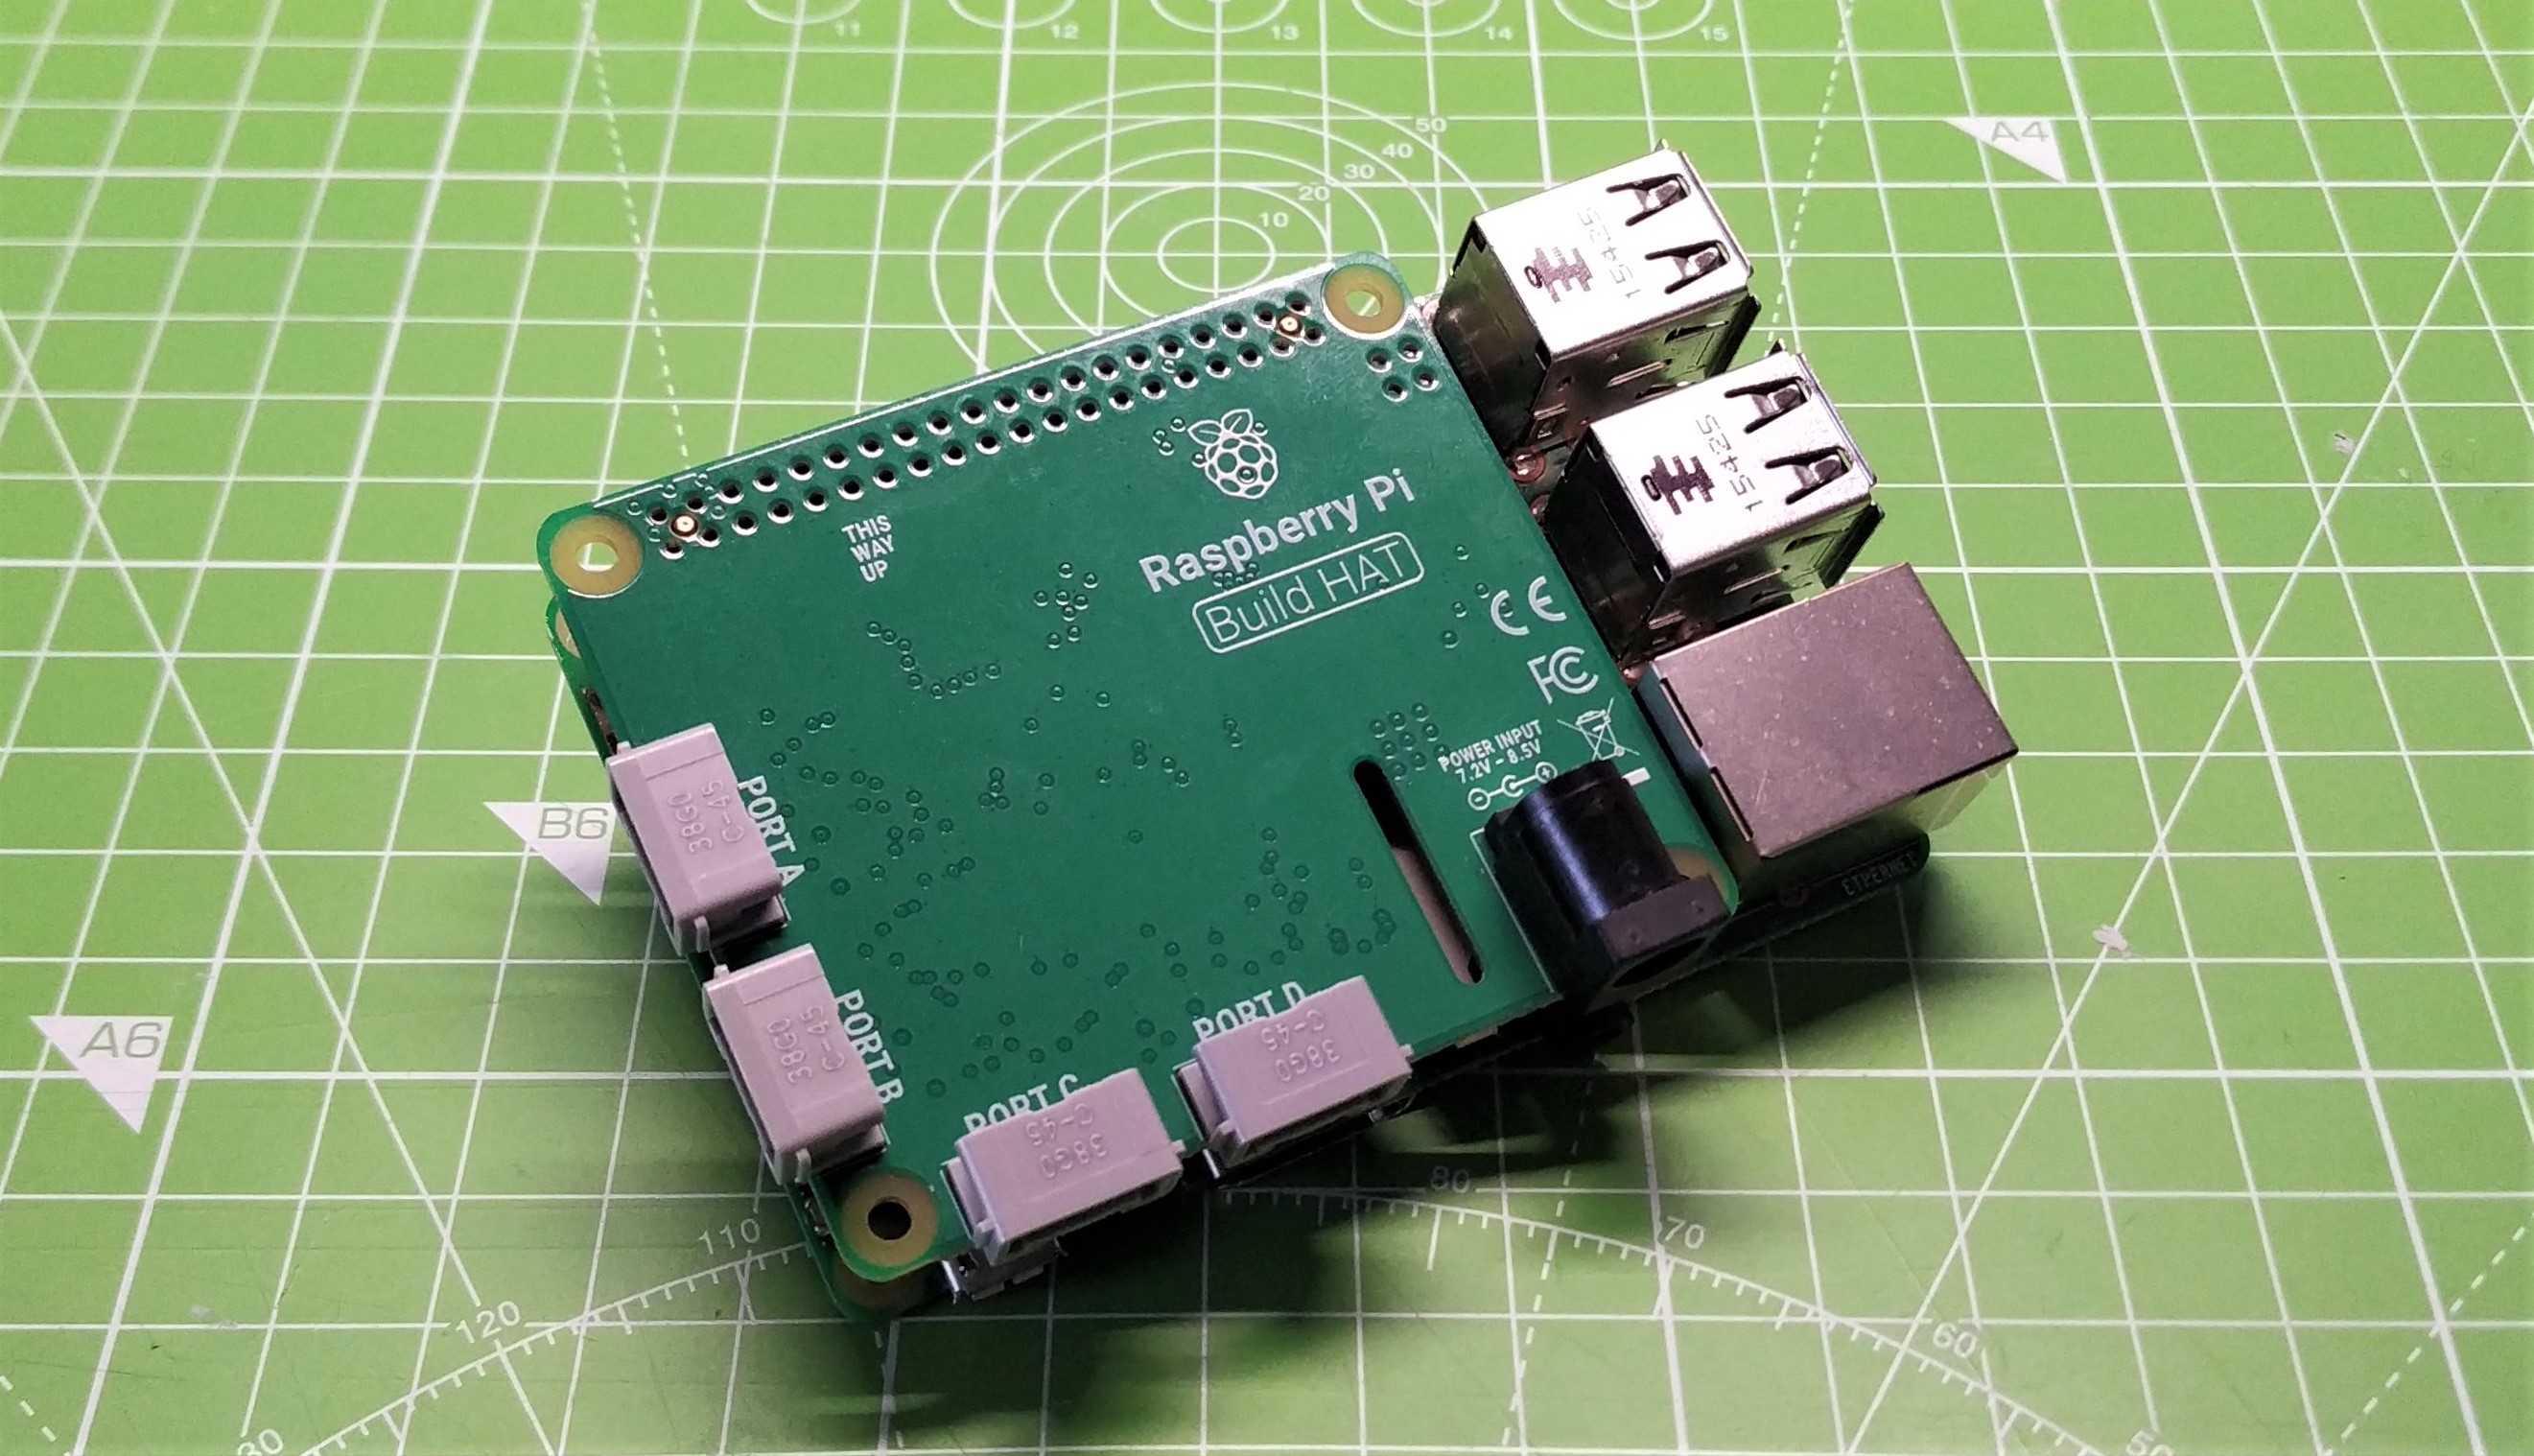
We knew that Raspberry Pi would use its RP2040 in a product, but we never thought it would be this. The $25 Build HAT is an interface between the Raspberry Pi’s 40 pin GPIO and products from various educational Lego kits. So where does the RP2040 fit into this? The RP2040 is used as an interface, controlled over a serial interface (via the GPIO) using a rather splendid Python module that simplifies working with the components.
Raspberry Pi’s Build HAT is the culmination of two years of work between the Raspberry Pi Foundation and Lego Education. Build HAT is designed to carry on from Lego’s block coding language and provide a Python module that enables learners to carry on using the rather expensive Lego kits with a more powerful and expandable language.
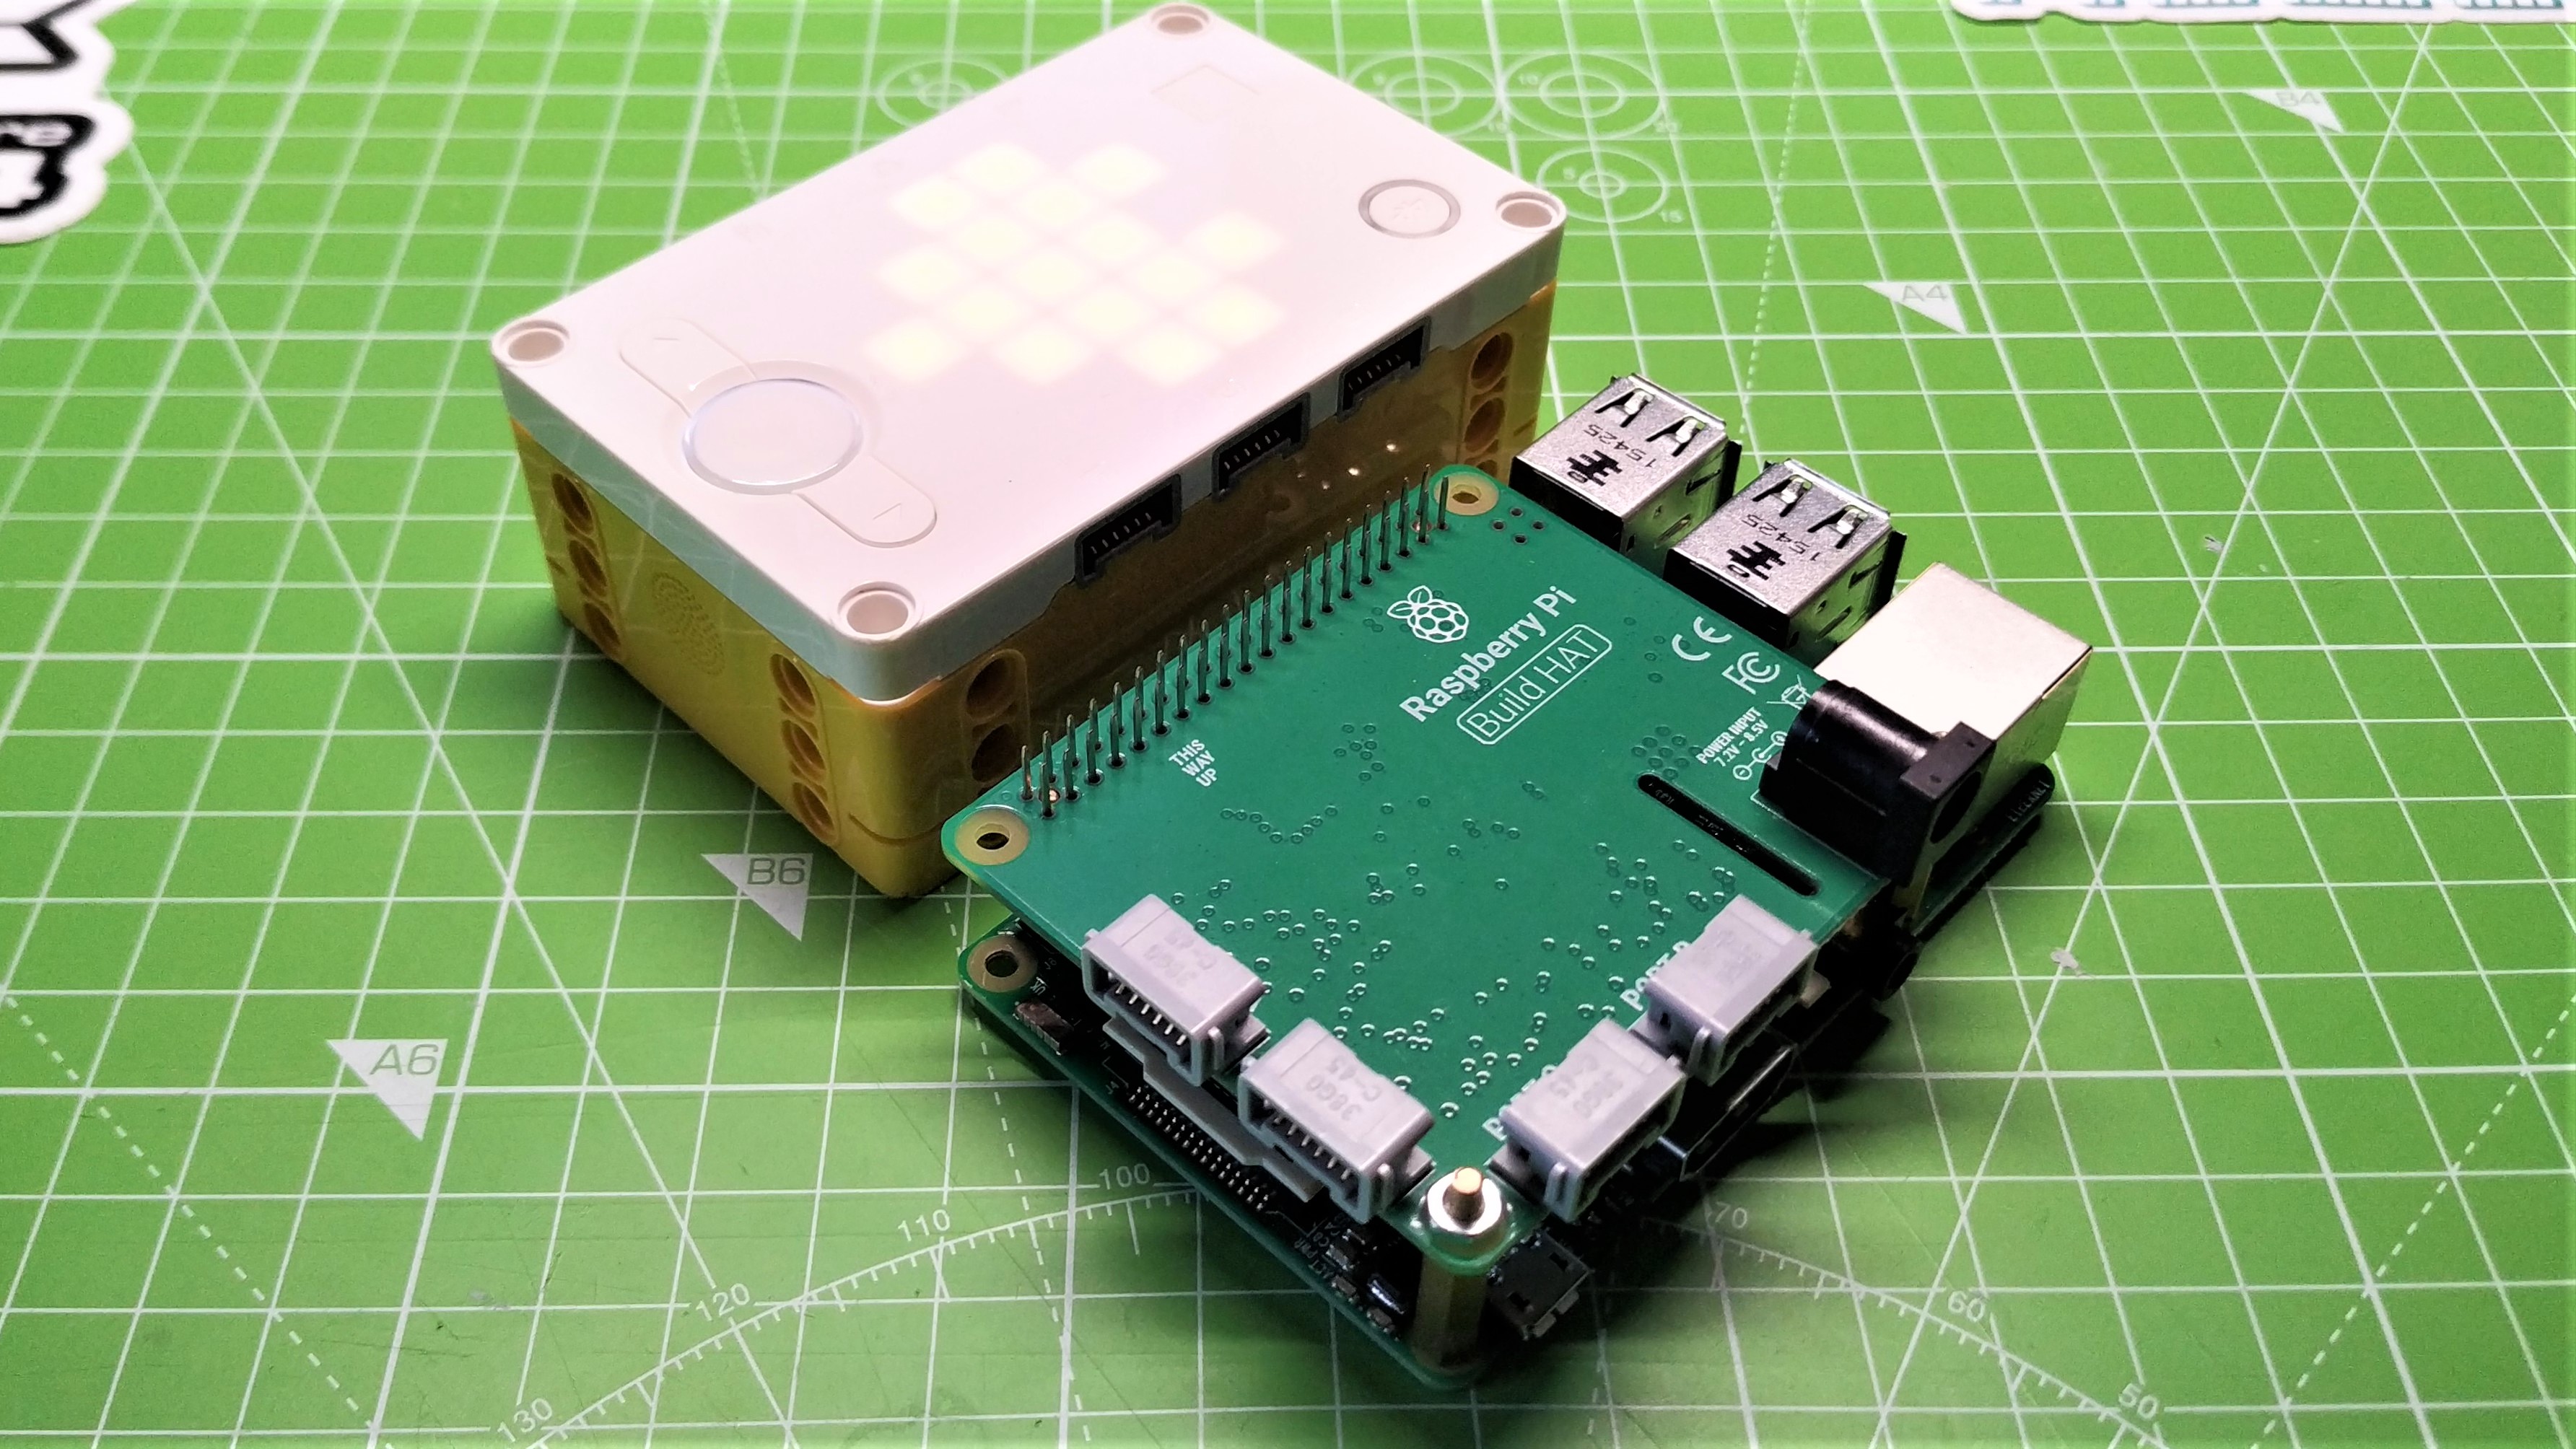
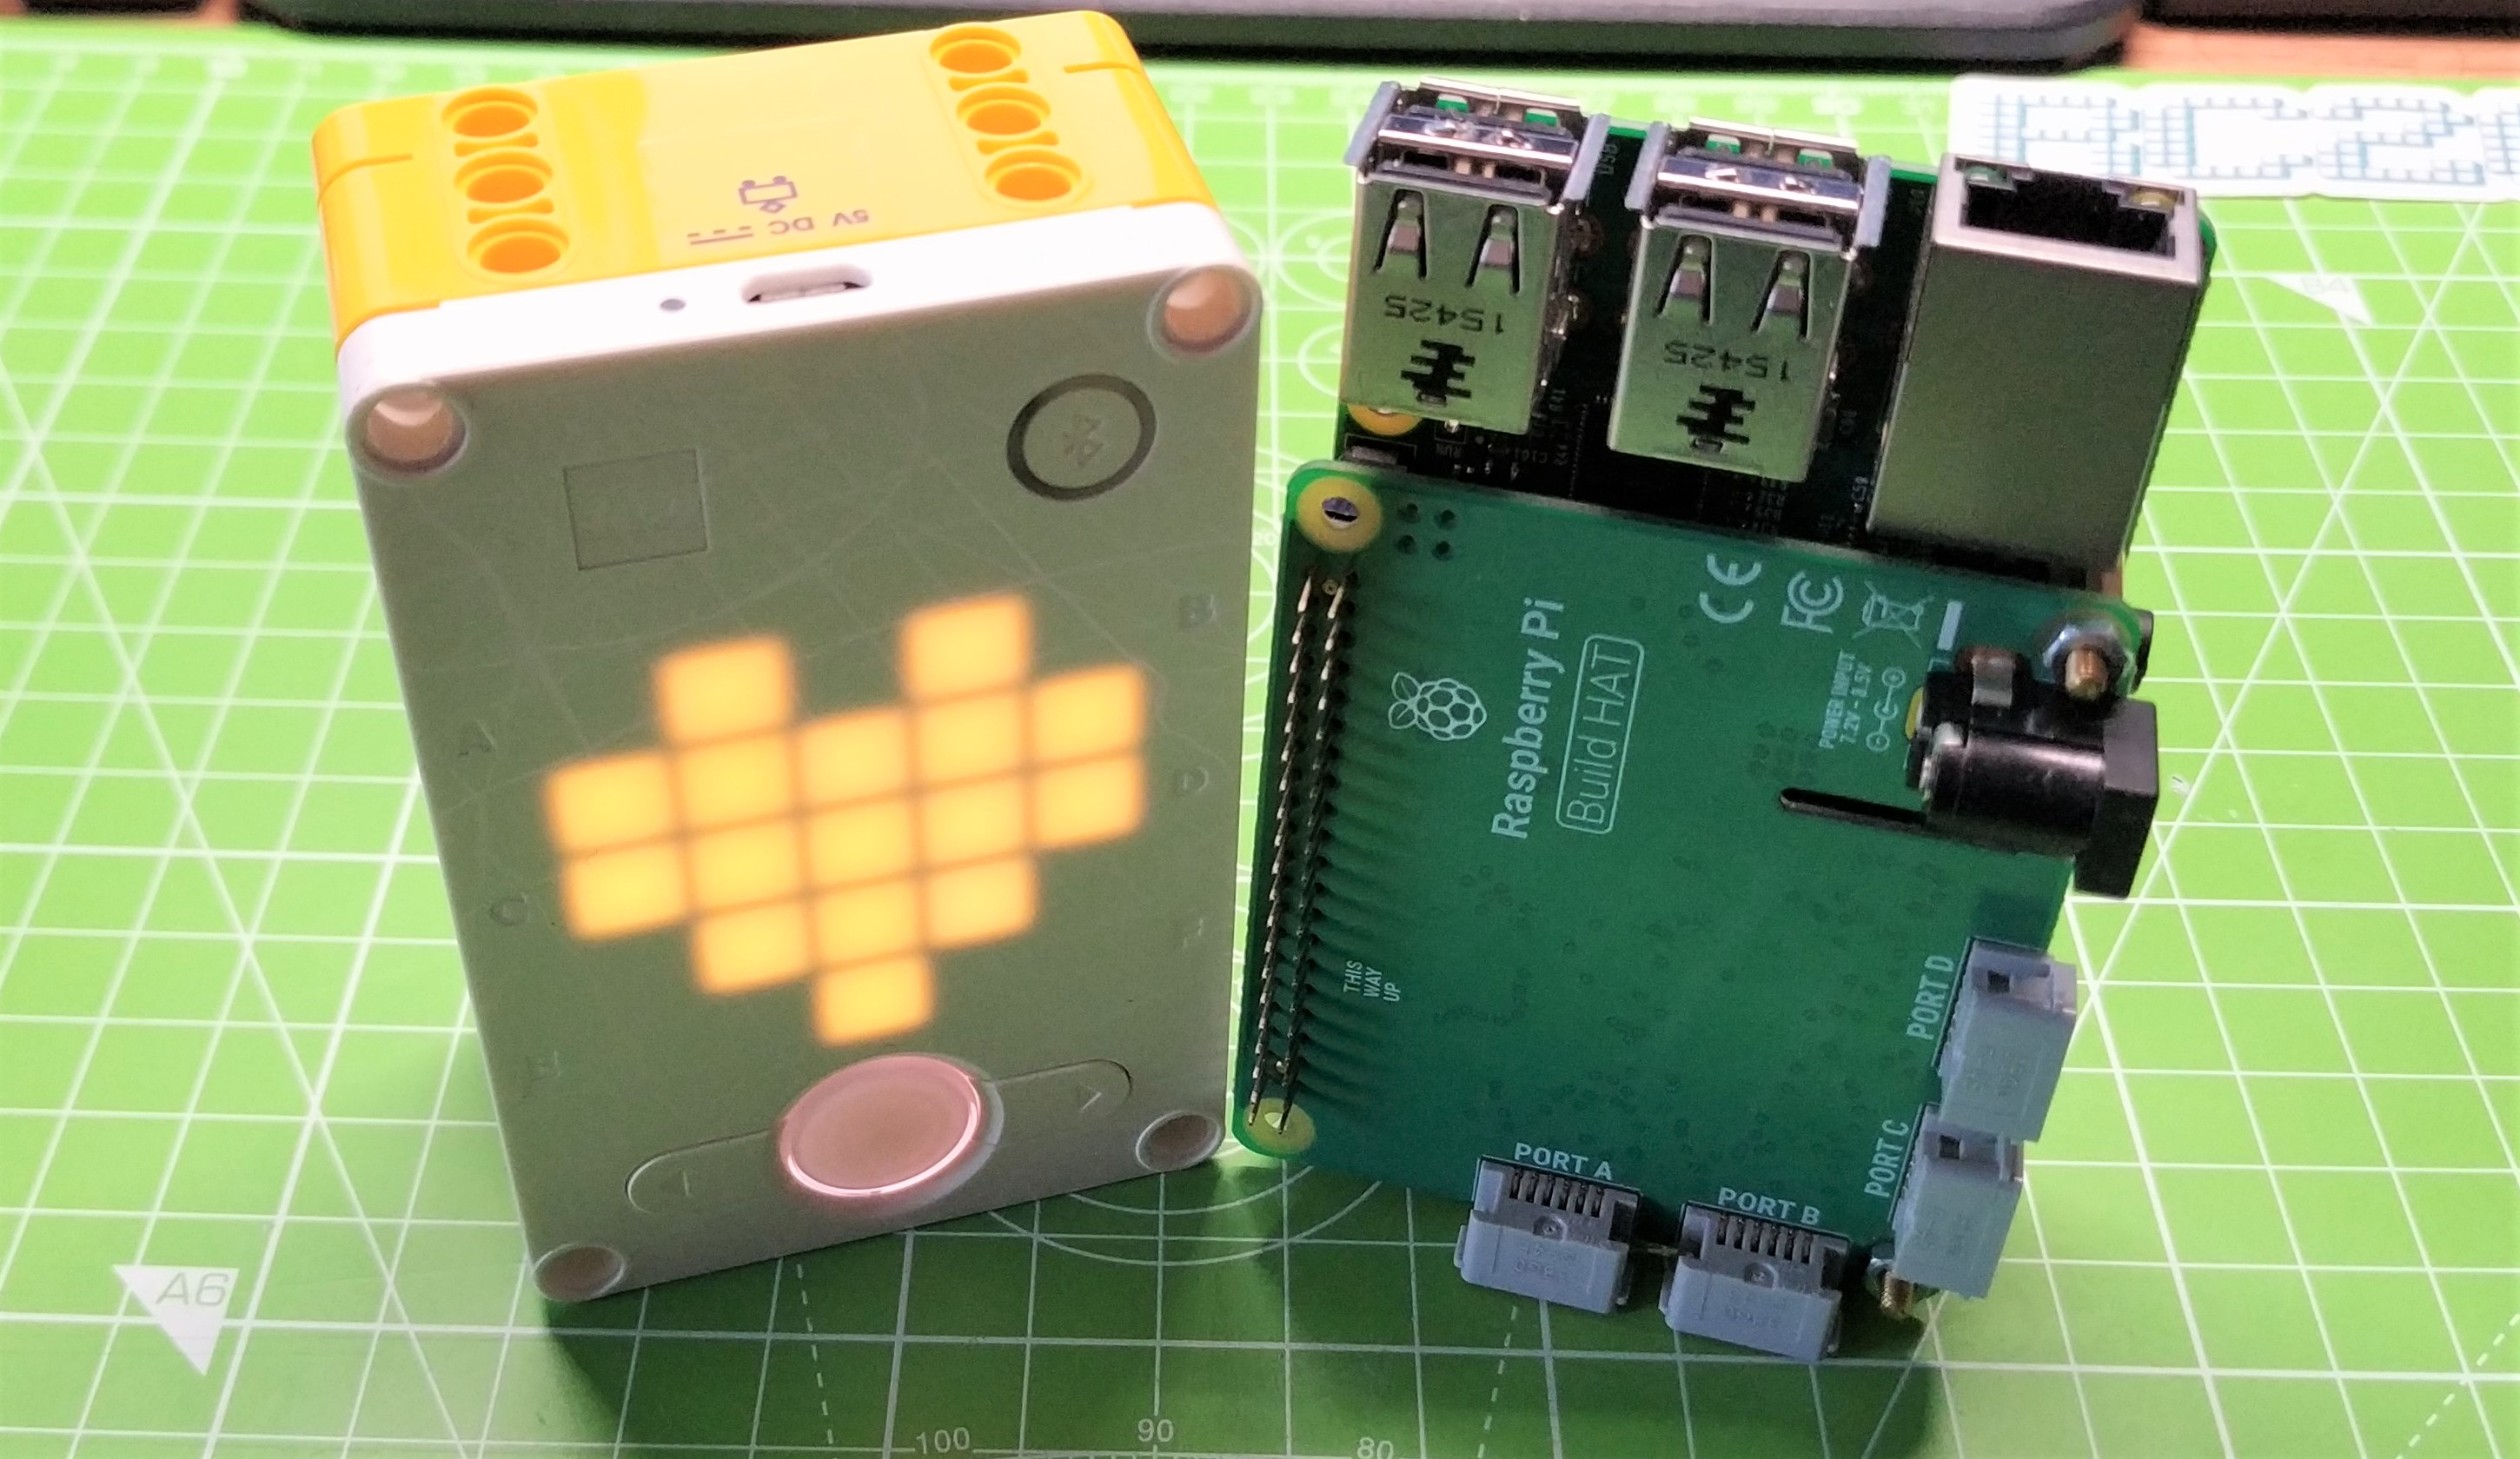
Build HAT targets specific Lego kits, namely Spike Prime, Mindstorms and Technic all of which come with their own hubs. We have experience of Lego’s Spike and the hub used in that kit is already a powerful piece of hardware. Powered by an STM32 microcontroller, the Spike Prime Hub has six ports for Lego’s LPF2 connectors and is mainly for use with the Spike block coding language, but all we need is a USB cable and a serial connection to unlock a version of MicroPython baked into the board.
With Build HAT, the hard part of making a serial connection in Python is done for us and we can start building Lego powered projects. We took Raspberry Pi’s Build HAT for a spin, learned how to use the Python module and discovered that we can use it with other HATs and Raspberry Pi add-ons.
Get Tom's Hardware's best news and in-depth reviews, straight to your inbox.
Build HAT Specifications
| SoC | Onboard Raspberry Pi RP2040 manages low level control of devices |
| Supported Raspberry Pi Models | All 40 pin models are supported. |
| Supported Lego Products | Lego Technic, Lego Spike, Lego Mindstorms, other Lego devices which use an LPF2 connector. |
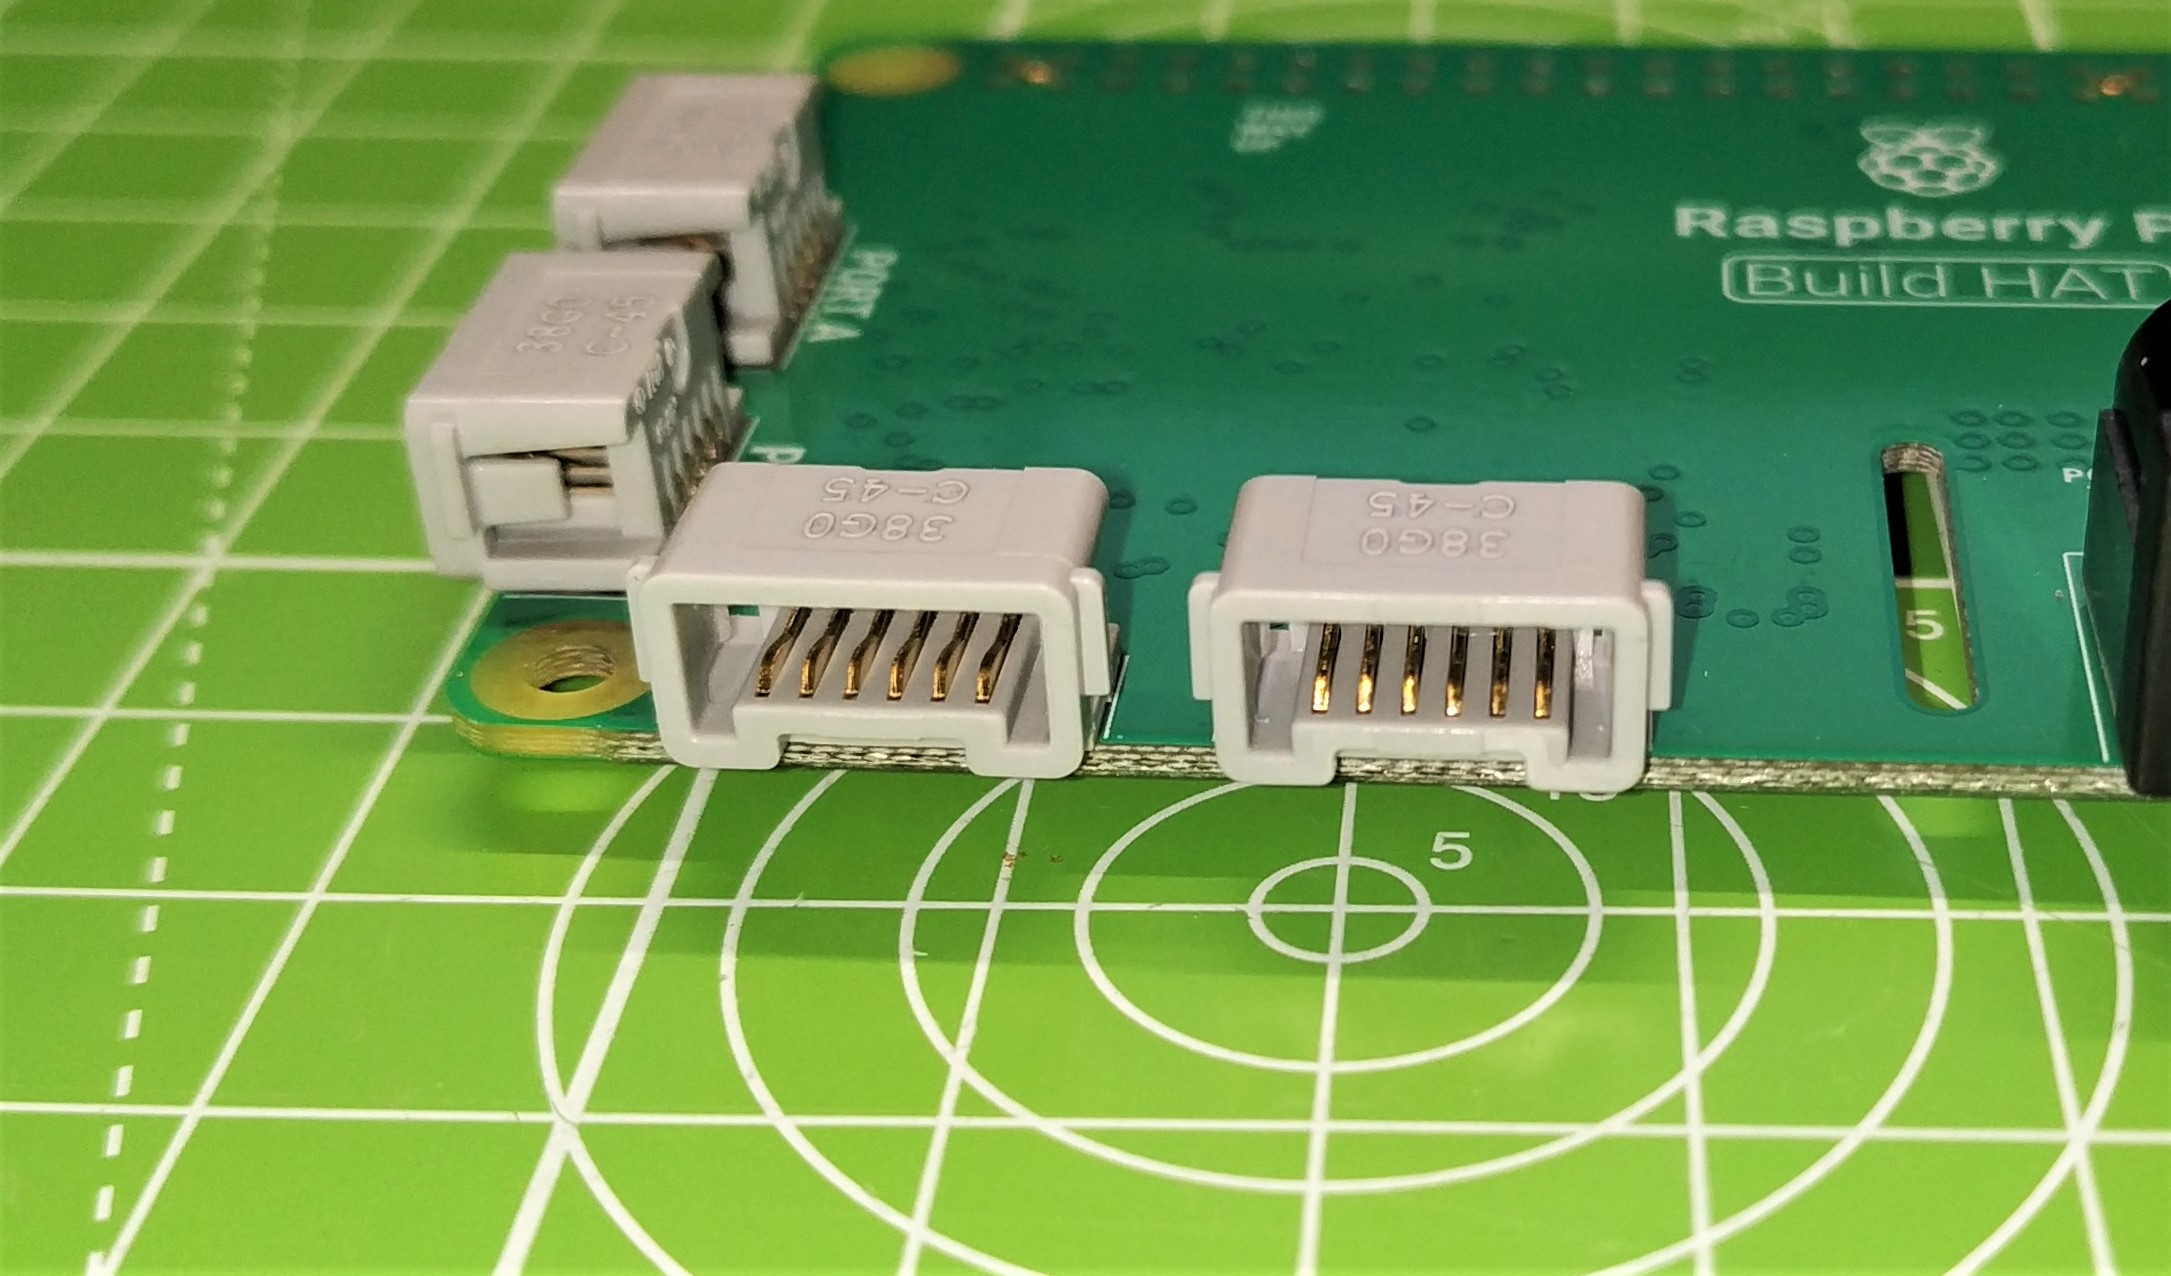
| Connections | 4 x LPF2 Connectors |
| 1 x DC 5521 barrel jack (5.5 x 2.1 x 11 mm) | |
| Power | 8 - 10V DC power via barrel jack. |
| 7.5V Battery pack | |
| 5 x AA Batteries | |
| Raspberry Pi is powered via Build HAT | |
| Dimensions | 65 x 56.5 mm |
Using Build HAT
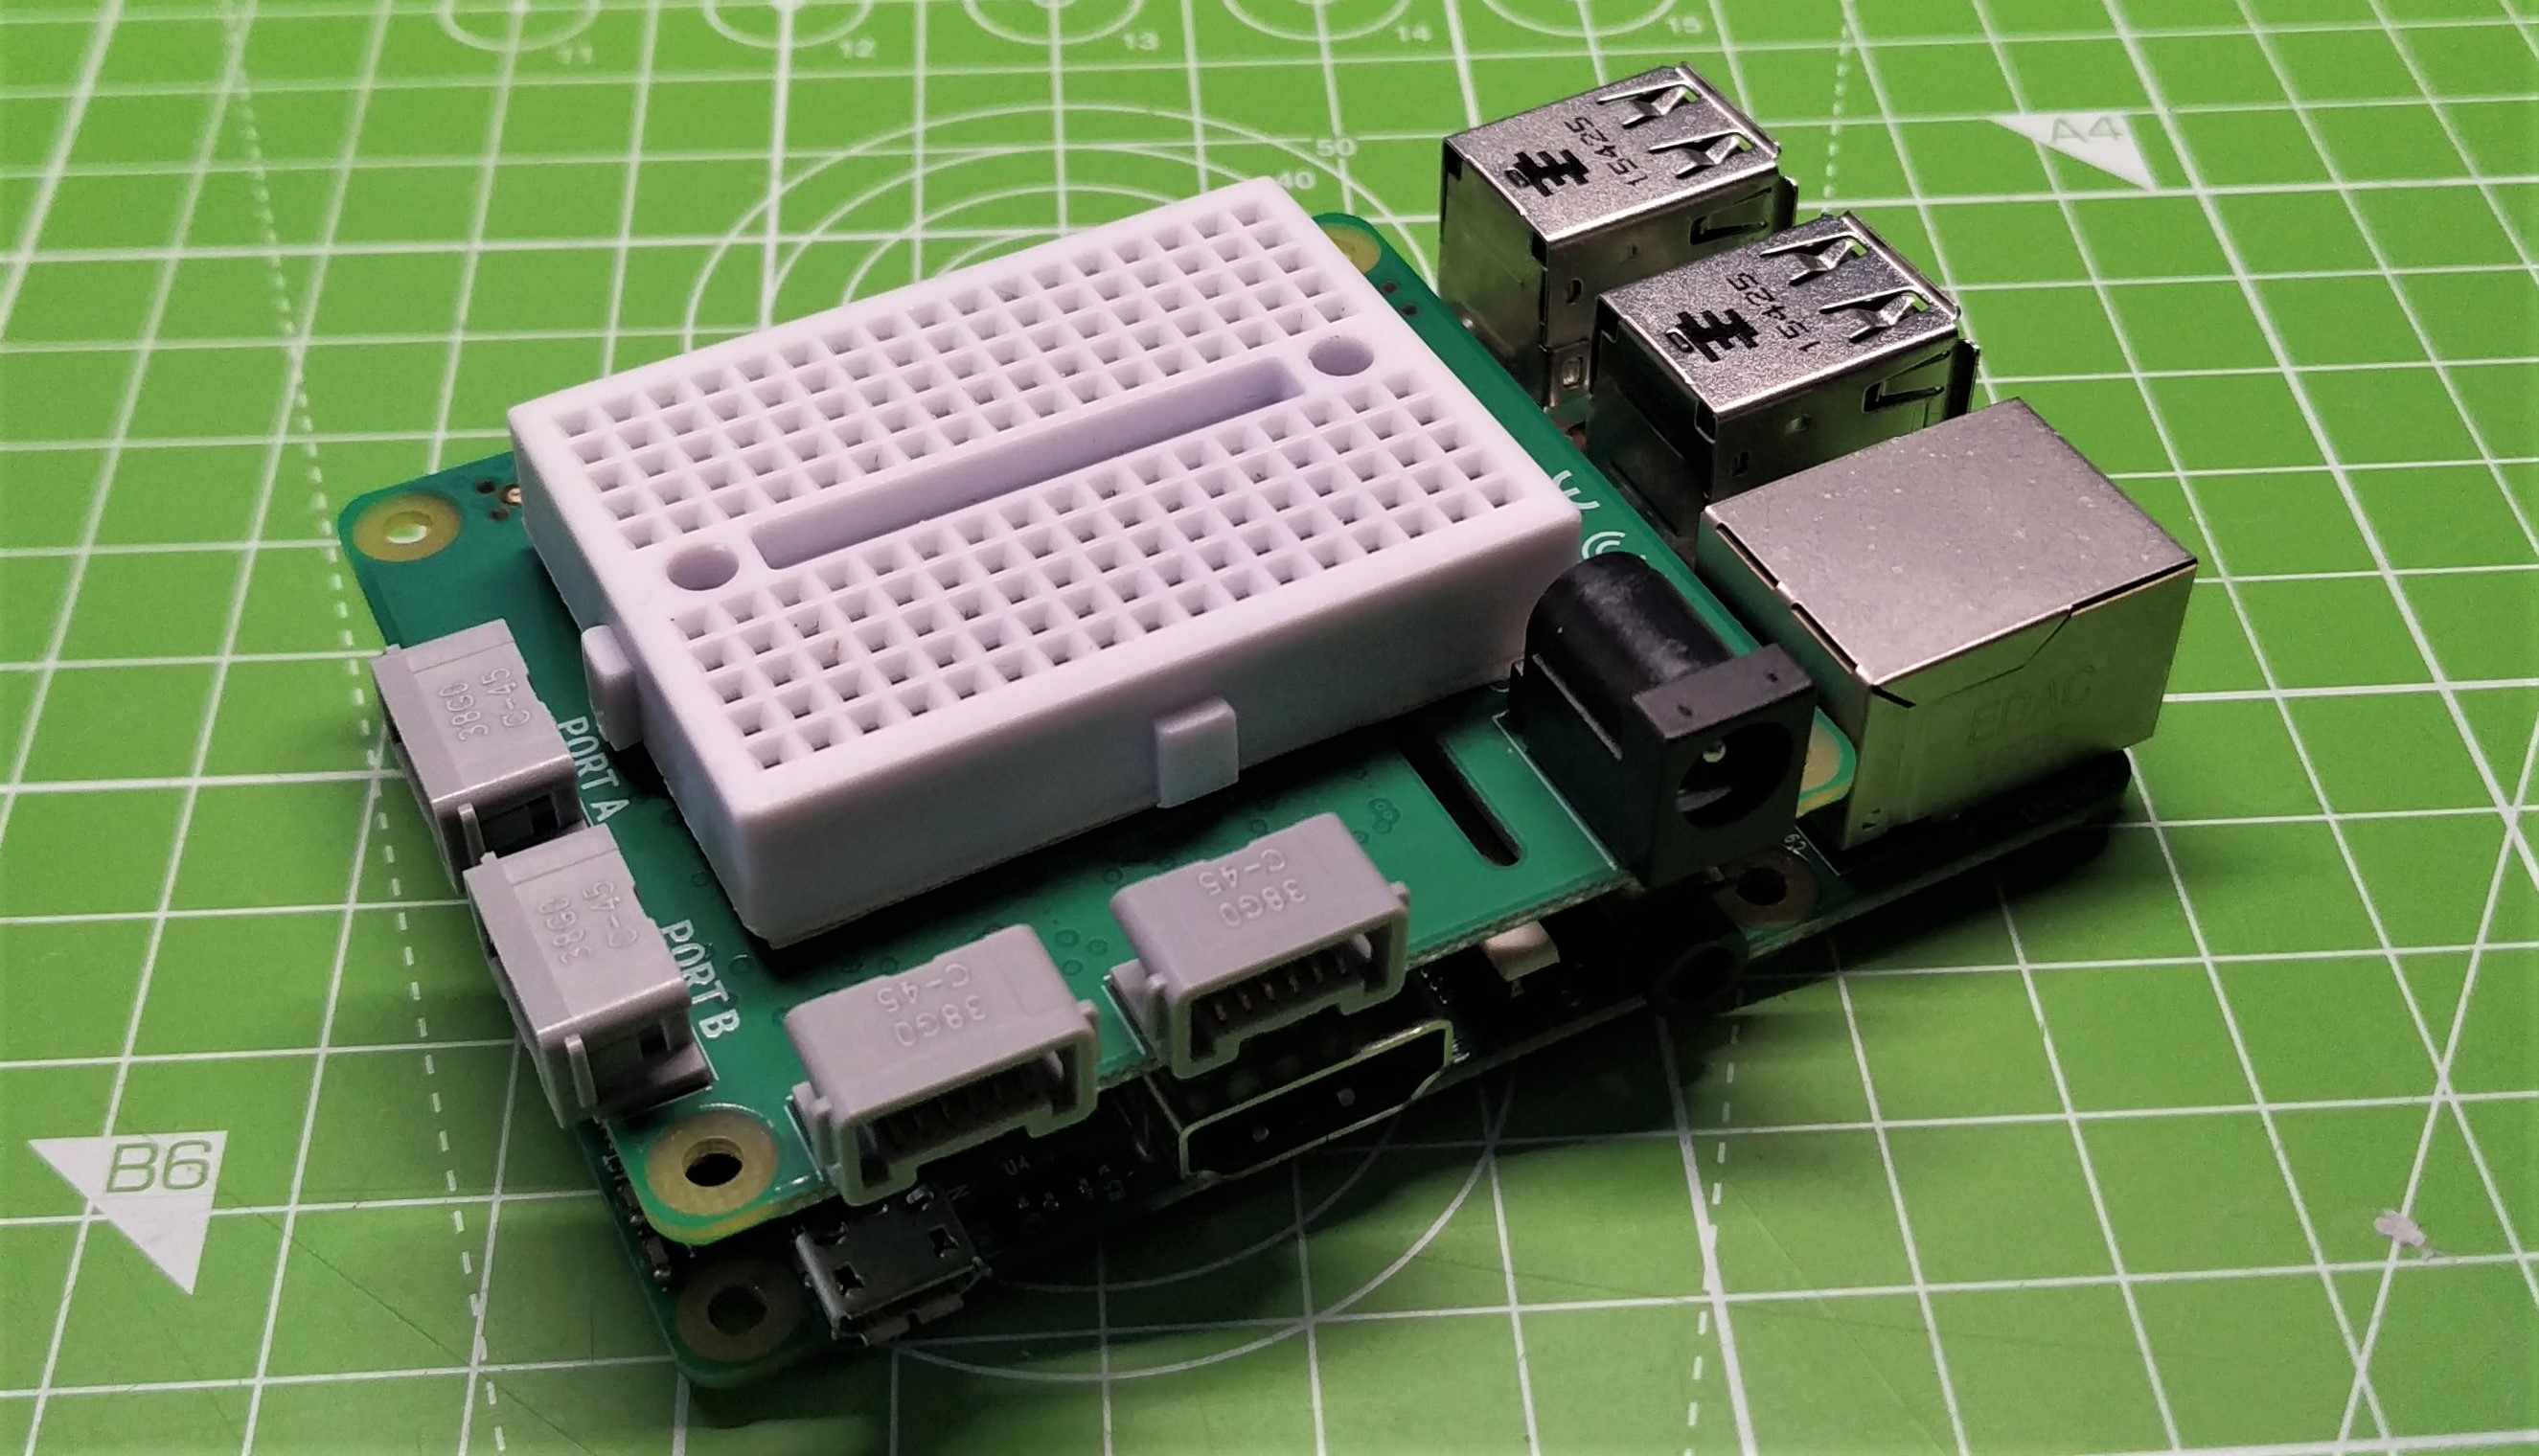
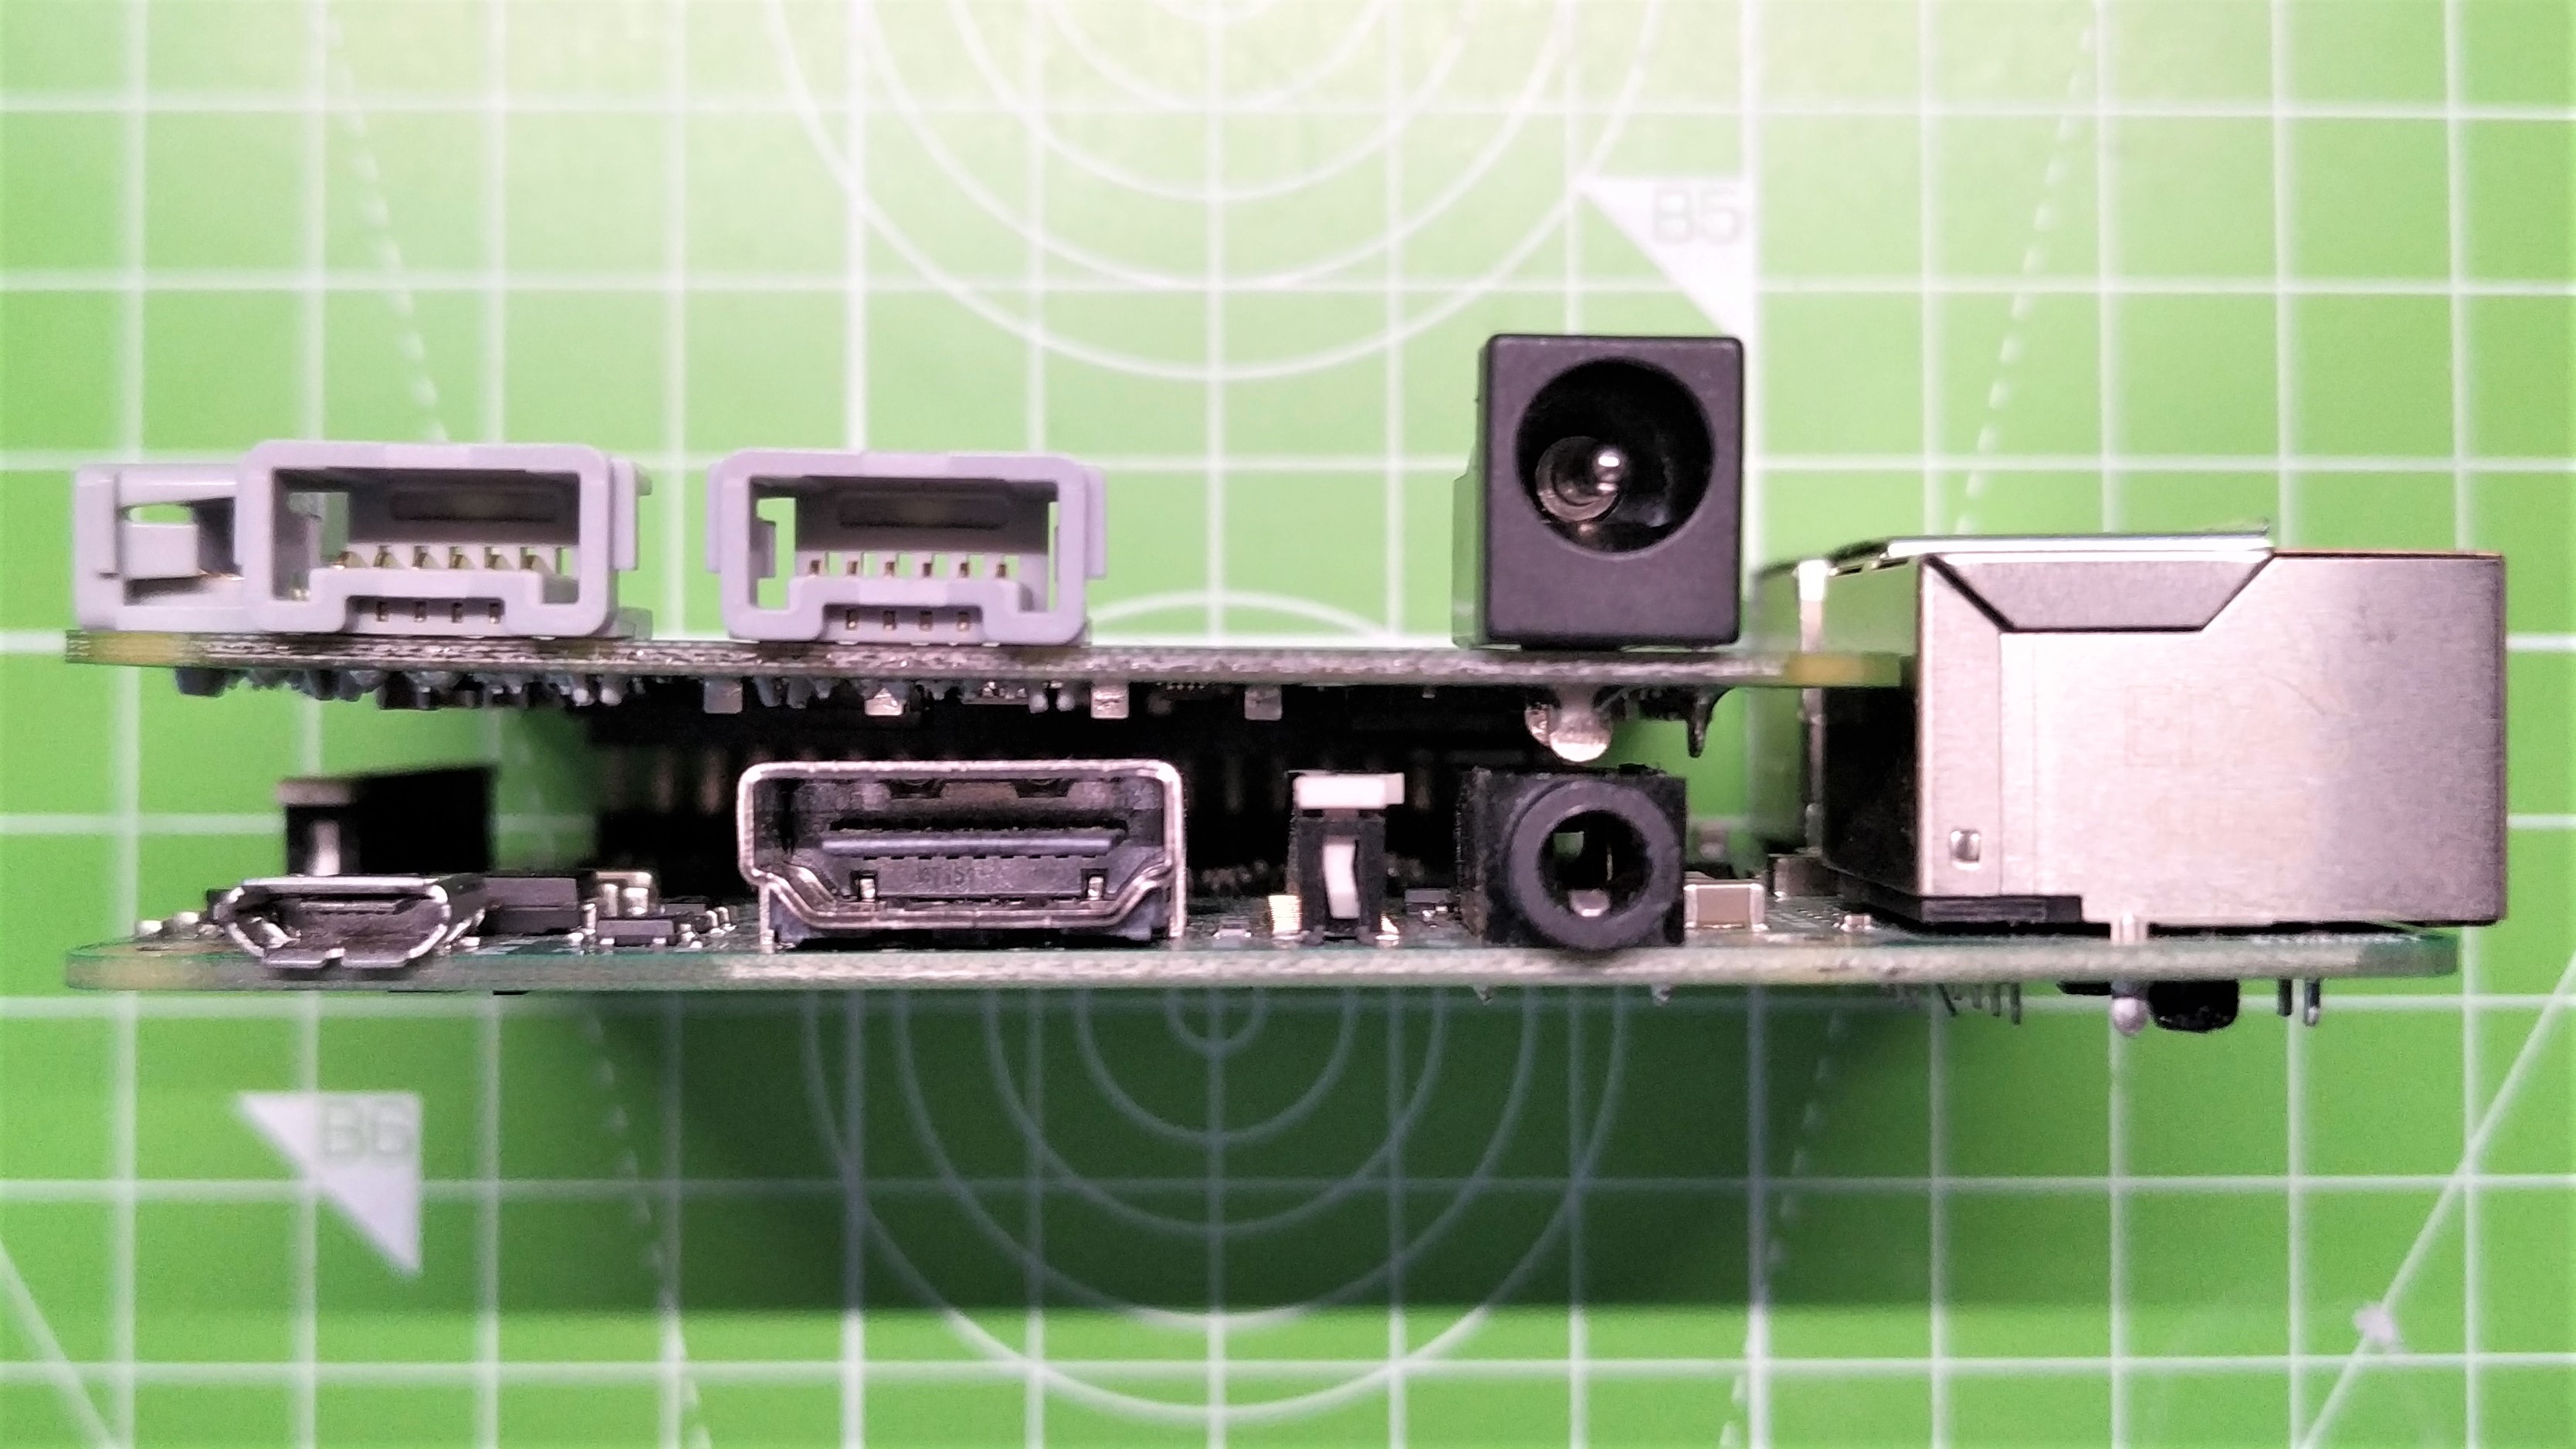
As you can guess from the name, Build HAT is a regular HAT standard add-on designed to be placed directly on top of the GPIO. Before you drop this board on your Raspberry Pi, make use of the included M2.5 9mm spacers, otherwise the DC power jack will be precariously close to the audio / video jack of the Raspberry Pi. If you plan to use another HAT on top of Build HAT, use an extended GPIO header, which is sadly not included in the kit.
To use a HAT along with Build HAT, I used M2.5 12mm spacers which will keep the board level and the GPIO connections secure. A cut-out just above the camera (CSI) connector on the Raspberry Pi means that we can easily use the official Raspberry Pi Camera in our builds. Adding traditional electronics components is possible, The Build HAT has space for a small breadboard to be stuck in place, but this will block access to the camera slot.
Using the Build HAT with motors and sensors requires an external DC power source and Raspberry Pi has just the thing. The Build HAT Power Supply, available for an additional $15, provides 8V, 6A (48W max power) which is enough to power both the Raspberry Pi and Build HAT. Build HAT takes care of regulating the power provided to the Raspberry Pi. Taking projects mobile requires the use of a 7.5V battery pack, similar to those used in RC vehicles or you can use five AA batteries. You can use your own DC power sources, just make sure that they meet the DC 5521 (5.5 x 2.1 mm) barrel jack. It is possible to use Build HAT without the Build HAT PSU, as it will happily be powered via the 5V GPIO pin. But by doing this we are limited to using the Force Sensor (push button) and using the motors as input devices (rotary encoders). The additional power provided by the Build HAT PSU is needed for sensors and motors.
We used a Raspberry Pi 3B running the latest Raspberry Pi OS release as our test machine, but you can use the Build HAT with all 40 pin models of Raspberry Pi. The Raspberry Pi 400 requires a breakout board / extension cable due to the placement of the GPIO.
After installing the Build HAT Python 3 modules, we started off with a simple motor test using a set of Lego Spike Prime motors. The Python library is relatively straightforward and within a few minutes we had motors running and variable speed control working. But what else can we do?
The Build HAT Python library has compatibility with a range of Lego sensors and, looking in our box of Lego Spike Prime parts, we found sensors compatible with ColorSensor, DistanceSensor and ForceSensor. The Lego Spike Prime color sensor uses reflected light to determine the color of an object and output RGB / HSV color values which match. The ColorSensor Python class has an interesting function which can return a named color, useful in the classroom for students not familiar with RGB / HSV.
The distance sensor works in much the same manner as an HC-SR04 ultrasonic sensor. It sends a pulse of ultrasound from a “trigger” emitter and then waits for the reflected pulse to be received by an “echo” sensor. If we use a little math, we have the distance. These types of sensors are used mainly with robots, giving a simple means to sense and navigate.
The final sensor we tested was the force sensor, a simple plunger that can register quick taps or long presses. The force sensor can be used for simple digital on / off input, or the analog force sensor inside the unit can measure up to 10 Newtons of force. We elected to test a simple on / off input and had no trouble using it as a simple trigger. Taking it a little further, we were able to measure the force applied to the sensor and use that input as a means to control the speed of a motor.
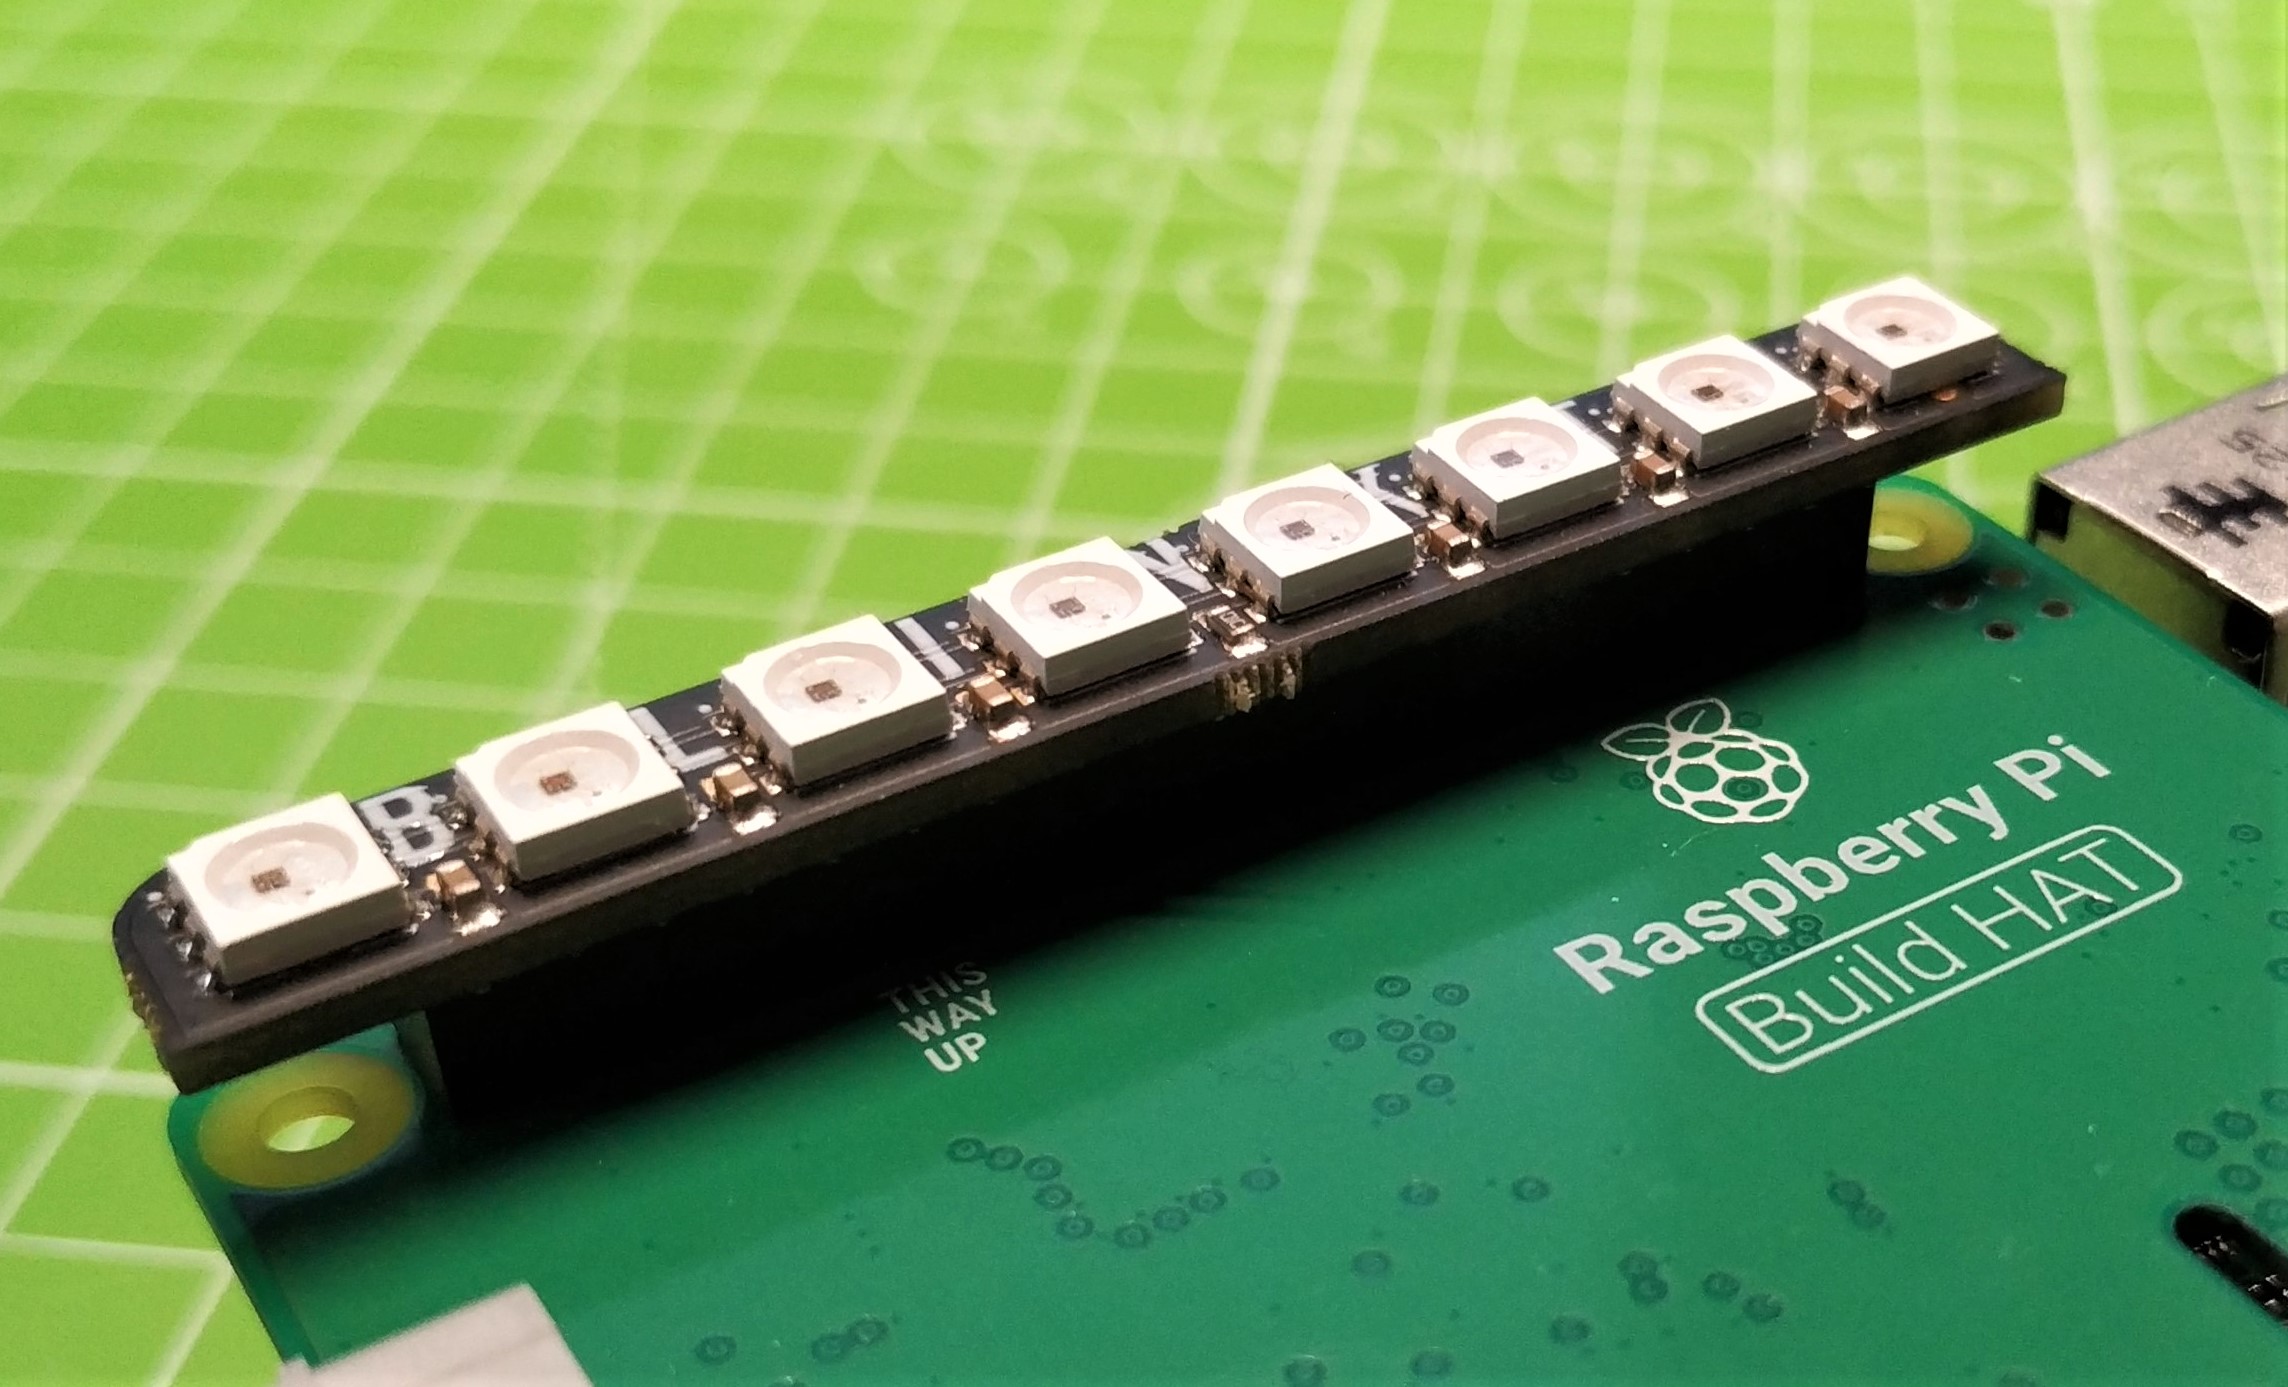
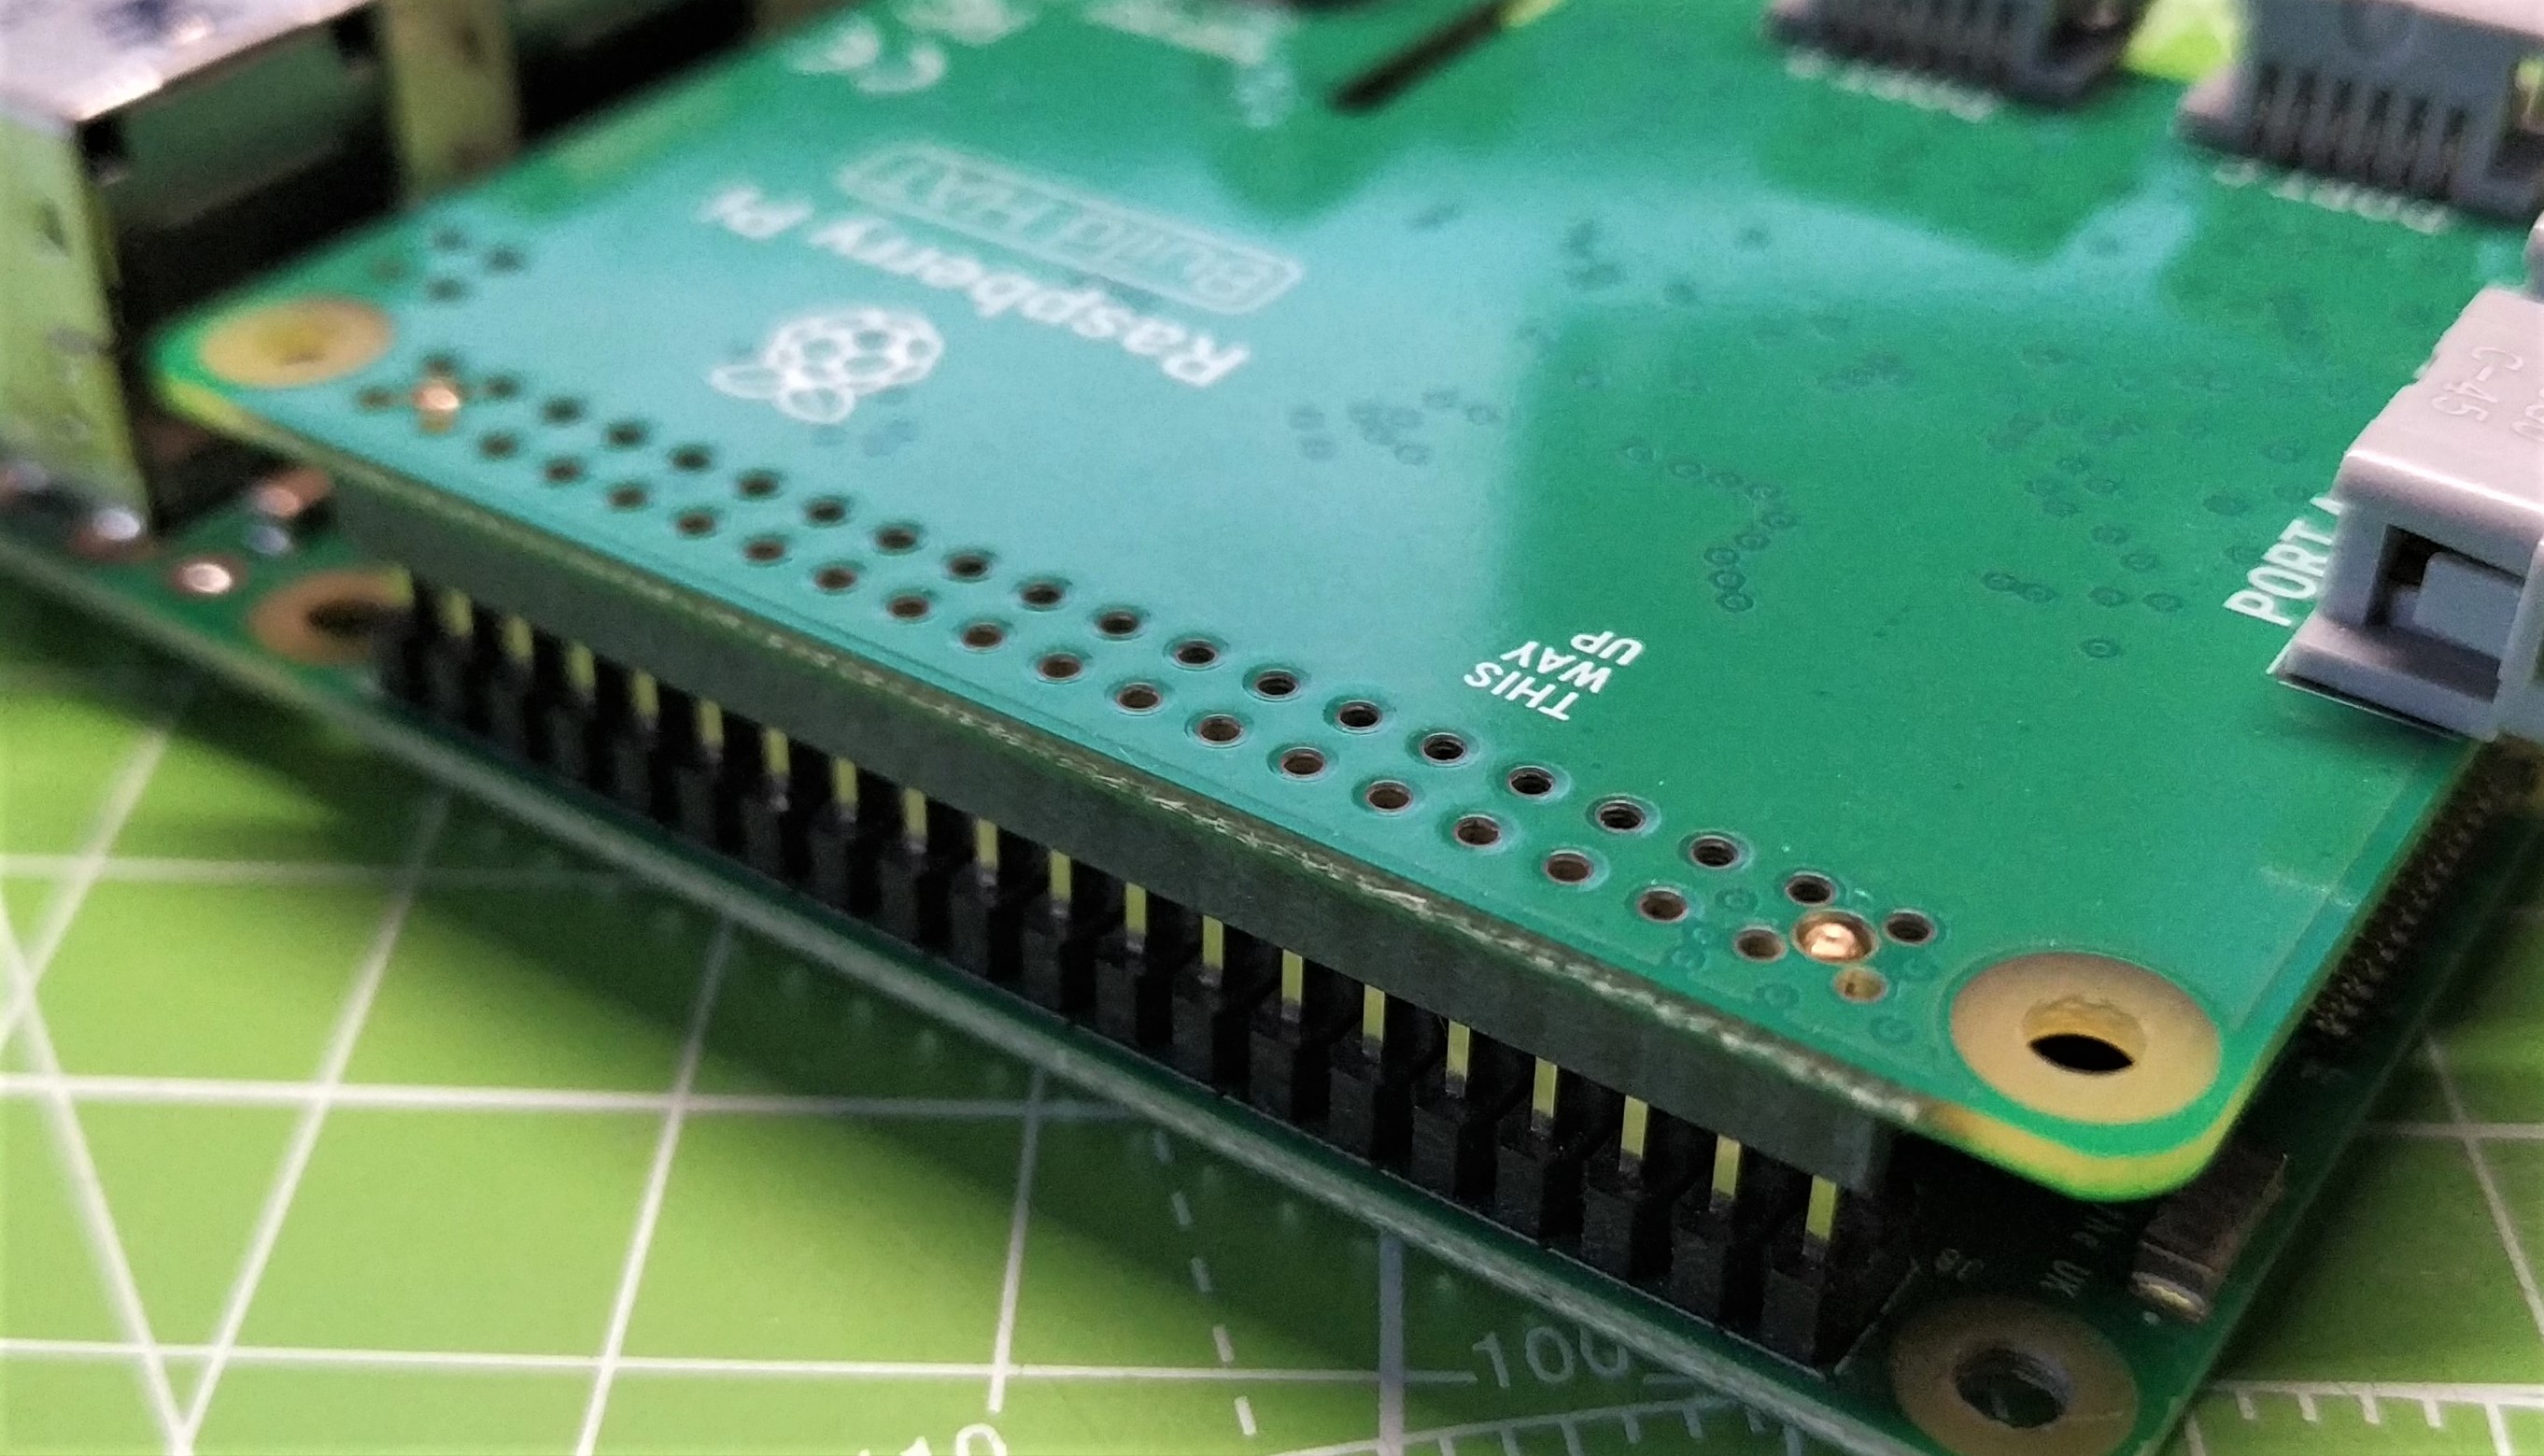
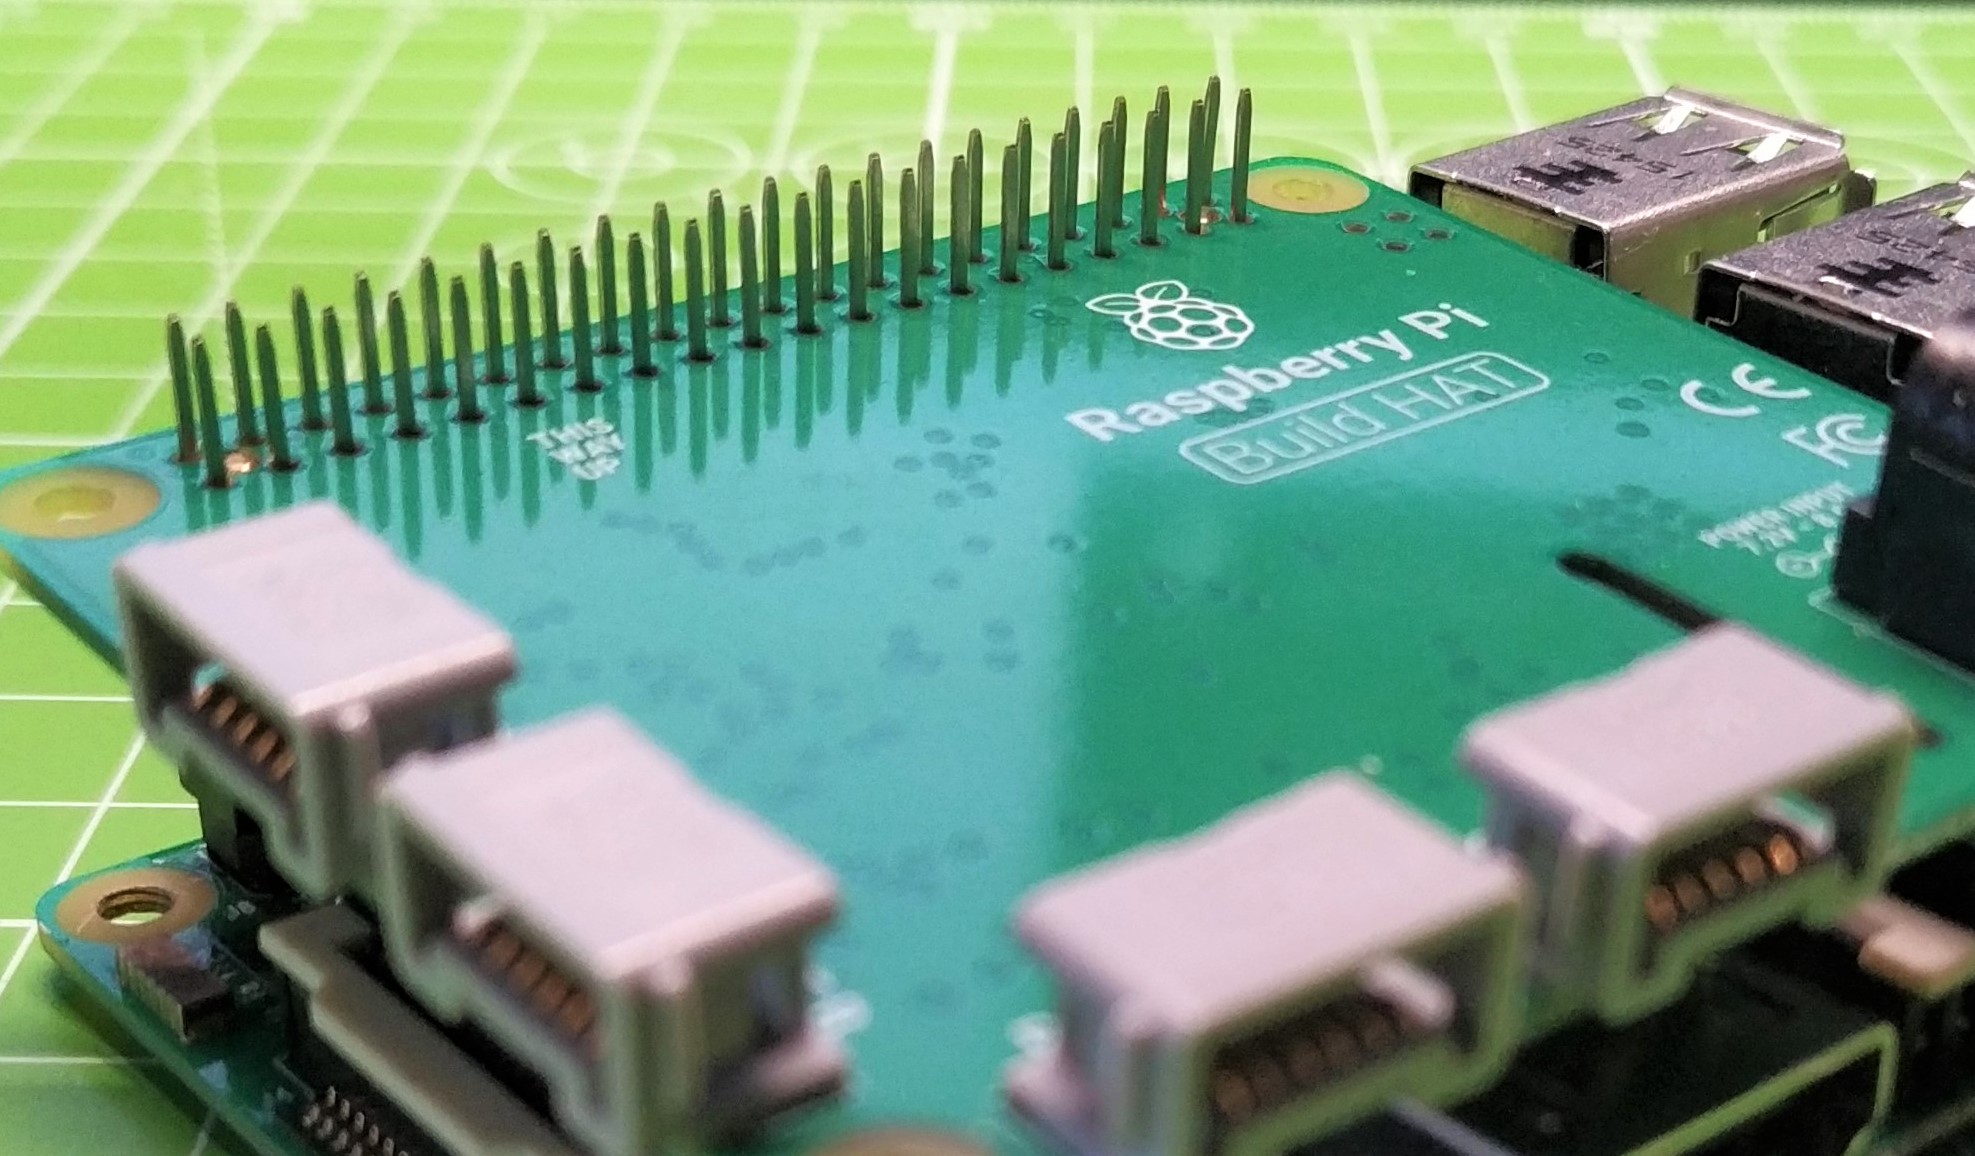
The Build HAT has a passthrough GPIO header which enables GPIO extension headers to extend through the board, allowing another board to be used. We tried a handful of boards and had some mixed results, which all boiled down to which GPIO pins were being used. If you plan to use Build HAT with other cards, consult pinout.xyz to ensure that there are no pin clashes. We read through the Build HAT manual and noted that it uses GPIO 0/1, 4, 14 and 15. GPIO 14 and 15 are our serial connection to control the onboard RP2040.
We tested two of Pimoroni’s NeoPixel boards, Unicorn HAT and Unicorn pHat and they failed to work. They both use GPIO 18 to communicate NeoPixel control data, and we note that this is not one of the pins used by Build HAT, so there must be something else happening behind the scenes. If we were to use a string of NeoPixels, instead of a board, then we could specify which GPIO to use.
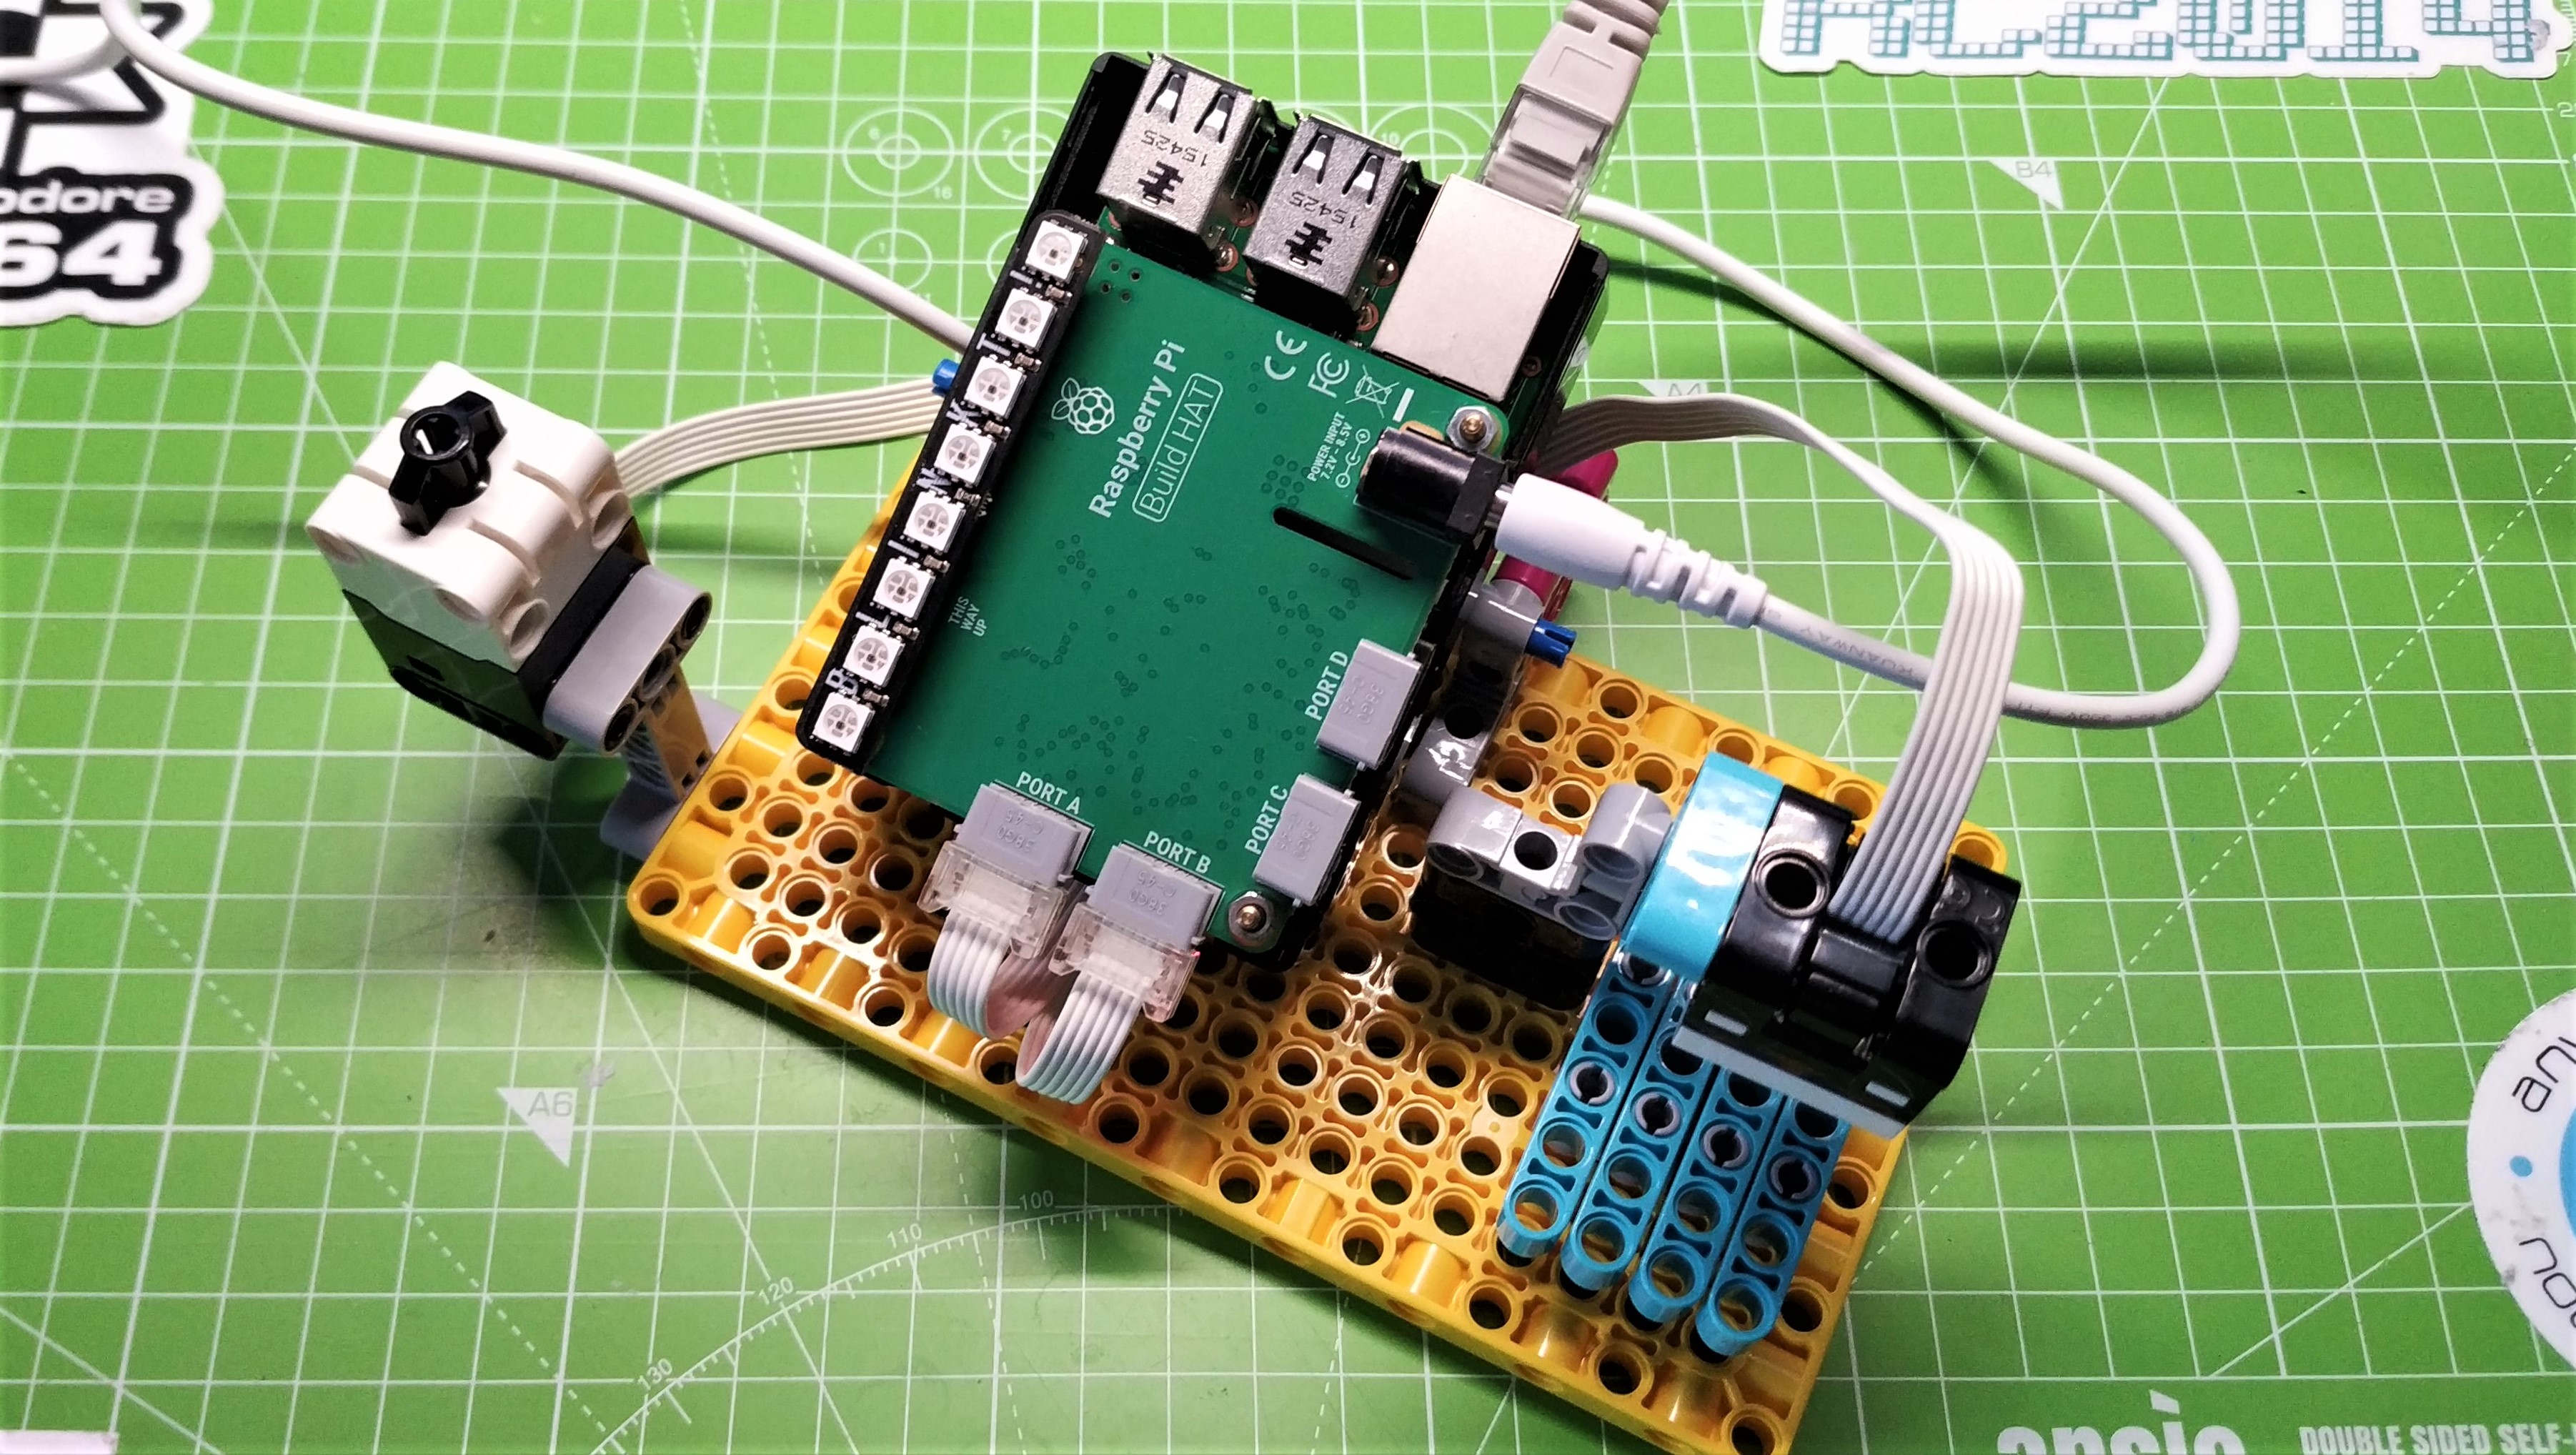
We were determined to have some RGB LEDs light up and so we used Pimoroni’s Blinkt which uses APA102 (DotStar) LEDs and built a rig to detect the color of an object. Pressing the force sensor triggers the color sensor to turn on, take a reading and then store the value in three variables (r,g,b) which are then passed to Blinkt which shows the color across all eight LEDs.
Use Cases for Build HAT
The Raspberry Pi Build HAT is designed for those who already have compatible kits, typically educational institutions and outreach organizations. Lego components don’t come cheap. A full Lego Spike Prime kit is around $340 or you can buy a Lego Spike Expansion set for $110 that comes with a single motor, a color sensor and lots of Lego bricks. Build HAT is compatible with Lego Mindstorms, which again is a sizable investment. In a conversation with Richard Hayler, Programme Manager at the Raspberry Pi Foundation we learnt that most LPF2 components should work with Build HA. These components can be picked up much cheaper than full kits, for example Lego Technic motors retail for $40 each, more expensive than a typical DC motor but much cheaper than a full kit.
Build HAT has only four LPF2 connectors, two less than the official Spike Prime Hub. This isn’t a deal breaker. With four LPF2 connectors we can connect two motors and two sensors, which are plenty for a basic robot. But given the plethora of Lego components compatible with this connector, it would’ve been great to match the number provided by the Spike Prime Hub. It would also be great if there were Lego compatible studs that we could attach Lego bricks too. This omission is not a deal breaker as we can pick up Lego compatible Raspberry Pi cases for around $15, as we did to embed our test project into a Lego build. Lego have released its first "element" (A Lego term for a component / piece) a "maker plate" designed for use with SBCs which has mounting holes for the Raspberry Pi. Right now this maker plate is only available in a Spike Prime Expansion Set, retailing for over $100.
Lego has its own block based coding language, Spike, which works with Lego’s hub device to interface with sensors and motors. While powerful, the Spike language is limited, so the inclusion of a Build HAT Python module is a smart move. The module extends the reach of Lego’s kits to more advanced coders, while enabling the huge ecosystem of Raspberry Pi HATs, including many of the best Raspberry Pi HATs, and Python projects to be used with Lego.
So what can we make with Build HAT? With the power of Lego’s interlocking bricks and the ease at which we can interface with sensors and motors we can make robots, M&M sorting rigs, and even automate our existing Lego models (we are looking at our Lego R2-D2 with glee).
Bottom Line
For $25, the Raspberry Pi Build HAT is a good investment but only if you already have, or can get hold of the compatible Lego kits for a good price. Extending the ease of use afforded by Lego, the Python module is easy to use and provides an advanced path for students to follow. If you are careful with your choice of HATs, then Build HAT can easily be used to augment your Raspberry Pi projects.

Les Pounder is an associate editor at Tom's Hardware. He is a creative technologist and for seven years has created projects to educate and inspire minds both young and old. He has worked with the Raspberry Pi Foundation to write and deliver their teacher training program "Picademy".
-
Co BIY My kids have been in First Robot League teams for years and I think the kids learn more and accomplish more with the table-scale Lego Robots (Lego First) than they do with the larger bots using half a gym. With table scale it is easy to see the program work (or not), troubleshoot with their team, and get more iterations in.Reply
The ability to program in Python but use the Lego standard robot parts is great. Advanced students are held back by the block style Lego program system. -
AnneC263 Reply
This article has been really useful in convincing me that I don’t have to pay £100s to get into using a Raspberry Pi with Lego via a BuildHAT.Admin said:The first Raspberry Pi HAT to use the RP2040 is a complete curveball. The RP2040 powers Build HAT, a collaboration between Raspberry Pi and Lego and sees Lego components being used directly with the Raspberry Pi.
Raspberry Pi Build HAT Review: Combine Lego Kits with Pi : Read more
