Tom's Hardware Verdict
For $5 this is a solid, tiny and easy to use RP2040 alternative.
Pros
- +
+ Small form factor
- +
+ USB C
- +
+ Castellated edges
- +
+ Low cost
Cons
- -
Documentation needs a little work
- -
Onboard NeoPixel doesn’t work with CircuitPython
Why you can trust Tom's Hardware
Seeed’s XIAO RP2040 is a diminutive board. It looks too small to be useful, but appearances can be deceptive. This isn’t the first XIAO board from Seeed, previously there was an Arm Cortex M0+ running at 48 MHz powered model, Seeeduino XIAO which looks identical to the XIAO RP2040 and is also identically priced at $5.40. The XIAO was an impressive board, but the XIAO RP2040 brings the RP2040 SoC to the table and with that we have a much more powerful microcontroller, for zero extra money. We put the XIAO RP2040 through its paces to see if it is worth your $5; spoiler, it is.
XIAO RP2040 Hardware Specifications
| CPU | Dual-core ARM Cortex M0+ processor up to 133MHz |
| Flash Memory | 2MB |
| SRAM | 264KB |
| GPIO | 3.3V Logic level |
| 11 x Digital IO | |
| 4 x Analog IO | |
| 11 x PWM | |
| I2C, SPI, UART | |
| Power | 5V via USB-C |
| Dimensions | 0.8 x 0.7 inches (20 x 17.5 mm) |
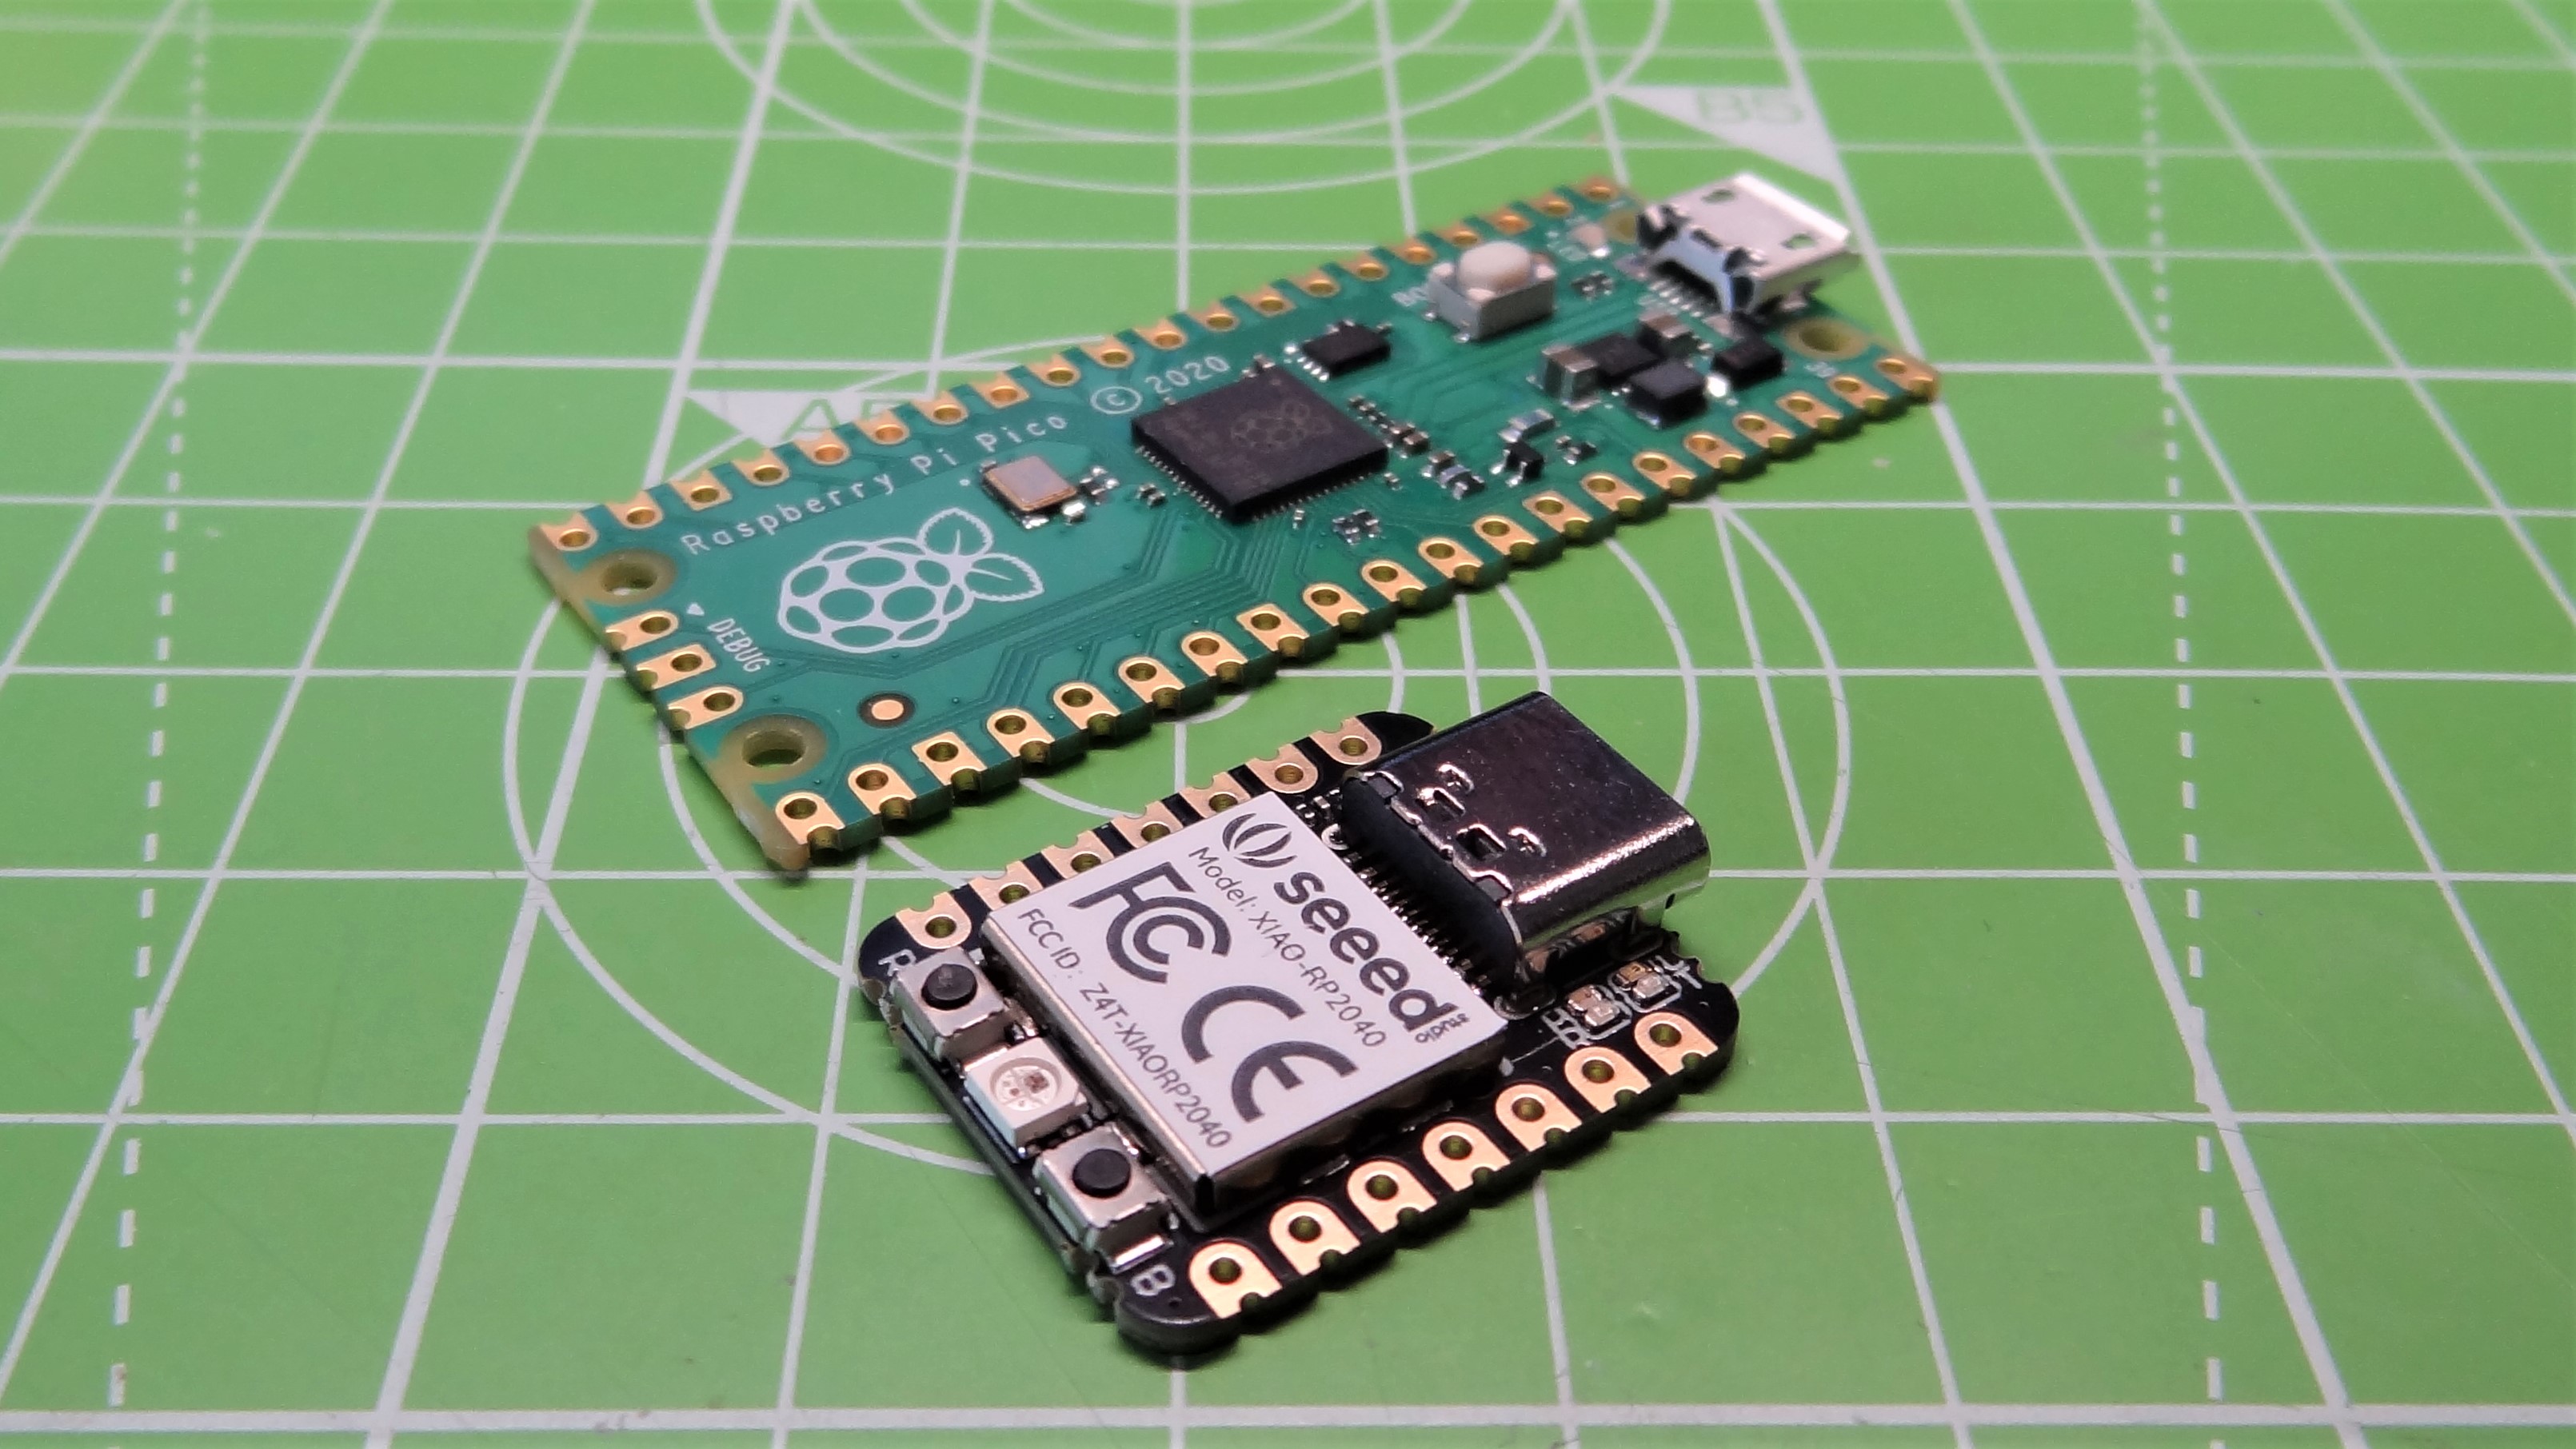
The XIAO RP2040 is powered by the RP2040, Raspberry Pi’s own silicon released in January 2021. XIAO RP2040 has the same RAM and storage specifications as the Raspberry Pi Pico, so what makes it different from the Pico is its size. It is noticeably smaller than a Pico. Measuring just 0.8 x 0.7 inches (20 x 17.5 mm), versus the Raspberry Pi Pico’s larger 2 x 0.8 inches (51 x 21mm) footprint, we can see a big saving in space. As such we see only 11 GPIO pins, all of which can be used digitally (on / off) or be used with Pulse Width Modulation (PWM) which is commonly used to control motor speeds and LED brightness.
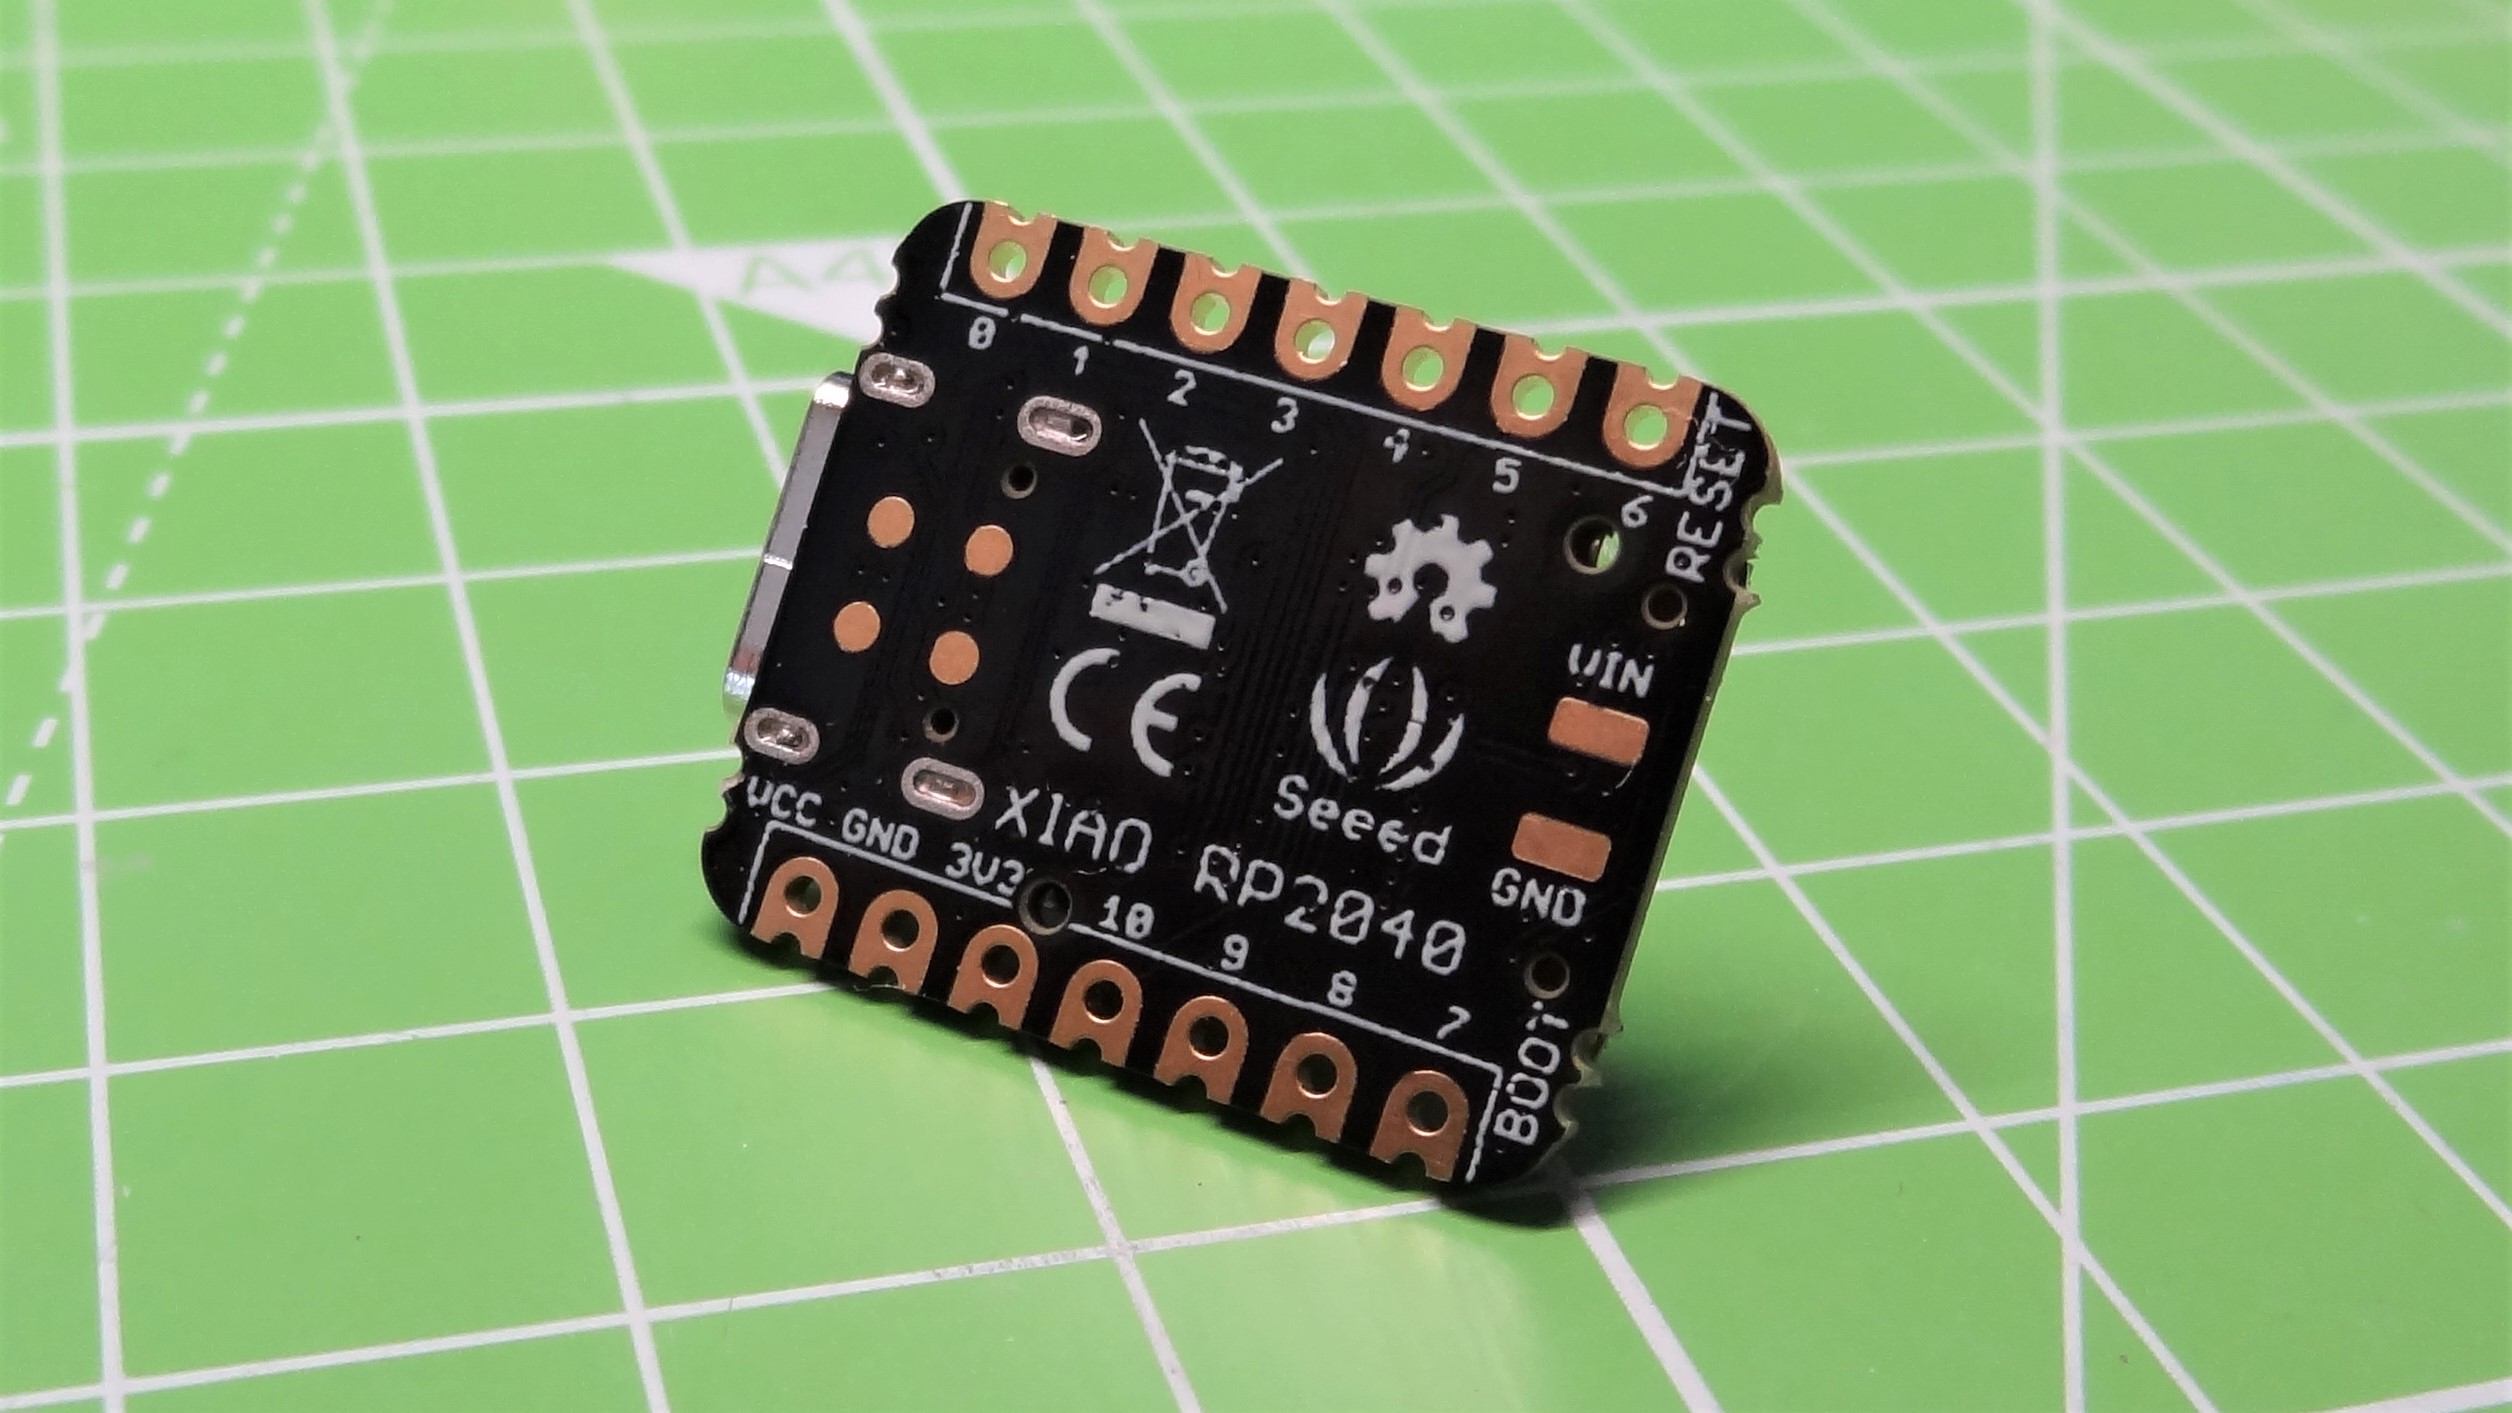
Four of the pins (A0 to A3) are analog inputs which can be used with analog electronics such as potentiometers. The other GPIO pins also pull extra duties as UART, SPI and I2C, enabling us to connect electronics using these protocols. The pin selection has been carefully curated to ensure that we have everything that we need for most projects. The GPIO can be used with typical 2.54mm pin headers or it can be surface mount soldered thanks to the castellated edges around the perimeter.
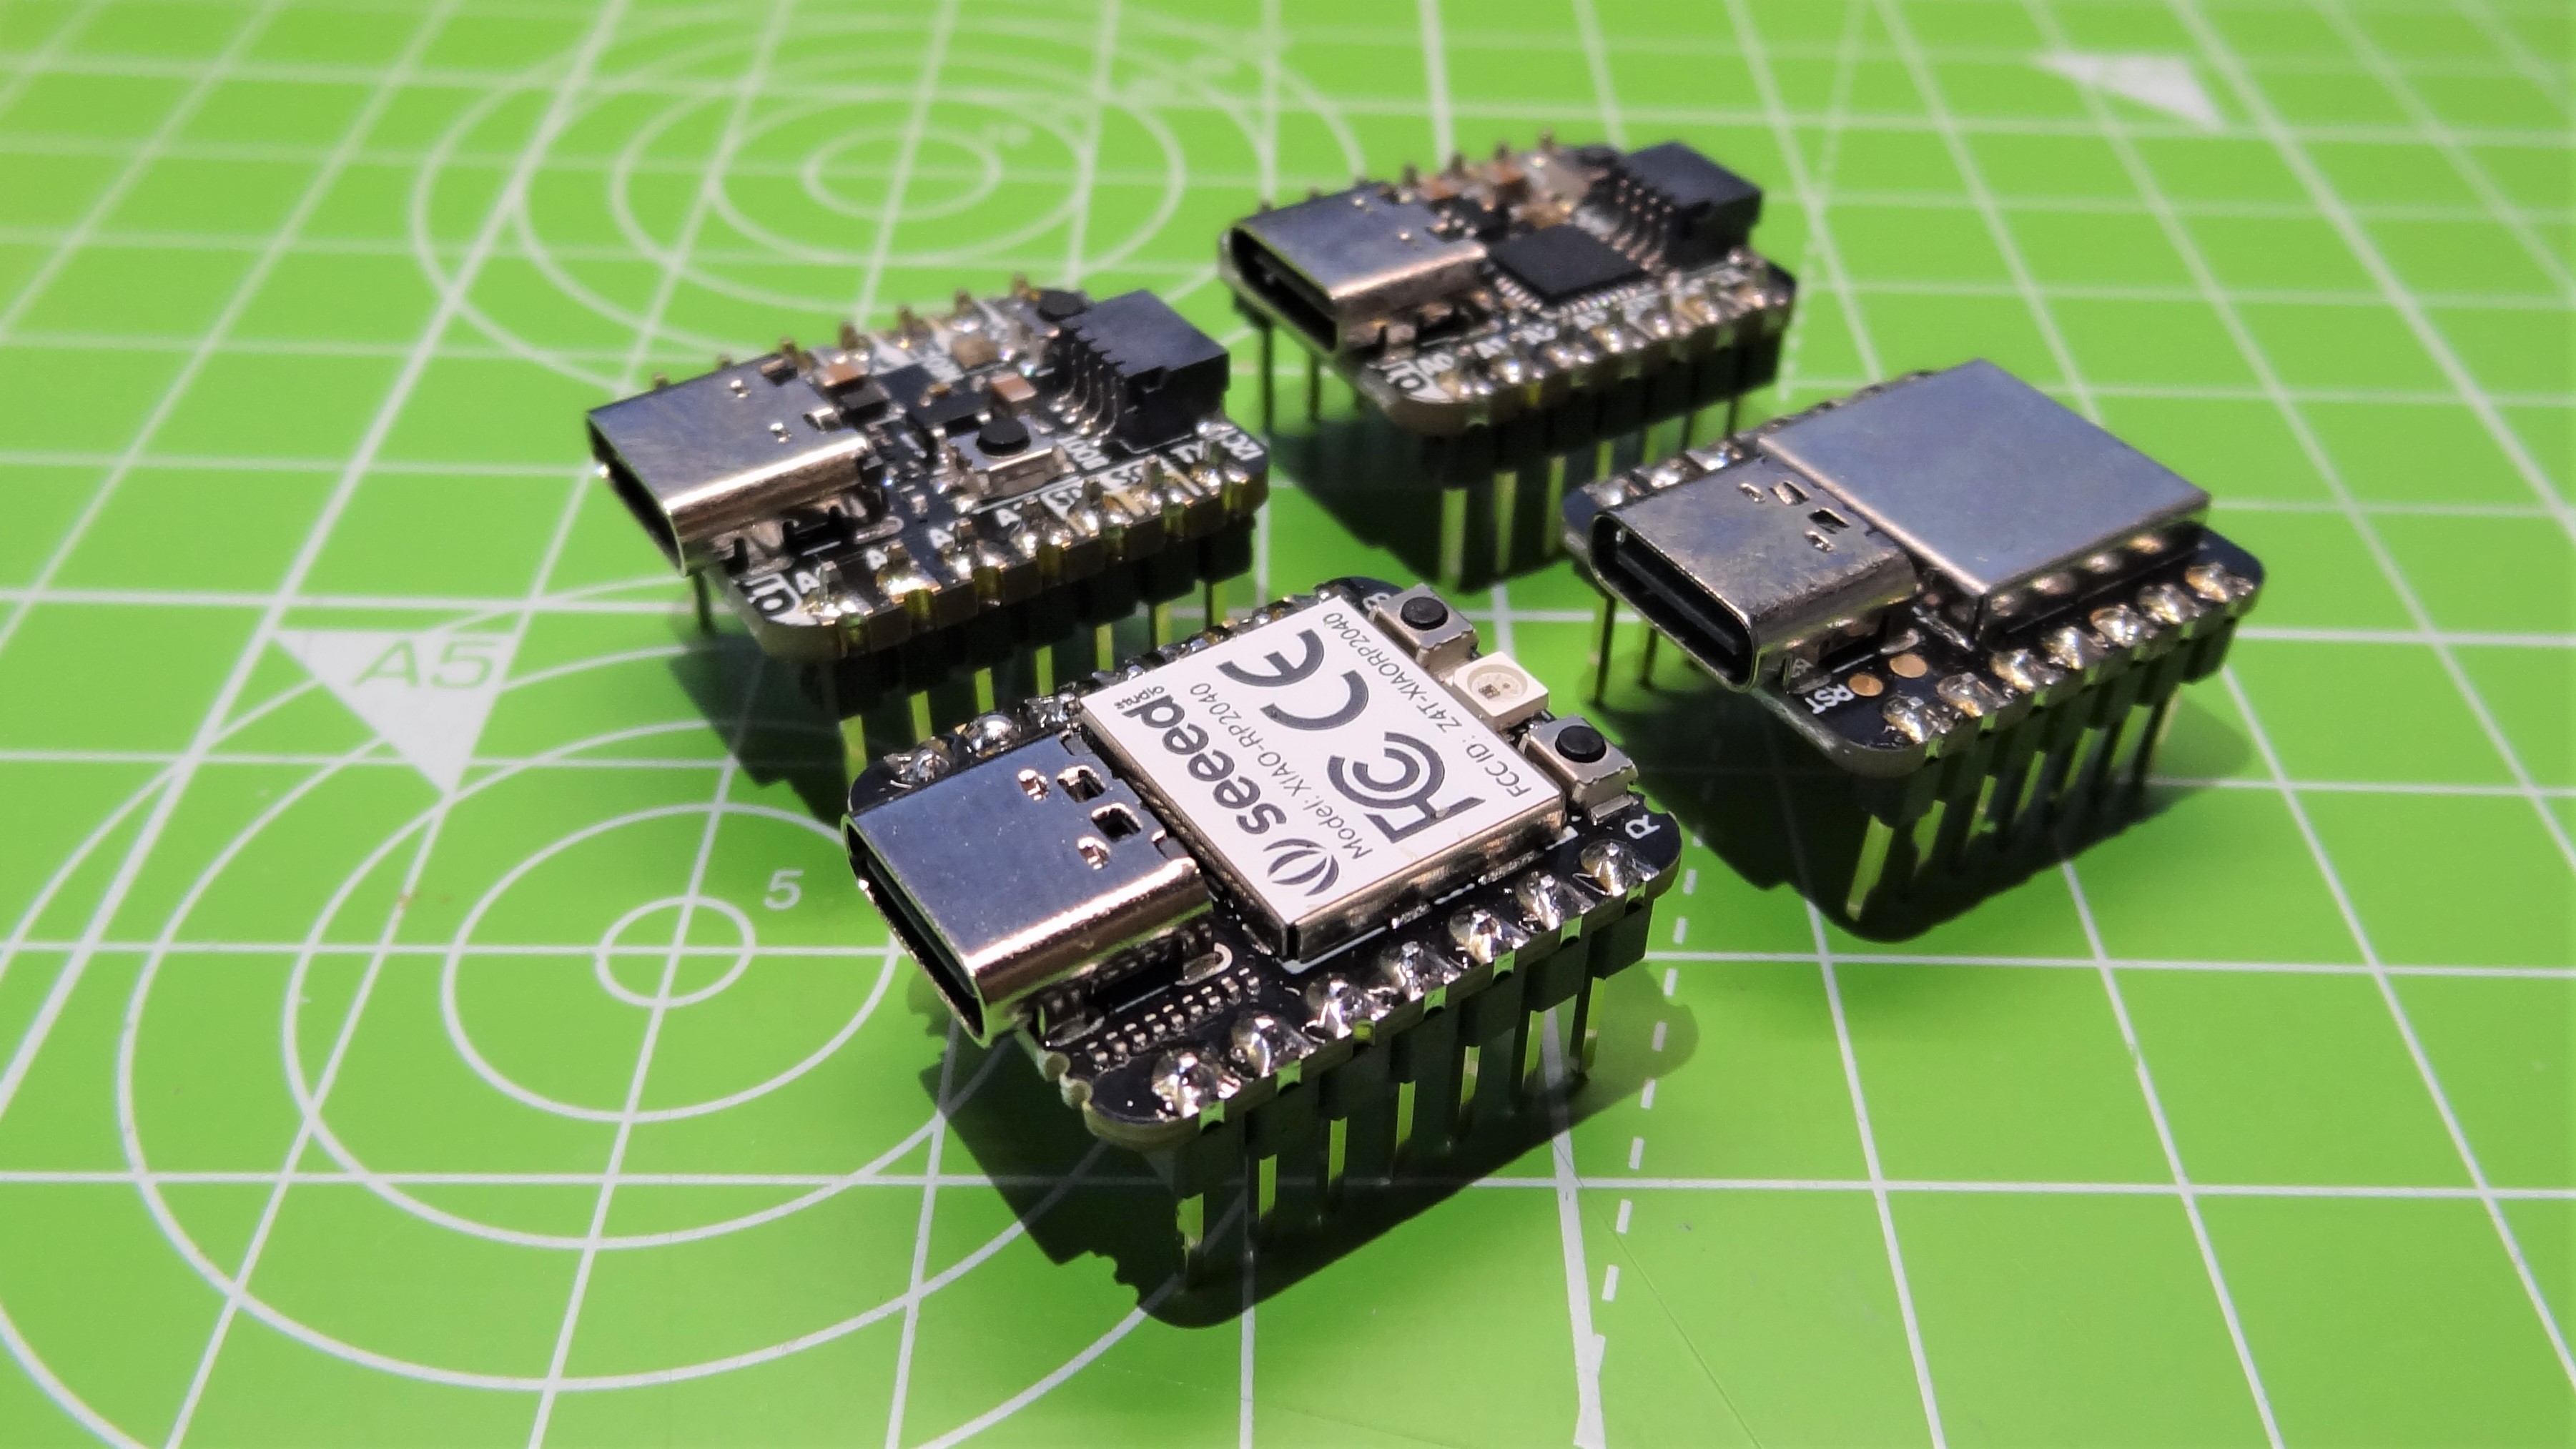
The XIAO RP2040’s doppleganger is Adafruit’s QT PY RP2040, they both share the same footprint and pin layout and can be easily mistaken at a glance. The only difference is the XIAO RP2040 lacks a Stemma QT connector. The missing connector is found on many Adafruit boards and offers a quick and convenient means to connect add-on boards via the I2C bus.
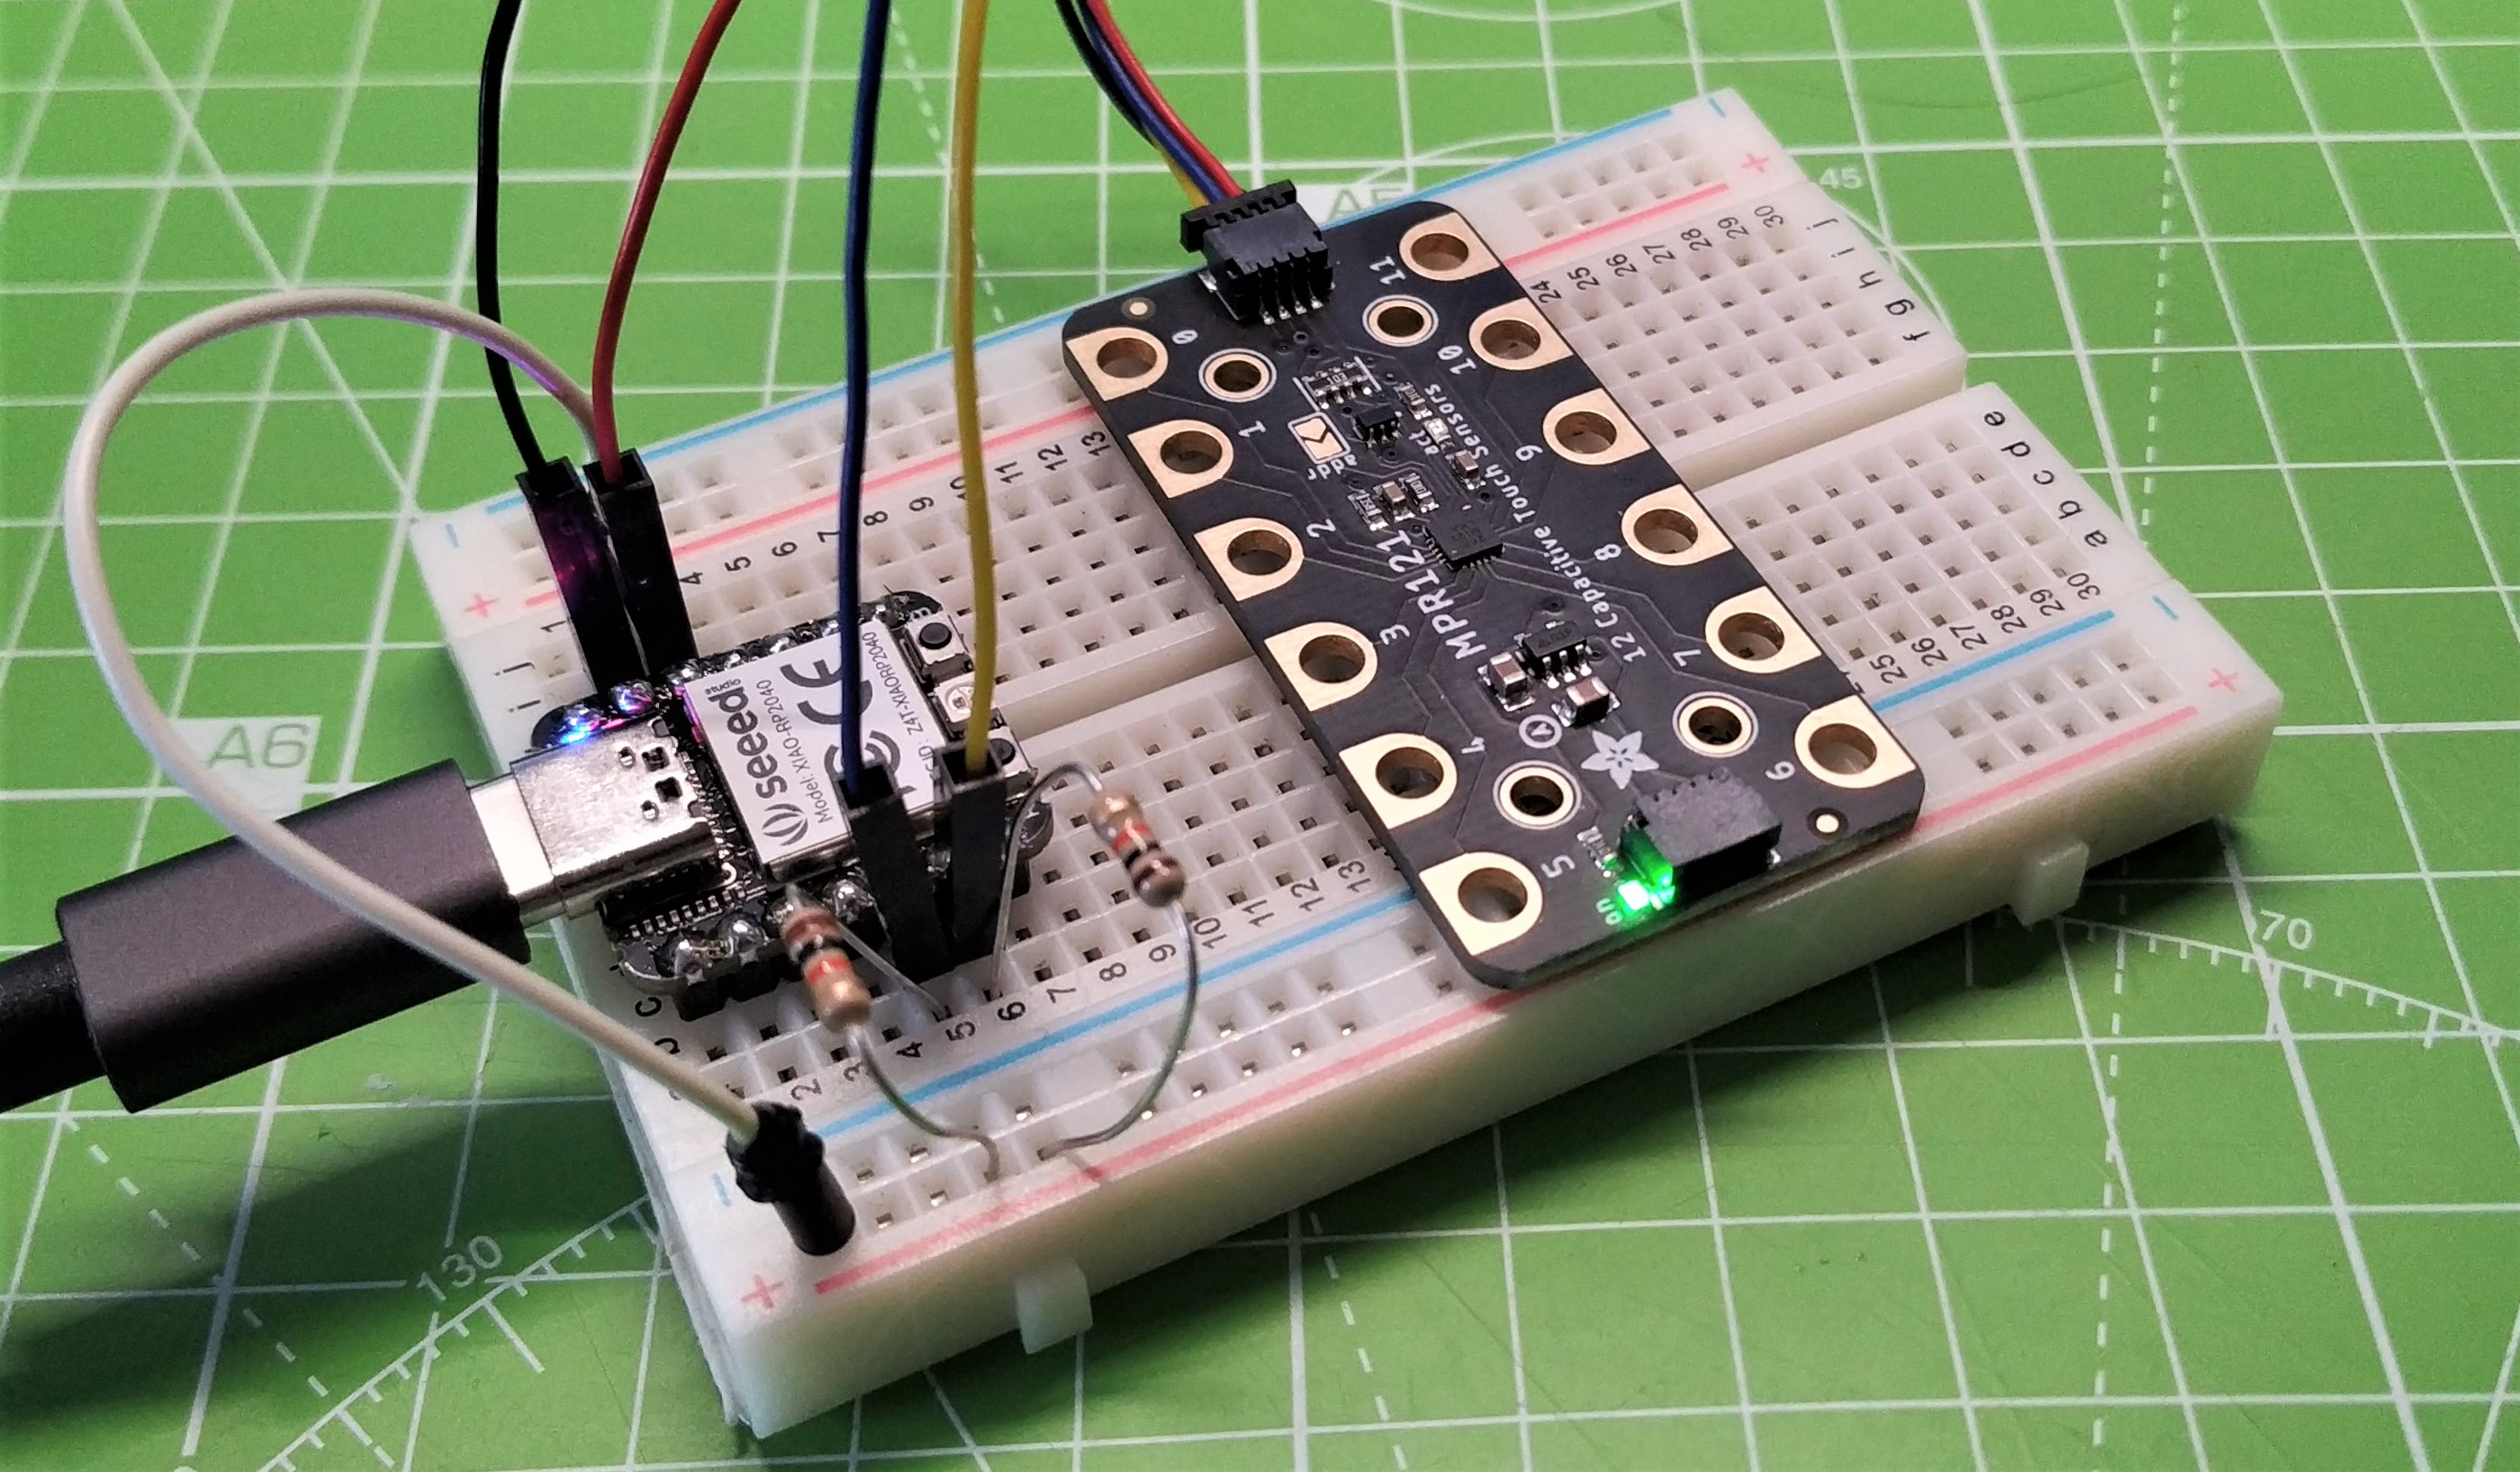
The lack of connector does not mean we cannot connect an I2C or Adafruit add-on. Pins P6 and P7 are I2C, SDA and SCL respectively, and we can connect I2C devices to those pins, as long as we use resistors between 2.2 and 10K Ohm in value (see resistor color codes to identify) between the 3.3V pin and SDA and SCL. These resistors pull the SDA and SCL pins high, ensuring that our connection is stable. We tested the I2C bus by connecting an Adafruit MPR121 capacitive touch sensor, and using the latest release of CircuitPython 7.0 we were able to easily ready input and display output in the REPL. Note that many CircuitPython I2C based examples use board.SDA and board.SCL as pin references. These need to be changed to board.GP6 and board.GP7 for the XIAO RP2040.
Next on our checklist was MicroPython support. We flashed the latest version of MicroPython for the Raspberry Pi Pico and then loaded Thonny. We followed a few of Seeed’s examples and everything felt as it should be. There were no surprises or pitfalls with the hardware. The only issue we found was with the documentation; you really need to pay careful attention to the key for the pin numbering. After a short time scratching our head, we worked out our error and had everything working as we expected, including the onboard WS2812 NeoPixel LED.
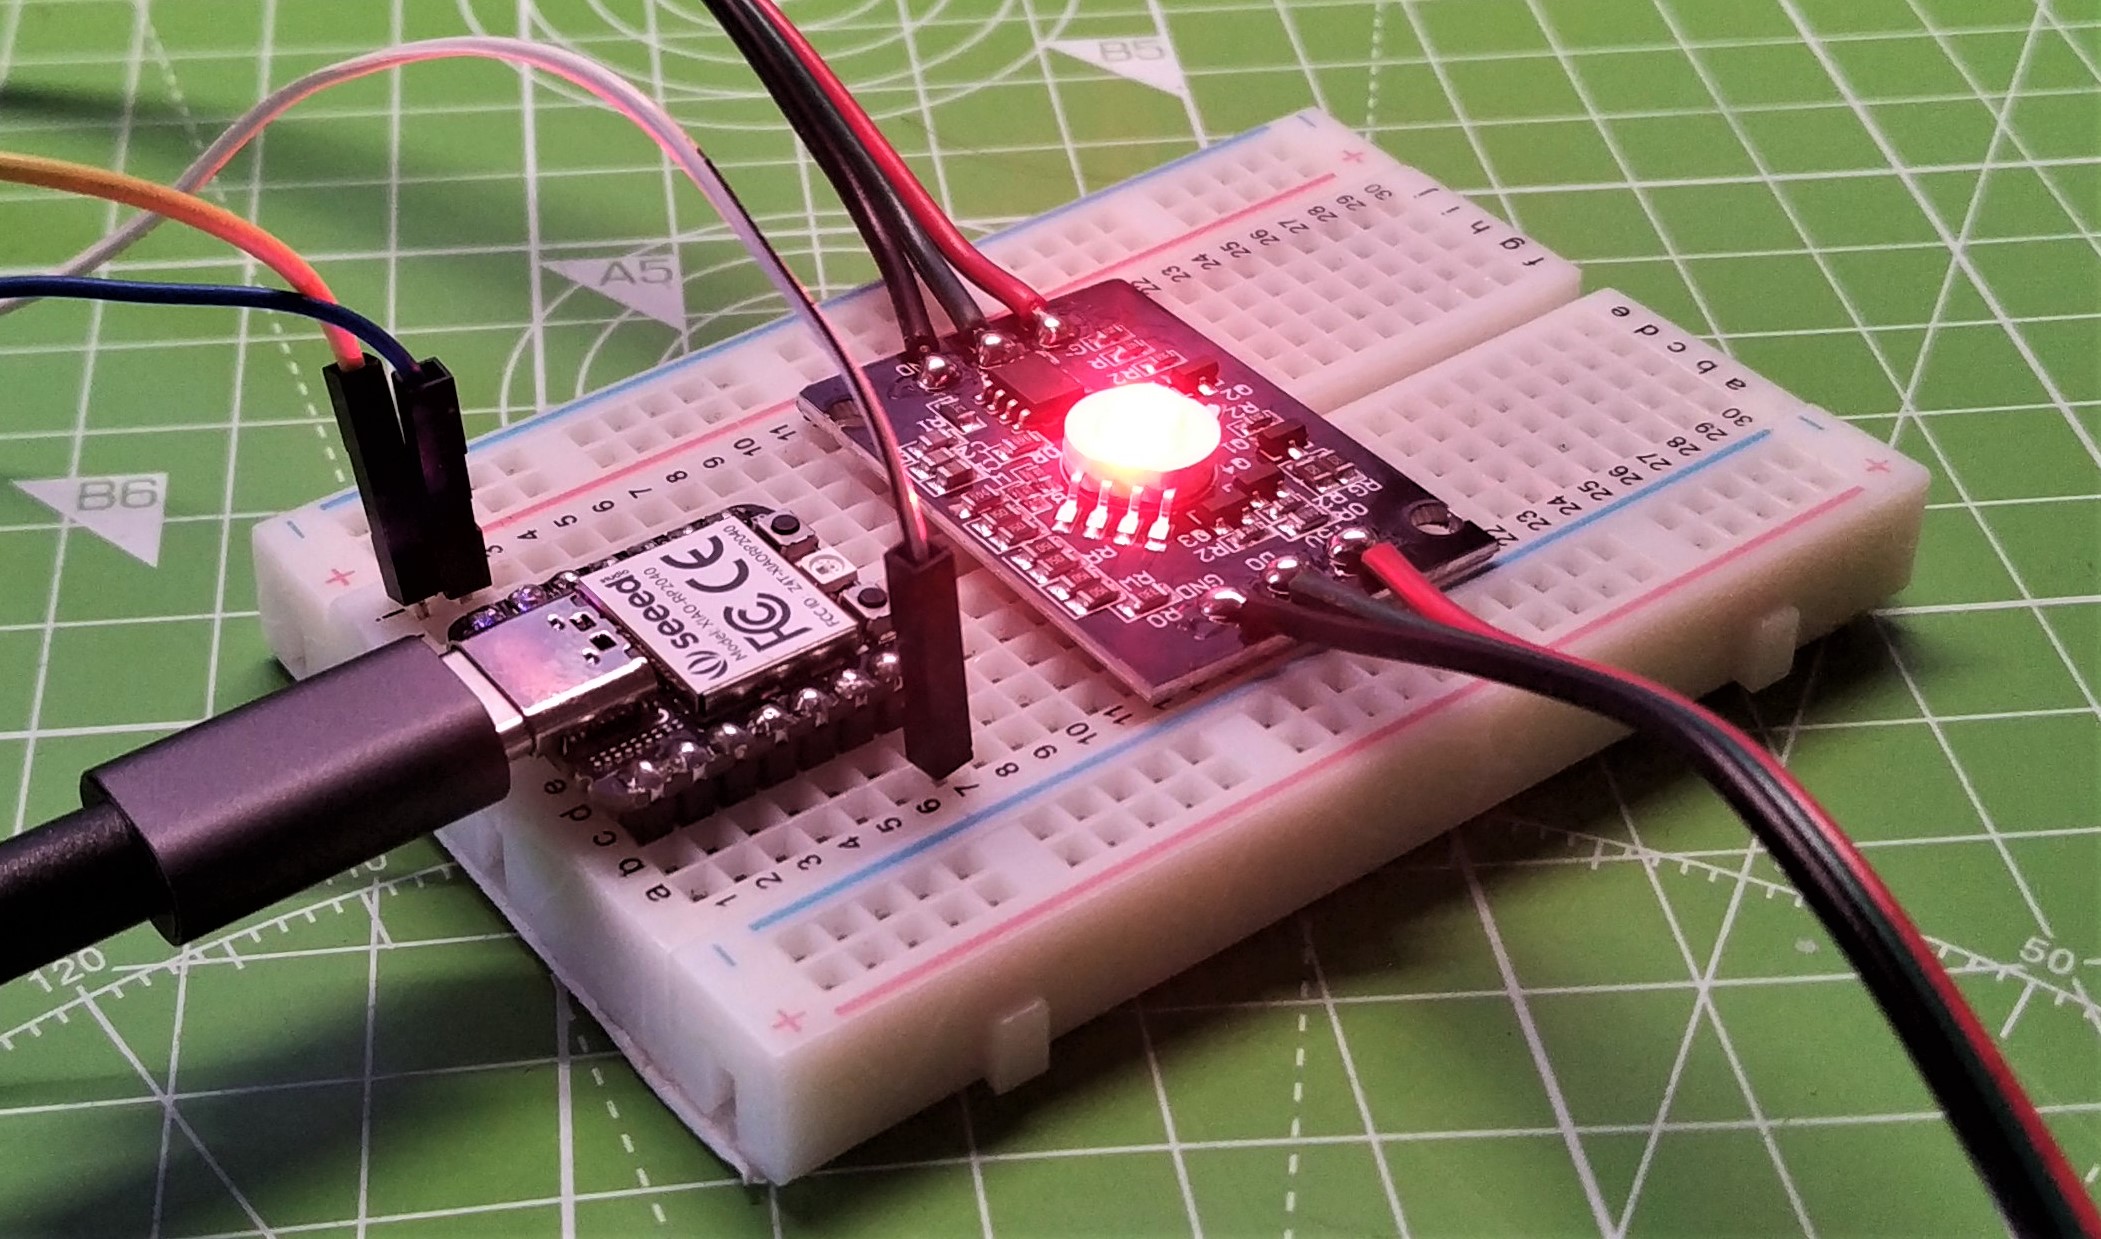
Moving on, we wanted to test CircuitPython’s NeoPixel library with the onboard WS2812 LED, and this is where we noticed a peculiar issue. We had the correct pin number, but no matter what, CircuitPython’s NeoPixel library did not communicate with the LED. We connected an external string of NeoPixels and changed the pin reference in our code, et voilà ! We had a chain of NeoPixels performing a custom light show and it worked beautifully. The issue with CircuitPython and the onboard RGB LED is not a deal breaker. In fact many will never hit this issue.If you want a cheap way to add some RGB illumination to a project, XIAO RP2040 is a viable solution.
Get Tom's Hardware's best news and in-depth reviews, straight to your inbox.
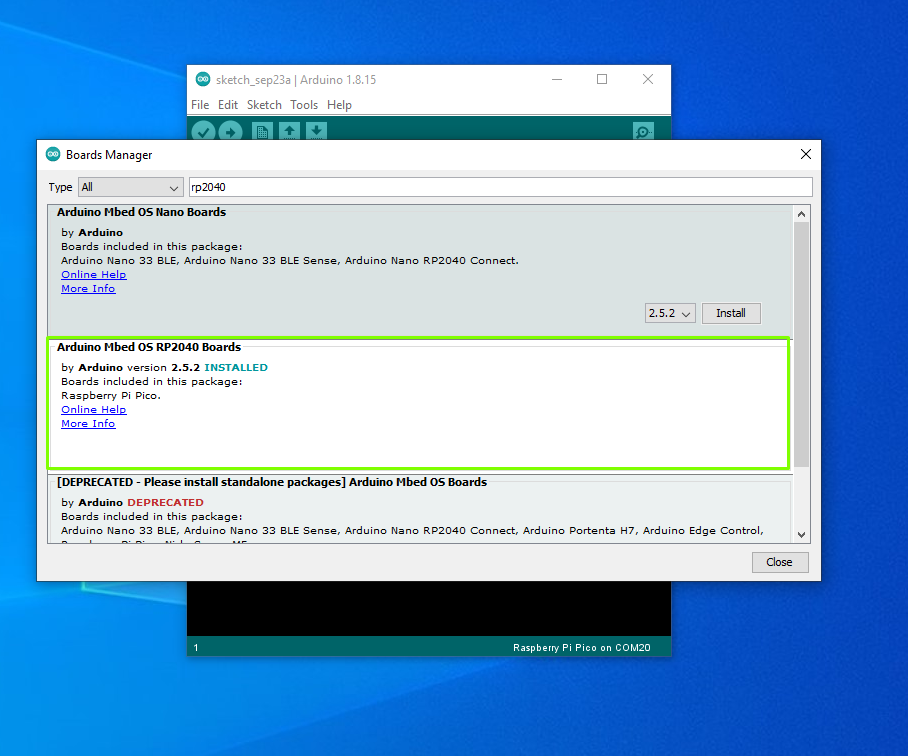
If the Arduino is your programming language of choice, you will be happy to know that the XIAO RP2040 works with the Arduino IDE. We tested with 1.8.15, using the Arduino Mbed OS RP2040 Boards library, and quickly had an example project ready to go. Each time you wish to flash a new project to the XIAO RP2040 you will need to put the board into Bootloader mode, press and hold the Boot button, and then tap the Reset button. If you forget, then the Arduino IDE will error.
Bottom Line
If you need a small RP2040 powered board, then at $5, Seeed’s XIAO RP2040 is the board for you. It is pin compatible with Adafruit’s QT PY RP2040, but half the price. Sure we lose the Stemma QT connector found on the QT PY RP2040and we go down from 8MB to 2MB but unless you need to put a lot of code or connect Stemma QT devices, you can live without those things . This is an impressive, cost effective and easily embeddable little board that deserves a spot in your bits box.

Les Pounder is an associate editor at Tom's Hardware. He is a creative technologist and for seven years has created projects to educate and inspire minds both young and old. He has worked with the Raspberry Pi Foundation to write and deliver their teacher training program "Picademy".
-
evildave_666 The reason you were unable to get the onboard neopixel to operate was most likely you did not enable power to it via GPIO10 first. This is done on a lot of boards in order to enable low power operation. Its clear if you look at the schematic.Reply -
harrisbw import timeReply
import board
import neopixel
import digitalio
ledpwr = digitalio.DigitalInOut(board.GP11)
ledpwr.direction = digitalio.Direction.OUTPUT
ledpwr.value = 1
pixels = neopixel.NeoPixel(board.GP12,1)
WHITE = (200, 200, 200)
RED = (200, 0, 0)
GREEN = (0, 200, 0)
BLUE = (0, 0, 200)
OFF = (0, 0, 0)
DELAY = (0.140)
while True:
pixels.fill(WHITE)
time.sleep(DELAY)
pixels.fill(RED)
time.sleep(DELAY)
pixels.fill(GREEN)
time.sleep(DELAY)
pixels.fill(BLUE)
time.sleep(DELAY) -
NicolauDosBrinquedos I decided to write this tutorial because the manufacturer’s website contains some errors regarding the use of this board with Circuitpython. Although the site contains the information that the firmware for the board is the same as that of the Raspberry Pi Pico, I noticed that some features were not present. Especially when we use the expansion board. The examples on the Seeed Wiki are mostly suitable for use with the Arduino IDE. But the examples for Circuitpython are not well documented.Reply
https://www.pcbway.com/project/shareproject/Circuitpython_on_Seeed_XIAO_RP2040_efd3eaef.html
