How to Use an Android Device to Write Raspberry Pi SD cards
Need to write a micro SD card for your Raspberry Pi but you aren’t near a computer? No problem with this clever Android app.
Get Tom's Hardware's best news and in-depth reviews, straight to your inbox.
You are now subscribed
Your newsletter sign-up was successful
Writing an SD card, the first thing you need to do to set up a Raspberry Pi, typically involves a computer, card reader and software such Raspberry Pi Imager. But what happens when you are away from a computer and need to write a new OS for your Raspberry Pi? Well luckily there is a very useful app for Android phones and tablets.
Raspi SD Card Imager from Mike Redrobe is a tool to write operating system images for use on the Raspberry Pi. It can download and flash from a selection of images, from Raspberry Pi OS, to Ubuntu and RetroPie, all from one handy app.
If you have your own custom images, these can be written to an SD card while you are on the road. Let's take a look at this application and learn how to write the latest Raspberry Pi OS 32-bit to a microSD card for a spare Raspberry Pi 4.
What You Need
- Android device
- Adapters to connect a micro SD card reader
- Micro SD card
- Raspberry Pi and accessories
How to Install Raspberry Pi OS with Raspi SD Card Imager
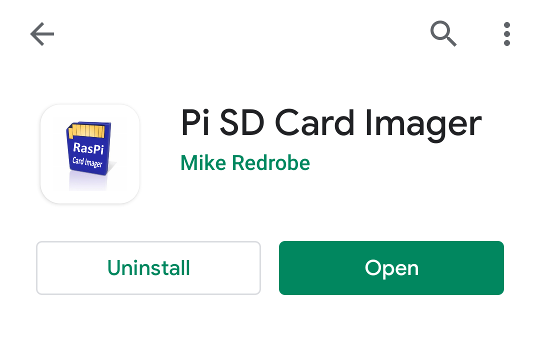
1. On your Android device open the Google Play Store and install Pi SD Card Imager.
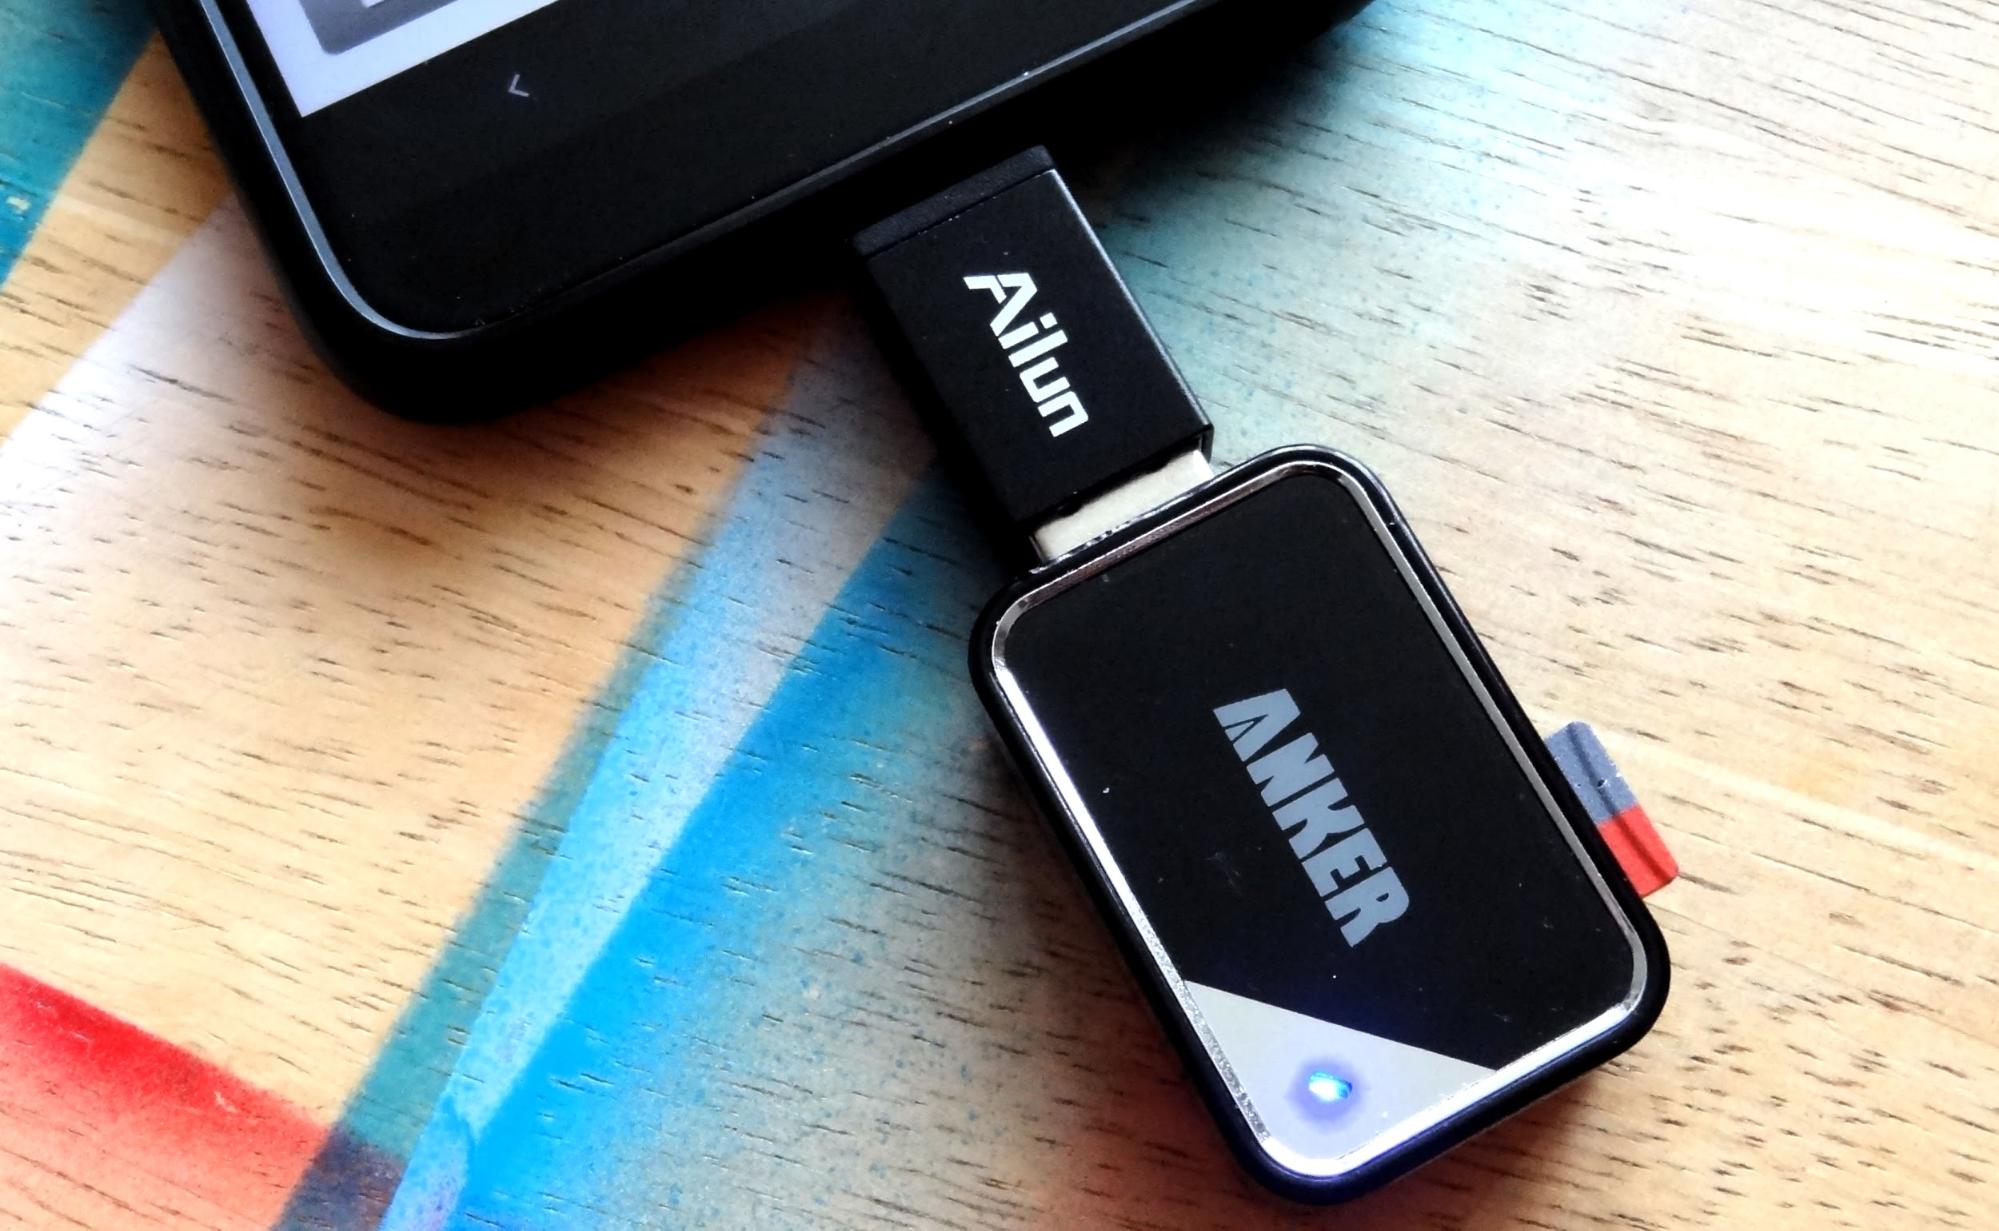
2. Insert your micro SD card (and reader) into your Android device. If your device has a built-in micro SD card reader, use that.
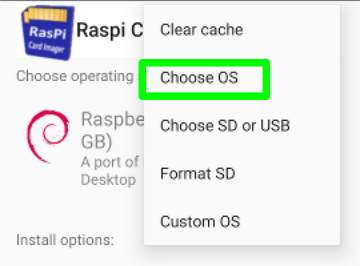
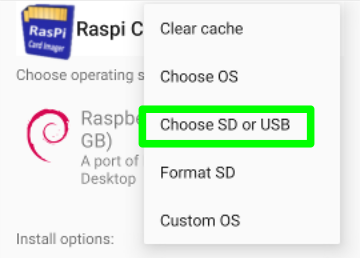
3. Open Raspi SD Card Imager app and press the three dots in the top right of the screen. Select Choose OS and use the filters at the top of the screen to select Pi 4.
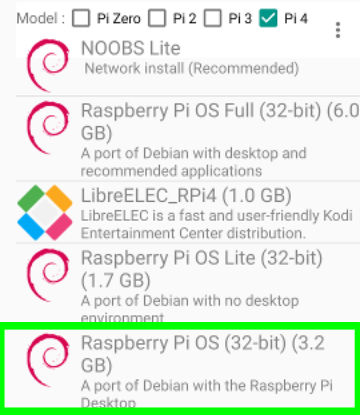
4. Choose Raspberry Pi OS (32-bit) (3.2GB). This will download and cache the installation files to your Android device.
Get Tom's Hardware's best news and in-depth reviews, straight to your inbox.
5. Select Choose SD or USB via the three dot menu. Select the drive which contains your micro SD card.
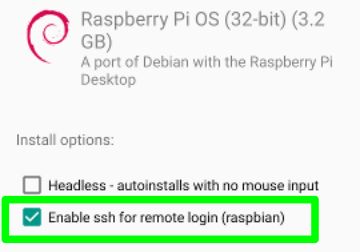
6. Click on “Enable SSH for remote login” for out of the box SSH support.
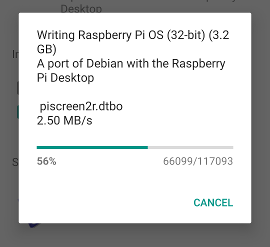
7. Click on “Write to SD” to start the process. Depending on the Android device, this should take no longer than 10 minutes.
8. Eject the micro SD card and then insert the micro SD card into your Raspberry Pi.
9. Power up the Raspberry Pi and it will go through the final stages of the install process. Once complete, the Pi will reboot and you will see the Raspberry Pi OS Desktop.
Hat tip to leepspvideo who provided the inspiration for this article.

Les Pounder is an associate editor at Tom's Hardware. He is a creative technologist and for seven years has created projects to educate and inspire minds both young and old. He has worked with the Raspberry Pi Foundation to write and deliver their teacher training program "Picademy".
-
juanca1944 Strictly speaking with the cell phone is enough, since it has a slot for a micro SD. Before the "imager" I use it regularly.Reply -
Engo78 If you use the internal micro sd card port for most smartphones, they will be formatted as either internal storage, or combined with internal storage. Better to use an external card reader with an otg cable, or otg hub with built in card readers.Reply -
lazersteve Im trying to install a custom OS that is an official Raspi 64 bit OS on my OTG SD card using this app and getting a java su error. The compressed img file was downloaded from the official Raspi site to a folder on my S22+ phone. Any tips or advice? As a side the instructions work fine for one of the built in 32 bit OSes on the P4 list included in the app.Reply
Thank you in advance.
Steve -
USAFRet Reply
Please start a NEW thread for your particular situation.lazersteve said:Im trying to install a custom OS that is an official Raspi 64 bit OS on my OTG SD card using this app and getting a java su error. The compressed img file was downloaded from the official Raspi site to a folder on my S22+ phone. Any tips or advice? As a side the instructions work fine for one of the built in 32 bit OSes on the P4 list included in the app.
Thank you in advance.
Steve
This one is ancient.
