How to Build a Tweeting Weather Bot with Raspberry Pi
It tweets the weather and photo automatically.
When I first started getting into programming, one of my mentors built a project where he took an image every day, overlaid the current weather, and tweeted it. I remember at the time thinking there was no way I could ever build something that complicated.
Fast forward to now, it’s a relatively simple thing to put together - and in my opinion, a great starter project for someone getting involved with programming. So with all those in mind, let’s build a twitter bot that takes a photo every day and tweets it out, using a Raspberry Pi.
What You’ll Need: Raspberry Pi Twitter Weather Bot
- Raspberry Pi 4 or Raspberry Pi 3 with power adapter
- Desktop speakers or a megaphone with a 3.5mm input and 3.5mm cable
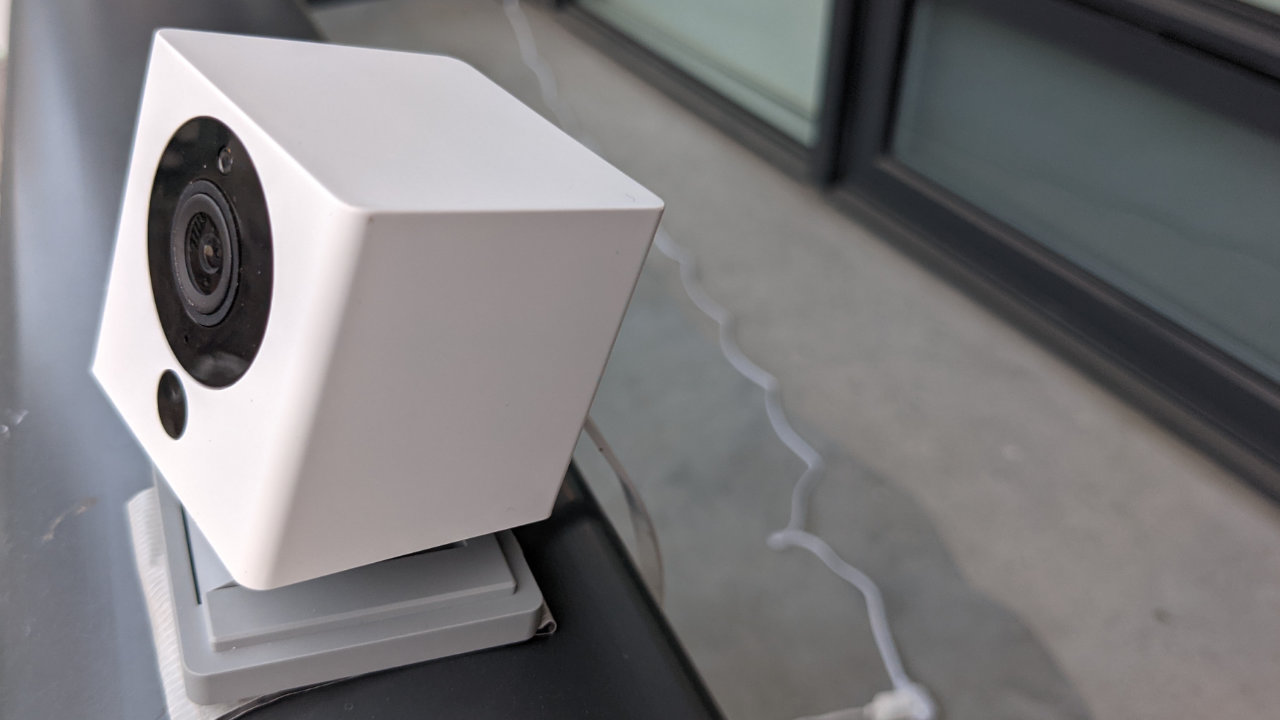
- Wyze Cam
- 8 GB (or larger) microSD card
- A Twitter account
- An OpenWeatherMap account
How to Build a Twitter Weather Bot with Raspberry Pi
Before you get started, get your Raspberry Pi set up. If you haven’t done this before, see our article on how to set up a Raspberry Pi for the first time or how to do a headless Raspberry Pi install (without the keyboard and screen). For this project, we recommend a headless Raspberry Pi install.
1. Install git. We’ll need it to download the code from GitHub.
sudo apt-get update
sudo apt-get -y install git
2. Clone the repository to your home directory. This will ensure we have all the code and audio files we need to run the project.
cd ~/
git clone https://github.com/rydercalmdown/weather_twitter_bot.git
3. Run the “make install” command to install all project dependencies. This script will take care of installing lower level dependencies, as well as the Python libraries you need for the project to run. This can take up to 10-15 minutes on a Raspberry Pi Zero.
cd ~/weather_twitter_bot/
make install
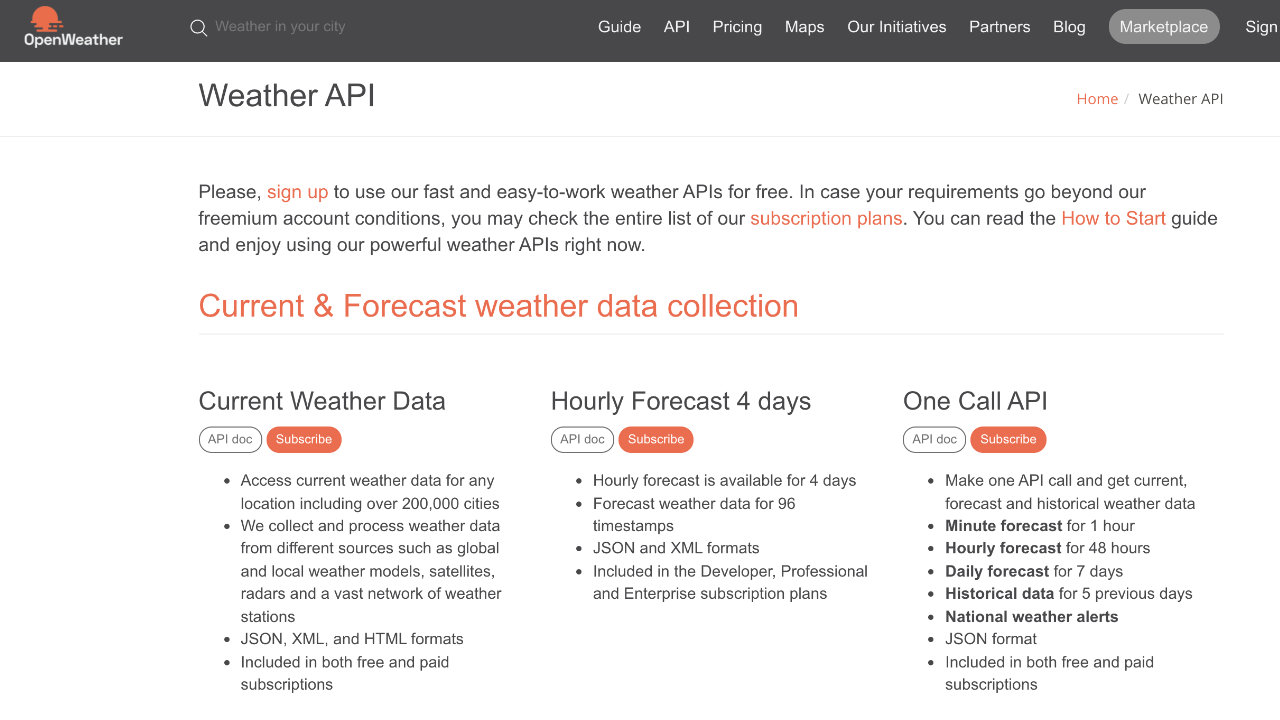
4. Get an API Key from Open Weather Map. You will need to sign up for an account and retrieve the key from there.
Get Tom's Hardware's best news and in-depth reviews, straight to your inbox.
5. Create a twitter application by visiting the Twitter Developer Portal and clicking Create a Project and Create an Application.
6. Choose the development environment for your application, then hit next.
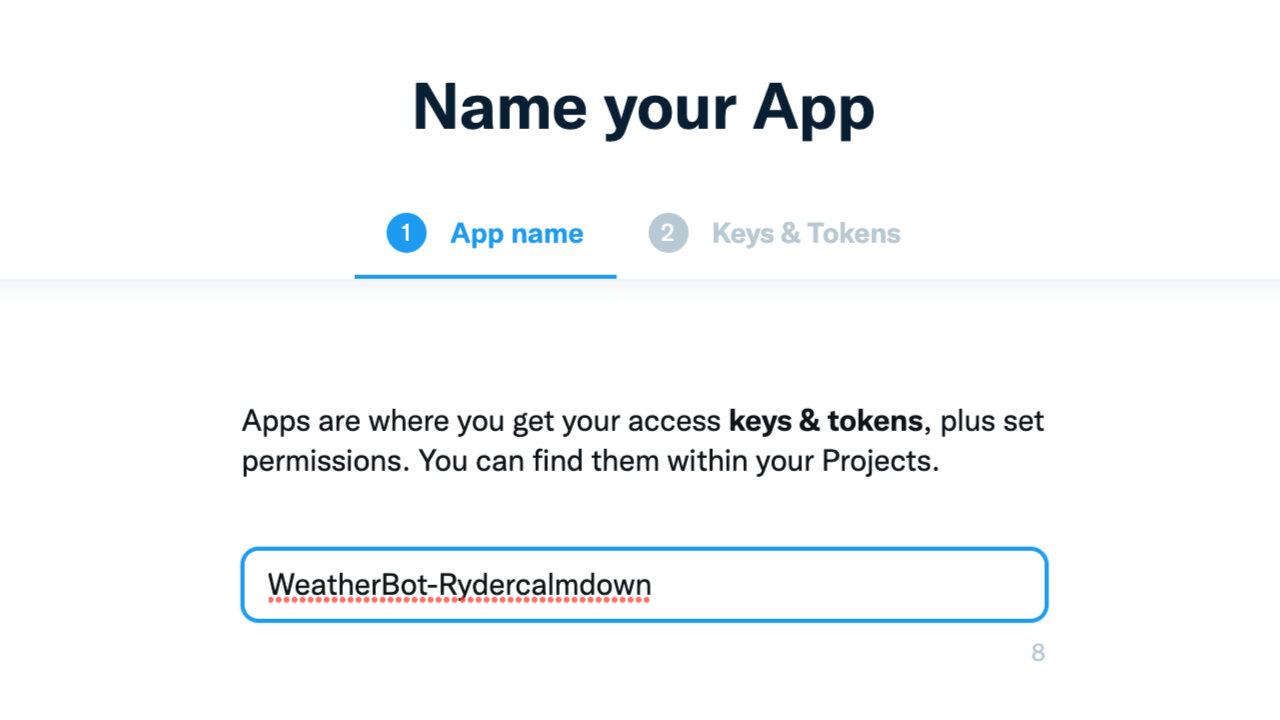
7. Name your application a unique name across the twitter-verse, like weatherbot-yournamehere, then click next.
8. Save the API_KEY and API_KEY_SECRET values on the next page, then close the dialog.
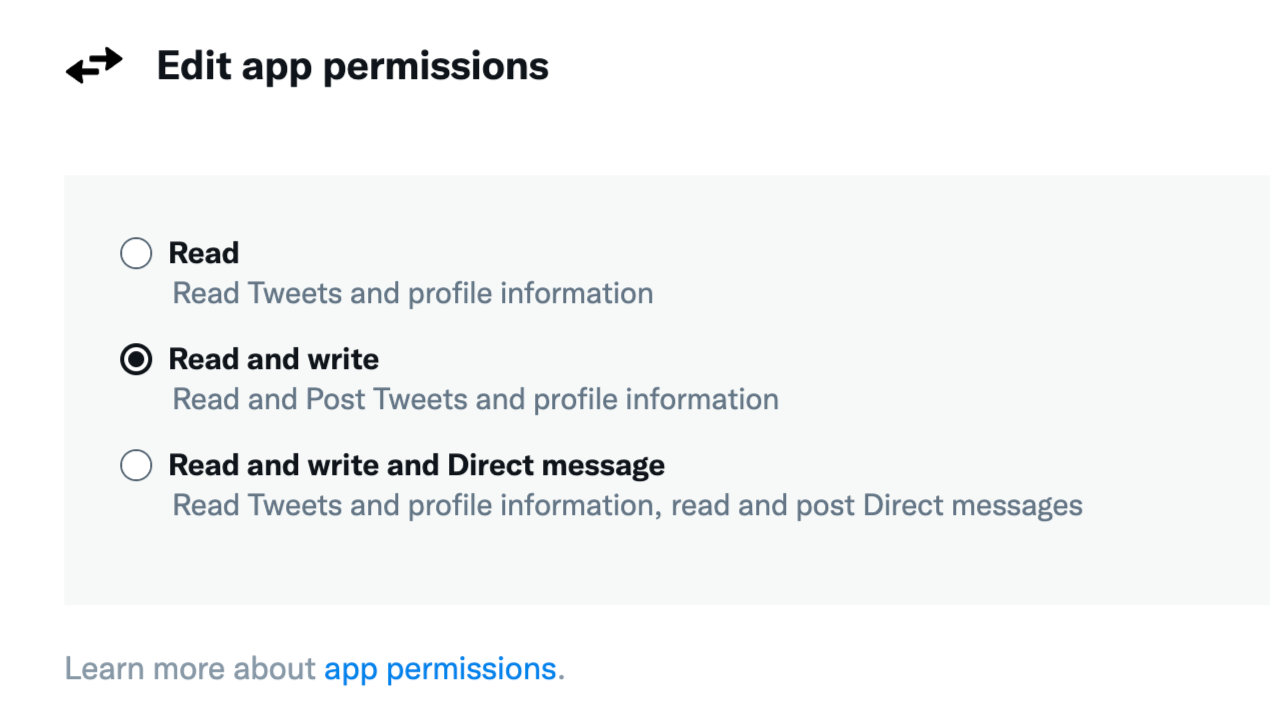
9. Navigate to your application settings and find the “App Permissions section”, then click edit. Modify the application permissions to “Read and write”, then click save.
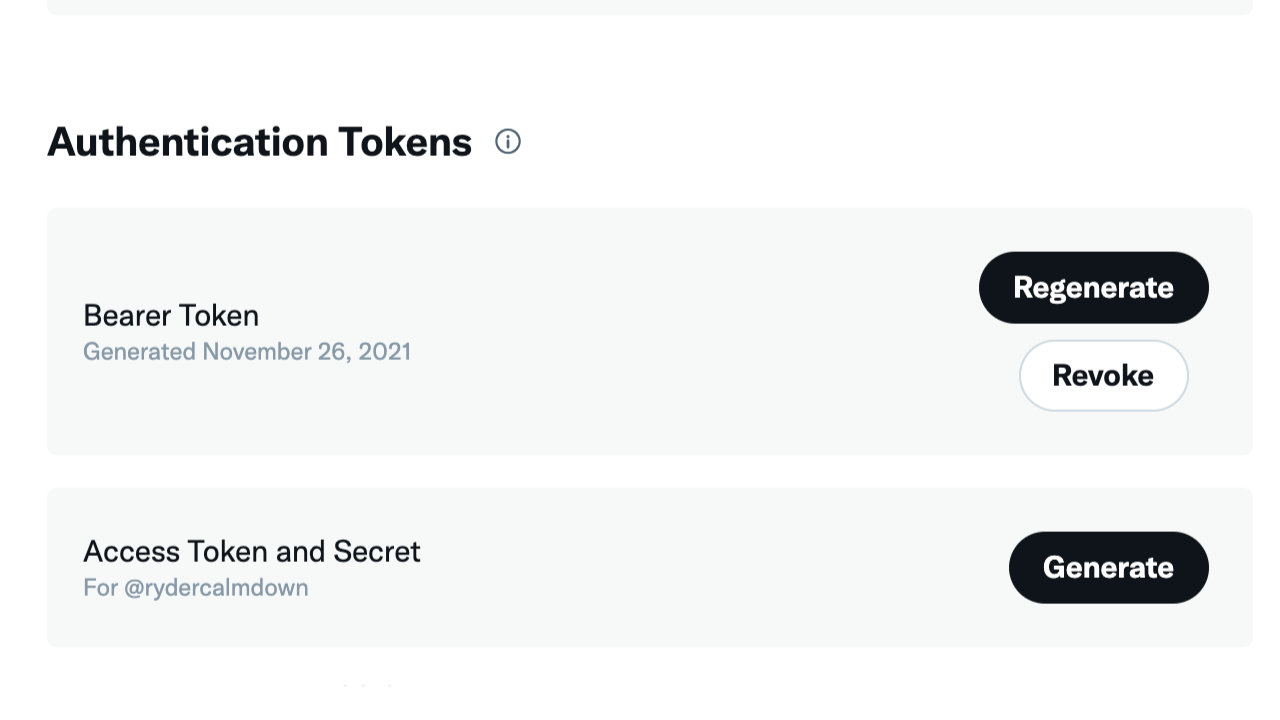
10. At the top of the page, navigate to the “Keys and tokens” tab, then scroll down to “Access Token and Secret”). Click generate, and store the values for later.
11. Flash the custom RTSP firmware to your Wyze camera using this tutorial. Installing RTSP support allows us to connect to the camera and grab frames directly with Python. You will need a Wyze V2 or V3 camera and a microSD card.
12. Get the RTSP URL value from your Wyze application, and edit the RTSP_URI variable in the Makefile to point the Raspberry Pi to your camera. You can find the RTSP URL in the “Advanced Settings” section of your Wyze application on your phone.
13. Set the RTSP URL environment variable from your camera.
# If you’re using a Wyze cam, this can be retrieved from the Wyze application
RTSP_URL=rtsp://username:password@10.0.0.1/live
14. Export your weather API key.
Export WEATHER_API_KEY=your_openweathermap_api_key
15. Export your twitter application credentials.
# From the first stage of the app creation process
export TWITTER_APP_API_KEY=your_key
export TWITTER_APP_API_KEY_SECRET=your_secret
# From the generate access token and secret stage of the app creation process
export TWITTER_ACCESS_TOKEN=your_token
export TWITTER_ACCESS_TOKEN_SECRET=your_secret
Note, keep these values secret, they allow access to your twitter account. If you lose or leak them, you can regenerate them in the twitter developer console at any time.
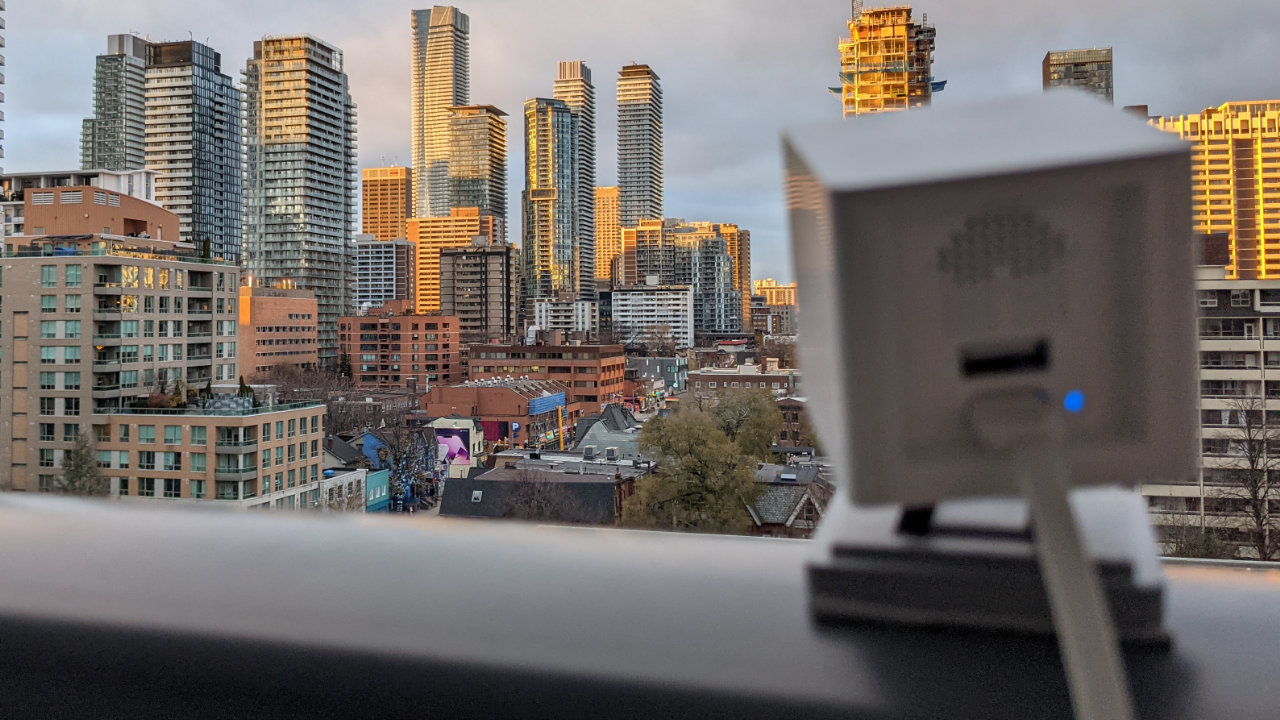
16. Set up your camera to point outside for the best view.
17. Run the make run command.
make run

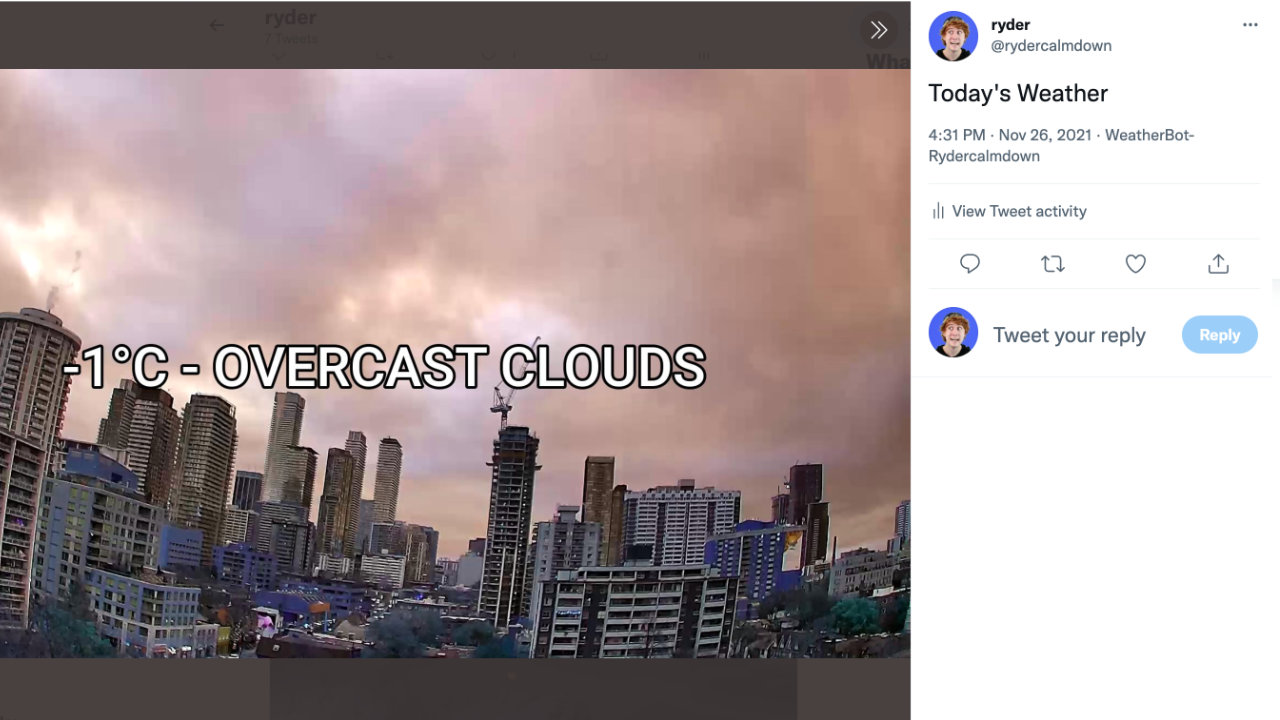
You now have a script that automatically takes a photo of the view, overlays the weather on top of it, and tweets the information out for the world to see. Use it at your leisure, or try automating it with crontab - good luck!

Ryder Damer is a Freelance Writer for Tom's Hardware US covering Raspberry Pi projects and tutorials.
