How To Easily Send Files Between Devices With Sharik
Easily send files without worrying about network protocols and permissions
Sharing files between two devices on the same network should be straightforward, right? Anyone who’s wanted to quickly shunt a file to or from their mobile device, or struggled getting shared folders set up that all the machines on their network can see or access, might have something to say about that.
You could try setting up a pair of synced folders using a tool like the wonderful Syncthing, or make use of cloud storage such as Google Drive or Dropbox, but these all come with their own pitfalls: synced folders can result in data loss if used incorrectly, while cloud storage has question marks over its security.
This is where a tool like Sharik comes in. It’s designed to make it easy to send files to any desktop or mobile device connected to your local network without the need for an internet connection. At the present time, there’s a Sharik app available for Windows, Android, Linux and iOS for sending files, but you can share files with other systems via a web browser.
How To Install Sharik on Linux
The quickest and easiest way to install Sharik is via snap – integrated into the Software Store from Ubuntu 16.04 or later, or you can install it directly from the command line.
$ sudo snap install sharik-appAt time of writing, the latest version for Ubuntu 20.04 on snap was 2.5. If you want the very latest version – 3.0 – then install it through its own repo instead.
1. Open a terminal and use curl to download the GPG key and add it to your list of approved keys. This gives us assurance and security that the repository which stores the application is secure.
$ curl -sS https://ppa.mark.vin/key.gpg | sudo apt-key add - 2. Add the repository to your list of approved repositories.
Get Tom's Hardware's best news and in-depth reviews, straight to your inbox.
$ echo “deb https://ppa.mark.vin/sharik stable main” | sudo tee /etc/apt/sources.list.d/sharik.list
3. Update your list of repositories and install Sharik.
$ sudo apt-get update && sudo apt-get install sharik
How to Install Sharik on Windows
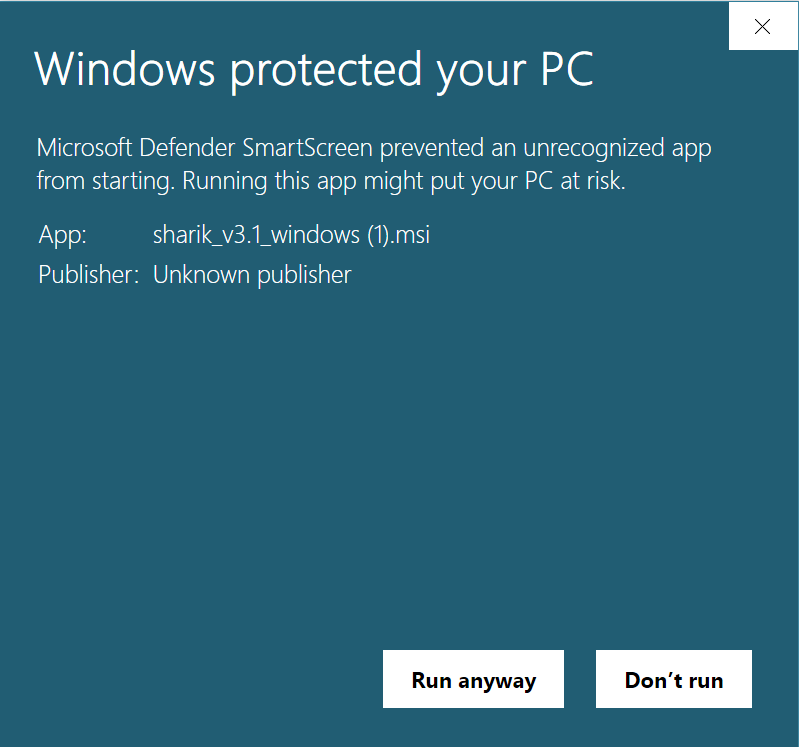
You can grab the install file for Sharik from the program’s github page. Note that you may have to click Run anyway if warned by Windows that this is an unknown file.
How to Install Sharik on Android
You can install Sharik on any Android device by going directly to the program’s page on Google Play store.
How to Install Sharik on iOS Devices
You can find Sharik directly on its own page in Apple’s App store.
How Does Sharik Work?
The simplest way to use Sharik is purely to send individual files to other devices, regardless of whether or not they’re running Sharik. The receiver doesn’t need Sharik installed, as the file can be accessed through their web browser, as you’ll see shortly.
Although Sharik’s documentation seems to hint you need to be connected to the same Wi-Fi network to share files, the reality is that any machine on your local network with the same subnet (typically 192.168.0.x, where ‘x’ is unique to each connected device) should be able to access files sent via Sharik.
Sending a File
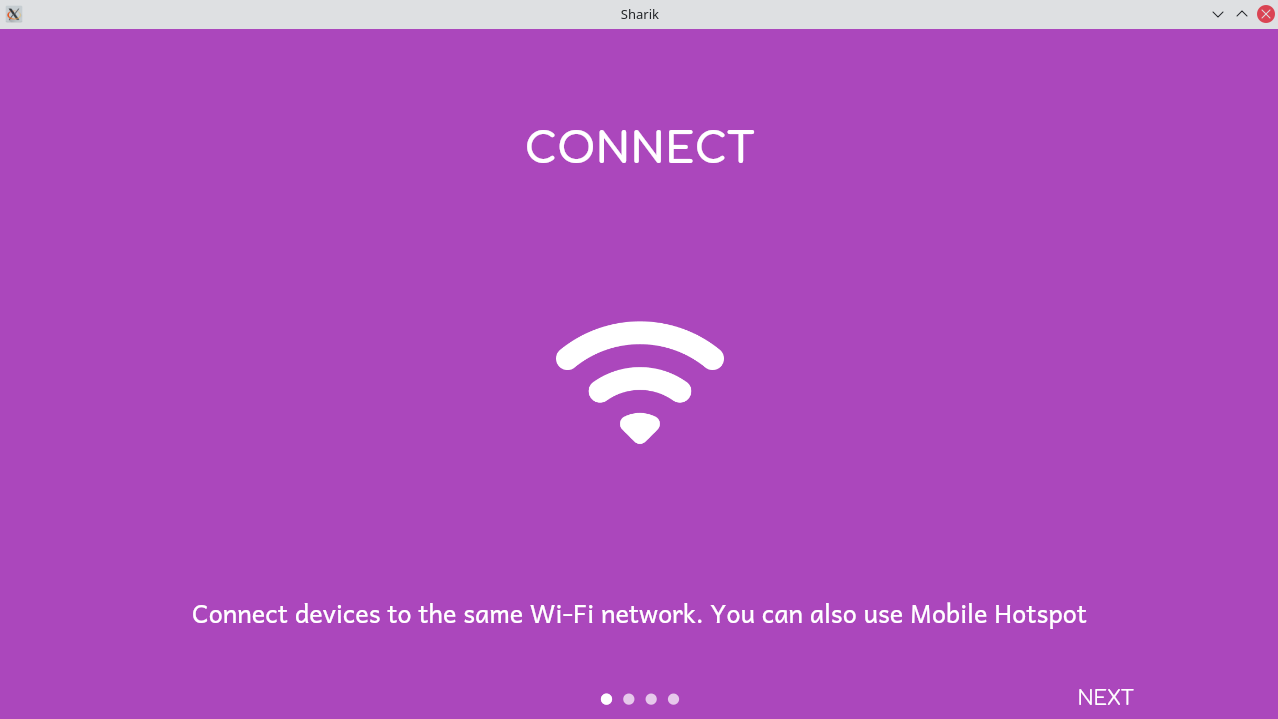
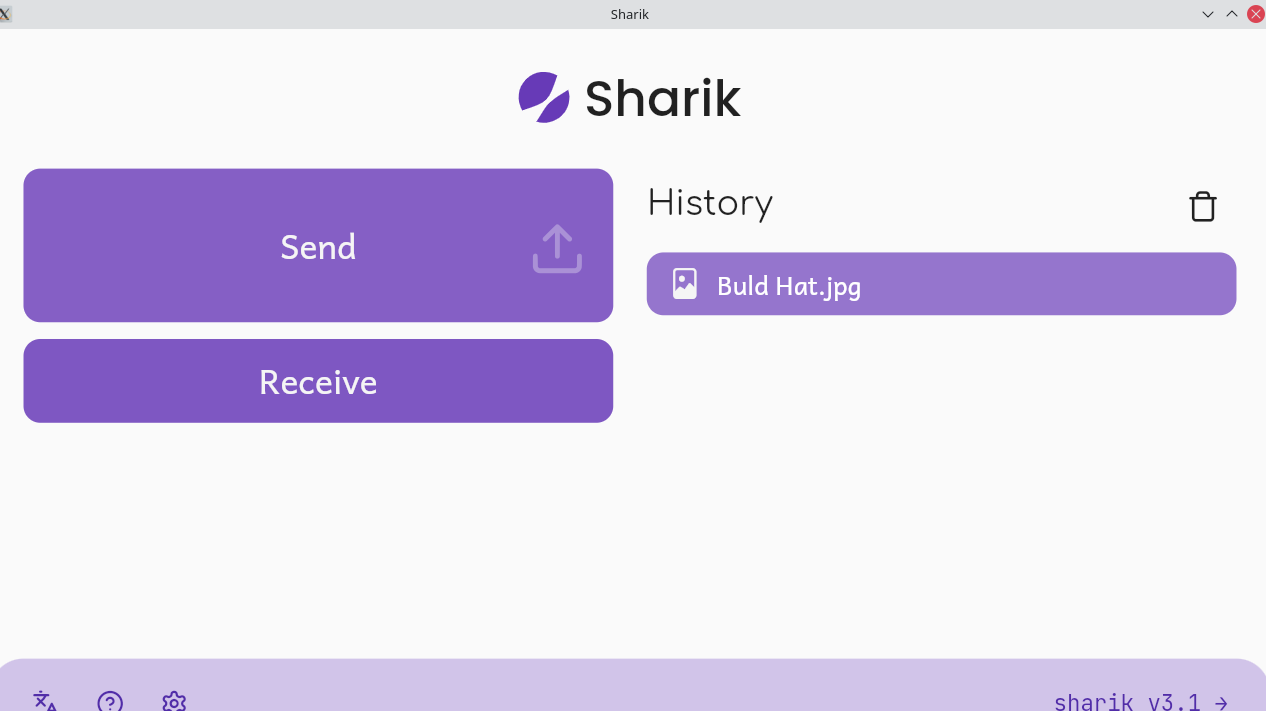
1. Open Sharik. It can be found in your applications menu. On first run, the application will show a series of slides, showing us what the application can do.
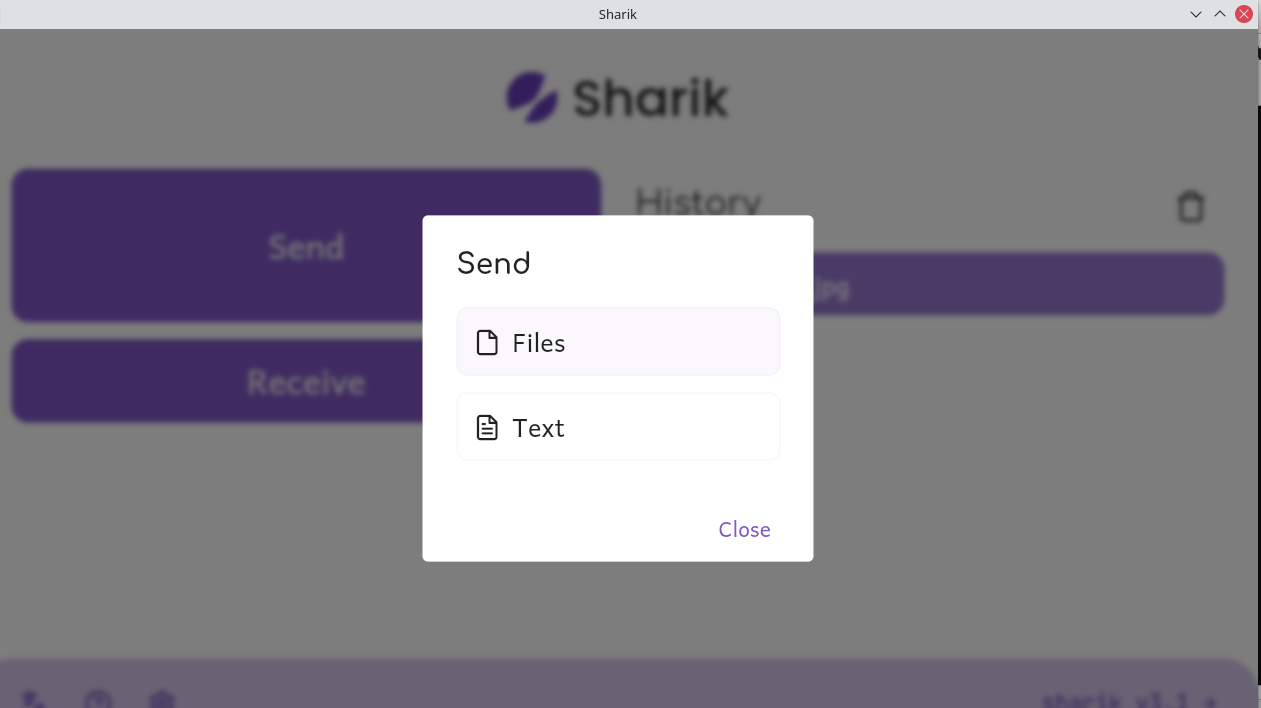
2. Click on Send.
3. Select Files and then navigate to the file that you wish to send.
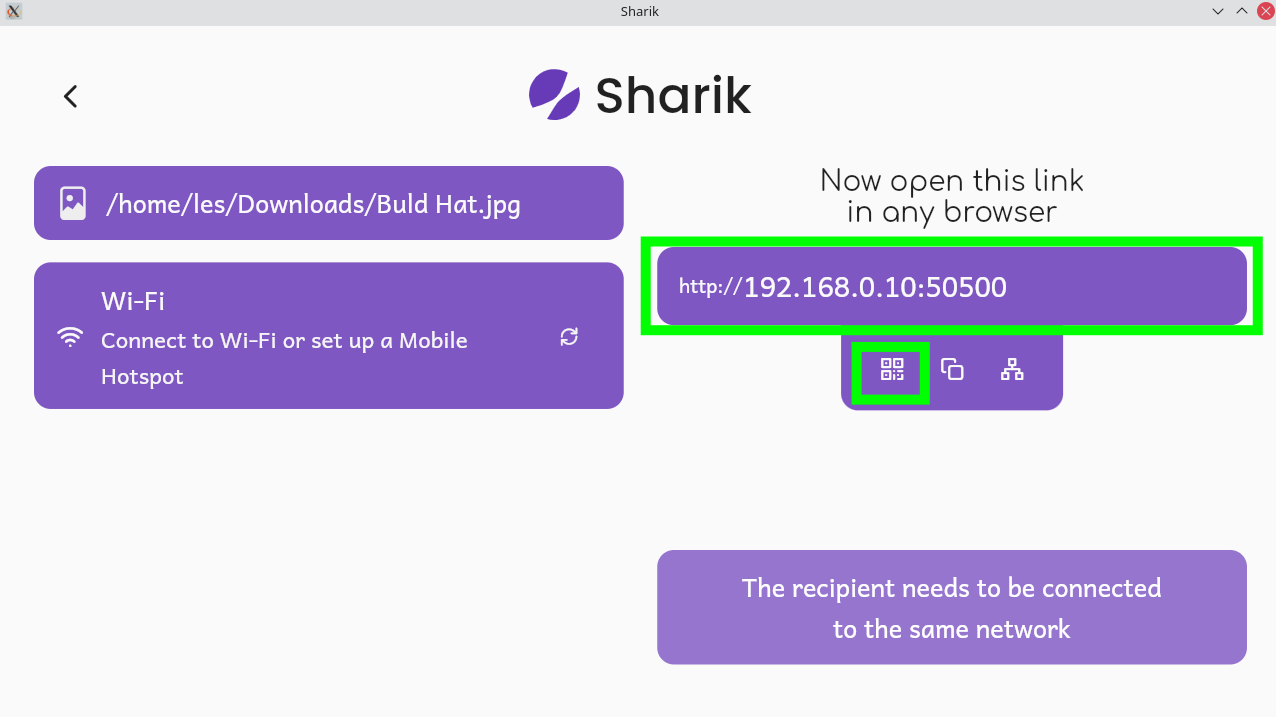
The IP address and port of the sending machine are now visible, and can be sent to the intended recipient. Mobile recipients can use the QR code to transfer the file.
How to Receive a File
There are two ways to receive a file via Sharik. The first is via the URL provided when the sender sends a file. The second is using Sharik on the receiving machine.
Via URL / QR Code
On the receiving machine, open a web browser and enter the URL which the sender has provided. This will automatically trigger the download. Mobile users can scan the QR code to trigger the download.
Via Sharik Application
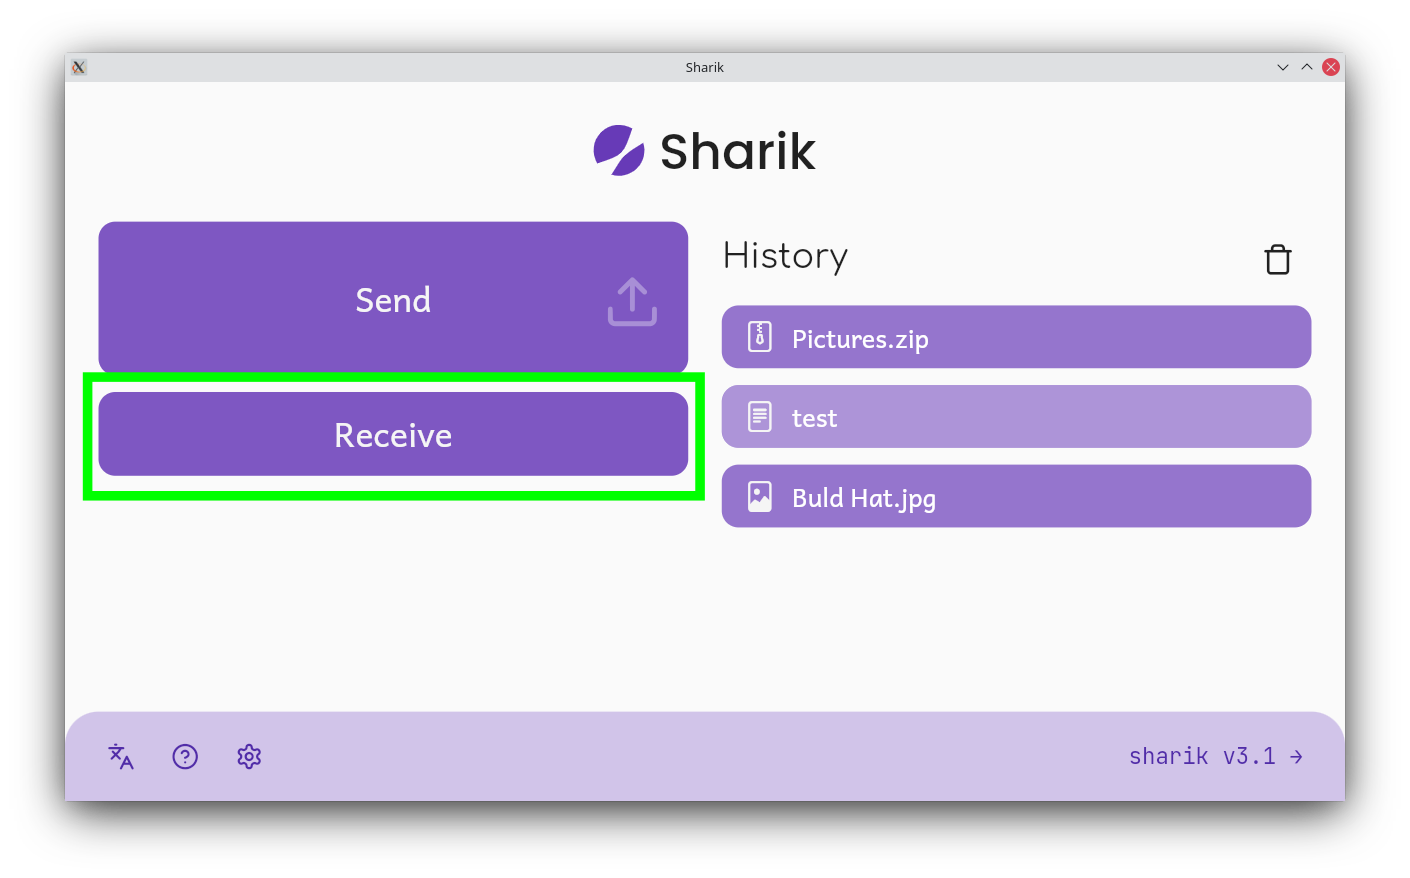
1. On the receiving machine, click on Receive. This will instruct the machine to wait for a file to be sent.
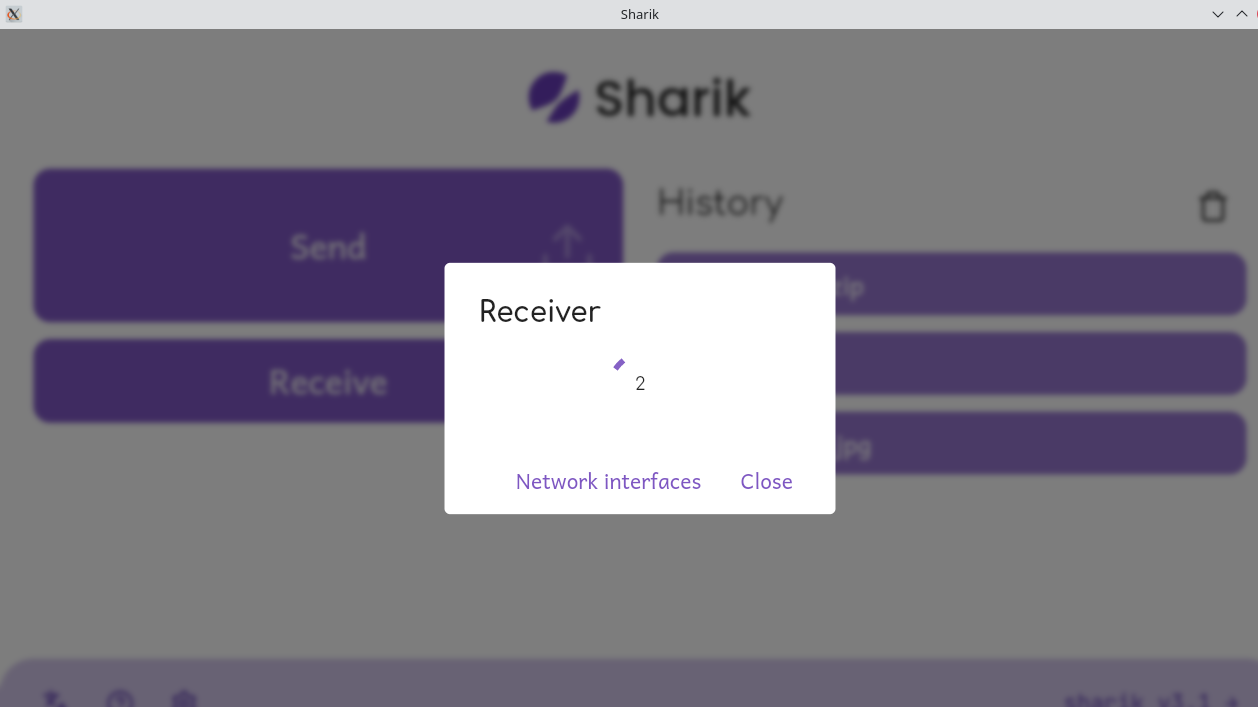
Sharik will wait for the sender to initiate sending a file.
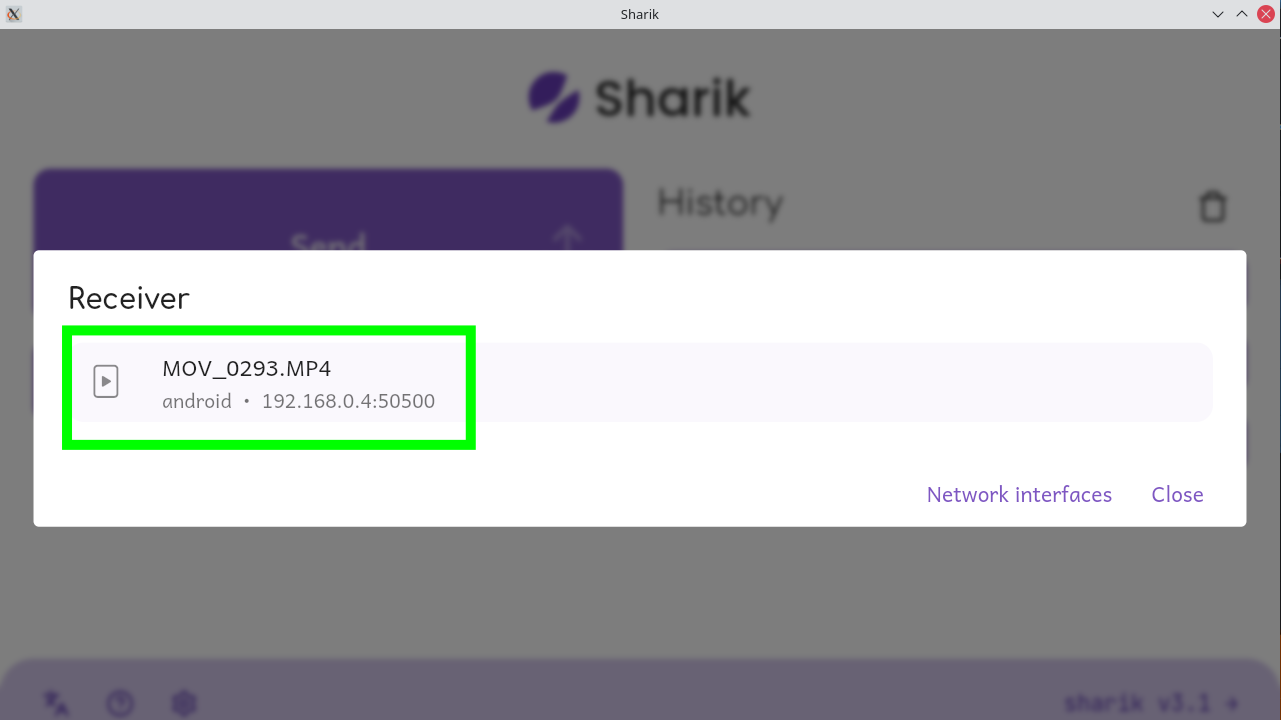
2. Click on the file to select for download.
3. Choose to save the file to the machine, or open in the respective application.
-
dwd999 Sounds kind of complicated. I've been using the File Manager Plus app on my Pixel 4a phone. I just click the option "Access from network" to set the phone into FTP device mode. Then I just type the ftp address into windows explorer file manager and copy the files over. Its actually easier than that as I have a shortcut on my desktop with all the info already entered into it, so 2 clicks on that (or 1 if I add it to the taskbar) and I'm ready to go. You can vary the port in the address if you want and add a password for security if that's a concern. And with windows file explorer you can browse all of the storage folders on your device to see what's there. Plus open 2 file explorer windows and drag and drop files between devices.Reply
(This latter part is especially important with a Pixel 4a phone since if you try to use a usb c thumb drive to transfer files you're limited to the 4 GB file size that's allowed under the fat32 formatting that Pixel 4a demands on thumb drives.) -
korekan in my opinion we should really have file sending and clipboard as easy as right click - send - choose you deviceReply
no matter what device/ OS you have. windows, linux, osx, android, else
how you going to achieve it? you should be able to find it through wifi/ bluetooth automatically and approve from both sides -
jakjawagon Is this sponsored? It feels sponsored.Reply
Regardless, FTP, SMB or even DLNA for media files seem like less hassle than this.
