How to Use CircuitPython With GPIO Pins on a PC
PCs don’t come with GPIO pins, but you can add them and code them in CircuitPython.
Get Tom's Hardware's best news and in-depth reviews, straight to your inbox.
You are now subscribed
Your newsletter sign-up was successful
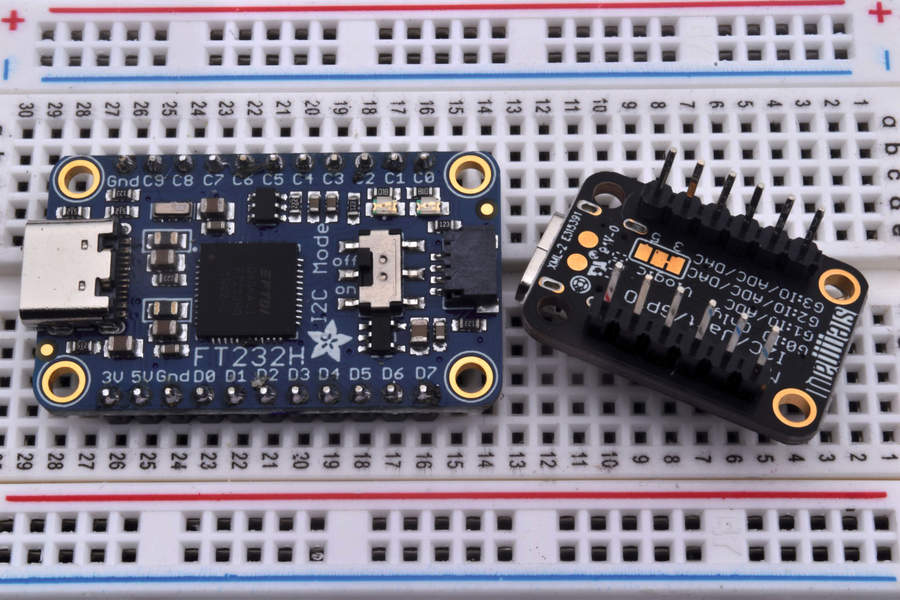
Thanks to the Raspberry Pi and Arduino, we are familiar with the GPIO (general purpose input/output) that enable these boards to interface with real-world electronic devices. PCs are devoid of a GPIO but boards such as Adafruit’s FT232H are available that provide that functionality via a USB port.
CircuitPython Installation
We’ll be using Python to work with these boards. Although this may already be installed on your system, there are supporting elements you’ll need to install. These come in the form of CircuitPython, a version of MicroPython for microcontrollers such as the Raspberry Pi Pico. To setup the FT232H follow Adafruit’s installation instructions for your operating system.
Before you do anything more with your FT232H, you’ll need to solder on the headers provided. We have a great guide on how to solder header pins to your board.
To write the code for this project you will need an editor. For example you can use Notepad++, Visual Studio Code, PyCharm or whatever you are comfortable with.
Controlling the GPIO
There’s a seemingly endless list of projects you can create when you add GPIO pins to a PC, but below we’ll show you how to code and wire a really simple one where a button causes an LED to illuminate.
1. Create a file and save it as FT232H-example.py
2. Import two modules of pre-written code. The first “board” enables the code to talk to the FT232H, the second “digitalio” is how we control the configuration of GPIO pins.
Get Tom's Hardware's best news and in-depth reviews, straight to your inbox.
import board
import digitalio
3. Create an object “led” which will be used to reference the LED connected to GPIO C0.
led = digitalio.DigitalInOut(board.C0)
4. Set the LED object as an output, so that current flows to the LED from the GPIO pin
led.direction = digitalio.Direction.OUTPUT
5. Create another object, “button.” This is used to reference the push button connected to GPIO pin C1.
button = digitalio.DigitalInOut(board.C1)
6. Set the button as an input.
button.direction = digitalio.Direction.INPUT
7. Inside of a loop, set the value of the LED to match that of the button. When the button is pressed, the LED will light, when released, the LED will turn off.
while True:
   led.value = button.value
Complete Code Listing
import board
import digitalio
led = digitalio.DigitalInOut(board.C0)
led.direction = digitalio.Direction.OUTPUT
button = digitalio.DigitalInOut(board.C1)
button.direction = digitalio.Direction.INPUT
while True:
   led.value = button.value
Creating the Circuit
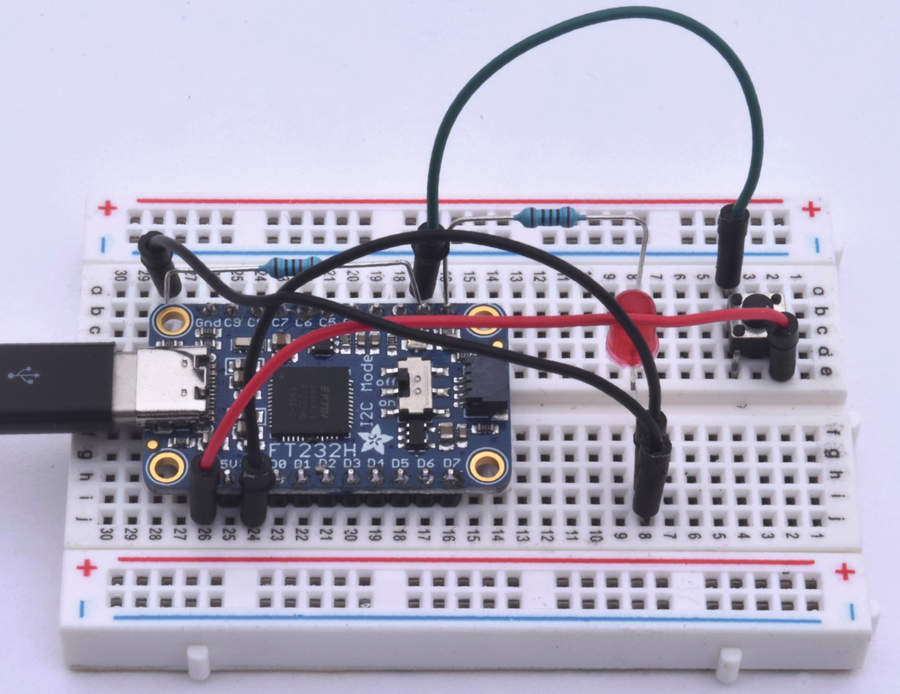
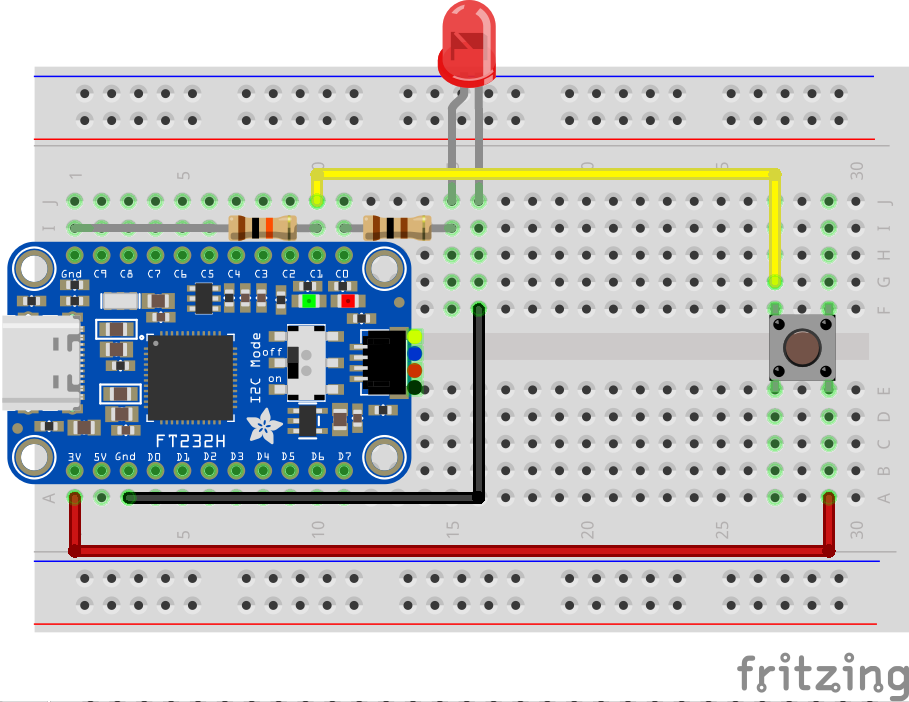
The circuit for this project is simple. We have an LED connected to C0, and to GND via a 100 Ohm resistor (see resistor color codes to identify). The push button is connected to 3.3V and C1. The resting state of C1 is OFF, and this state is the value used to turn off the LED.
To ensure that the push button resting state is OFF, a 10K Ohm resistor is used to pull C1 down to GND, effectively 0V. When the push button is pressed it connects 3.3V to C1, turning that pin ON and the value setting the LED to turn on. Please follow the diagram to correctly wire up your board.
Test Your Code
Open a terminal and start the code python3 FT232H-example.py press the push button to turn on the LED, release to turn off.
This story originally appeared in an issue of Linux Format Magazine.
-
Jesper E. Siig It seems, that the circuit depicted in your article does is different from the one in the diagram. In the latter the pushbutton span the two sides of the breadboard, in your picture you have put it one the top side of the board. You have the wires connected to diagonal corners of the button, so I imagine, it will still work, but it might confuse an unexperienced reader.Reply
Best regards,
Jesper


