How to Turn Your Raspberry Pi into a Plex Streaming Media Server
Turn your Raspberry Pi into a streaming media server
Get Tom's Hardware's best news and in-depth reviews, straight to your inbox.
You are now subscribed
Your newsletter sign-up was successful
Now that Ubuntu Desktop is available for Raspberry Pi 4, users no longer need to fiddle with terminal commands to enjoy Plex Media Server on Raspberry Pi. In this article, we will set up Ubuntu Desktop and turn our Raspberry Pi into a streaming media server. We have chosen Plex Media Server since it is available in the Ubuntu Appliance portfolio. Check out our recent article on the Ubuntu Appliance portfolio for Raspberry Pi here.
What is Plex Media Server?
Plex Media Server turns your computer into a server for your content (music, photos, and videos) enabling access to your content anywhere in the world. Your content is streamed to your authenticated Plex app including Smart TVs, Chromecast, Roku, Amazon FireTV, and even Alexa and Google Home. A basic account on Plex is free and premium features are available via Plex Pass. Plex also offers ad supported movies and TV on their streaming platform. Users can share their libraries with friends and family and/or even watch content together.
This article provides step-by-step instructions to:
1. Install Ubuntu Desktop on Raspberry Pi.
2. Load your media on your Raspberry Pi.
3. Set up your Raspberry Pi as a Plex Media Server.
What You’ll Need for this Project
- Raspberry Pi 4 4GB RAM or higher
- Raspberry Pi Imager installed on a computer running Windows, osX, Linux
- 32 GB (or larger) microSD card (see best Raspberry Pi microSD cards)
- Power supply/Keyboard/Mouse/Monitor/HDMI Cable (for your Raspberry Pi)
- Your media stored on a USB drive.
Before You Begin
- Organize your media collection, name the files and group music in folders by artist. Movies should be named by movie title. More info on organizing your media collection from Plex. Organize your music, photos, and videos into respectively named folders. You can organize your music with the hierarchy, Music > Artist > Album, Videos by title, and Photos > Year > Month.
- Copy your media (photos, music, videos) onto a USB drive. There are of course other ways to transfer your media, but we have found the USB drive method to be the easiest.
- Please note that your Raspberry Pi must be powered ON and connected to the internet for your Plex Media Server to work. After you have completed the steps in this tutorial, you’ll access your content from this device via the Plex app. The Plex app is available for iPhone, Android, SmartTVs, Roku, Chromecast, AppleTV, and more. Review the Plex website for the most updated list of devices.
Part 1: Basic Ubuntu Desktop Install
In this section, we will install Ubuntu desktop on our Raspberry Pi.
Get Tom's Hardware's best news and in-depth reviews, straight to your inbox.
1. Insert the microSD card into the corresponding slot on your computer. The next steps in this project will erase all data on your microSD card.
2. Launch Raspberry Pi Imager app on your computer.
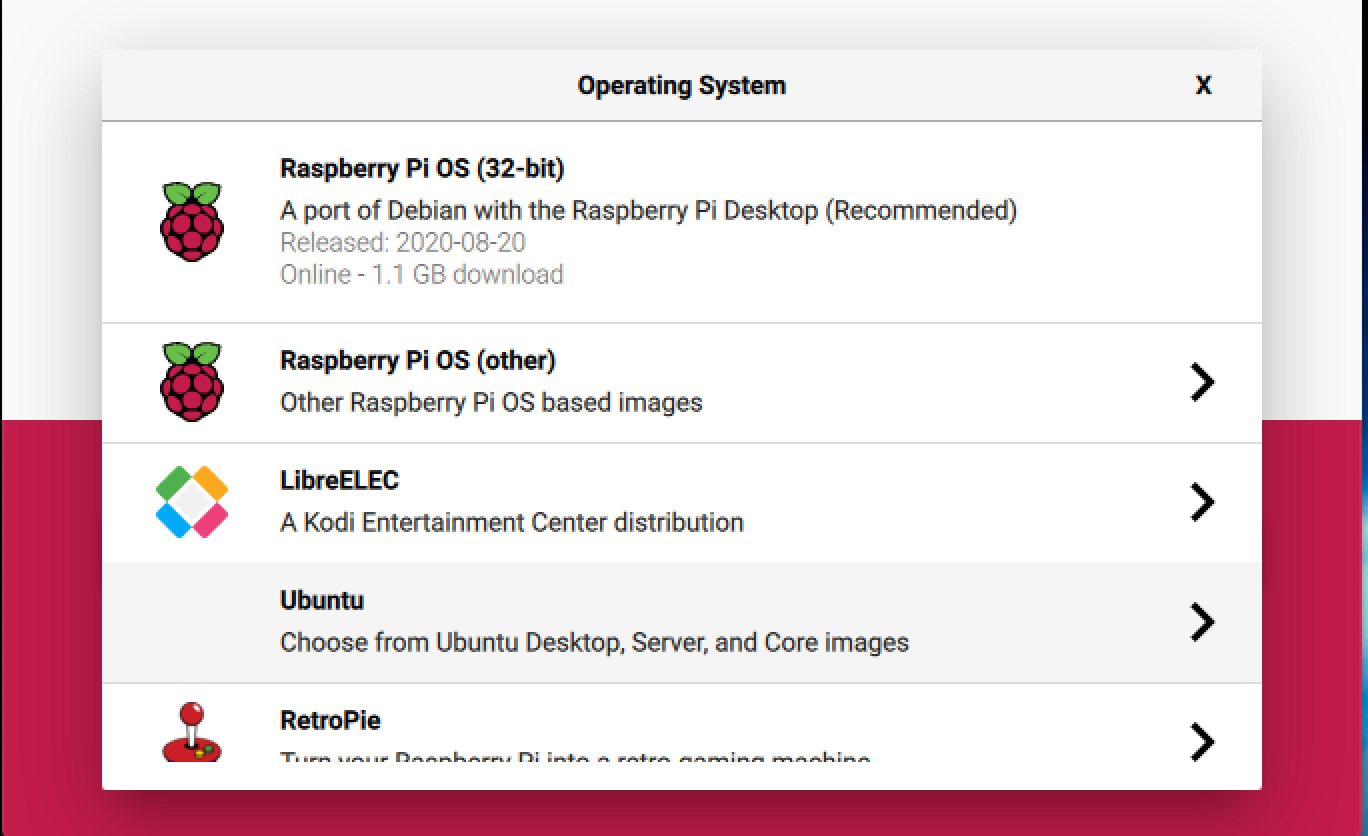
3. Click on CHOOSE OS under the Operating System heading.
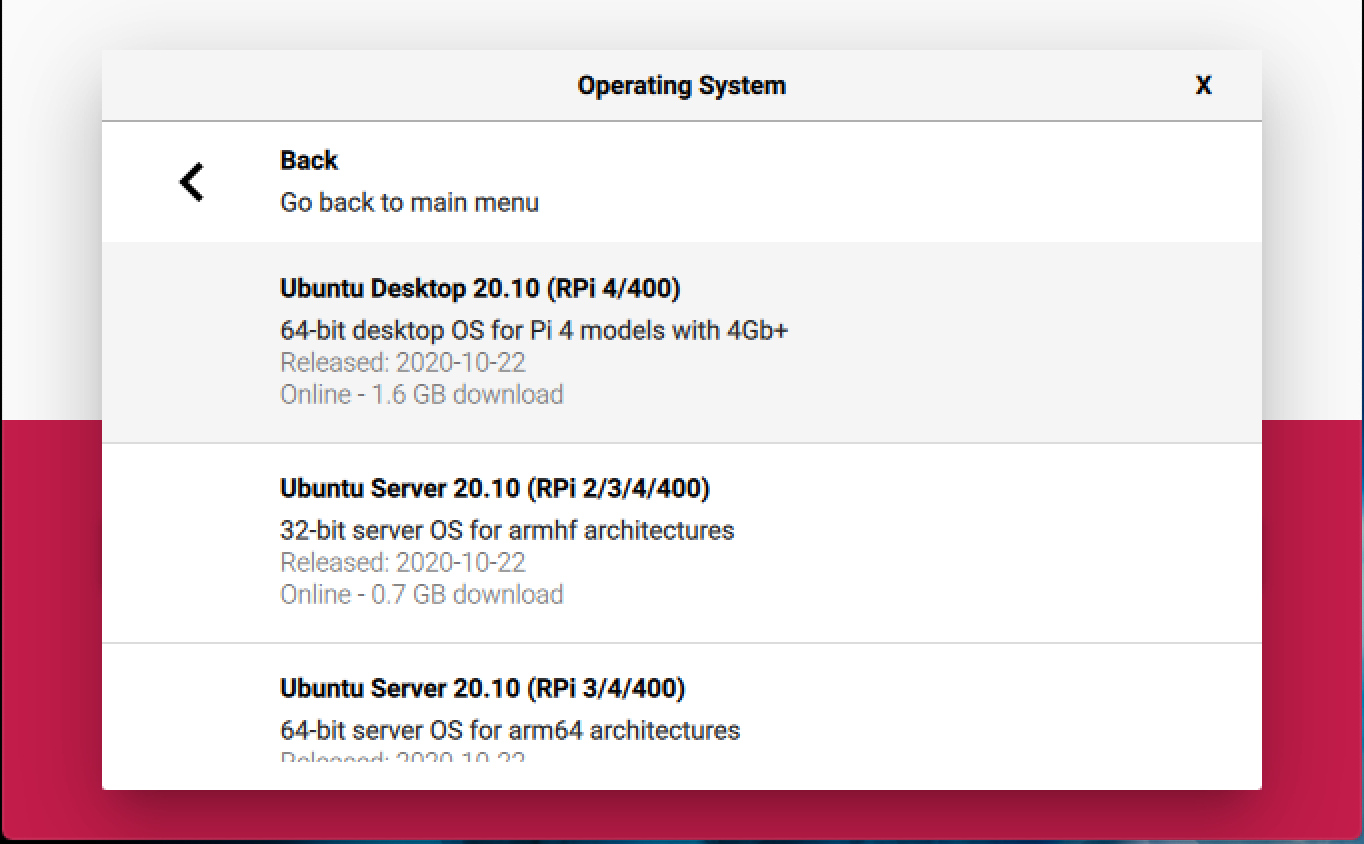
4. Click the arrow > for Ubuntu.
5. Select Ubuntu Desktop.
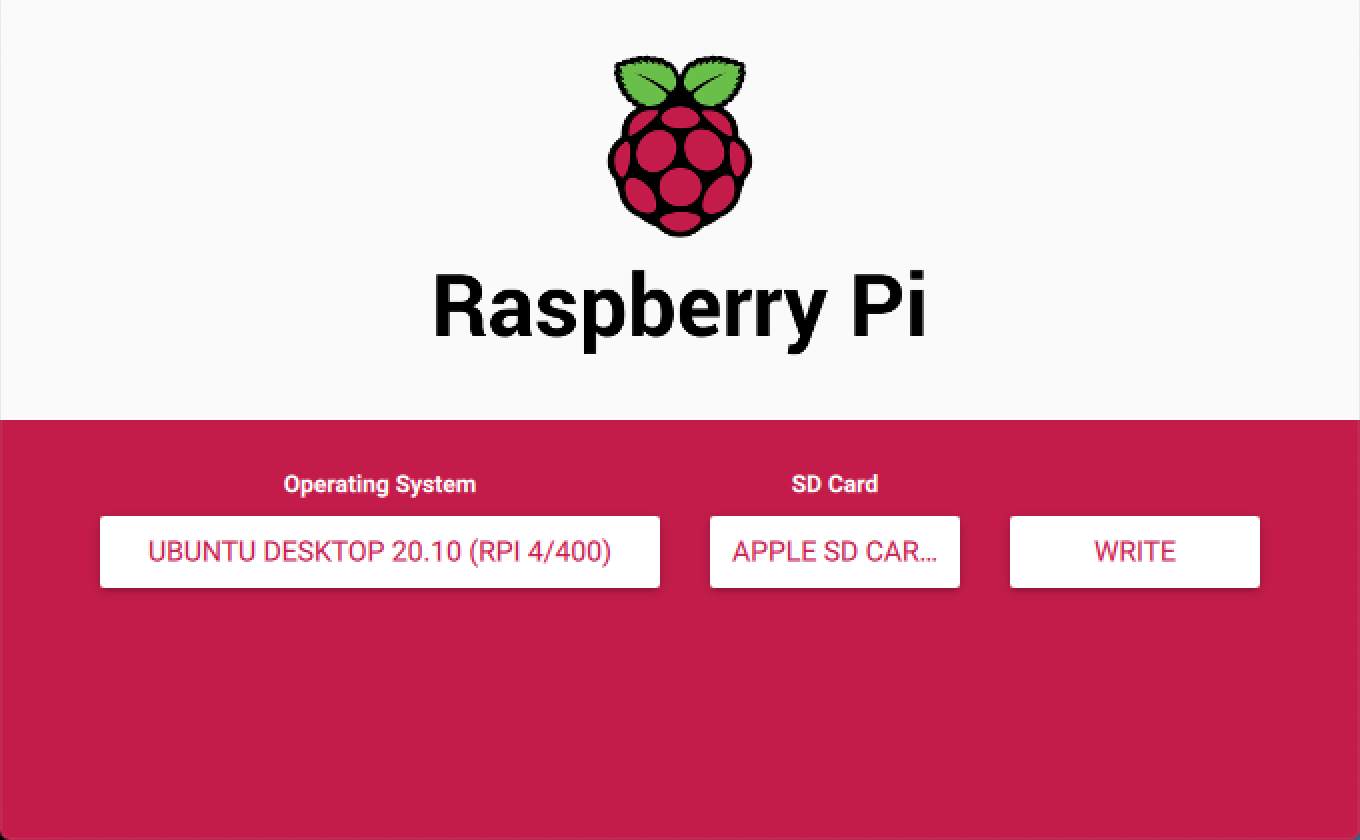
6. Click CHOOSE SD CARD and select the microSD card you inserted in step 1.
7. Click WRITE. It will take at least 10 minutes to write and verify that Ubuntu has been written to your microSD card.
8. When the task is finished, remove your microSD card from your computer and insert into your Raspberry Pi.
9. Connect your USB drive, monitor, keyboard and mouse to your Raspberry Pi. Boot your Pi. The first time Ubuntu Desktop loads, it will take about 5 minutes.
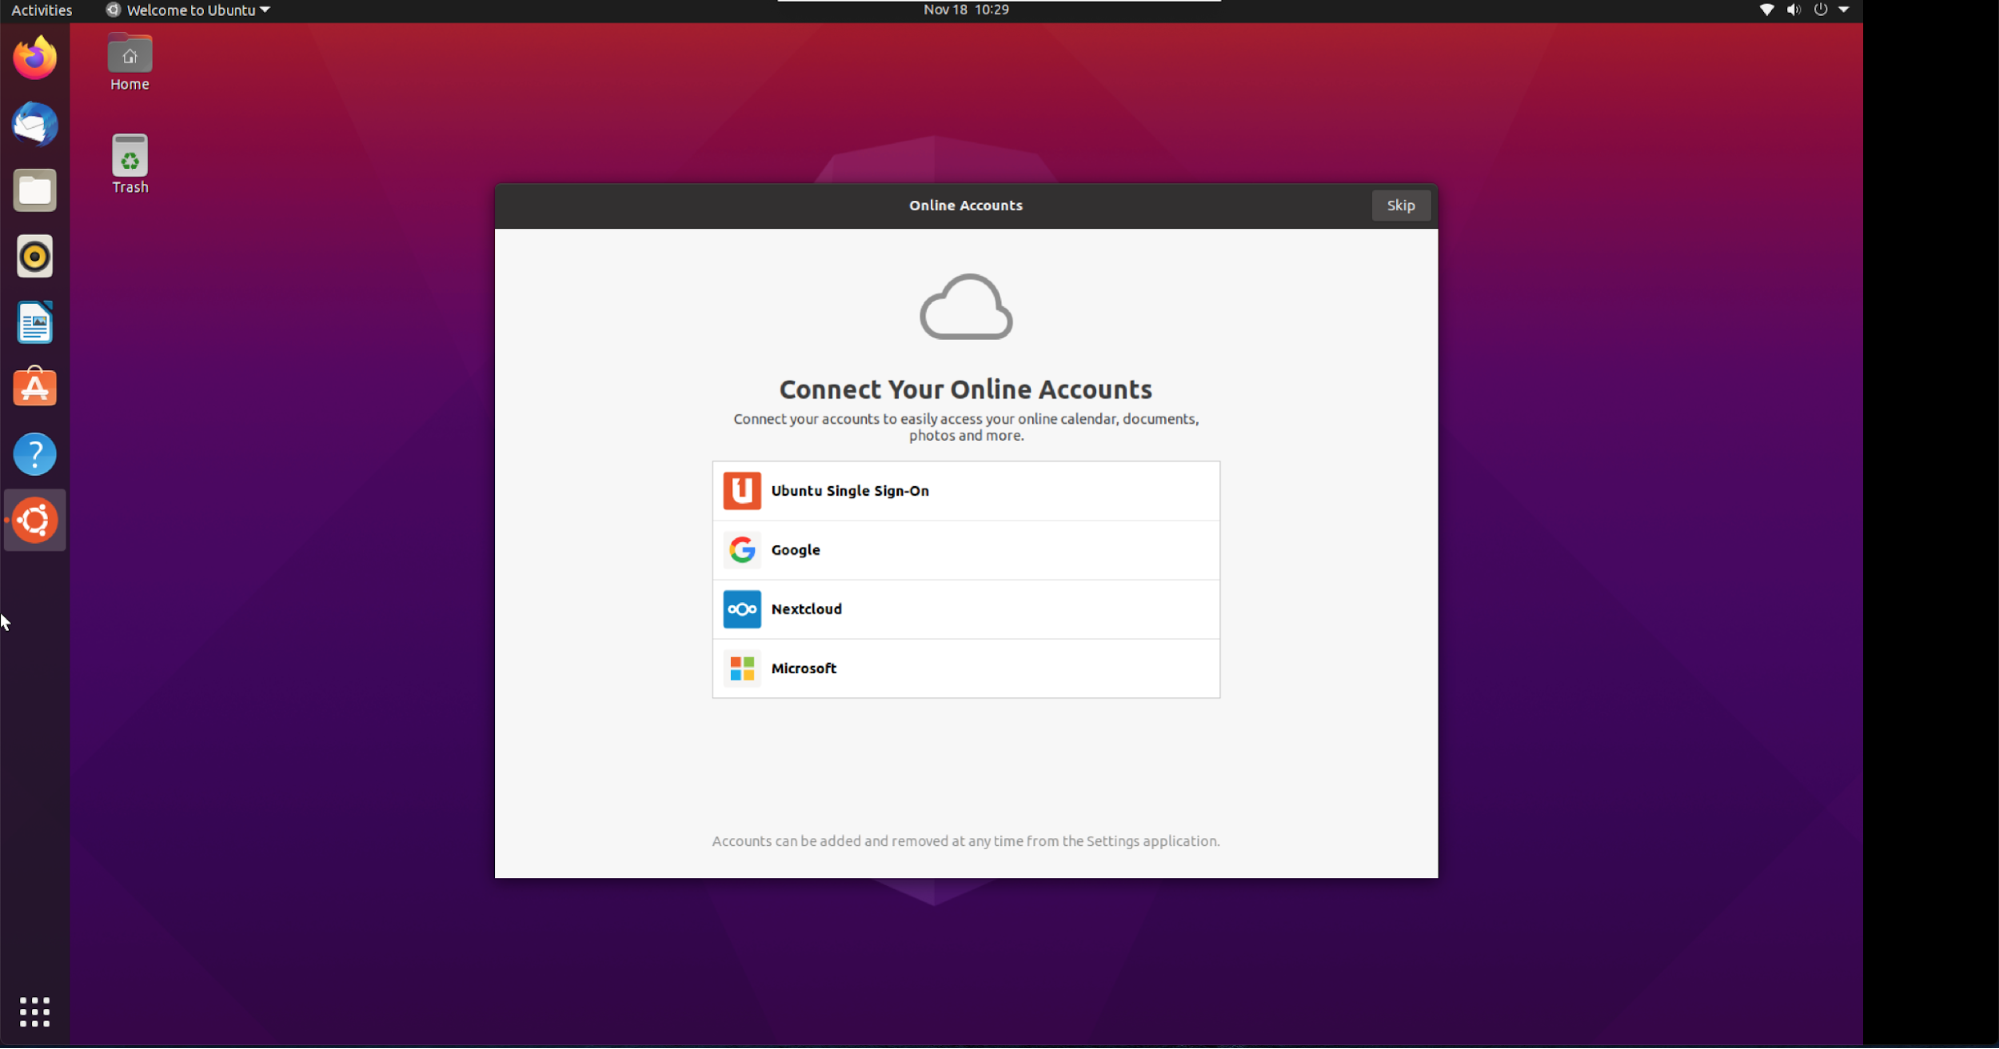
10. Follow the setup wizard to configure your Raspberry Pi.
Part 2: Install Plex Media Server and Transfer Your Media
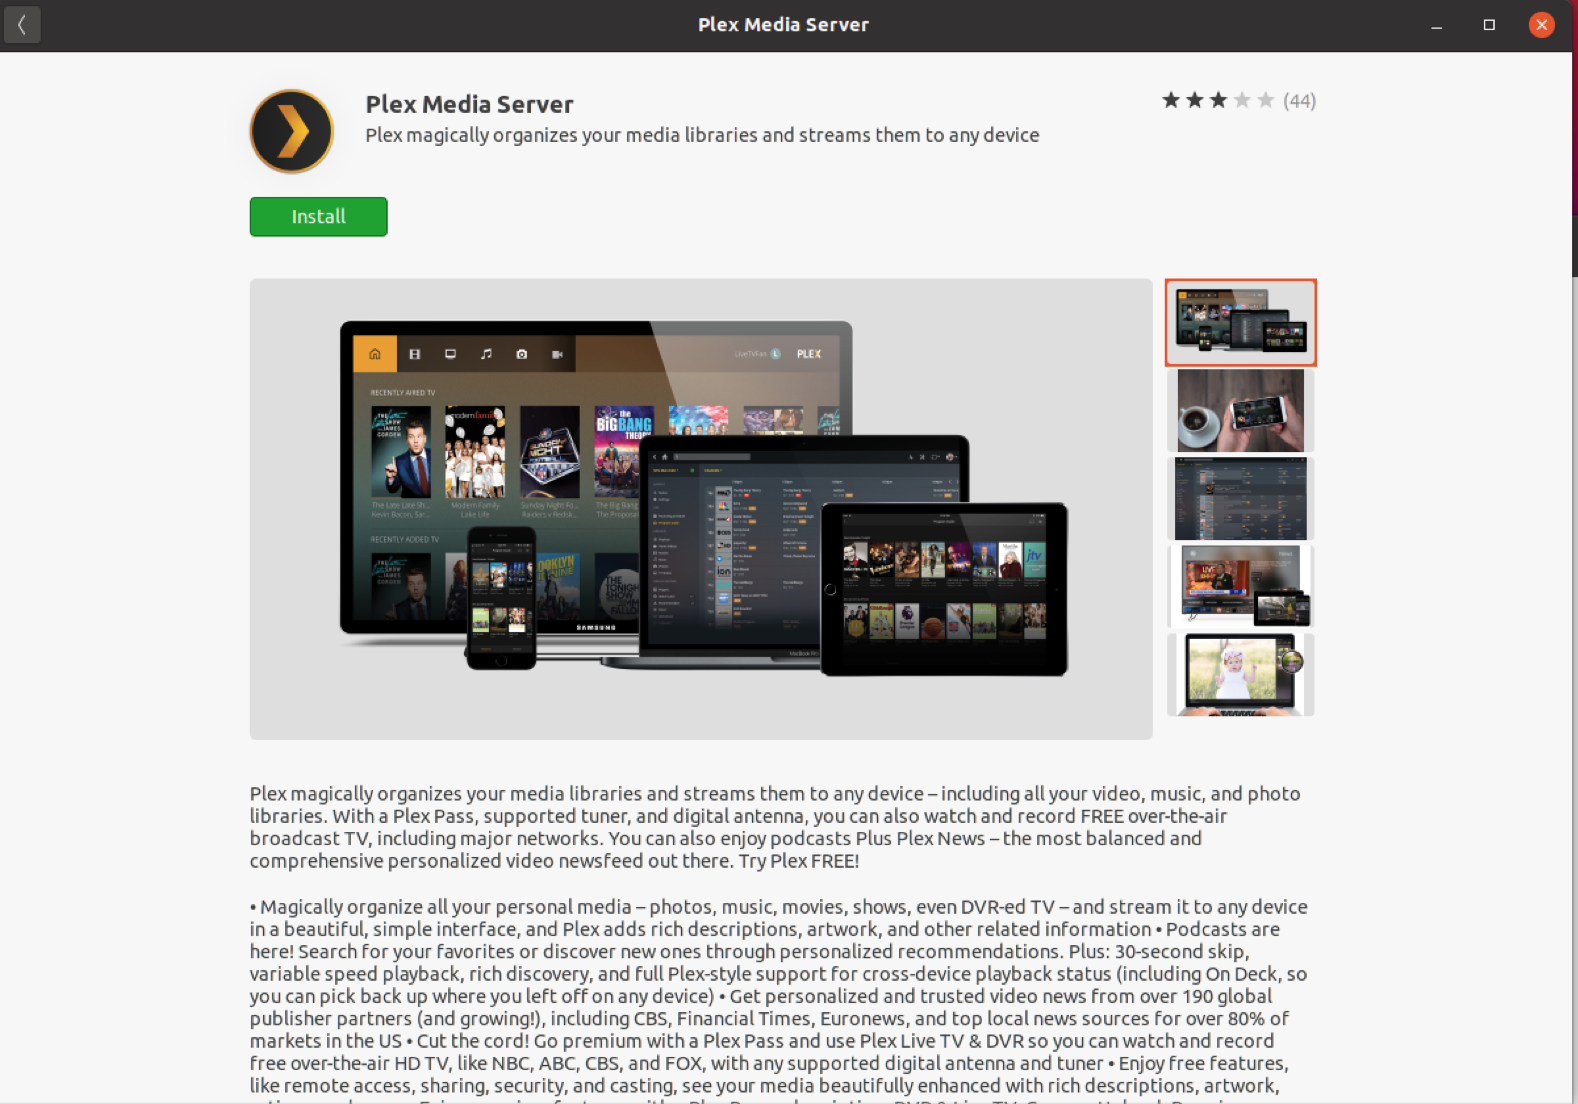
1. Using the Ubuntu Appliance library click on Plex Media Server. This will appear at the end of the setup wizard.
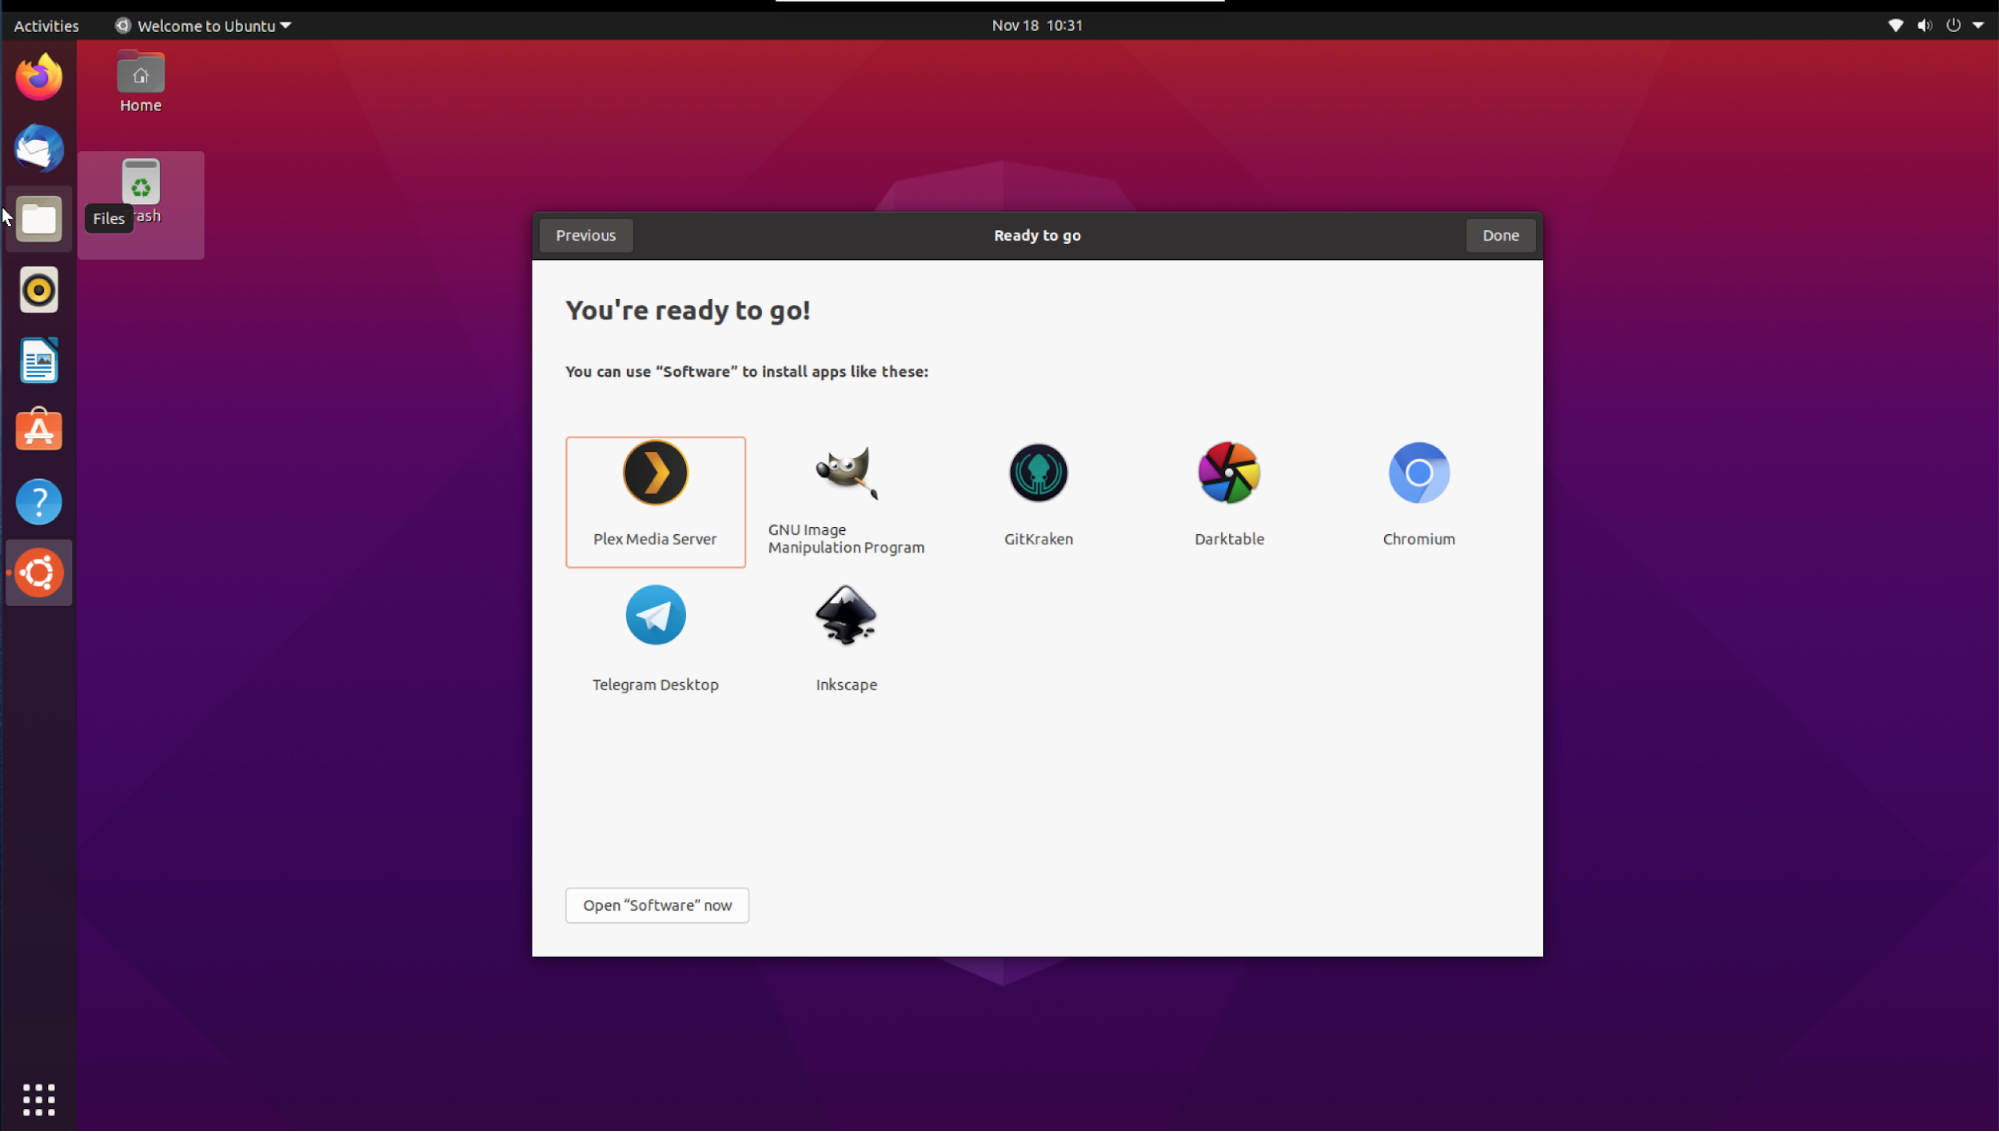
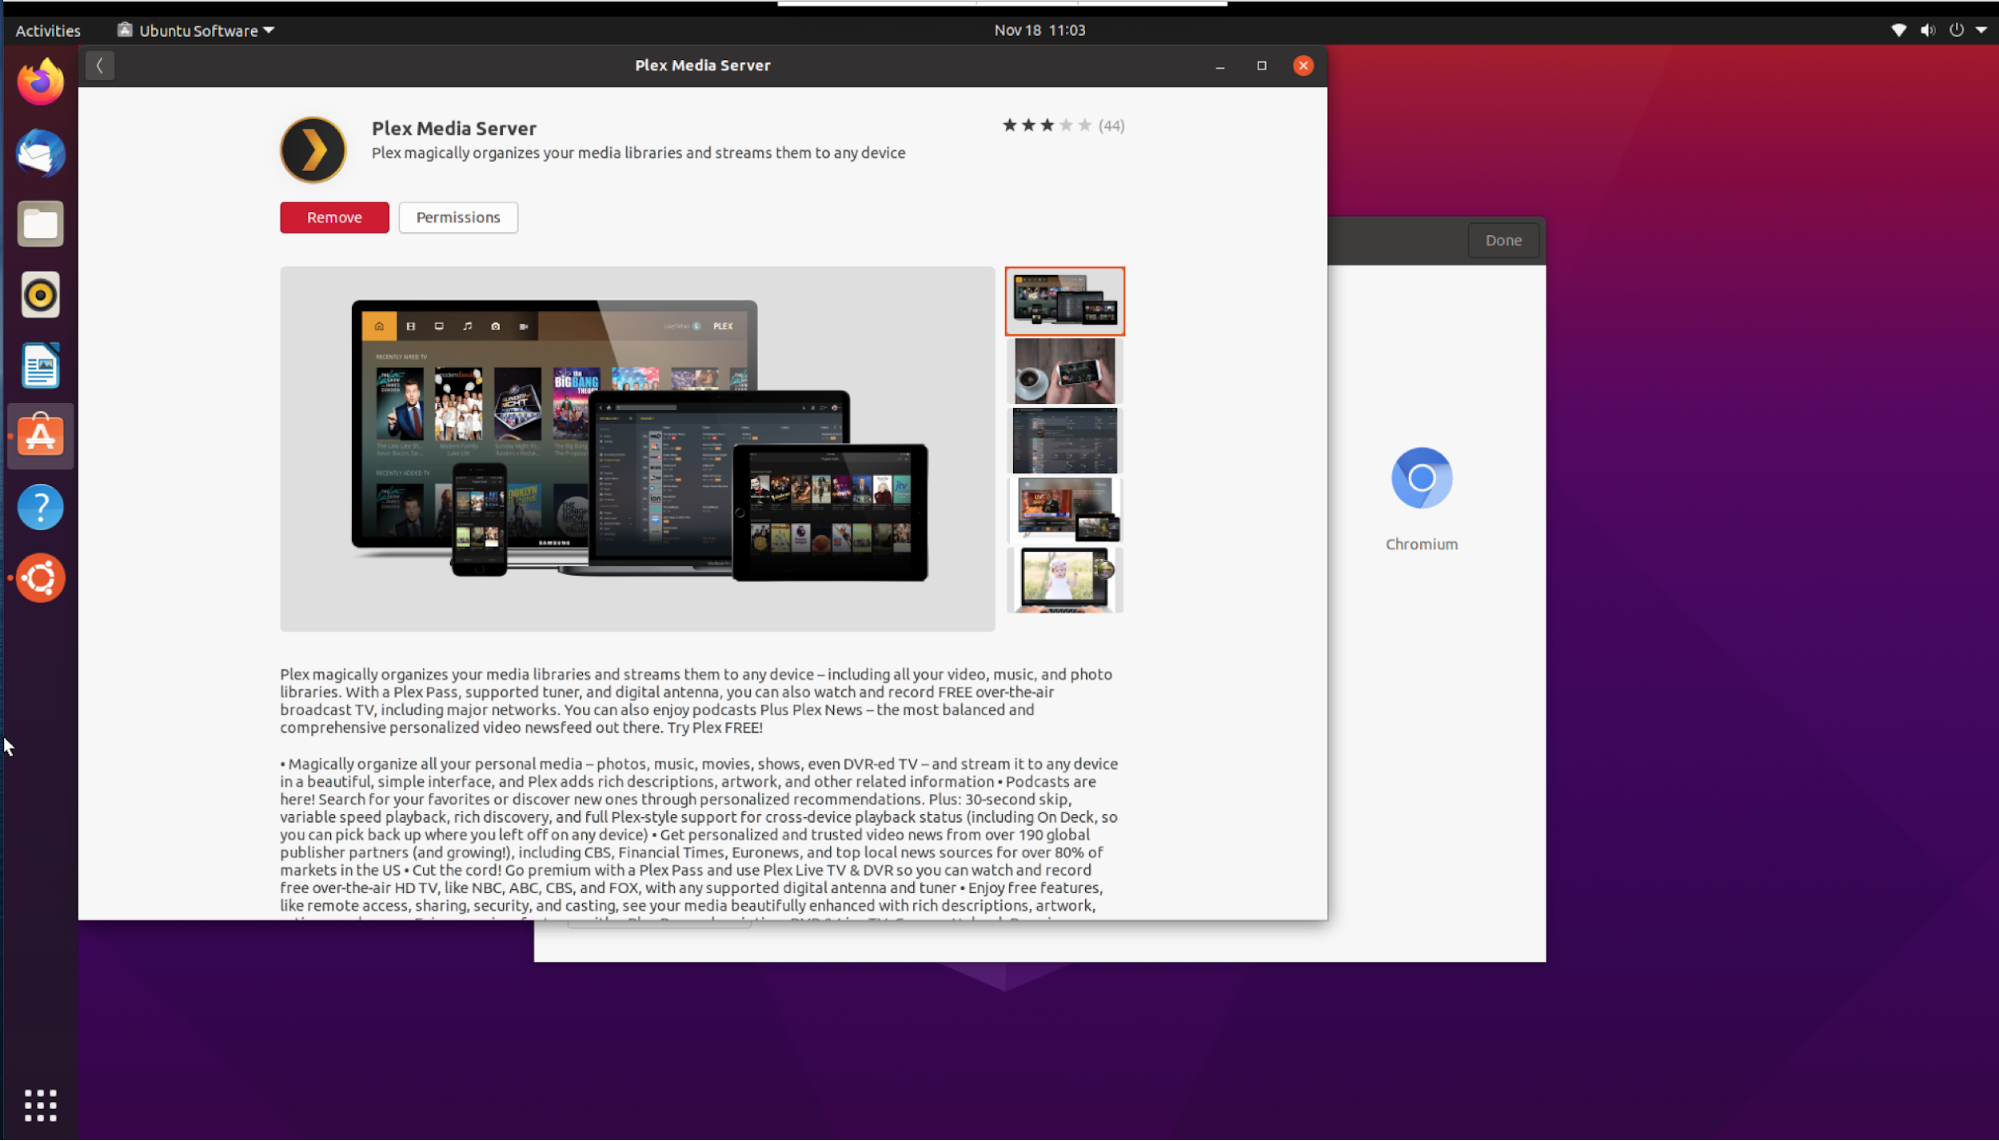
2. Click the Install button for Plex Media Server.
3. Wait for the install to finish, this should take around 10 minutes.
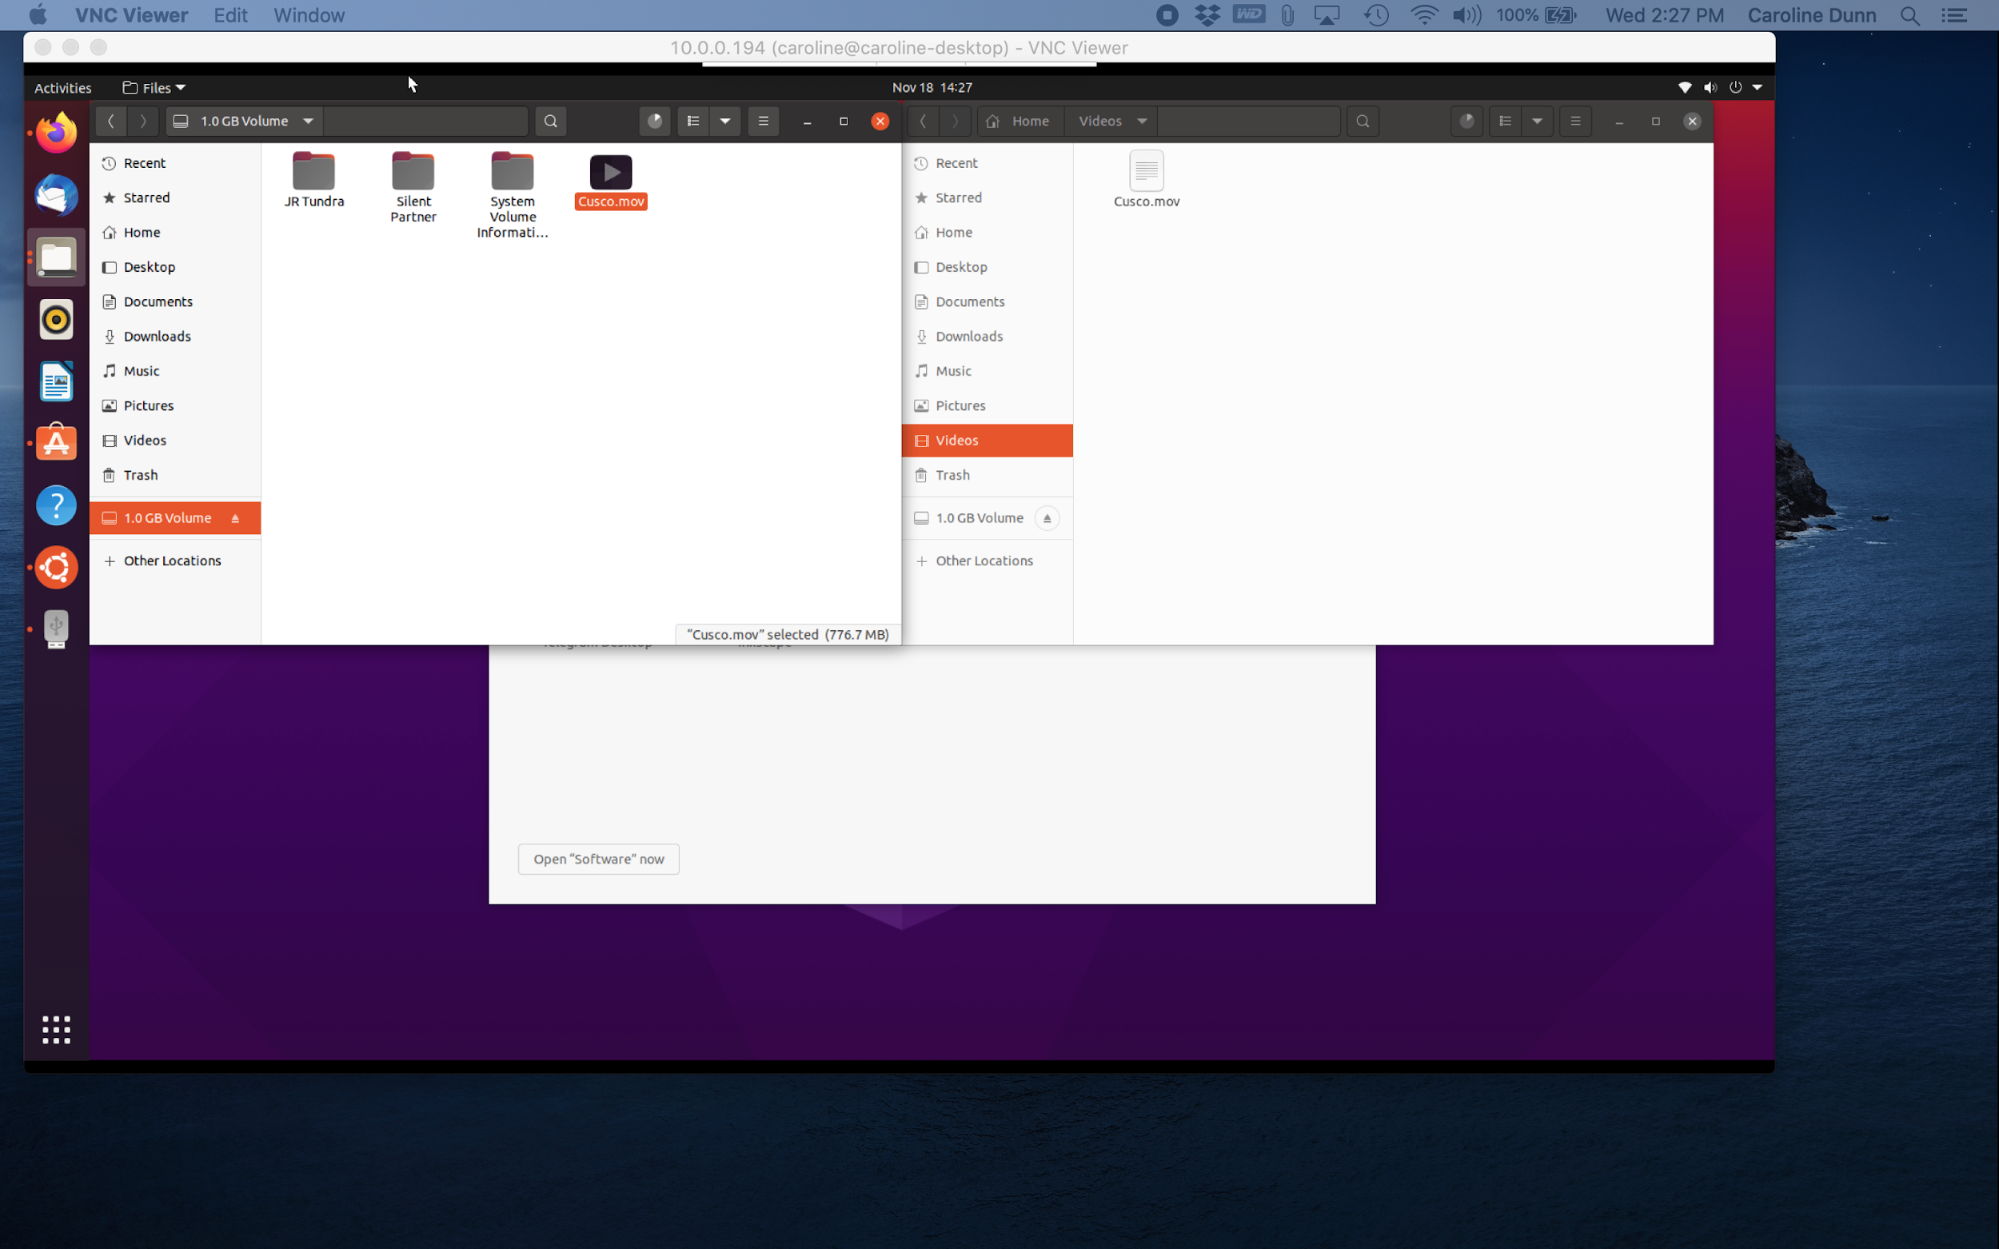
4. Open the file manager and navigate to your USB drive. Copy the videos from your USB drive to the system default Videos folder on your Raspberry Pi. Repeat the same steps for your photos and music.
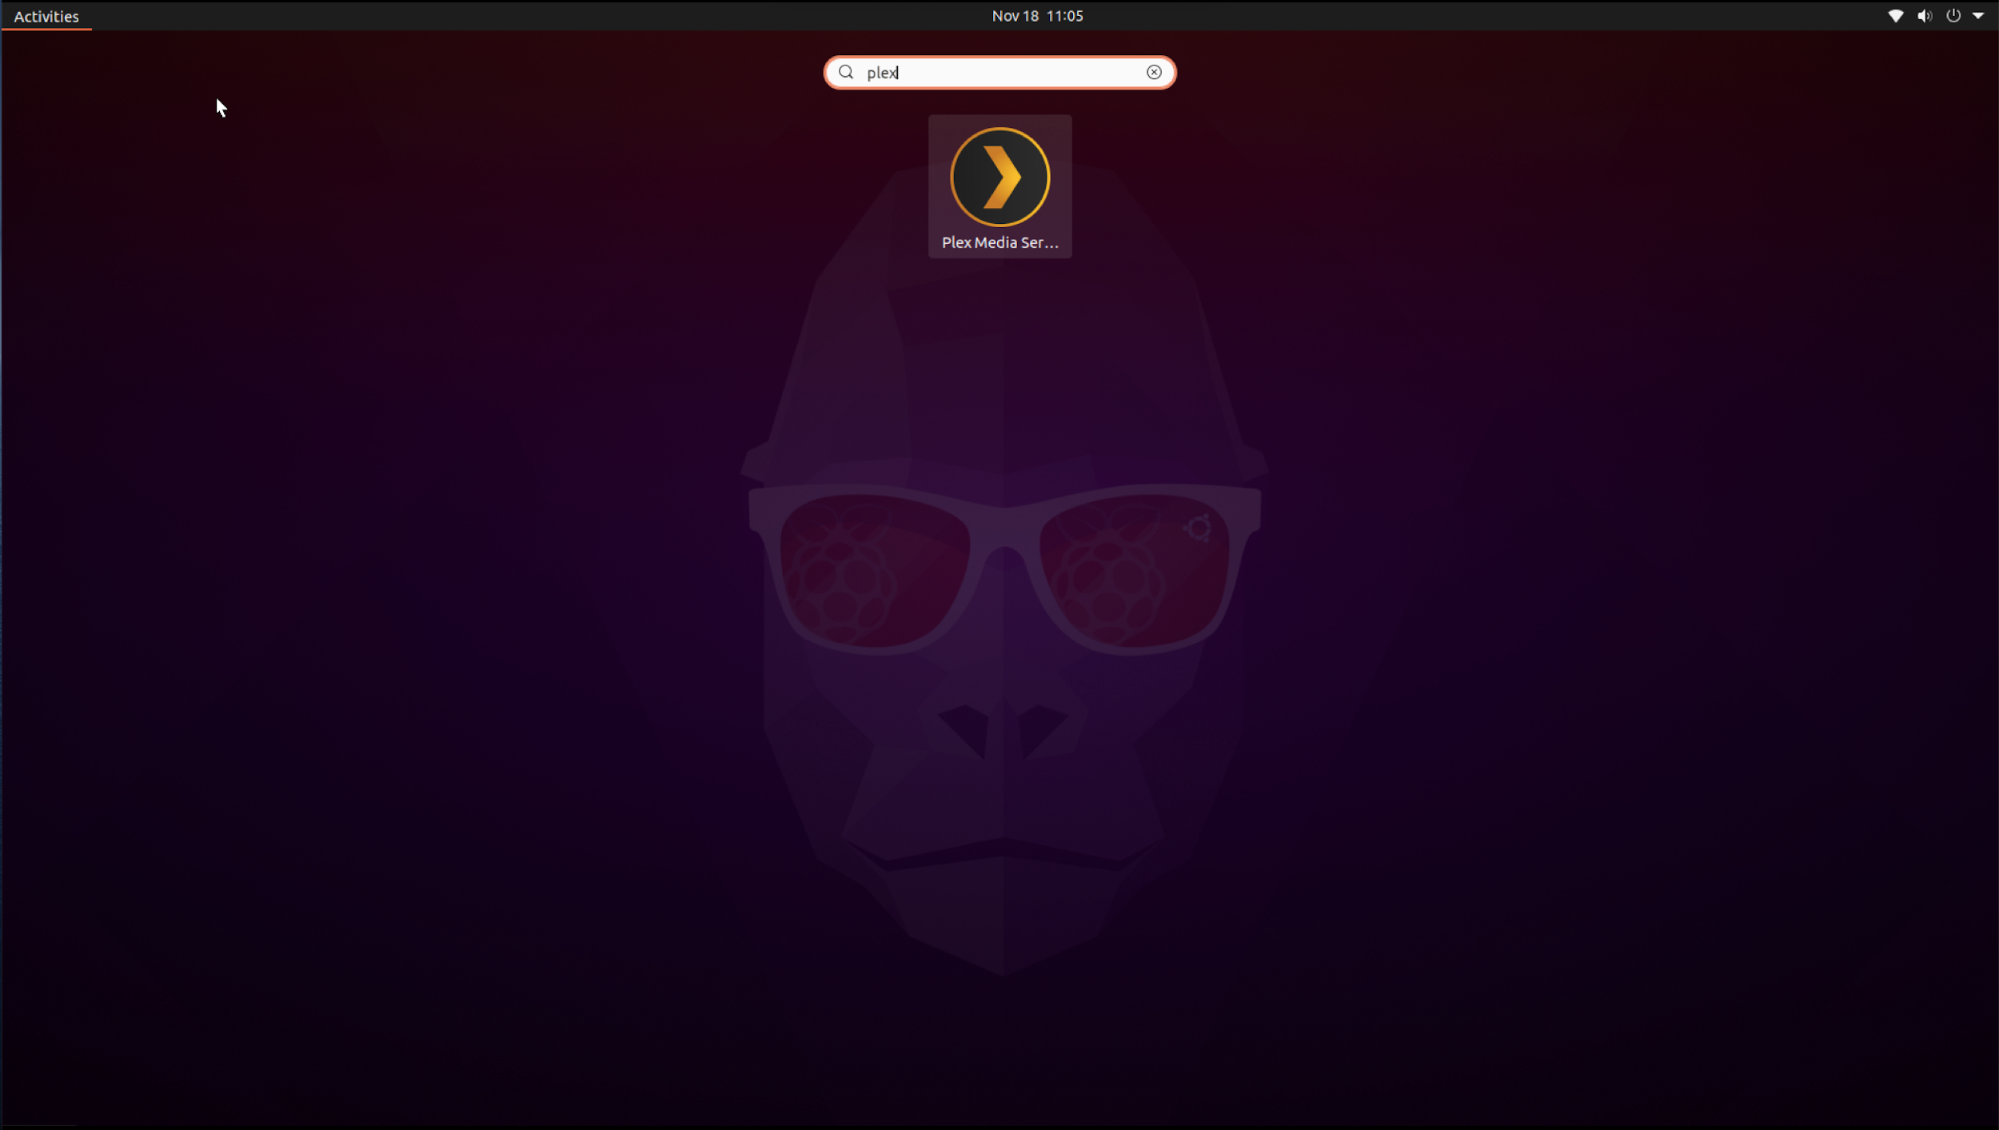
5. Open the Plex Media Server by clicking on the grid of nine dots in the bottom left of the screen.
6. Plex will open a window on your default browser. Create an account on Plex.
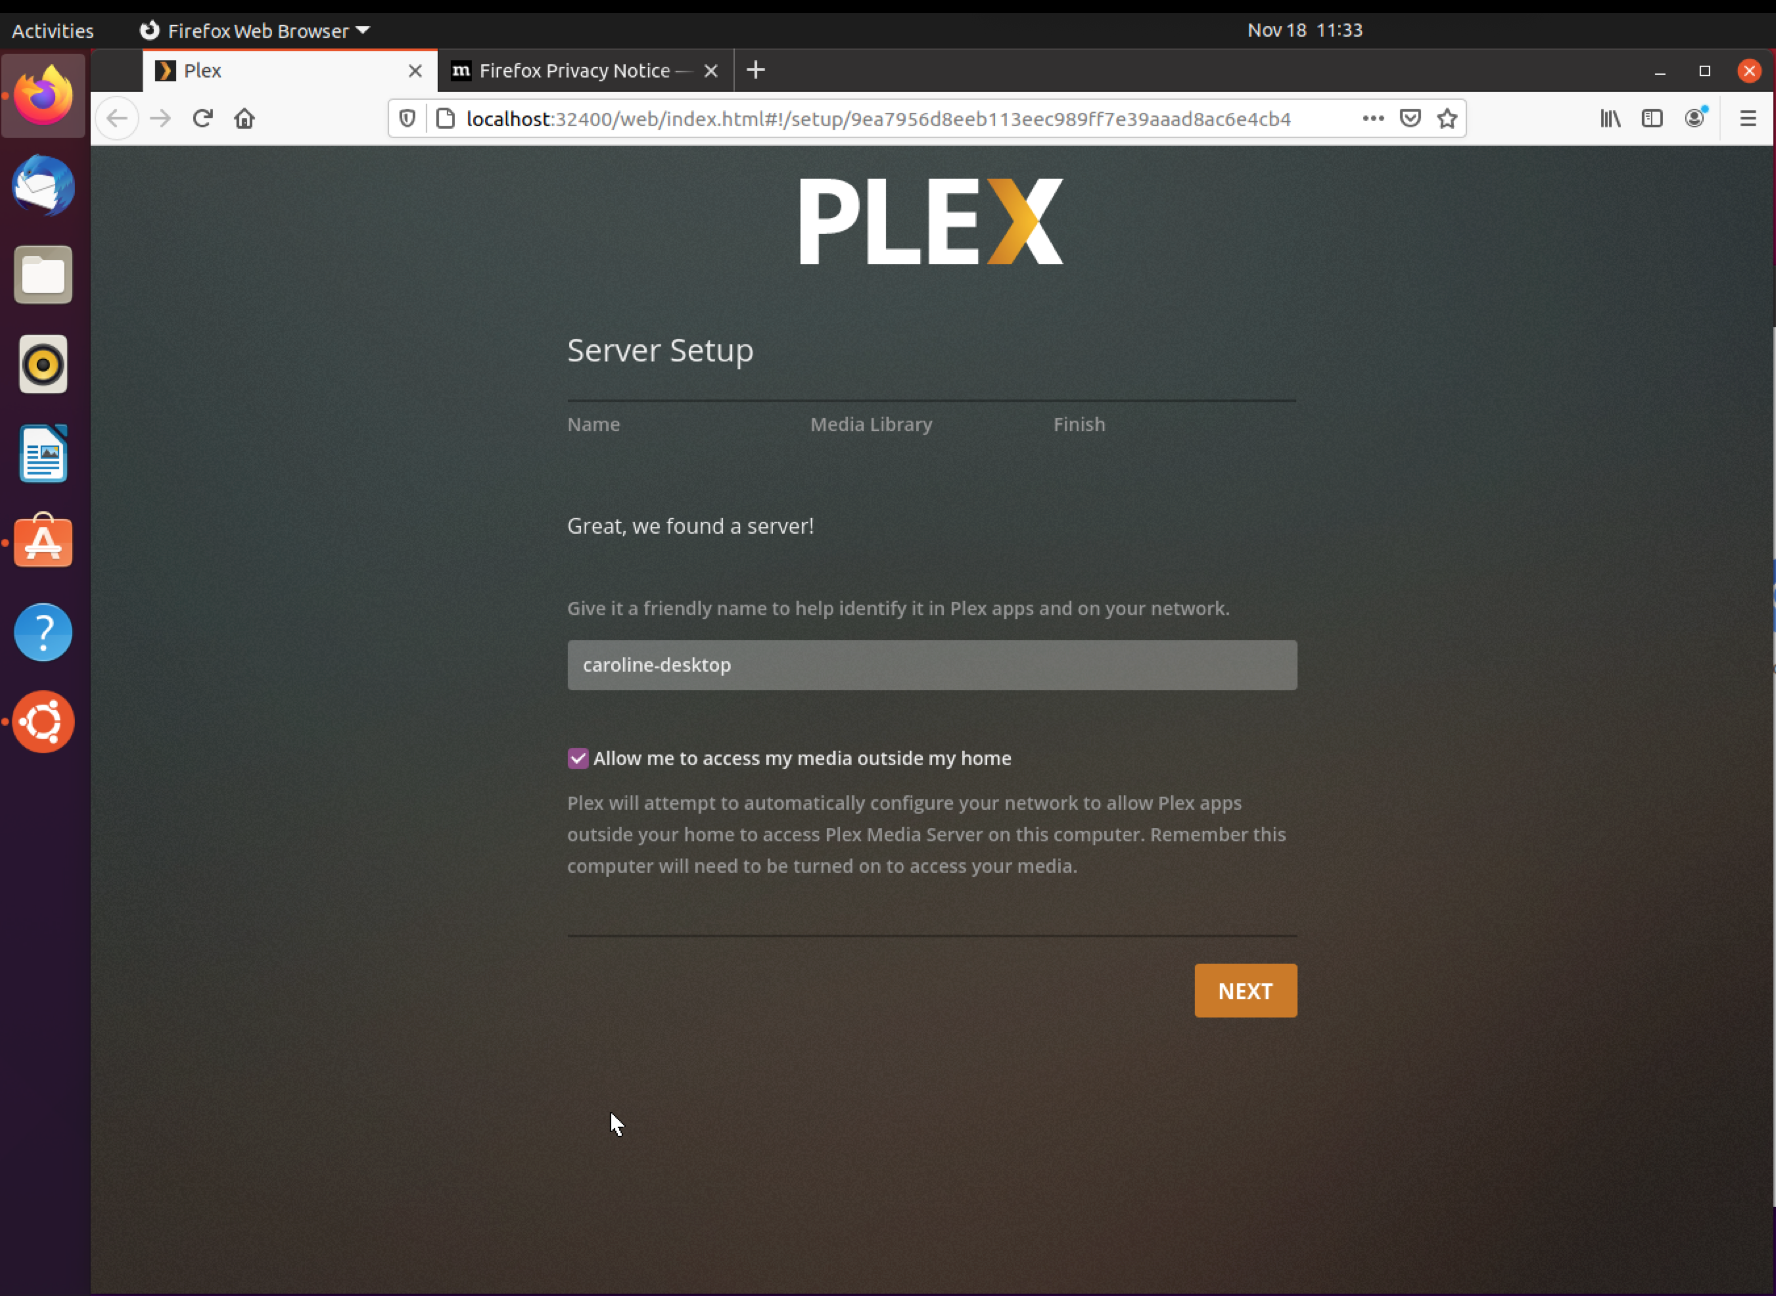
7. Follow the Plex setup wizard. Type in the name for your Plex server, the default is your computer name. Click “Allow me to access my media outside my home” if you wish to access your media from outside of your network.
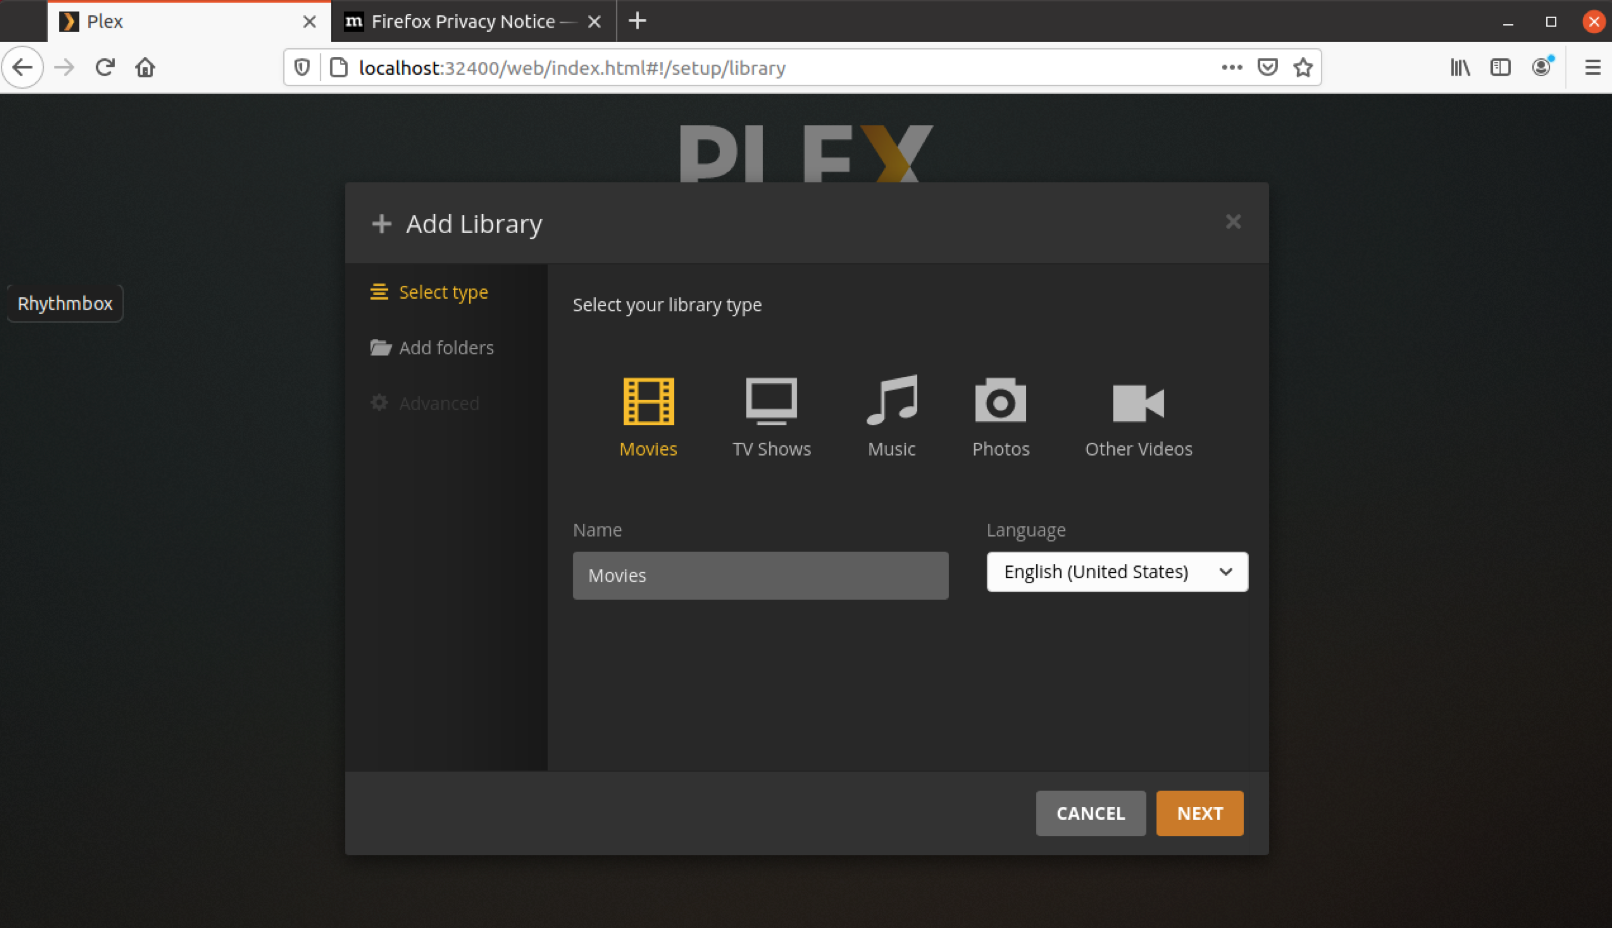
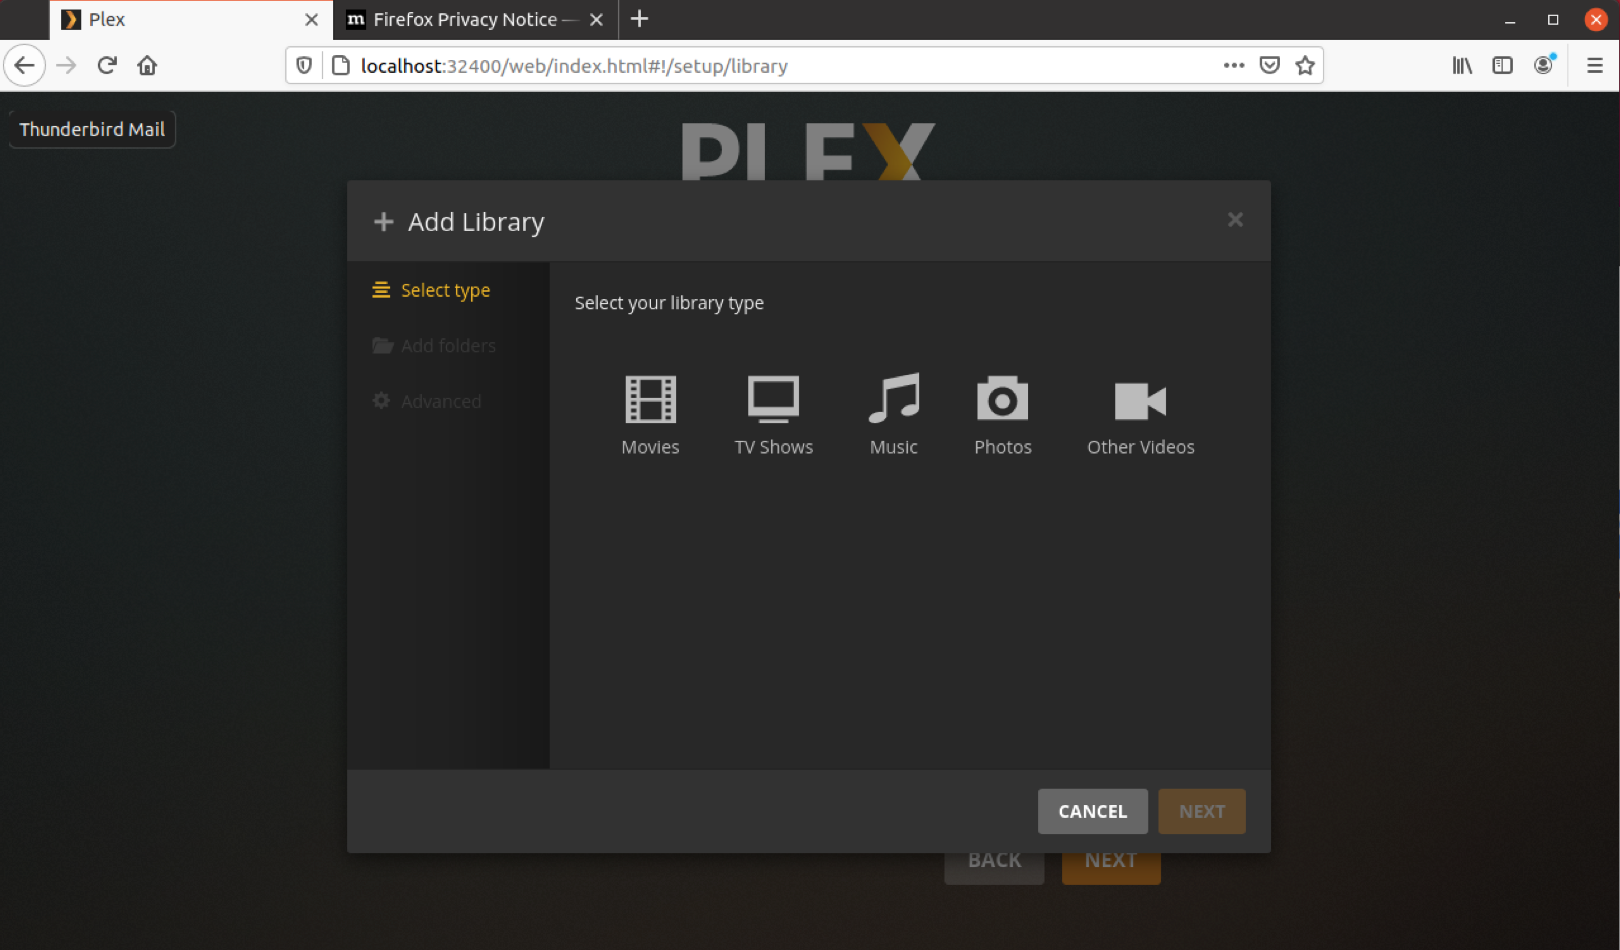
8. To tell Plex where to find our media, movies for example, select Movies, then Next.
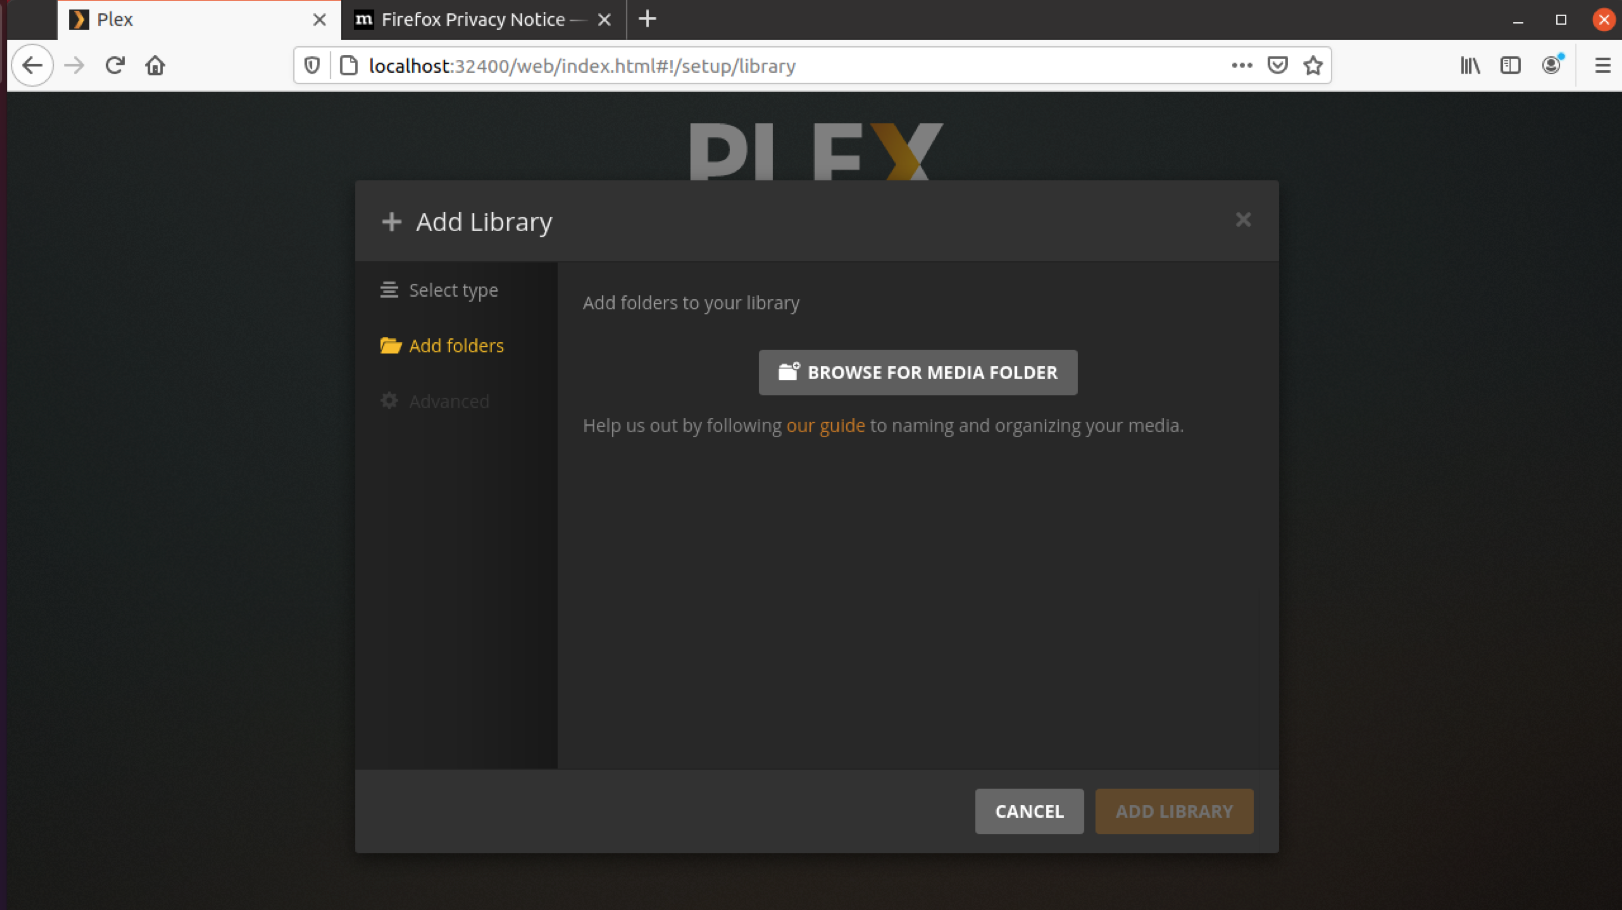
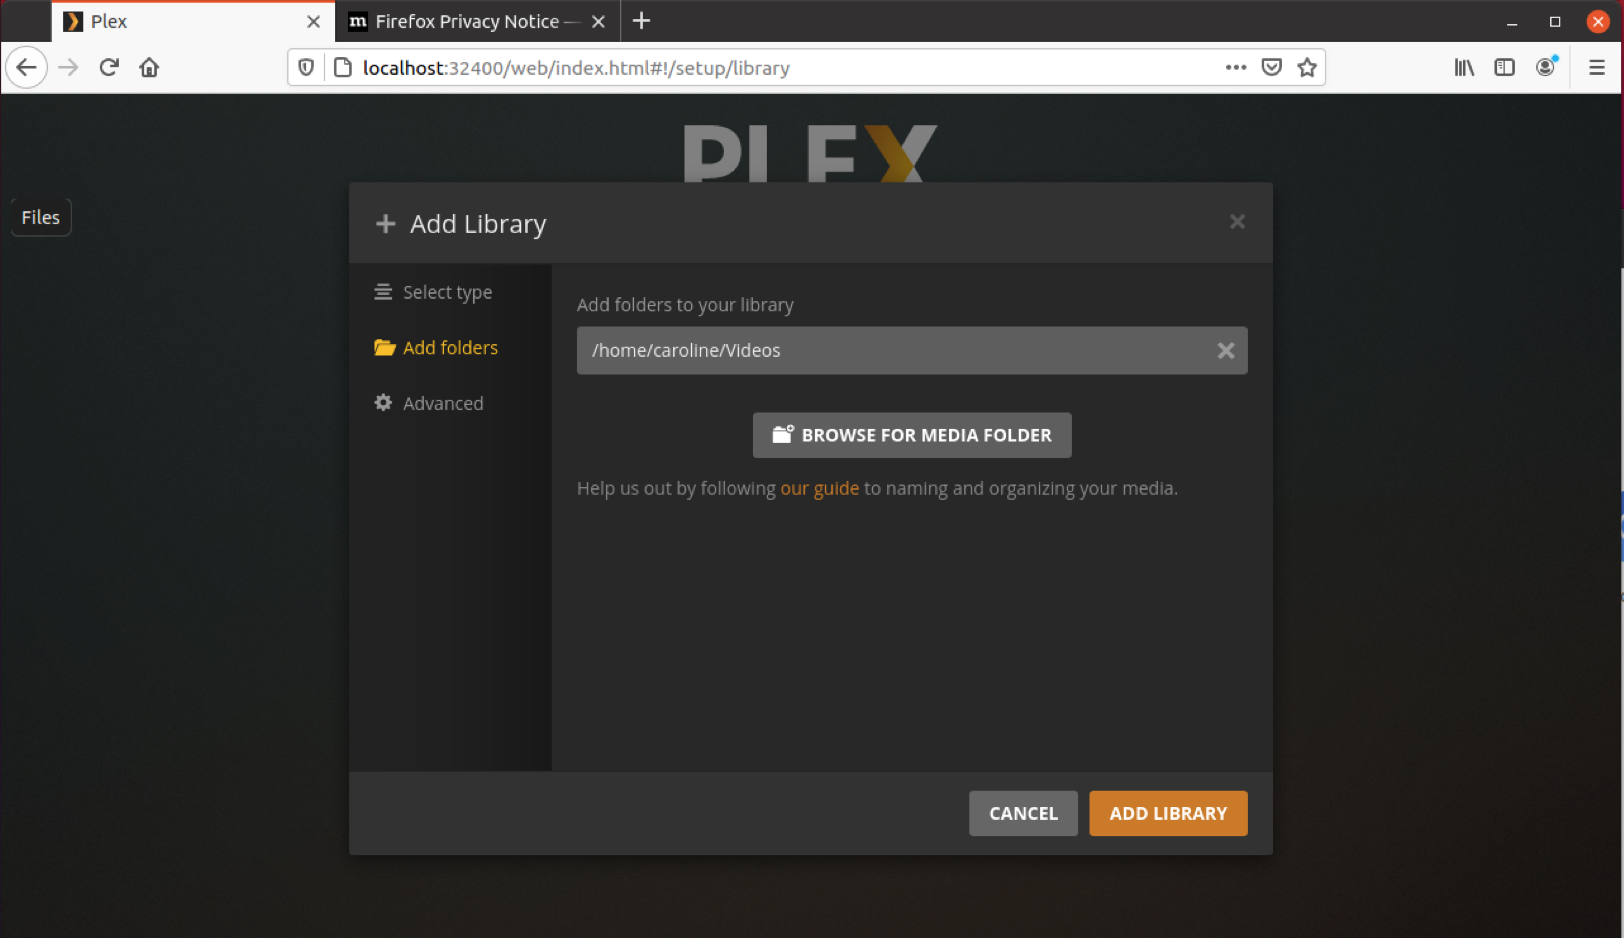
9. Click Browse For Media Folder
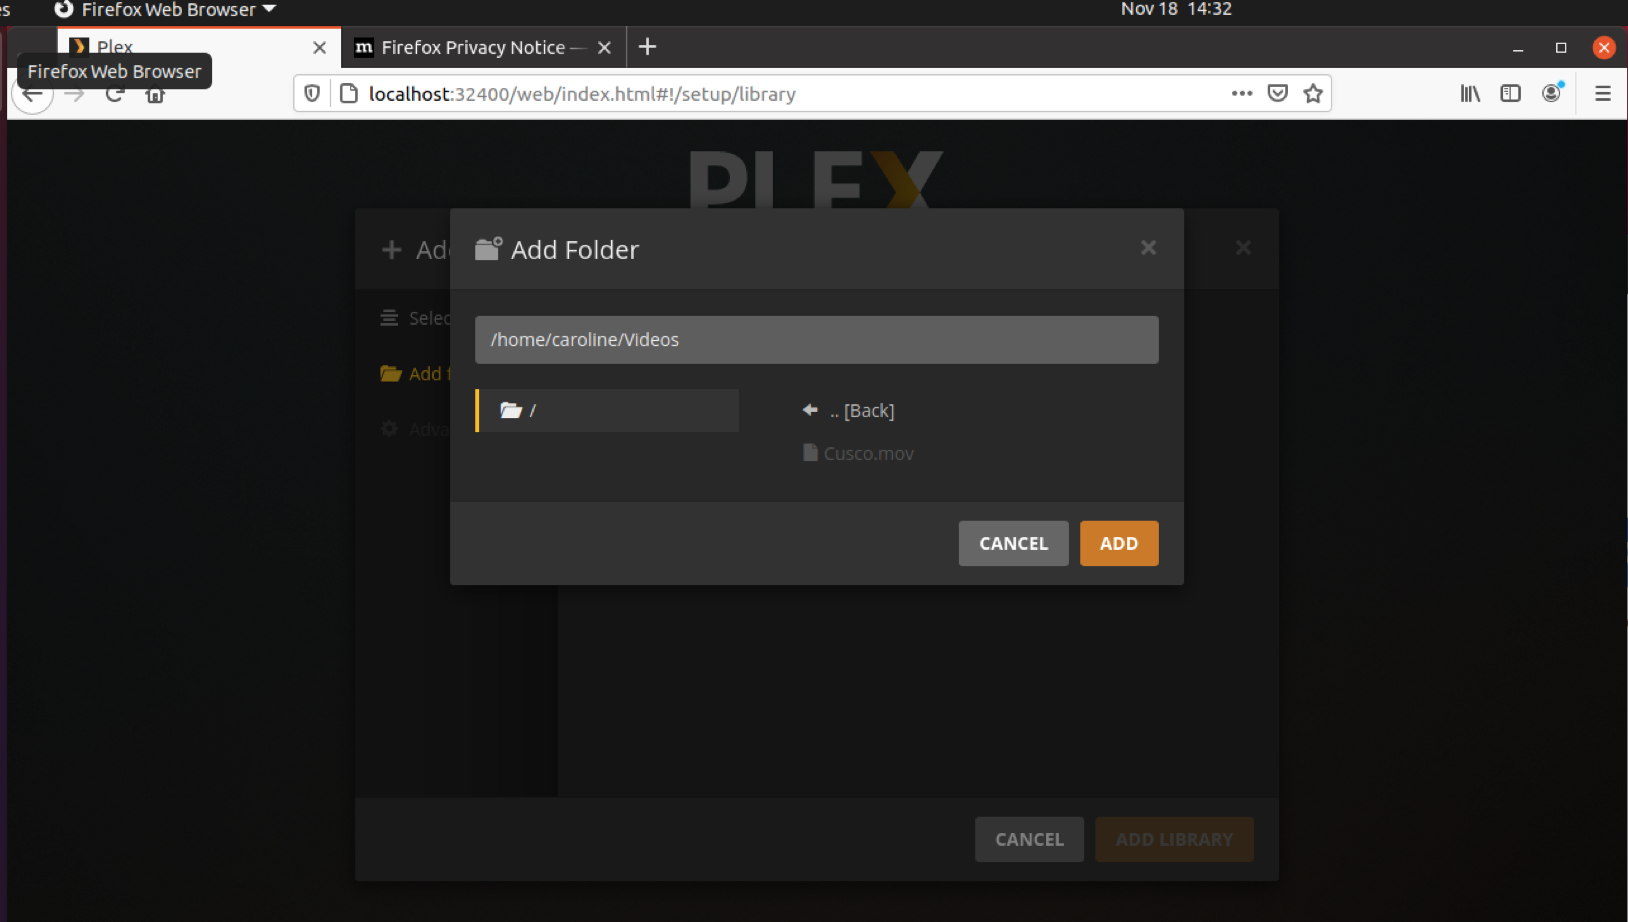
10. Navigate to /home/yourname/Videos and click ADD. “Yourname” is the name of the user which was created during the Ubuntu setup wizard.
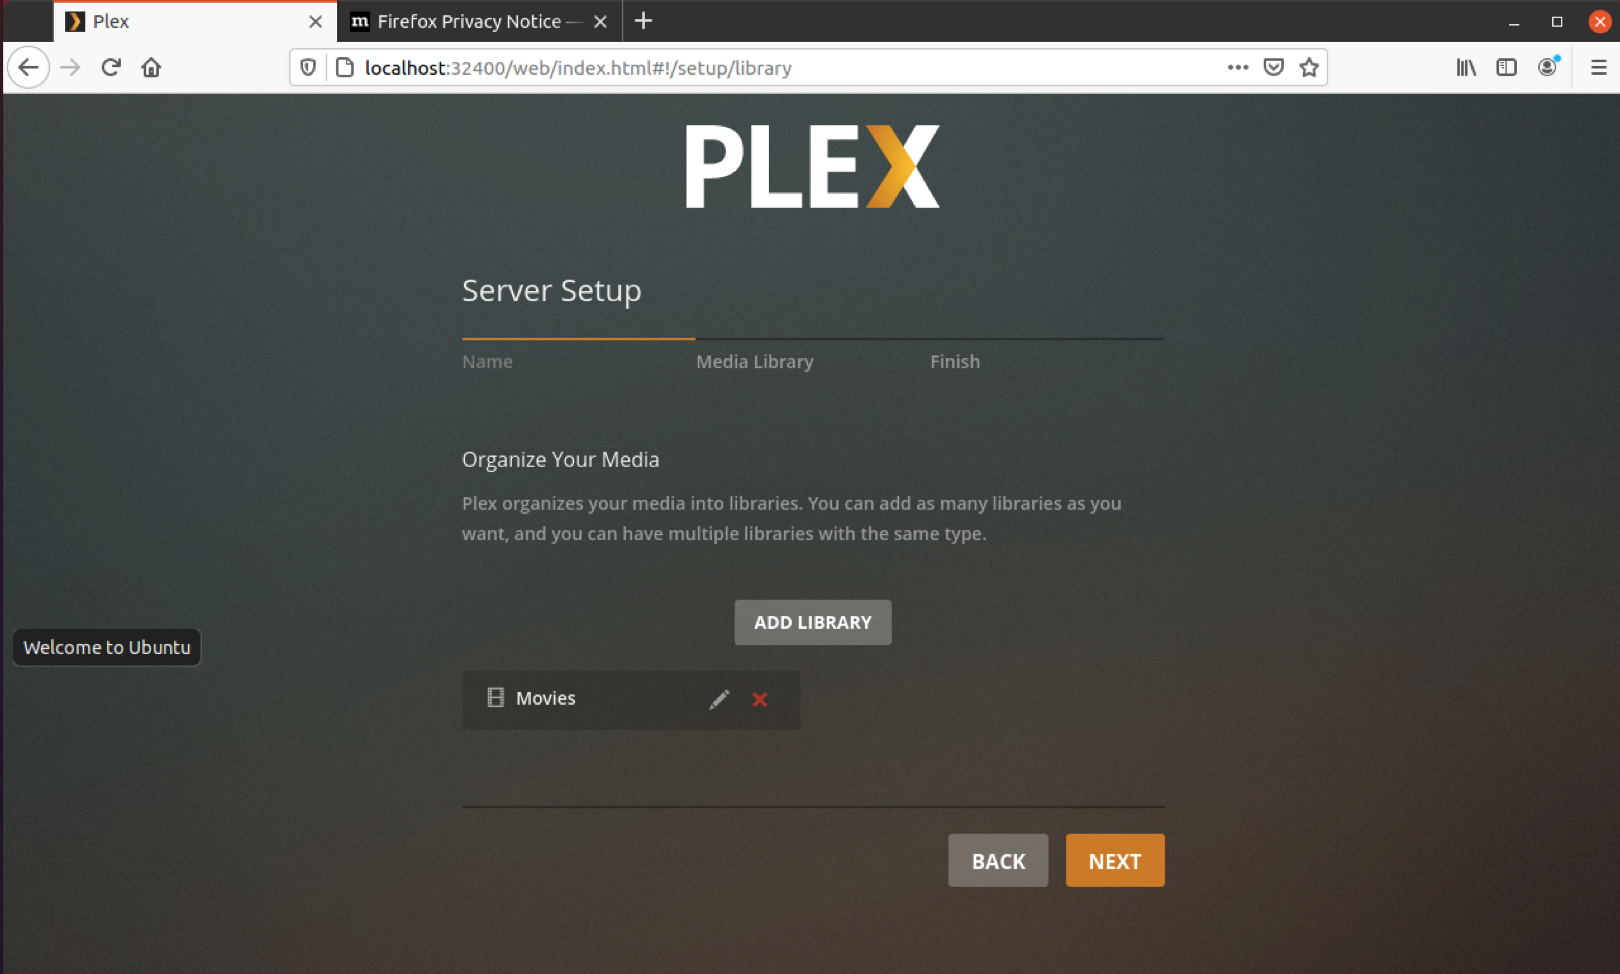
11. Click Add Library.
12. Click the Add Library button.
13. Repeat the process for Music, Photos and any additional media you would like to access from your Plex Media Server.
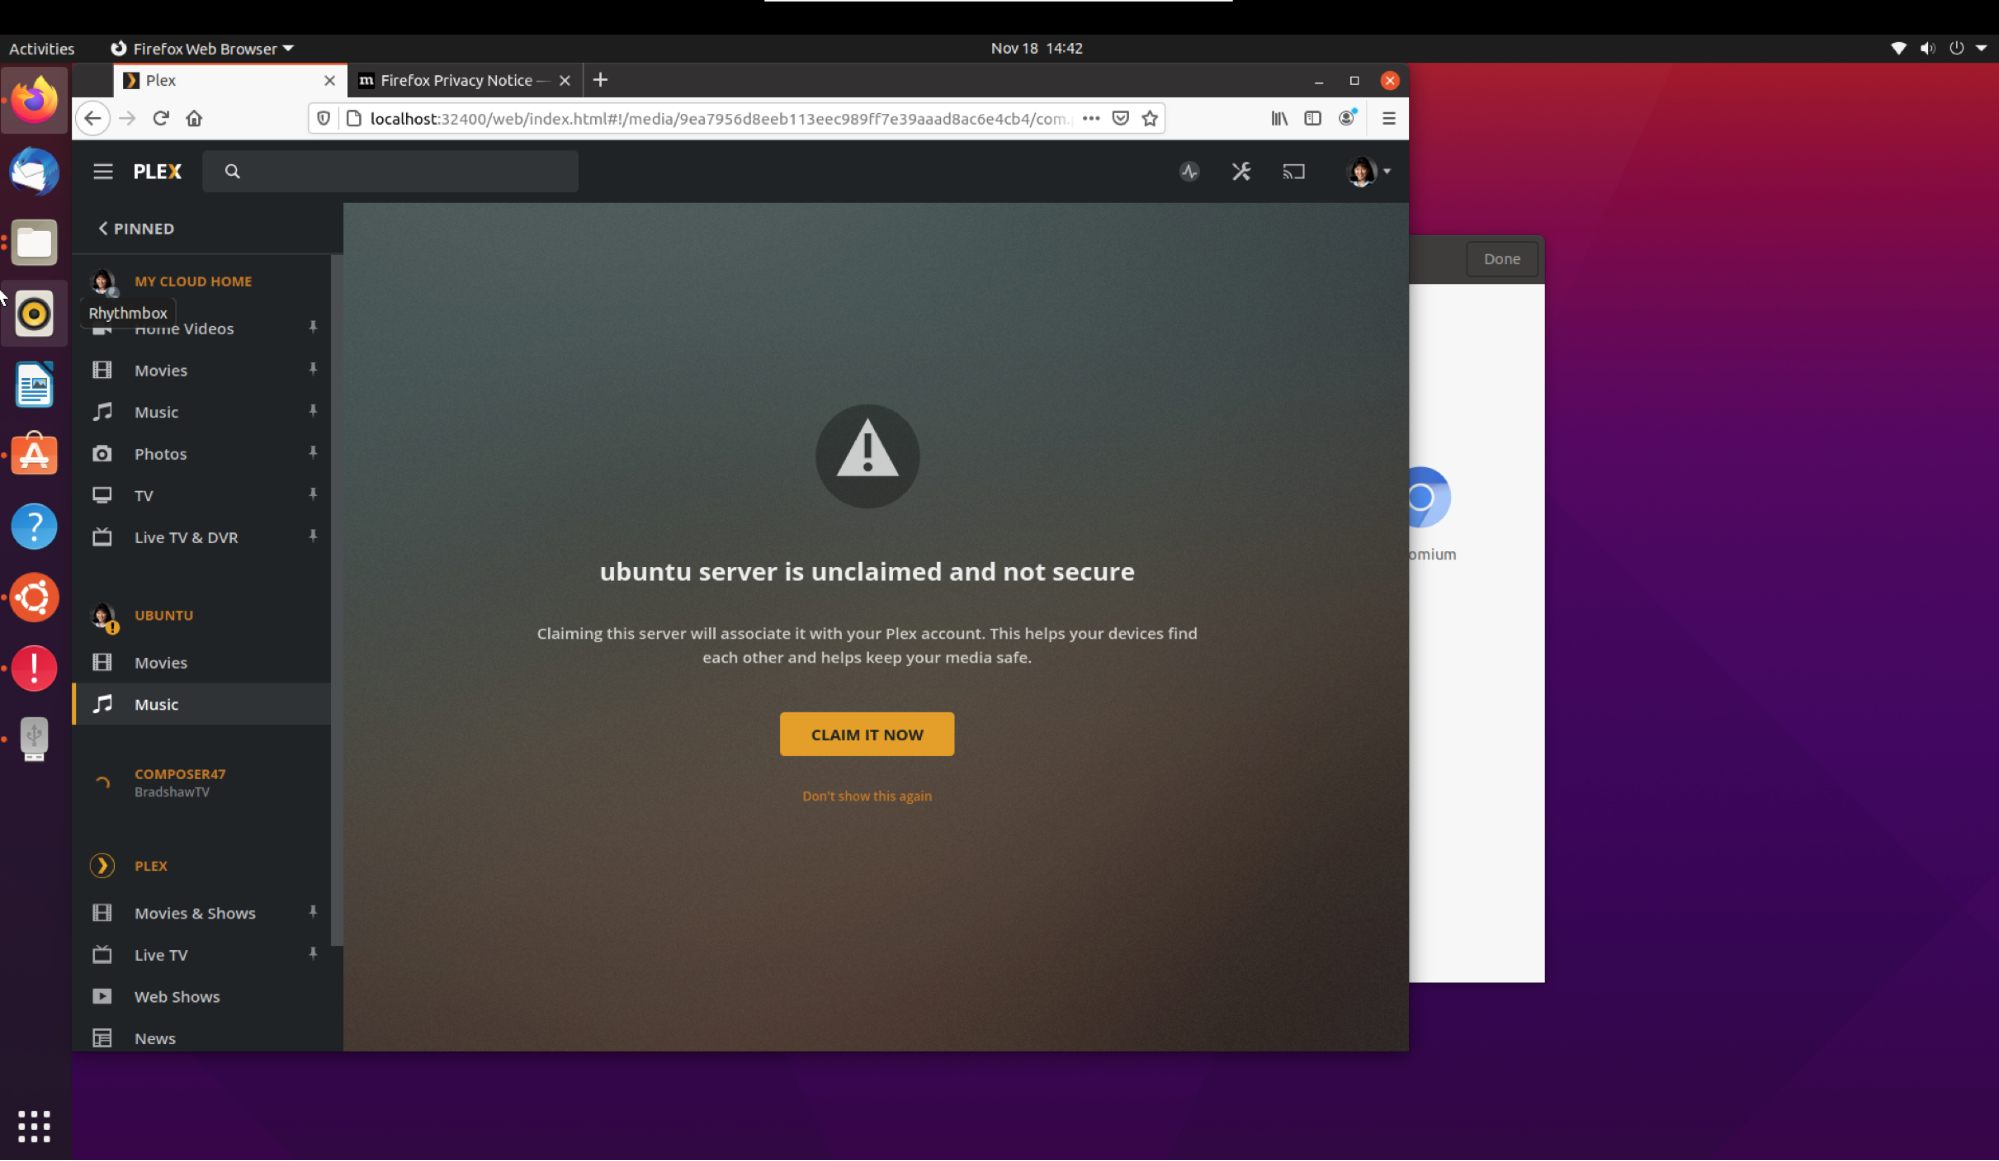
14. Click Next and you will be prompted to Claim your server. Click Claim It Now.
Part 3: Stream Your Media Content
1. From your desktop/laptop computer, go to https://www.plex.tv/. Login and click the Launch button in the top right corner.
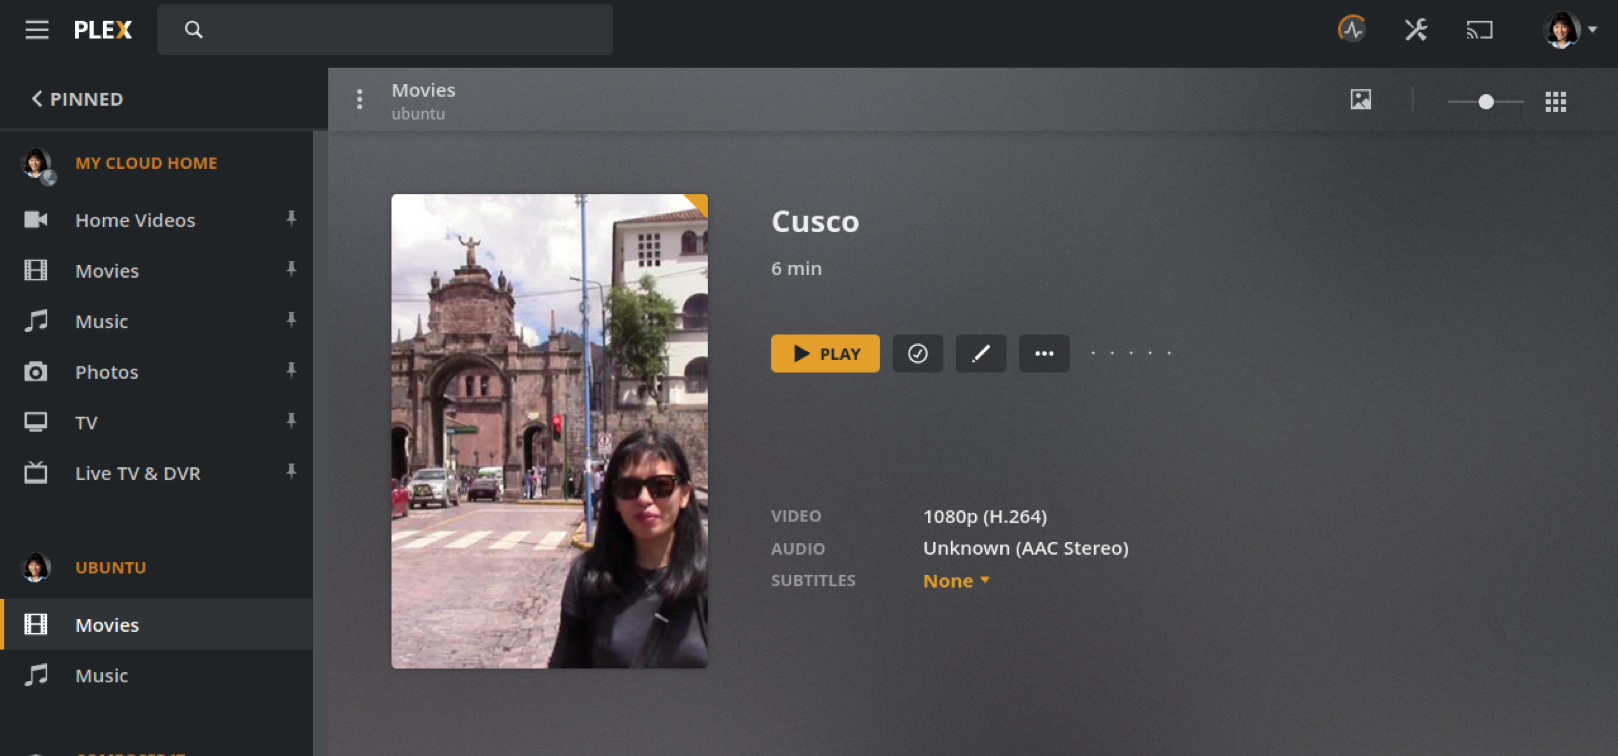
2. Navigate to your content and test out your new media server. If you don’t immediately see your content, it will take a few minutes to Scan your Library files for the first time.
3. There is a Plex app for many devices enabling you to enjoy your media from your laptops, cell phone and smart TV. View the full list here.
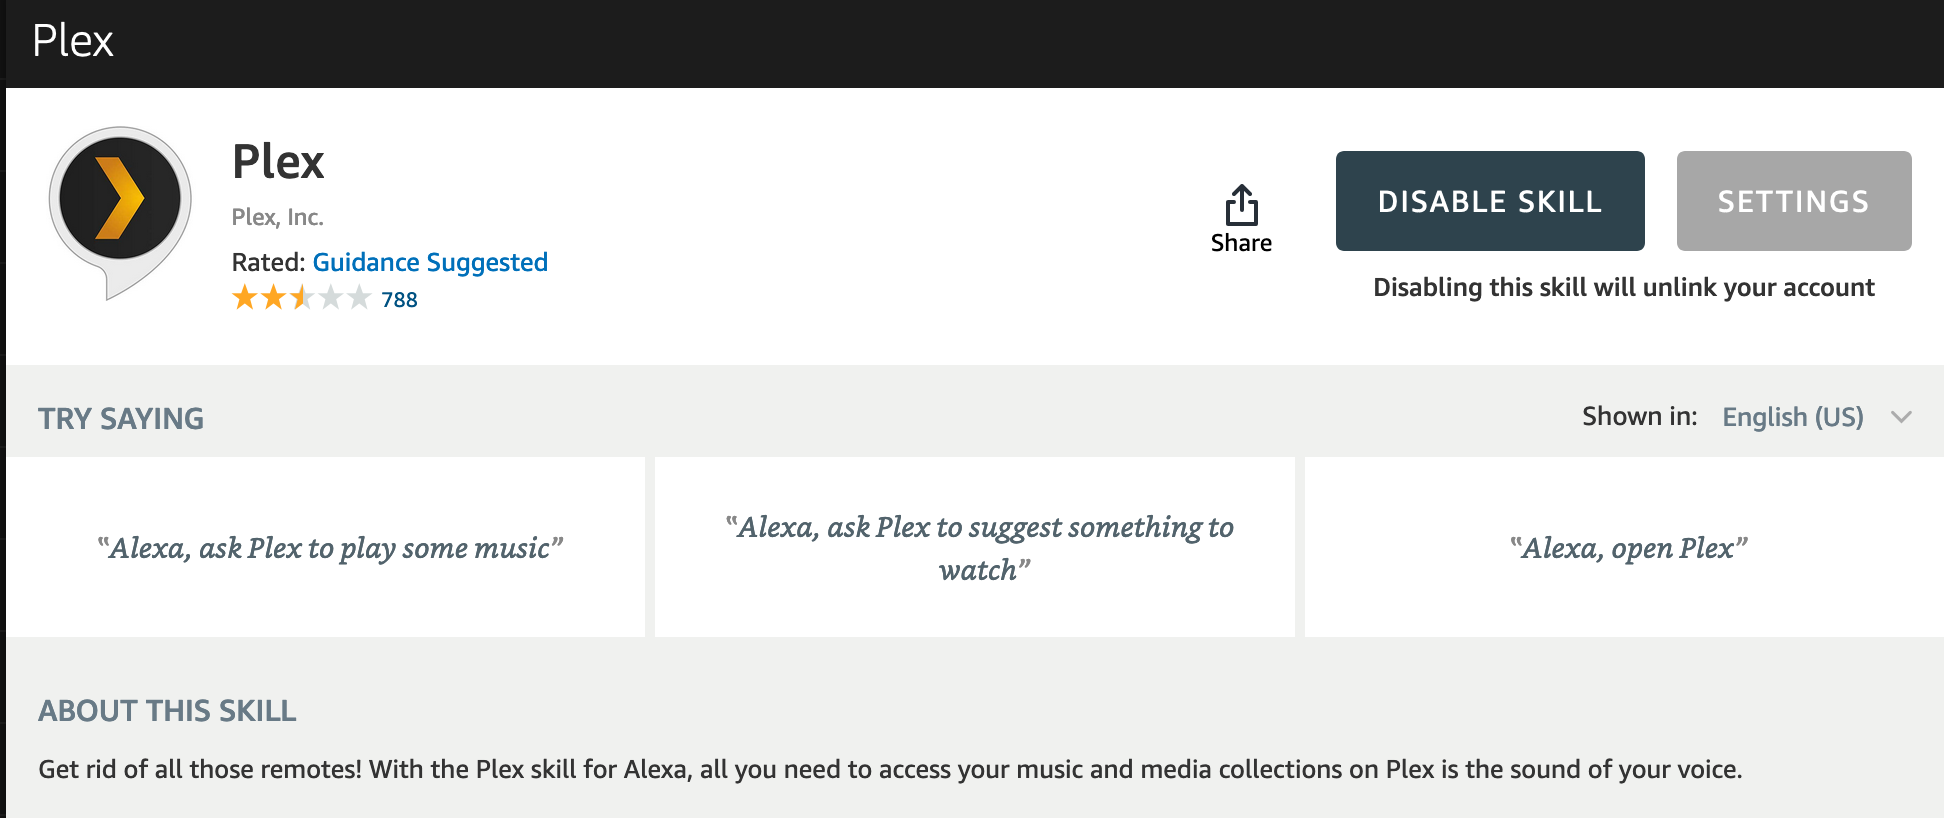
4. You can listen to the music on your Plex Media Server from Amazon Alexa by enabling the Plex Skill on Alexa. Say, “Alexa, ask Plex to play music.”
Caroline Dunn is a freelance writer for Tom's Hardware. Her expertise lies in covering Raspberry Pi projects, creating video tutorials, writing guides, and exploring other entertaining tech DIY initiatives.
-
raygo1975 Your instructions are wonderfully written but I have a few issues with running Ubuntu on my pi4.Reply
First it would not connect to my wifi. I must have typed in my password 6 times. Turned wifi off and on all to no avail. Works fine when I run Rasparian . Had to hardwire the raspberry's NIC to my router.
No VNC. I need to run my raspberry 4 headless so I need to connect to it using some kind of VNC software. I searched in Ubuntu for VNC (which is enabled NOB on Raspberian) and the only software it came up with is Remmina so I installed it on my pi4. When I went to install it on my windows 10 laptop there is nothing written for it. It said that I would have to run an Ubuntu subsystem on my windows 10 PC to use Remmina to connect to my ubuntu running on my raspberry pi. It was just to much work to get one piece of software to work.
Once again thank you for the great instructions but it just will not work for me.
The VNC issue is funny because I had Ubuntu running on a spare laptop and I was able to get VNC to work on that one. I will have to power it up and see what I did to get VNC working and see if I can get it working on Ubuntu on my Raspberry Pi.
