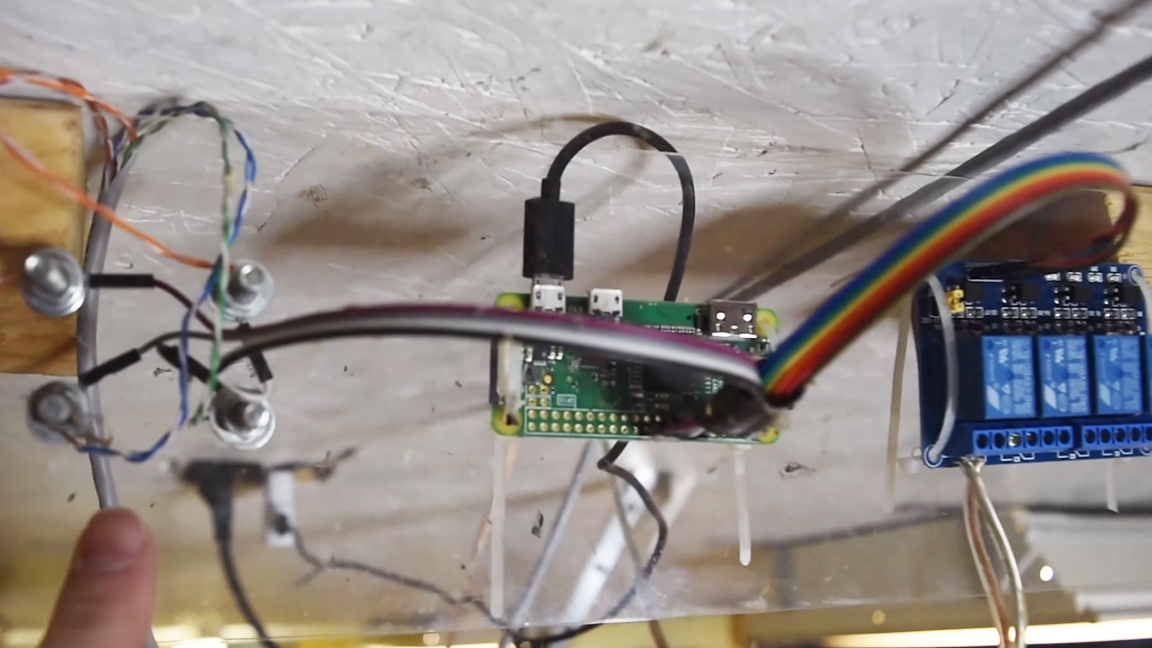
Raspberry Pi Garage Door Opener Lets You Monitor and Close Your Garage Remotely
The Raspberry Pi is a versatile asset when it comes to home DIY projects, and this Pi-powered garage door control system is no exception. Thanks to Steve from the Steve Does Stuff YouTube channel this week, you can learn how to use the single-board computer to monitor and control all the main functions of your garage.
According to Steve, this setup has been running for two years without any issues. In addition to using a Raspberry Pi, the project uses two sensors to determine whether or not the garage door is open.
The project also lets users send a command to the door, thus, enabling you to control it remotely. This means you could check on and control your garage door when you're away from home (no more wondering if you forgot to close it on the way out). All activity is monitored and logged using the Raspberry Pi.
With a magnet attached to the garage door, the Pi relies on two magnetic reed switches to check the garage door's status. Steve placed one sensor near the ceiling and the other is on the ground. As the door moves open or shut, the sensors are triggered.
The setup uses a custom web server built with Flask for web-based monitoring. To prevent server crashes, Steve programmed his Raspberry Pi to reboot once a day.
You can explore the code behind this project on GitHub.
If you'd like to recreate this project yourself, check out Steve on YouTube. On his official channel, Steve Does Stuff, he has a video with complete instructions. Be sure to follow him for more updates and new Pi projects.
Get Tom's Hardware's best news and in-depth reviews, straight to your inbox.

Ash Hill is a contributing writer for Tom's Hardware with a wealth of experience in the hobby electronics, 3D printing and PCs. She manages the Pi projects of the month and much of our daily Raspberry Pi reporting while also finding the best coupons and deals on all tech.
-
Stevie187 Wow what a waste of a pi I do something similar with an esp32 with a relay board for about 5 bucks, that never needs resetting and is integrated with Alexa Google assistant etc all through home assistant which is really the ultimate goal for these type of applications.Reply -
CPU Fan Reply
I would love to know more about this.Stevie187 said:Wow what a waste of a pi I do something similar with an esp32 with a relay board for about 5 bucks, that never needs resetting and is integrated with Alexa Google assistant etc all through home assistant which is really the ultimate goal for these type of applications. -
Stevie187 Reply
There's no secret to it just Google esp32 relay and there will be loads of how rtos out there I bet. But basically get one flash it with tasmota, then you can integrate it with your favourite home automation software. Home assistant is easy to get working use mqtt to connect them you can expose home assistant to Alexa Google assistant and integrates with most home automation stuff.CPU Fan said:I would love to know more about this. -
Mr5oh ReplyStevie187 said:Wow what a waste of a pi I do something similar with an esp32 with a relay board for about 5 bucks, that never needs resetting and is integrated with Alexa Google assistant etc all through home assistant which is really the ultimate goal for these type of applications.
I'm not sure the point of the article was this was the easiest best method. SmartThings and even the Garage door makers have systems that can solve these issues too. Sometimes it's just about a Geeky project you can do, sometimes its just a learning experience.
For example the Picade. You could make your own, and save quite a bit of money. However in my case, I picked up one up, assembled it with my son in an afternoon, he had fun, and learned some things, had a good time. I throw this in the same catagory. My garage door is already monitor and controlled by my alarm system. However we could grab a rasberry Pi out of the cabinet, magnets and switches I already have and make a project out of it (wouldn't be permanent but still educational). Just my thoughts.
