Tom's Hardware Verdict
Cytron’s Maker Pi RP2040 is an ideal way to build moving projects using the RP2040 and CircuitPython
Pros
- +
+ Low cost
- +
+ Ease of use
- +
+ Clear labels
- +
+ Good selection of connectors
Cons
- -
Limited direct GPIO access
Why you can trust Tom's Hardware
Microcontrollers, such as those powered Raspberry Pi’s RP2040, are ideal for robotics and projects that require simple and repeatable movement. Cytron is back for another bite of the cherry, or is that Raspberry, with the Cytron Maker Pi RP2040. This board provides a platform to build sensor-controlled projects such as line-following robots, temperature controlled fans and servo-powered robot arms. Sure, you could buy a Raspberry Pi Pico and attach an add-on board like the Kitronik Pico Robotics board, but Cytron’s board has similar functions built in.
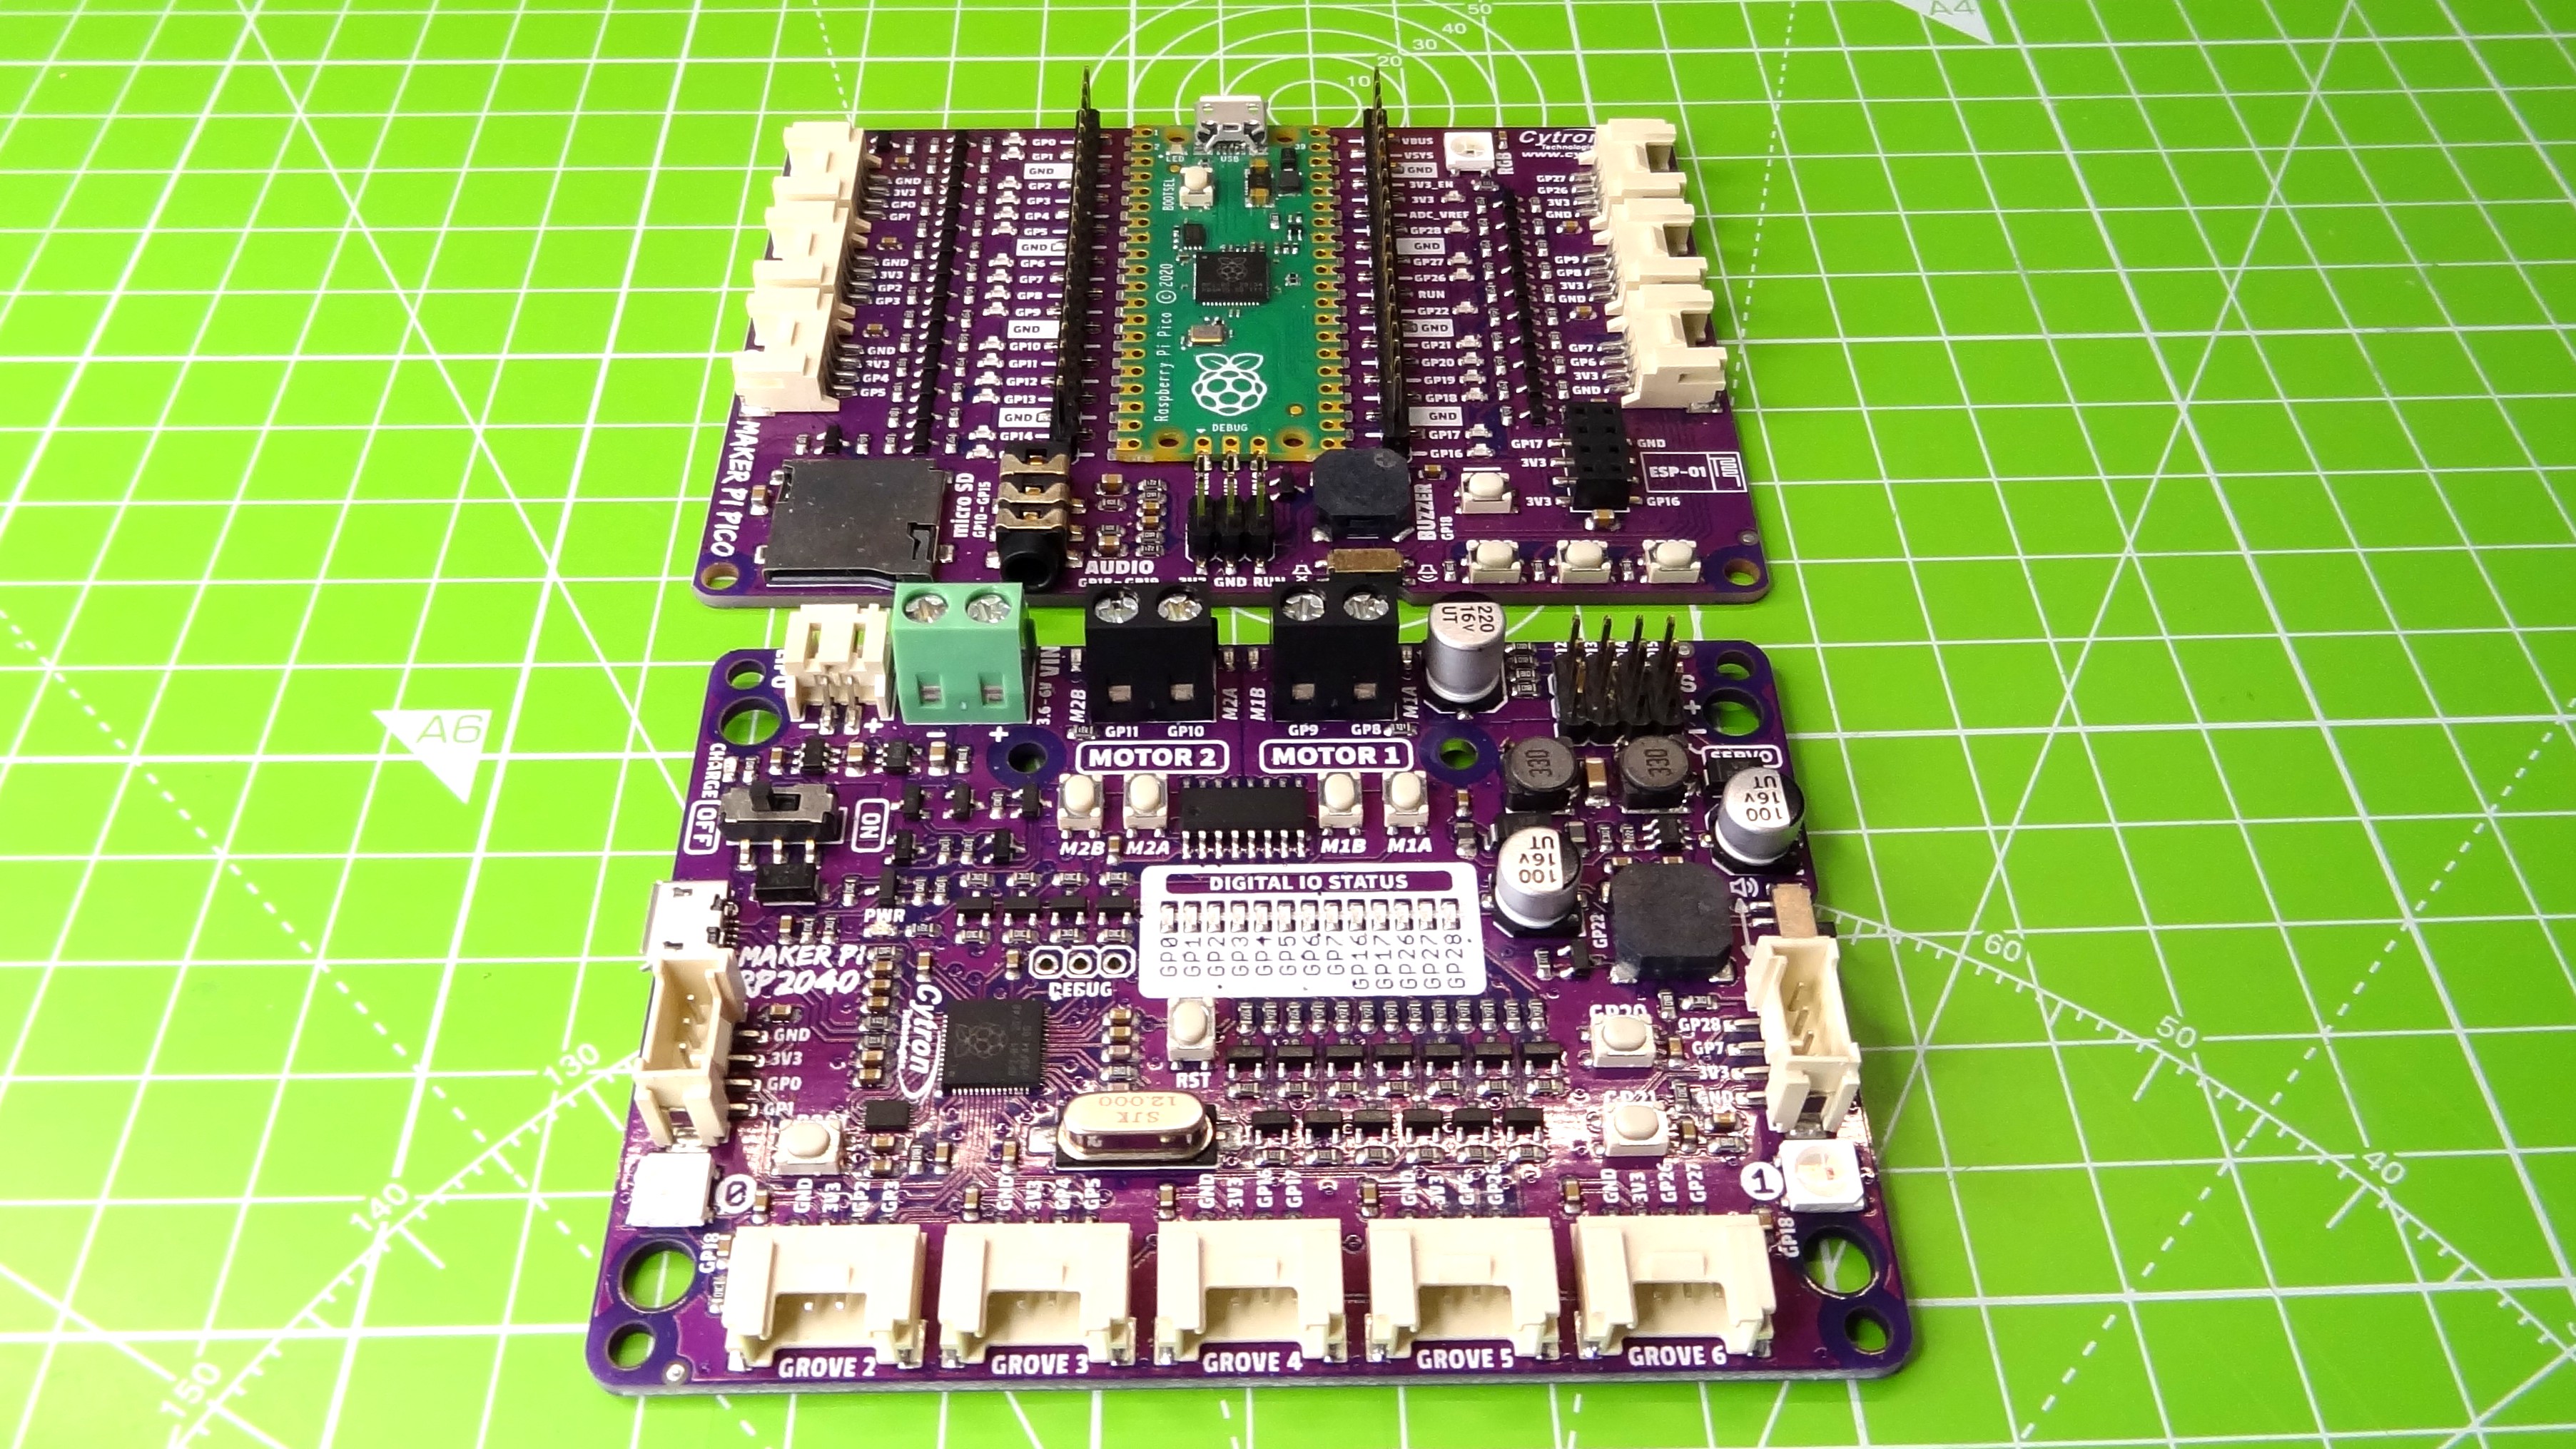
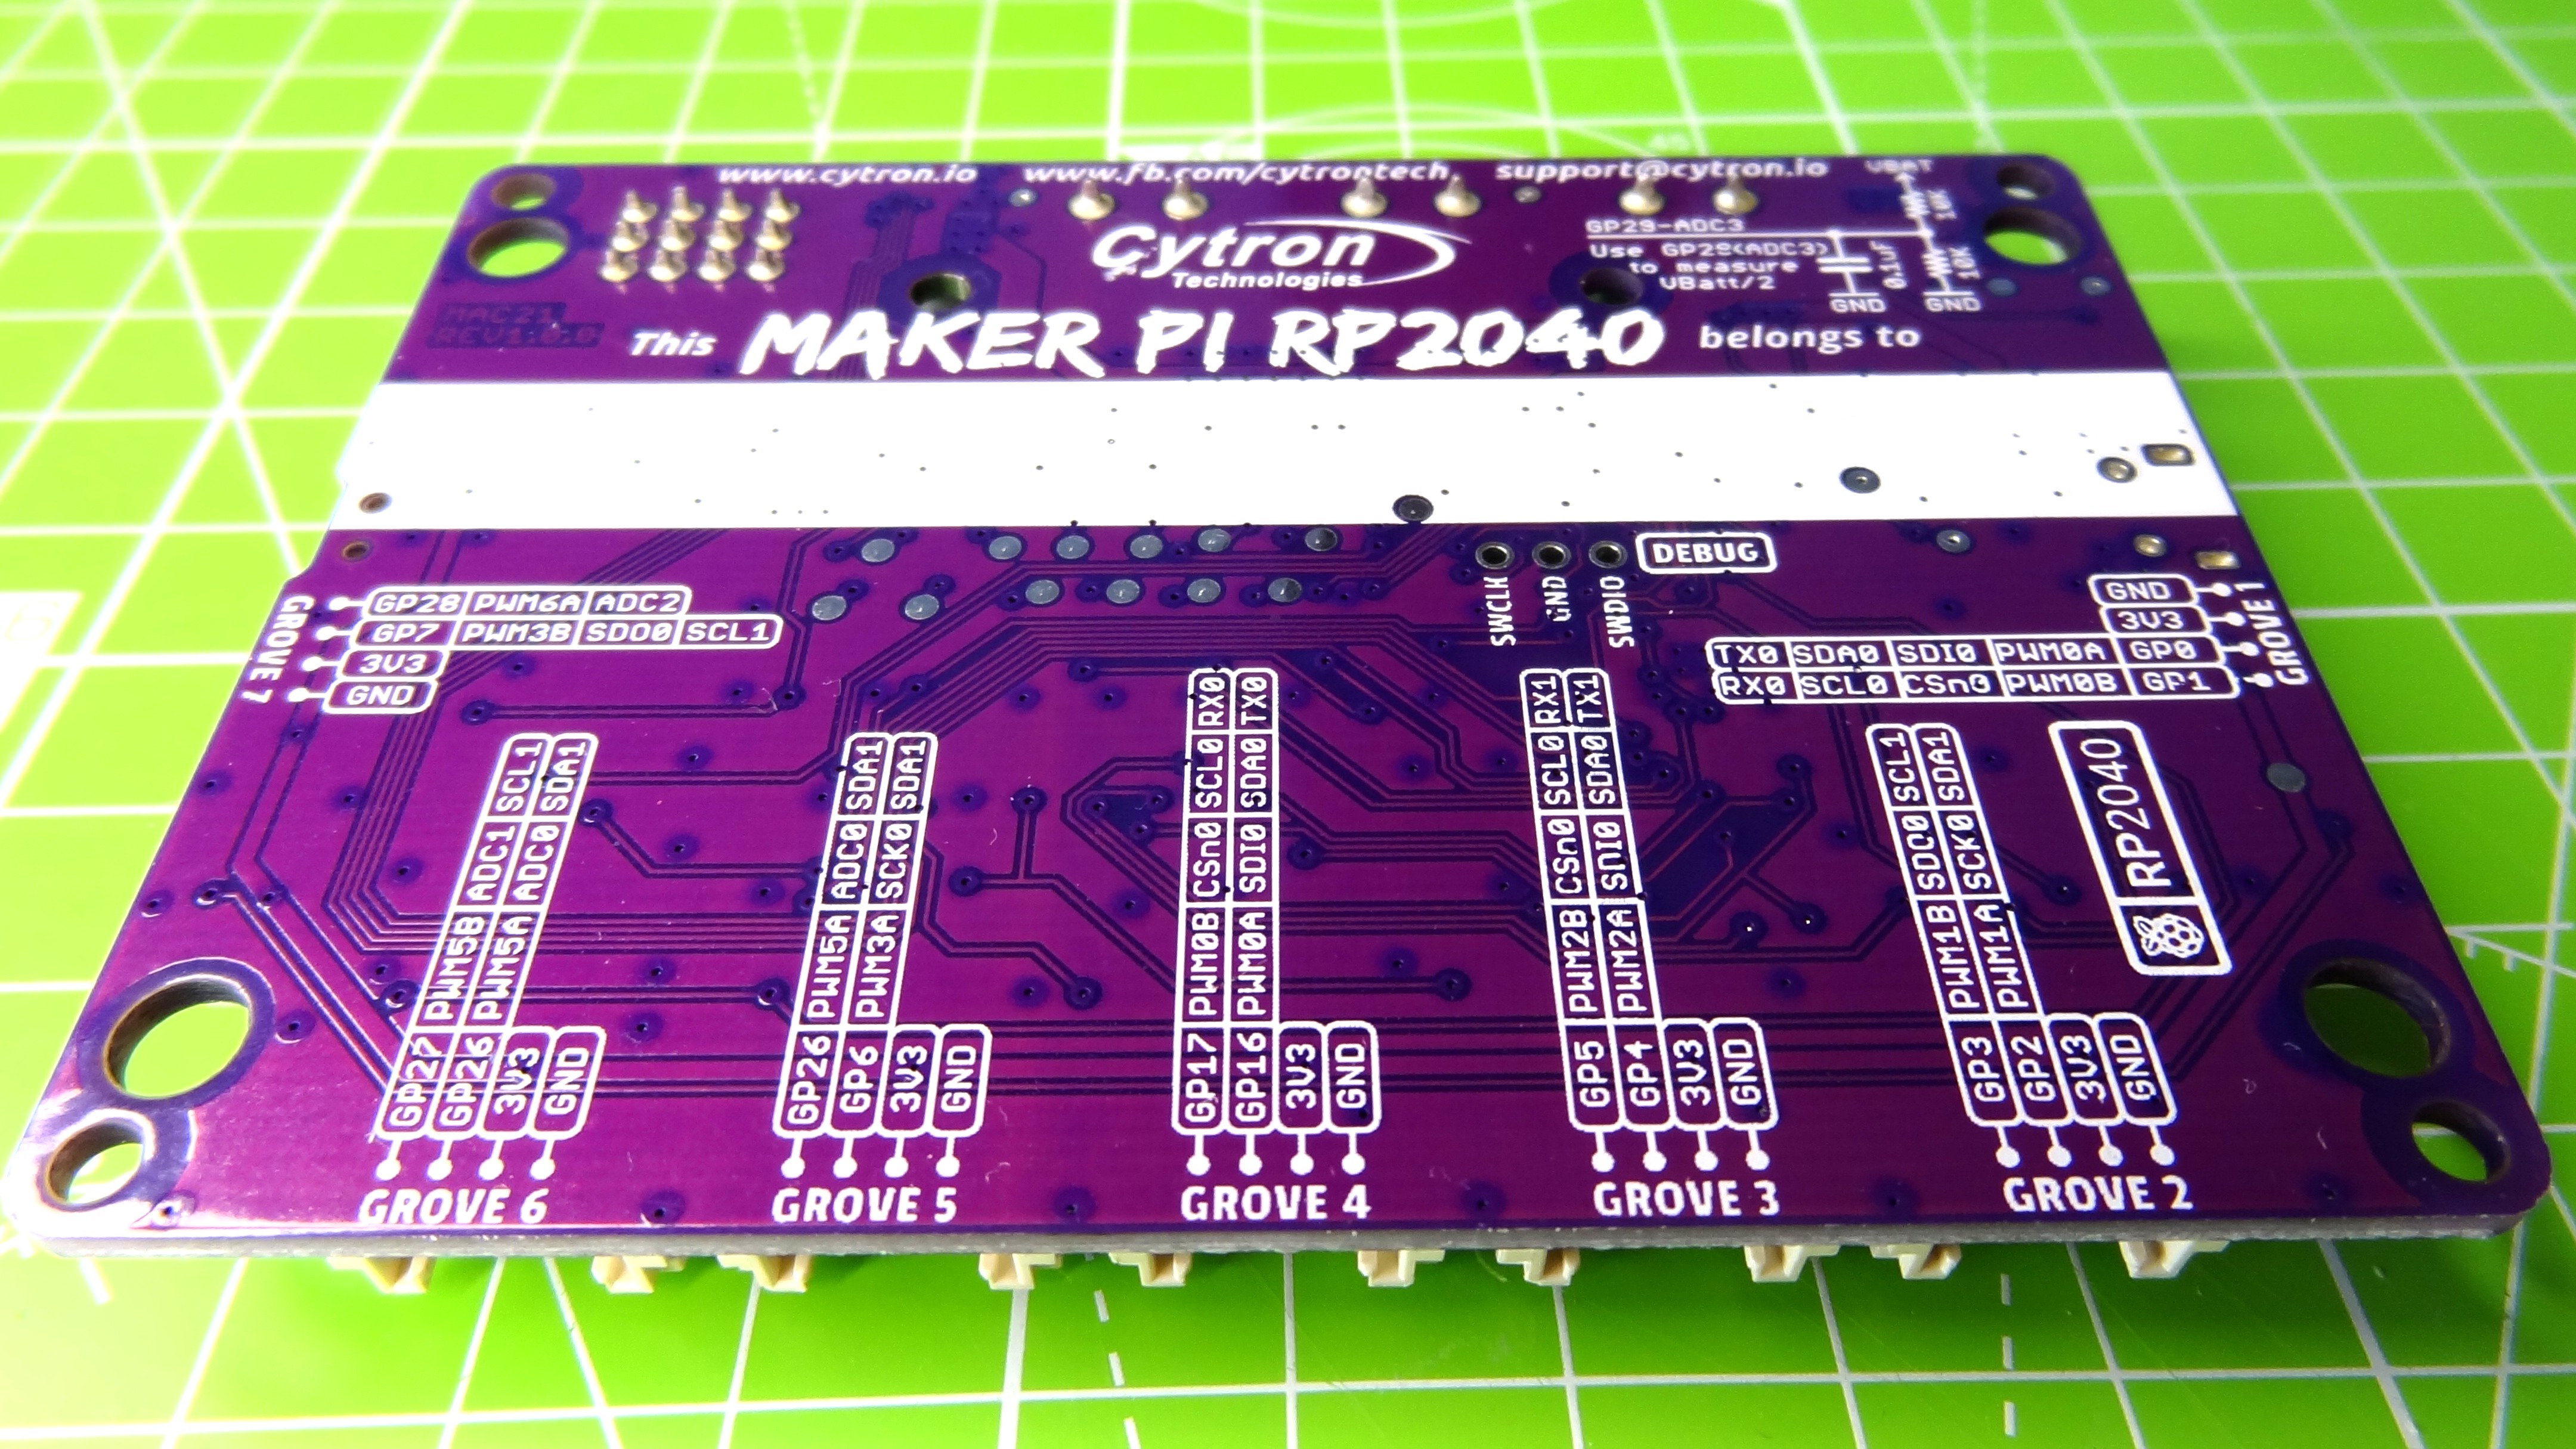
Taking a cue from the previous Maker Pi Pico, the all-purple PCB on Maker Pi RP2040 s designed for beginners, with clearly marked GPIO pins and Grove connectors around the board. We took Cytron’s latest board for a test on our bench to see how it stacks up.
Cytron Maker Pi RP2040 Hardware Specifications
| RP2040 SoC | ARM Cortex M0+ running at up to 133Mhz |
| SRAM | 264kB |
| Flash Storage | 2MB of QSPI |
| GPIO | 7 x Grove ports, 4 x Servo Motor connectors, 2 x DC Motor terminals. |
| 13 x GPIO LEDs, 2 x WS2812 RGB LEDs, 1 x Piezo buzzer, 2 x Push buttons. | |
| LiPo / Li-ion battery charging | |
| USB Port | Micro USB |
| Dimensions | 3.46 z 2.52 inches (88 x 64mm) |
Using the Cytron Maker Pi RP2040
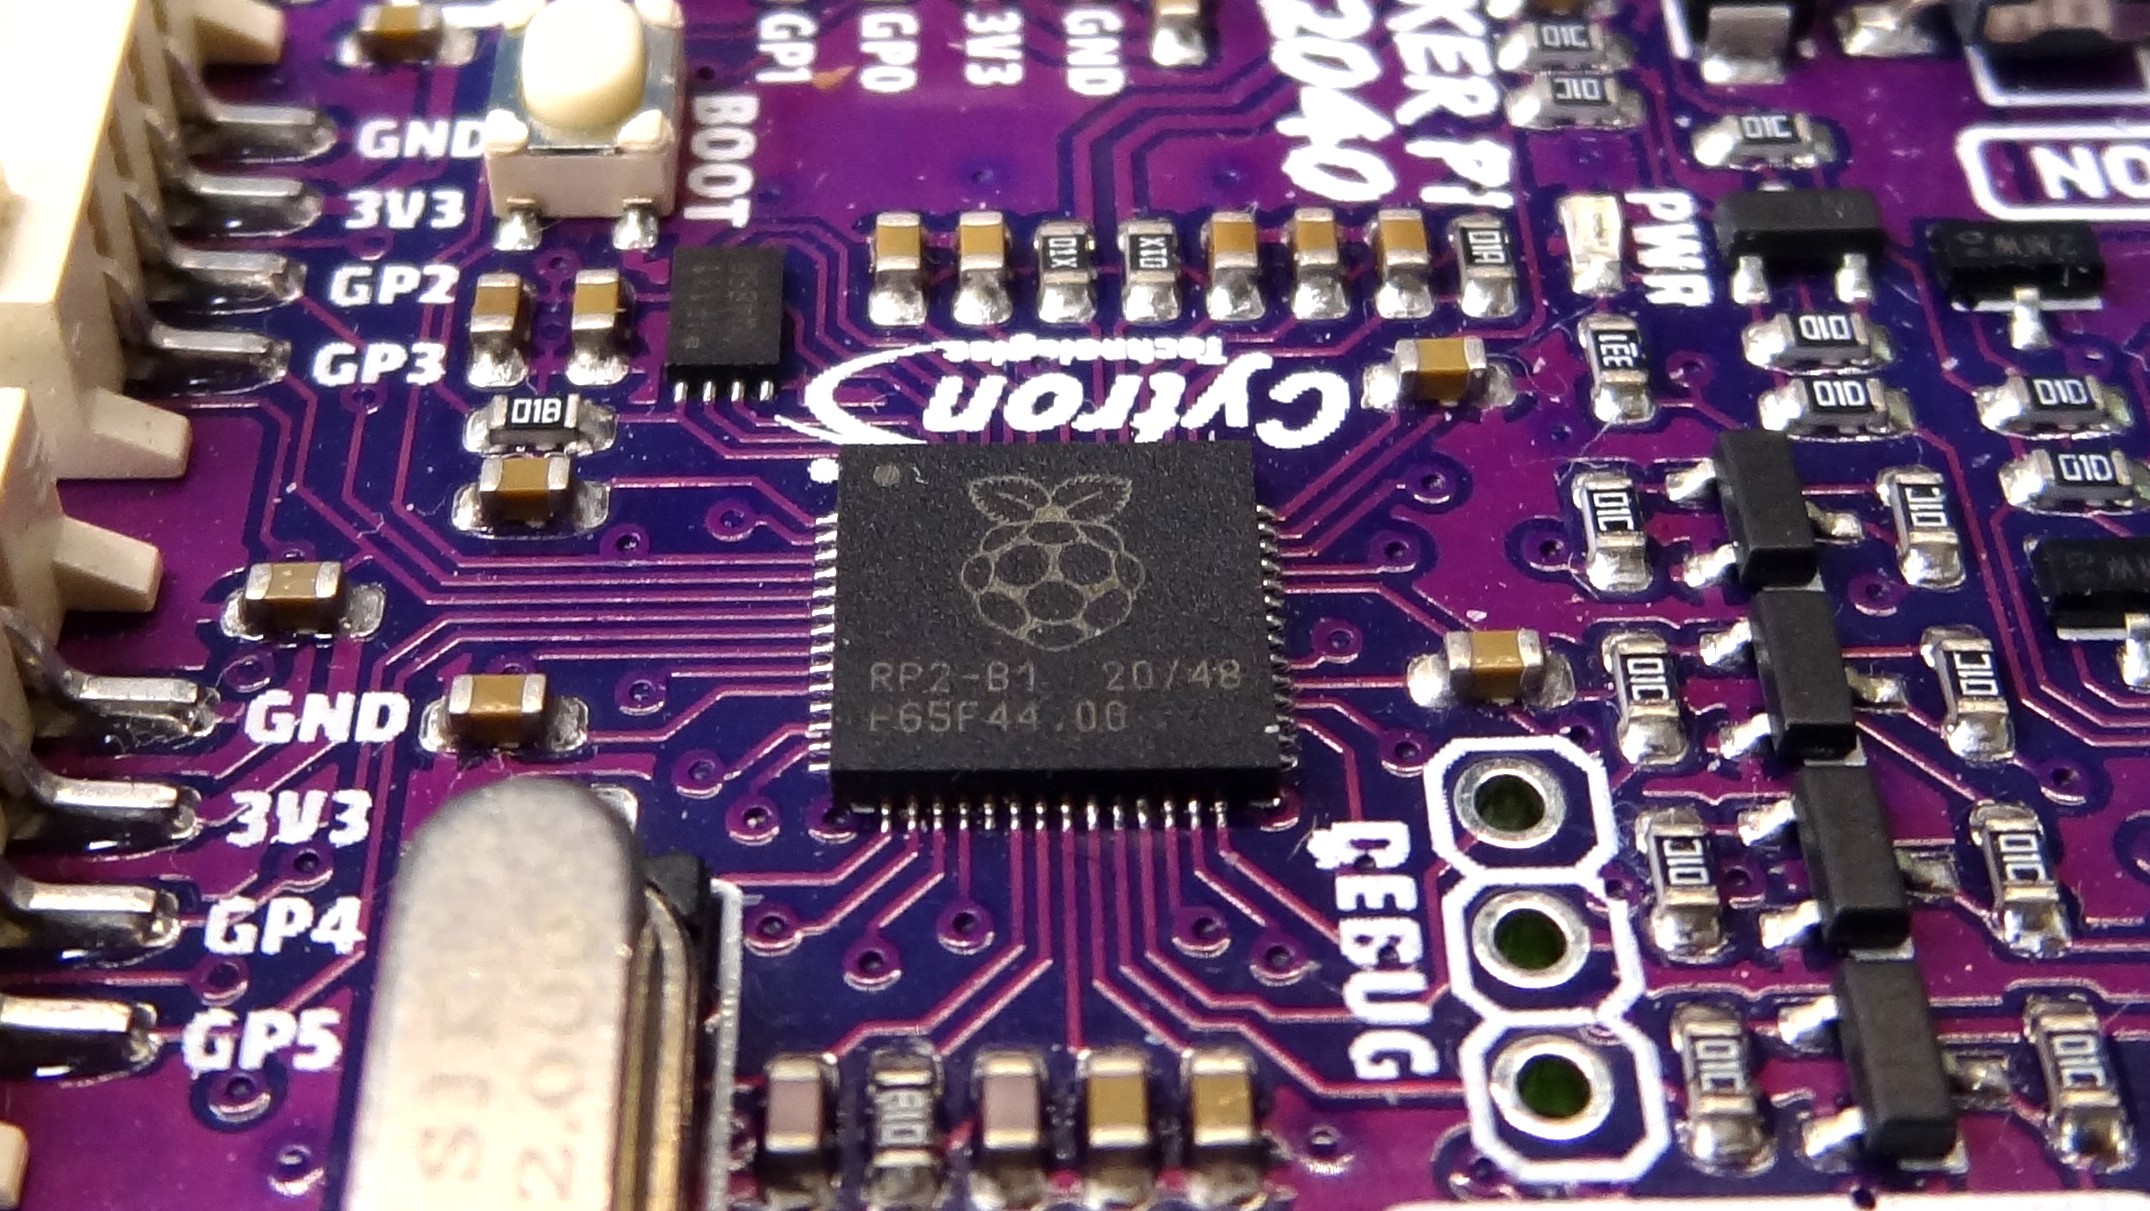
Coming preloaded with CircuitPython is a smart move. It enables access to a wealth of libraries and tutorials that make using this board simple and a joy. We plugged the Maker Pi RP2040 into our machine and were greeted by a light show and an 8-bit theme tune from a certain plumber.
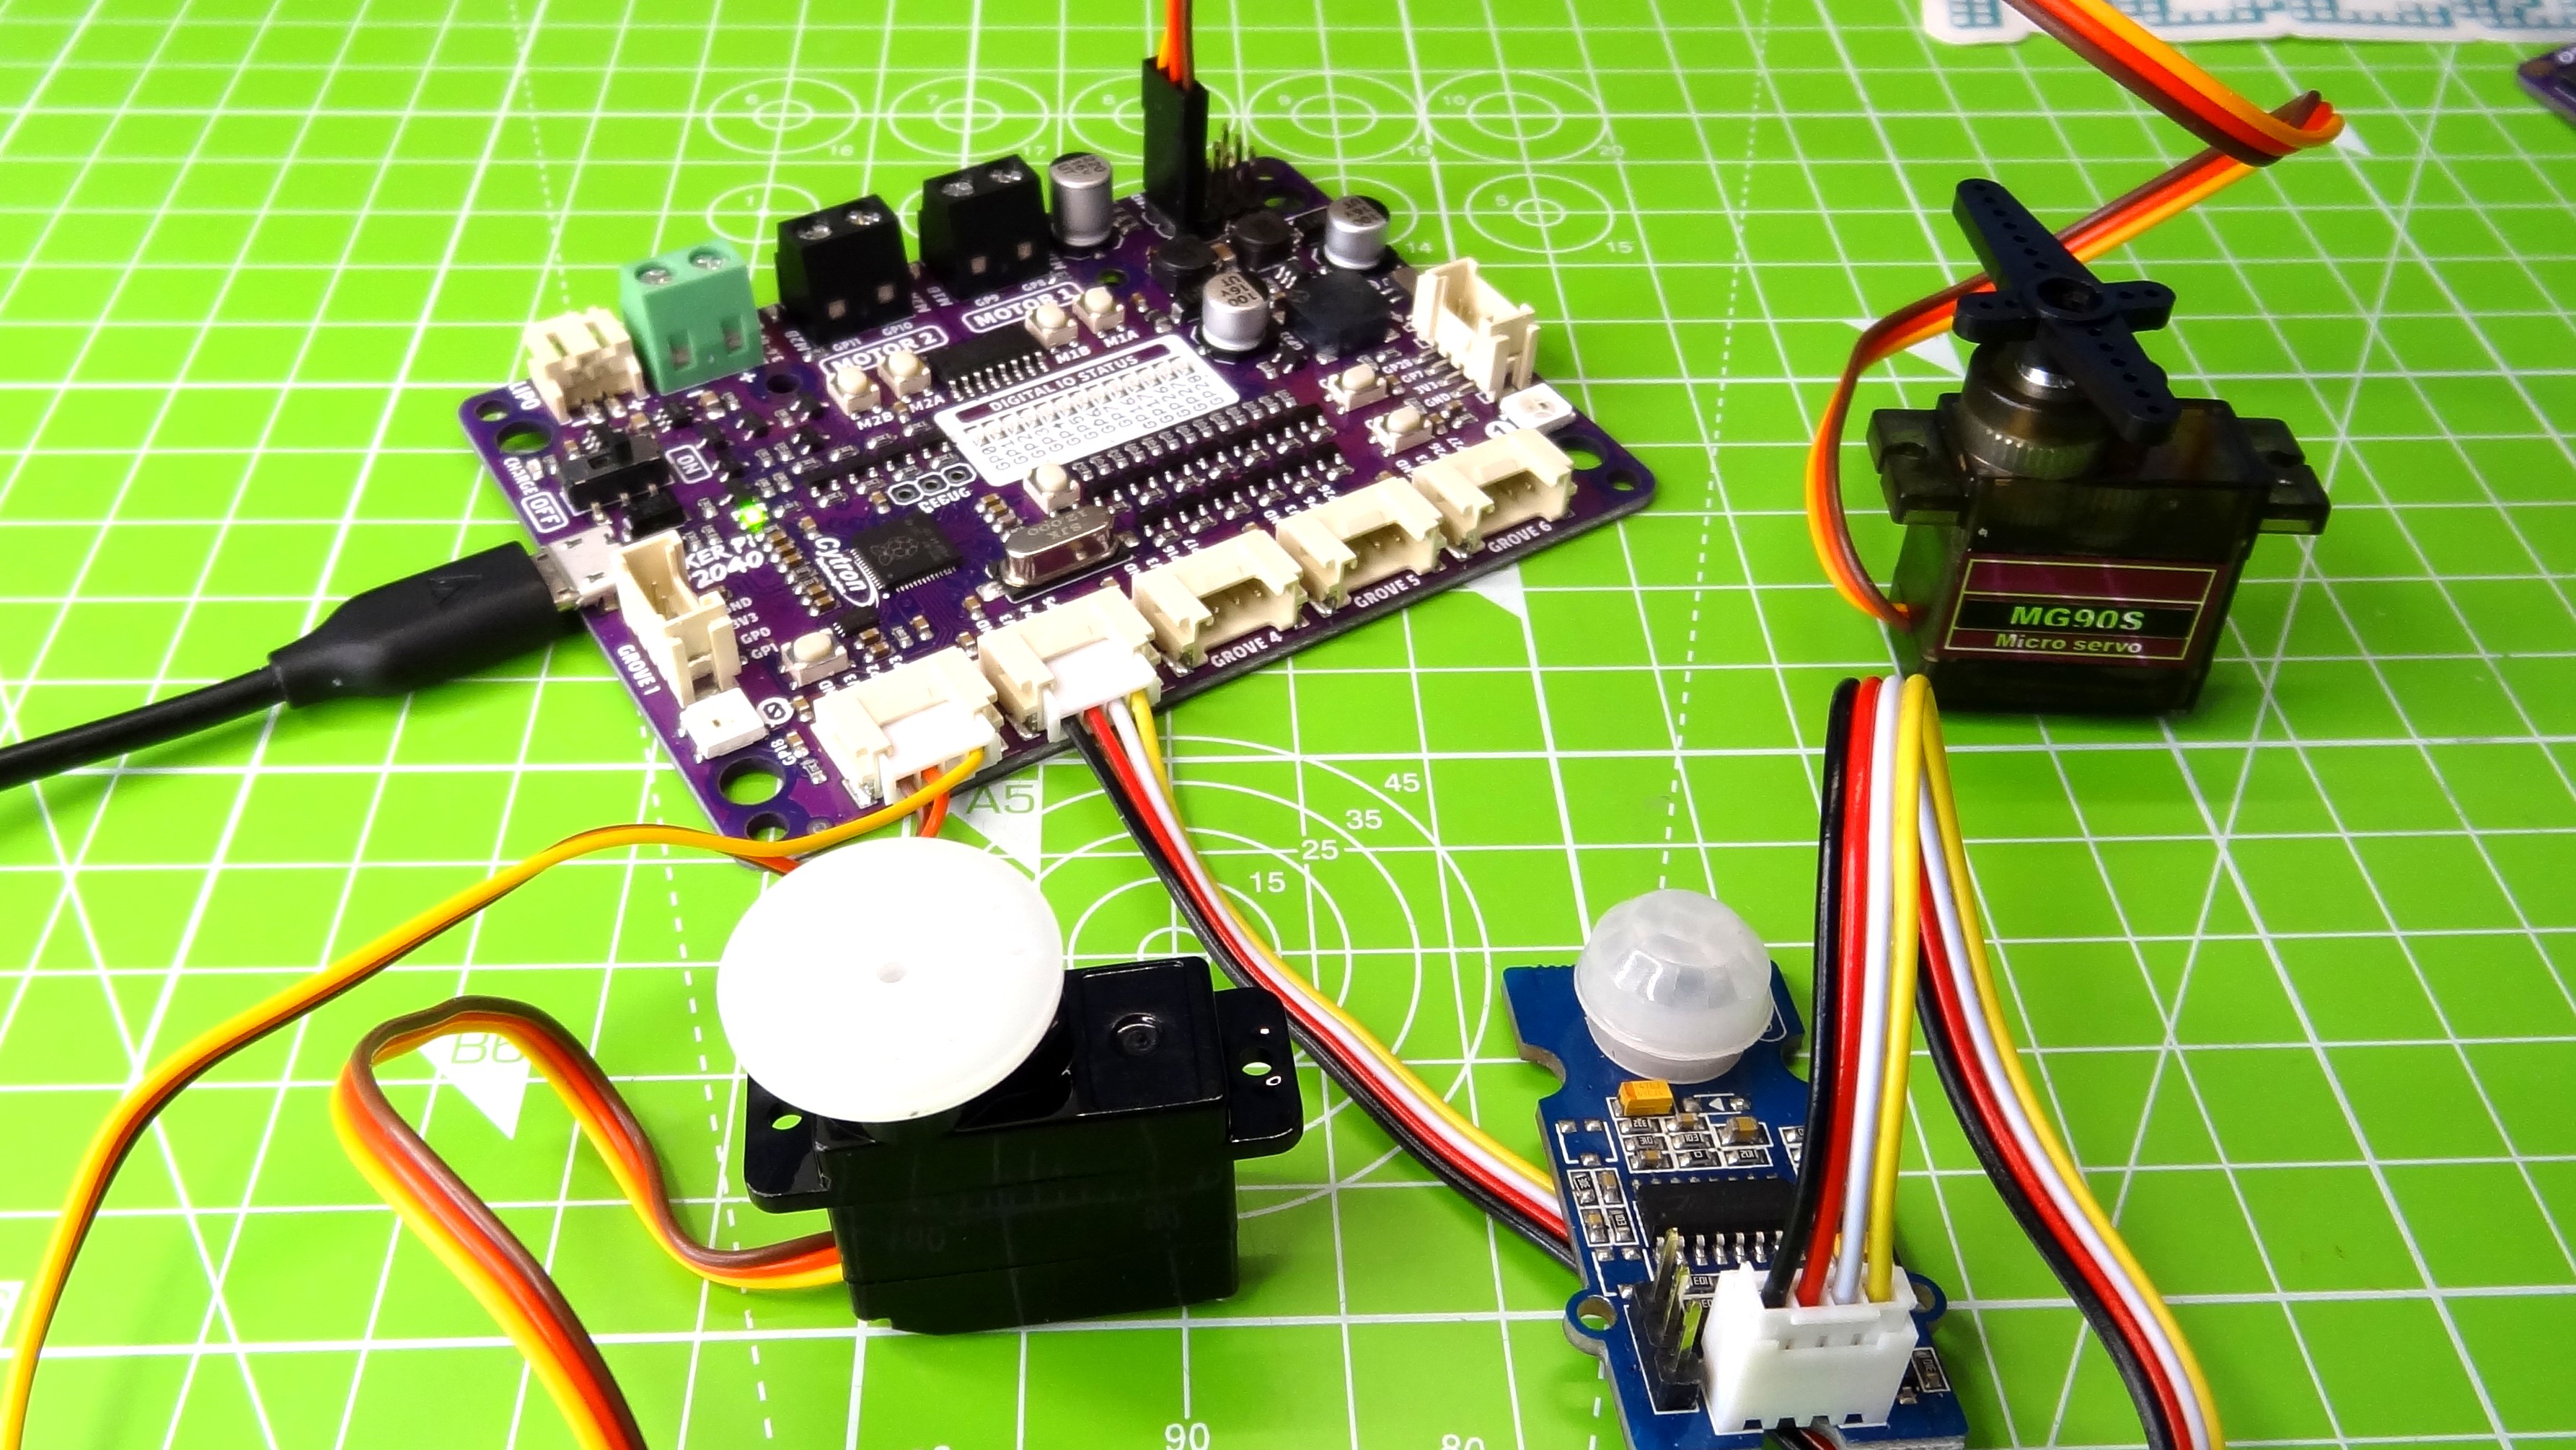
We deleted the contents of the code.py file and started our tests. First we connected two servos, one via the dedicated servo pins and another via a Grove connector. We then copied two extra CircuitPython libraries to handle WS2812 RGB LEDs and servos. Our code would change the color of the RGB LEDs, only stopping when we pressed one of the built-in buttons. This then triggered the two servos to move in unison, like a robotic ballet. We then added a PIR sensor via a Grove connector and altered the code to trigger the sequence using the sensor. In no time at all we had a motion controlled servo ballet.
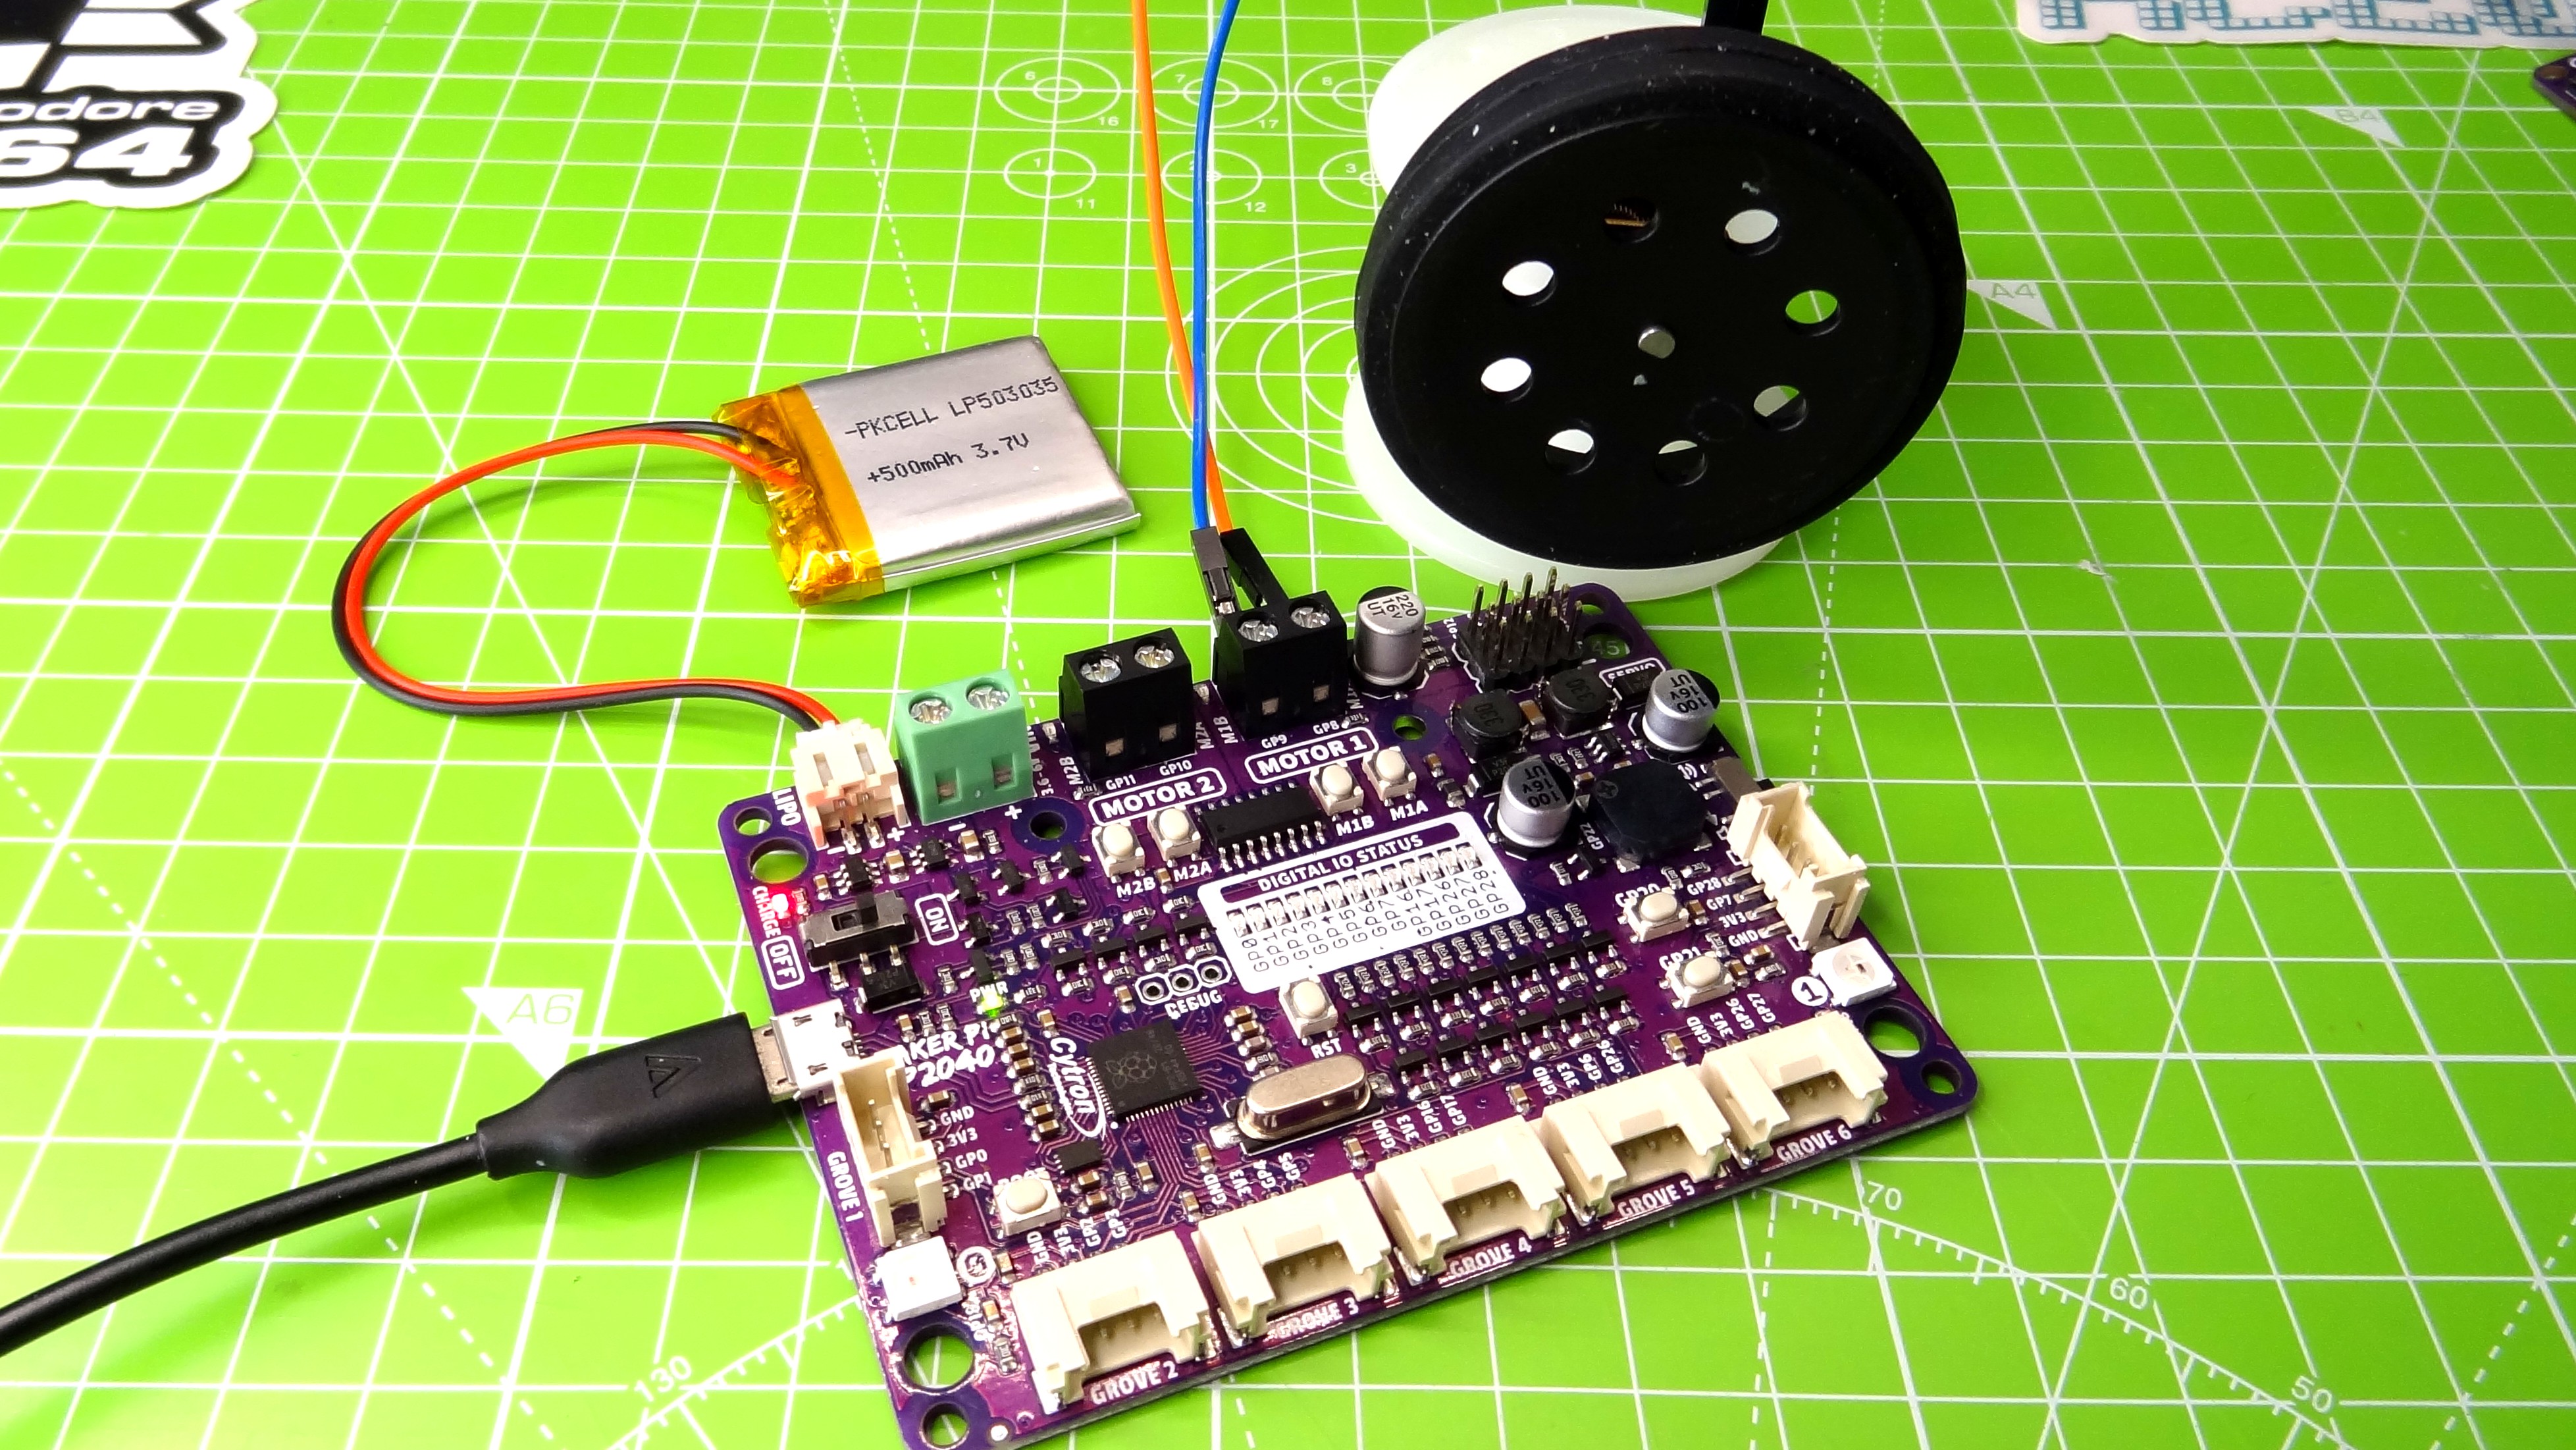
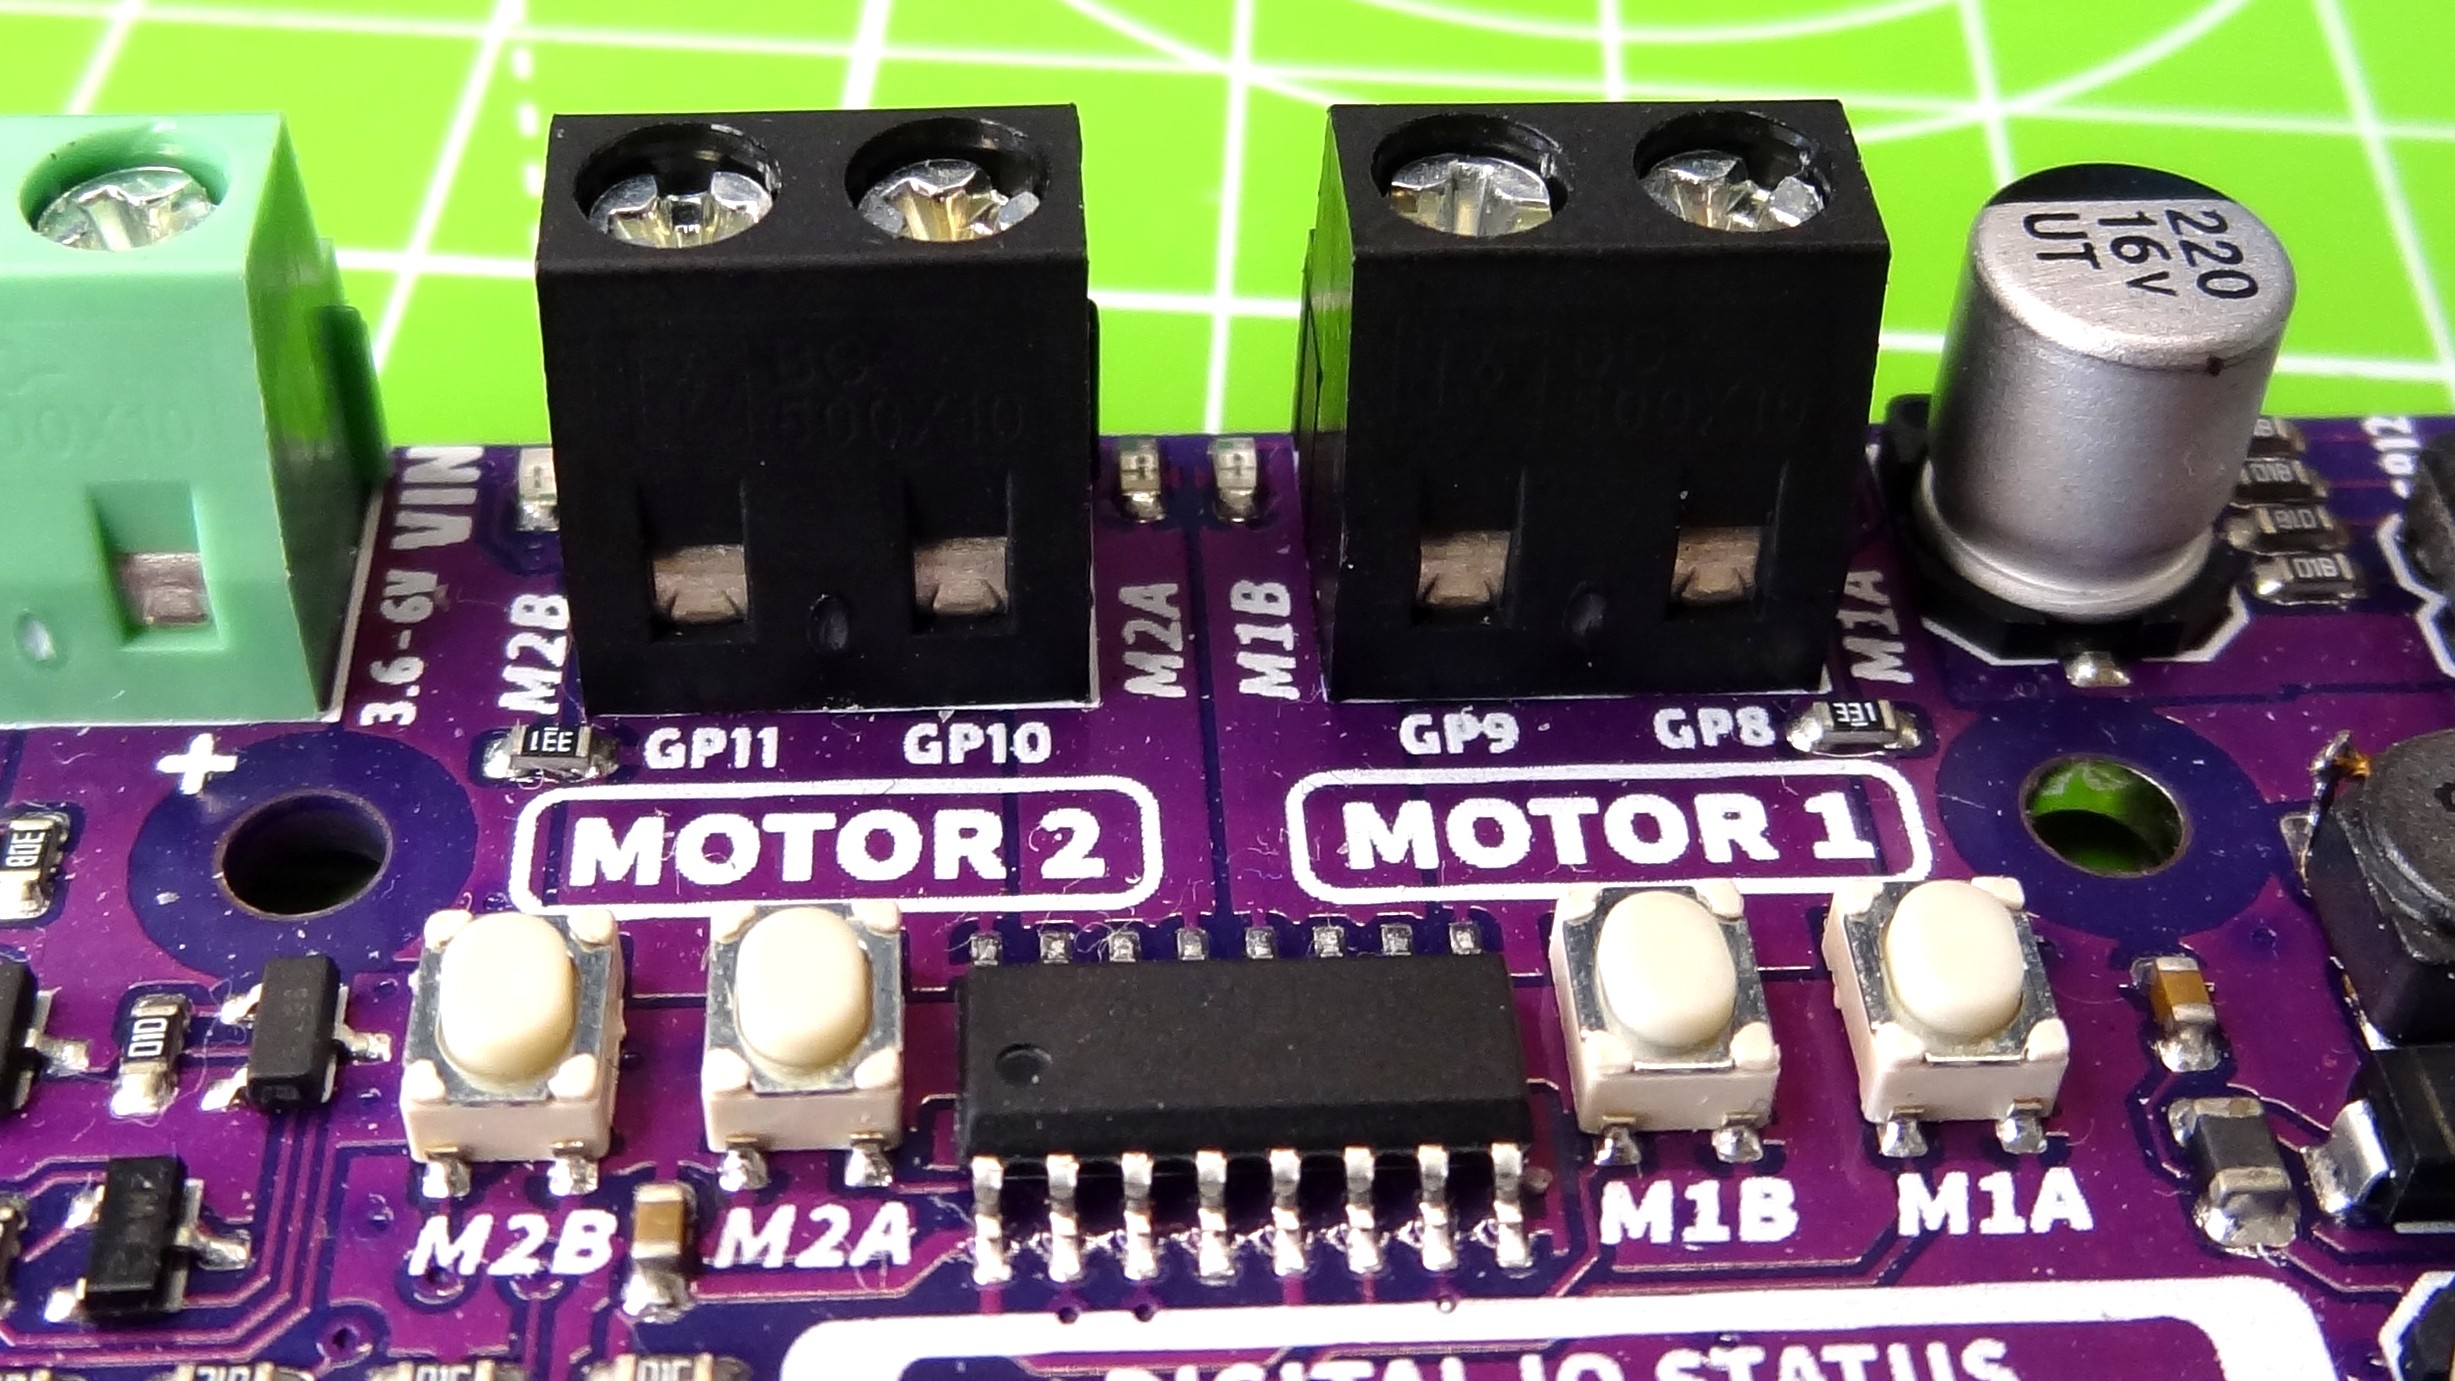
We tested the motor terminals, which use an MX1508 H-bridge motor controller. The controller has a maximum current of 1A per motor channel, meaning that the motor terminals are ideal for use with hobby DC motors, but more powerful motors need a stronger external motor controller. We created a simple test for the motor terminals, first using PWM to control the speed of the motors in both directions. Then we tested using Adafruit’s Motor library for CircuitPython, which abstracts the PWM code for easier robotics projects. Both of the motor terminals have two test buttons. Pressing each button will spin the motor in a set direction, a useful feature to test our motors are working before we write our code.
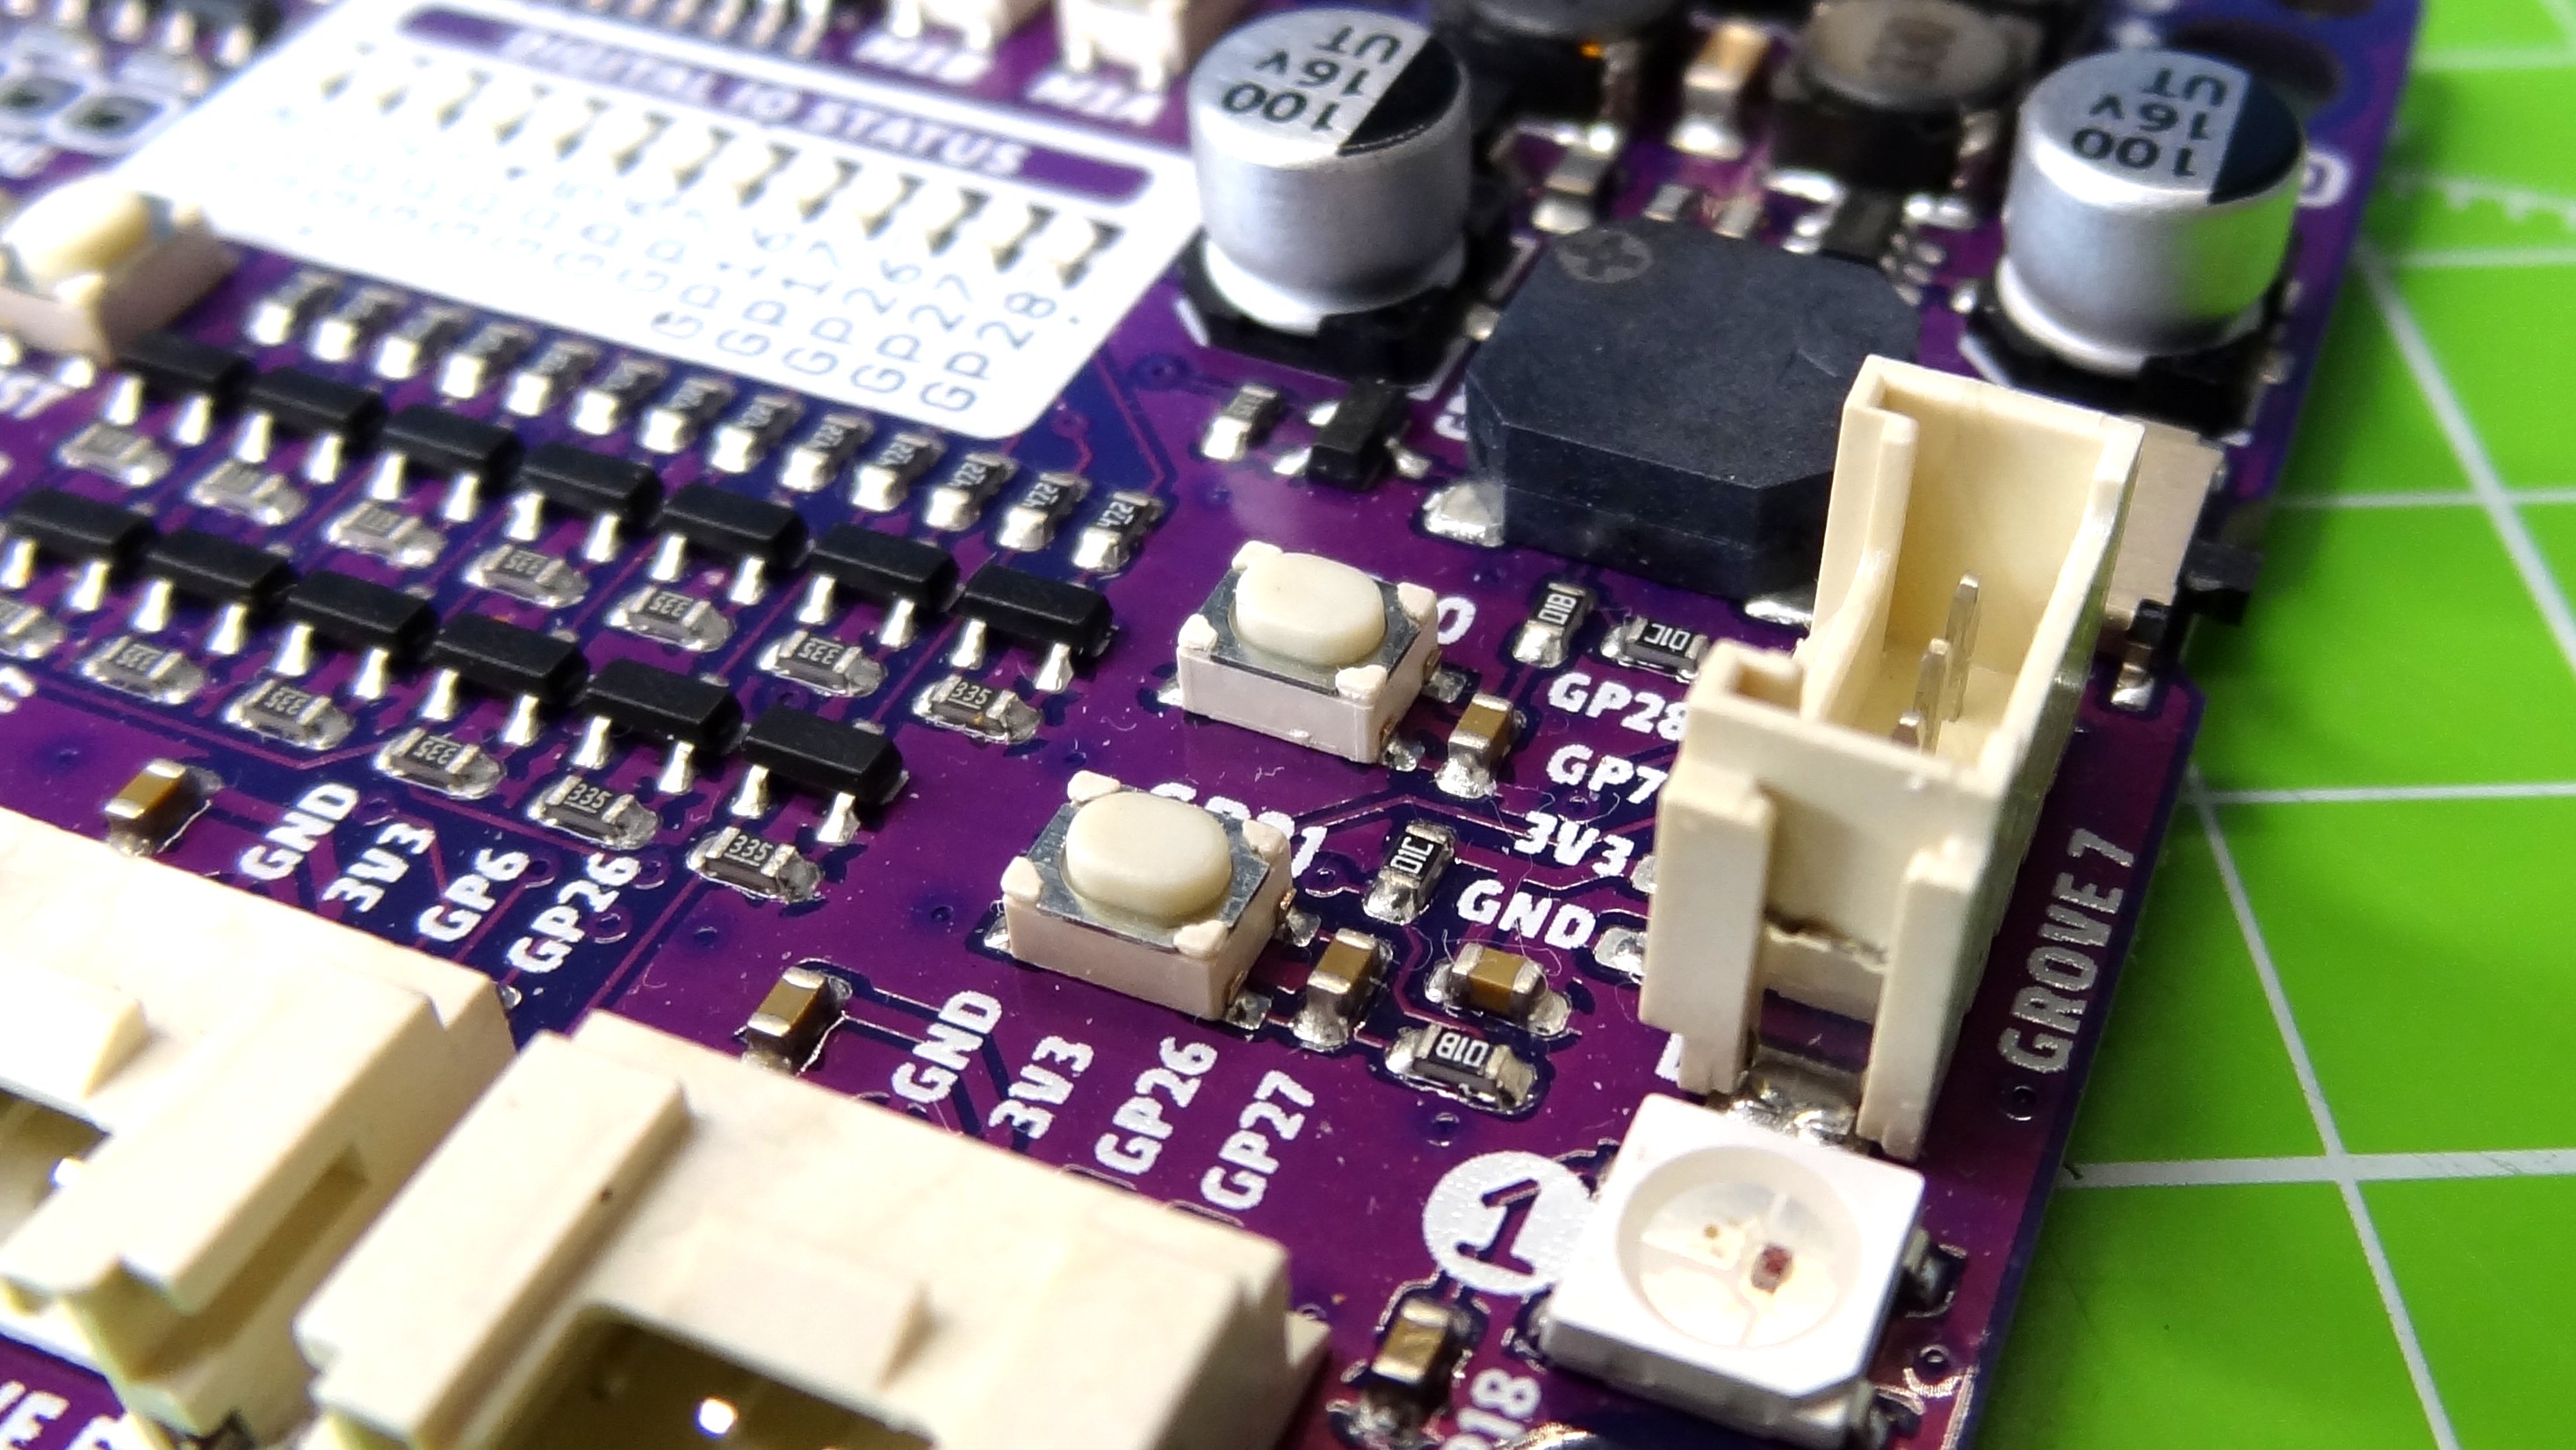
The Maker Pi RP2040 shares some features with the previous Maker Pi Pico: LEDs showing the status of the GPIO pins, and a buzzer which can be turned off. We do miss the audio output, microSD card slot and Wi-Fi (ESP01) header. We can live without those features for a smaller board layout, but we would’ve liked to have had access to the full GPIO.
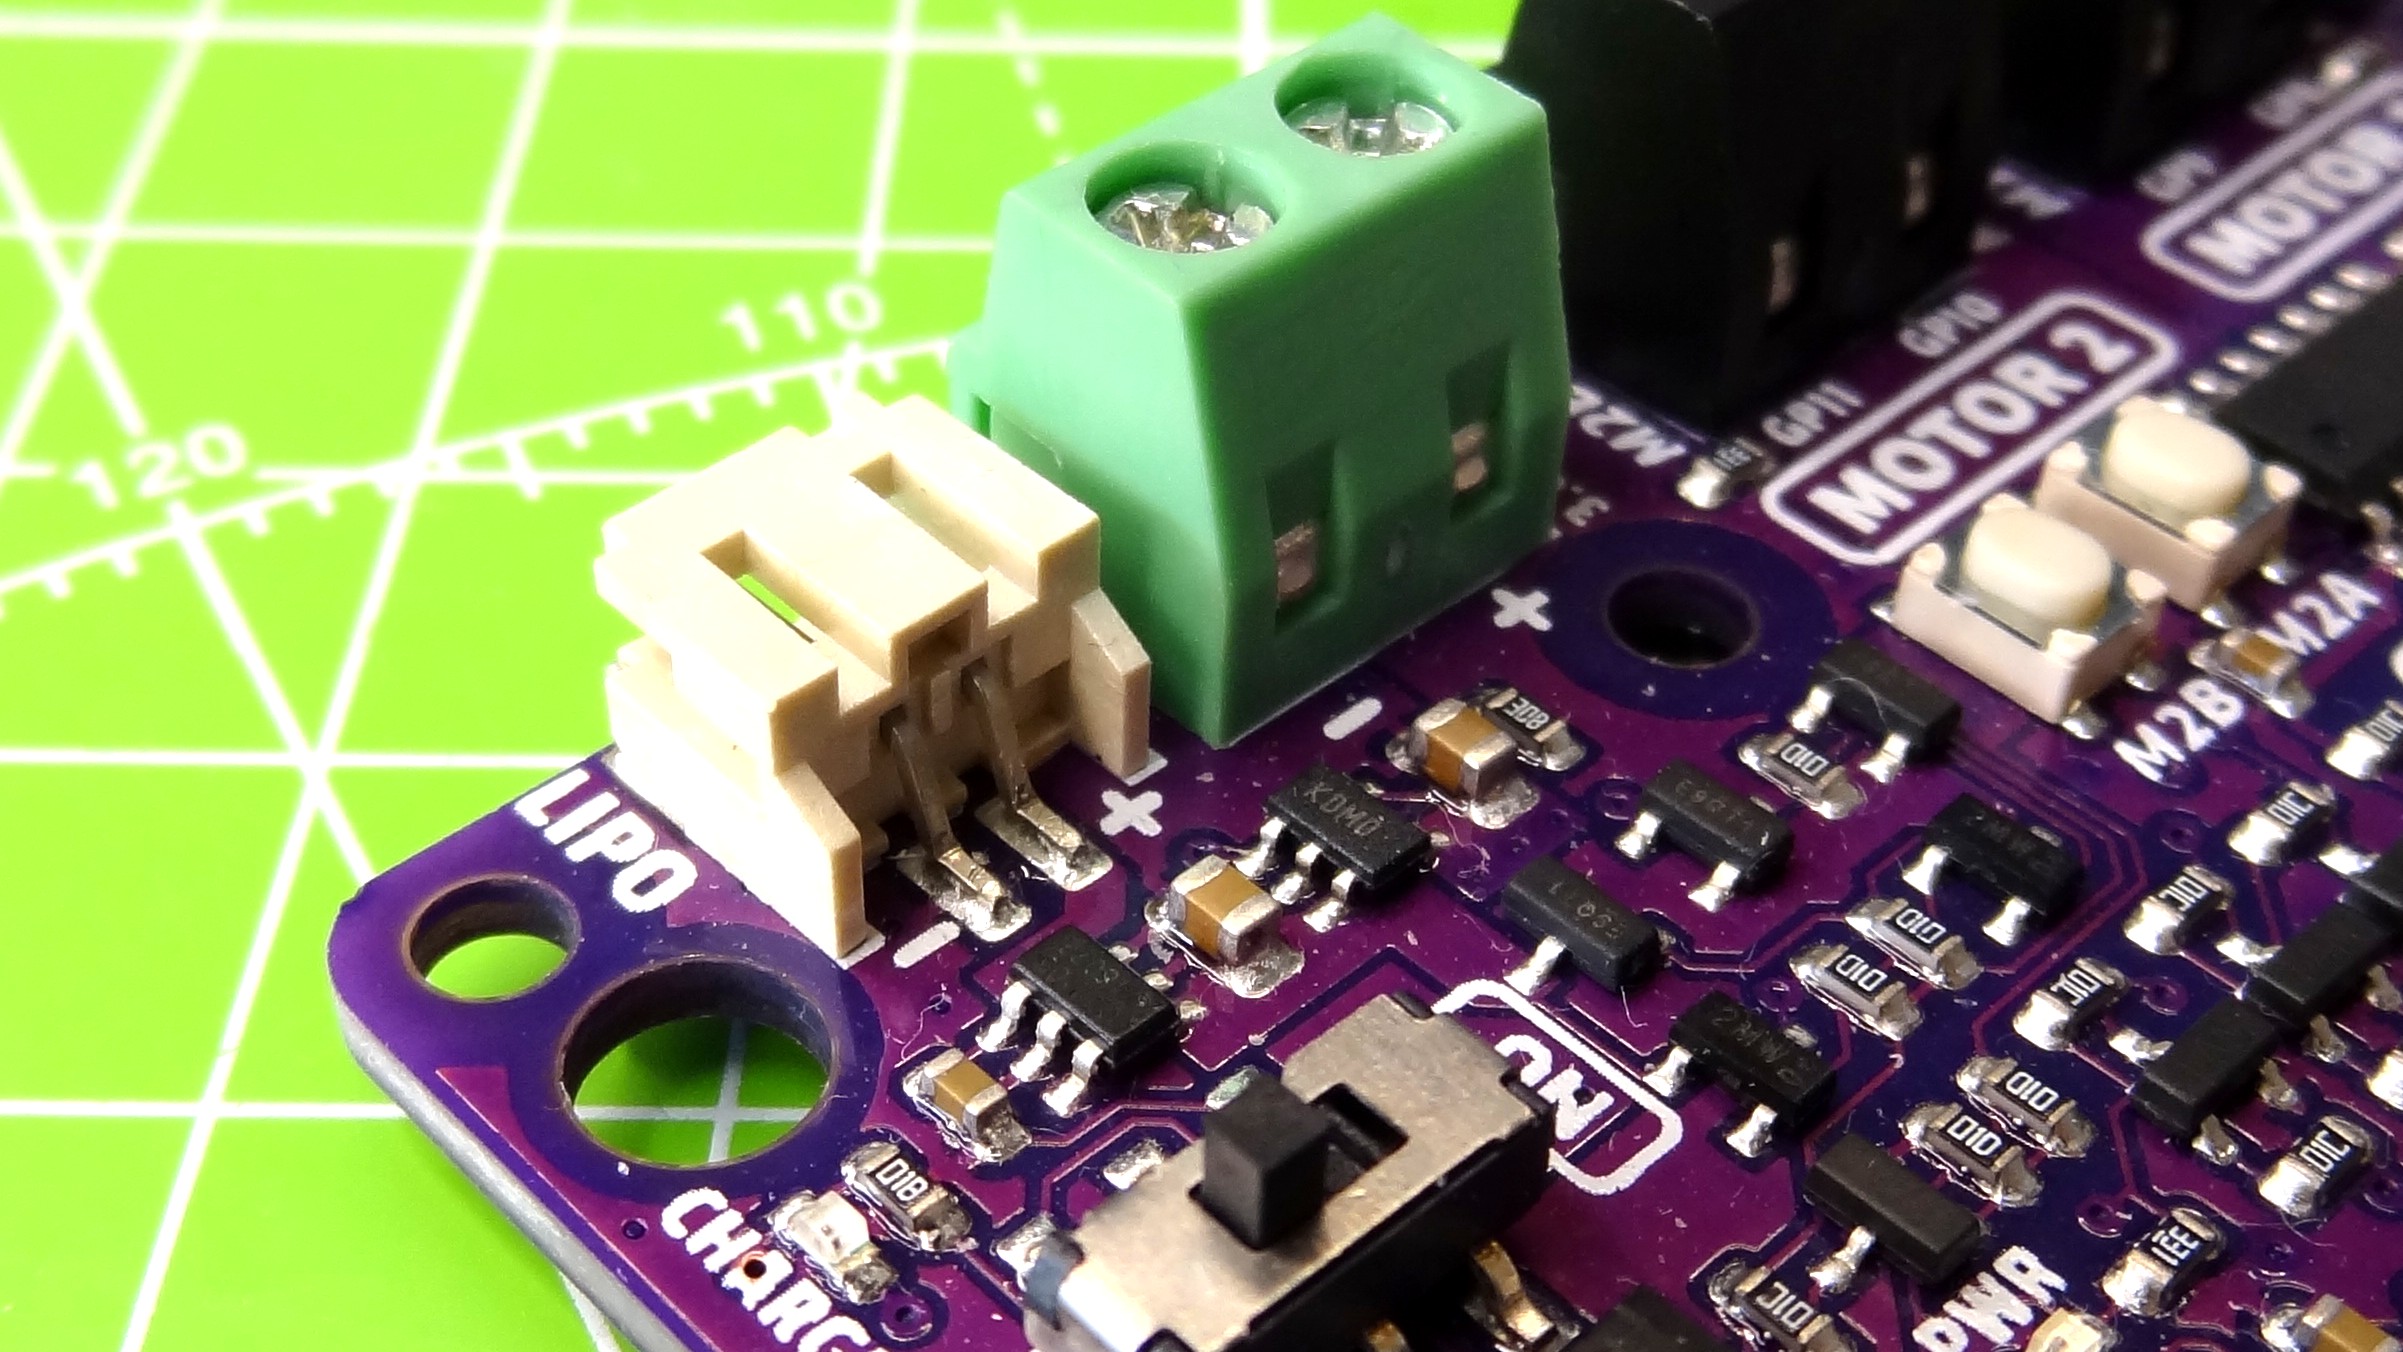
Robots need power and the Maker Pi RP2040 has three ways in which it can be powered. Firstly we have the micro USB port, then we have a VIN screw terminal for voltages between 3.6 and 6V. Finally we have a two-pin JST connector which is used with a LiPo battery. This connector is used to power both the Maker Pi RP2040 and to charge the LiPo battery when the board is connected to a micro USB power source. Our 500mA LiPo battery charged safely with the board powered on and turned off. All three power sources power the board, motors and any components attached to it.
Get Tom's Hardware's best news and in-depth reviews, straight to your inbox.
Use Cases For The Cytron Maker Pi RP2040
This board is designed for robotics projects and as such it comes with the basics required for a simple robot. Adding sensors such as ultrasonic, PIR or line followers via Grove connections is simple. We can buy these sensors pre-wired or we can buy Grove connectors with jumper jerky connectors and use our own components.
If robots aren’t your thing, but you need something to move, be it a DC motor or a servo then the Maker Pi RP2040 is a good candidate.
Bottom Line
Cytron’s previous board, the Maker Pi Pico was an exceptional piece of kit and is the ideal way to get started with the Raspberry Pi Pico. The Maker Pi RP2040 is not an all round kit for projects; its focus is on making things move and simplifying building your first Pico-powered robot.
The Cytron Maker Pi RP2040’s focus is well placed. The hardware is solid, easy to use and gives us enough inputs and outputs to build fun and useful projects. We do lament the loss of GPIO pins, but we can repurpose the servo pins (GP12-15) as standard GPIO and, for just a few dollars, we can use Grove connections and components. Maker Pi RP2040 is a delightful board that can easily be integrated into a range of projects and for less than $10 it is a bargain.

Les Pounder is an associate editor at Tom's Hardware. He is a creative technologist and for seven years has created projects to educate and inspire minds both young and old. He has worked with the Raspberry Pi Foundation to write and deliver their teacher training program "Picademy".
-
Dyseman Getting closer to being able to replace an Arduino Board and Pi (OctoPi) with 1 board for 3D Printing. Eventually, it may happen.Reply
