Tom's Hardware Verdict
Improving on the Cytron Maker Pi RP2040 is no easy task. But Robo Pico does just that and that is why we have to give it full marks and an Editor’s Choice Award.
Pros
- +
Pinout on PCB
- +
Low cost
- +
Ease of use
- +
Upgradable Pico module
- +
Lots of features
Cons
- -
Honestly, nothing.
Why you can trust Tom's Hardware
Cytron, the Malaysian maker of some of the best Raspberry Pi and Raspberry Pi Pico add-ons is back with another add-on for the Raspberry Pi Pico. The $14 Robo Pico is a delightful platform for learning that builds upon previous Cytron boards, namely the Cytron Maker Pi RP2040, to provide a low cost and even lower friction entry point into Raspberry Pi Pico robotics.
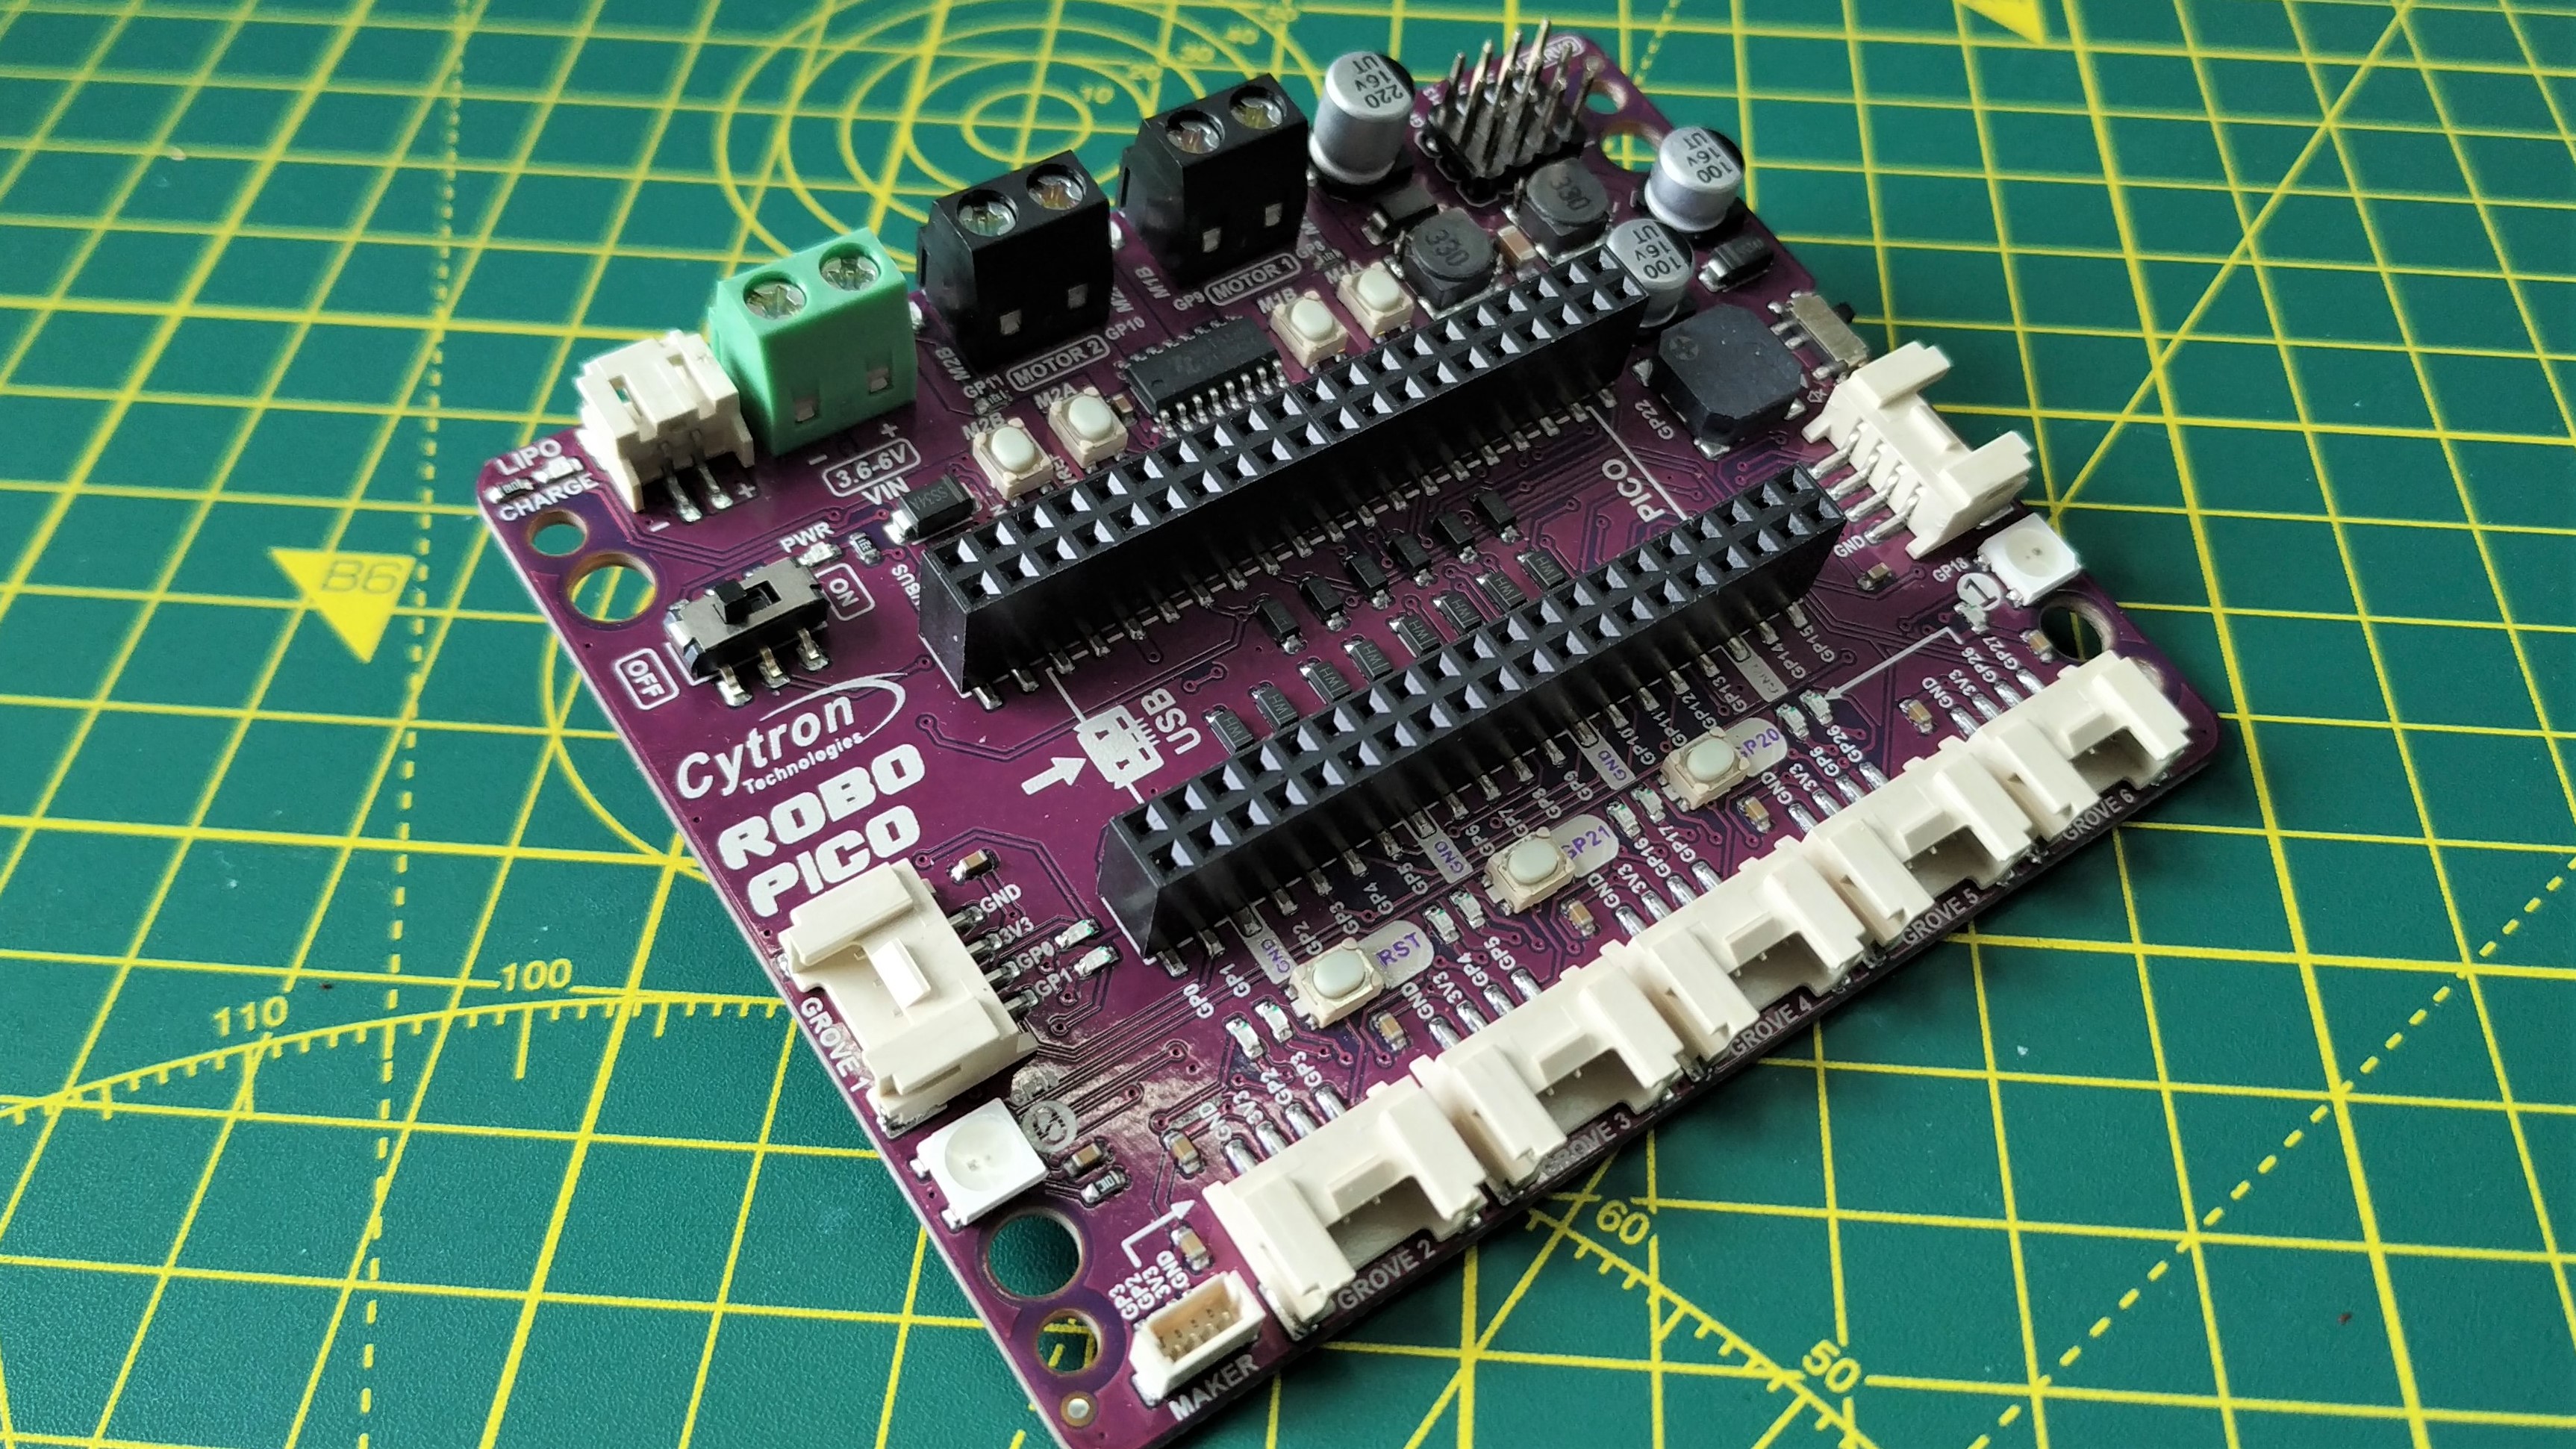
Around the purple PCB are connections for motors, servos, Grove and Stemma QT (Maker port), Neopixels, buzzer and an onboard power management system to charge LiPo batteries. Supporting the board is your choice of Pico compatible programming language. Normally we are crying out for a module to abstract the complexities of a board, but in this case, CircuitPython handles all of that for us.
So let's begin our review of Cytron’s latest board, and learn how much fun we can have for $14.
Cytron Robo Pico Specifications
| Raspberry Pi Pico Compatibility | Raspberry Pi Pico and Raspberry Pi Pico W |
| GPIO | Full access to all Pico GPIO pins via headers |
| Row 2 - Cell 0 | 7 x Grove ports |
| Row 3 - Cell 0 | 1 x Maker port (Stemma QT / Qwiic / Qw/St |
| Row 4 - Cell 0 | 2 x WS2812B NeoPixels |
| Row 5 - Cell 0 | 1 x Buzzer |
| Row 6 - Cell 0 | 2 x User buttons |
| Row 7 - Cell 0 | 13 x GPIO status LEDs |
| Motor / Servo | 2 x Motor terminals and test buttons |
| Row 9 - Cell 0 | 4 x Servo SVG connectors |
| Power | Micro USB power via the Raspberry Pi Pico |
| Row 11 - Cell 0 | LiPo battery |
| Row 12 - Cell 0 | VIN terminals 3-6V |
| Row 13 - Cell 0 | On / Off switch |
| Row 14 - Cell 0 | Reset button |
| Dimensions | 88 x 72mm |
| Mechanical | 3mm Mounting holes |
Design of Robo Pico
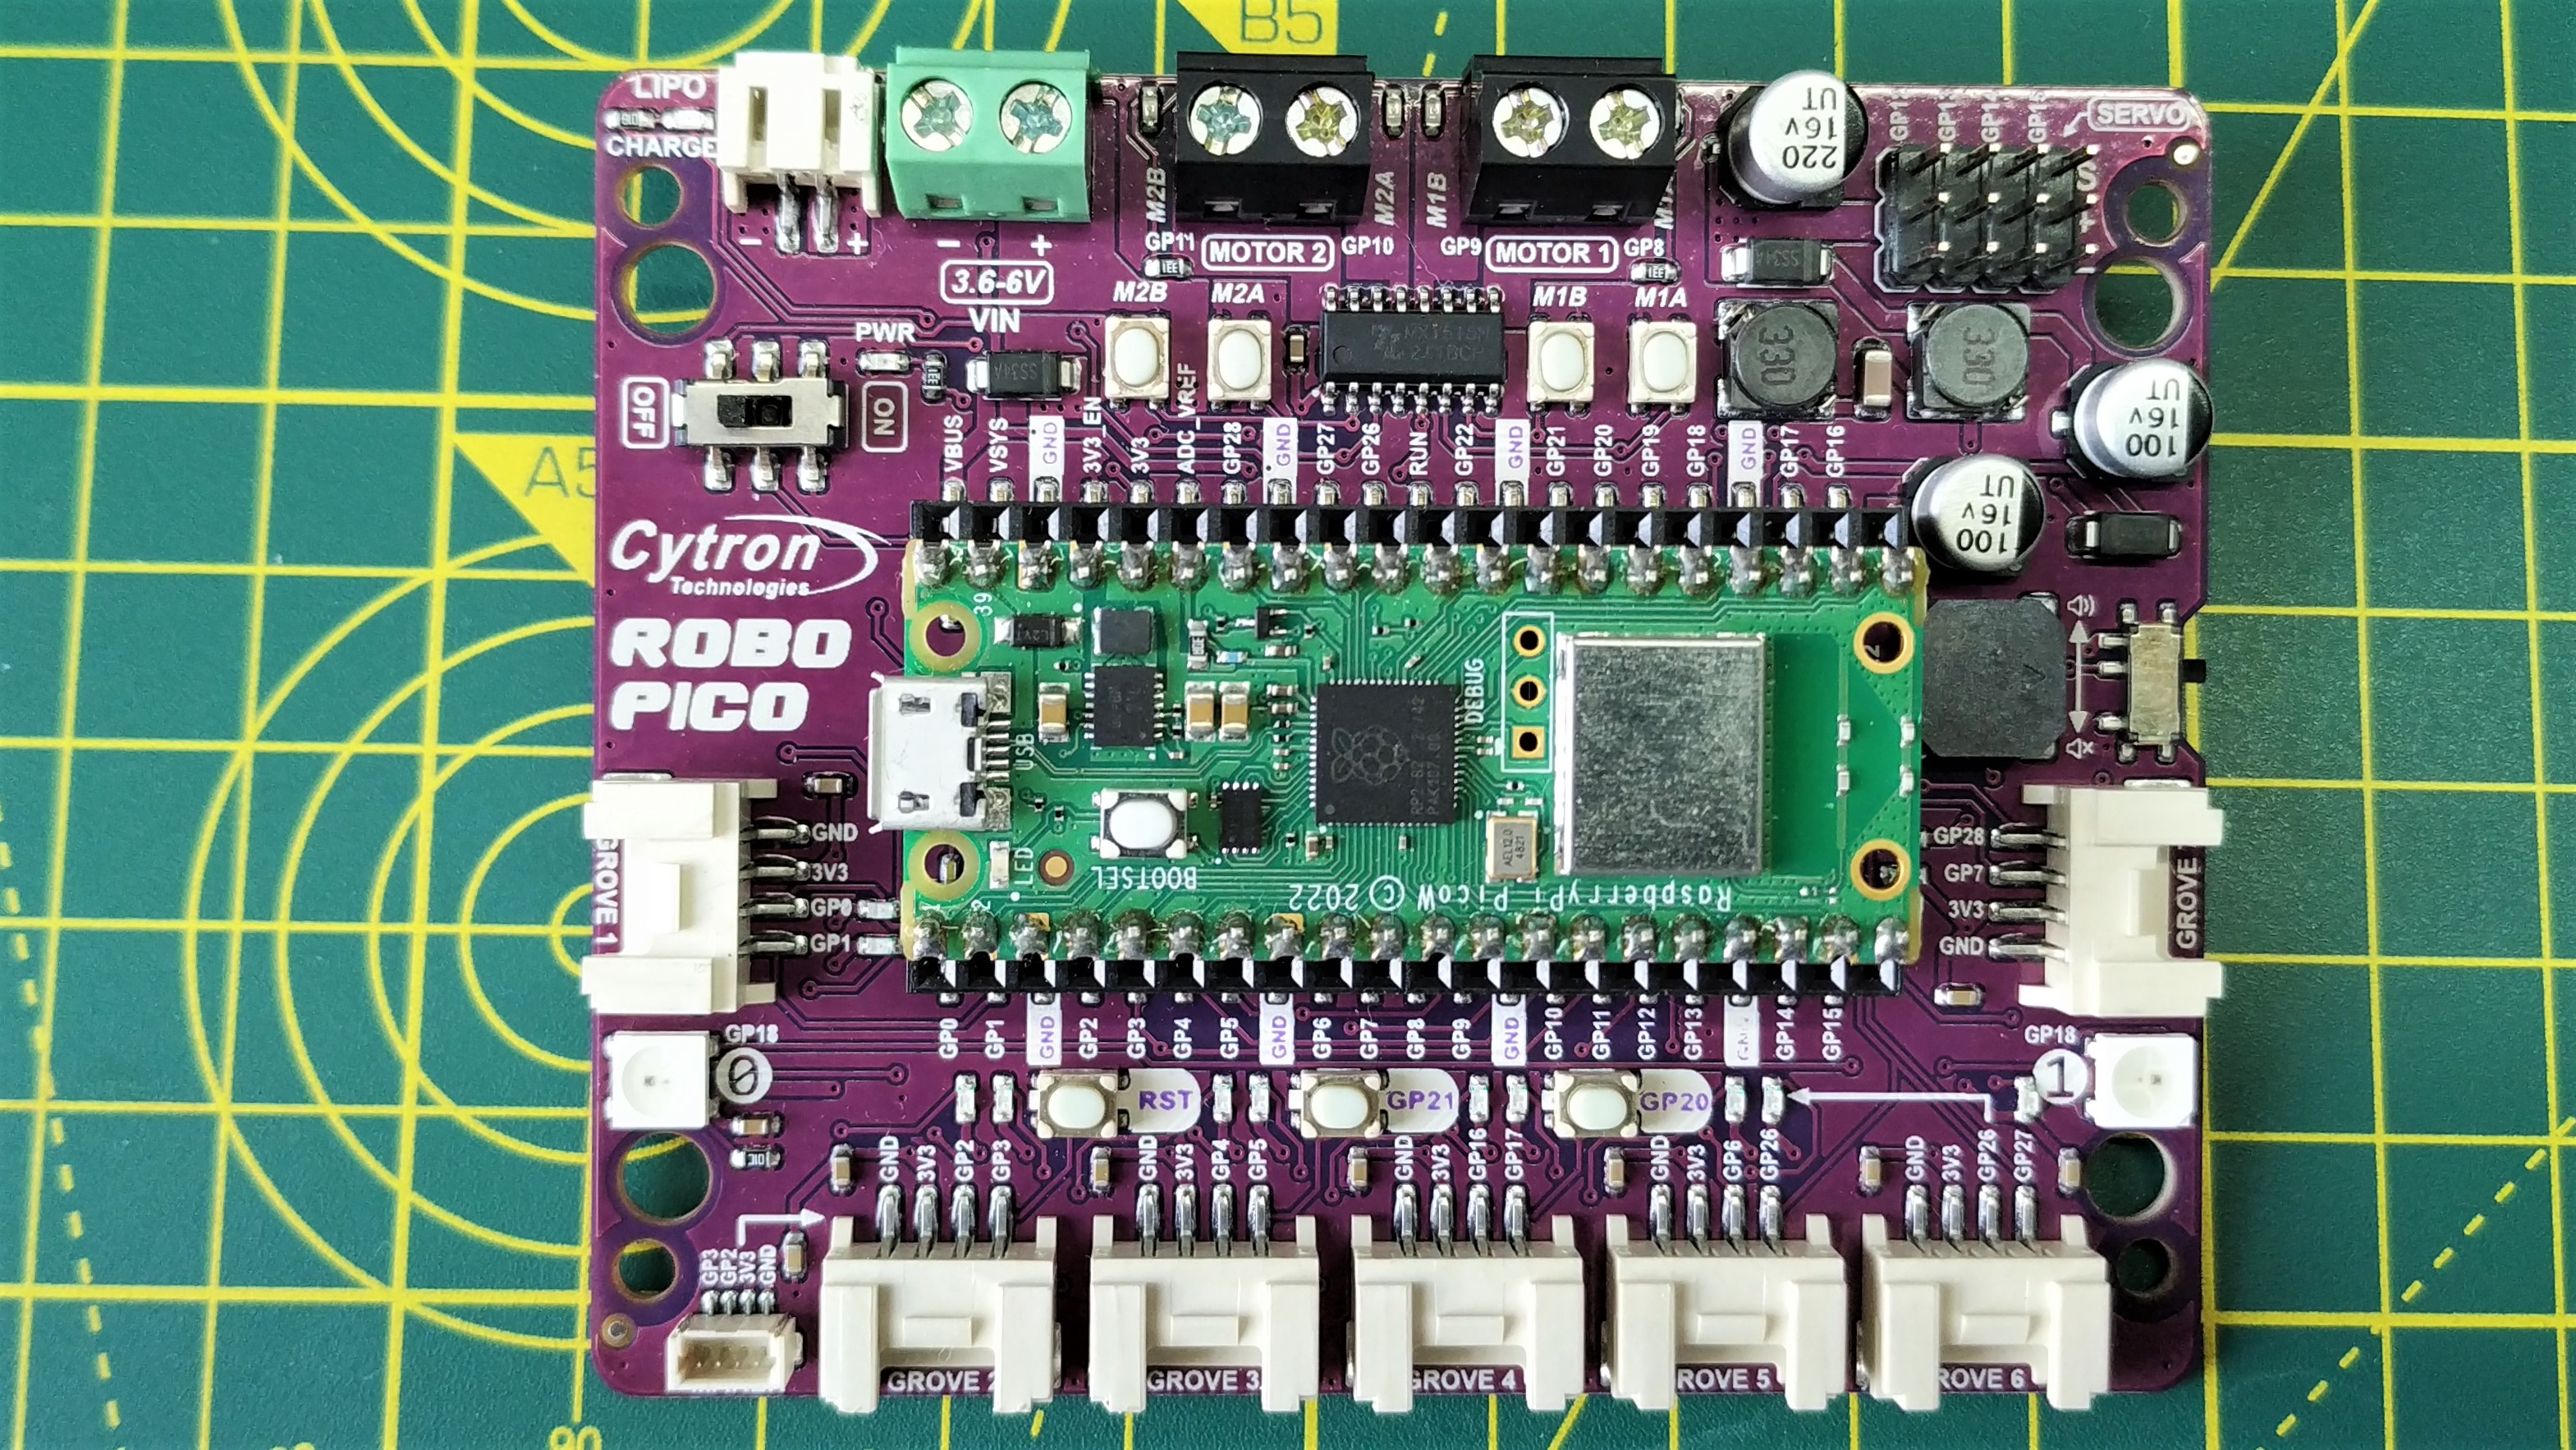
The purple PCB makes all of Cytron’s boards stand out from the crowd, but so does their design. The Pico takes pride of place in the center of the board and around the perimeter we see connections for motors, servos, power and components using both Grove and maker port (Cytron’s parlance for Stemma QT / Qwiic).
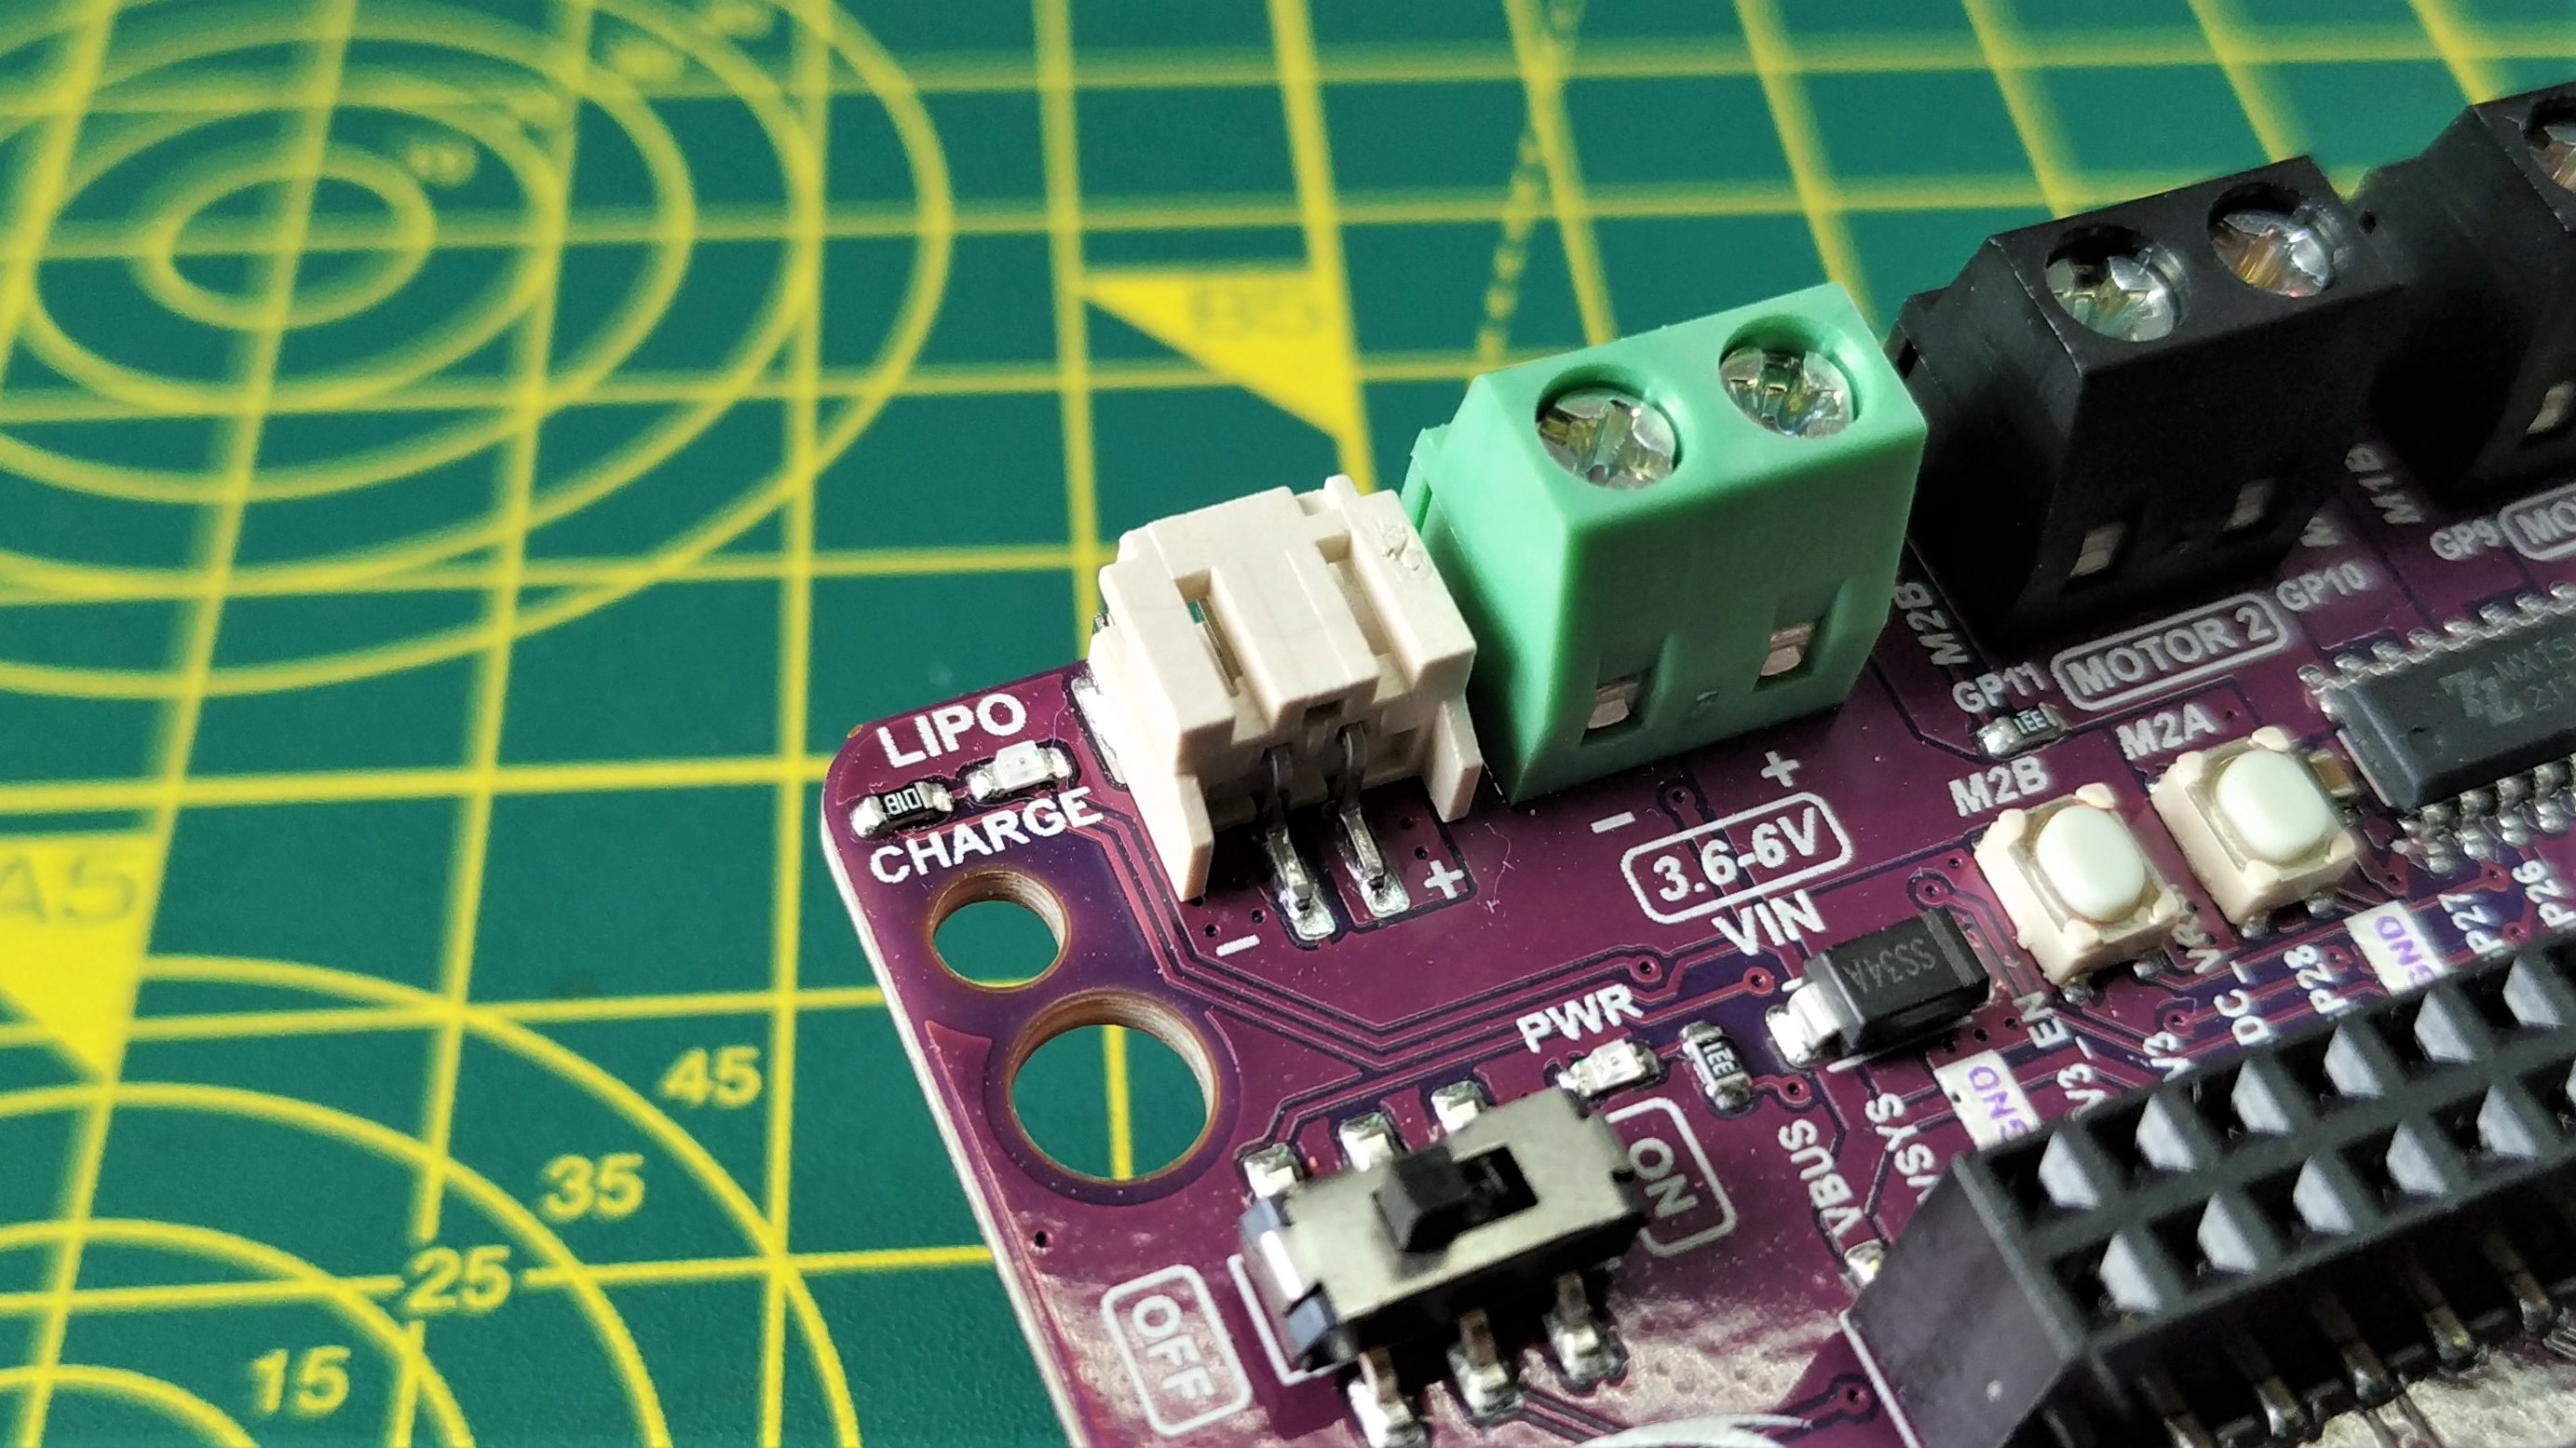
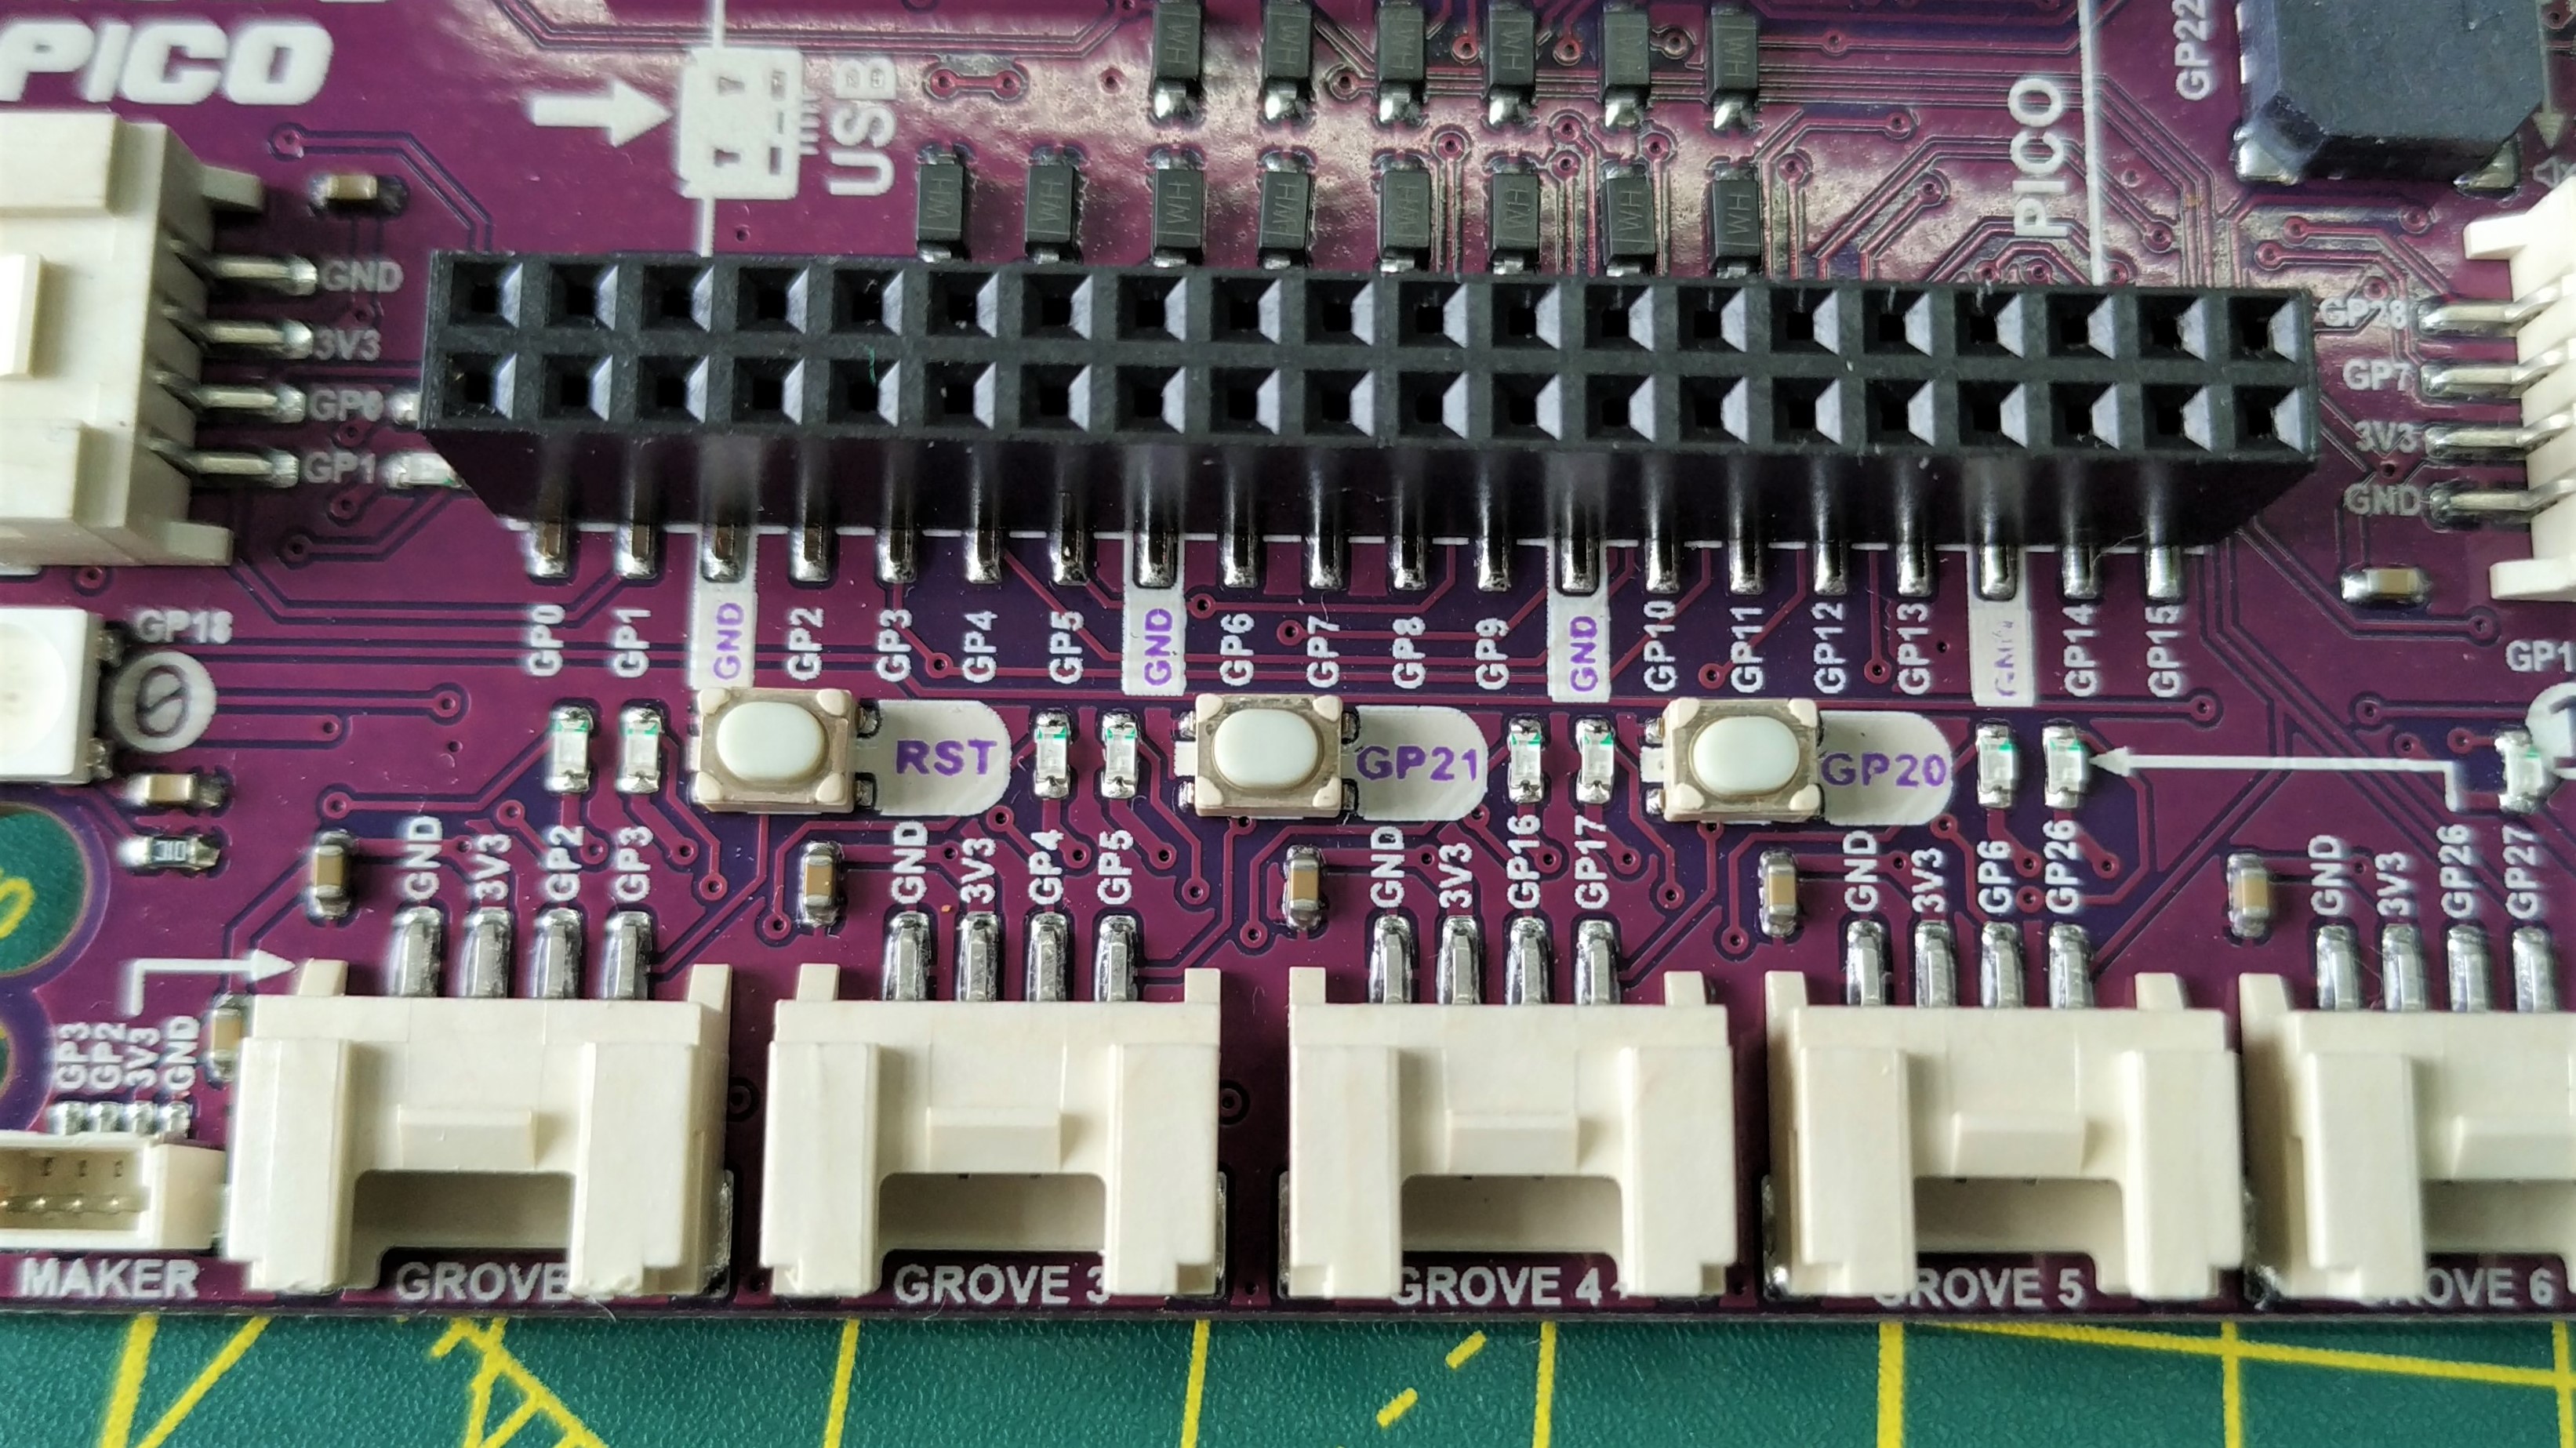
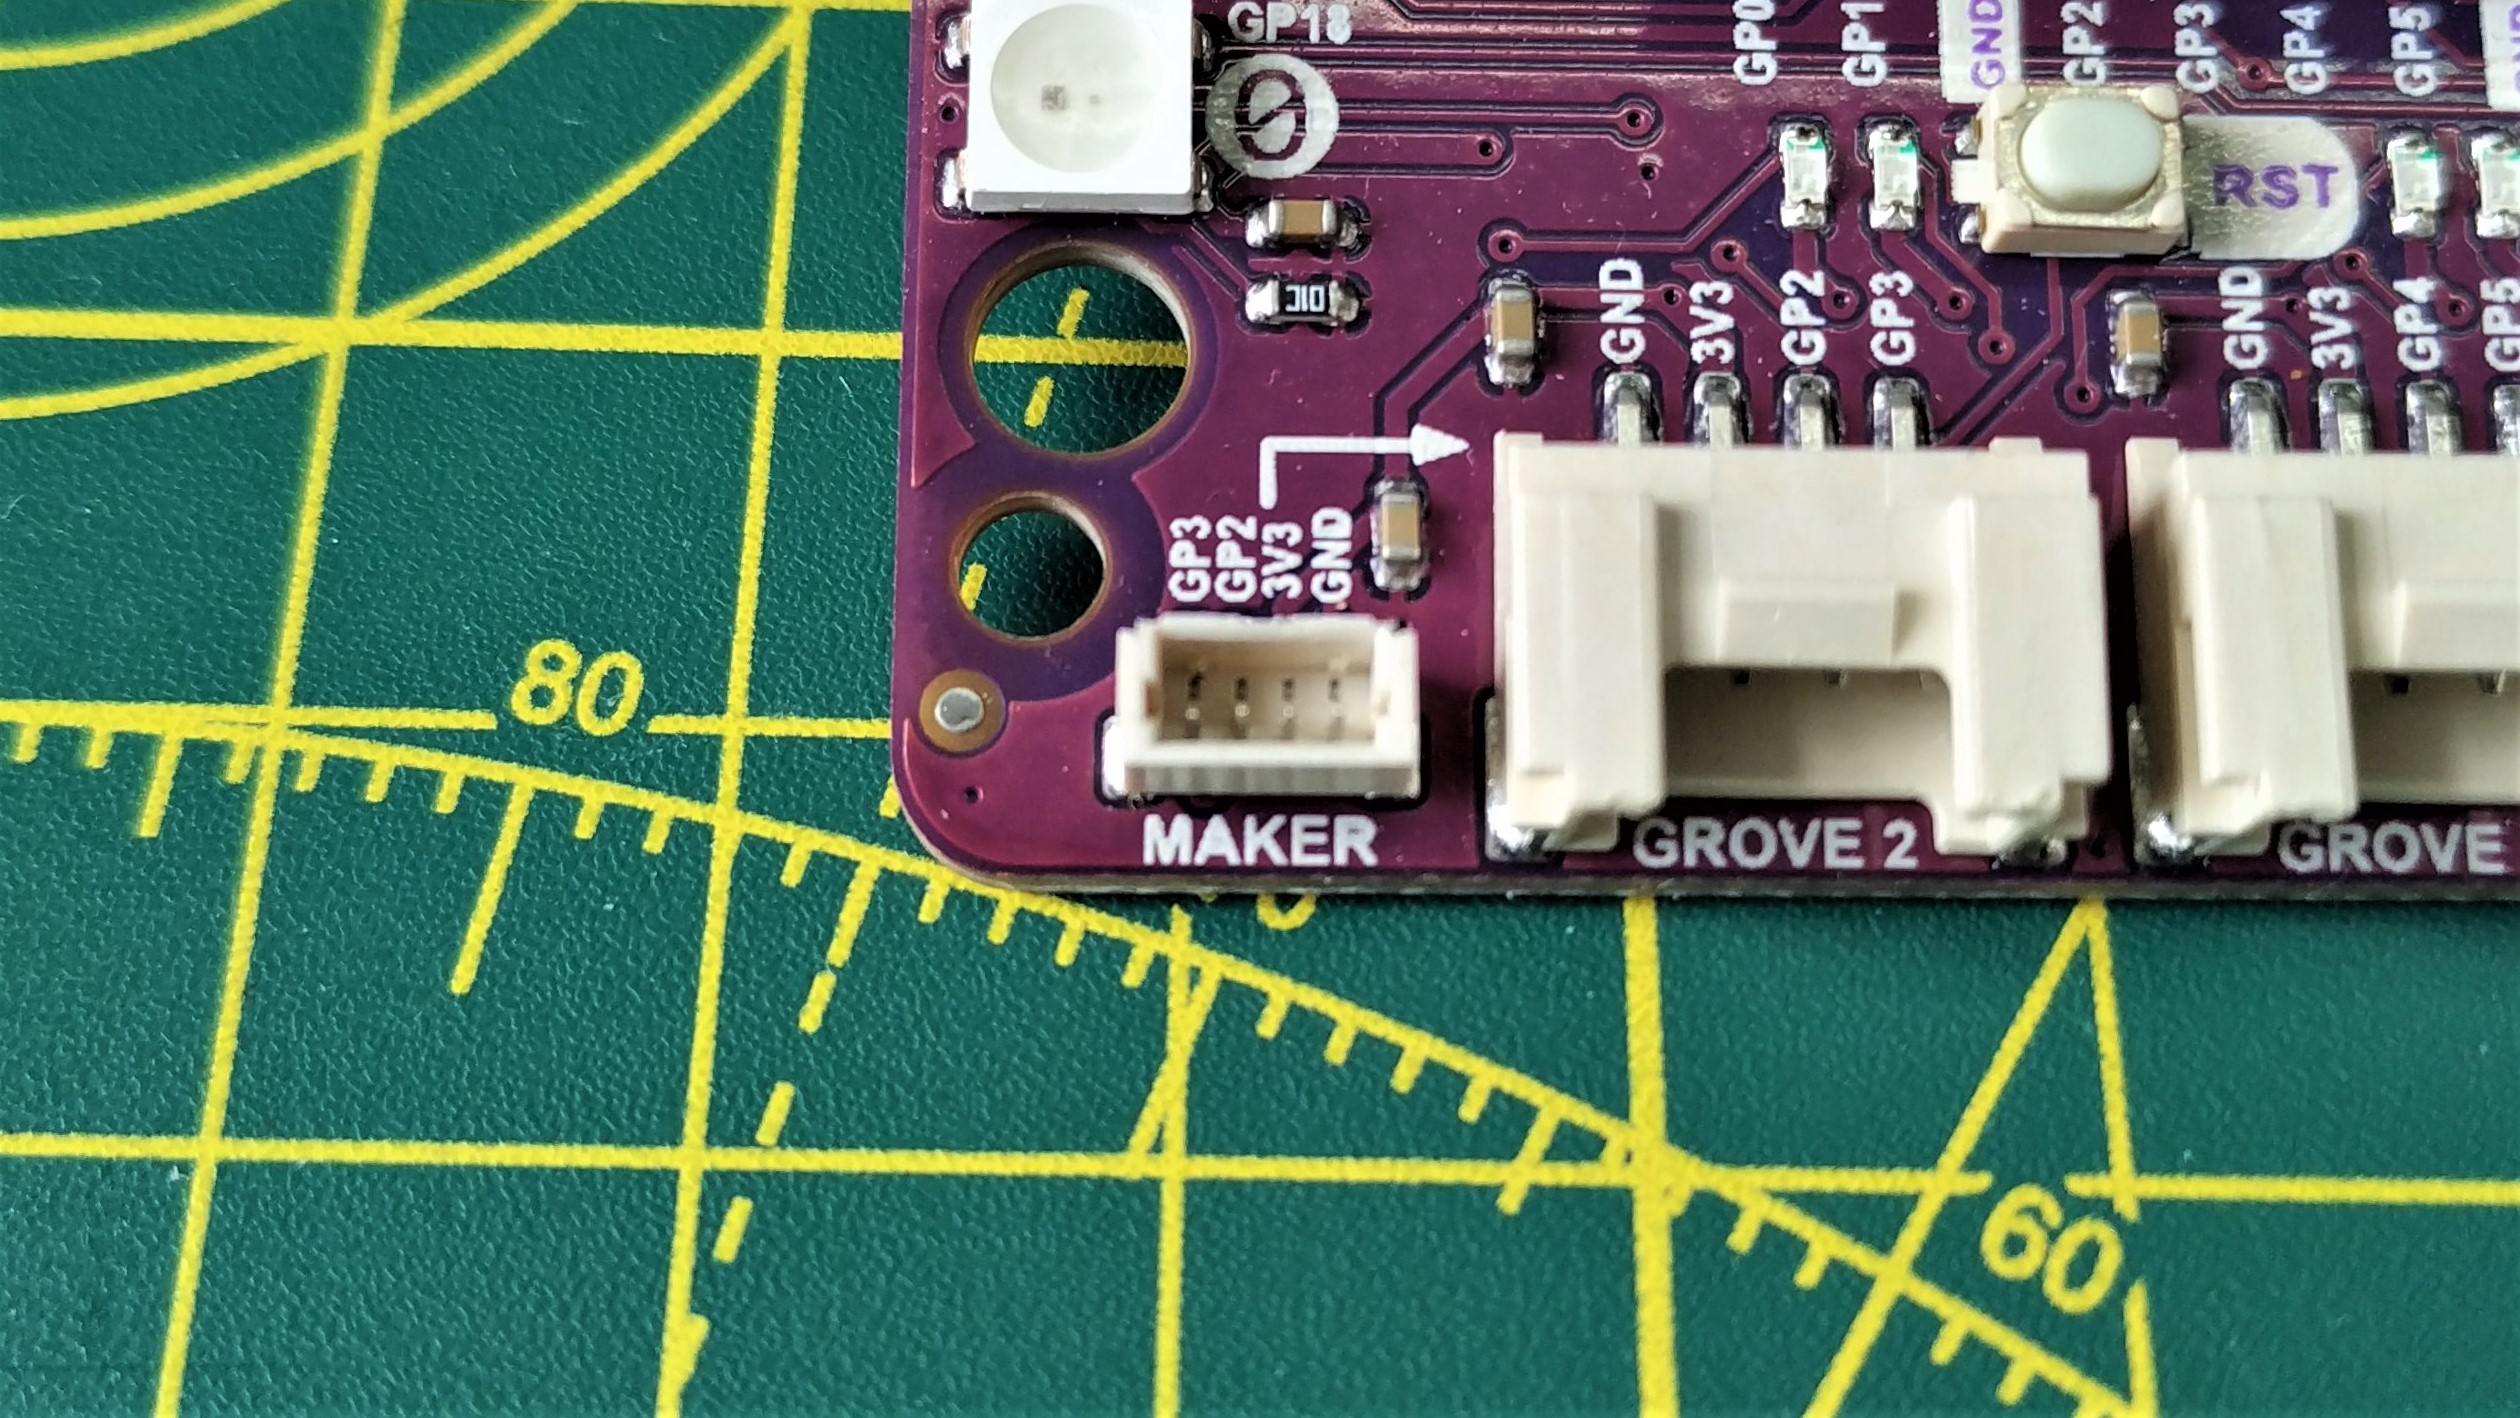
The board is densely packed with connections and each of them has a GPIO reference printed on the silkscreen. This feature is worth the price alone. We don’t need to reference a datasheet or website for the GPIO reference, it is right there on the board. Every component and connection has a GPIO reference, including extra information for the Grove and Maker ports which is printed on the reverse. Speaking of the reverse, the board will sit level on a desk, but not flat. There are a number of surface mount soldered components. If you want to secure the board to your project, use the four M3 screw points along with stand offs.
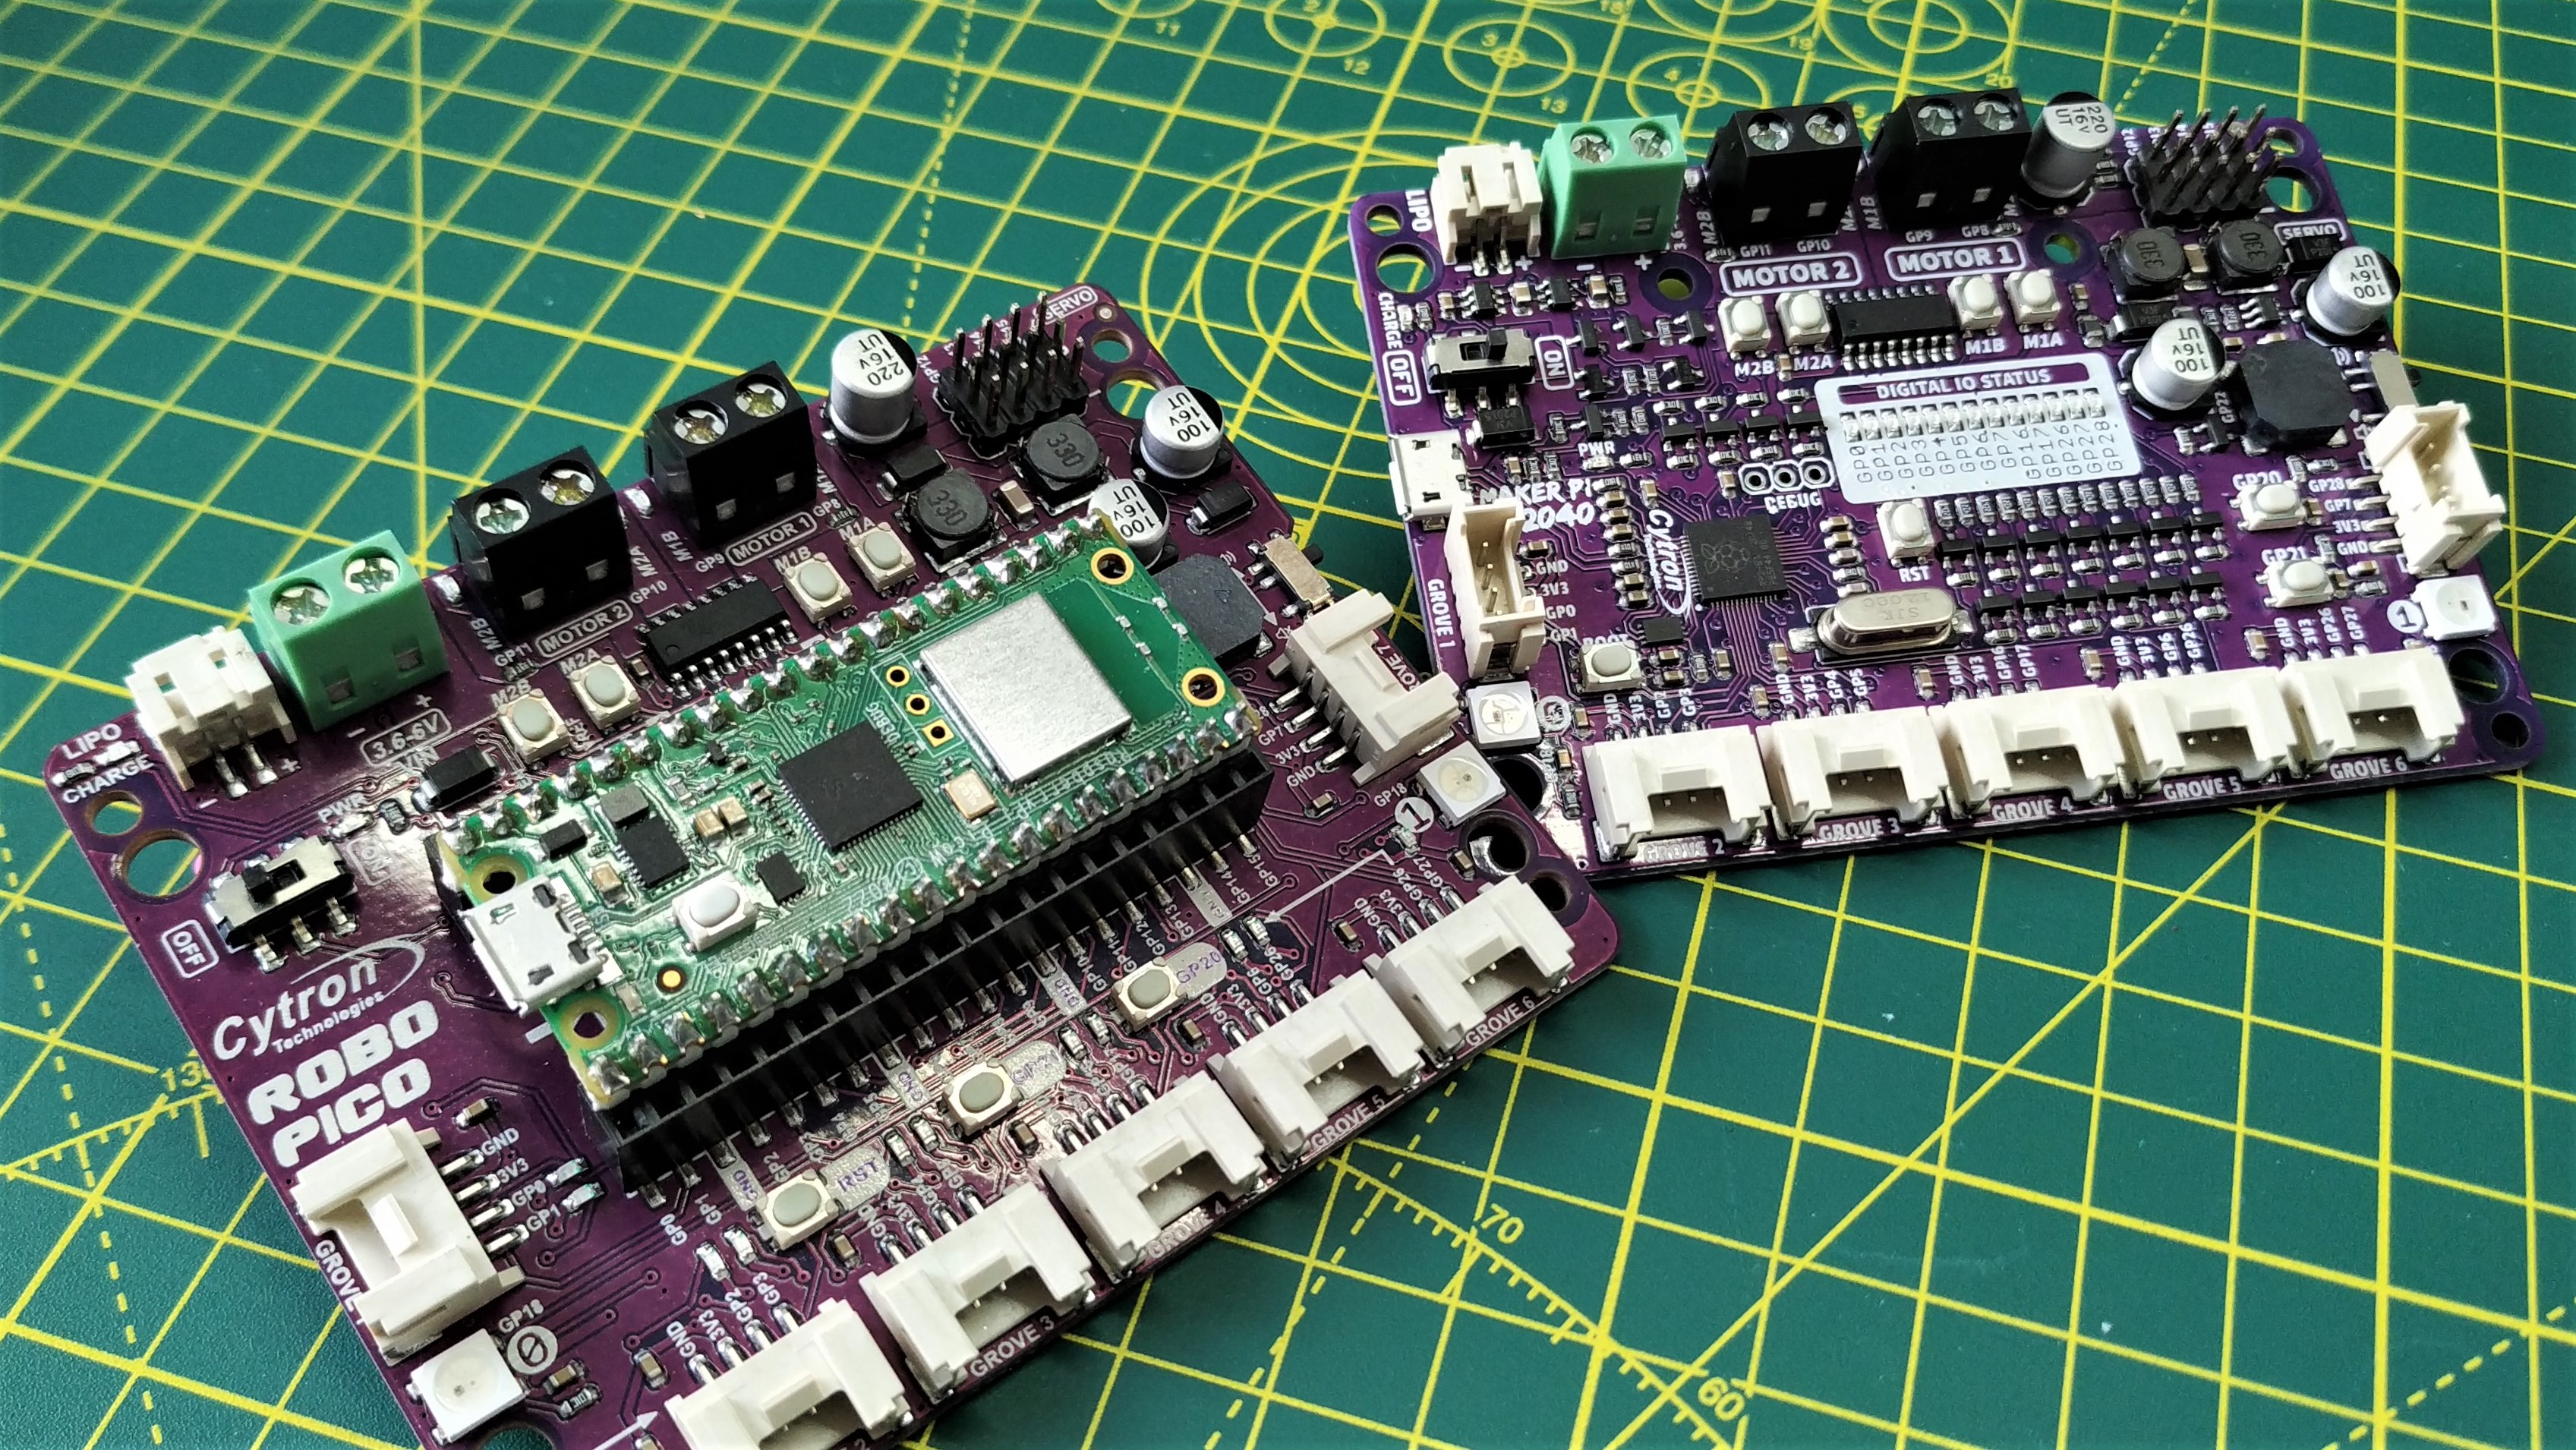
The design of Robo Pico is close to Cytron’s other Maker boards, but it closely resembles the Cytron Maker Pi RP2040. In fact the two are very closely matched. The only differences being the orientation of two Grove connectors and the Maker Pi RP2040 having an onboard RP2040 SoC. Robo Pico benefits from requiring a Pico to be inserted into the board, and that means we can use a Pico or Pico W in our projects. As long as Raspberry Pi retains the same form factor and pinout, we can use Robo Pico with future Raspberry Pi Pico boards.
Getting Started with Robo Pico
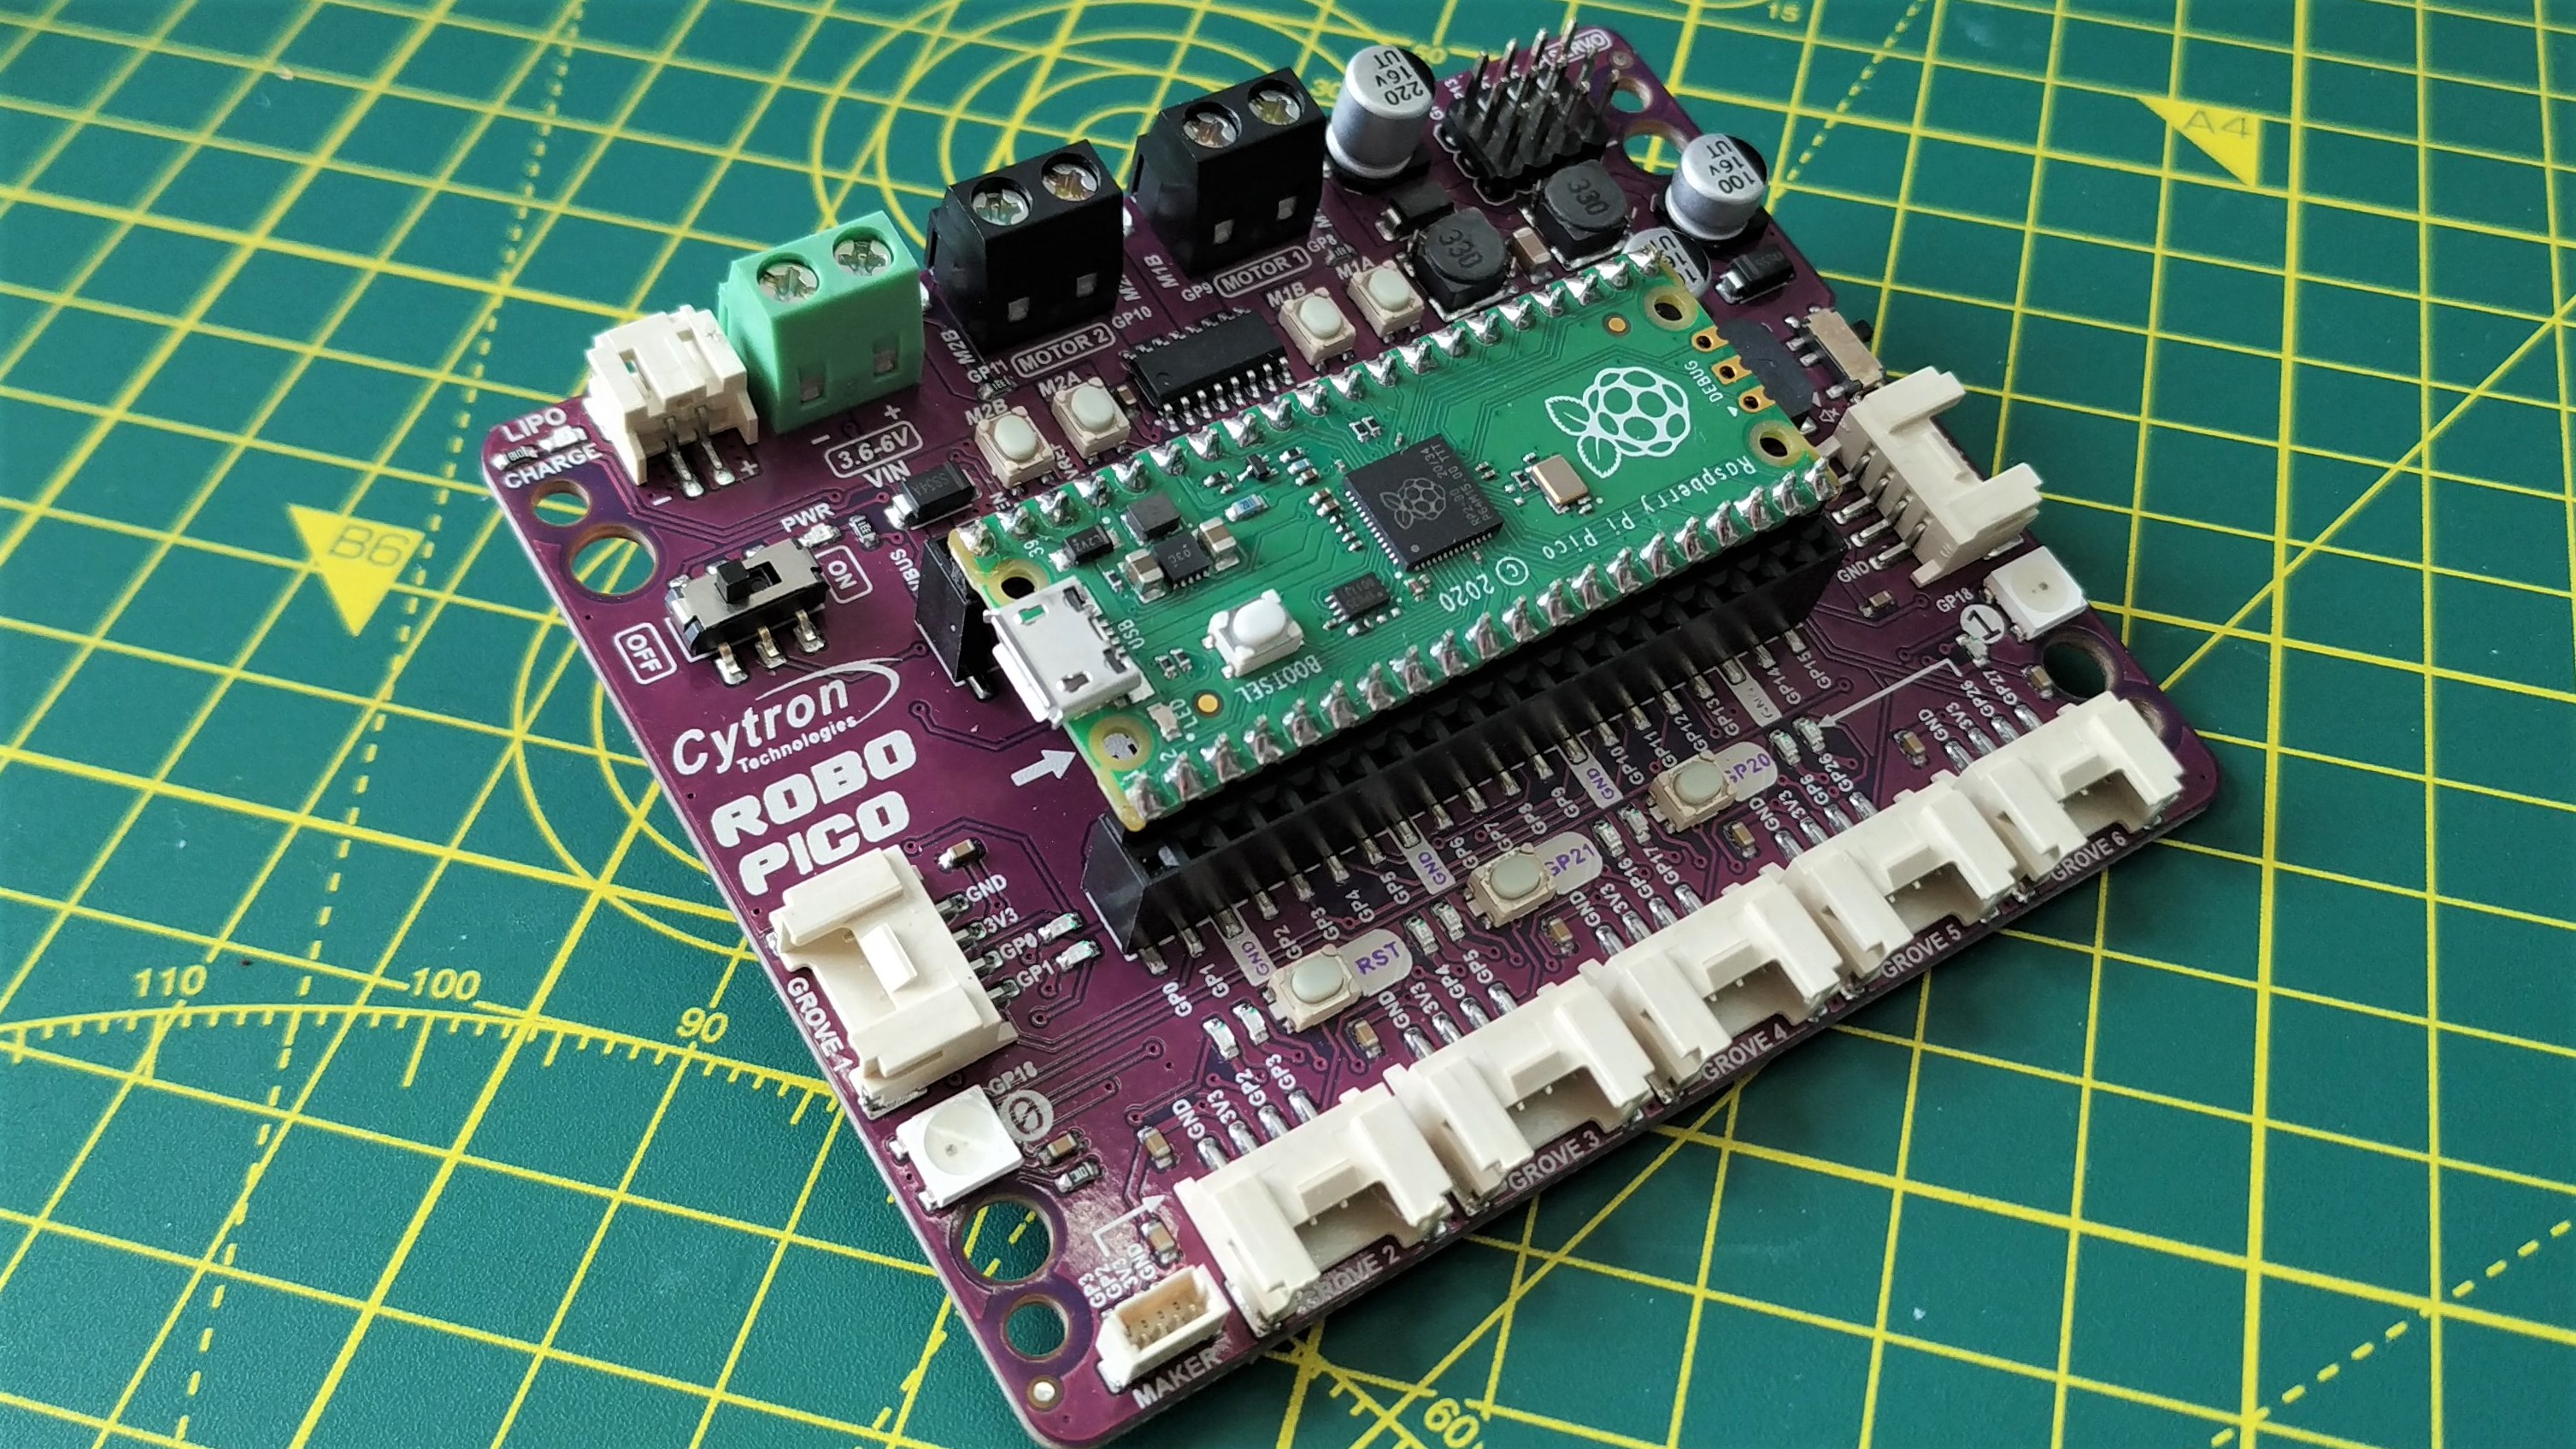
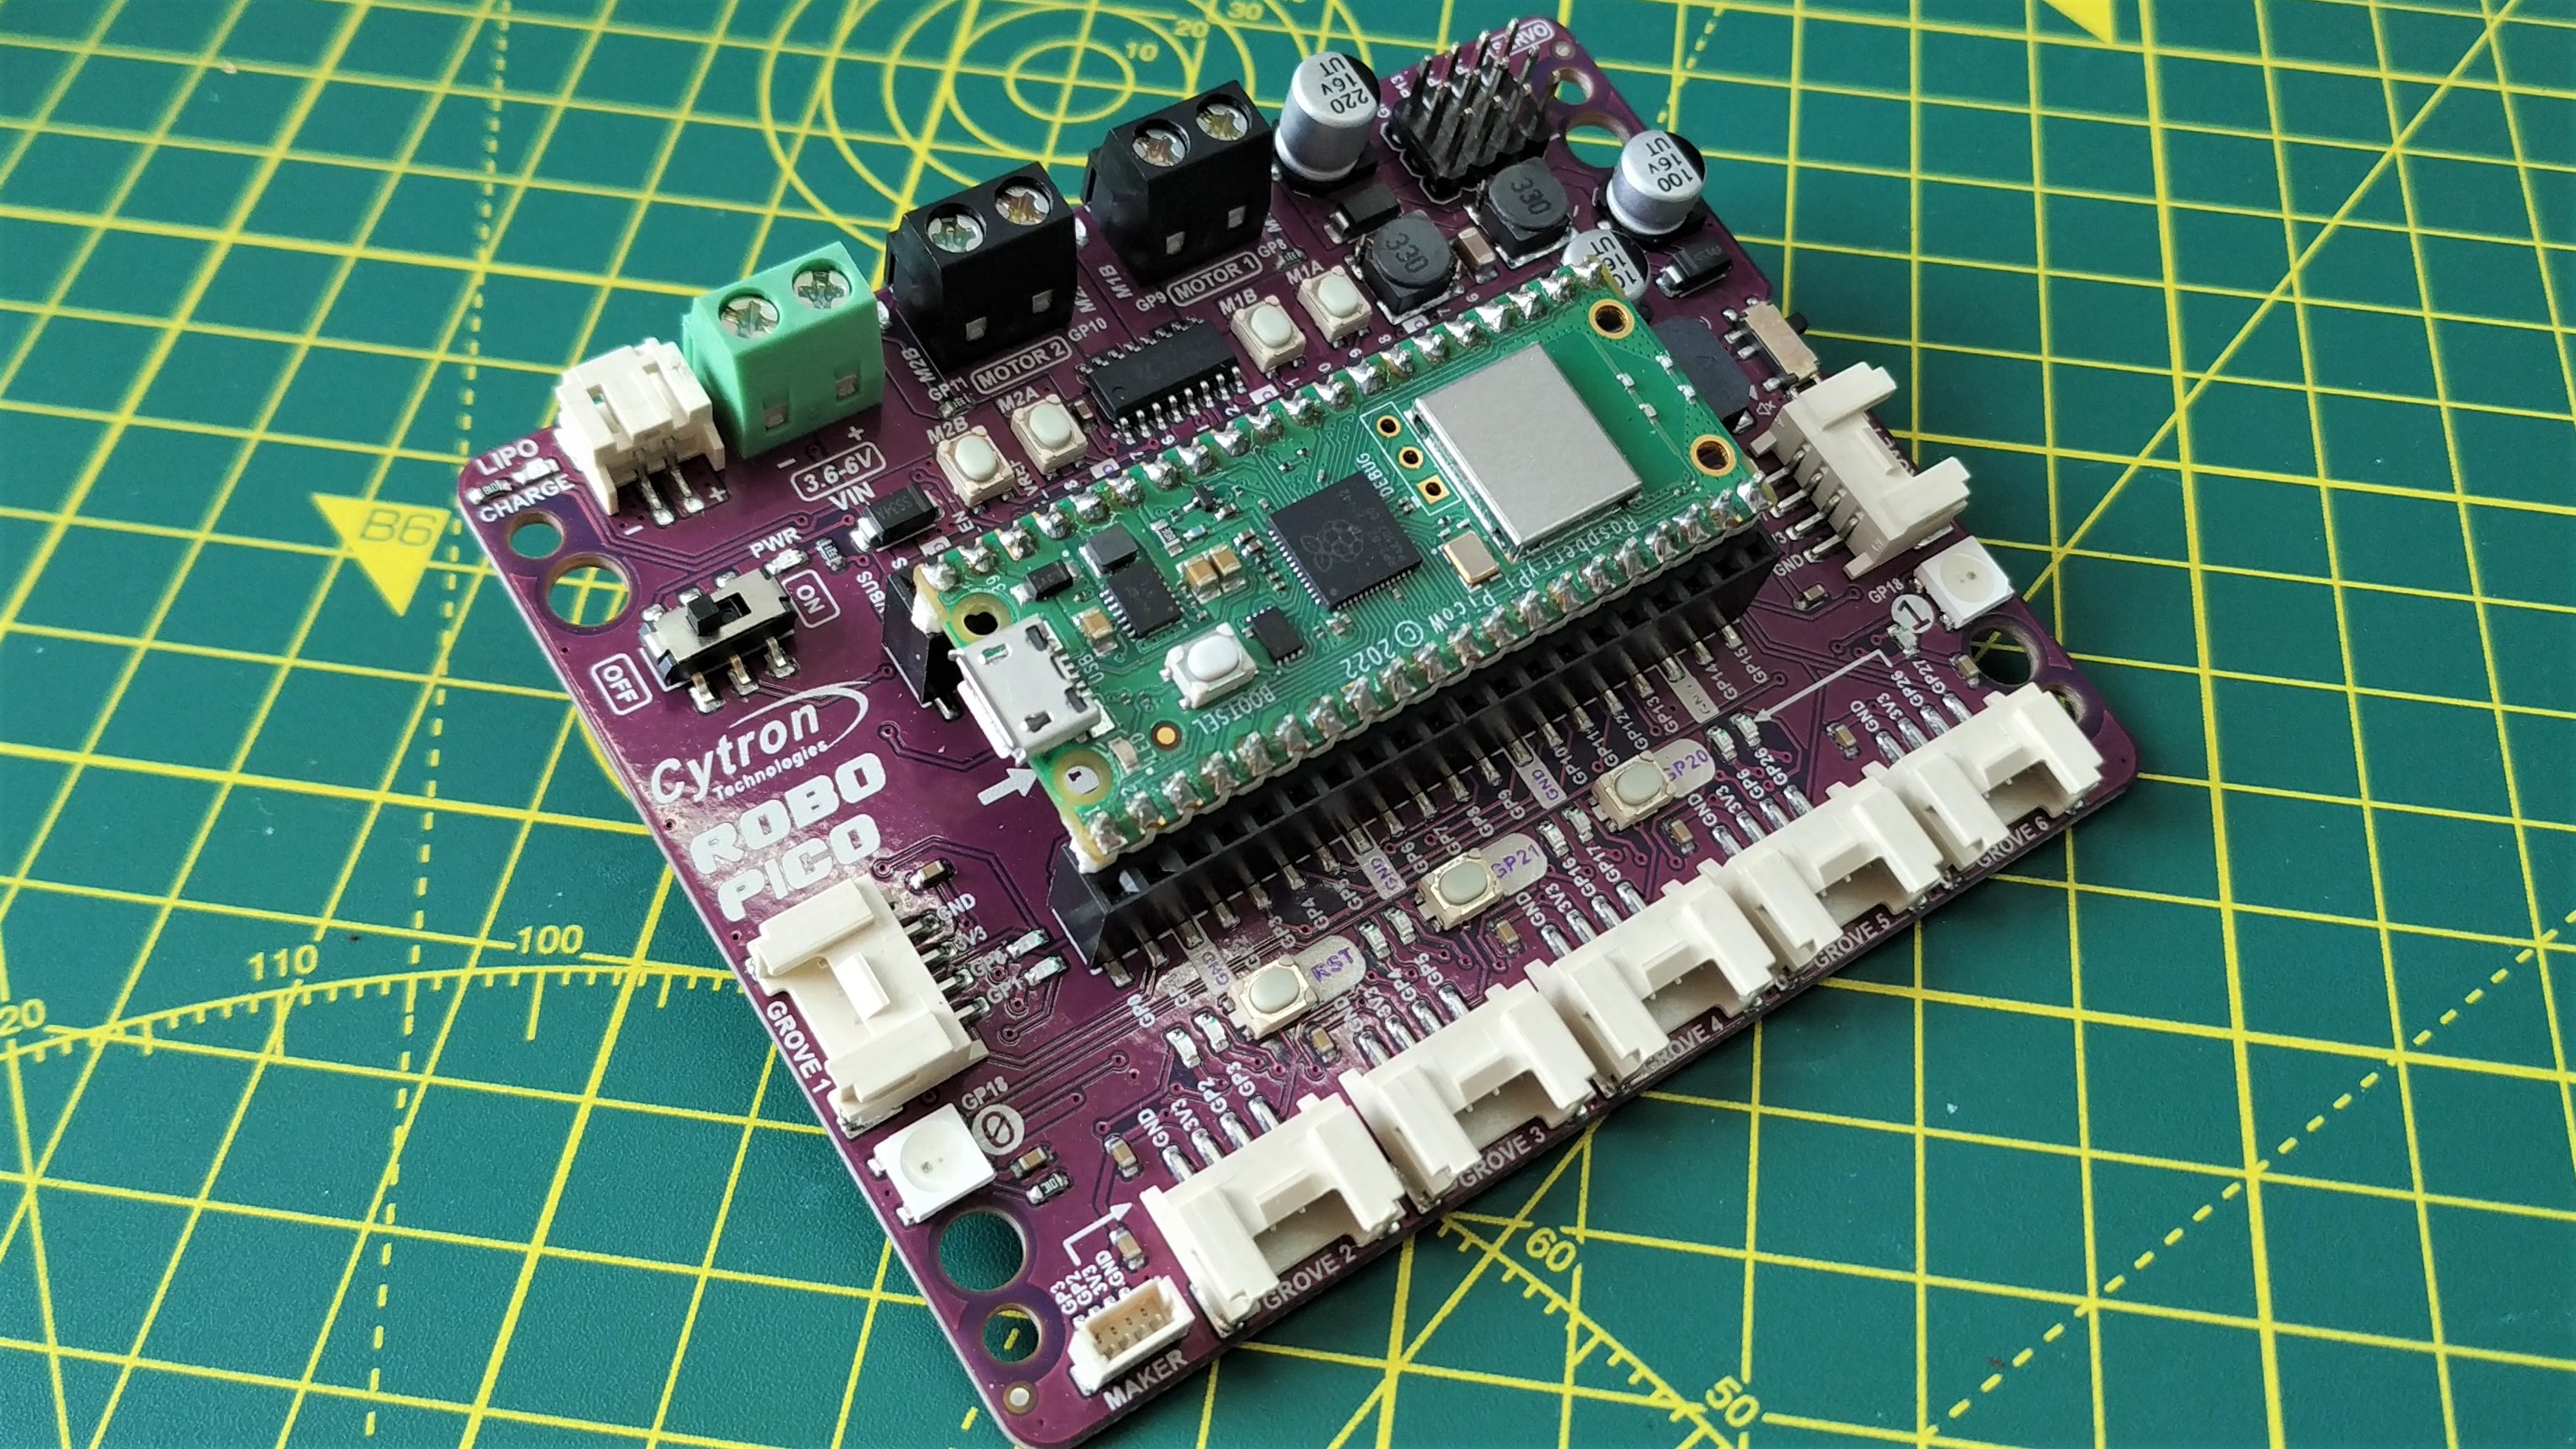
In classic Cytron style, Robo Pico is designed to just work. No fancy software libraries are necessary, we just drop the Pico in place and we can access the GPIO using our preferred programming language. The tutorials have been written with CircuitPython in mind and we elected to use that for our tests. MicroPython, C/C++ fans fear not as Robo Pico is merely a breakout board that exposes the GPIO pins.
Get Tom's Hardware's best news and in-depth reviews, straight to your inbox.
Flashing CircuitPython to our Pico W, we tried out Cytron’s tutorials covering how to use NeoPixels, servos , buzzer and motors. It was all pretty run-of-the-mill CircuitPython on a Pico, no surprises. We tested that all of the onboard GPIO status LEDs worked by creating our own rendition of a Larson scanner that swept through the LEDs to create a Cylon-esque visor. To test the buzzer we loaded up a very “Mario” sound cue.
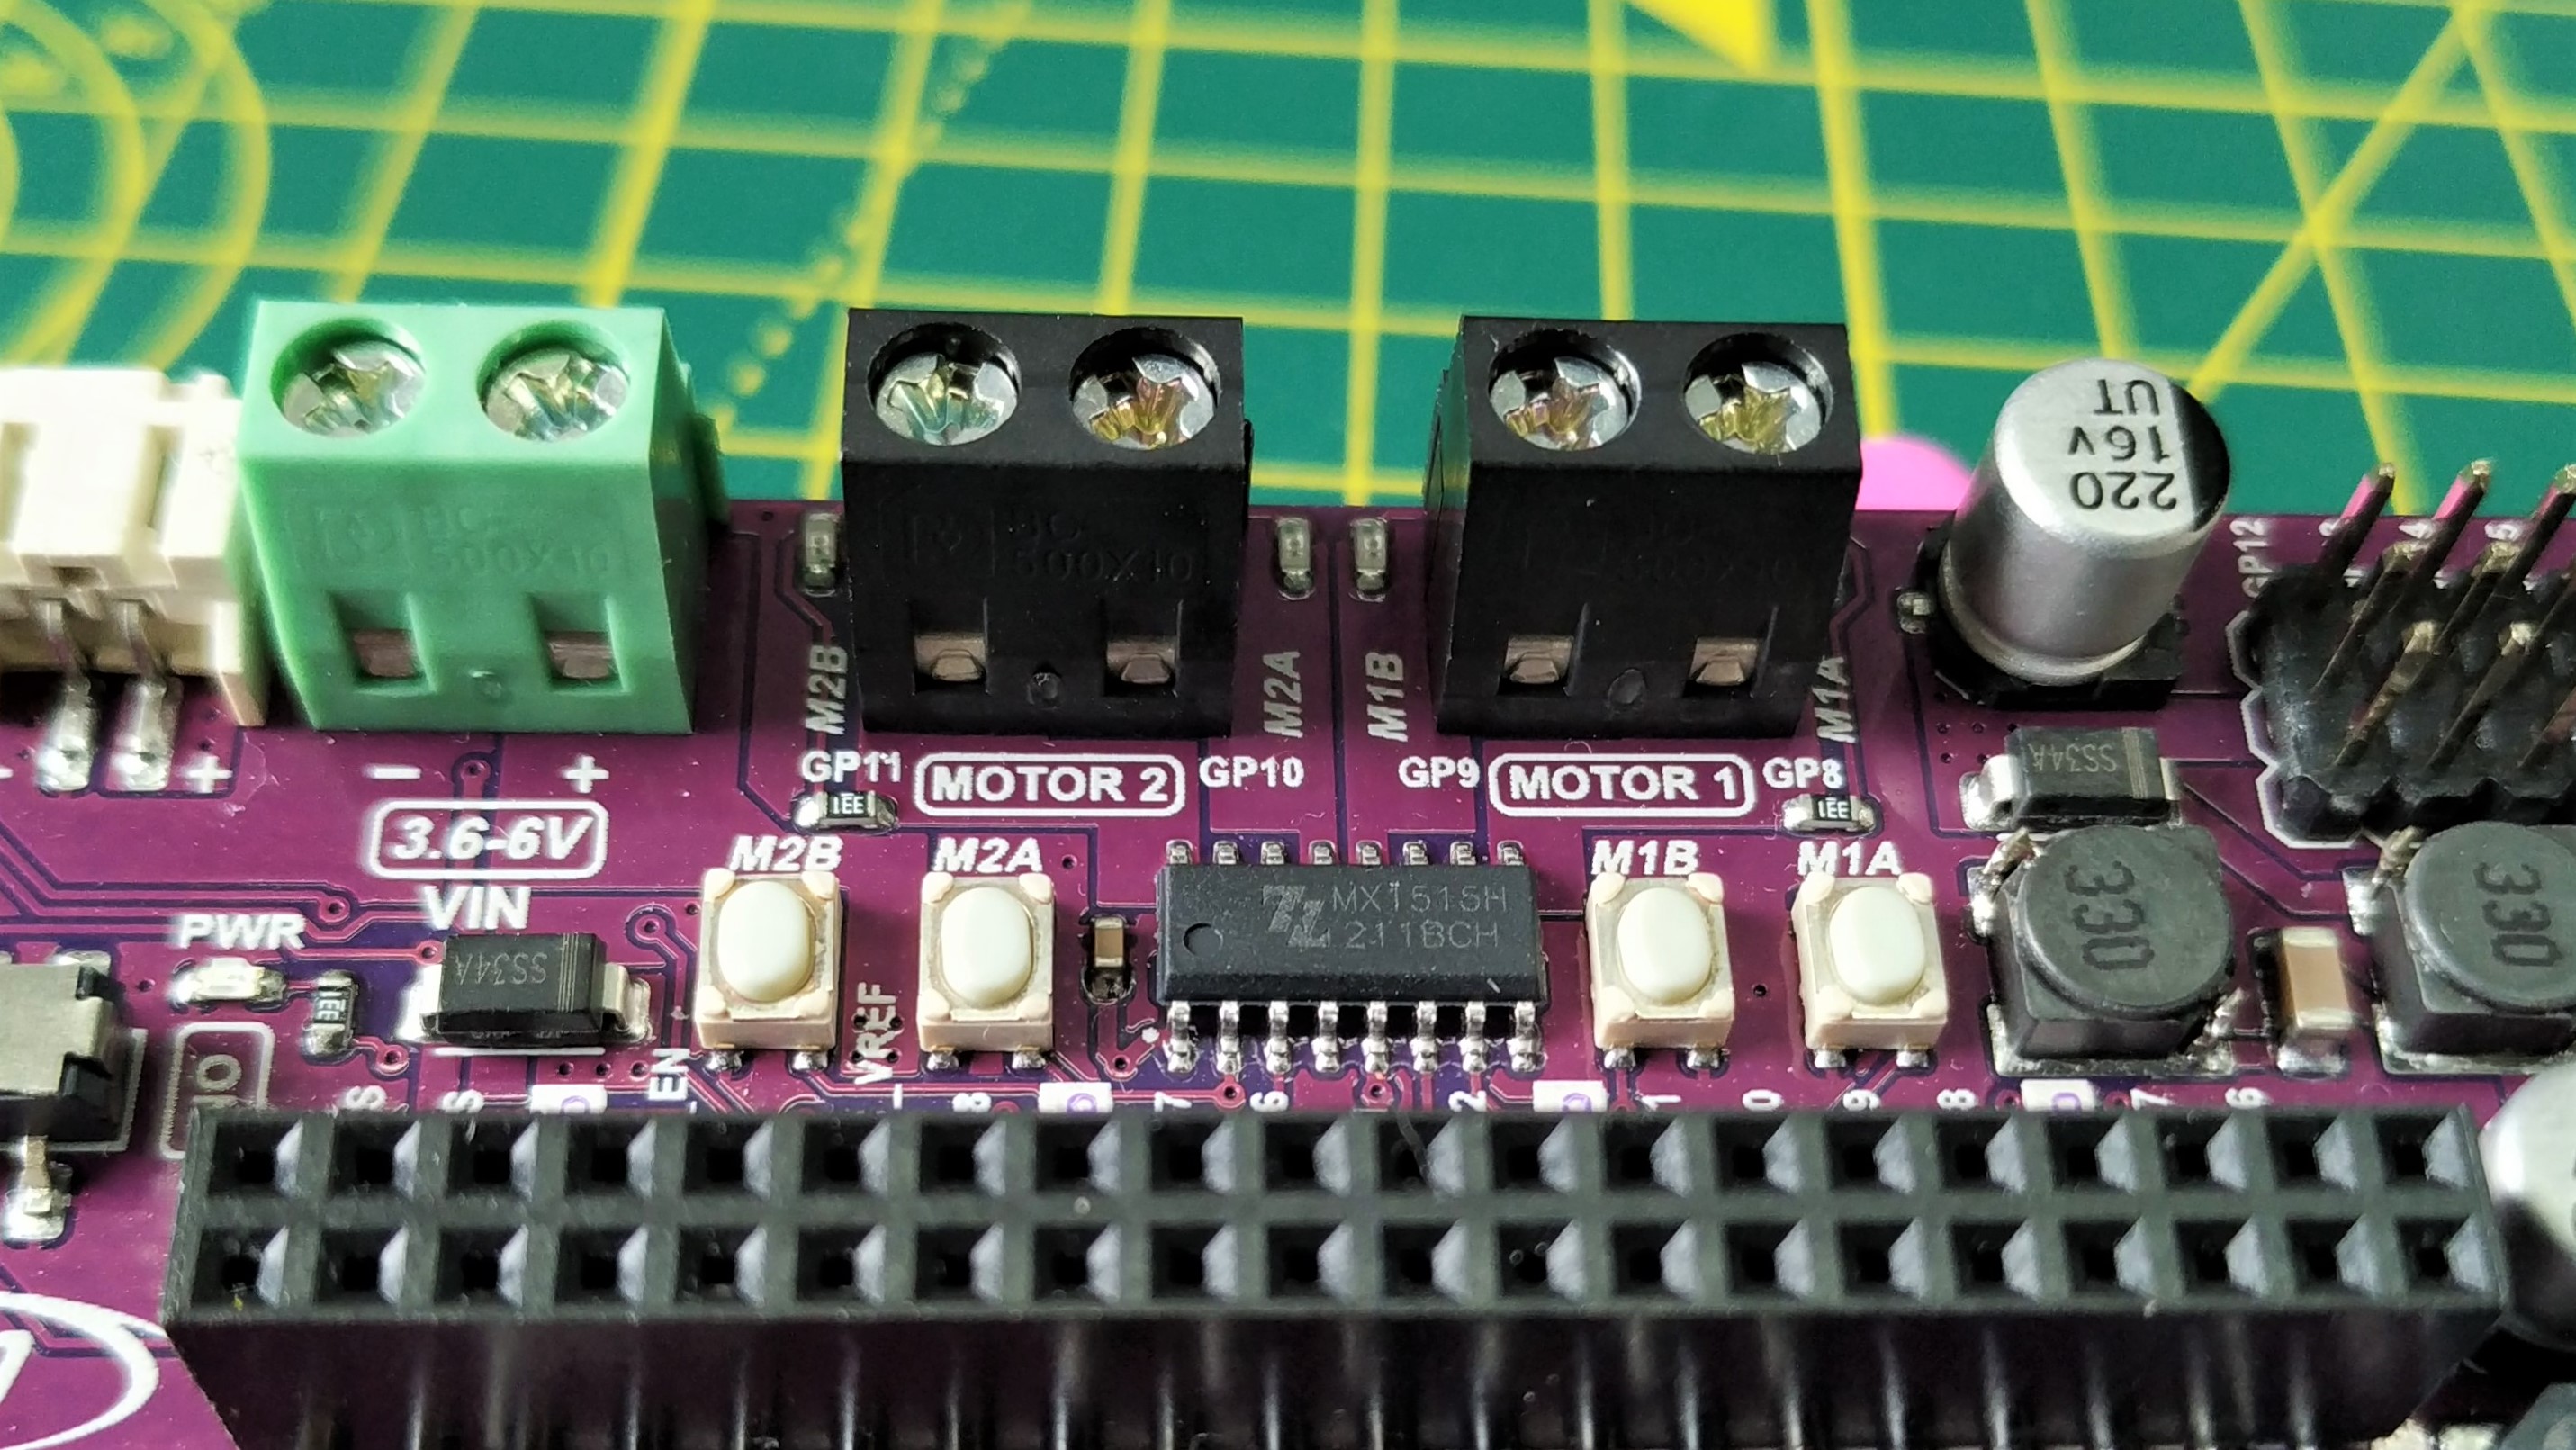
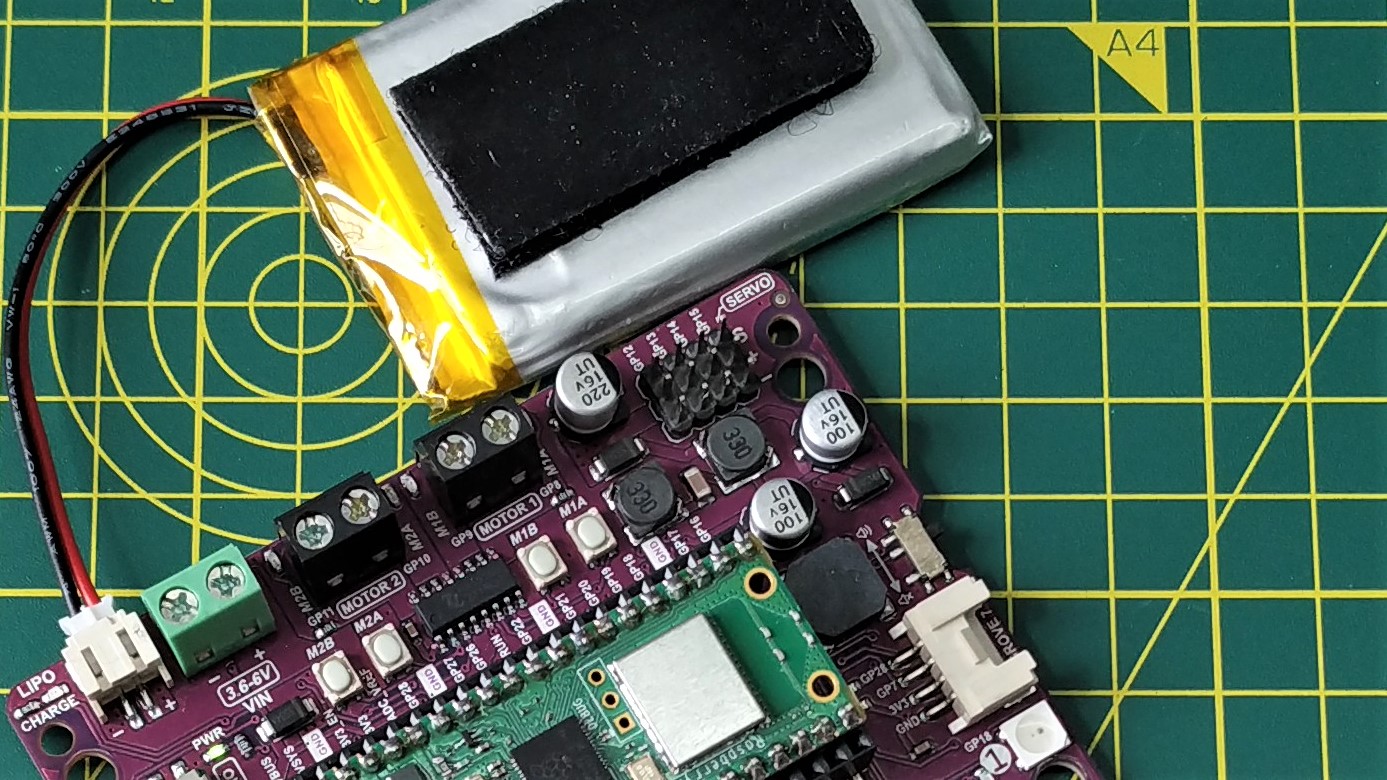
A clever feature of the motor terminals is that we can test our motors without running a line of code. The MX1515H motor controller is a two channel controller and using the buttons placed either side of it, we can spin both motors in either direction. This is a feature that was introduced on the Maker Drive motor control board (which also uses the MX1515H).
Debugging why a motor isn’t spinning can be difficult. Is it code, or is it hardware? Well with the motor test buttons all we need is power for the motors and we should have movement. This is very handy in a classroom environment. Servo connections follow the SVG (Signal, Volage, Ground) pinout that nearly all servos use. We can fit four servos at once, and then connect two DC motors. We can build quite the robot using all of these components.
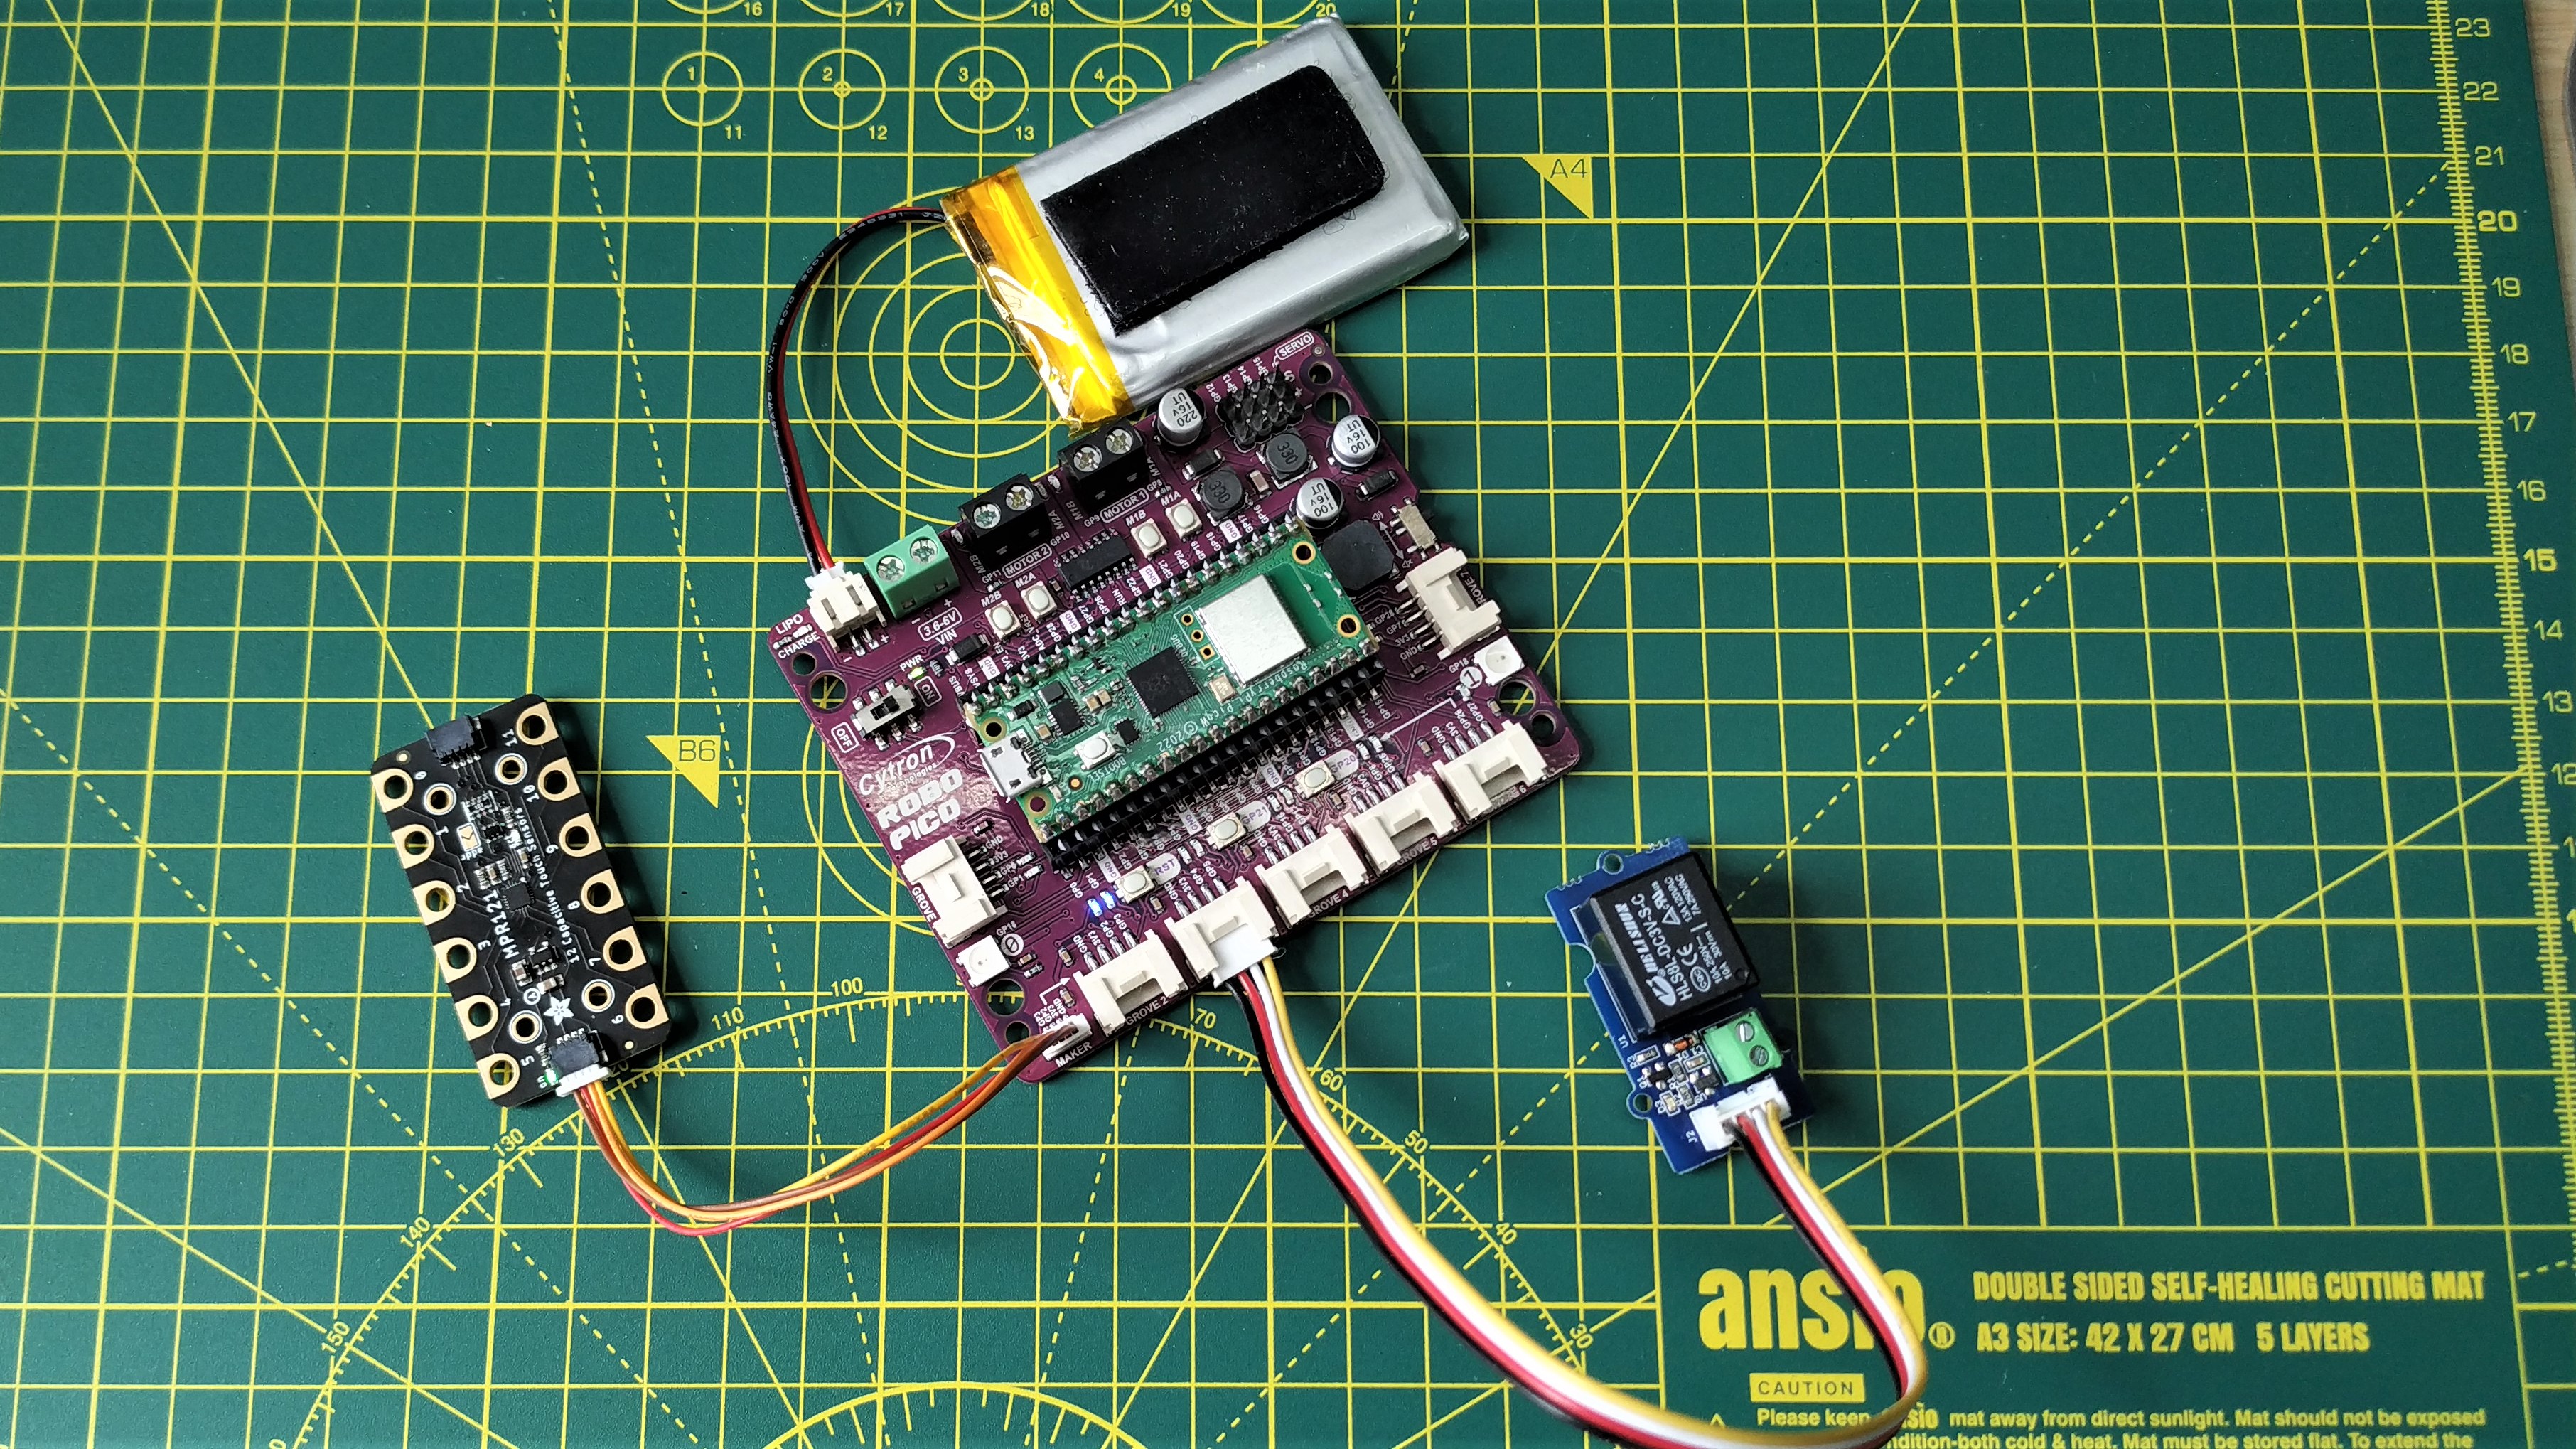
Moving onward, we hooked up our trusty MPR121 touch sensor to the Maker Port and installed the necessary module in the /lib/ folder on the Pico W. A few lines of code later and we had a capacitive touch sensor running. Taking it further and we connected up a relay via a Grove connector. This is where we noticed that the Maker port and Grove 2 share the same GPIO pins, so we moved the connection to Grove 3. A few extra lines of code and we had a touch controlled relay clicking on / off.
Robo Pico can be powered from micro USB (via the Pico), VIN terminals (3-6V) or via a LiPo battery. Using a LiPo and micro USB we were able to charge the battery. Removing the micro USB source and the board just kept running from LiPo.
With LiPo power, we can take our projects on the move and embed them in a 3D printed chassis. The onboard power switch will obviously turn the power on / off, no matter the source. A handy reset button means we can reset and flash the Pico without having to remove the USB cable.
Who is Robo Pico For?
You can drop Cytron’s Robo Pico into a classroom, makerspace, home and any level of user can get hands on with code. At a purely hardware level, this is the perfect add-on. It provides all of the features that we need to learn new skills, while providing the reassurance of a well documented pinout and easy-to-use interfaces. The inclusion of Grove and Maker ports makes this the ideal board for learning to make. No soldering is required (well you do need to solder the header on your Raspberry Pi Pico, perhaps using one of the best soldering irons.) to build the board, just plug in and go.
We see Cytron’s Robo Pico as an “electronics playground” where we can try out different things, without the fear of being hurt (or releasing the magic smoke). Making robots is made much simpler thanks to the motor controller and terminals. Throw on some sensors (Grove, Maker port or normal GPIO), add a battery and you will soon have a robot running around your home.
Bottom Line
Starting from $15 for a bare board, Robo Pico is a low cost and fully featured robotics platform for all makers. By providing an easy to use platform, free of complexity, the board is an excellent choice for educators and makers alike.
Maker How Tos
- How To Use a Multimeter to Measure Voltage, Current and More
- How to Breadboard Electronics Projects with Raspberry Pi Pico
- How To Use Resistors in a Project
- Resistor Color Code Decoder: 10K, 220 Ohm, More
- How To Solder Pins to Your Raspberry Pi Pico

Les Pounder is an associate editor at Tom's Hardware. He is a creative technologist and for seven years has created projects to educate and inspire minds both young and old. He has worked with the Raspberry Pi Foundation to write and deliver their teacher training program "Picademy".
