How To Use a Multimeter to Measure Voltage, Current and More
Inexpensive, essential tool can test circuits, resistors and batteries for your projects.
Electronics is an amazing subject, there’s a lot to learn, and many fascinating projects to create. To do this you would think that you need thousands of dollars of equipment, but you can do a lot with very little. All you really need are the tools to get you started. a Raspberry Pi Pico, side cutters, pliers and a soldering iron are some of the most versatile tools for the budding electronics enthusiast.
But no matter what level of maker you may be, we all need a Digital Multimeter. A multimeter enables us to make accurate measurements of both current and voltage, can help us test and debug circuits by checking continuity and can help us identify component values.
In this how to we shall take our first steps with this essential tool. Learn how to safely use it when taking readings in circuit, and to check components.
The Different Types of Multimeter
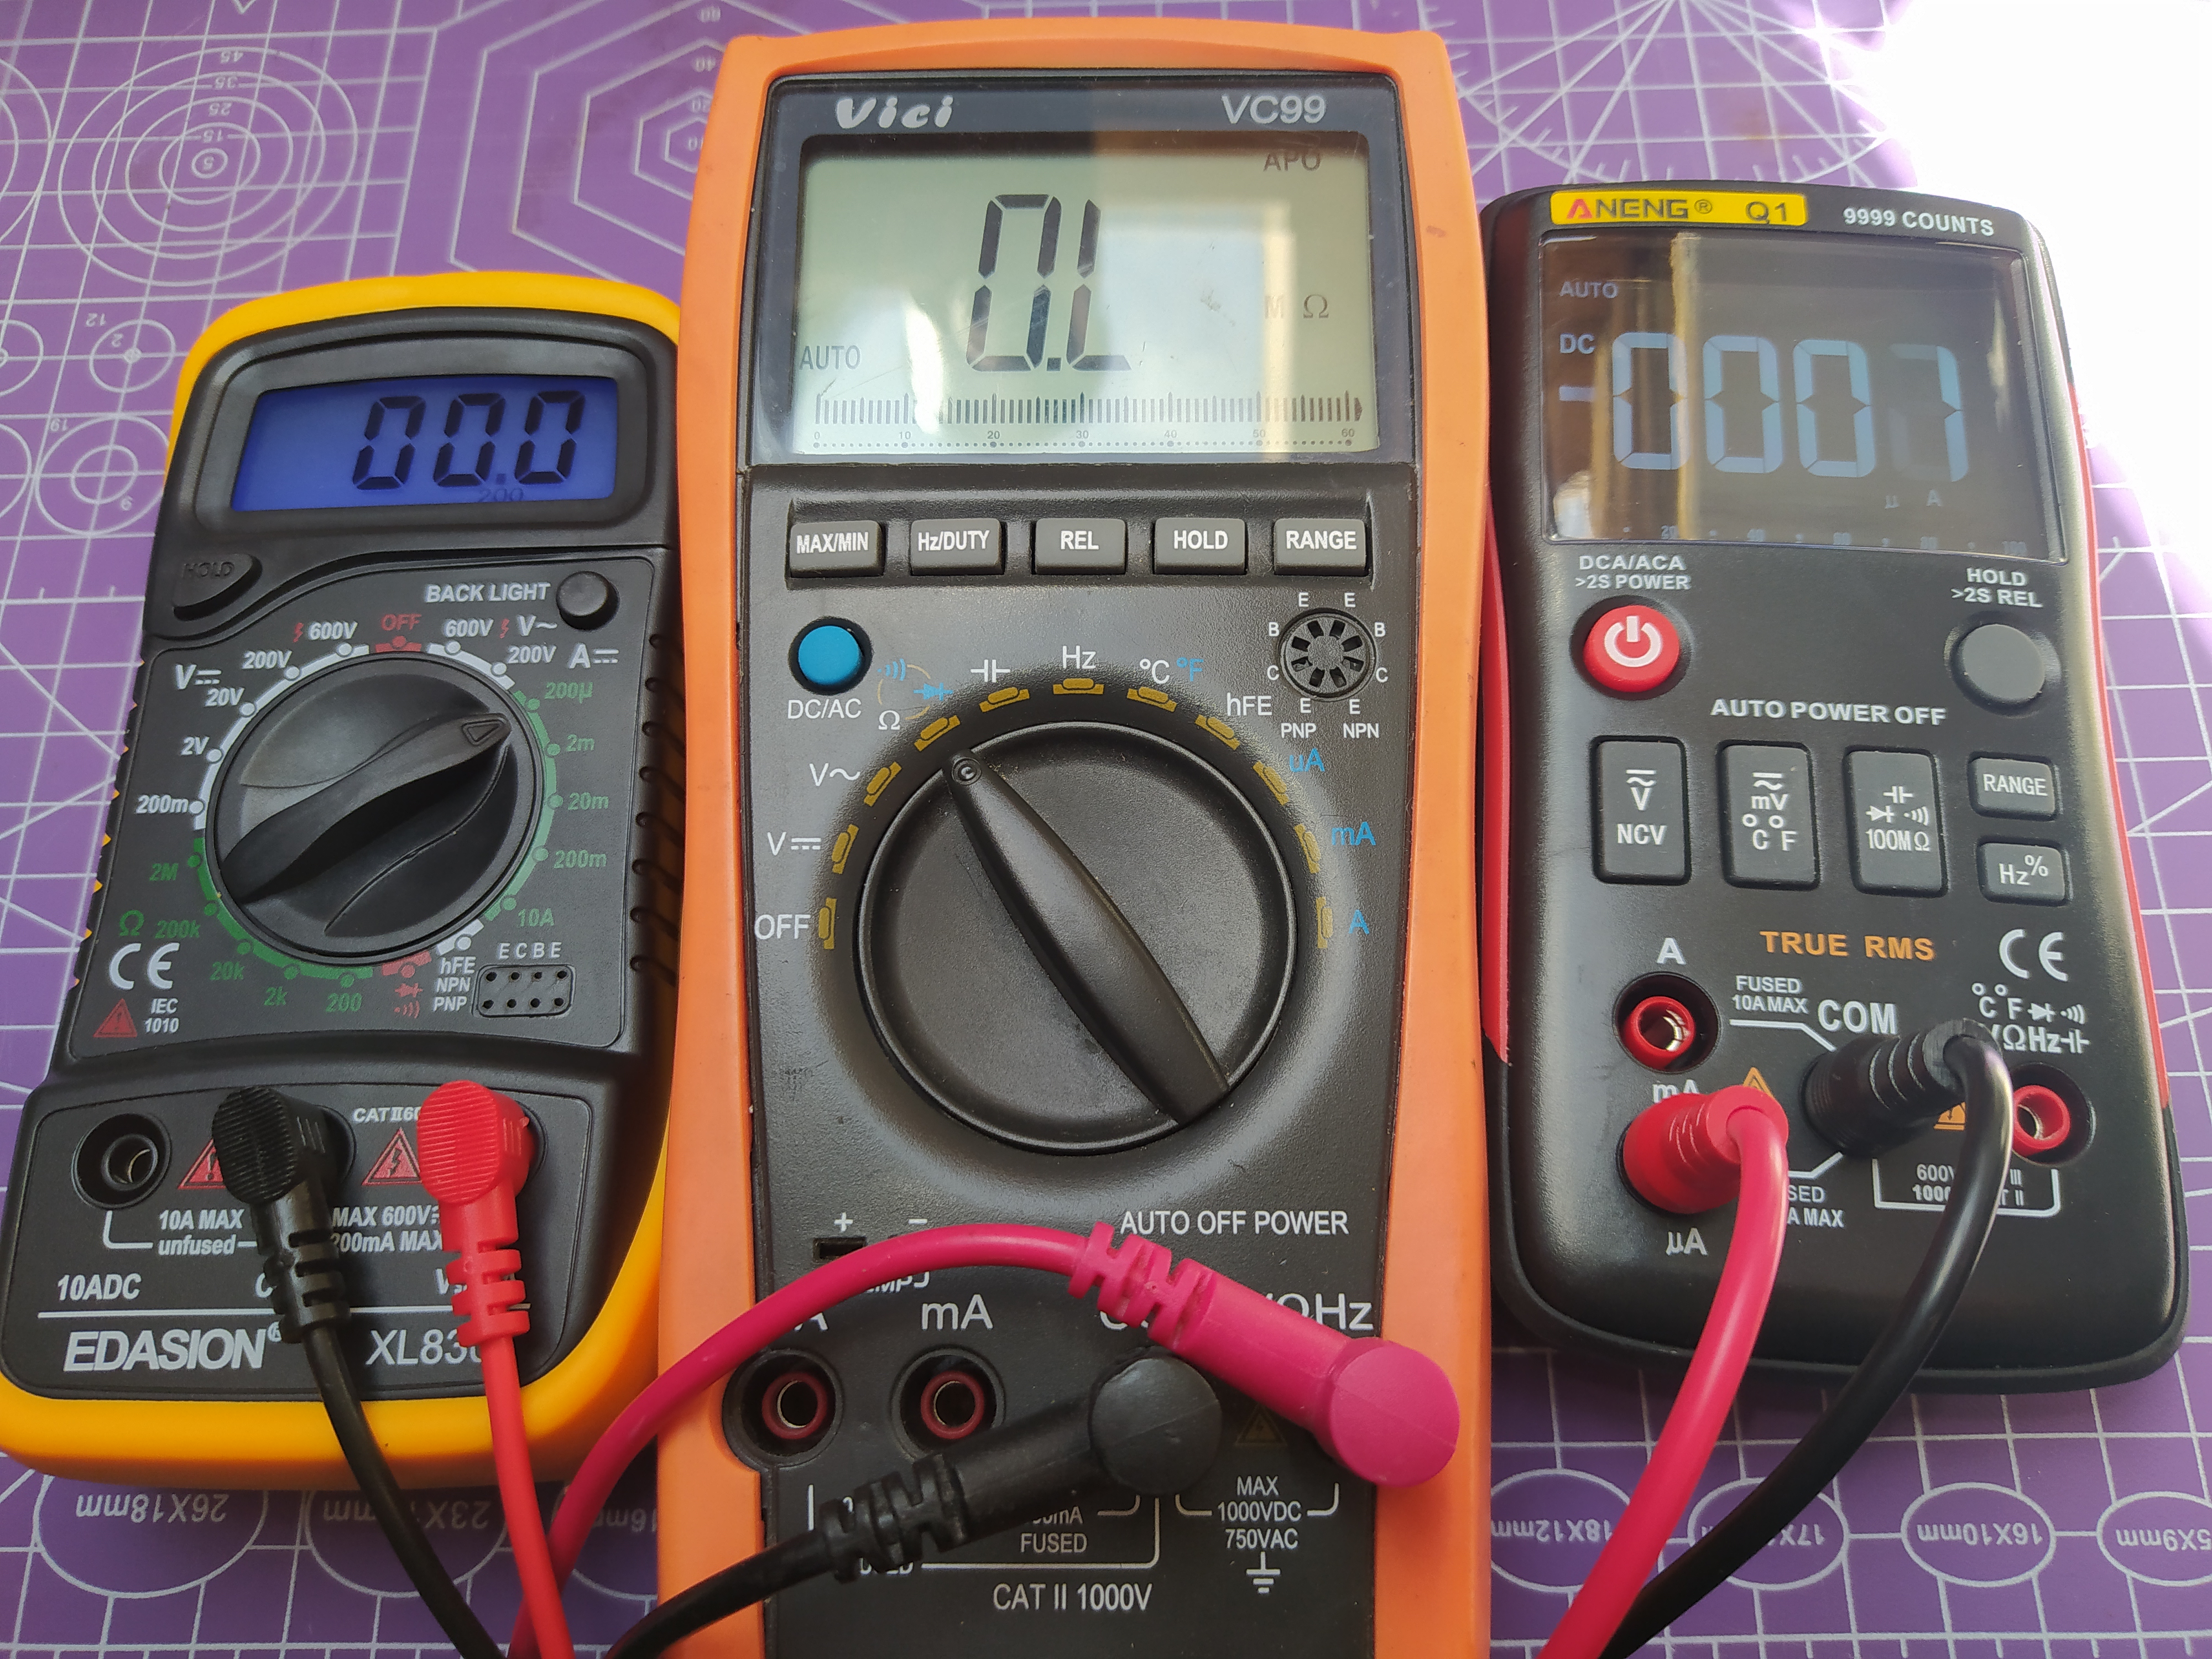
Multimeters, like many products, come in a range of styles and price ranges and even the most budget options offer lots of functionality. For around $15 you can pick up a basic multimeter good enough for hobbyist electronics. Most multimeters are designed to measure DC and AC current, but it’s important that you know your own knowledge limits and don’t interact with mains AC voltages.
US mains voltage is around 110-115V, in the UK it is around 230-240V, and both of these are enough to severely injure you, possibly even fatally. Never interact with mains voltages unless you know what you are doing, or have the supervision of someone who does. If you intend to utilize mains voltage in a project, a $10 multimeter is not good enough, and you should research for a multimeter that meets the safety requirements of your country. For this how to, a $10 multimeter for battery powered/low voltage applications is a great way to learn.
Features of a Multimeter
Multimeters have the ability to measure DC and AC voltage, current and resistance. Beyond that, there are heaps of useful features that you might consider looking for in a multimeter. Often these features are hidden behind a myriad of symbols. It’s worth looking at the instruction manual of your multimeter to work out where all the different functions are.
The Symbols on a Multimeter
| V⎓ | DC voltage measured in Volts |
| V⏦ | AC voltage measured in Volts |
| A⎓ | DC current measure in Milliamps, Amps |
| A⏦ | AC current measure in Milliamps, Amps |
| Ω | Resistance measure in Ohms |
| ⇥ | Diode Test |
| ♬ | Continuity Test |
- Measuring voltages is one of the most basic features of a multimeter and we can measure AC V⏦ and DC V⎓ using the same probes and multimeter. In a normal household environment, the most likely source of AC voltages is your outlets. But do not use your multimeter with high voltage AC outlets unless you know what you are doing. Sources of DC voltages can be batteries, laptop power supplies and solar cells.
- Measuring current, the flow of electronics in an electrical circuit, is another basic but important feature of a multimeter. Current is measured in Amperes, commonly referred to as Amps. Most multimeters will be able to measure milliamps and Amps. Some more precise models can measure microamps or lower. Most multimeters will need one of the probes to be inserted into the corresponding port, and remember to swap them back when done.
- Measuring resistance: Resistors, components which restrict the amount of current that a component can consume, use a color coded system to identify their values. If these markings are hard to read, or misprinted we can use the multimeter’s resistance test function, Ω to check the value. Resistance is measured in Ohms.
- The diode test feature enables us to check the status of a diode. The multimeter sends a little voltage through the diode, and displays the voltage drop on the screen. We can use this to test LEDs (Light Emitting Diodes) before placing them into a circuit.
- A continuity test is a very useful tool. It checks for continuity between two points in a circuit. Confirming that there is a connection between the probes via an audible beep, or LED light. We can easily check this by selecting the option and touching the probes together. Continuity testing is useful when checking for any solder bridges or points on a circuit that shouldn’t be connected. Continuity testing will be the most useful feature on your multimeter.
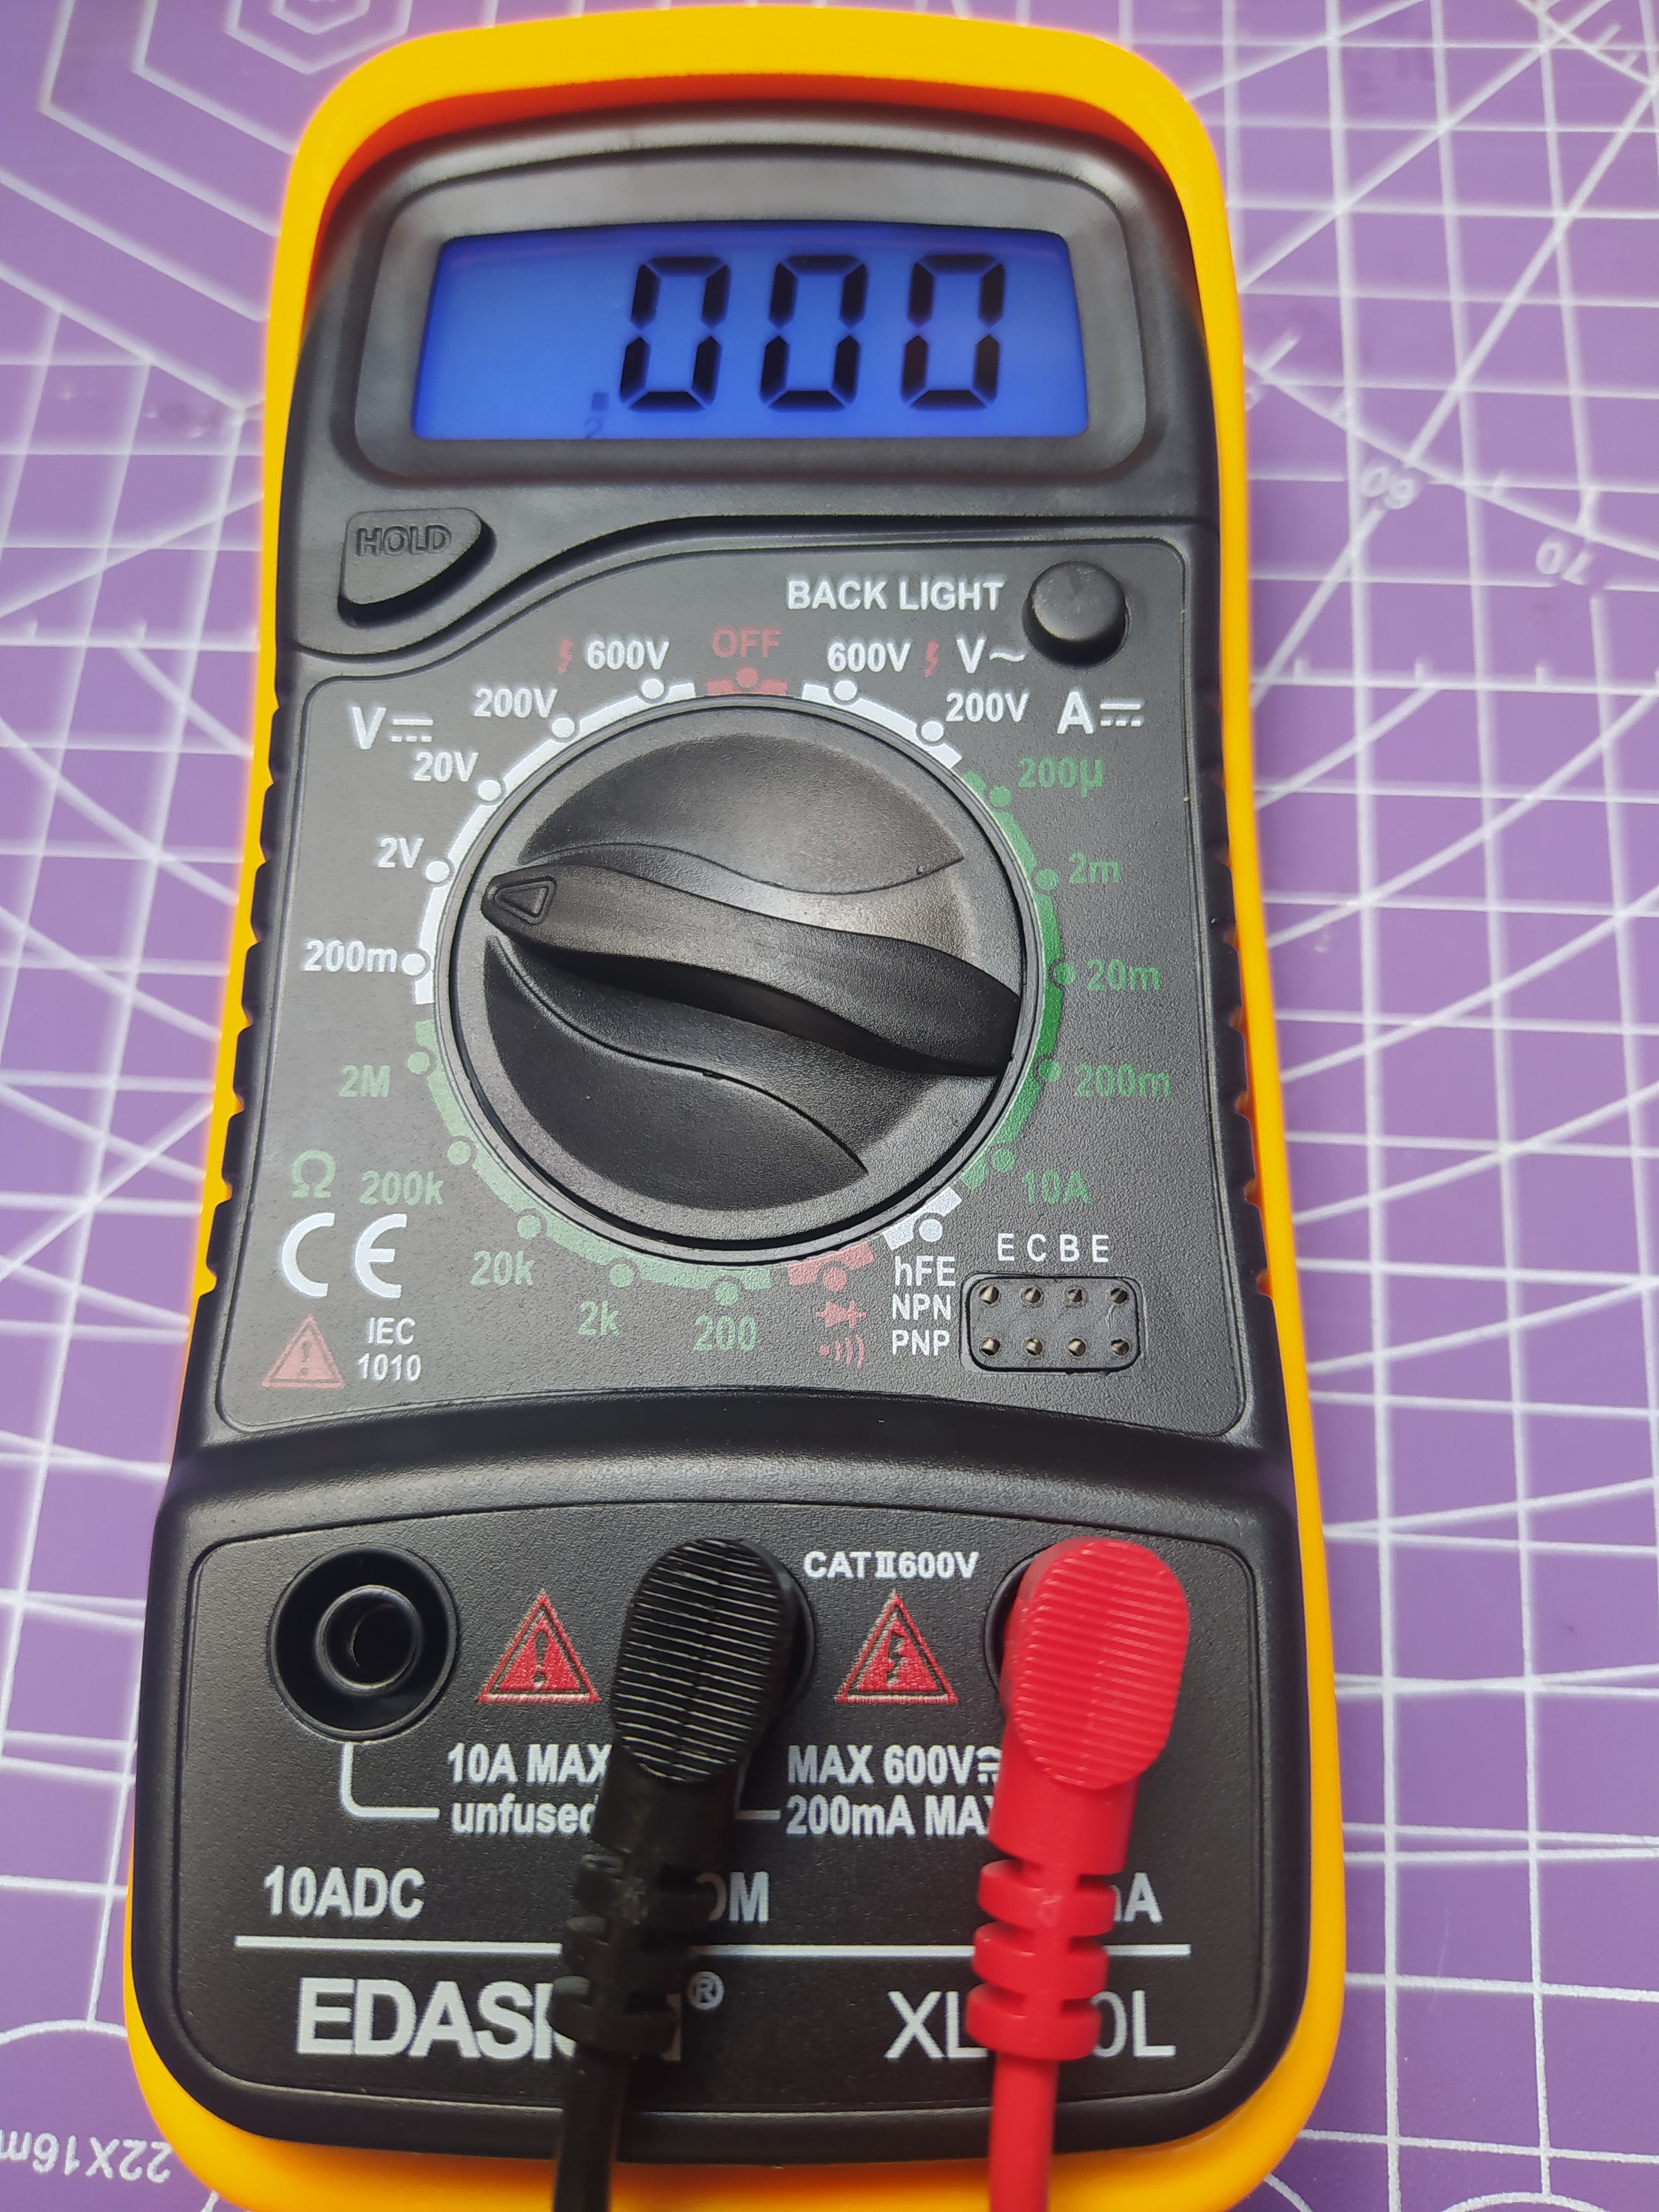
It’s worth considering a few extra features when choosing a multimeter. A backlight is often useful, making the display easier to read. A fold out stand will enable the multimeter to be used on a desk.
Get Tom's Hardware's best news and in-depth reviews, straight to your inbox.
What Types of Probes Can We Use?
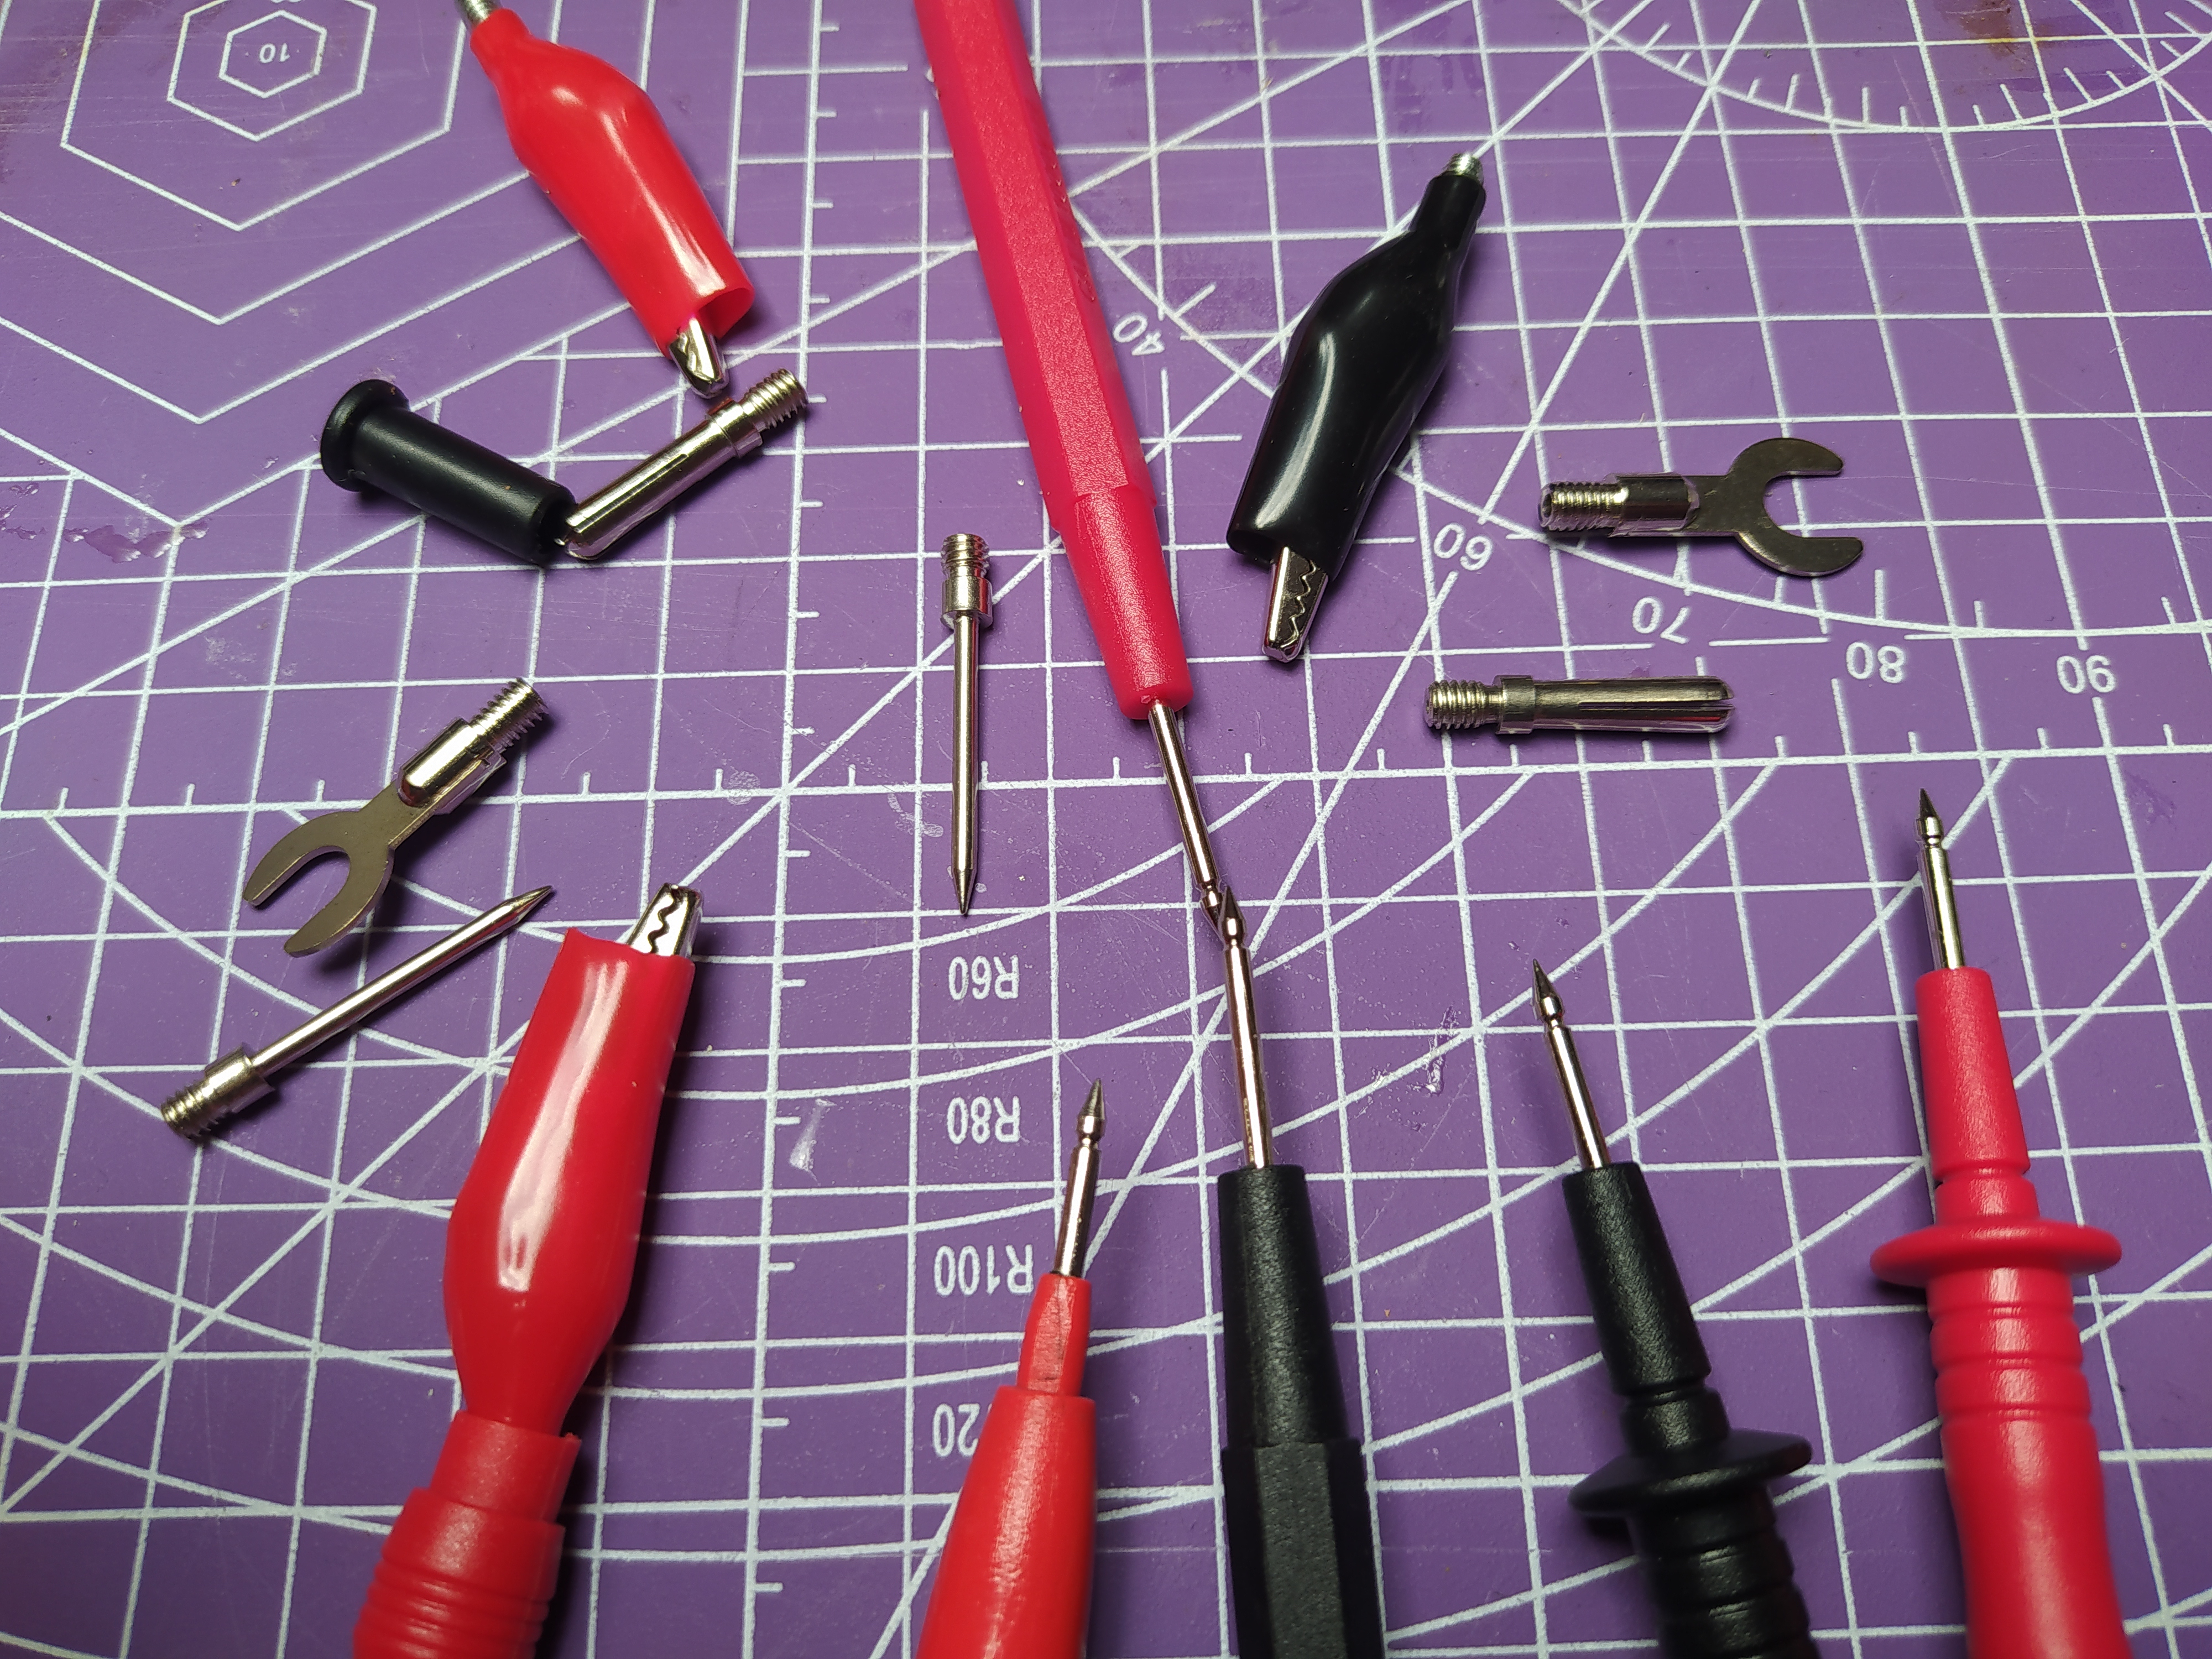
Multimeters have a set of test probes that plug into sockets on the main body of the multimeter. The most common probes bundled with a multimeter have a plastic body and metal pointed tips. The tips are placed in contact with your circuit or component to take a measurement or perform a test. These standard probes are perfectly adequate for the majority of uses, but you may opt for a model with additional useful probes. Other useful probes include micro hook probes which allow you to clip a probe onto a component lead and then not have to hold the probe, or similarly some probe wires have simple crocodile clips on the end of them. Additional probes can be purchased quite easily via Amazon or electronic resellers.
Probes can come with different amounts of insulation. Insulation right up to the tip is safer when probing your project, but might make the probe thicker and harder to access tight spaces. On some probes we can remove the covers, exposing the thin metal tip of the probe. For low voltages these are relatively safe, but never remove insulation from a probe designed for high voltage use. That insulation is there to protect you!
Using a Manual Multimeter to read a DC voltage
Digital multimeters tend to fall into two basic camps: manual range multimeter and auto ranging multimeters. Both look quite similar but the key difference is that to use a manual range multimeter you need to roughly know the order of magnitude of the target you wish to measure as the multimeter has predefined ranges selectable by switches.
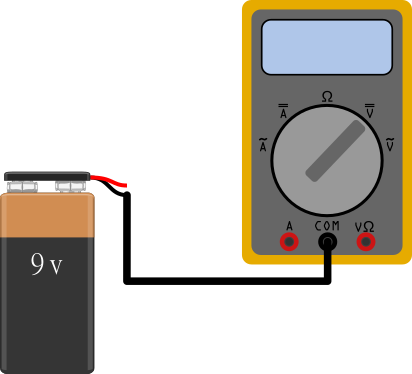
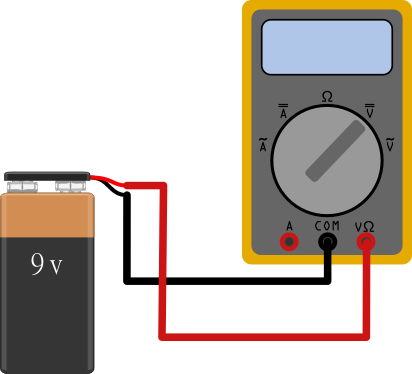
For example, let's set a manual multimeter to read a 9V DC voltage.
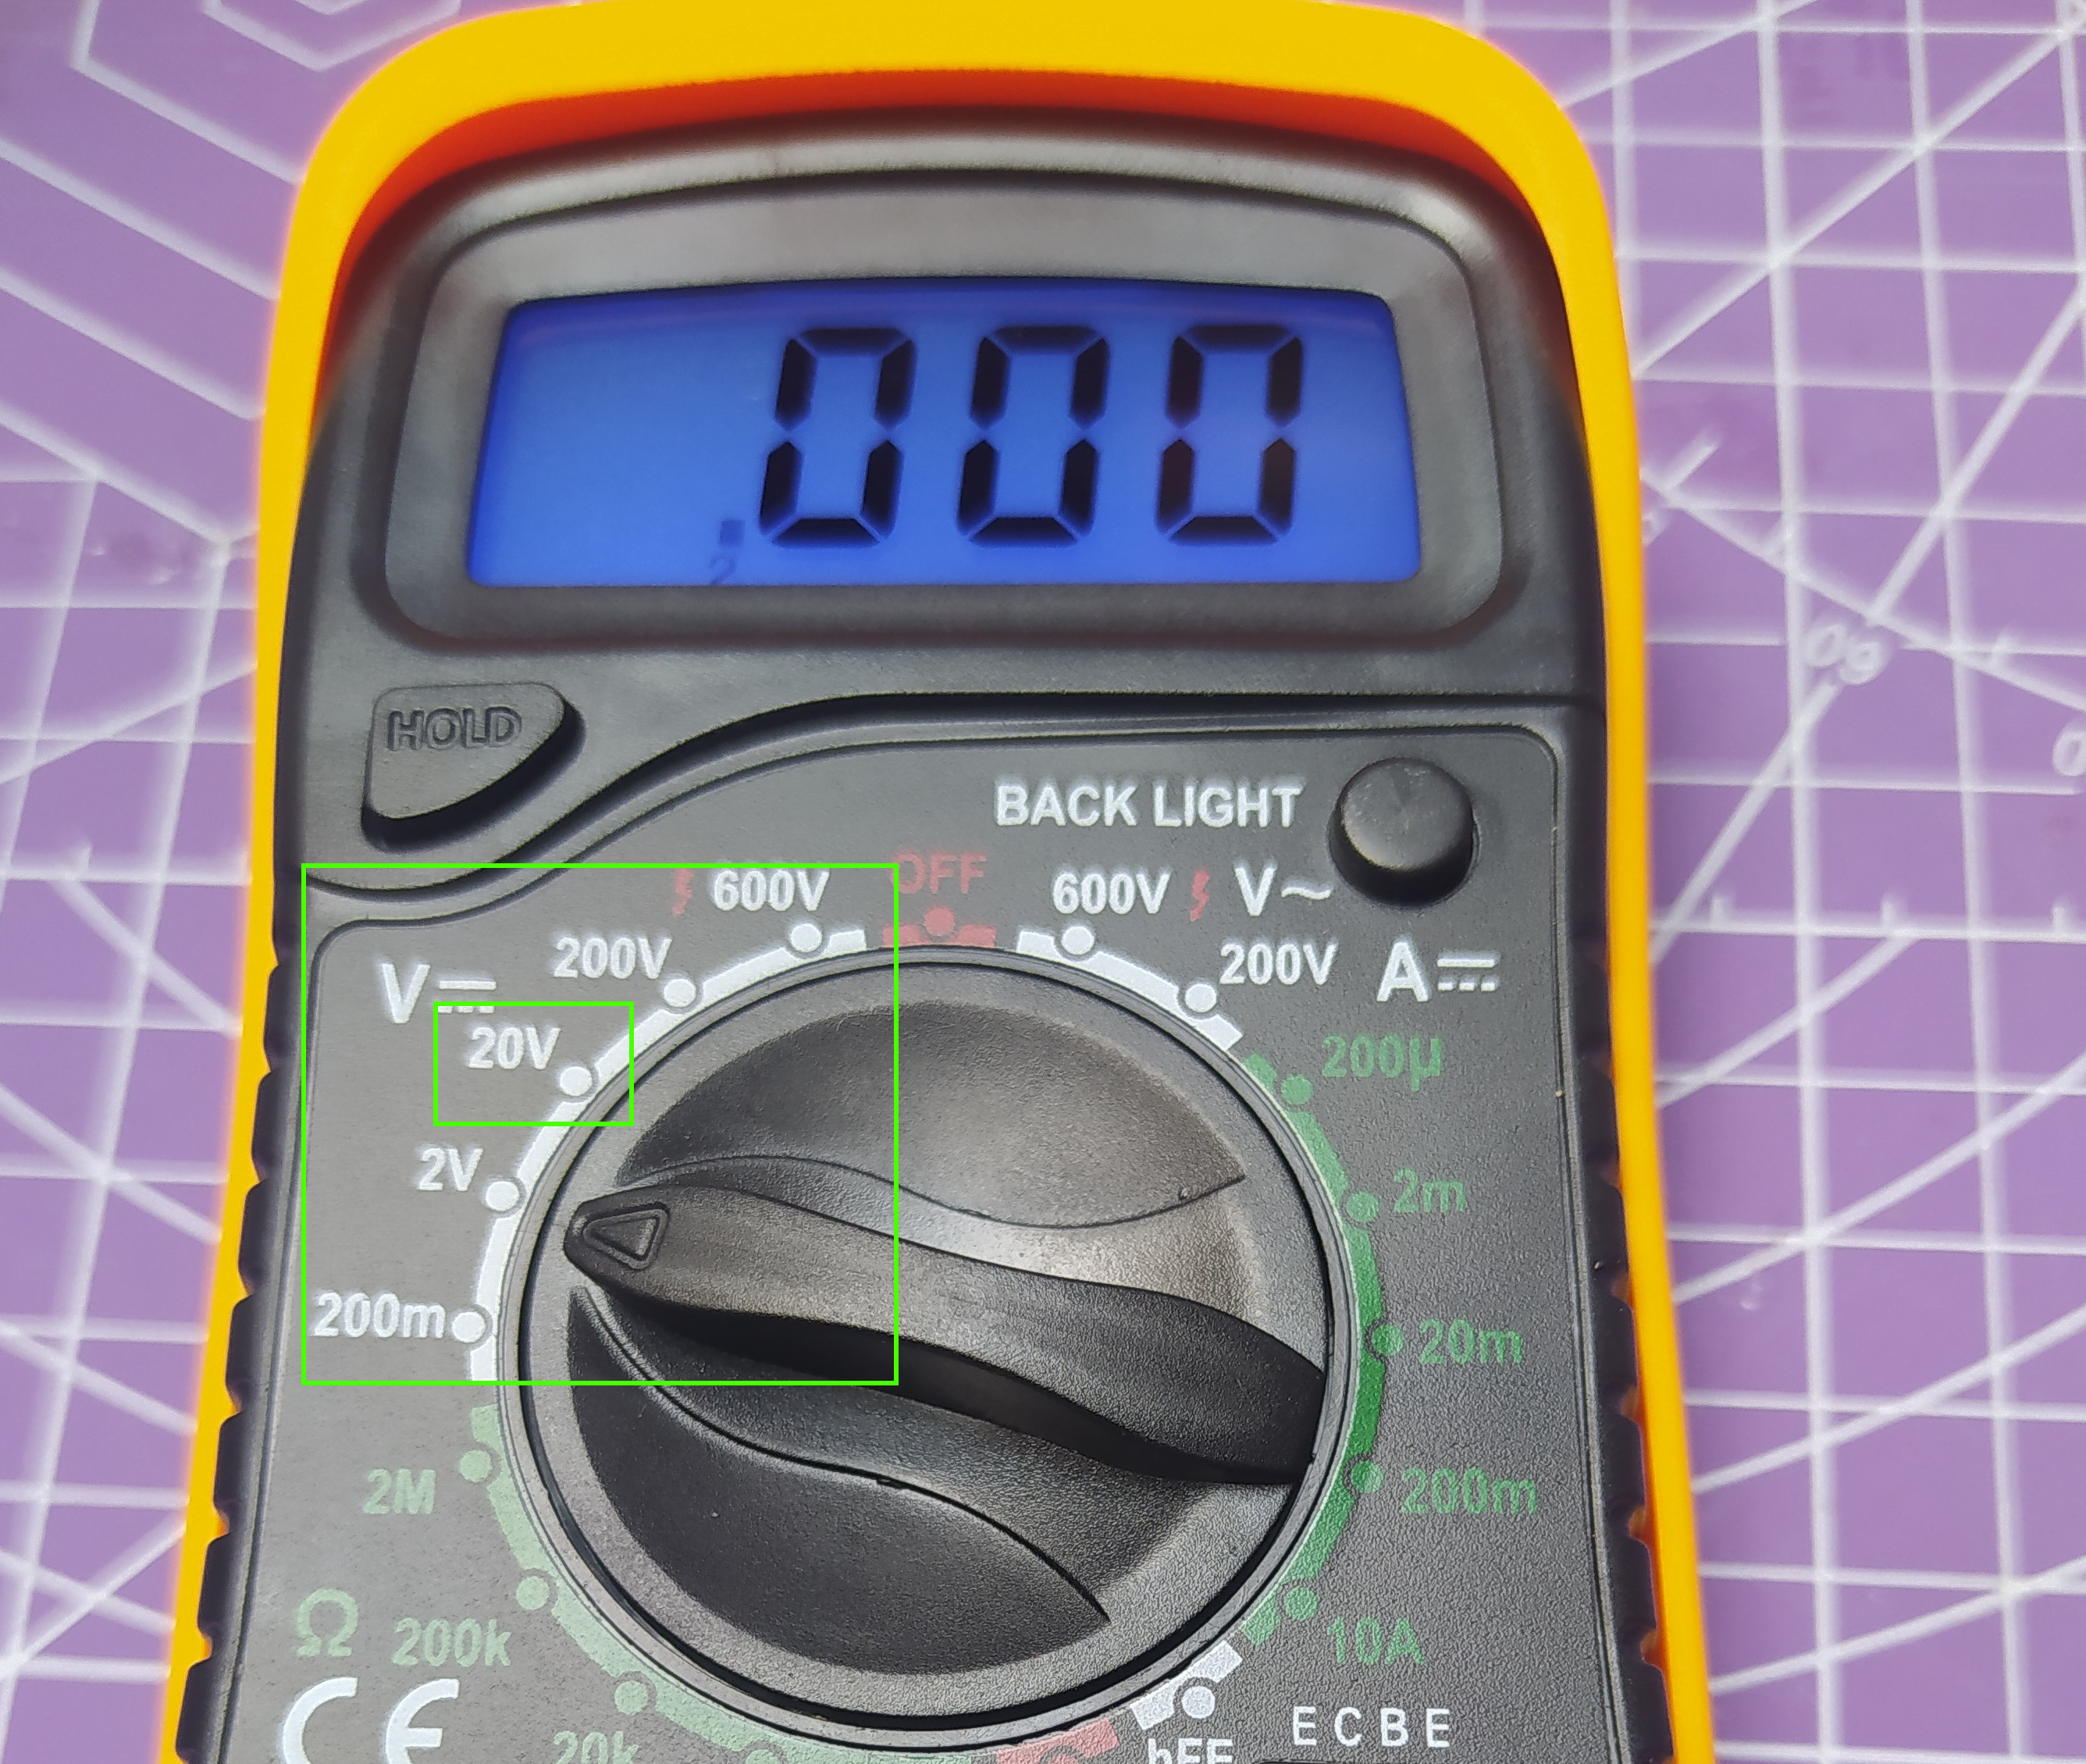
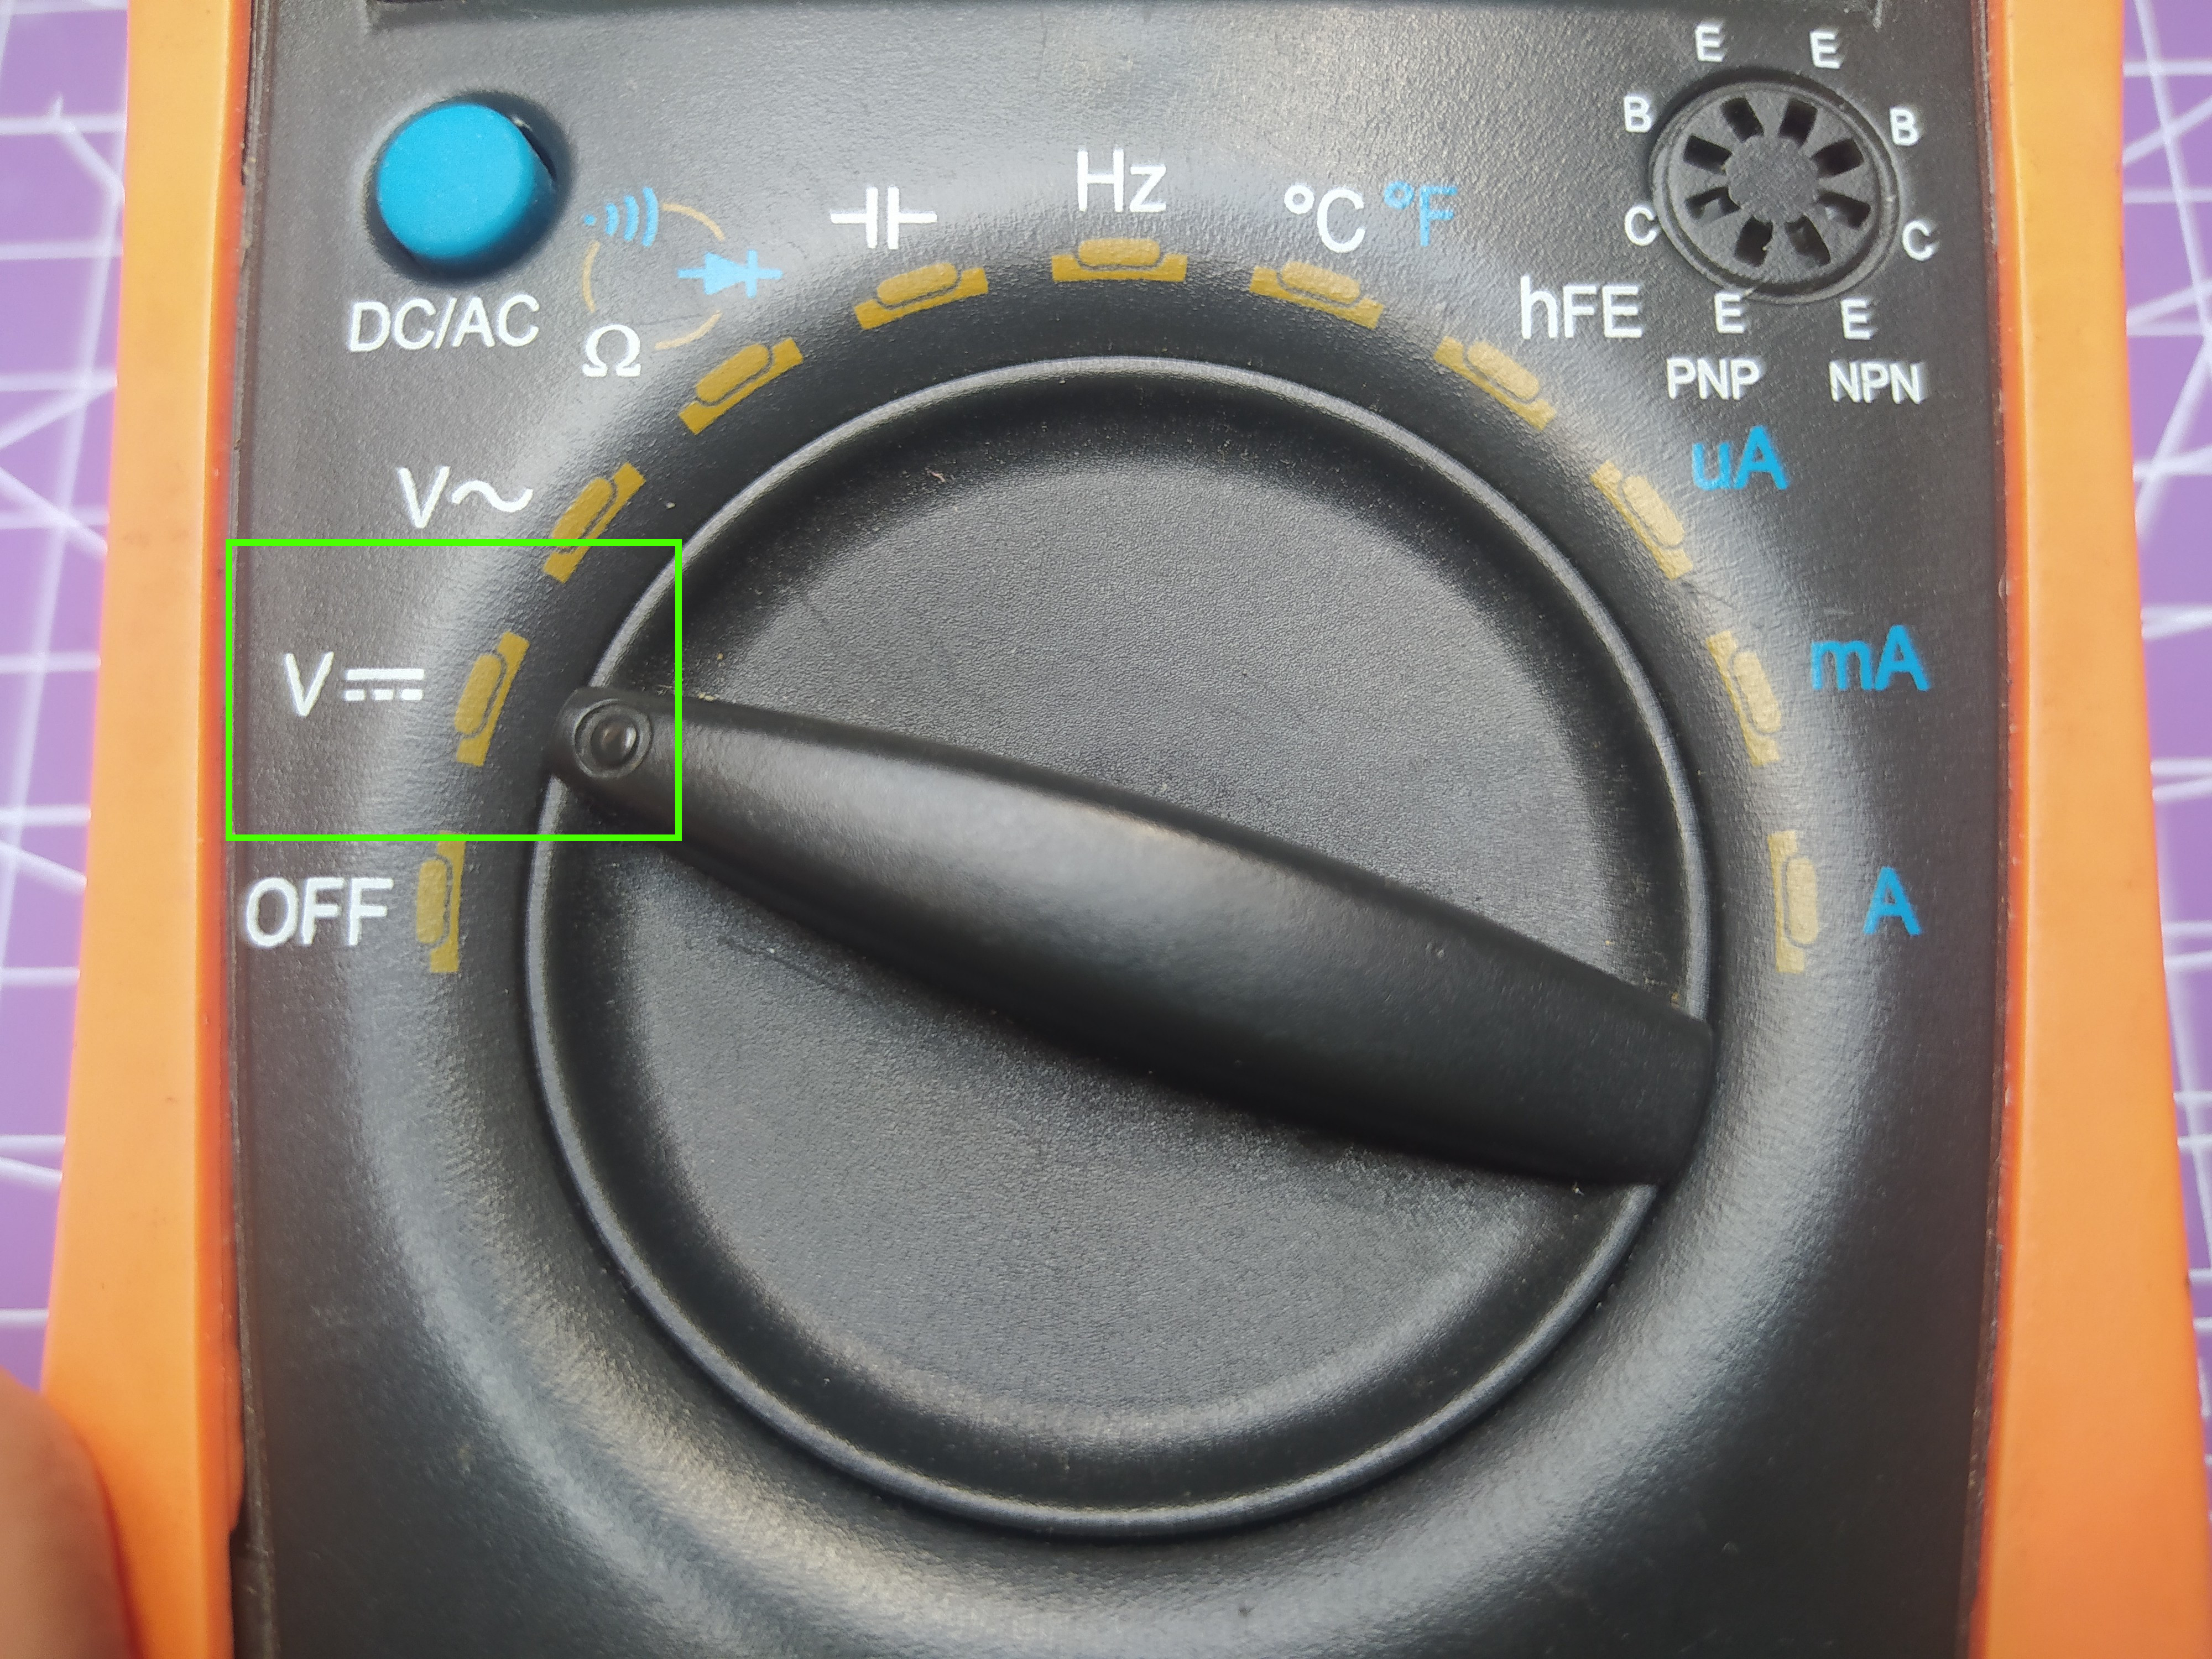
1. Turn the dial on the multimeter to read a DC voltage. Look for 20V and turn the knob to select. If you used this setting to try and measure a 40V project the multimeter would run out of range and you would get an error message on screen, typically 0L or 1.
2. Touch the black probe, connected to COM on the multimeter to the negative (-) terminal of the battery.
3. Touch the red probe, connected to the DC terminal of the multimeter.
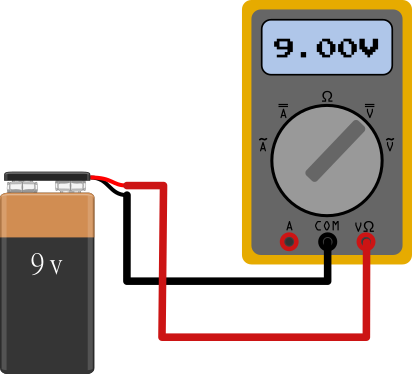
4. A reading will appear on the screen. This is the voltage of the 9V battery. This voltage could be higher or lower depending on the age and state of the battery.
Using an Auto Ranging Multimeter to Read a DC Voltage
The same process for an auto ranging multimeter is slightly easier, as you may guess, An auto ranging multimeter automatically changes its range as it detects the value of the measurement at the probes. This has an advantage in that you don’t need to know the range in advance but the slight cost is that it may take fractionally longer for the display to settle on a reading. However, auto ranging is very convenient and can also help you quickly identify resistor values. That’s particularly of use if you have a visual impairment that makes it difficult to read resistor color band codes.
1. Turn the dial on the multimeter to read a DC voltage.
2. Touch the black probe, connected to COM on the multimeter to the negative (-) terminal of the battery.
3. Touch the red probe, connected to the DC terminal of the multimeter.
4. A reading will appear on the screen. This is the voltage of the 9V battery. This voltage could be higher or lower depending on the age and state of the battery.
Measuring the Current in a Circuit with a Multimeter
For this part of the how to you will need
- A breadboard
- A 9V battery
- 9V Battery snap terminal
- 220 Ohm resistor (Red-Red-Brown-Gold)
Let’s look at the basics of using a multimeter by creating a small test circuit and taking some measurements. Our circuit is simply a 9V battery, a 220 ohm resistor and an LED.
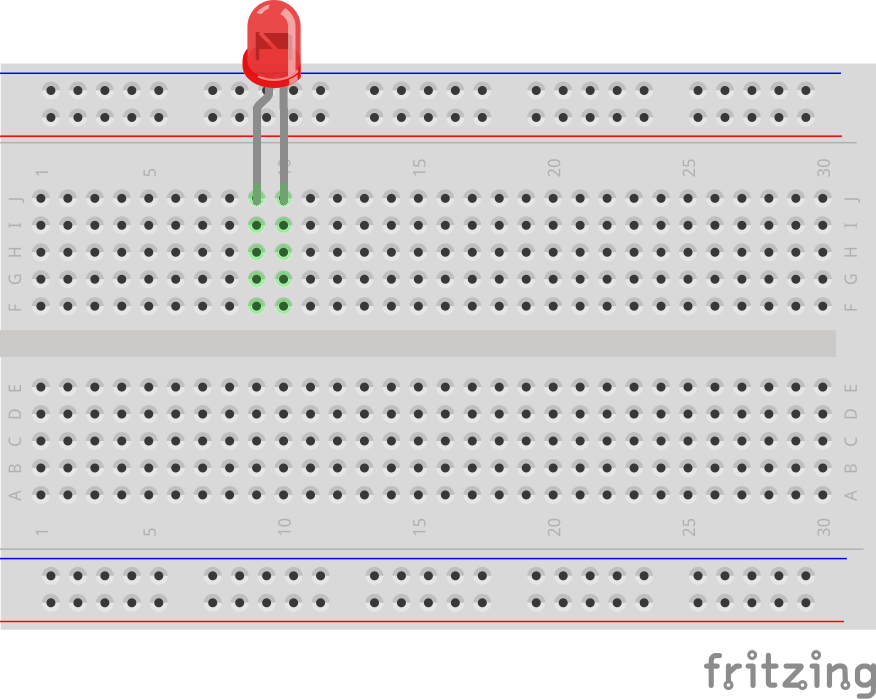
1. Insert an LED into the breadboard. Make a note of which side has the longer leg.
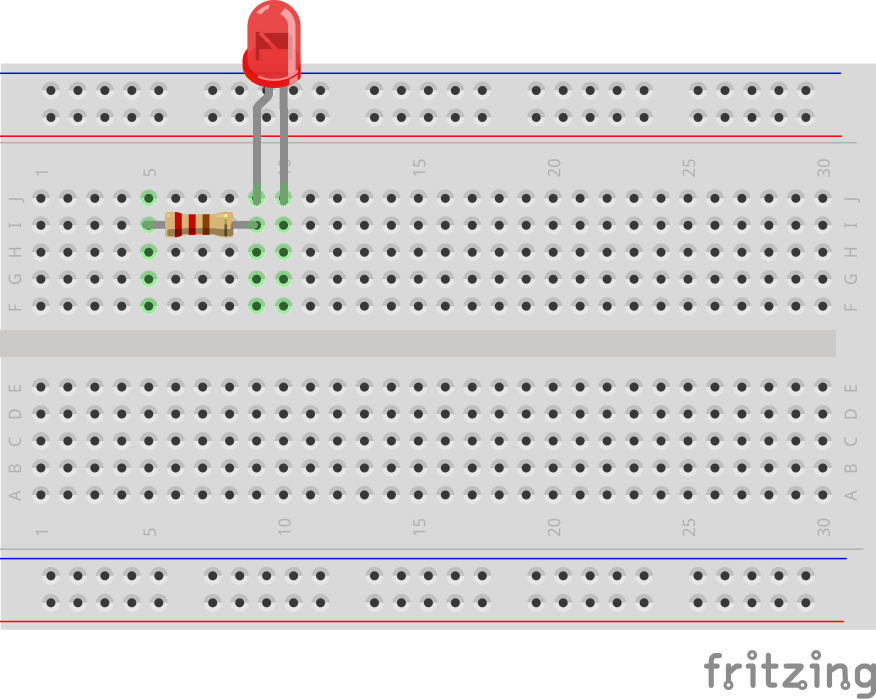
2. Insert a resistor into the breadboard so that one leg is in the same row as the long leg of the LED.
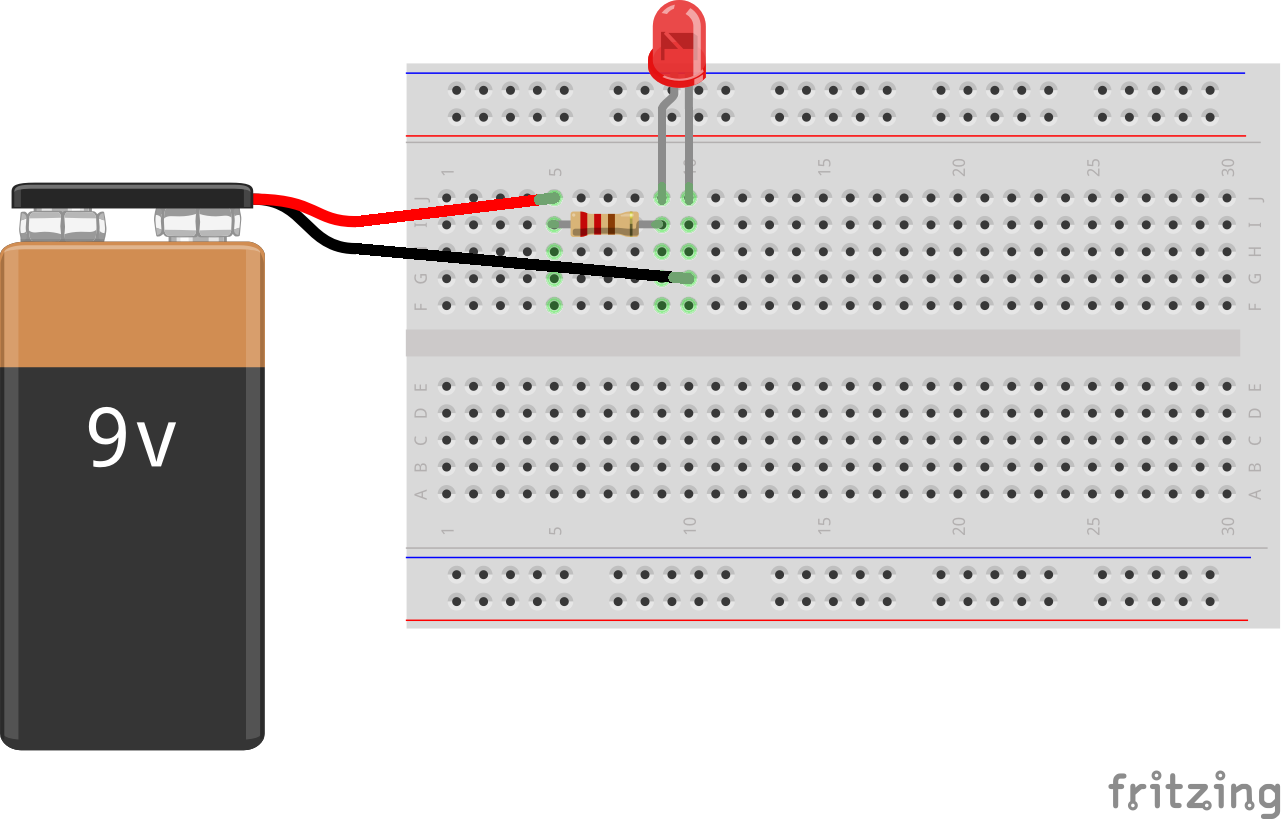
3. Connect the red wire of the battery snap terminal into the same row as the remaining resistor leg. Then connect the black wire to the same row as the LED’s remaining leg. The LED will now light up.
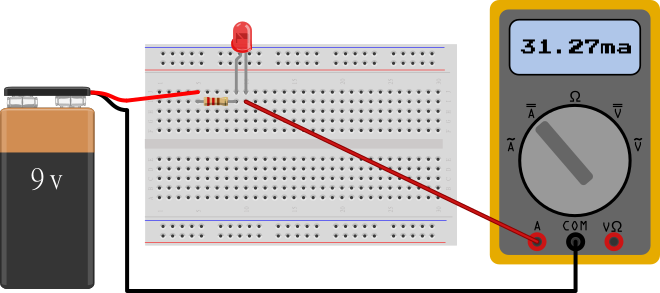
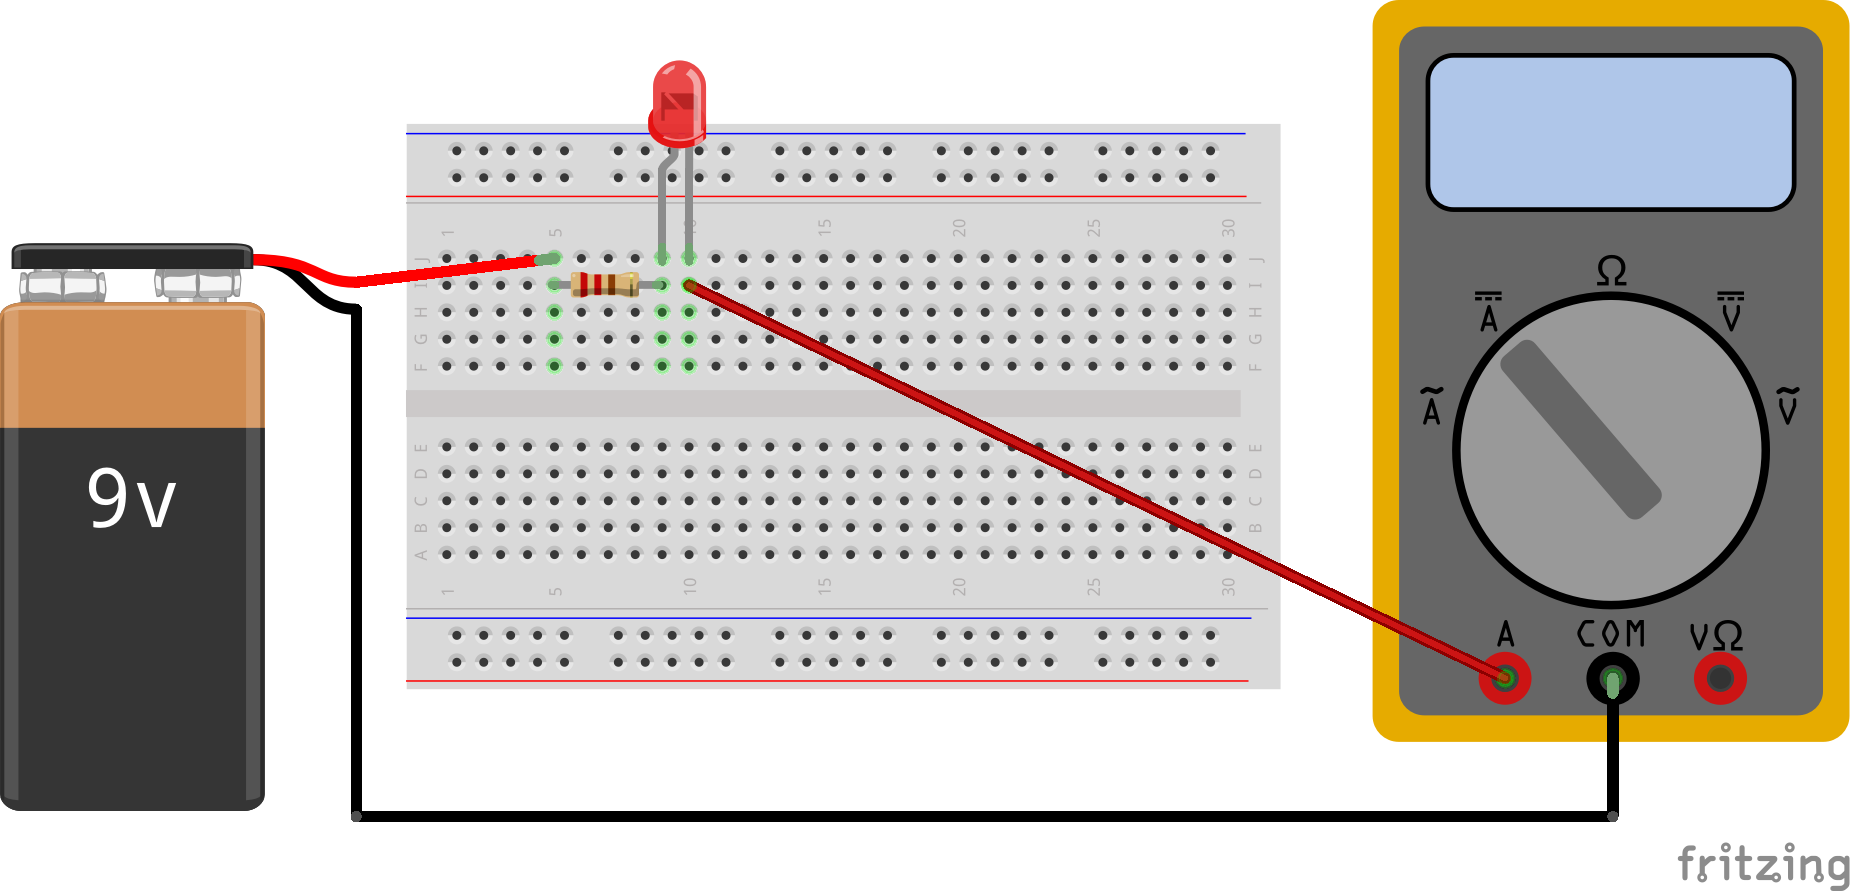
Measuring current in a circuit is very useful and can help us to create efficient projects. When measuring current in a project, we need to change the probe connections on the multimeter and insert the multimeter in series into the circuit, essentially making the multimeter like a wire in the circuit.
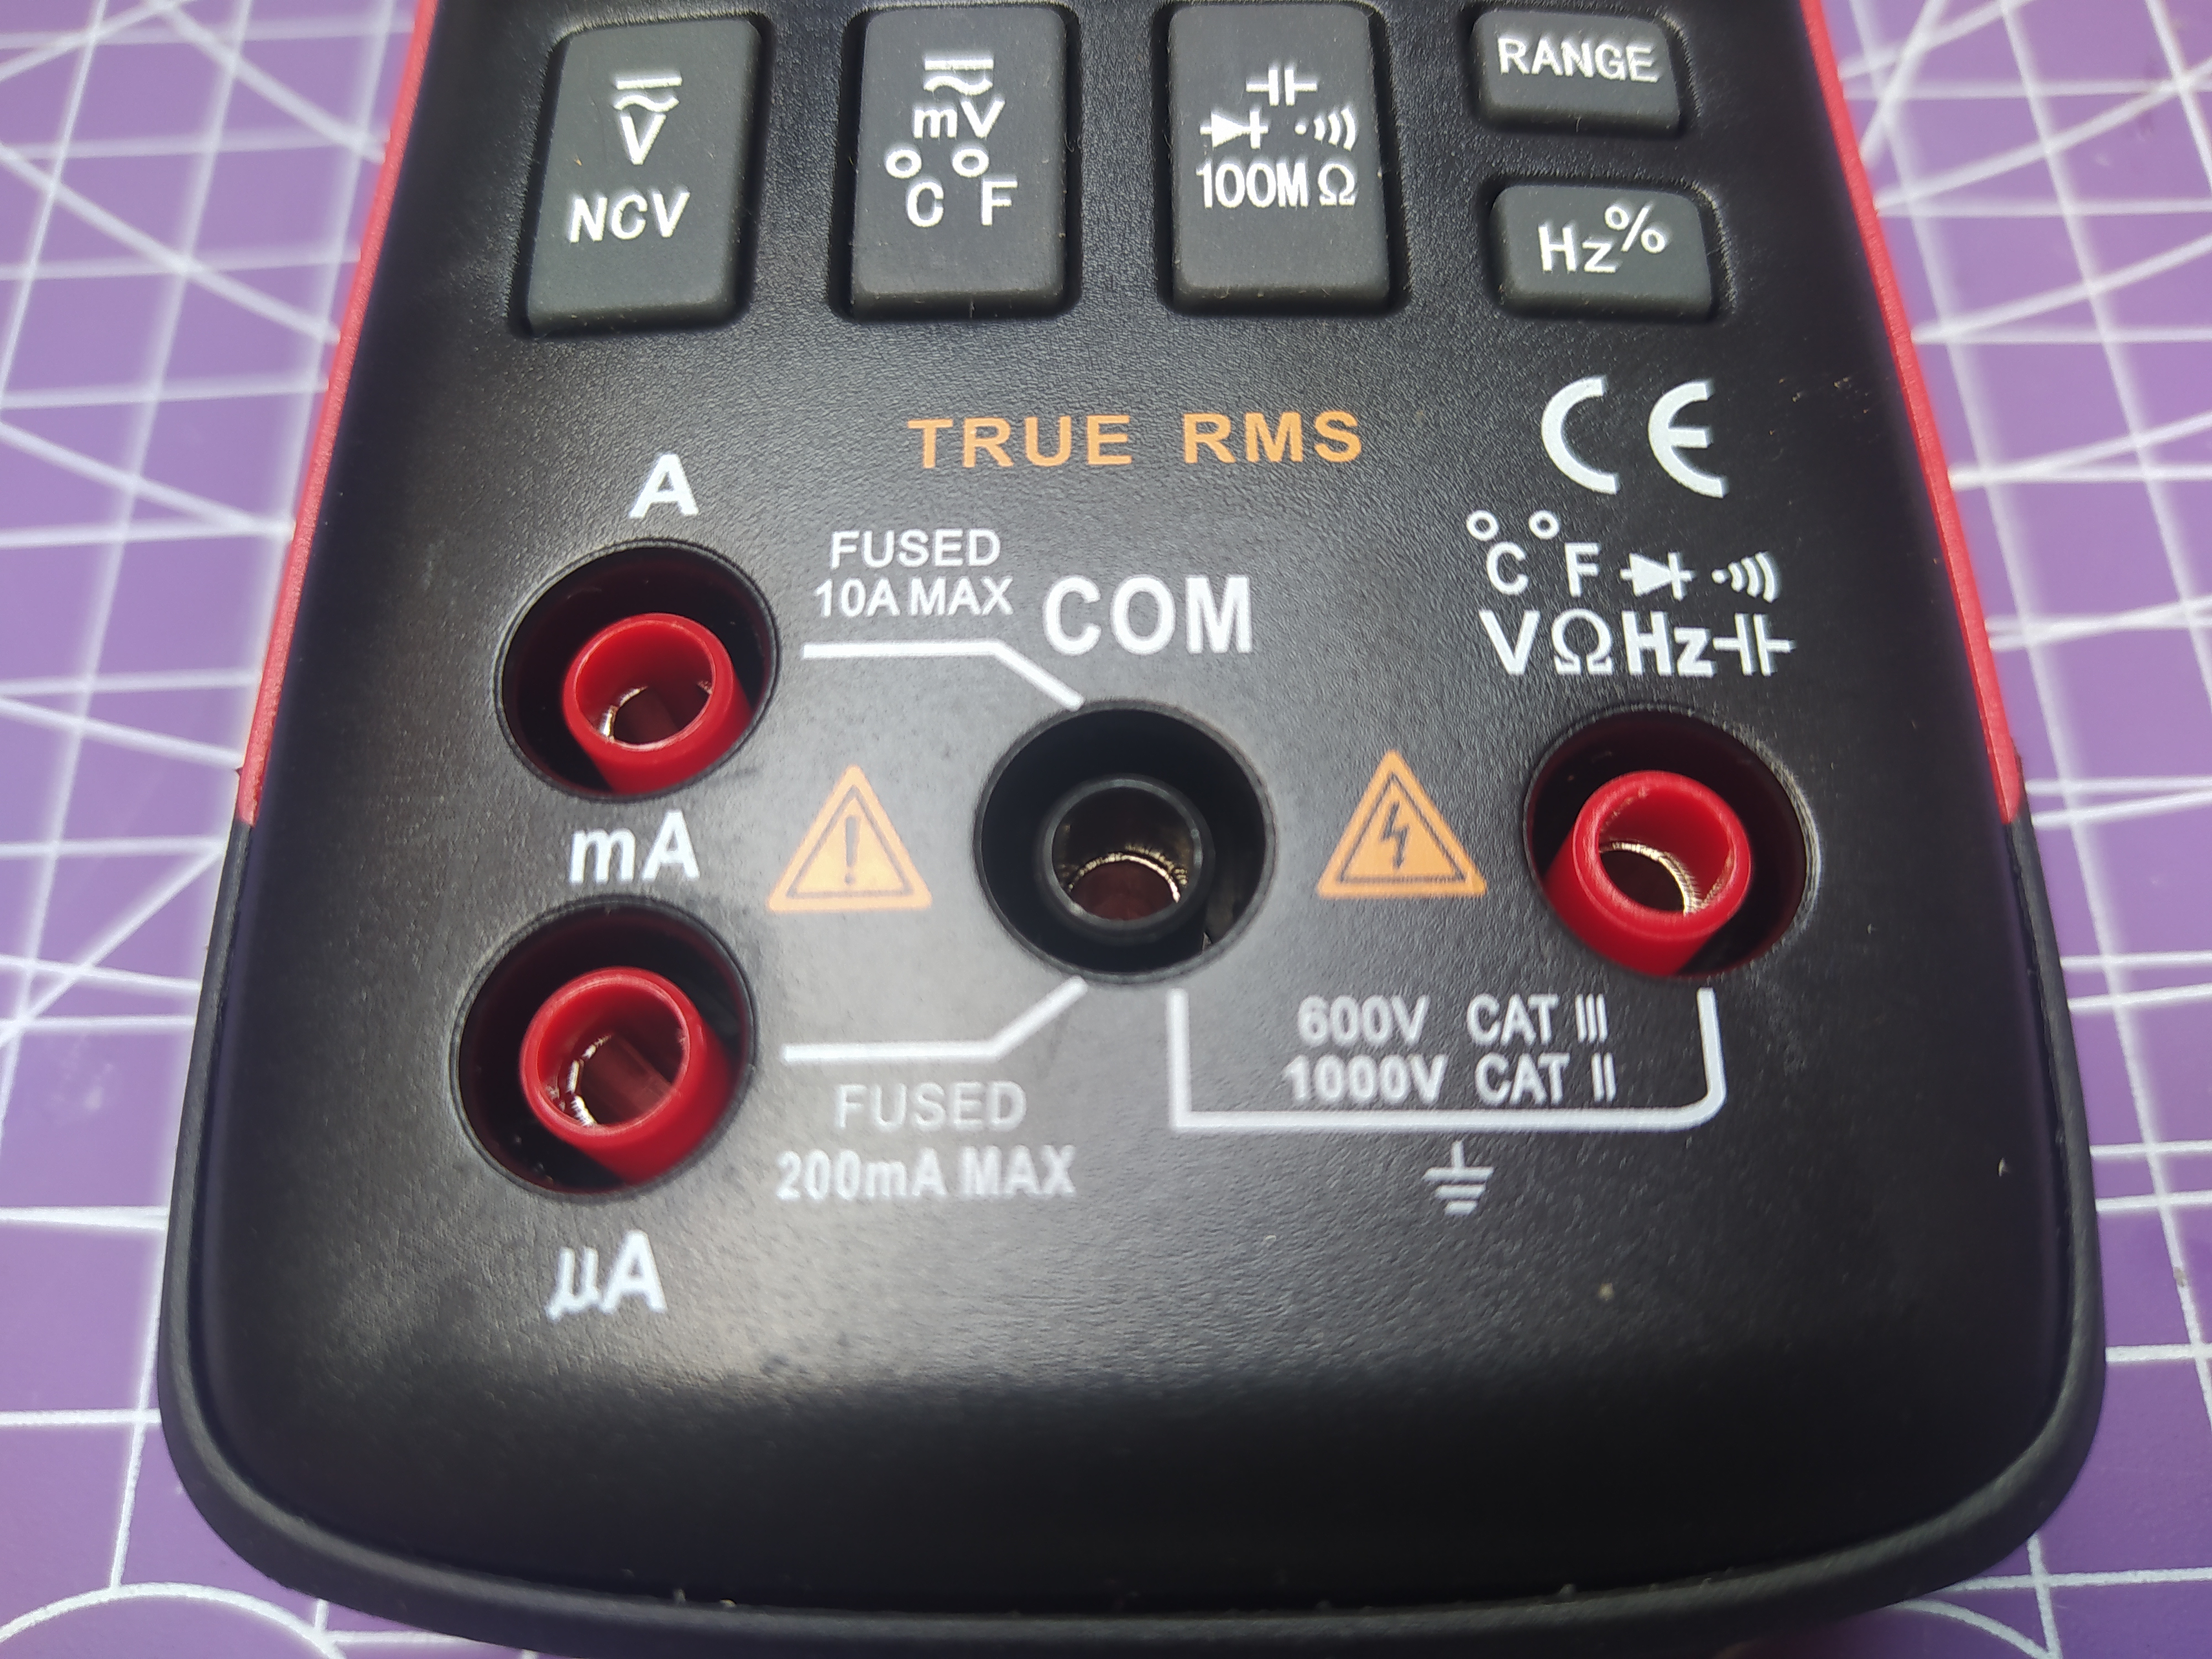
The black probe will stay in the common socket but the red probe will be moved over to one of the current sockets. Many multimeters will have two sockets for measuring current, one for smaller currents and one for much larger. These sockets should be fused so that if accidentally you measure a circuit with too much current the fuse will blow and offer some protection to the user. Again, you should practice on small low current battery powered circuits and build up experience.
1. Remove the red probe from the multimeter and insert it into the mA socket of the multimeter.
2. Select the A⎓ mA setting on your multimeter. Manual multimeter users should look for the correct range. If in doubt, start too high and work downwards.
3. Remove the GND wire (black) from the breadboard and connect it to the black probe, connected to COM on the multimeter. You can wrap the bare wire around the metal tip of the probe but for best results use a crocodile clip test probe to grip the wire.
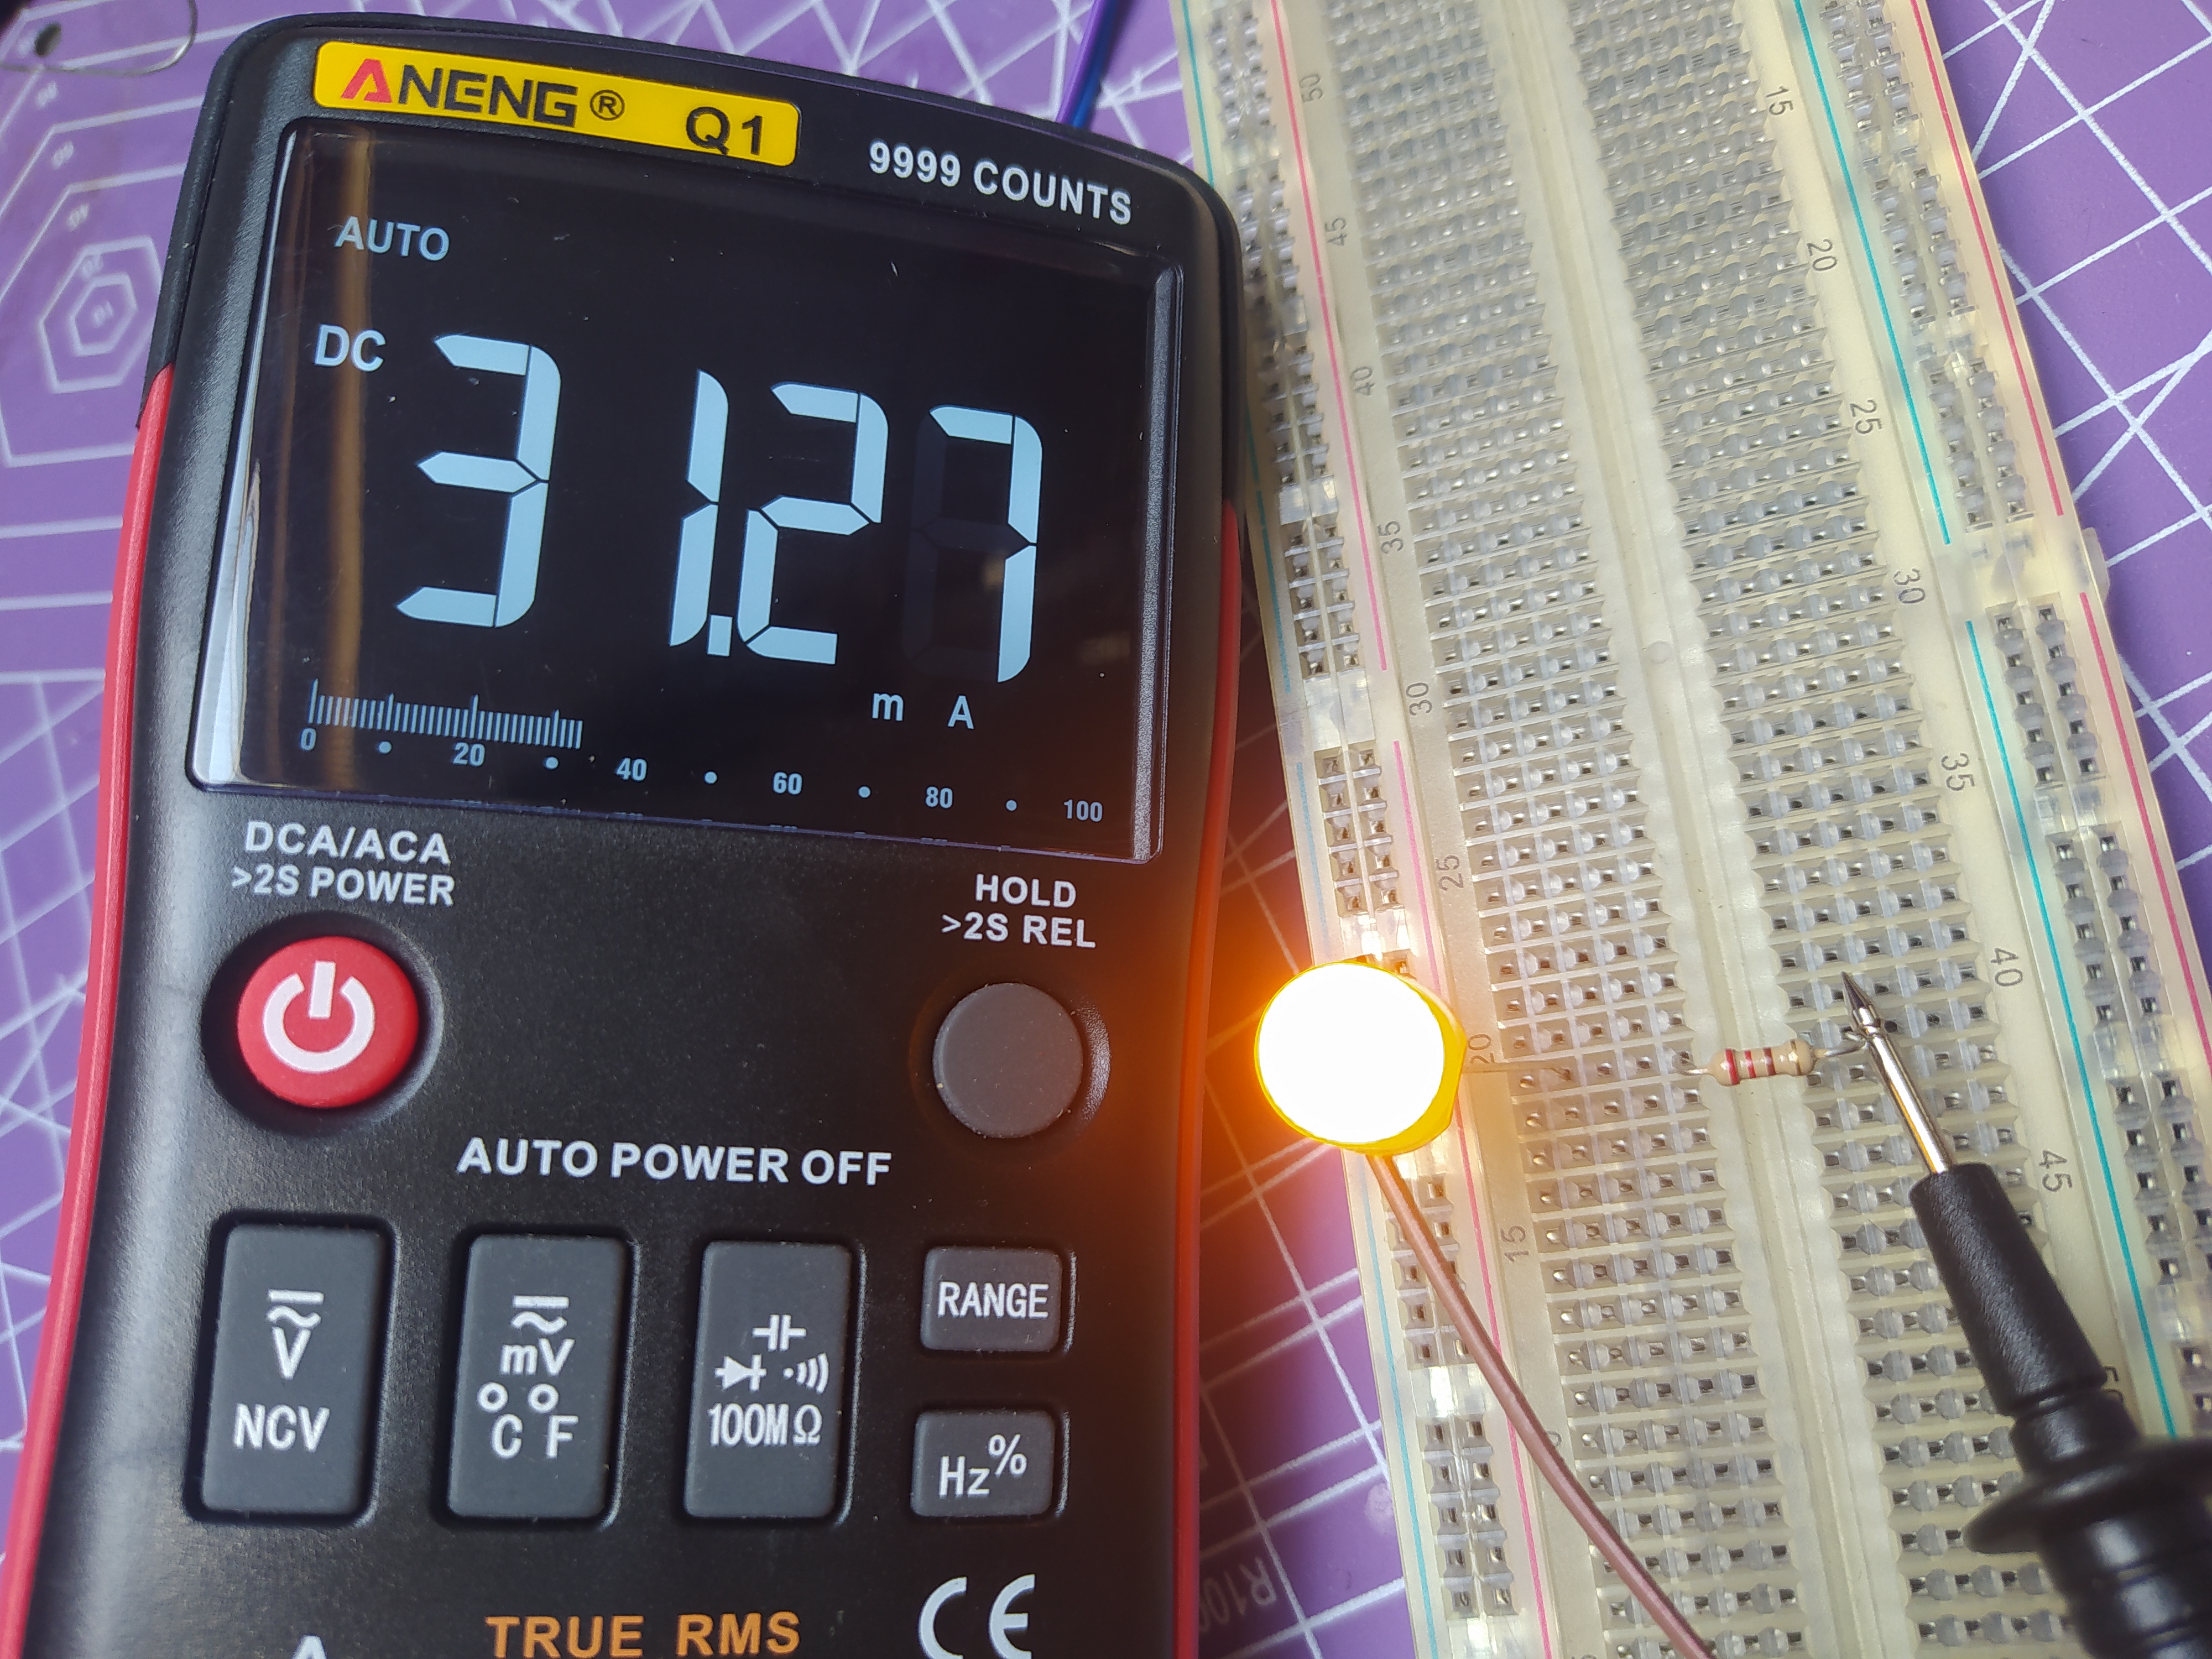
4. Touch the red probe to the short leg (cathode) of the LED. The LED will light up.
5. The current will be displayed on the multimeter display.
Continuity Testing with a Multimeter
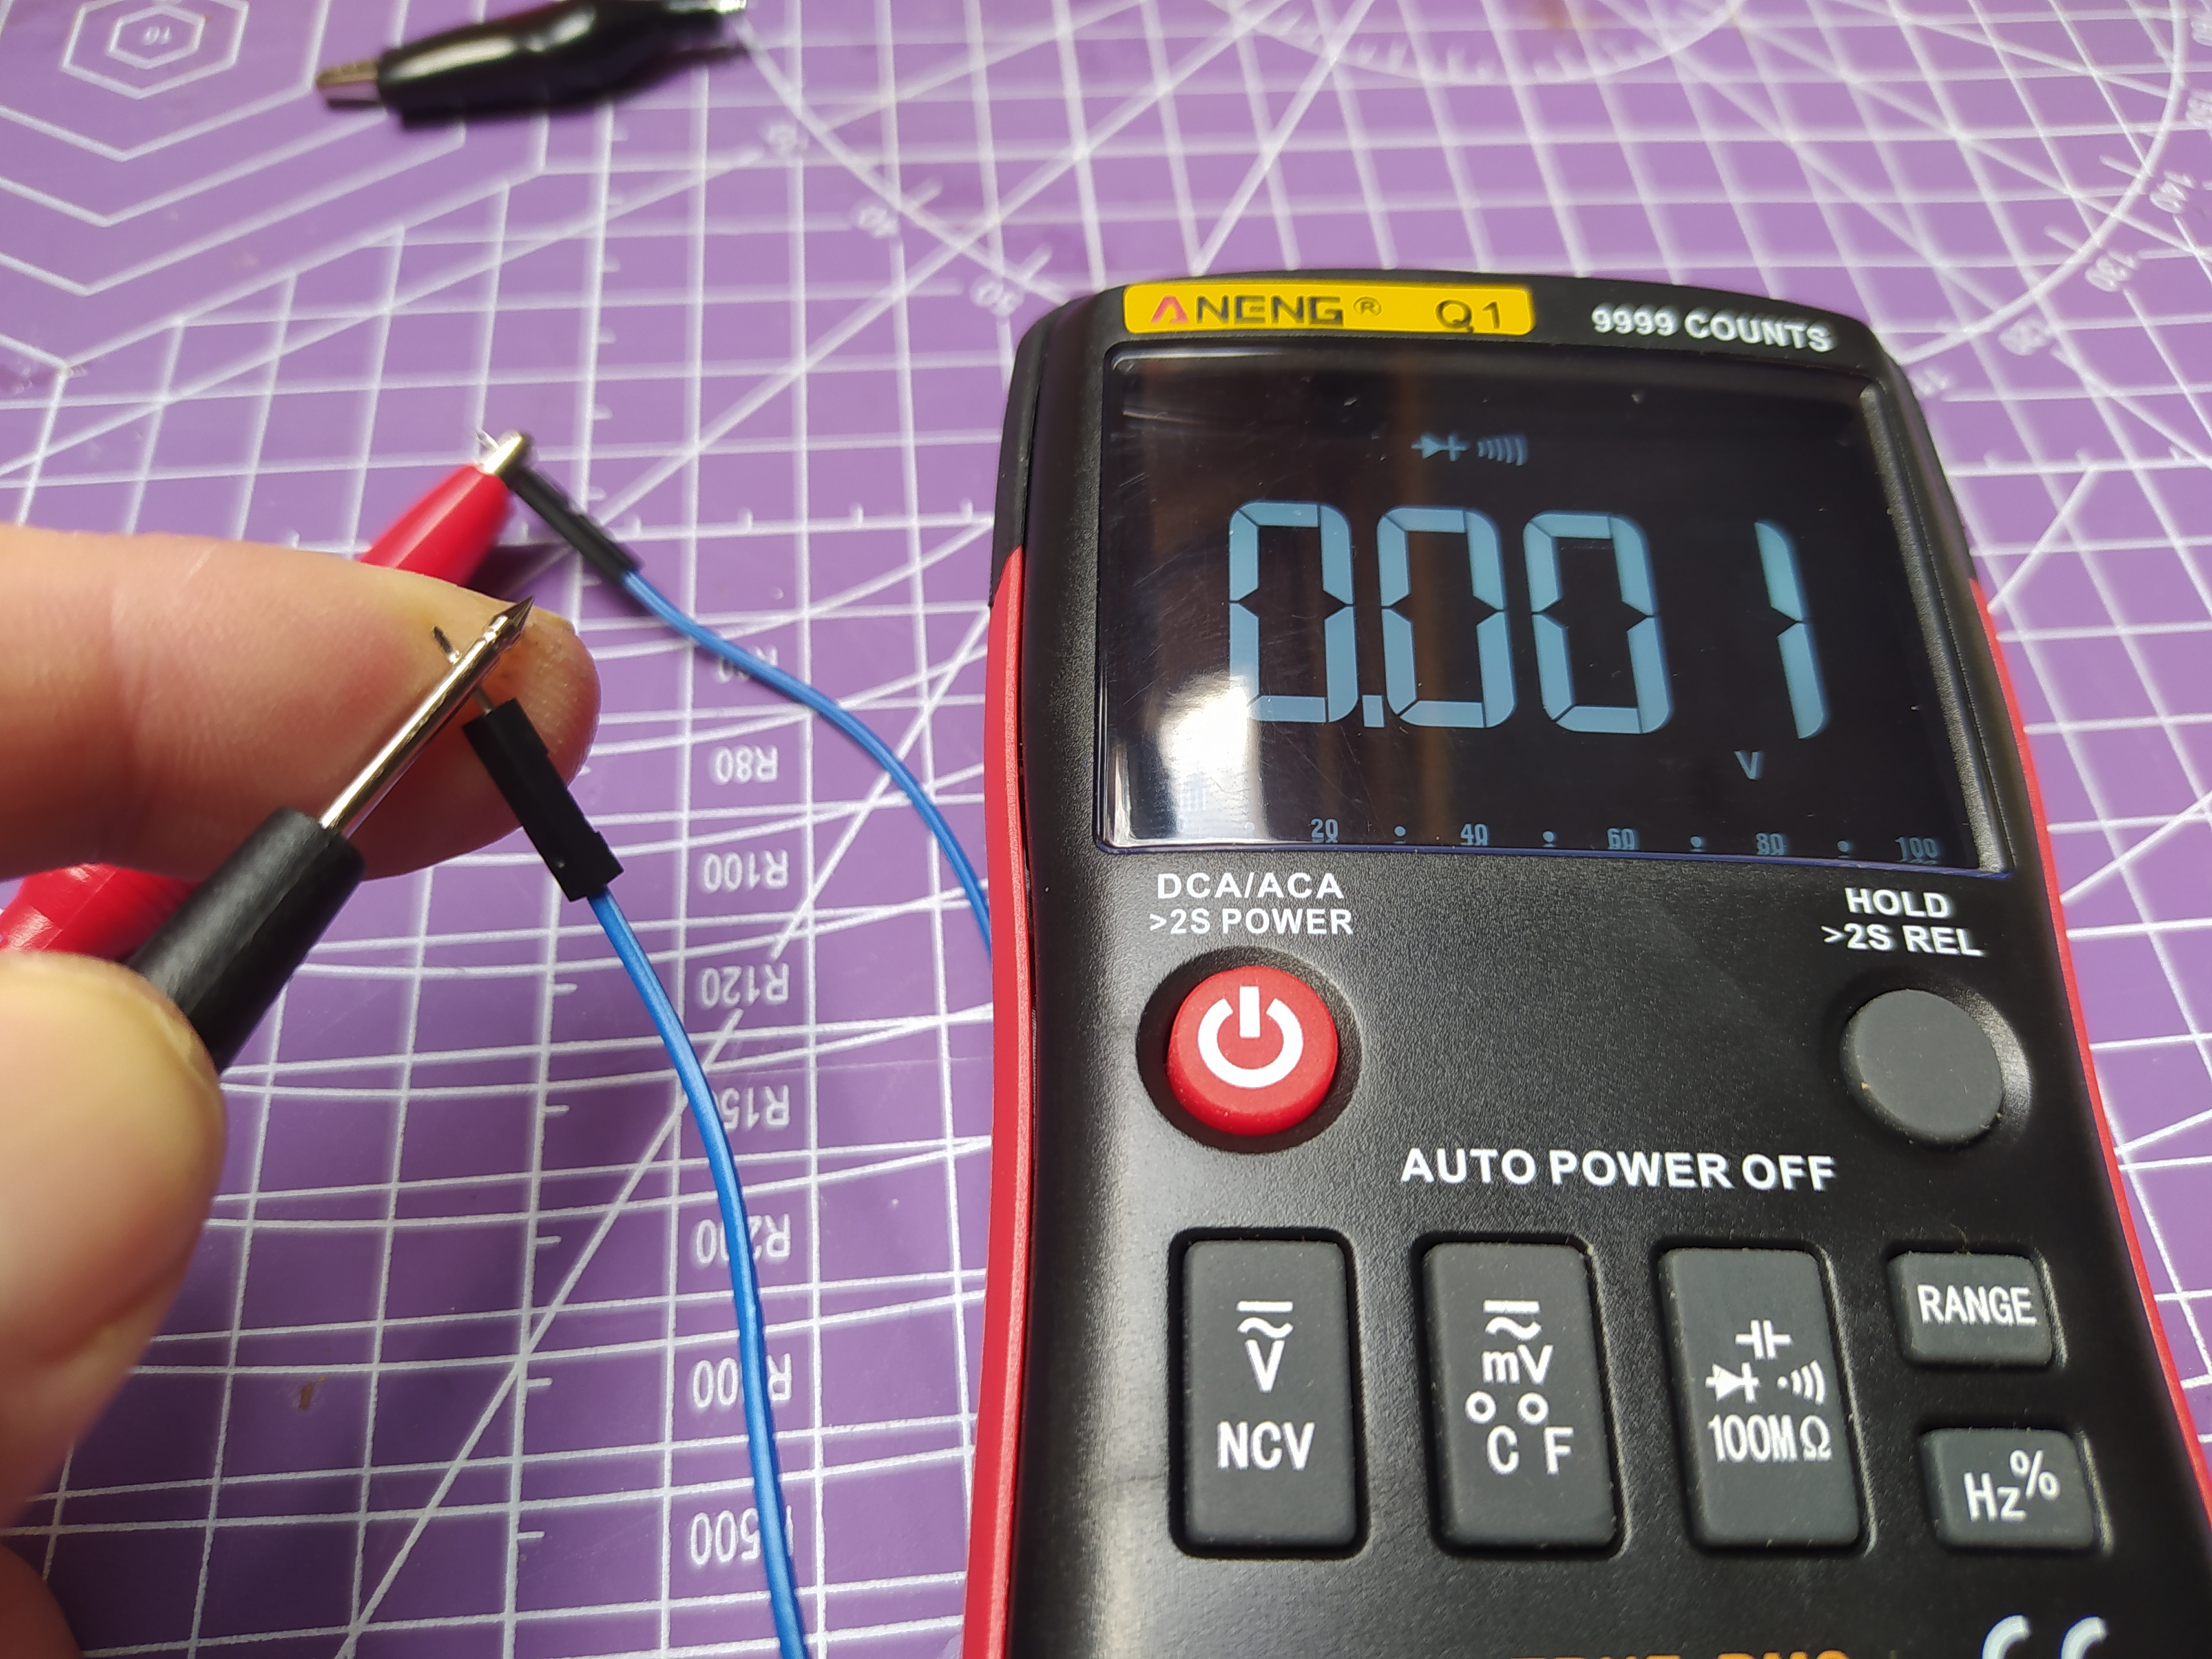
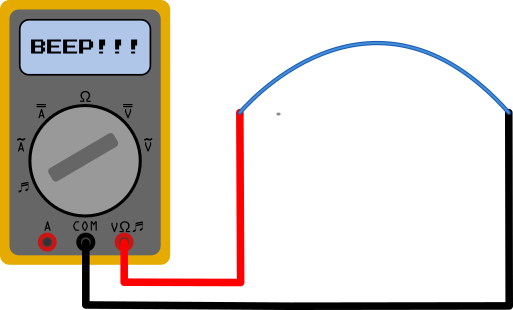
A simple, but handy use of the continuity checker, is using it to check if a length of cable, or one of your breadboard jumper wires, has a break in it. If you touch each end of the wire and it doesn’t bleep then you have detected a fault!
1. Take a length of wire with the ends stripped to expose bare wire.
2. Ensure that the red probe is in the voltage socket of the multimeter.
3. Place the black probe on one end of the bare wire.
4. Touch the red probe to the other end of the bare wire. The multimeter will beep to confirm continuity.
Check Resistor Values with a Multimeter
Resistors come in all shapes and sizes and also come in a huge range of values and it’s important to pick the right one for each project. Larger through hole style resistors have a color code system where there are bands of different colors printed onto the component package. You can decode these color bands to tell you the resistance value and the tolerance value of that resistor.
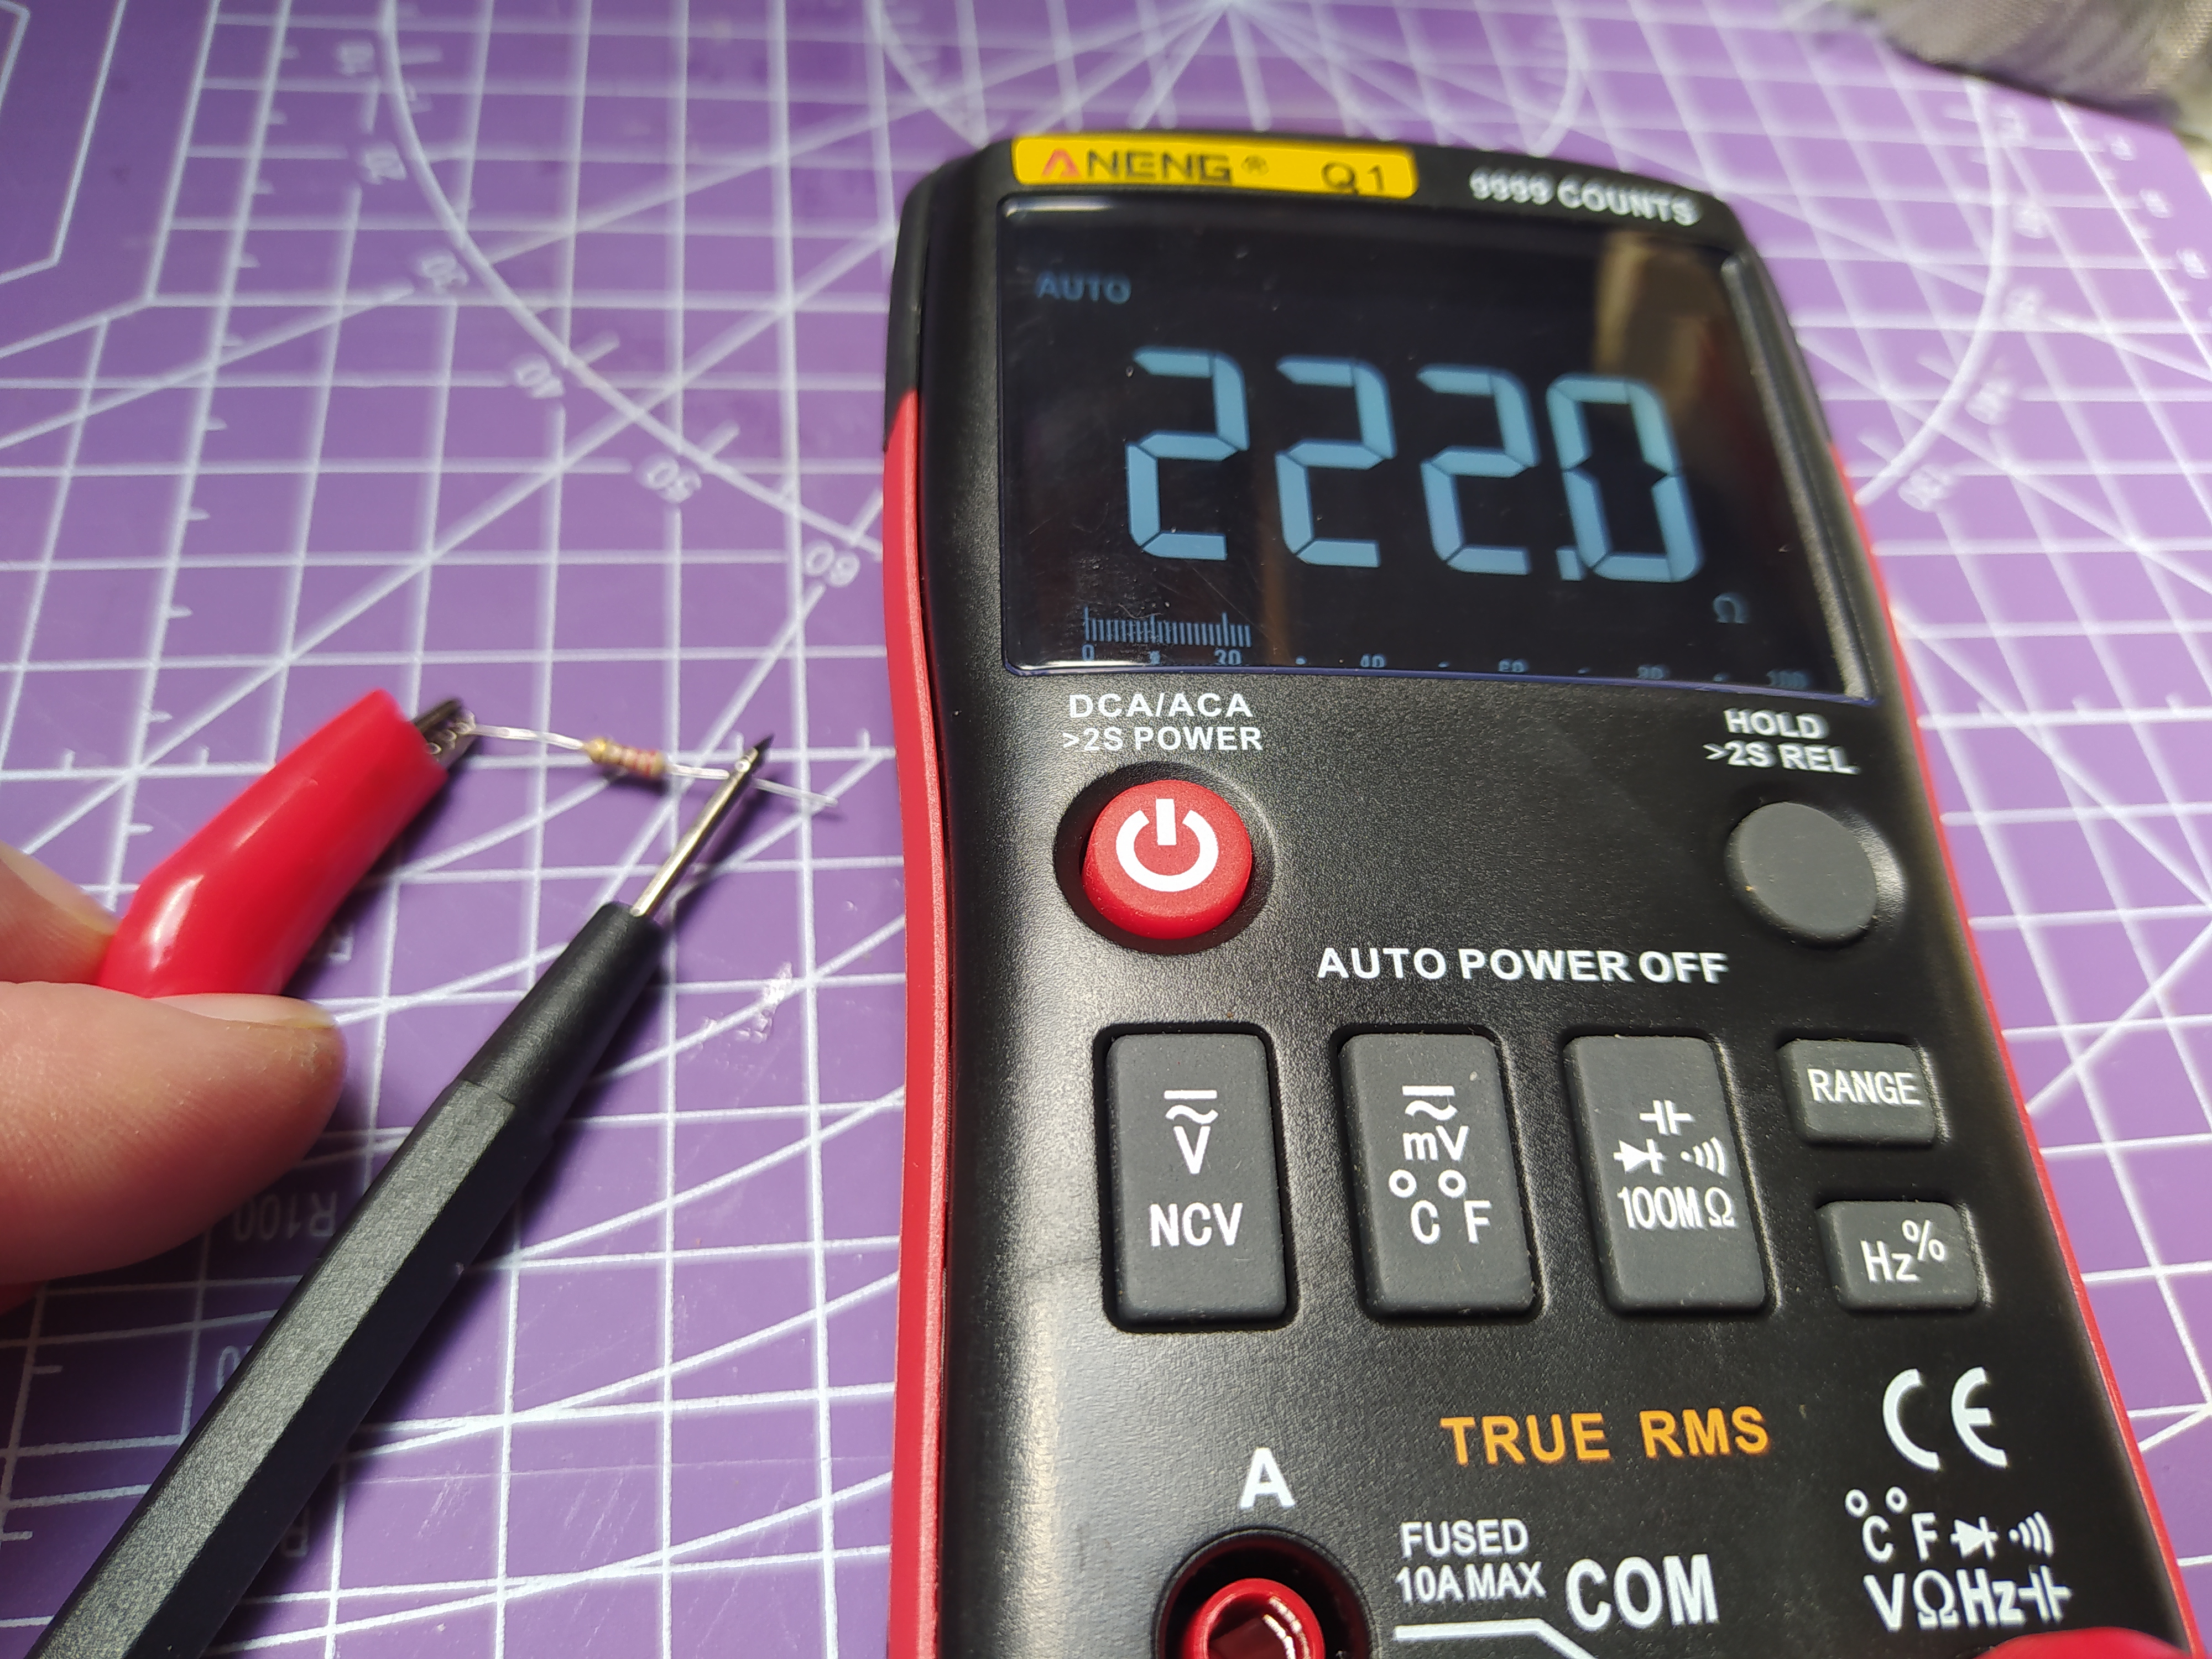
An auto ranging multimeter can be very useful in identifying the value of a resistor. Again the multimeter probes need to be in the voltage configuration and then you simply place a probe on either component lead of a resistor and the display should settle to give you a resistance reading. Resistors are not affected by polarity so it doesn’t matter which way around you connect the probes.
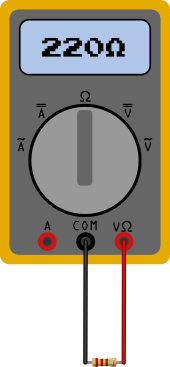
1. Remove the 220 Ohm resistor from the test circuit.
2. Set the multimeter to measure resistance (Ω). Manual multimeter users will need to set the correct range.
3. Touch the red probe to one end of the resistor. It doesn’t matter which end, resistors have no polarity and so current can flow in either direction.
4. Touch the black probe to the other end of the resistor.
5. The display will show the resistance of the resistor. In this case we can see that our resistor has a value of 220 Ohm.
Jo Hinchliffe is a UK-based freelance writer for Tom's Hardware US. His writing is focused on tutorials for the Linux command line.
-
JWNoctis Considering the content of the rest of the site, maybe there should at least be some warnings and disclaimers regarding how easy it is to create unintentional shorts between different jumpers and leads with a multimeter probe, with examples such as, say, how easy it is to instantly fry a Raspberry Pi's voltage regulator, just by shorting +5V and +3.3V together. Those pins are right next to each other.Reply
Poking around a PC's innards with those should probably be discouraged too...Not without really knowing what you are doing. That's closer to common sense, but there were questions posted of someone trying to diagnose their dead graphic card with nothing more than a multimeter before. -
Dantte The example for measuring voltage is incorrect!Reply
Voltage is always measured in parallel, but in the example shown, the voltmeter is placed in series with the battery terminals which is wrong. To measure a source (battery or other supply), you must first load it, then test in parallel across the load.
I have made a lot of money in my days for 30sec service calls because of poor example like this:
"my equipment isnt working and everything measures correctly"
I roll out and with the power supply PLUGGED INTO the equipment, I test and its bad. But pull the supply off the equipment and just check the terminals directly, it shows good voltage.
"that'll be $150 for rolling a van, we only charge by the half day 4hrs, and you'll also need a new supply. Thank you for the business" I now get 3 hours for lunch give or take the travel time. -
JWNoctis Reply
To be fair, isn't the state of charge of most common battery chemistries defined by their open circuit voltage? That's probably one of the only useful not-really-hobbyist use of a multimeter in the average home.Dantte said:The example for measuring voltage is incorrect!
Voltage is always measured in parallel, but in the example shown, the voltmeter is placed in series with the battery terminals which is wrong. To measure a source (battery or other supply), you must first load it, then test in parallel across the load.
I have made a lot of money in my days for 30sec service calls because of poor example like this:
"my equipment isnt working and everything measures correctly"
I roll out and with the power supply PLUGGED INTO the equipment, I test and its bad. But pull the supply off the equipment and just check the terminals directly, it shows good voltage.
"that'll be $150 for rolling a van, we only charge by the half day 4hrs, and you'll also need a new supply. Thank you for the business" I now get 3 hours for lunch give or take the travel time.
Good to know, but probably better keep things simple at first.
