Tom's Hardware Verdict
The LaserPecker LP5 is a premium, portable machine that can engrave just about anything with dual 20W Diode and Fiber lasers, but it is seriously hampered by clunky software and a noticeable lack of interface.
Pros
- +
Both Fiber and Diode lasers
- +
Engraves nearly anything
- +
Live preview
- +
Fast
- +
Portable
Cons
- -
Limited cutting area
- -
Air assist unavailable
- -
No interface on machine
Why you can trust Tom's Hardware
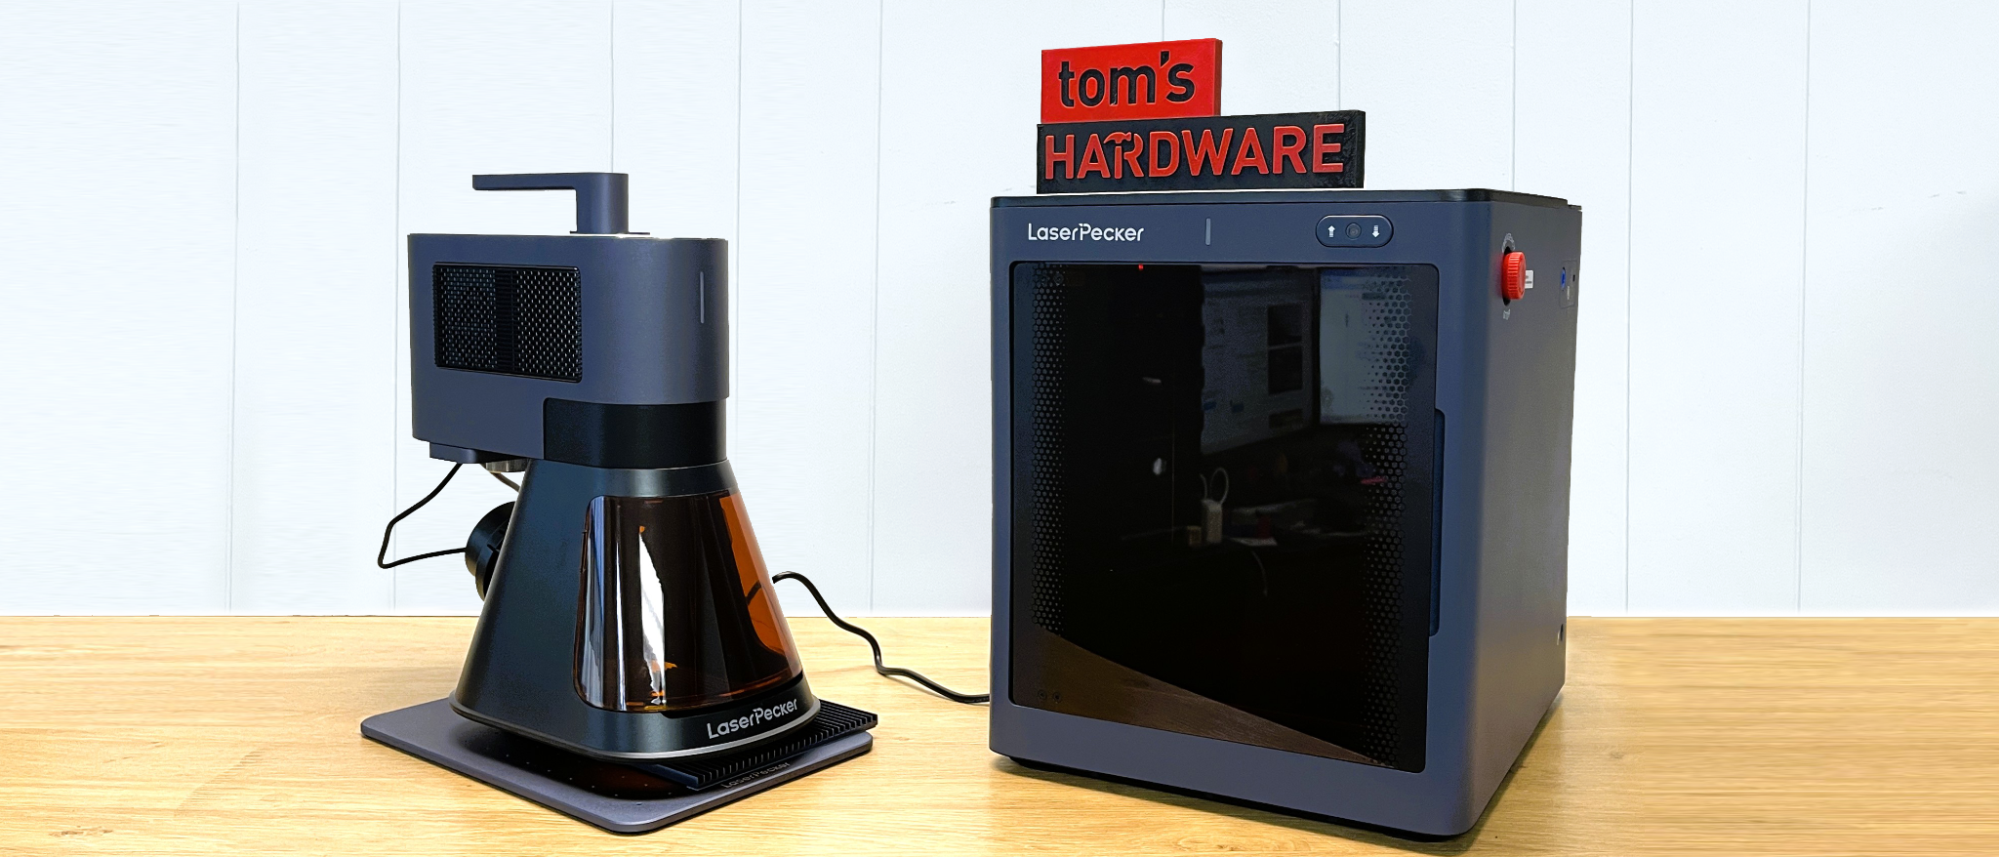
The LaserPecker LP5 is a small laser cutter and engraver that works on nearly any material thanks to twin galvo lasers: a 20-watt diode and a 20-watt fiber. It can cut and engrave softer materials with the diode and also carve metal and stone with the laser fiber. The machine is advertised as portable, but like the LP4 before it, there’s still a tiny gap in the protective shielding that requires safety glasses for anyone in the room. LaserPecker sent the custom enclosure for this review, which makes the laser safe around your family and pets.
The LP5 has a few improvements over the LP4 we reviewed in 2023, but it also has a puzzling lack of its best features. The very informative touch screen – with a time display – is sadly missing. Also, there doesn’t seem to be an off button, but it can be powered off by holding down the pause button for a few seconds. This isn’t explained in the manual, and I only discovered it after prowling internet forums. Before figuring this out, I thought you had to unplug it.
The lack of a countdown timer on the laser or an estimated burn time on the software is maddening. Maybe a timer isn’t needed for etching wood when it only takes a minute or two, but the real showstopper is LaserPecker’s ability to deeply etch a 3D bas-relief in stone or metal. This took hours. Twice, I started to etch a brass coin, only to pull the plug because I needed to leave the house or go to bed after 2 or 3 hours of burning. I finally got the sample coin to complete when I started it in the morning. It took over 4 hours to burn.
The software provided by LaserPecker is missing material presets, which requires you to run your own tests. This was a major let down and not something I would expect with a premium laser dubbed “smart” on its website.
Retailing at $3,299 and currently on sale for $2,899, the LaserPecker LP5 costs more than many larger lasers with similar features. While it's a powerful machine and fun to experiment with, sadly, it did not make our list of best laser cutters and engravers. The optional enclosure we tested costs $699 but is on sale currently for $559.
Specifications: LaserPecker LP5
Machine Footprint | 198 x 286 x 323 mm (7.8 x 11.25 x 12.7 inches) |
Engraving Size | 120 x 160mm (4.72 x 6.3 inches) |
Material | Cardboard, wood, leather, stone, metal, acrylic. |
Laser Type | Blue Diode and Fiber |
Laser Power | 20w on both |
Laser Wave Length | 450 nm Diode and 1064nm Fiber |
Engraving Accuracy | .0027 mm |
Cutting Platform | Included (flat and grid) |
Connectivity | USB, Wi-Fi |
Interface | Buttons (must be connected to PC or Mobile) |
LaserPecker LP5 : Included in the Box
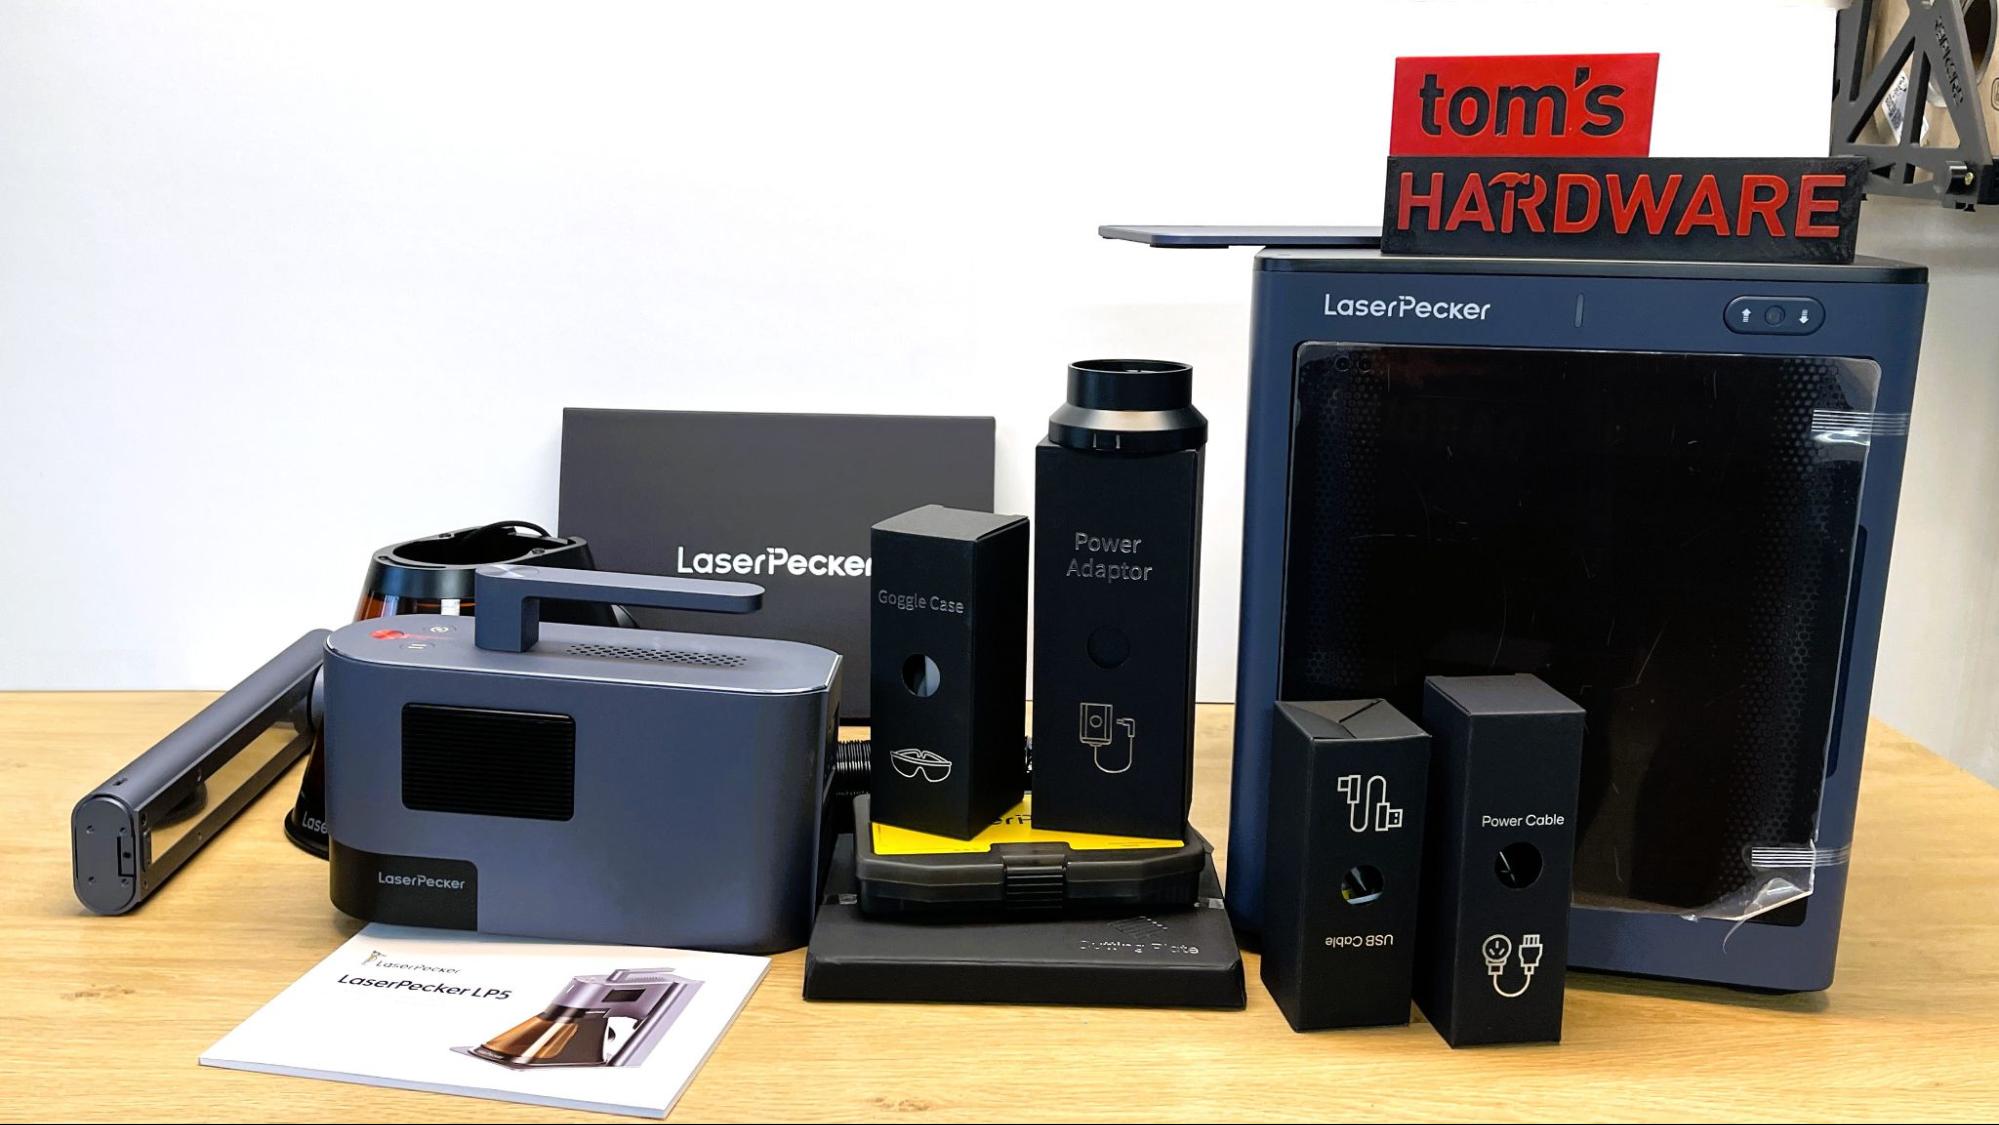
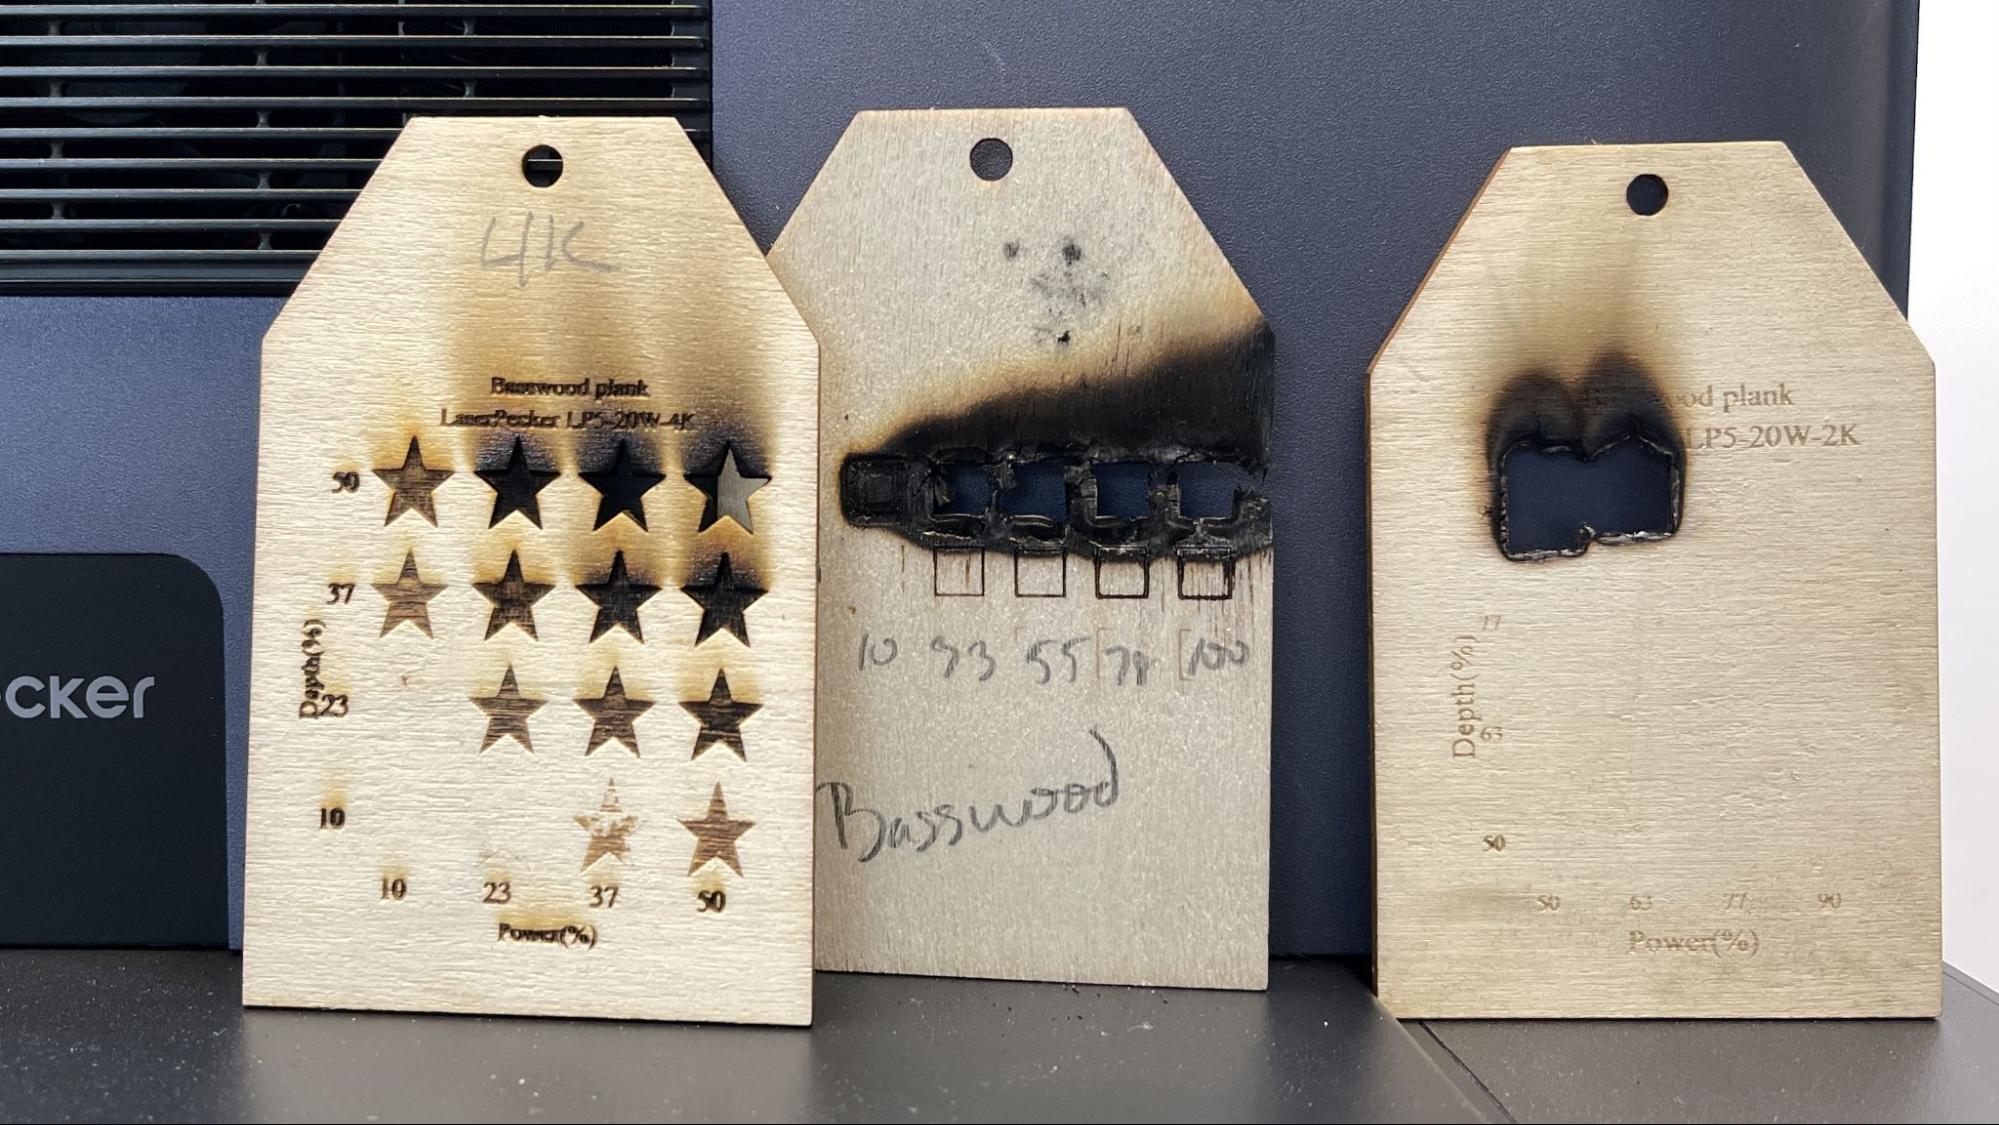
The LaserPecker LP5 comes with everything you need to assemble the laser: a pair of laser safety glasses and a shield. You also get a few samples of wood, slate, leather, and metal for testing. There was also a nice wooden keychain. However, I accidentally set it on fire due to lack of settings.
We also requested the optional enclosure, which included a built-in camera.
Get Tom's Hardware's best news and in-depth reviews, straight to your inbox.
Design of the LaserPecker LP5
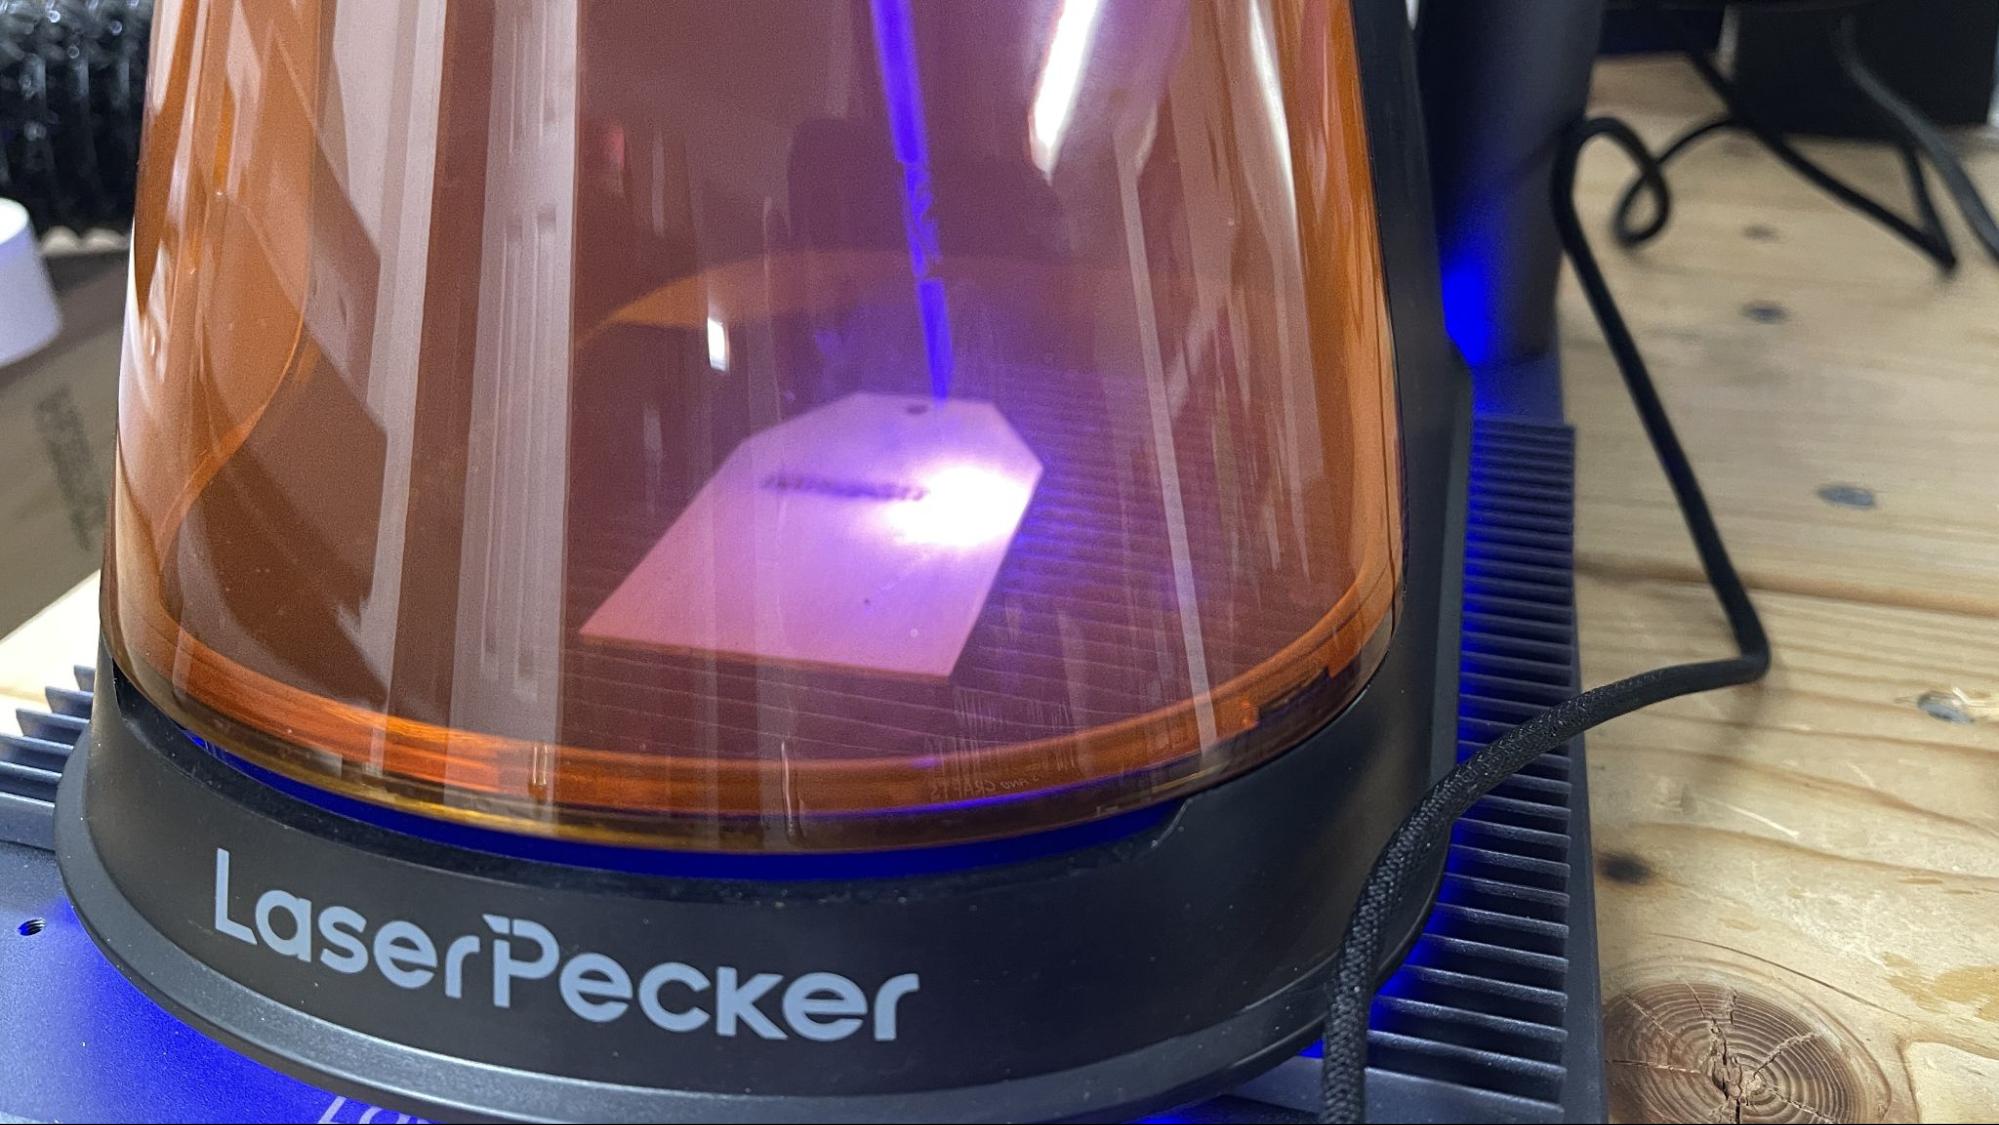
The LaserPecker LP5 is a compact, portable laser that looks a bit like a high-end kitchen mixer. It has a premium feel to it, with brushed metal surfaces and tangle-free cords wrapped in fabric. The fans needed to cool this beast down are pretty loud and always on. It comes with a pipe to vent the exhaust away – you can put it outside a window or door, but we ran it through an air filter from a different manufacturer. Metal dust is pretty thick, and we clogged up one filter during our testing.
Unlike large flatbed machines, the LaserPecker is a Galvo laser. This means the laser stays in one spot, and the beam is moved across the work surface rapidly with a set of mirrors. This is the same motion system seen in laser light shows. The nature of this motion restricts its burn area to a circle, so it can’t reach into the far corners of its build plate. You get the best results from items placed dead center.
The LaserPecker LP5 has PC software and mobile apps that you can download for free. The mobile app duplicates all the functions of the PC software, so you don’t need to be tethered to a laptop if you have the app installed.
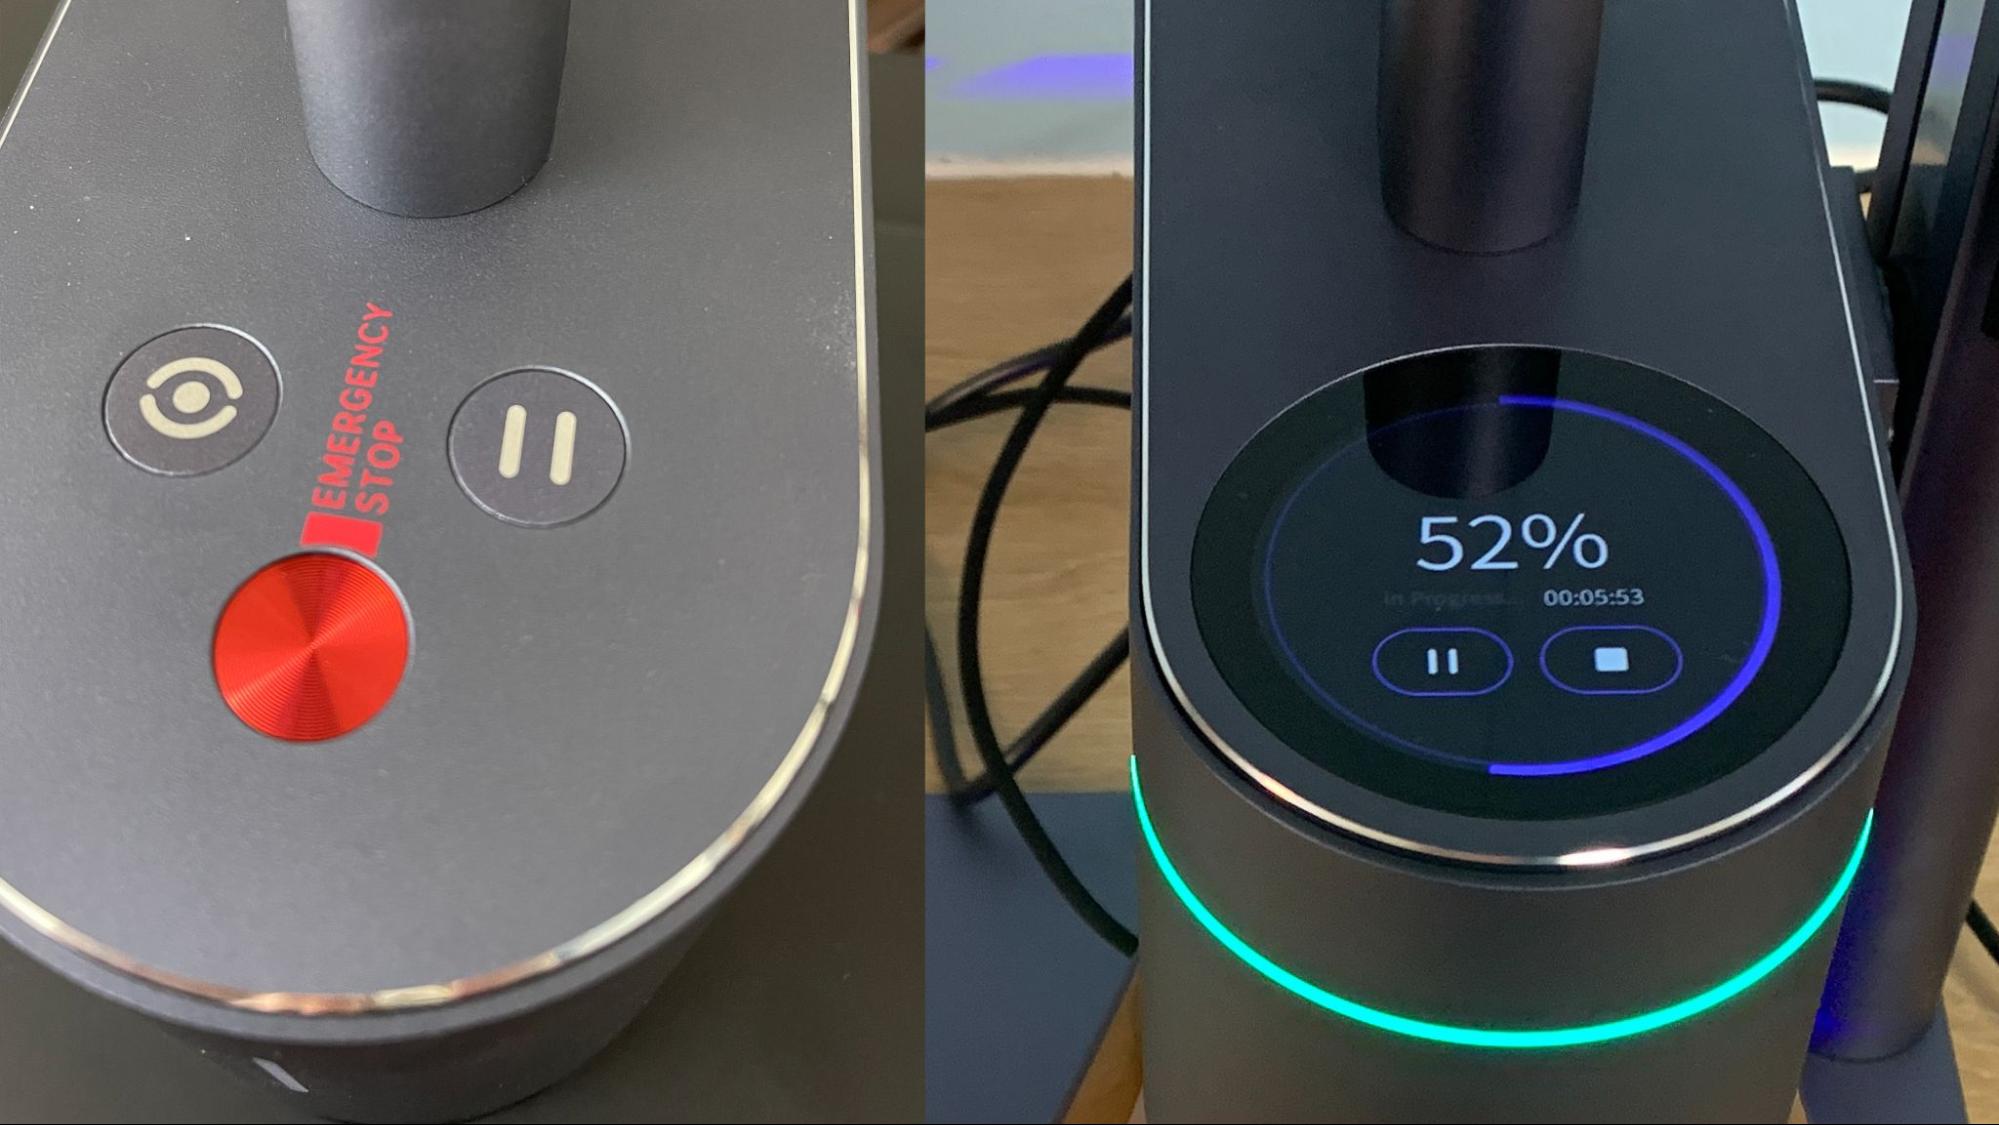
One of the things I miss from the LaserPecker LP4 is the top-mounted touchscreen, which displays valuable information like burn time and percentage complete. The new LP5 has no screen at all, just a preview button, an Emergency Stop button, and a pause button (which doubles as an off button).
The flat baseplate has holes for screw mounted material holders – these holes go completely through the plate and so it should not be used for cutting. A grill with a solid bottom is provided for cutting, which offers much needed airflow for cleaner edges.
The laser module can tilt on the stand to engrave large objects placed next to it. It can also be completely removed from the stand and used freehand if you’re feeling particularly brave.
The laser is hooded with a detachable cone for safety, but there’s a slight gap at the bottom, so you’ll still want to wear the safety goggles provided. The cone has been improved since the LP4 and now has a removable panel to allow access to the work pieces inside. You can purchase an optional enclosure, which allows you to use the machine around other people and your pets.
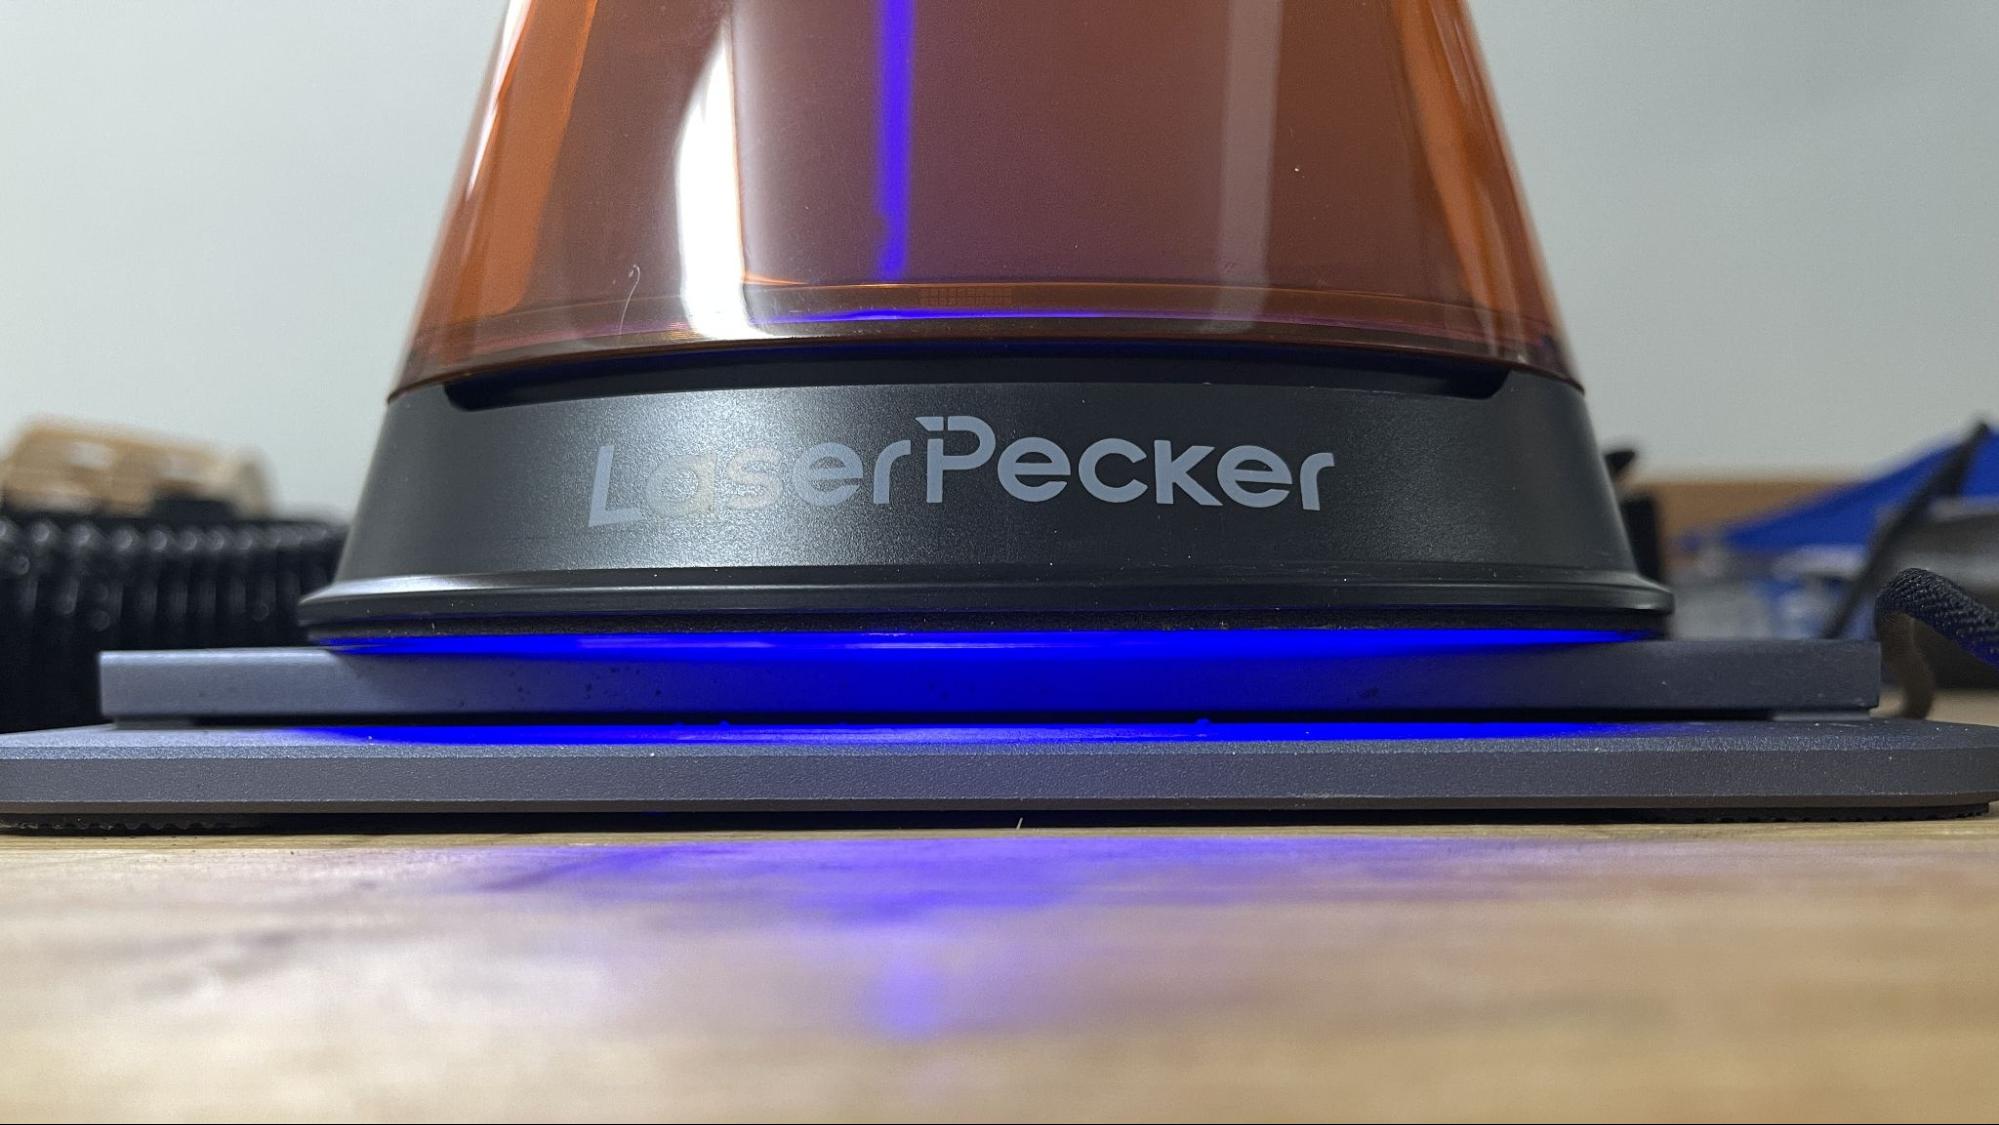
Focusing the laser is very easy. When you click “preview,” in the design software, you’ll get two red dots from the laser. Position your material under the dots and raise or lower the laser until the red dots combine into one. There’s also a “live preview” box that projects a blue rectangle that represents the artwork to help get everything in the right spot.
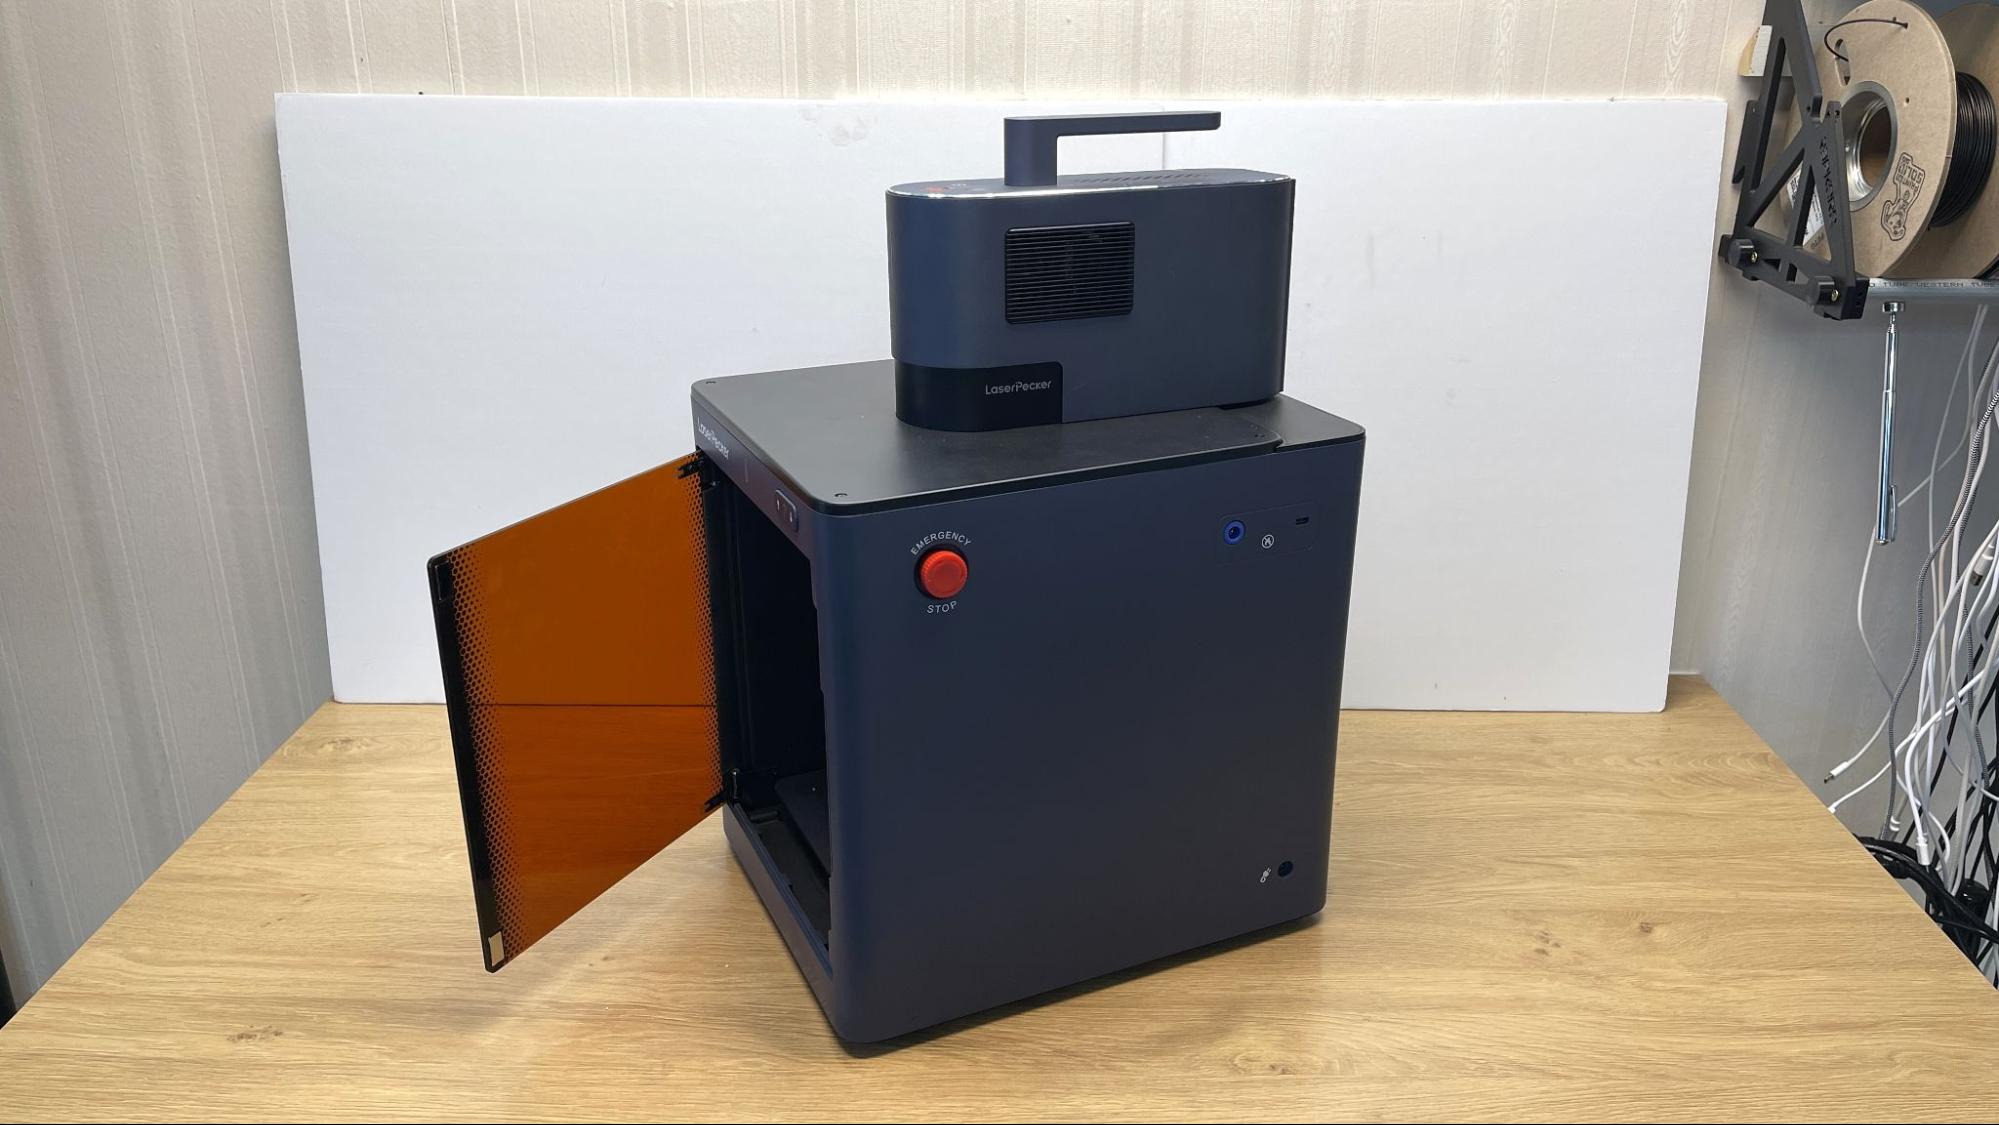
I requested the enclosure to test for this machine to be extra safe as I don’t want to lock myself in a room away from my family and pets while testing the laser. The enclosure is valuable for professionals who need to use a laser in public spaces like stores, studios, and craft fairs. It replaces the stand, with the laser module screwed into the top of the box. A camera located inside the box helps frame your work.
Assembling the LaserPecker LP5
I assembled the LaserPecker LP5 in about 15 minutes – it was just a matter of installing a few screws and plugging in USB cords.
Safety Precautions for the LaserPecker LP5
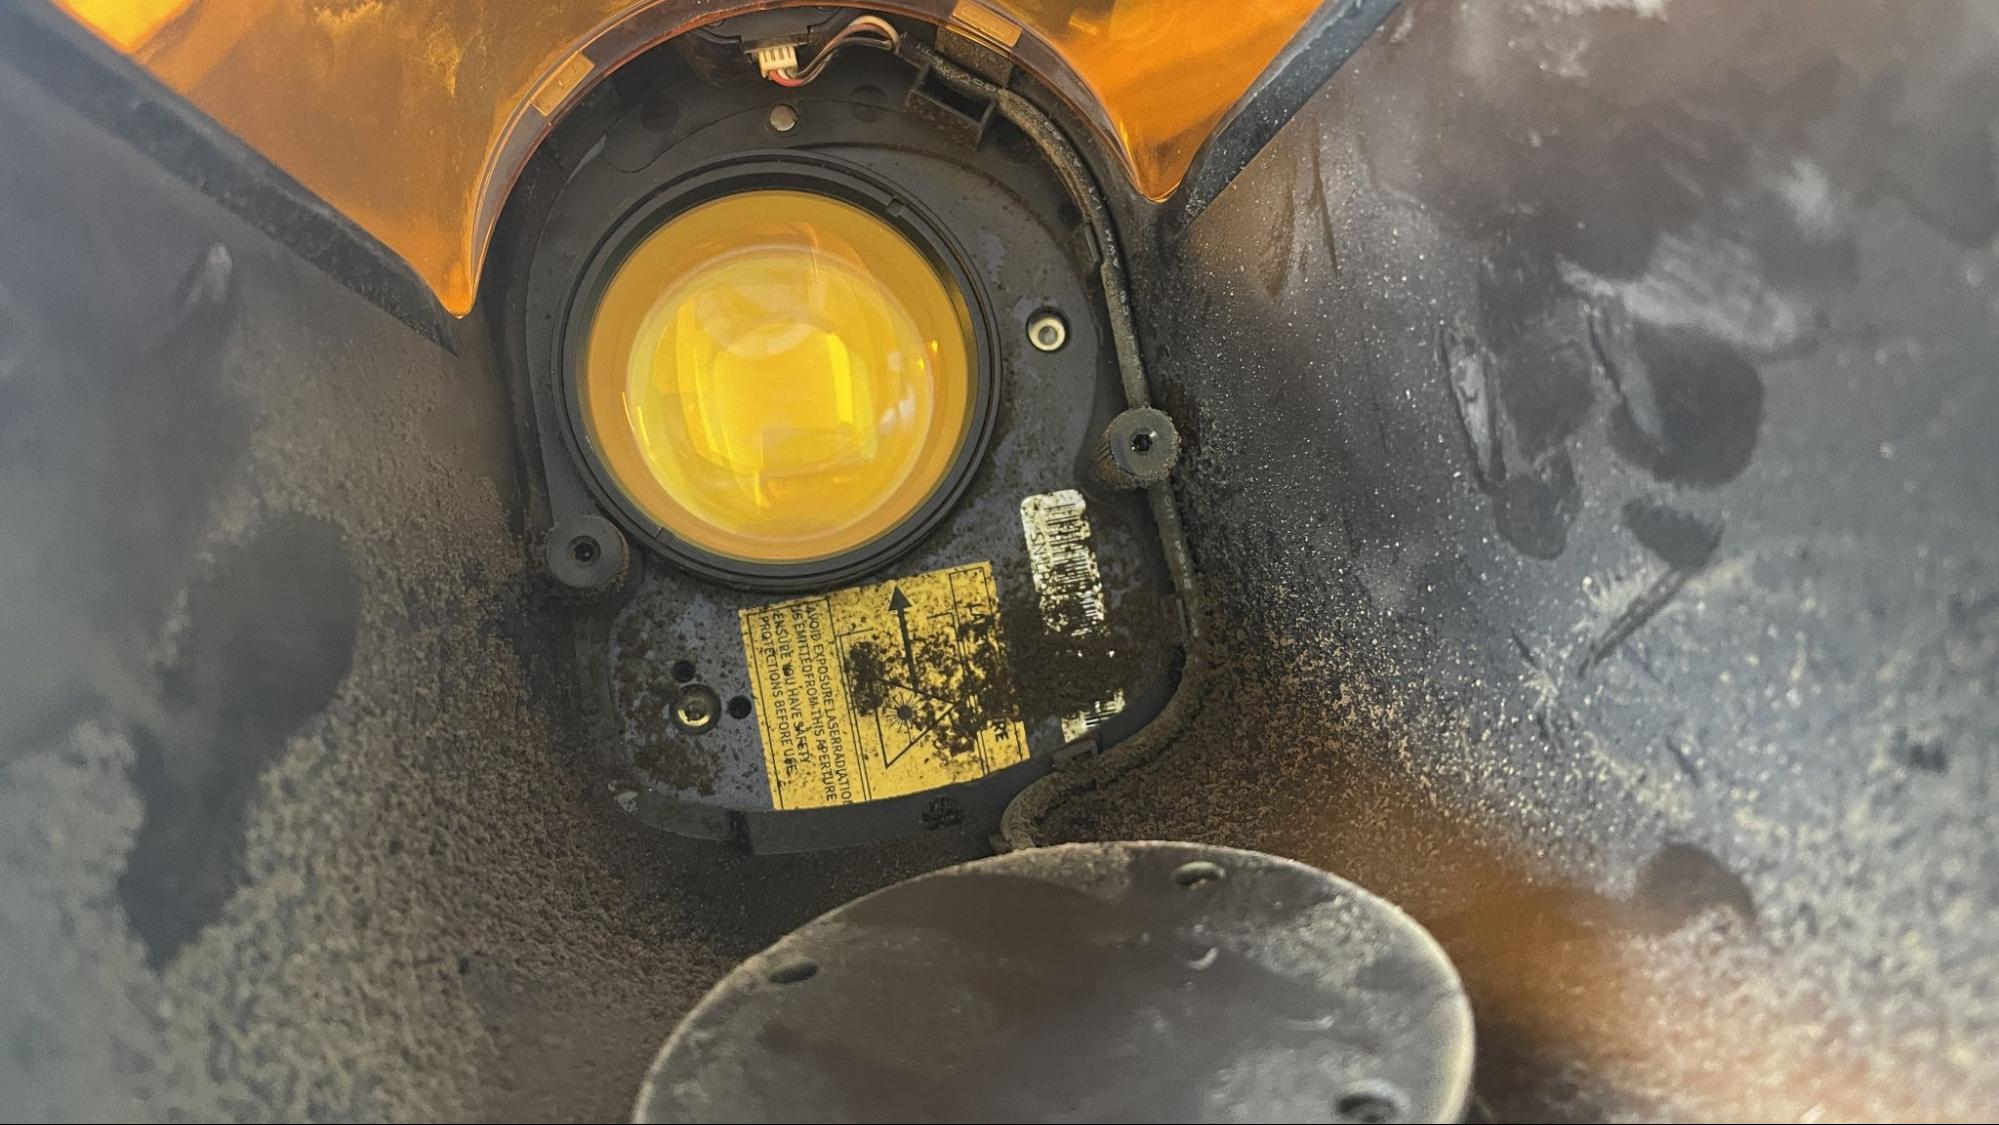
The LaserPecker LP5 is a Class 4 laser that can damage your eyes and burn skin. Placing it inside the enclosure elevates it to a Class 1. It also produces smoke and fumes while engraving or cutting materials. You must take precautions to operate the machine safely. Use this and any other laser at your own risk.
The machine is equipped with a safety cone over the laser module that covers the working surface. An emergency panic button on the top of the machine will halt operation. You can set the machine to turn off when the cover is removed, but this is not on by default. Another sensor detects high temperatures and can shut off the laser to avoid fires. An exhaust fan removes smoke from the laser area to improve performance and the environment. A tilt detector will shut off the laser if it tilts during operation.
There is a slight gap between the shield and the material. Because of this gap, you must always wear safety glasses for extra protection. A pair is provided with the machine.
The optional enclosure is well worth the extra cost, as it completely seals the laser from view. It also helps control smoke emitted from the materials that you’re burning.
Prevent pets and other people from observing the laser while in use. Since the laser is literally burning material, never allow it to operate unattended and have a fire extinguisher handy just in case.
This is a portable laser, which means you can use it freehand if you take appropriate care.
Some materials should not be burned with a laser due to their chemical makeup – they could melt, catch fire or produce toxic fumes. Dallas Maker Space has published a list of safe and hazardous materials to use with their laser. The list of no-nos includes plastics, fiberglass and certain foams.
The laser lens can get dirty from smoke and fumes. You will need to wipe it clean – while unplugged – before each laser session. If it’s allowed to become dirty, the laser will lose some of its capability.
Software for LaserPecker LP5
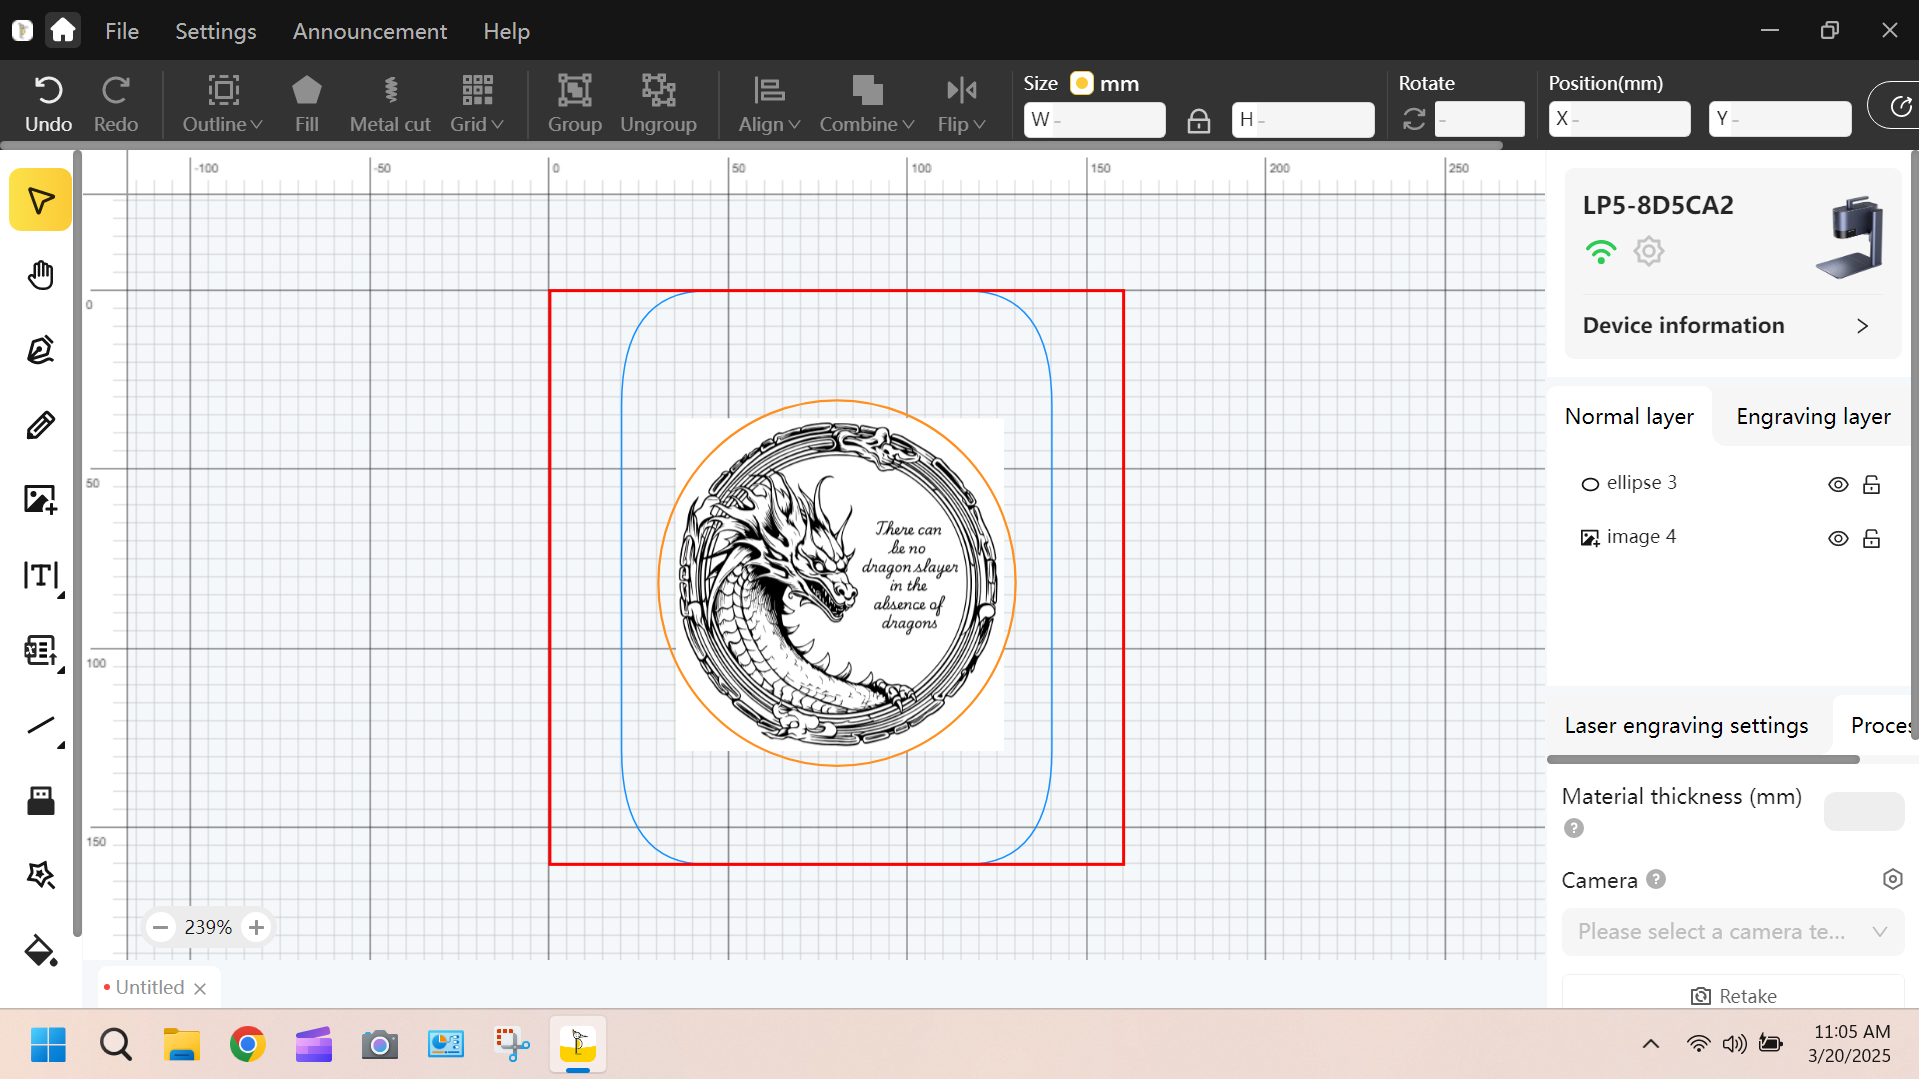
LaserPecker has its own software suite and a mobile app called LaserPecker Design Space. It’s also compatible with premium LightBurn software, though lacking a current subscription, I didn’t test LightBurn.
Design Space on either platform lacks good presets for materials, so you’ll need to do a lot of testing. The program waffled between engravings that were too light and setting my materials on fire. This was a disappointing experience for a modern $3,000 machine.
The LP5 connects using Wi-Fi, USB cord, or USB stick. The connection wasn’t very stable for my phone, and I struggled to get it working. The app should be a miniature version of the PC software, and it seems to have a lot of features, but it wasn’t very intuitive to use.
There were no tutorials on the phone app for the LP5 at all, so hopefully, a future update will fix the problem.
Engraving / Cutting with the LaserPecker LP5
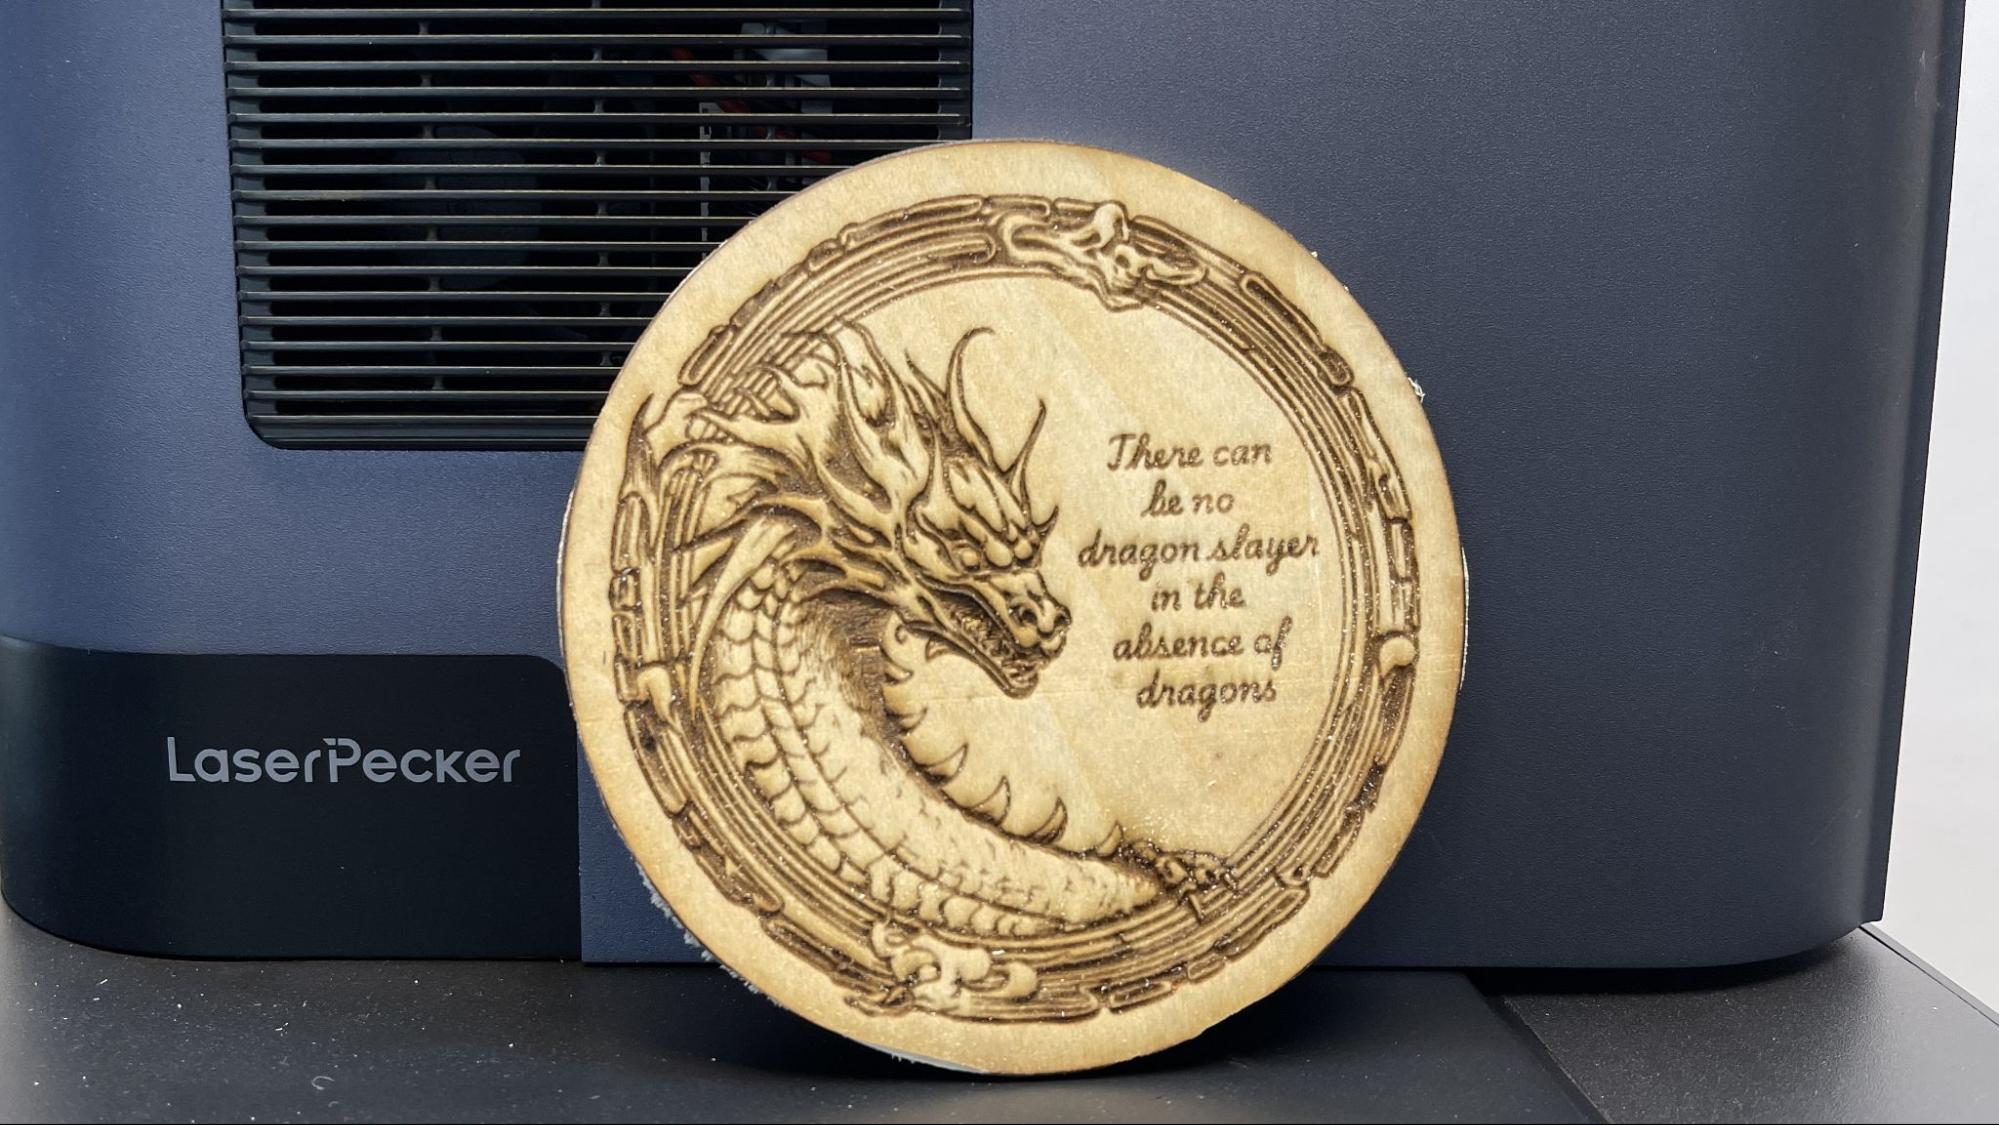
The ability to cut or engrave materials is determined by the speed and power settings of the laser. The LaserPecker LP5 has a medium power, 20-watt diode laser that can cut through thin wood up to 15mm, and a 20-watt fiber laser that can slice thin metal sheets that are one millimeter thick.
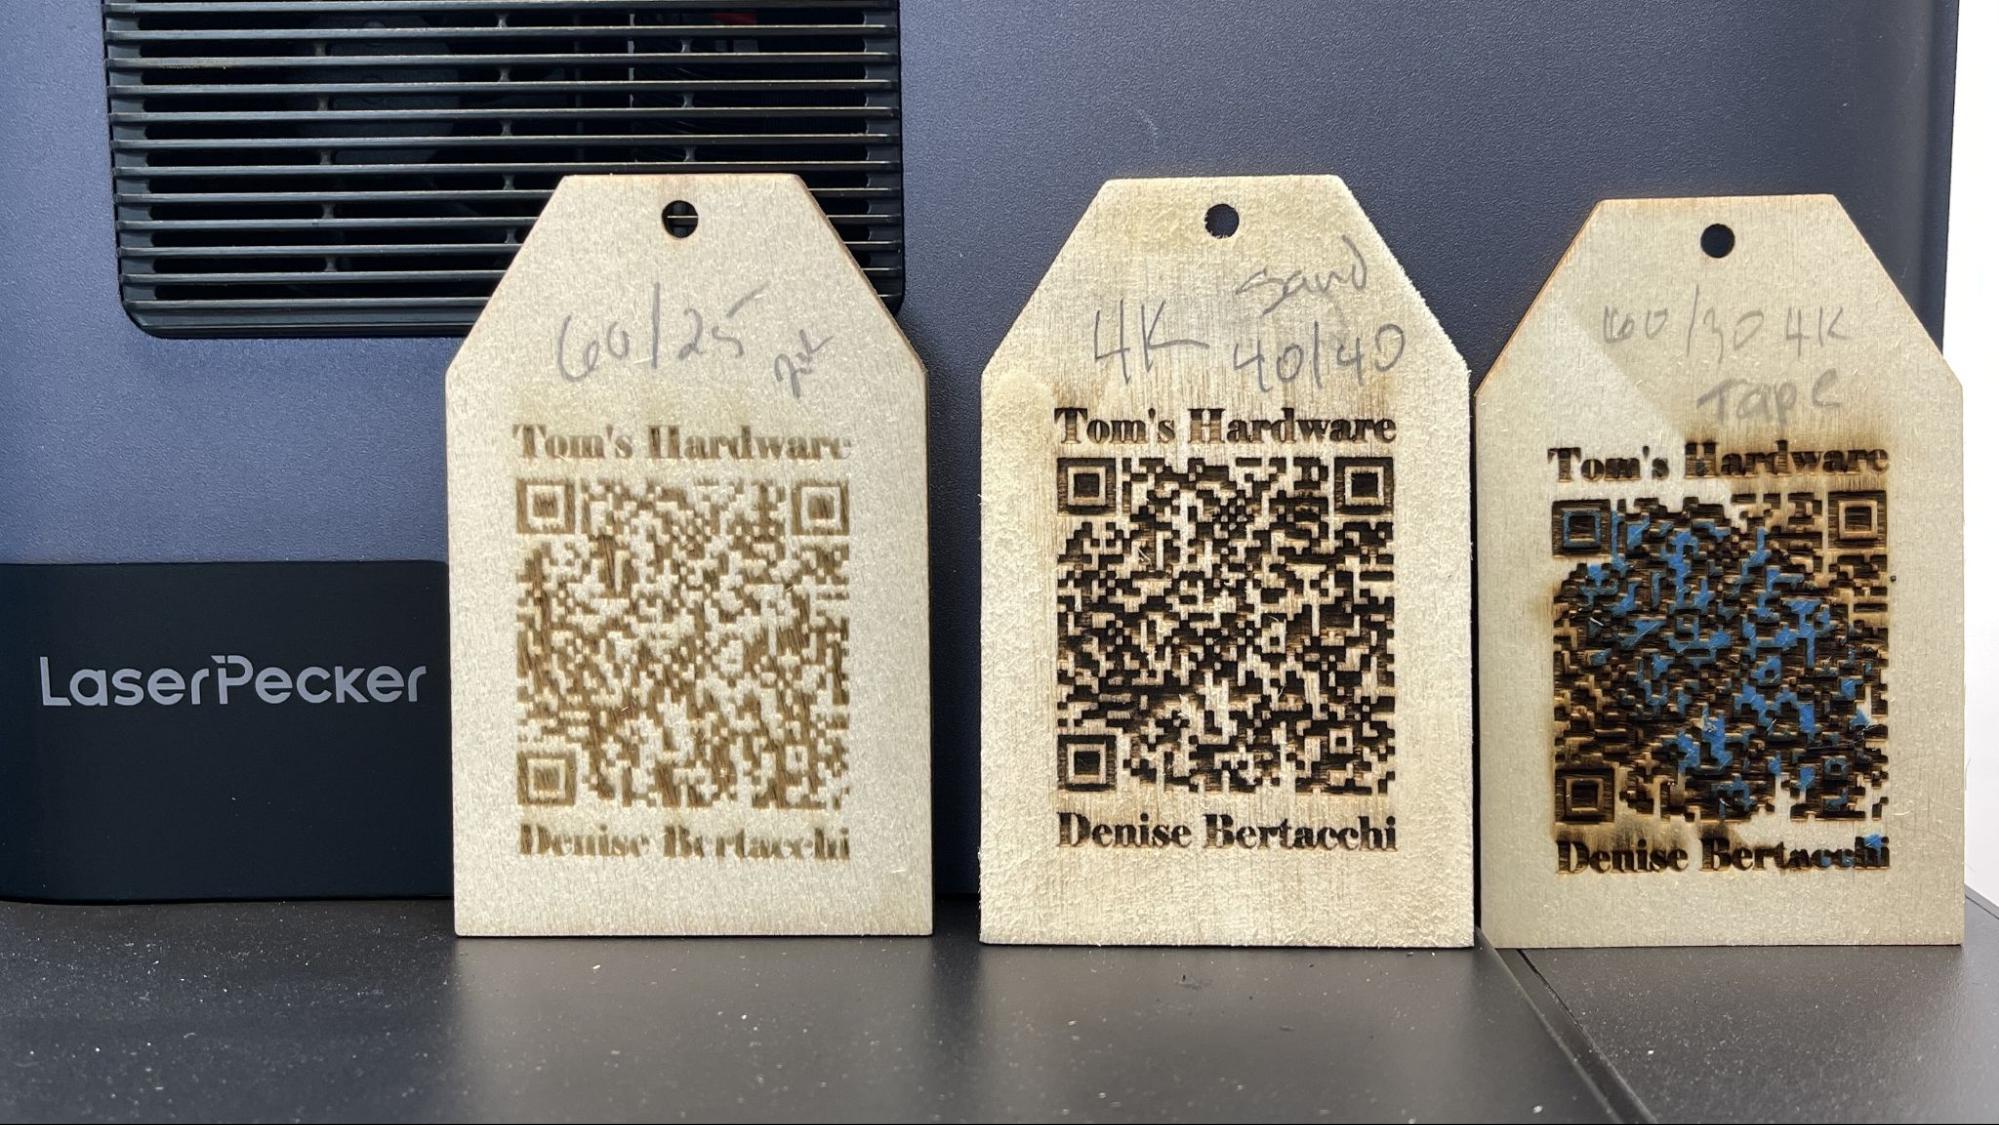
This machine’s best use for wood is for light engraving, as the lack of air assist causes a lot of flame and char. I was able to sand off light brown char on some of the wood I engraved, which makes the finished pieces much nicer. On the samples below, I made a QR Code to the Tom’s Hardware website using a tool in LaserPecker’s Design Space. The suggested preset was too light, but increasing power introduced smudges from the smoke. I tried using masking tape to protect the wood – which might work for simpler designs. In the end, sanding the piece gave me the best results.
Design Space lets you pick different resolution levels, from 1K to 8K. It also measures the speed with “depth”, but a 40% depth is not necessarily a 40% cut through your piece. The best result on these precut wooden tags was a 4k resolution, with a 40% depth and 40% power. This burn took a few minutes, and the software did not record the time nor give me an estimate.
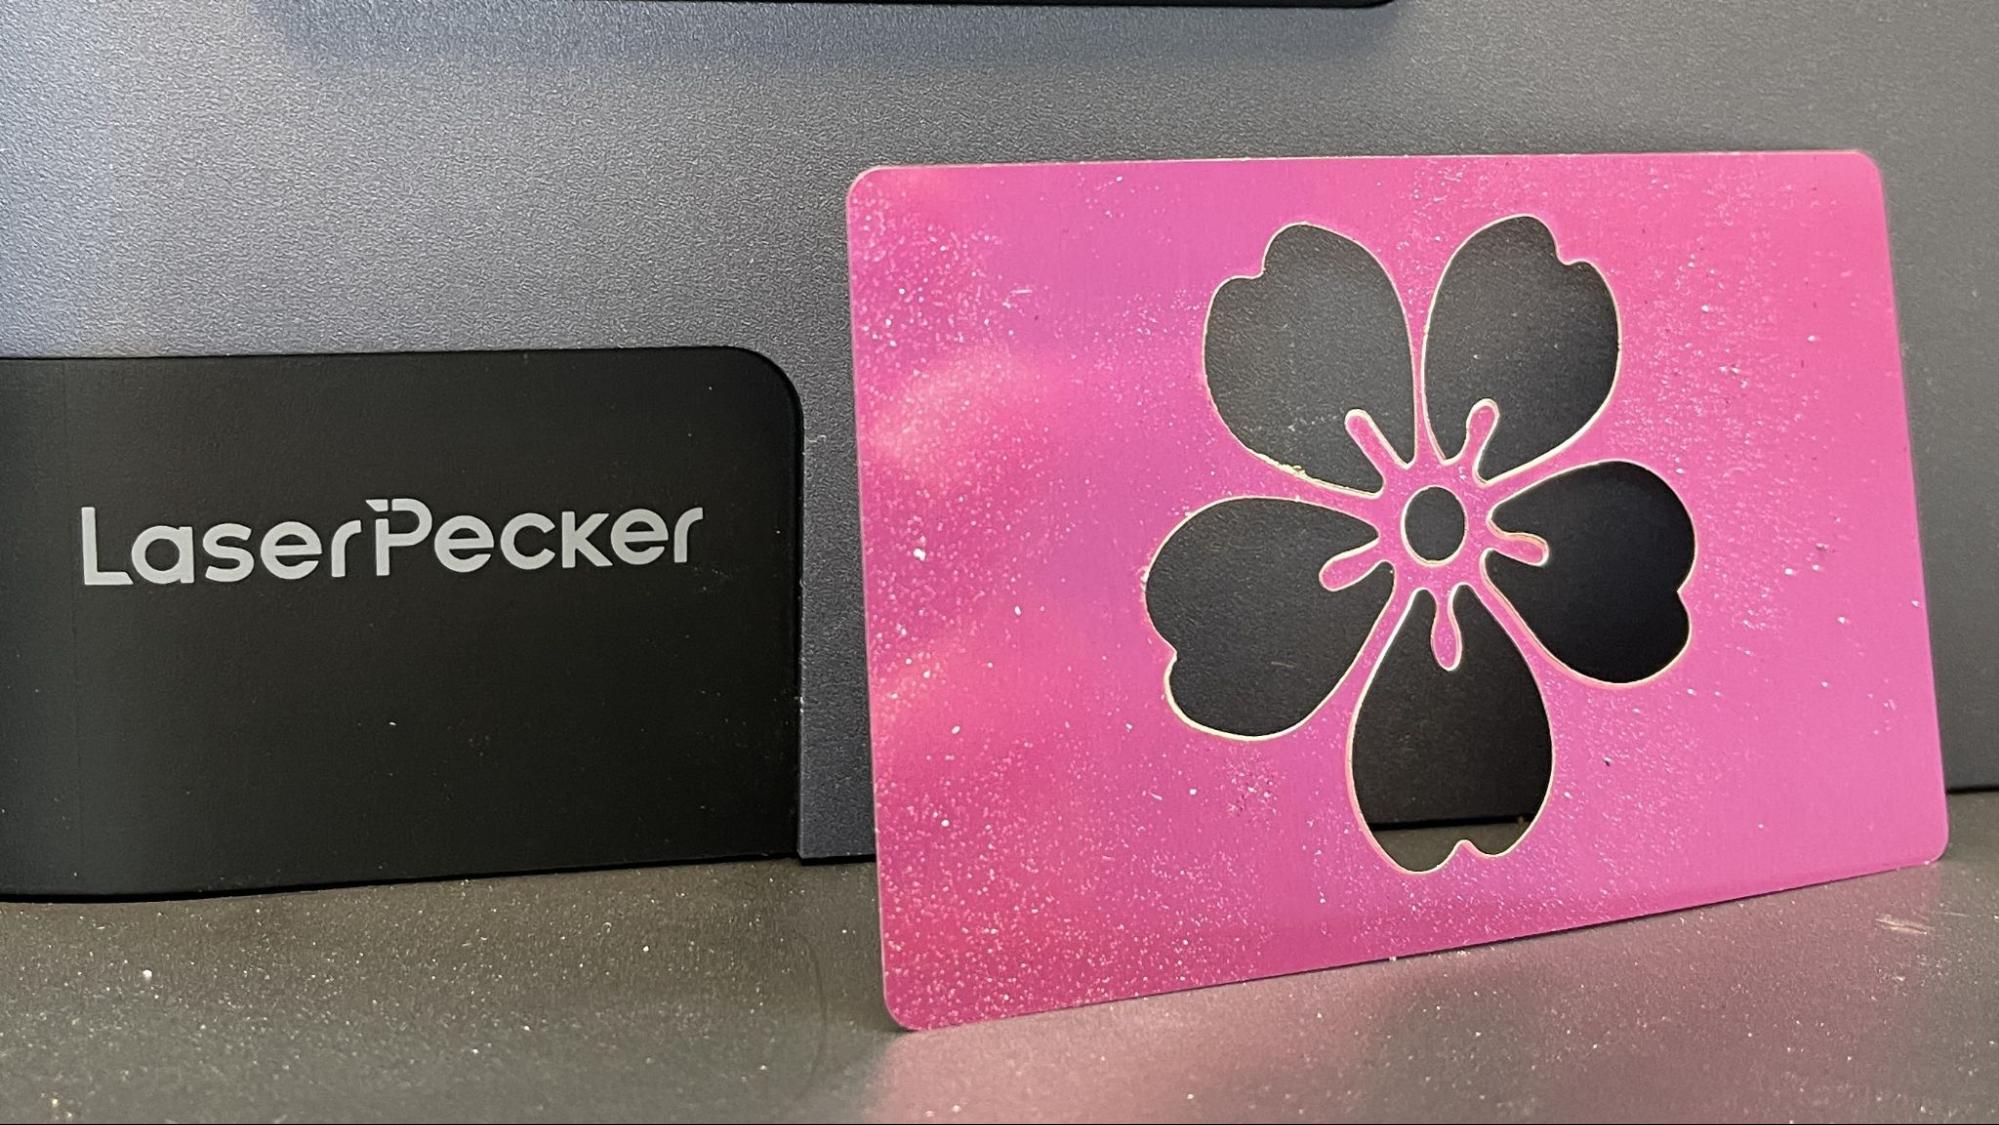
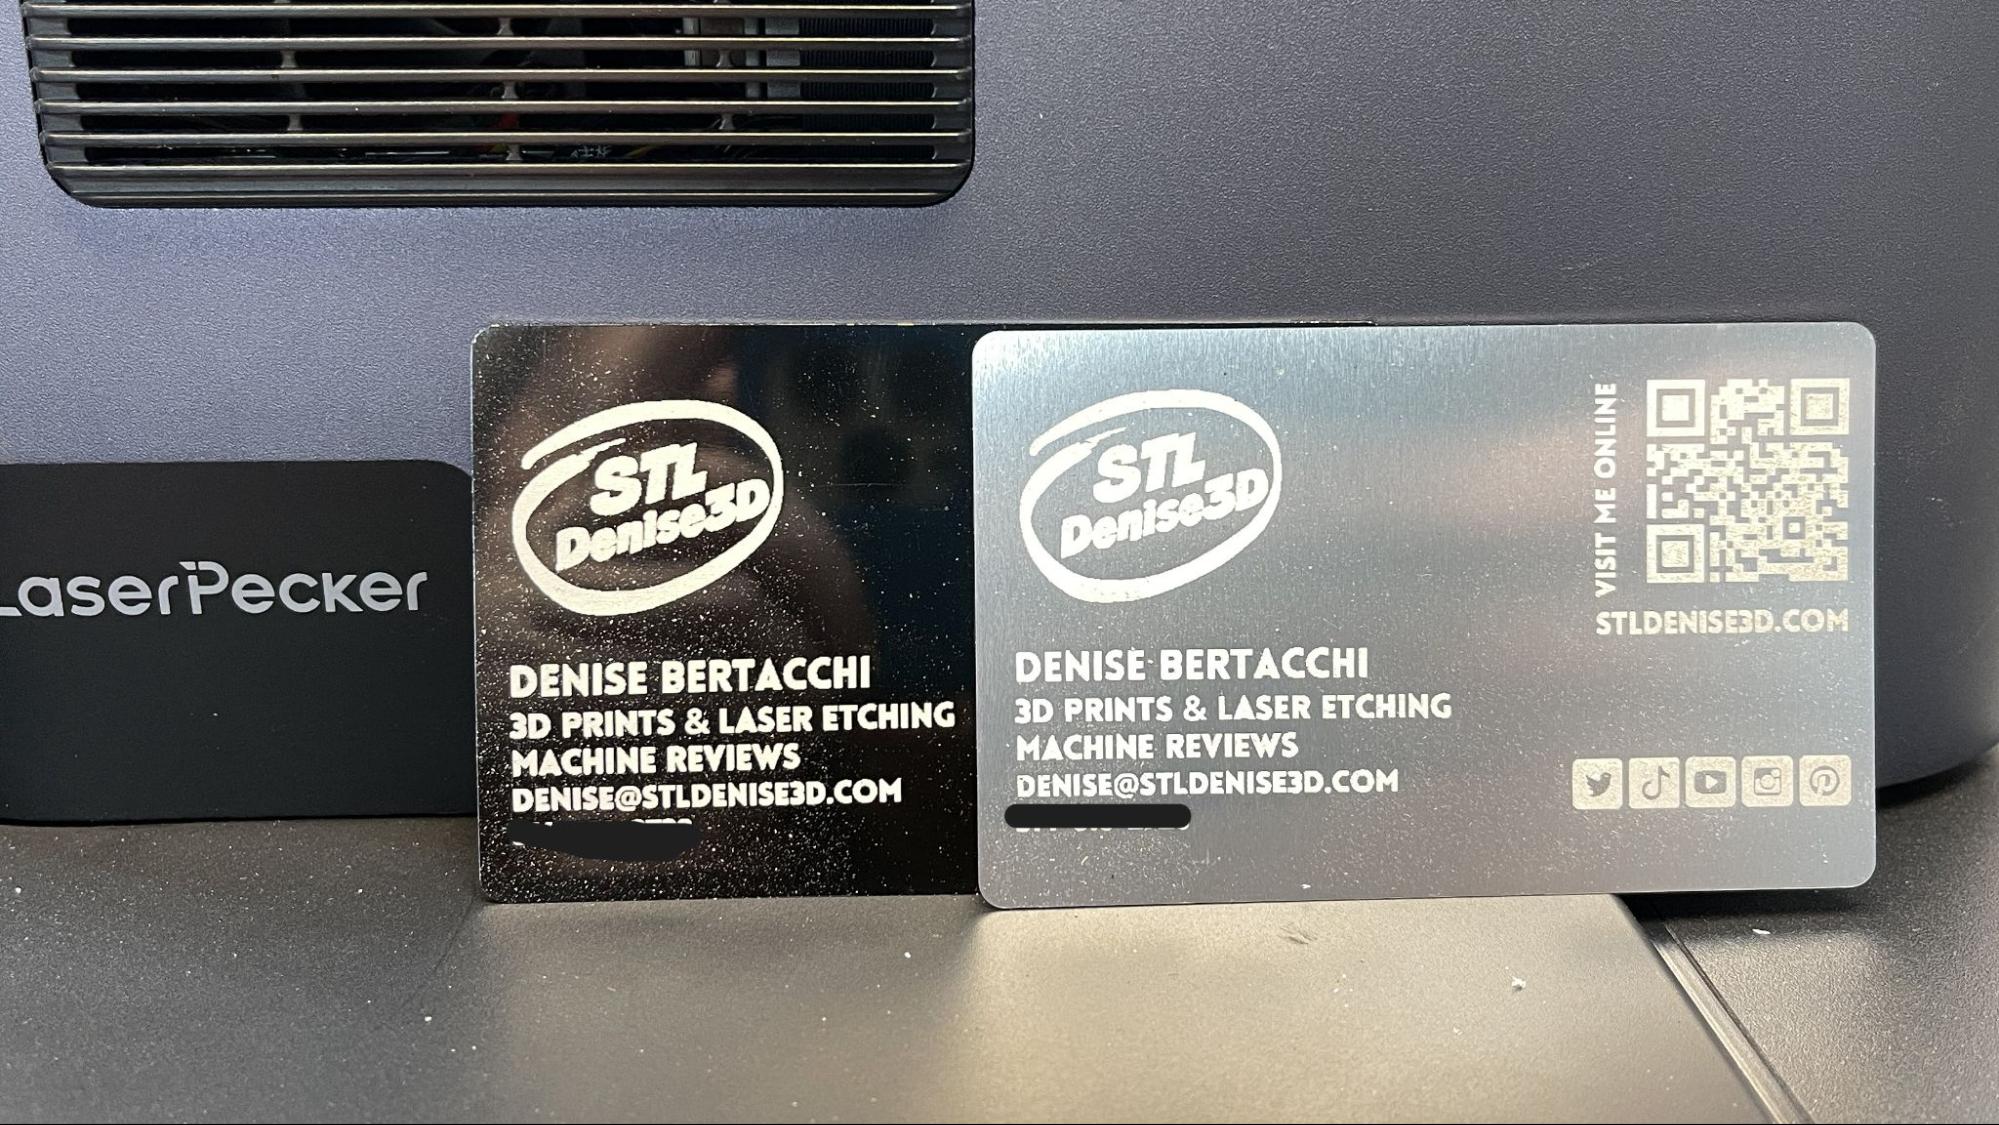
I tested the LP5 with various metal pieces. This is one of the 0.007 inch painted aluminum business cards I picked up from x-Tool. The machine made quick work of this clip art flower, but without presets, I had to make a few guesses on the settings. I used the fiber laser at 100% depth and 100% power, and it cut it out in less than a minute with one pass.
Turning down the depth setting on the fiber laser allowed quick engraving of the painted aluminum. This was 50% depth and 20% power and only took a few seconds.
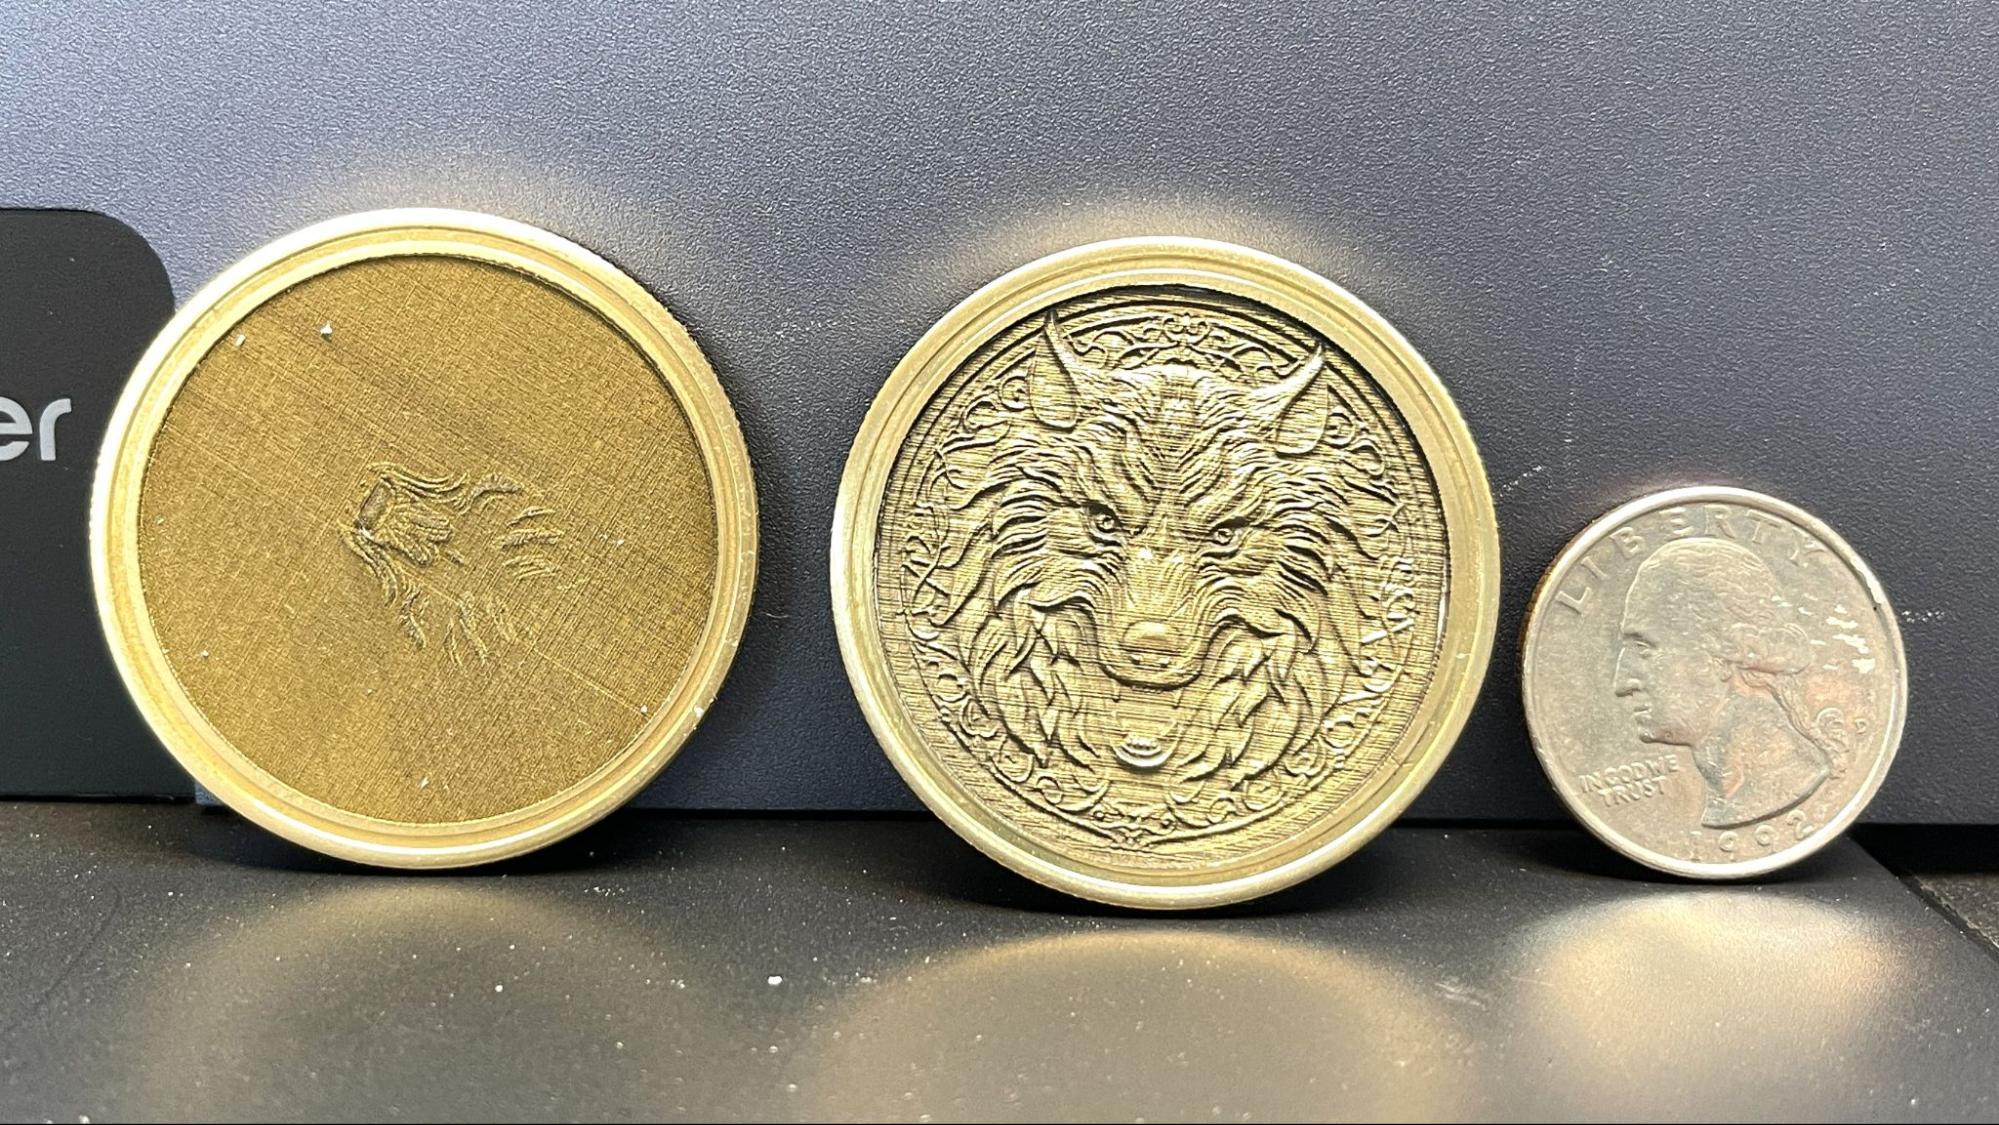
3D engraving metal coins is a real showstopper, but Design Studio doesn’t tell you how long it will take. I had to try it a few times after I ran out of time and did not want to leave the laser unattended. The first coin is after 2 hours of burning, and the completed one is after about 4. This was a presliced demo on the USB stick, so I’m unsure of the settings. The coin also needs to be polished (I used a Dremel) to make it shiny once you’re done.
Bottom Line
The LaserPecker LP5 is a very fast and versatile Galvo laser that can engrave just about anything thanks to its dual Diode and Fiber lasers. Not having good presets leads to a lot of trial and toasted wood to get it right. The $2,899 retail price tag is a bit steep for what you’re getting – a small, portable laser that still requires safety glasses and/or an additional enclosure to use.
It’s got a lot of potential as an engraving machine, but the software makes it frustrating to use. Design Space has plenty of creative tools and the ability to import photos or clip art to transform them into lasered art. Not having a timer or estimate anywhere is super annoying, especially since you’re not supposed to let a laser work unattended.
If you want a dual diode and IR laser that’s truly safe and portable, check out the xTool F1, currently available for $1,399. If you want more room for lasering large items, then check out the 20W WeCreat Vision for $1,299.

Denise Bertacchi is a Contributing Writer for Tom’s Hardware US, covering 3D printing. Denise has been crafting with PCs since she discovered Print Shop had clip art on her Apple IIe. She loves reviewing 3D printers because she can mix all her passions: printing, photography, and writing.
-
s14tam Really? No acknowledgement of the fact that this thing is called a "LaserPecker"??? LolReply
