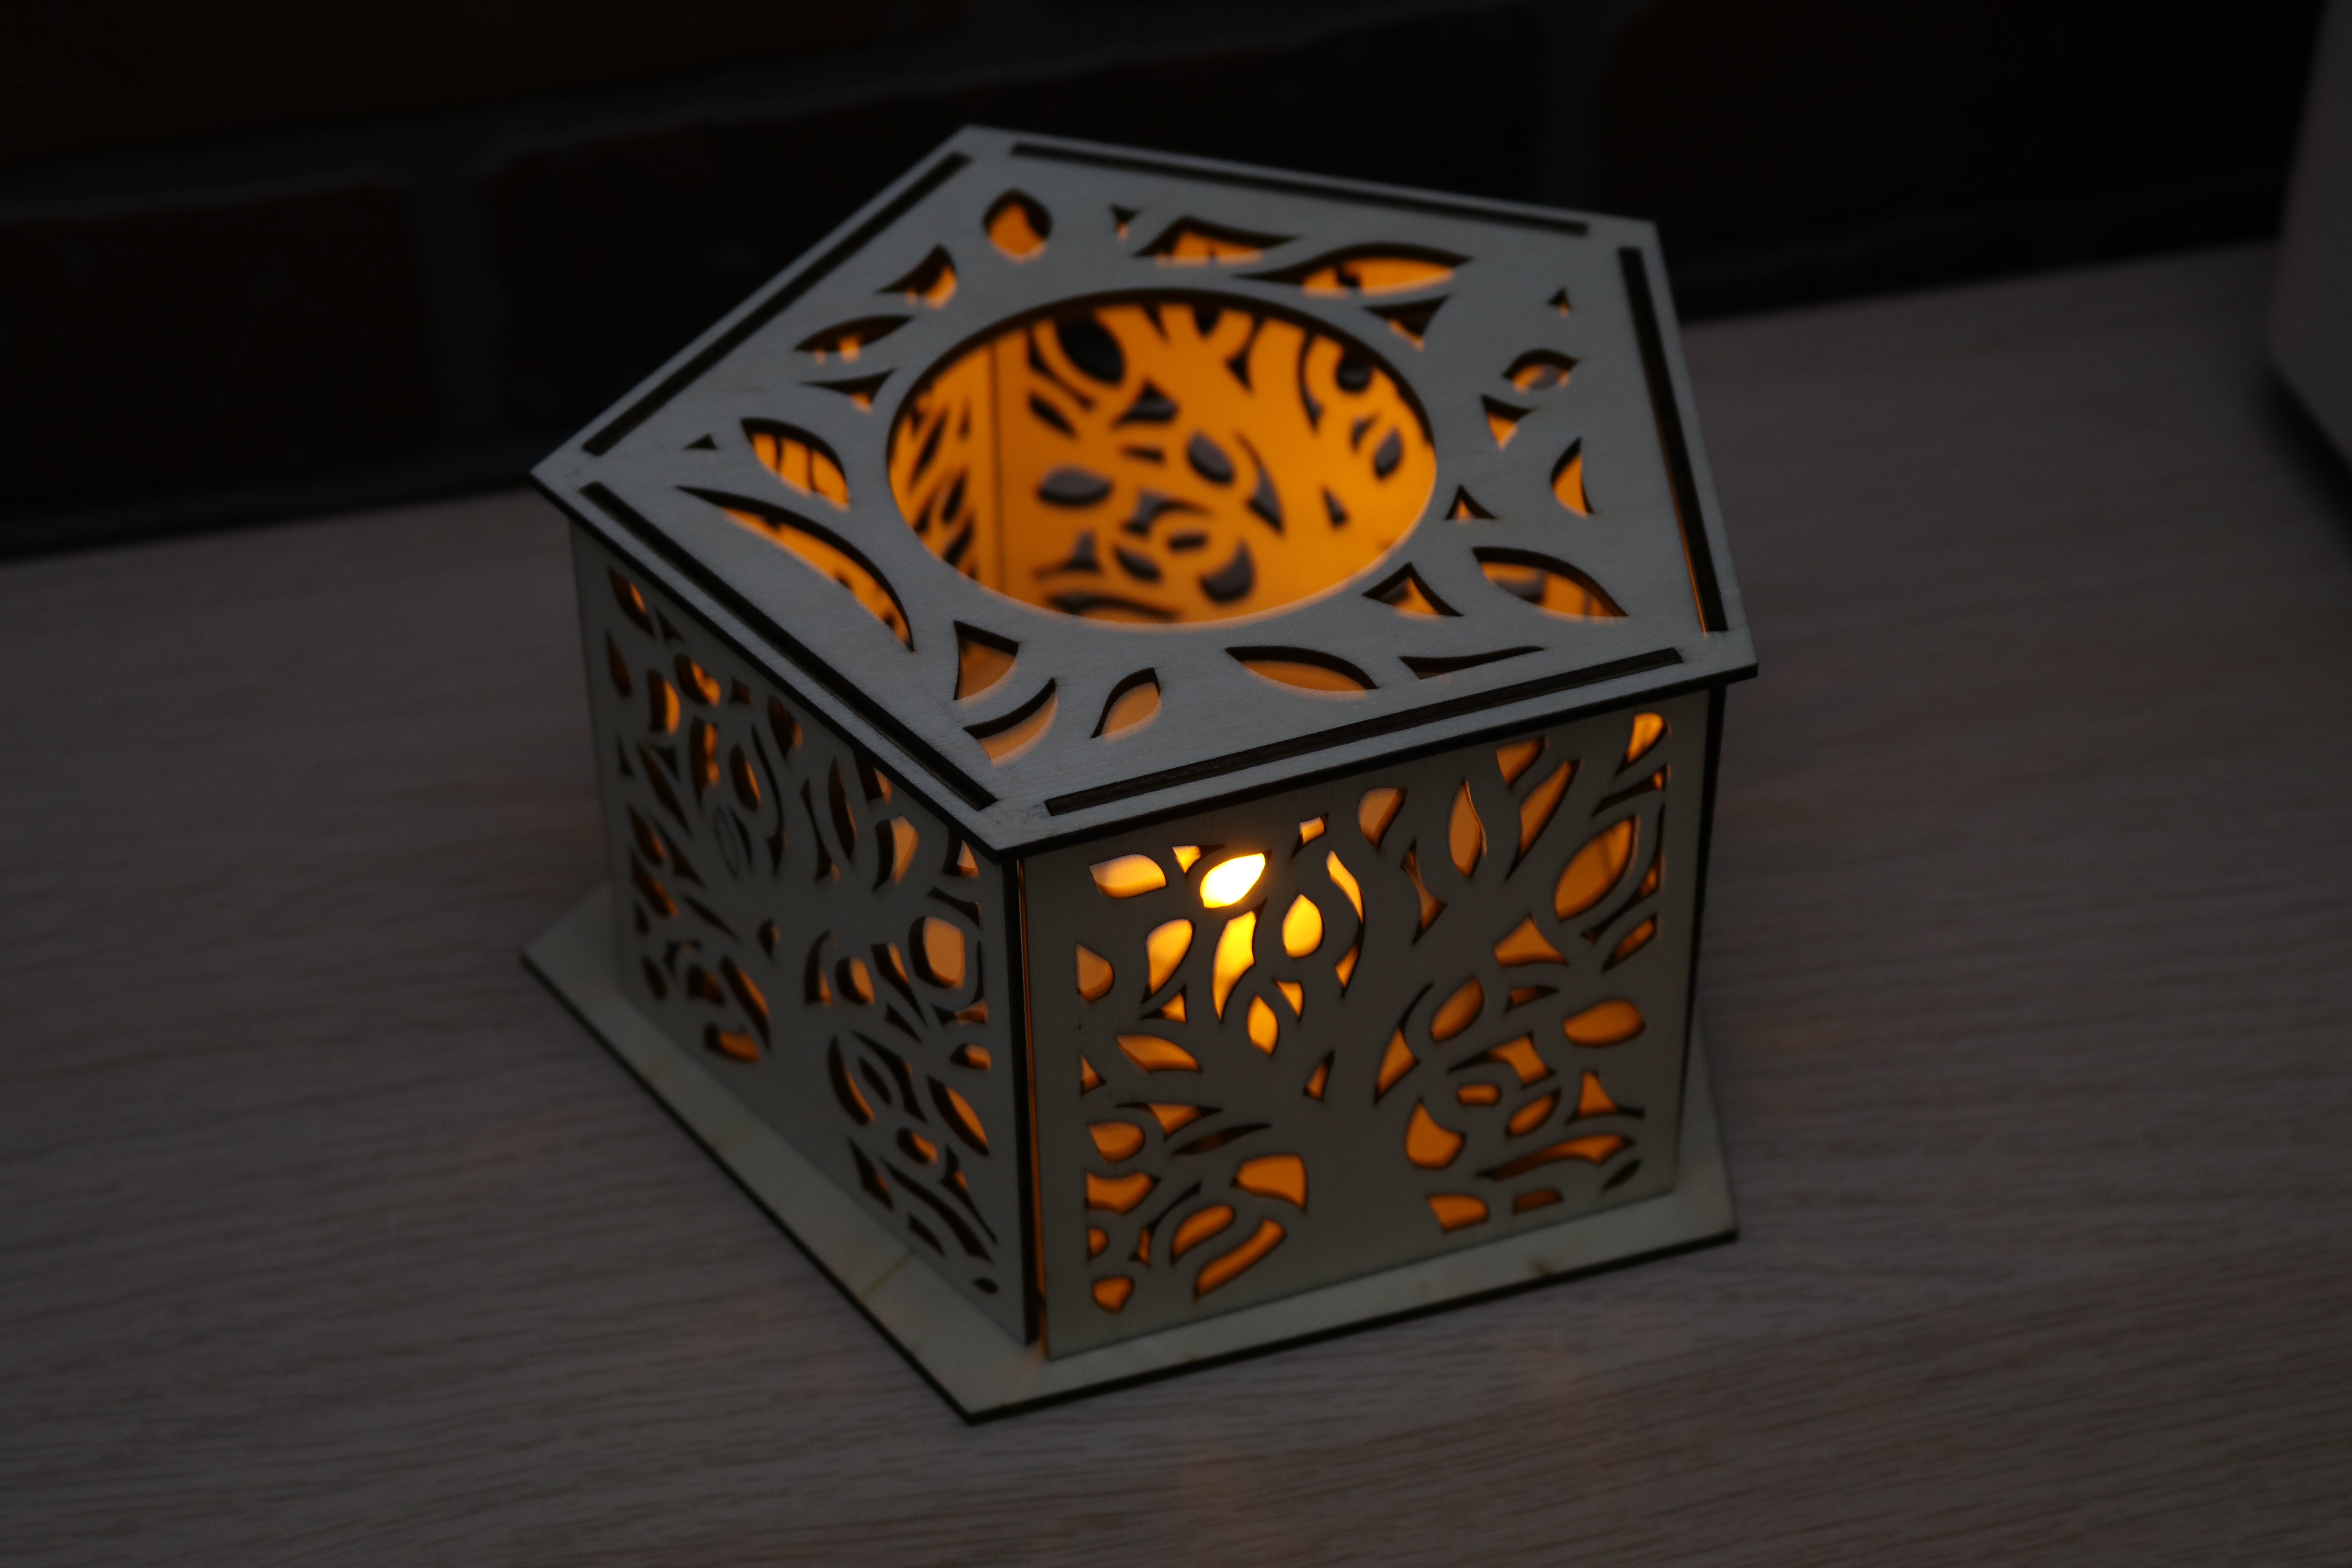
Tom's Hardware Verdict
The WeCreat Vision is a powerful 20 watt laser engraver that brings a polished experience to the sub-$2,000 price point.
Pros
- +
Class 1 laser with full enclosure
- +
20W laser cuts quickly
- +
Large working area
- +
Integrated laser bed
- +
Camera provides preview
Cons
- -
AI image mode is a bit of a gimmick
Why you can trust Tom's Hardware
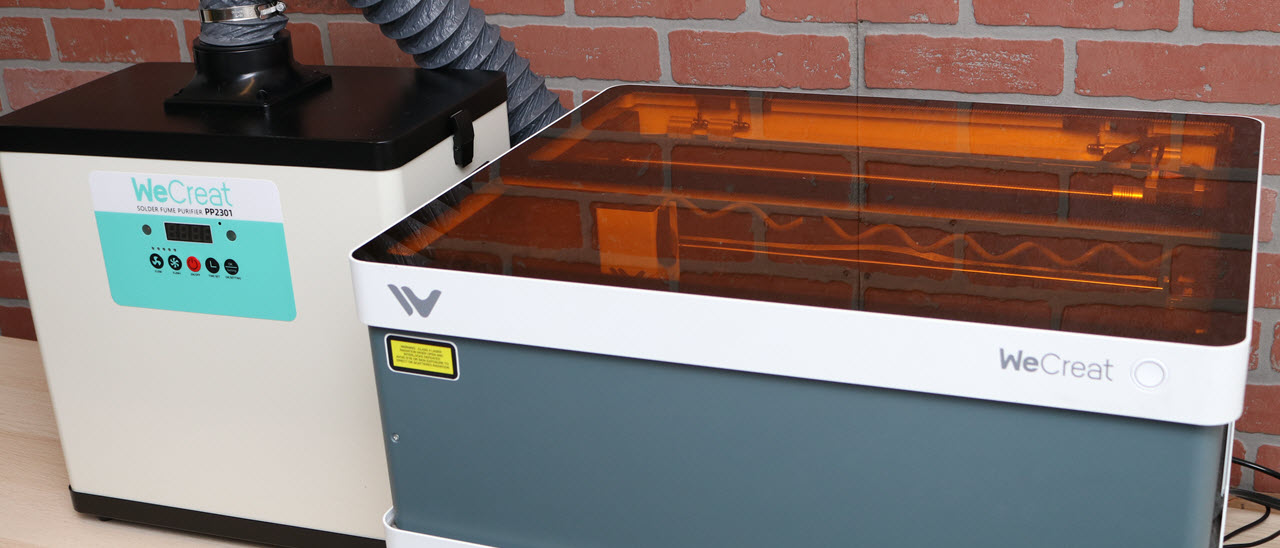
The WeCreat Vision is a fully enclosed laser cutter / engraver that features a 20 watt diode laser module, a 420mm x 290mm engraving space, 600mm/s engraving speeds, and an intuitive camera-enabled auto-focus function. The Vision is designed to offer a complete solution for users looking for an all-in-one laser engraver package, and the optional rotary engraving module and fume extractor turn this machine into a veritable factory that can fit in a garage.
The Vision performed well during testing and was able to easily cut through 5mm basswood, thin acrylic, and even engrave directly on coated stainless steel tumblers and slate coasters. The 20-watt diode laser cuts quickly and precisely, and the enclosed workspace and optional fume extractor provide a clean working environment with a minimal amount of smoke and fumes during engraving. The full package as reviewed is currently on sale for $1,999.98, and made our list of the best laser cutters and engravers. If you already have a fume extractor and aren’t interested in the rotary engraving kit, you can pick up the Vision by itself for $1,249.99.
Specifications of WeCreat Vision
| Machine Footprint | 23.19 x 20.91 x 9.96 inches (589mm x 531mm x 253mm) |
| Engraving Size | 16.54 x 11.42 inches (420mm x 290mm) |
| Laser Type | Class 1 |
| Laser Power | 20W |
| Laser Spot Size | 0.08mm * 0.10mm |
| Laser Wavelength | 455nm |
| Motion Accuracy | 0.01mm |
| Enclosure | Integrated |
| Cutting Platform | Removable |
| Air Filter | Optional |
| Connectivity | USB, Wi-Fi |
WeCreat Vision: Included in the box
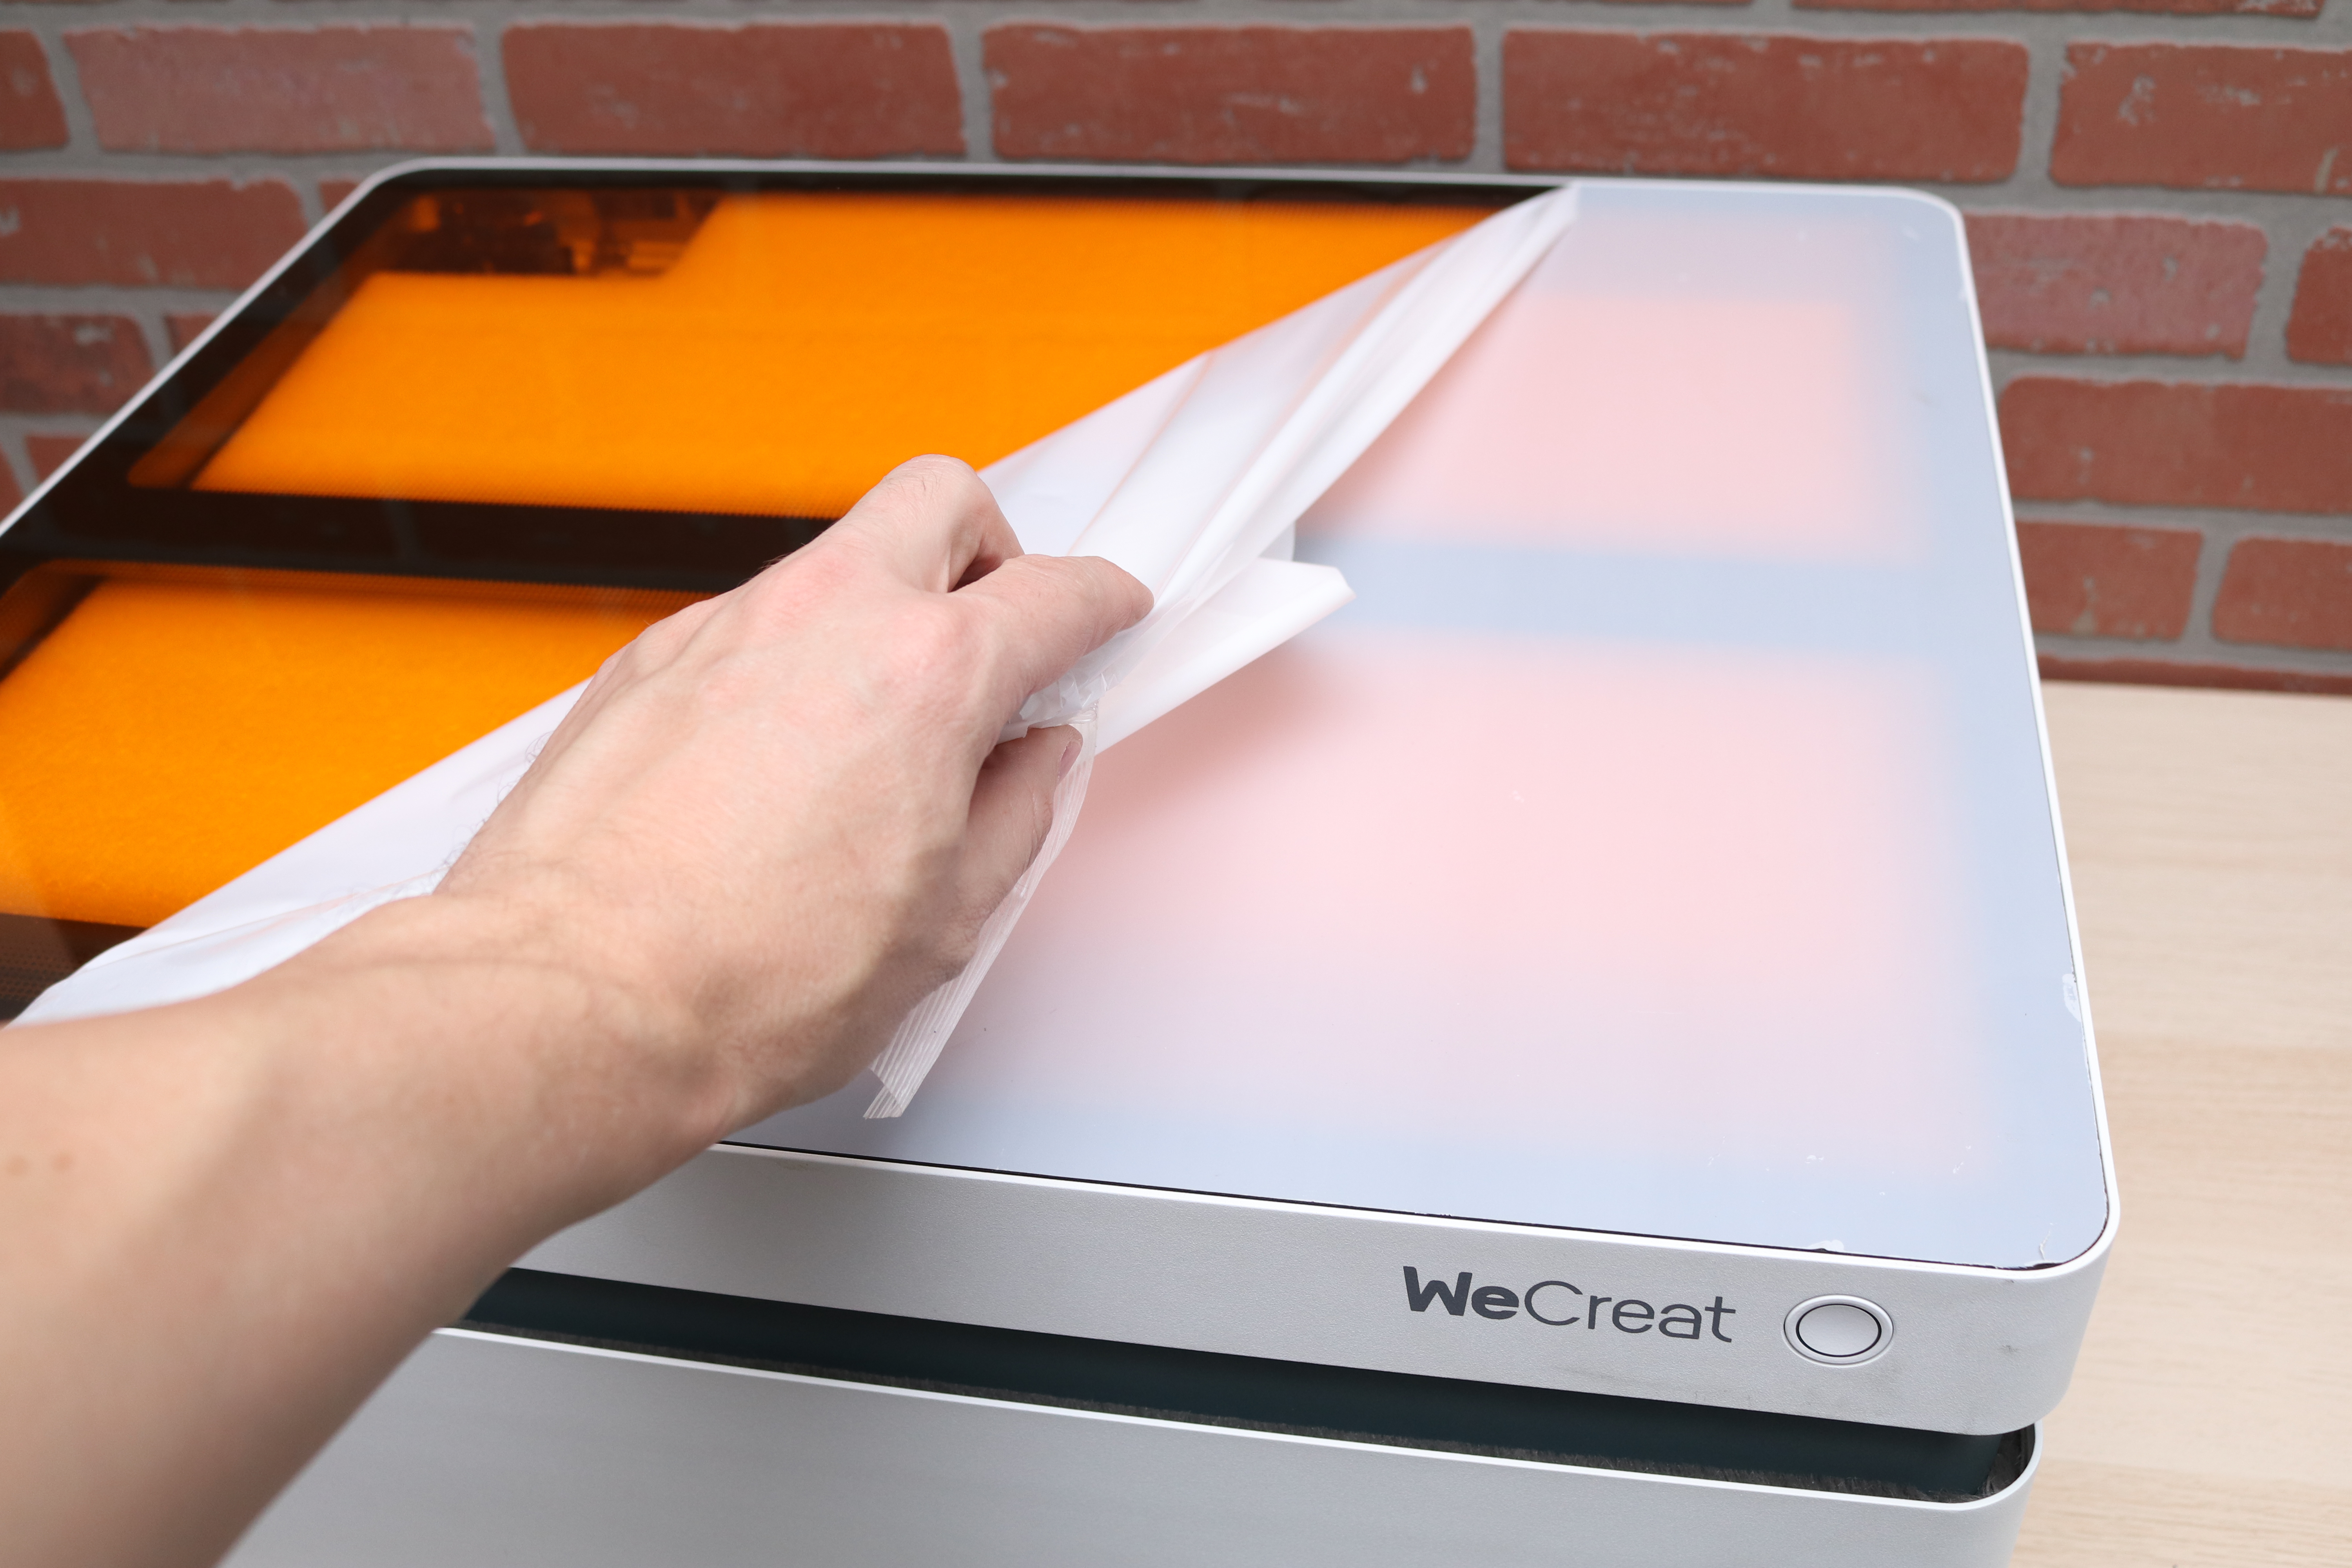
The WeCreat Vision ships in a tightly-packed box that includes all the required tools and accessories to get started. The Vision has all of the accessories packed inside the unit, so it’s worth taking your time and reading the manual first to make sure you unbox everything in the right order. The laser beds for the unit are hidden in the packaging, so go slowly and take your time with this step.
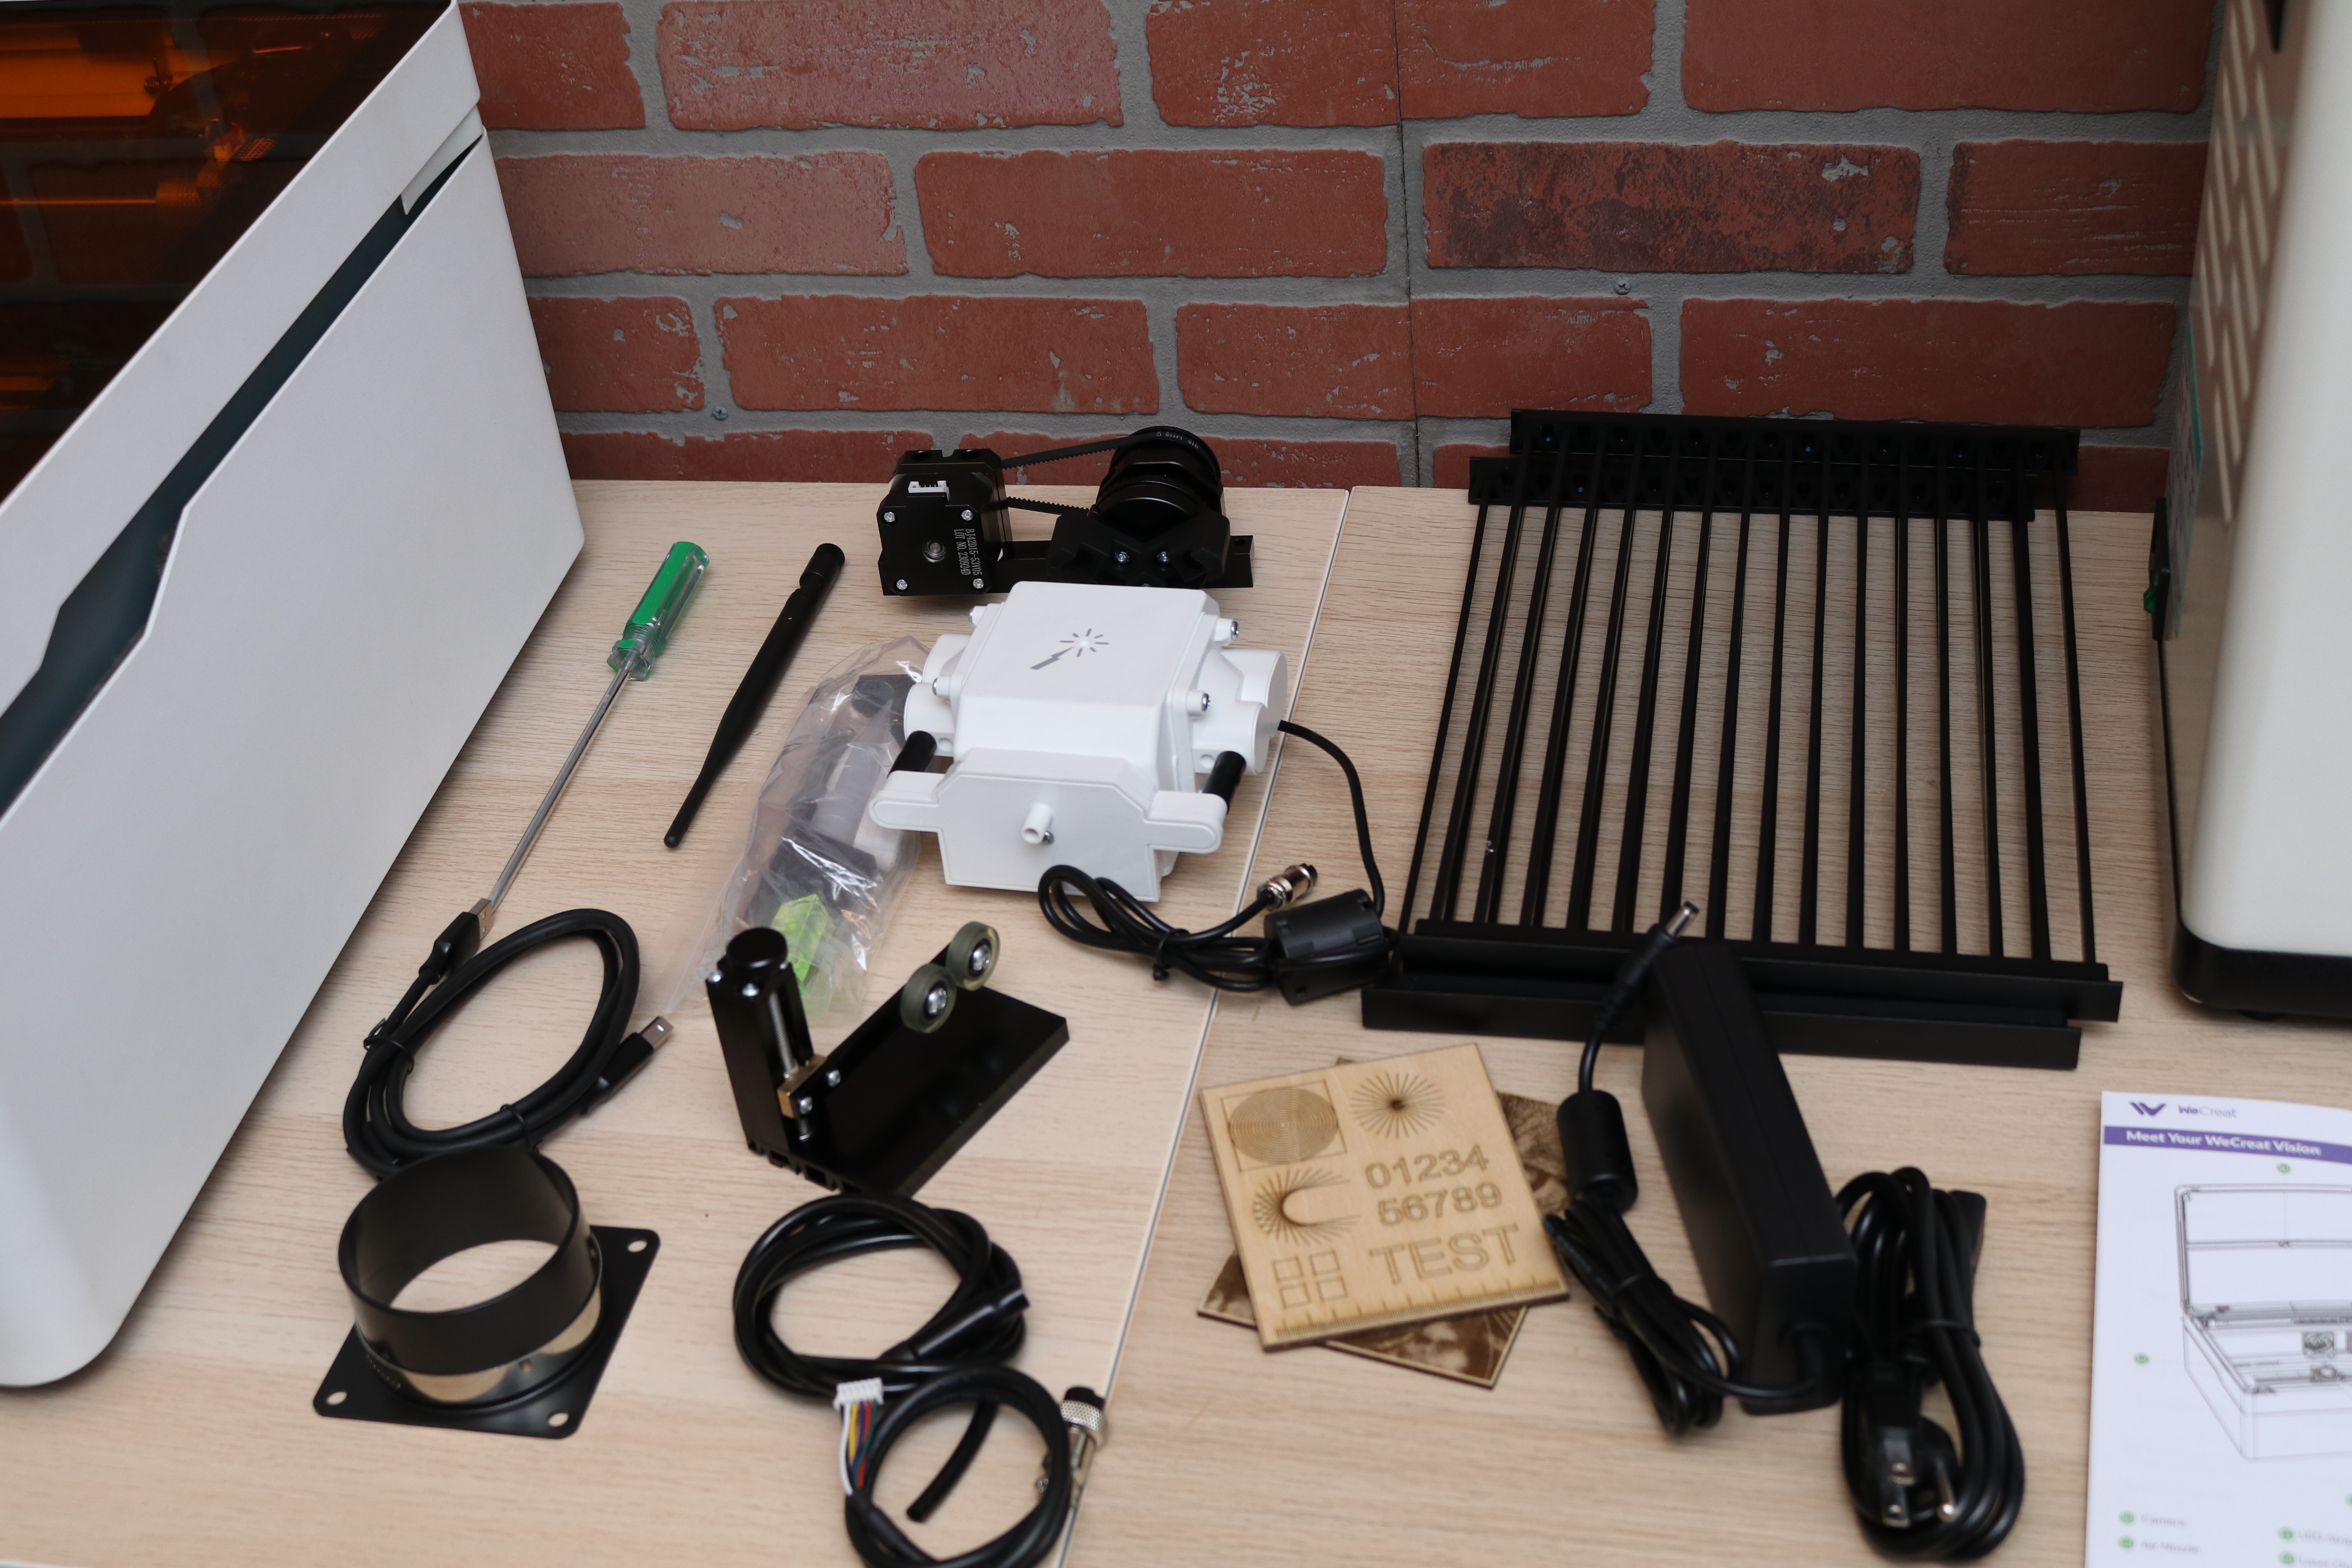
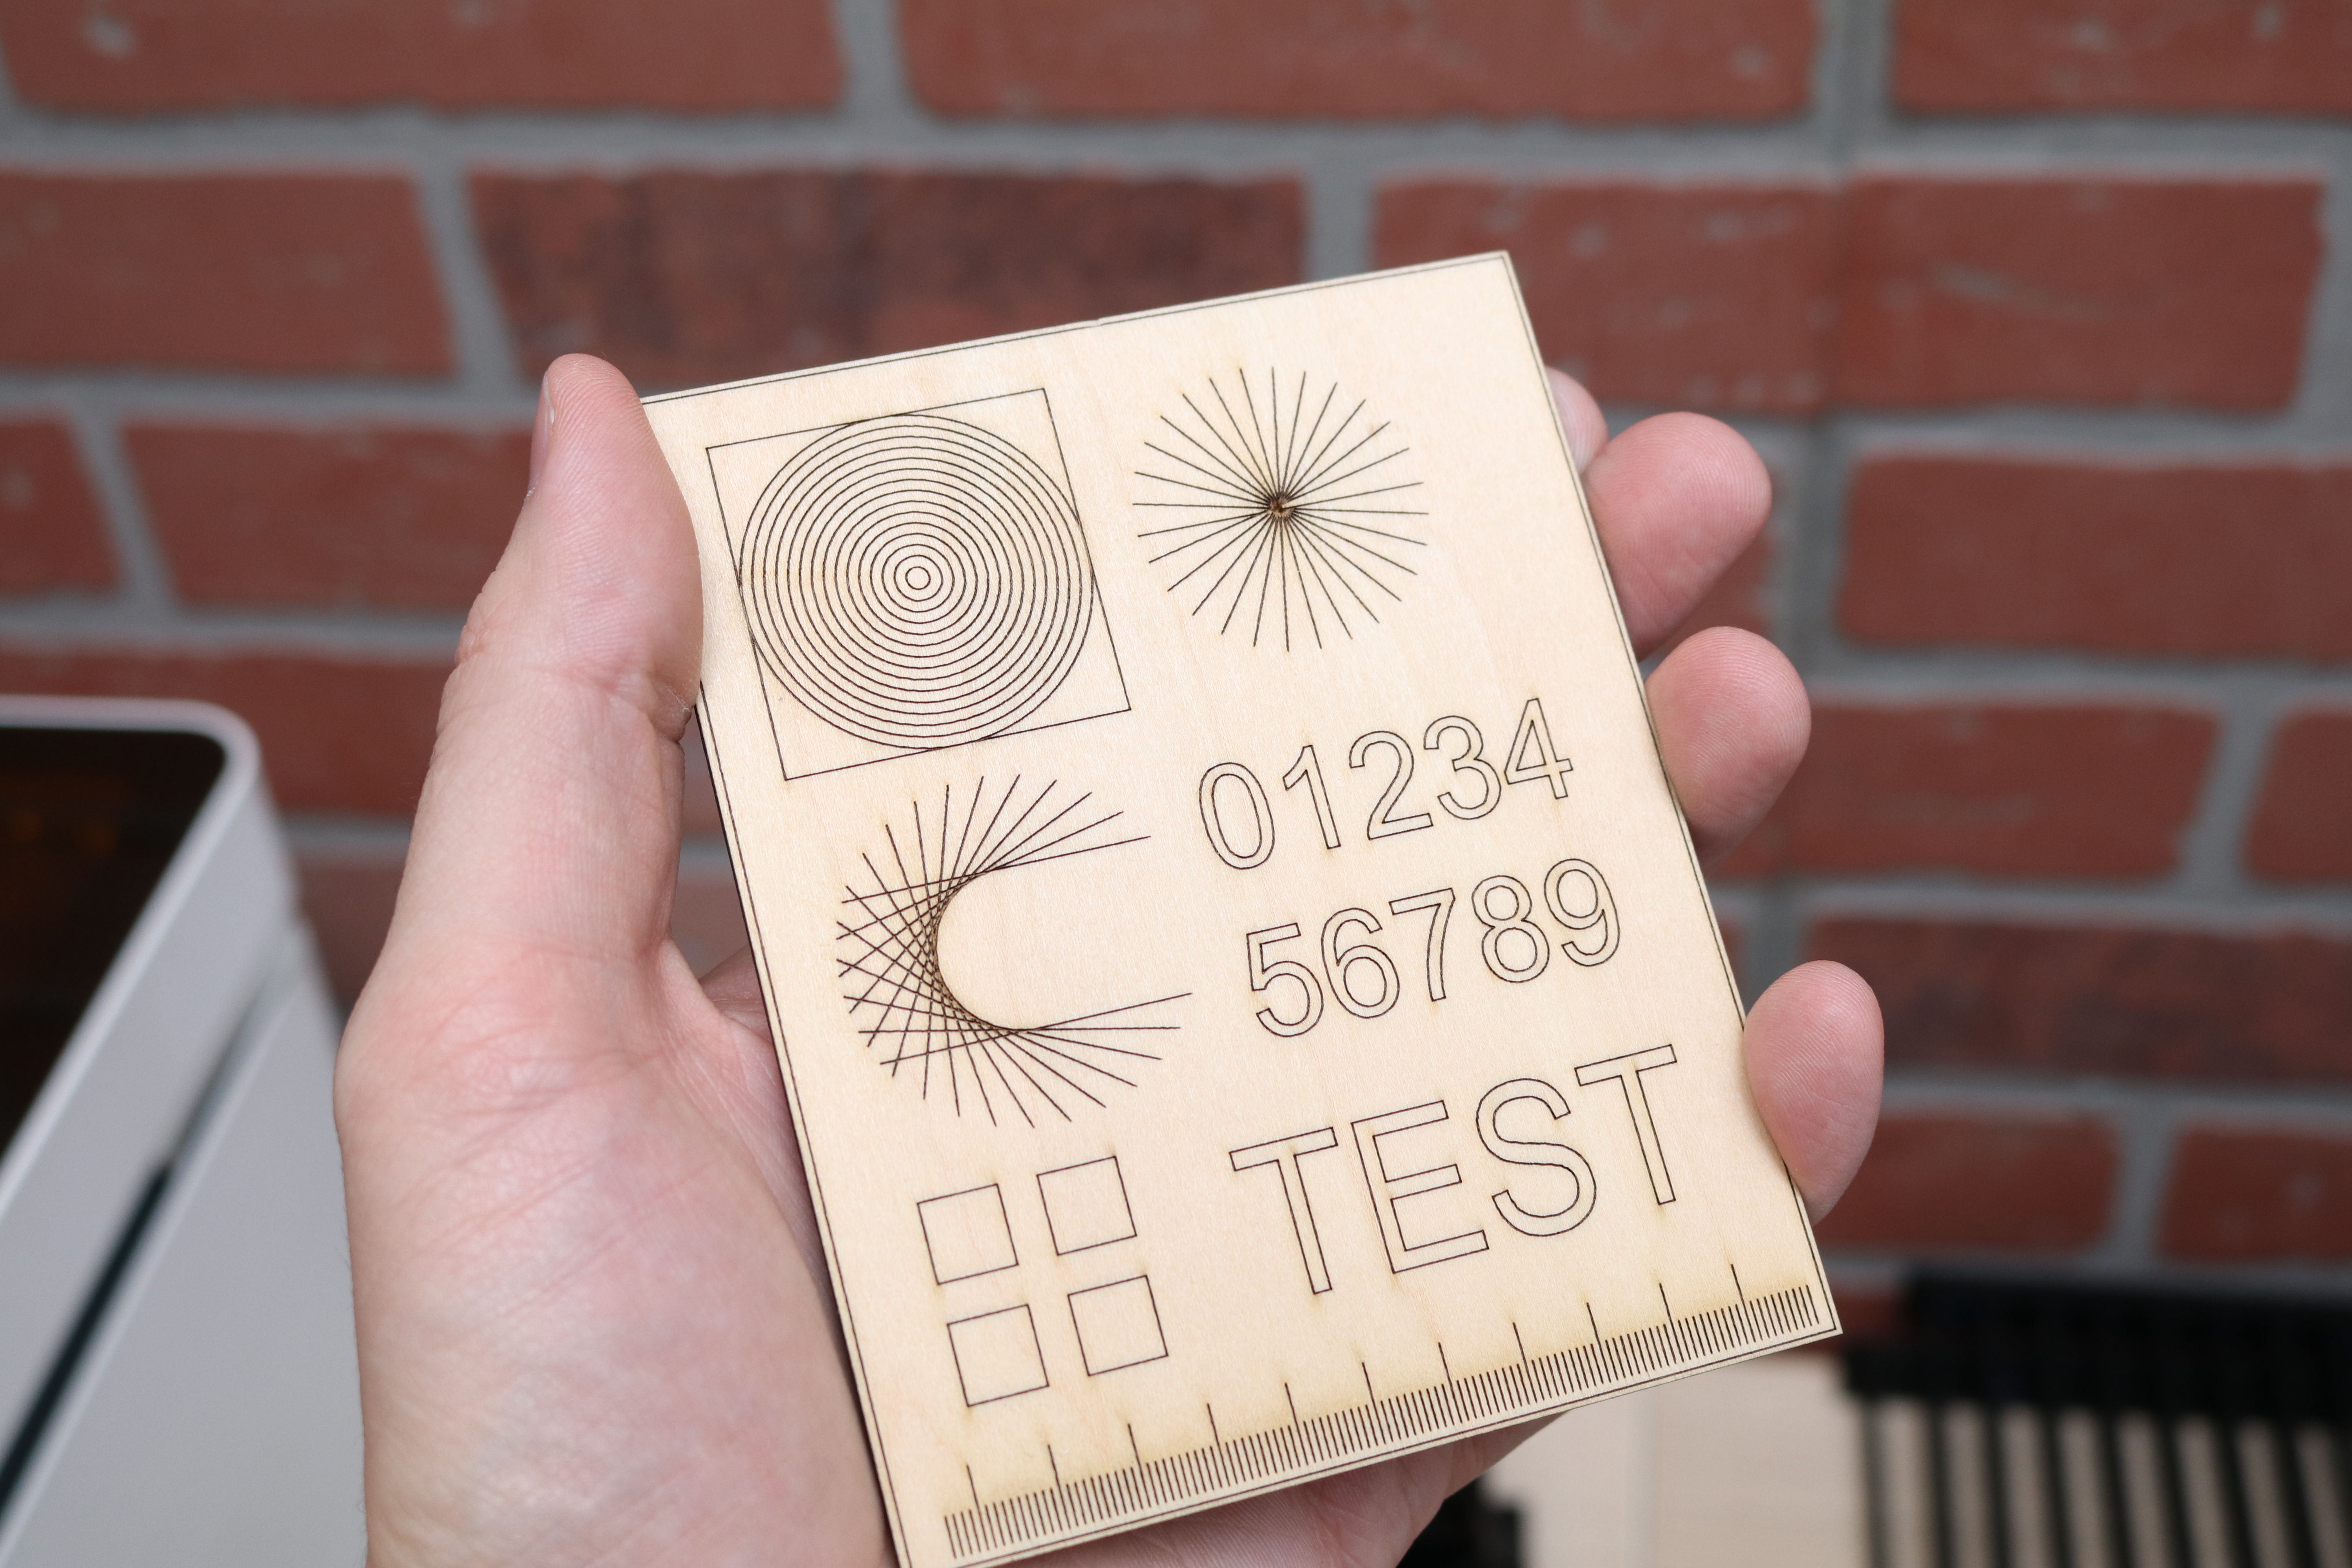
Included with the basic package are the laser beds, a Wi-Fi antenna, some tools for assembly, a 1.5m exhaust hose for venting, and some other small accessories. The Vision includes an air assist by default as well as an optional rotary engraving kit and fume extractor (more on both of those later). The Vision also includes a few tests to demonstrate that the laser functions correctly, a nice addition considering the cost of the machine.
Design of the WeCreat Vision
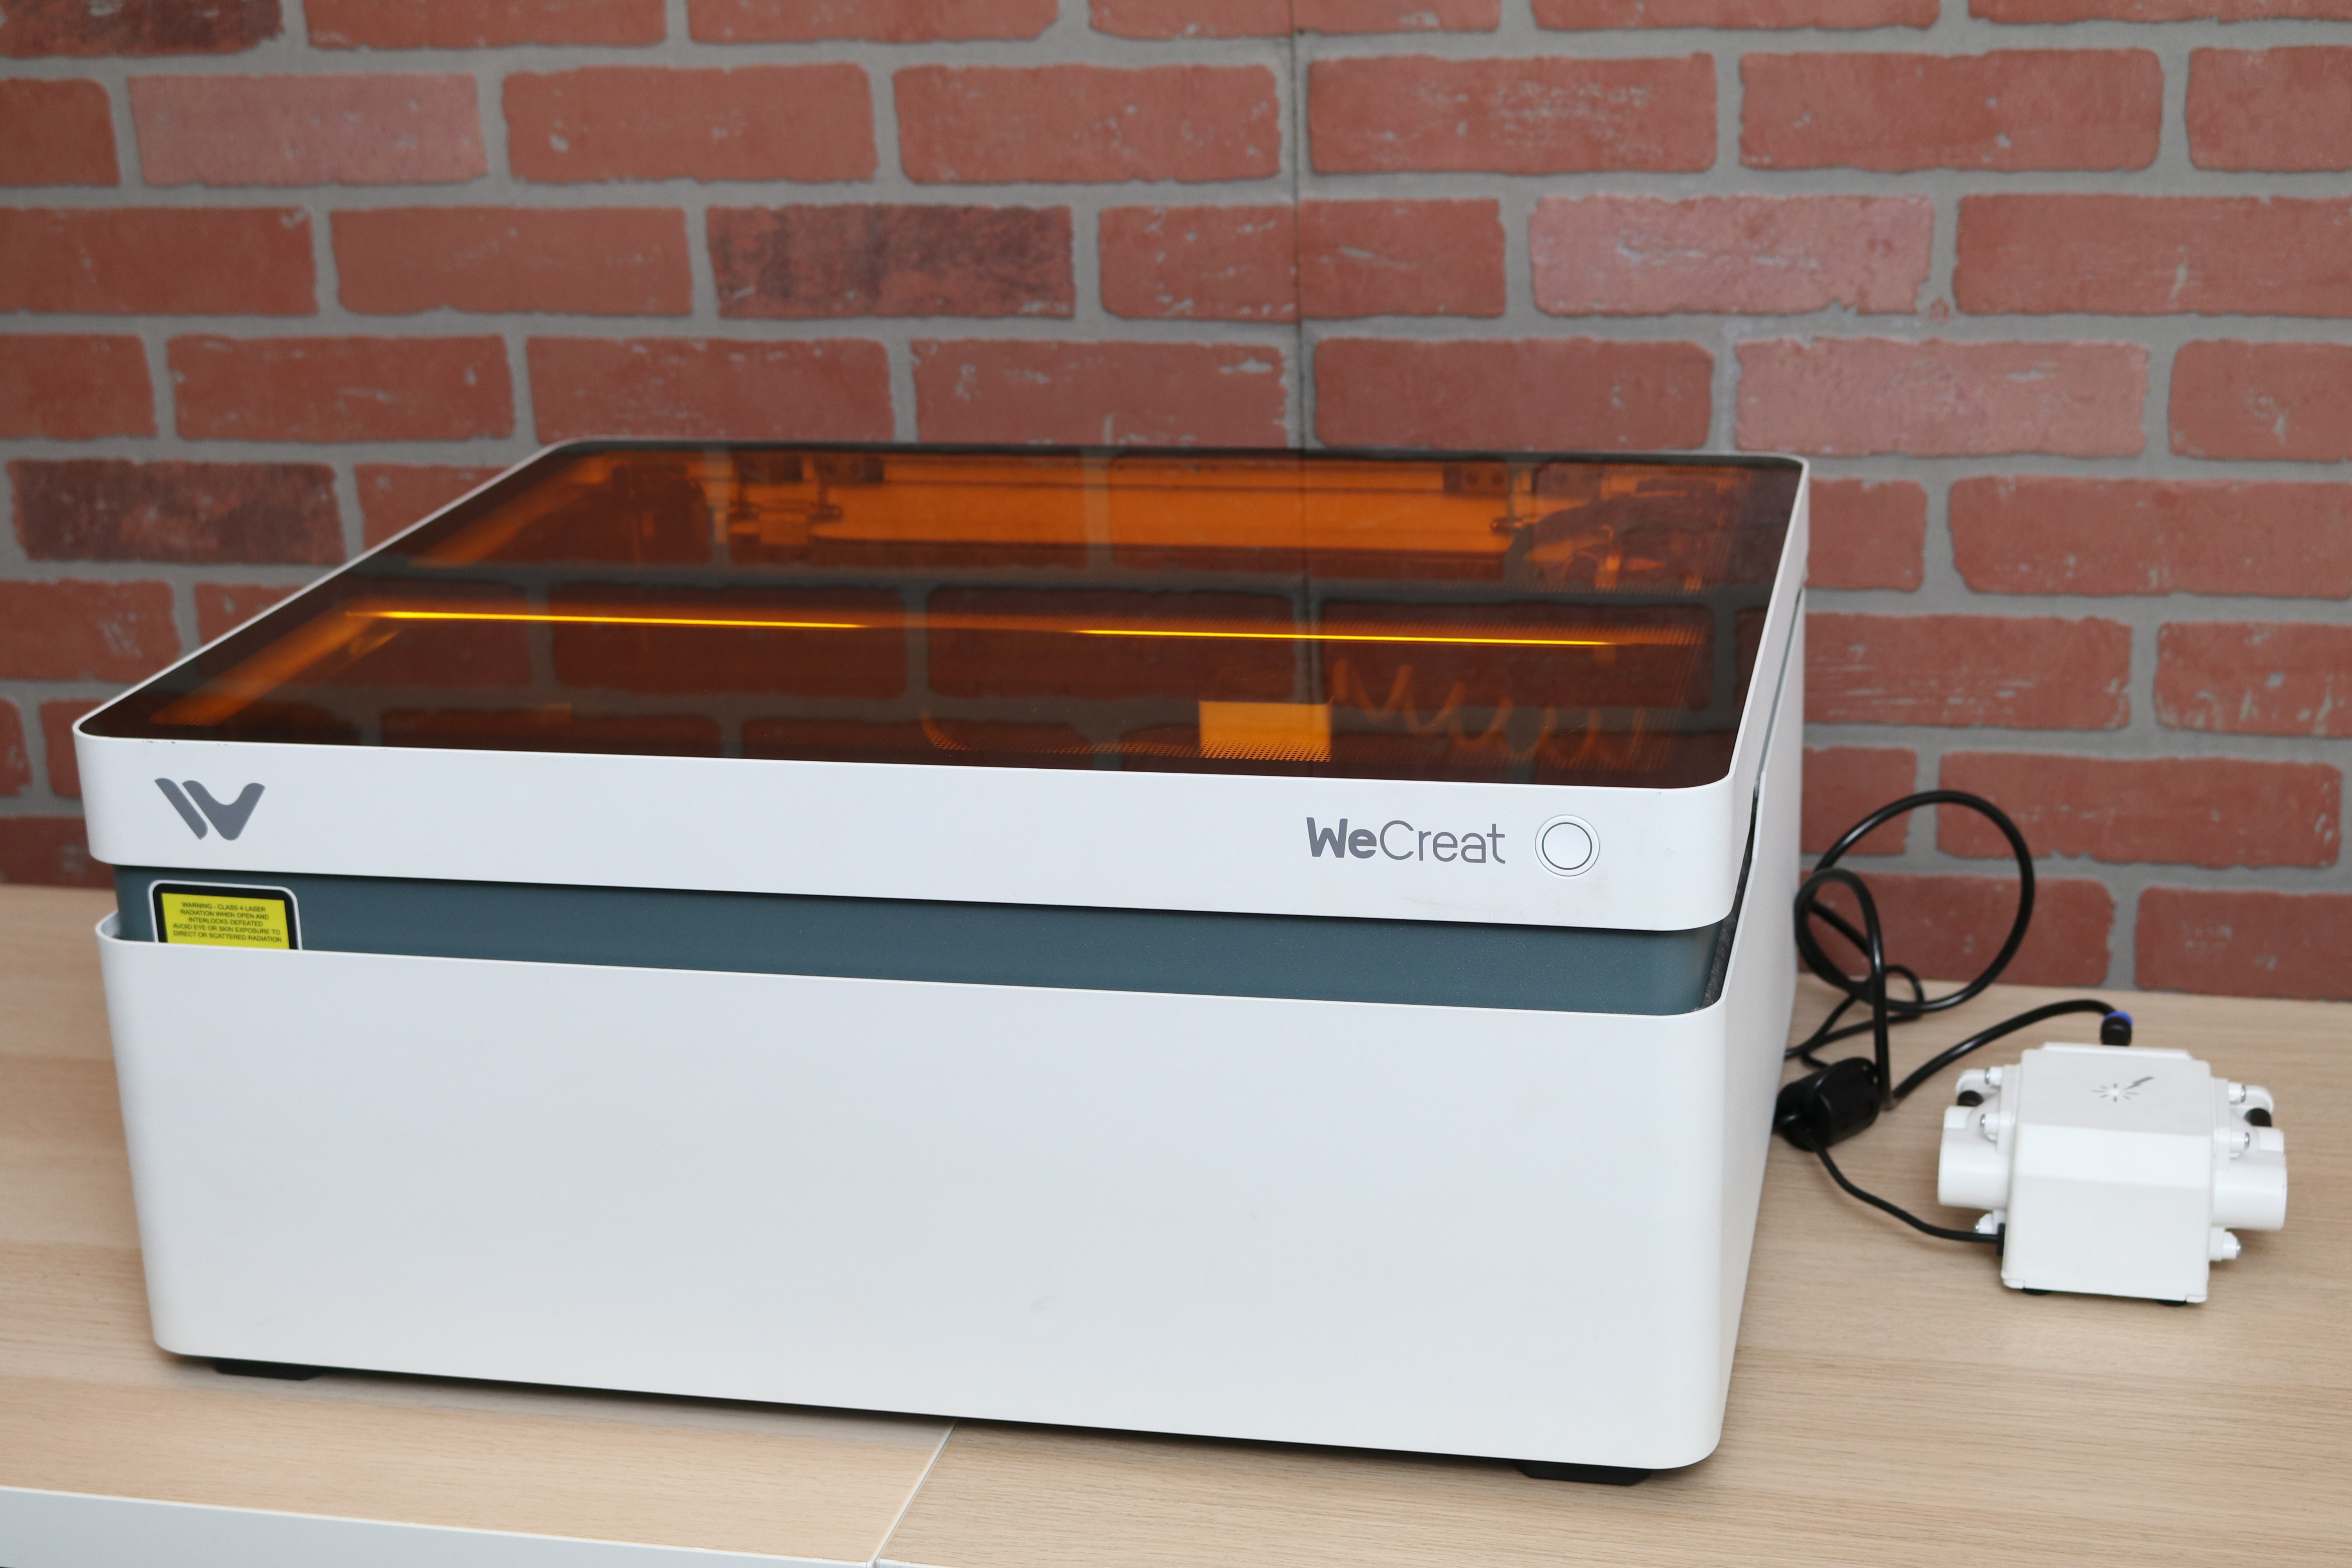
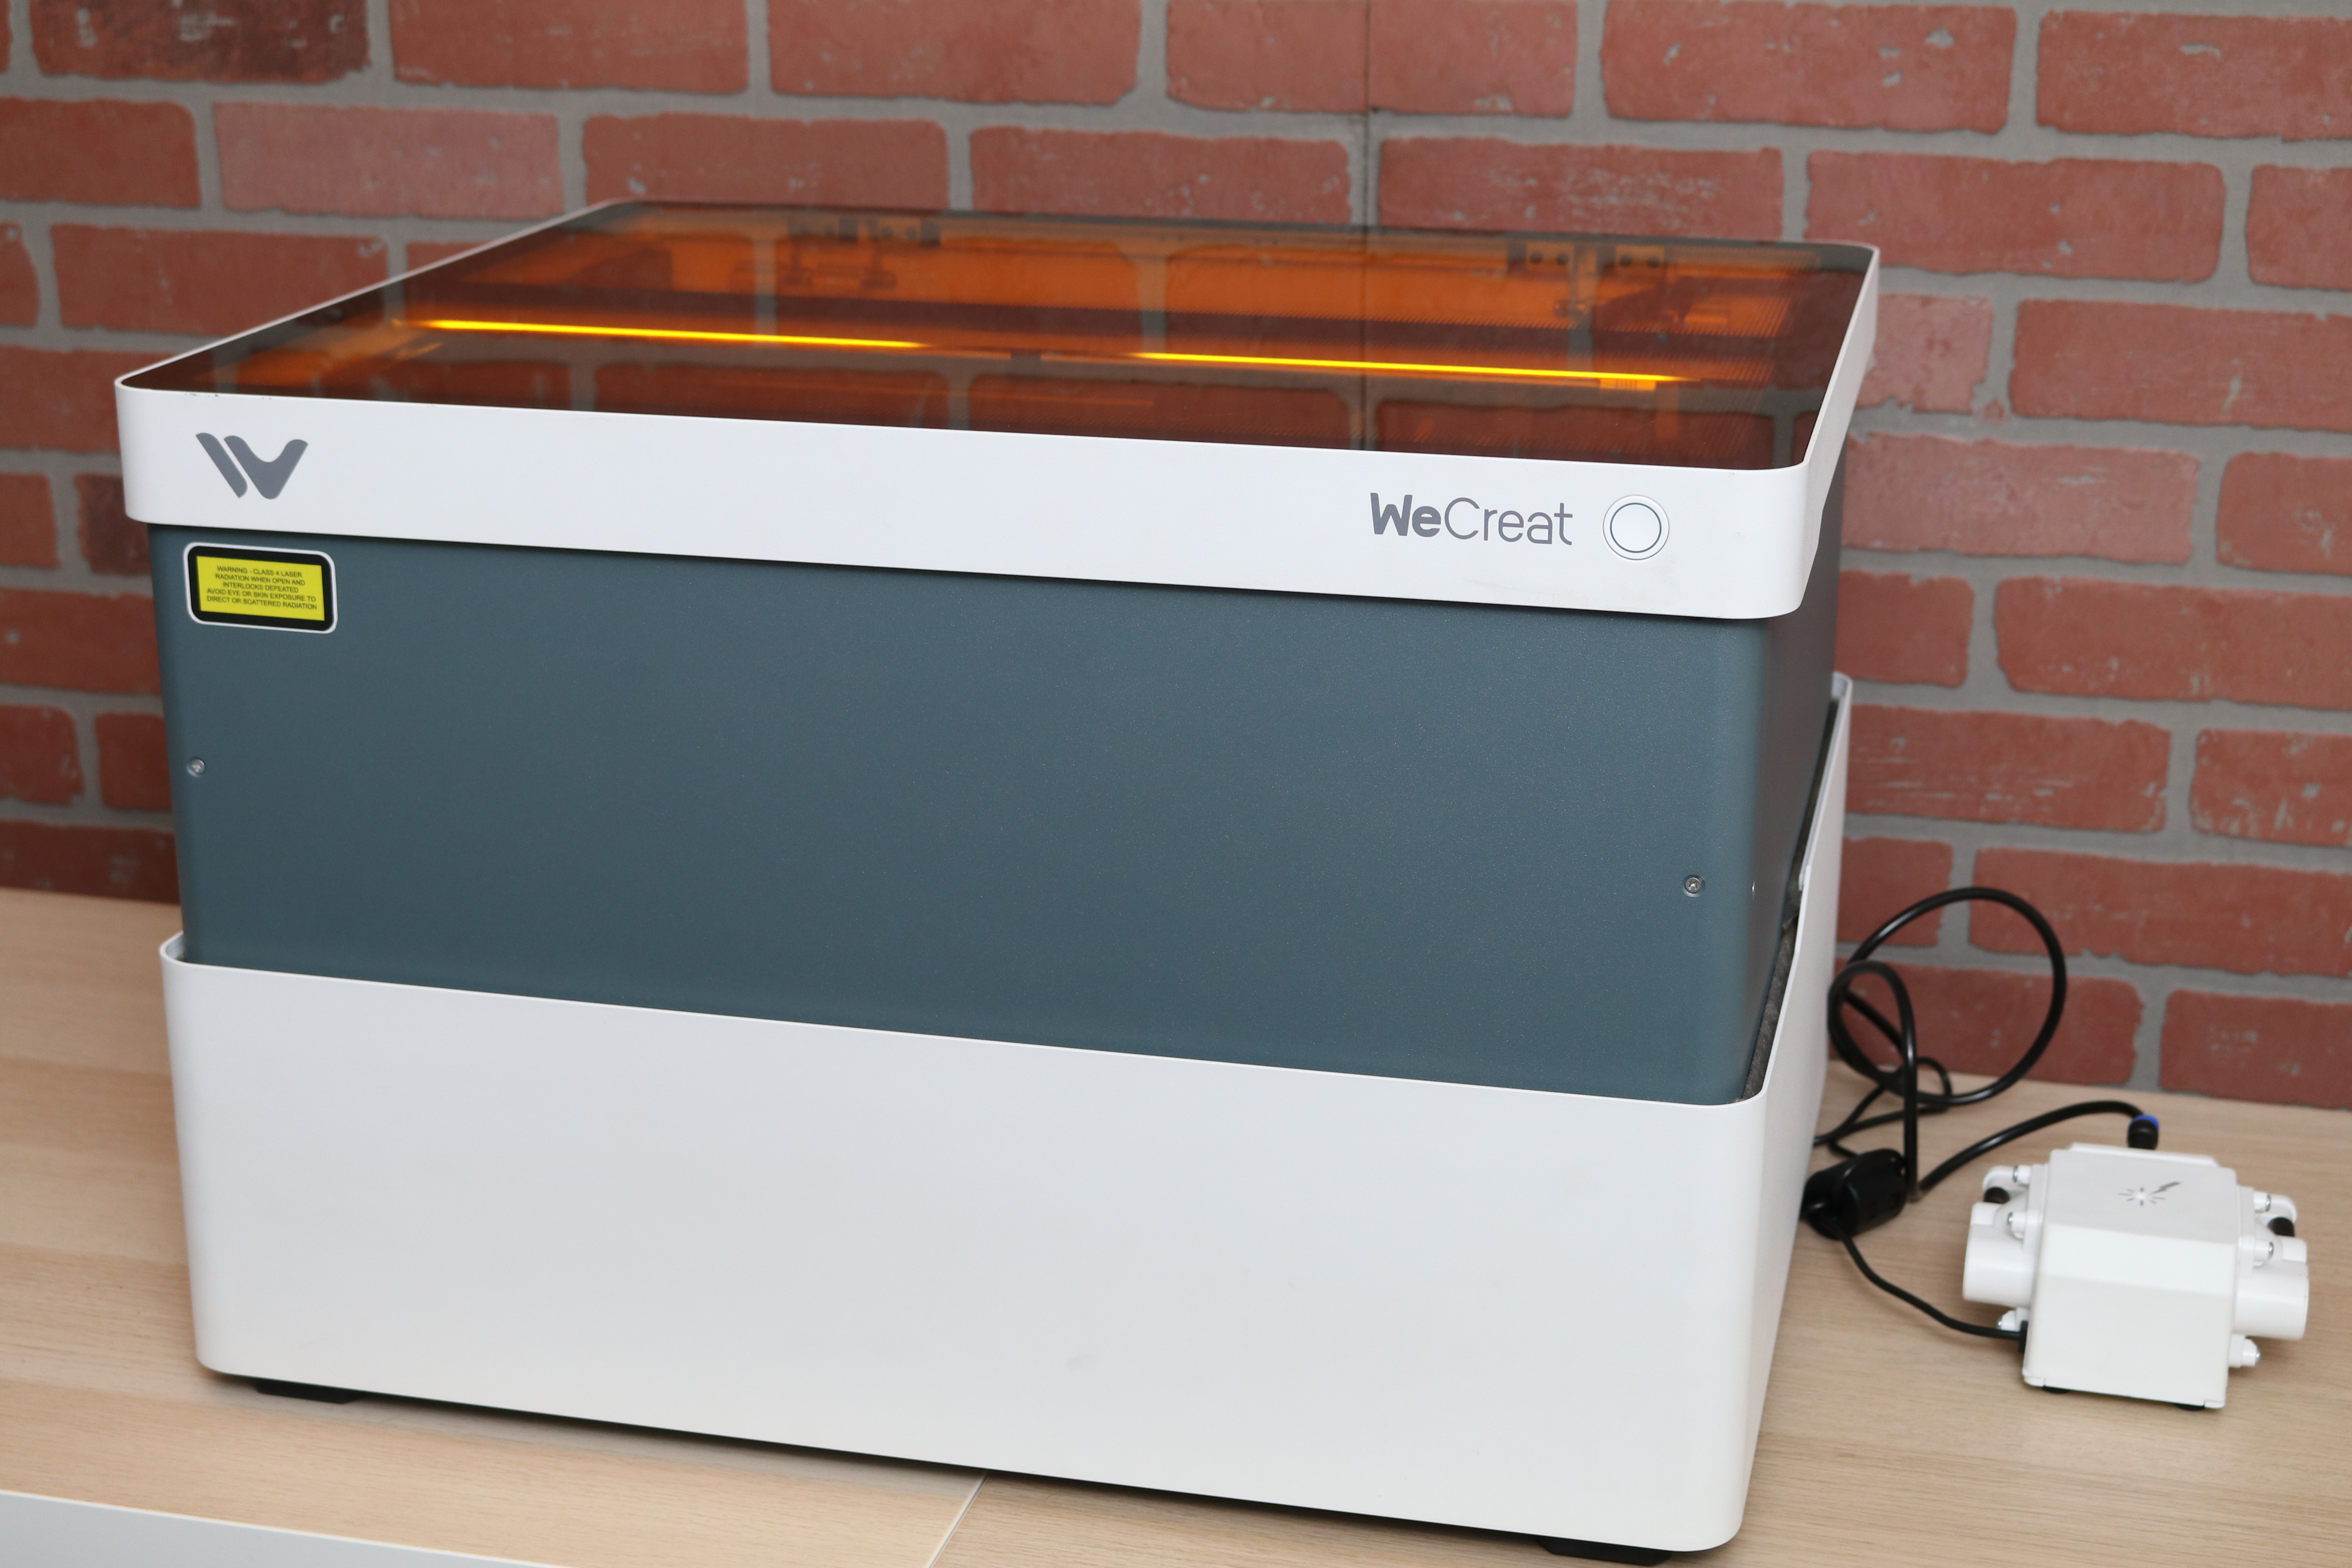
The WeCreat Vision is a sleek machine that fits comfortably on a standard 24-inch by 48-inch workshop desk. The air assist (which vibrates intensely during use) sits on four rubber stanchions and can be placed next to the unit during operation. After unpacking, the Vision measures 253mm tall but immediately raises up to a total of 393mm after powering on. This additional Z-height is the magic trick employed by the Vision to accommodate objects up to 100mm tall on the laser bed (140mm without the laser bed) while using the built-in auto-focus to avoid manually lifting the engraver or adjusting the laser beam focus.
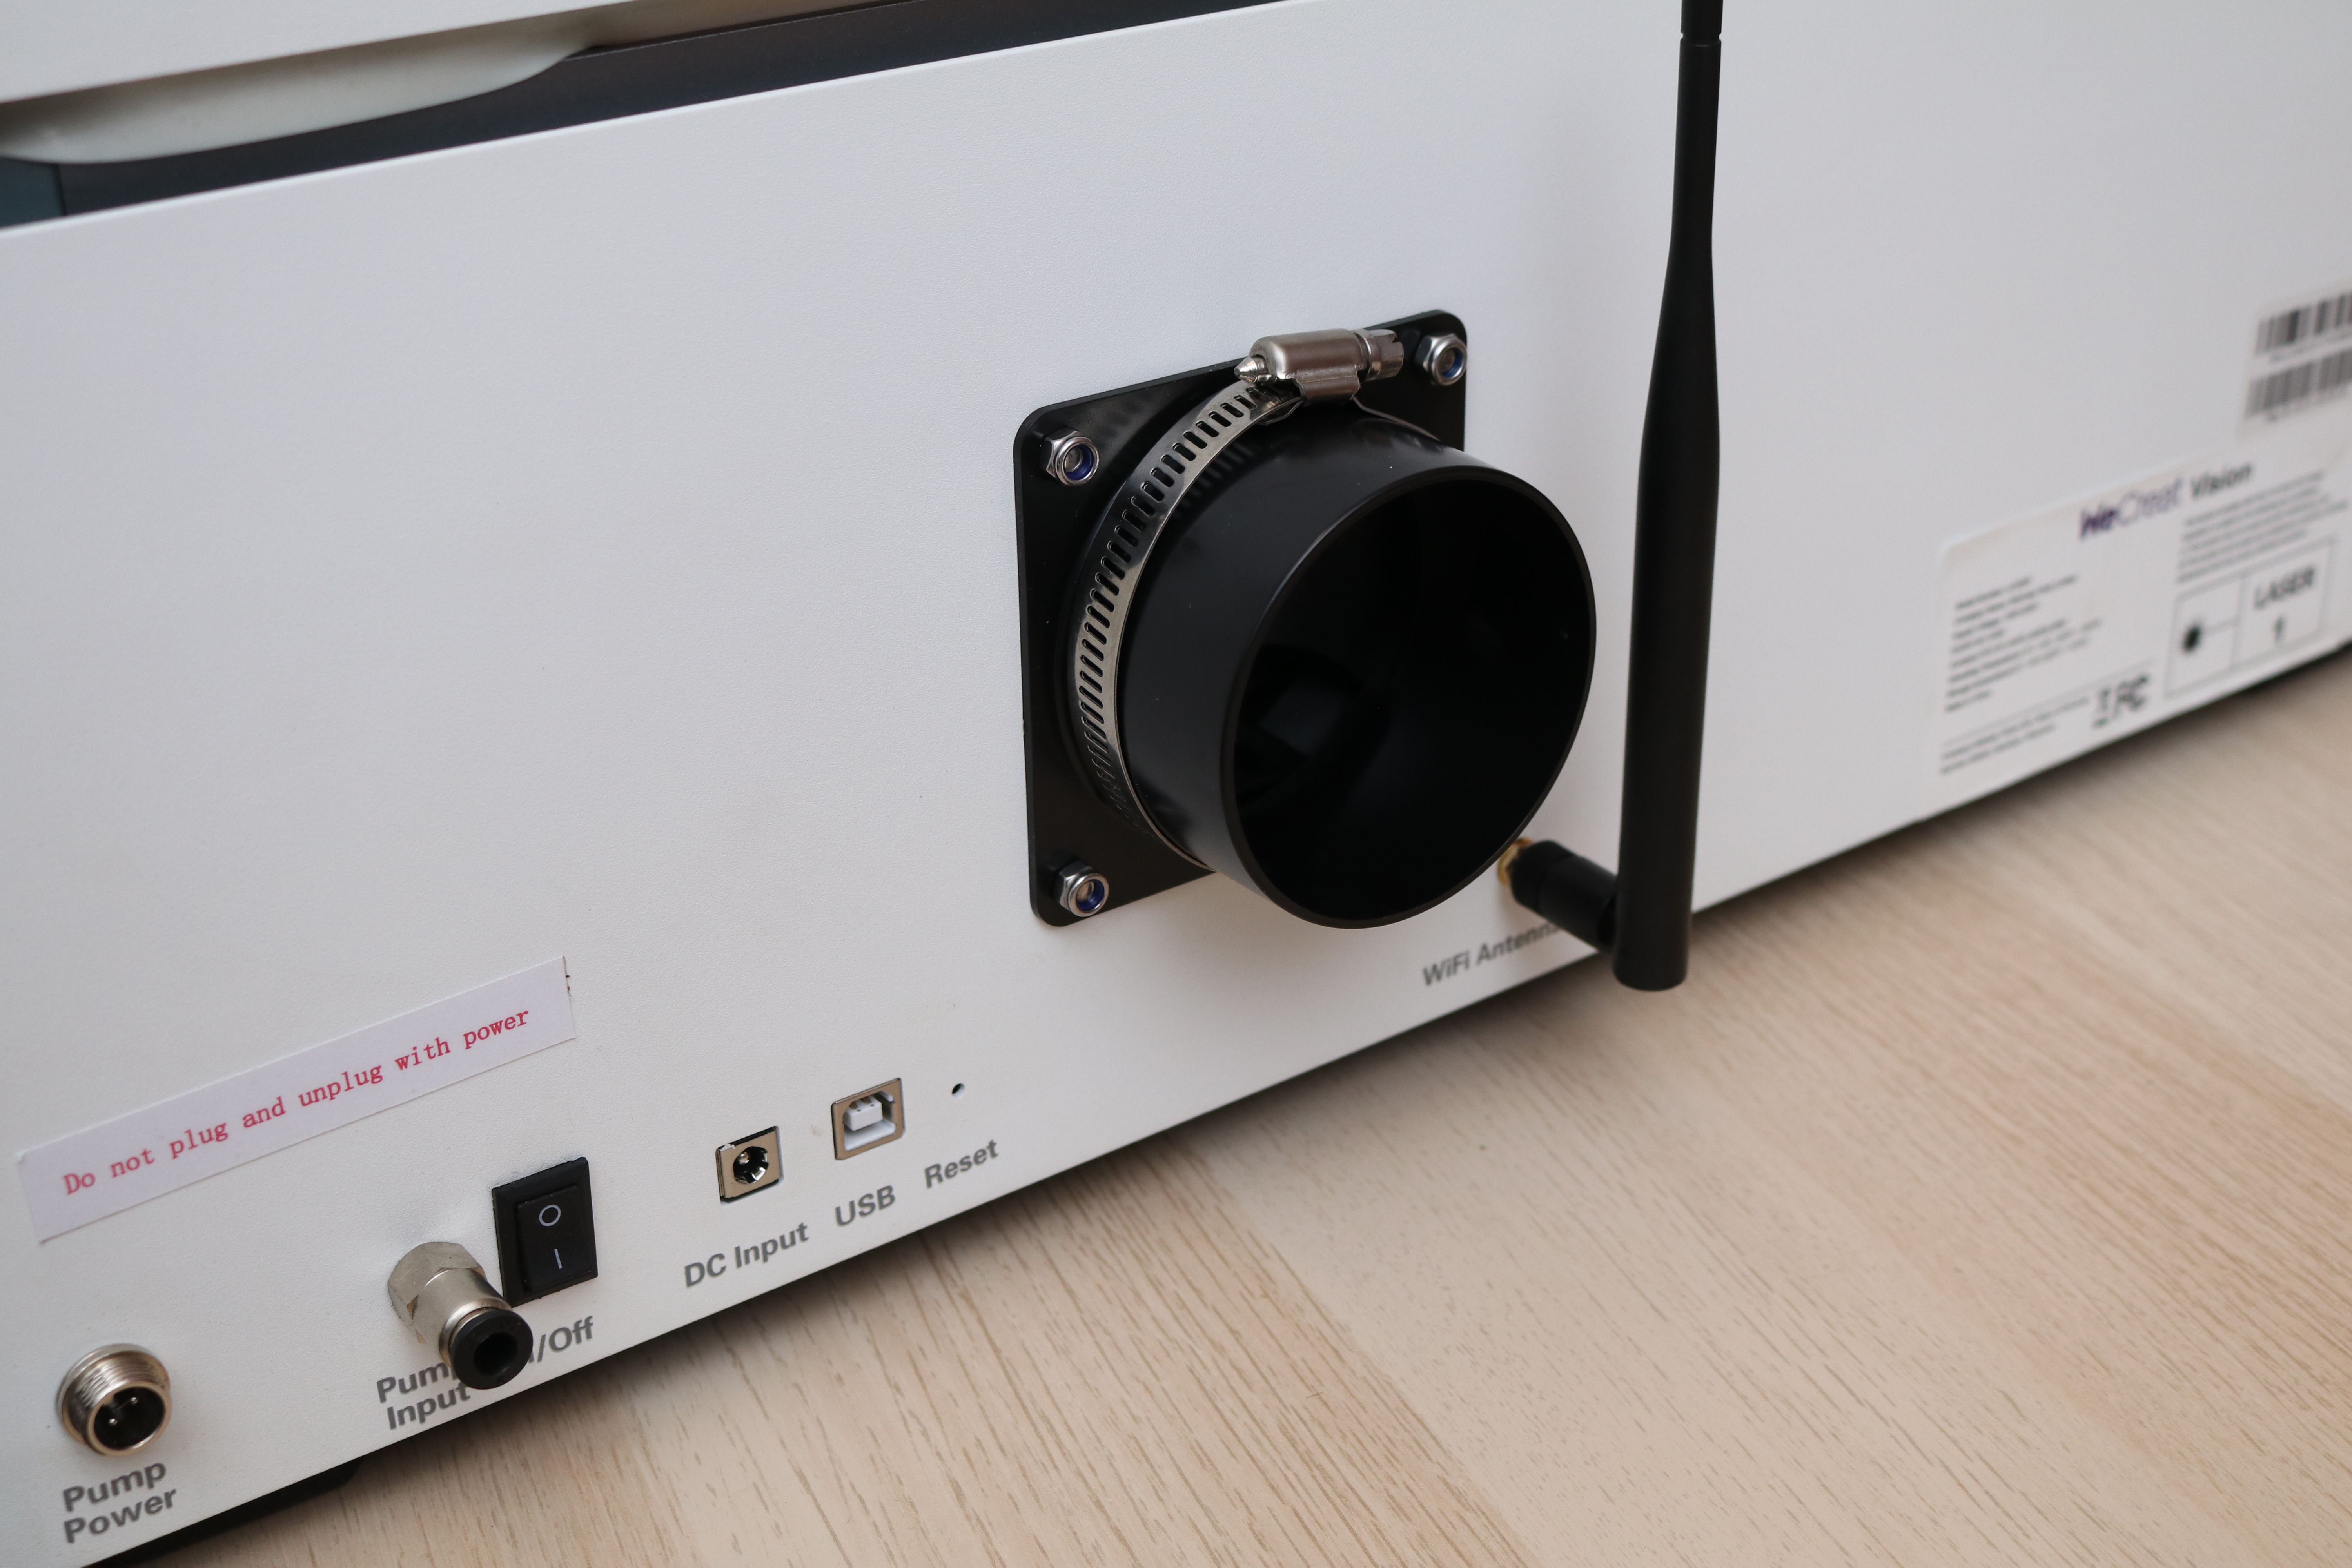
The rear panel of the Vision has two ports for the air assist (power and air), a DC port to supply power to the unit, a USB input, a reset button, an output for exhaust during printing, and a terminal for the Wi-Fi antenna. Getting the hose clamp around the exhaust pipe is a job that can be done easily with three hands and very slowly with two, so getting some help is recommended for this stage.
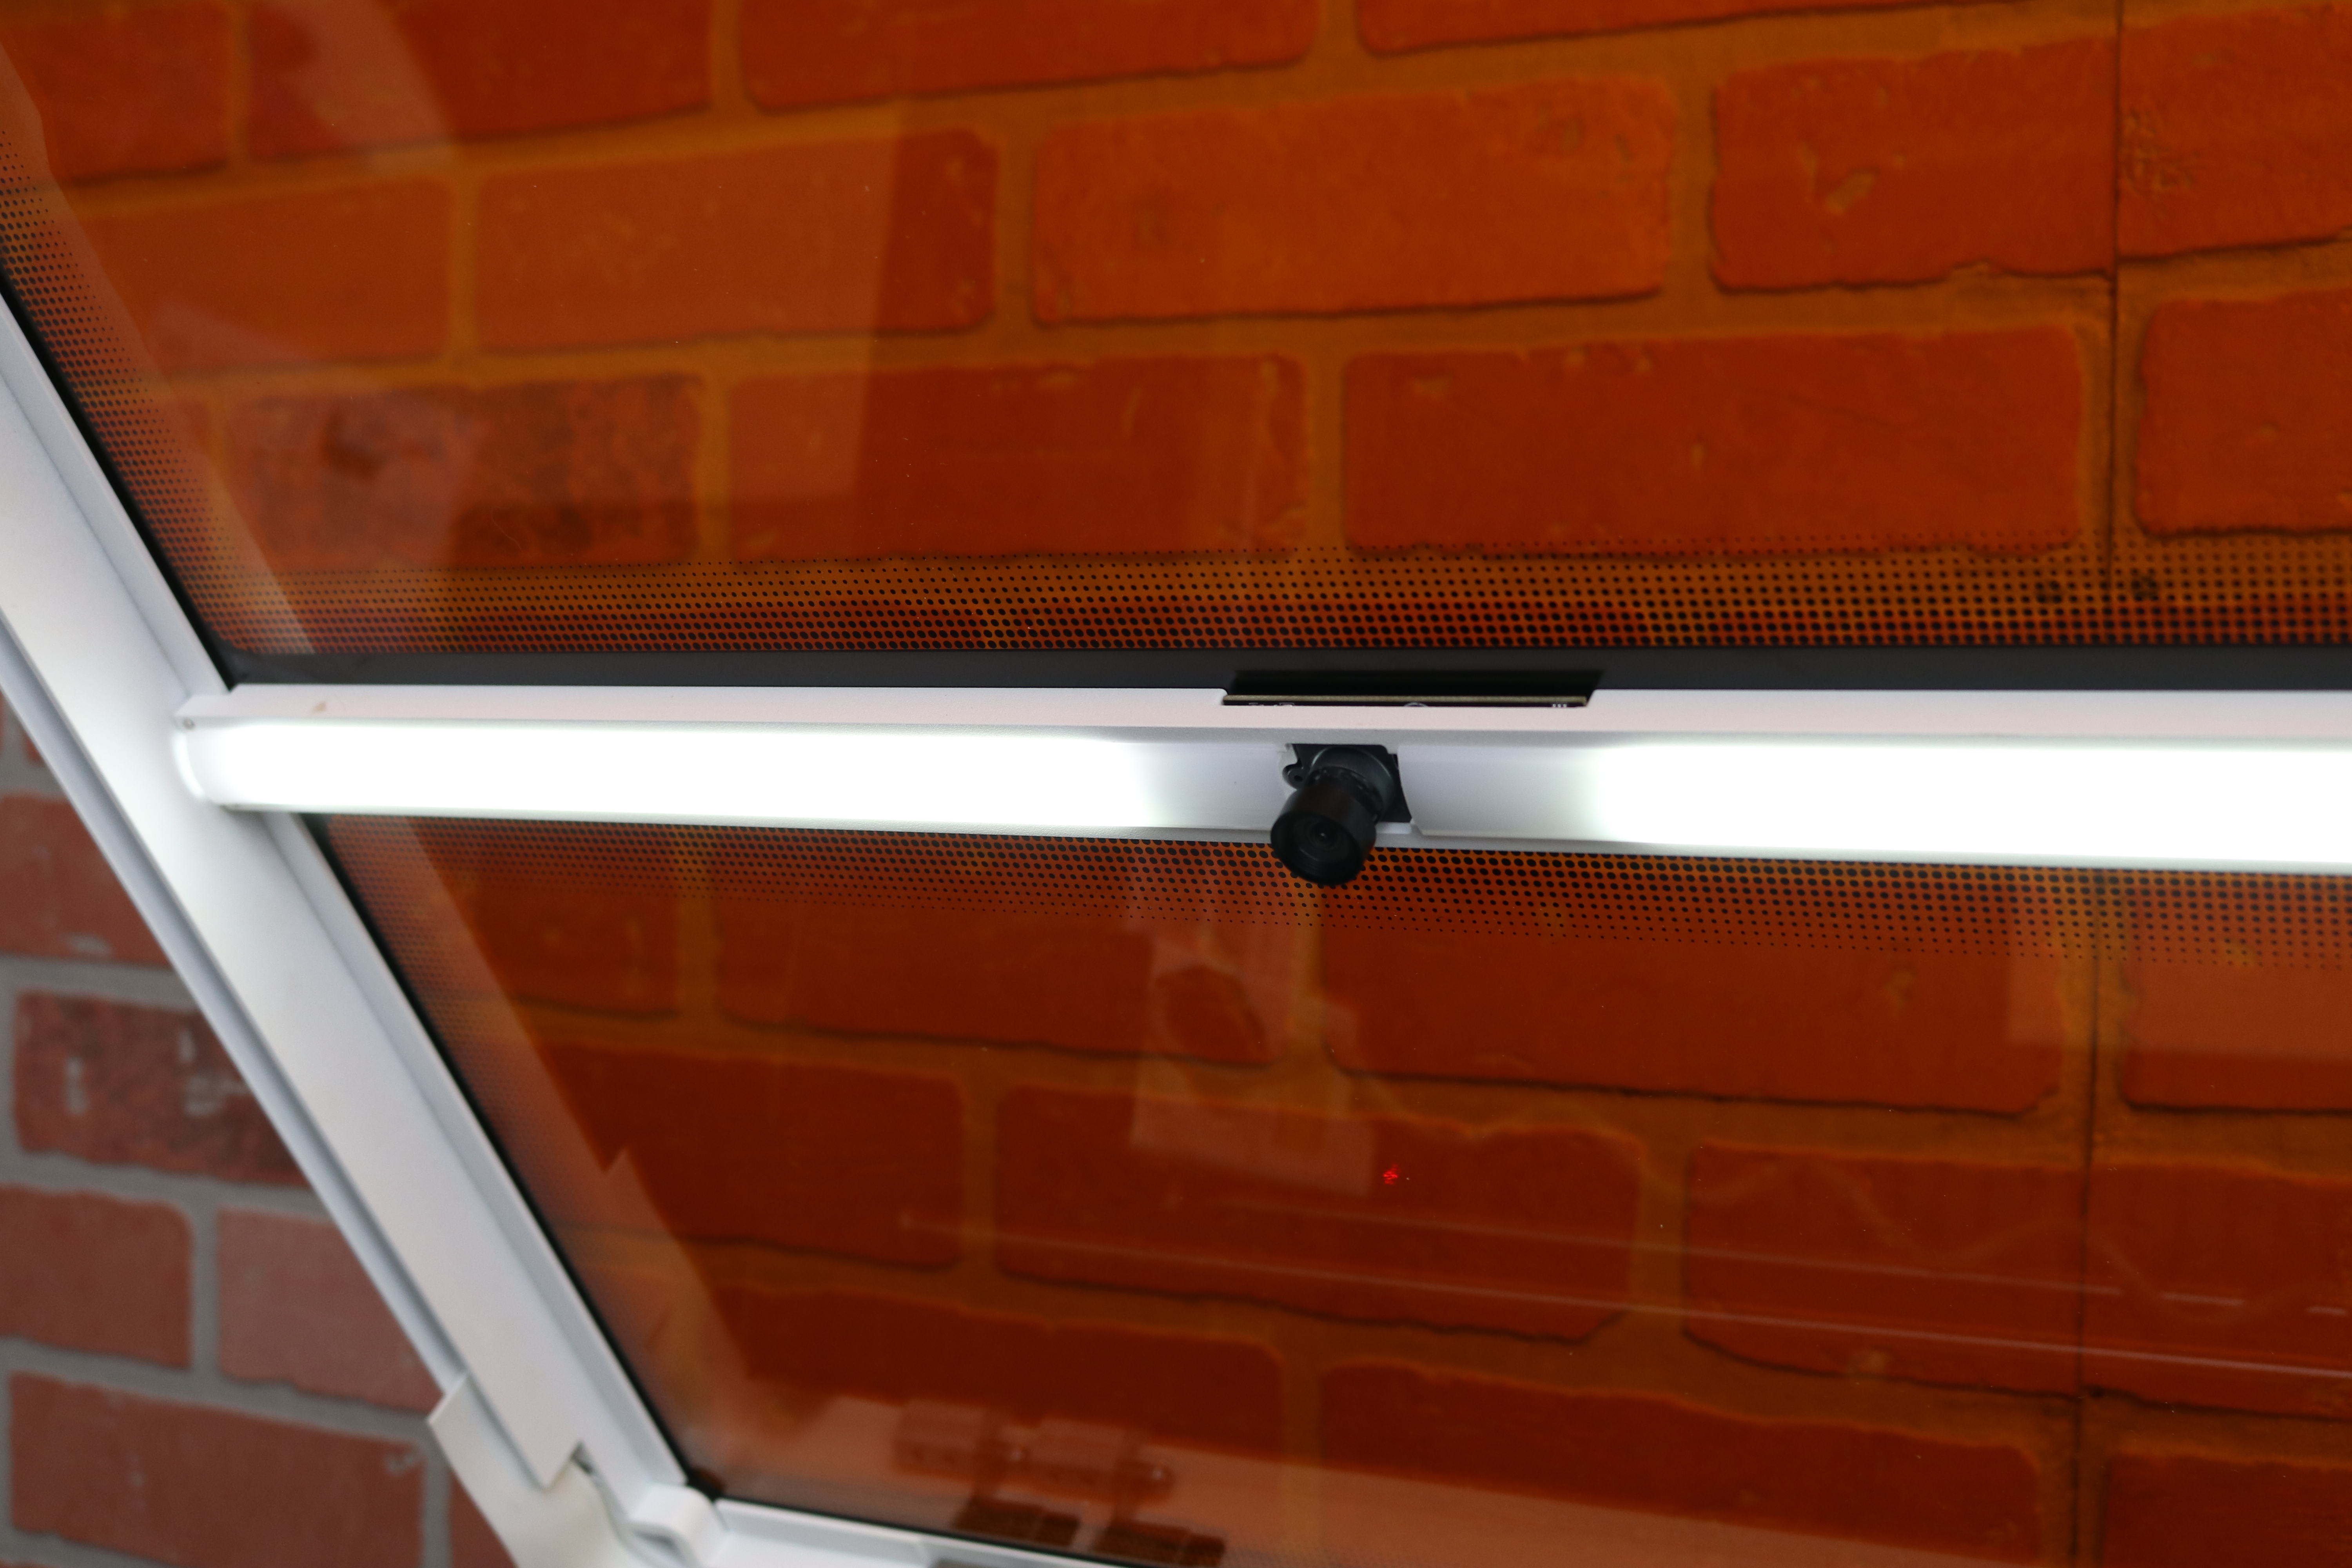
The safety lid on the Vision contains a single bar that runs the length of the unit which contains both an LED light bar as well as a 12-MP camera used to show the layout of parts on the platform before engraving. This bar is unobtrusive and sleek, and it’s easy to see the full workspace clearly due to the bright LED light bar.
Get Tom's Hardware's best news and in-depth reviews, straight to your inbox.
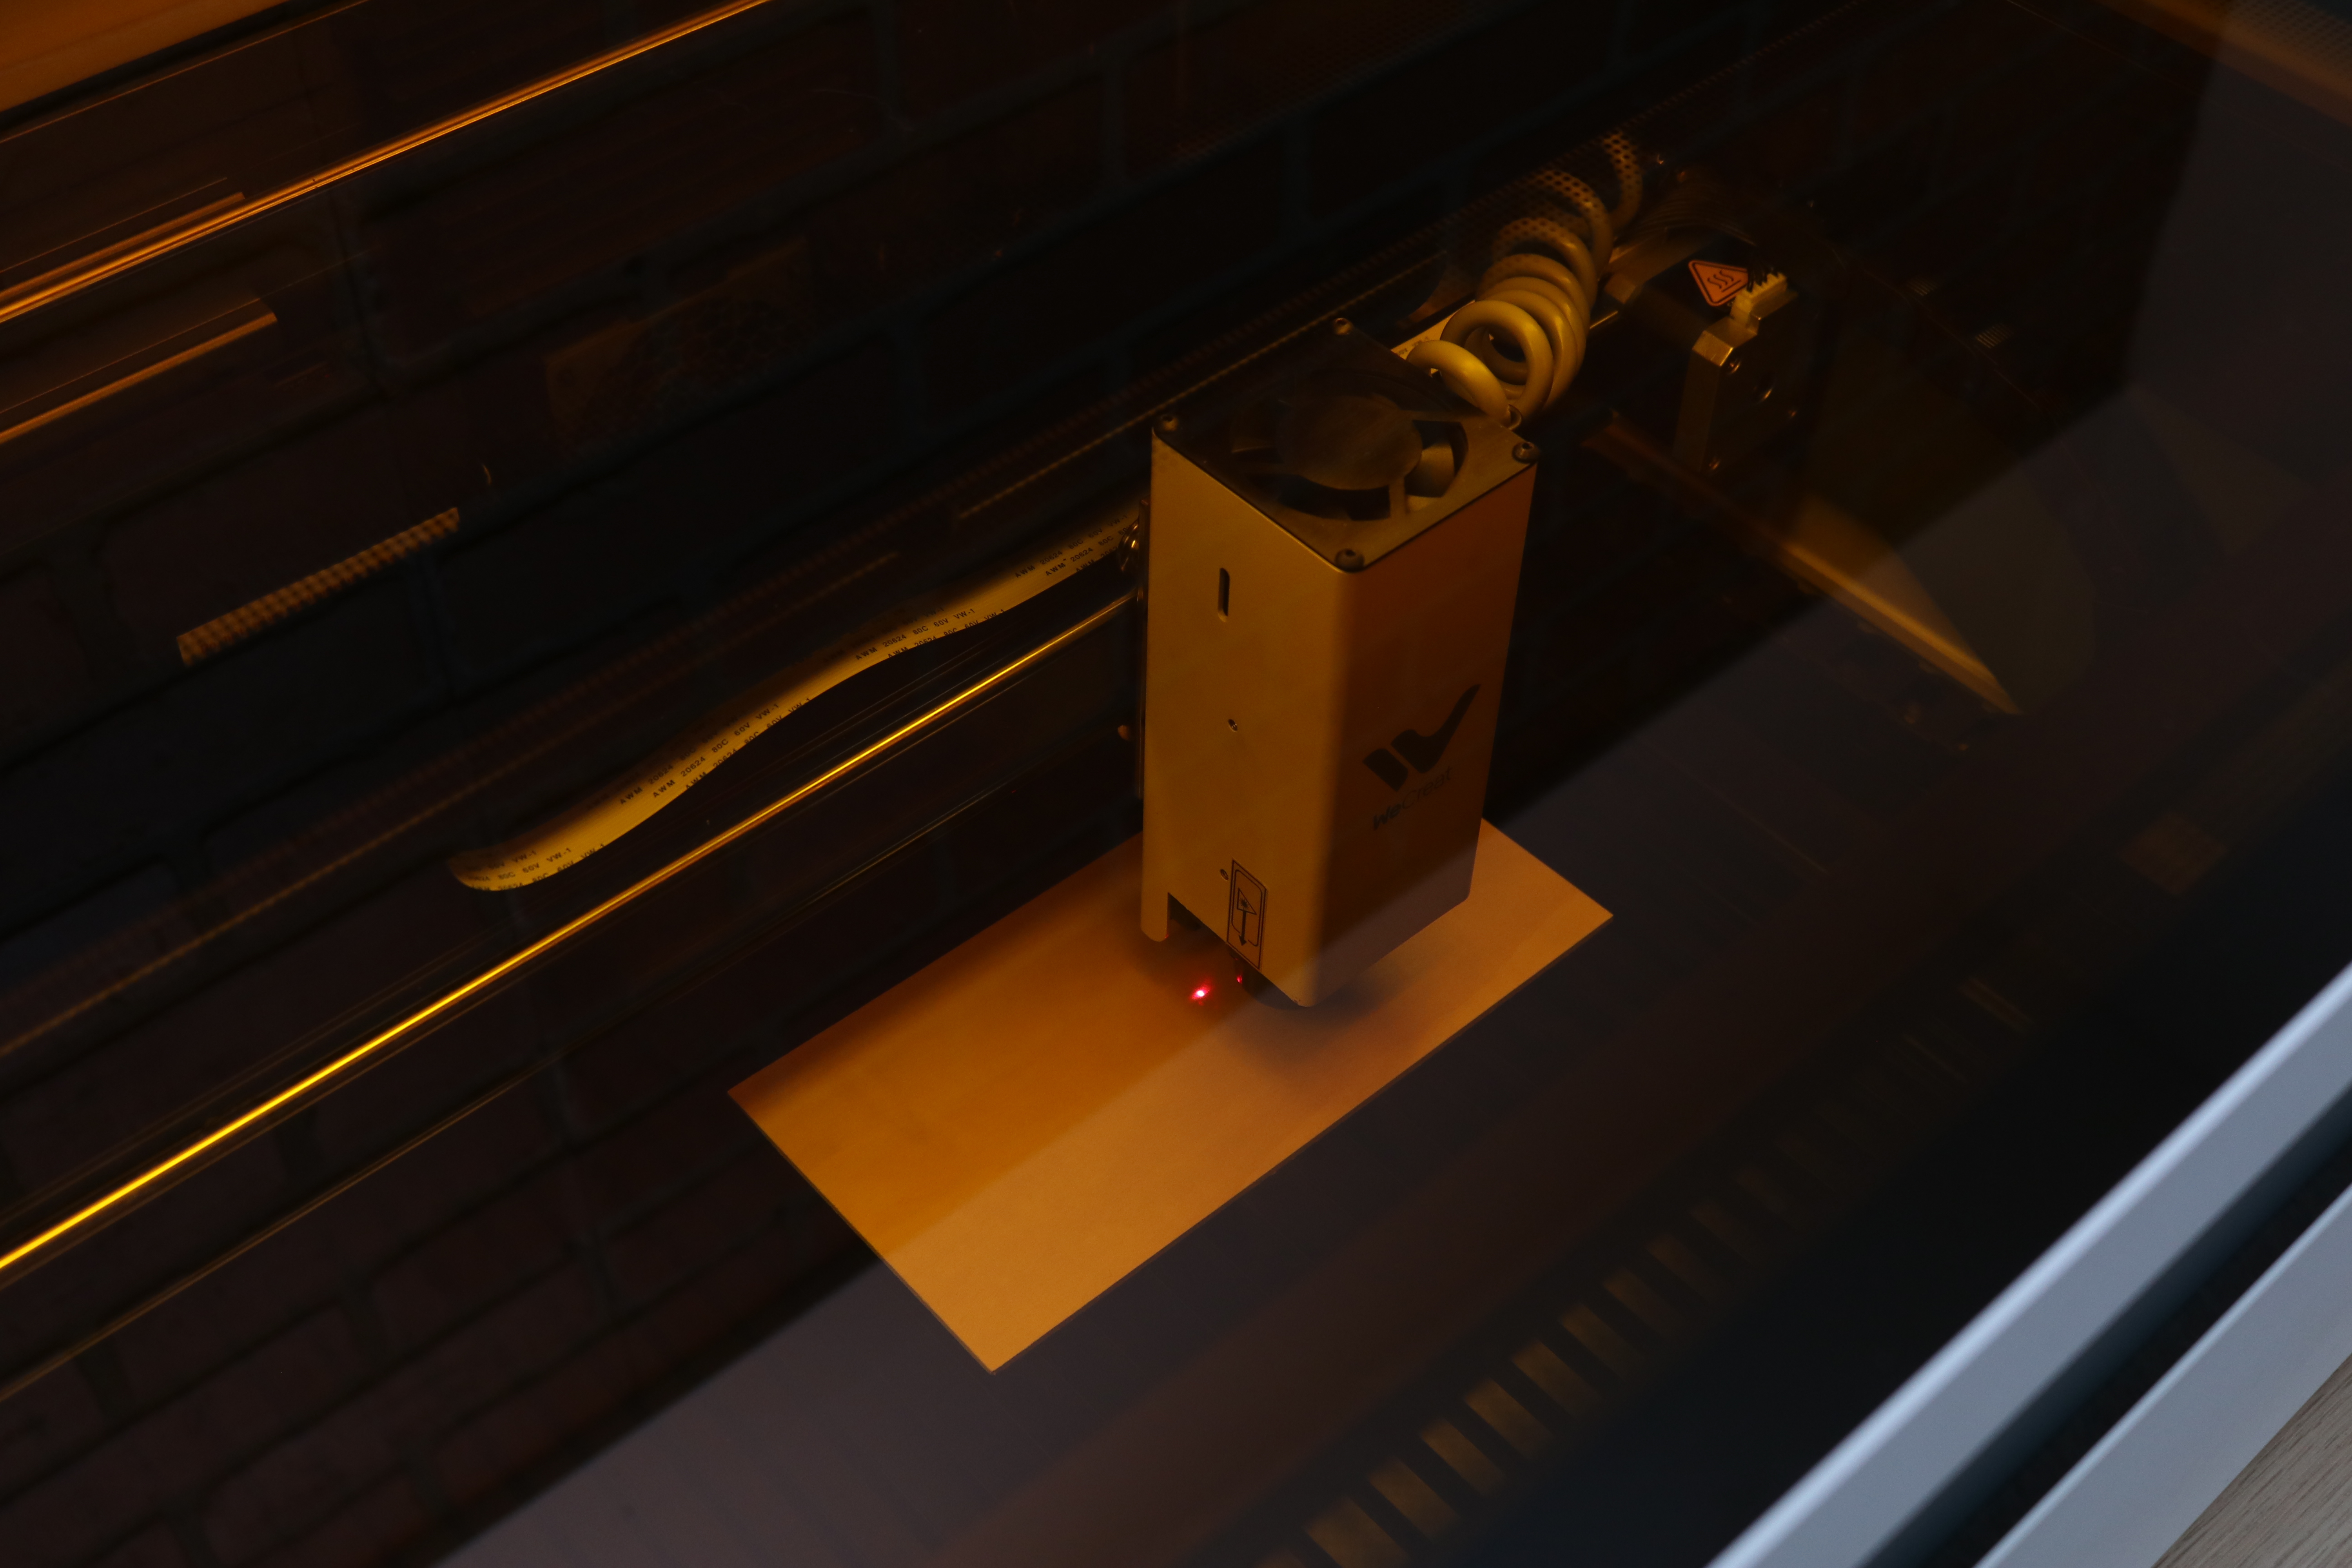
The engraving module contains the 20W diode laser, the air assist hose, and a laser pointer. The MakeIt! software includes an “Auto Focus” function that will find the height of an object and set the Z offset before engraving. The auto-focus is a powerful feature, and allows for thicker objects to be placed in the workspace without making any manual adjustments or refocusing the laser.
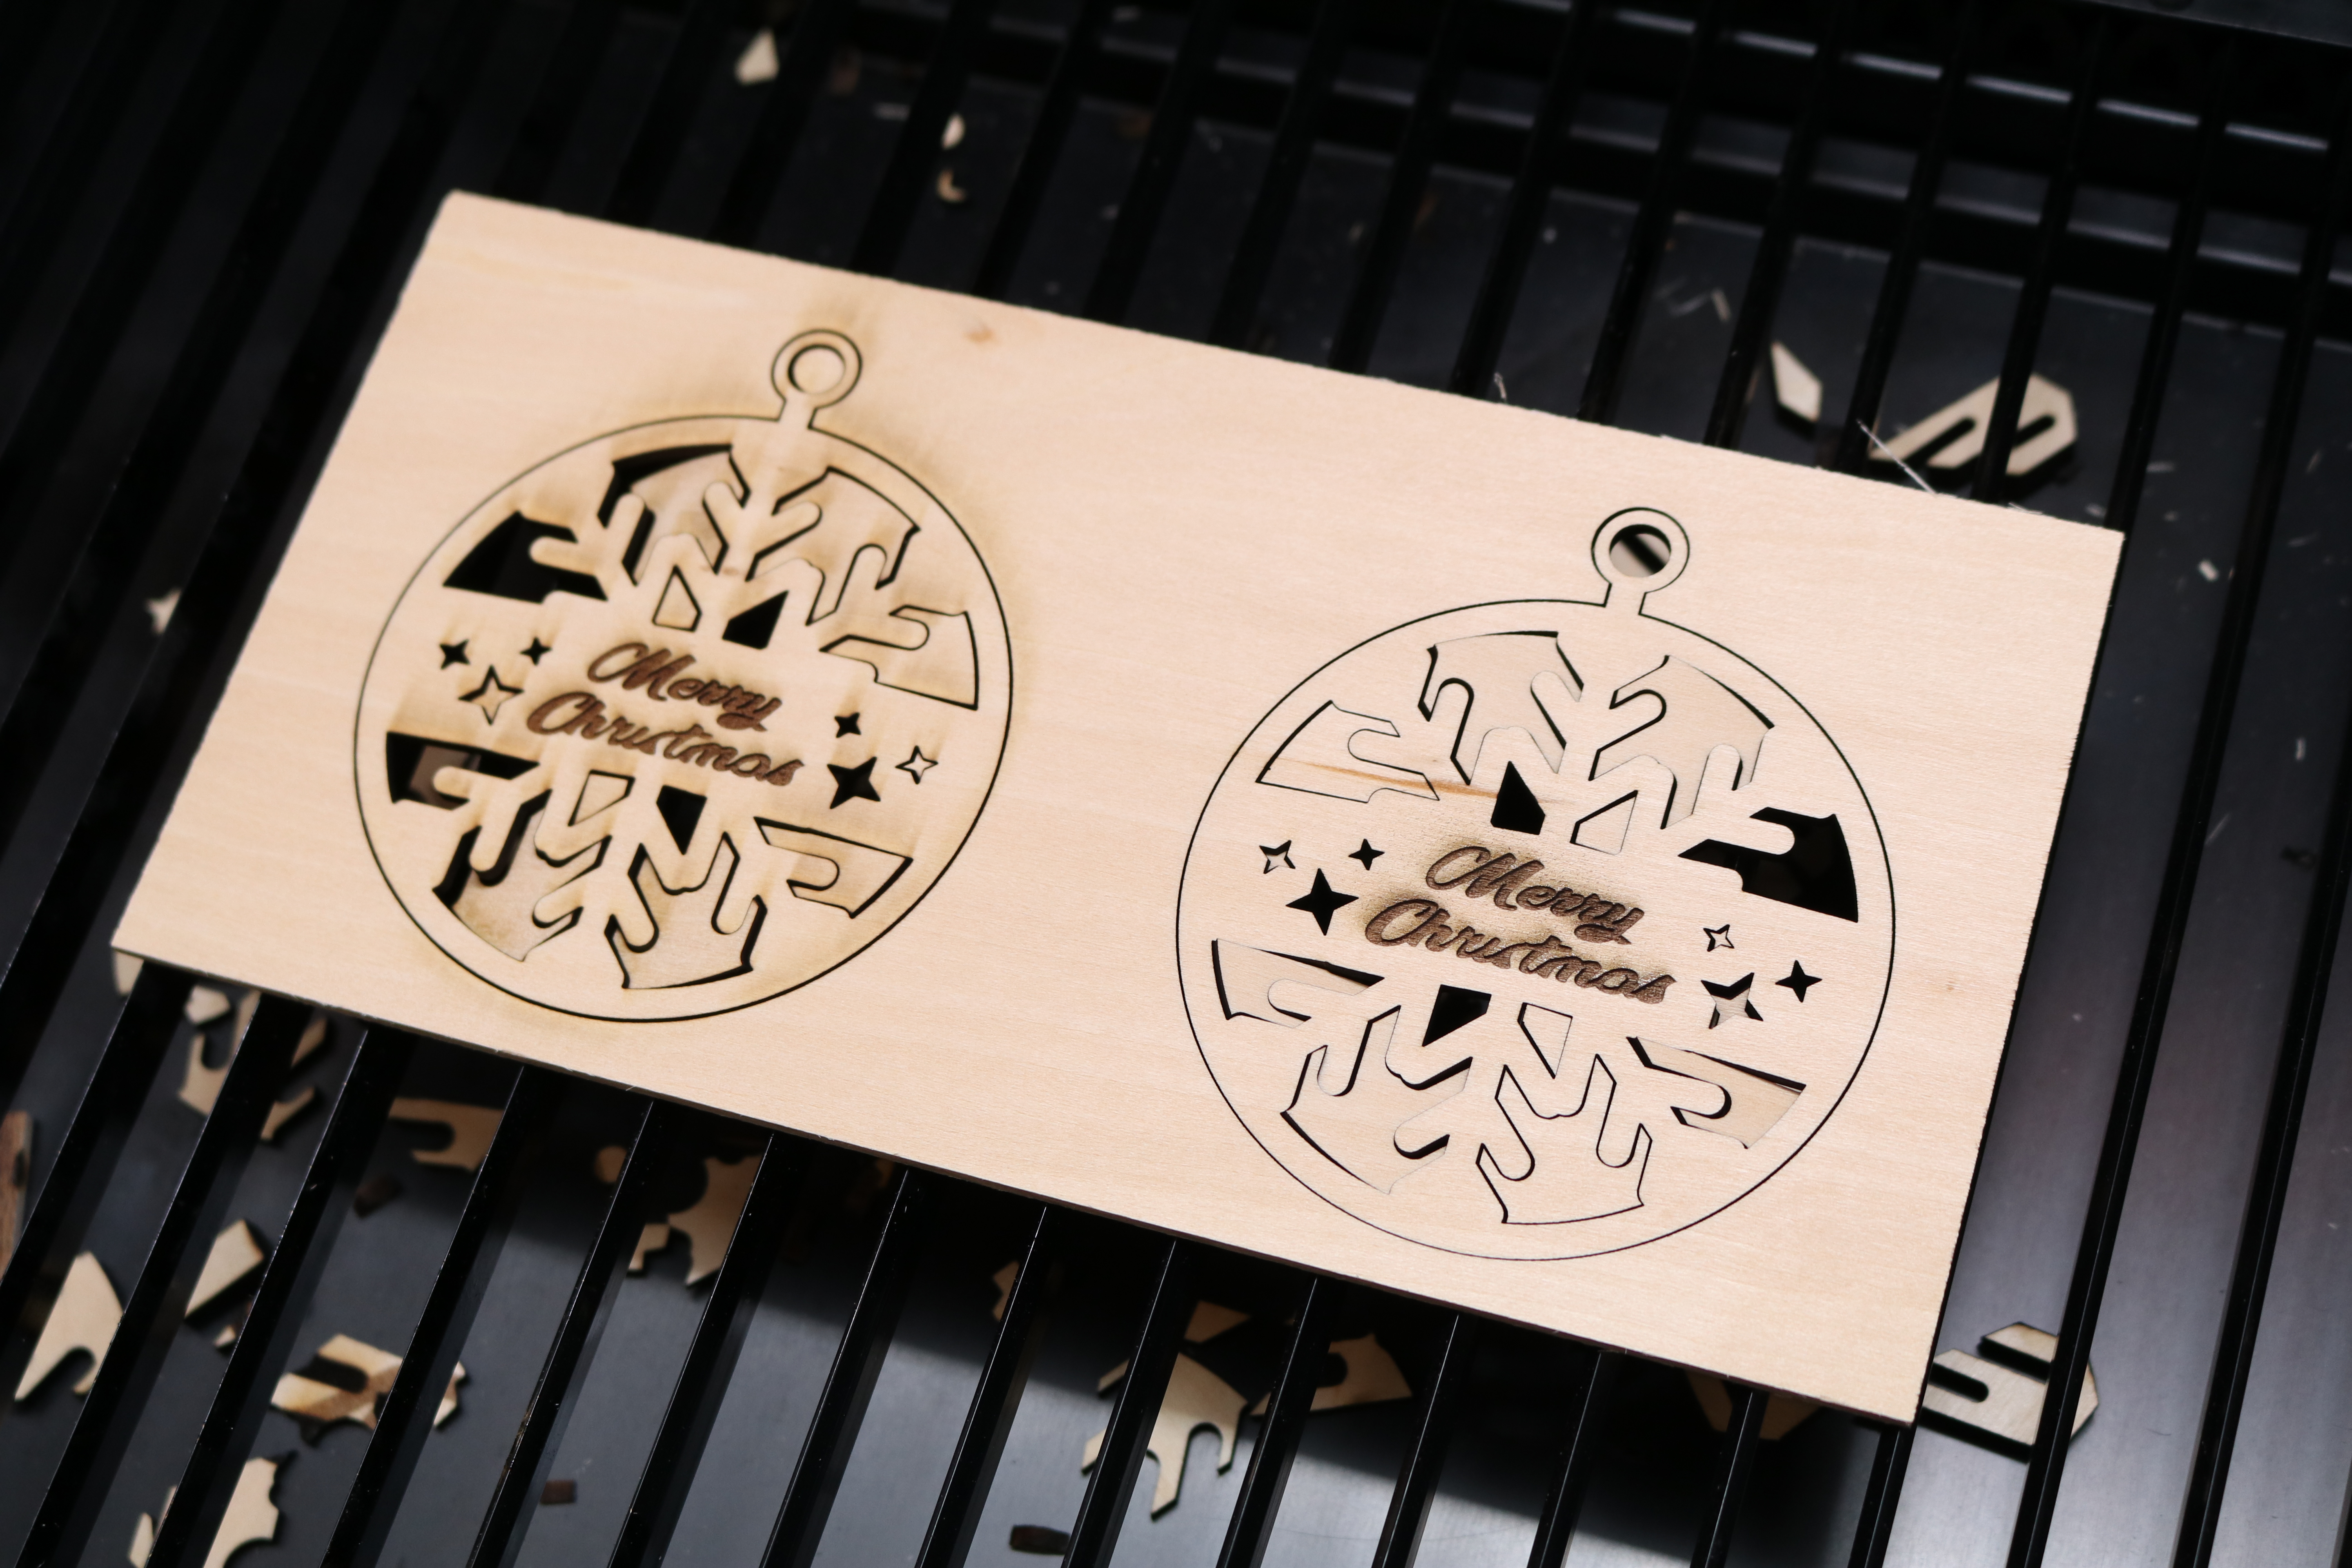
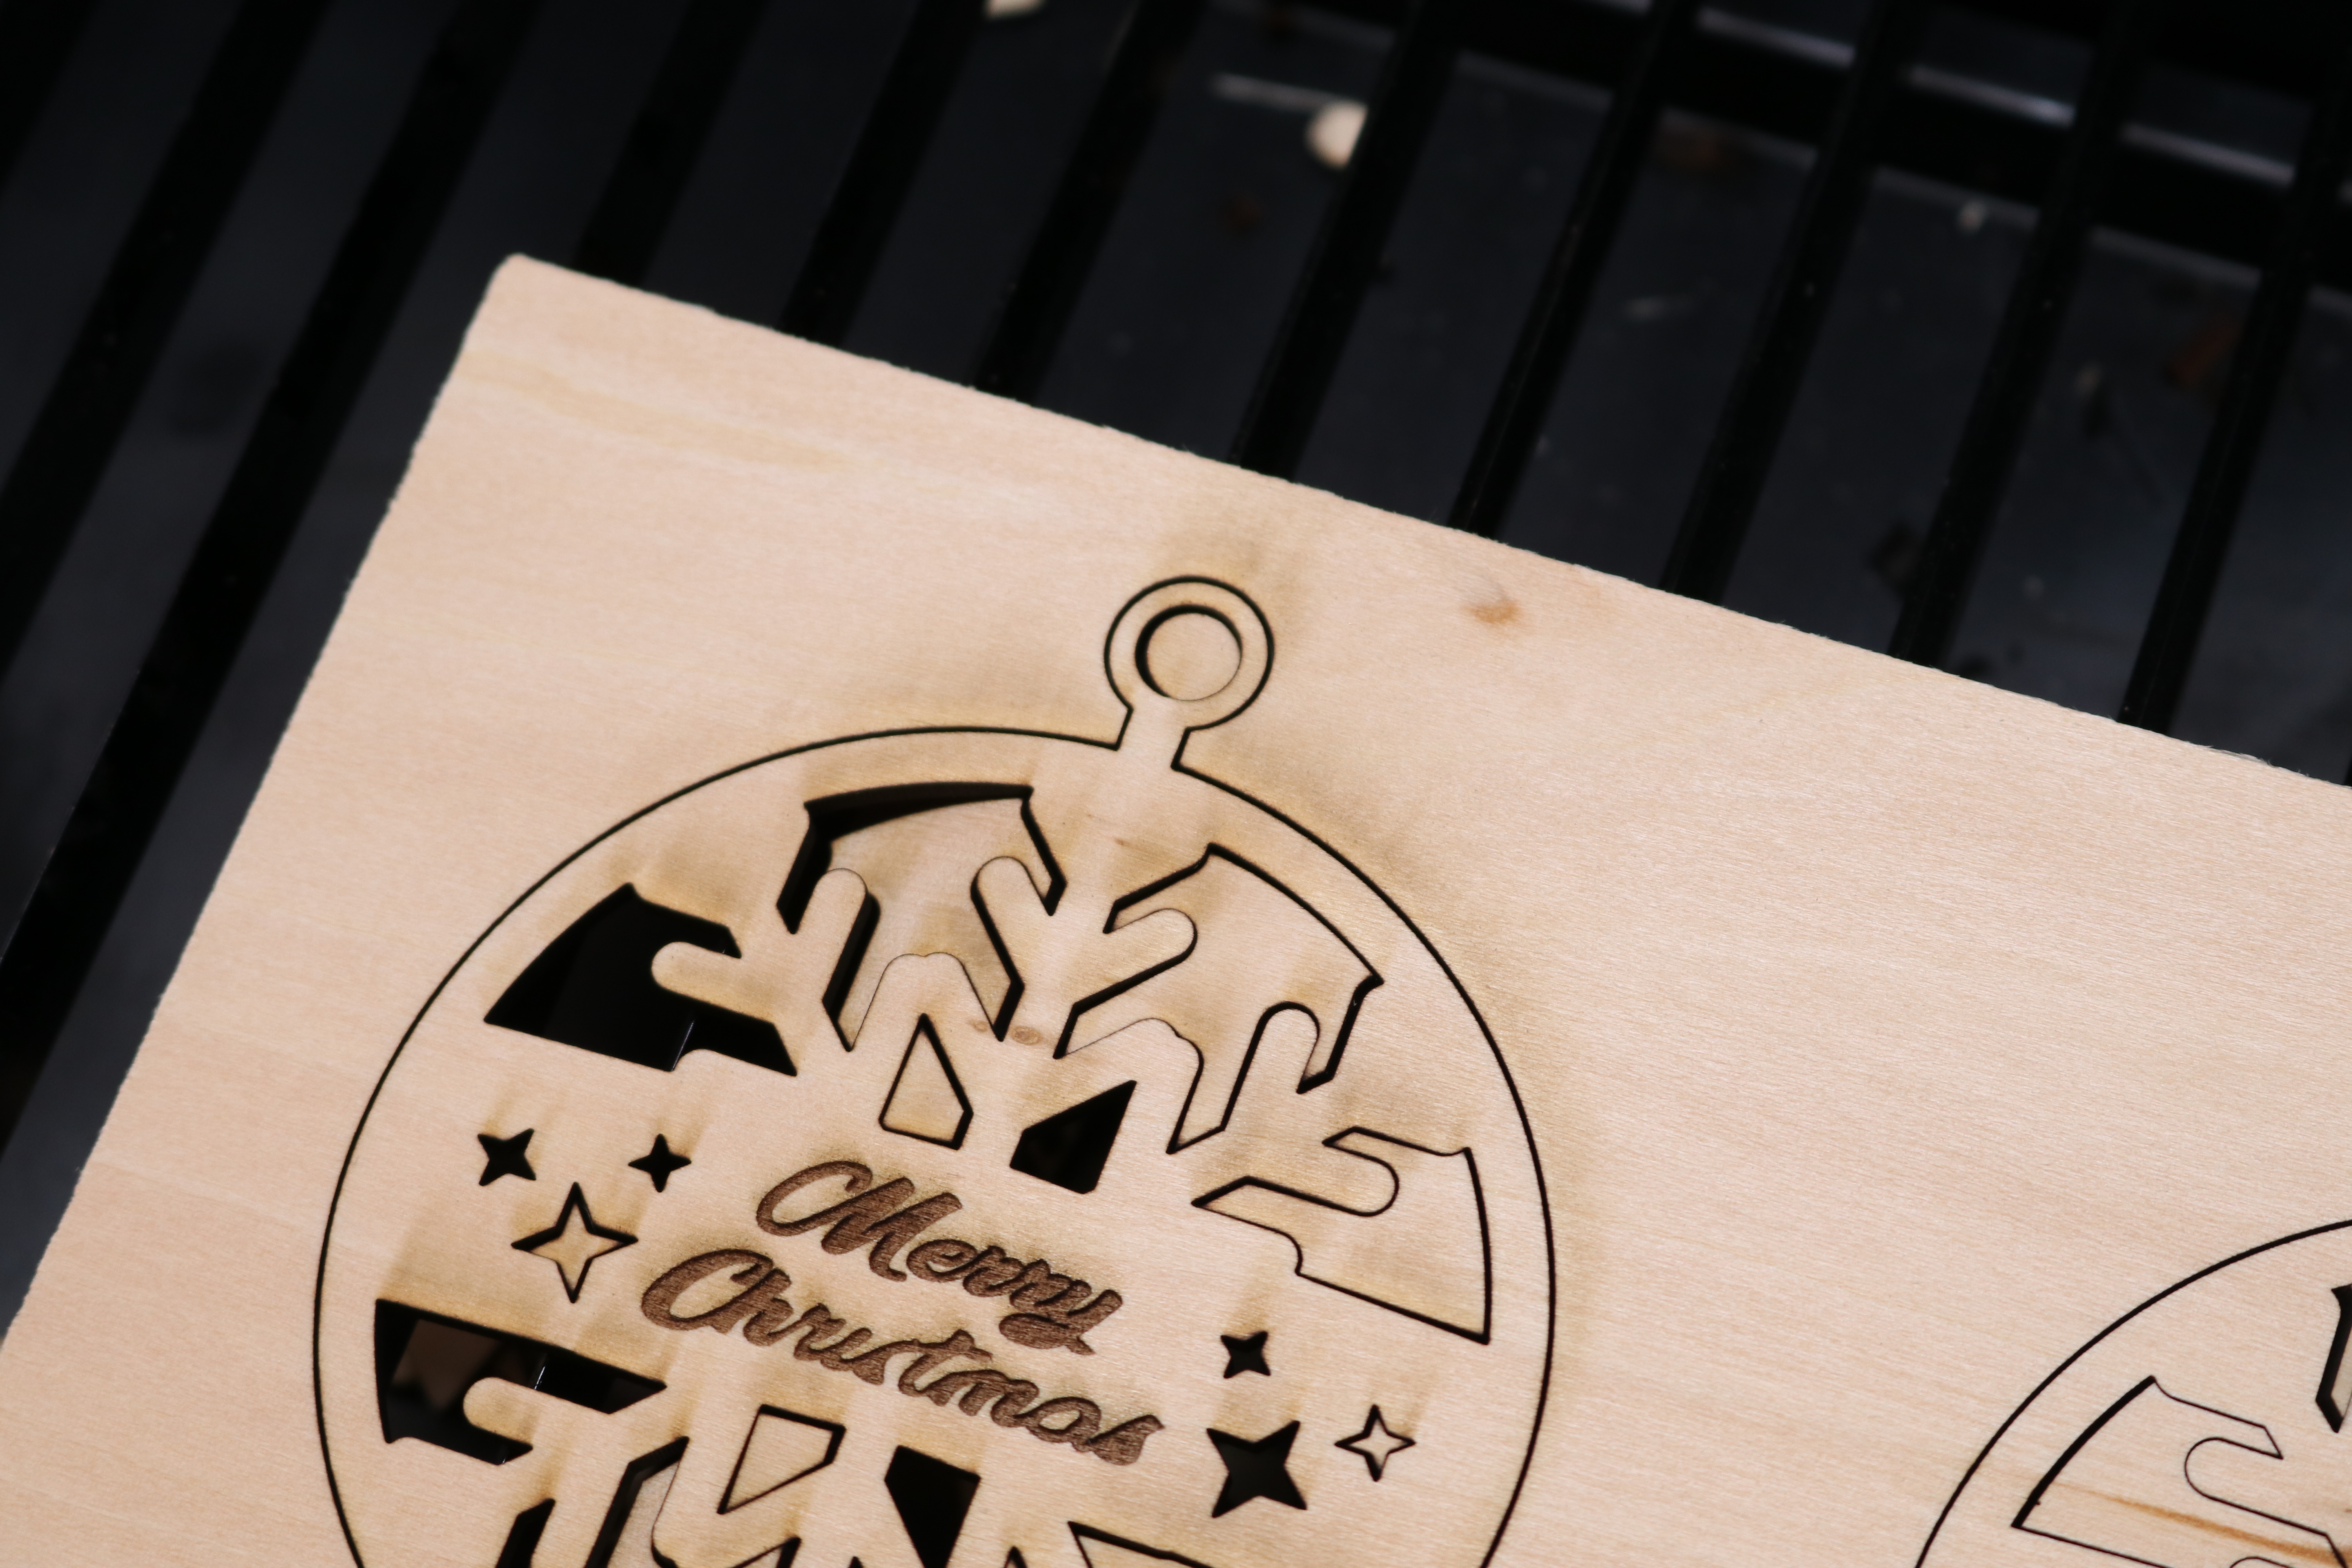
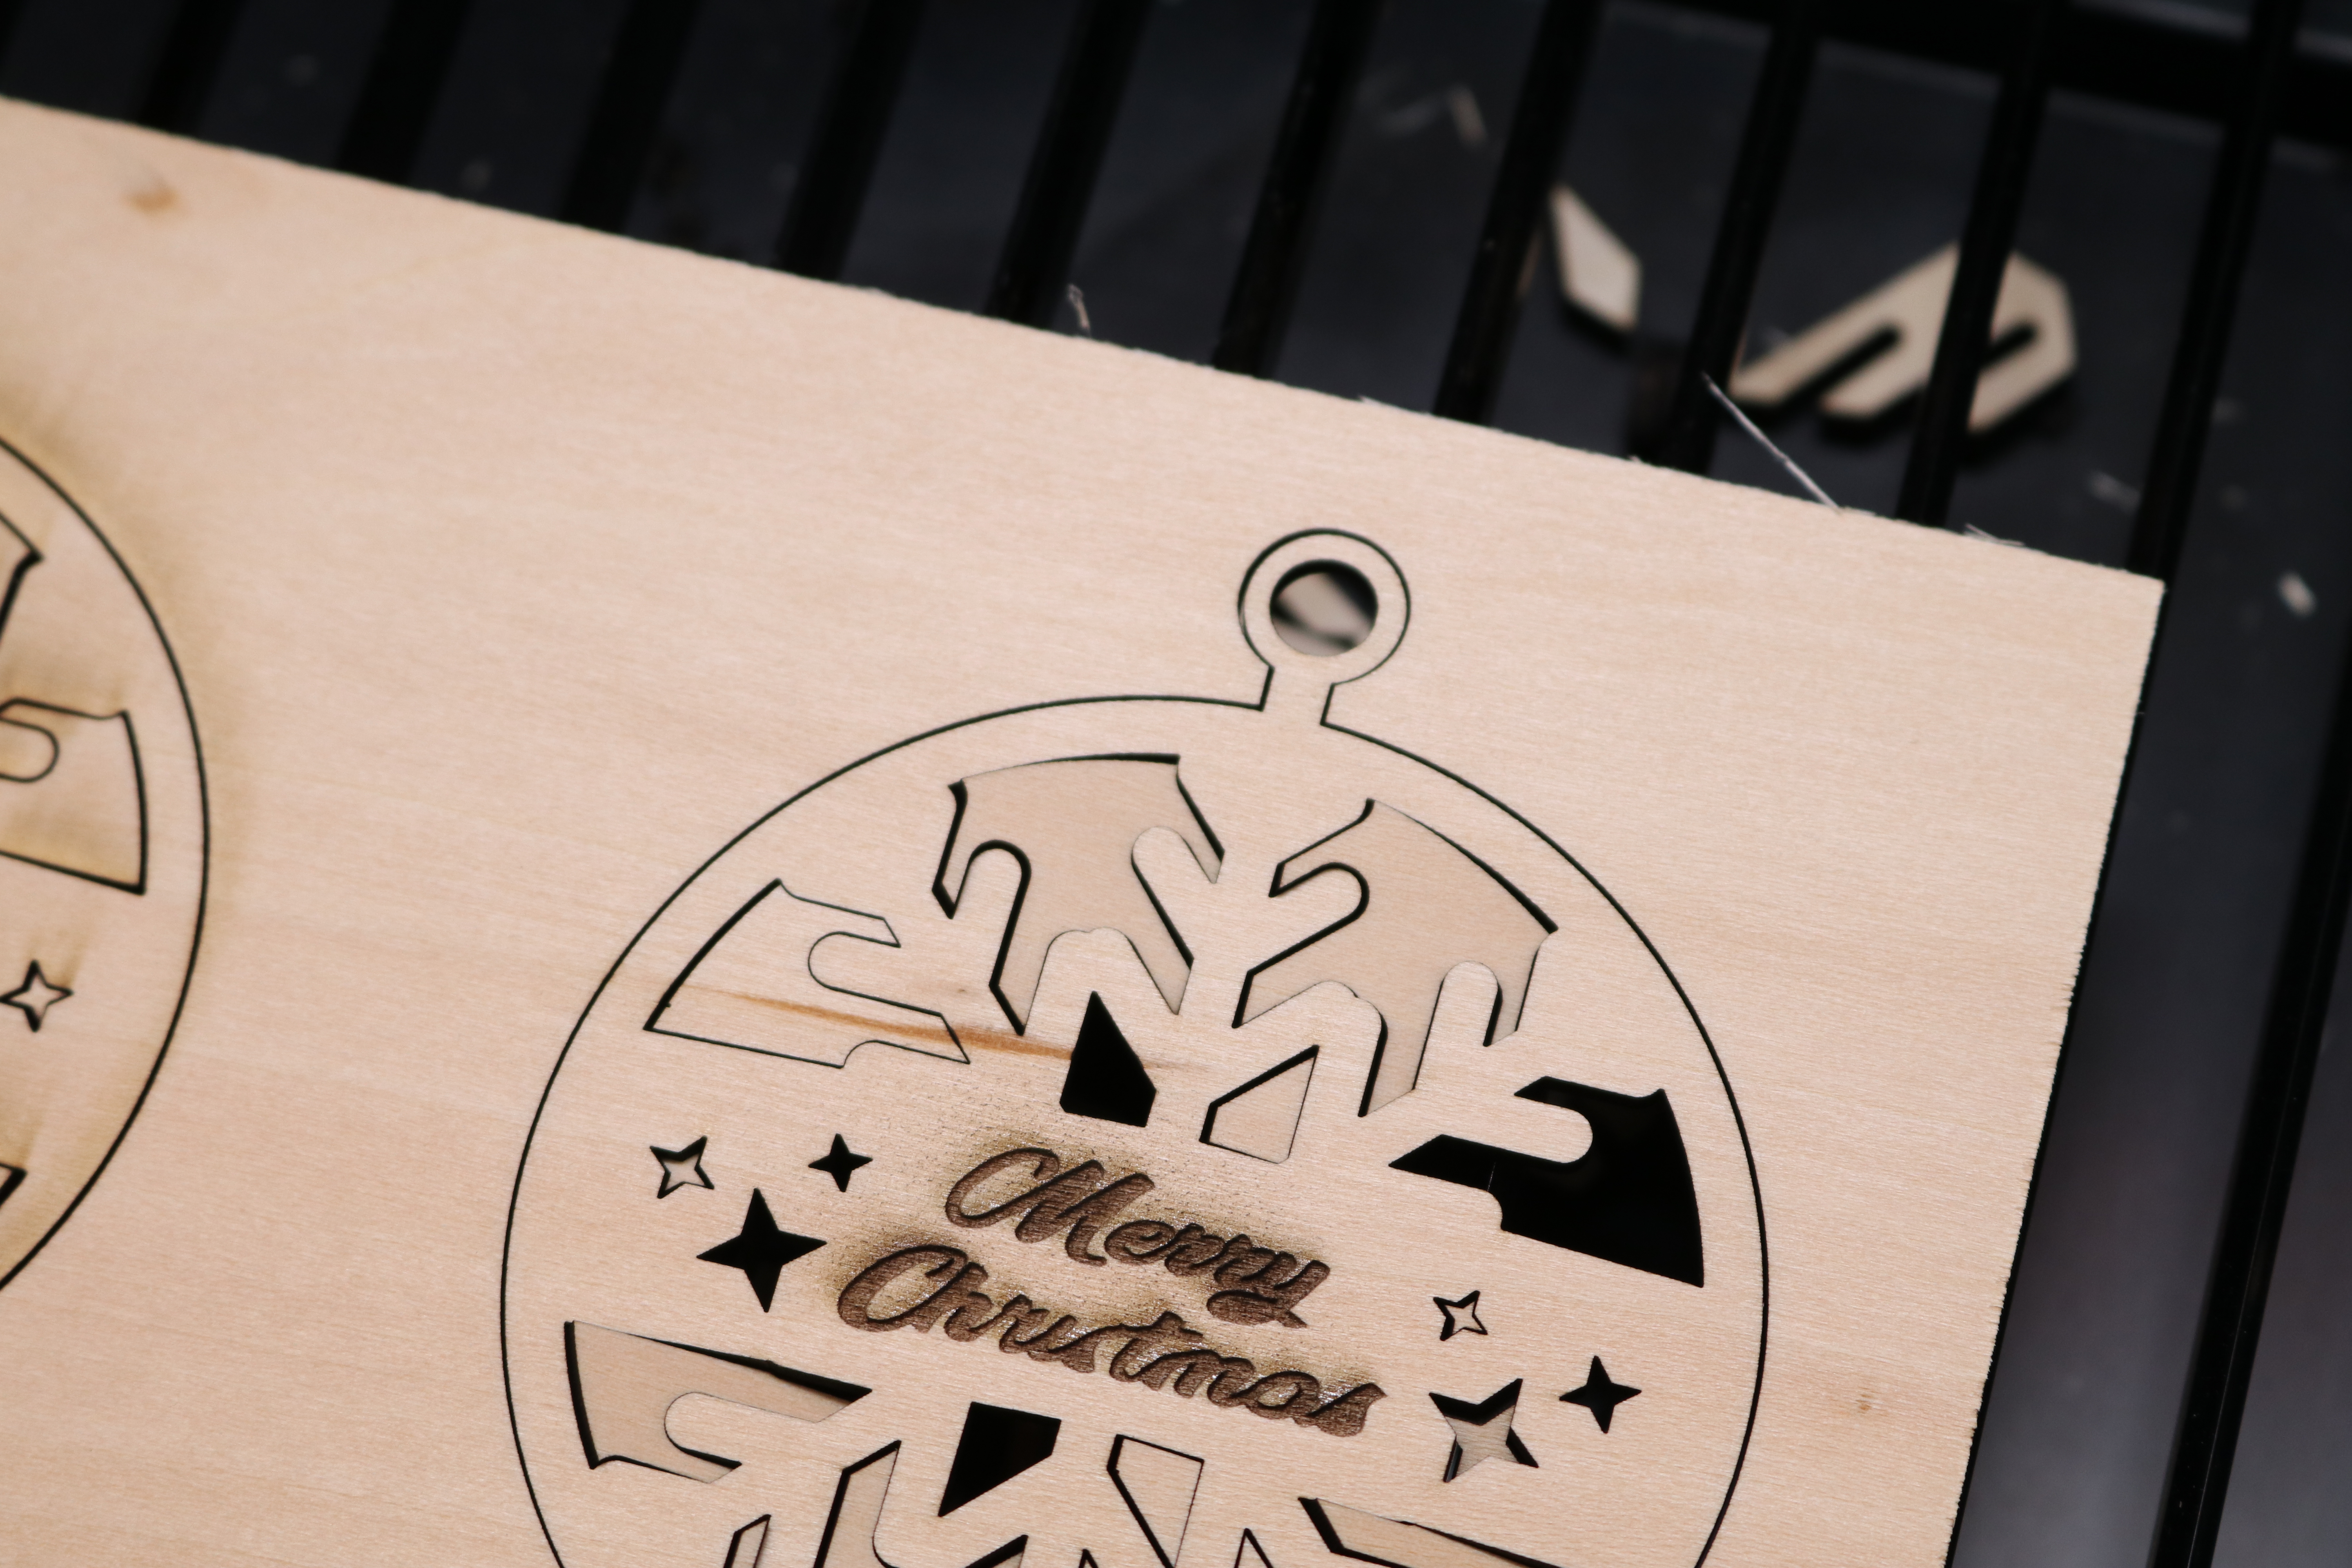
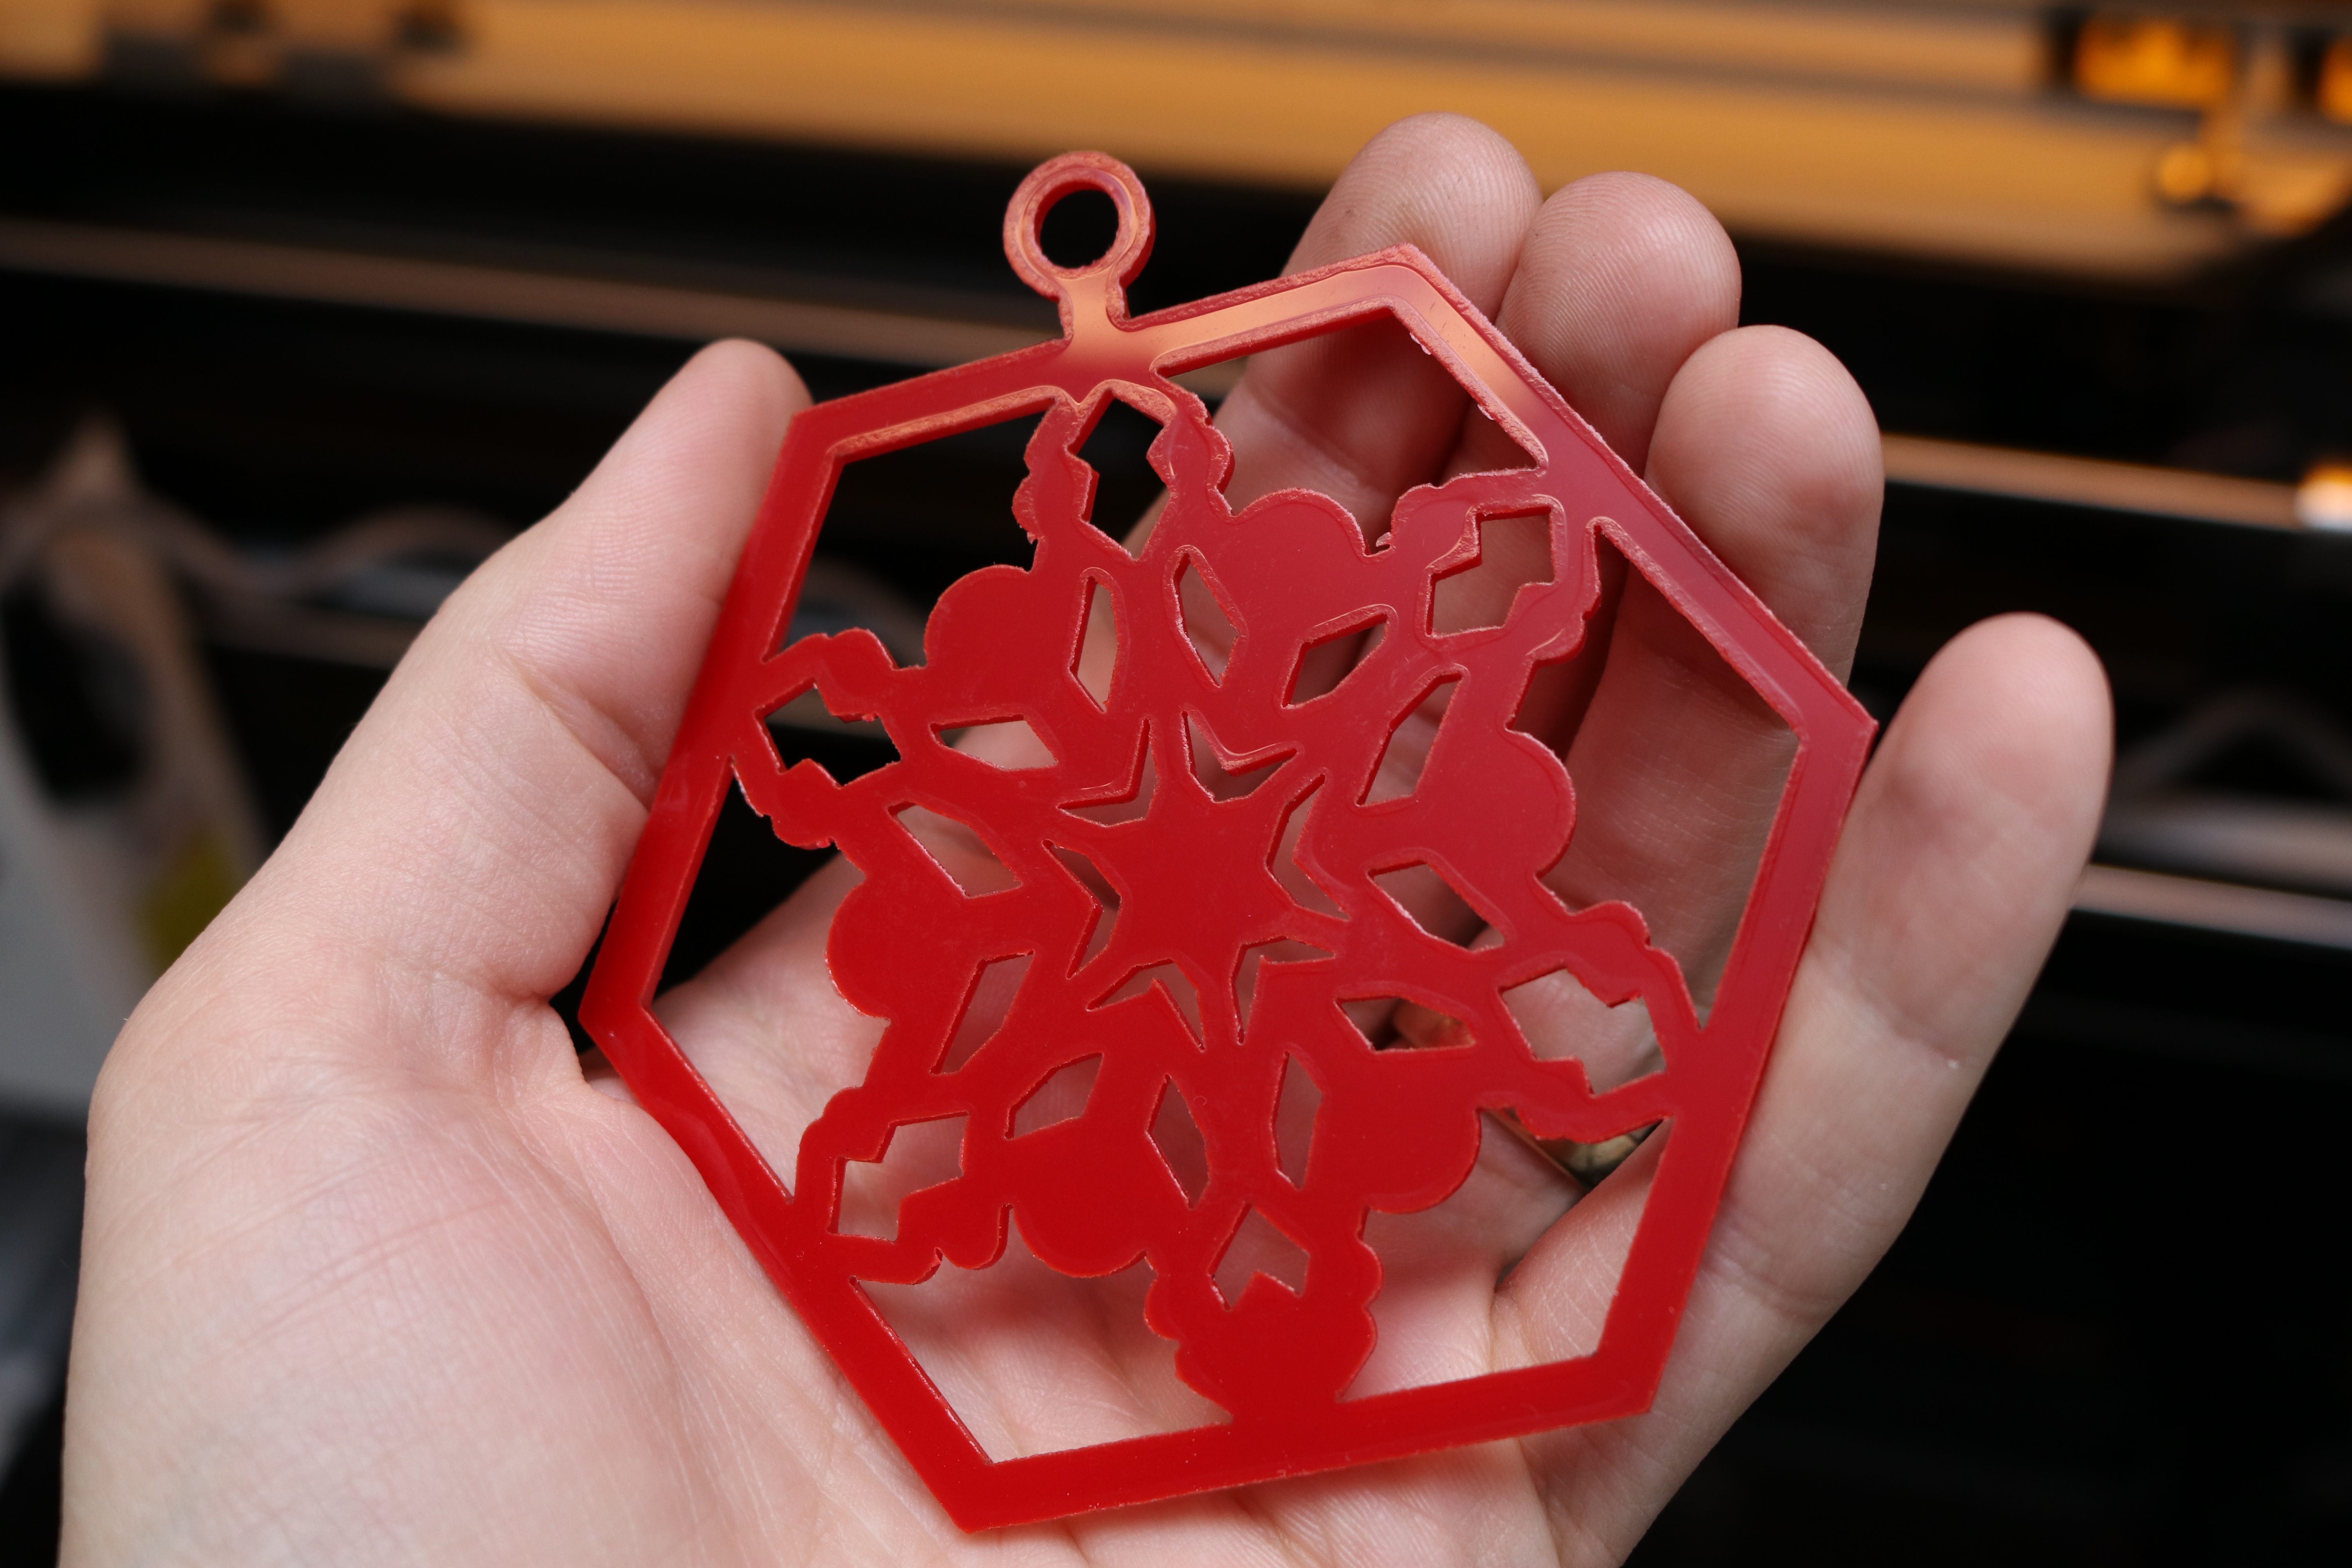
The included air assist module creates clean and sharp cuts without staining the wood during engraving. I ran the same Christmas ornament model from the MakeIt! library twice; once with the air assist enabled and once with it disabled. The ornament on the left (without the air assist) has deep discoloration around the cuts, and the engraving looks a little fuzzy in the corners. The ornament on the right (with the air assist) appears clear and sharp, showing how useful this feature can be.
Fume Extractor for the WeCreat Vision
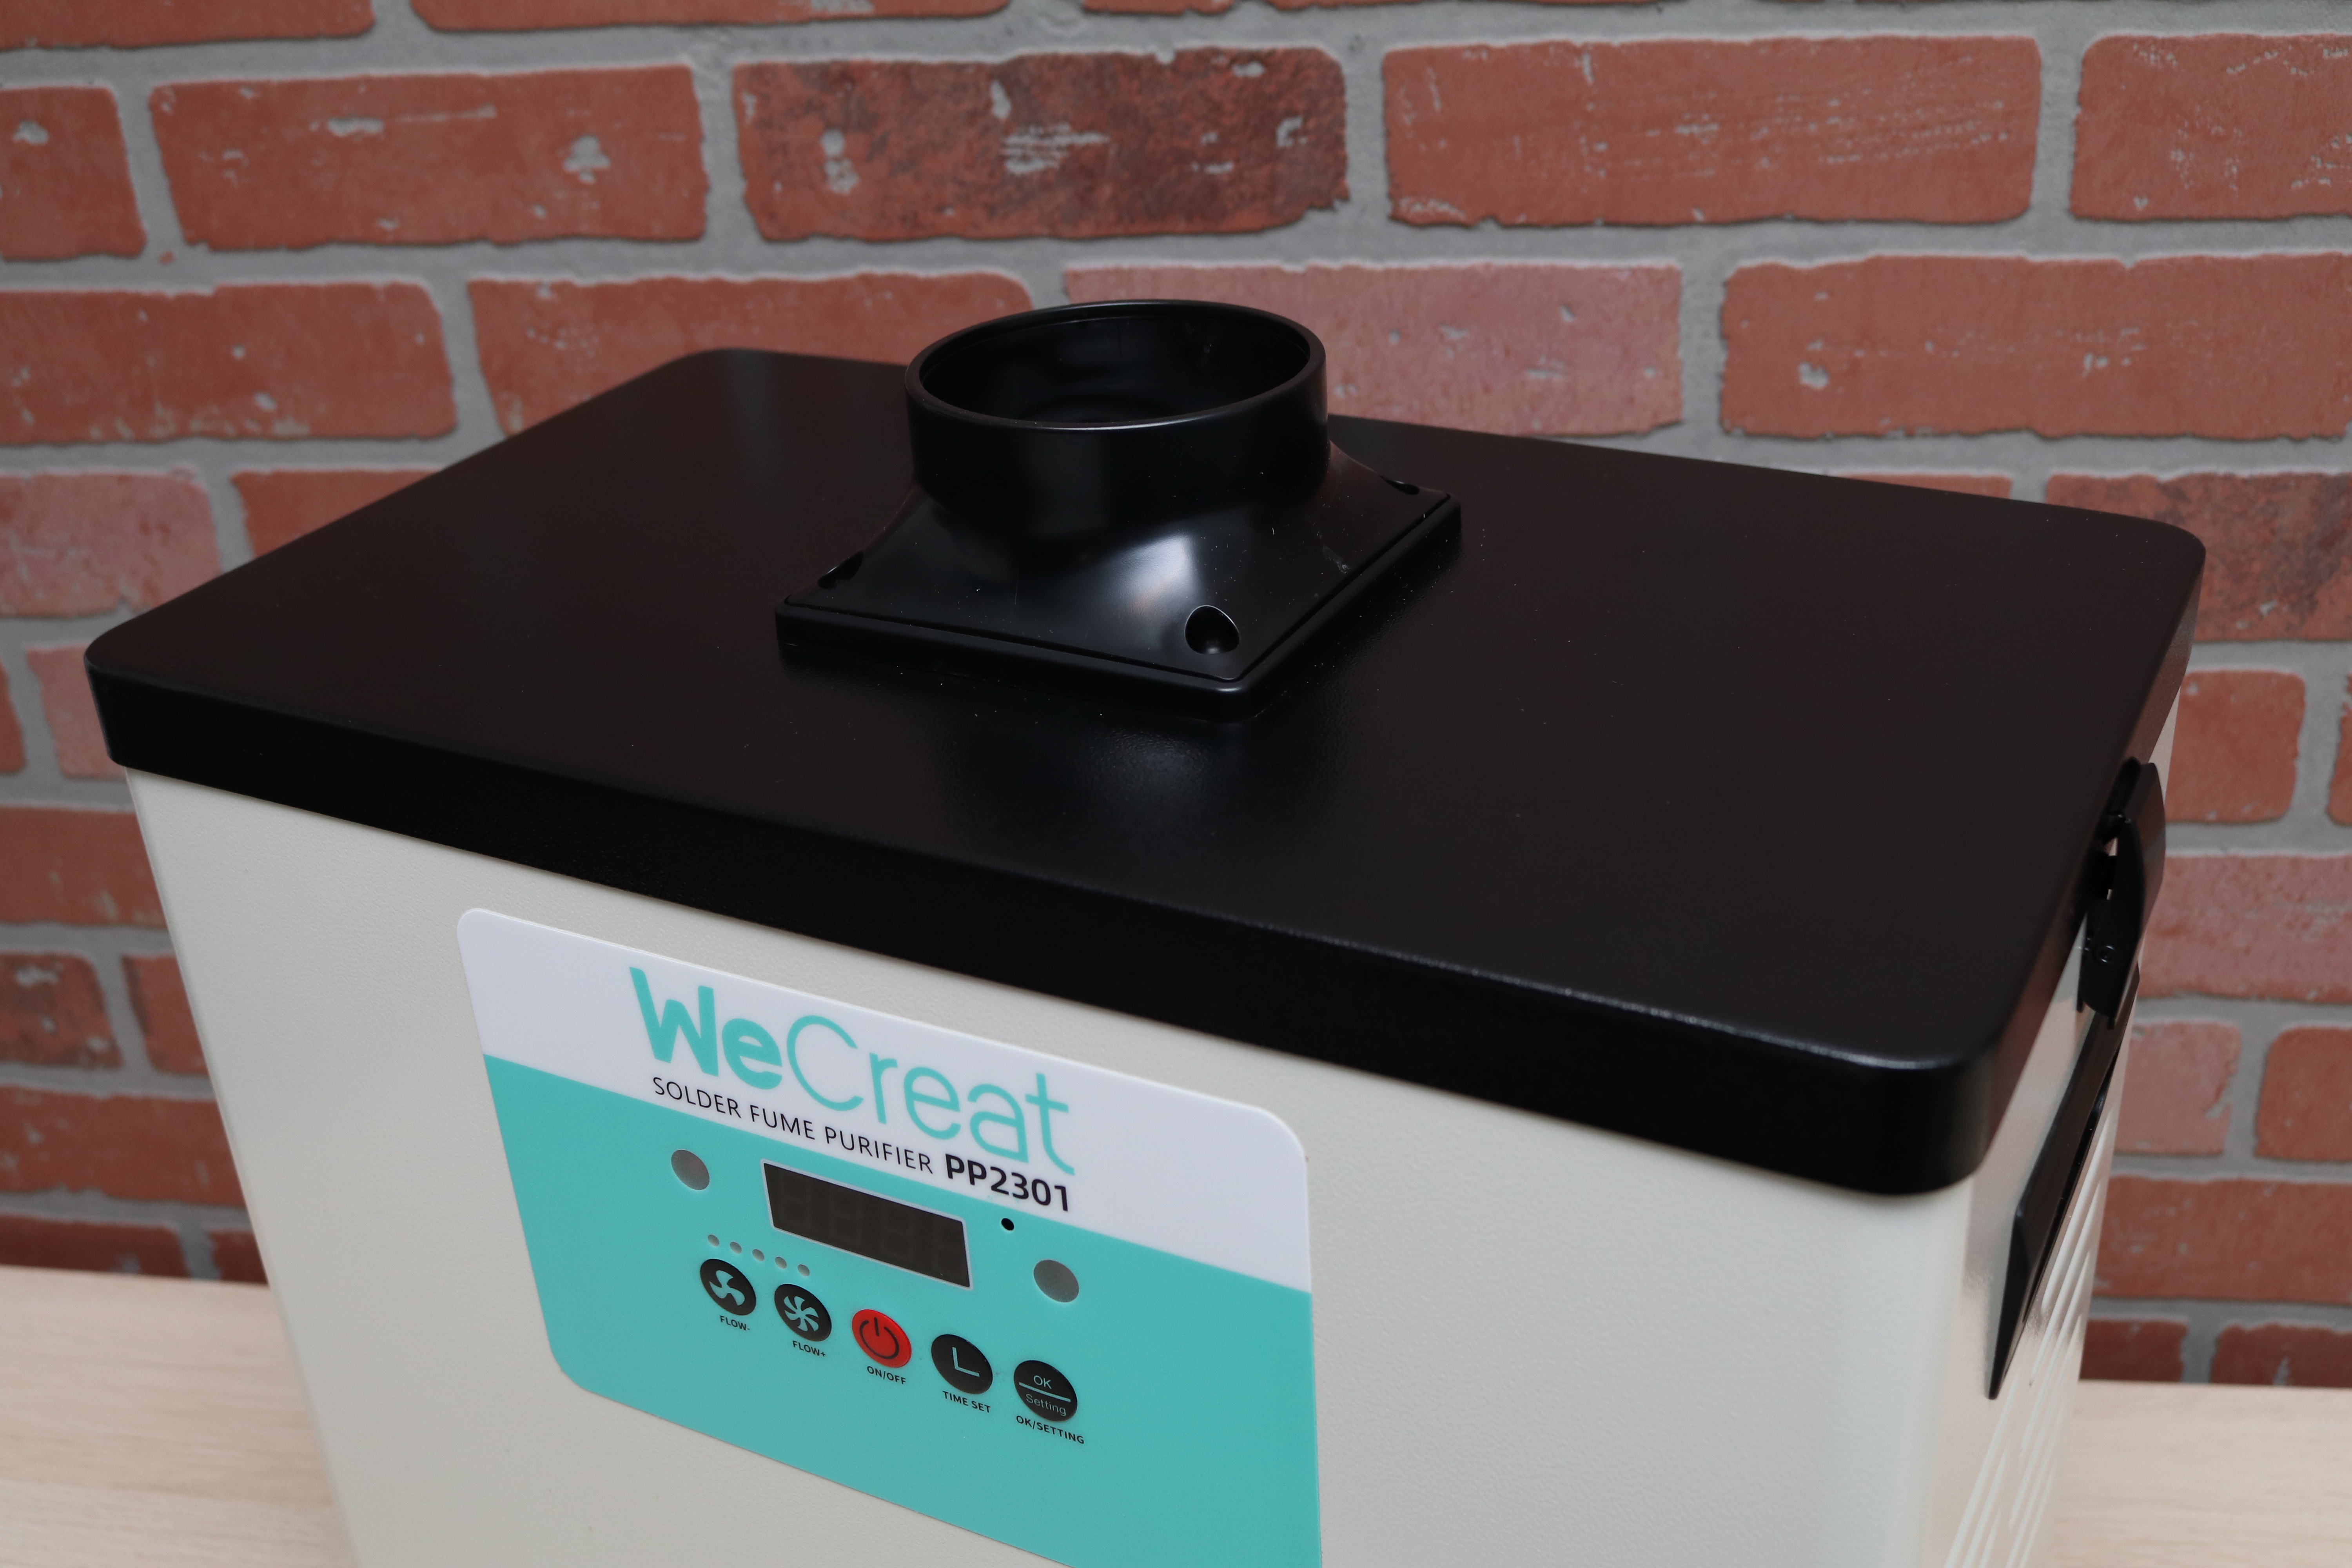
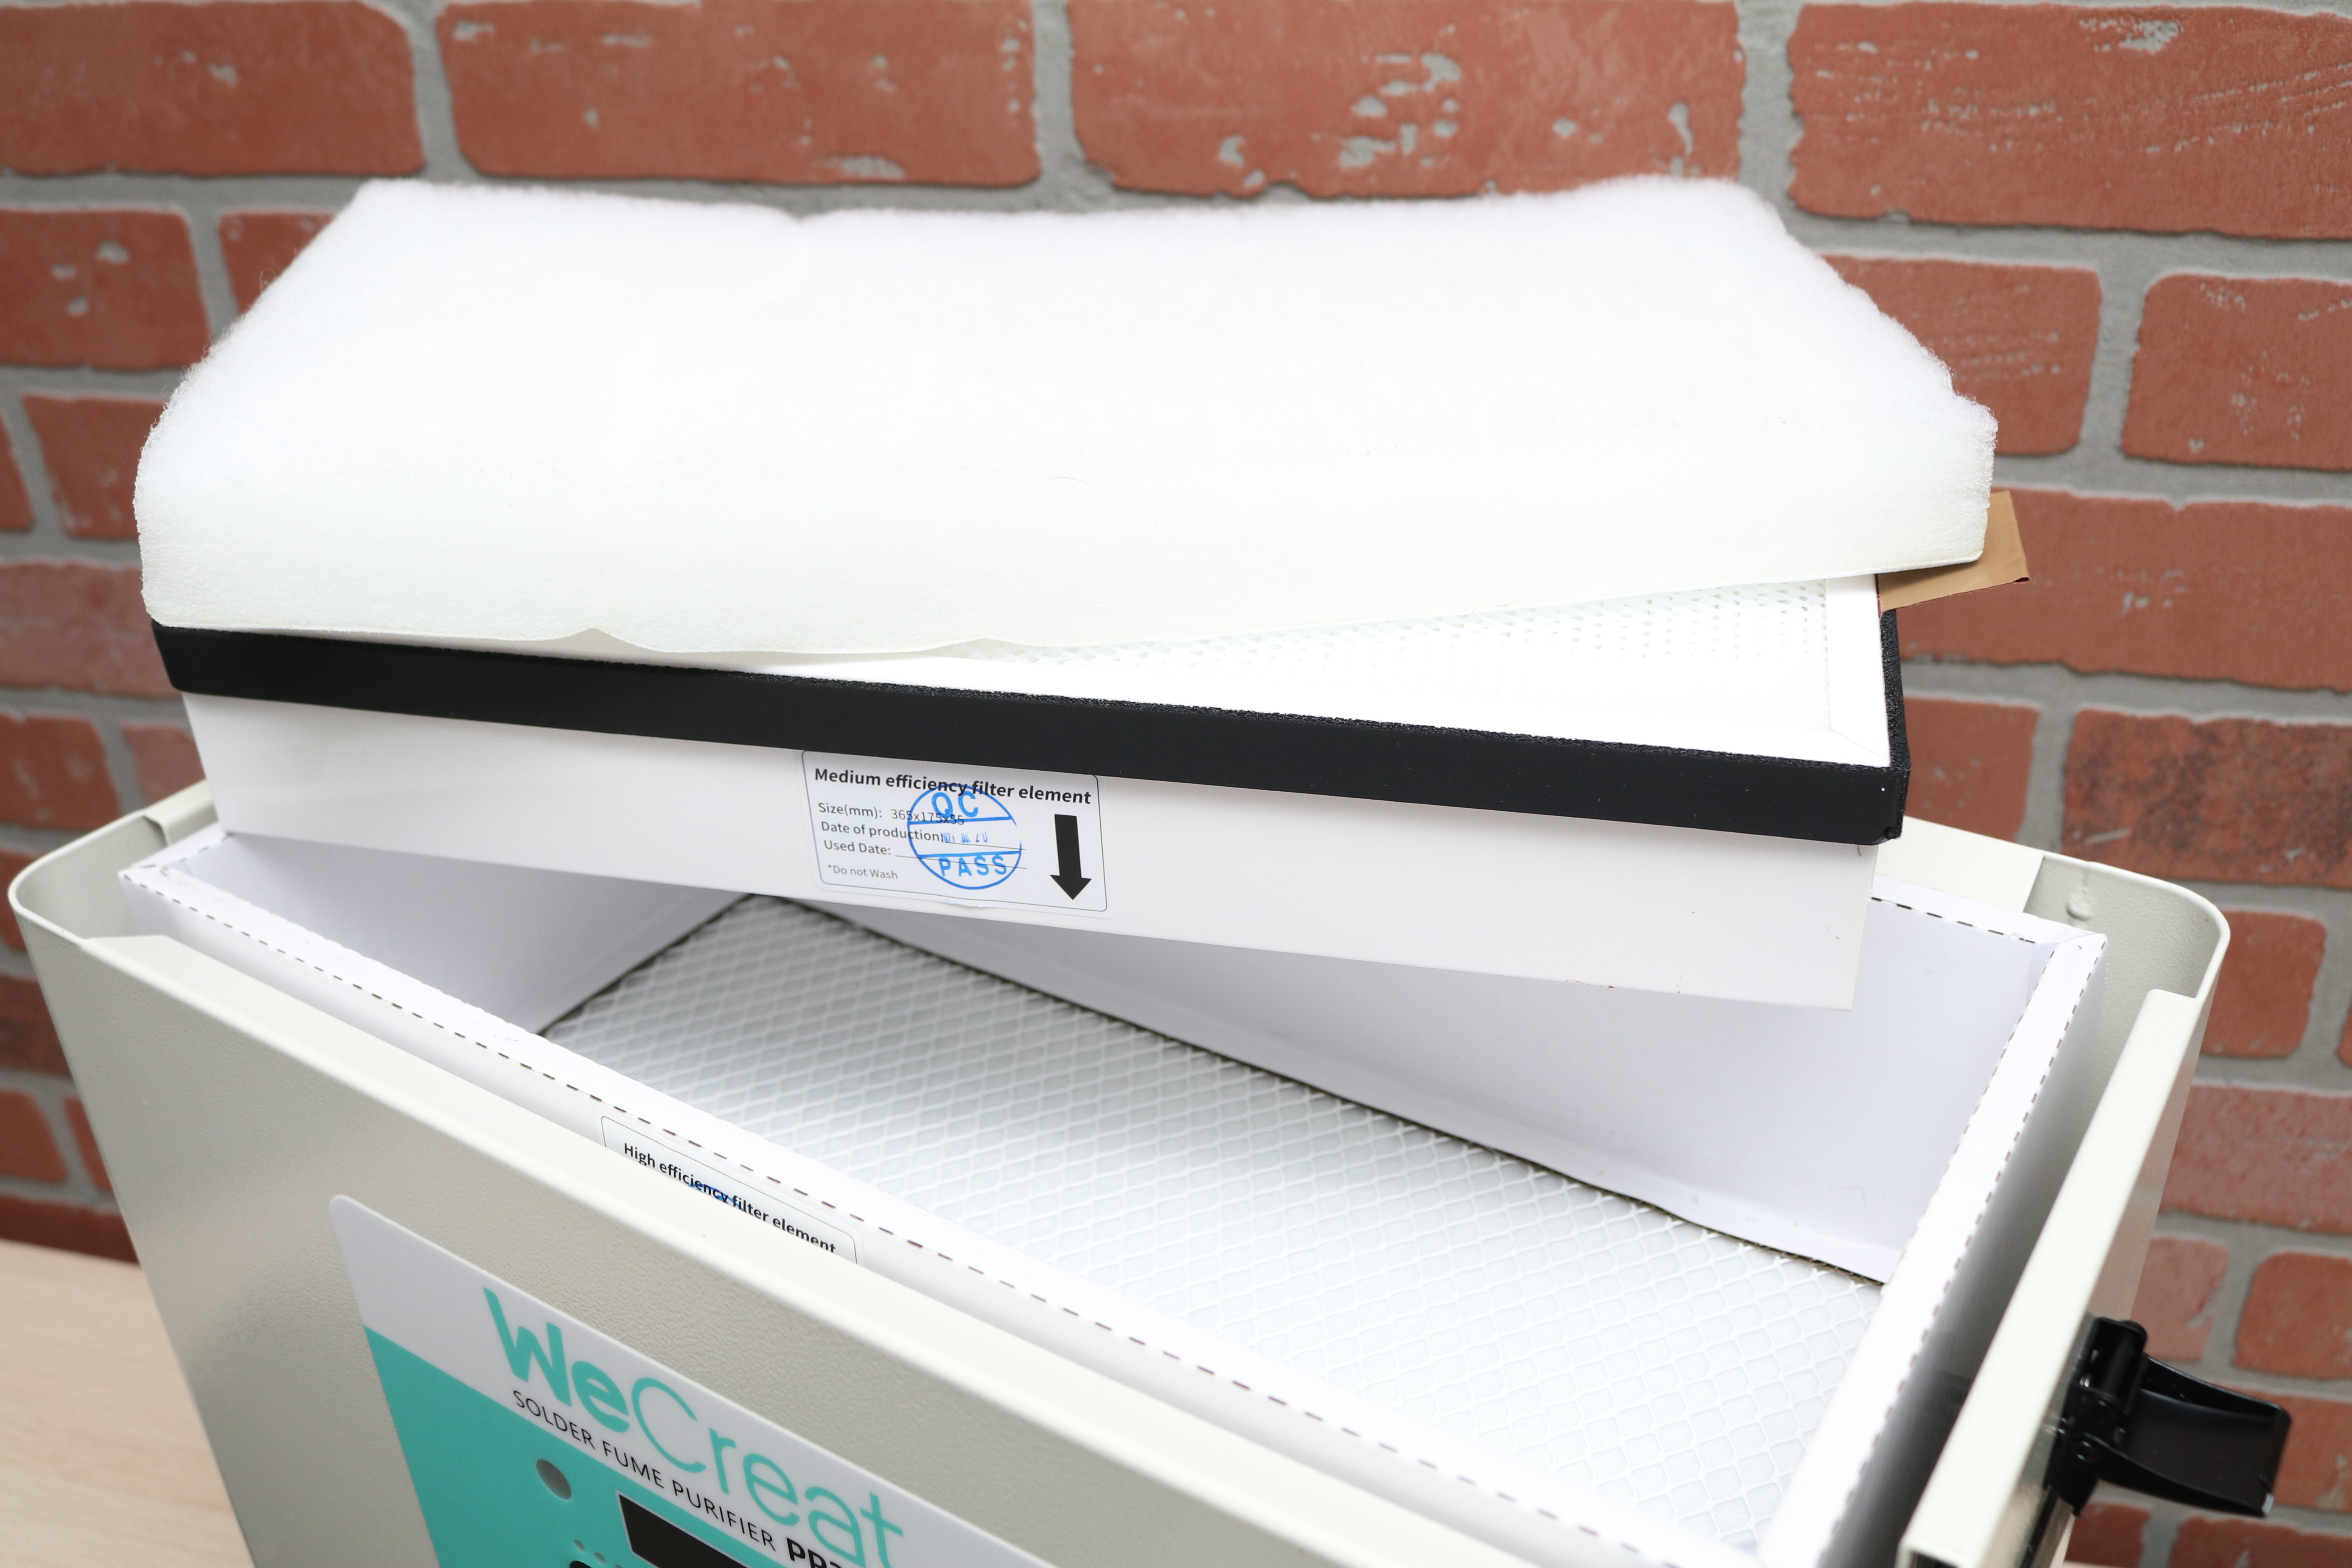
WeCreat offers an optional fume extractor (also referred to as a smoke extractor and smoke purifier) which pulls an advertised 300m³/h of air through a series of filters to reduce the amount of smoke that escapes during engraving. The filter consists of three layers (cotton, HEPA, and charcoal) and is surprisingly quiet during operation. It can be activated using the included remote control, and also has a timer for auto-shutoff.
I was impressed with the performance of the fume extractor, and barely noticed any smoke during engraving even on deep and slow cuts. Air and smoke are actively drawn into the unit during operation, and the Vision also has a built-in fan which pulls smoke out of the machine and into the included hose that leads to the filter.
I opened the filter after several hours of engraving, and the trapped smoke and debris is clear to see on the first cotton filter. If you’re planning on using the Vision in a garage workshop or somewhere where a window is not easily accessible for venting, the fume extractor is an easy purchase to justify.
Safety Precautions for the WeCreat Vision
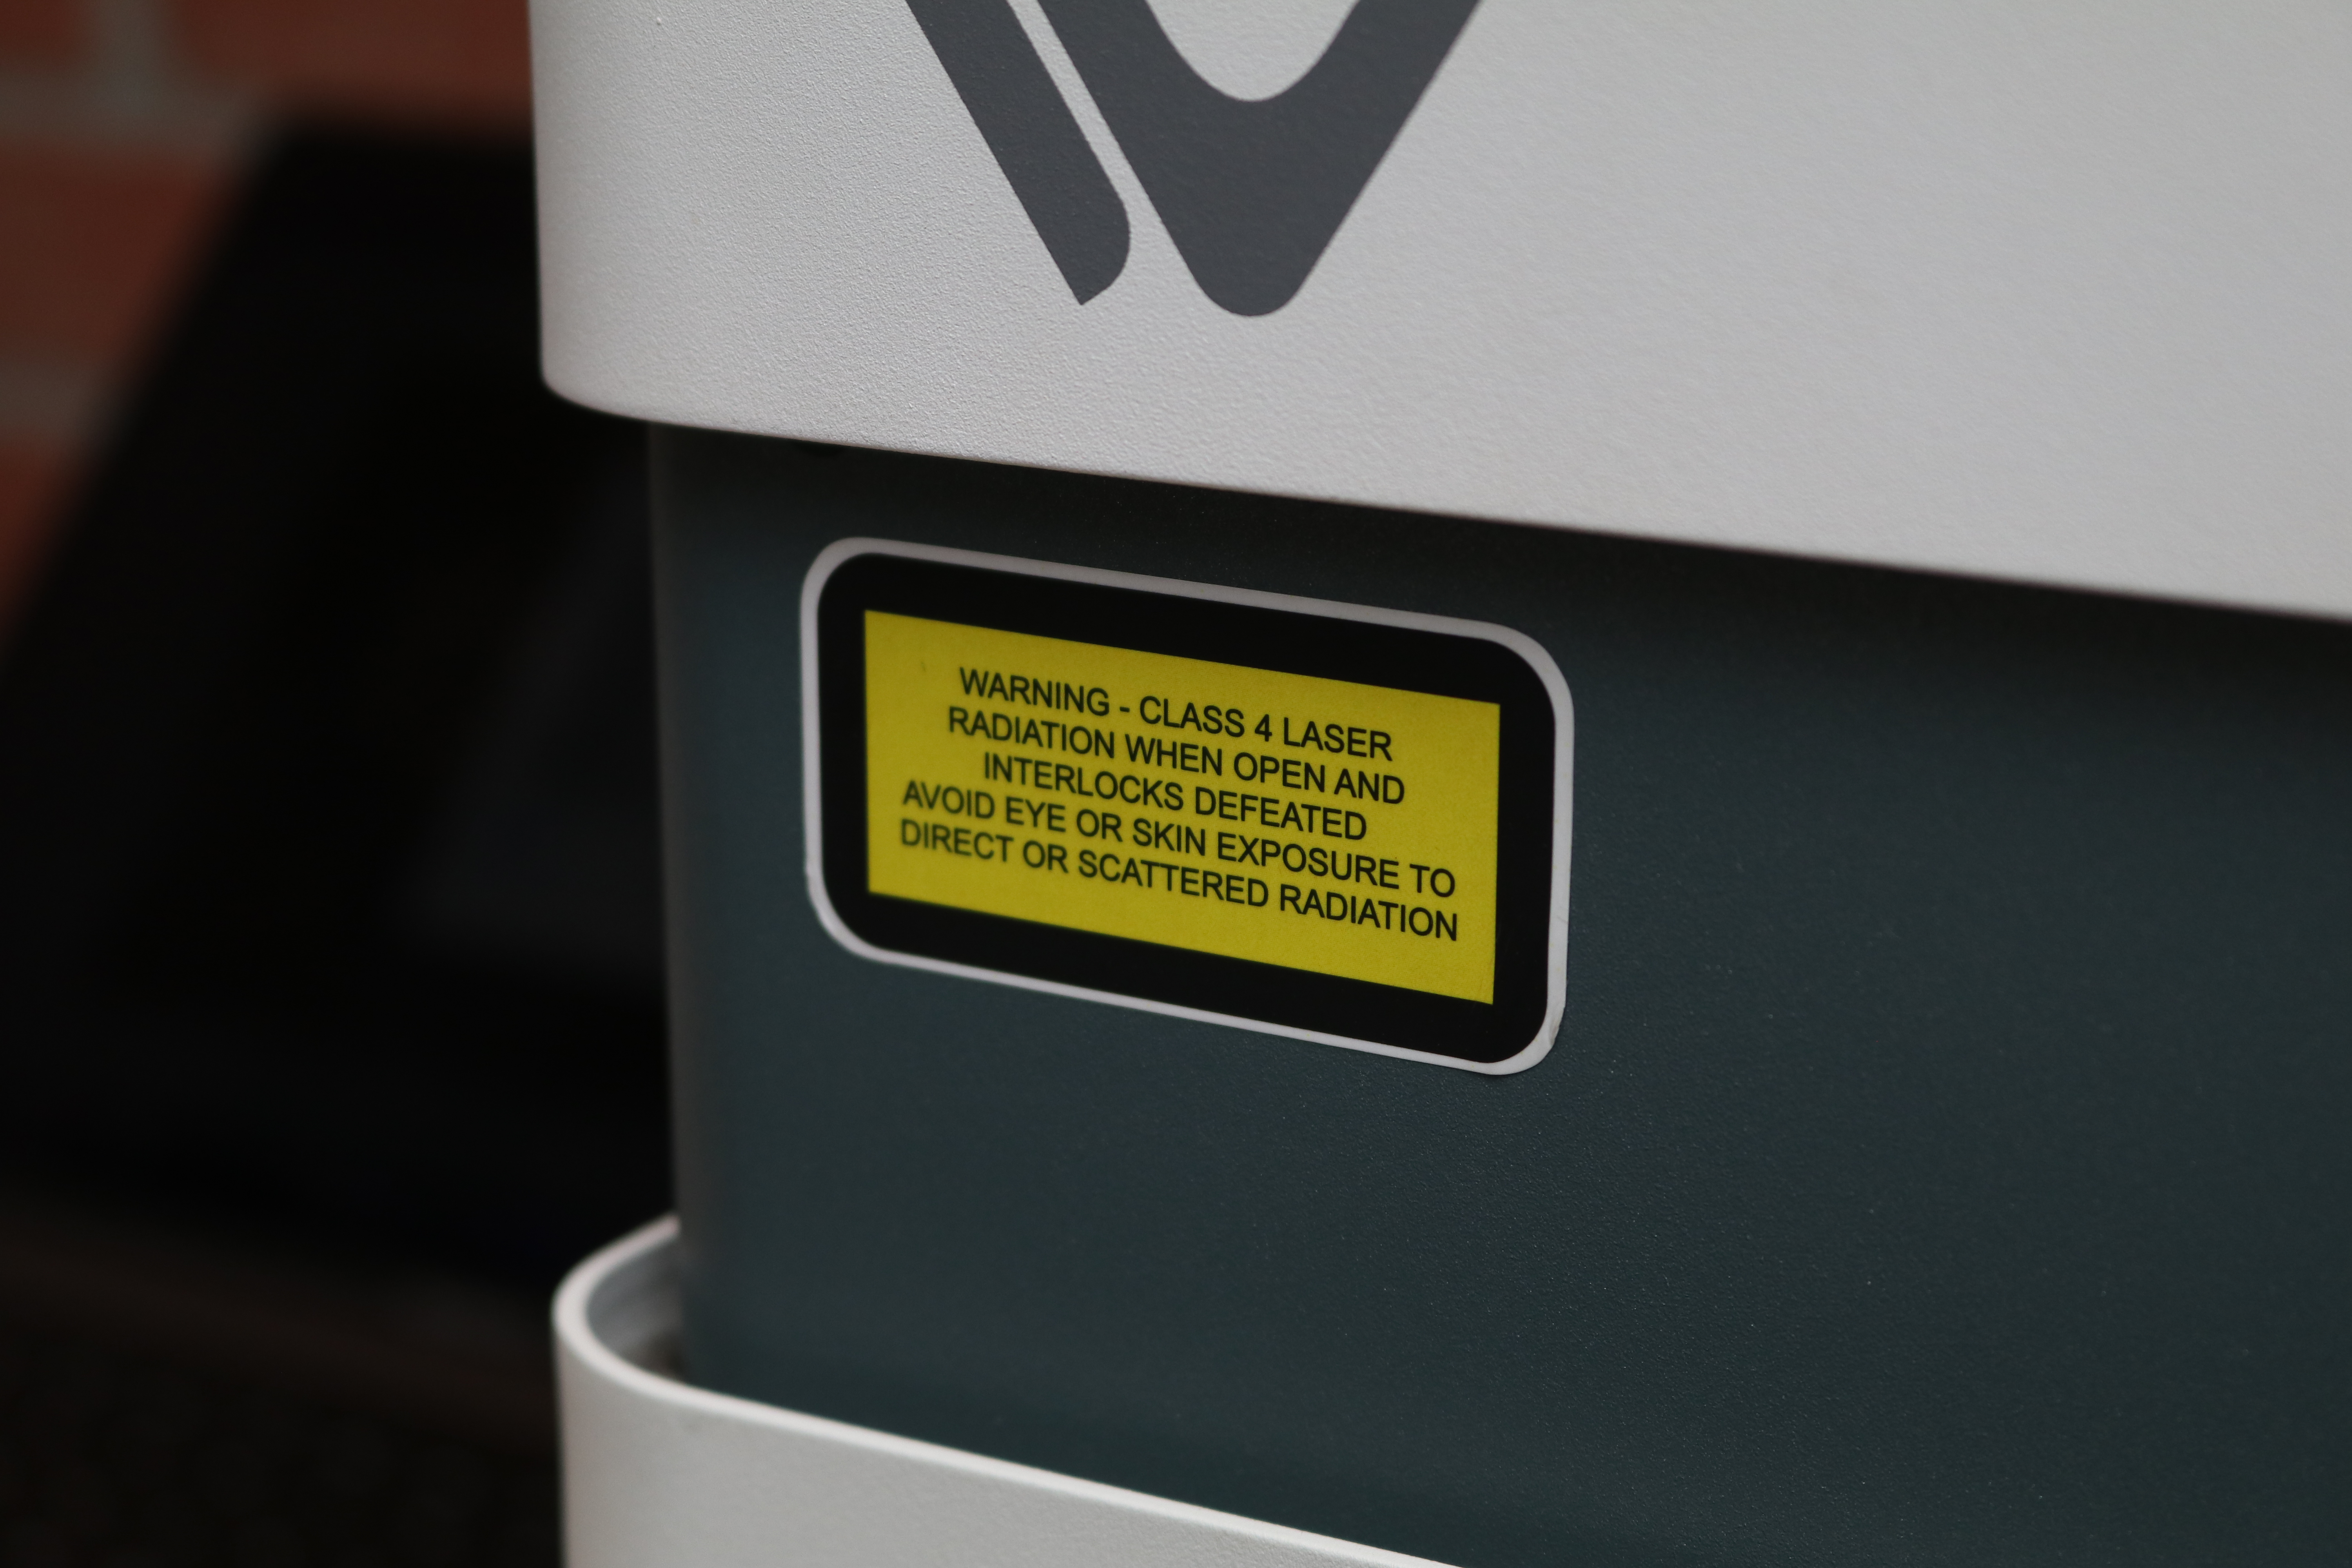
The WeCreat Vision is advertised as being a Class 1 Laser, a classification that is considered safe to use in normal operating conditions. This classification is due to the complete enclosure of the Vision which prevents accidental exposure to the naked eye. However, a sticker placed on the side of the Vision indicates that the classification is rated as Class 4 when the hood is open and the interlock has been defeated.
Class 4 lasers (like the Two Trees TTS-55) are the most dangerous classification, as they can cause instant and permanent eye damage as well as burns due to the open nature of the laser beam. Given the fully enclosed nature of the Vision as well as the fume extractor which pulls smoke directly out of the rear of the machine, it’s clear this printer is targeted at users who want a complete and safe solution. Less expensive open-frame laser engravers require an enclosure, a smoke filter, and other accessories to reach the same level of safety and functionality.
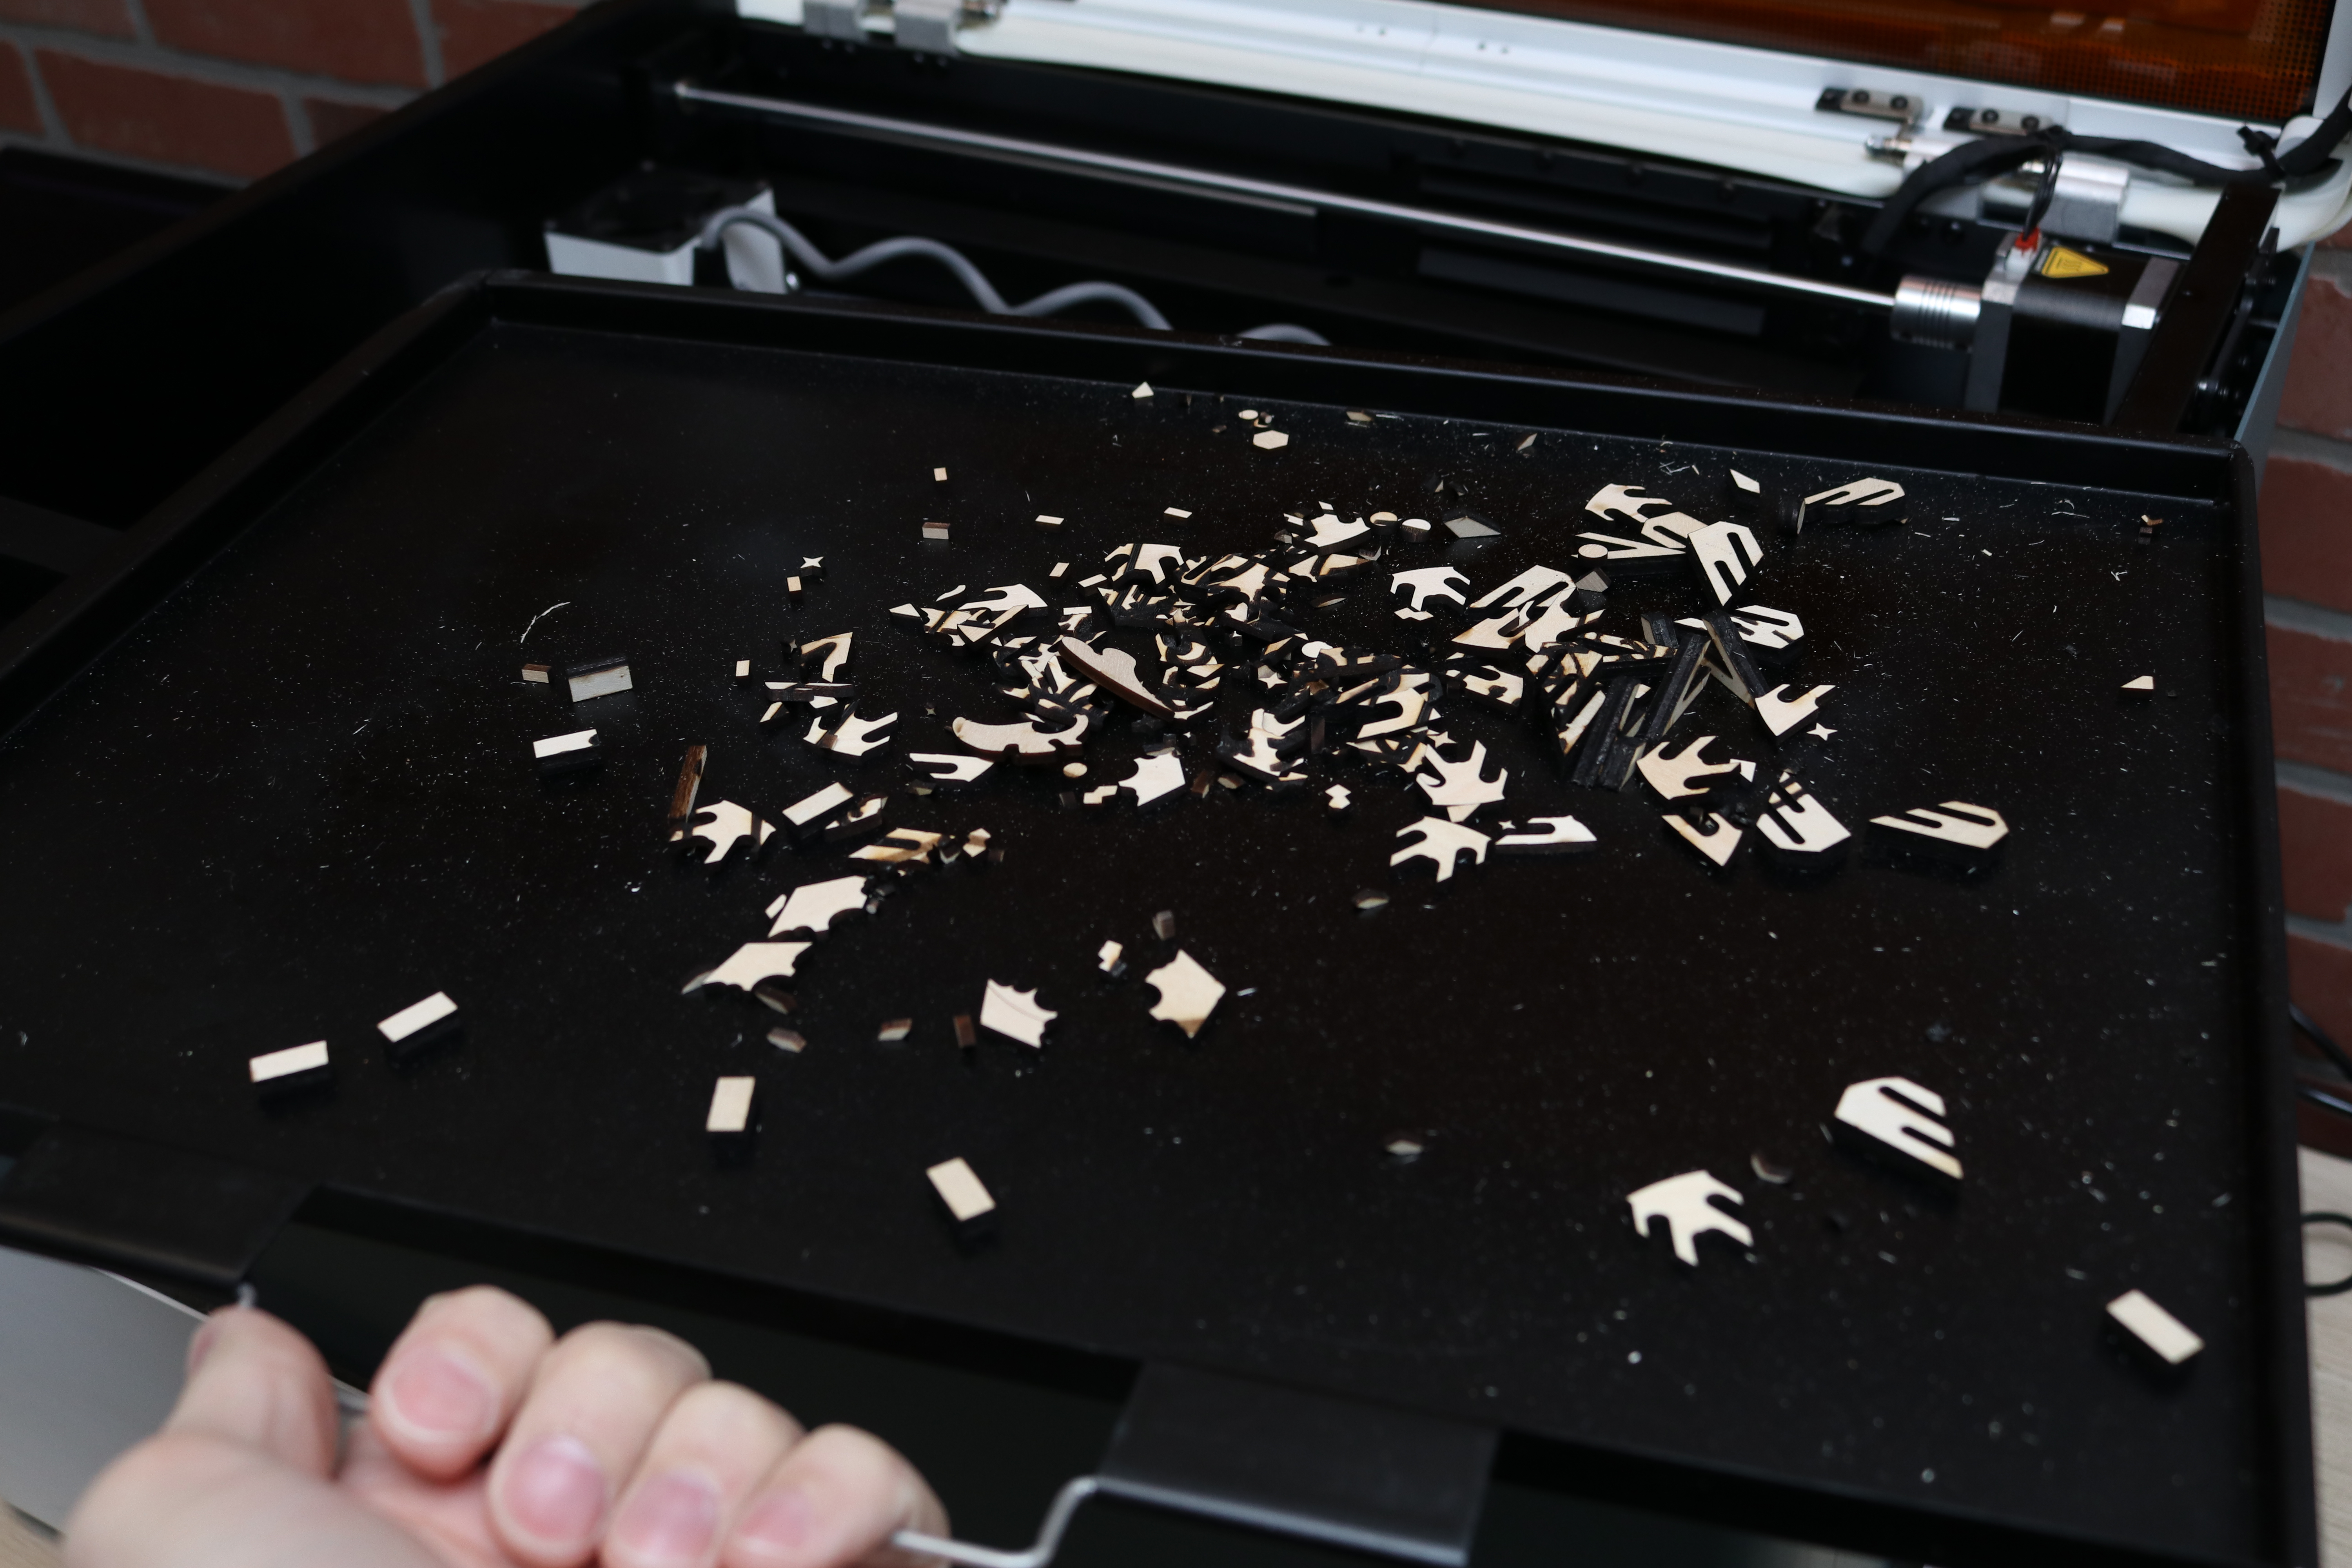
The Vision has an integrated tray underneath the laser bed that can be pulled out to remove the scraps that fall during cutting. Similar to the way a toaster includes a tray to catch crumbs, the tray on the Vision can be removed and cleaned to prevent small scraps from getting charred or burned during engraving.
It’s important to remember that using a laser can be more or less dangerous depending on what type of material it is engraving. The Dallas Makerspace has published a list documenting various materials with notes and specific hazards that is worth taking a look at to learn about the various hazards presented by materials.
An example of this was highlighted when cutting a sheet of Glowforge Eco Thin cast acrylic. Using the default Acrylic cutting setting in the software cut straight through the material, but the smell was noticeably stronger even with the fume extractor active.
Software for WeCreat Vision
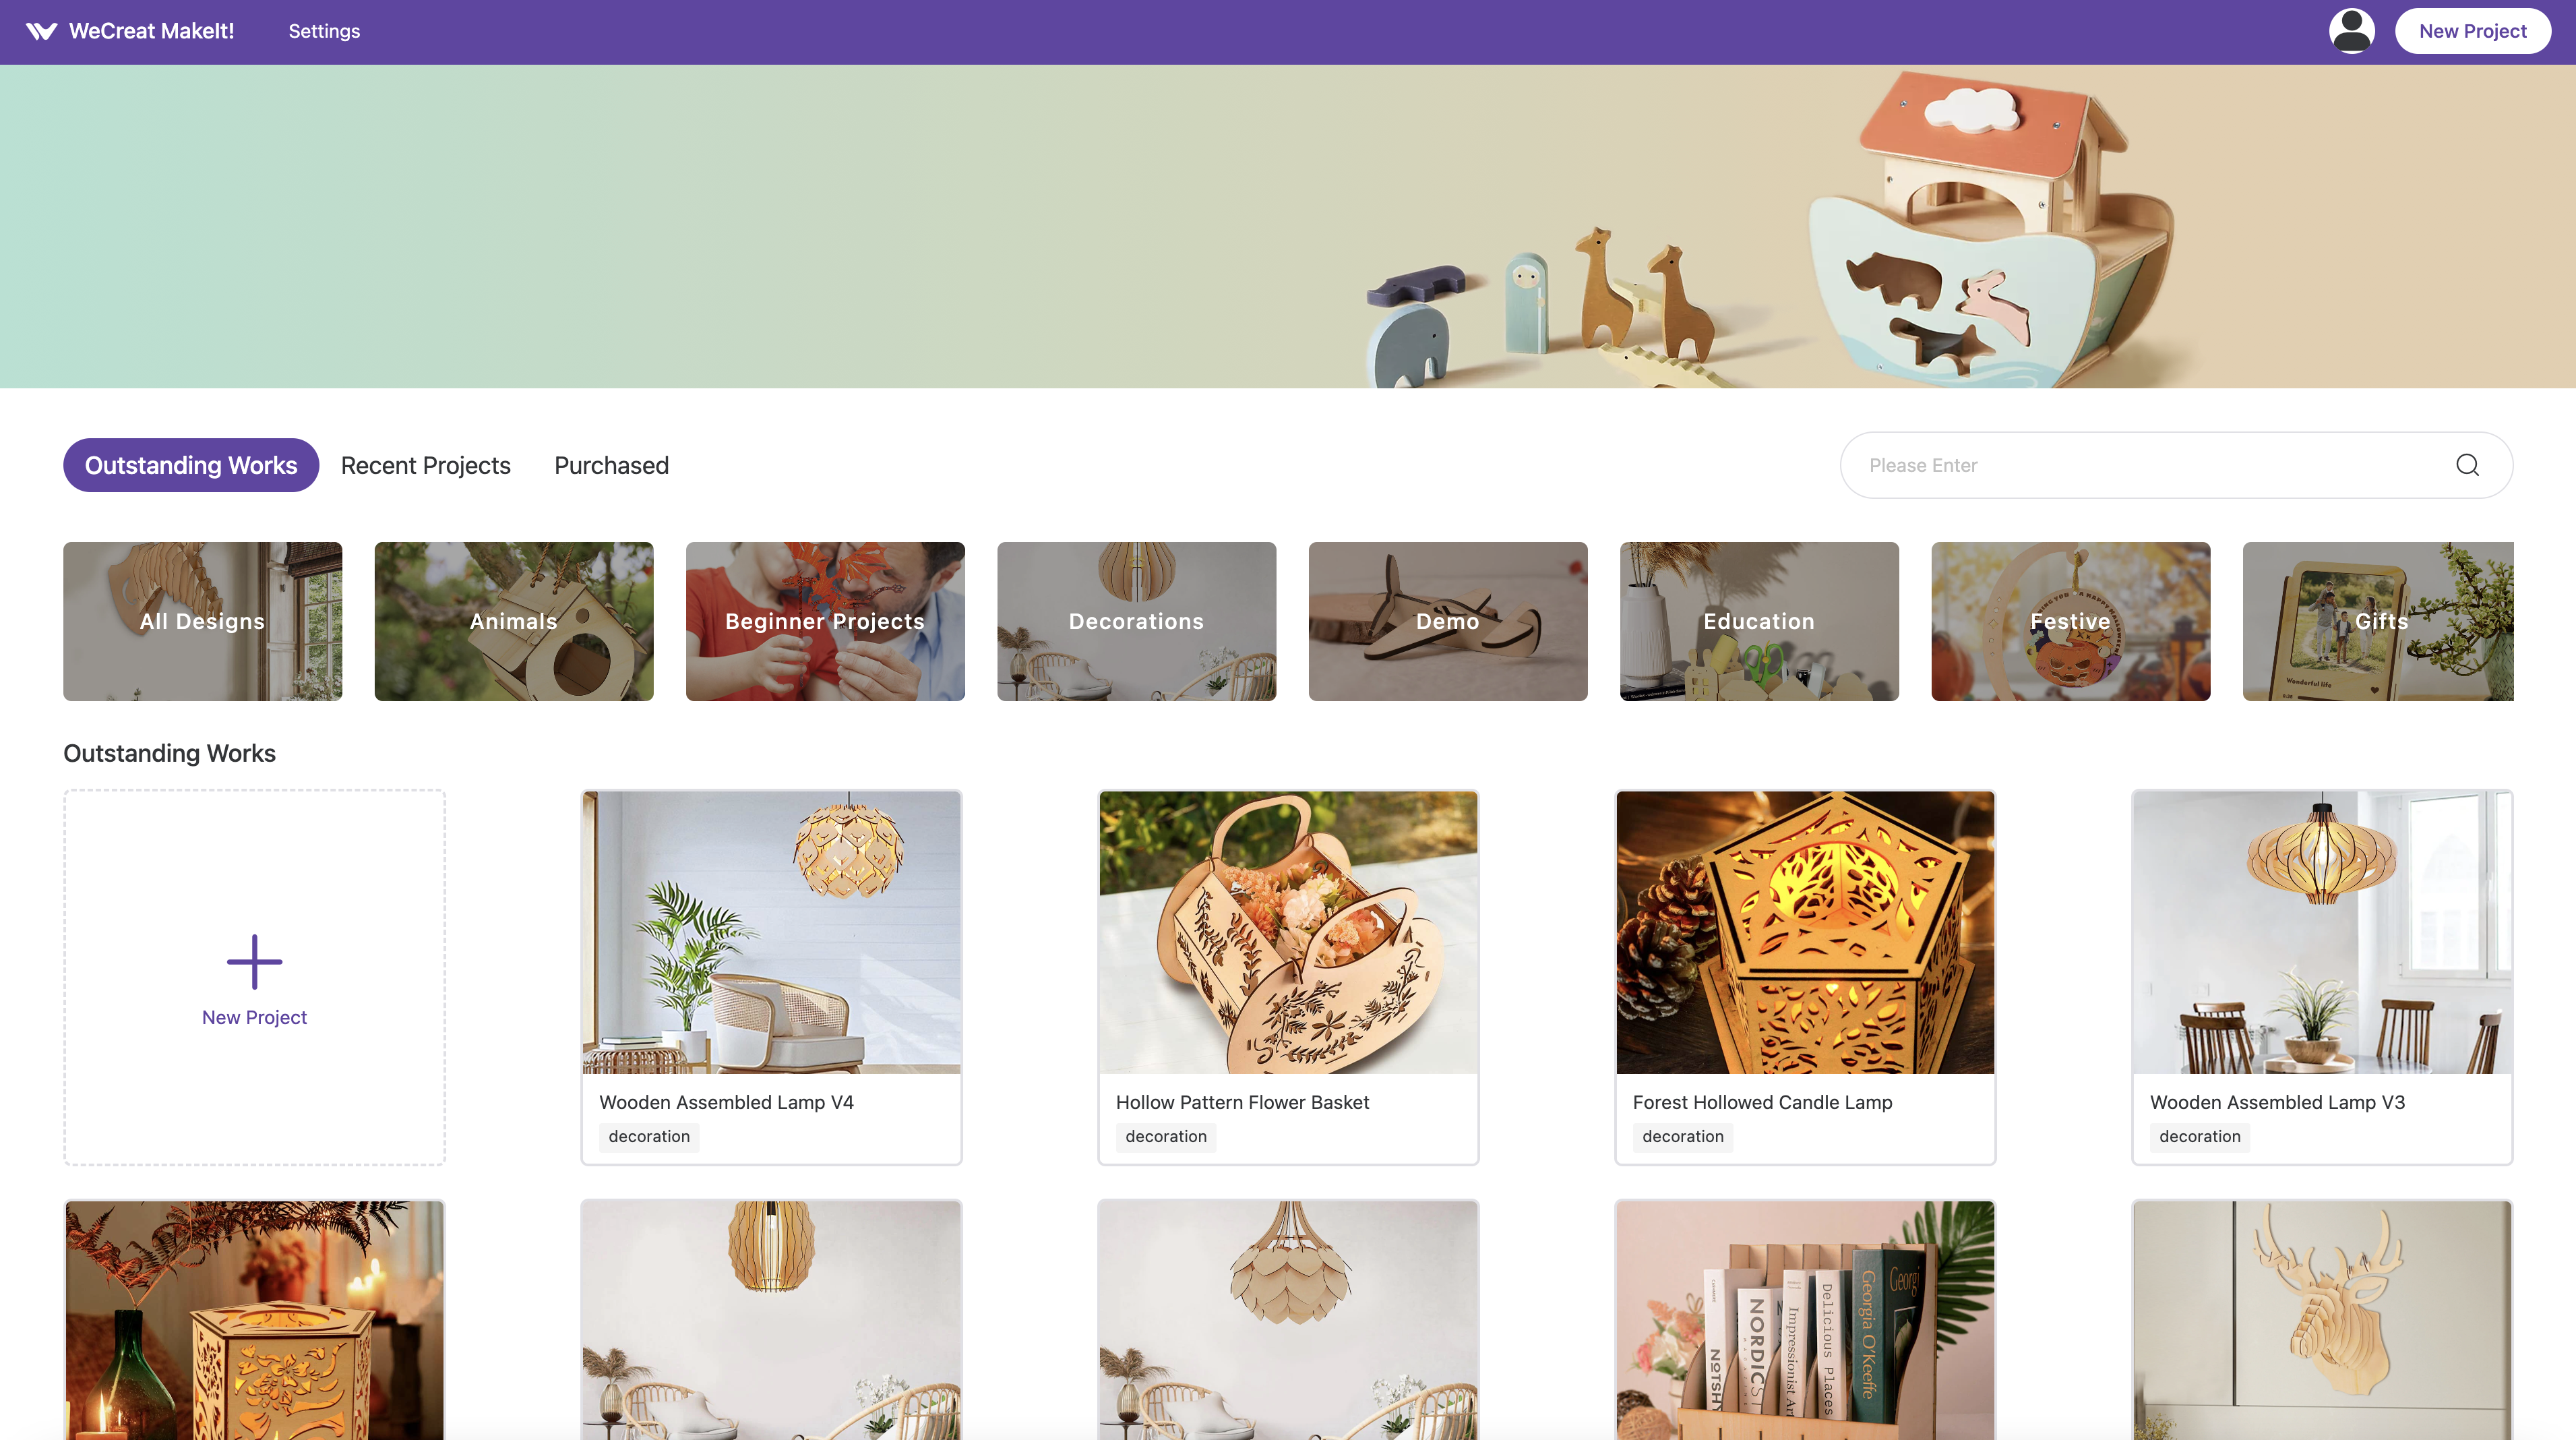
The WeCreat Vision uses WeCreat’s MakeIt! Software to control engraving, cutting, and even creating designs from scratch. MakeIt! is offered for iOS, PC, and also a mobile app. In addition to laser control, the software offers a variety of free and paid projects that can be directly imported into the digital workspace.
Currently, Lightburn (a popular third party laser cutter and engraver controller software) is not supported at launch, but a representative from WeCreat indicated “compatibility for Lightburn should be available by the end of December at the earliest”. MakeIt! can import .gcode files exported from Lightburn using the “Gcode File Processing Assistant”, but full functionality has yet to be released.
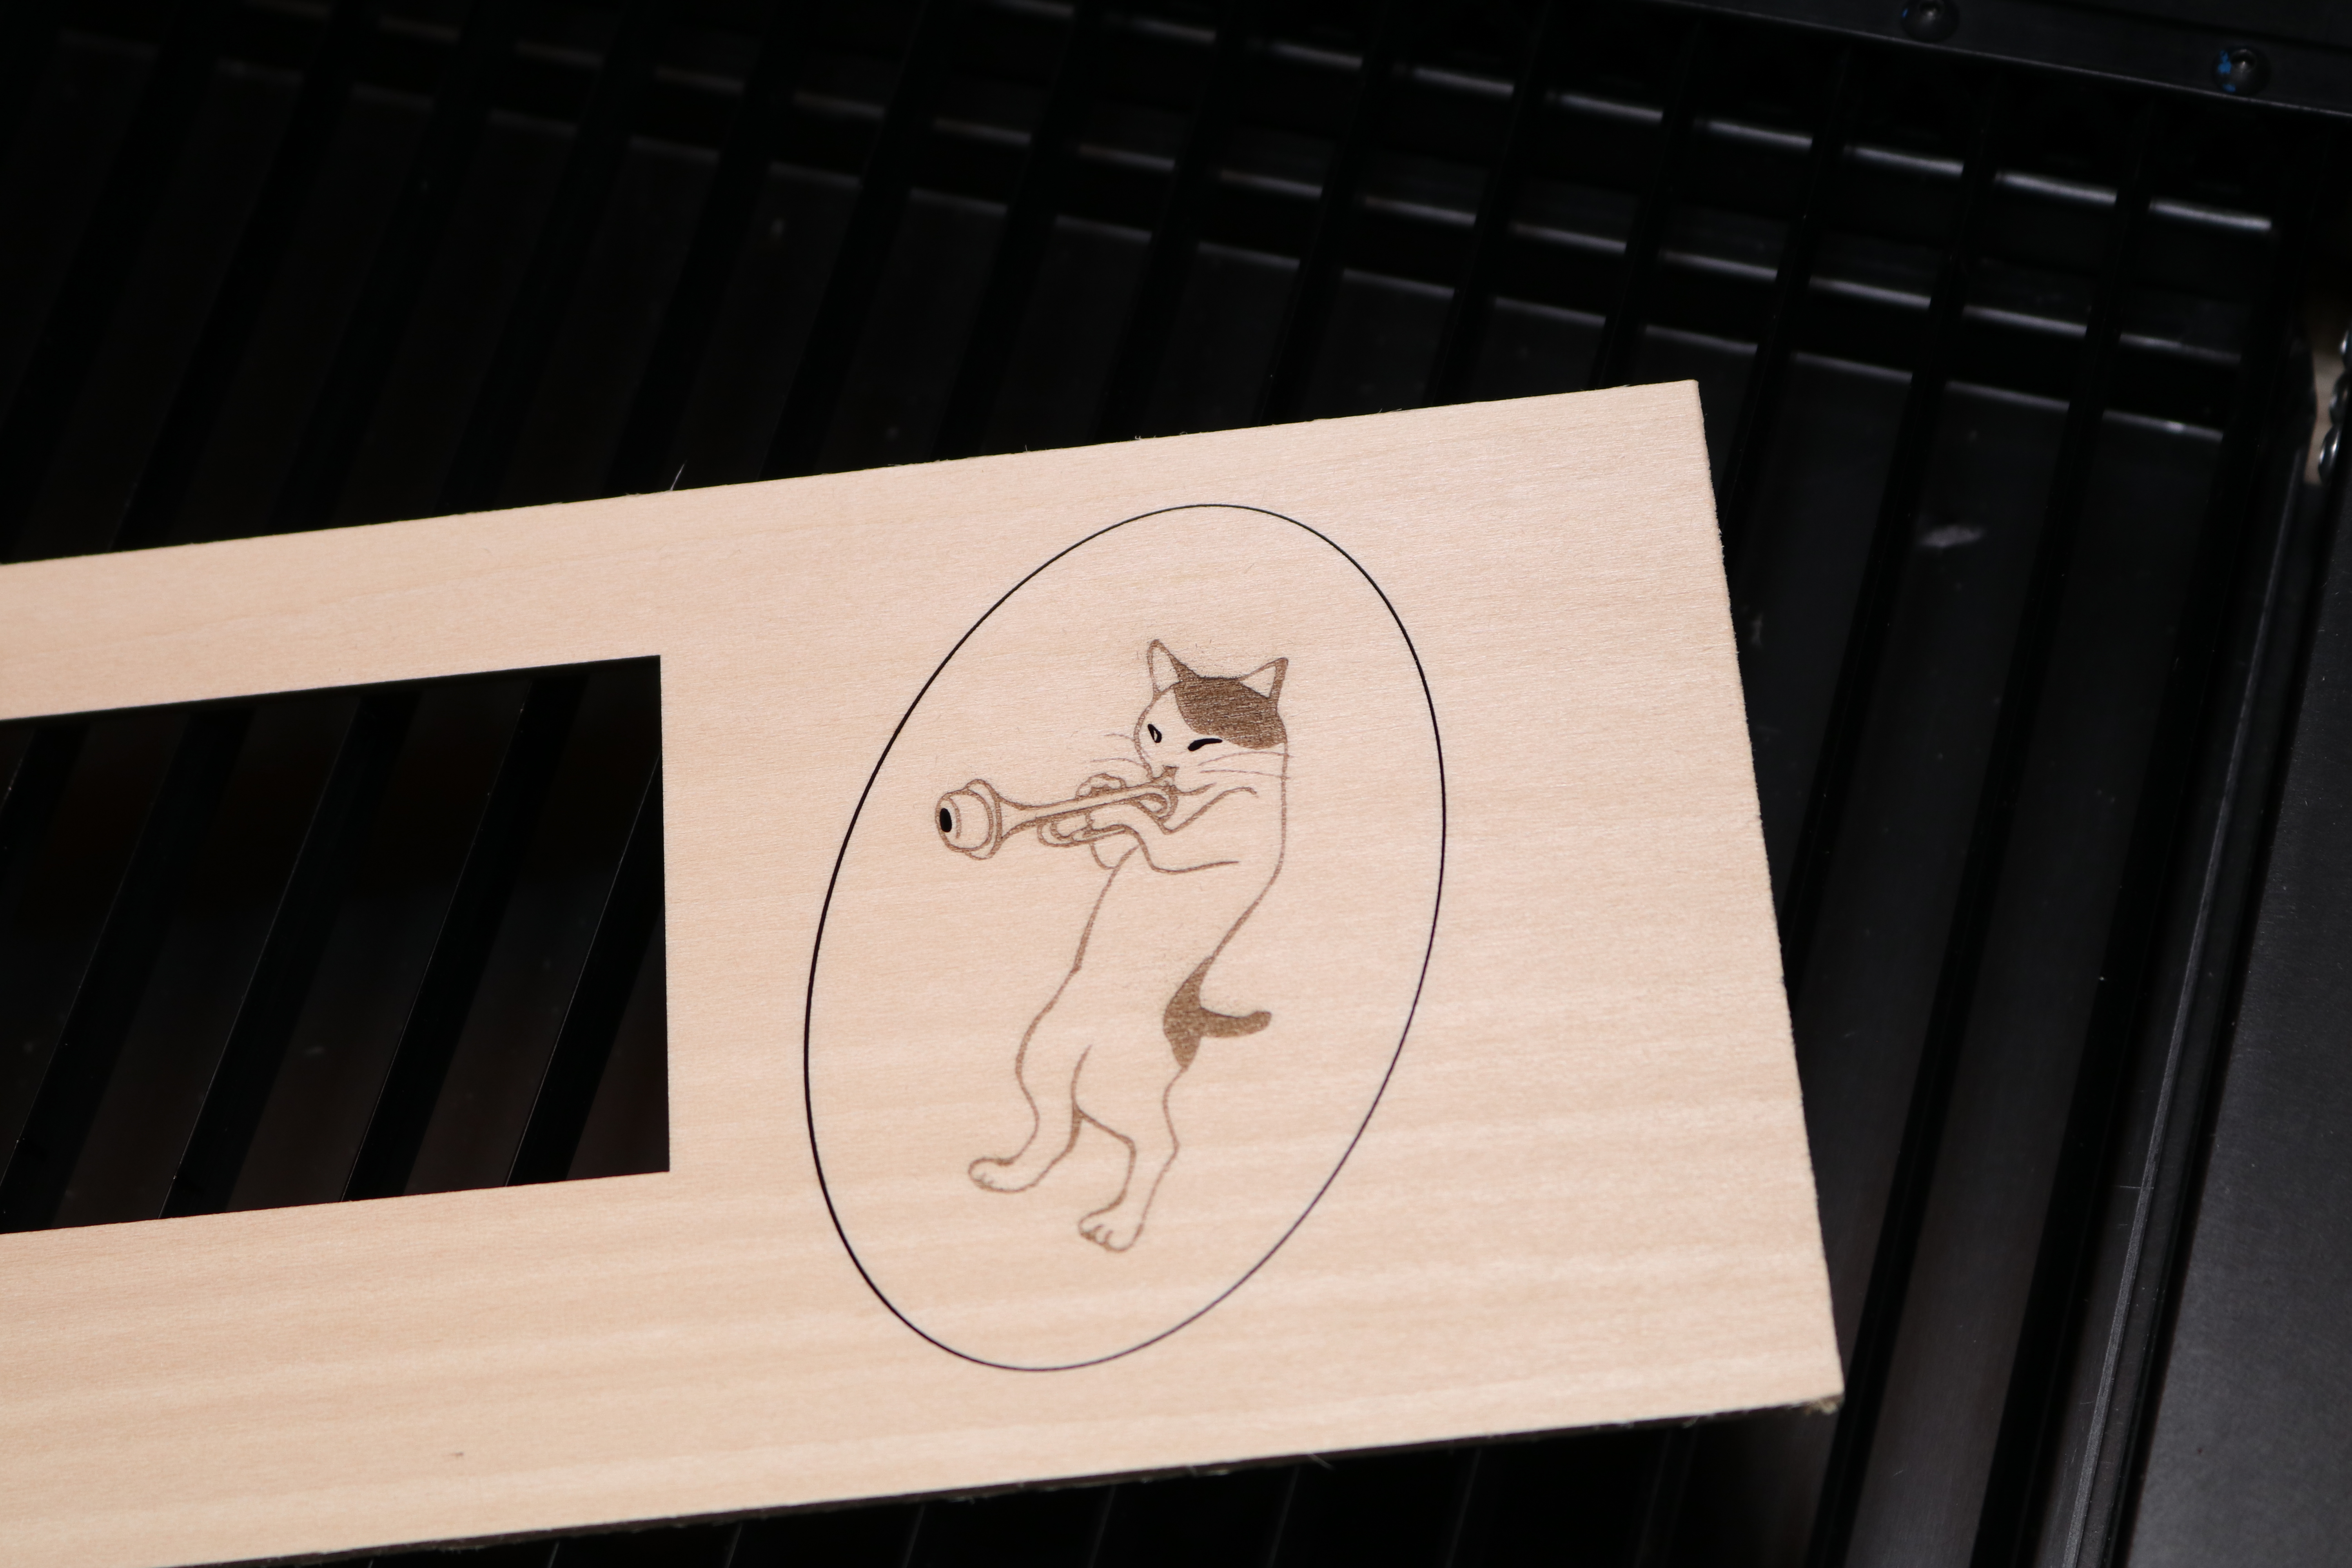

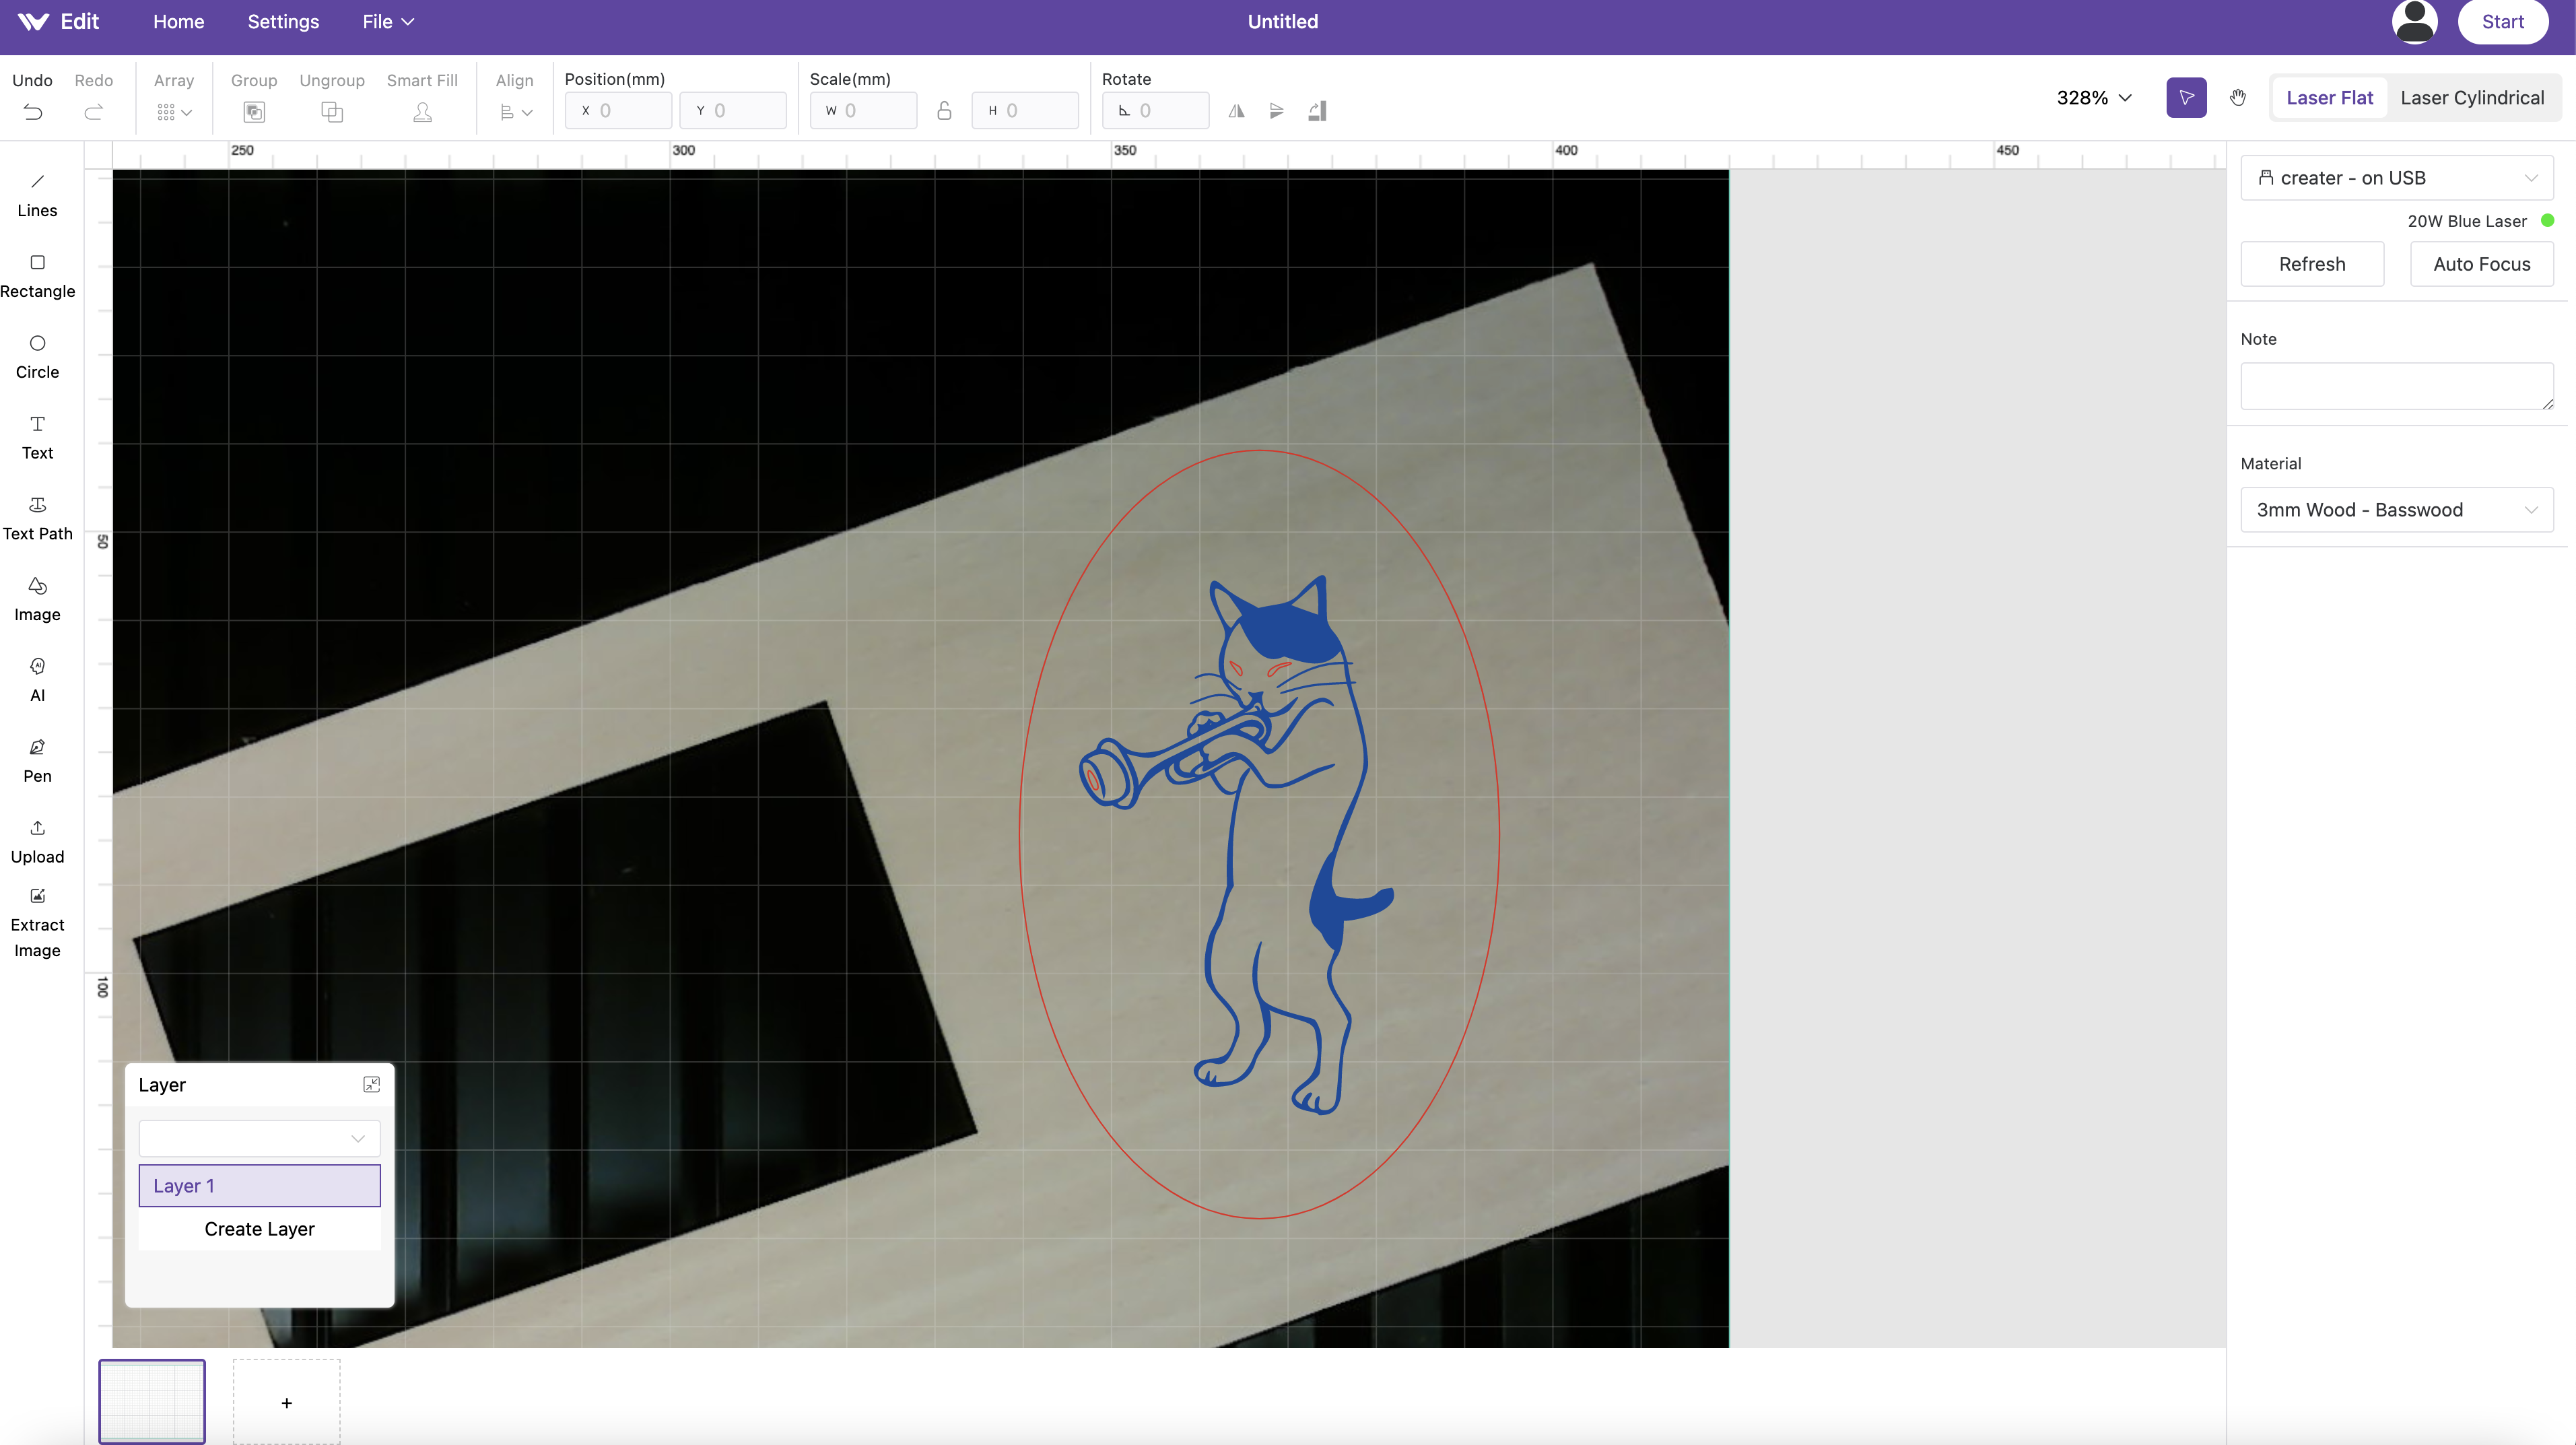
The basics of the software are straight-forward: you select a design, pick a mode (Engrave, Engrave Fill, or Cut), and send it to the Vision. Engrave will trace the contour, Engrave Fill will completely fill the region, and Cut will completely cut through the workpiece.
In the above example, a stock image of a cat playing a muted trumpet was selected from the library and processed in the software. The Engrave Fill mode was used to engrave the body while the Cut mode was used on the oval contour surrounding the image, the eyes, and on the trumpet mute.
The projects included in the MakeIt! software range from simple and fun (ornaments, animals, puzzles) to surprisingly complex (lampshades that require 16 large sheets of material to create). To users getting started with laser engraving, the addition of these prepared project files will help them to get more comfortable with the software interface without requiring much additional design work.
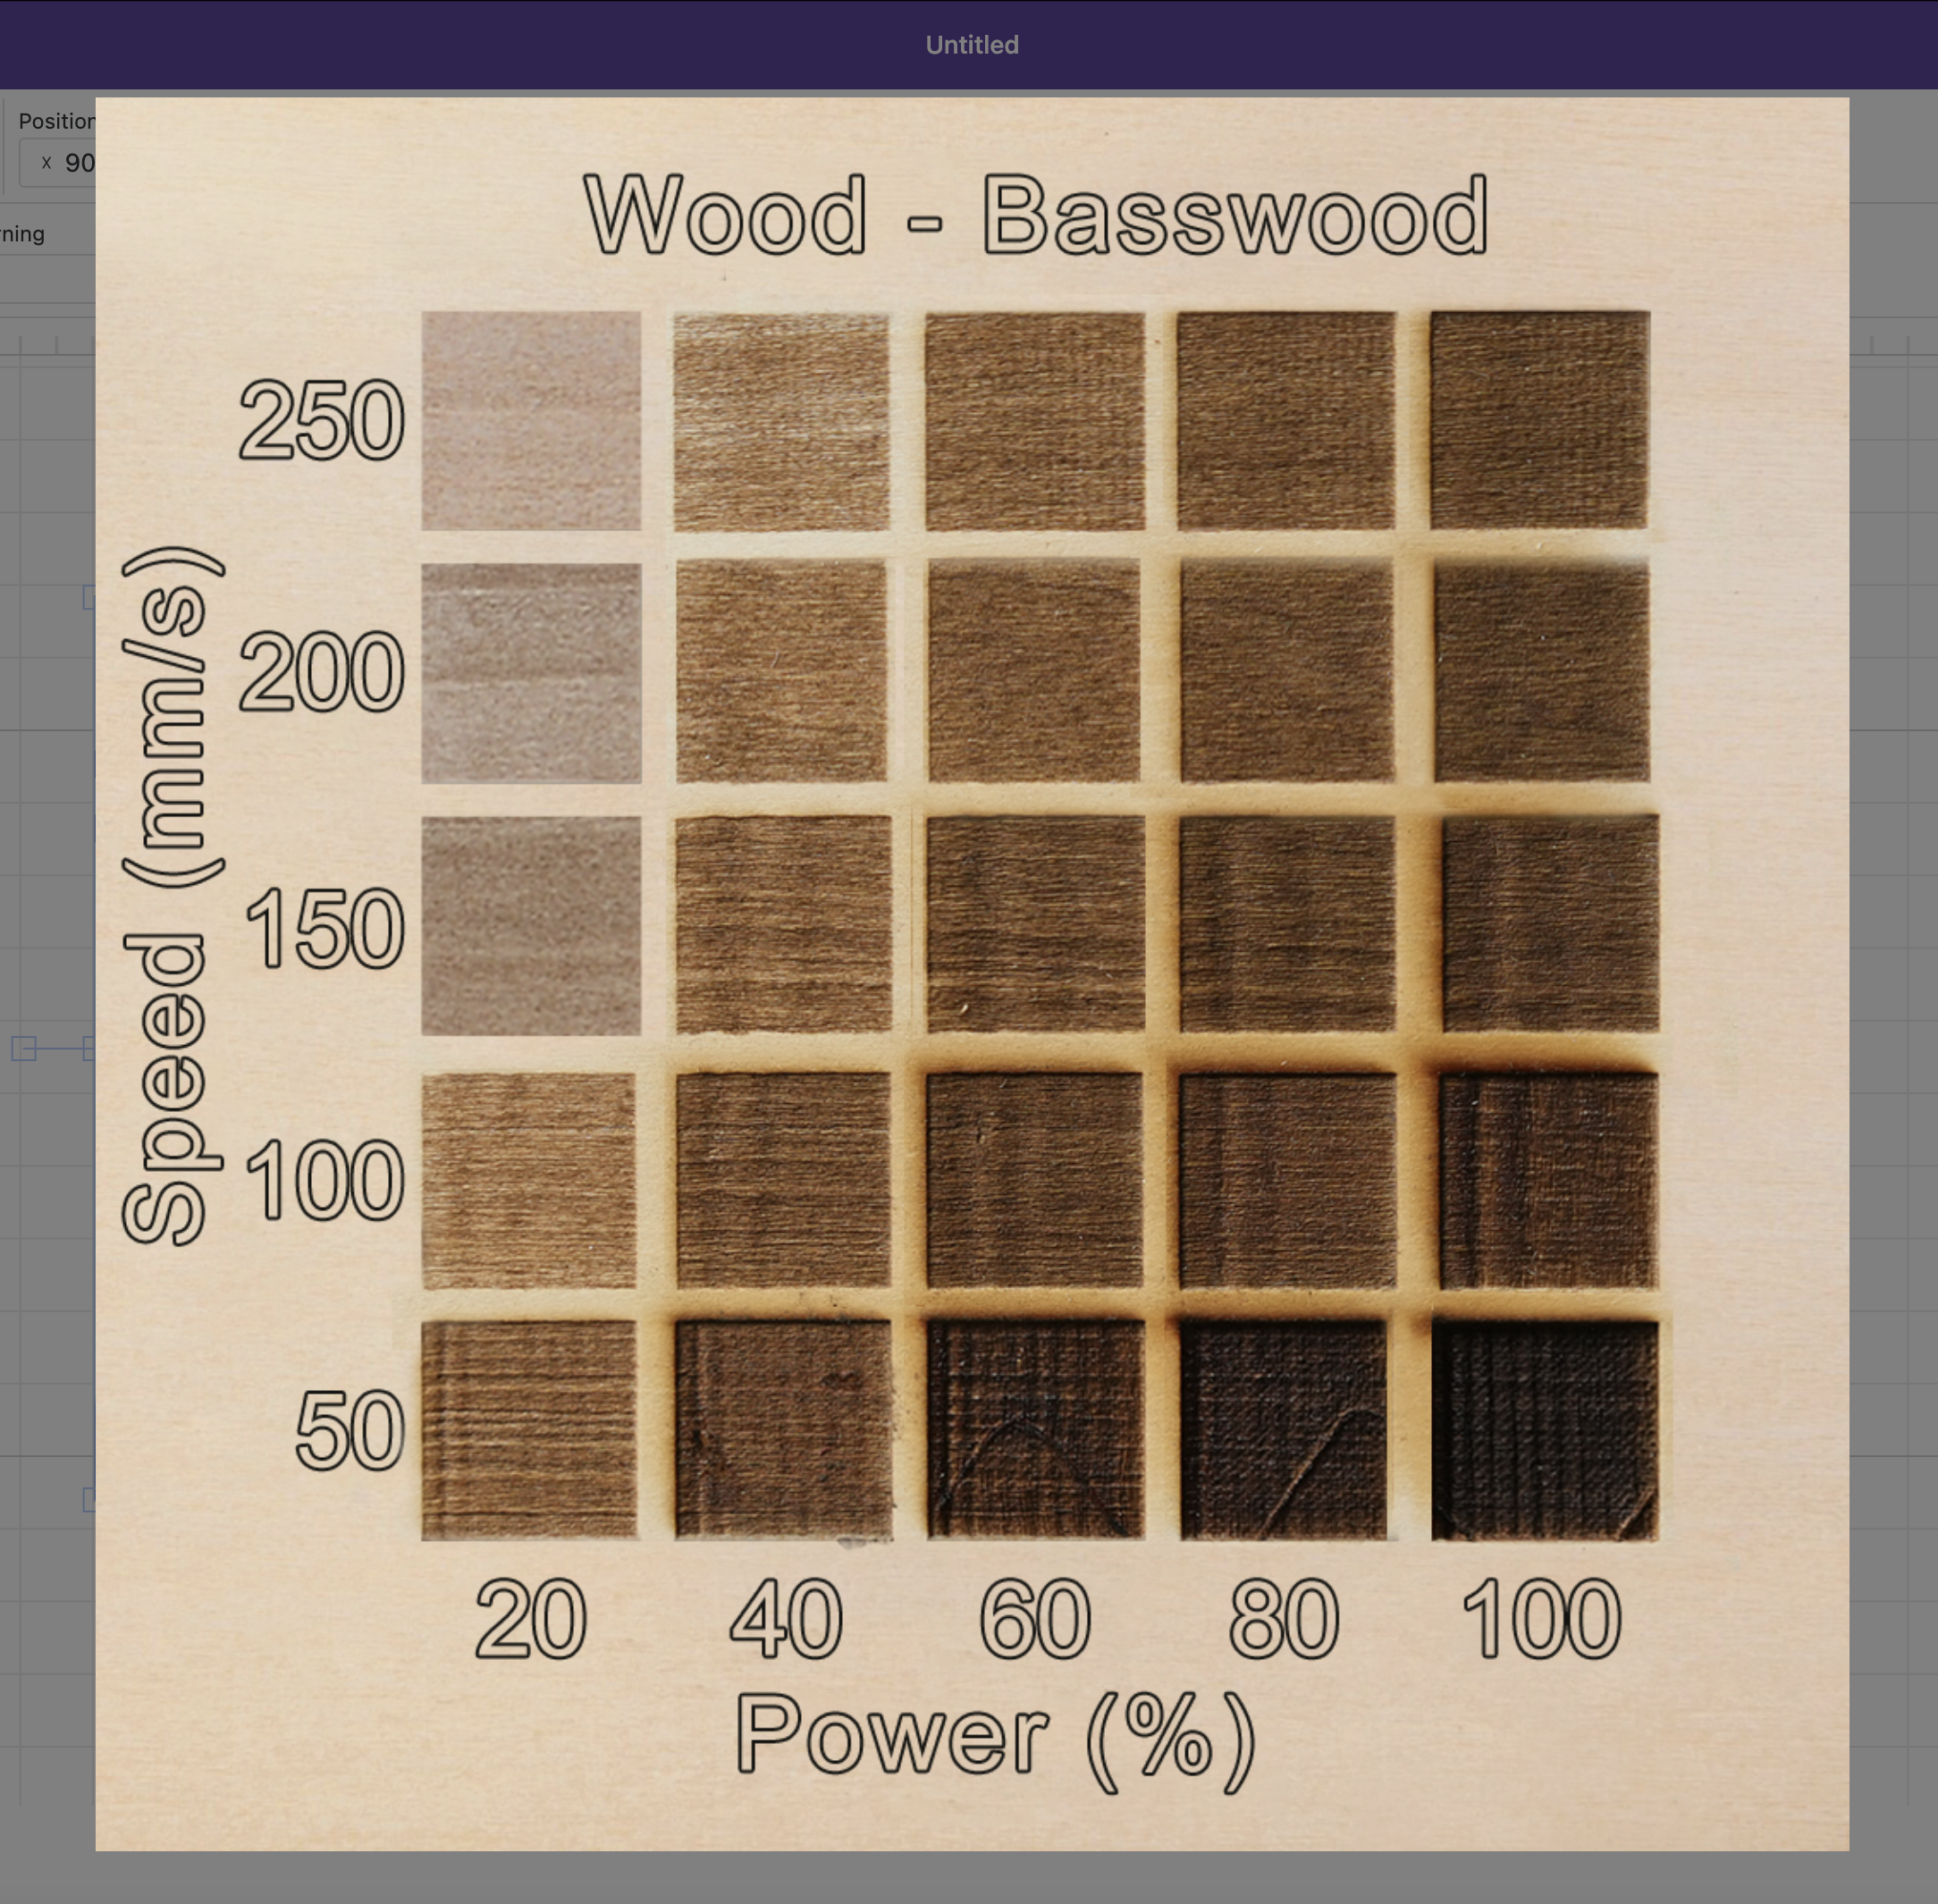
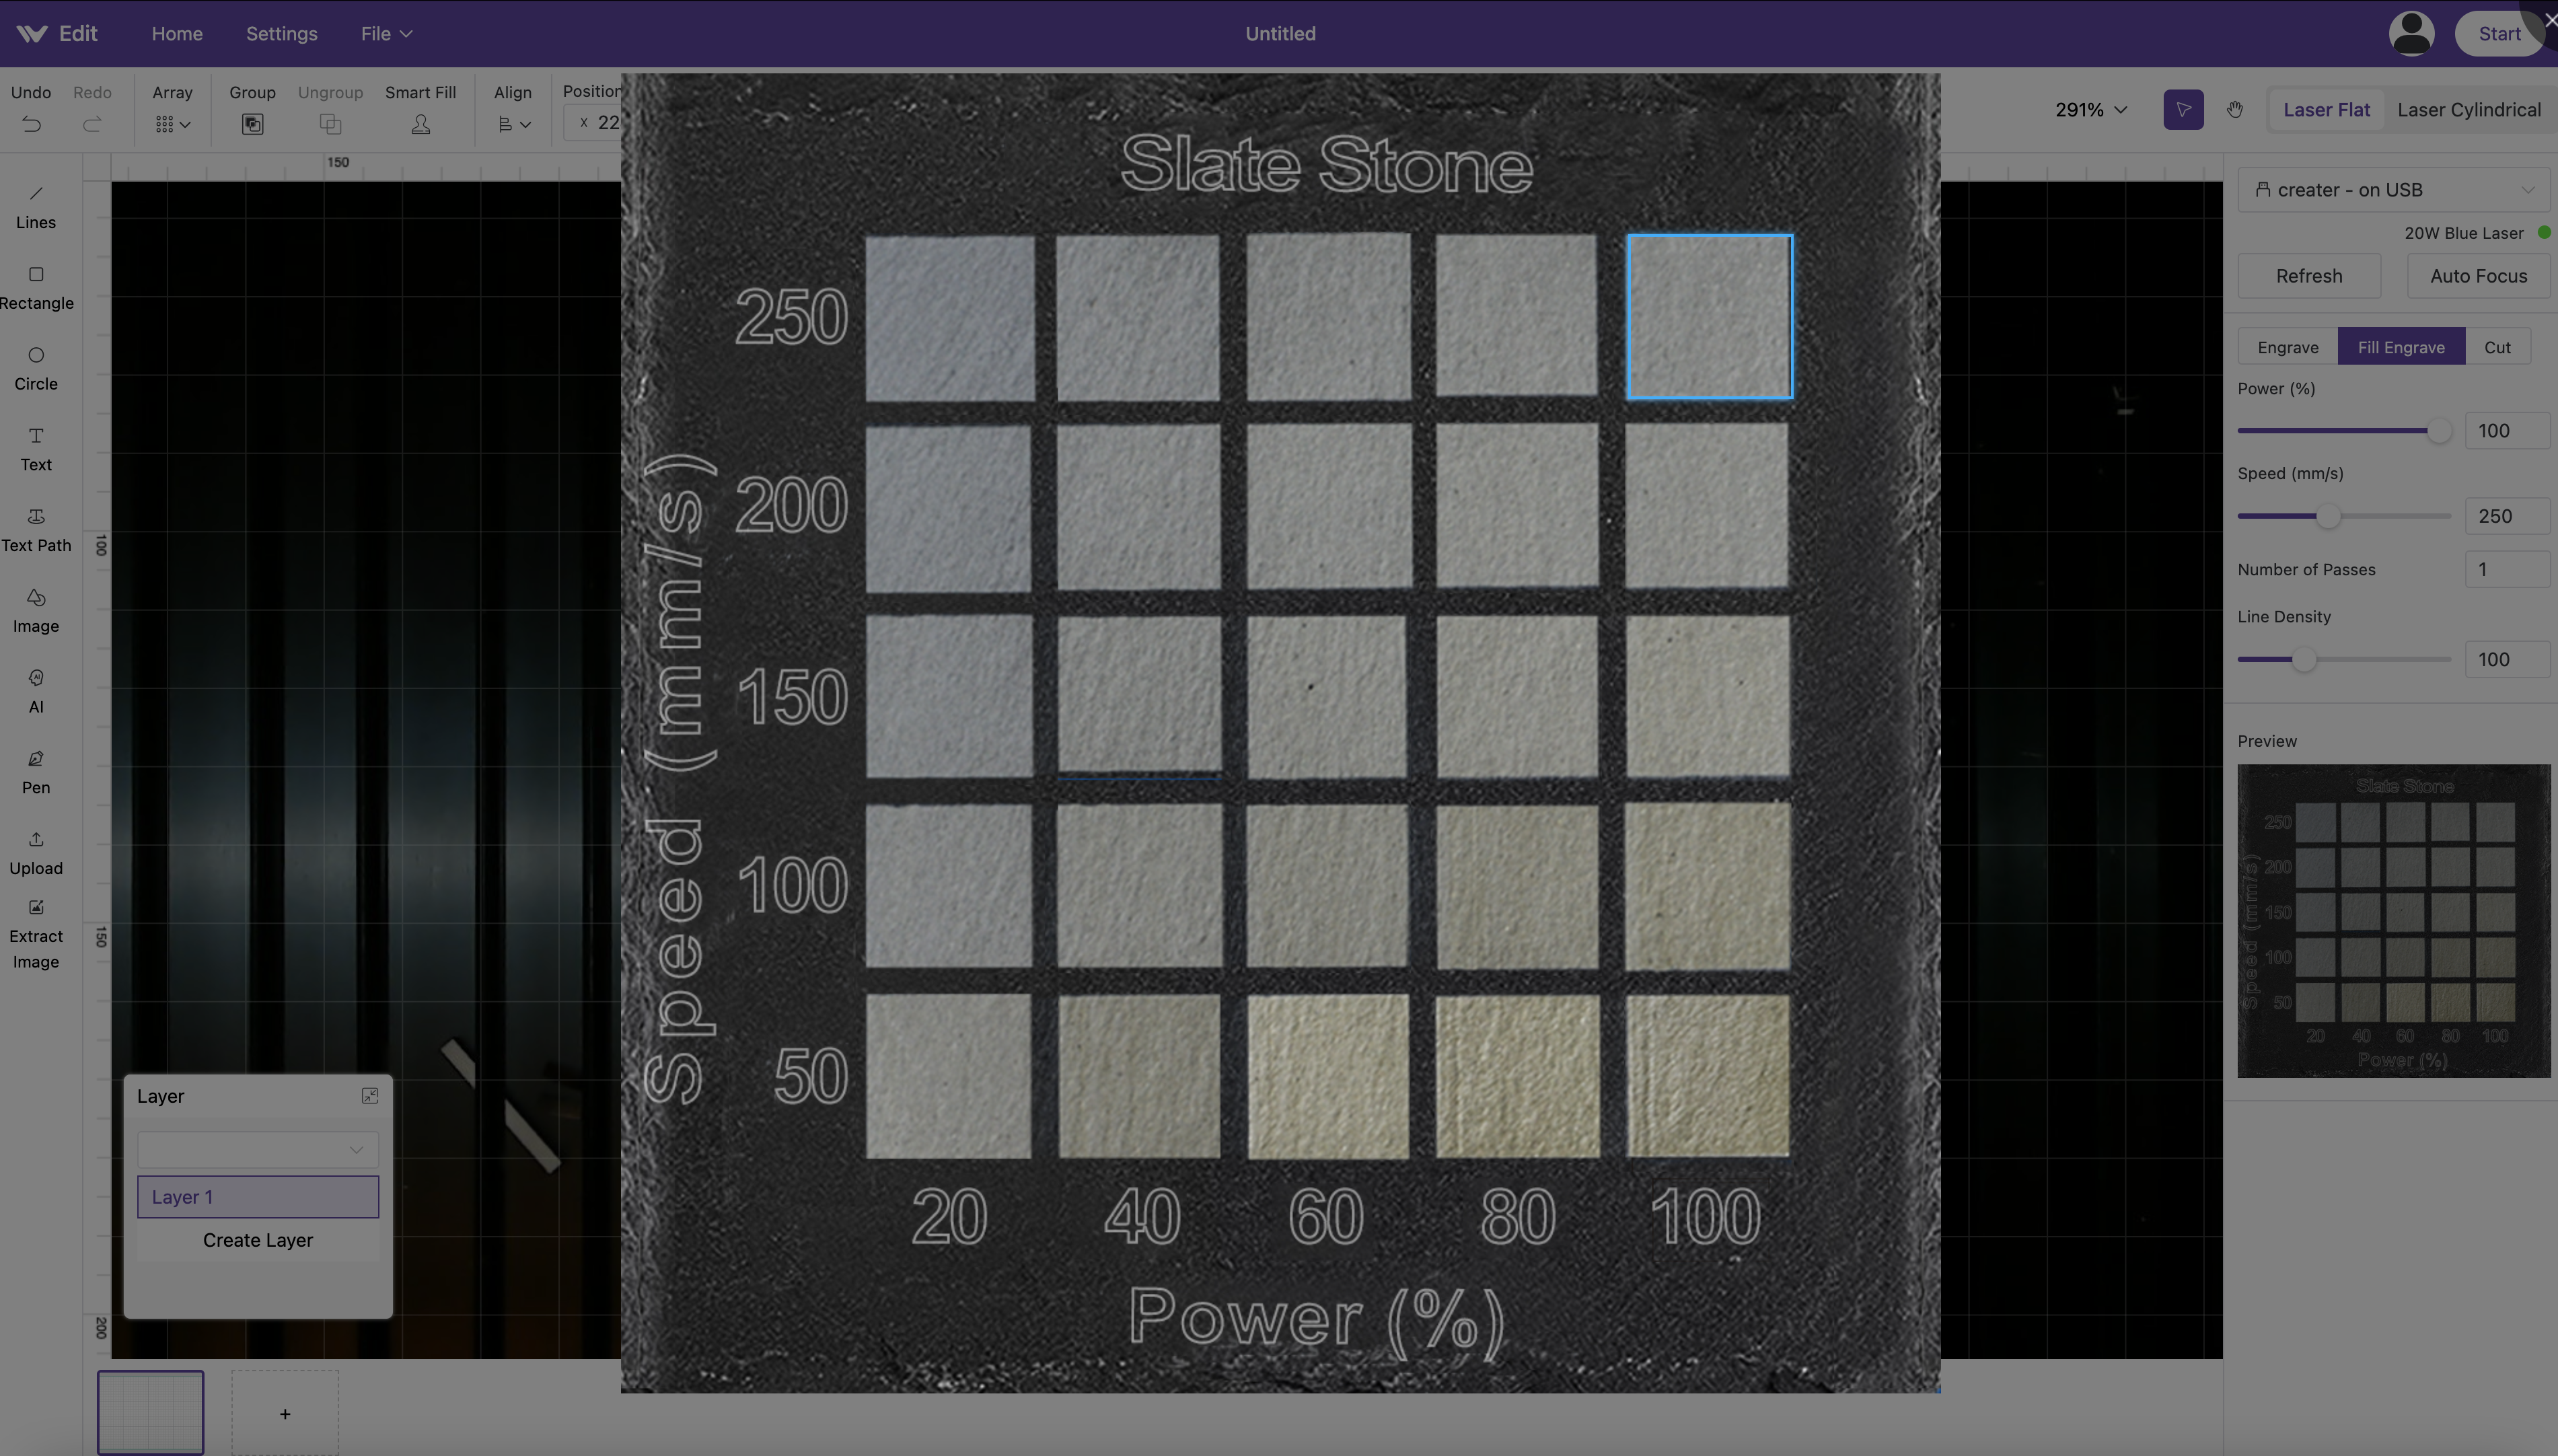
A great feature of MakeIt! is the inclusion of a visual matrix that shows the impact of adjusting the power of the laser (expressed as a percentage) and the speed of engraving (expressed in mm/s). This Quickview matrix makes it easier to pick a specific setting if you’re not sure where to start. MakeIt! includes these visual matrices for multiple materials, which was very helpful when experimenting with new materials before a baseline was established.
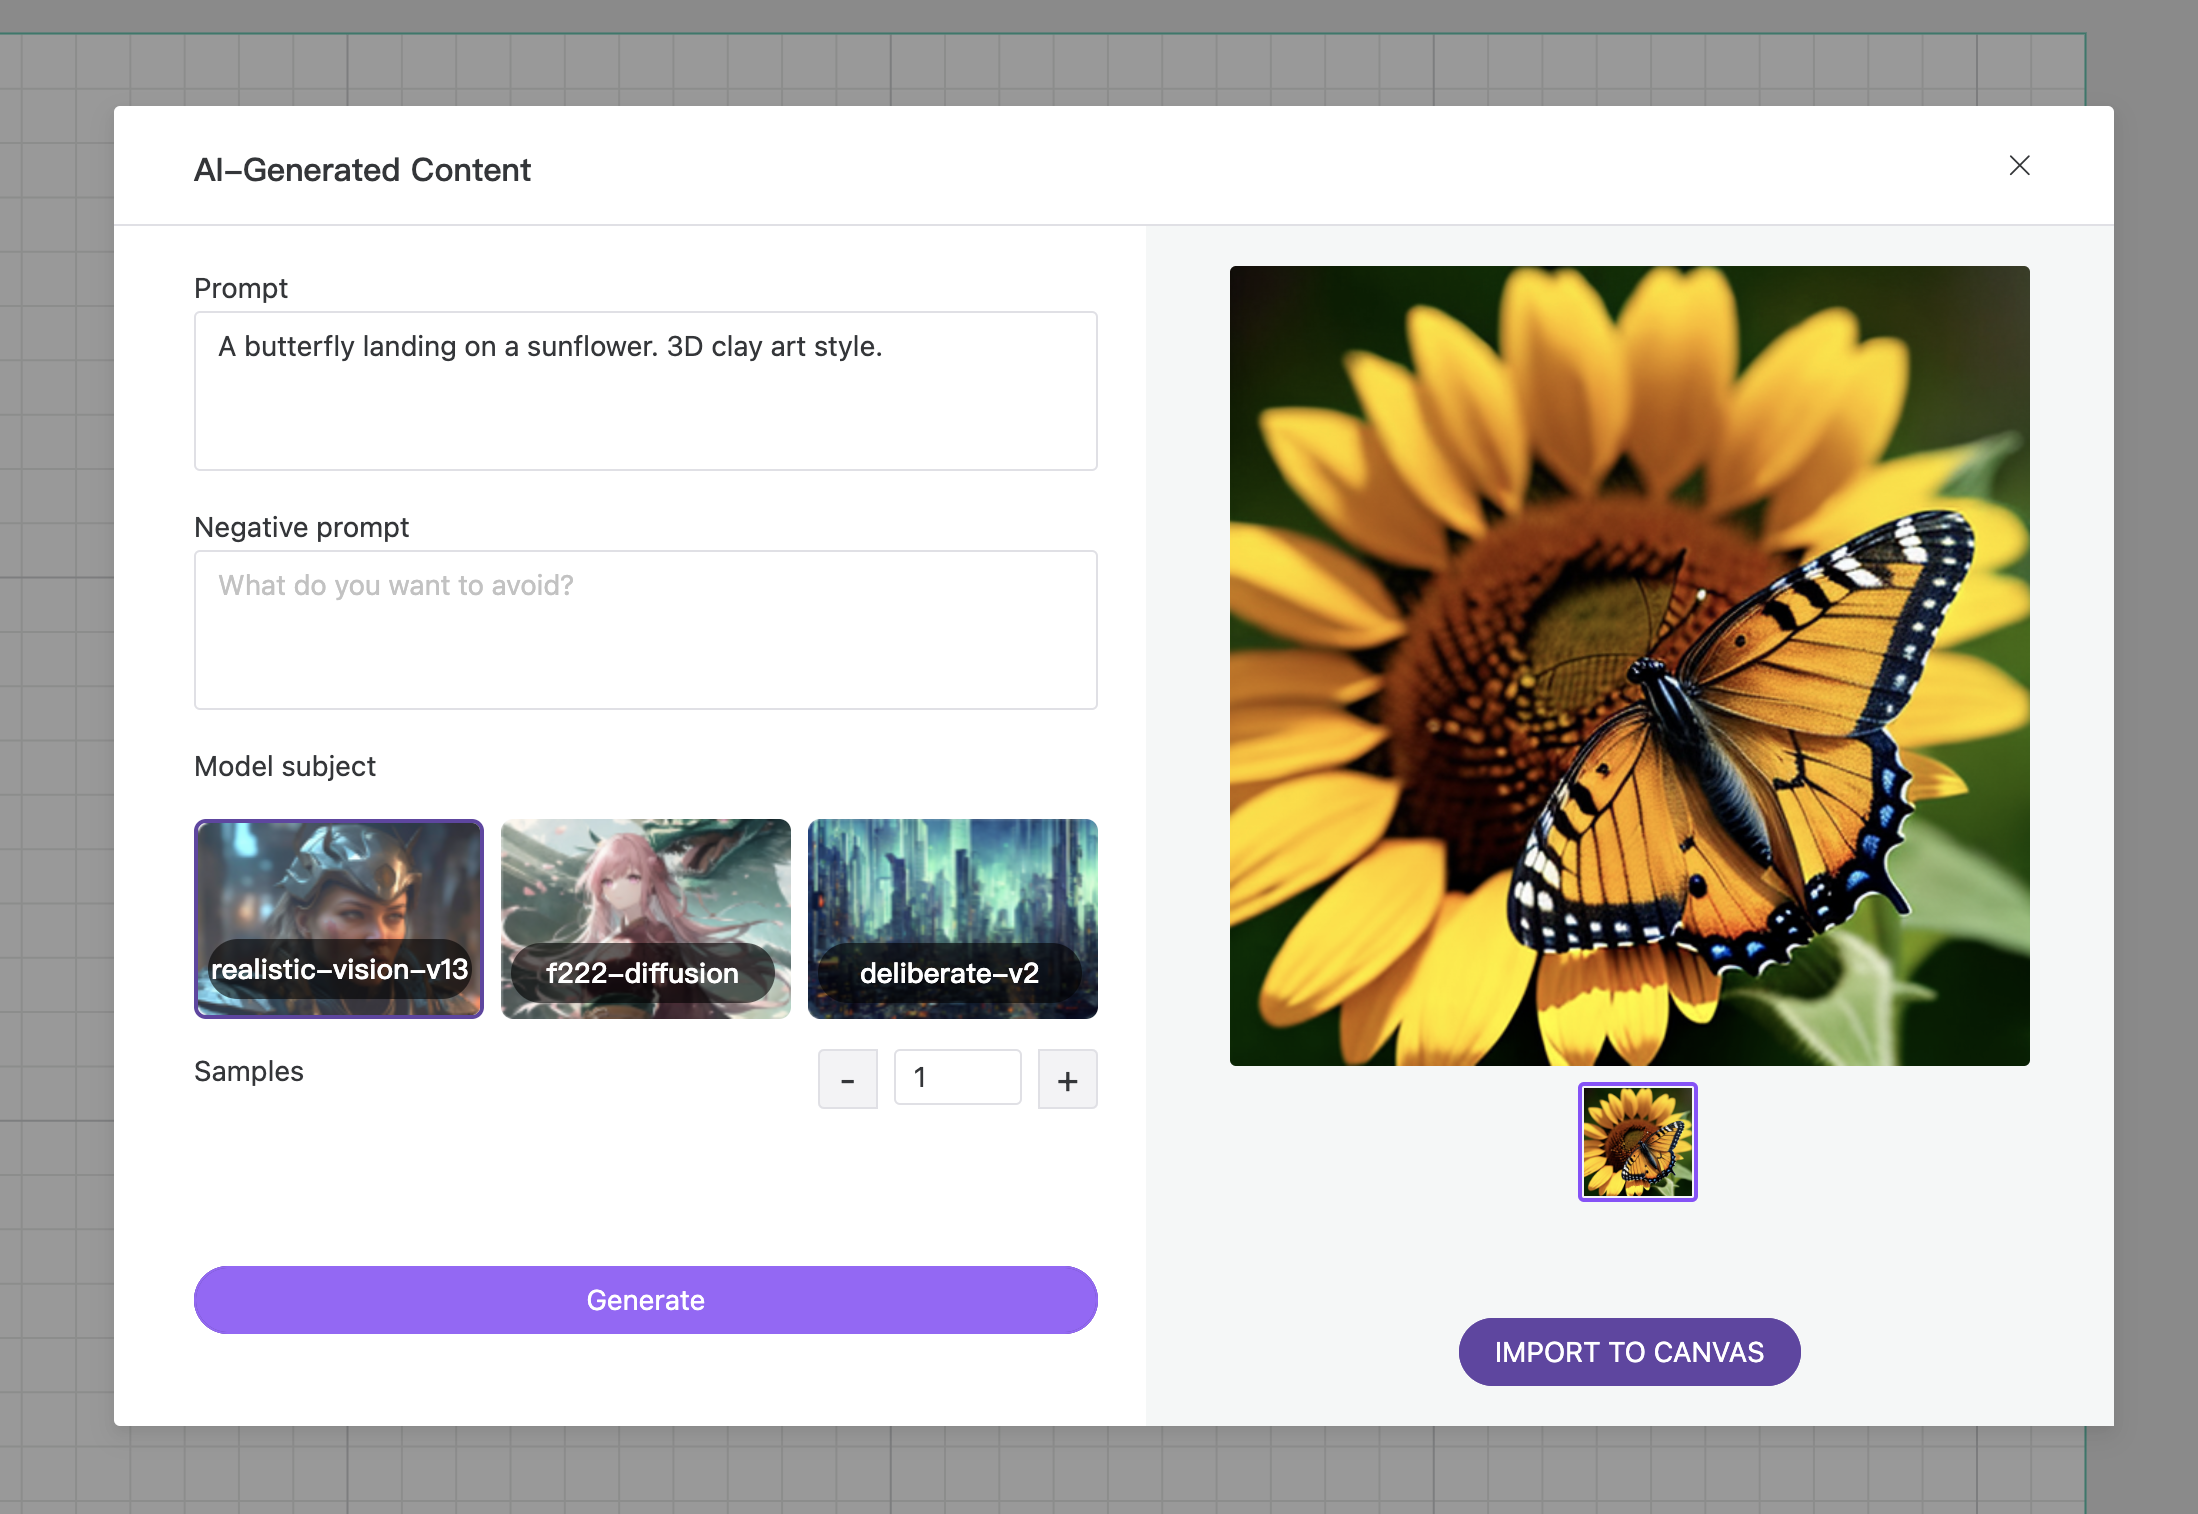
One of the promoted features of MakeIt! is the “AI image tool” built directly into the software. This tool is a text prompt with a few settings you can adjust to create AI images. Similar to OpenAI’s DALL·E 3 and the Discord-based Midjourney, this AI-generated art is great at some things but can struggle to create text, detailed images, and copyrighted characters. This strikes me as more of a gimmick than a usable feature, but it may be useful to anyone who just wants a quick image and is less concerned with precision or repeatability.
Engraving / Cutting with the WeCreat Vision
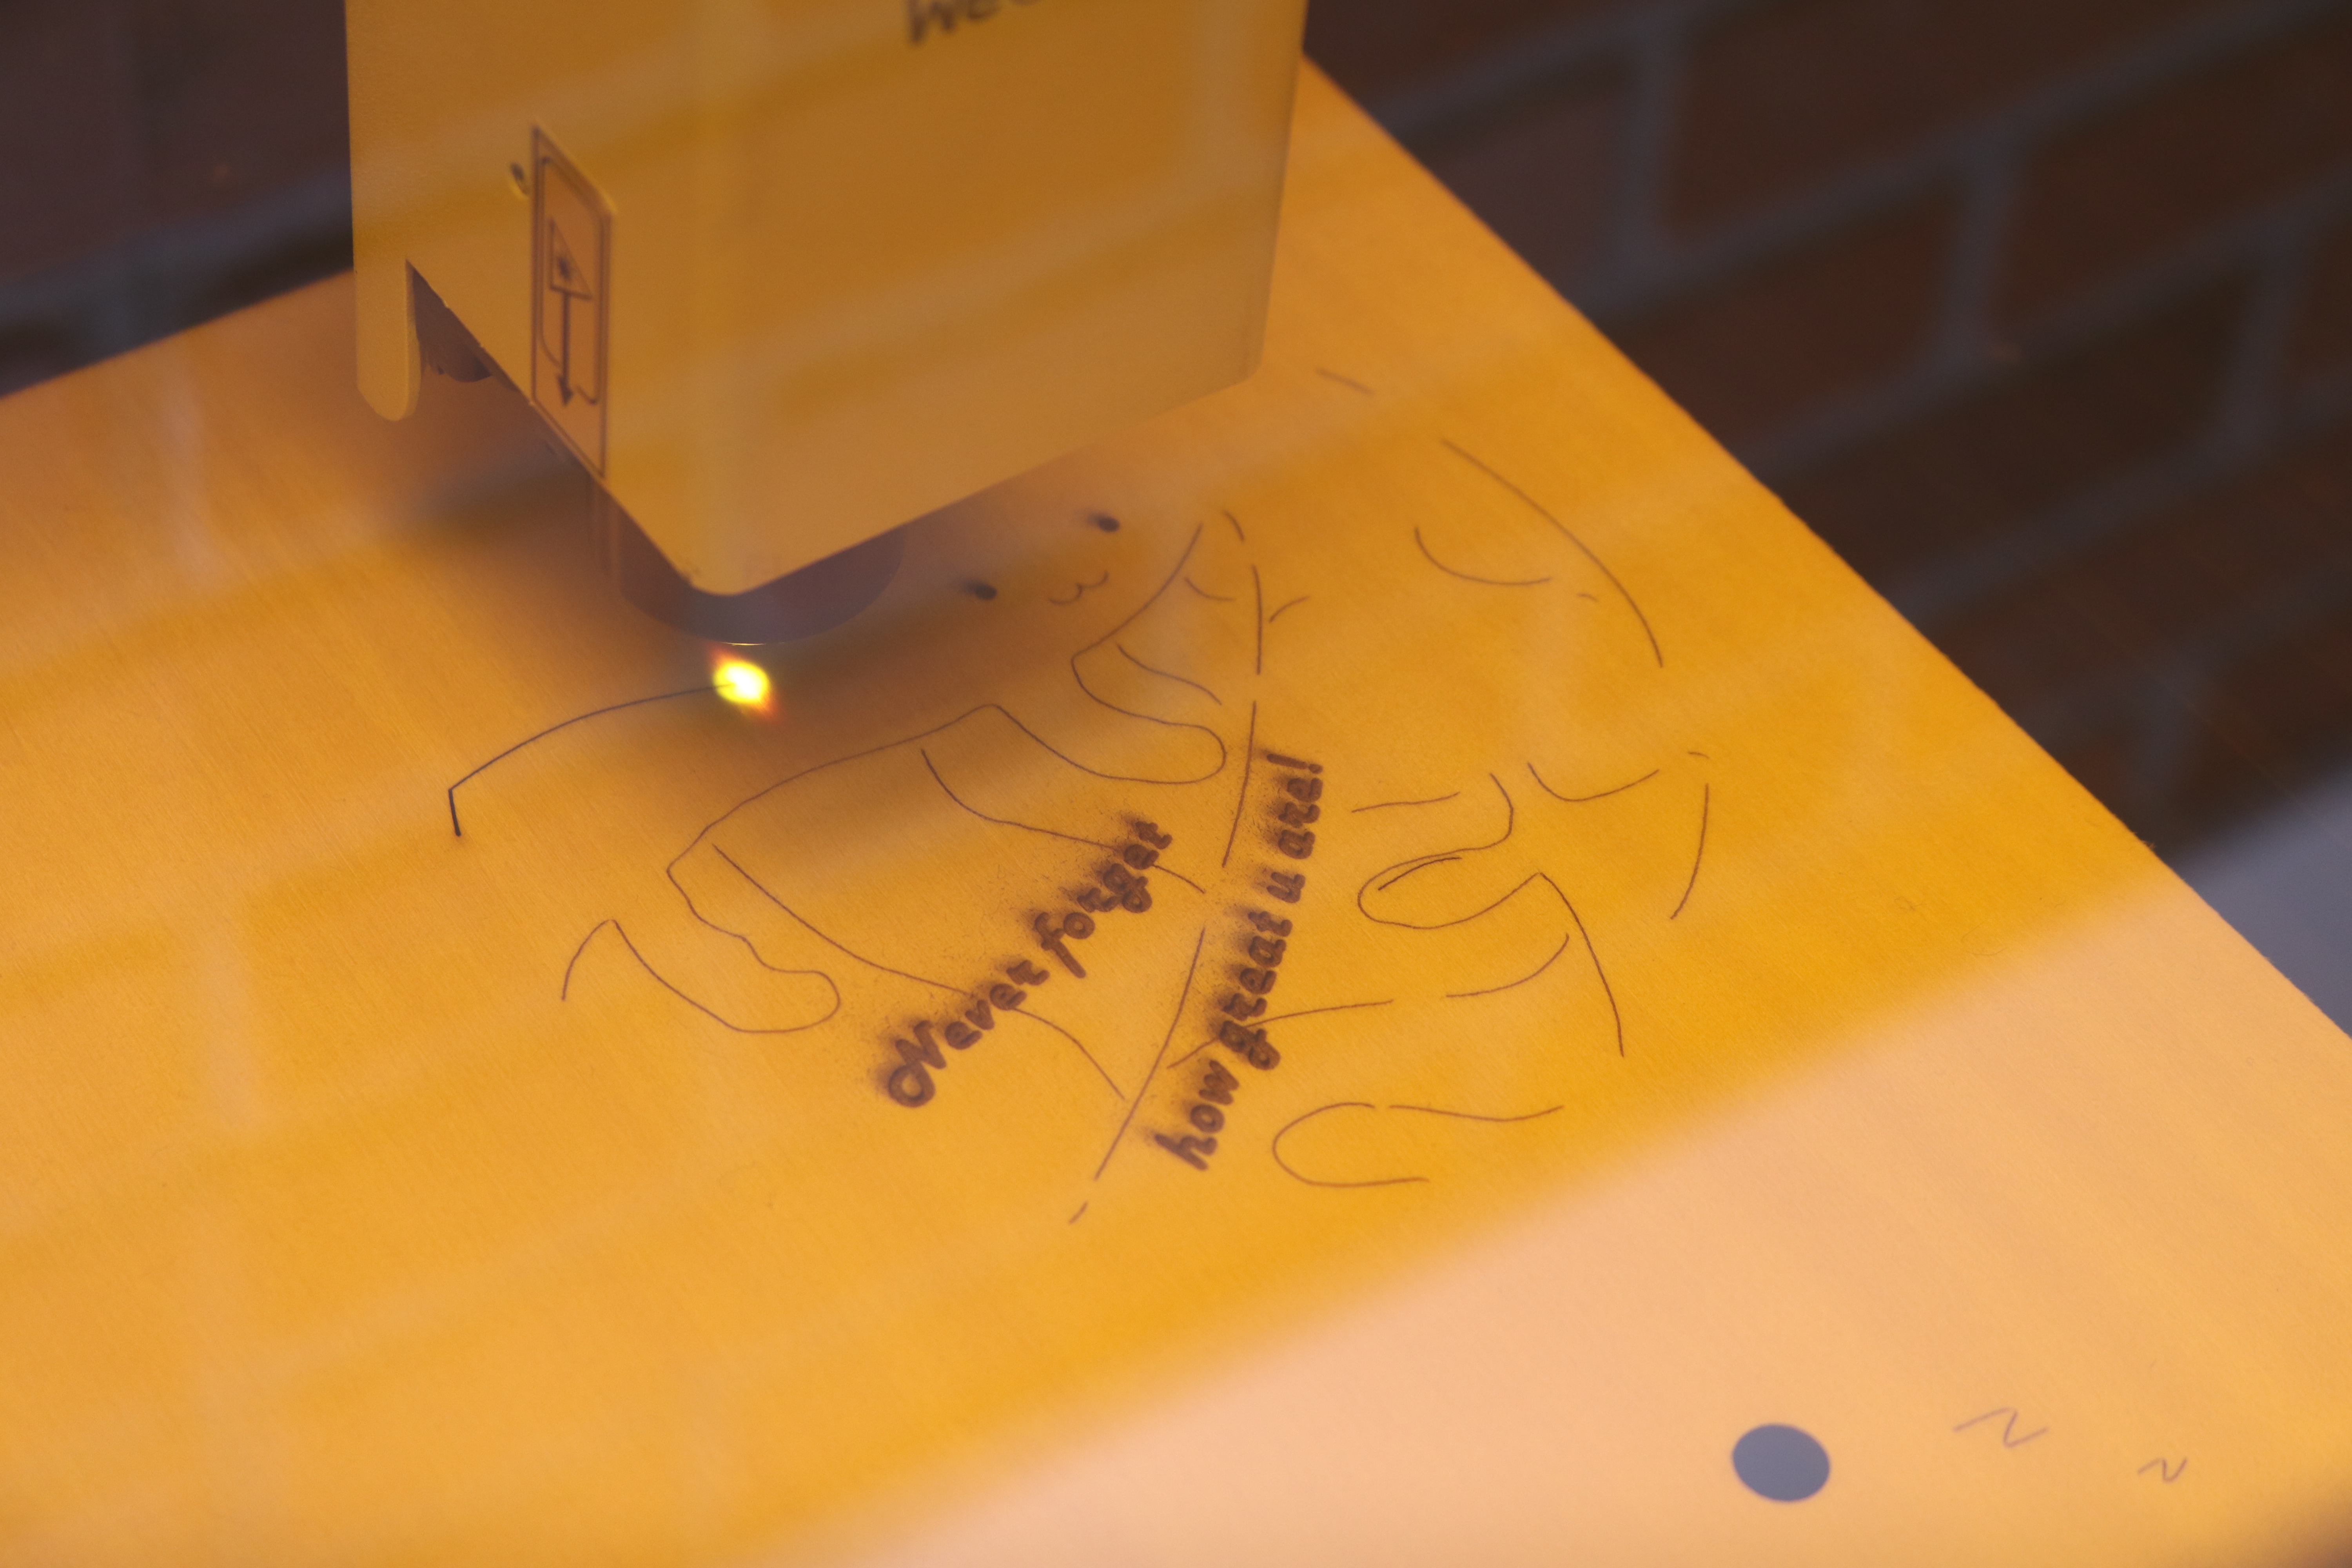
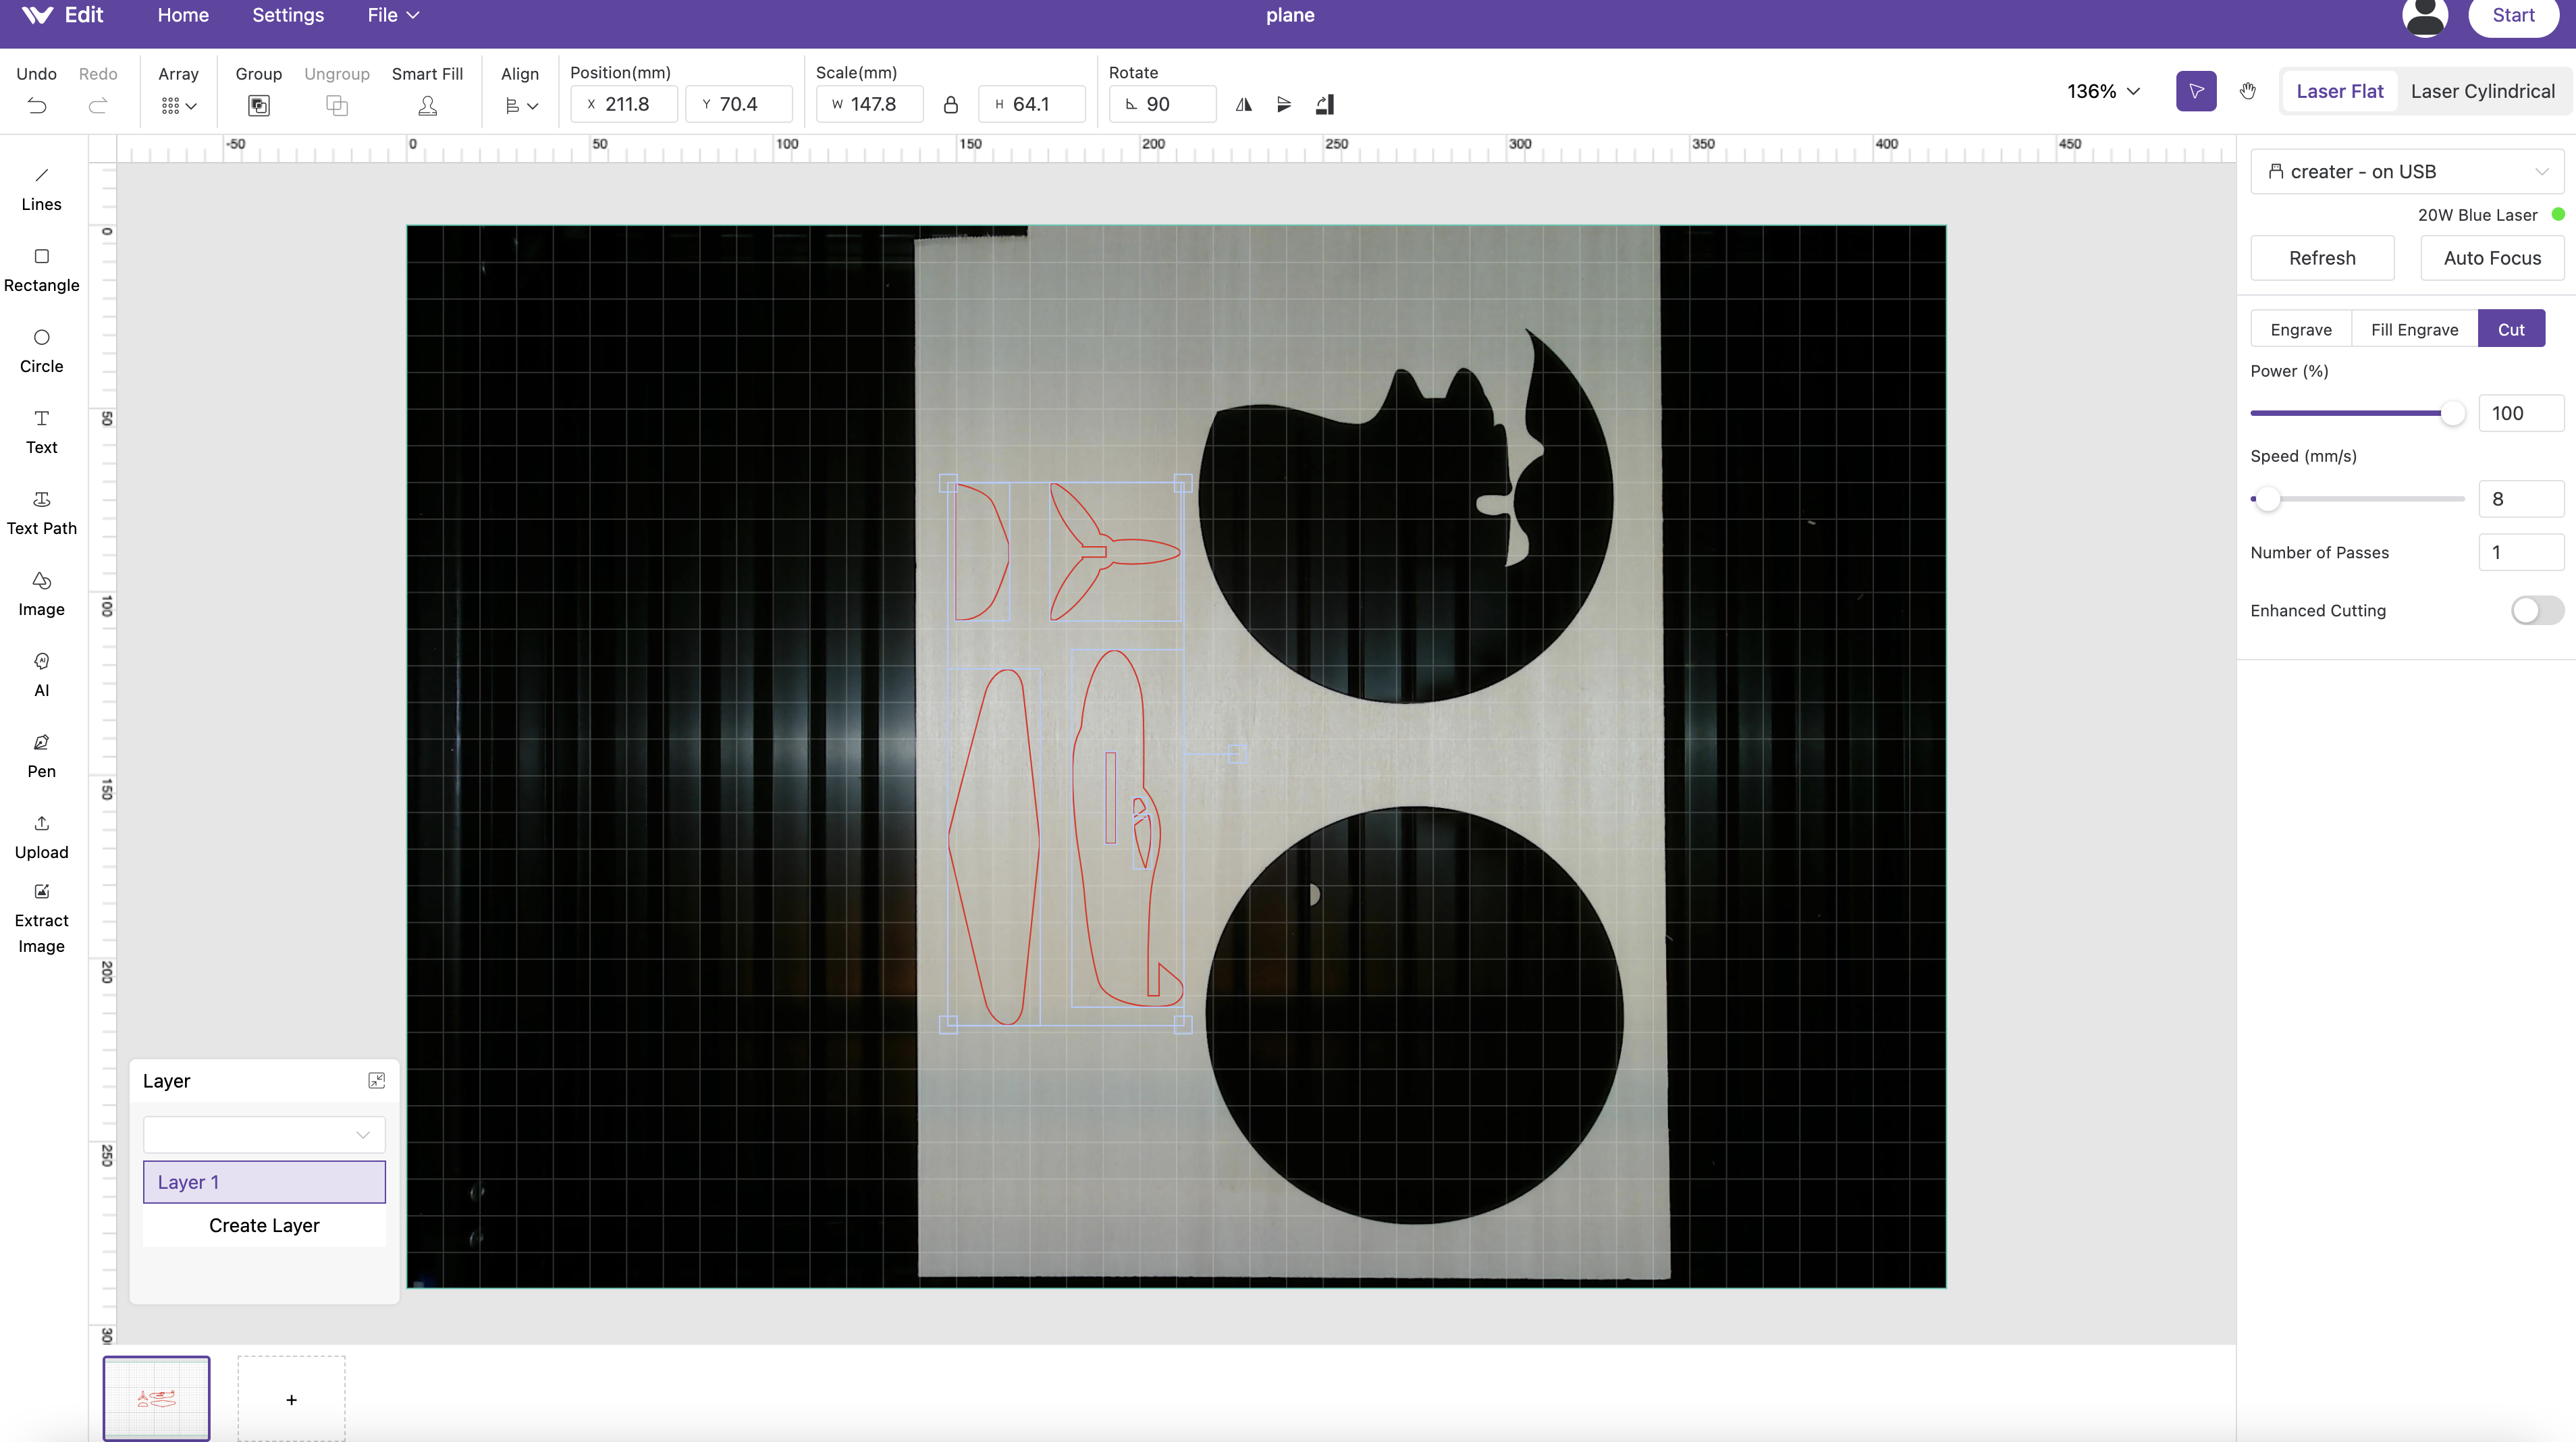
The integrated camera takes a picture of the workspace with your material on the laser bed, giving you a scaled representation of available area. Without additional software, you can add text, images, text path (text along a curve), and even isolate the contours of an uploaded image. To start, I added a project from the library, selected “Cut” for all contours, and used the camera to place the model on an unused space on a piece of material.
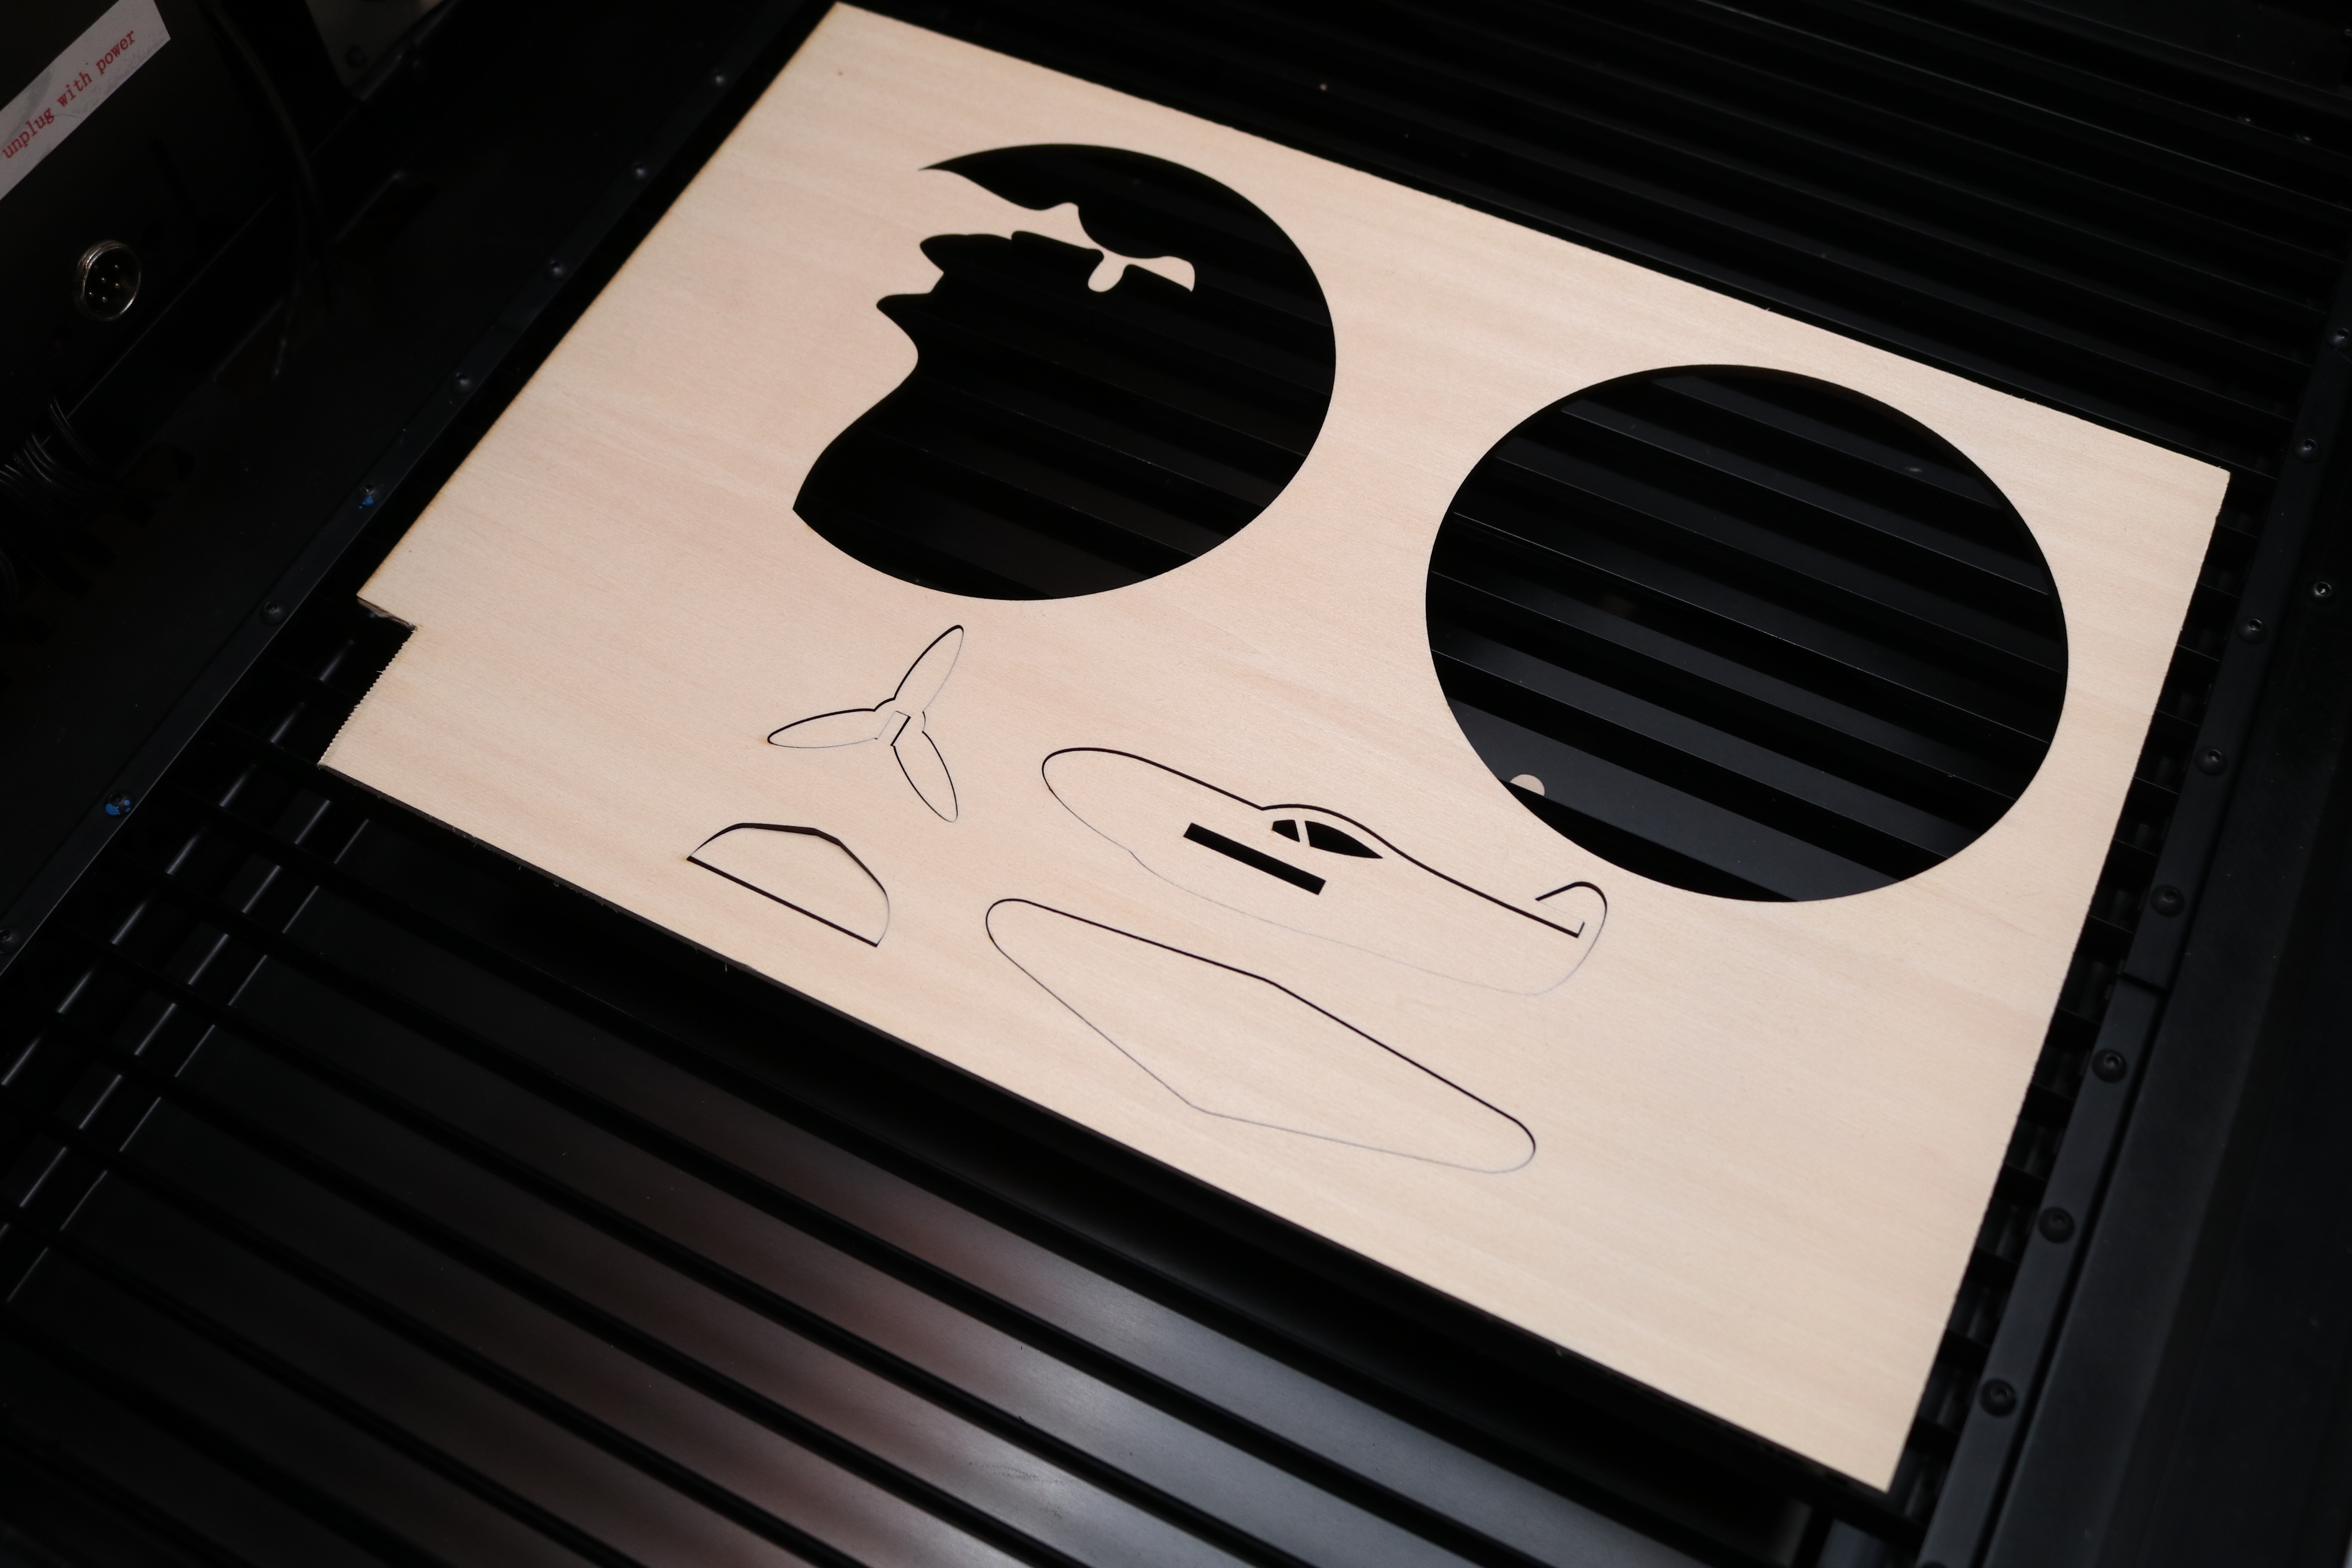
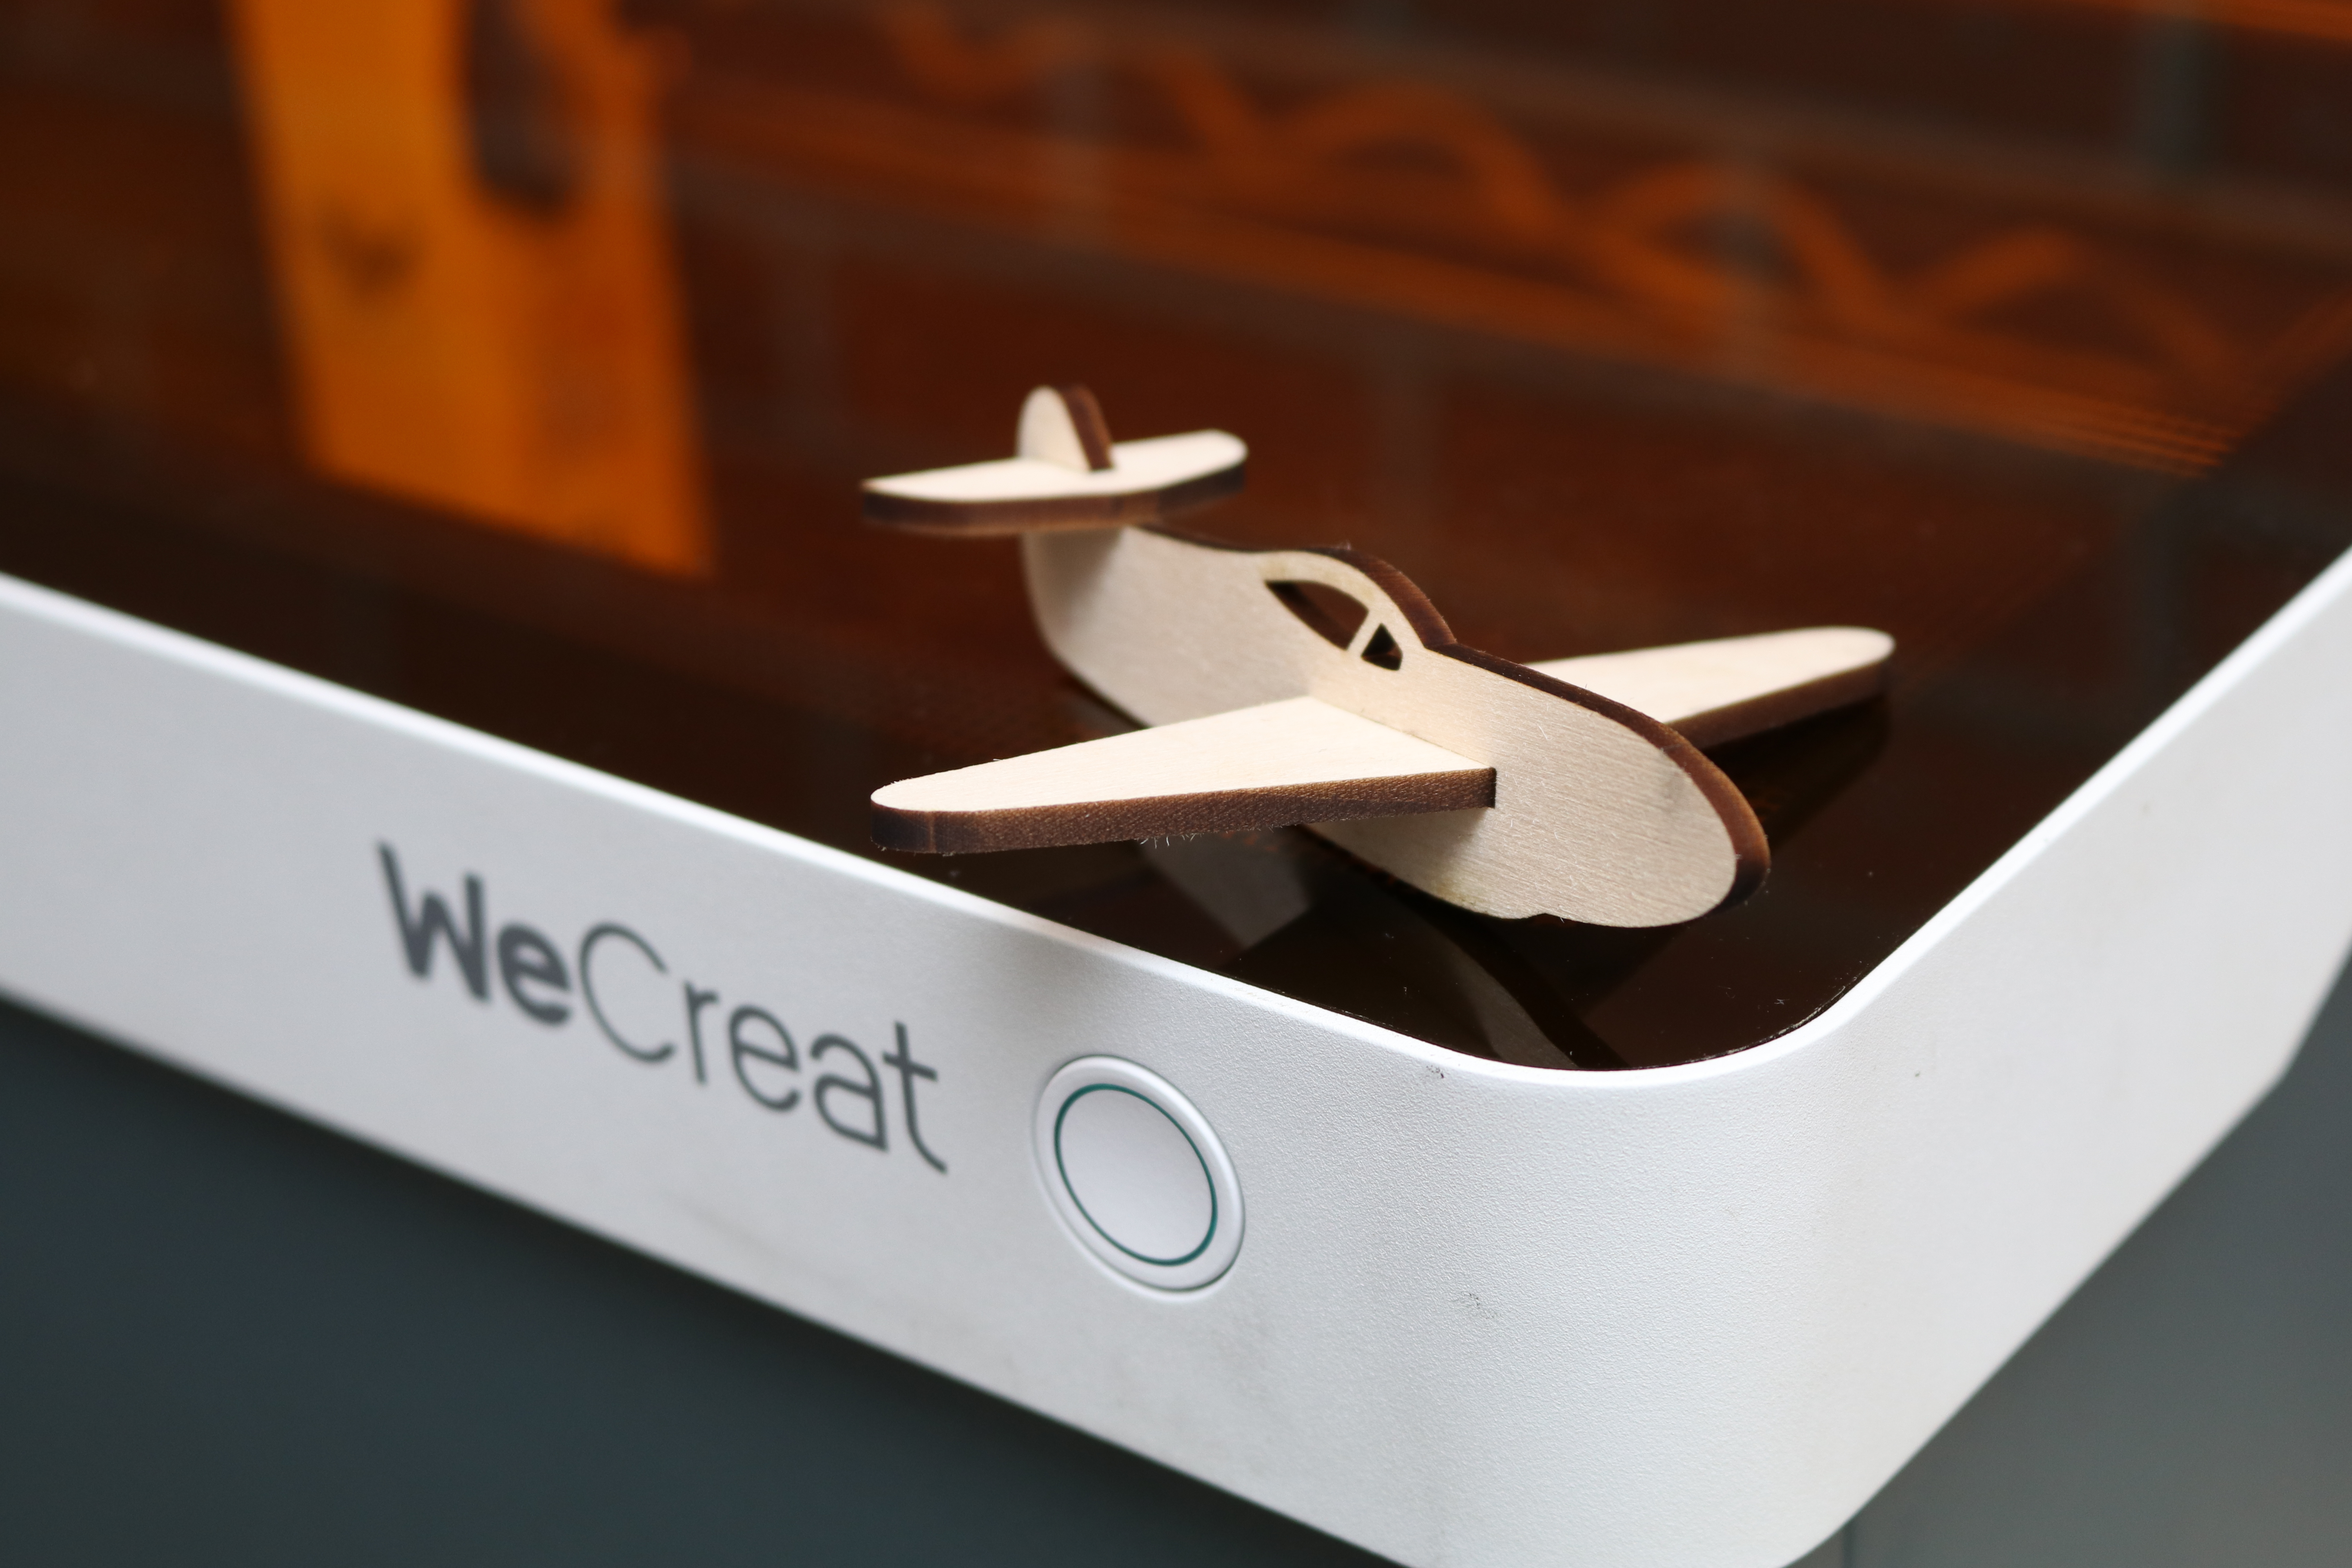
The default cut settings (100% power, 8 mm/s speed, 1 pass) cut easily through 3mm basswood. Printing one of the included test projects (a small plane) took about 5 minutes and was easily assembled after printing. The air assist prevented any charring or smoke build-up on the model, and the parts fell right out of the sheet of material after lifting.
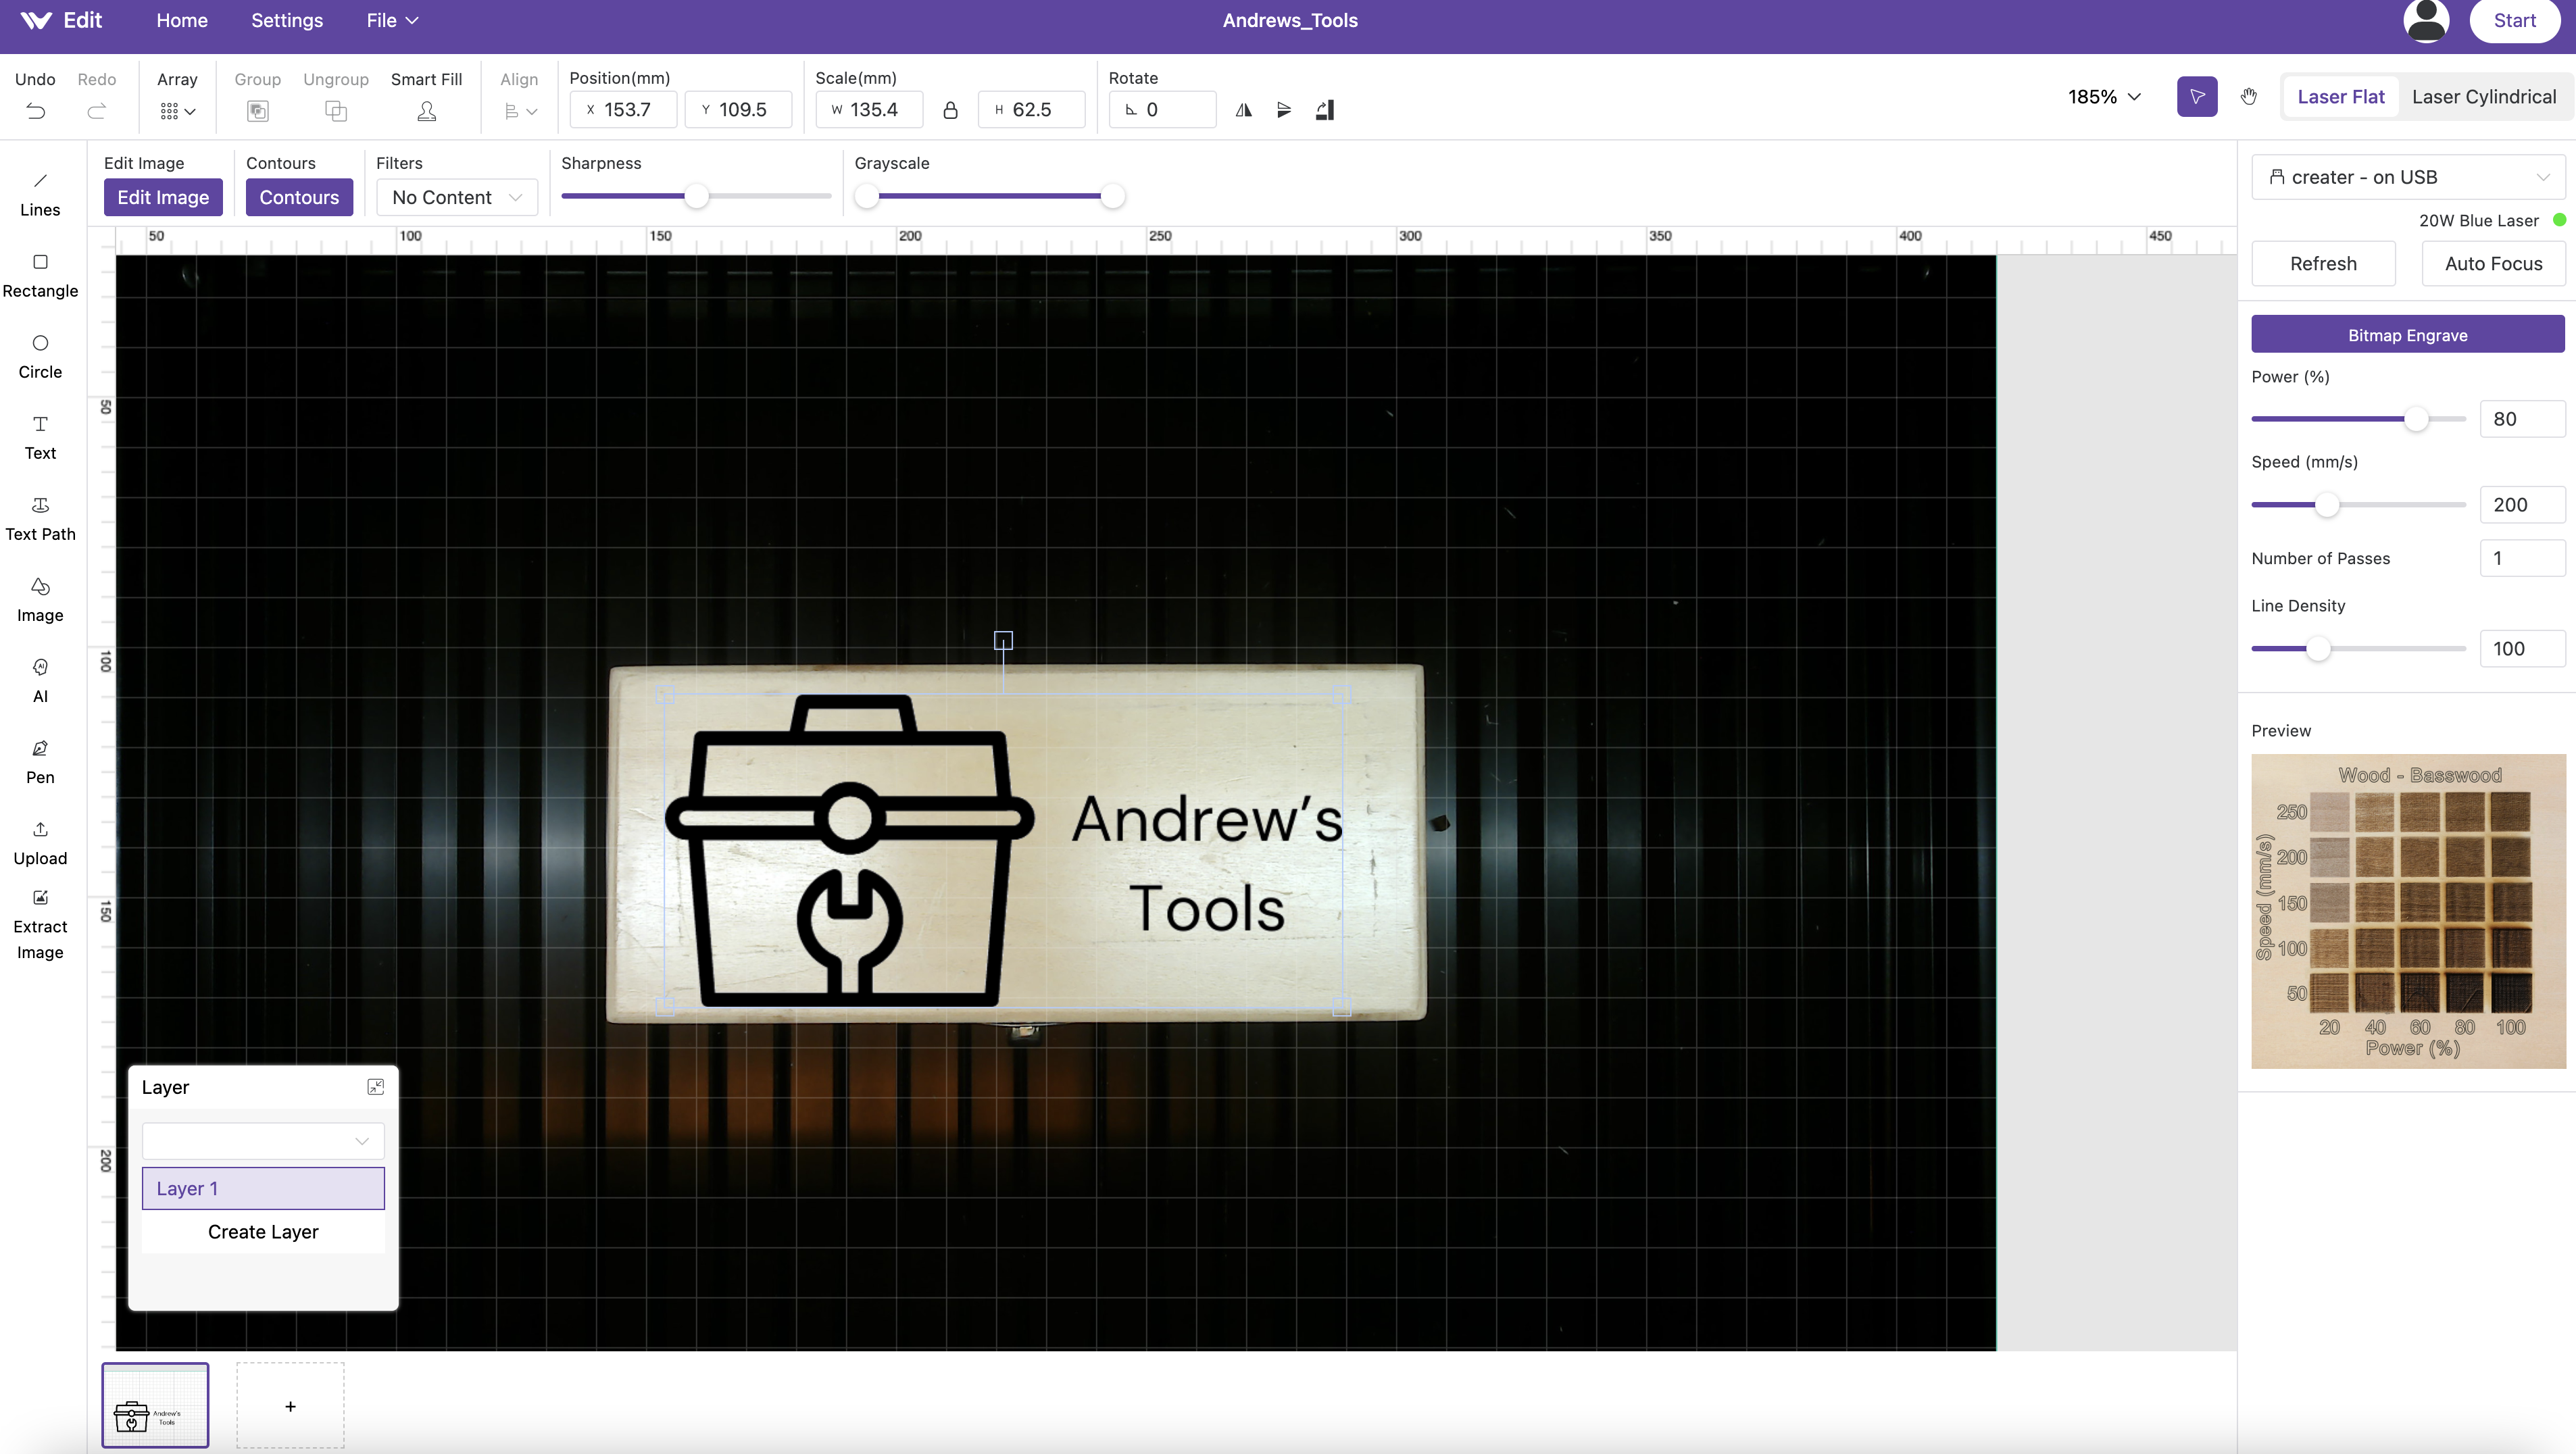
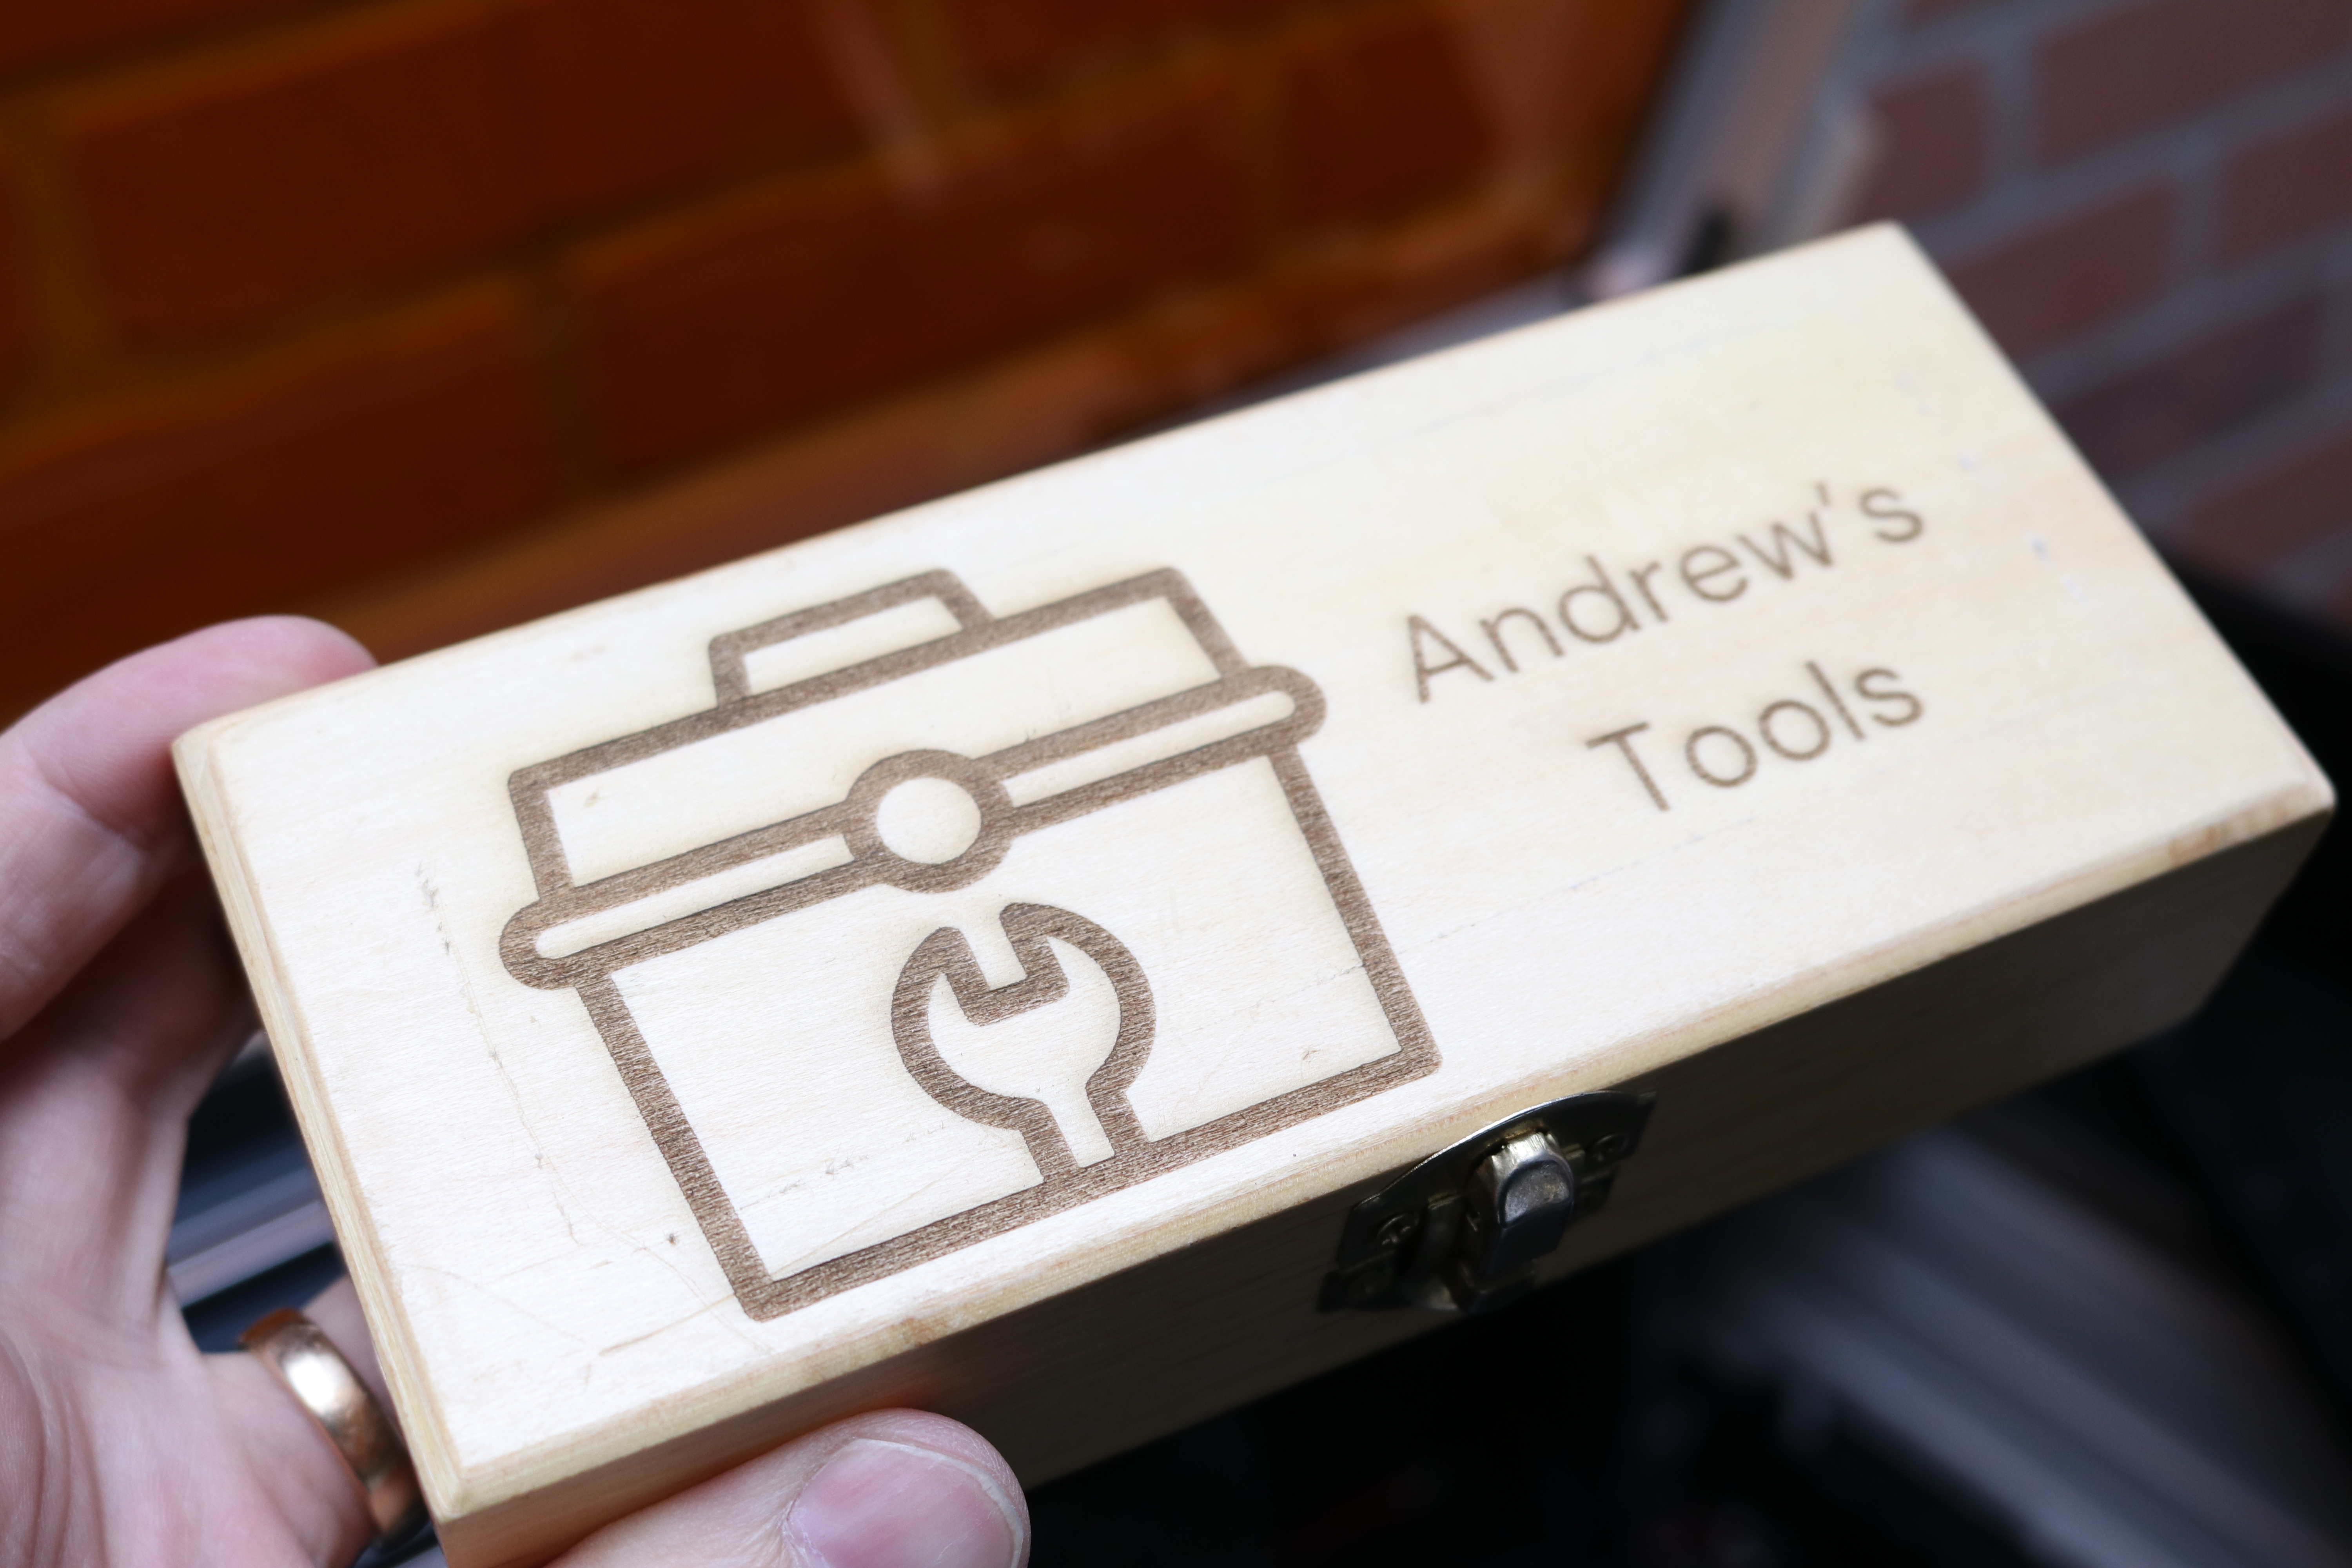
The Auto-Focus on the Vision works by first raising the gantry that the laser is attached to all the way to the top of the Z-travel, positioning the laser directly over the workpiece, and then lowering until the material is in focus. This worked well on thicker material, and I found that the engraving process was the same for “flat” (<10mm) material as well as taller objects. I placed a wooden X-Acto knife kit box into the workspace and auto-focused the camera, which is the same workflow used for thin material.
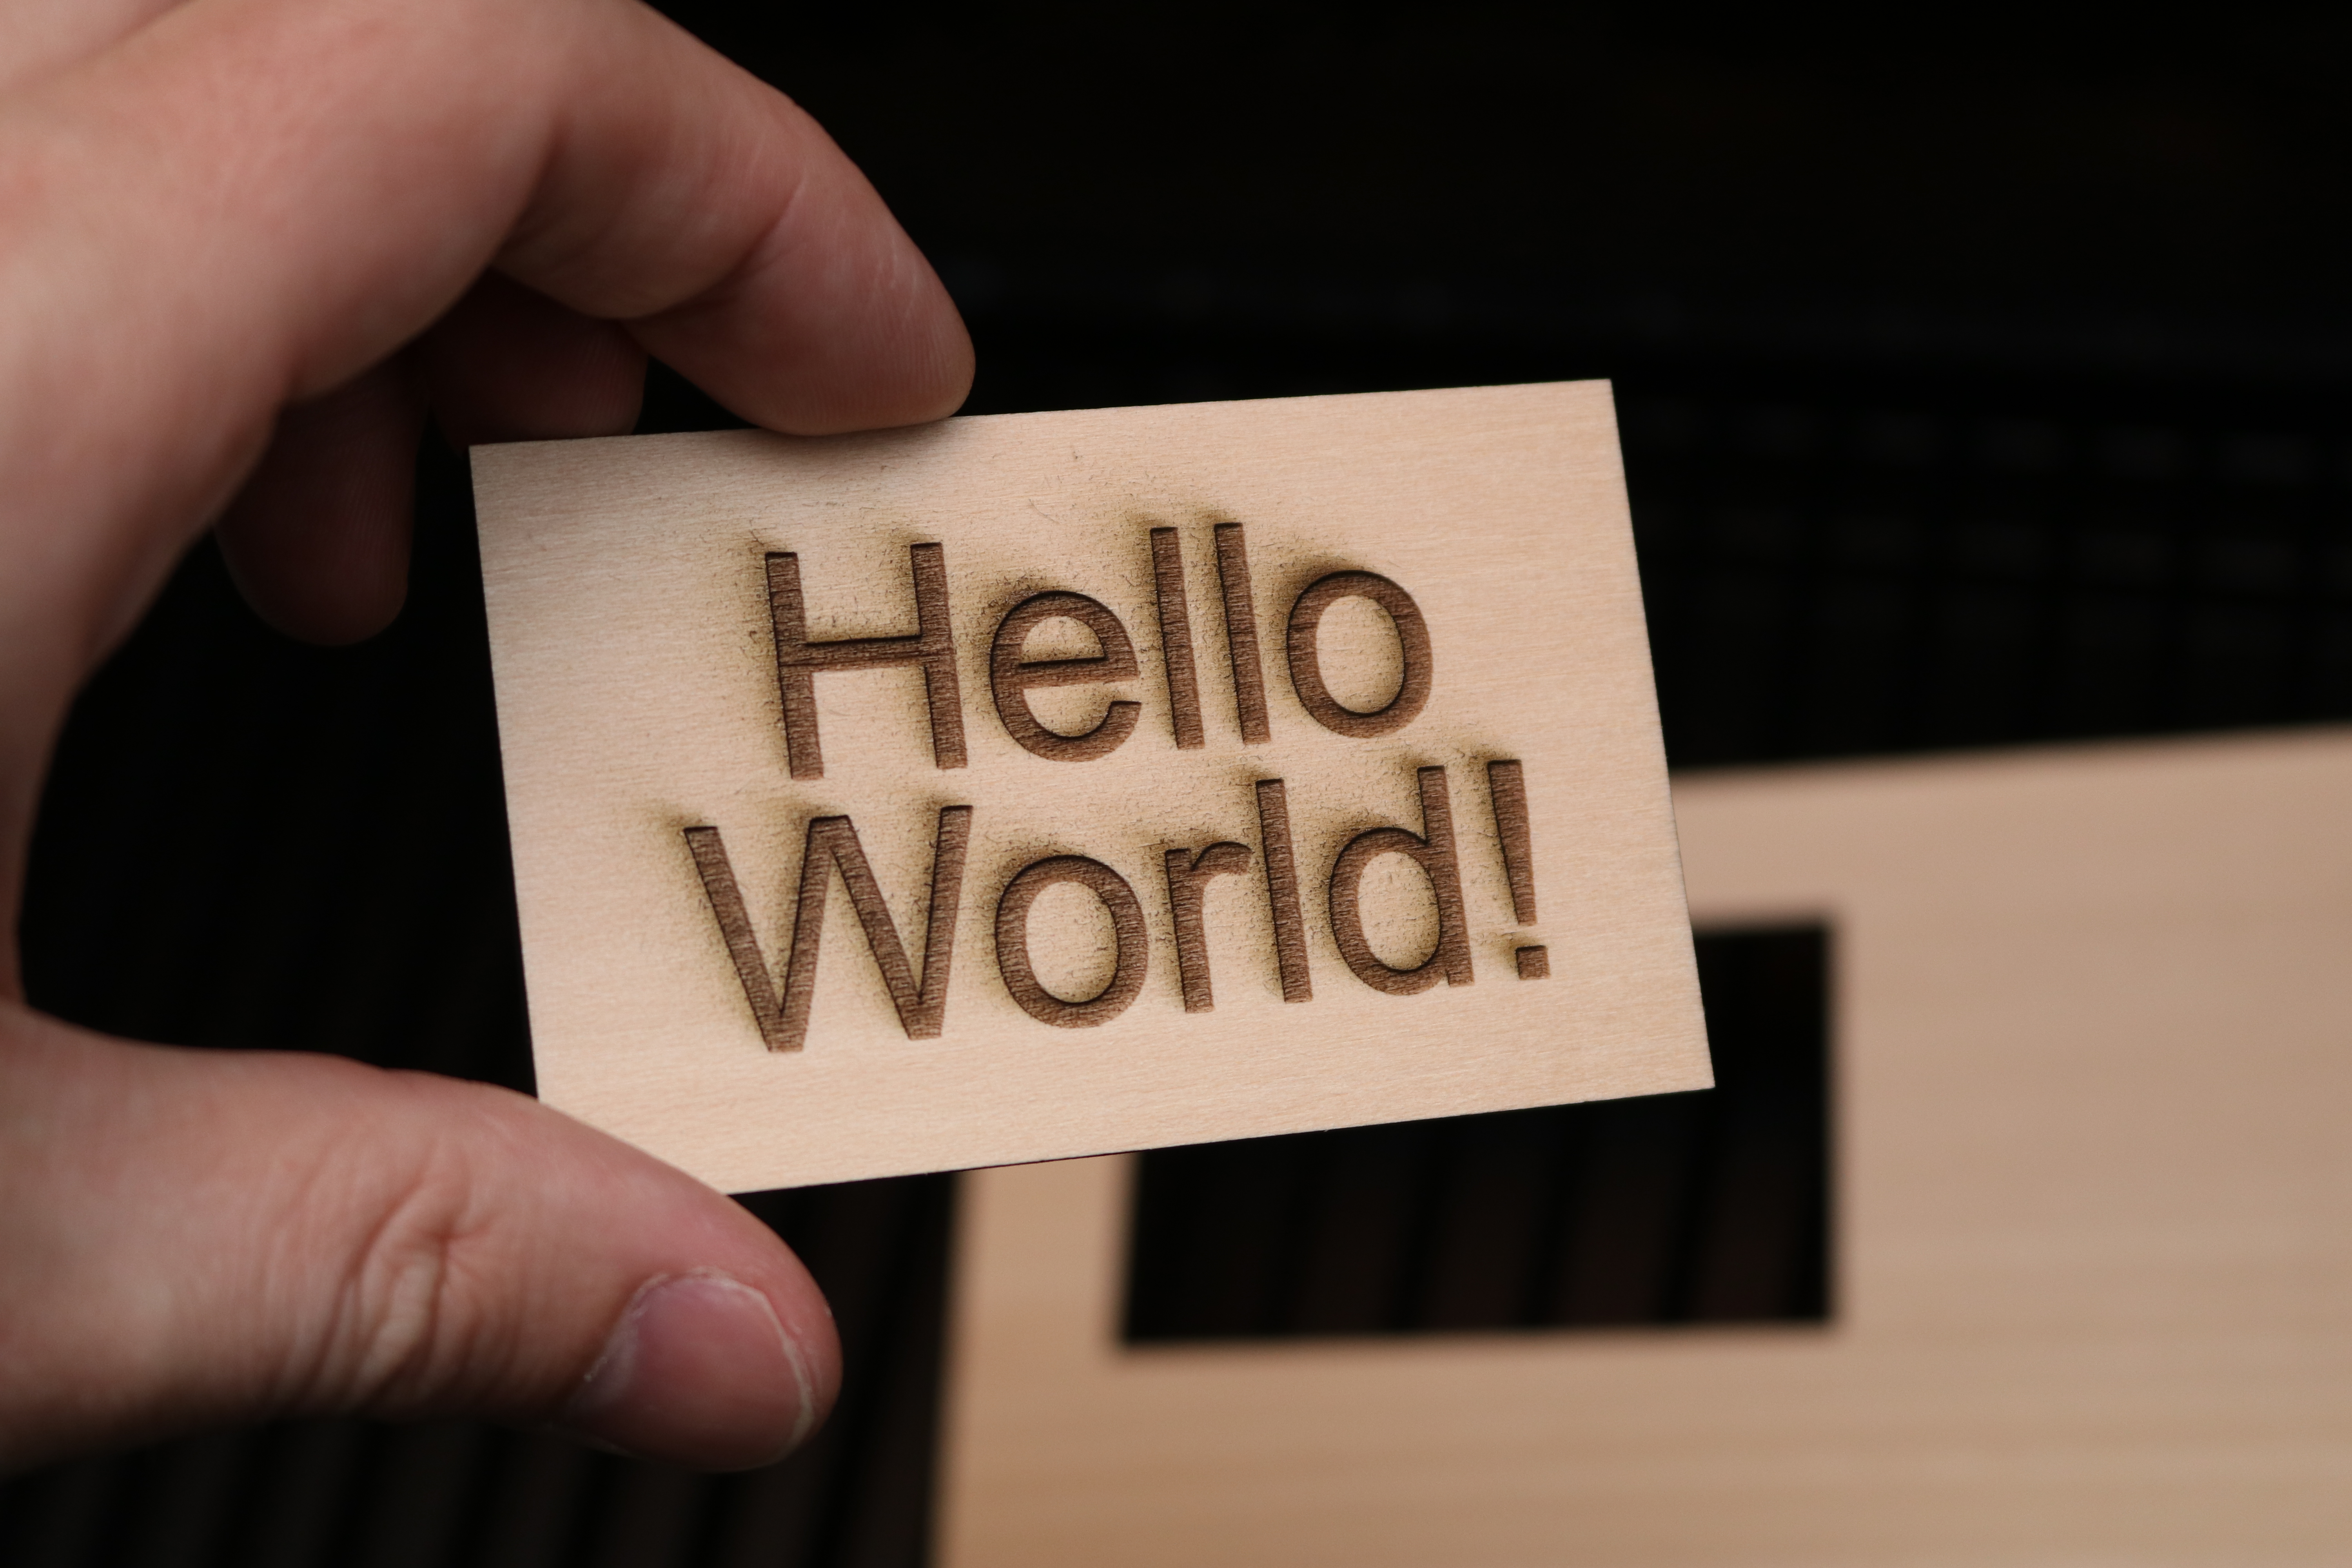
Using an icon from Canva and text generated in MakeIt!, the engraving is deep and clear with no burn marks around the contours. This design was processed in about 15 minutes, and I was impressed with how professional it looked. The toolbox icon from Canva was imported as a .jpg, but the MakeIt! software has basic image clean-up tools to isolate the dark areas while removing any unwanted pixels.
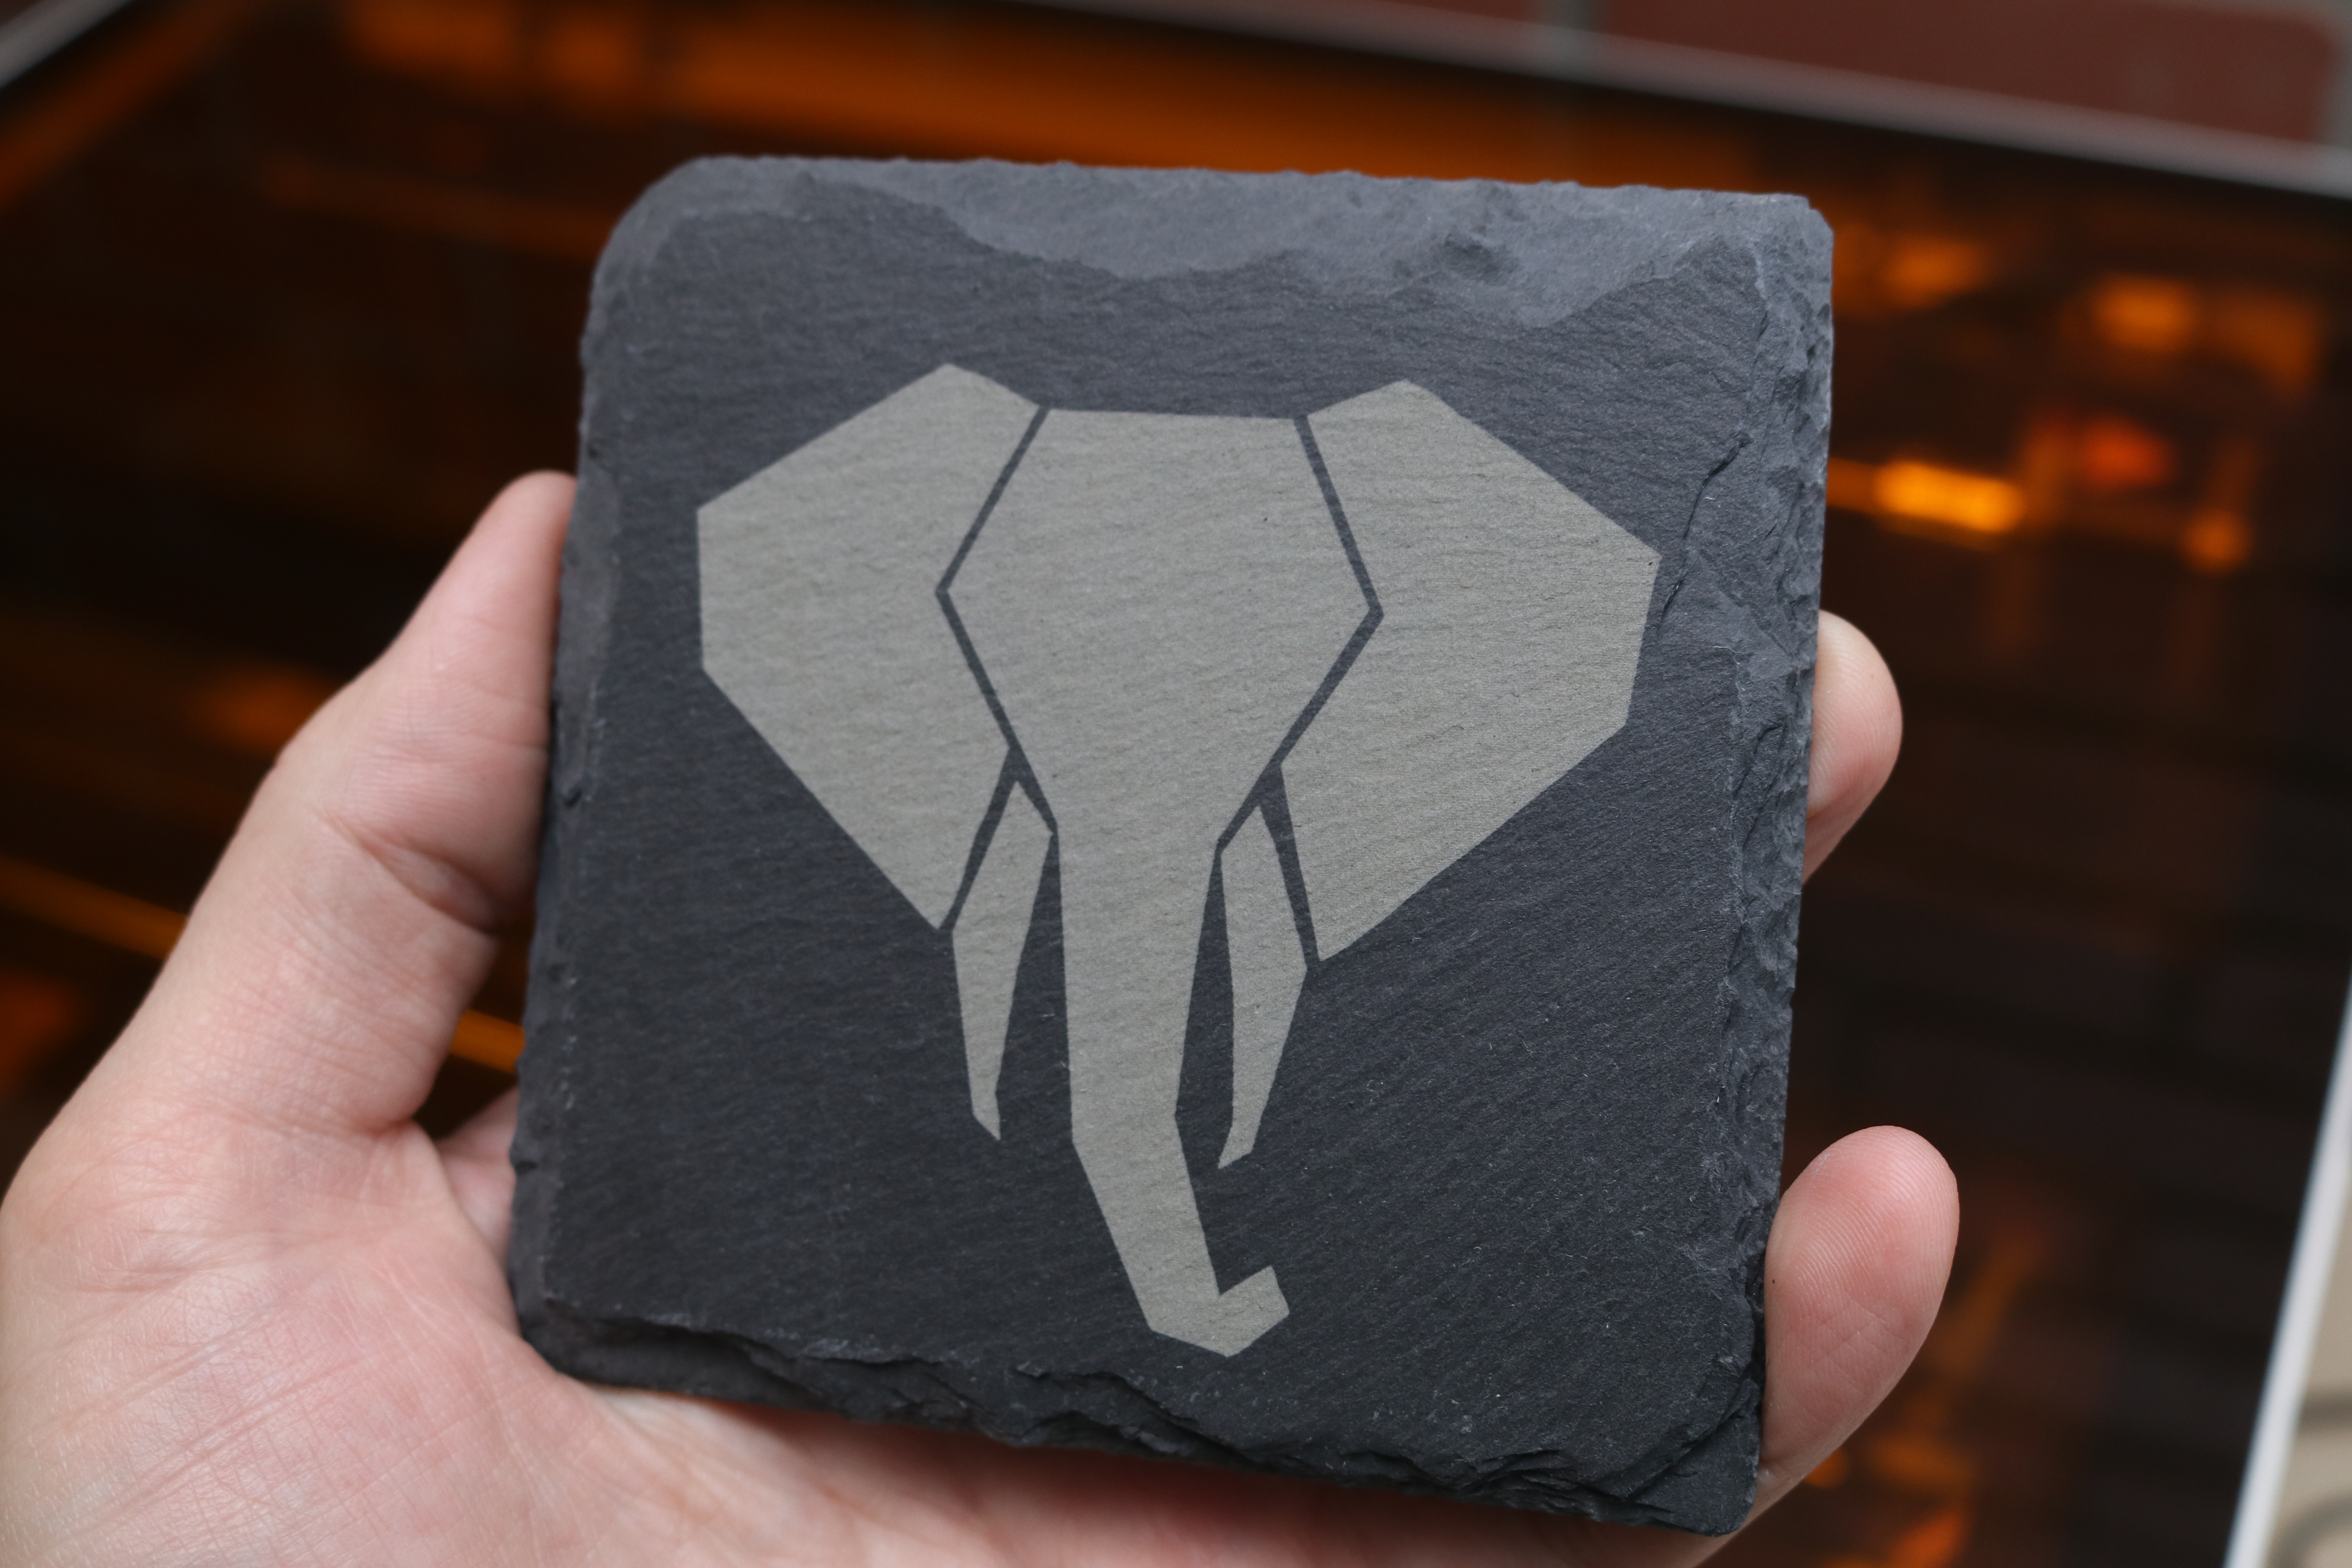
The Vision is also capable of engraving directly on a slate coaster; a feature that worked remarkably well during testing. Using one of the included images (a simplified outline of an elephant) and selecting the 250mm/s speed and 100% power took about 15 minutes and resulted in a stunningly good coaster. The contours are clean, the corners are sharp, and the color of the engraving is consistent throughout the coaster.
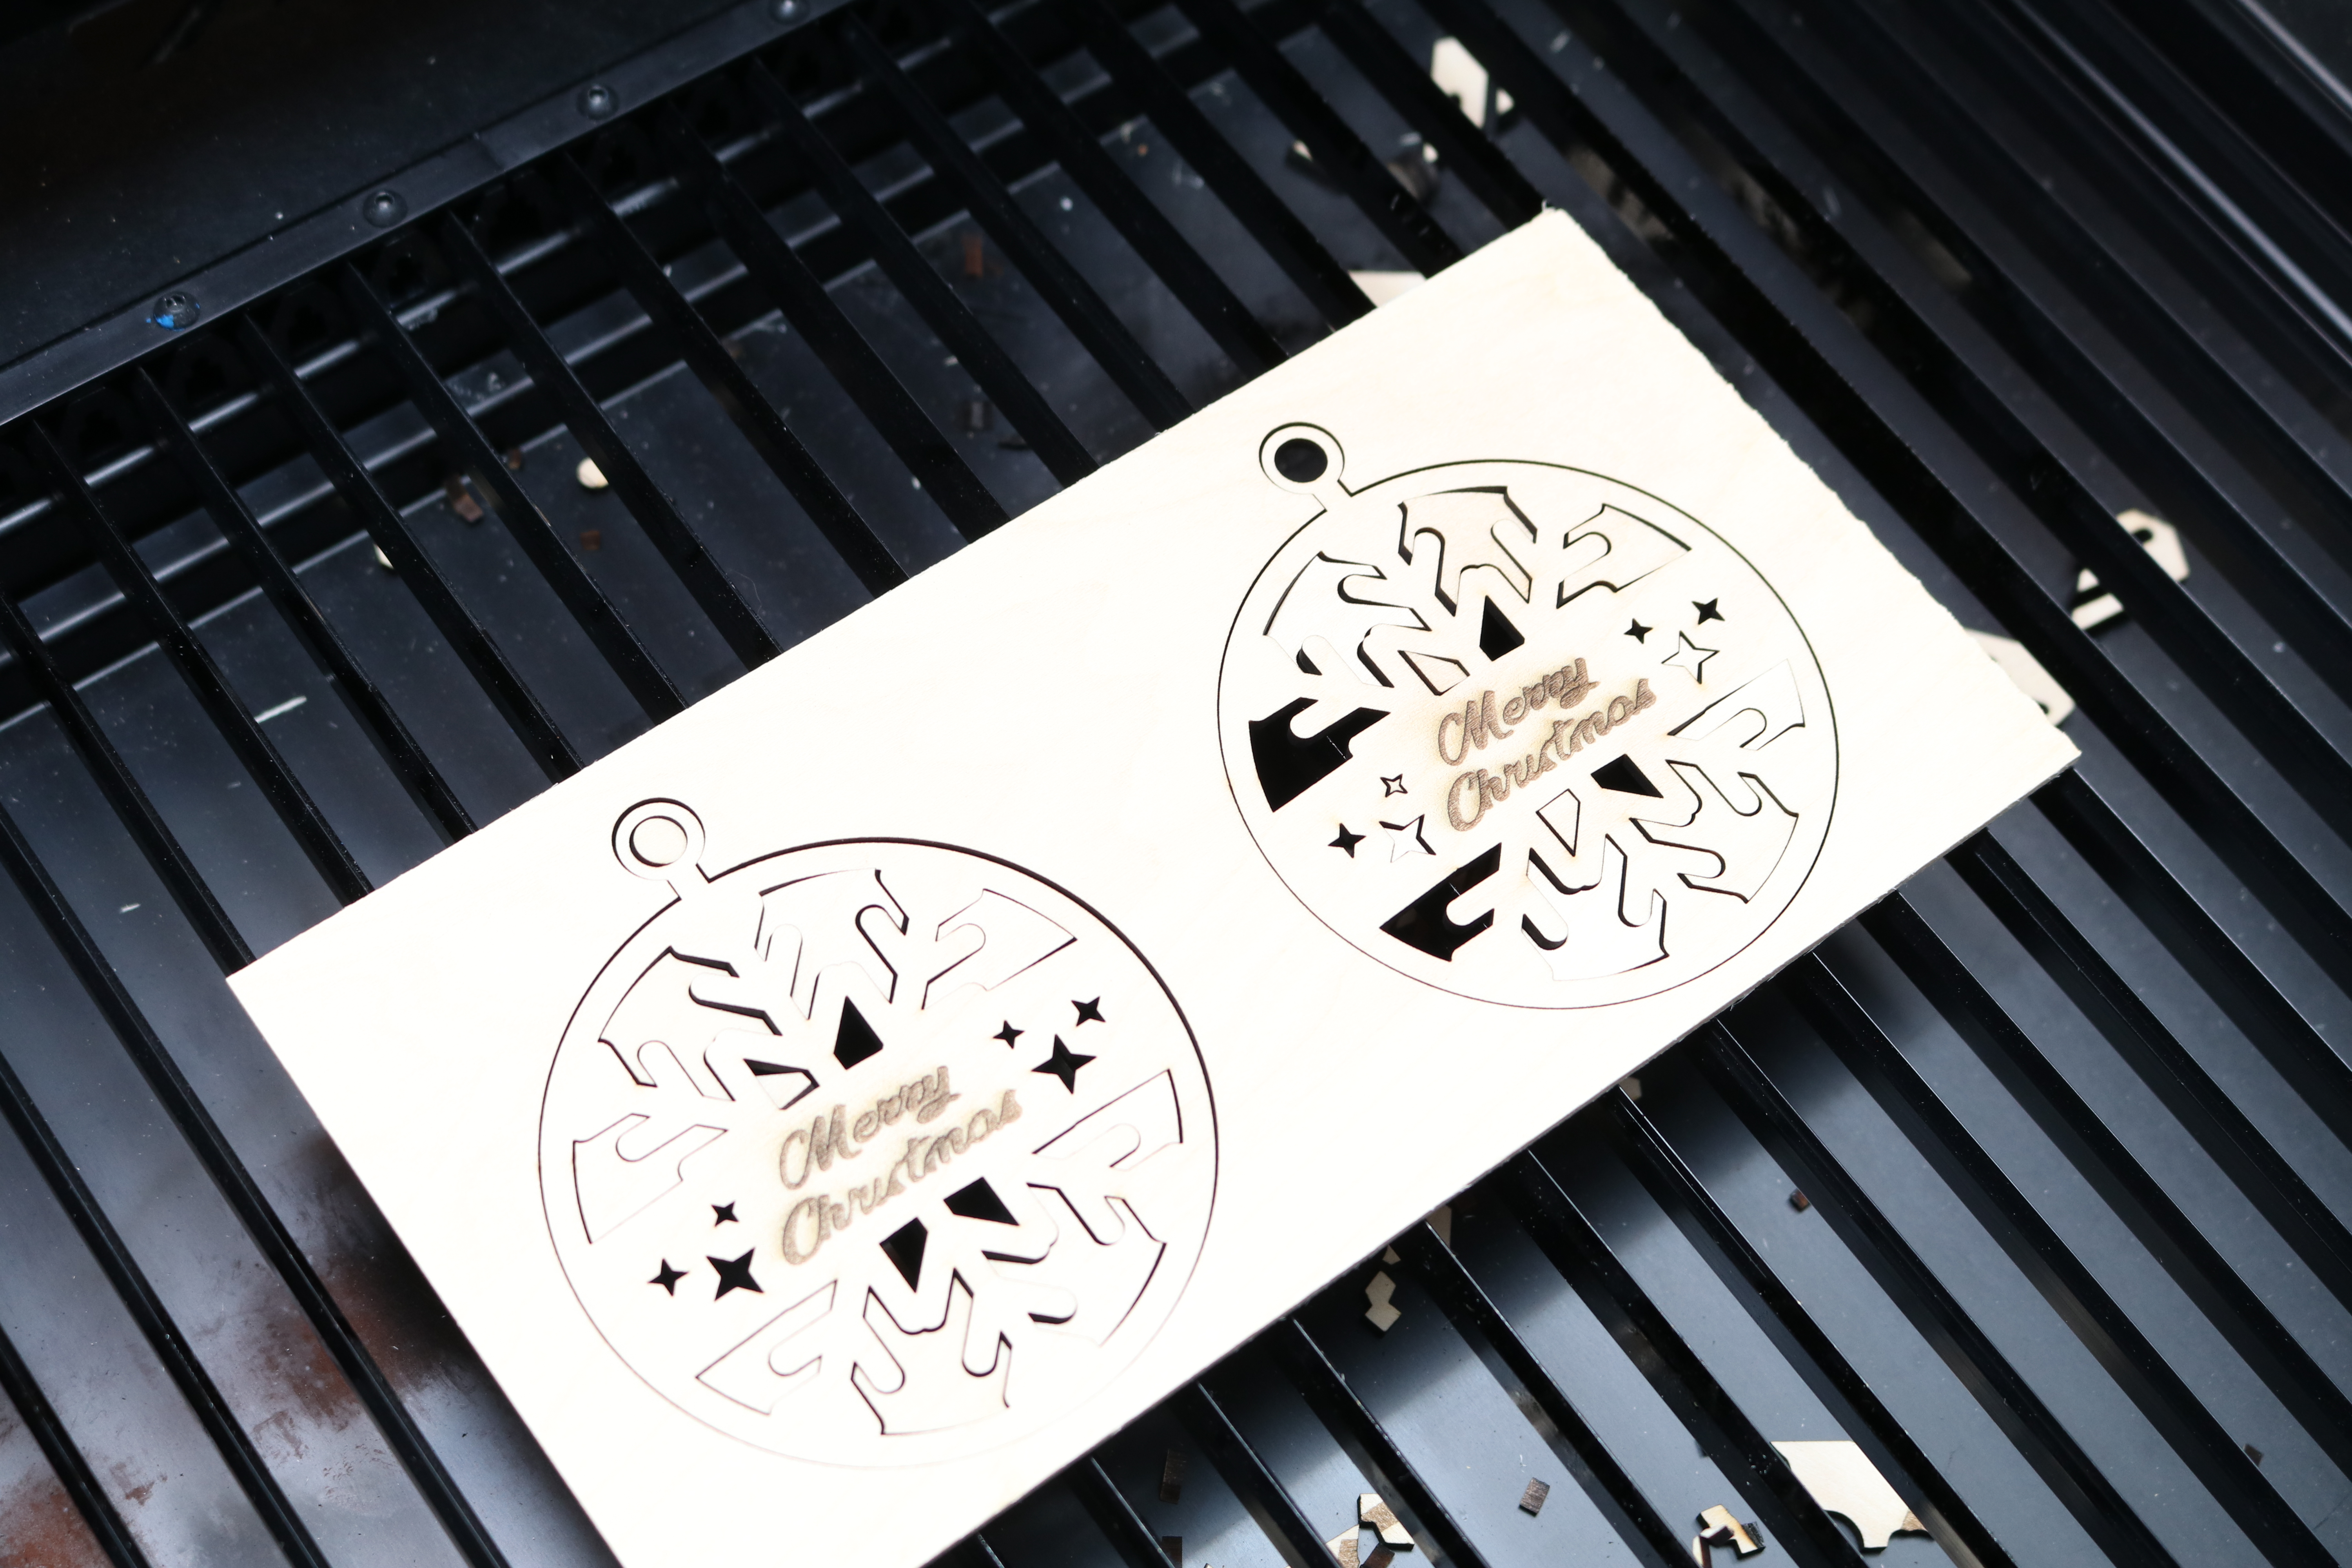
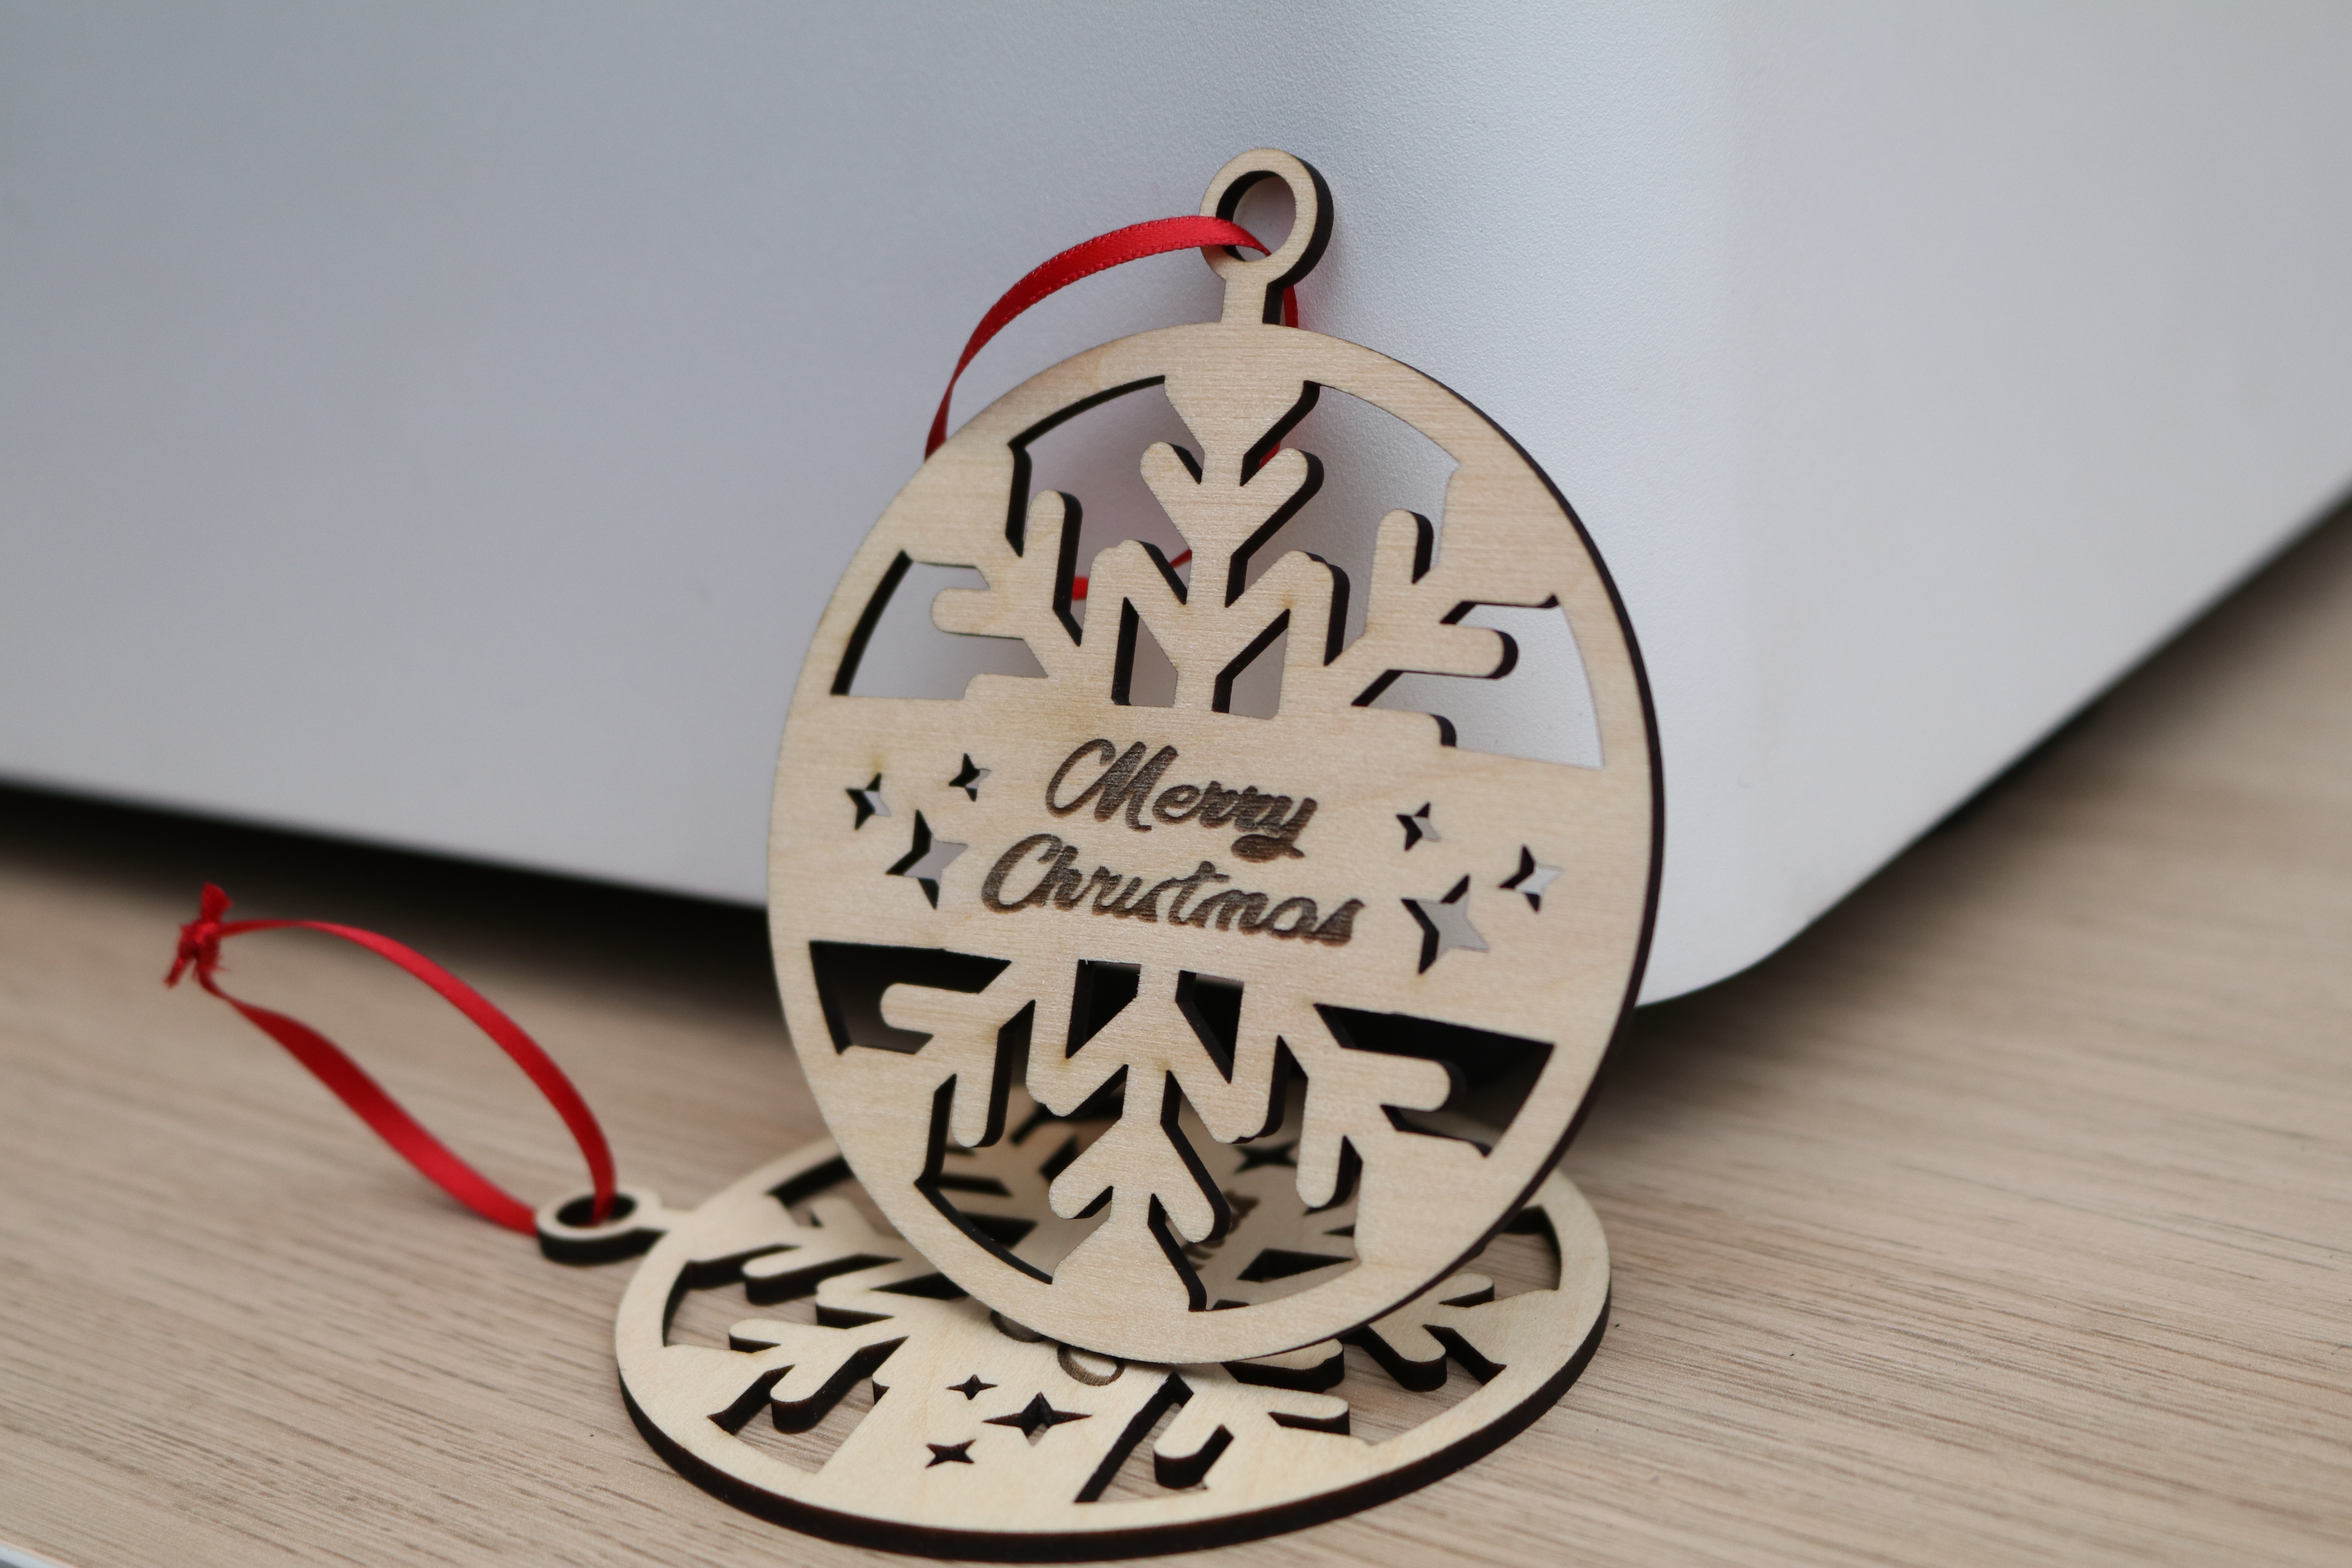
The project library includes several Christmas ornaments that can be cut in only a few minutes and look great on a tree. Engraved in under 4 minutes using 3mm basswood, these ornaments can also be customized by flipping them over and using the blank space in the center for a custom message or image. The camera on the Vision really shines in this particular application, as it’s easy to visualize where the engraving will be on the finished product.
(Image Credit: Maks Surguy)
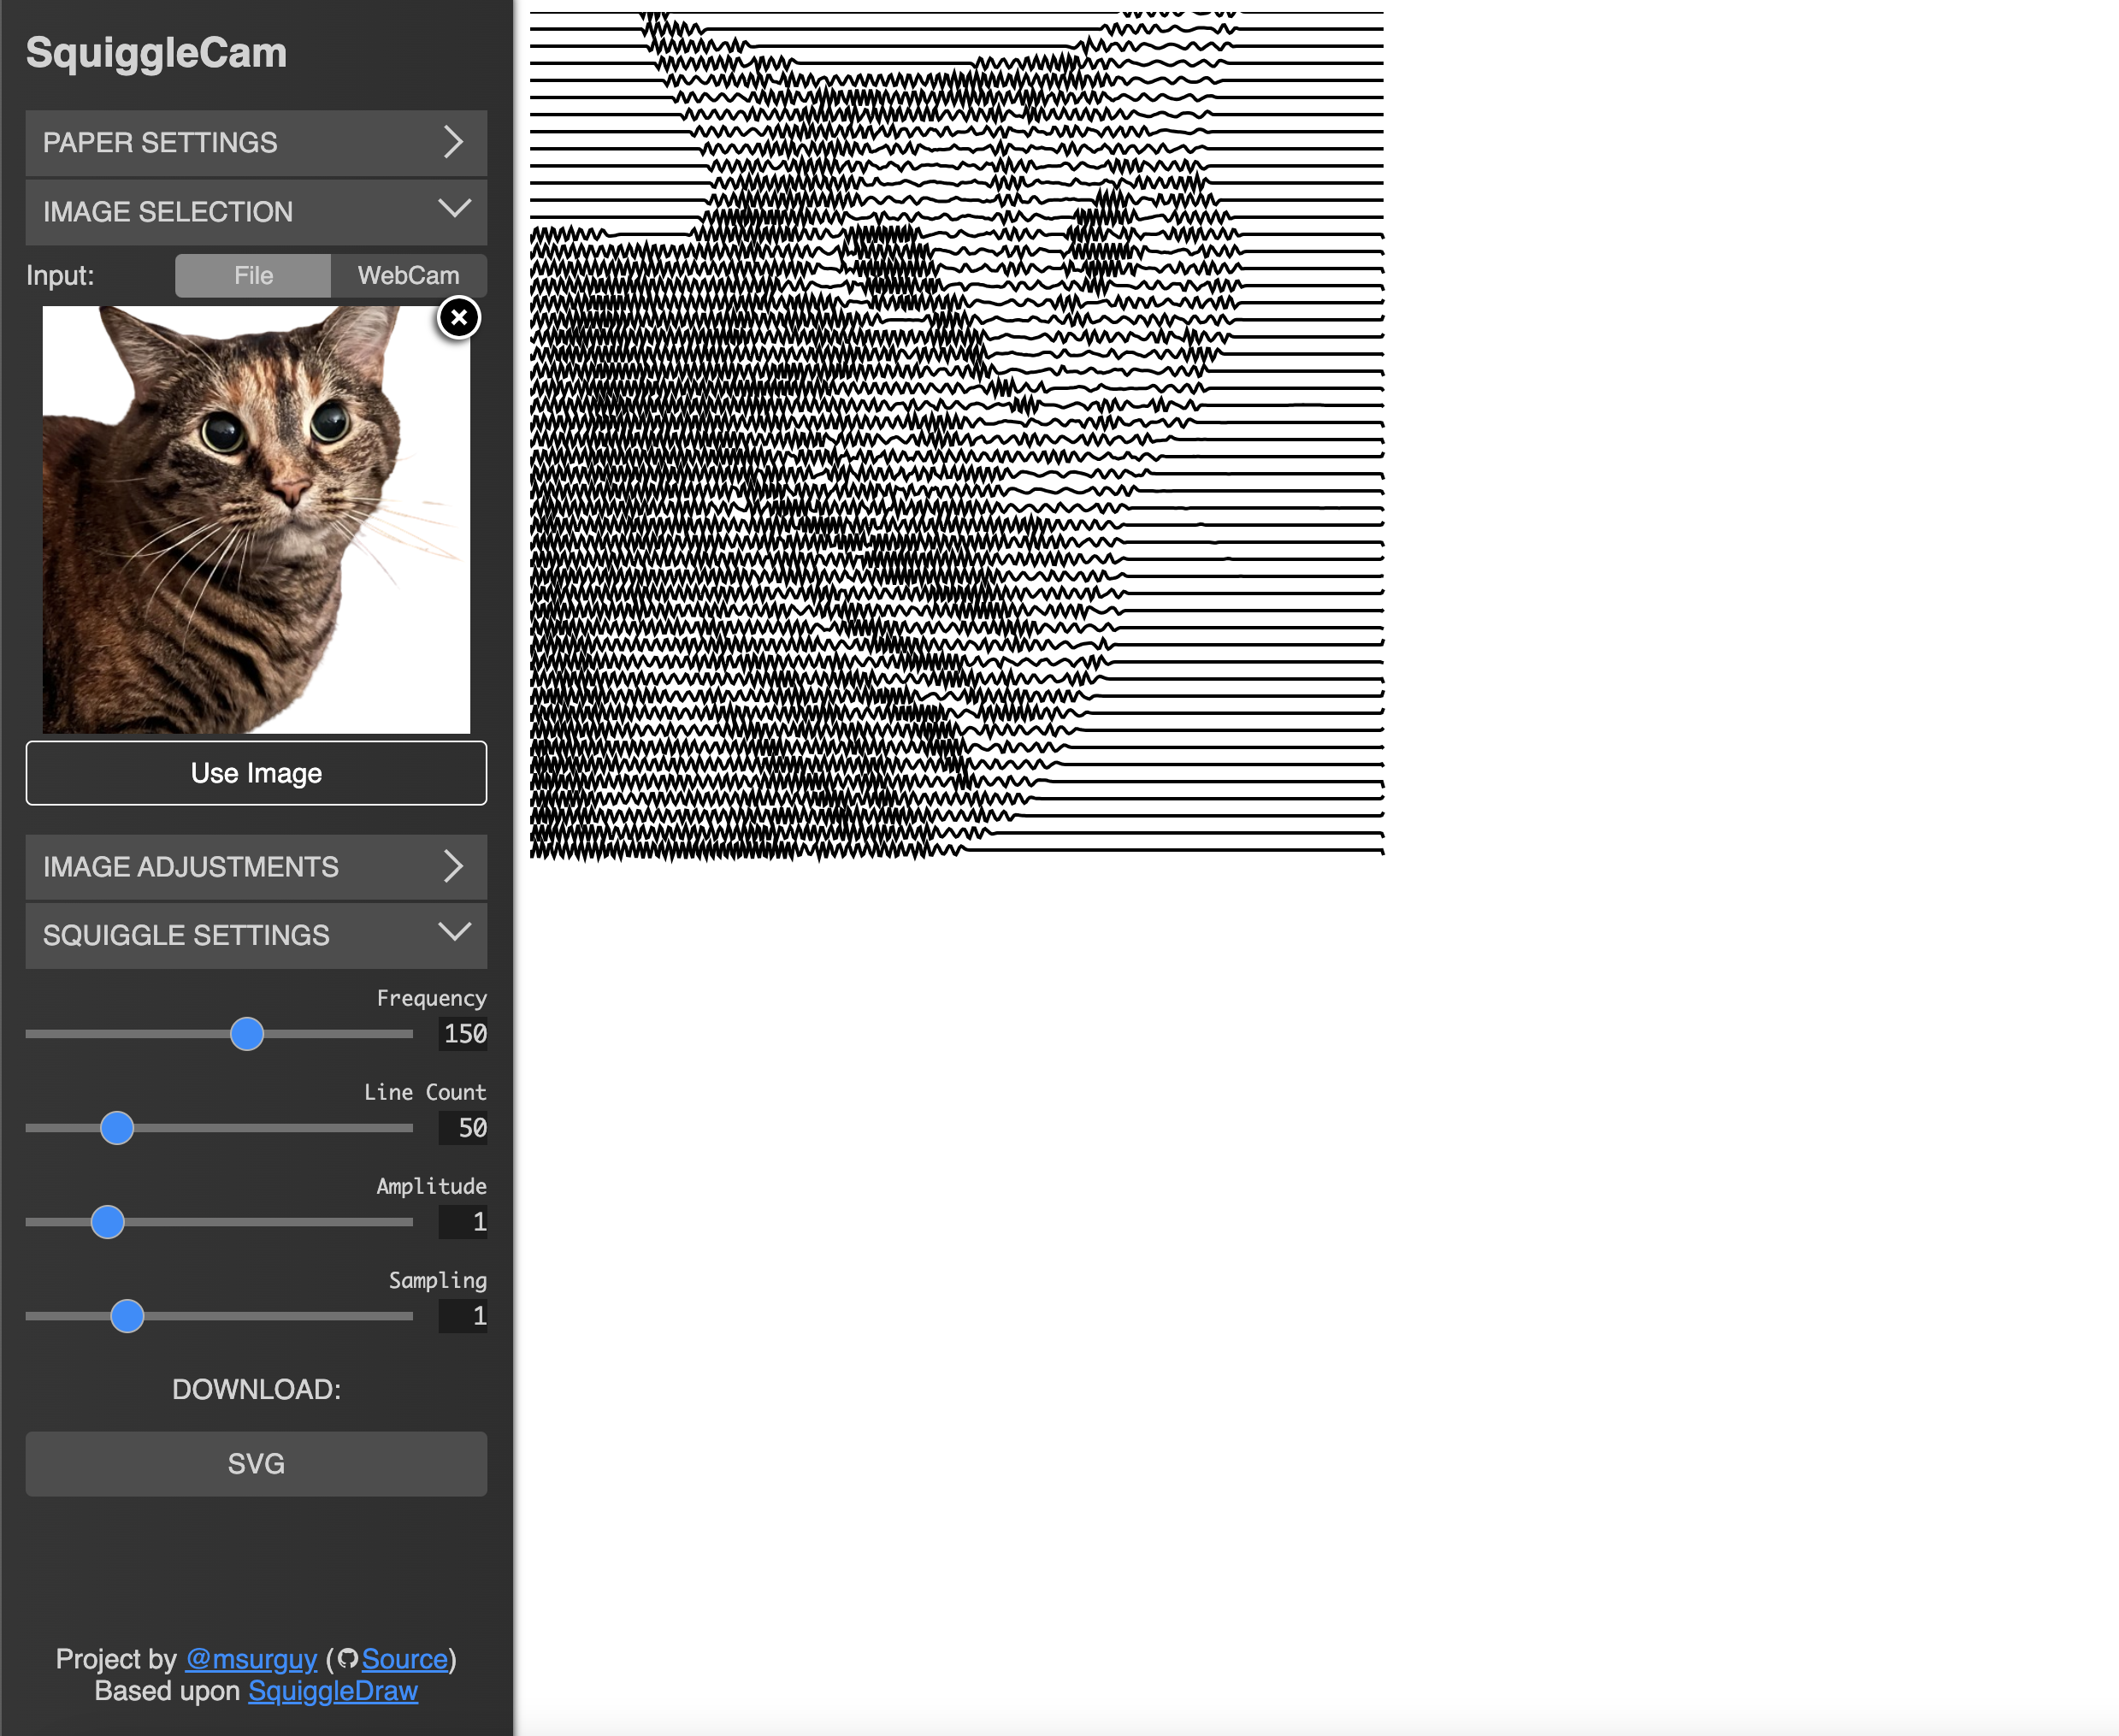
The MakeIt! software is capable of processing .SVG (or vector) art as engraving paths, which opens the door for exciting experimentation. Using the Squigglecam generator created by Maks Surguy, I processed a .jpg image of my cat with the background removed. The output from Squigglecam is composed of 150 waves, each representing the width of the original image while offering granular controls to experiment with the parameters.
Importing this image into MakeIt!, I added a border cut and the entire piece took under 5 minutes to engrave and cut. Placing the engraved image in a shadowbox (complete with a Laser Cut Skill badge by msraynsford) resulted in a keepsake that would look at home in any living room.
Articulated Lizard v2 by McGybeer
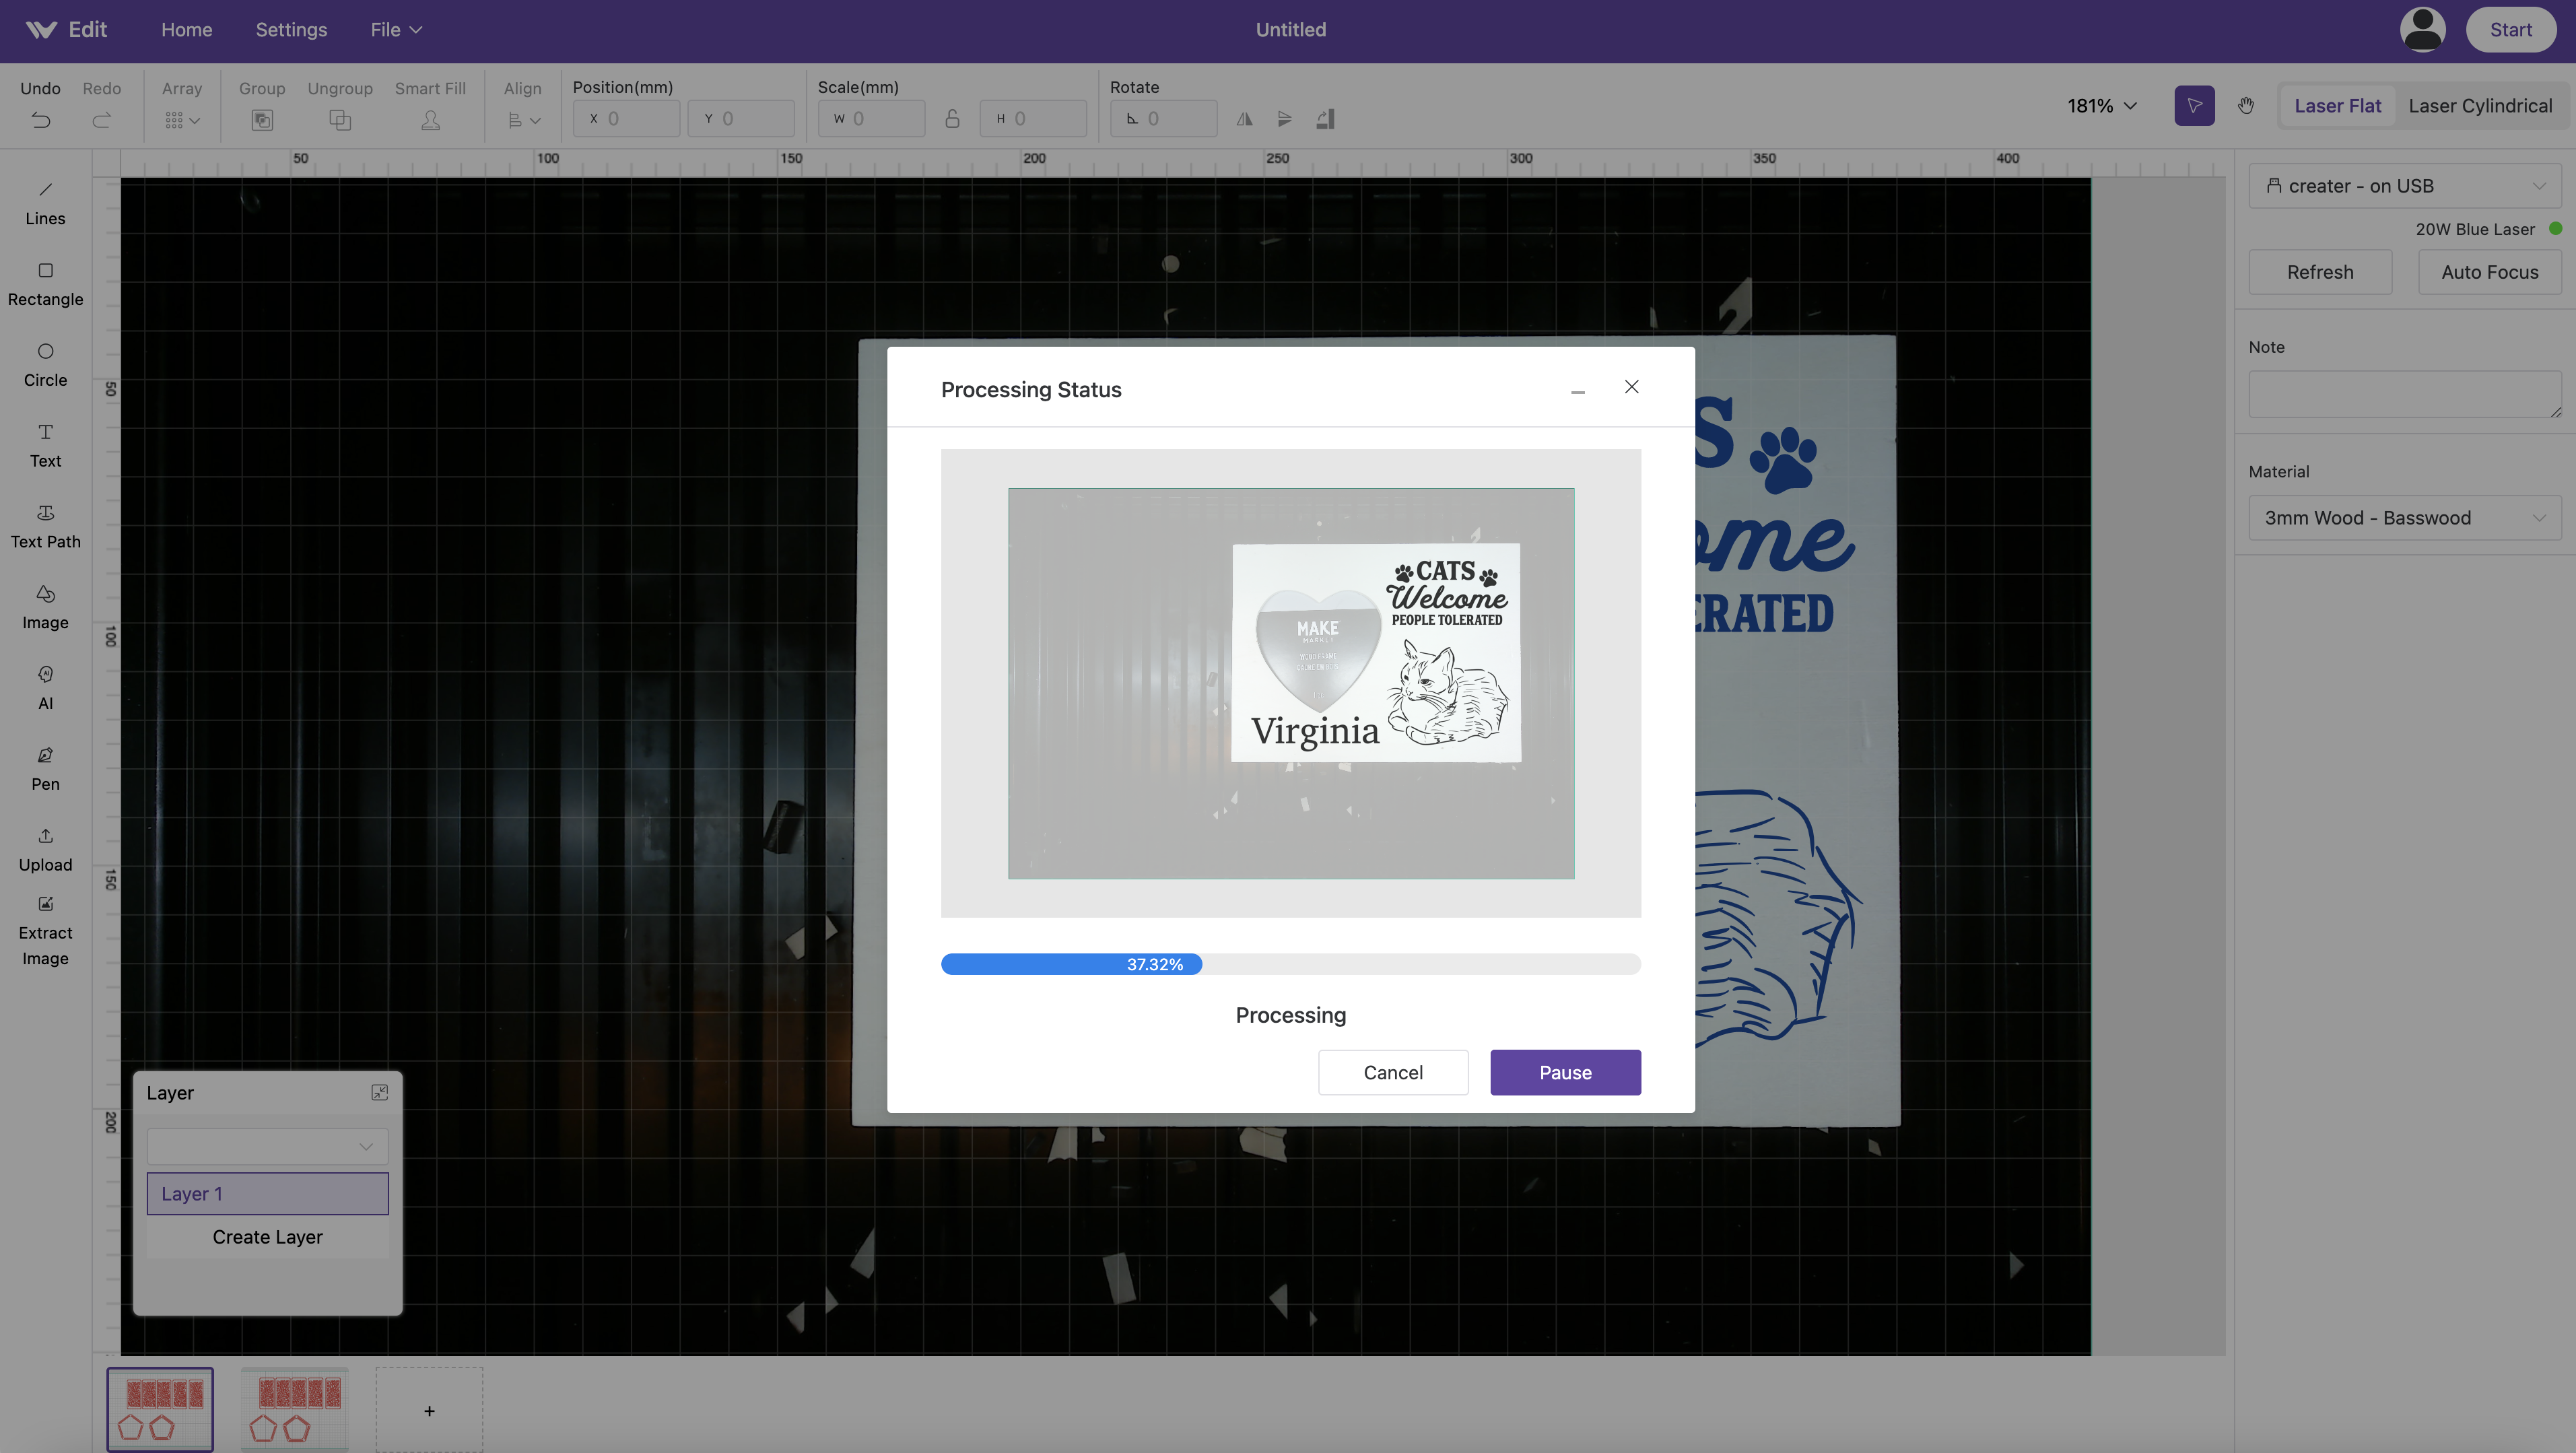
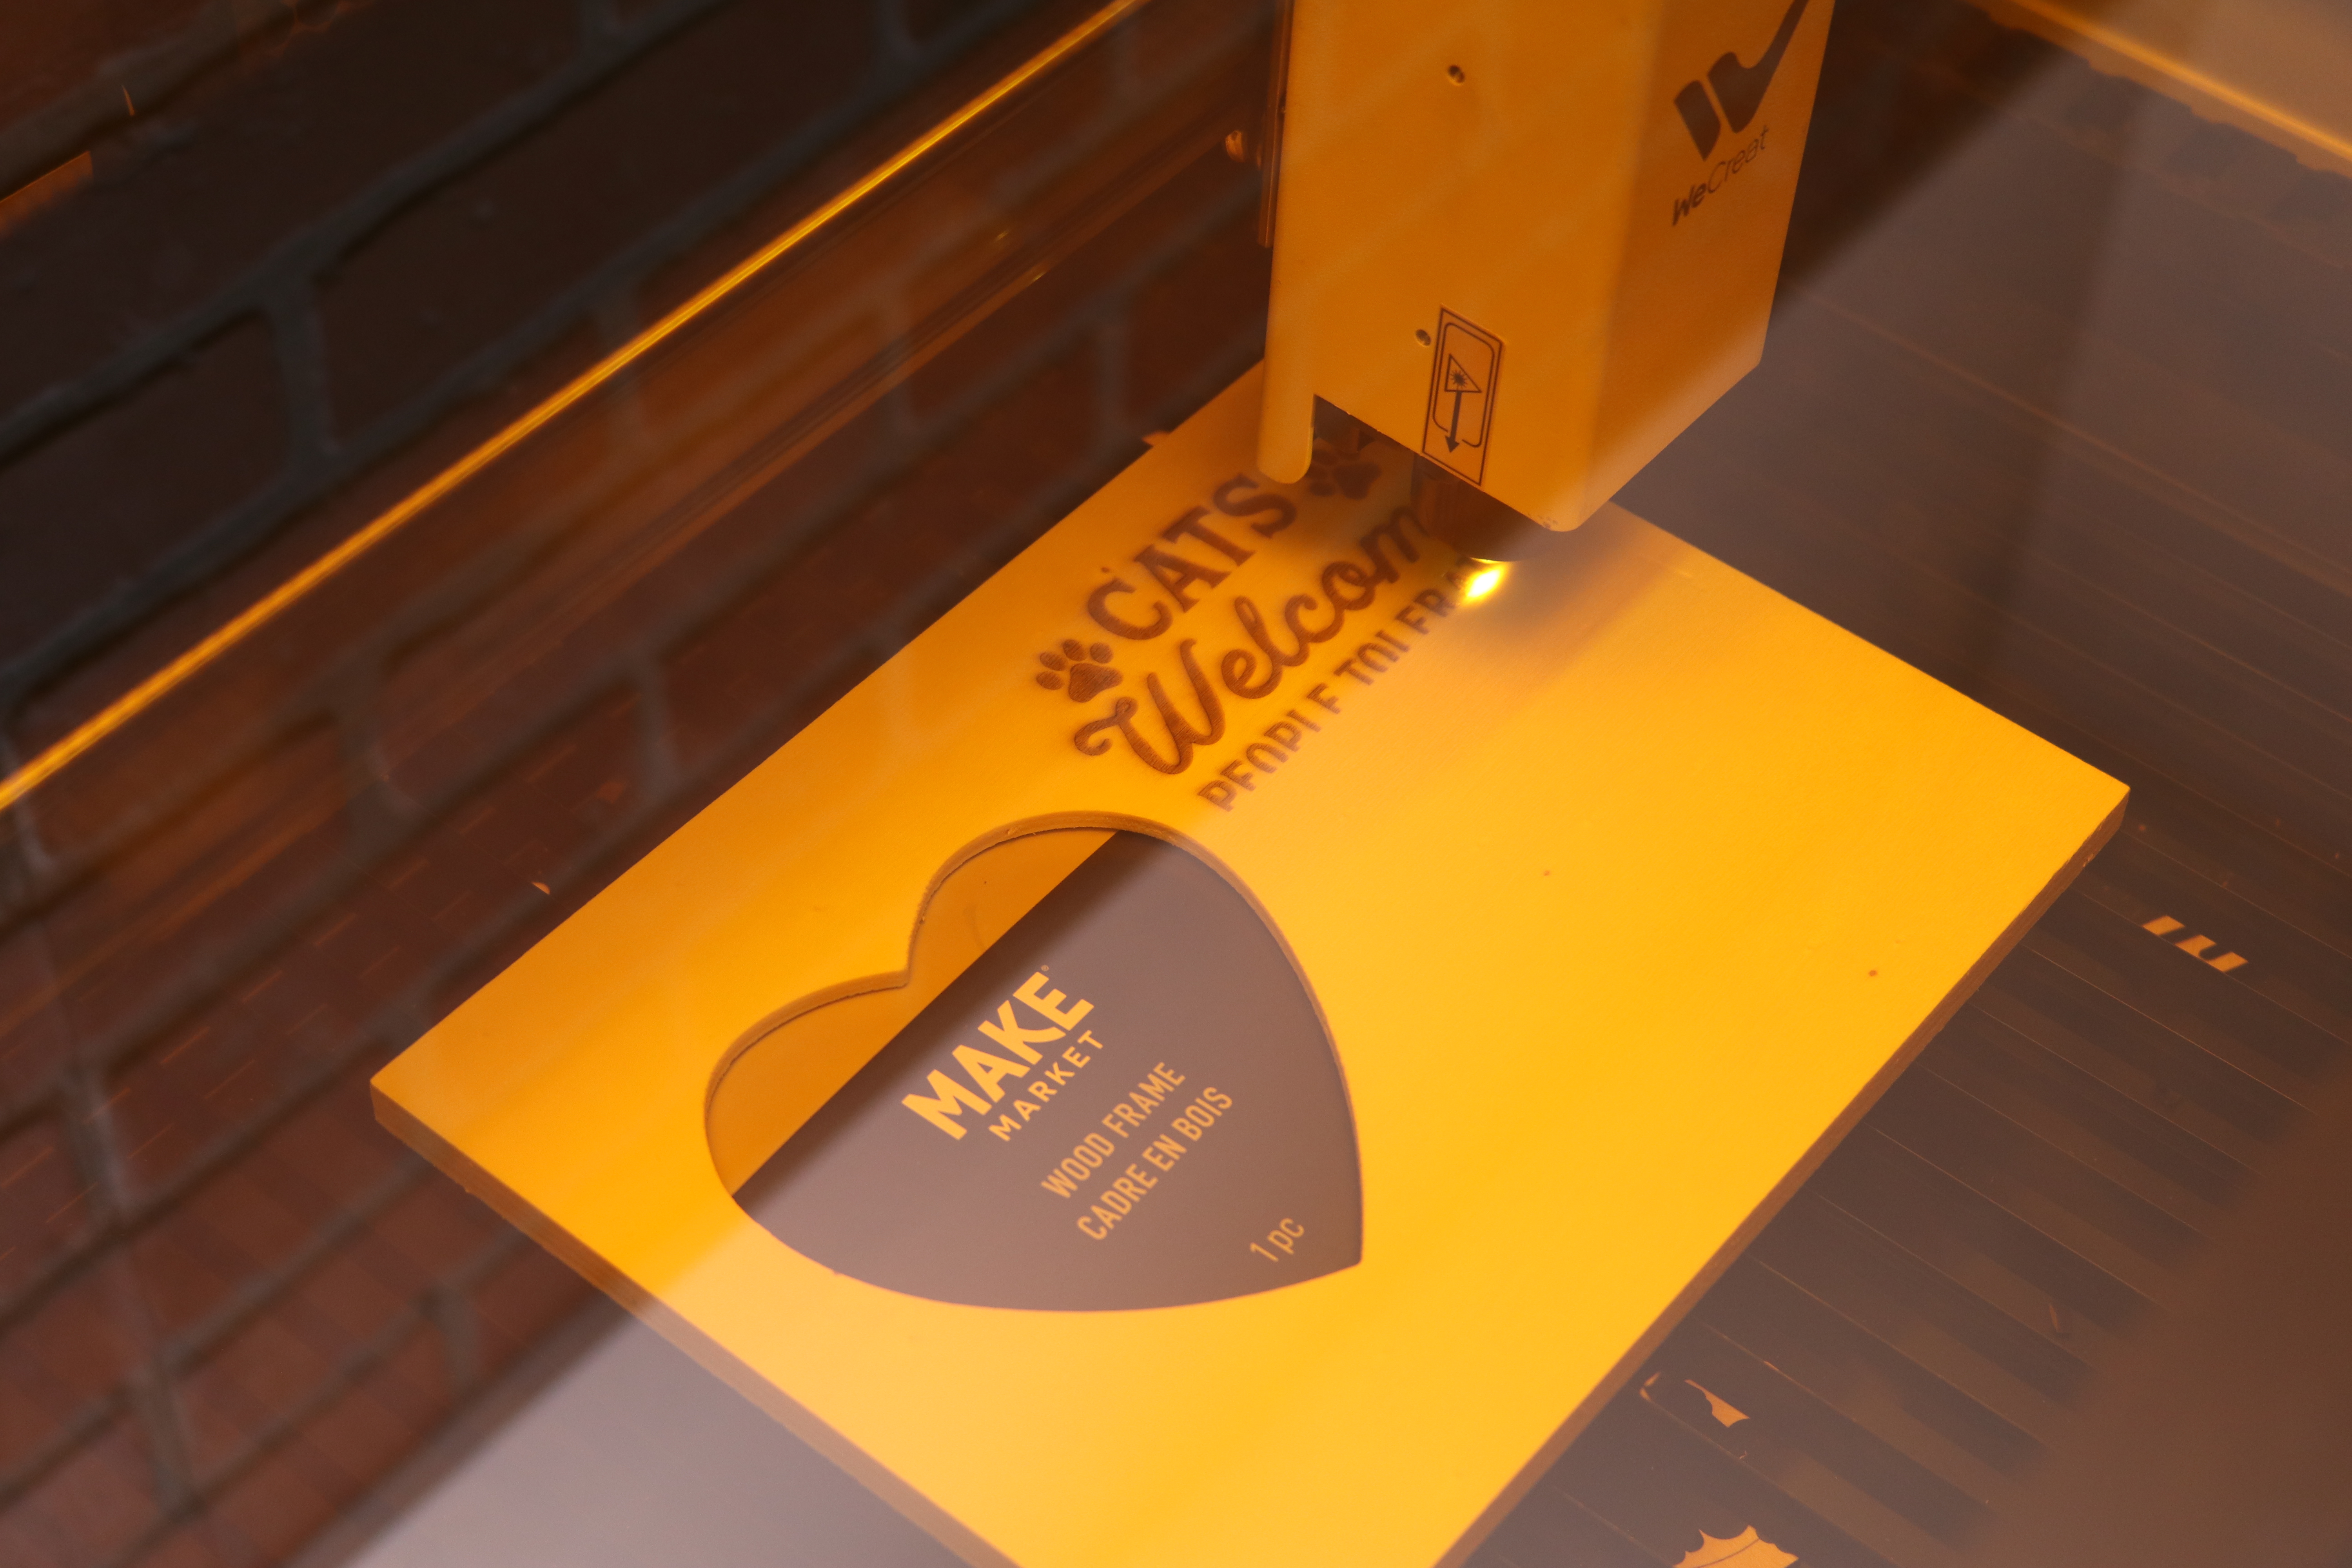
One of the real strengths of the Vision is the user-friendly software experience. By allowing users to combine imported images, text, and graphics, projects can be endlessly customized with only a few clicks. Using a “Cats Welcome, People Tolerated” graphic by Wispy Willow Designs, a stock image of a cat from the image library, and text generated directly in MakeIt!, this $0.99 picture frame was decorated and personalized.
The resulting picture frame took about 22 minutes to engrave, mostly due to the image of the cat. The finished product looks like something you’d see at a craft fair or a farmer’s market and would make a great keepsake. The ability to create and save a template for reuse means that small businesses will be able to rapidly iterate on ideas by trying several at once in the enclosure.
Rotary Engraving with the WeCreat Vision
WeCreat included the Rotary Engraving Pack with the Vision, a $200 upgrade that can be added at the time of purchase. This rotary pack allows the Vision to engrave cylindrical objects by holding the workpiece in a fixed position and rotating around the X axis. The default rotary engraver is capable of holding models up to 100mm in diameter, with attachments provided for engraving smaller objects like rings. The jaws are tightened using the included chuck key, and I found the setup process was easy and straight-forward.
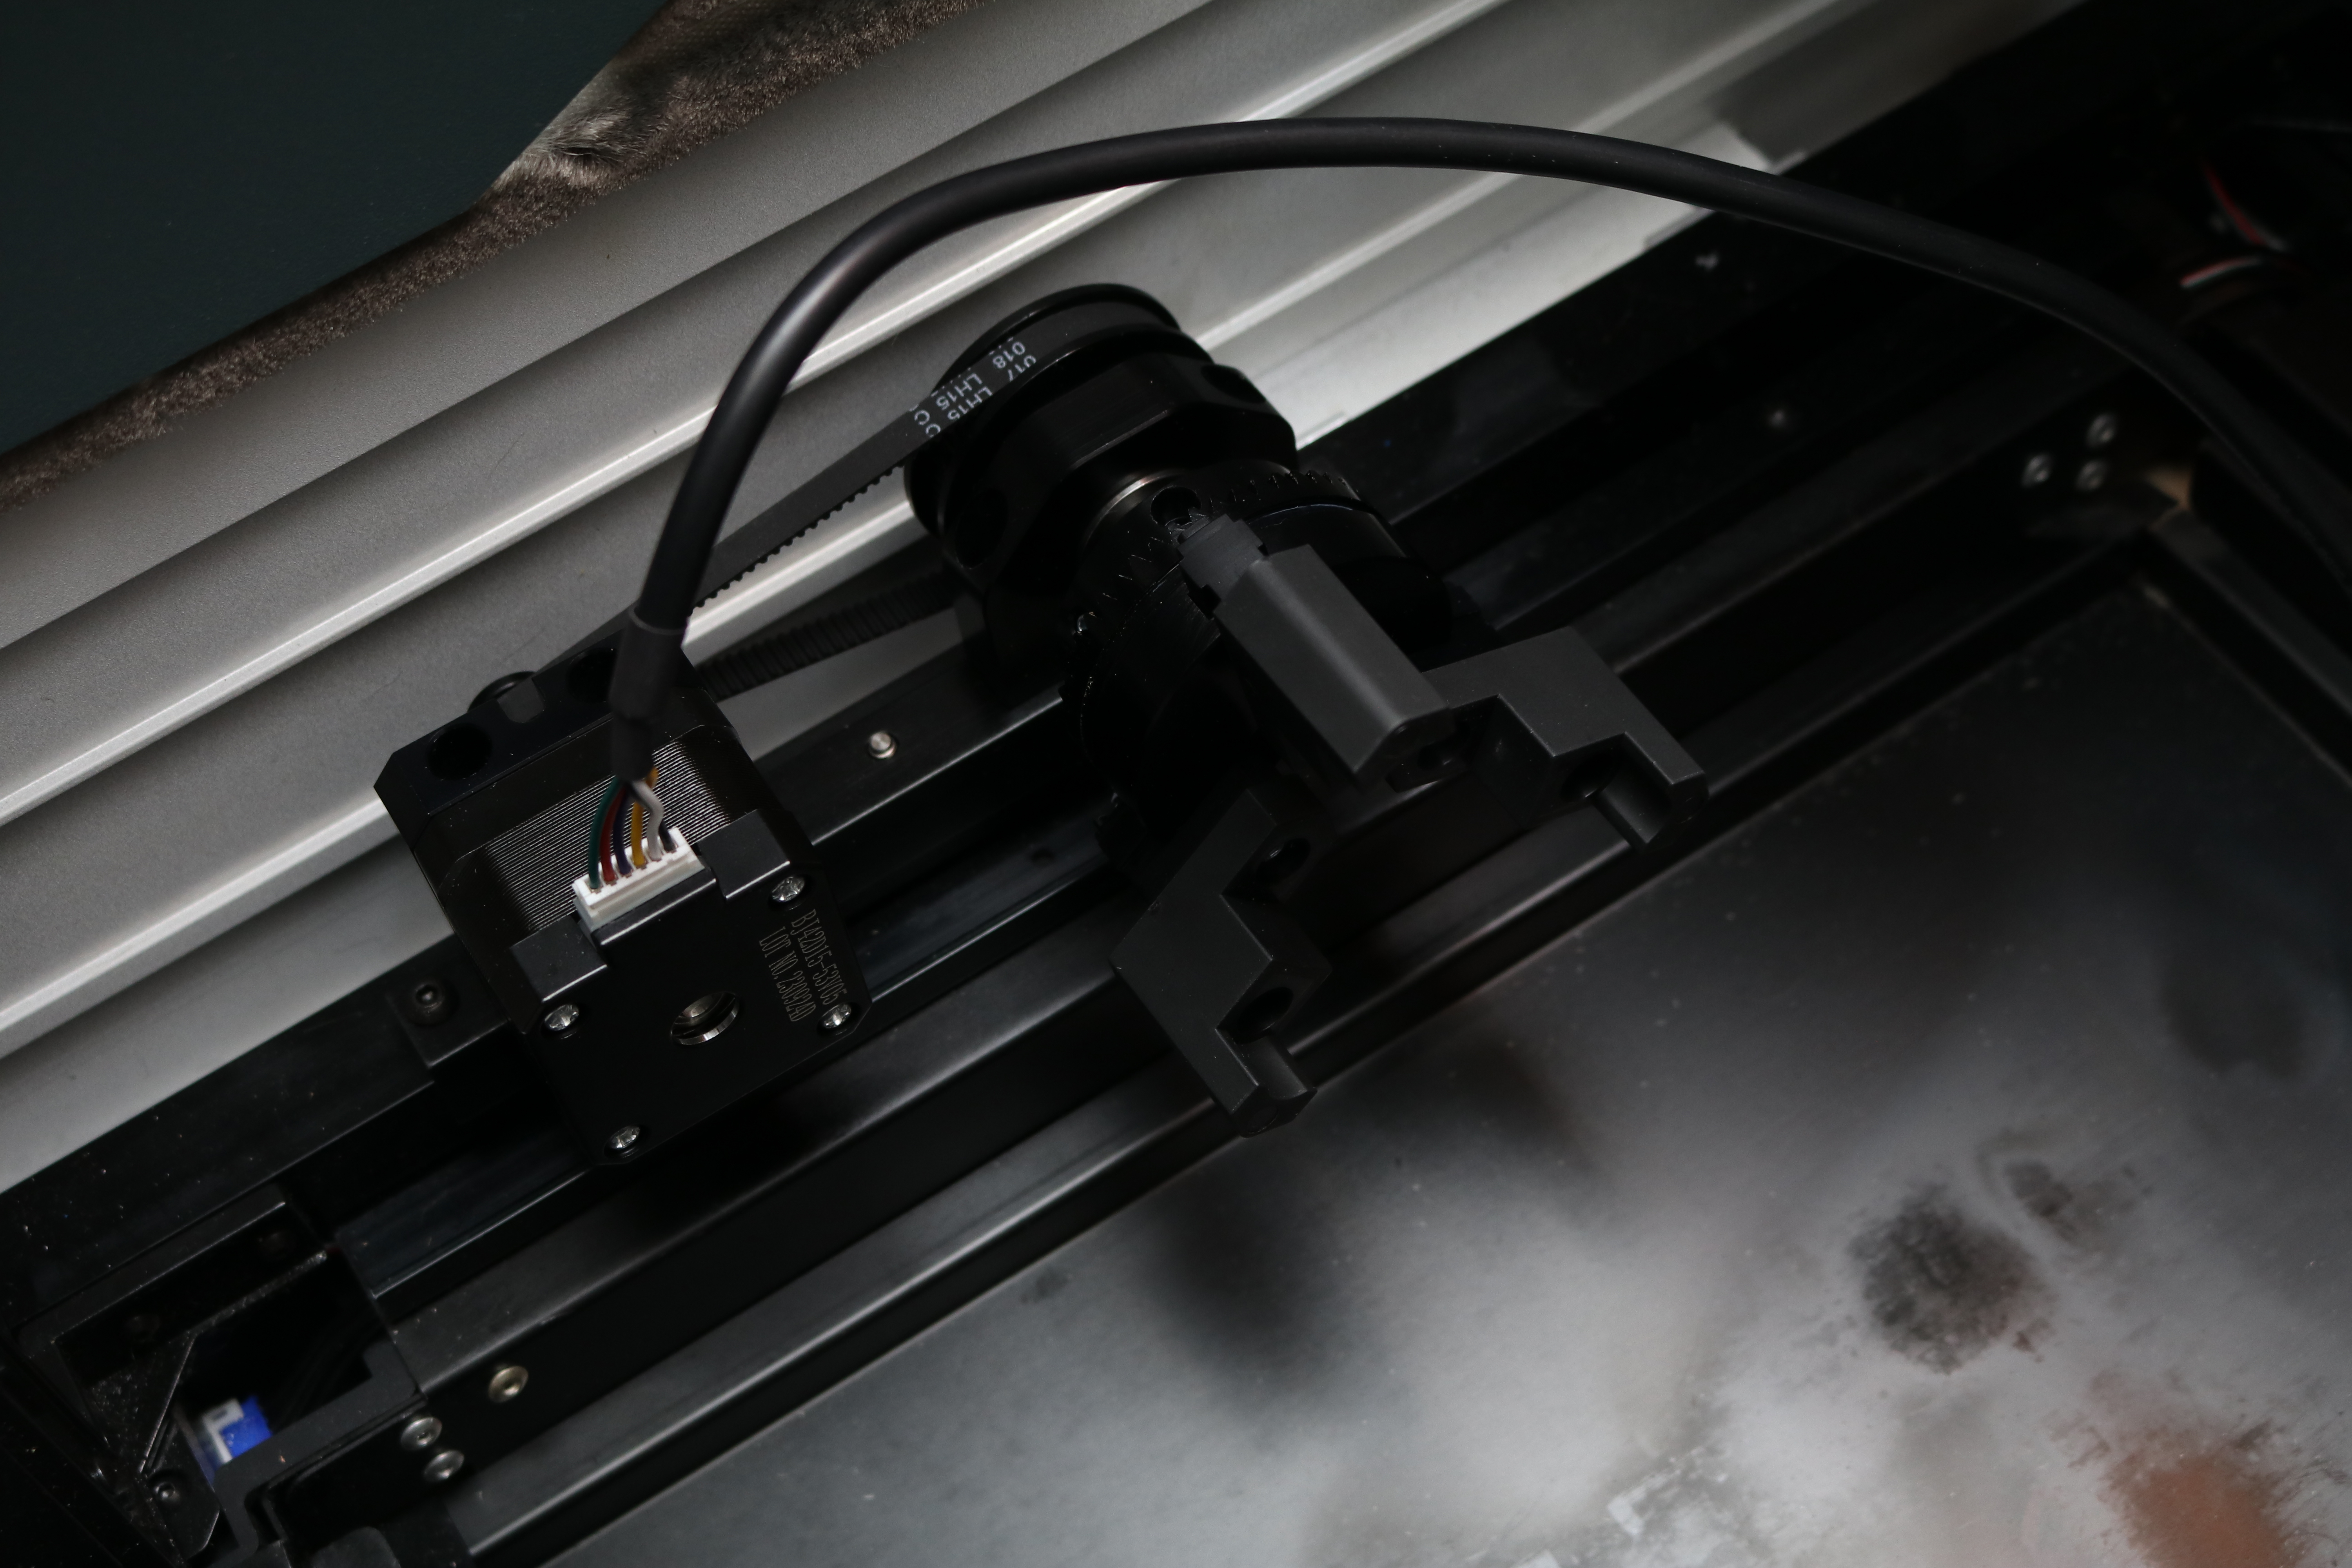
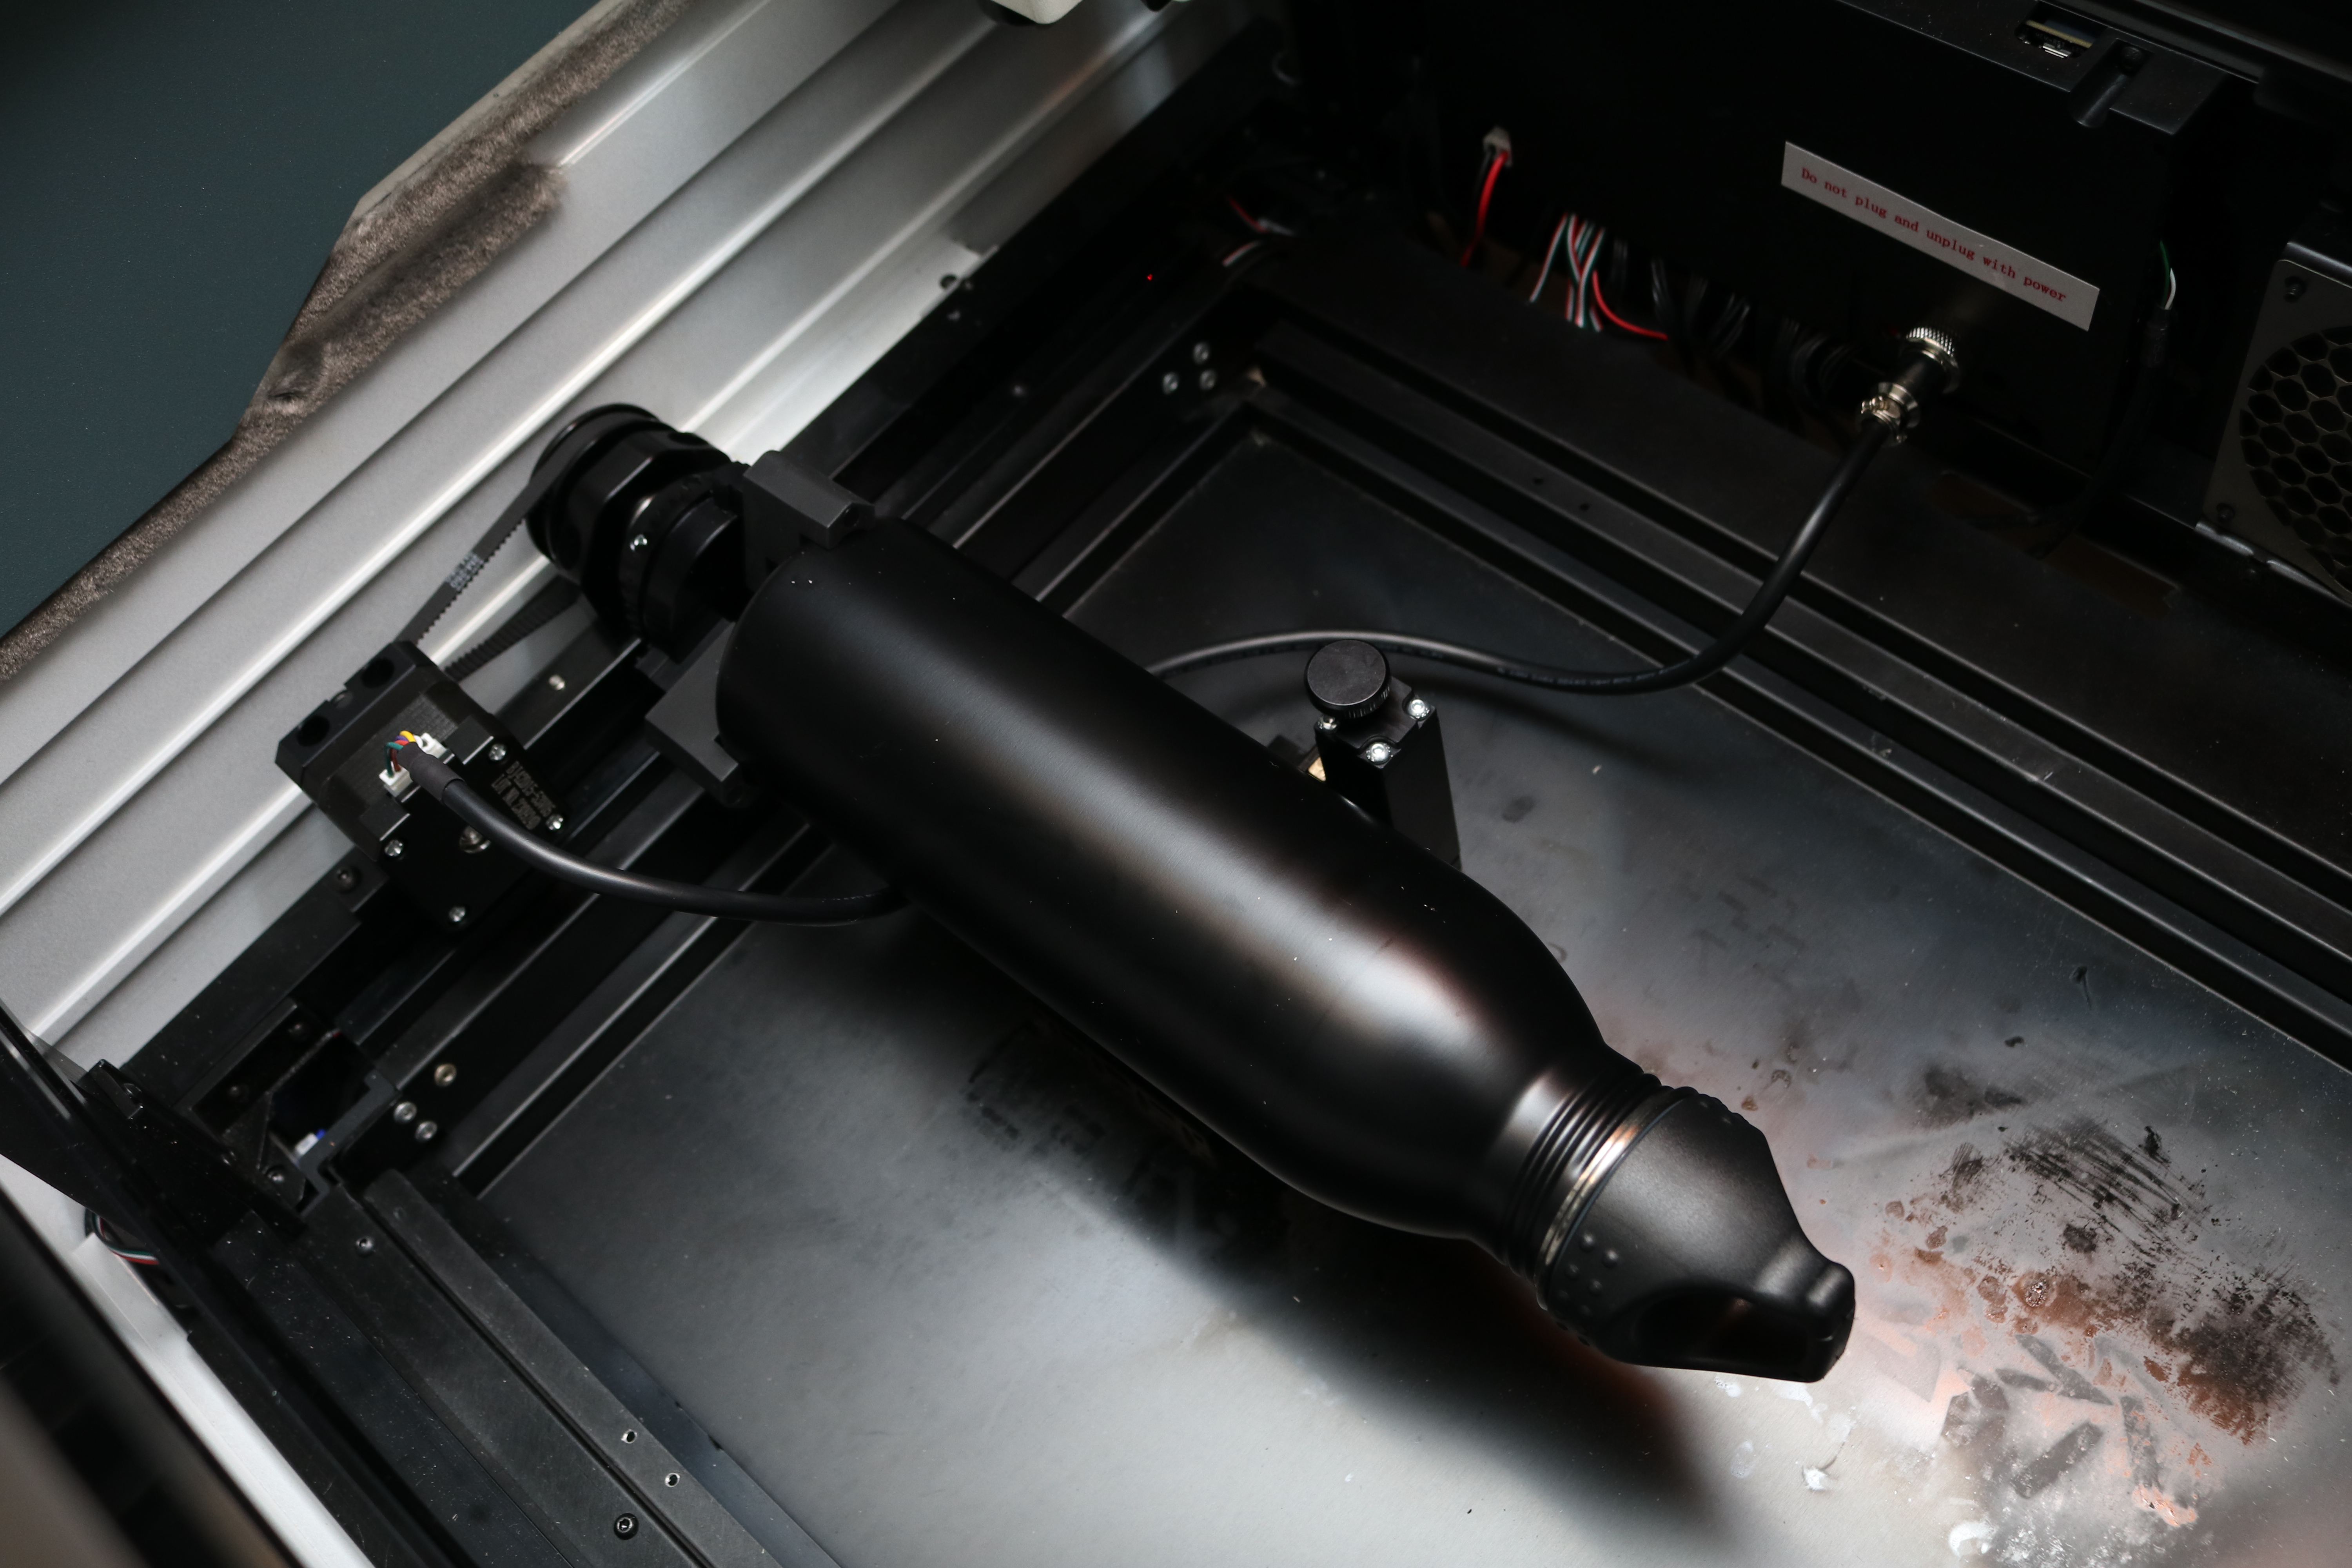
The rotary engraving module has a belt-driven rotating fixture that attaches to the main body of the Vision using two bolts and a locating peg to hold it in place. The electrical connection for this module is on the inside of the engraver, so you’ll want to make sure the machine is powered down before plugging it in. In addition, the laser bed needs to be removed to make room for the engraver as well as the stabilizing holder. The holder uses two bearings to allow for rotation while supporting the model to prevent the workpiece from being cantilevered and spinning out of axis.
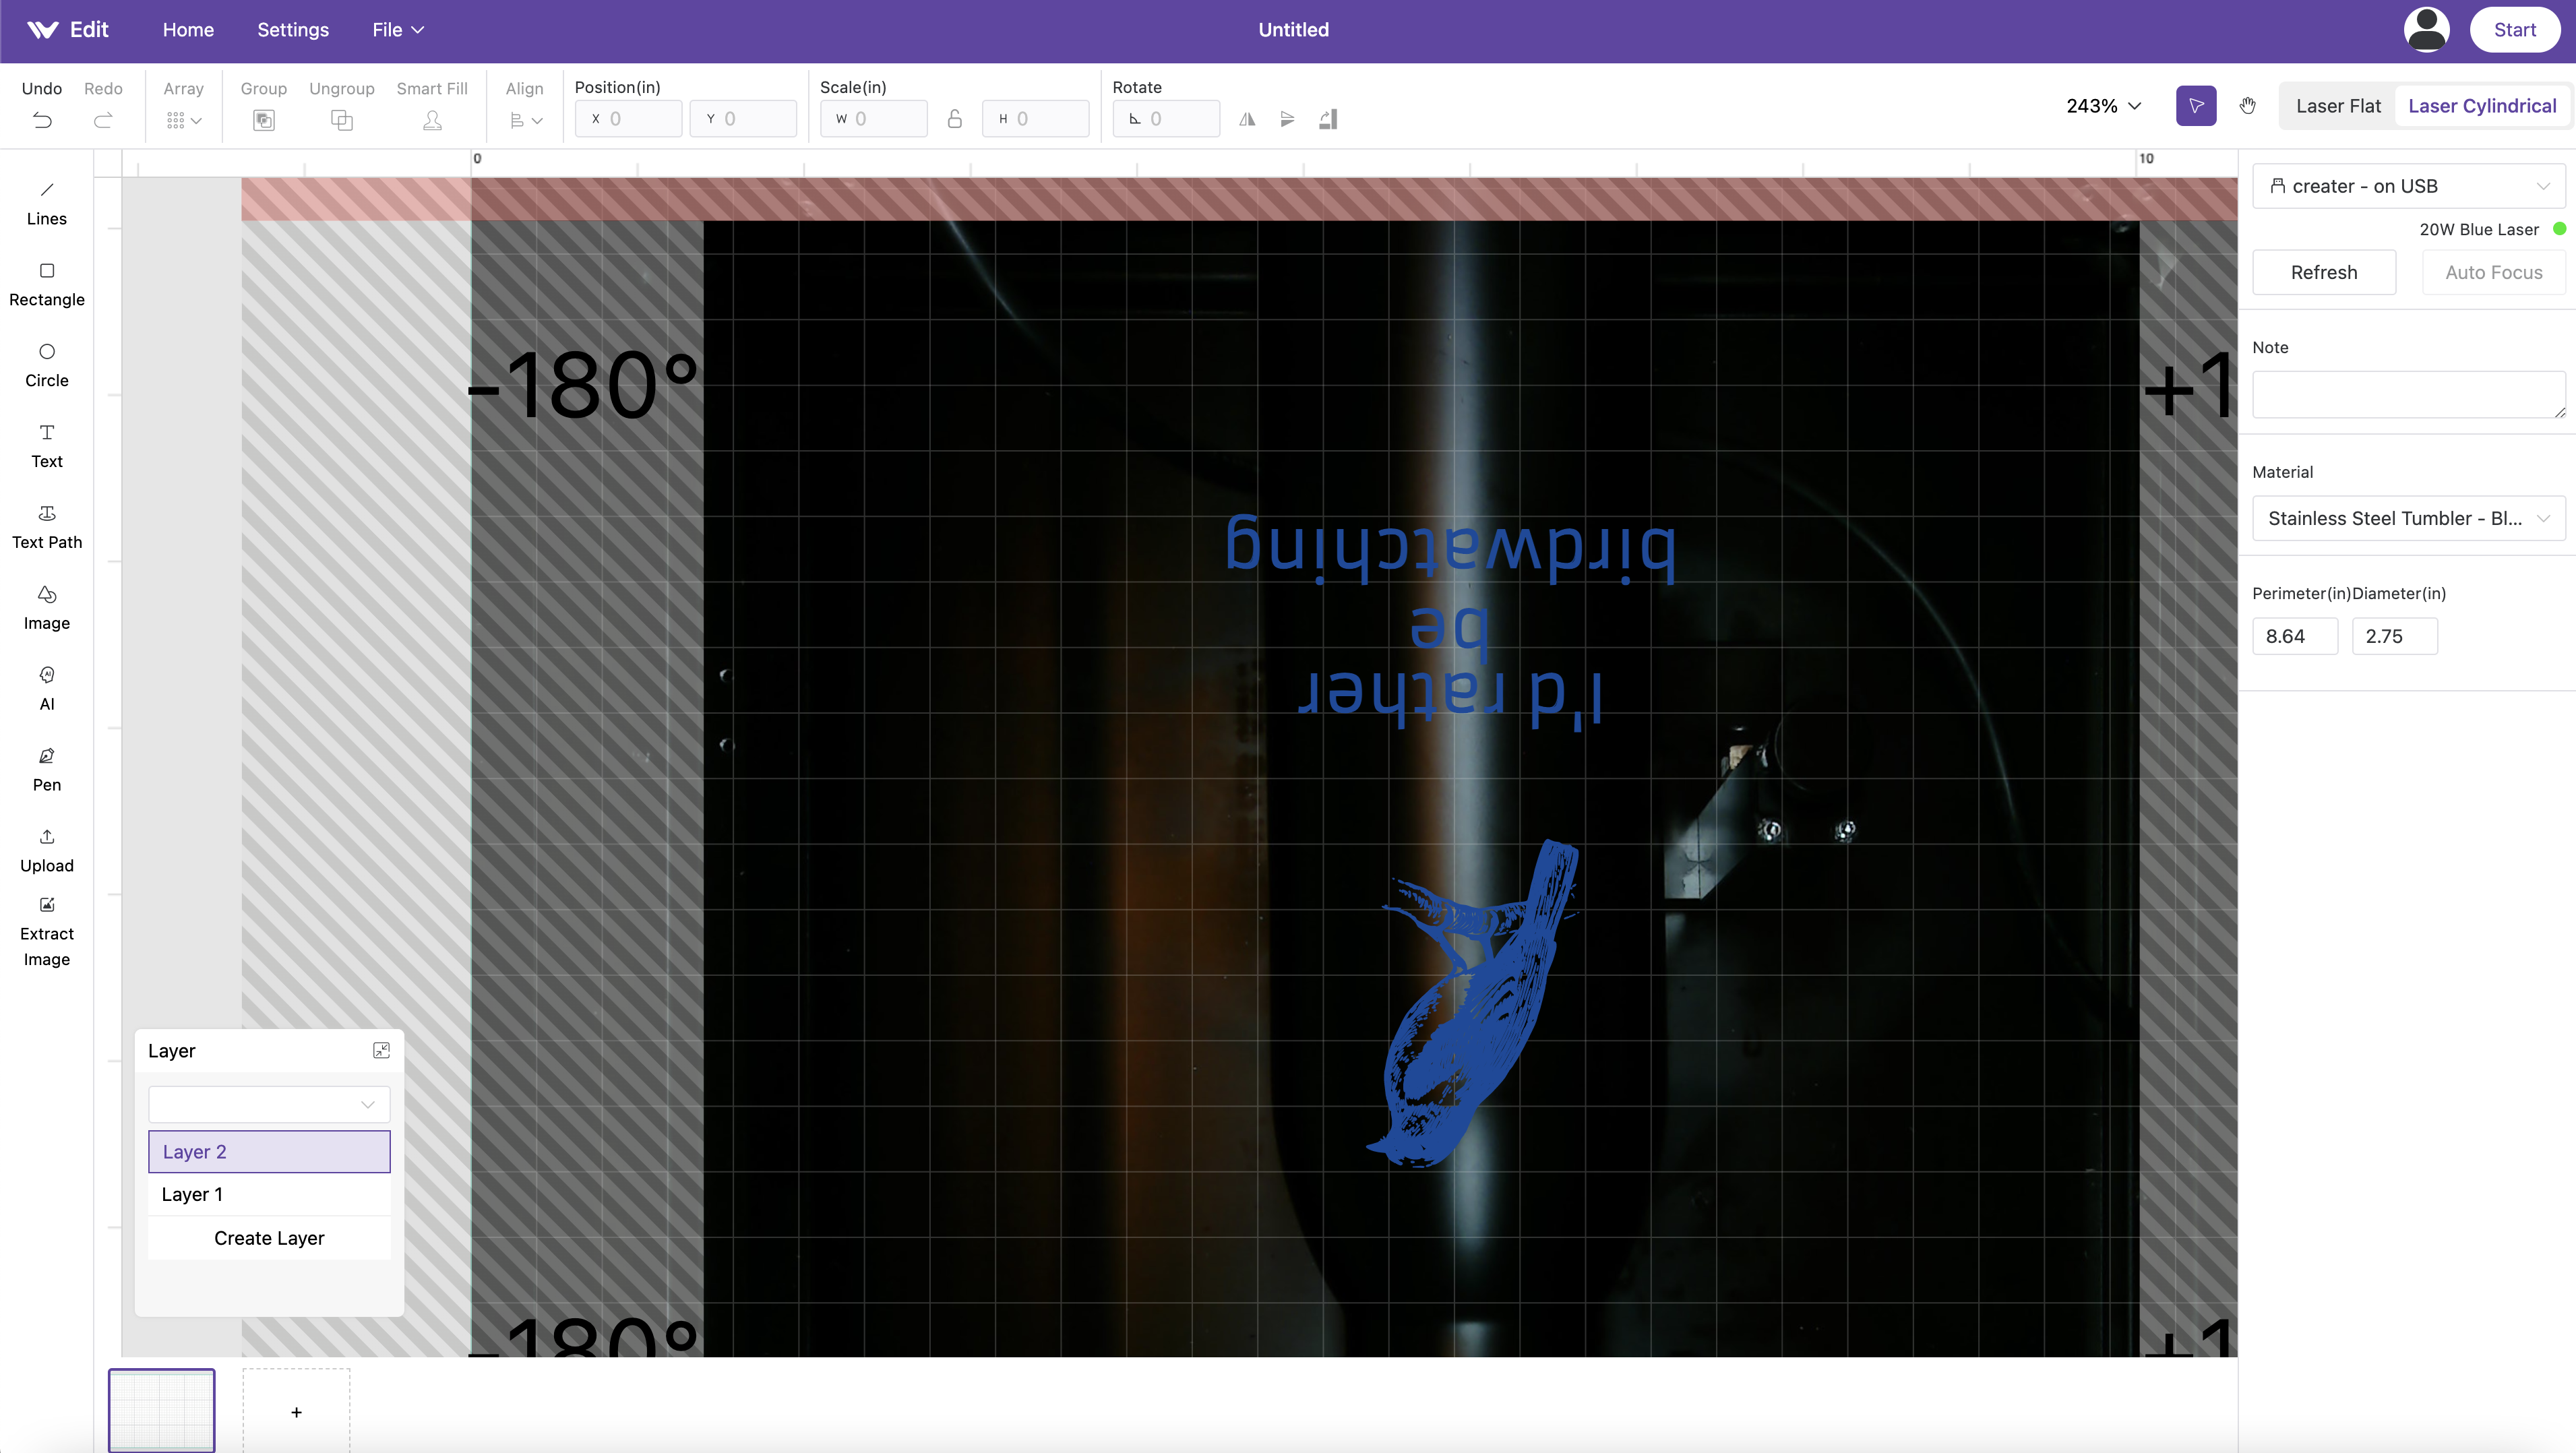
The MakeIt! software includes a “Laser Cylindrical” mode for preparing models to be engraved using the rotary attachment. To use this mode, you will need to measure the circumference (labeled as “Perimeter”) or diameter of the model you will be engraving. WeCreat includes a tape measure for this purpose, which I found to be useful when measuring a stainless steel tumbler that has a black coating on it.
The software shows the working area as an unwrapped plane, which can be tricky to visualize as it is both flat as well as upside down. Using the included image library, I found a picture of a bird and added some text before flipping both and placing them towards the top of the tumbler.
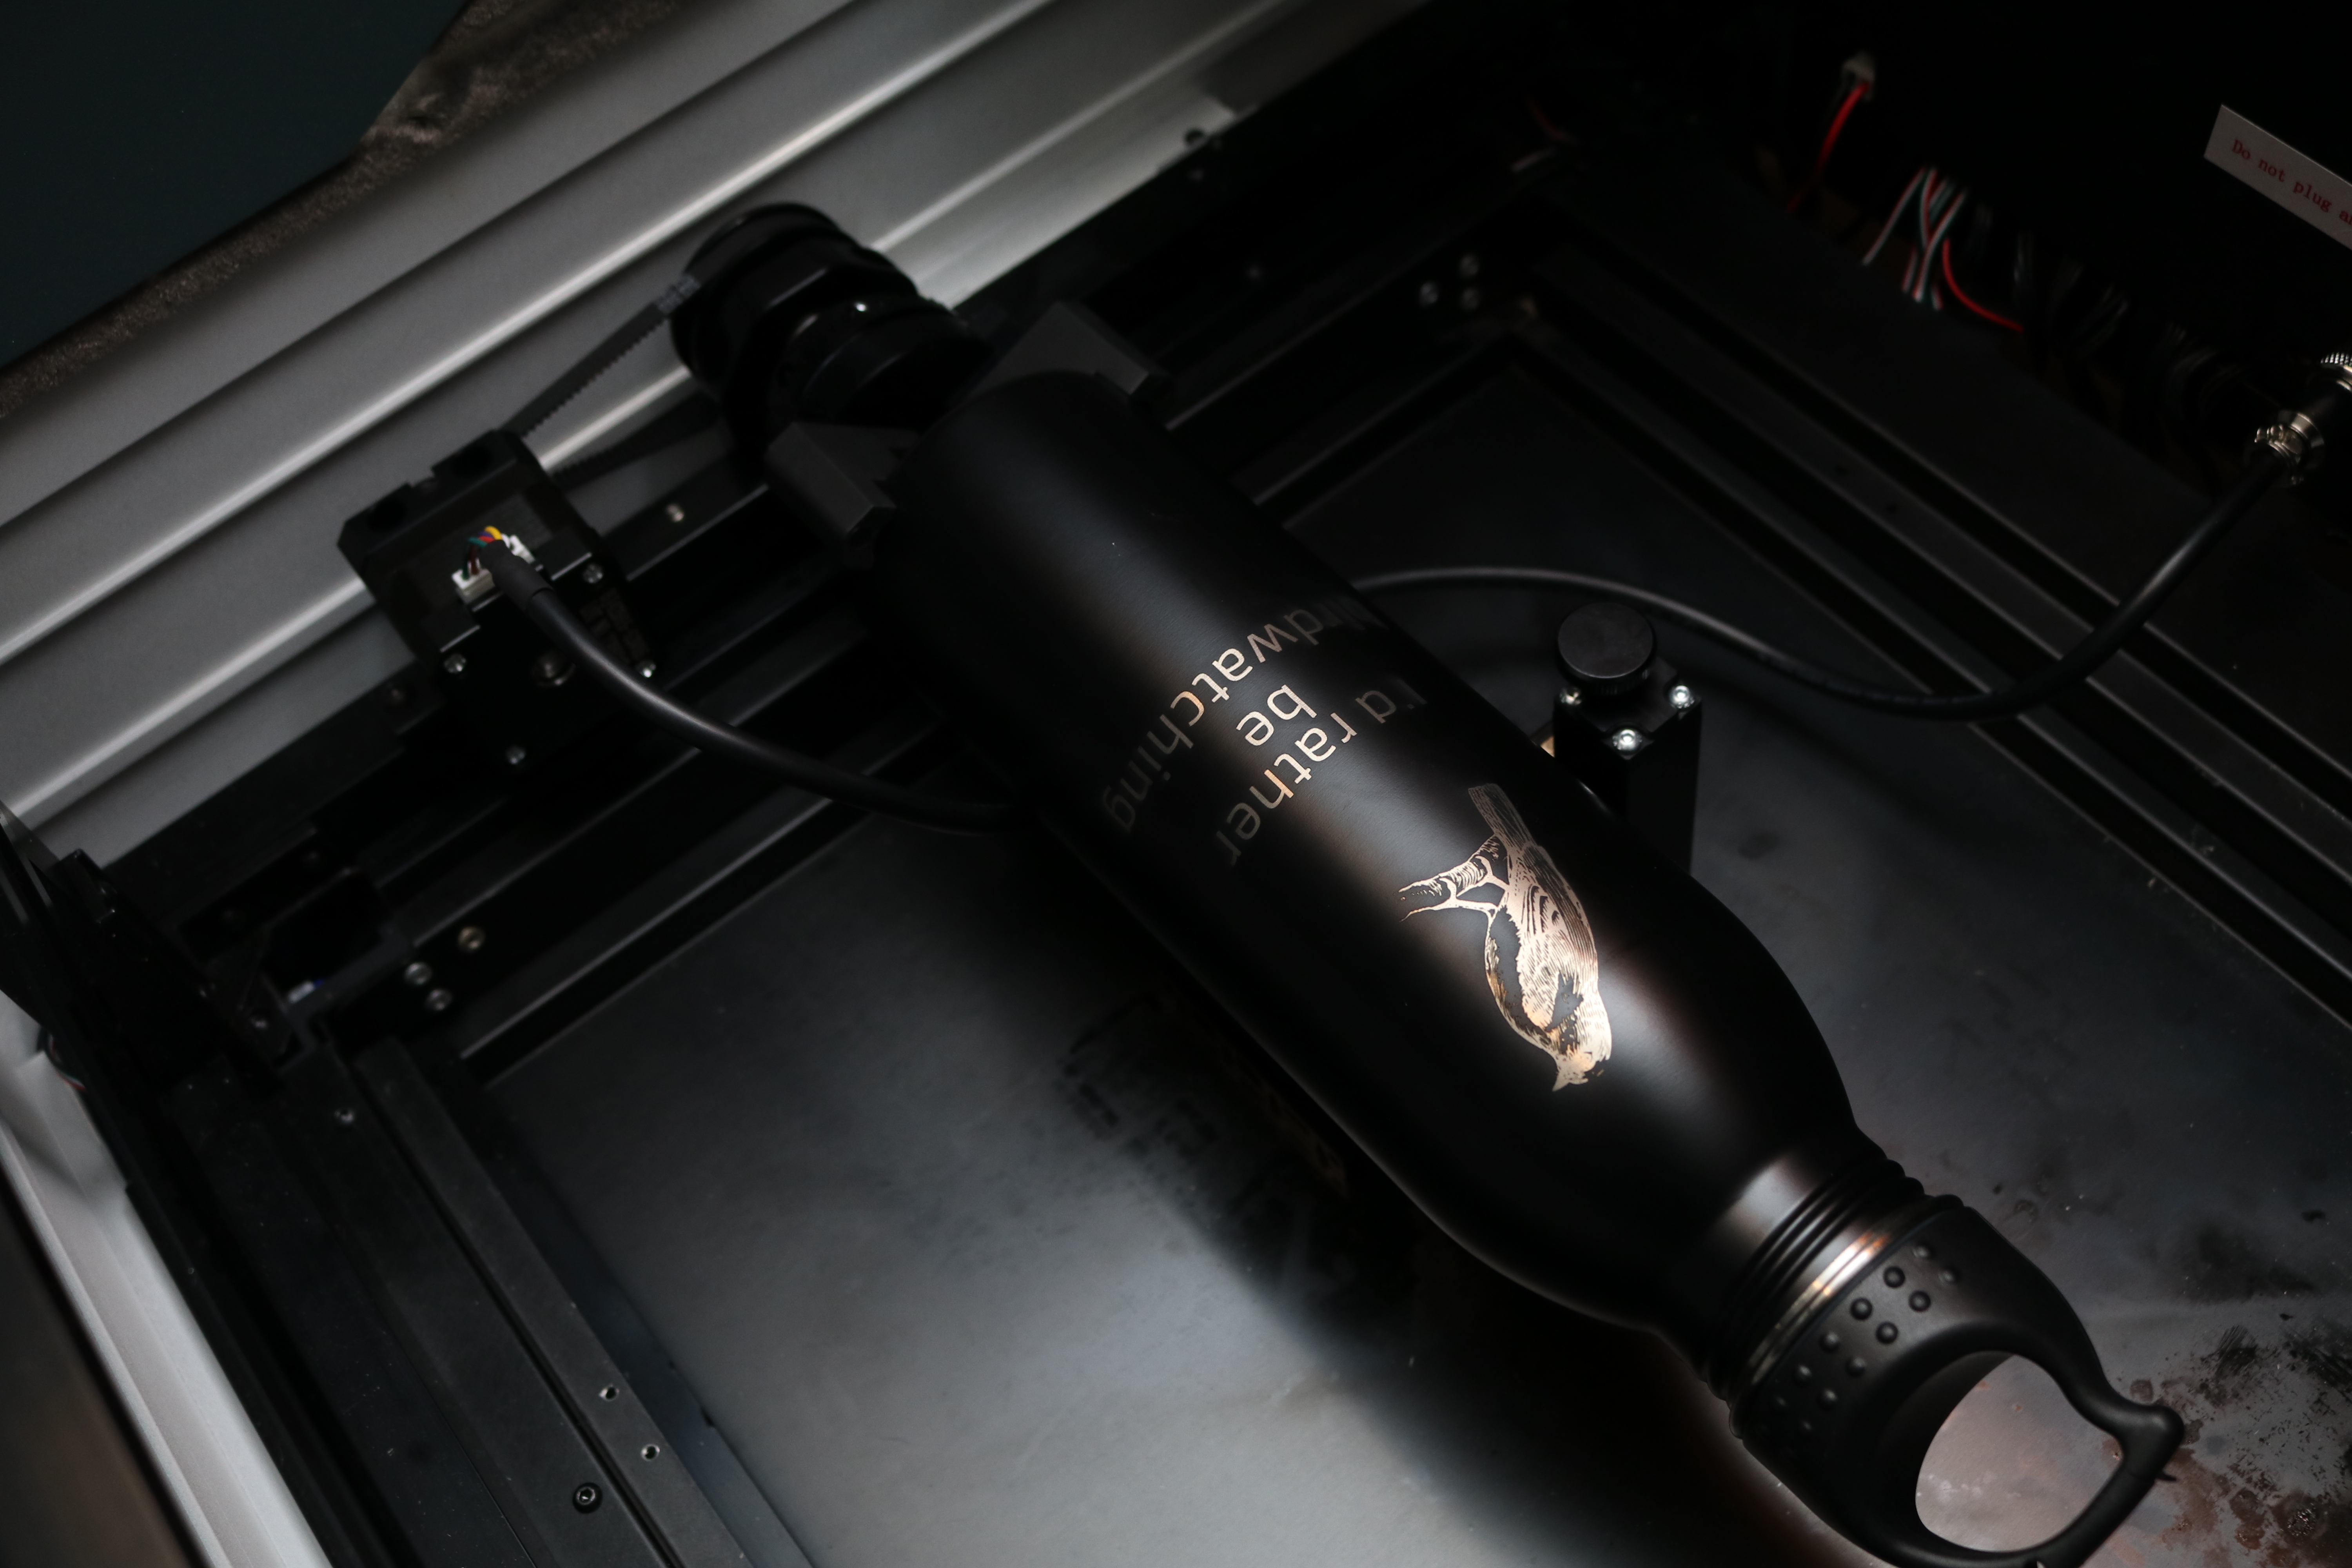
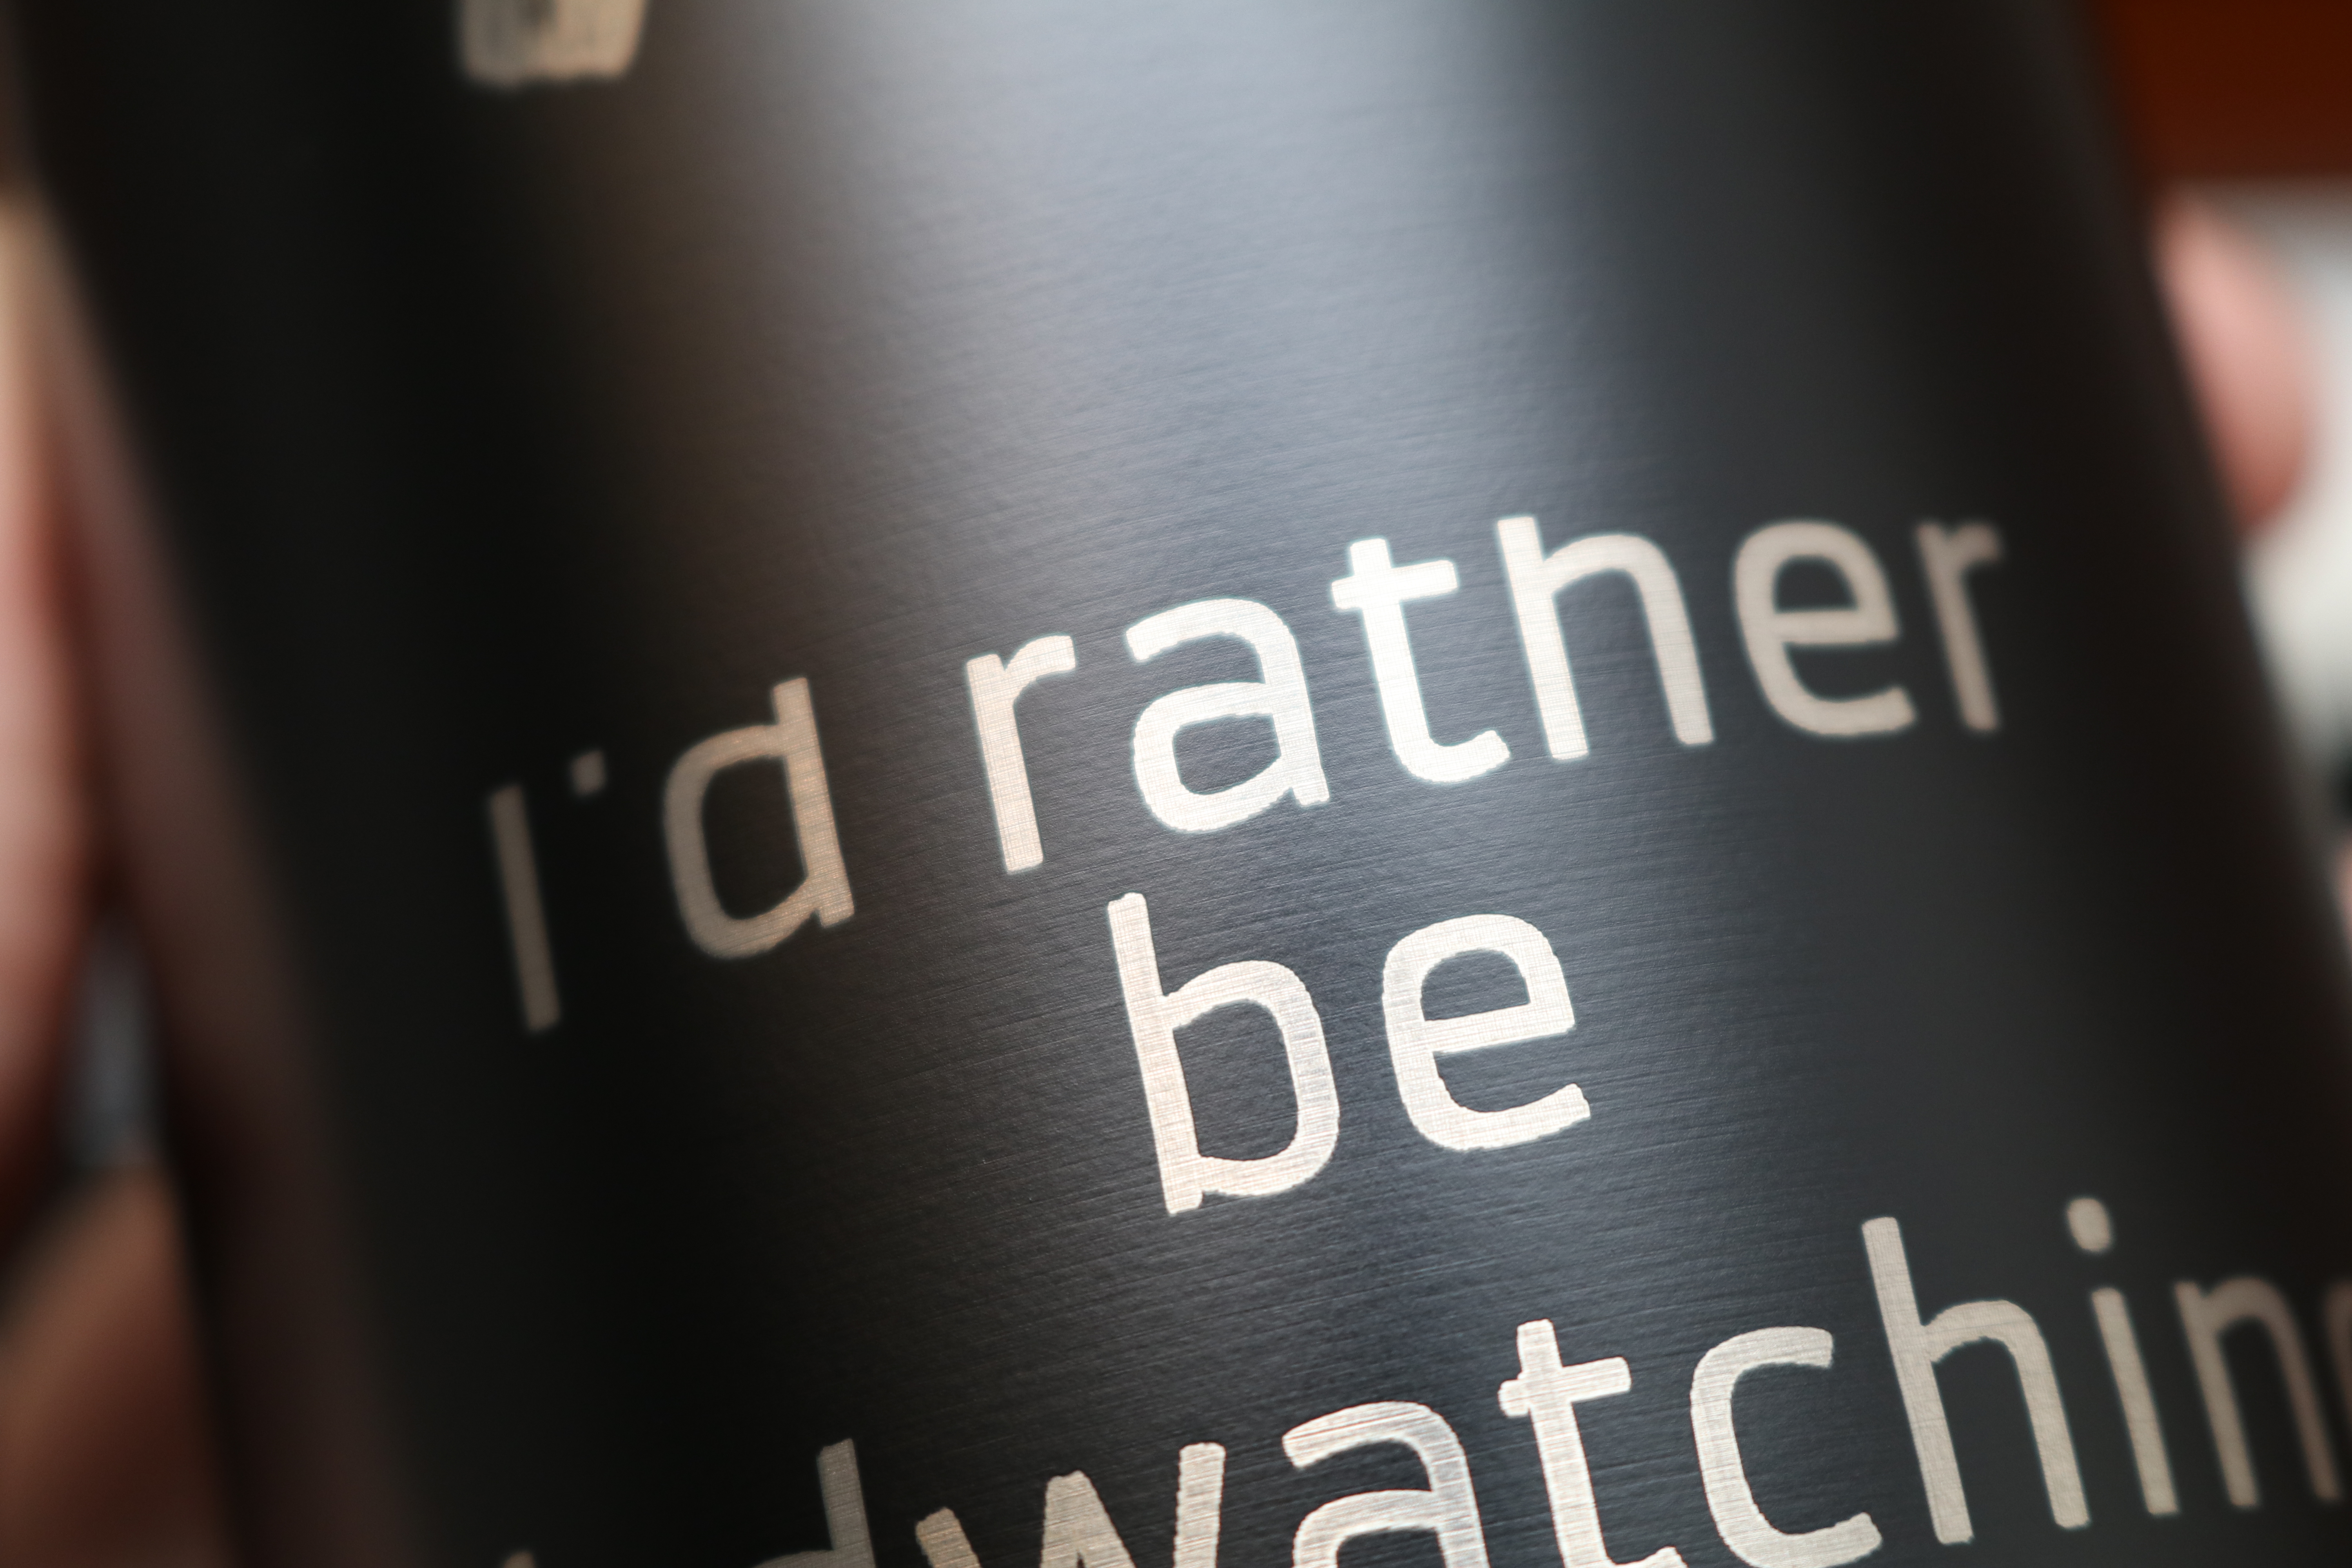
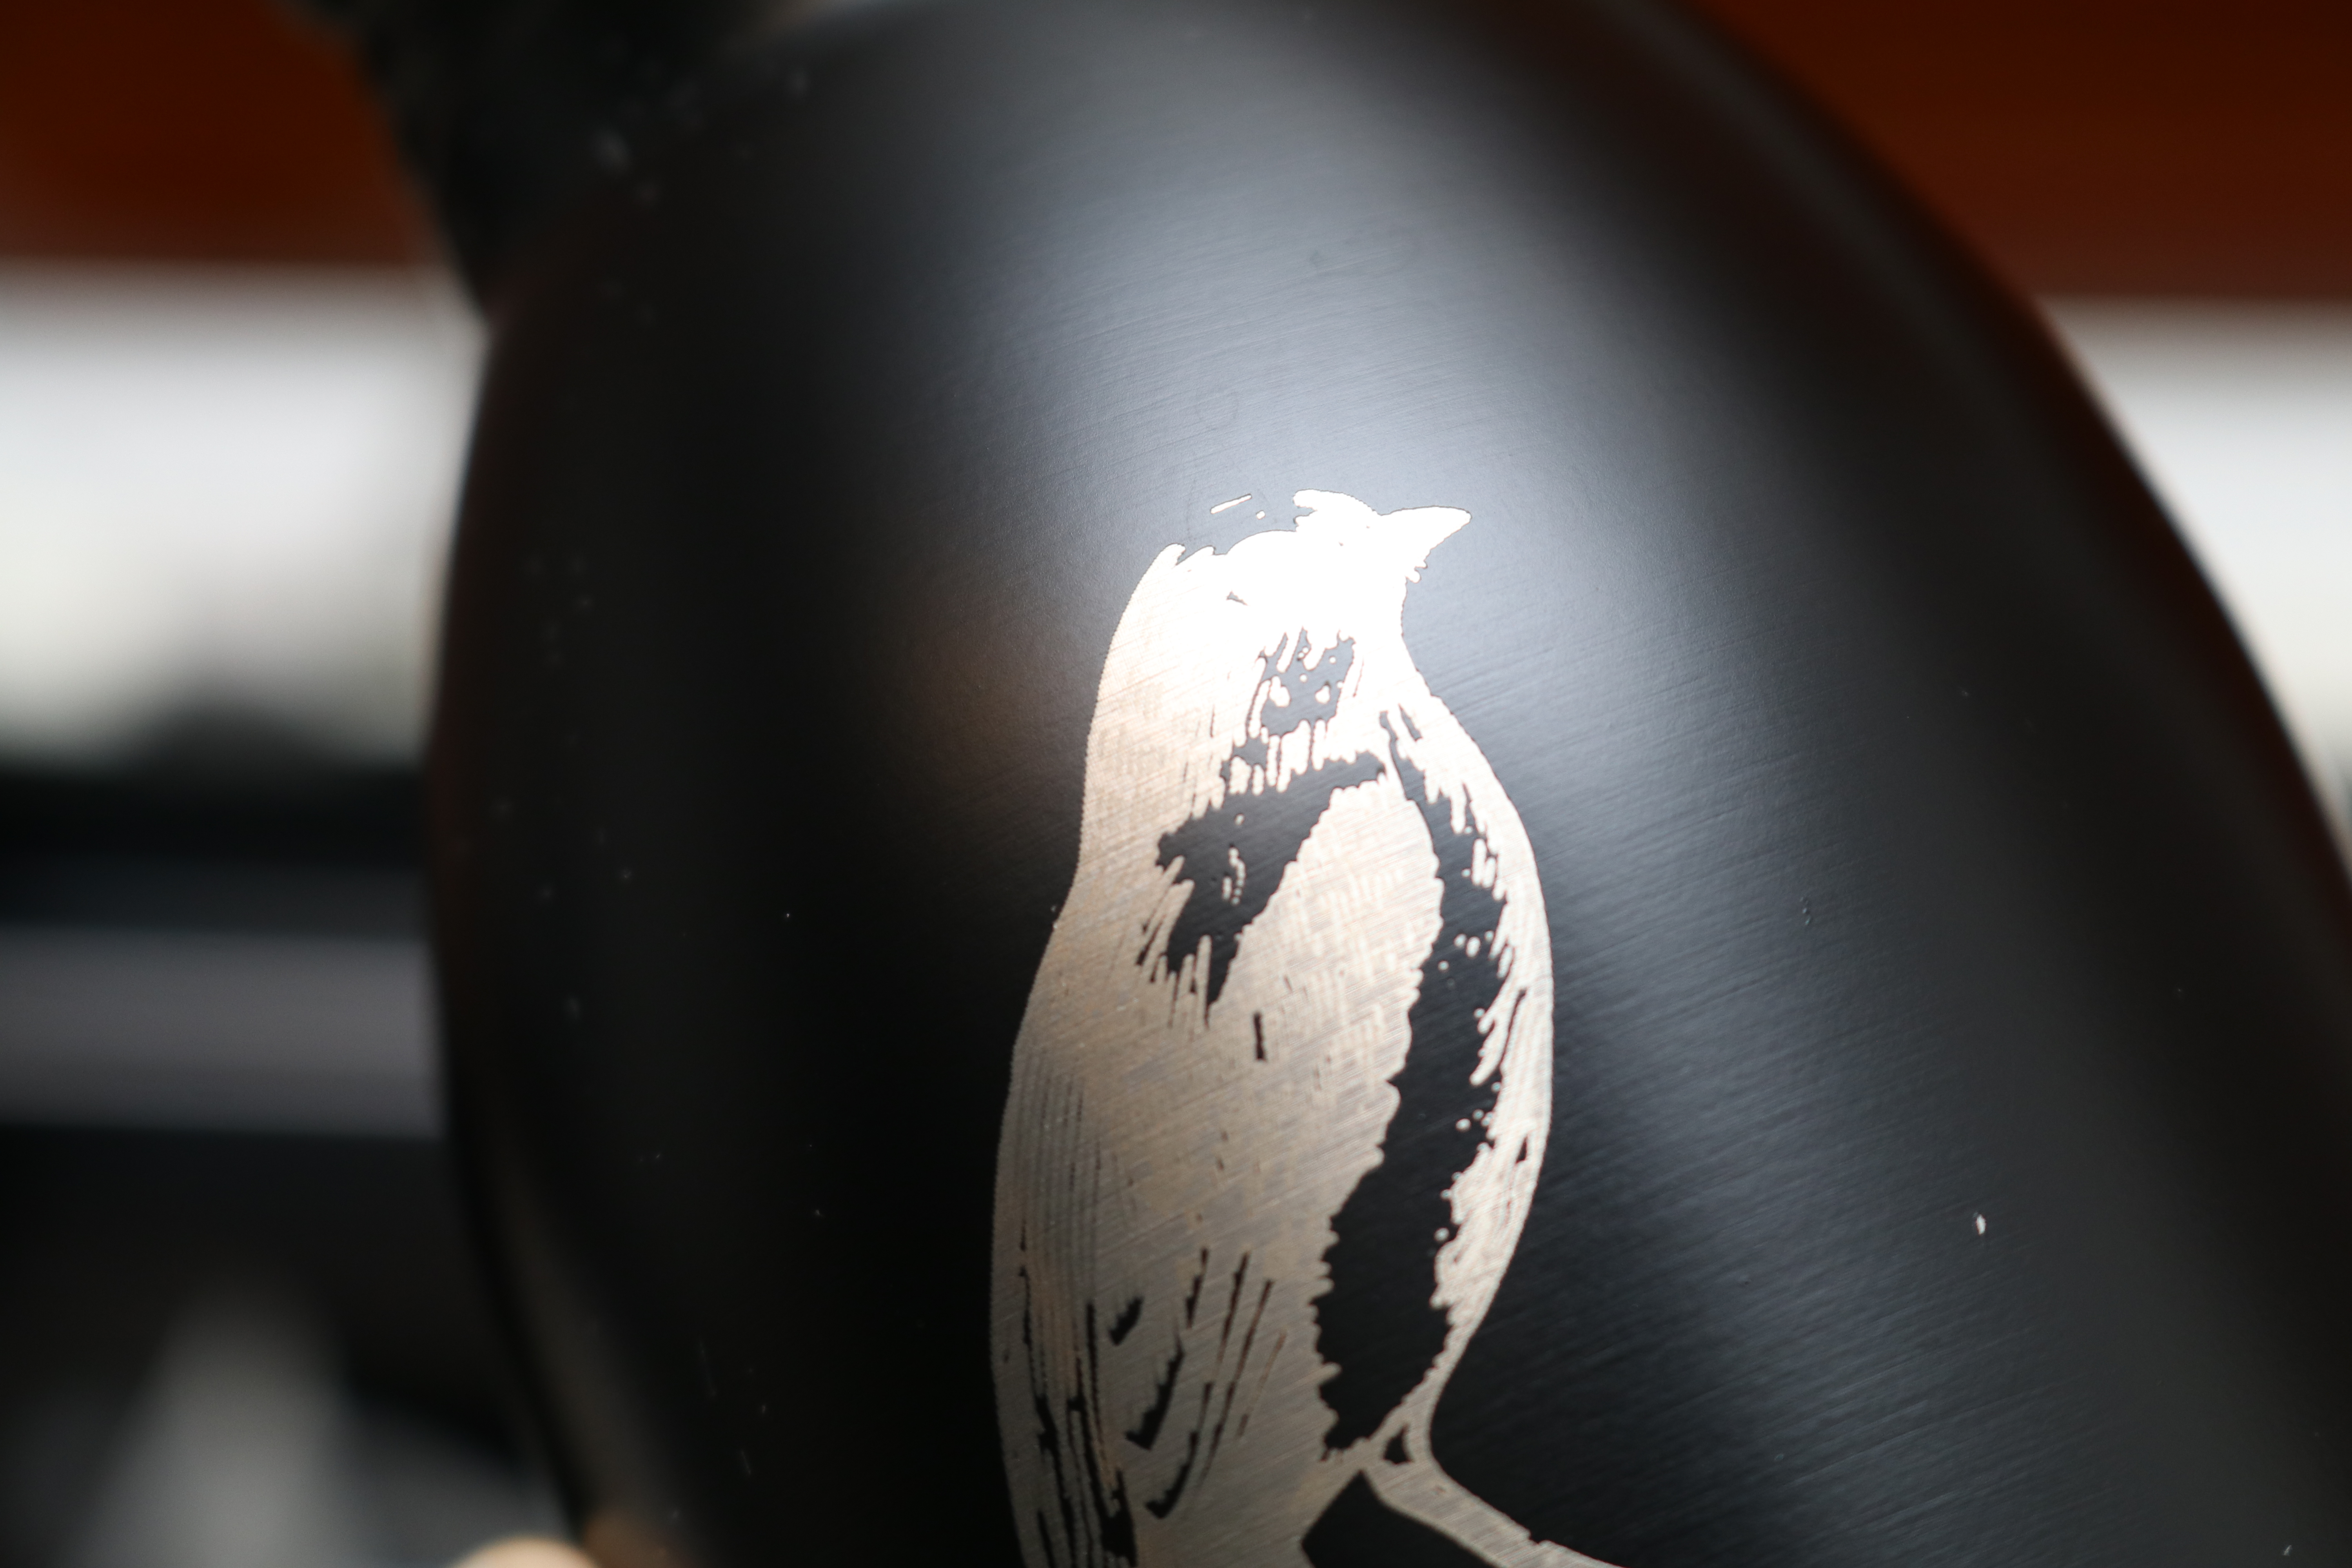
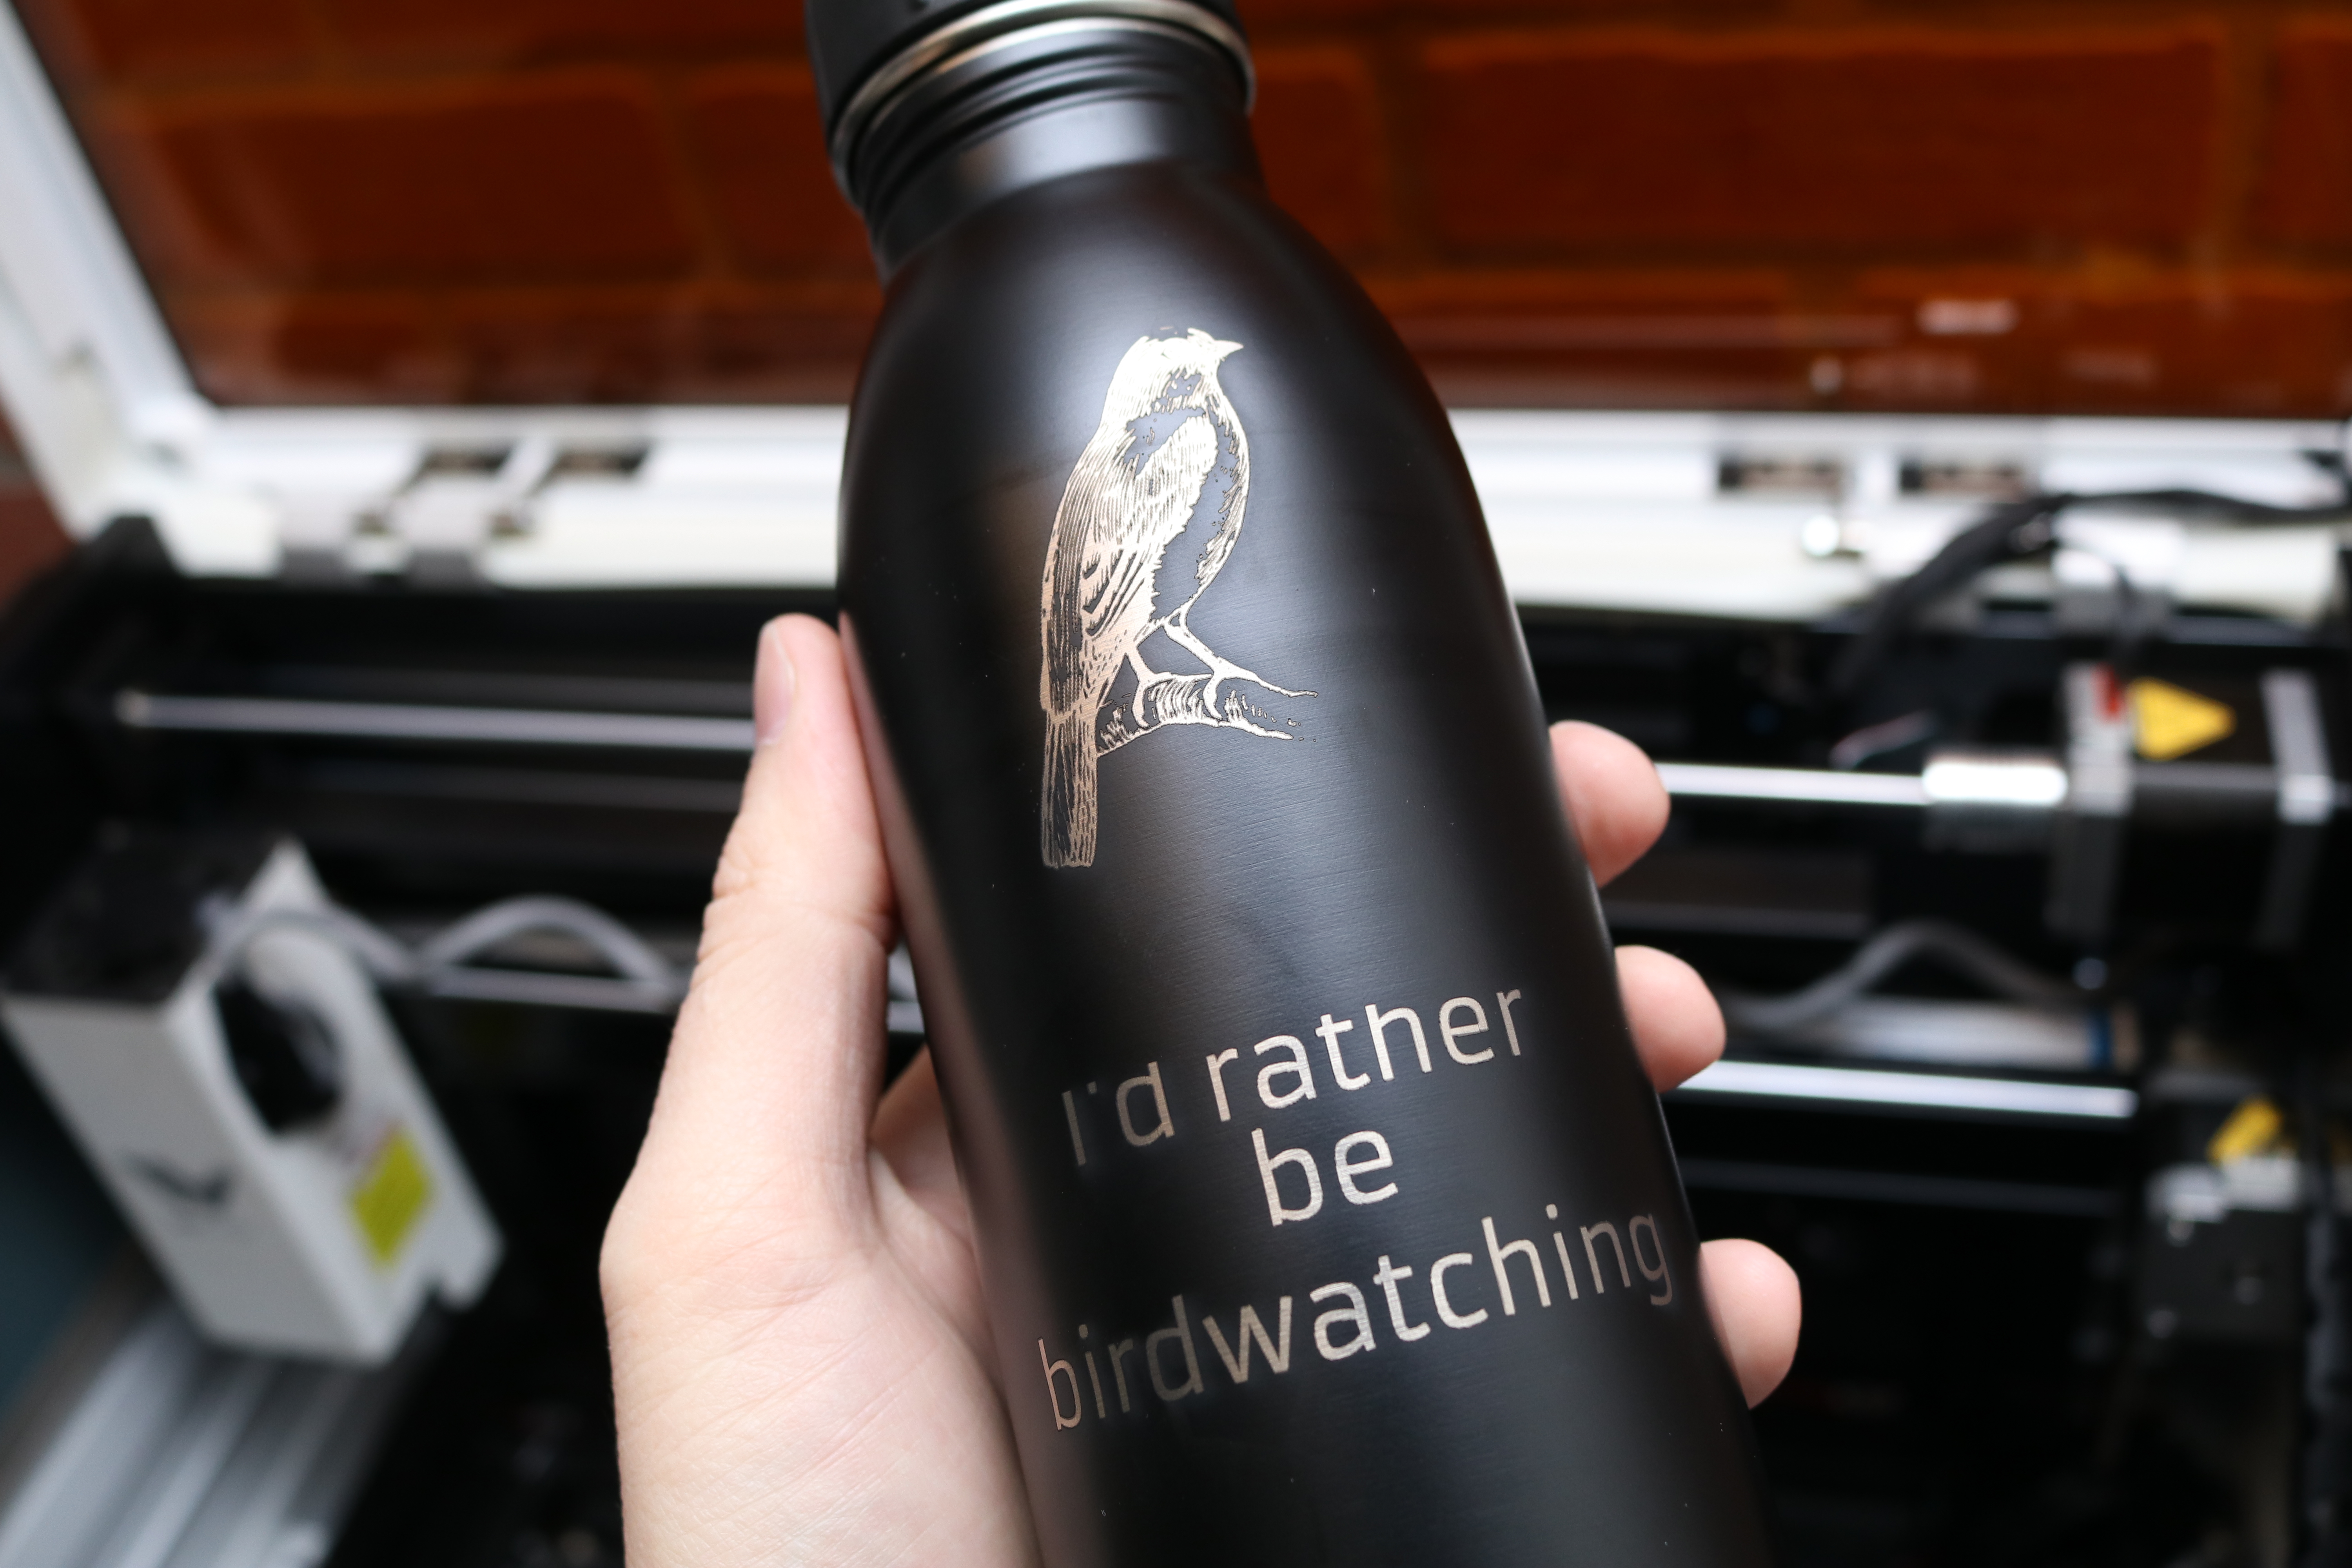
Overall, I was impressed with how easily I was able to engrave this tumbler. The “Stainless Steel, Black” setting provided the same visual speed vs. power intensity chart that is provided for the various wood thicknesses, and the coating was cleanly etched away without damaging the stainless steel of the tumblr. Even using a raster image, the contours of the bird were clean and free of pixelation. The text is sharp and legible, and the engraving process took about 15 minutes from start to finish.
Bottom Line
Unlike the best FDM 3D printers, which require virtually no accessories other than consumable material, laser engravers require additional infrastructure to safely operate. The WeCreat Vision aims to bring together all the required hardware, safety features, and a simplified software workflow to allow users to get started quickly after unboxing. The 20-watt diode laser cuts easily through basswood, acrylic, and other materials while maintaining clear and crisp details on engravings. The 420mm x 290mm processing area is enough to comfortably fit a standard 12-inch x 12-inch sheet of material, and the auto-focus reduces the amount of time spent calibrating when using taller material.
As opposed to open-format laser engravers like the Creality CR Laser Falcon which prioritize a low cost over safety features like fume extraction and eye protection, the Vision endeavors to provide a safe and easy-to-use experience in a single package. Capable of engraving and/or cutting wood, acrylic, leather, slate, and more, the Vision is an all-in-one package for enterprising entrepreneurs excited to start their journey into the world of lasers.
The 20W Basic Pack (just the Vision and the air assist) is currently priced at $1,249.99, and adding the rotary engraver brings the total up to $1,449.99. The full package with the fume extractor is priced at $1,999.98, which is a very compelling price considering all of the features offered. For users looking to start up a home business and not interested in chasing down all the optional accessories, this package is a great place to start and deserves a place on our list of the best laser cutters and engravers.
MORE: Best 3D Printers
MORE: Best Budget 3D Printers
MORE: Best Resin 3D Printers

Andrew Sink first used a 3D printer in 2012, and has been enthusiastically involved in the 3D printing industry ever since. Having printed everything from a scan of his own brain to a peanut butter and jelly sandwich, he continues to dive ever more deeply into the endless applications of additive technology. He is always working on new experiments, designs, and reviews and sharing his results on Tom's Hardware, YouTube, and more.
