Tom's Hardware Verdict
Simple to use, well curated list of features and the board is almost foolproof in use. Learners and makers will appreciate the ease of use, and the price point.
Pros
- +
Great form factor
- +
Lots of features
- +
Easy to use
- +
Simple Python module
Cons
- -
Non-Zero boards require a header extension
Why you can trust Tom's Hardware
Invention is never easy, but it seems that Pimoroni is on a winning streak. The company’s latest board, the $24 Inventor HAT Mini follows the design philosophy of “pHAT” boards, add-on boards designed for the Raspberry Pi Zero 2 W and its predecessors. It can also be used with Model B Raspberry Pi, such as the Raspberry Pi 4, if one were to use a header extension.
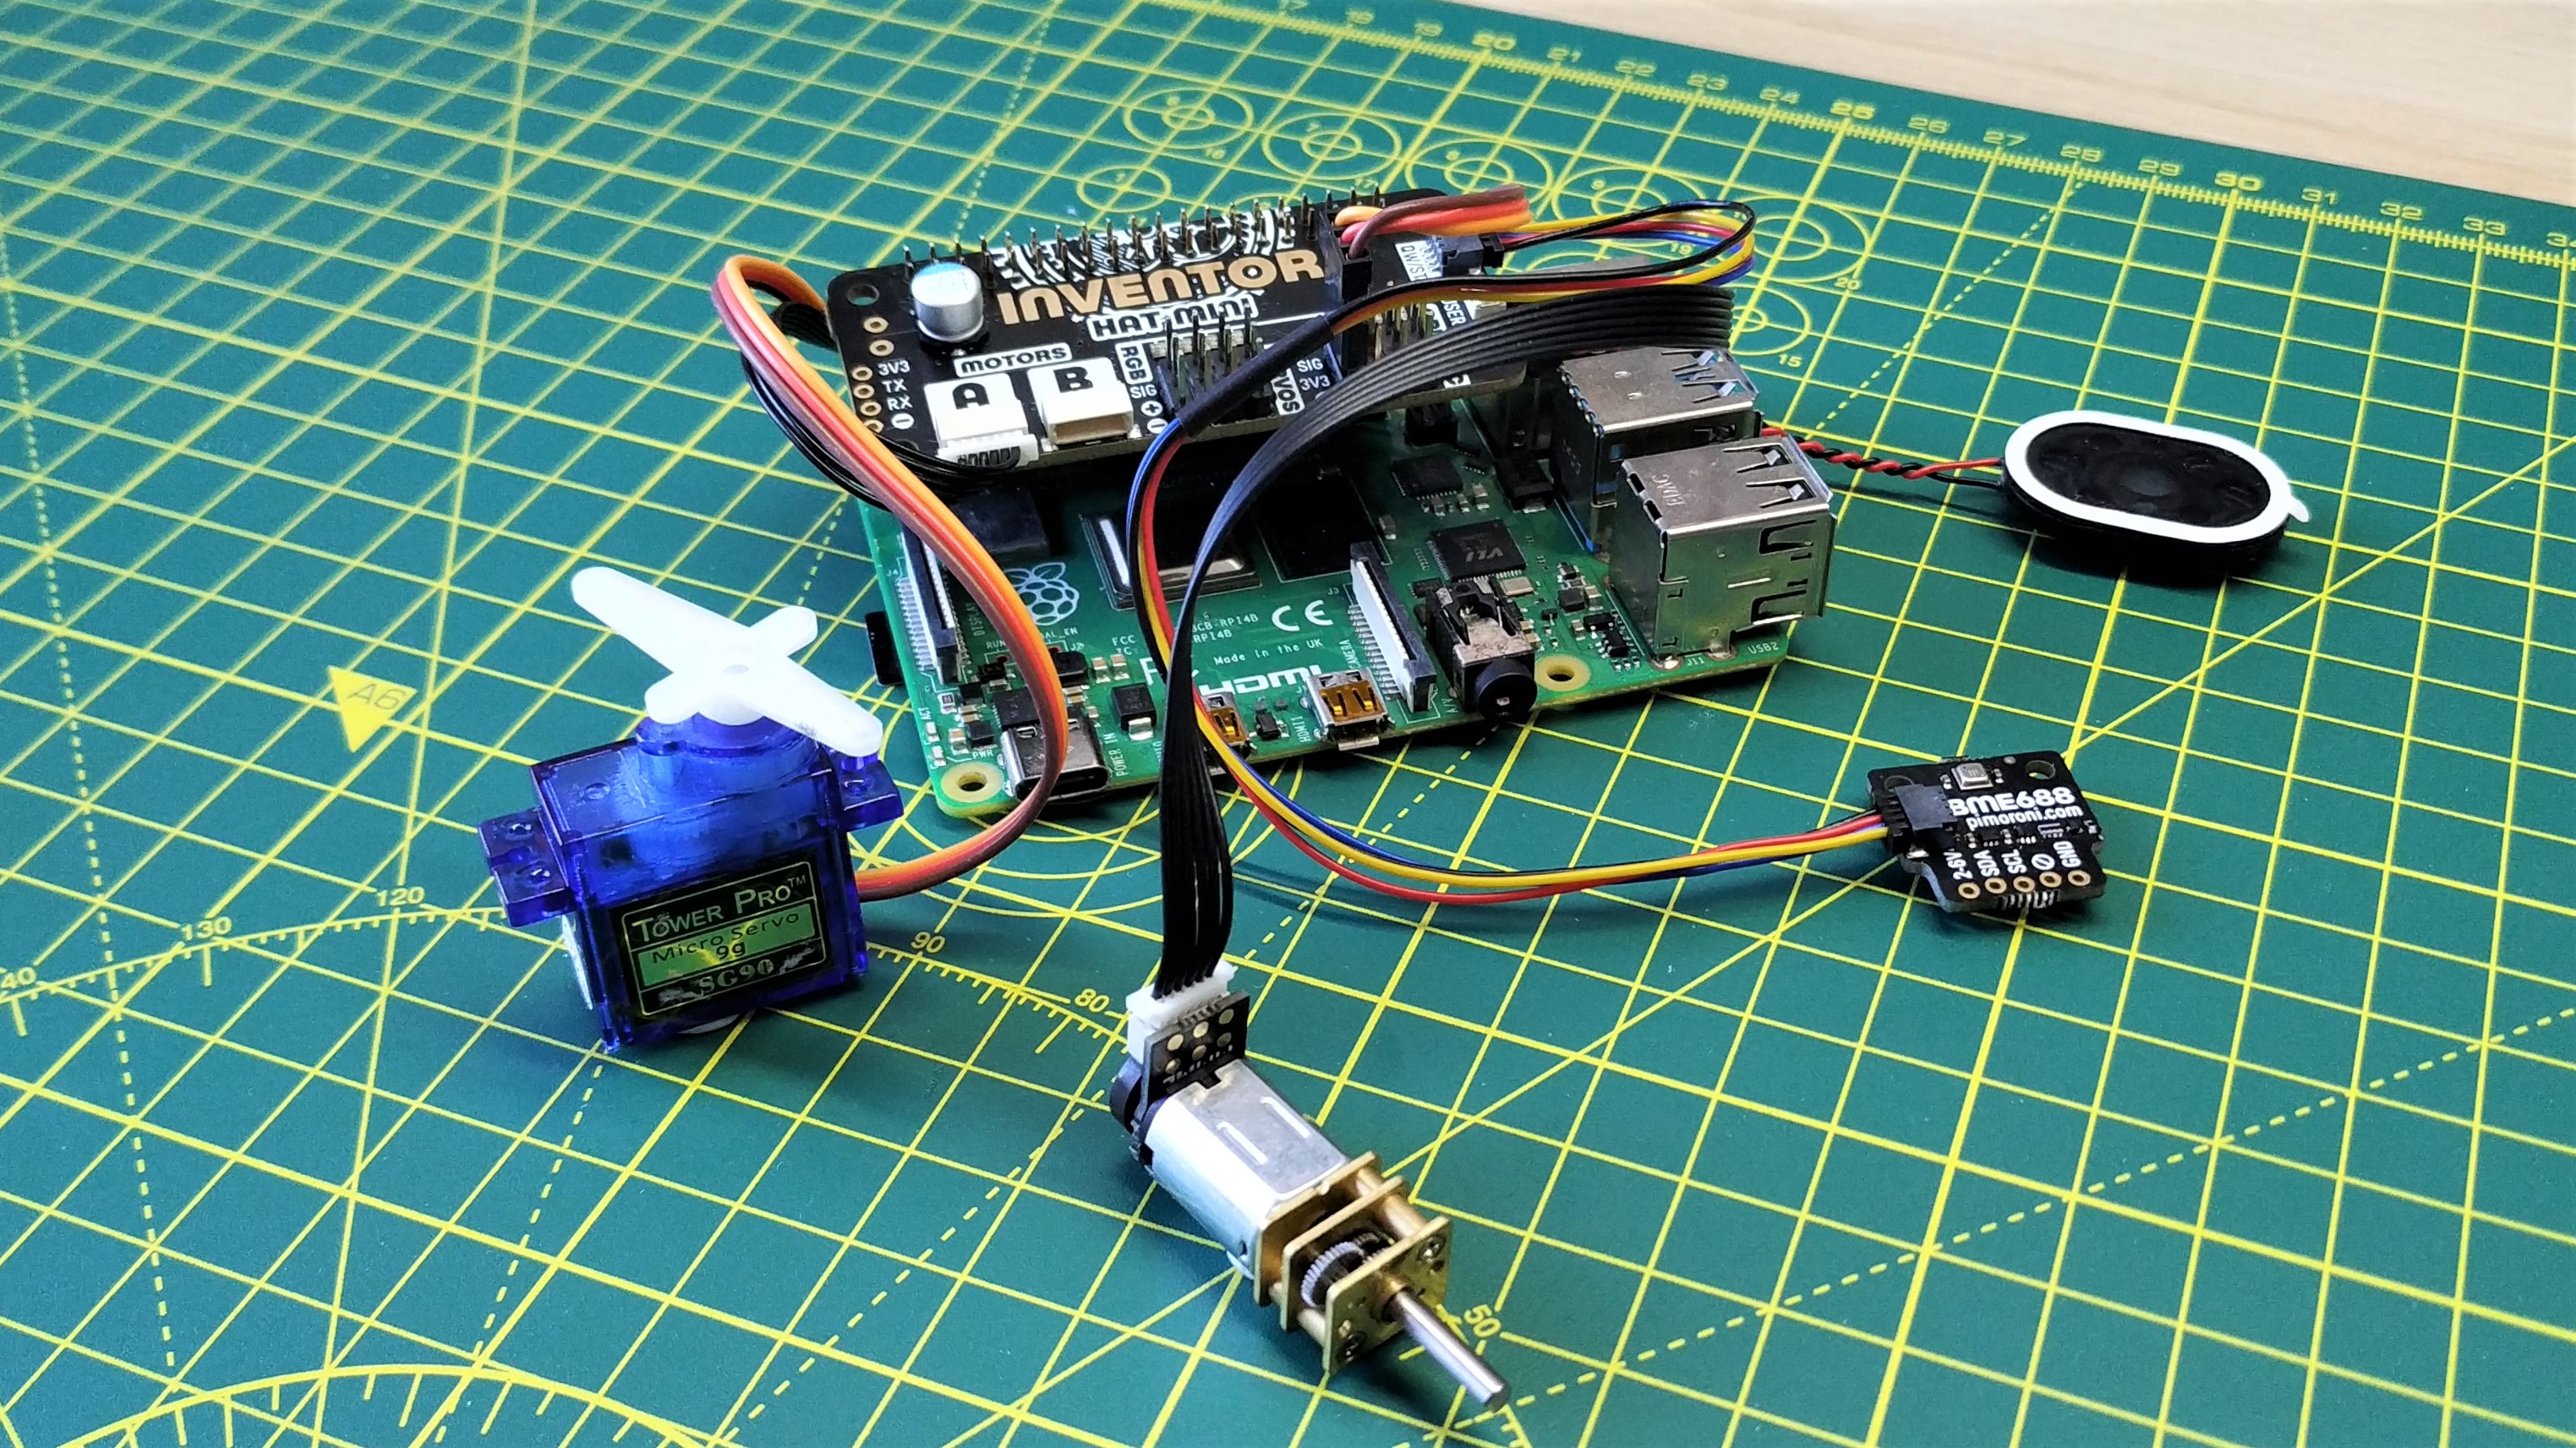
This diminutive board features a range of outputs for servos, GPIO, motors, sensors, serial communication and of course there are eight bright RGB LEDs.
Could it be a contender for our list of Best Raspberry Pi HATs? To learn that and to learn more about what this board can do we put it on the bench and see how it performs.
Inventor HAT Mini Specifications
| GPIO Pins | 4 x Hobby servo pins |
| 4 x General GPIO pins | |
| Motor Controller | DRV8833 dual H-bridge motor driver |
| 2 x JST-SH connectors | |
| 2 x 2 pin motor terminals (underside of board) | |
| Audio | MAX98357 3.2W I2S mono amplifier |
| 2 pin speaker connector | |
| LEDs | 8 x WS2812 / NeoPixel RGB LEDs |
| Input | User button |
| GPIO | Pass-through 40 pin header |
| 1 x QW/ST (Stemma QT / Qwiic) connector | |
| Dimensions | 65 x 30.5 x 15.5mm |
Setting Up Inventor HAT Mini
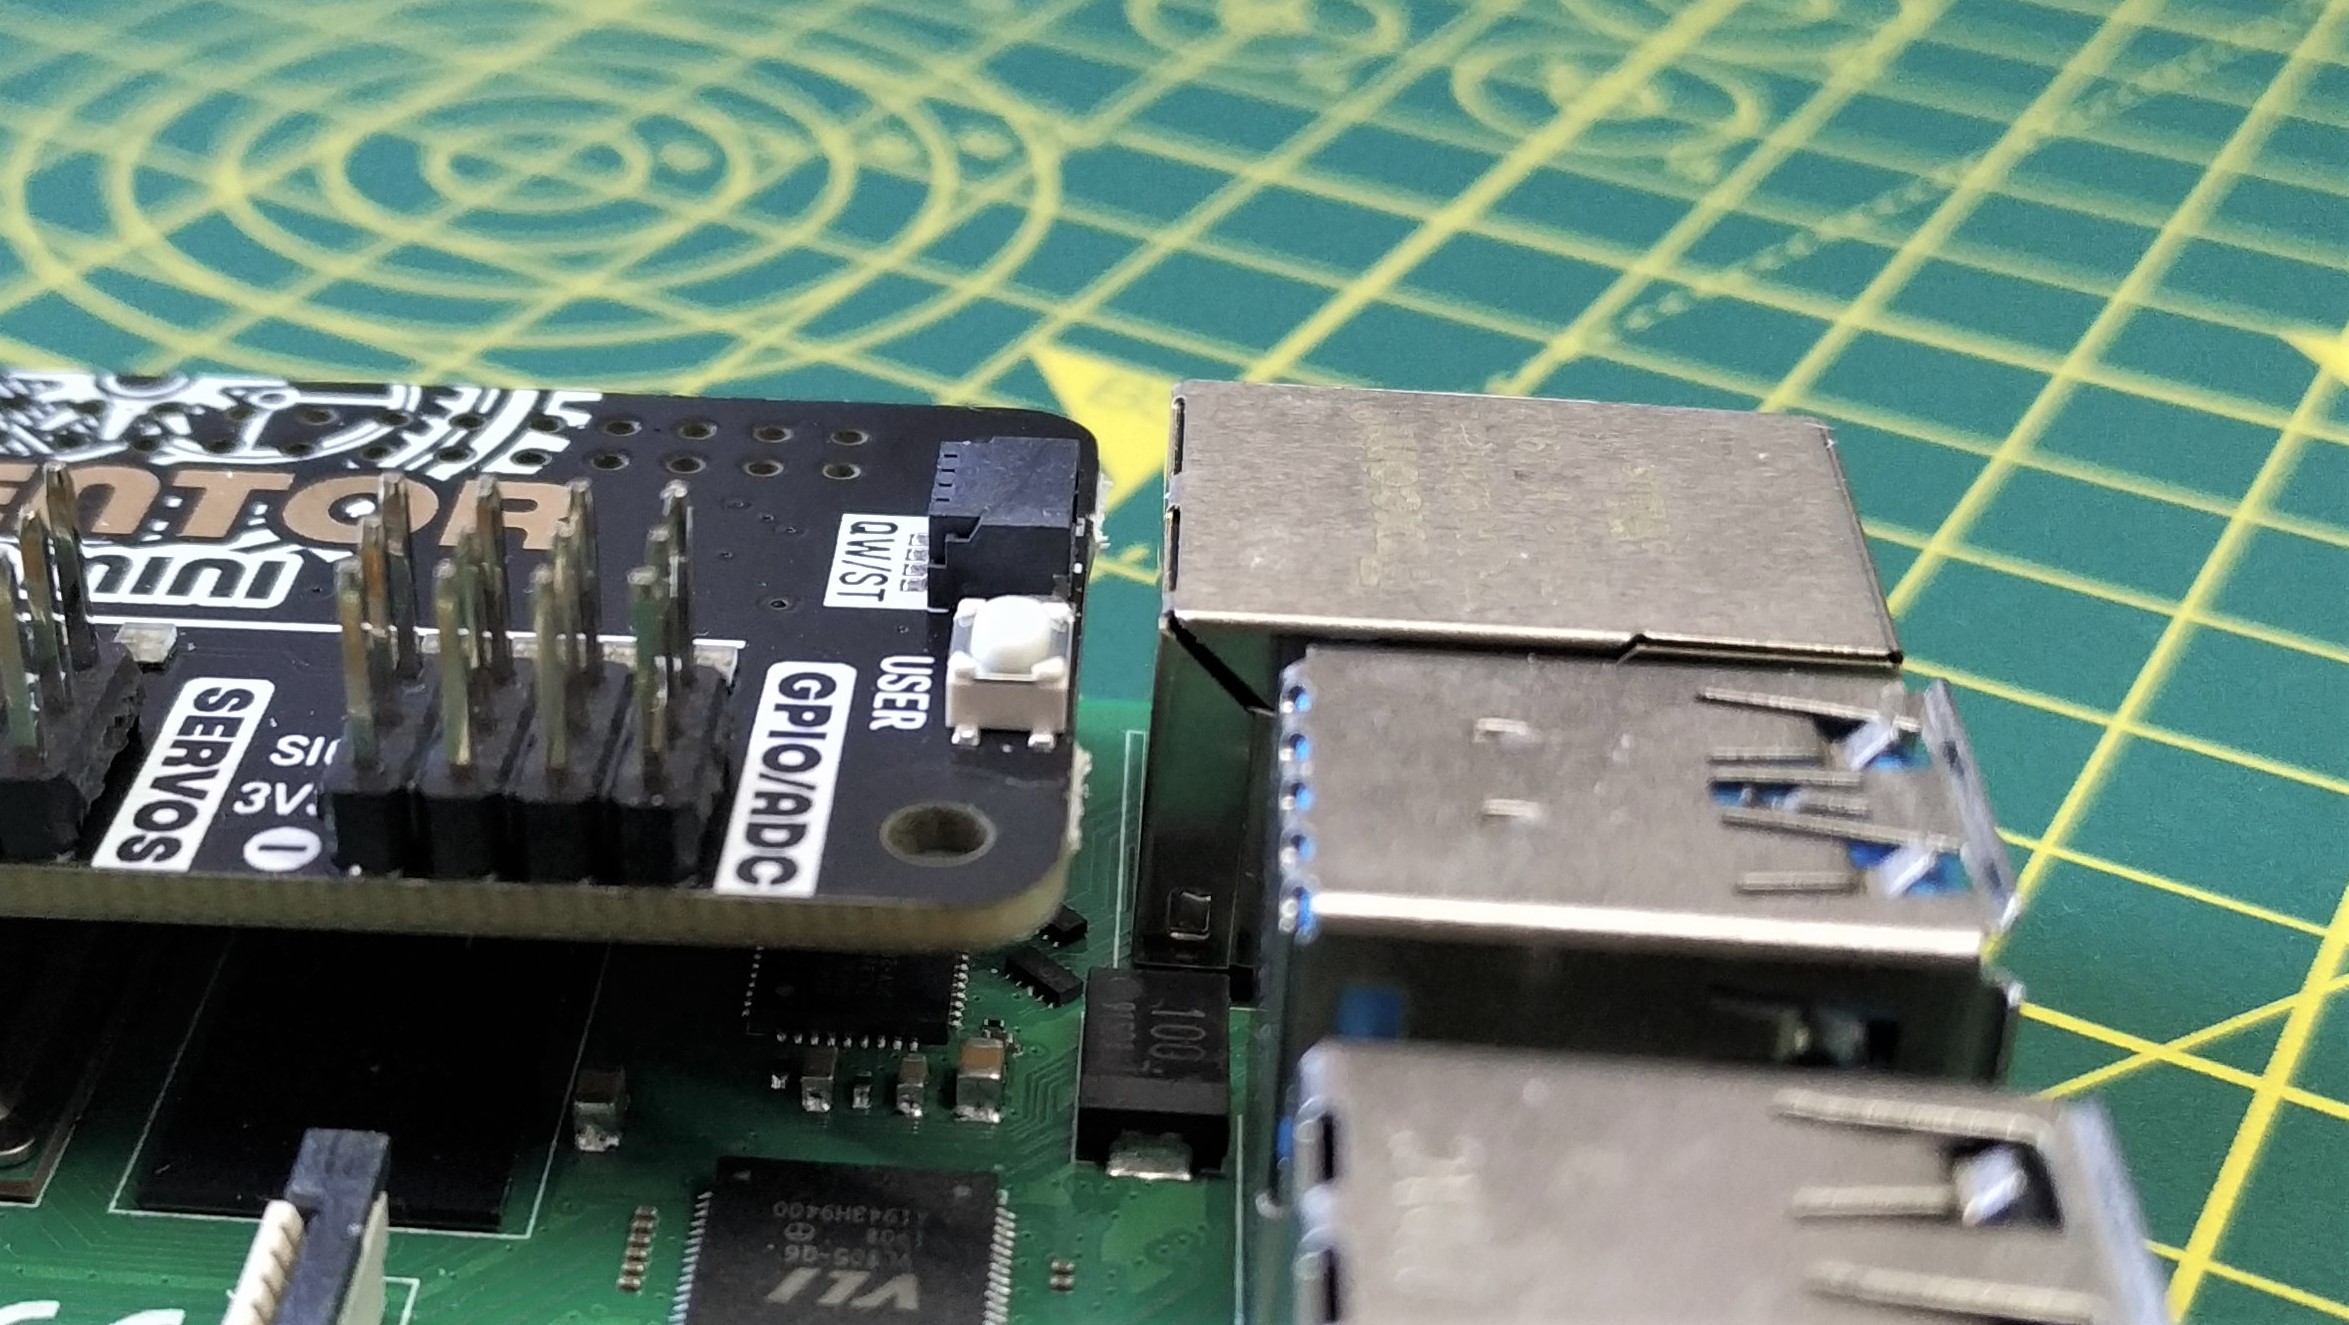
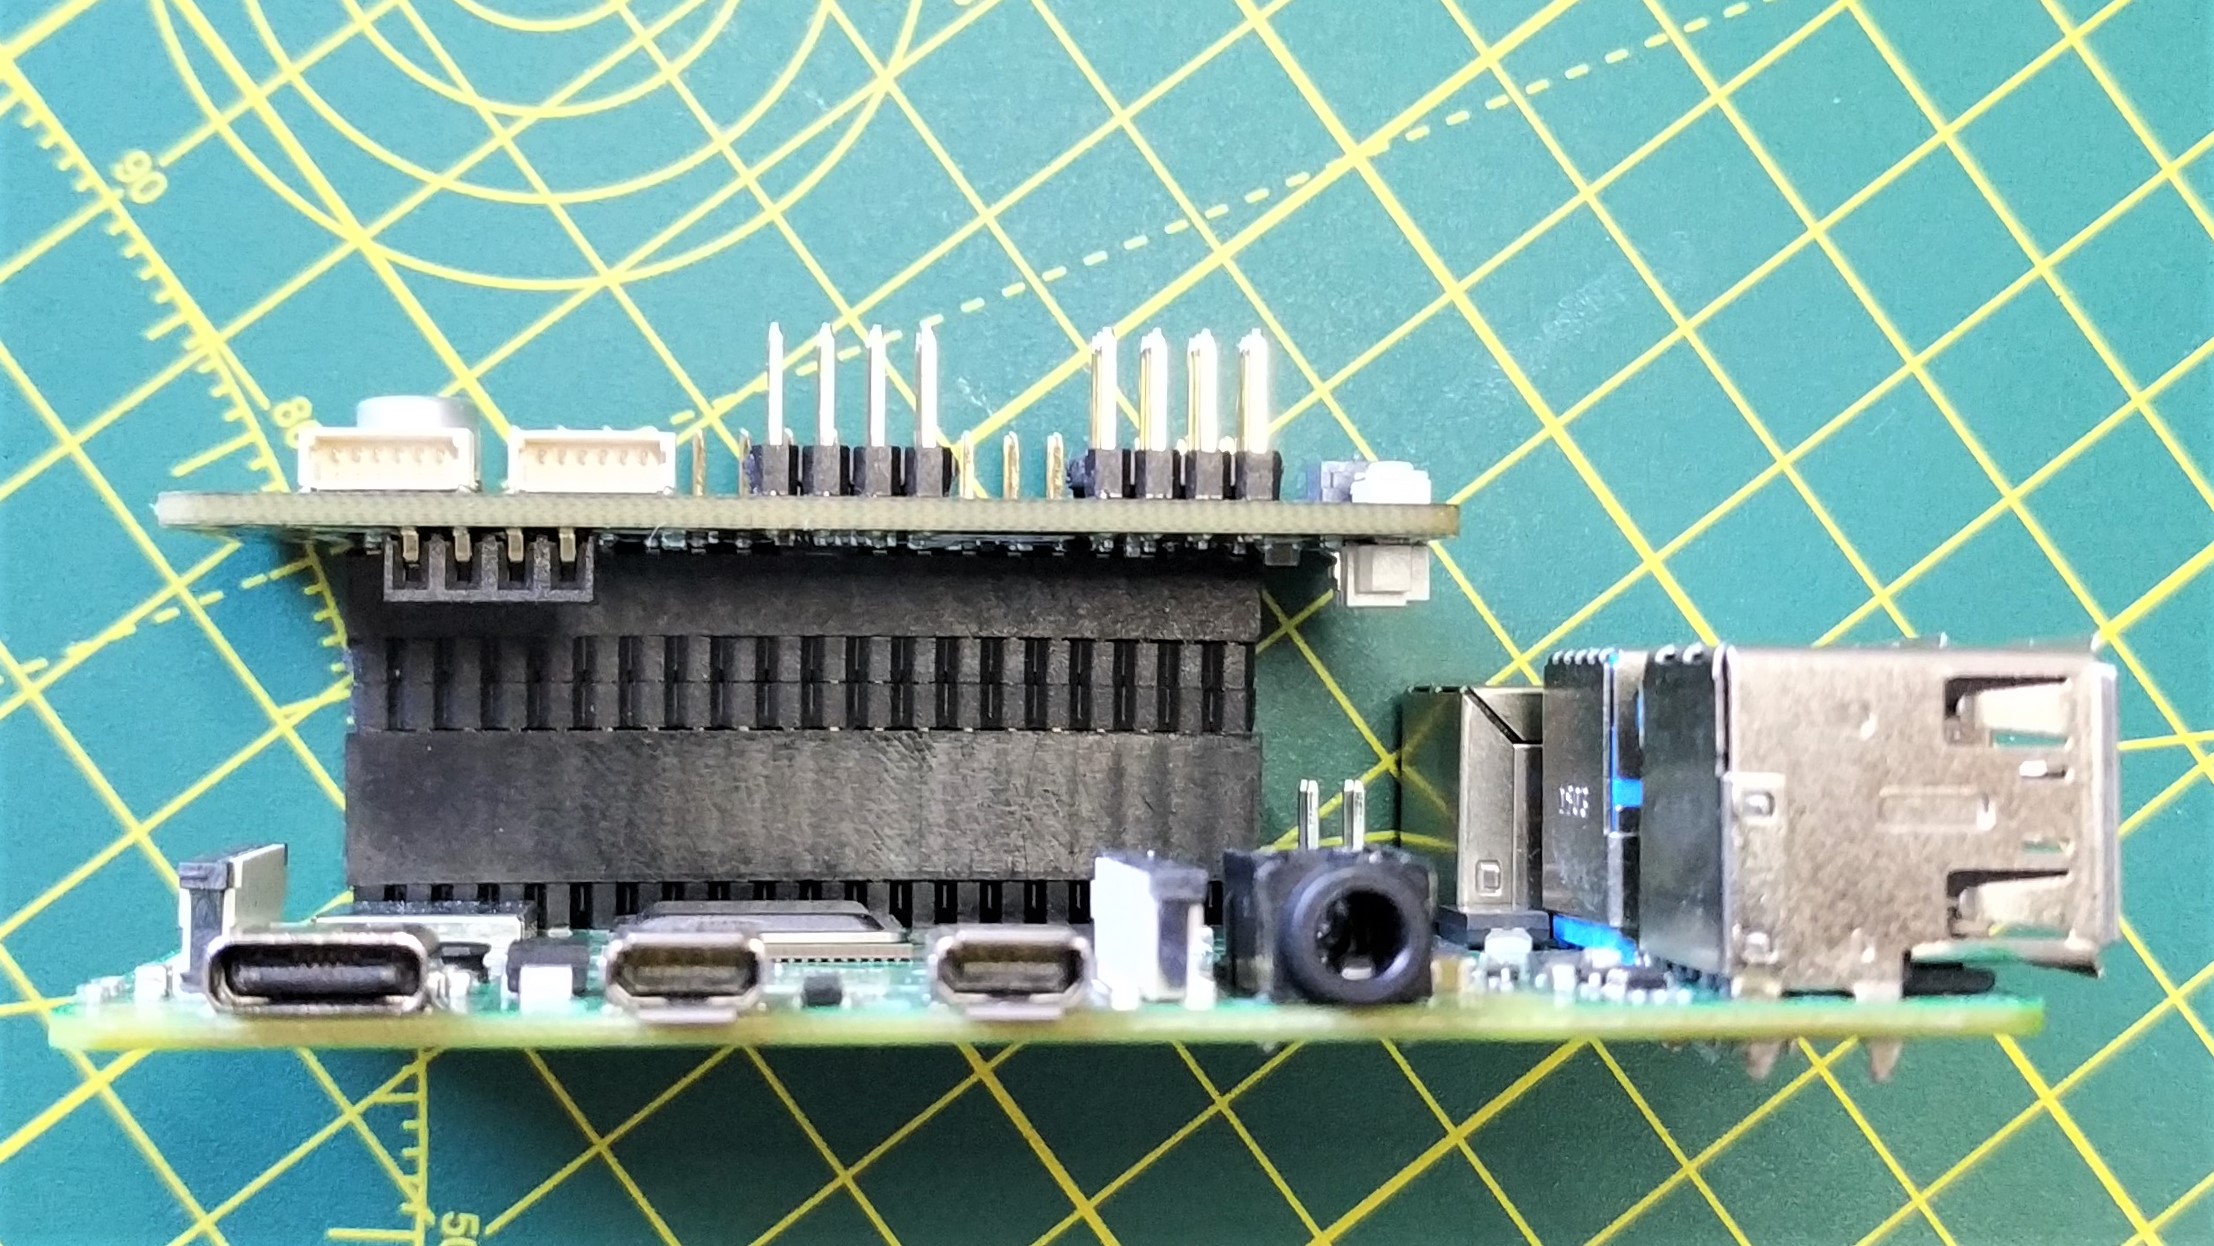
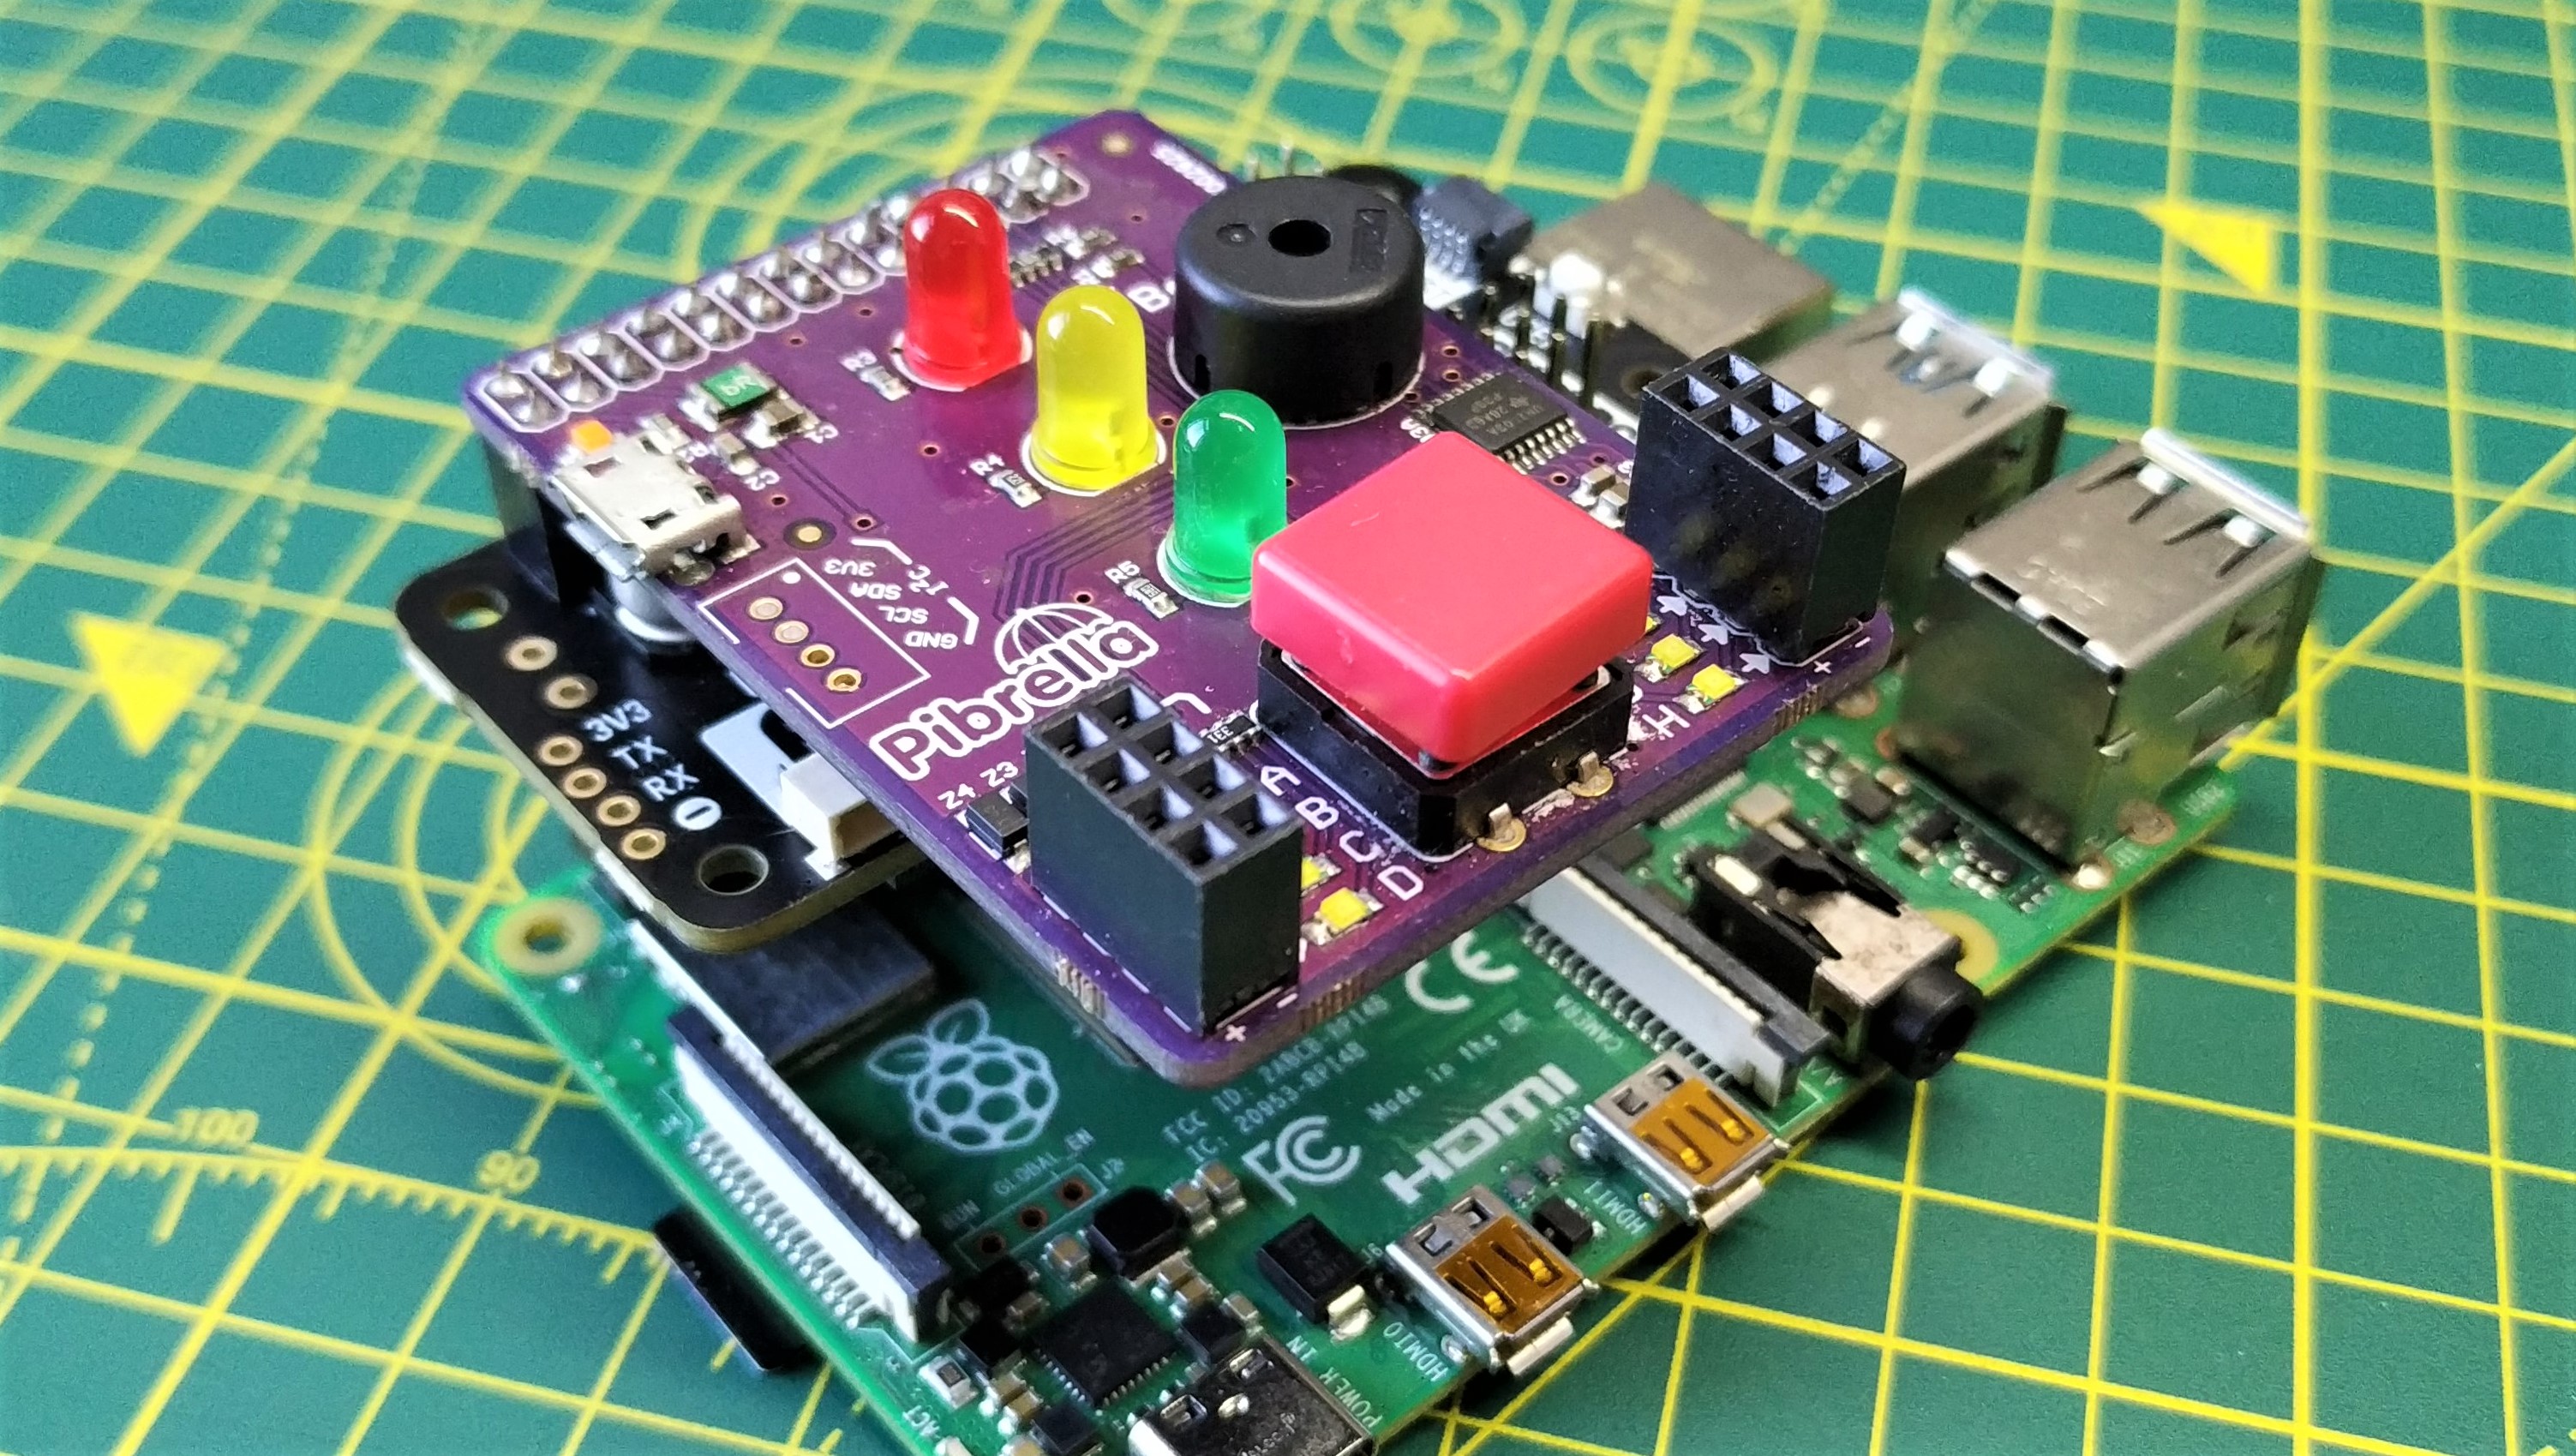
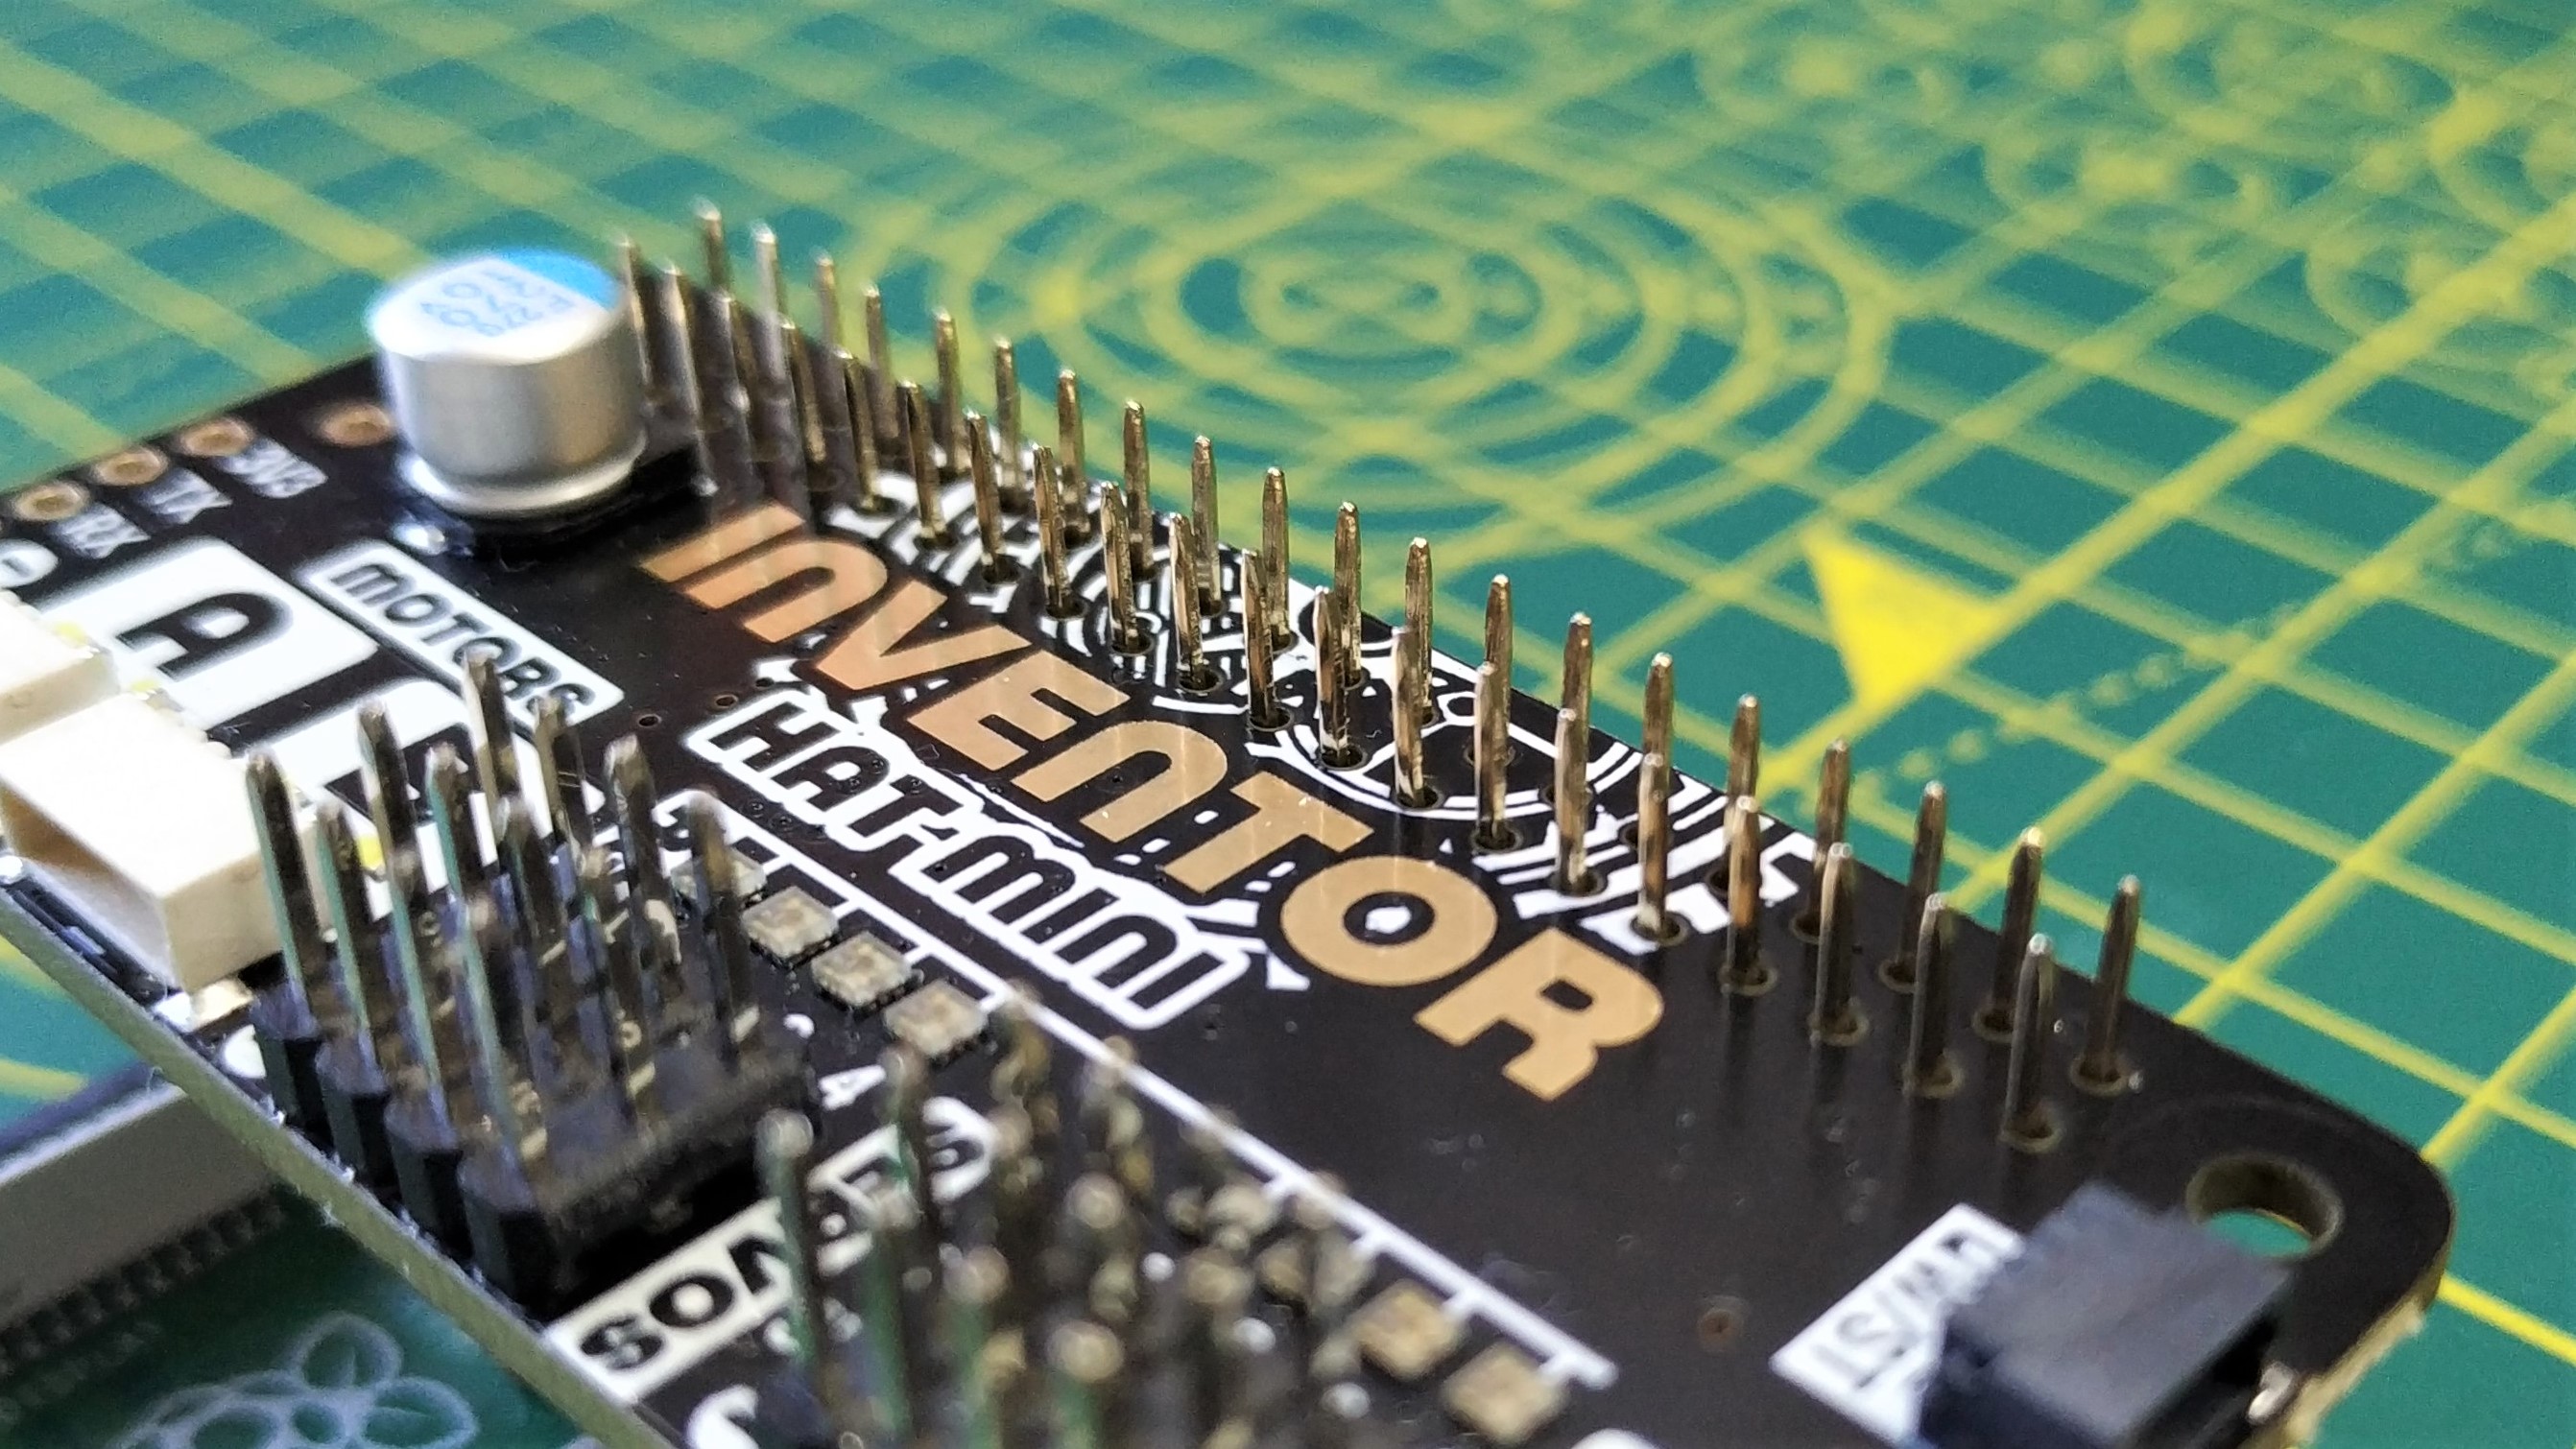
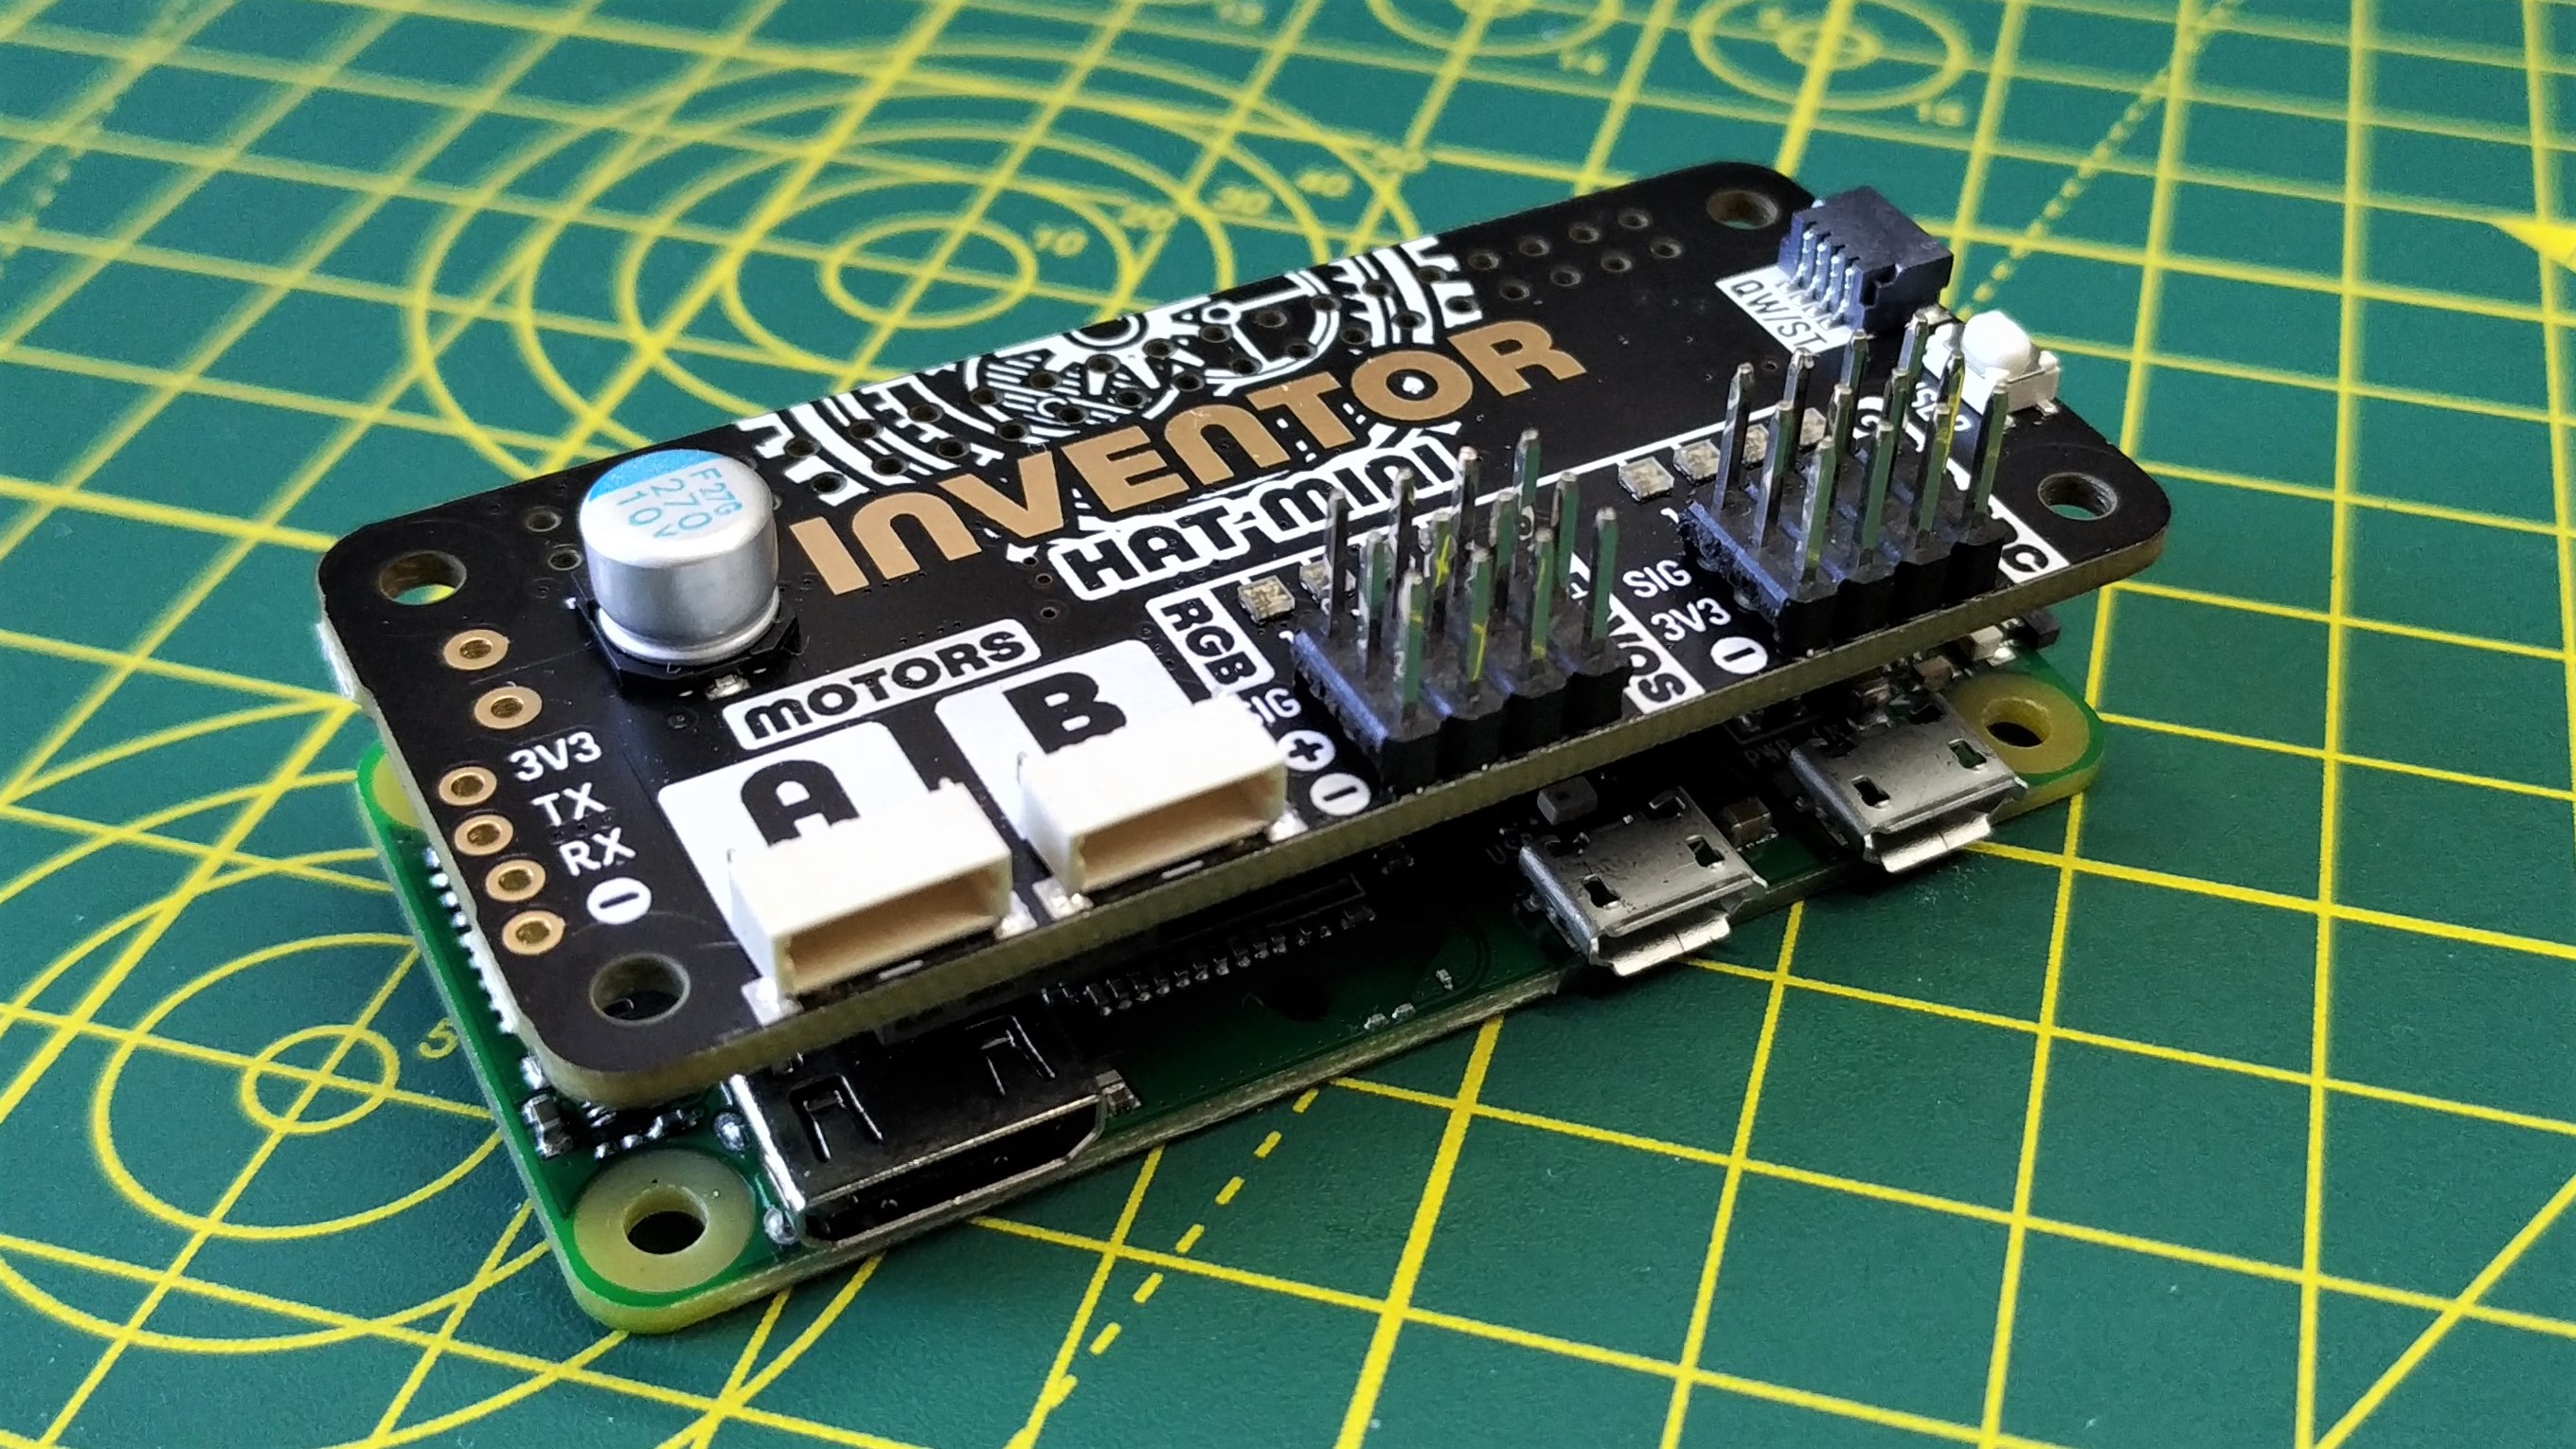
Inventor HAT Mini has a different header connection than most HATs (apart from the Sense HAT). The HAT can pass-through the GPIO pins so that another board can be connected on top. You will need extra long headers to make this possible, and some M2.5 spacers would be useful to provide rigidity.
If you plan to use Inventor HAT Mini on its own then you can slide the HAT down the Raspberry Pi’s GPIO. For Raspberry Pi Zero users, all is good, but if you plan to use any other Raspberry Pi, pay attention to the clearance for QW/ST and audio connections, or just use an extension header. The reason for the pass-through is a Nuvoton MS51TC0AE microcontroller which provides the interface for the servo and GPIO pins. This frees up a lot of pins on the Raspberry Pi and it means we can stack another board on top of the Inventor HAT Mini.
Software installation is well documented on Pimoroni’s Github repository. It isn’t as easy as other Pimoroni boards which use an automated installer, that said, the steps are clear and it didn’t take too long to complete the installation.
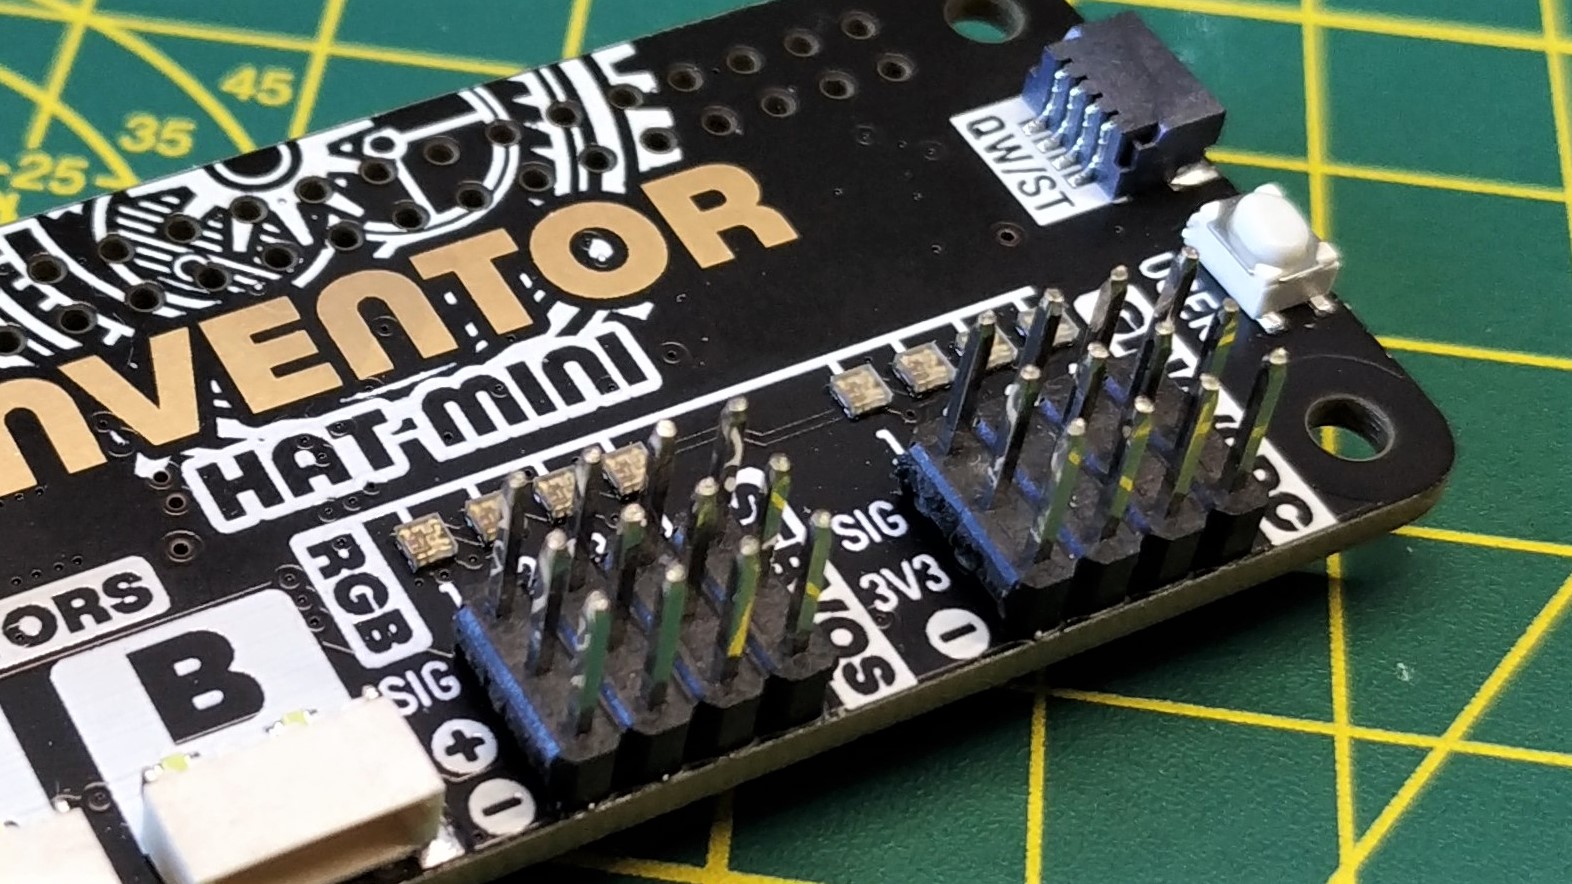
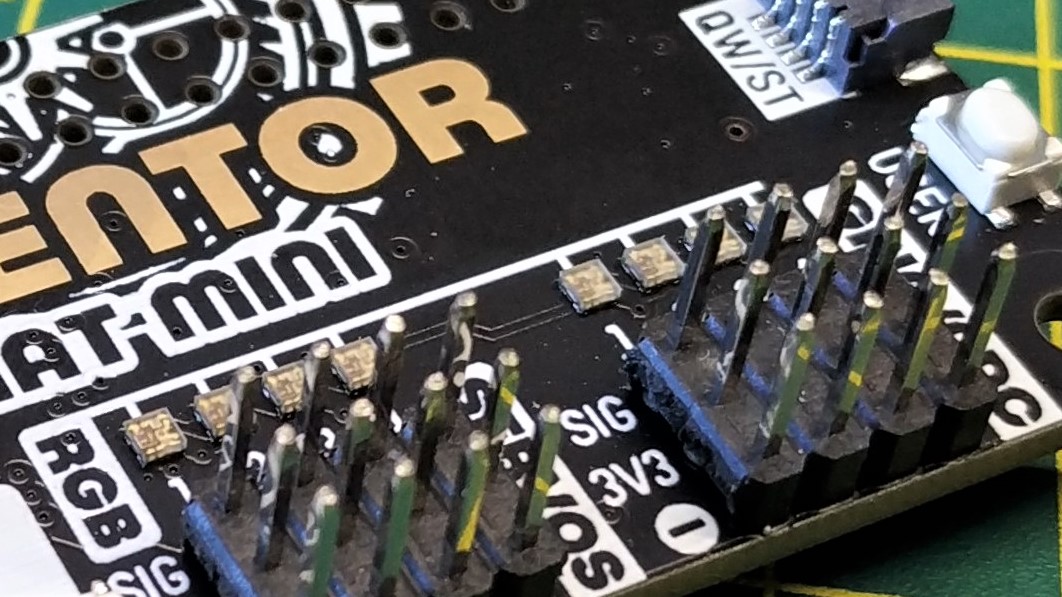
The pins present on the board are grouped into two sections. The first are for hobby servos, such as the SG90s. Hobby servos have a particular pinout, Signal, Voltage, GND (SVG) and that has been catered for with Inventor HAT Mini as each servo channel has its own SVG pinout.
Just make sure that the GND (black) connector is on the GND pin and you are good to go. If you get it wrong, no issue, I did and nothing happened. Just correct the connection and everything is good. The second bank of GPIO pins are four general pins which also follow the SVG pinout. Each of the signal pins are both a digital and analog pin, this versatility means they can be used to blink LEDs, trigger relays and read analog electronics. A user button is located just next to the GPIO pins and this button is a simple input for user projects.
Get Tom's Hardware's best news and in-depth reviews, straight to your inbox.
Just above both banks of GPIO pins are eight WS2812 NeoPixels. These tiny LEDs are easily controlled using a custom Python module and can be controlled as a group or individually.
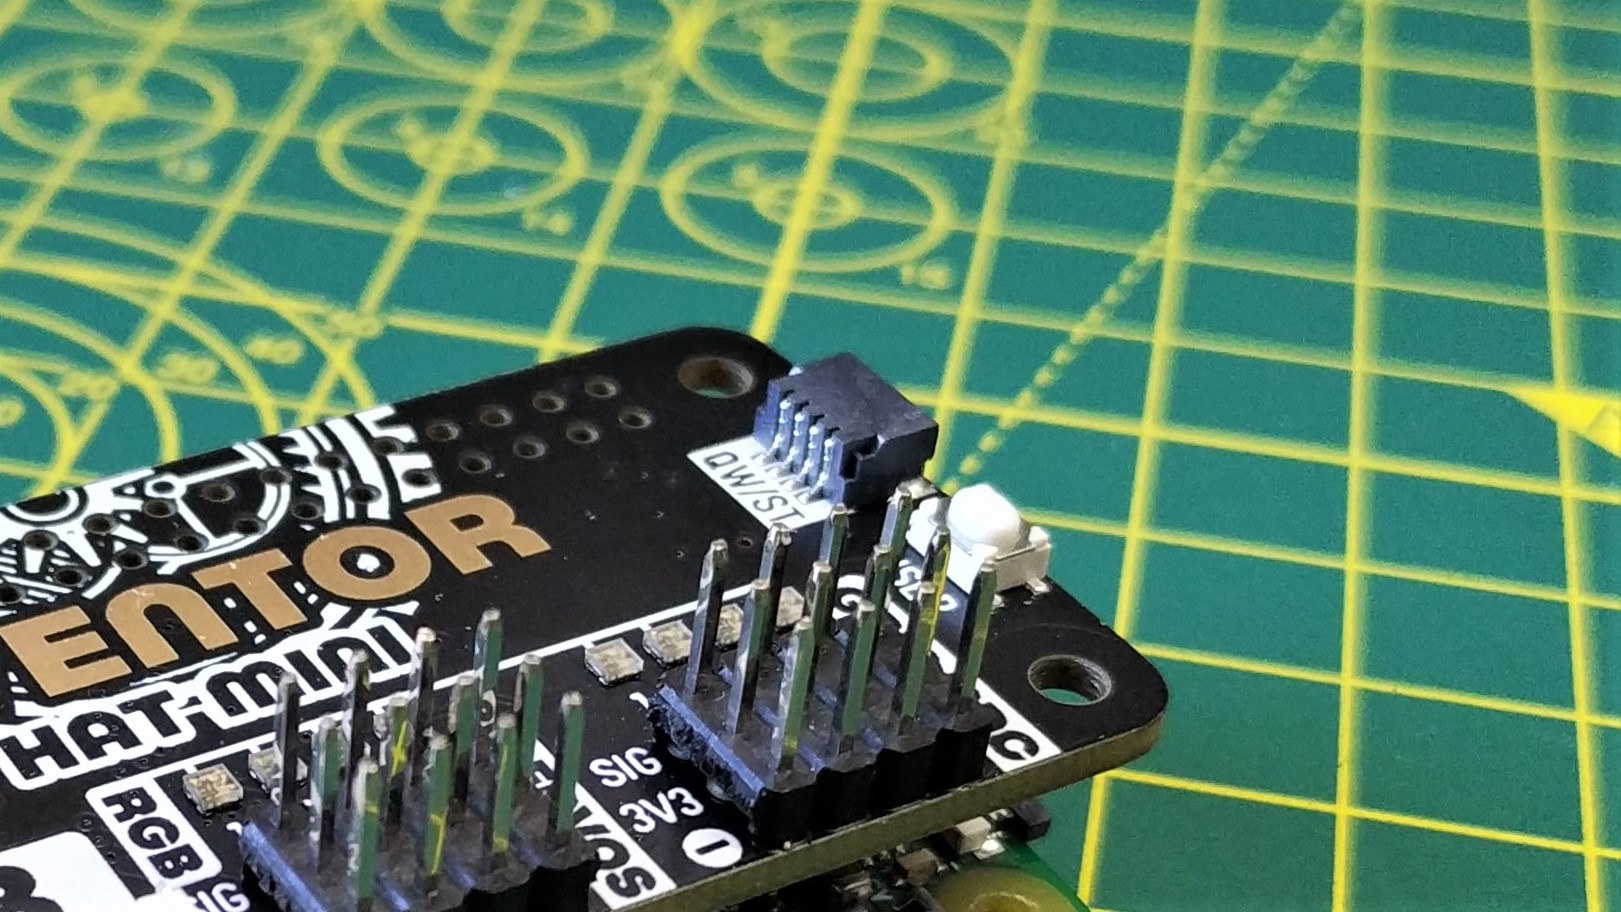
Now our focus shifts to the bespoke connections on the perimeter of the board. On the top right is a QW/ST connector. This is Pimoroni’s name for Stemma QT / Qwiic connectors and this connector is compatible with all components that use it. We’ve got a list of the best Stemma QT / Qwiic add-ons that you can buy to add extra functionality to the board. I connected up a BME688 temperature and humidity sensor and then installed a corresponding Python module. Within a few moments I had the temperature of my office scrolling down the screen.
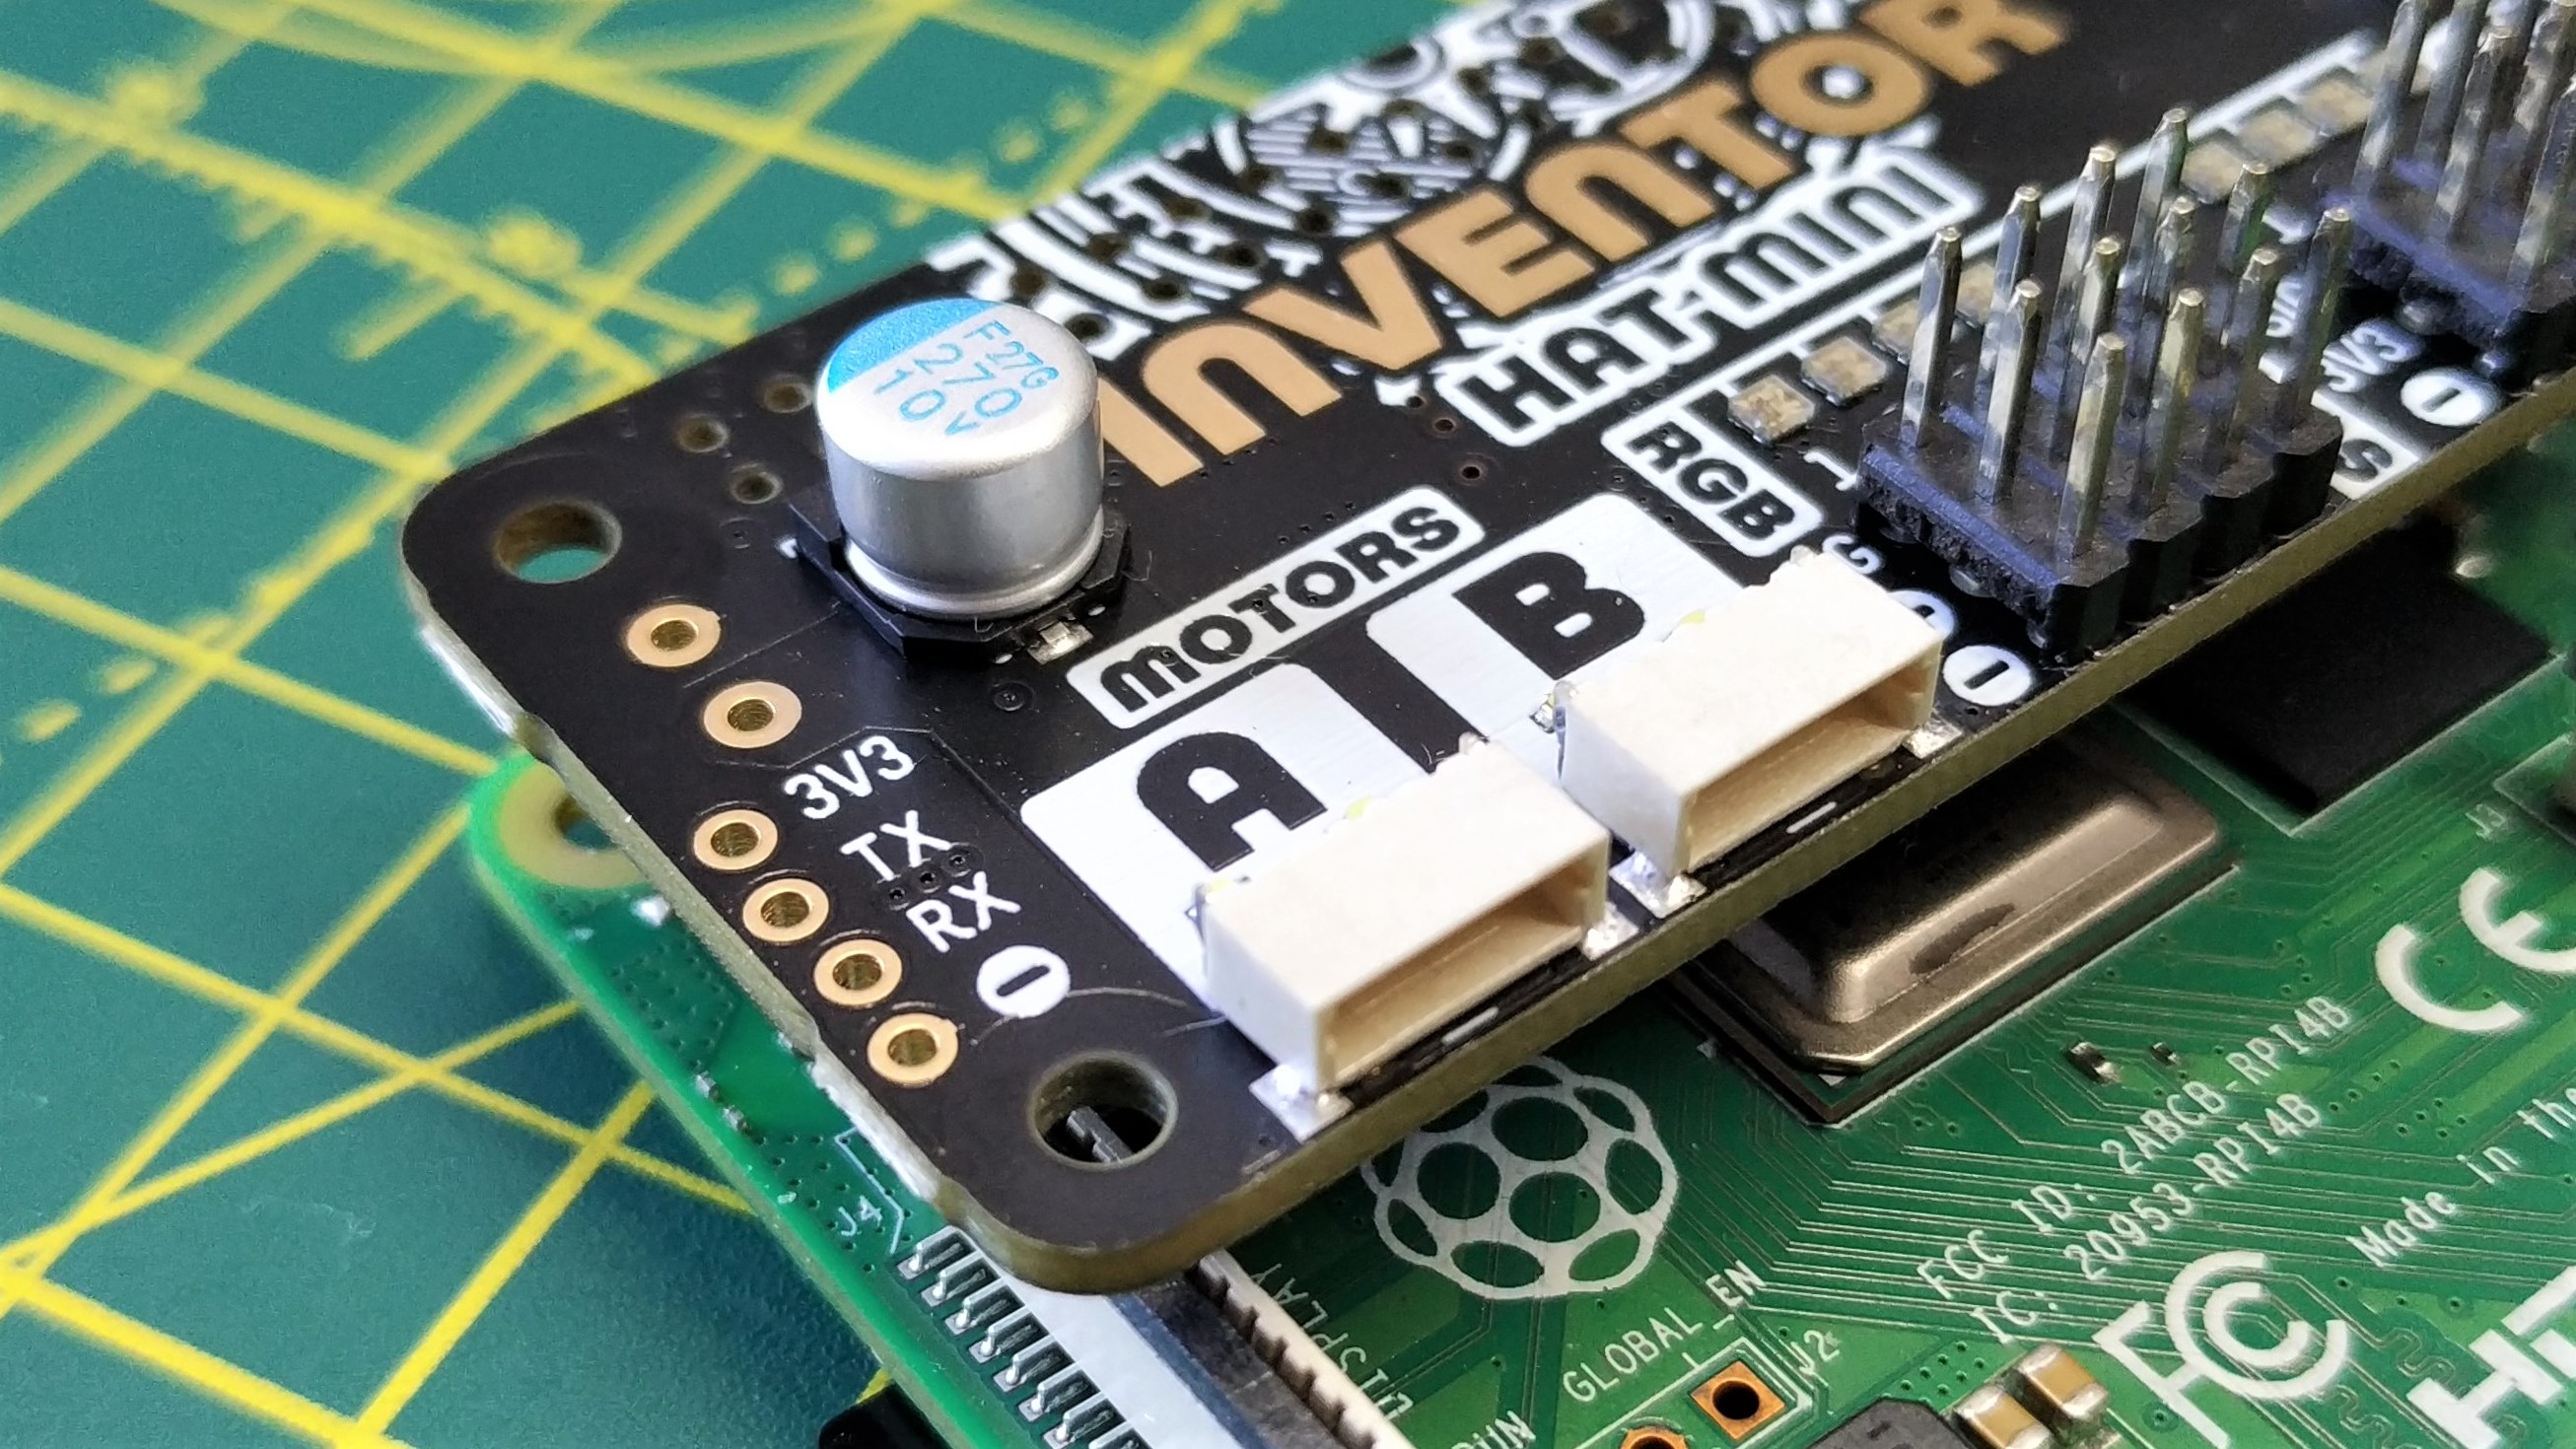
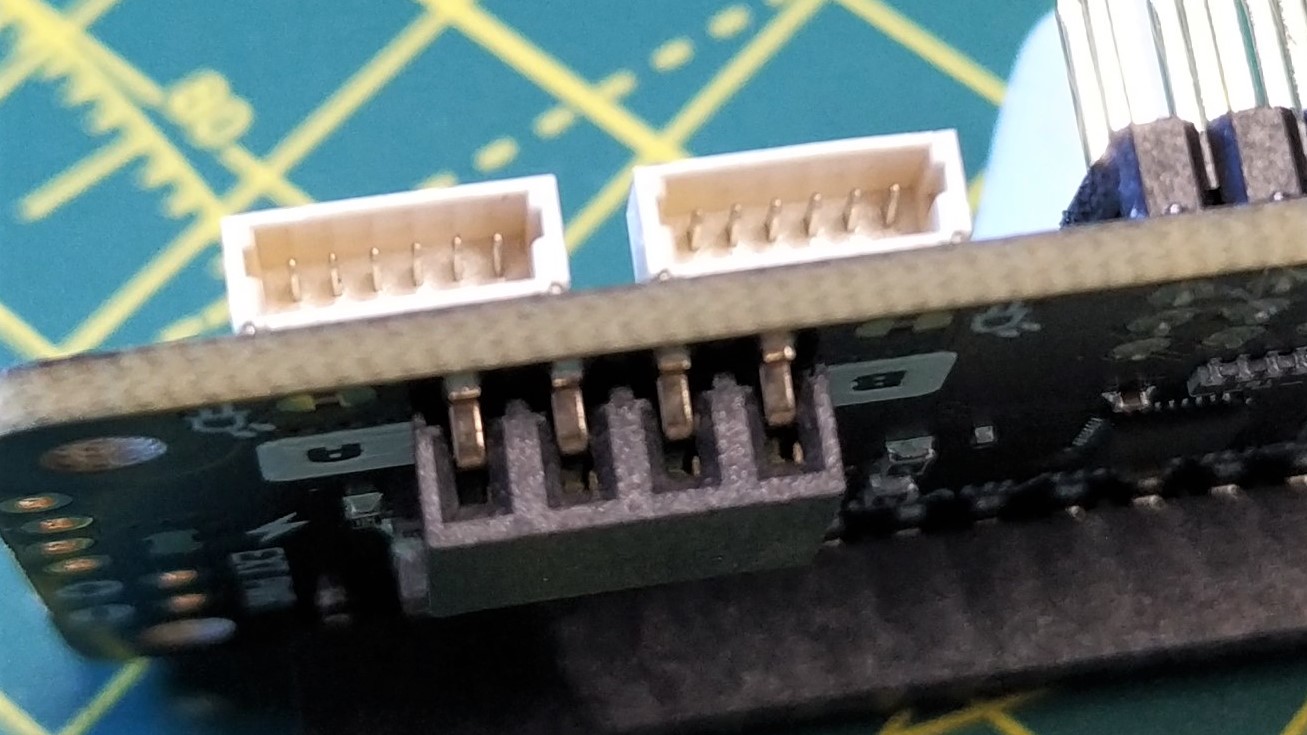
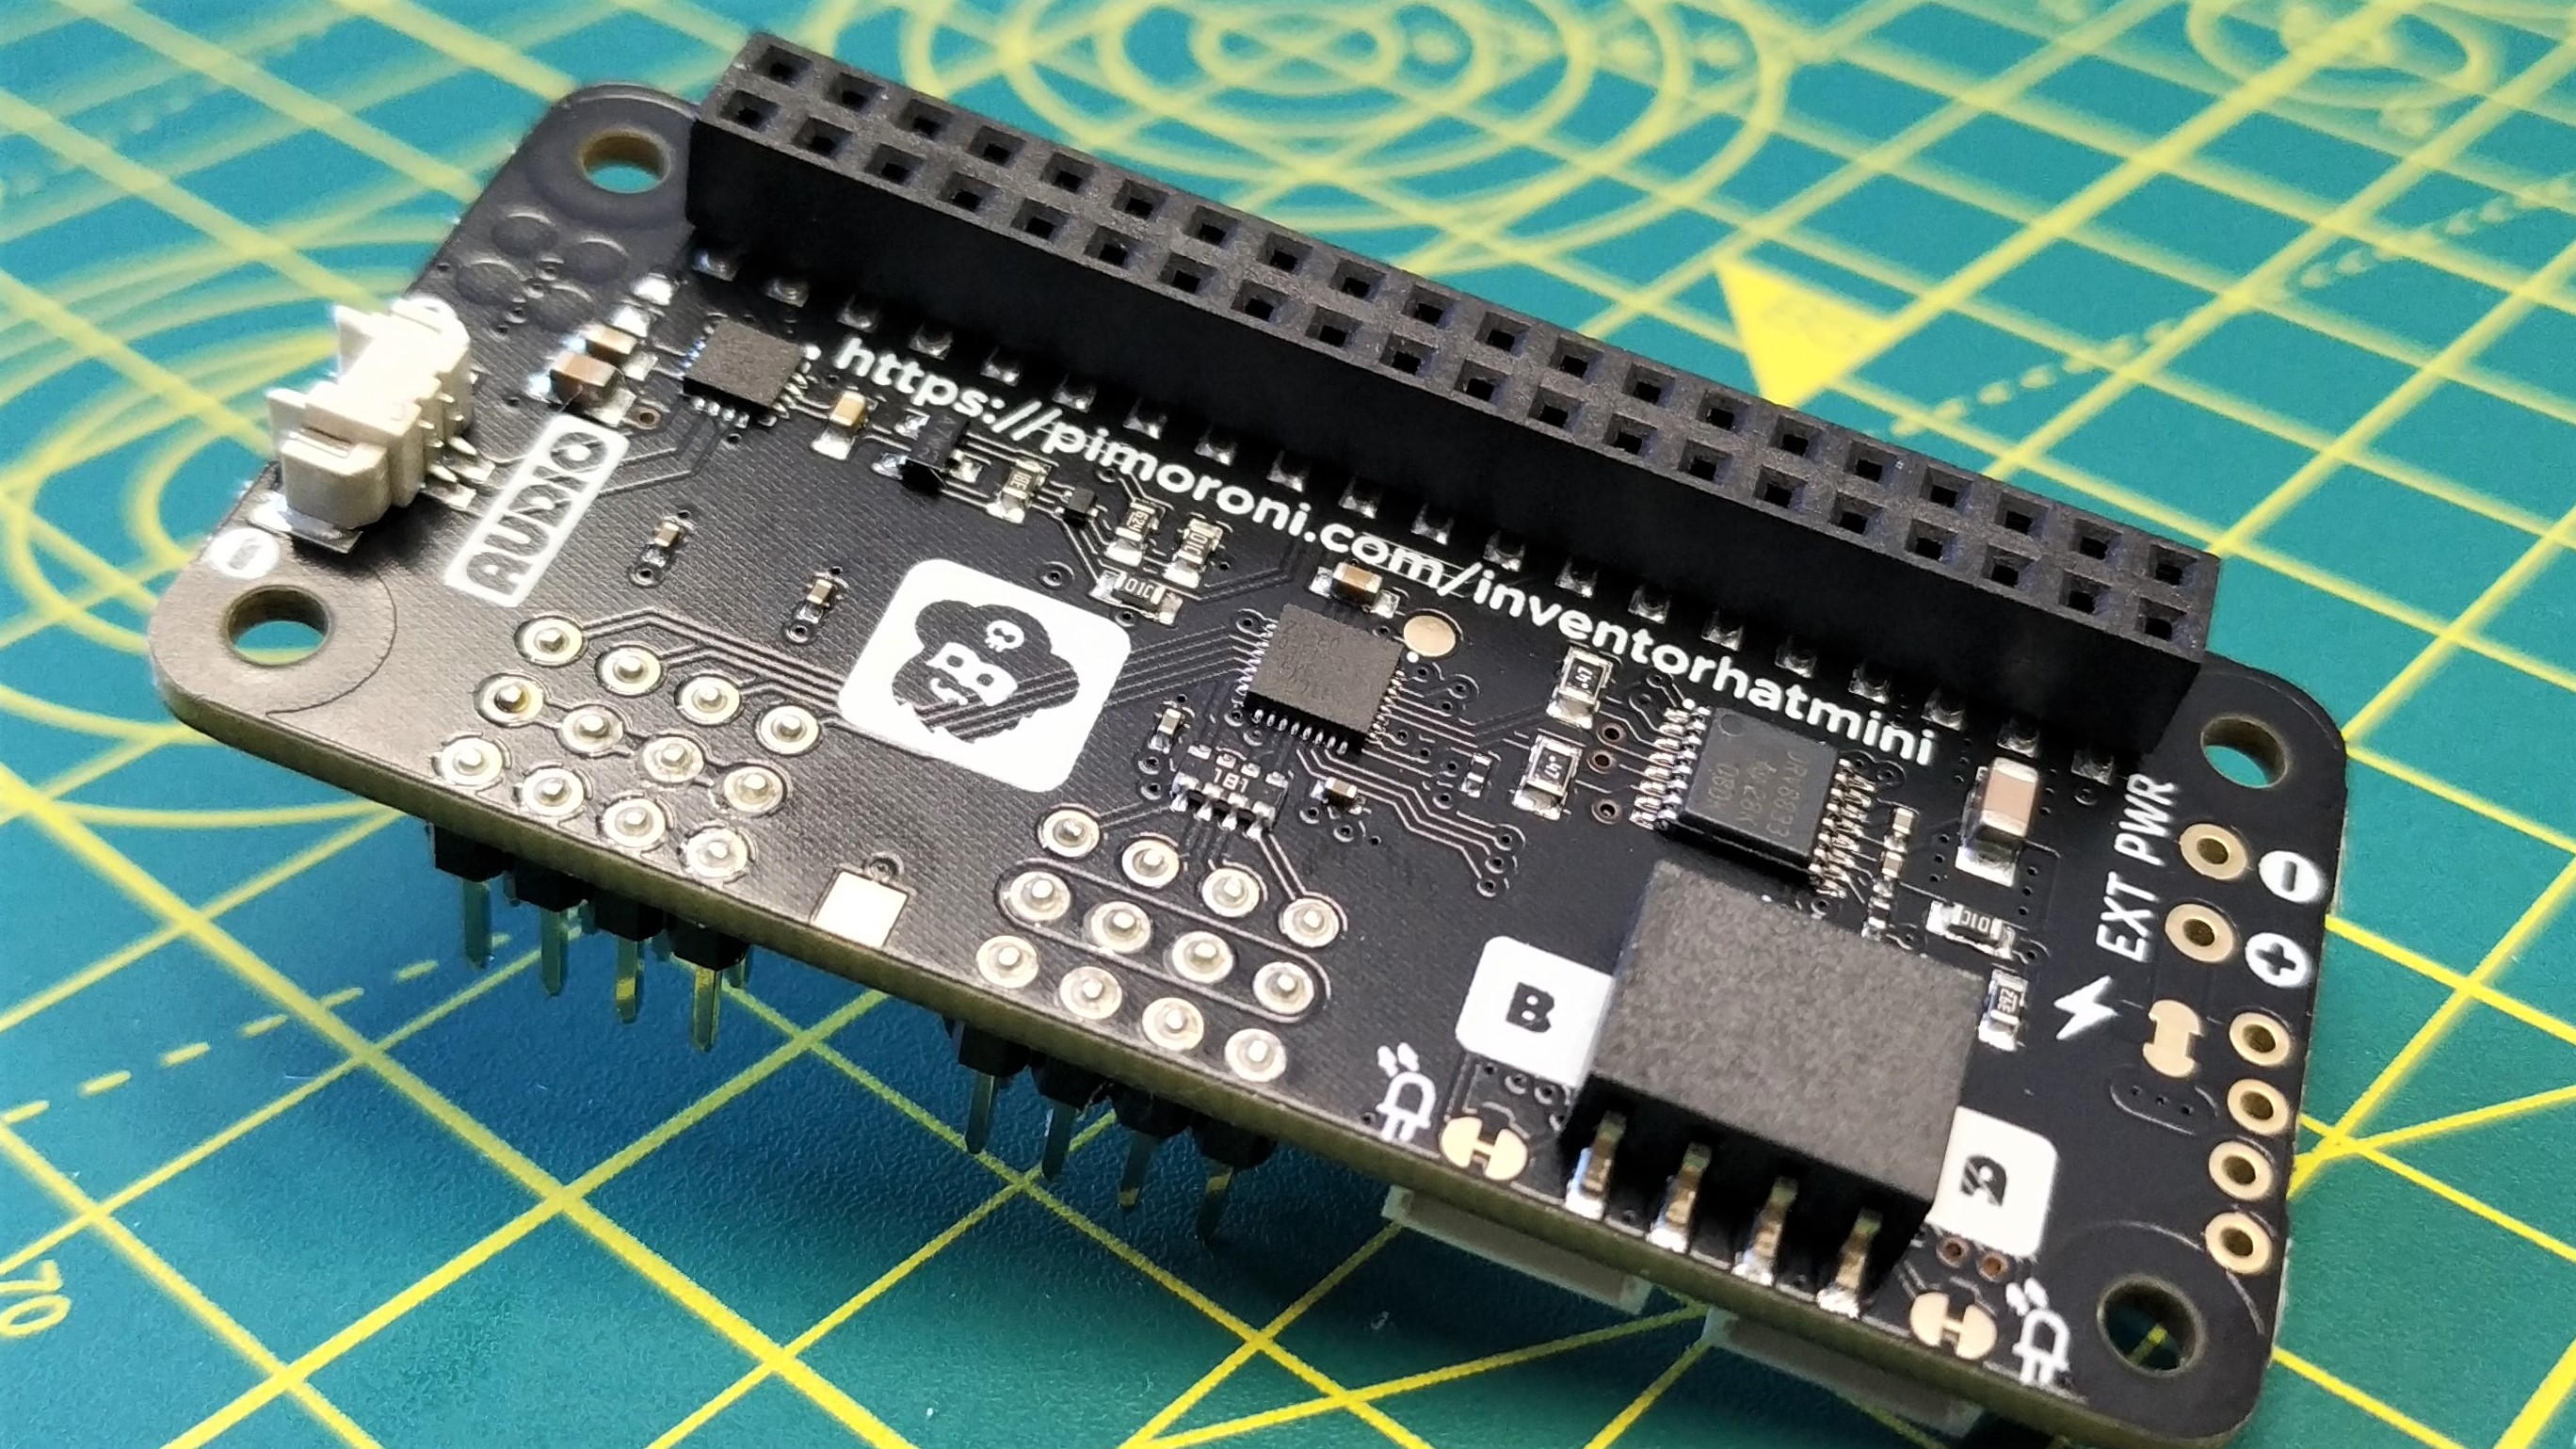
Underneath the letters A and B are two six pin JST-SH connectors for use with compatible DC motors. These motors look like typical 6V DC micro gear metal motors, but have a JST-SH six pin connector which can only be inserted one way. These connectors are useful, but you need to buy into the system to make it work. If you already have a stock of typical two pin DC motors, then you will spot corresponding connections on the underside of the board. At first glance I missed these connectors.
Also on the underside of the board is a two pin audio connection for a small speaker. The MAX98357 3.2W I2S mono amplifier is more than capable of producing decent quality audio. This isn’t a THX certified sound system, more of a cute way to make clear noise.
For the advanced user there are a series of extra, unpopulated headers on both sides of the board. On the top of the board are headers for serial communication (TX / RX) which can also be used with a 3.3V-compliant ultrasonic distance sensor (HC-SR04P or HC-SR04+). Another set of headers can be used to supply power to the board, note that only one power source should be used at a time. If you wish to only power the motors / servos, there is a trace that when cut, will isolate the Pi from the motor power source.
Using Inventor HAT Mini
The Python module that accompanies Inventor HAT Mini is the usual level of quality. I’ve been using Pimoroni boards since 2013 (Pibrella being the first) and I can see that the quality has matured, but Pimoroni’s attention to detail is still sharp. Its Python modules abstract the complexities away for learners, and provide a quick means to get a project working.
If you were new to coding, electronics, robotics and you encountered barriers to your learning, you would easily lose confidence and quit. Abstracting the complexity means that learners can score “quick wins” and see their confidence grow as they tackle the next challenge. I like the layout of the board. Sure the position of the Stemma QT and audio connections is awkward when used with a Raspberry Pi Model B, but it is nothing that an extended header can’t fix. The connection options are curated to get the most out of the form factor. I would’ve like to have seen capacitive touch inputs, just like the Explorer HAT Pro which features on our list of best HATs for the Raspberry Pi, but that would’ve taken up too much space.
Motor and servo control is sublime, largely thanks to Pimoroni’s Product Engineer Dr Chris Parrott’s influence which has been seen in other Pimroroni robot focused products. Stemma QT (QW/ST) is always welcome for quick and easy connections. And who can resist tiny RGB LEDs on a board? They are maker candy after all!
Bottom Line

Pimoroni’s $24 Inventor HAT Mini appears to be the spiritual successor to its long running Explorer HAT range of boards. This is clear to me after using Explorer HAT Pro for almost nine years. The board is well designed, the features well thought and the software is simple to use. If you are a Raspberry Pi Zero user, then this little board will be the robot controller of choice. Raspberry Pi Model 3B / 4B users, buy some extended headers when you get one of these and you’ll have no issues with USB / Ethernet clearance. This is a great board that is great fun to use.

Les Pounder is an associate editor at Tom's Hardware. He is a creative technologist and for seven years has created projects to educate and inspire minds both young and old. He has worked with the Raspberry Pi Foundation to write and deliver their teacher training program "Picademy".
