Tom's Hardware Verdict
StackyPi provides a way to use Raspberry Pi accessories with an RP2040 chip. However, more complex add-ons may require extra coding or not work at all.
Pros
- +
+ Pi Zero Form factor
- +
+ MicroSD card reader
- +
+ 8MB of storage
- +
+ GPIO access
Cons
- -
Advanced HATs will need skill to use
- -
Older MicroPython firmware
Why you can trust Tom's Hardware
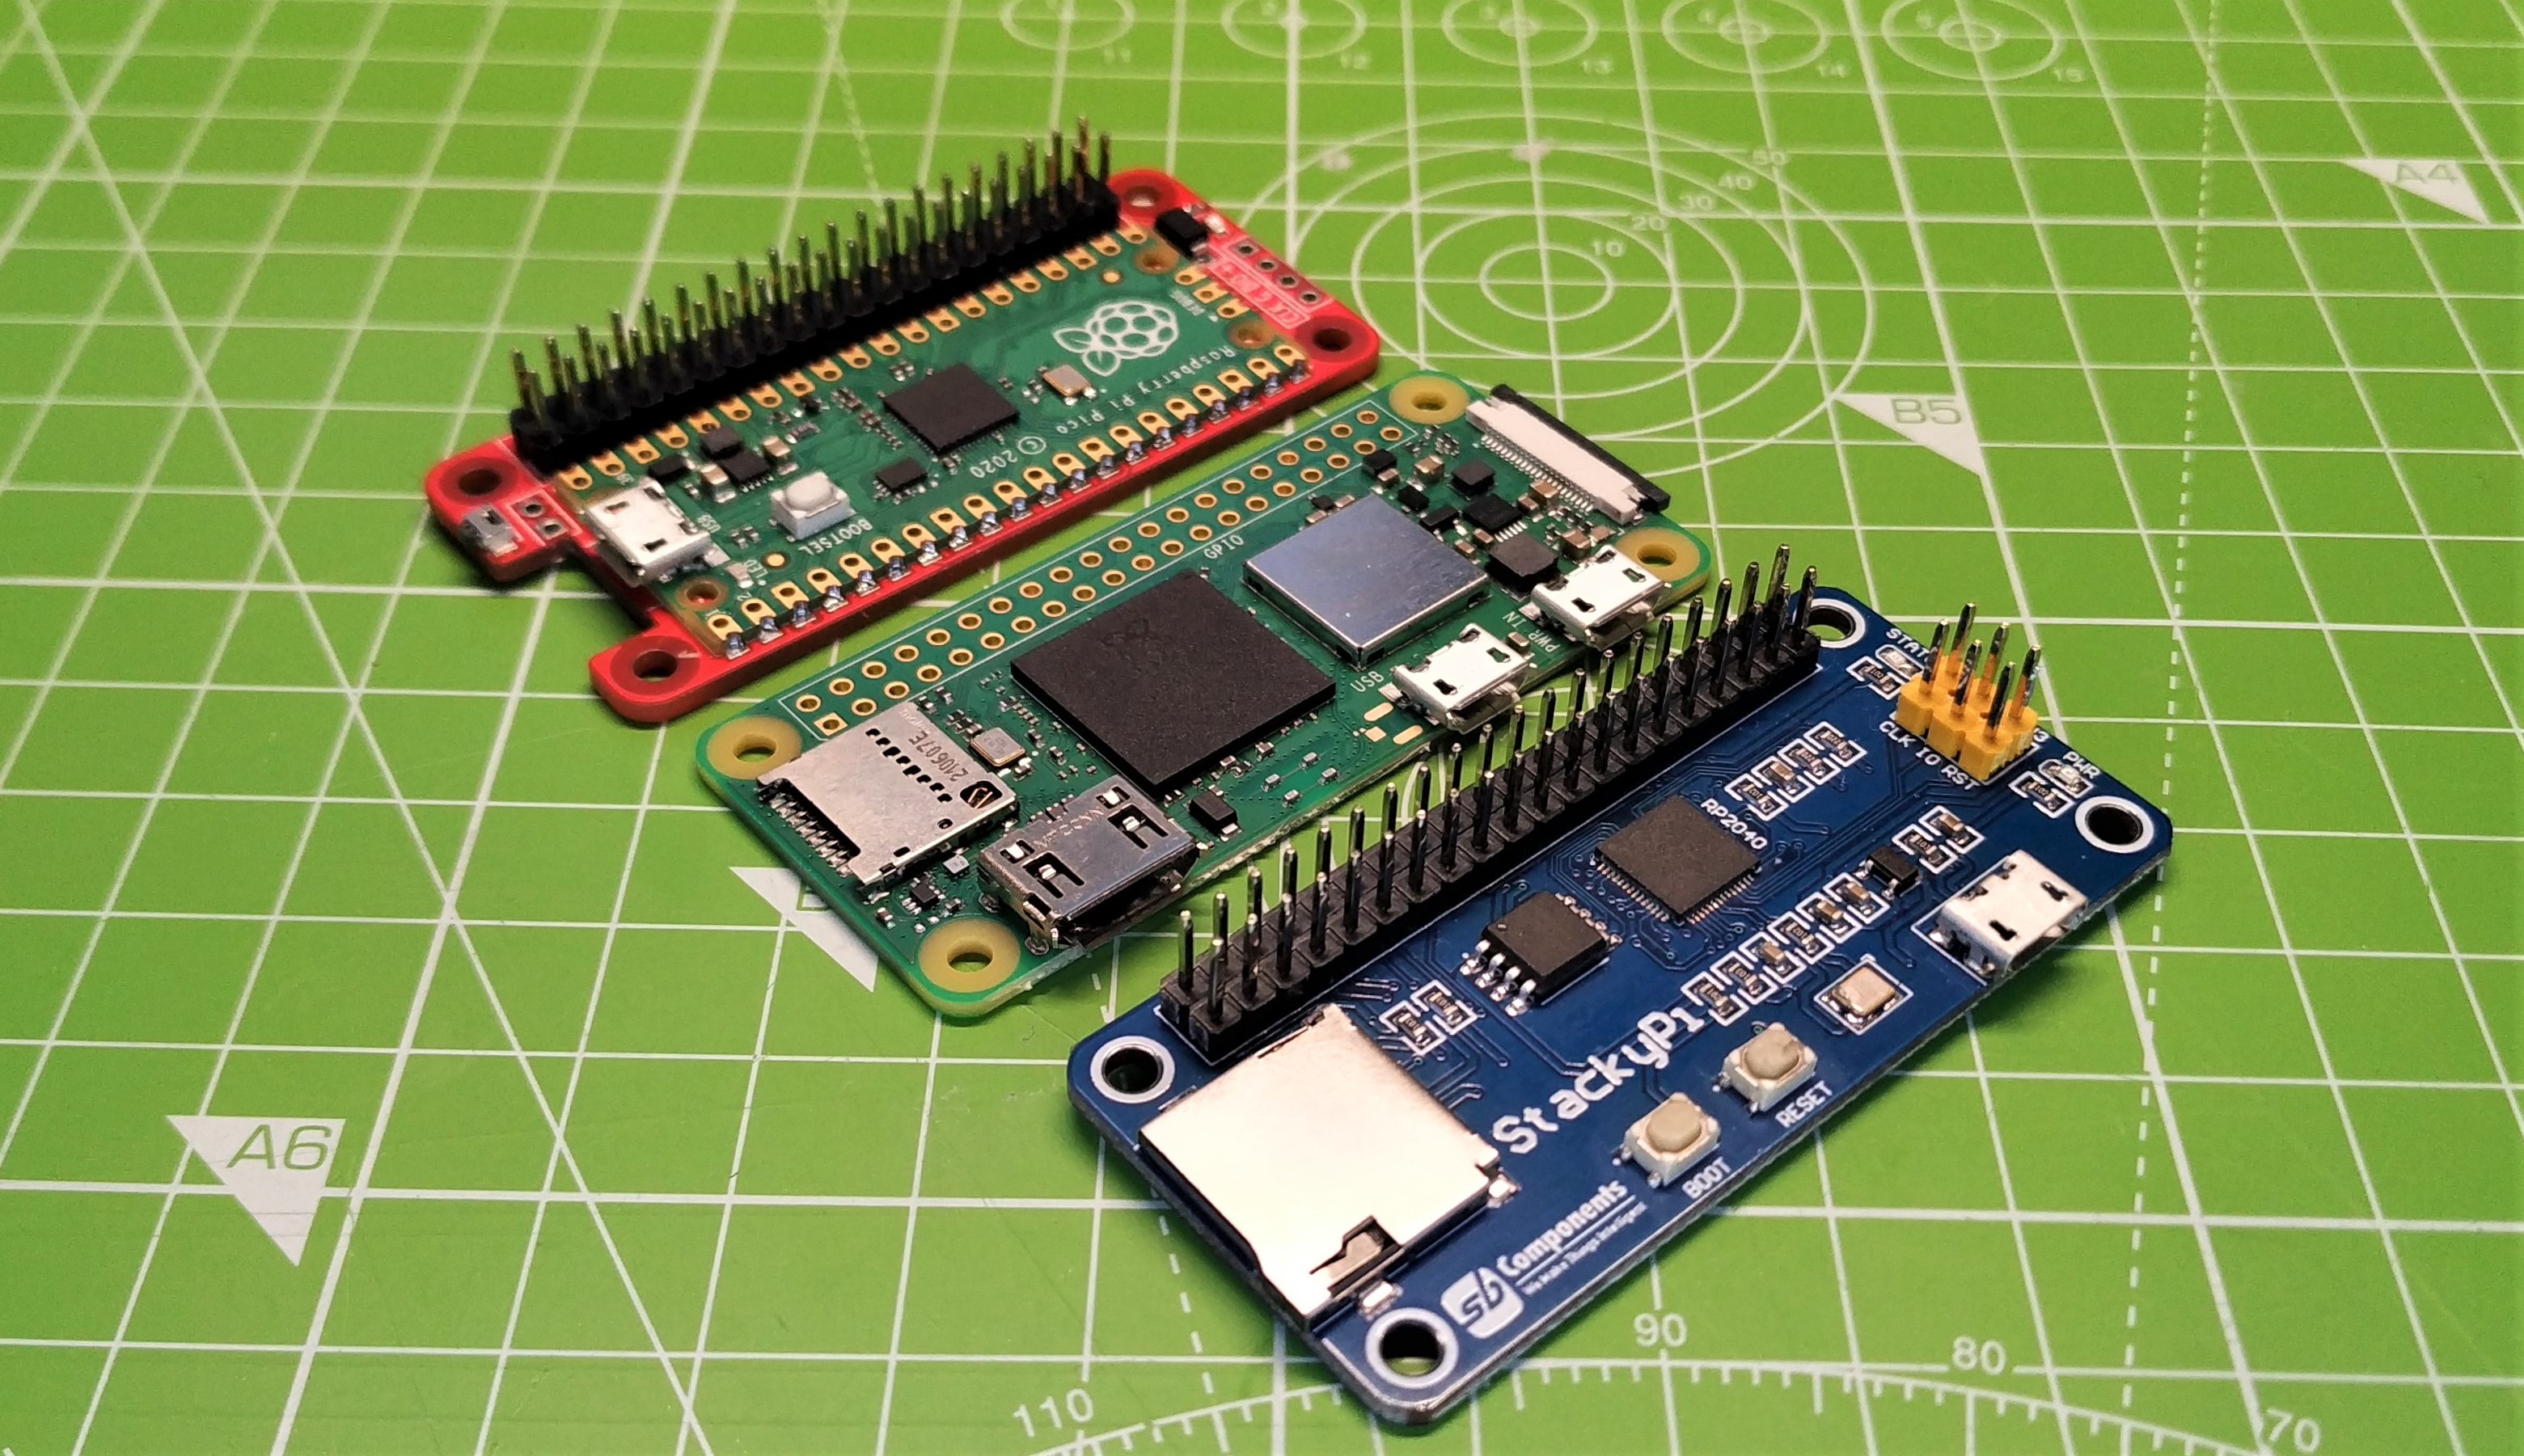
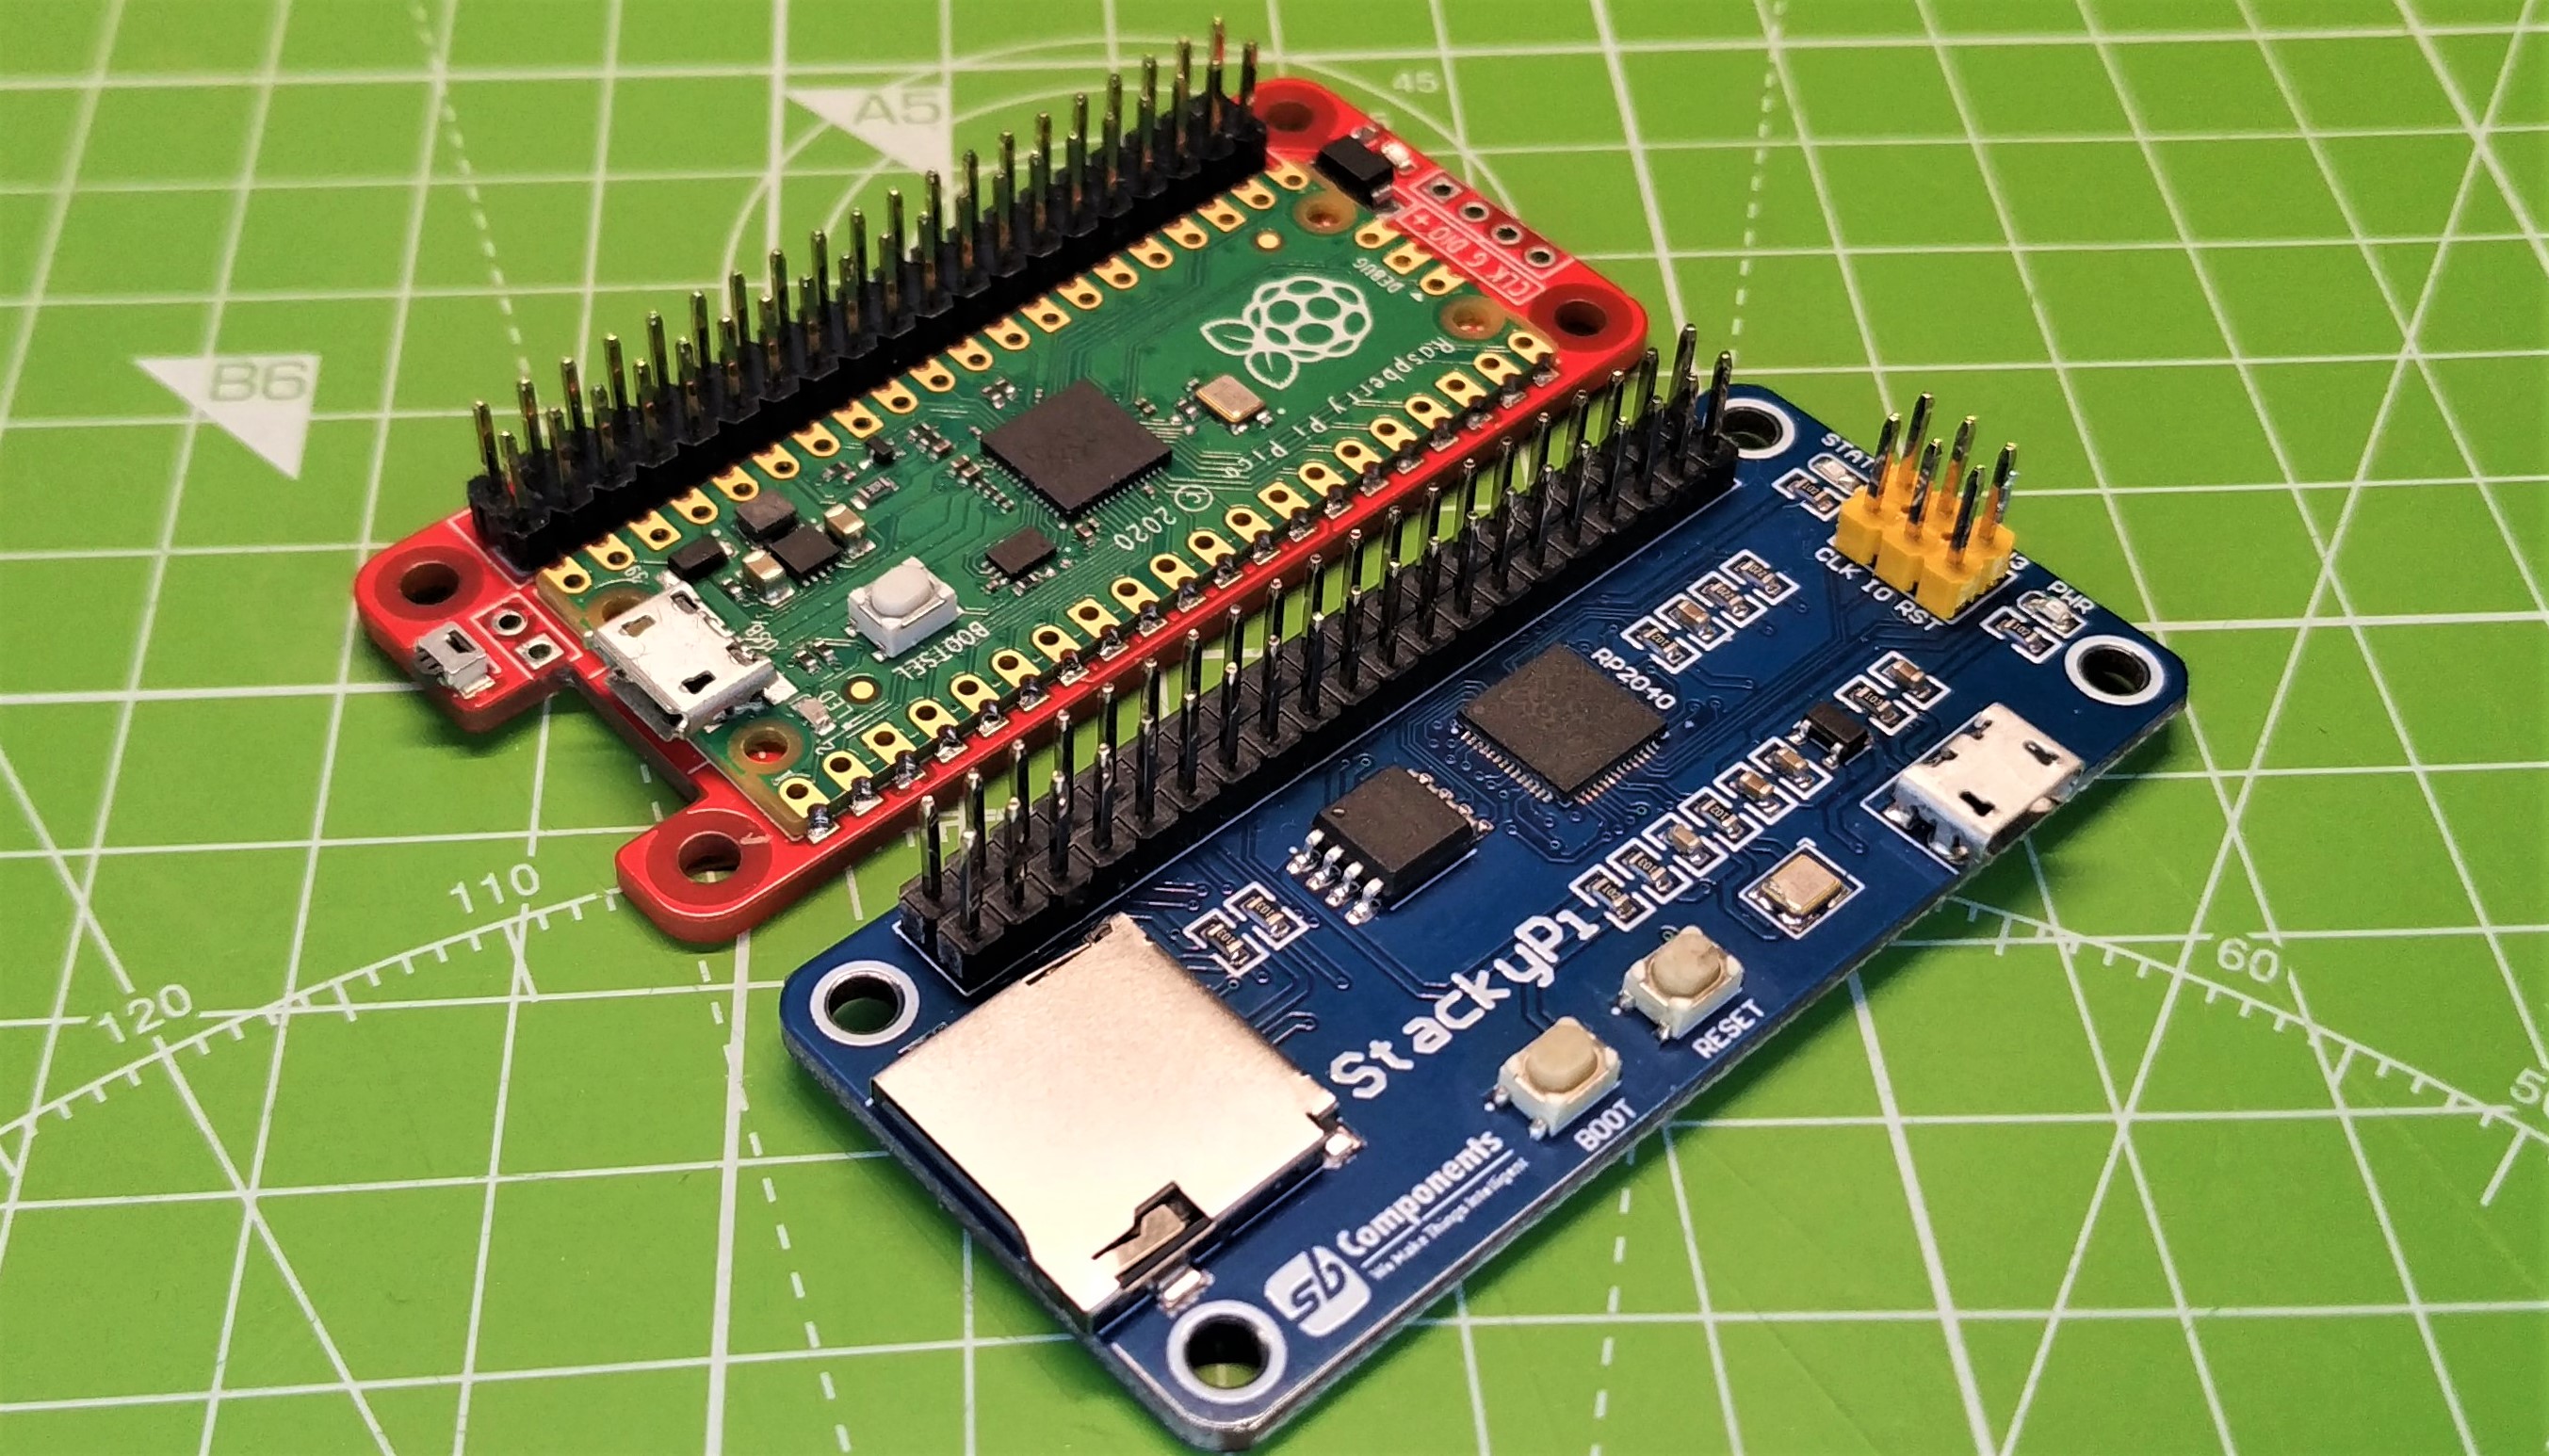
SB Components’ StackyPi may look a little familiar. It bears a striking resemblance to the Raspberry Pi Zero 2 W, but this $15 board is all Raspberry Pi Pico. We can’t shake the feeling that we’ve seen this before, and looking back, we spot the Red Robotics Pico 2 Pi from wayback in March 2021. Both of these boards share a common goal: to use Raspberry Pi HATs / pHATS and other addons with the RP2040.
StackyPi looks great in a dark blue PCB that is sturdy. The onboard microSD card slot elevates it above the Red Robotics Pico 2 Pi, as does the onboard 8MB of flash memory. But how does StackyPi perform and can it do what it claims? For that we put it on the bench for a series of tests.
StackyPi Specifications
| System on Chip | RP2040 (Dual Arm Cortex M0+ running at up to 133 Mhz with 264kB of SRAM) |
| Storage | 8MB of flash storage via Winbond 25064JVS1Q |
| GPIO | 40 Pin Raspberry Pi GPIO |
| 26 × multi-function 3.3V GPIO pins | |
| 2 × SPI, 2 × I2C, 2 × UART, 3 × 12-bit ADC, 16 × controllable PWM channels | |
| 8 × Programmable I/O (PIO) state machines for custom peripheral support. | |
| Features | Onboard microSD card reader |
| Reset button | |
| Boot / User button | |
| Debug header pins | |
| Power | Micro USB 5V |
| Dimensions | 65 x 30 mm |
Using StackyPi
StackyPi looks like a Raspberry Pi Zero 2 W but StackyPi is an RP2040 based board with a couple of unique features. All of the GPIO pins found on the Raspberry Pi Pico are broken out using the typical Raspberry Pi 40 pin configuration. This means that we can attach HATs, pHATS and add-ons (if they work is another matter). We also have a micro SD card reader, connected via the SPI interface. Why is a microSD card important?
Well it means we can log data to an external storage device. Saving the onboard flash memory for our code and corresponding Python libraries. That said, the onboard flash storage is 8MB (Winbond 25064JVS1Q), which is a decent amount of memory given the low footprint of MicroPython / CircuitPython.
As StackyPi is really a Raspberry Pi Pico, that means we can use it with C++, MicroPython, CircuitPython and many other languages. For the purpose of this review, we shall stick with MicroPython and CircuitPython.
First, we conducted our MicroPython tests and very quickly had everything up and running with the Thonny IDE. Everything behaved like a typical Raspberry Pi Pico would. We could blink LEDs and control the GPIO but this is only part of the test. StackyPi may be physically and electrically compatible with the Raspberry Pi GPIO, but some of the pin references are different. Helpfully SB Components have provided a reference to decode between the two.
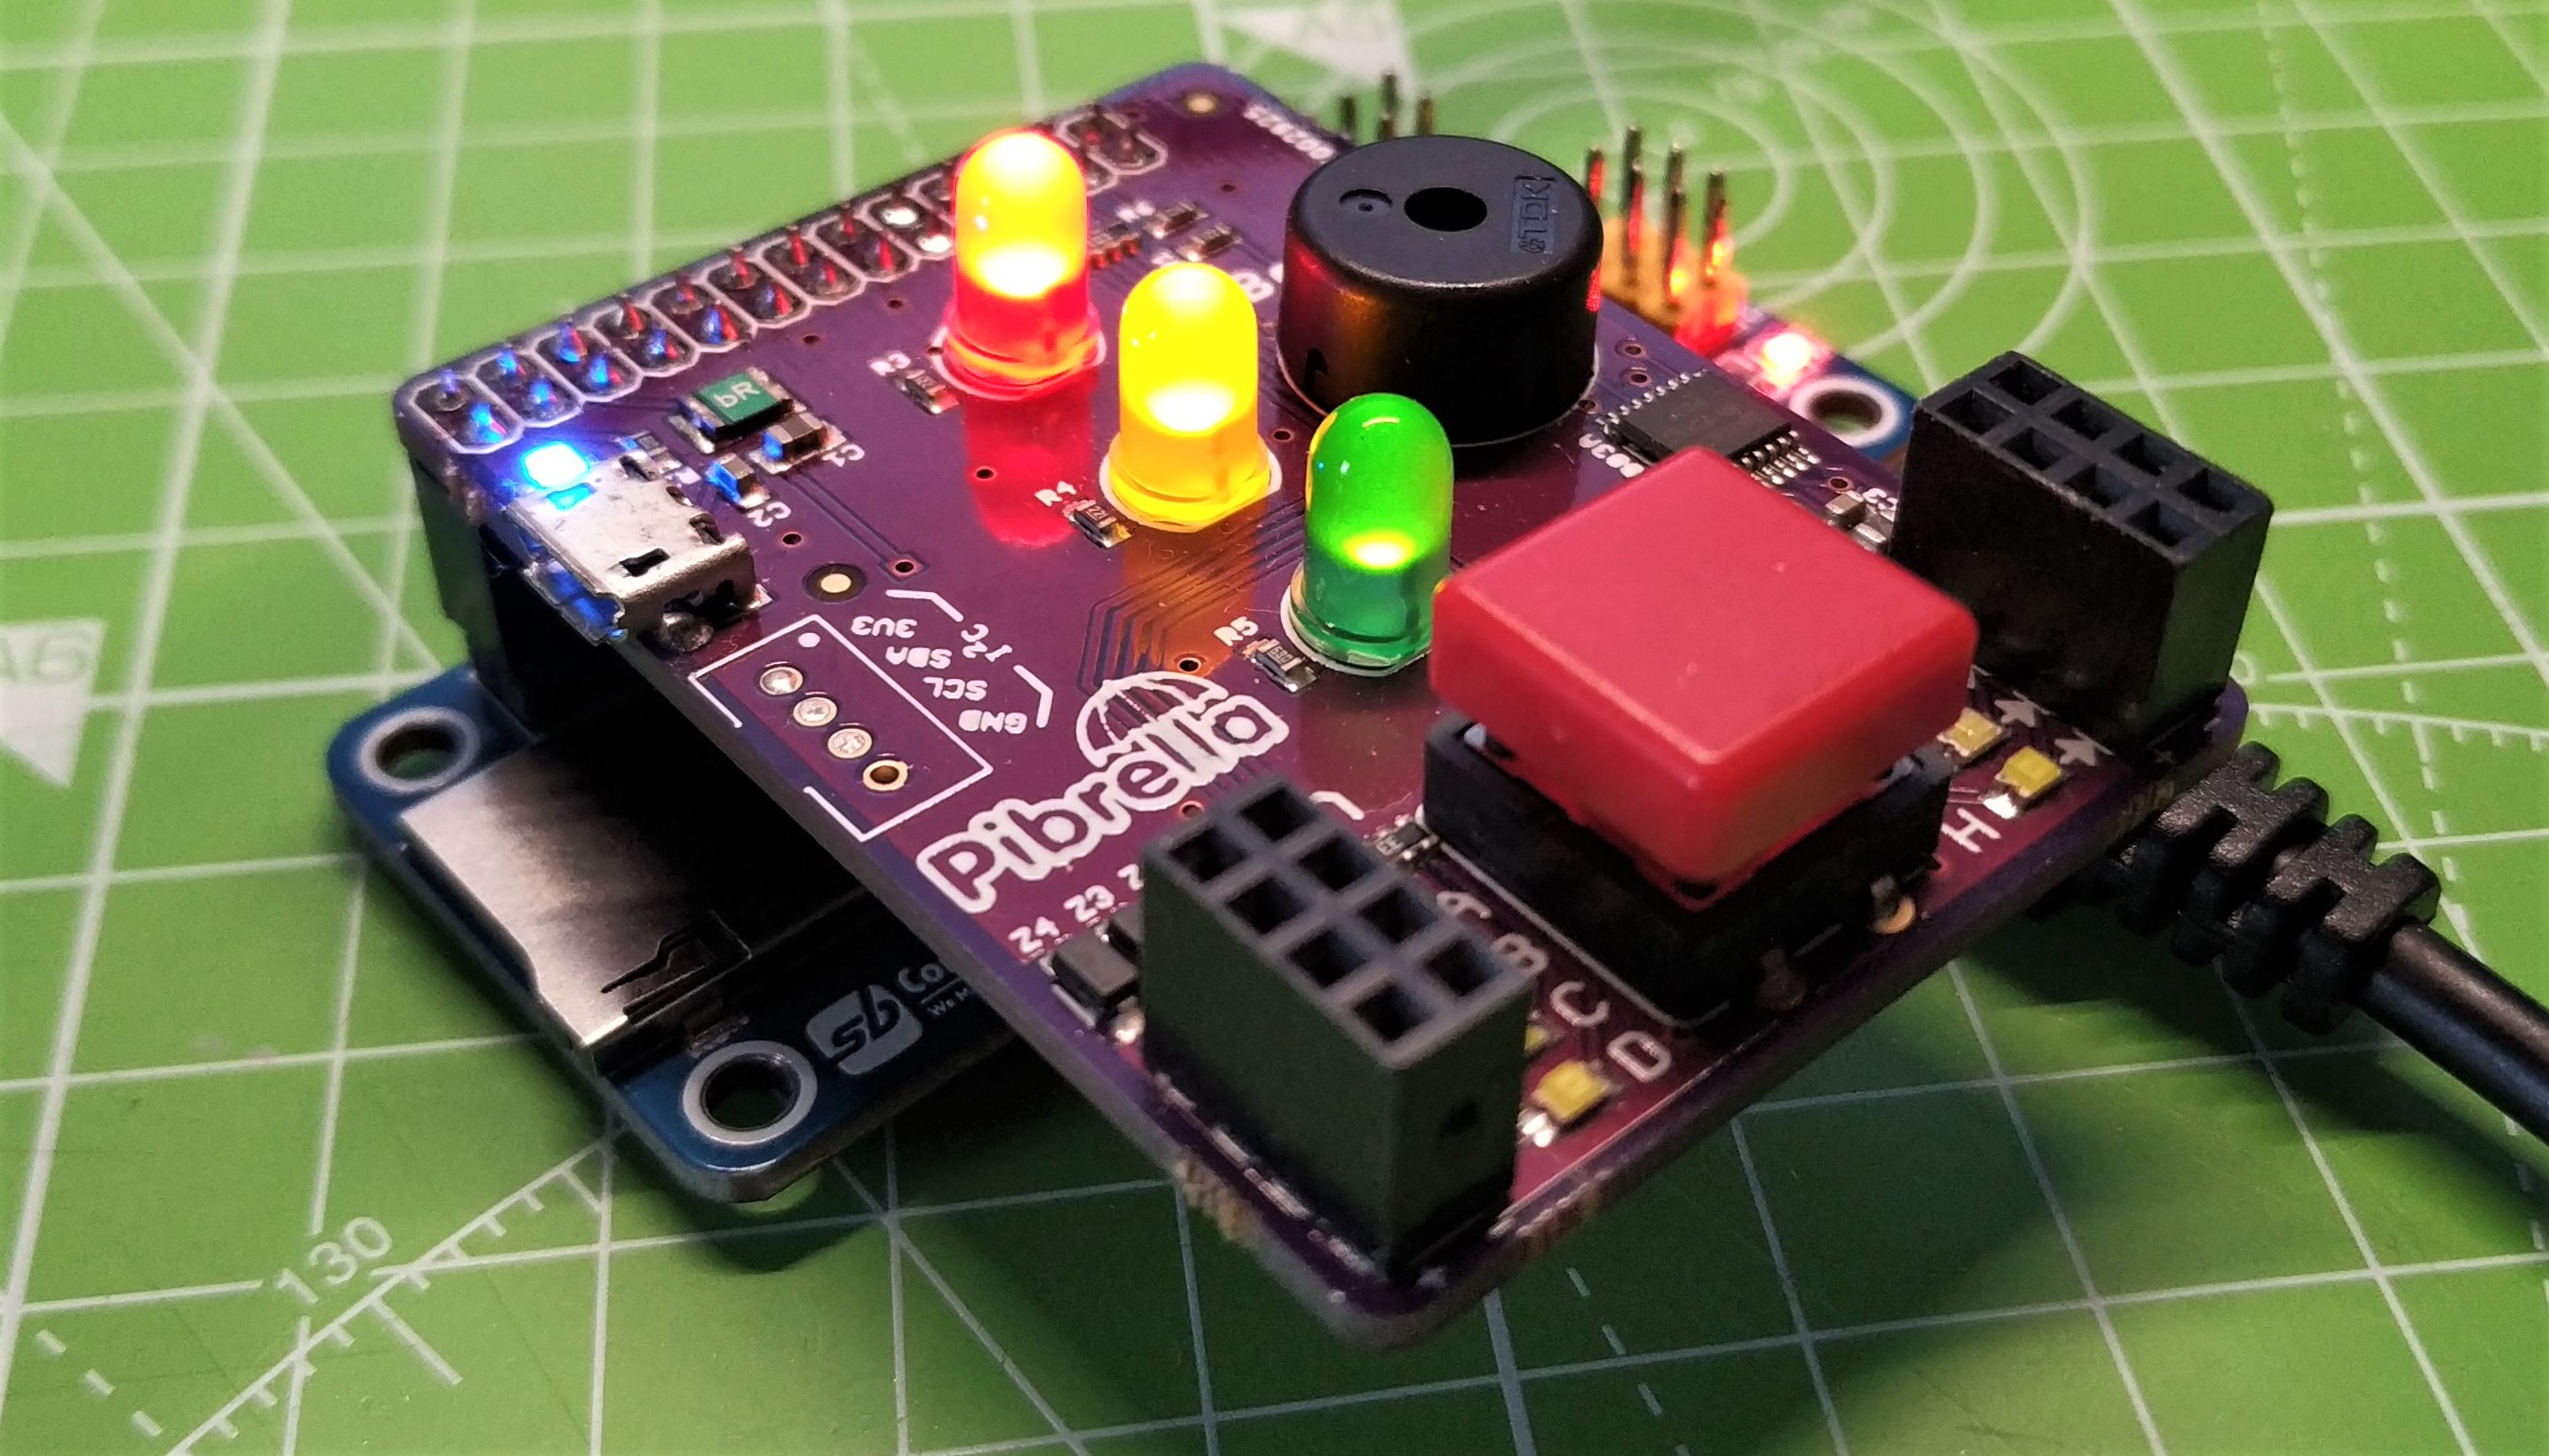
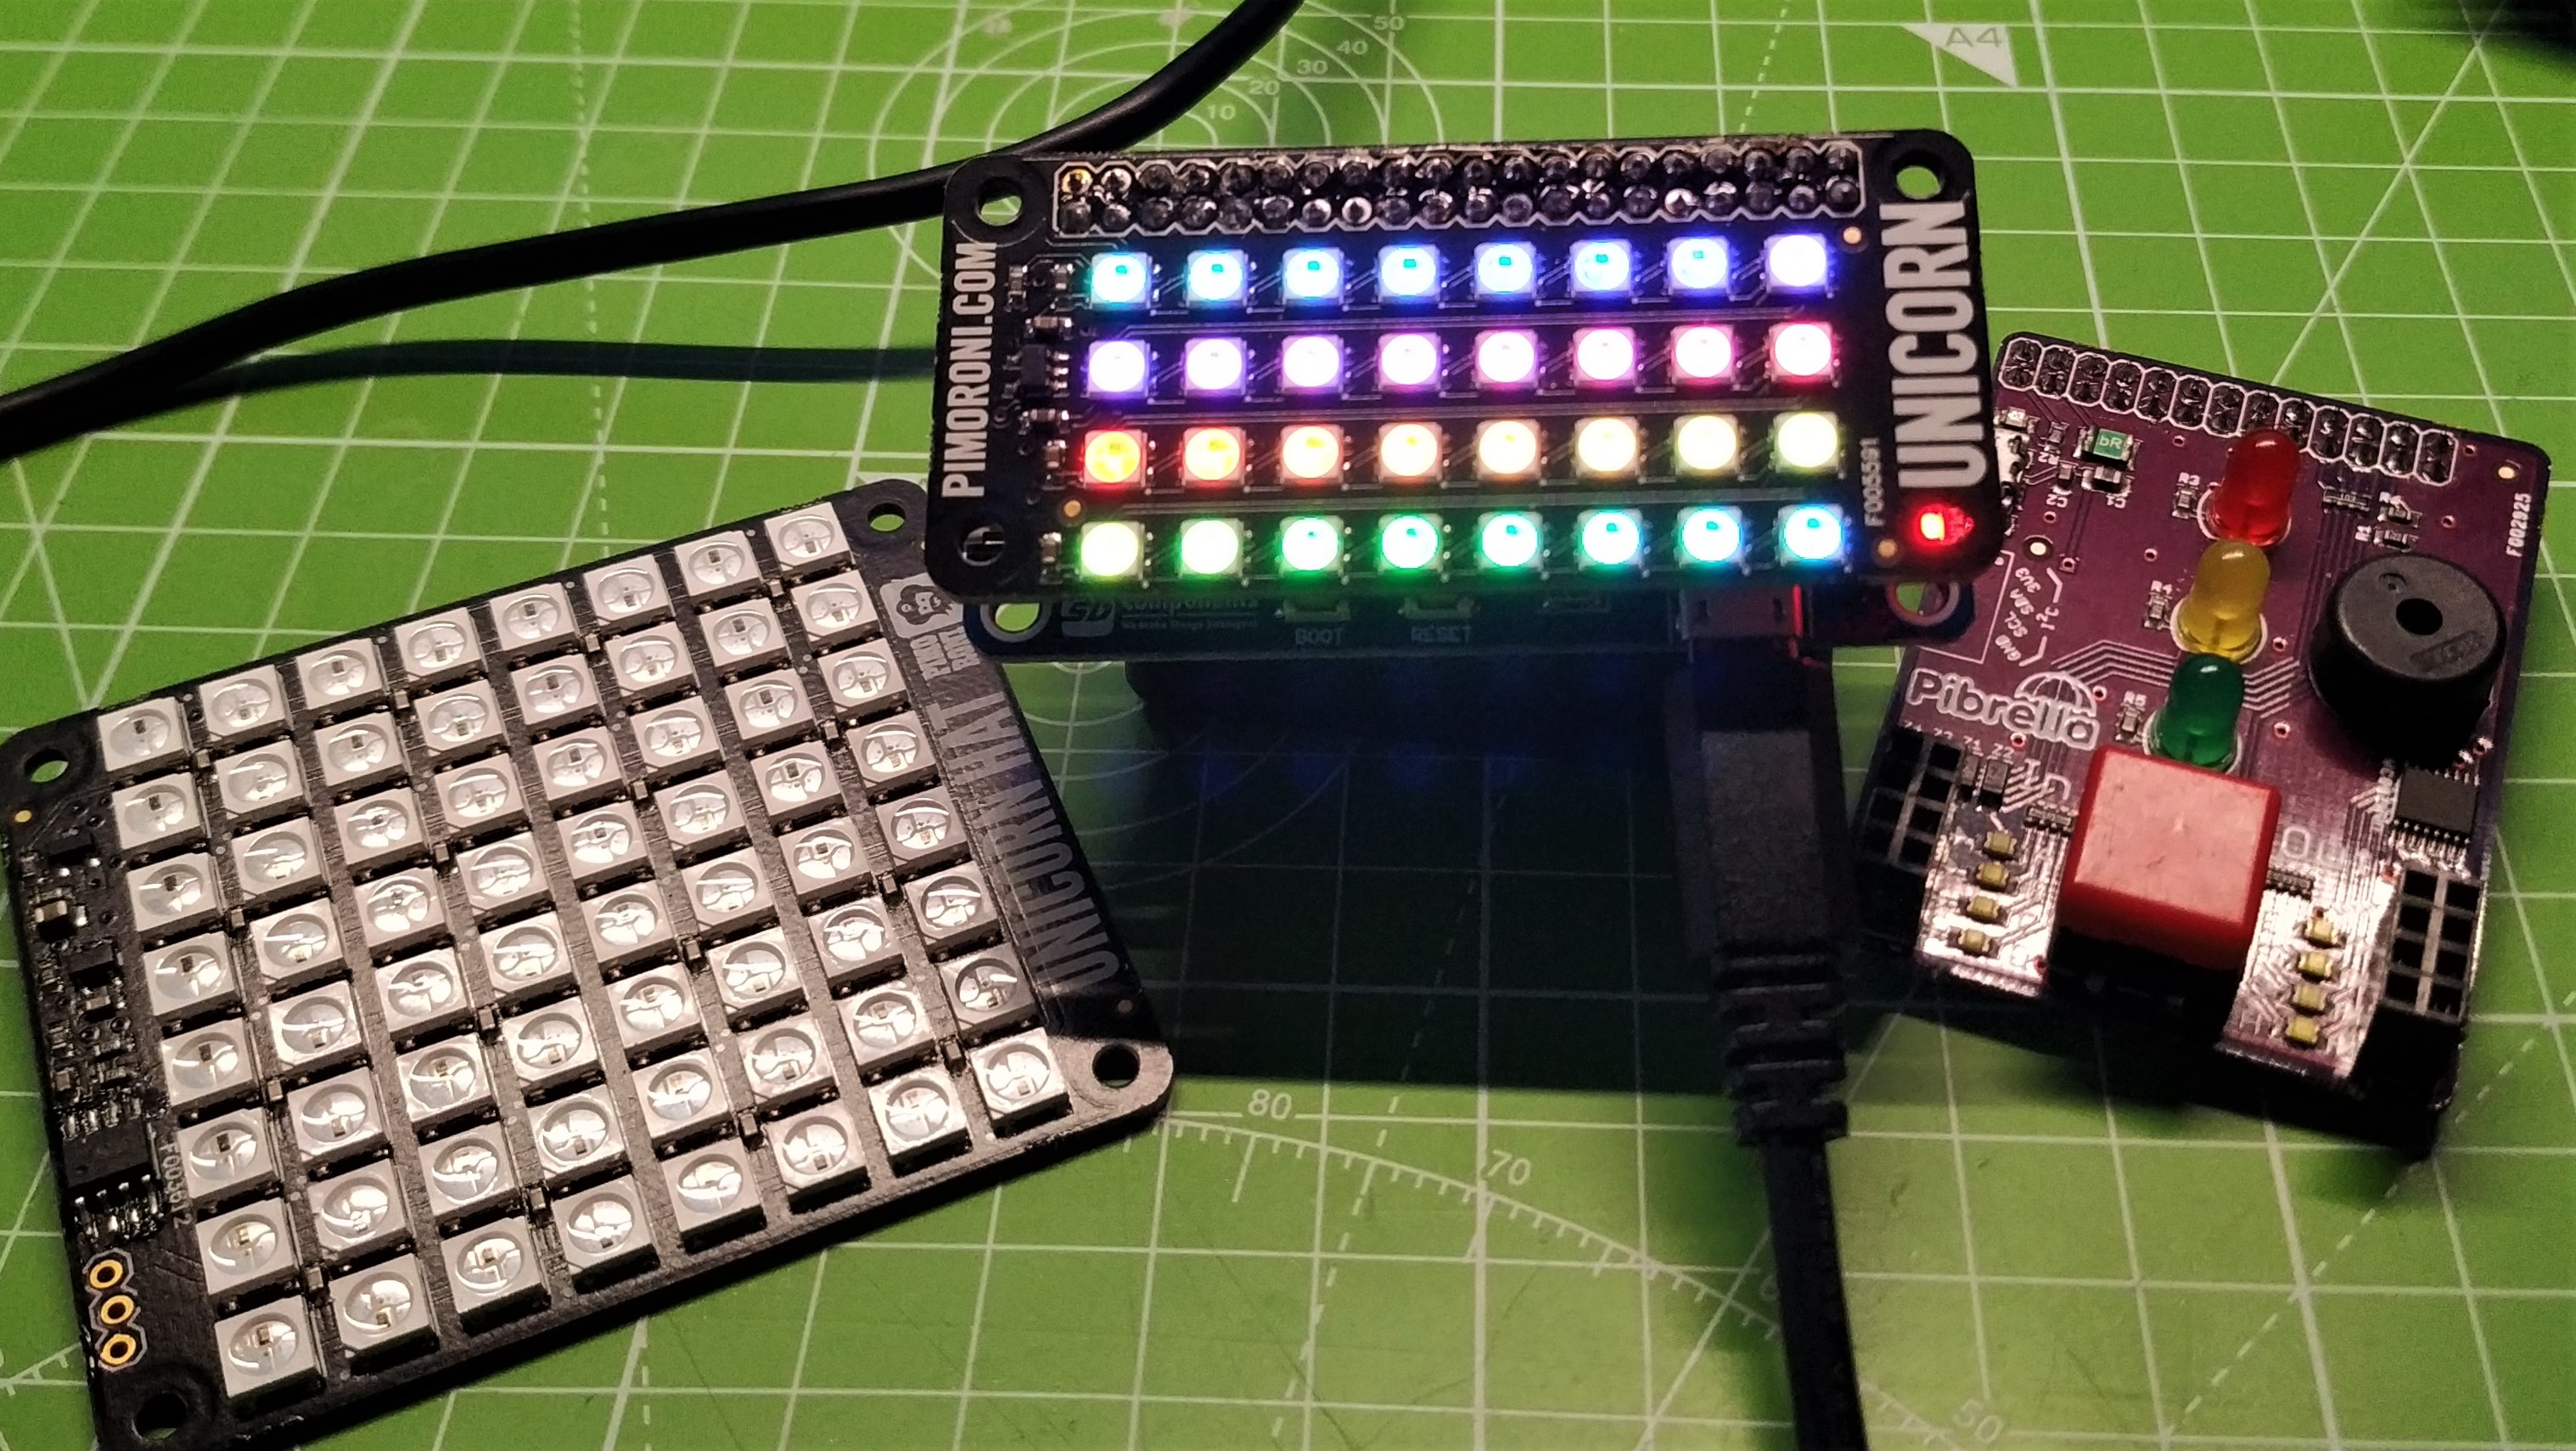
StackyPi claims compatibility with Raspberry Pi HATs, pHATs and addons but this is really only partial support. Electrically and physically they connect. Simple boards which rely on basic GPIO protocols (digital IO, PWM and analog) will work with very little tweaking. We tested Pibrella, one of the older Raspberry Pi boards, created before the Pi GPIO had 40 pins. This board worked extremely well, due to its reliance on basic GPIO protocols. We also tested Pimoroni’s Unicorn HAT and pHAT Neopixel matrix boards which also worked after tweaking one of the Raspberry Pi Pico Neopixel examples.
Get Tom's Hardware's best news and in-depth reviews, straight to your inbox.
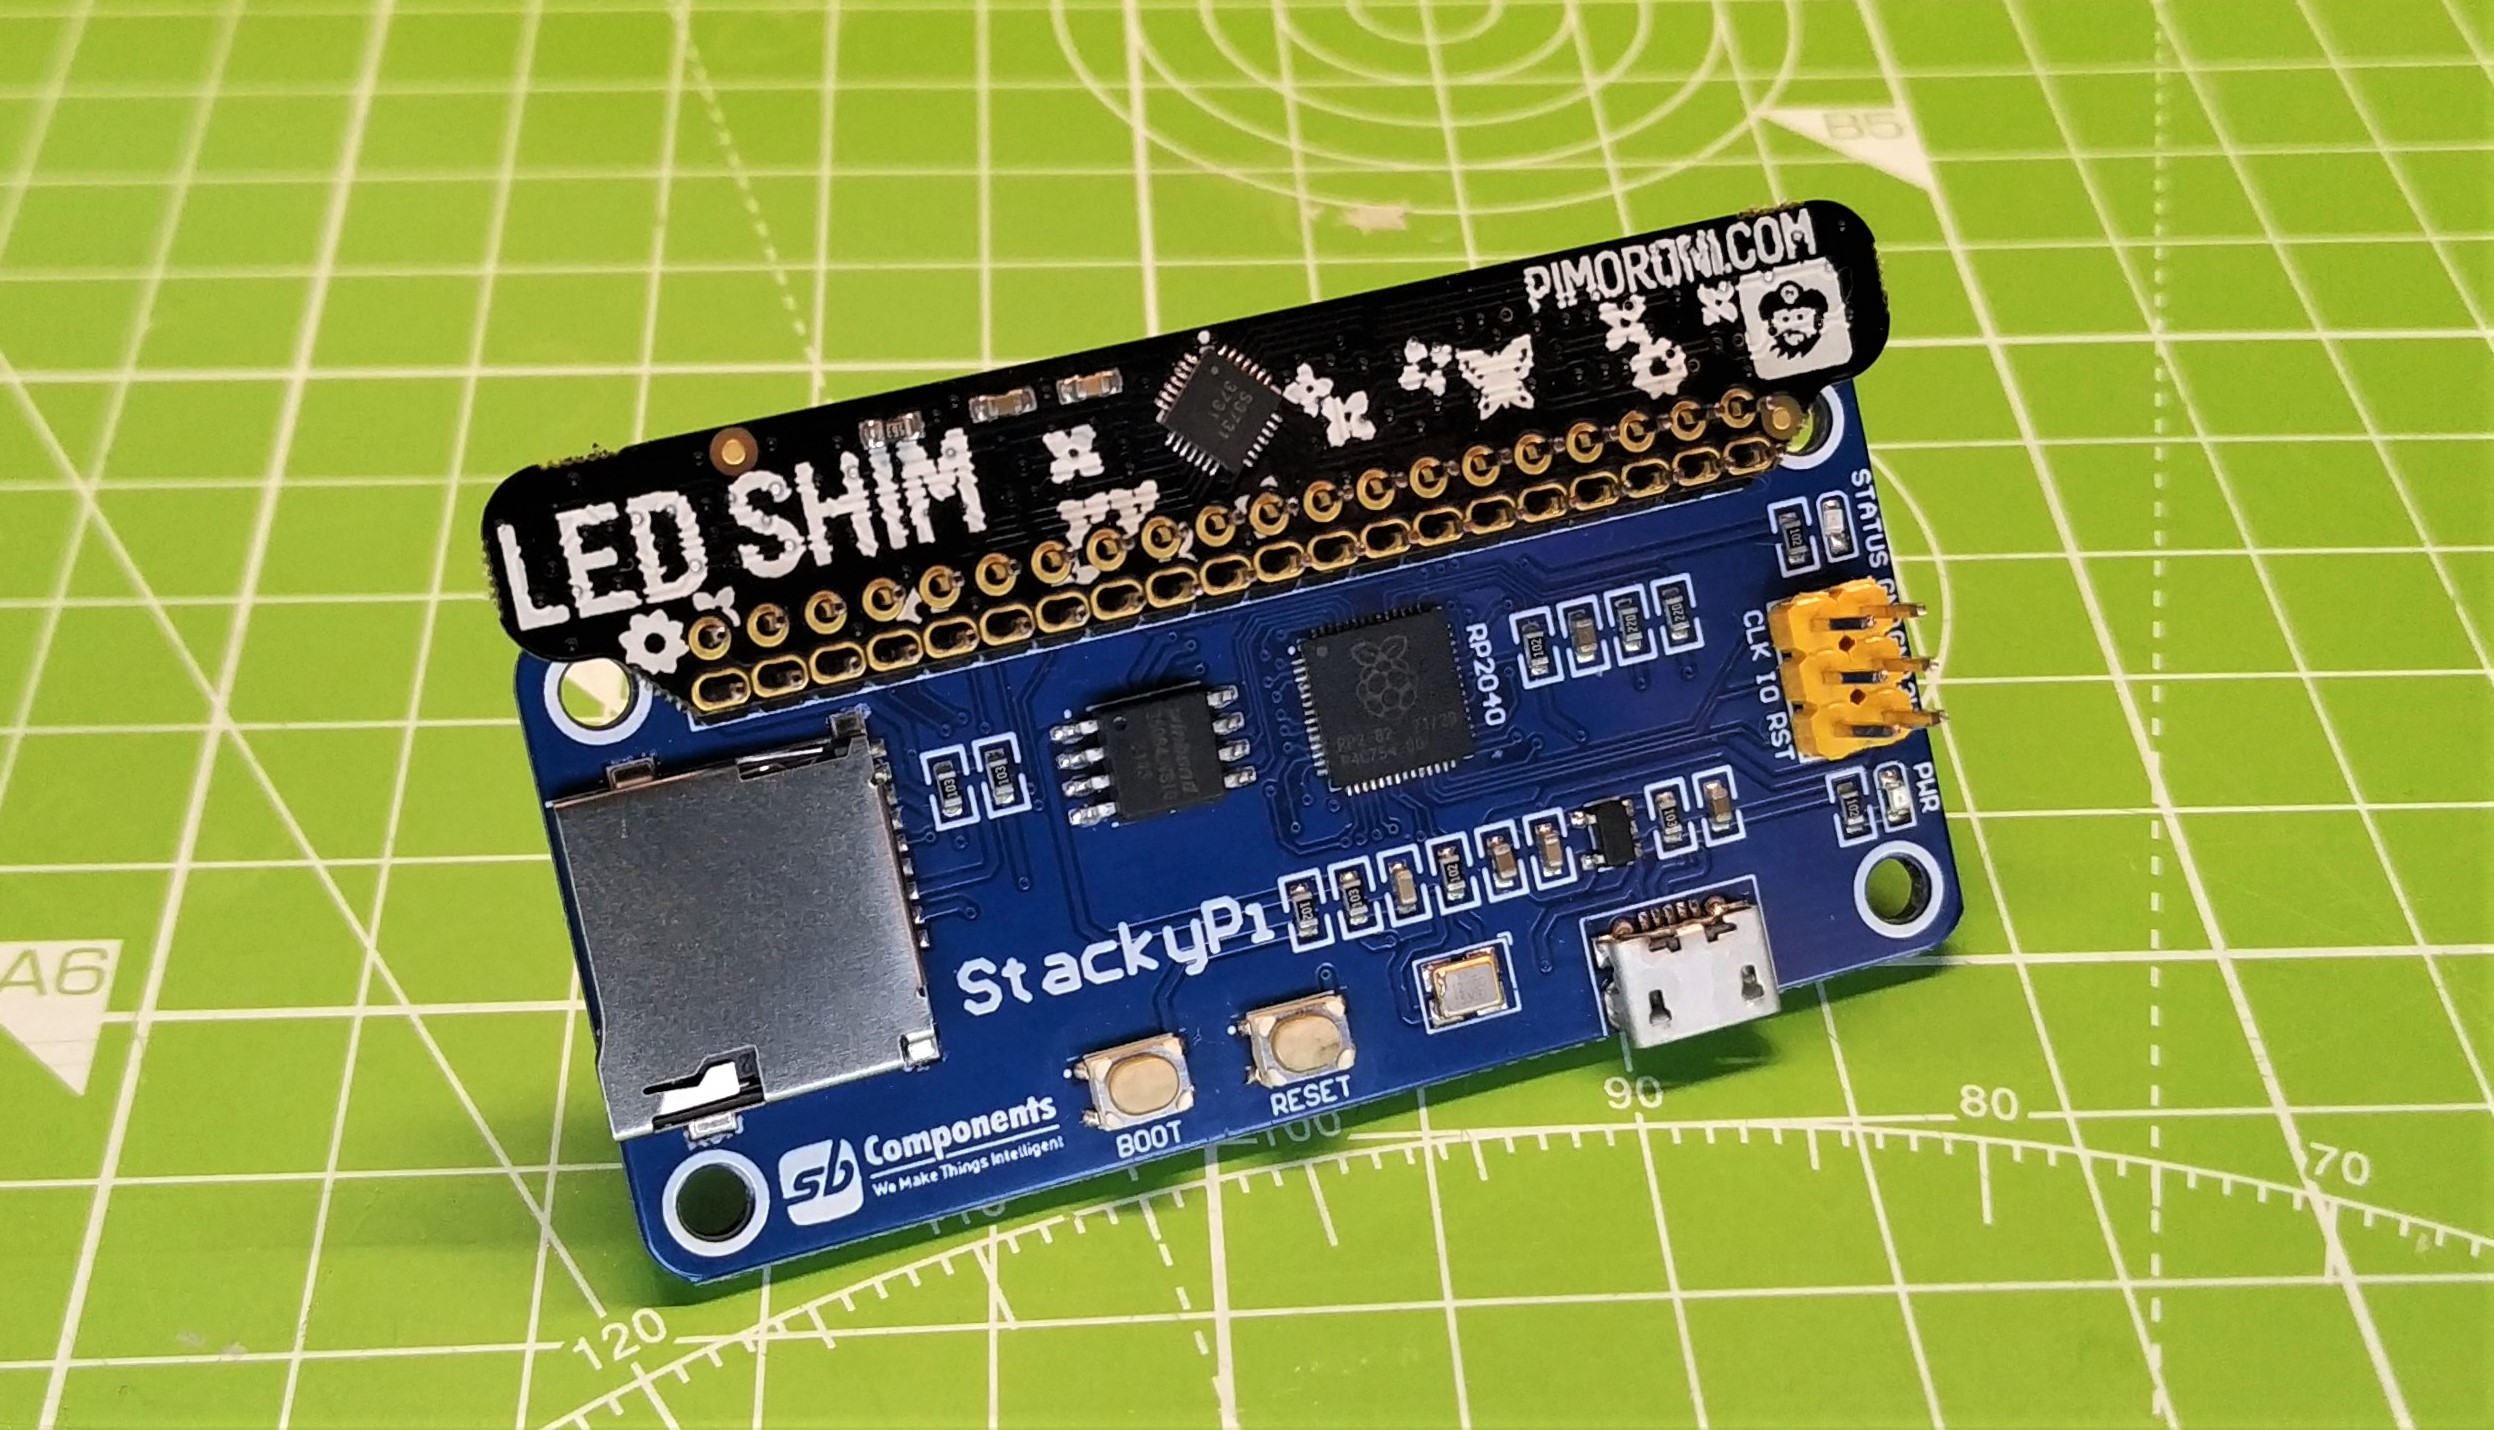
But the same success cannot be easily applied to more complex boards. If your board has a special chip, or uses a different protocol (I2C, SPI etc) then your mileage will vary. We tested a few more specialist boards such as Touch pHAT, Explorer HAT Pro and LED Shim and sadly were unable to get them working.
We completed the MicroPython portion of our testing with a success, kind of. Reading and writing to and from a FAT32 formatted microSD card was seamless. The only problem was that we had to use the included firmware.uf2 file as it had the corresponding Python libraries. This firmware is based on a now, one year old version of MicroPython. We’d love to see this updated, or the Python dependencies made available.
On to CircuitPython and this is where we found that StackyPi really found its feet. Installing the latest version of CircuitPython 7 for the Raspberry Pi Pico, we quickly managed to perform the same LED tests to confirm everything was working. Our Pibrella test also passed with flying colors. The Unicorn HAT (Neopixel) test was also much simpler thanks to Adafruit’s abstraction of the Neopixel library and its comprehensive selection of Python libraries.
We had rainbows and blinkies down in record time. So what about the more advanced boards? Here we hit a rocky road. If a board uses I2C, SPI or another protocol, then we have a lot of work ahead of us. We tested an LED Shim, essentially an I2C board that connects an IS31FL3731 PWM LED Driver to a long line of RGB LEDs. Adafruit has a great learning resource for its own version of the board, but no matter what, our test failed.
Ending our tests on a high note, we successfully used the onboard microSD card reader with the latest CircuitPython release. It took a few tweaks, locating the correct SPI pins, but we got there and successfully wrote a new file, then read the contents back in CircuitPython.
Use Cases for StackyPi
The onboard microSD card reader is a great feature of this board. If we can use a simple HAT/pHAT or connect some standard electronic components to the GPIO then we have ourselves a quick and simple data logger.
If we want to reuse that box full of Raspberry Pi add ons, then we will need a large pot of coffee and the patience of a saint. If you’ve got the skills, and the time, then go for it. But please do share your work with the community.
Bottom Line
This isn’t a new idea, but StackyPi is a well built board that offers a little more over Red Robotics Pico 2 Pi adapter board. If you have the skills to develop port Raspberry Pi HATs / pHAT to the Raspberry Pico then this is the board for you. For the rest of us, it is a curiosity but not an essential purchase. Don’t get us wrong, this is a fun board and the form factor has us sold; we just wish that it were a little easier to tap into the growing pile of Raspberry Pi add-ons.
MORE: Best RP2040 Boards
MORE: Best Raspberry Pi Projects
MORE: Raspberry Pi: How to Get Started

Les Pounder is an associate editor at Tom's Hardware. He is a creative technologist and for seven years has created projects to educate and inspire minds both young and old. He has worked with the Raspberry Pi Foundation to write and deliver their teacher training program "Picademy".
-
dglaude I am pretty sure I did control the Led Shim from a Pico in PiZero Shape. My code is in Adafruit repo: https://github.com/adafruit/Adafruit_CircuitPython_IS31FL3731/blob/main/examples/is31fl3731_ledshim_rainbow.pyReply
... actually I did not find an evidence of that, I controlled the LedShim from a Clue, but never took a picture from a RP2040 in my Twitter feed.
So it did not work?
