How to Build an Alexa Smart Screen with Raspberry Pi
Now your Raspberry Pi can show you Alexa screens. Introducing PiShow.
In this tutorial, we’ll install Alexa Smart Screen SDK on a Raspberry Pi 4 to essentially “make” our own version of the Echo Show. We’ll nickname this project, “PiShow.” This project is possible with the Amazon Alexa Smart Screen SDK, in addition to the Alexa Voice Service (AVS) SDK discussed in our previous article, How to Build an Alexa Speaker with Raspberry Pi.
Caveats about PiShow
- PiShow is not intended to be a replacement for the Echo Show. While many of the Echo Show capabilities are included with this version, significant capabilities including the ability to play videos natively were intentionally excluded from this build.
- This smart screen version of AlexaPi does not include the vocal wake word trigger “Alexa.” The user will press the ‘A’ key when speaking to Alexa.
- PiShow cannot launch with VNC active. VNC must be disabled on the Raspberry Pi.
- Music - The user can pause music on a Pi touchscreen. Music capabilities are the same as described in the AlexaPi article.
- Alexa Skills are available on PiShow, and any visual screens within an Alexa Skill are also visible on PiShow. Furthermore, touchscreen functionality is enabled for Alexa Skills.
- If you are using a touchscreen, and you tap the screen while Alexa is speaking, she will stop speaking. This is the same behavior on the Echo Show.
Why Build a PiShow?
In our previous article, we addressed the cost differential of purchasing the AlexaPi project components vs. an Echo Dot. In this post, we fully disclose that it is less expensive to purchase an Echo Show vs. the components for PiShow.
If you already own a Raspberry Pi and a touchscreen, this could be a fun weekend STEM project. The fun is in the making and learning about how voice technology works behind the scenes.
What You’ll Need
- Raspberry Pi 3B+ or Raspberry Pi
- 16GB (or larger) microSD card (see best Raspberry Pi microSD cards) with a fresh install of Raspberry Pi OS
- Power supply/Keyboard/Mouse/Monitor/HDMI Cable (for your Raspberry Pi)
- USB Microphone
- Speaker with 3.5mm or USB connector. We’ve only tested with a 3.5mm speaker but USB should work also.
- HDMI monitor, 7” Raspberry Pi Touchscreen, or 3.5” or 5” TFT screen - This project works with touchscreen capabilities.
- Optional: Mini wireless keyboard - useful for starting the script and holding down the ‘A’ key after install.
Timing: Plan for a minimum of 3 hours to complete this project. The AVS Device SDK make install step takes around 2 hours depending on your Pi model and internet speed.
Prerequisites:
Before starting this tutorial, complete the entire project as detailed in our previous article, How to Build an Alexa Speaker with Raspberry Pi.
The majority of this tutorial is based on terminal commands. If you are not familiar with terminal commands on your Raspberry Pi, we highly recommend reviewing 25+ Linux Commands Raspberry Pi Users Need to Know first.
Get Tom's Hardware's best news and in-depth reviews, straight to your inbox.
PiShow Setup and Install
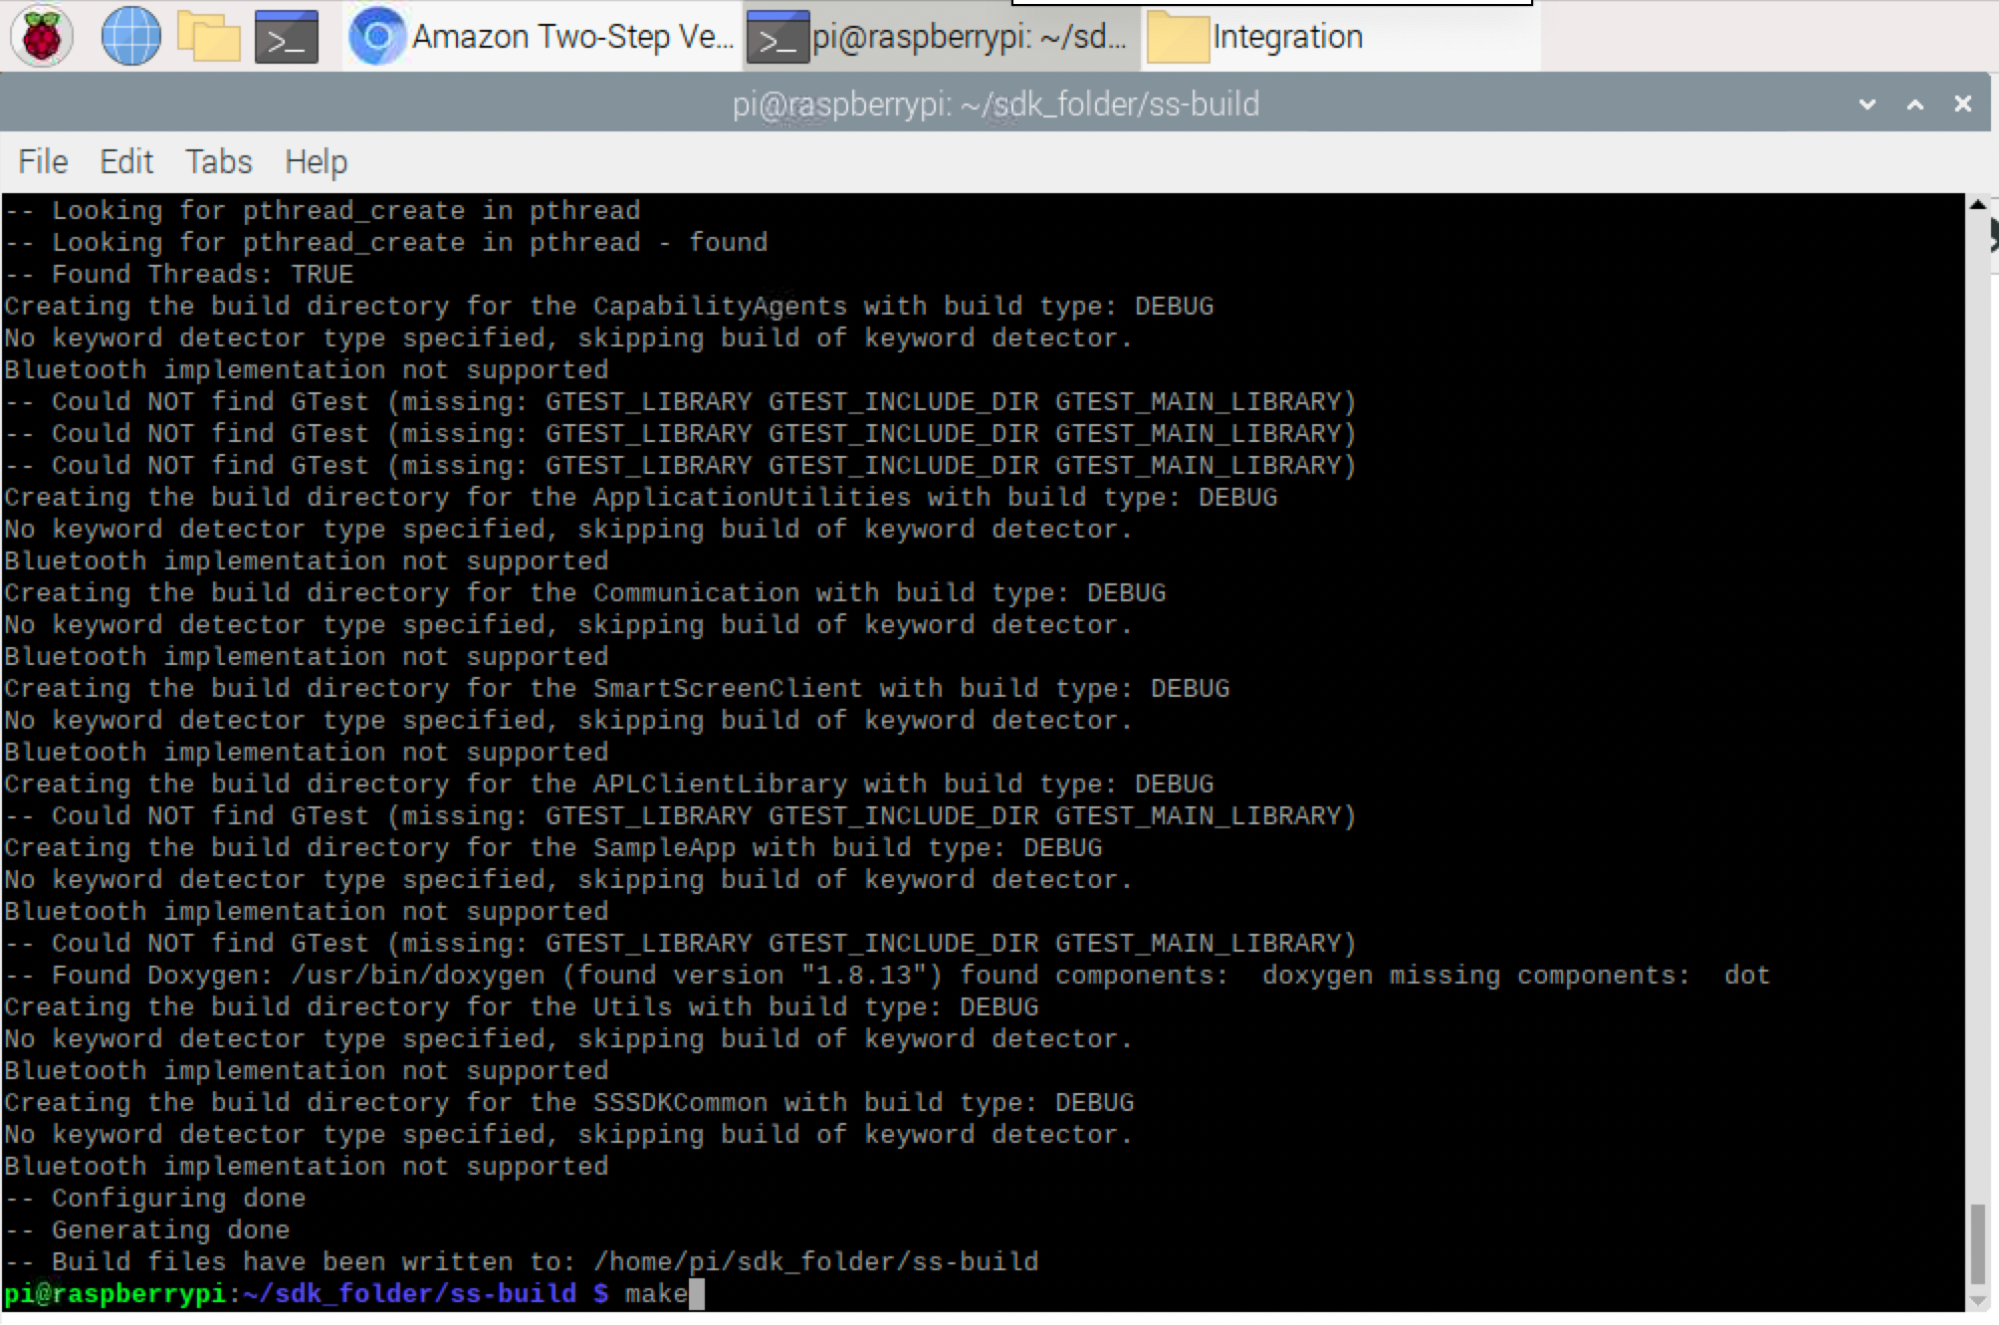
1. Important: Complete the AVS installation as detailed in our previous article, How to Build an Alexa Speaker with Raspberry Pi.
2. If your AlexaPi is currently running, press Ctrl-C to stop the script. Speaker, mic and power should still be connected.
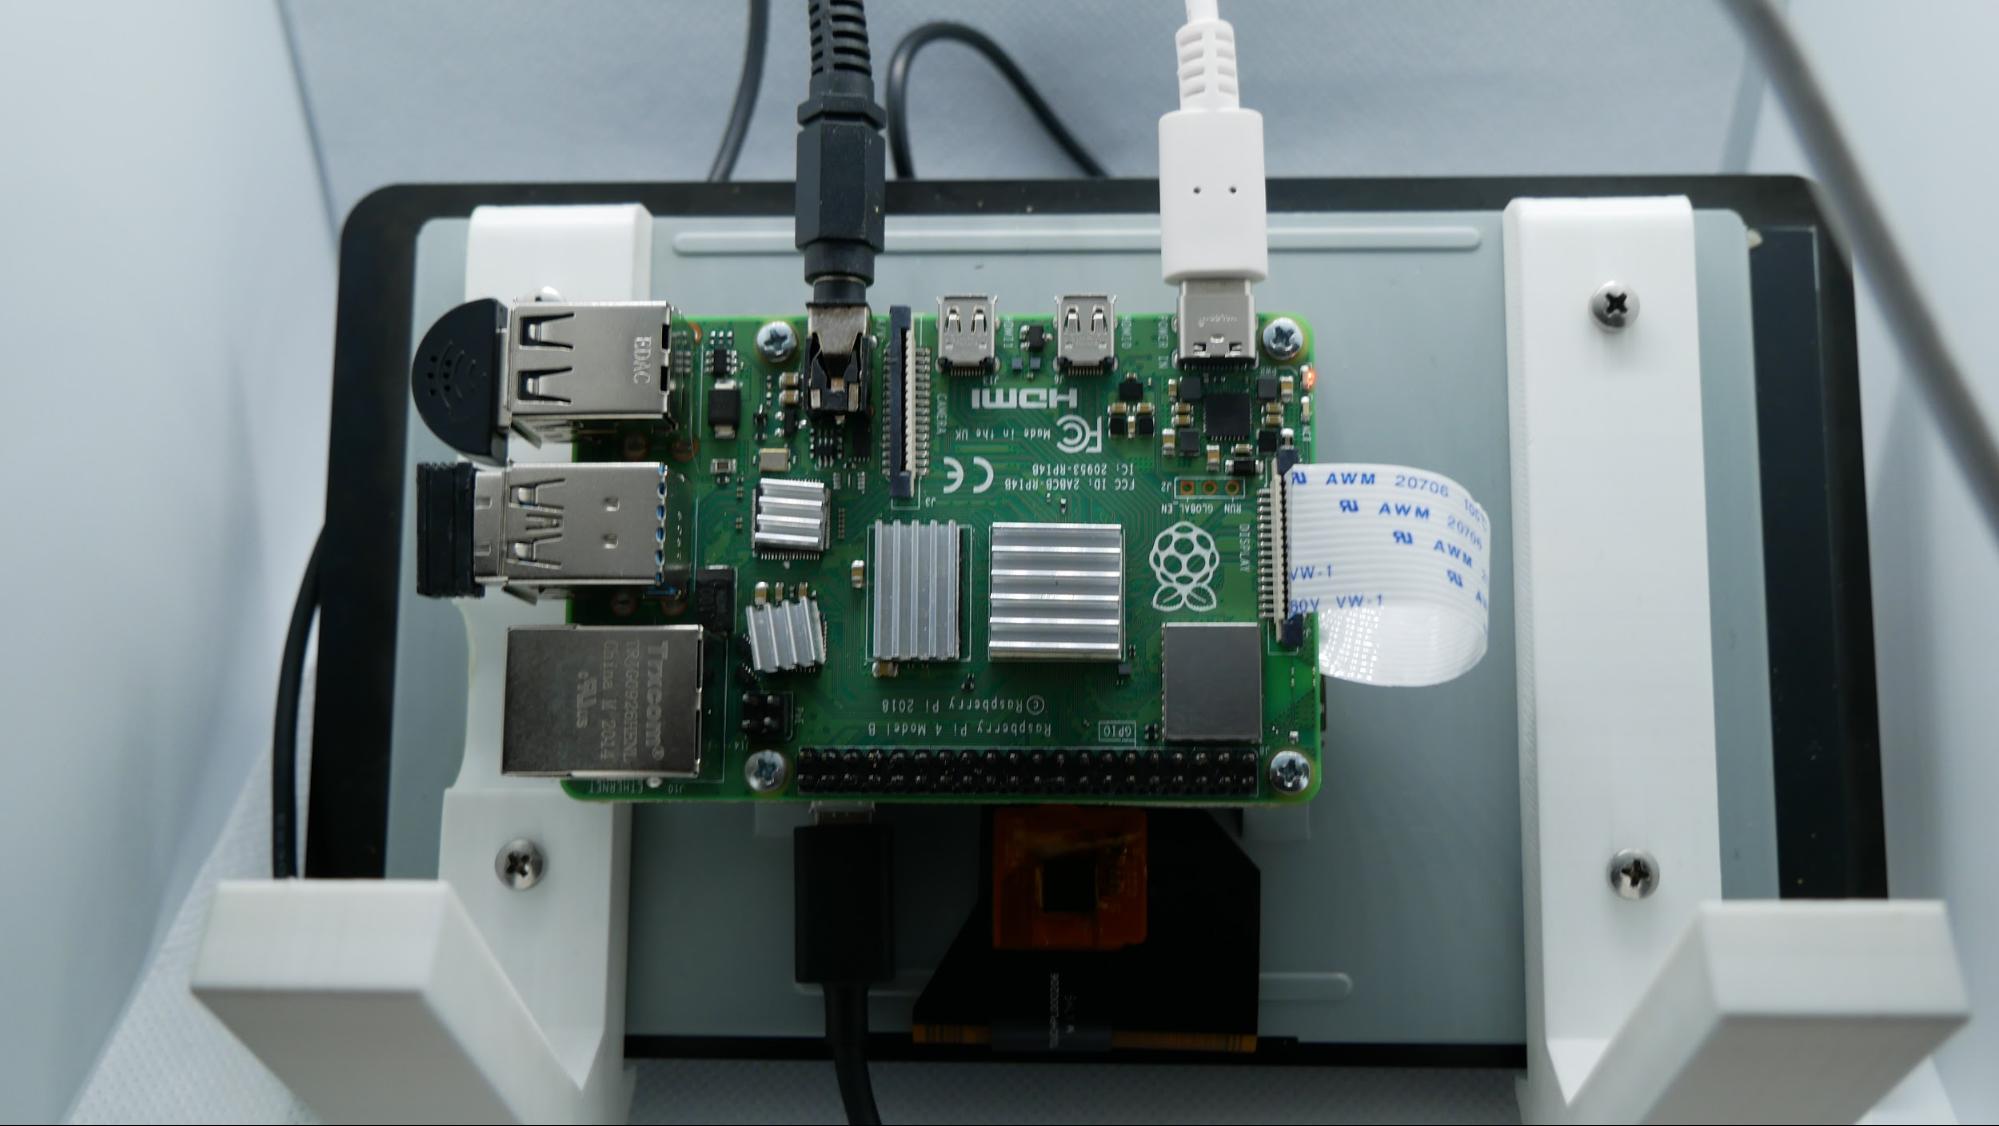
3. Attach your screen : I added a 7” Raspberry Pi Touchscreen for the PiShow version. But you could use a third-party touch screen that connects via either HDMI or via the GPIO pins. You can find such screens for as little as $23 on Amazon. If you use a screen that’s non-touch, you can’t use those features.
Back view:
4. Open a Terminal.
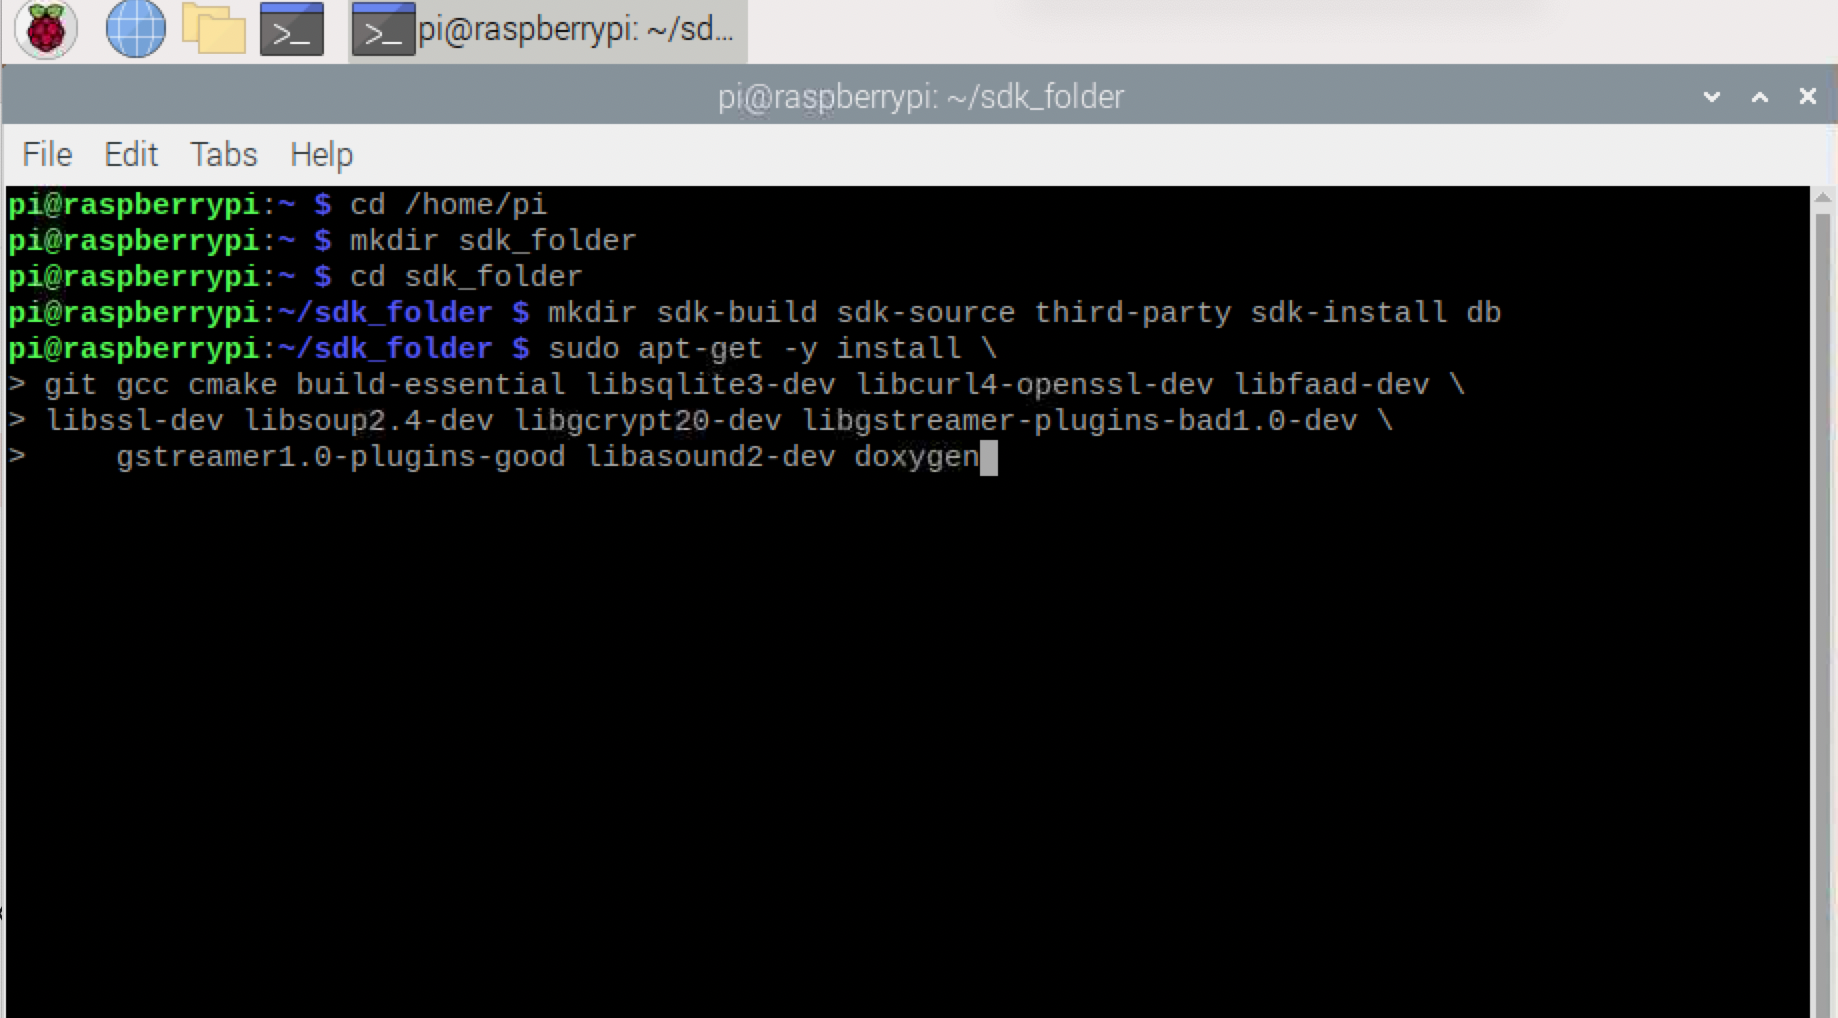
5. We will start by creating the folders and installing the libraries and apps we will need for PiShow. Enter the following commands.
cd /home/pi

mkdir sdk_folder

cd sdk_folder

mkdir sdk-build sdk-source third-party sdk-install db

sudo apt-get -y install \
git gcc cmake build-essential libsqlite3-dev libcurl4-openssl-dev libfaad-dev \
libssl-dev libsoup2.4-dev libgcrypt20-dev libgstreamer-plugins-bad1.0-dev \
   gstreamer1.0-plugins-good libasound2-dev doxygen

pip install commentjson
Your Pi may already have commentjson installed.
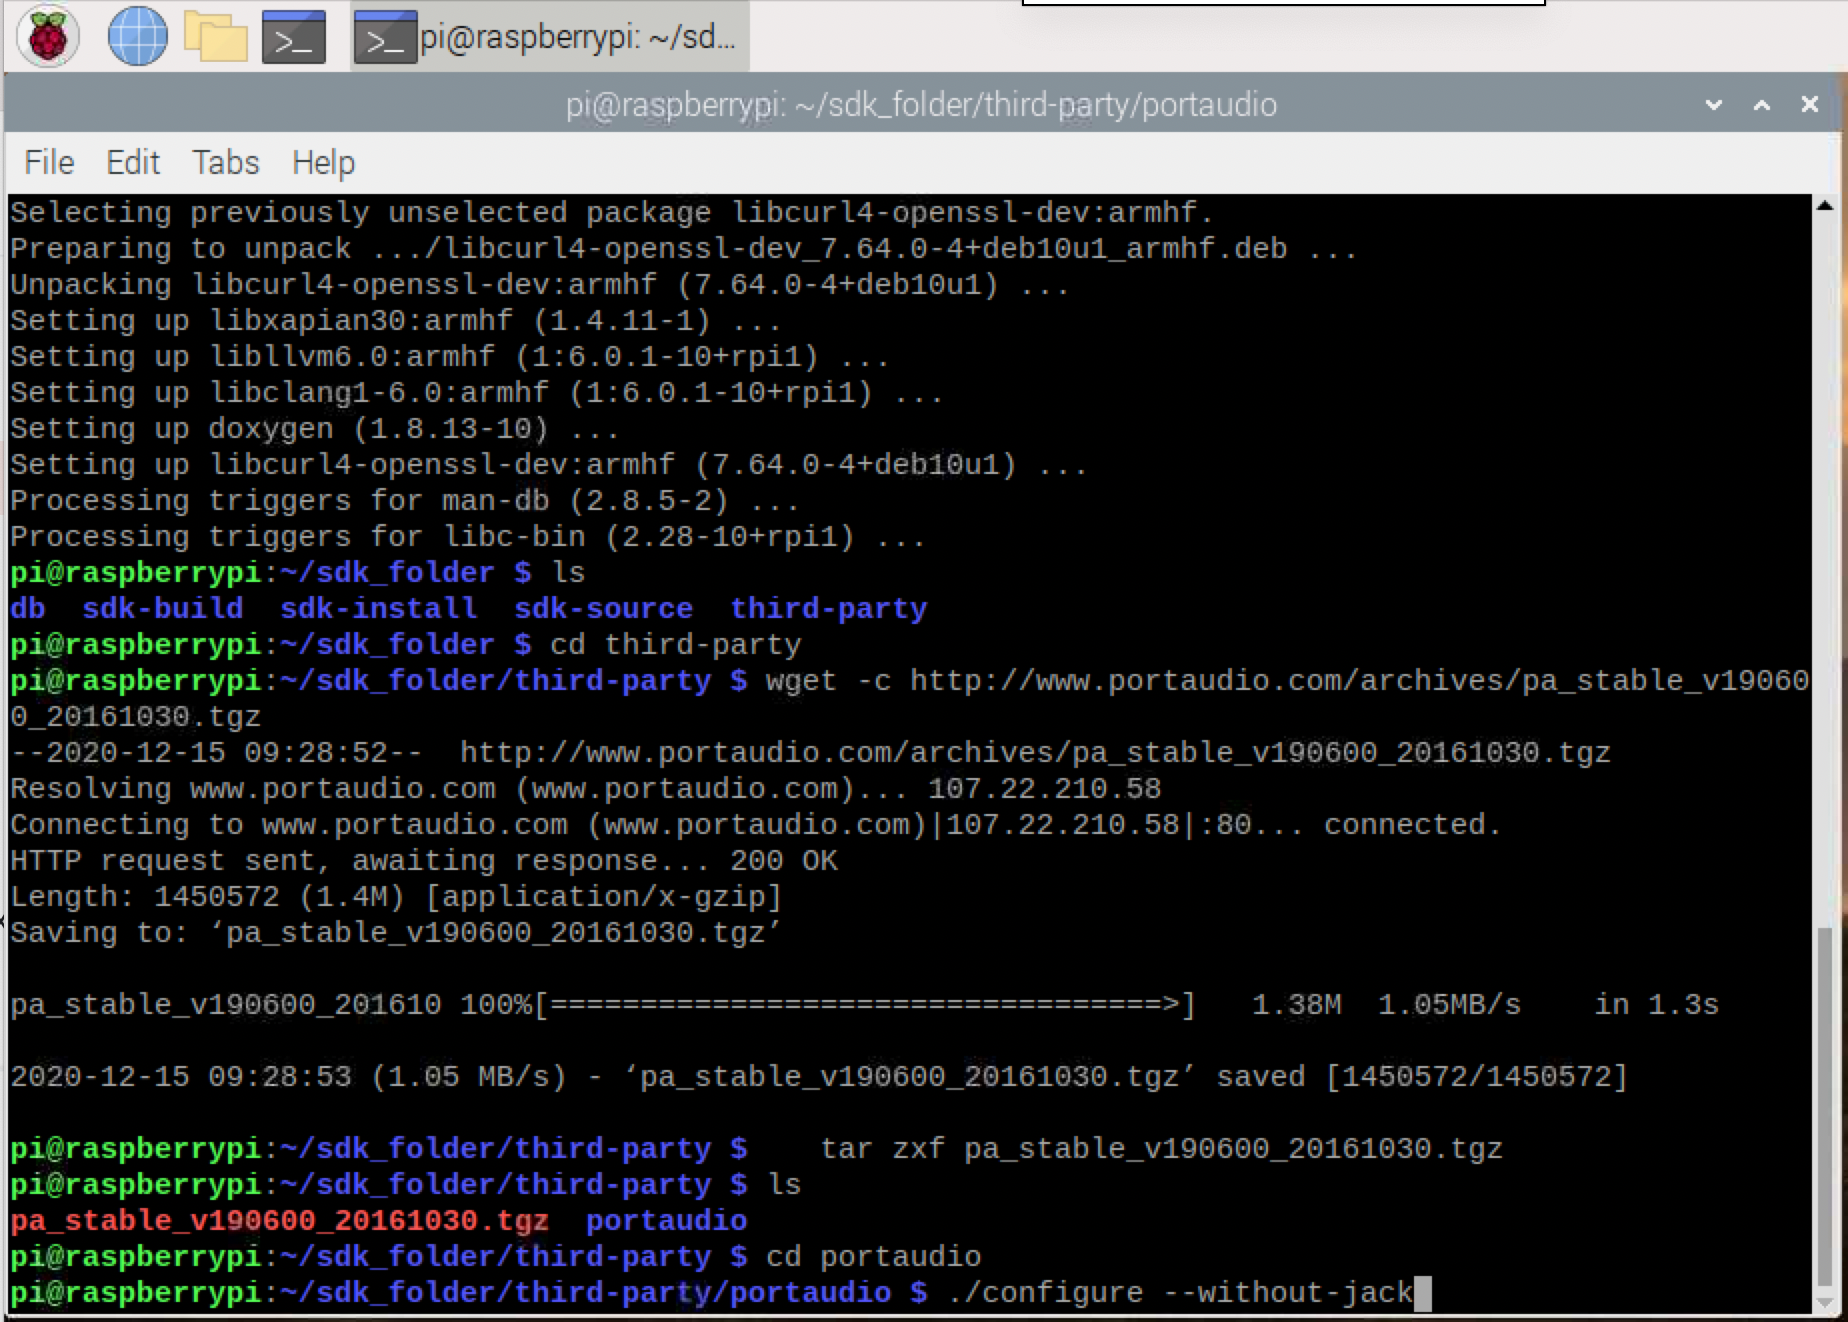
6. Next, we will install PortAudio to record microphone data.
cd third-party

wget -c http://www.portaudio.com/archives/pa_stable_v190600_20161030.tgz

tar zxf pa_stable_v190600_20161030.tgz

cd portaudio

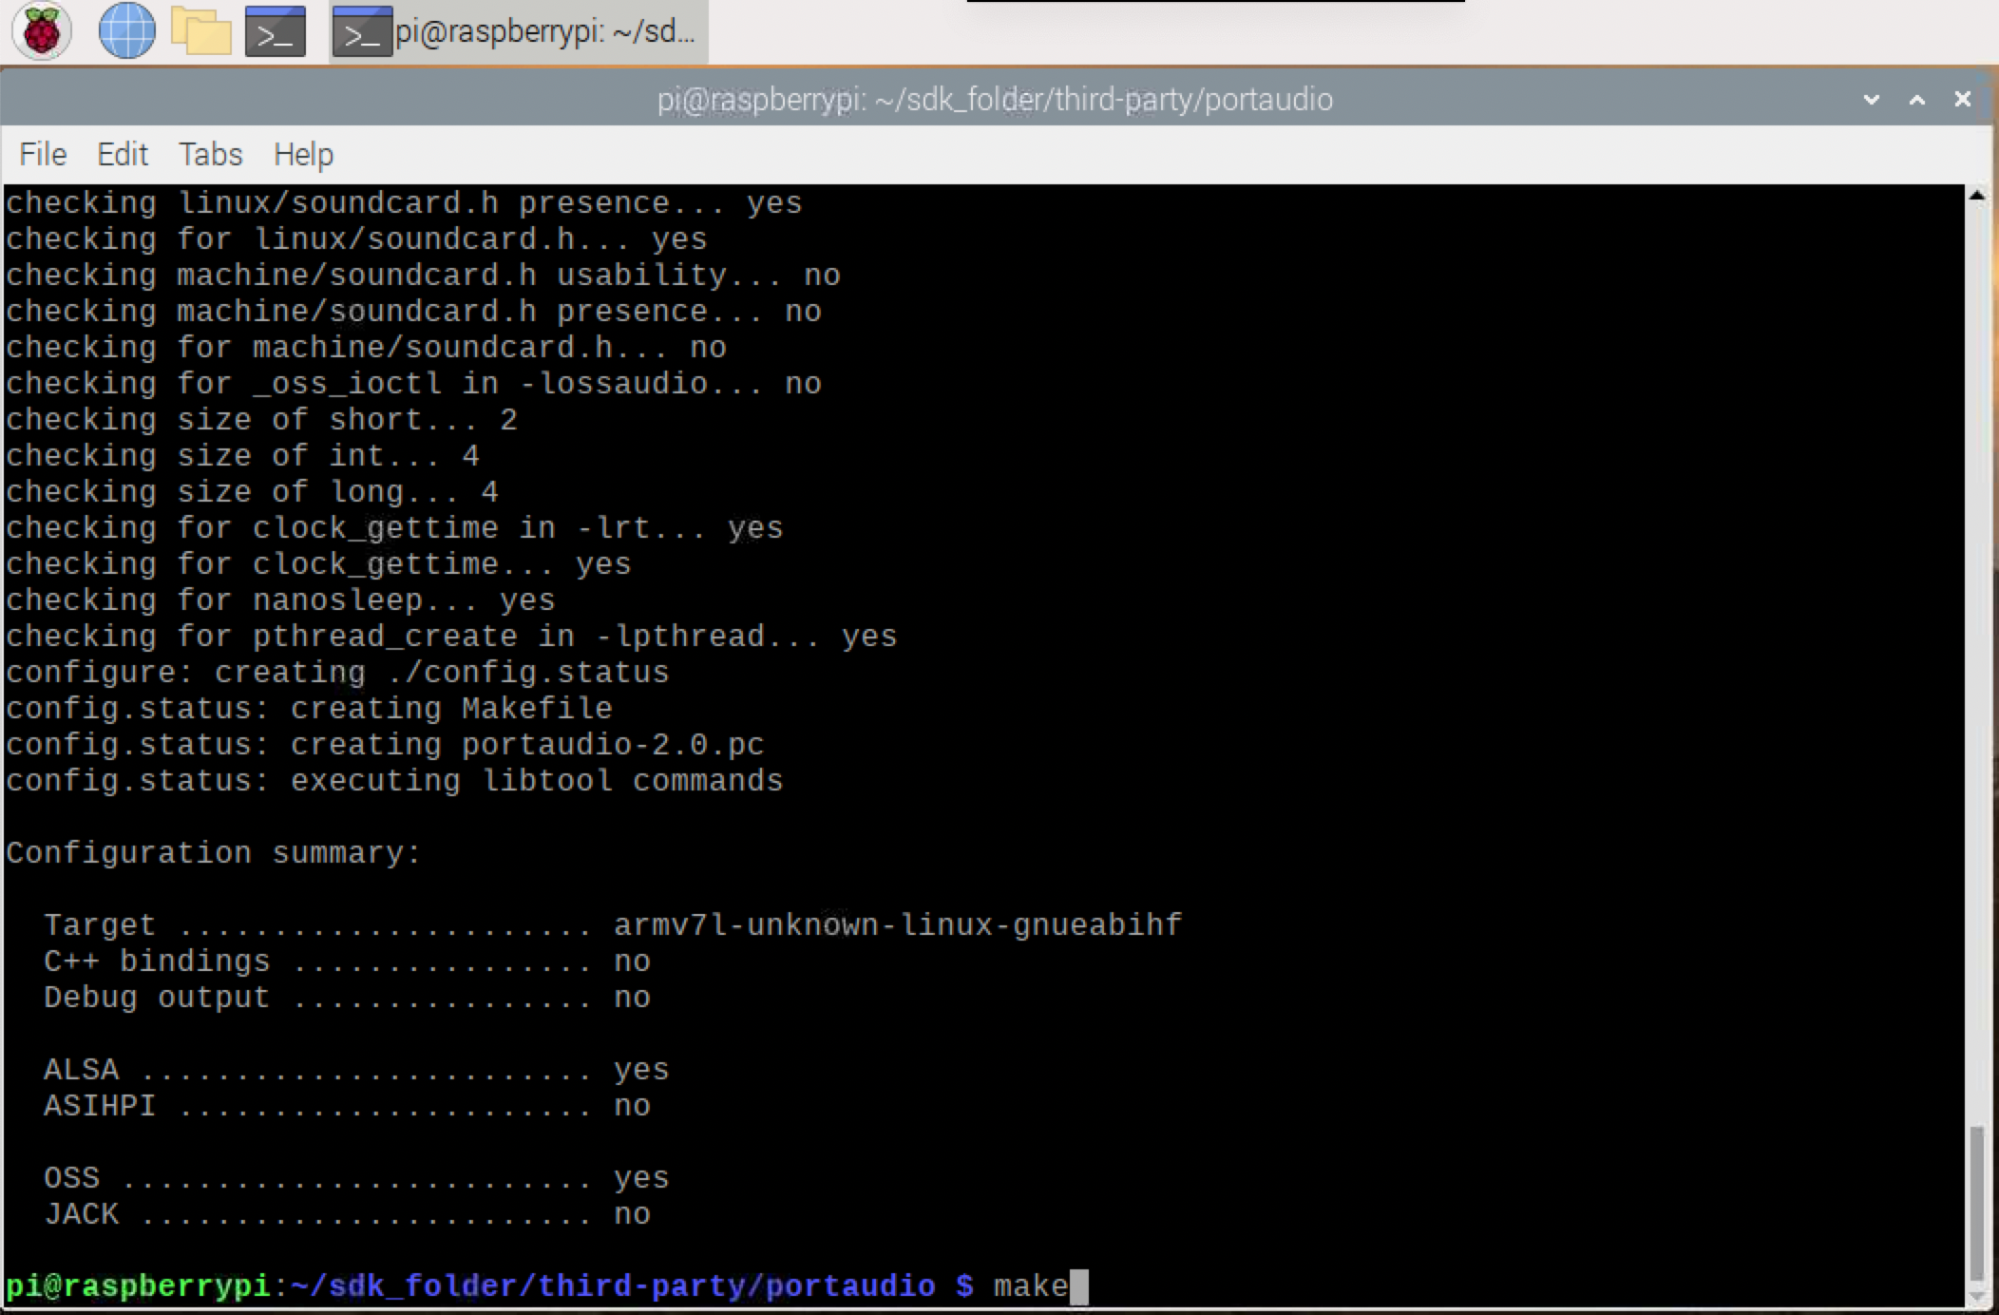
./configure --without-jack7. Run ‘make’ in the PortAudio folder. This command took around 1.5 minutes on a Raspberry Pi 4.
makecd $HOME/sdk_folder/sdk-source
git clone --single-branch --branch v1.21.0 git://github.com/alexa/avs-device-sdk.git
cd $HOME/sdk_folder/sdk-build
cmake $HOME/sdk_folder/sdk-source/avs-device-sdk \
-DGSTREAMER_MEDIA_PLAYER=ON \
-DPORTAUDIO=ON \
-DPORTAUDIO_LIB_PATH=$HOME/sdk_folder/third-party/portaudio/lib/.libs/libportaudio.a \
-DPORTAUDIO_INCLUDE_DIR=$HOME/sdk_folder/third-party/portaudio/include \
-DCMAKE_BUILD_TYPE=DEBUG \
-DCMAKE_INSTALL_PREFIX=$HOME/sdk_folder/sdk-install \
-DRAPIDJSON_MEM_OPTIMIZATION=OFF
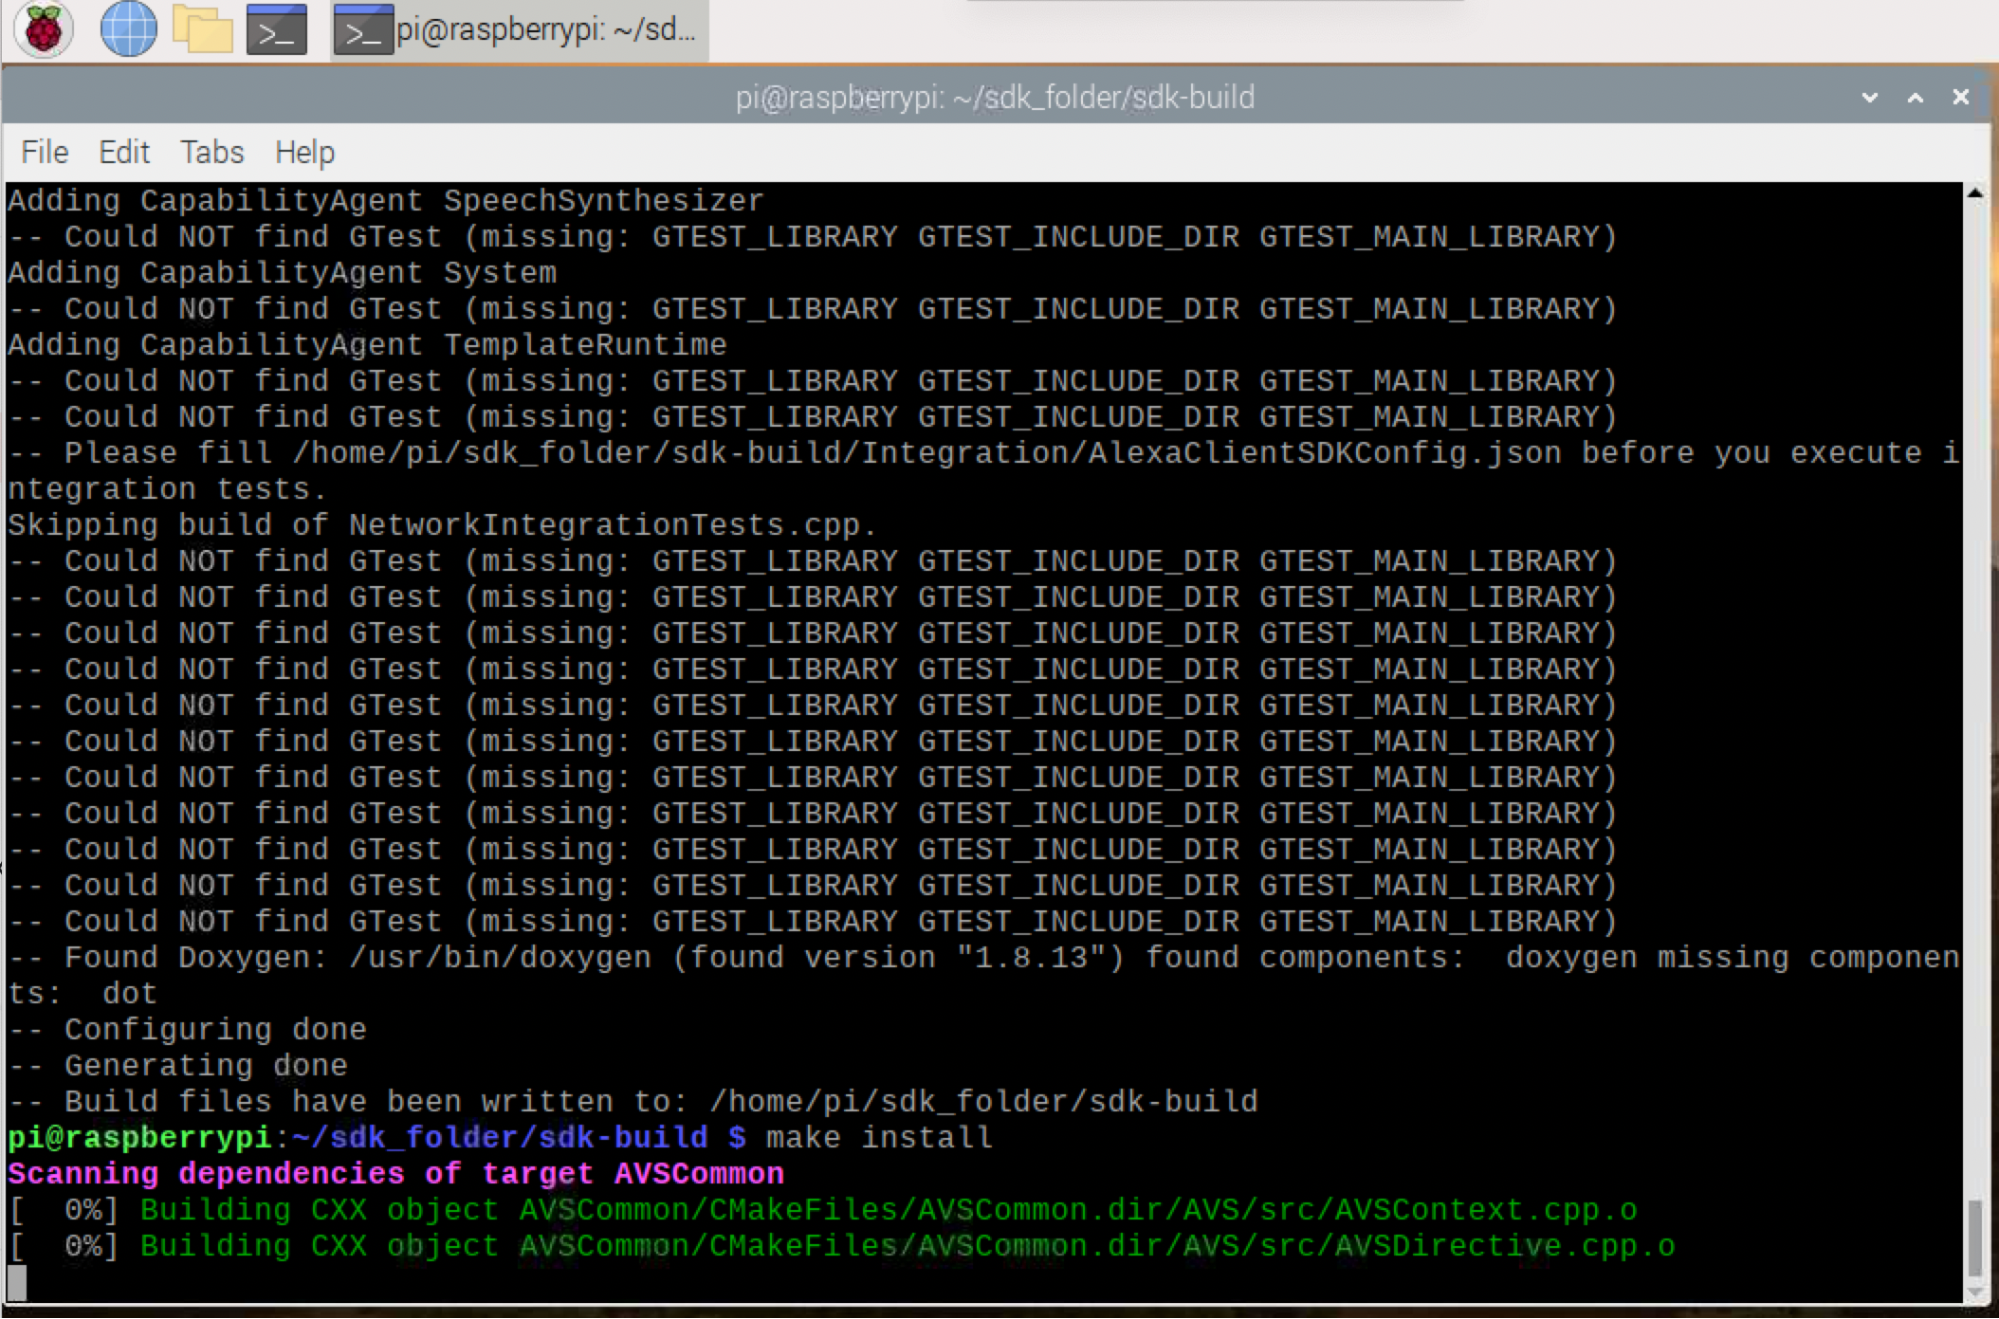
make installWhen the make install is complete, there should be no error messages on your screen.
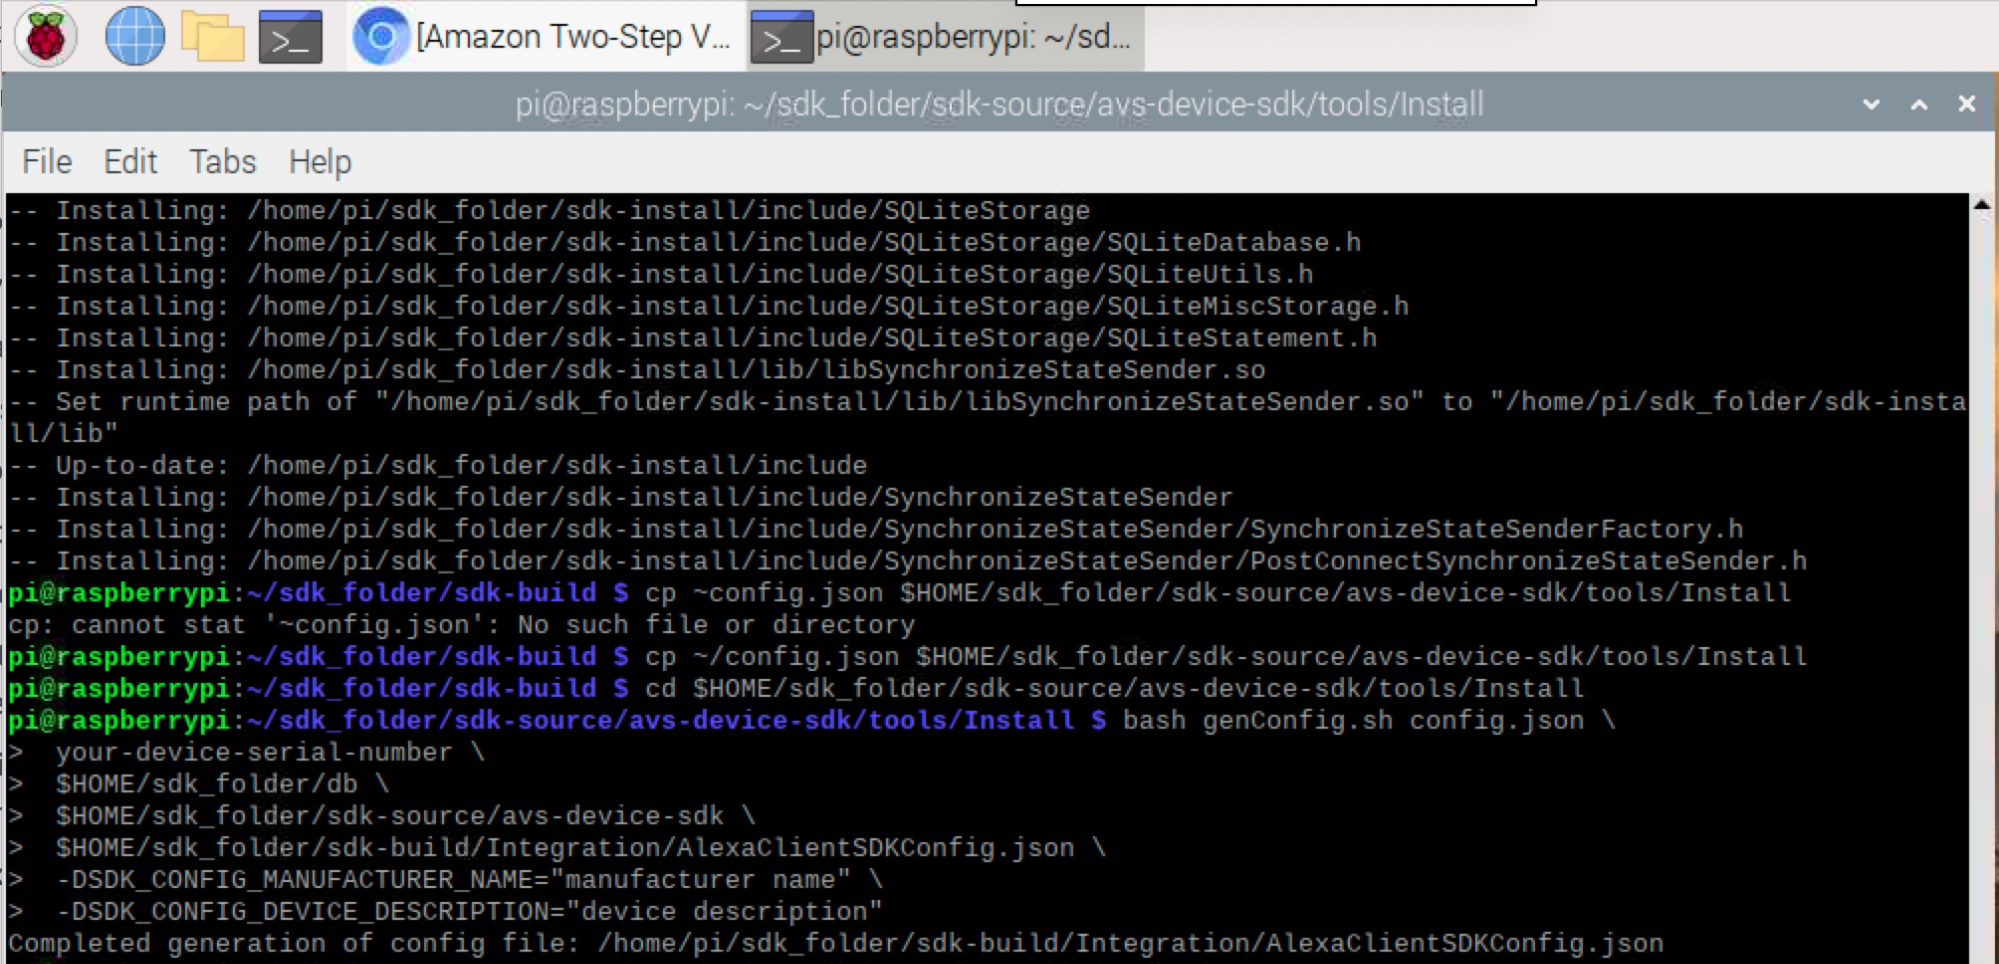
9. Copy the config.json file from the AlexaPi project (/home/pi/) to the Install folder and generate the AlexaClientSDKConfig.json file.
cp ~/config.json $HOME/sdk_folder/sdk-source/avs-device-sdk/tools/Install

cd $HOME/sdk_folder/sdk-source/avs-device-sdk/tools/Install

bash genConfig.sh config.json \
your-device-serial-number \
$HOME/sdk_folder/db \
$HOME/sdk_folder/sdk-source/avs-device-sdk \
$HOME/sdk_folder/sdk-build/Integration/AlexaClientSDKConfig.json \
-DSDK_CONFIG_MANUFACTURER_NAME="manufacturer name" \
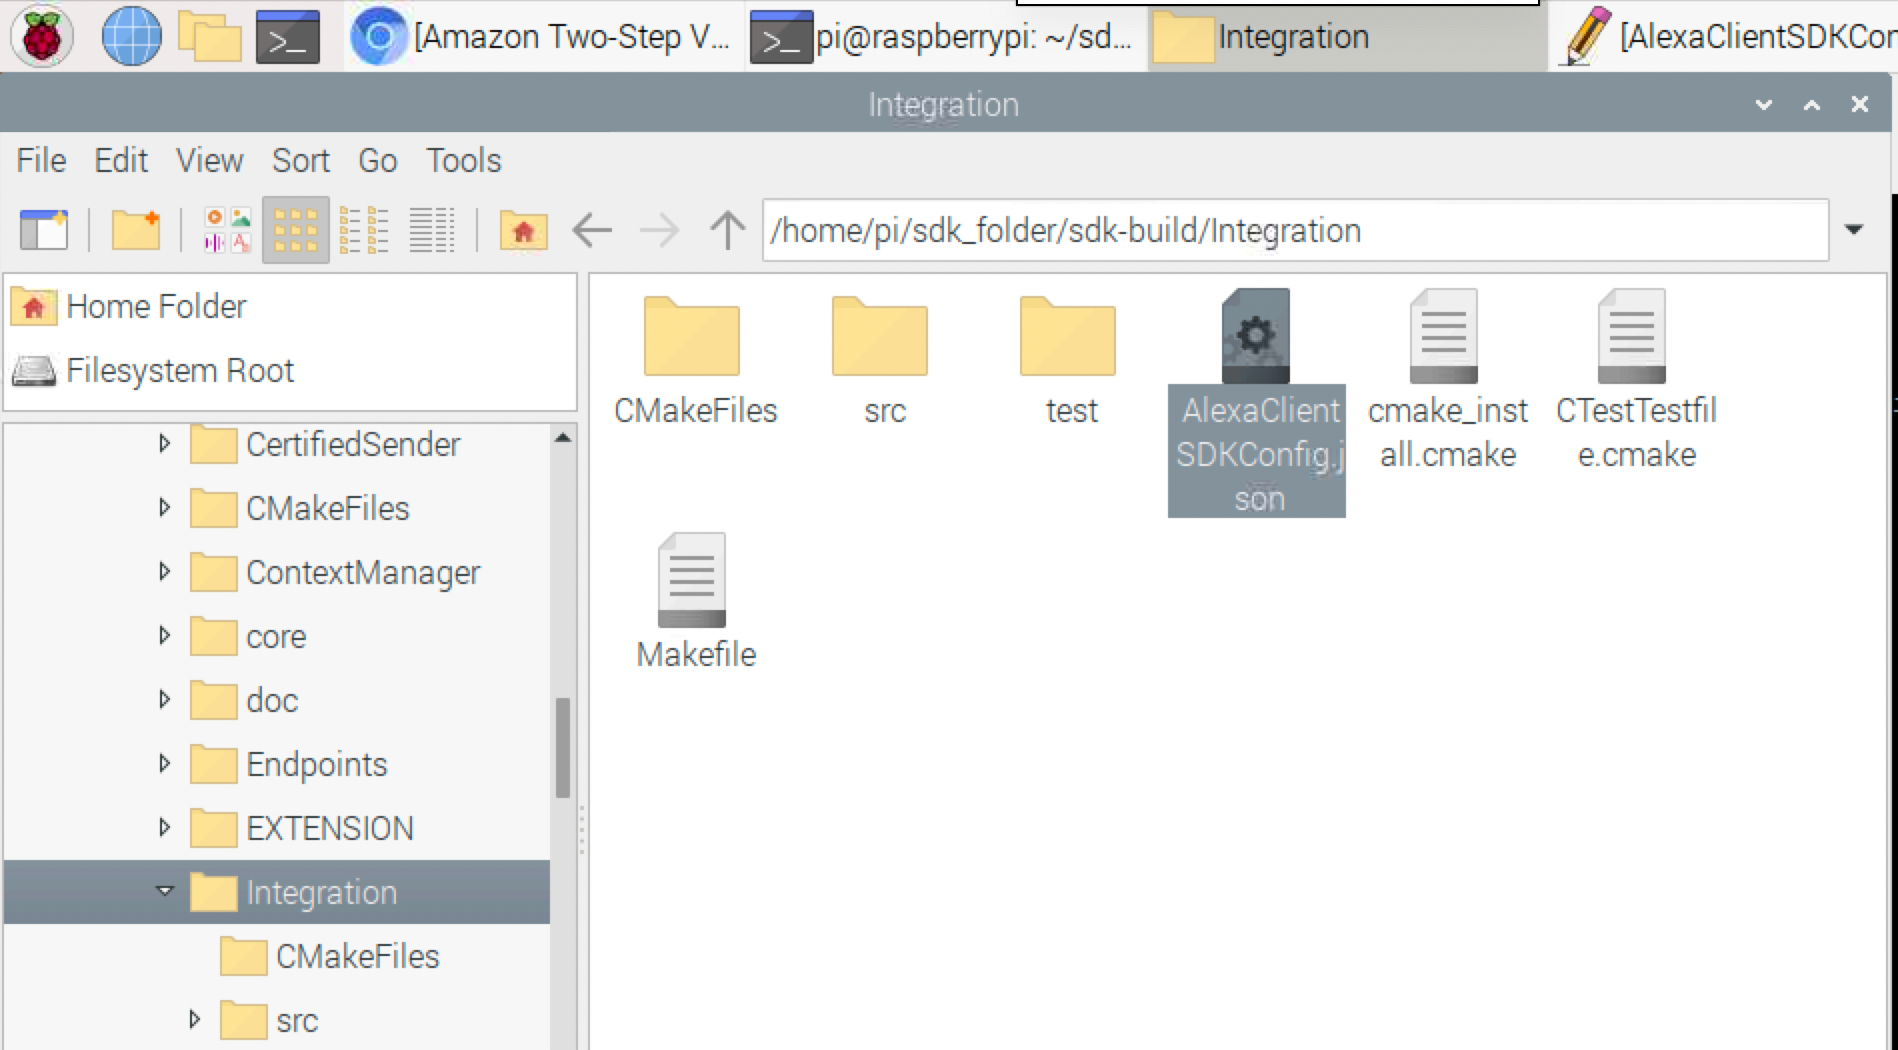
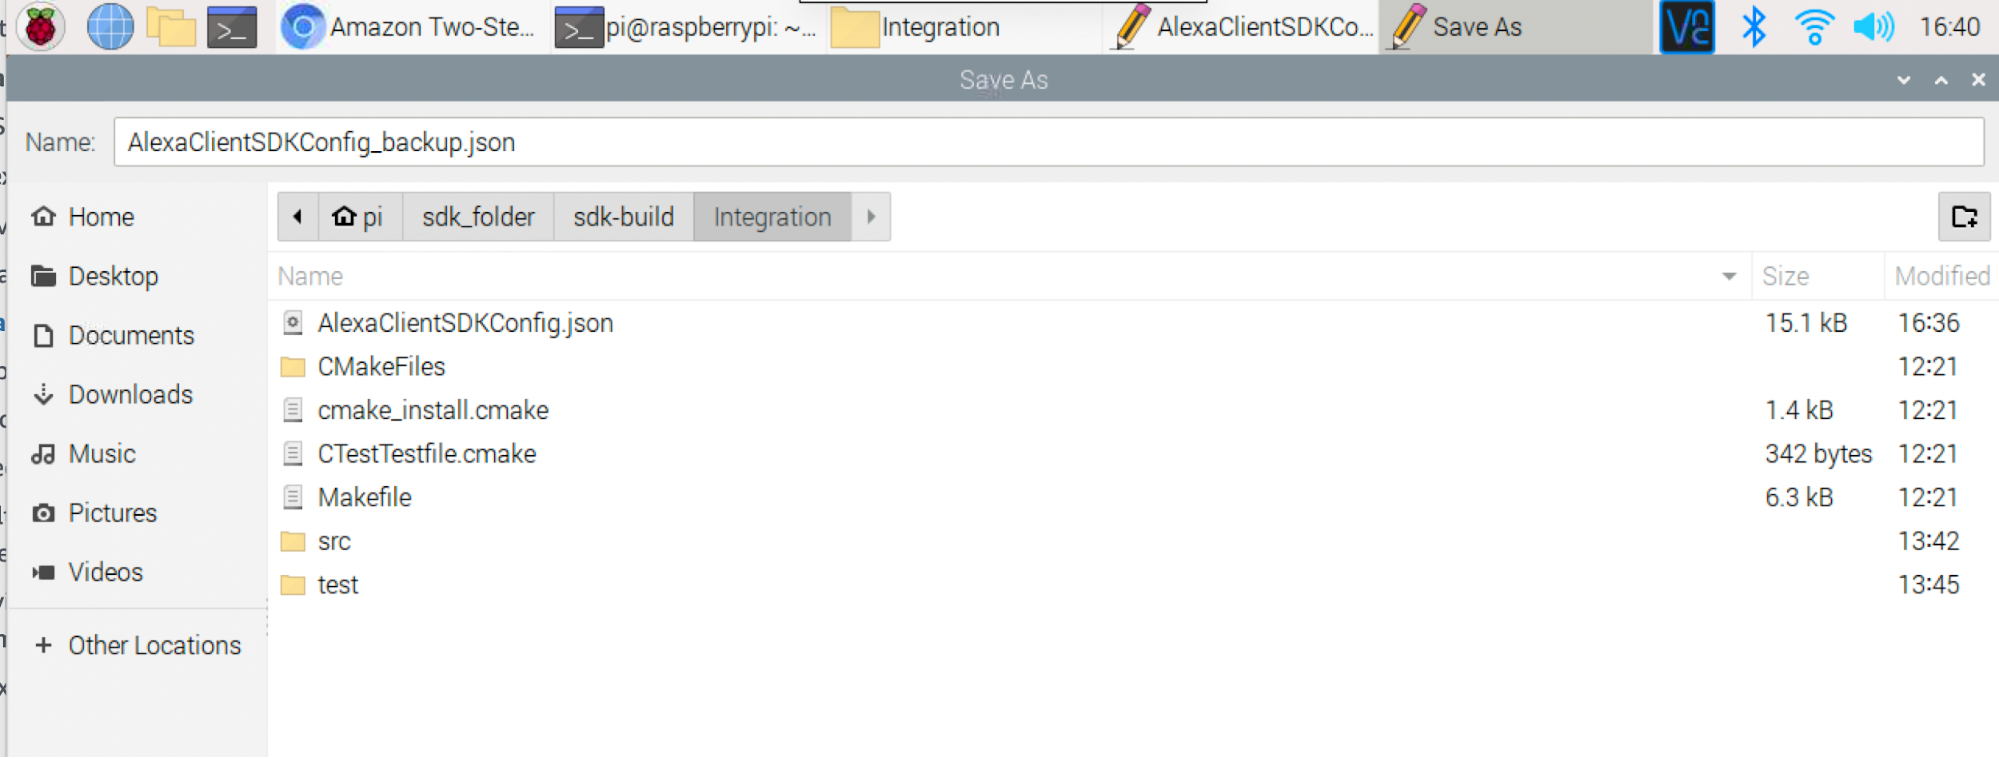
-DSDK_CONFIG_DEVICE_DESCRIPTION="device description"10. Open File Manager and navigate to /home/pi/sdk_folder/sdk-build/Integration/ folder.
11. Right-click on AlexaClientSDKConfig.json and select Text Editor to open the file for editing.
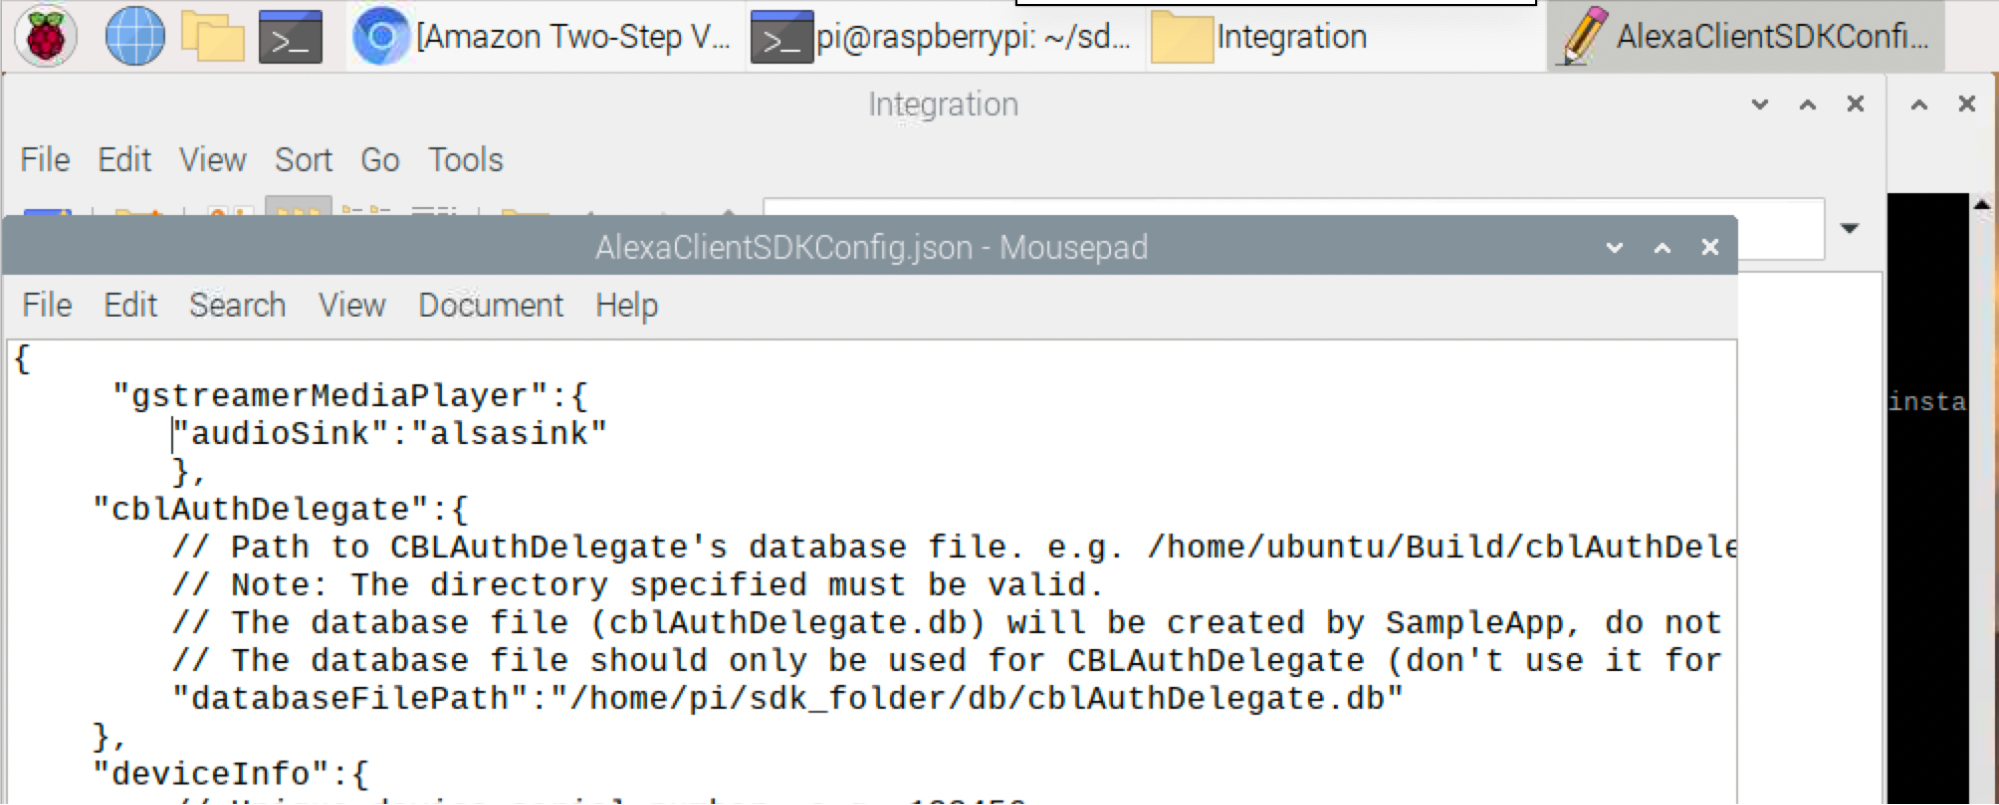
12. Add the info for gstreamerMediaPlayer in the first set of brackets.
"gstreamerMediaPlayer":{

 "audioSink":"alsasink"

},13. Save your file.
14. You can also save a backup copy as AlexaClientSDKConfig_backup.json
15. Close your Text Editor.
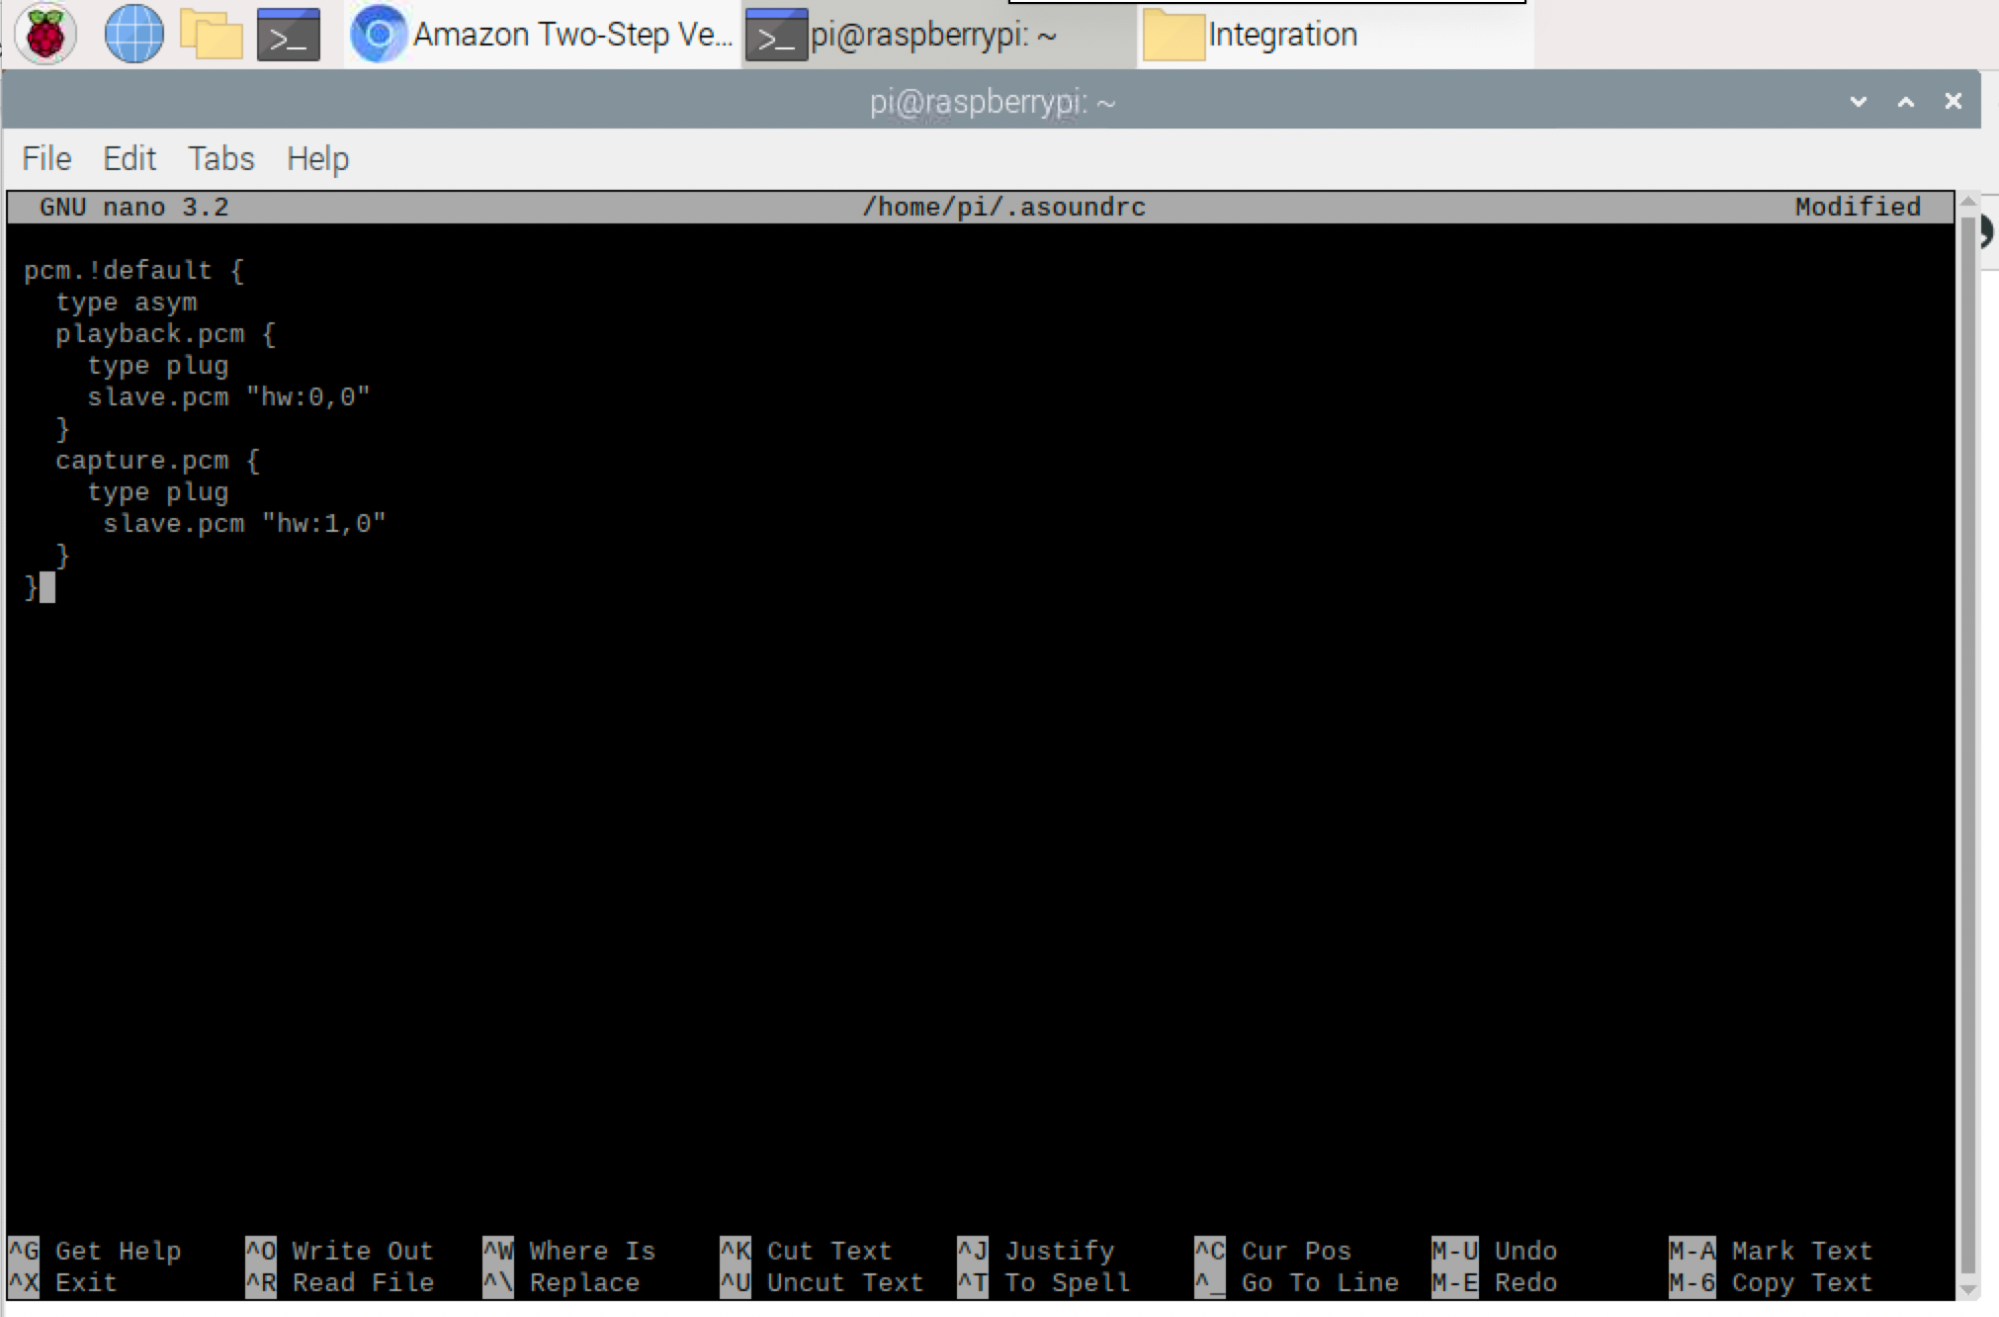
16. Create or modify your /.asoundrc file.
cd

sudo nano ~/.asoundrc
17. Add the following lines to ~/.asoundrc
pcm.!default {
   type asym
   playback.pcm {
     type plug
     slave.pcm "hw:0,0"
   }
   capture.pcm {
     type plug
      slave.pcm "hw:1,0"
   }
 }
18. Press Ctrl-X, Y, and Enter to save your ~/.asoundrc file.
19. Test your progress so far.
cd $HOME/sdk_folder/sdk-build

 PA_ALSA_PLUGHW=1 ./SampleApp/src/SampleApp
./Integration/AlexaClientSDKConfig.json DEBUG9
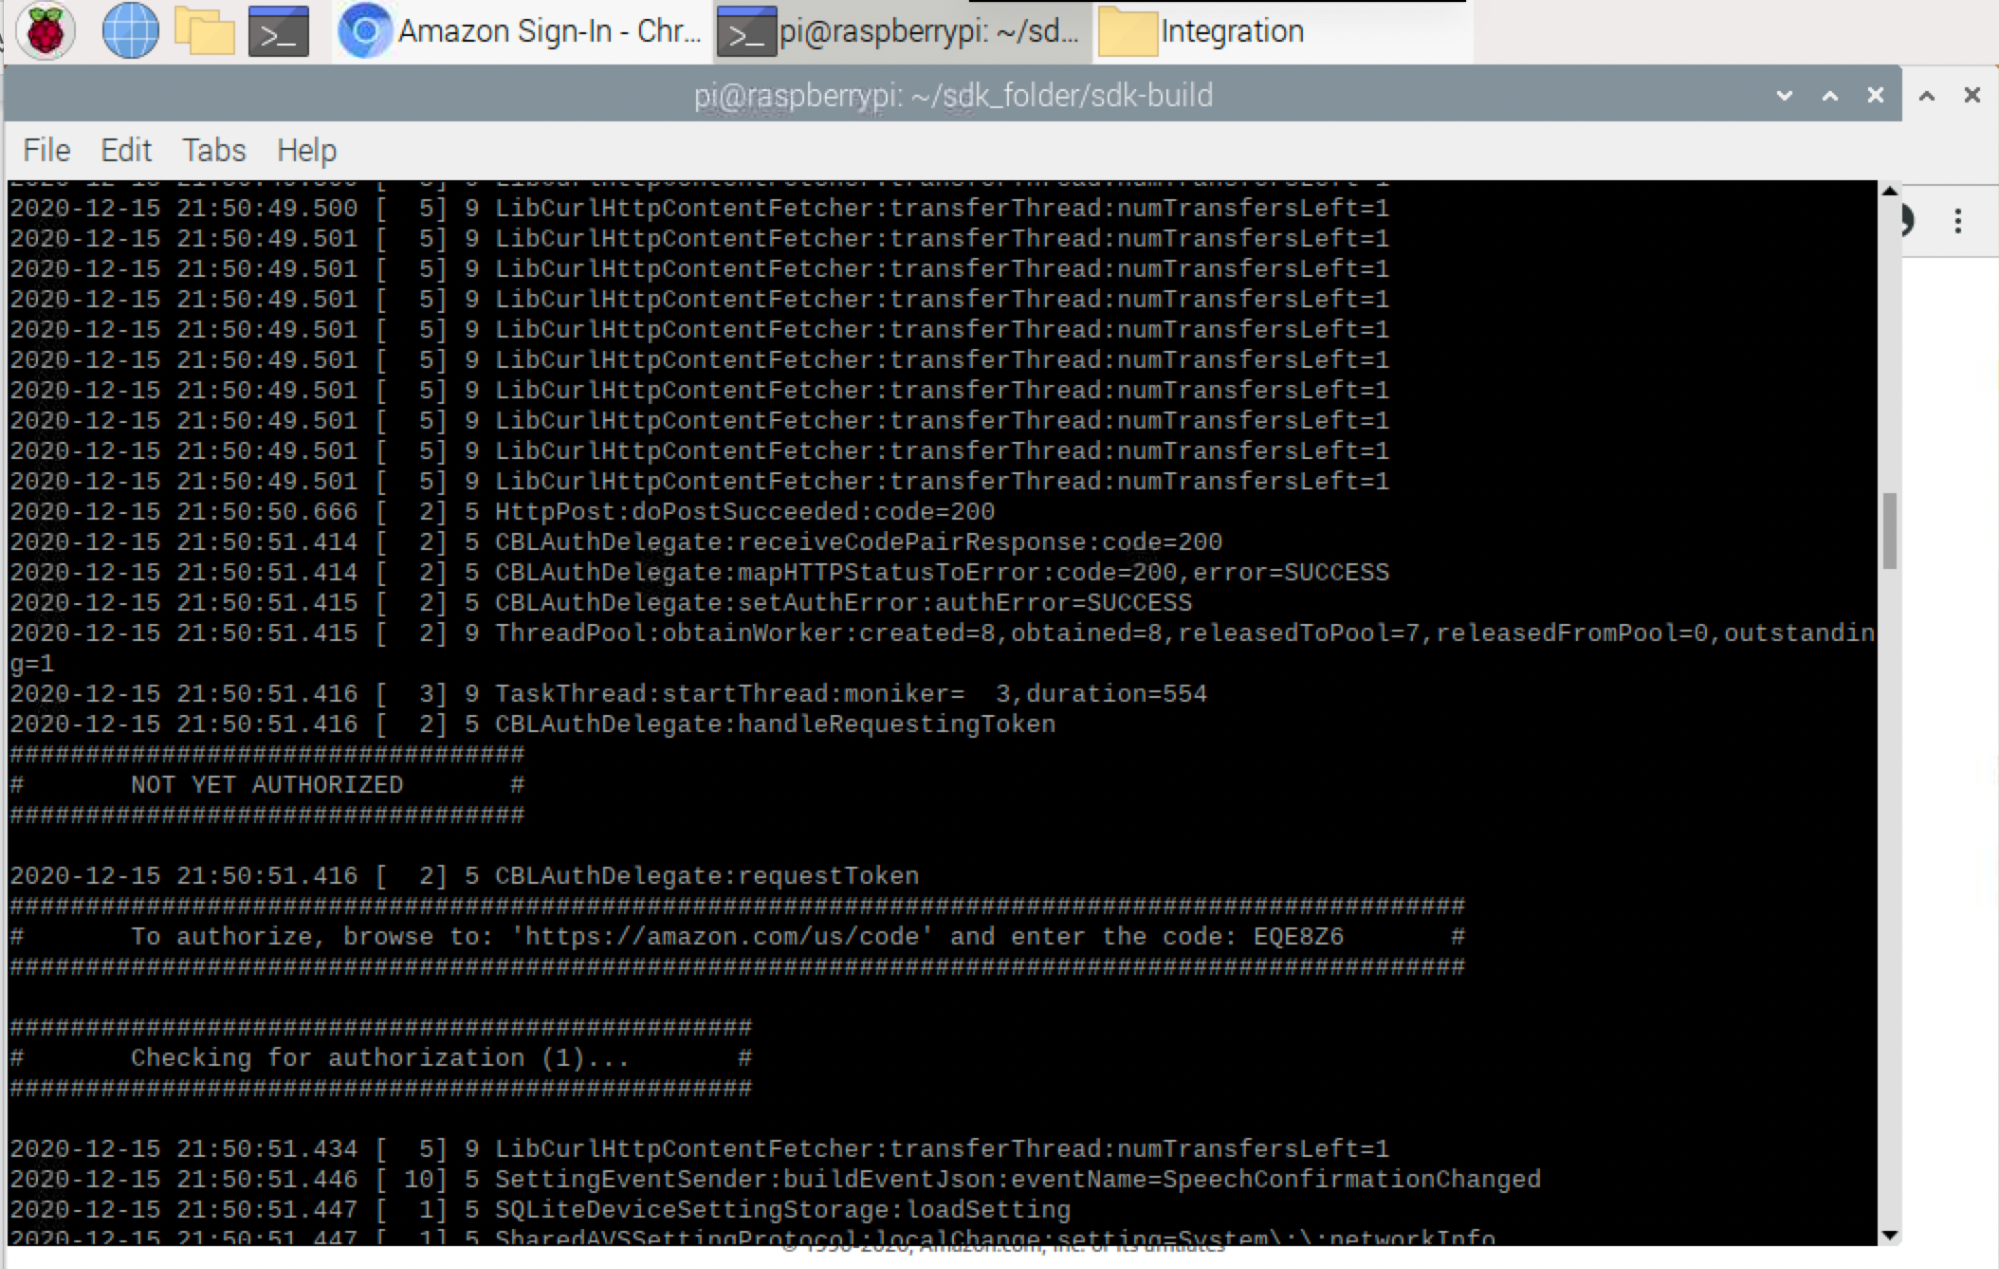
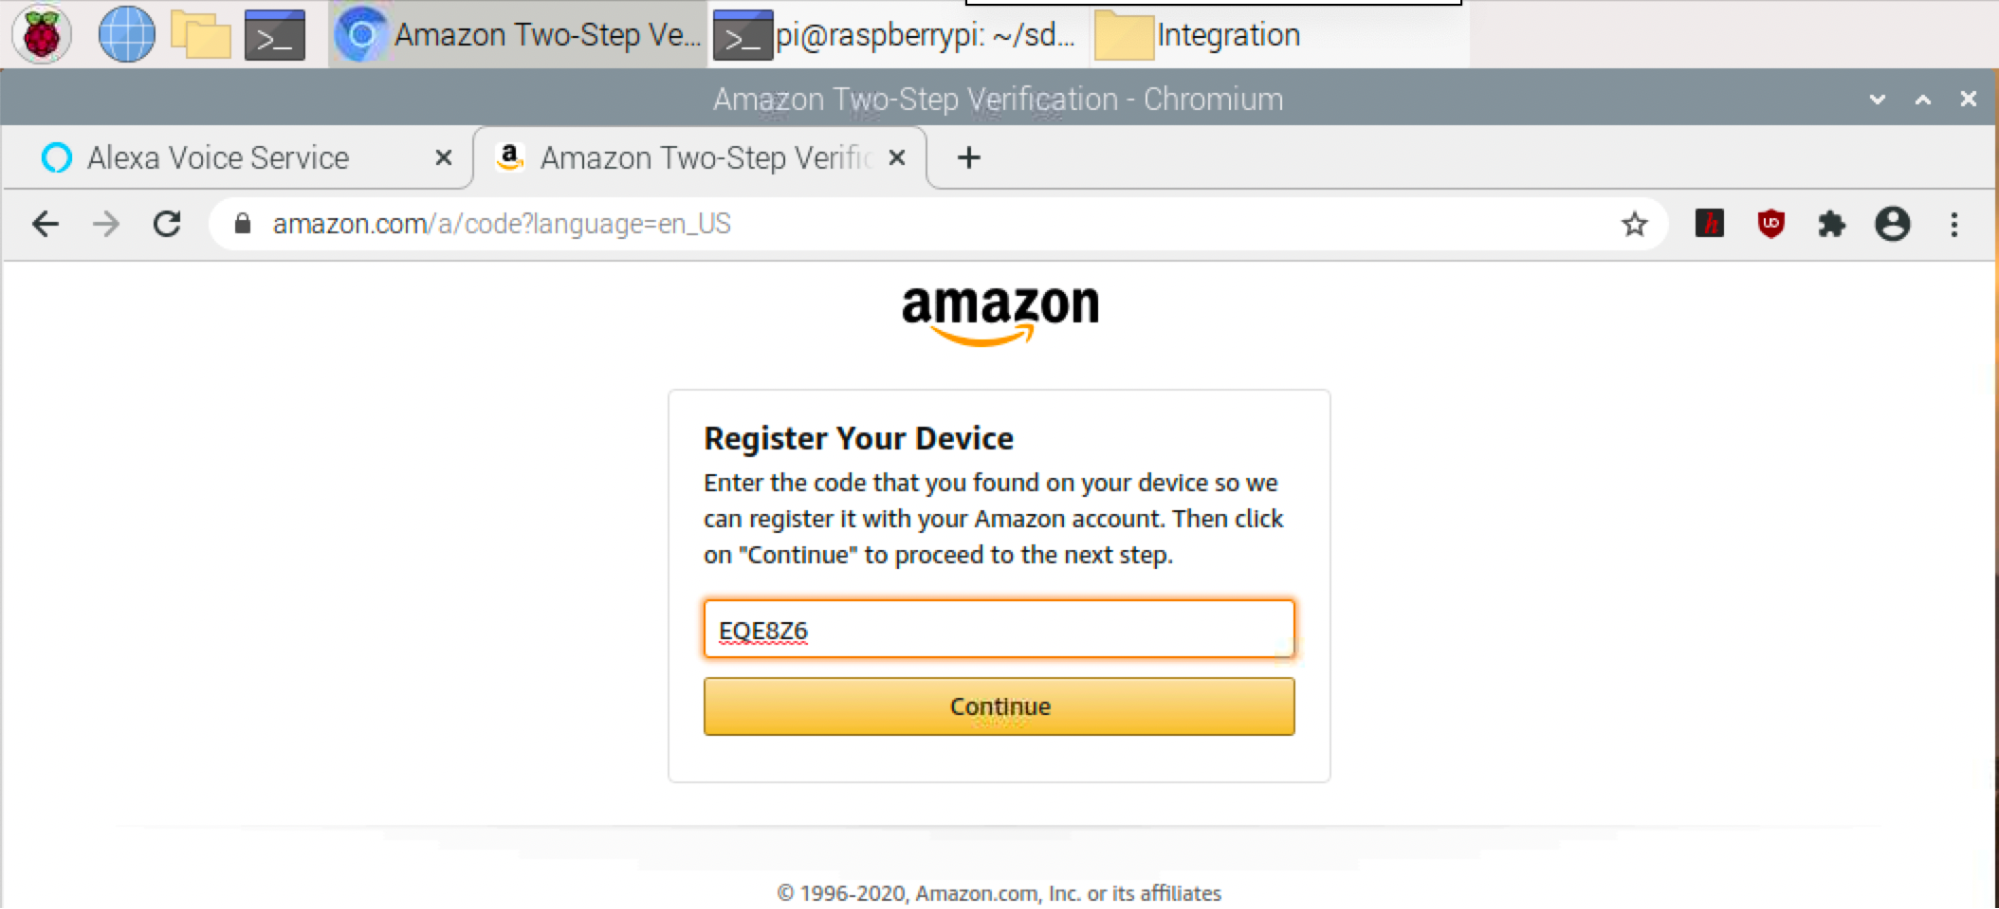
20. Similar to the authentication you completed during the AlexaPi project, in the Terminal, scroll up to find your code, then navigate to http://amazon.com/us/code and enter your code.
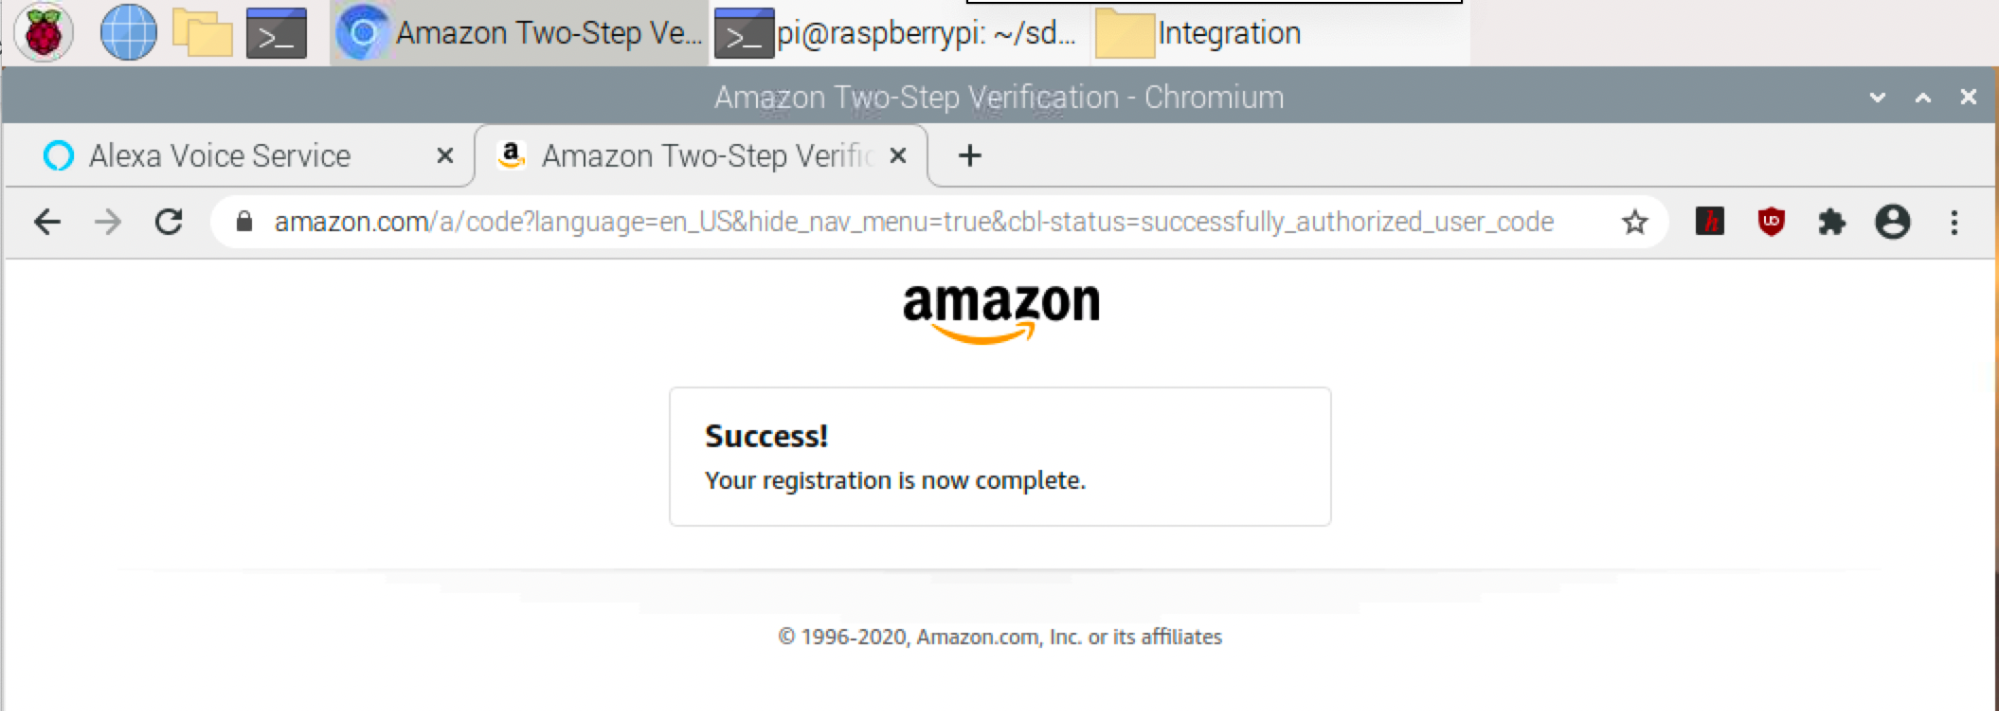
21. Press Continue and you should see a Success message in your browser.
22. Go back to your Terminal and scroll up to search for the “Authorized” message.
23. This AlexaPi works slightly differently from the original AlexaPi project in that you’ll have to type ‘t’ followed by the Enter key before speaking to Alexa. Try it now. Press ‘t’ enter and say, “What time is it?”
If Alexa provides the time, then you have successfully completed installing the AVS Device SDK sample app. Congratulations!
24. Press Ctrl-C to stop the sample app.
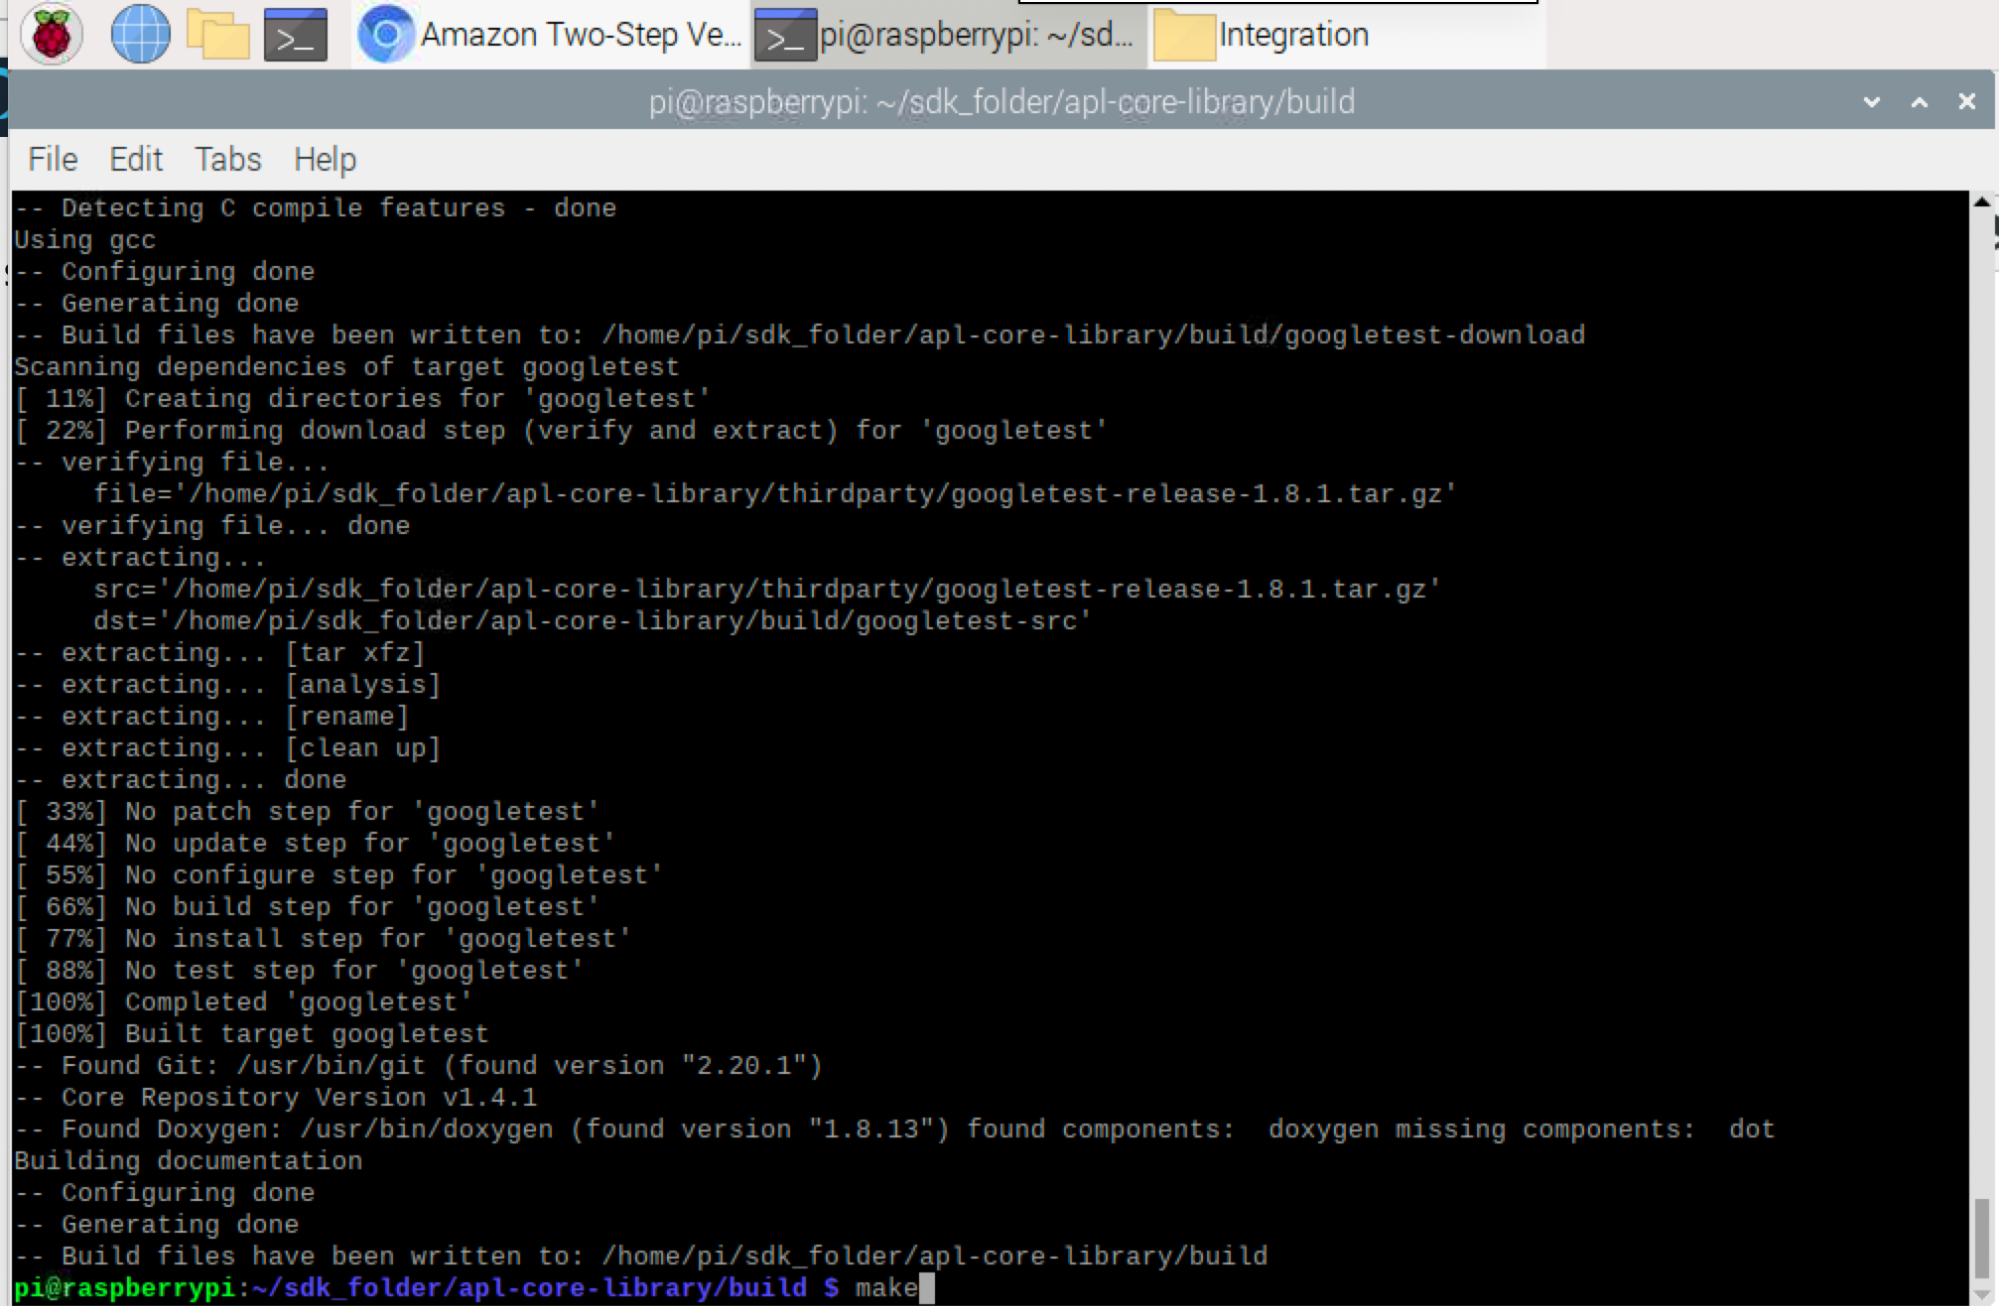
25. Next, we will download and ‘make’ the APL Core Library. The last command in this sequence ‘make’ took approximately 15 minutes to complete.
cd $HOME/sdk_folder

 git clone --single-branch --branch v1.4.1 git://github.com/alexa/apl-core-library.git

cd $HOME/sdk_folder/apl-core-library

mkdir build

cd build

cmake ..

make26. Install Alexa Smart Screen SDK dependencies, Websocket++, AISO and Node.js
cd $HOME/sdk_folder/third-party

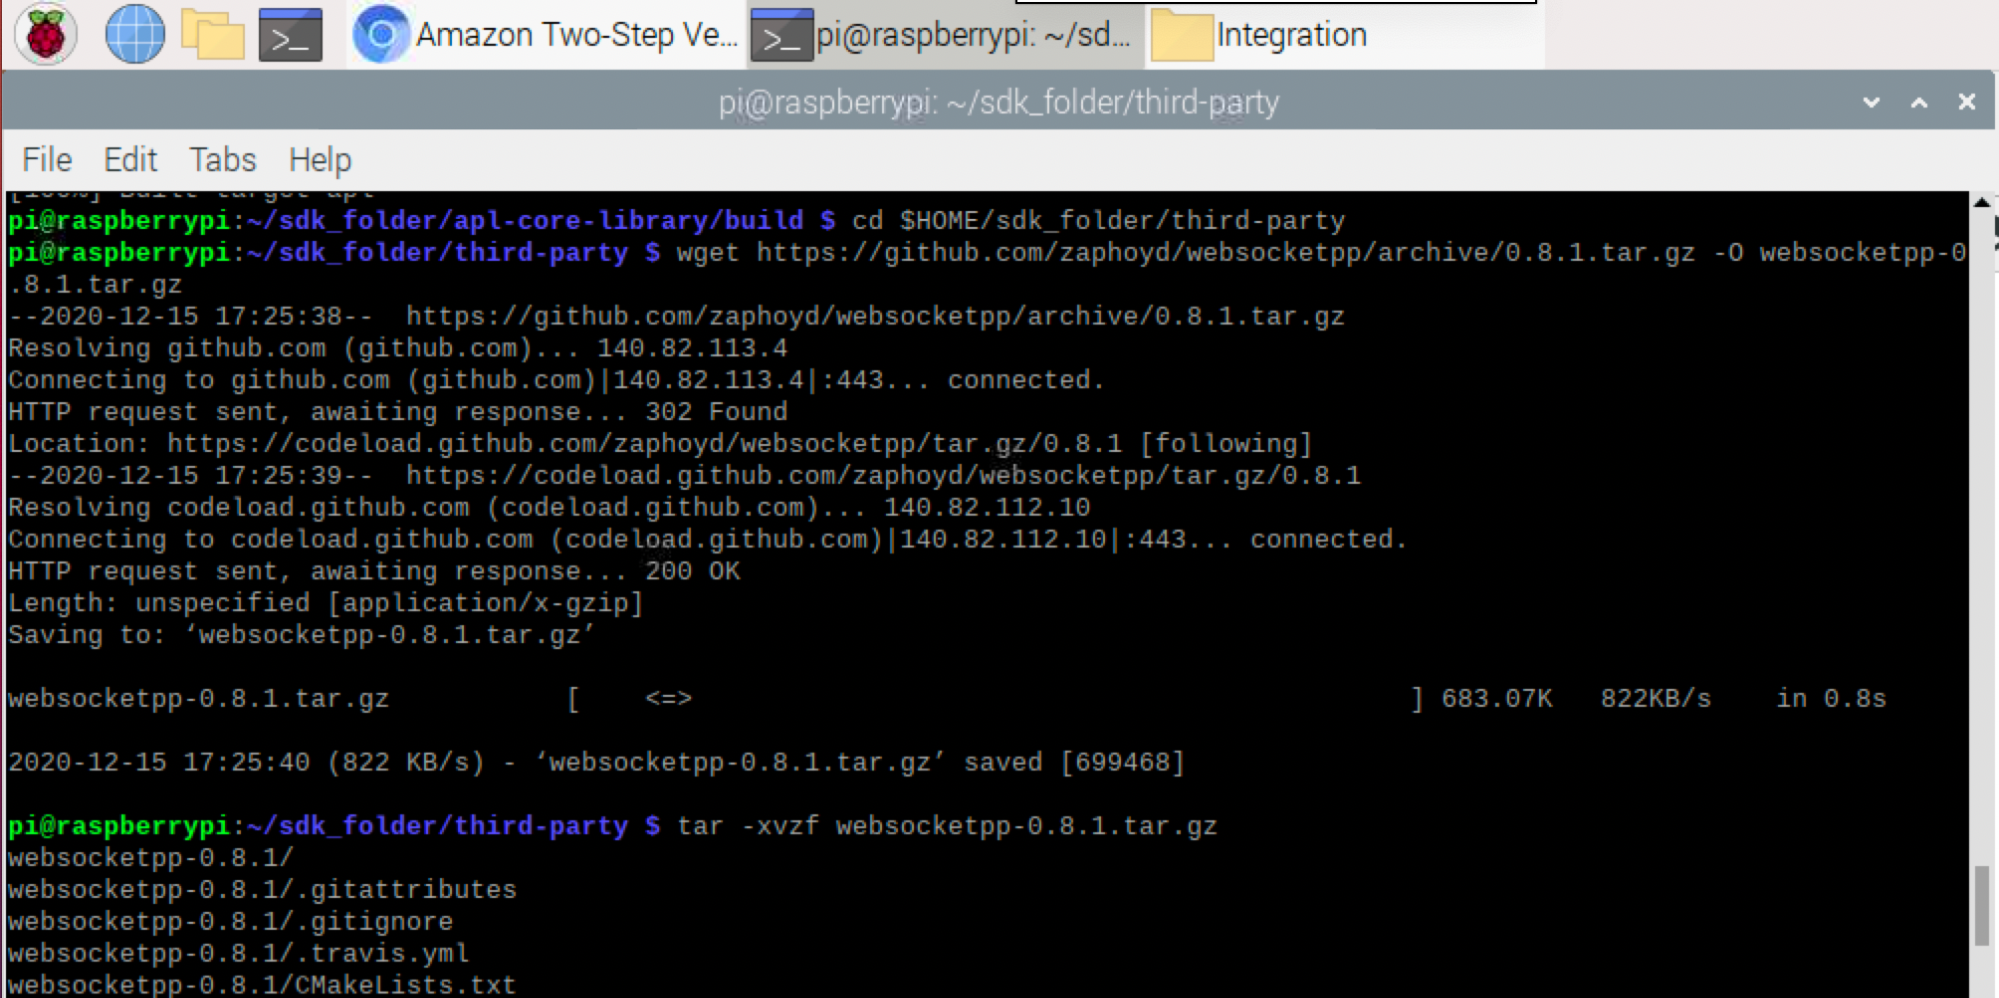
wget https://github.com/zaphoyd/websocketpp/archive/0.8.1.tar.gz -O websocketpp-0.8.1.tar.gz

tar -xvzf websocketpp-0.8.1.tar.gz

cd $HOME/sdk_folder/third-party

sudo apt-get -y install libasio-dev --no-install-recommends

cd $HOME/sdk_folder/third-party

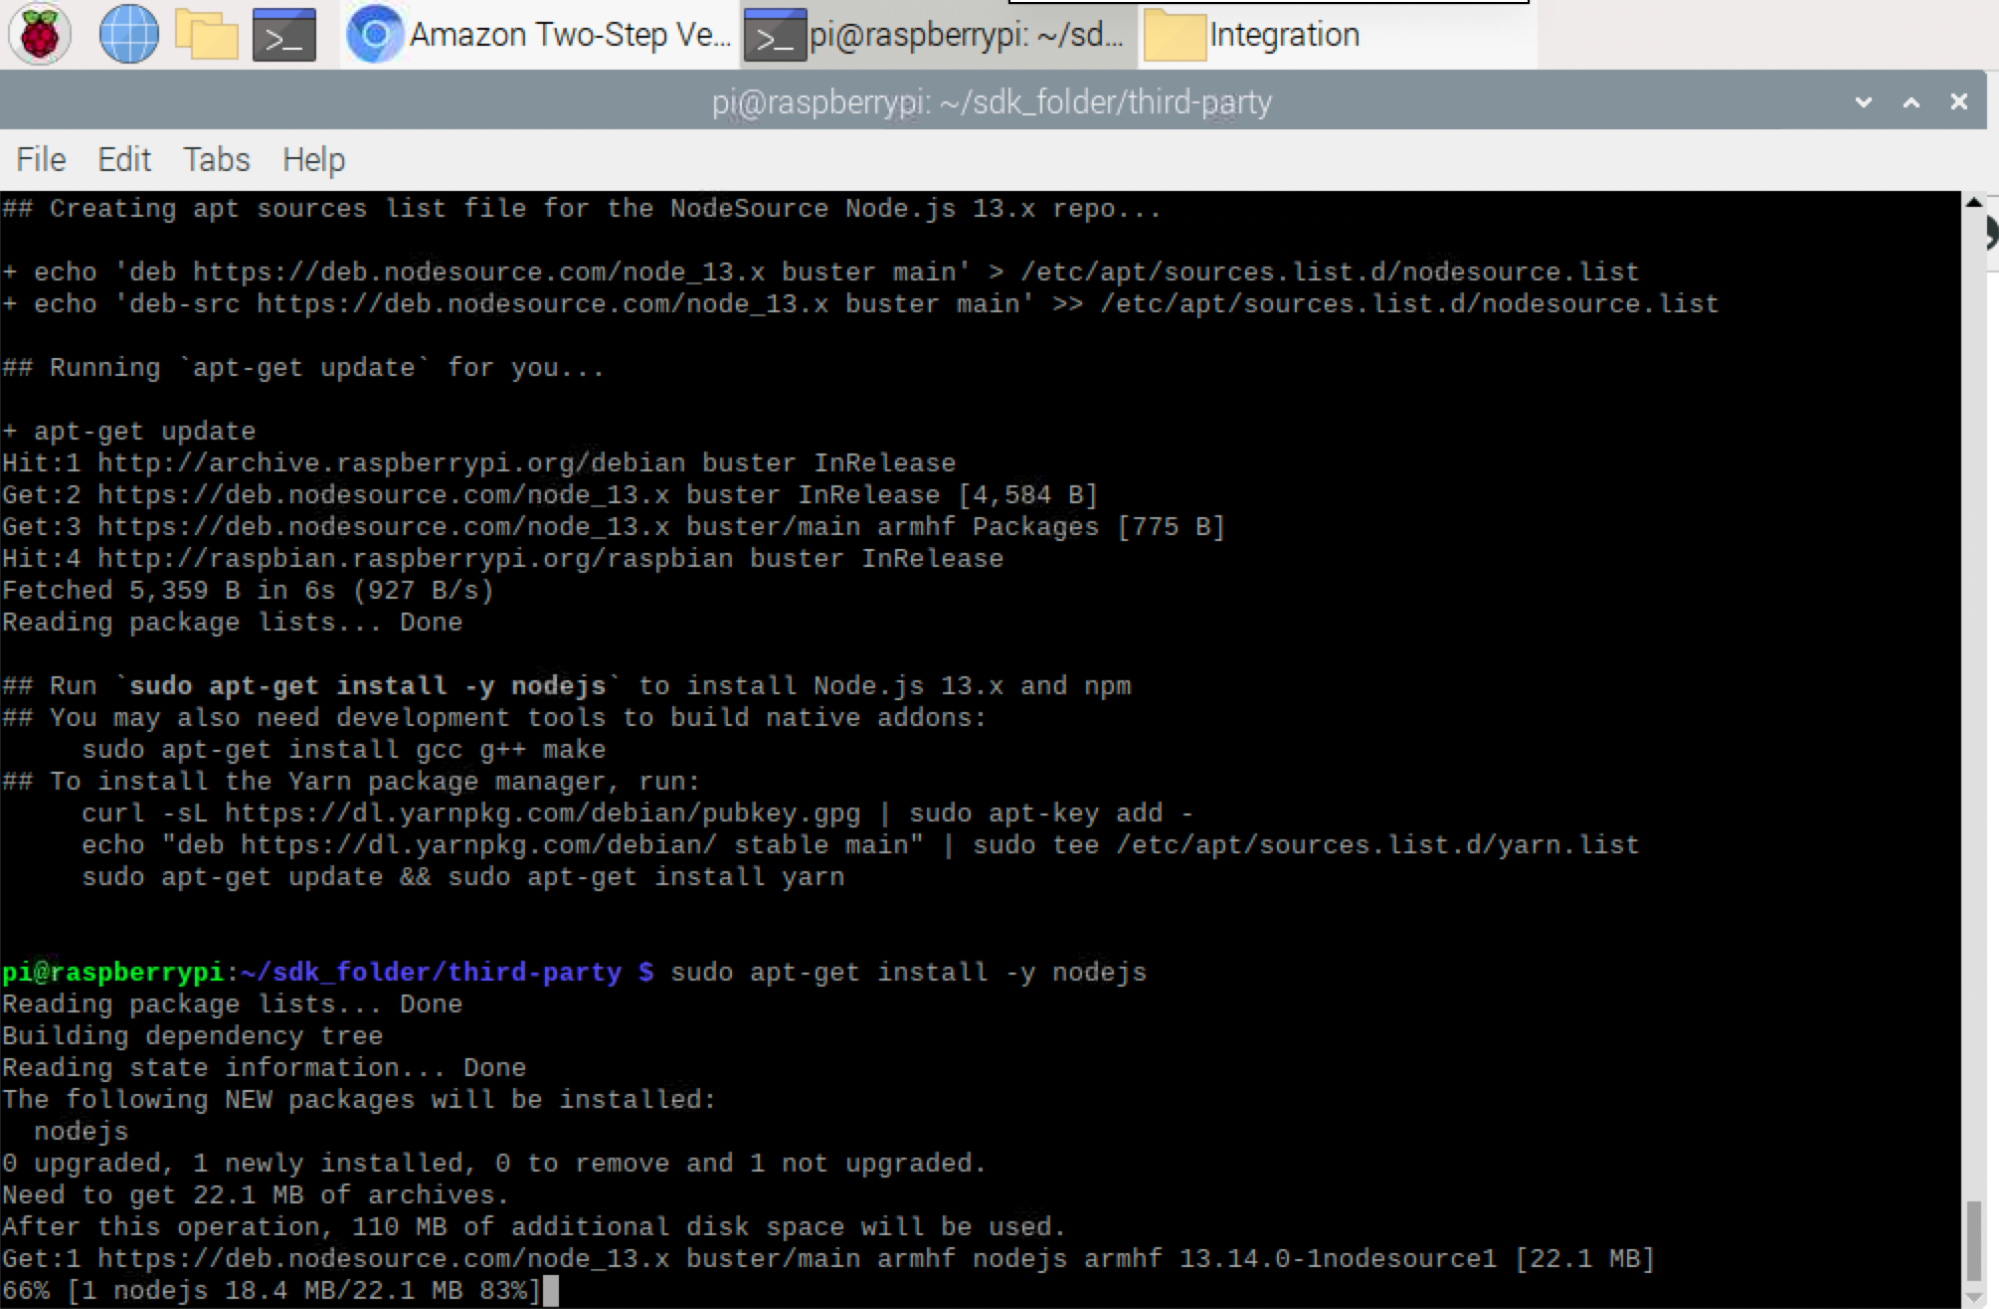
curl -sL https://deb.nodesource.com/setup_13.x | sudo -E bash -

sudo apt-get install -y nodejs27. Download and install Alexa Smart Screen SDK. The last step ‘make’ took approximately 25 minutes to complete.
cd $HOME/sdk_folder

 git clone git://github.com/alexa/alexa-smart-screen-sdk.git

mkdir ss-build

cd ss-build

cmake -DCMAKE_PREFIX_PATH=$HOME/sdk_folder/sdk-install \
 -DWEBSOCKETPP_INCLUDE_DIR=$HOME/sdk_folder/third-party/websocketpp-0.8.1 \
 -DDISABLE_WEBSOCKET_SSL=ON \
 -DGSTREAMER_MEDIA_PLAYER=ON \
 -DCMAKE_BUILD_TYPE=DEBUG \
 -DPORTAUDIO=ON -DPORTAUDIO_LIB_PATH=$HOME/sdk_folder/third-party/portaudio/lib/.libs/libportaudio.a \
 -DPORTAUDIO_INCLUDE_DIR=$HOME/sdk_folder/third-party/portaudio/include/ \
 -DAPL_CORE=ON \
 -DAPLCORE_INCLUDE_DIR=$HOME/sdk_folder/apl-core-library/aplcore/include \
 -DAPLCORE_LIB_DIR=$HOME/sdk_folder/apl-core-library/build/aplcore \
-DAPLCORE_RAPIDJSON_INCLUDE_DIR=$HOME/sdk_folder/apl-core-library/build/rapidjson-prefix/src/rapidjson/include \
 -DYOGA_INCLUDE_DIR=$HOME/sdk_folder/apl-core-library/build/yoga-prefix/src/yoga \
 -DYOGA_LIB_DIR=$HOME/sdk_folder/apl-core-library/build/lib \
  ../alexa-smart-screen-sdk

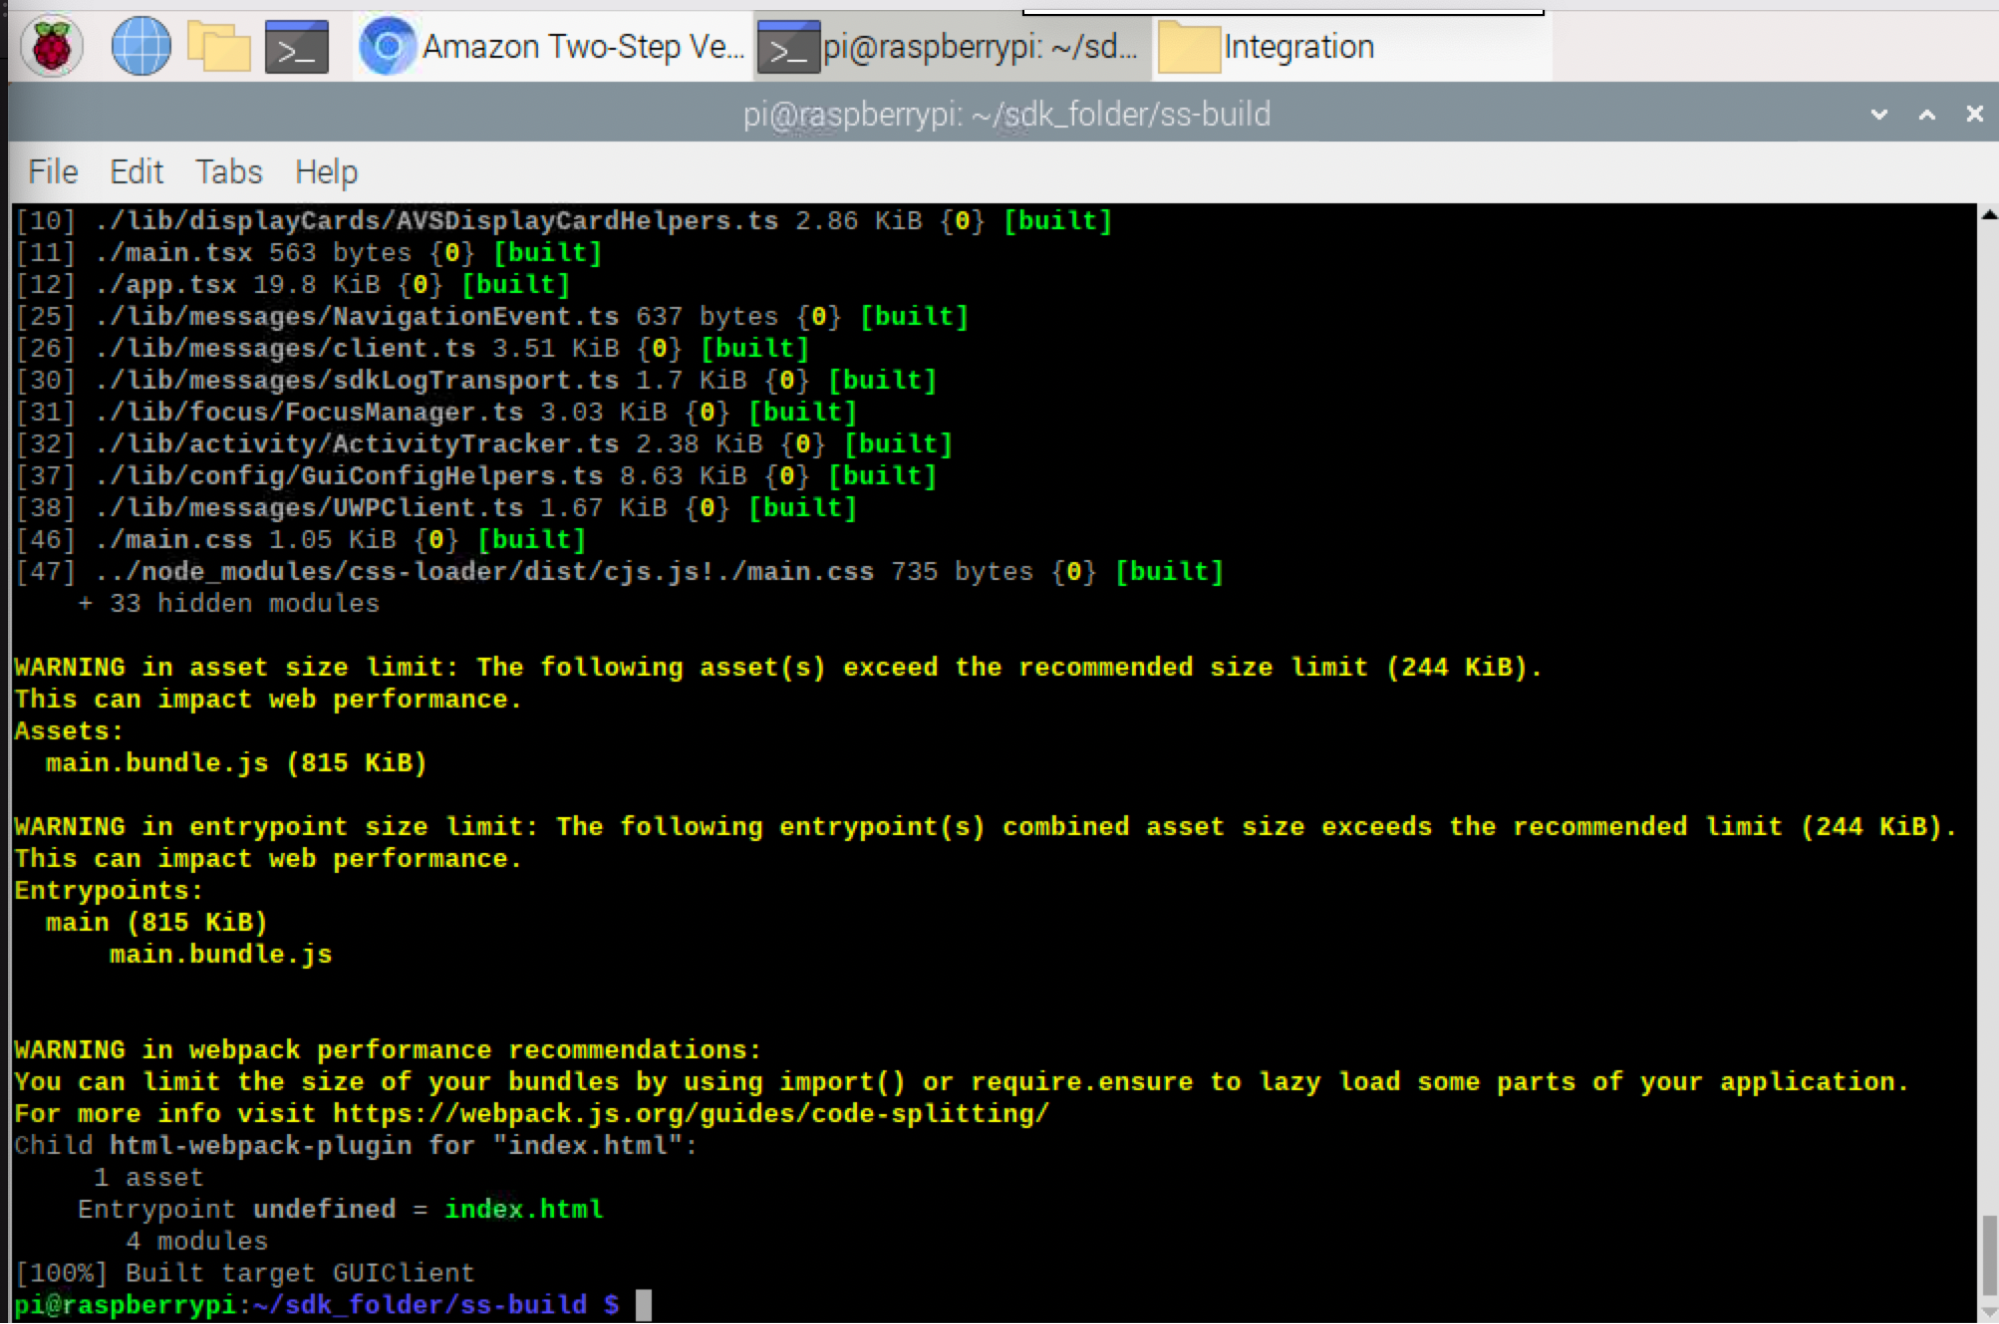
make
Next, we can test our PiShow app. (If you are using VNC, you will need to stop and disable VNC in order for the app to launch.)
Run PiShow
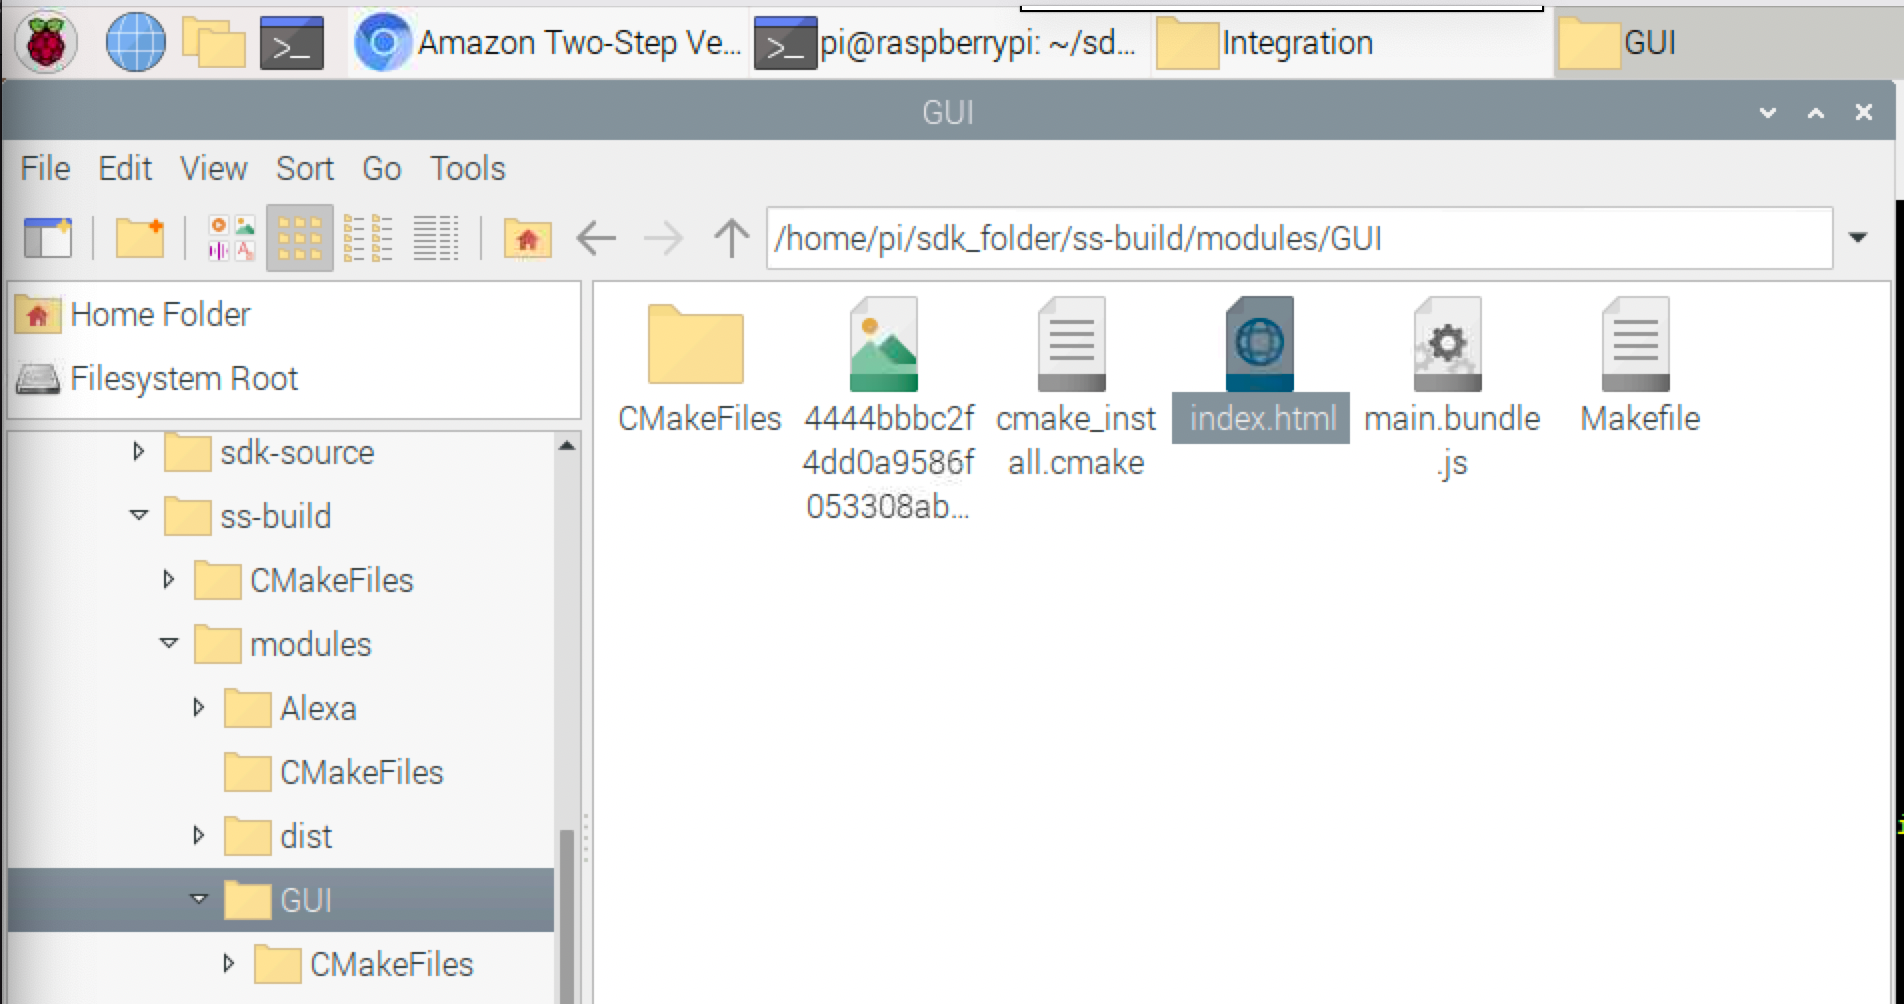
28. Open File Manager and navigate to: /home/pi/sdk_folder/ss-build/modules/GUI/index.html
29. Open index.html with your Chromium browser by double-clicking on index.html
30. Go back to your Terminal and enter the following commands to start your PiShow.
cd $HOME/sdk_folder/ss-build
 PA_ALSA_PLUGHW=1 ./modules/Alexa/SampleApp/src/SampleApp -C \
 $HOME/sdk_folder/sdk-build/Integration/AlexaClientSDKConfig.json -C \
 $HOME/sdk_folder/alexa-smart-screen-sdk/modules/GUI/config/SmartScreenSDKConfig.json -L INFO
31. You may need to authenticate the PiShow sample app as you did during step 22. If so, scroll up to find your code in the Terminal, then navigate to http://amazon.com/us/code and enter your code.
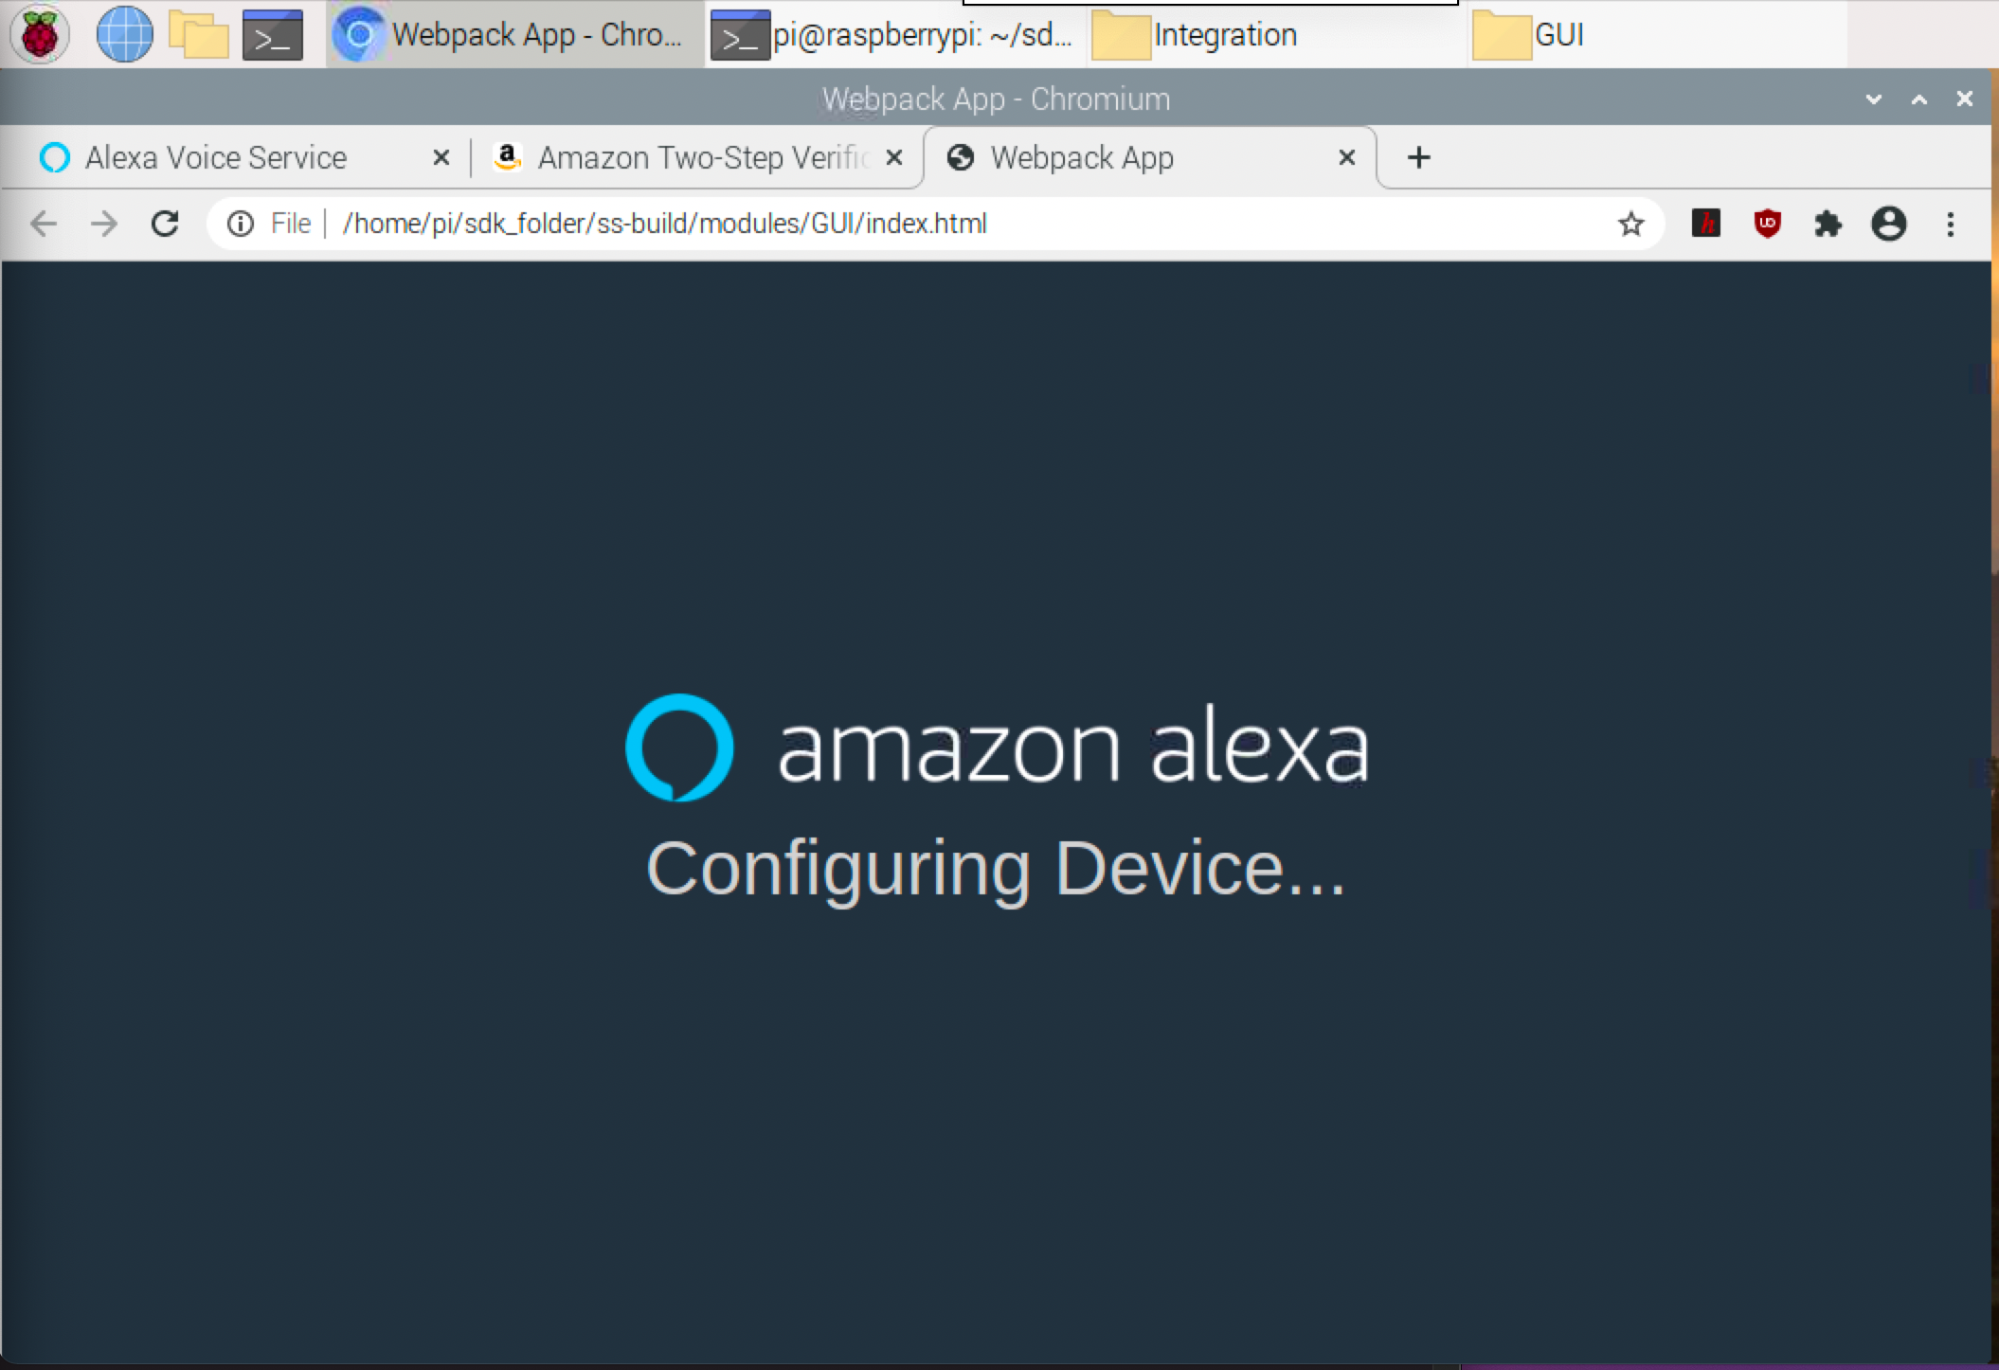
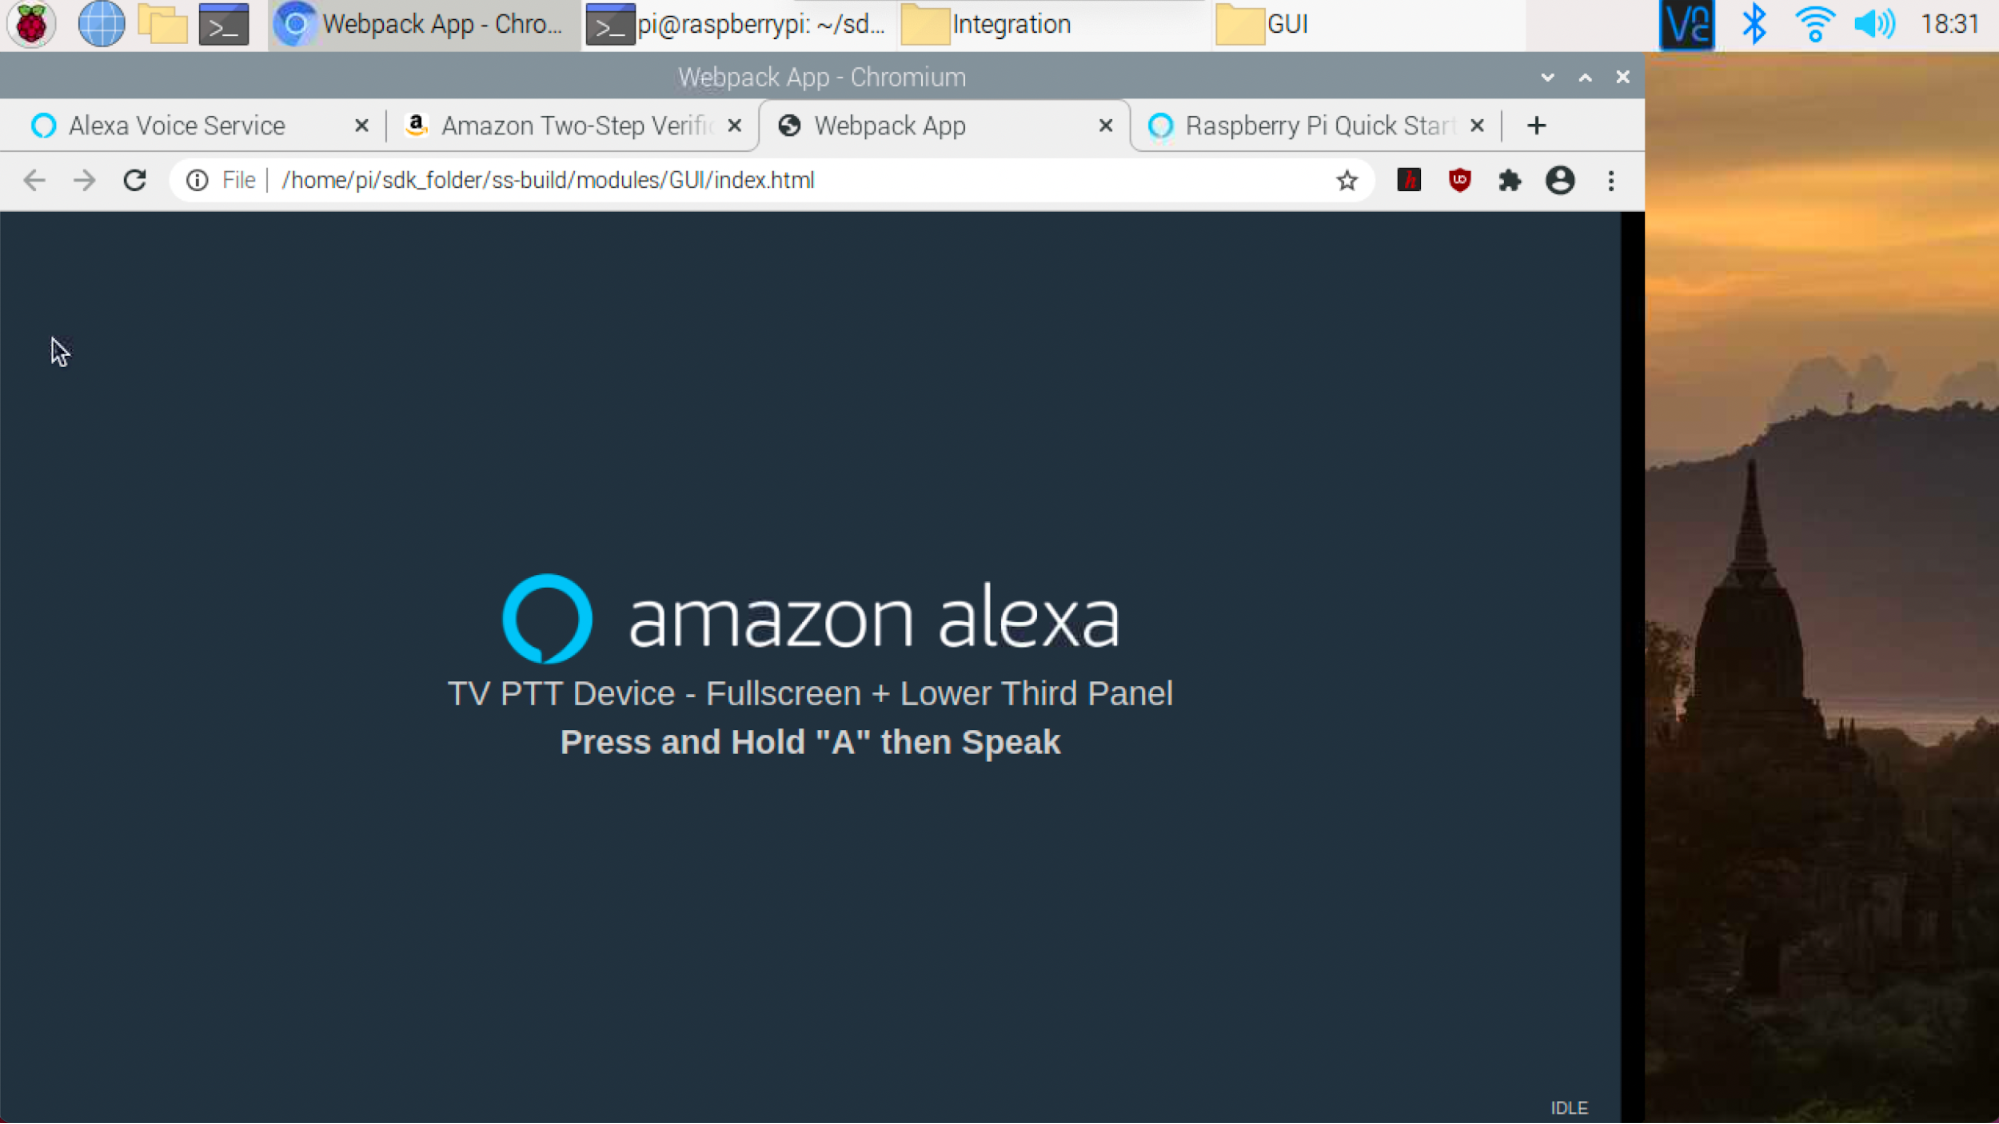
32. Go back to your Chromium browser and you should see the message “Press and Hold “A” then Speak”
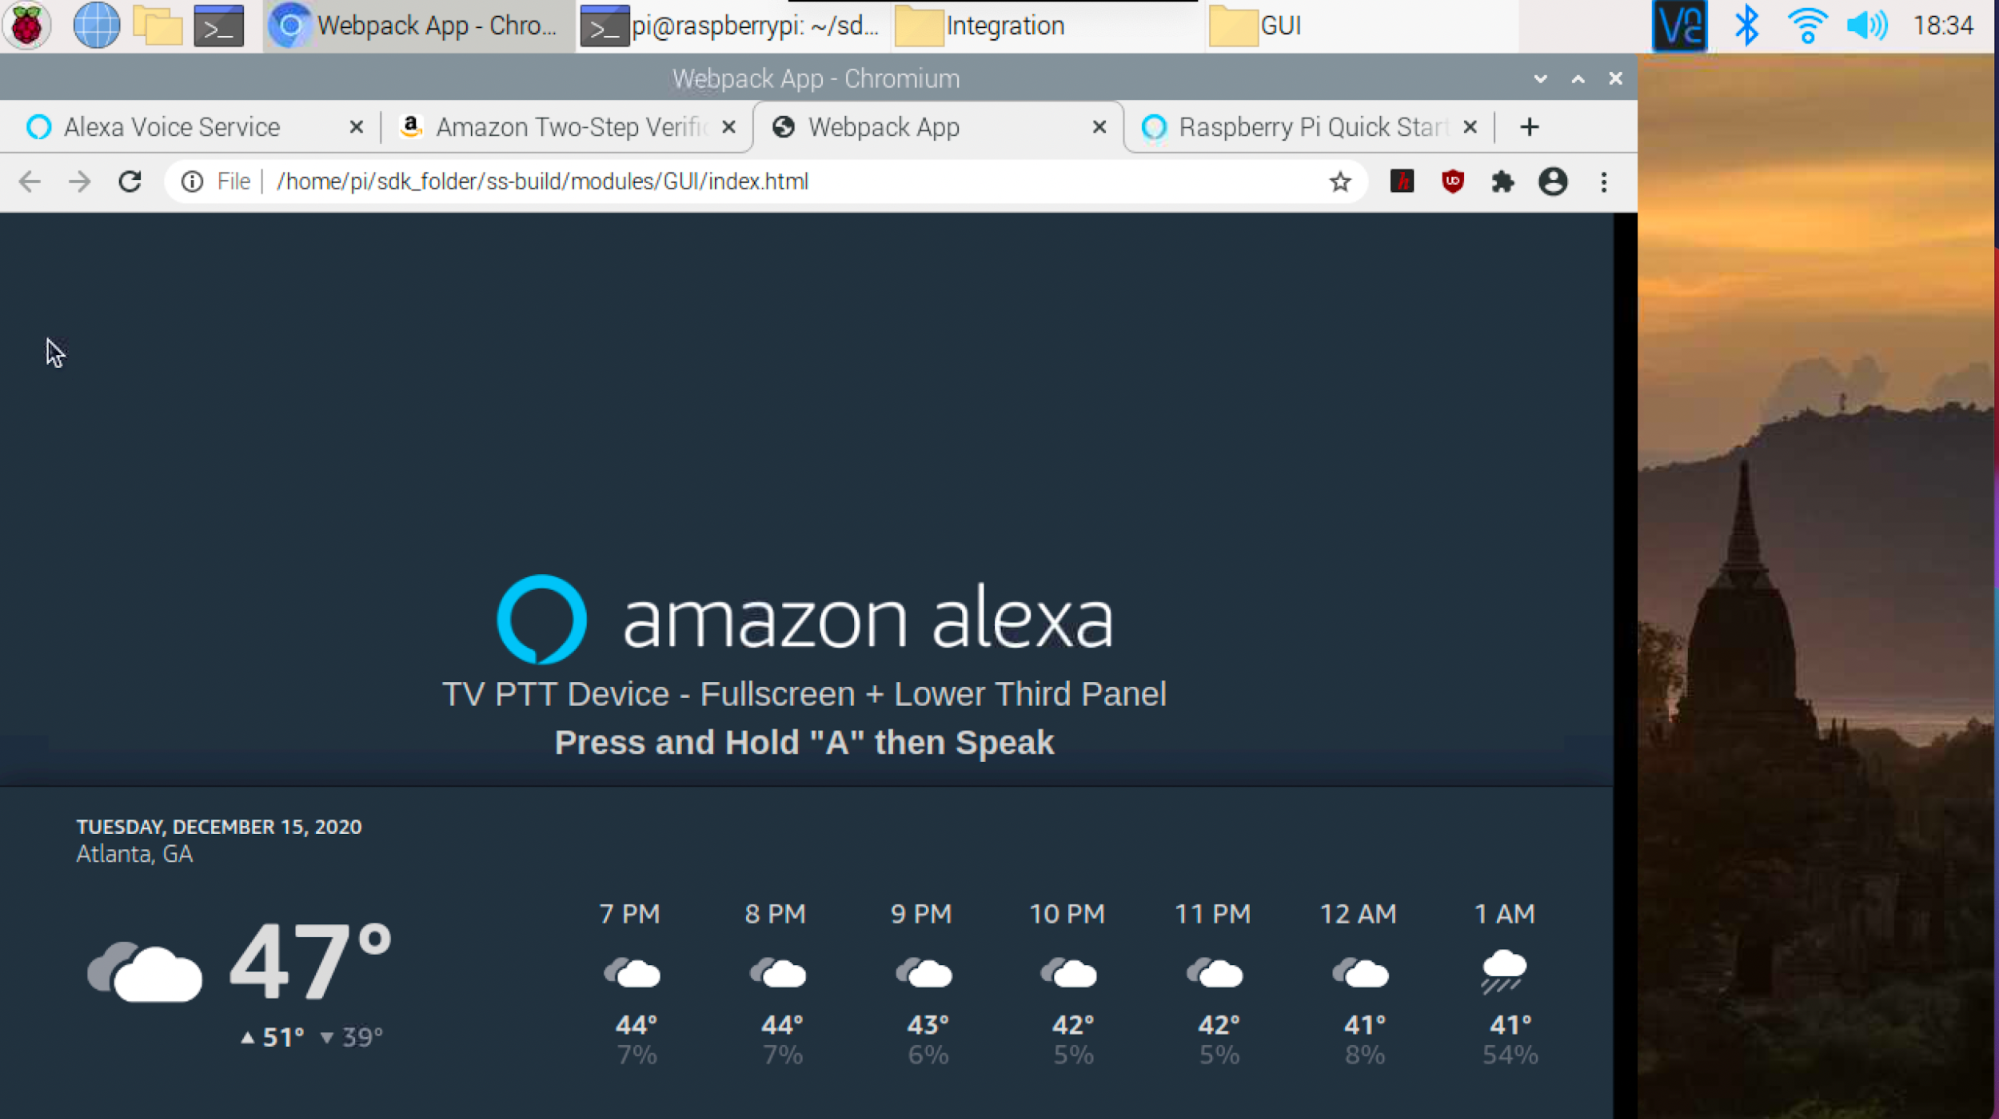
33. Give it a try! Quick note: index.html in Chromium must be the active window for PiShow to work. Hold down the ‘A’ key while you say, “Tell me the weather.”
Congratulations! You have made your PiShow!
Always use the same process: With /home/pi/sdk_folder/ss-build/modules/GUI/index.html as the active window, hold down the ‘A’ key while speaking to Alexa. You do not need to say the wake word, “Alexa.”
Things to Try on your new PiShow
- “Play Music” - If using the touchscreen, you can pause the music by tapping the pause button on the screen.
- “Tell me a joke.”
- “Open Big Sky” - Weather app with great graphics.
- “What does Planet Earth look like?”
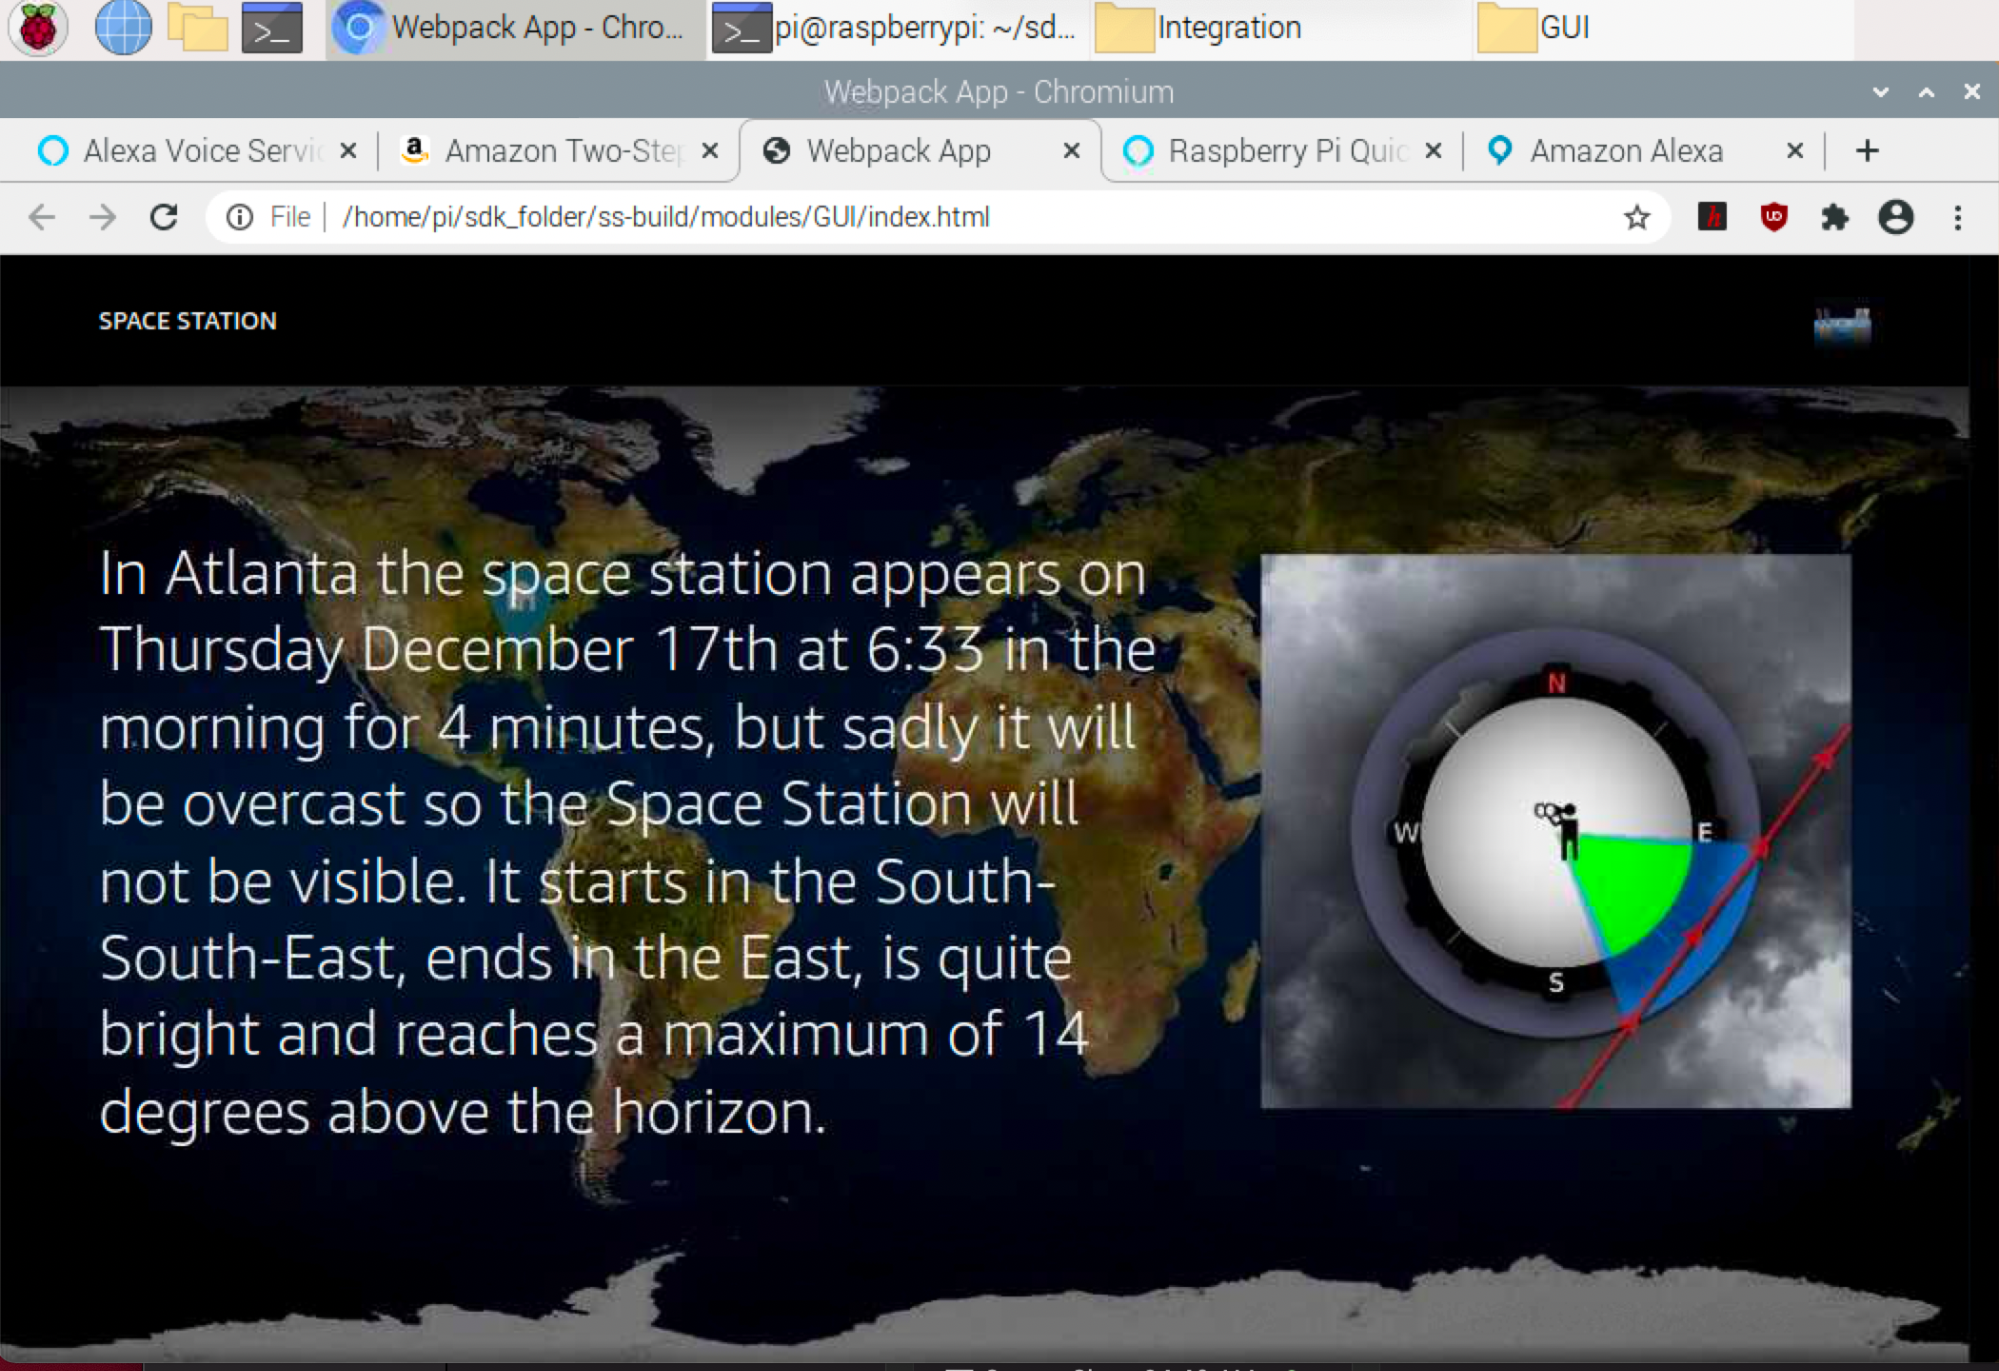
- “Enable Space Station”
To stop PiShow, go back to your Terminal and press Ctrl-C.
If you turn off or reboot your Pi, you can restart PiShow with the Terminal command:
cd $HOME/sdk_folder/ss-build
 PA_ALSA_PLUGHW=1 ./modules/Alexa/SampleApp/src/SampleApp -C \
 $HOME/sdk_folder/sdk-build/Integration/AlexaClientSDKConfig.json -C \
 $HOME/sdk_folder/alexa-smart-screen-sdk/modules/GUI/config/SmartScreenSDKConfig.json -L INFO
Caroline Dunn is a freelance writer for Tom's Hardware. Her expertise lies in covering Raspberry Pi projects, creating video tutorials, writing guides, and exploring other entertaining tech DIY initiatives.
-
4freedomssake I'd like to try this as a "smart mirror". Possible with an old monitor and two way glass?Reply -
ZeeshanA I see in the post that we need to press 'A' before any command to screen. How can this be made headless like we have our normal alexa SDK? it should be in always hearing mode and then show stuff on page. i already made the alexa sdk on a smart mirror and would like to add this as wellReply
secondly, i am but confused from the post, do you install the alexa sdk in the 1st part again or we just skip to APL, dependencies and afterwards instead?

