Let the Dogs Out! How to Make a Raspberry Pi Pet Detector
Use image recognition to determine when your dog or cat approaches the door.
Working from home gives you more opportunities to spend time with your family - pets included. My office is upstairs and occasionally my dog wants to go outside. I could put a bell on the door that she could ring, but why waste the opportunity to build an over-engineered solution.
This project uses a field of machine learning known as object detection. Fortunately if you’re not familiar with machine learning, it’s a relatively easy project to get started with. We’ll be using a pre-trained model, meaning we won’t need a graphics card, sample data, or hours of time to train a model - just the things listed below.
What You’ll Need For This Project
- Raspberry Pi 4 or Raspberry Pi 3 with power adapter
- 8 GB (or larger) microSD card with Raspberry Pi OS. See our list of best microSD cards for Raspberry Pi.
- Raspberry Pi Camera and cable for doing the object detection
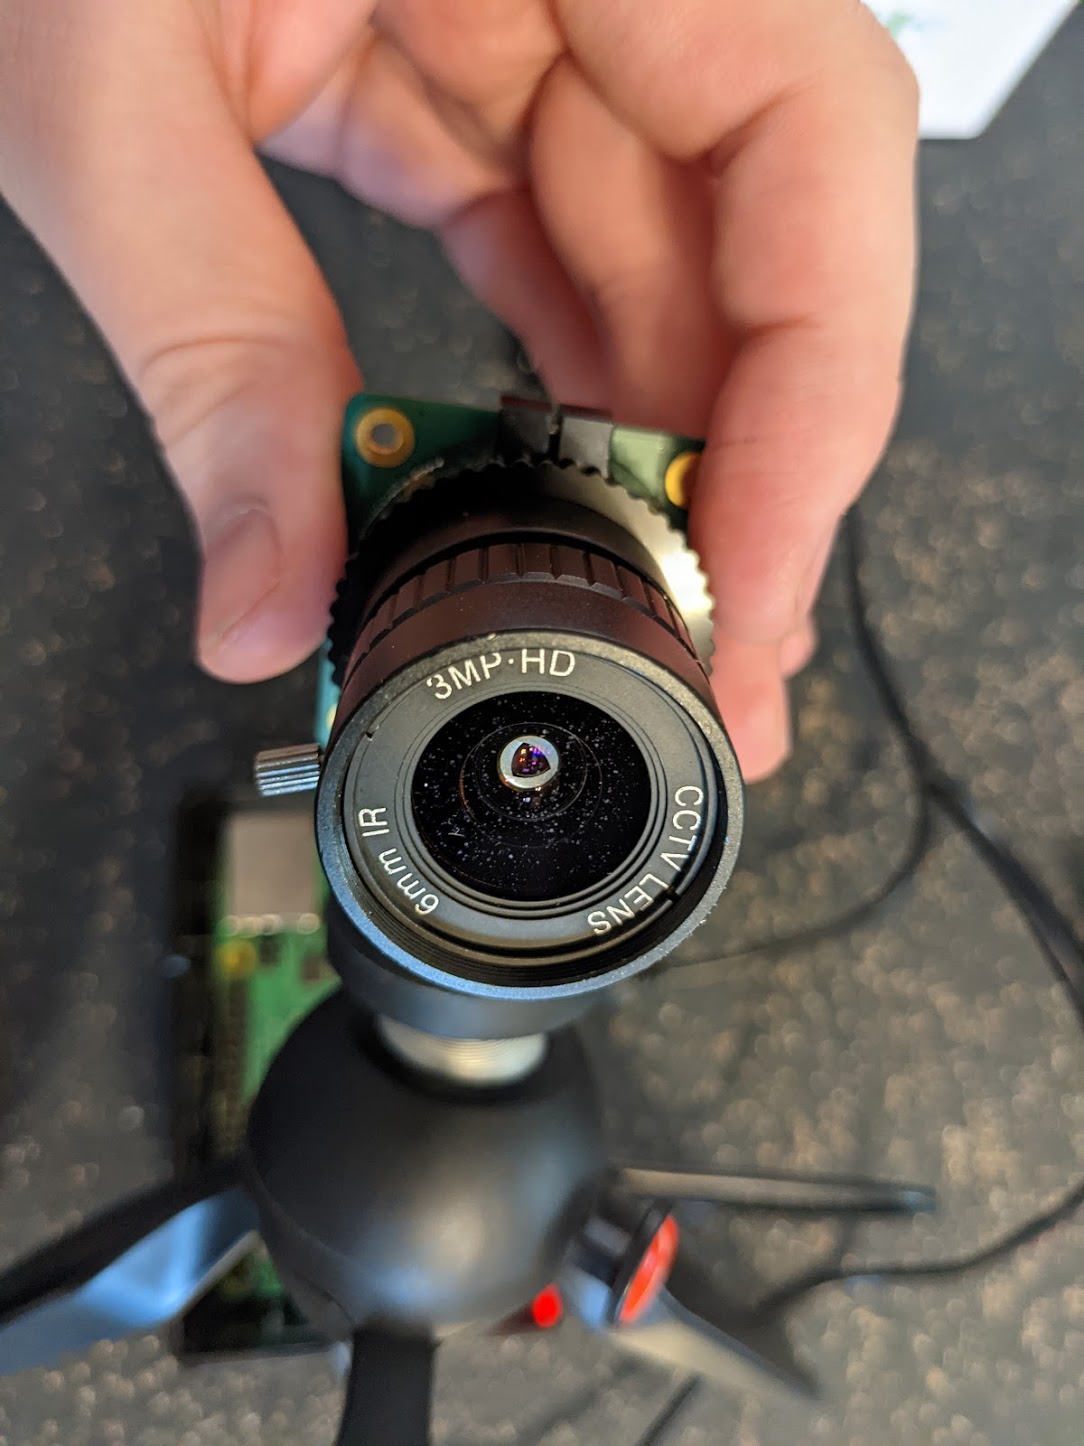
- Raspberry Pi Wide Angle Camera Lens, or a zoom lens depending on how far away your camera will be placed.
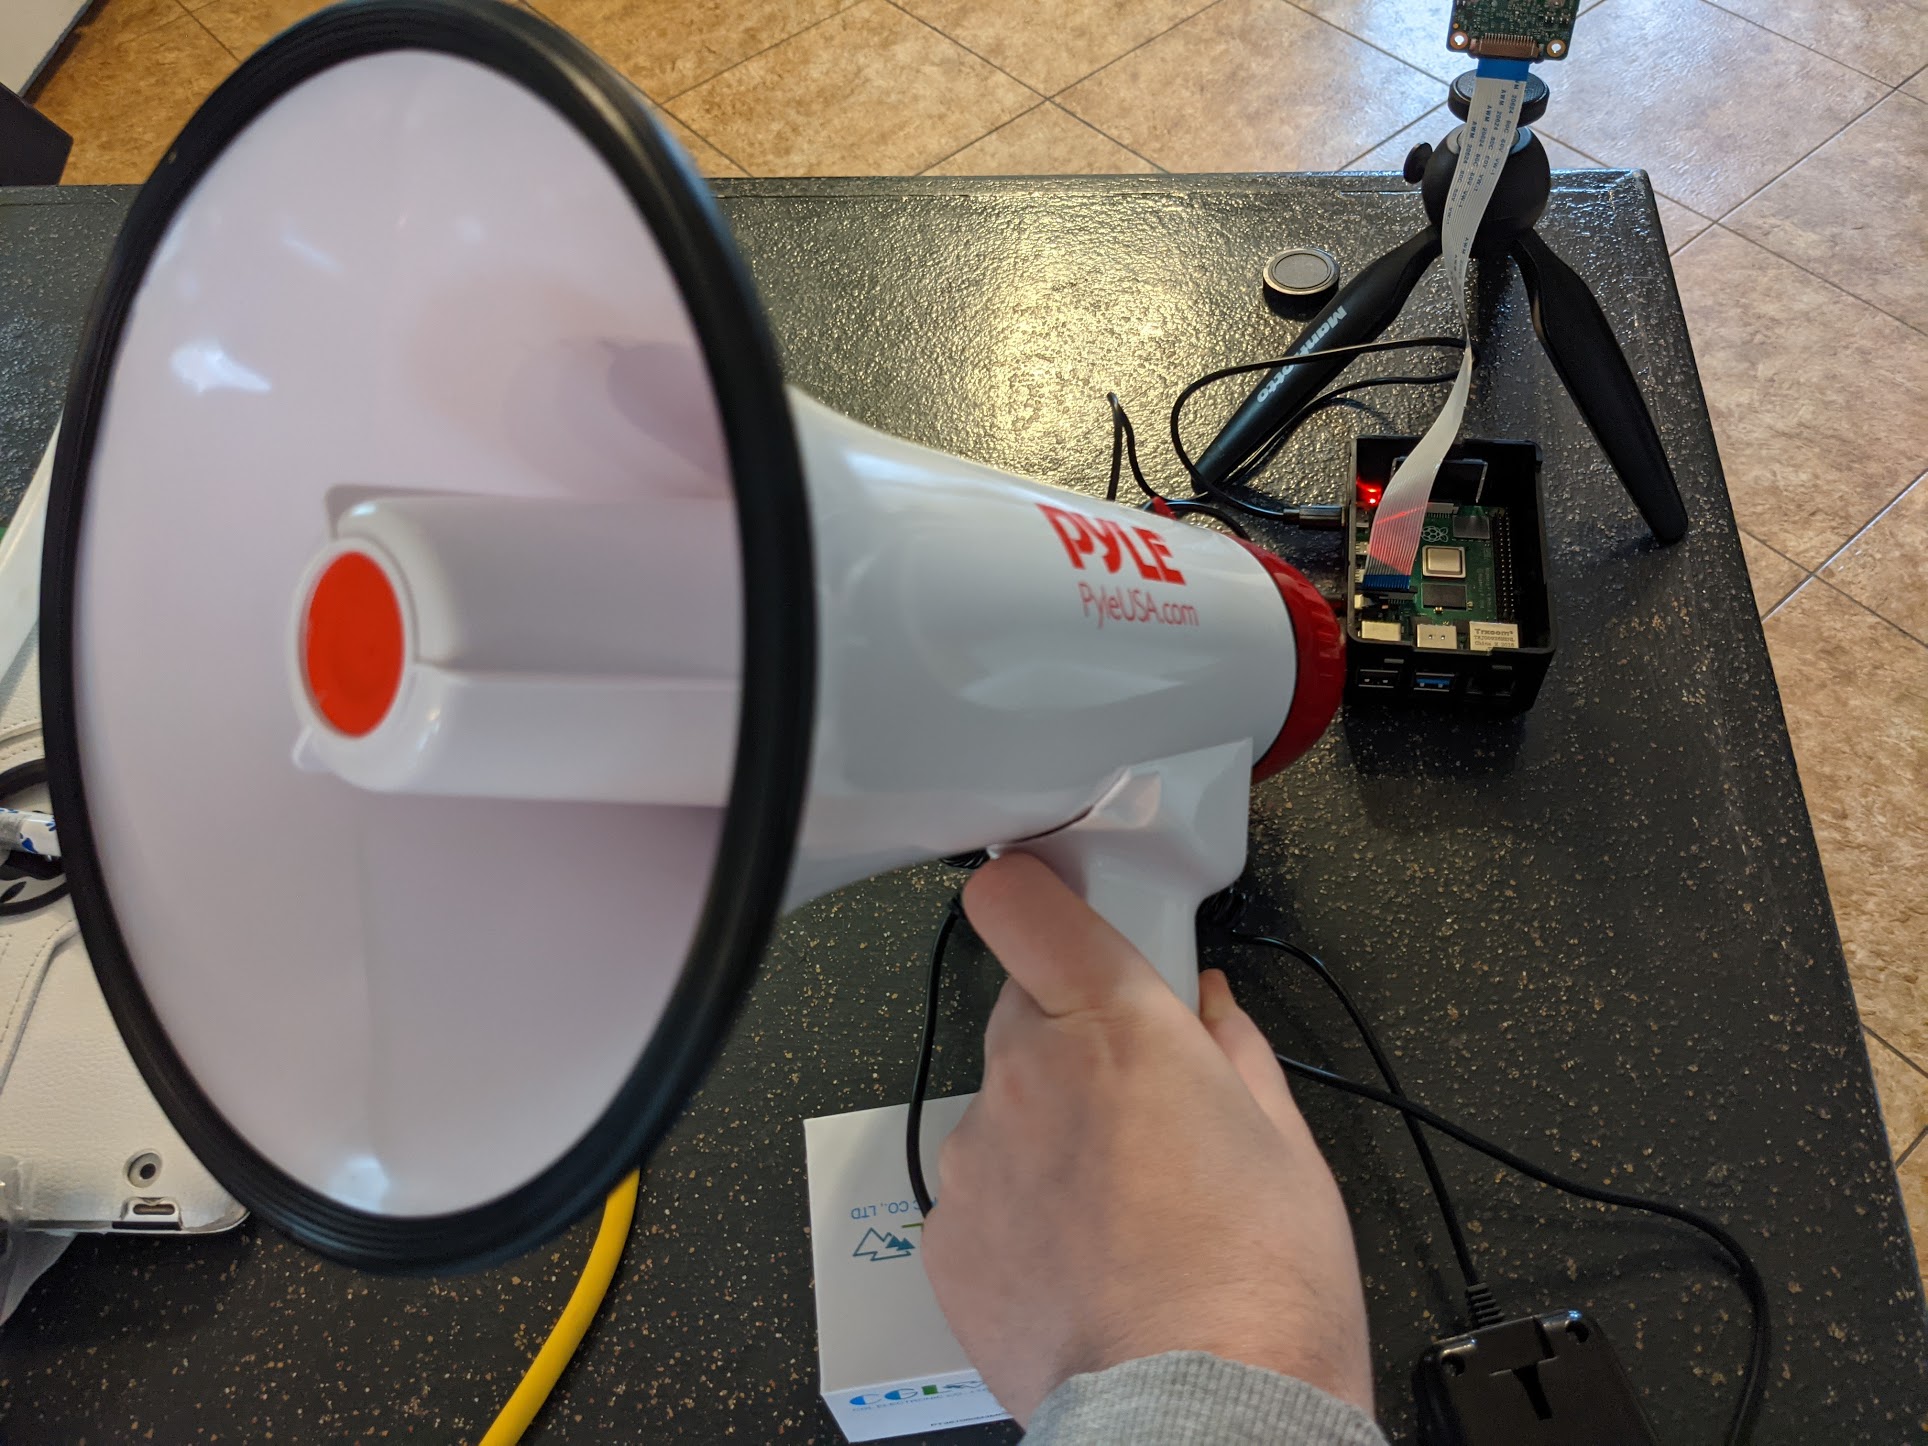
- Desktop Speakers or megaphone with 3.5mm input jack
- Monitor & Keyboard (optional) with HDMI and power cables
How to detect when your pet wants to go outside with a Raspberry Pi
1. Set up your Raspberry Pi. If you don’t know how to do this, check out our story on how to set up your Raspberry Pi for the first time or how to set up a headless Raspberry Pi (without monitor or keyboard).
2. Connect your raspberry pi camera to your pi.
3. Enable your camera with raspi-config. You do this by entering sudo raspi-config from the command line and then navigating to Interface Options > P1 Camera.
4. Reboot.
5. Test your camera’s focus using the following command. The image can be viewed if you have a monitor connected to your desktop. If you’re using a headless version of raspbian, you’ll need to use scp to move the image to a computer where you can view it.
Get Tom's Hardware's best news and in-depth reviews, straight to your inbox.
raspistill -o /home/pi/focus.jpg
6. Install git. We need git to download code and scripts from a remote repository. Run the following command to install it:
sudo apt-get update && sudo apt-get -y install git
7. Clone the pet detector repository to your home directory. This contains custom code that will take care of the detection for us.
cd ~/
git clone https://github.com/rydercalmdown/pet_detector
8. Install the requirements for the repository. The install script will install low-level dependencies, set up a virtual environment, and install python dependencies within it.
cd ~/pet_detector
make install
9. Download the pre-trained machine learning models. We’re using the YOLOv3 model trained on the COCO dataset. This model is able to recognize a variety of household objects - dogs and cats included.
cd ~/pet_detector
make download-model
10. Connect speakers to your raspberry pi. We’ll use the speakers to play a sound effect you can hear whenever your pet steps into the frame. I’m using a megaphone but desktop speakers should work just fine. Test your speakers with the following command:
say “this is a test”

11. Edit your /etc/rc.local file so this script runs on boot. Open /etc/rc.local by entering the sudo nano /etc/rc.local command and then adding the following line to the bottom of the file:
source /home/pi/pet_detector/env/bin/activate && cd /home/pi/pet_detector/src && python app.py &
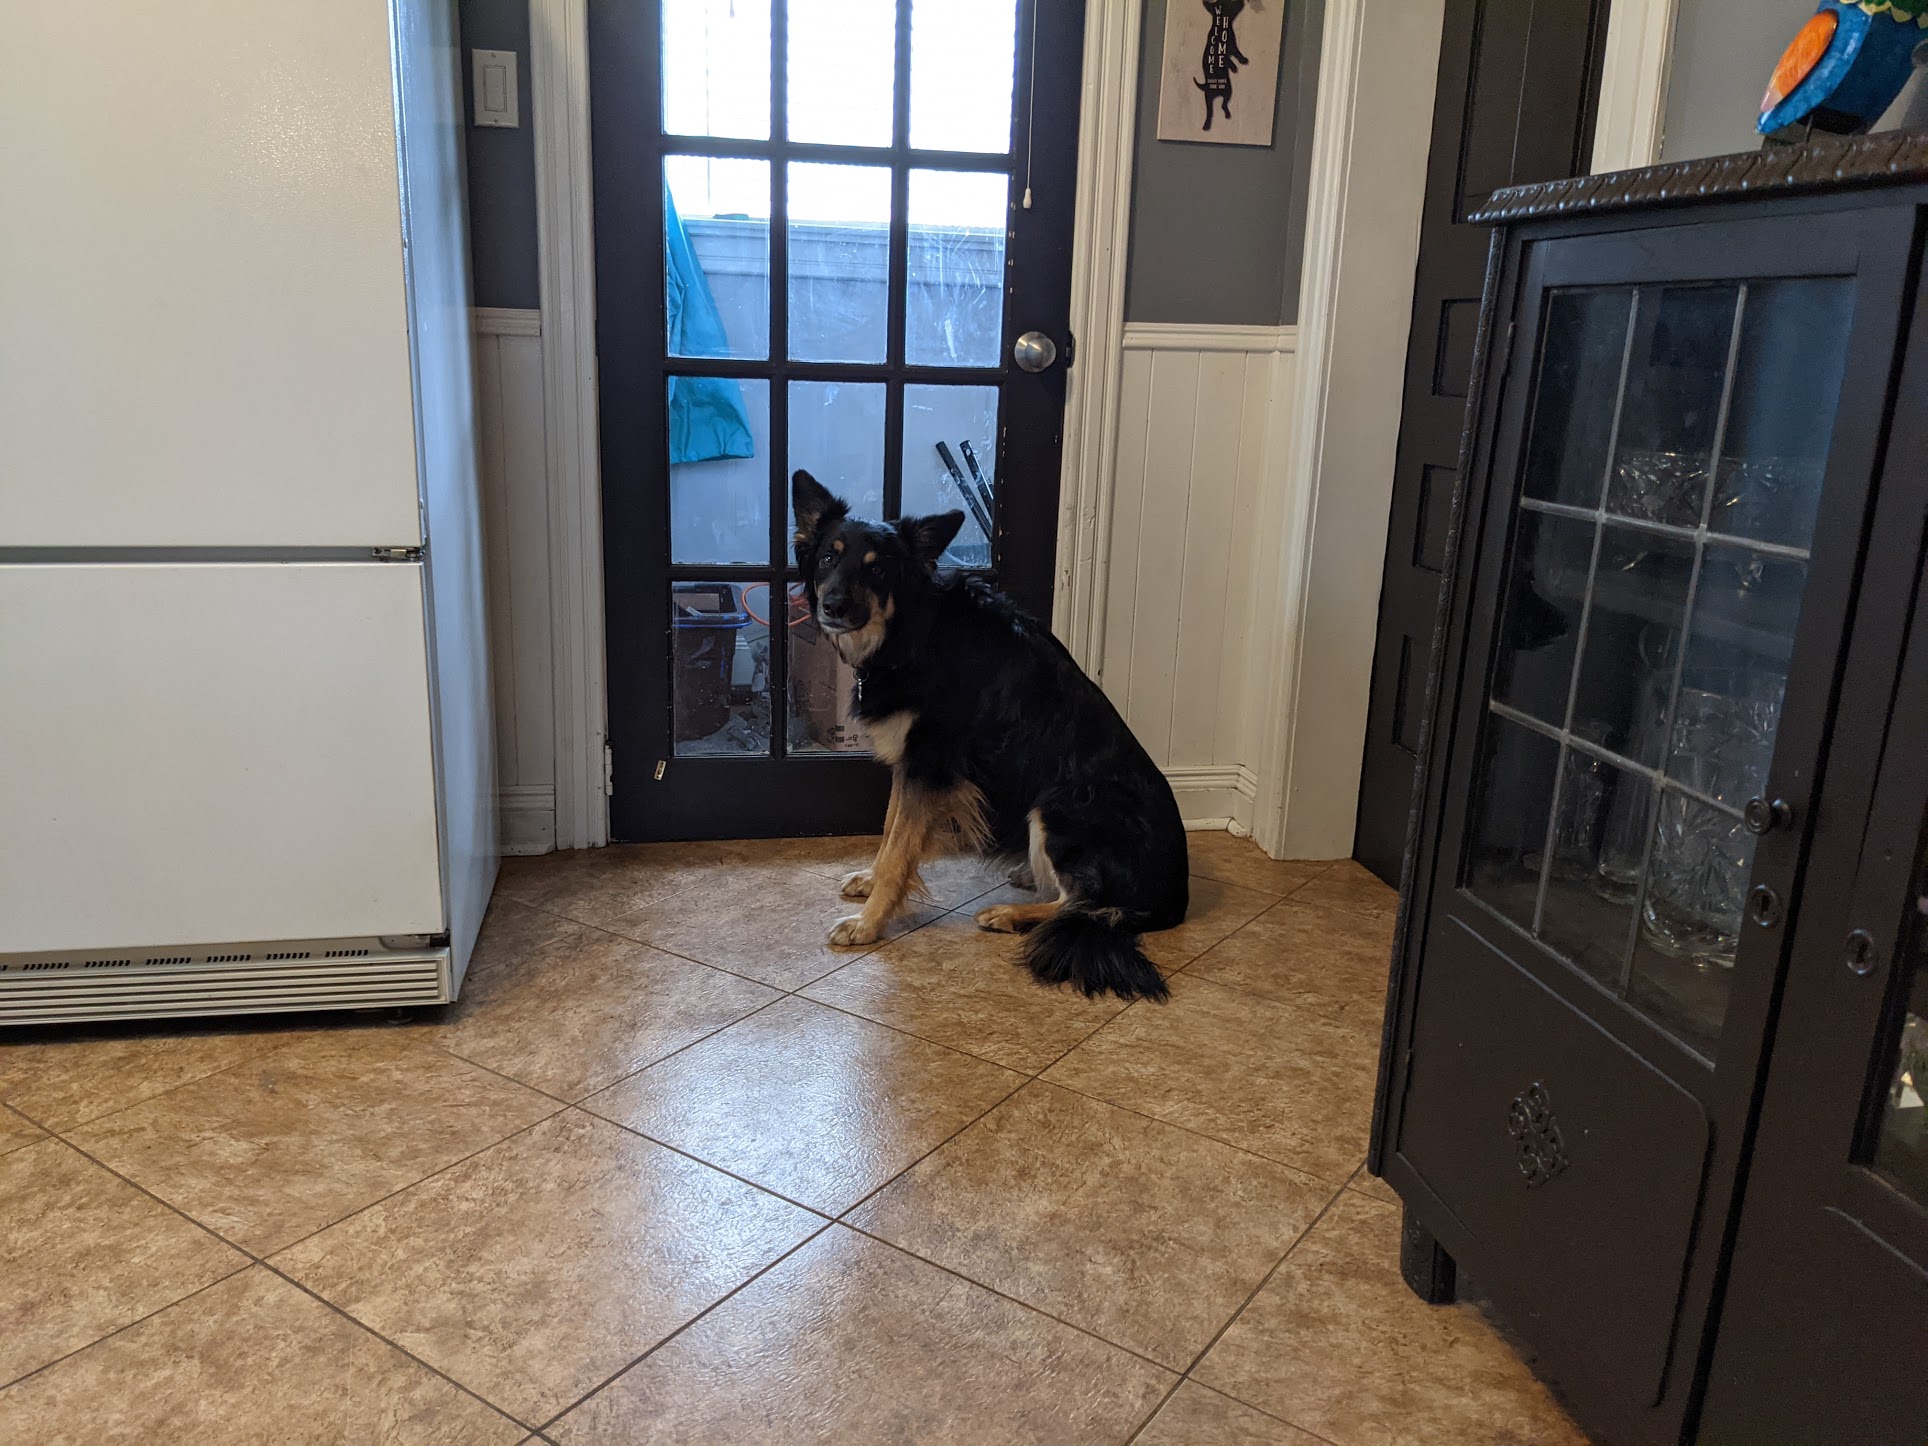
12. Set up your camera so it faces the door. My pets wait by the door when they want to be let outside - so we work on the assumption that if they step into frame, they want to go outside.

13. Let your pets go outside. When your cat or dog steps into the frame, the model will detect it, and play a text to speech message letting you know they want to go outside.

Ryder Damer is a Freelance Writer for Tom's Hardware US covering Raspberry Pi projects and tutorials.
