How To Build The Xmas Lights From Stranger Things with Raspberry Pi
Let others send you a message using flashing xmas lights.
I’m a big fan of the Stranger Things series and I can’t wait for the next season. If you haven’t seen the show, in season 1 two characters communicate across different dimensions using Christmas lights with letters written underneath them.
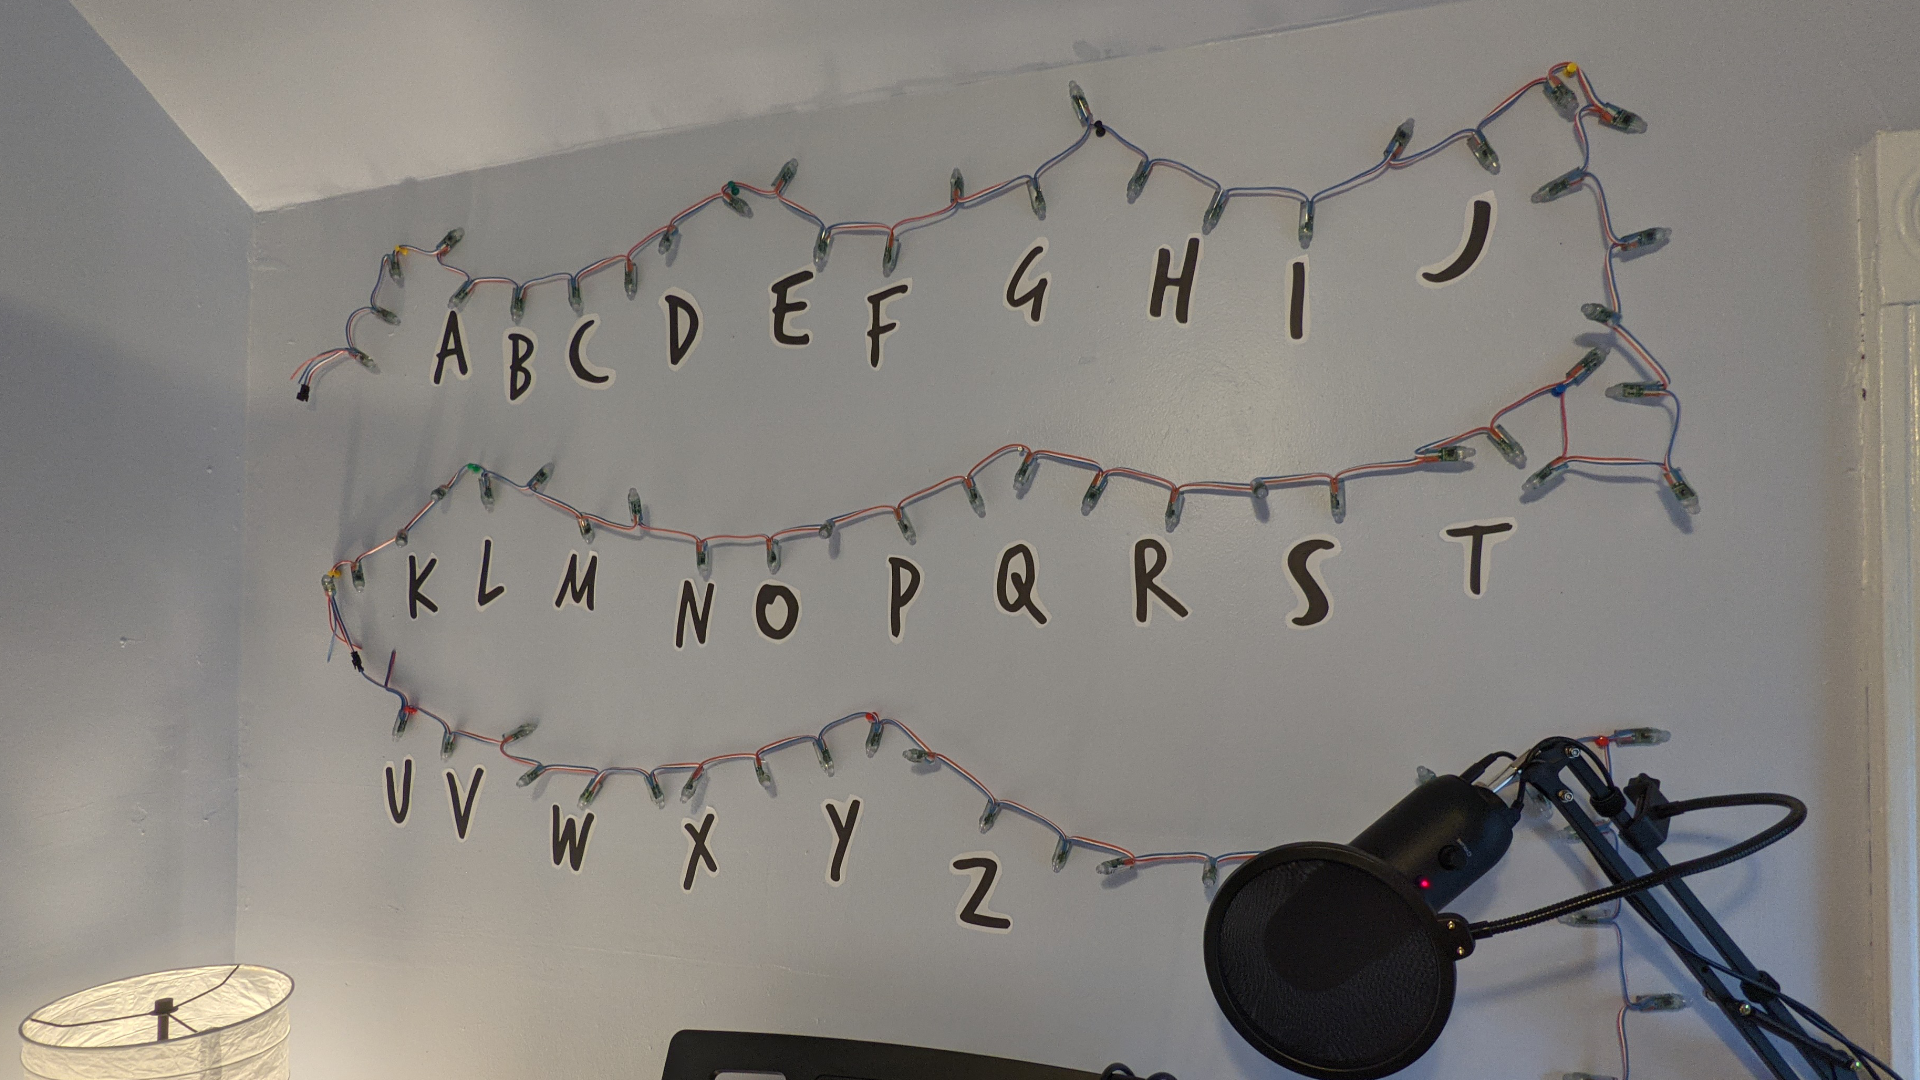
I built a replica of this a year ago, but with the upcoming release of season 4, it’s time to build a bigger and better version. These lights can be hung up on your wall, and can let friends, family, and even strangers communicate with you.
What You’ll Need For This Project
- Raspberry Pi 4 or Raspberry Pi 3
- USB power adapter for Raspberry Pi
- 8 GB (or larger) microSD card with Raspberry Pi OS. See our list of best microSD cards for Raspberry Pi.
- Two strands of 12v WS2811 LEDs (one strand will work, but two looks better for letter spacing)
- A 12 volt power supply (any standard 12v power supply will work)
- Jumper cables
- Wire strippers
- Solder or wire nuts
- A black and white printer and paper
- Scissors
- Push pins
How to build the Stranger Things Christmas Lights with Raspberry Pi
Before you get started, make sure that you have your Raspberry Pi OS set up. If you haven’t done this before, see our article on how to set up a Raspberry Pi for the first time or how to do a headless Raspberry Pi install (without the keyboard and screen).
1. Install git, which will allow us to clone the code from github.com
sudo apt-get update && sudo apt-get install -y git
2. Clone the repository and descend into the directory created.
git clone https://github.com/rydercalmdown/stranger_things_lights.git
cd stranger_things_lights
3. Run the installation command to install all necessary base and python components.
make install-pi
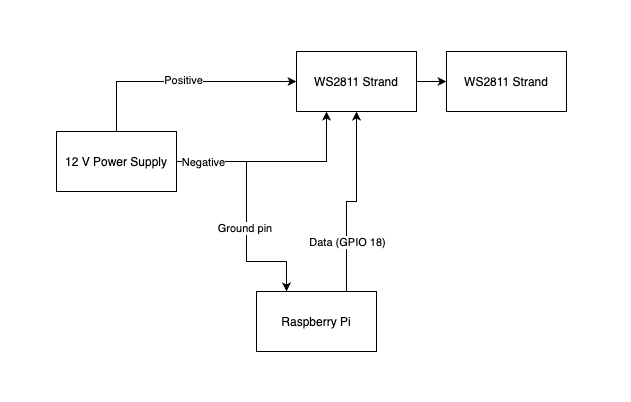
4. Connect both WS2811 strands together using their attached connectors. You can use 1 strand, but I’ve found two look better for letter spacing.
Get Tom's Hardware's best news and in-depth reviews, straight to your inbox.
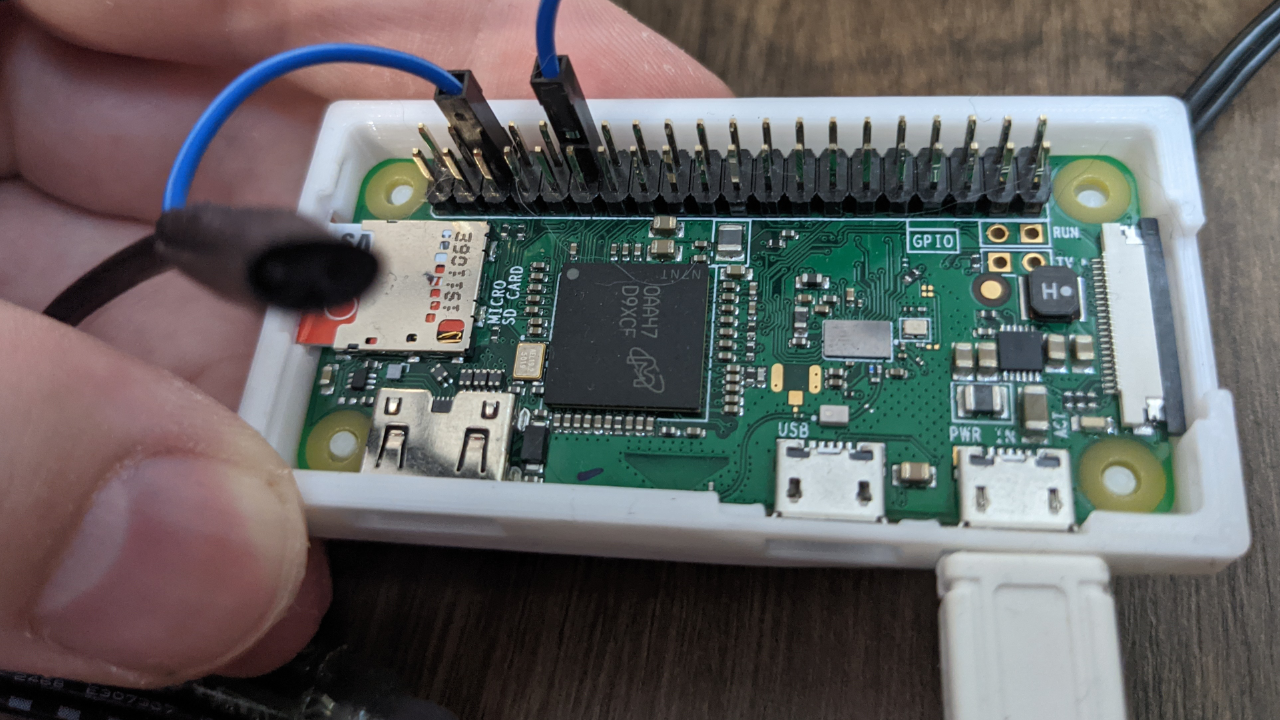
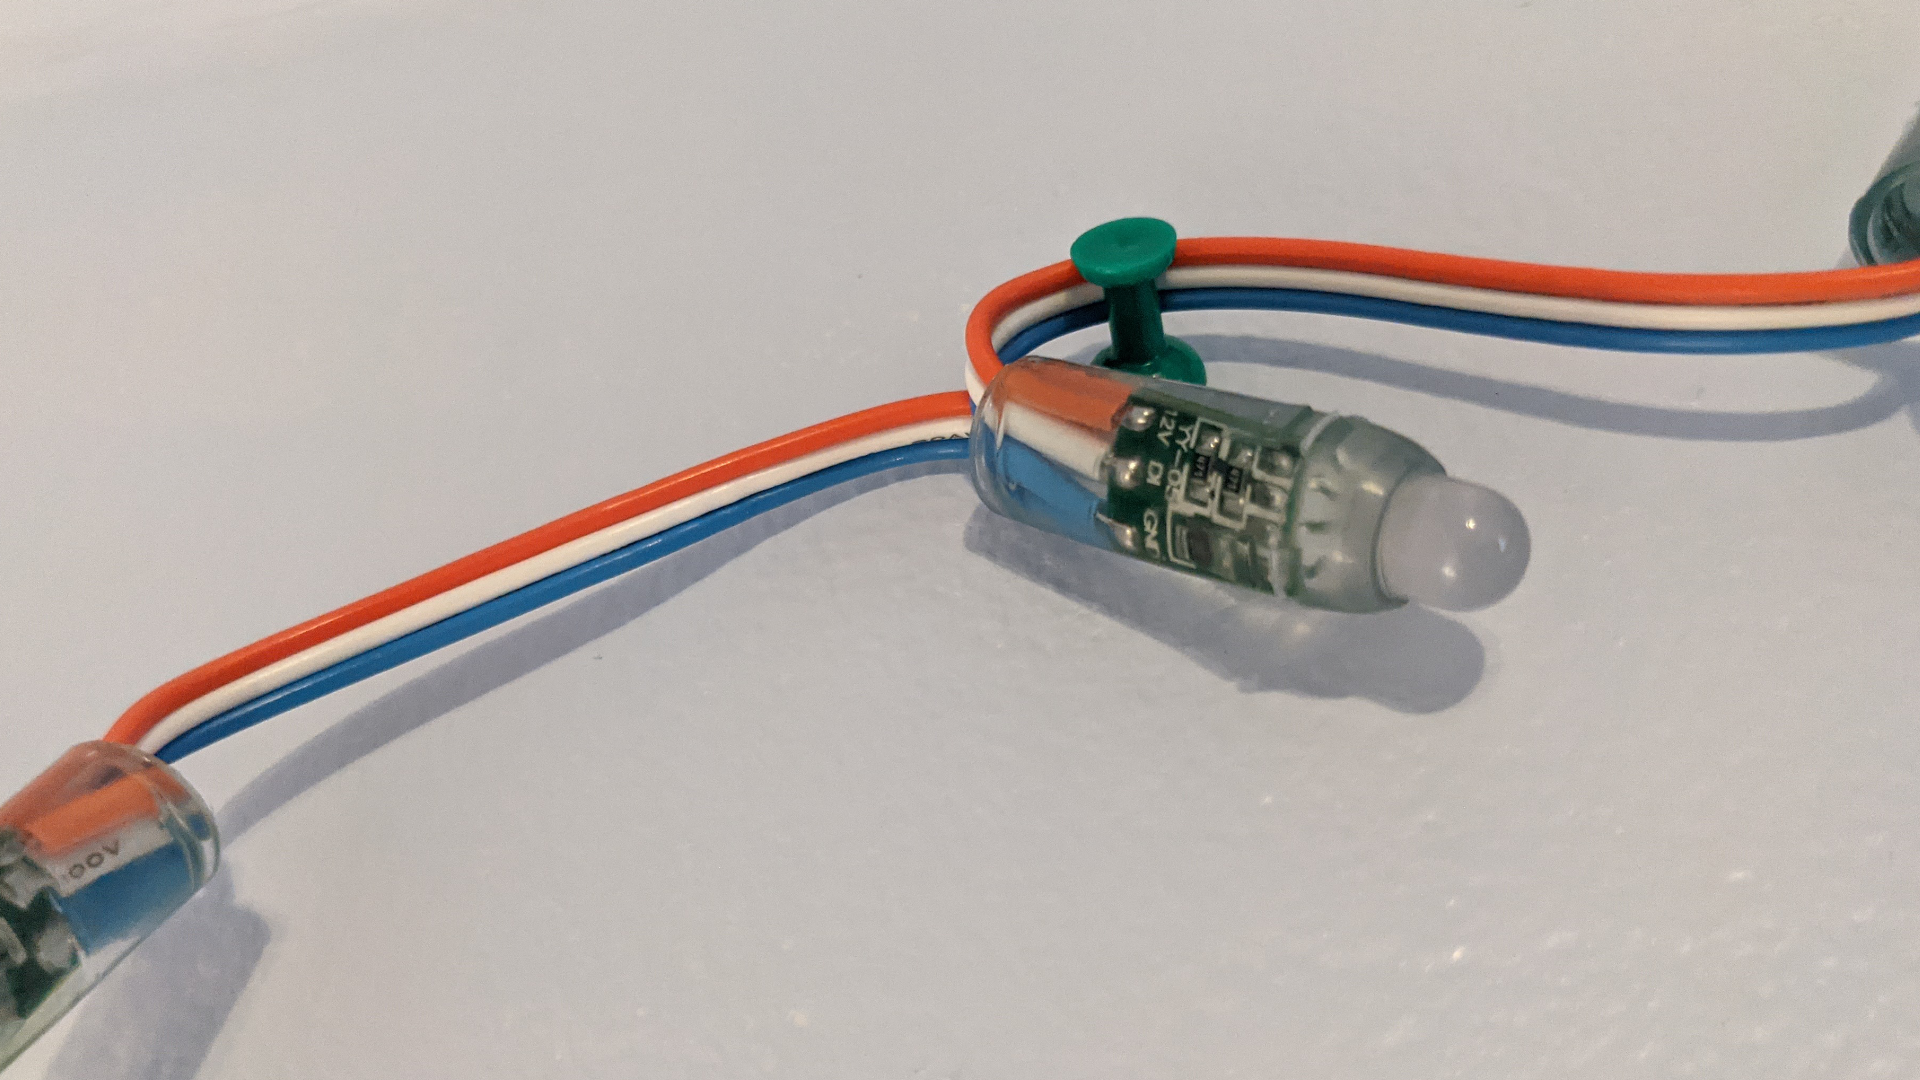
5. Connect GPIO pin 18 on the pi to the data pin of the WS2811 strand.
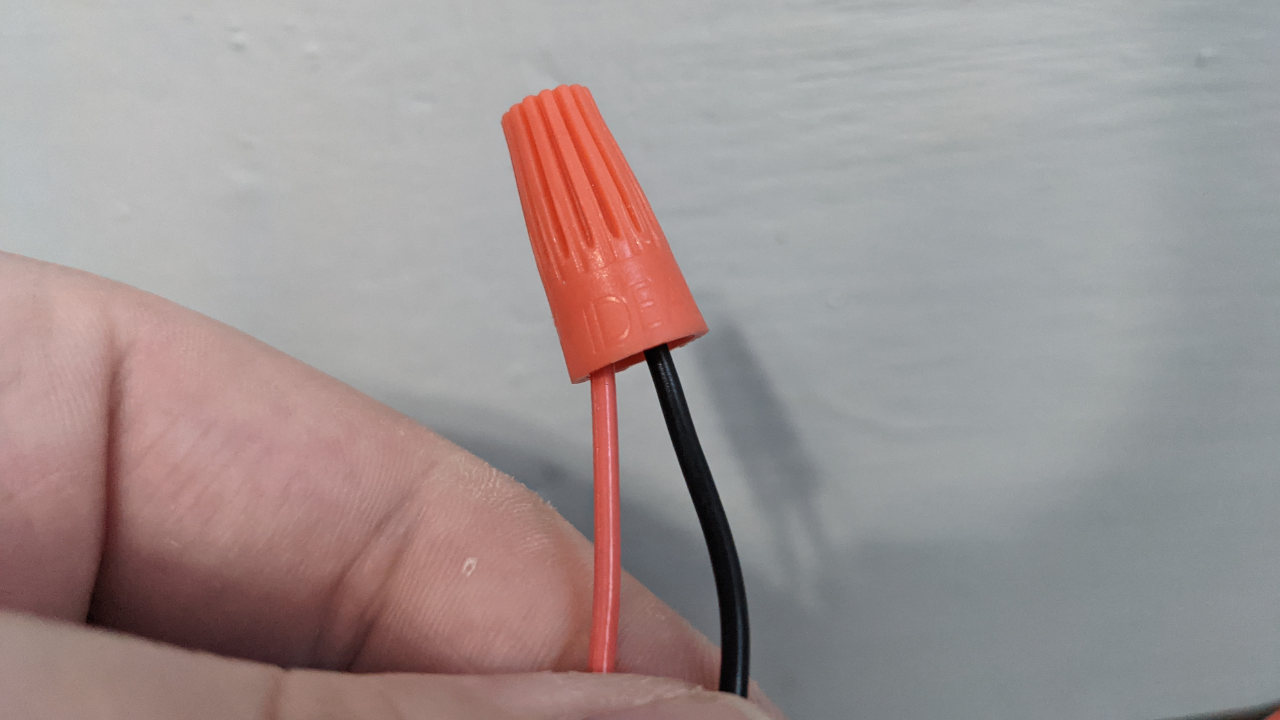
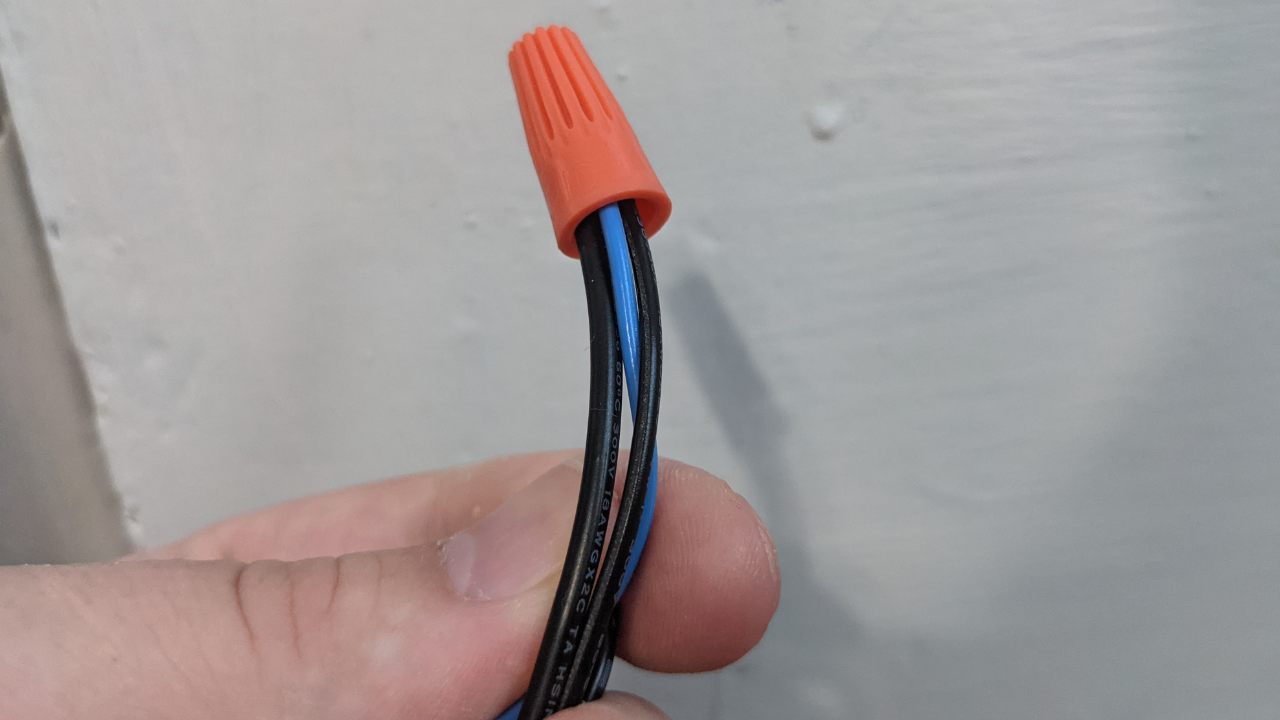
6. Wire the 12v of the WS2811 strand to the positive end of a 12 volt power supply. I used wire nuts to attach mine together.
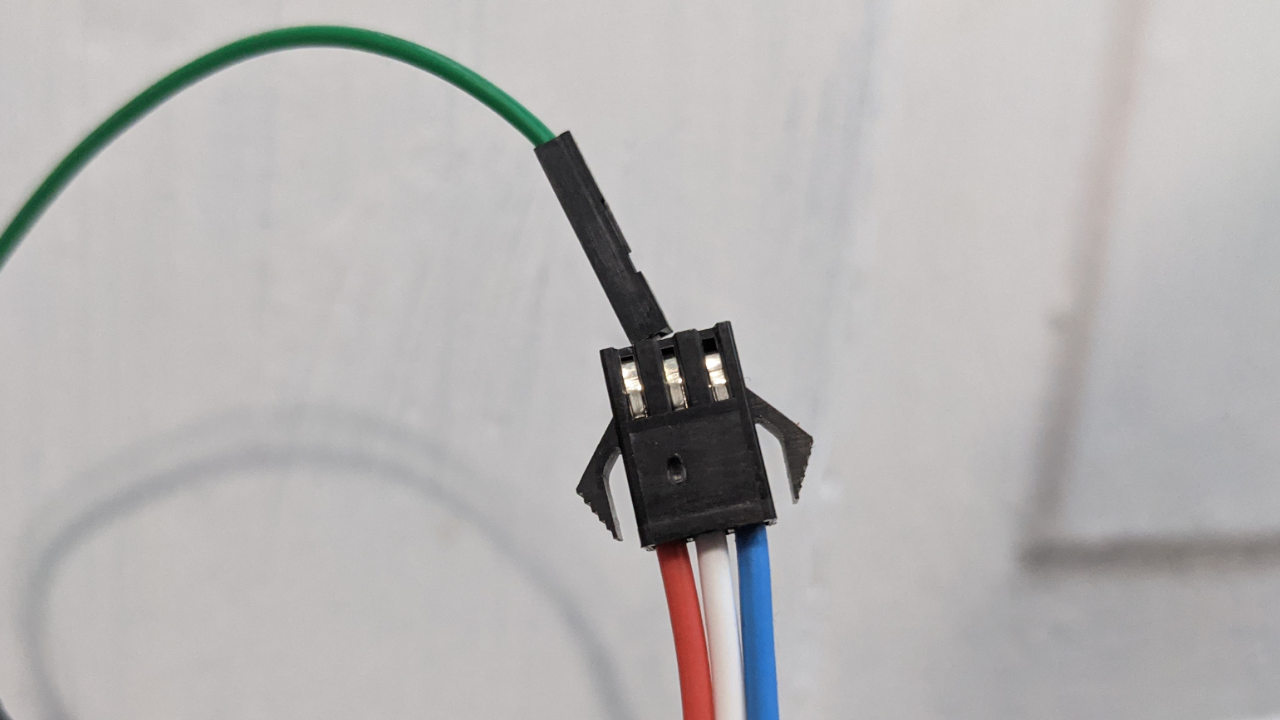
7. Wire the ground of the WS2811 strand to the negative end of the 12 volt power supply, and also a jumper cable with a female end.
8. Connect that jumper cable to a ground pin on the Raspberry Pi.
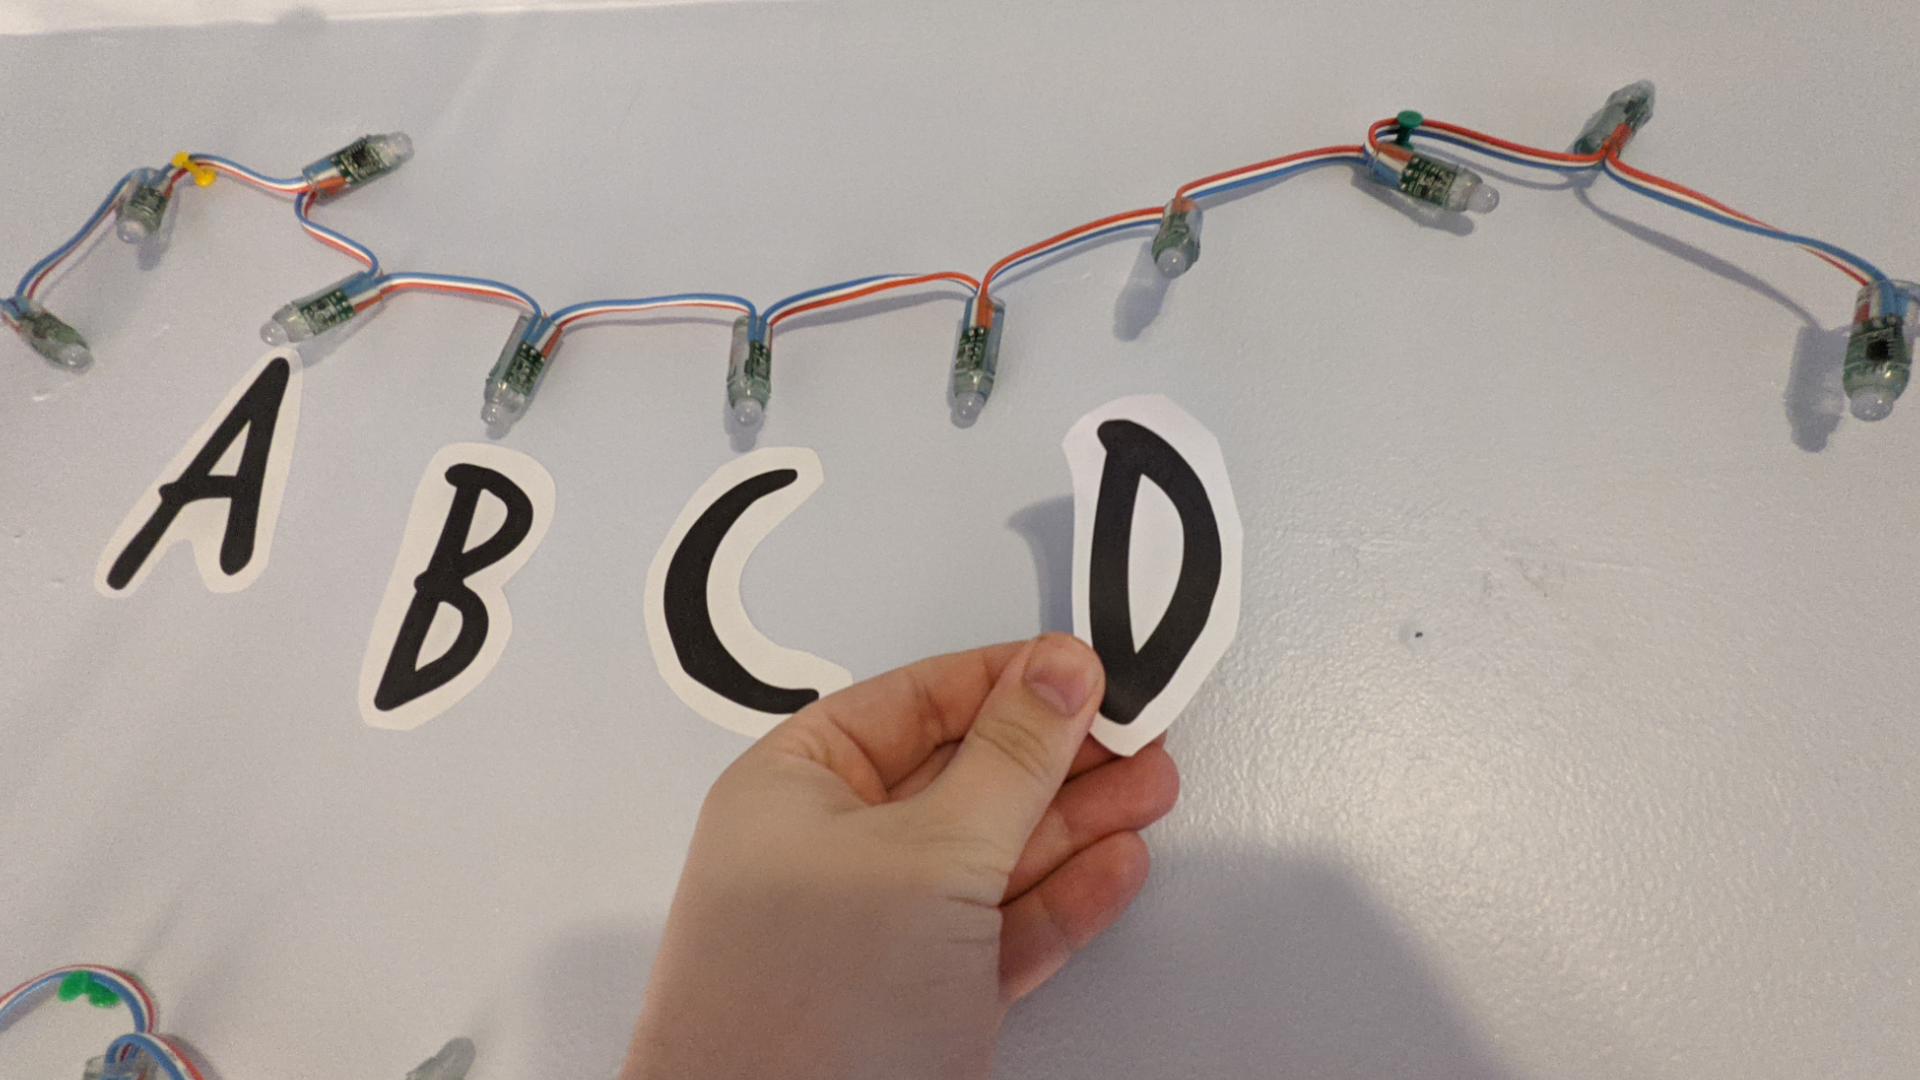
9. Pin the WS2811 strands up on a wall using push pins (or another method you prefer).
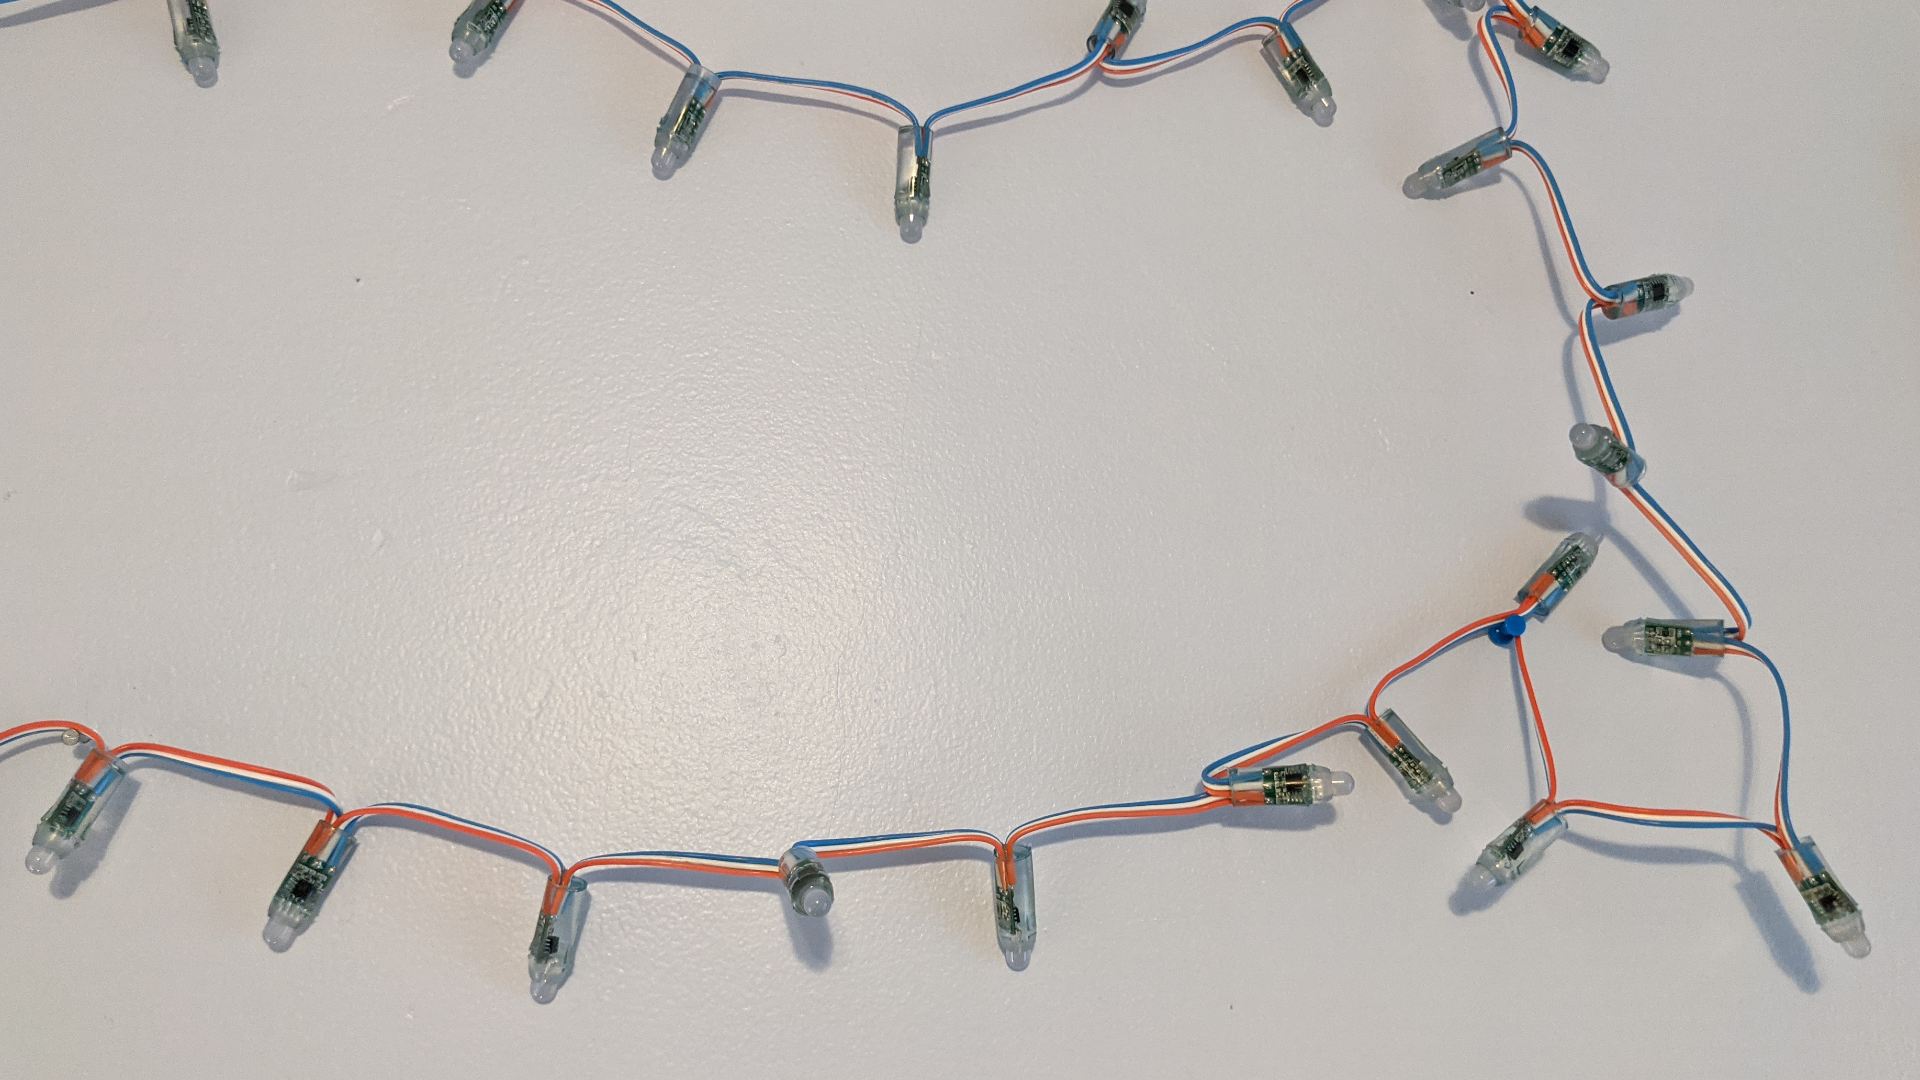
10. Print out each letter of the alphabet from a text editor to your desired size.
11. Cut out and attach the letters under LEDs of your choice.
12. Back on the Raspberry Pi, open the worker/app.py file with a text editor of your choice.
# in the stranger_things_lights directory
nano worker/app.py
13. Edit the mapping dictionary so your pins match the letters. Pins are zero-indexed, so the very first pin on your strand will be 0, and the very last will be 99 (if you have only 1 strand it will be 49). If you have the letter “A” under the last LED, assign it 99 (49 for only 1 strand of LEDs).
14. Start the server component. It will start running on port 5000 in the background. I originally designed the server to be run separately for security, since I allow public messages from the internet, but if you’re using it for yourself you can run both on the pi.
make run-server15. Start your worker component to receive messages from the server.
make run-worker16. Plug in your 12v power supply. This is separate from the Raspberry Pi’s USB power supply.
17. Visit your Pi’s IP address and port from anywhere on the network. In my network, I put this in my browser:
http://10.0.0.15:8000/
18. Submit a message to the server. You should see it shortly appear letter by letter on the lights after a brief display of flashing lights to get your attention.
You have the option of exposing this service to the internet so friends and family can send messages. Keep in mind that any time you open ports on your router or firewall there is an inherent risk - so it’s recommended you do this only temporarily.
Depending on your router or modem-router combo, you might have an option to port forward. If that’s the case, you can forward port 80 on your router to the Raspberry Pi’s IP address, and port 8000. This means that any browser that types in your home IP address (http://10.0.0.0/ as an example) will be forwarded to the running server on your Pi, where they can submit messages.
For more advanced users, you could also consider setting up a cloud-based reverse proxy with TLS termination, but to share with friends and family, the above should be sufficient.

Ryder Damer is a Freelance Writer for Tom's Hardware US covering Raspberry Pi projects and tutorials.
-
AllSheKnows I haven't been into PCs as much over the last few years, but I came back here to spec out a new PC build I plan to buy. Looking around at the site at articles like this, I can see that this site has lost focus. I guess YouTube is the only place to go for PC enthusiasts anymore. This braindead junk definitely shouldn't be on a site with the reputation of Tom's.Reply -
pixelpusher220 ReplyAllSheKnows said:I haven't been into PCs as much over the last few years, but I came back here to spec out a new PC build I plan to buy. Looking around at the site at articles like this, I can see that this site has lost focus. I guess YouTube is the only place to go for PC enthusiasts anymore. This braindead junk definitely shouldn't be on a site with the reputation of Tom's.
Given that multiple MOBO reviews can't even accurately count numbers of ports...you may be on to something -
mcf0u812 Everything seem pretty straight forward but I run into issue's with the make run-server and make run-worker.Reply
After make run-server I get this:
make: docker-compose: Command not found
make: *** Error 127
and after make run-worker I got this:
Can't open /dev/mem: Permission denied
So I ran worker with sudo and the lights blinked for a few seconds and then this message repeatedly pops up. I'm guessing it's because the server command isn't working.
ERROR:root:Invalid URL 'web/next?key=': No schema supplied. Perhaps you meant http://web/next?key=?
Any suggestions? -
mcf0u812 Installed docker-compose and got closer. But now I think I'm really stuck.Reply
Step 4/7 : RUN pip install -r requirements.txt
---> Running in 2831c096731d
Fatal Python error: _Py_InitializeMainInterpreter: can't initialize time
PermissionError: Operation not permitted
Current thread 0xb6fa4390 (most recent call first):
ERROR: Service 'web' failed to build: The command '/bin/sh -c pip install -r requirements.txt' returned a non-zero code: 132
make: *** Error 1 -
ClarD ReplyClarD said:The project is designed to install in a Docker container.
Is there a page that describes how to install Docker?
And the appropriate image and use it?
It doesn't need to be in a container. It just needs Docker-Compose.
https://docs.docker.com/engine/install/debian/
sudo apt-get install docker-ce docker-ce-cli containerd.io docker-buildx-plugin docker-compose-plugin docker-compose
dpkg list docker*
The Docker page leaves off docker-compose from the install. -
ClarD Replymcf0u812 said:So I ran worker with sudo and the lights blinked for a few seconds and then this message repeatedly pops up. I'm guessing it's because the server command isn't working.
ERROR:root:Invalid URL 'web/next?key=': No schema supplied. Perhaps you meant http://web/next?key=?
Any suggestions?
The code is trying to retrieve an environment variable, SERVER_HOST, which doesn't exist. And it needs a schema.
I added SERVER_HOST to my environment, and modified app.py to
return 'http://' + host + '/next?key=' + key
cd ~/stranger/stranger_things_lights/
source .venv/bin/activate
export SERVER_HOST=$HOSTNAME
sudo -E env PATH="$PATH" make install-pi
sudo -E env PATH="$PATH" make run-server
Now it gets past that, flashes the initialization of the lights, but still loops on an error connecting to the server.
fetching http://raspberypi4/next?key=ERROR:root:HTTPConnectionPool(host='raspberypi4', port=80): Max retries exceeded with url: /next?key= (Caused by NewConnectionError('<urllib3.connection.HTTPConnection object at 0x7fb04c2a50>: Failed to establish a new connection: Connection refused'))
It should be something other than port 80. I think port 5000, but I have played around with that without success.
