Raspberry Pi Changes Games By Scanning Barcodes
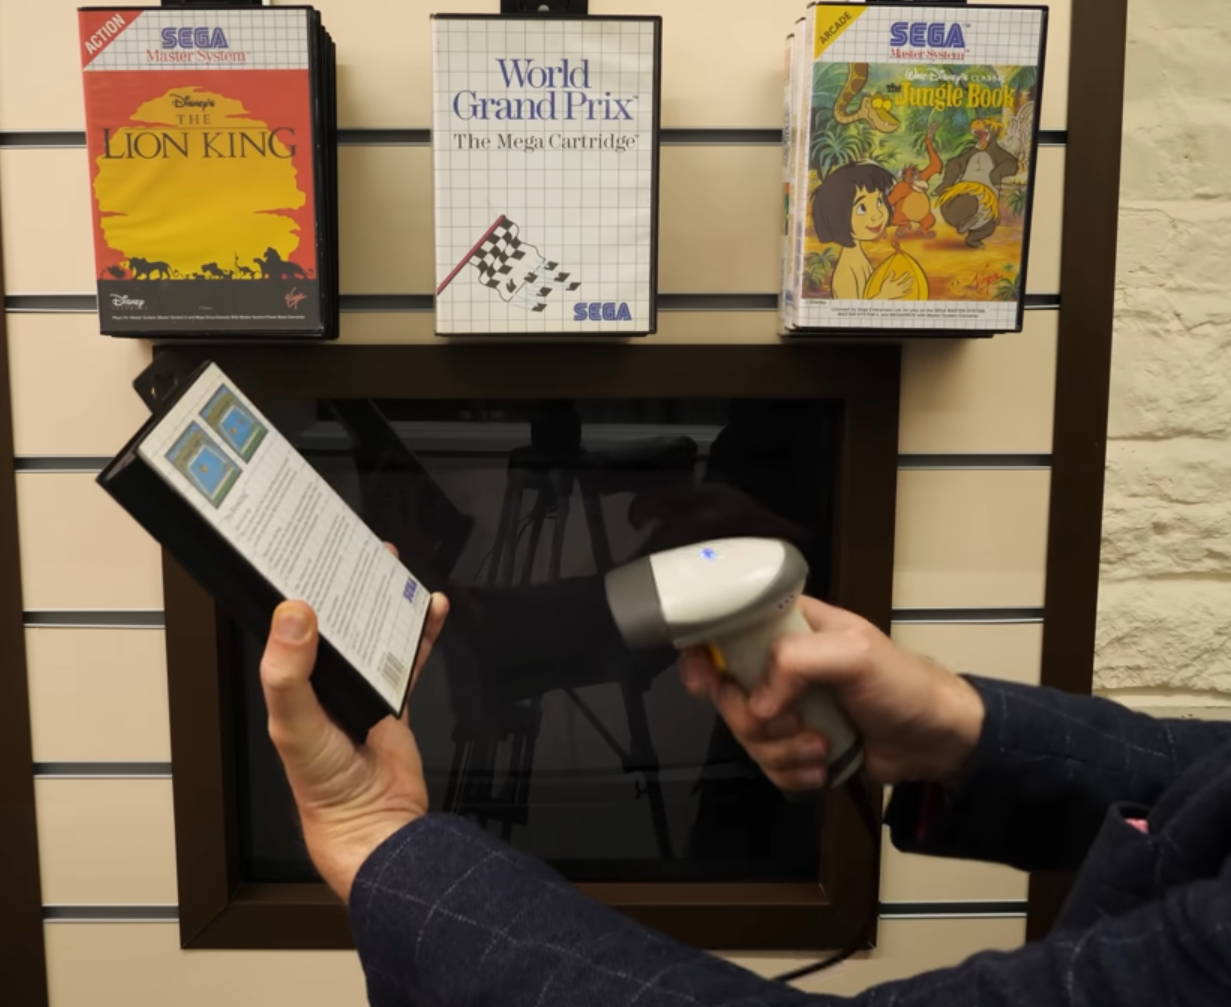
Creating a custom interface is one of the most exciting aspects of creating a retro gaming system with the Raspberry Pi. Tons of themes and original UIs have emerged over the years, but Neil, from YouTube channel RMC - The Cave, has taken things to the next level by creating a retro game shop replica as part of his retro games museum that functions as a front end for his emulation platform.
Instead of selecting a game from a menu on the screen, users choose a game from the physical store shelves and scan it using a barcode scanner. Once a game is selected, it will automatically load for the user to play. The glue that makes all of this work, is a Raspberry Pi 3B and a little Linux magic.


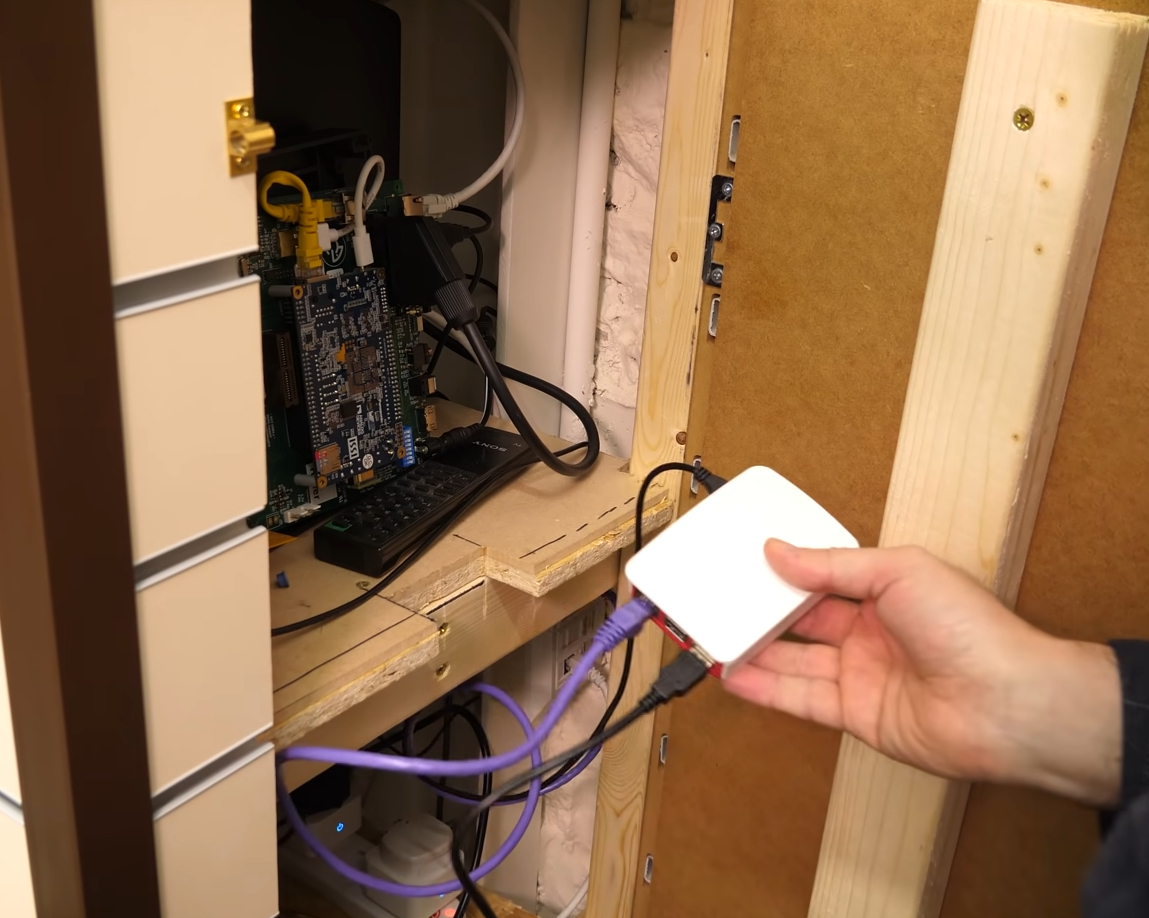
Neil uses a simple USB barcode scanner connected to a Raspberry Pi 3B. The Pi works in tandem with a MiSTer Multisystem, a retro gaming emulation platform, outputting video to a Sony 14-inch Trinitron TV.
The retro gaming emulation is handled entirely by the MiSTer Multisystem. The Pi comes in primarily to manage the barcode scanning system. Neil breaks down in greater detail how he configures the Pi to trigger game changes on the Multisystem platform in the original demo video. Put simply, the Pi communicates with the MiSTer, sending commands and game ROMS over a secure network connection. As Neil confesses, this is achievable for 16-bit era machines, but 32-bit era, such as the original Playstation and Sega Saturn will be harder given the larger CD ROM images.
It’s one of the coolest UIs we’ve ever seen in a Raspberry Pi project. To get a closer look at this system in action, check out the official RMC - The Cave channel over at YouTube and be sure to follow Neil for more fabulous creations.
Get Tom's Hardware's best news and in-depth reviews, straight to your inbox.

Ash Hill is a contributing writer for Tom's Hardware with a wealth of experience in the hobby electronics, 3D printing and PCs. She manages the Pi projects of the month and much of our daily Raspberry Pi reporting while also finding the best coupons and deals on all tech.