How to Add Effects to Audio in Audacity
Add special effects to your audio files with this open-source app.
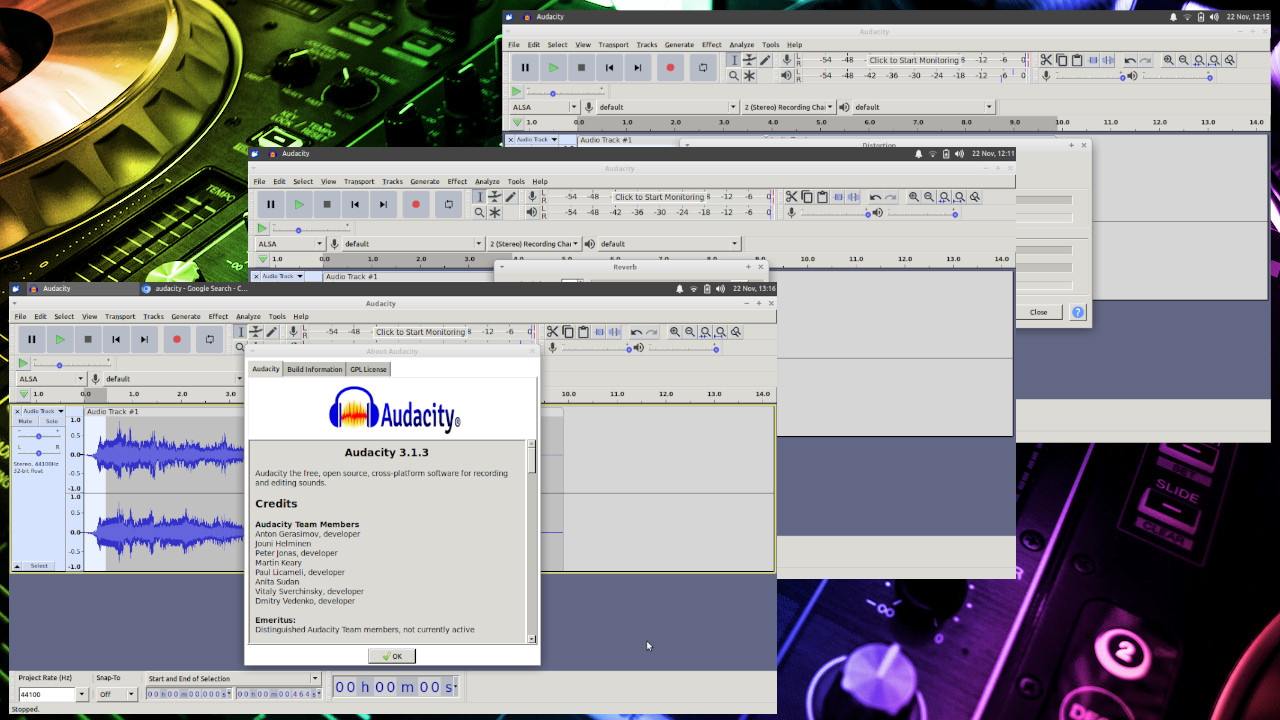
Cleaning up recordings is an excellent use case for Audacity. But it’s just the tip of the iceberg when it comes to the popular audio editor’s ability to manipulate clips. On top of all manner of editing tools there are a heap of audio effects built into Audacity that can be applied to audio recordings creatively to get the sound you require.
Audacity is an amazing piece of free and open source software that is useful for all kinds of audio processing and editing. We’ve already looked at how to install Audacity and how to use it to clean up audio. In fact, in that article, we used effects as tools to clean up the audio recordings and to remove or minimize unwanted noise and other artefacts. In this how-to we will look at applying effects for creative results.
We’d urge you to experiment with all the effects built into Audacity but make sure you don’t export your creatively affected audio over a prized audio recording. You can test and experiment with pretty much any audio file. Making a quick rough recording of your voice to practice on is a good idea.
Article continues belowSelecting an Audio File in Audacity
We can apply effects to either the entire audio file, or selectively to tracks and portions of audio. Both are easily achieved with Audacity.
1. Click on File – Open and open your test audio file. Audacity can handle many different file formats and, for the purposes of testing out audio effects, it’s not too important what type of audio file we use. Alternatively you can click the record button and record a short audio track using your computer's built in microphone.
2. Select the entire clip by pressing Control + A.
Alternatively, you can select part of the audio clip by left clicking and dragging to highlight an area in the audio clip.
Get Tom's Hardware's best news and in-depth reviews, straight to your inbox.
Adding Reverb to Audio in Audacity
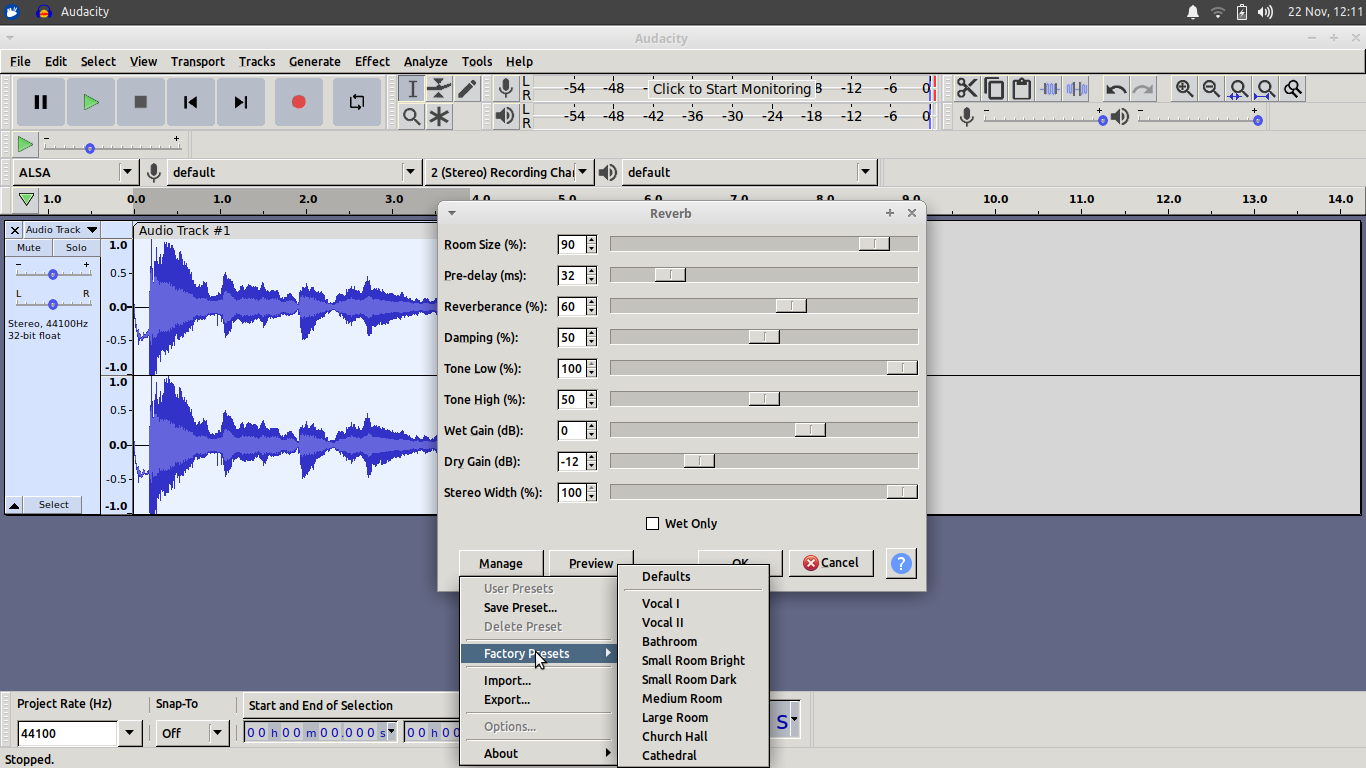
Reverb, which is short for “reverberation” is perhaps the most commonly used audio effect. In Audacity, it makes the audio sound like it has been recorded in a reverberant space and you can change the settings to emulate different sizes and styles of reverb “rooms”.
1. Select some or all of your audio clip.
2. Click on Effect >> Reverb. You should now see a window appear which has all the controls and settings for the reverb audio effect.
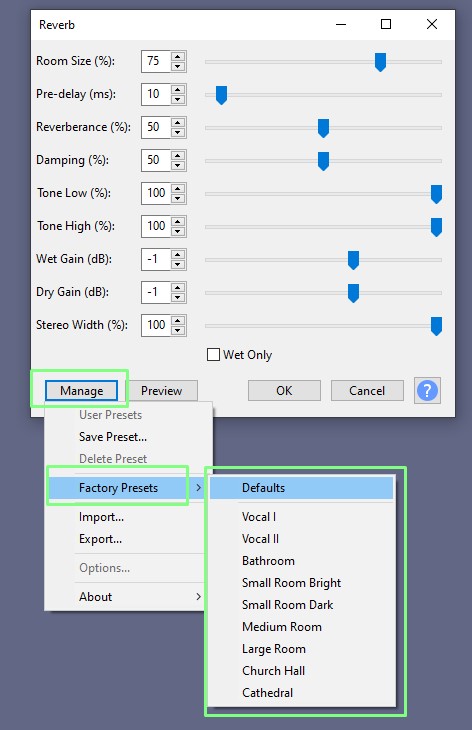
3. Click Manage and Select “Factory Presets”.
4. Try each of the presets using Preview. You can now hear the reverb effect applied to your audio track in preview for a few seconds. You can stop the preview to change settings using the “stop” button.
5. Use the sliders to tweak the reverb settings. Rather than explain every setting in the Reverb effect it’s easier for you to play with the sliders and listen to the changes in effect.
A common pair of settings are the “Dry Gain” and the “Wet Gain'' in simple terms the Dry Gain adjusts the amount of the original audio signal without any effects applied. Wet gain similarly adjusts the amount of the signal in the final output. These terms are often included in many of the effects units in audio programs and sometimes are found as a single slider mixing between Dry and Wet.
Adding Silence to End of Clip for Reverb Tail in Audacity
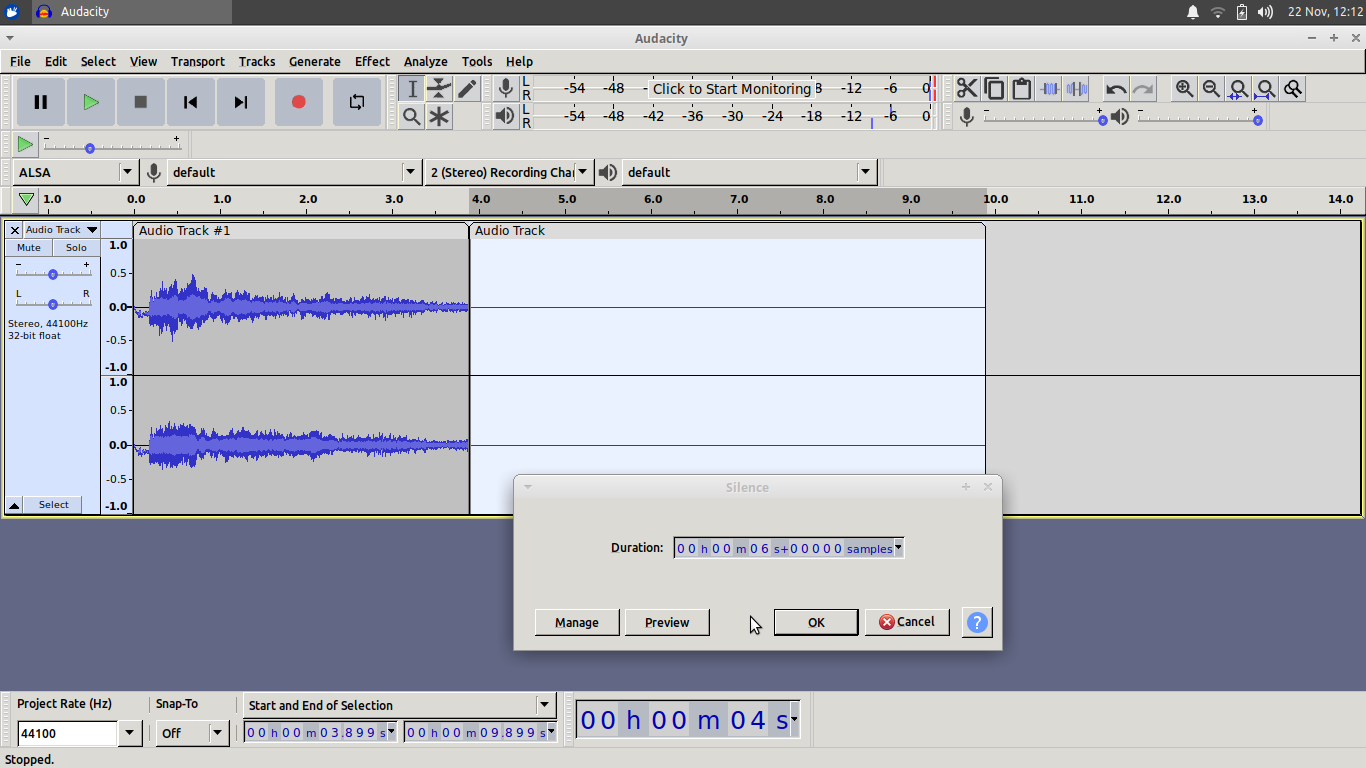
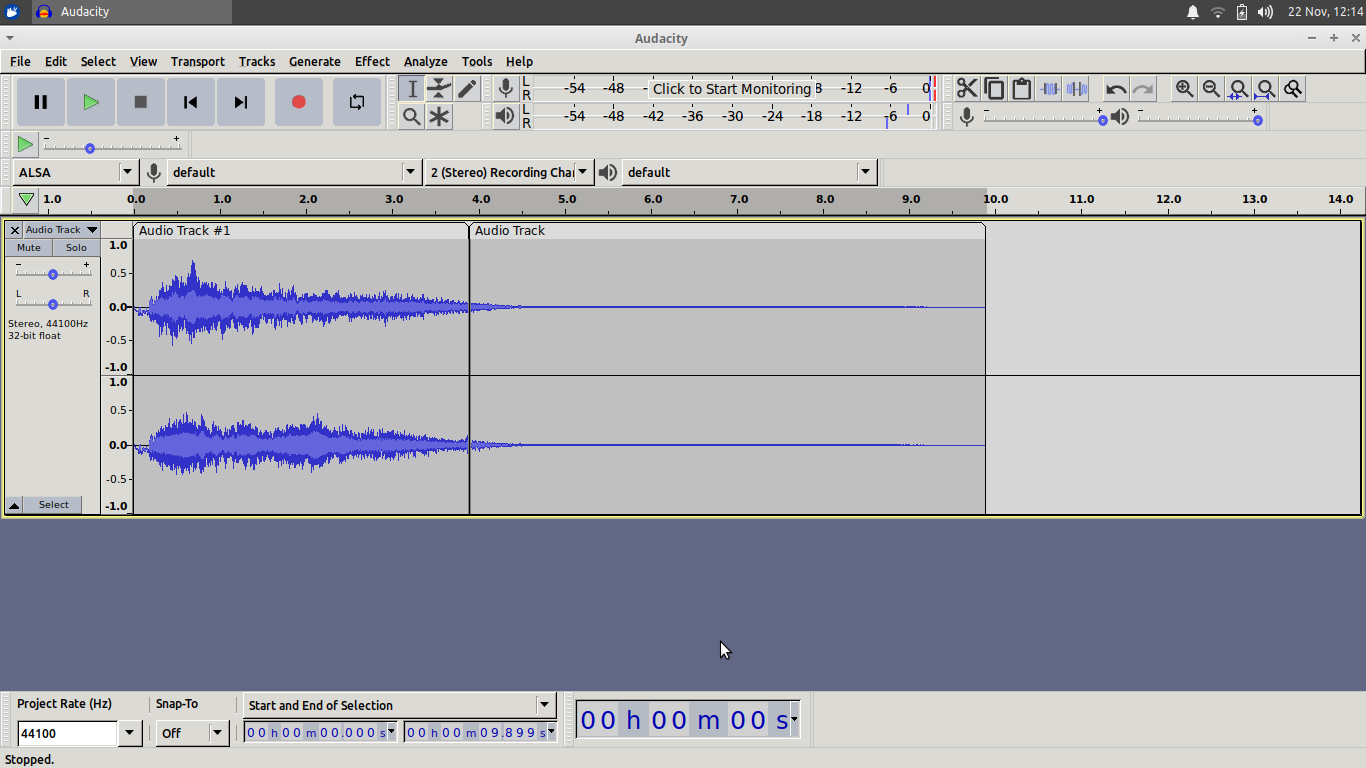
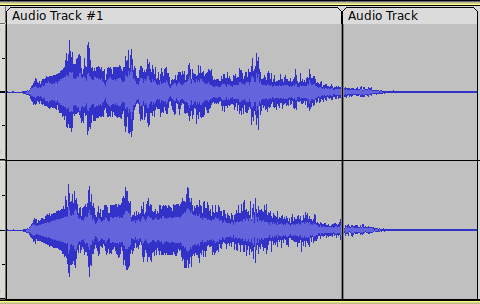
Often when you apply reverb to a clip, the reverb will end abruptly at the end of the audio clip and you may well want the reverb to trail naturally after the final audio clip contents. To do this in Audacity, we need to generate and add a silent section onto the end of our existing audio clip and then, when we apply a reverb effect, there is room in this silence for the reverb tail.
1. Open a new test audio file and click the “Skip to End” button on the transport toolbar or press “K” on the keyboard to move the play head to the end of the clip.
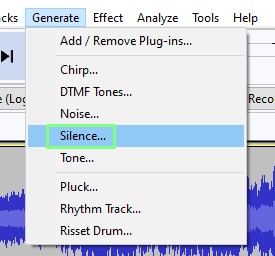
2. Click on Generate >> Silence.
3. Set the length of silence you wish to add and click OK to add a section of silent audio to the end of the clip in the selected track.
4. Apply a reverb to the entire audio clip. The reverb will continue into the newly created clip and will fade naturally.
Adding a Distortion Effect in Audacity
It’s easy to presume that distortion effects are all about making audio sound like heavy metal. While distortion settings can indeed create such sounds, they can also be used in many more ways.
Subtly applied distortion can add warmth to recordings or to make audio sound like it has been recorded on tape and other vintage setups. The process of applying distortion is the same as it is for applying all audio effects in Audacity.
1. Select all or part of an audio clip.
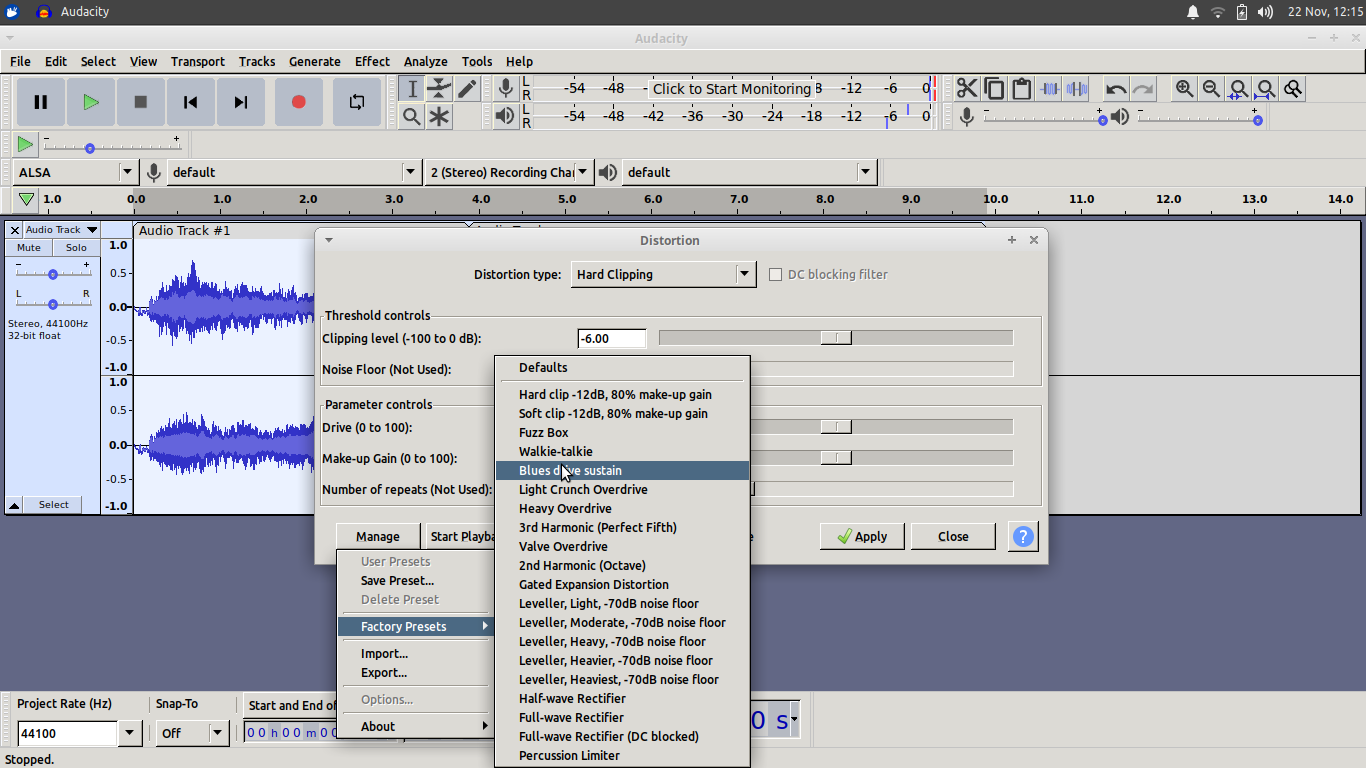
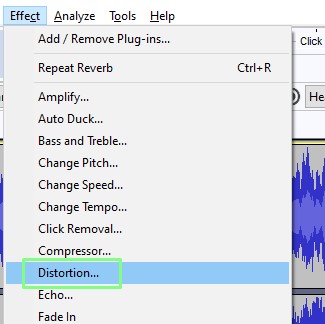
2. From the Effect menu select Distortion.
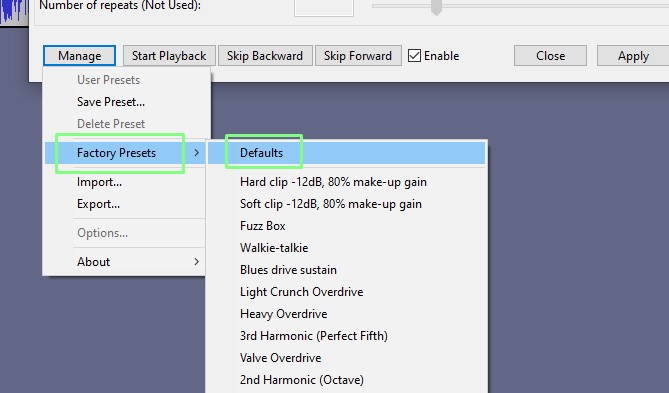
3. Click Manage and Select “Factory Presets”.
4. Try each of the presets using Start Playback. Note that, with the Distortion effect, you have three buttons: “Start Playback”, “Skip Backward” and “Skip Forward.” With these three buttons, you can preview the distortion applied to the audio, make changes if needed and skip around the selected audio to hear the changes.
5. Click apply to add the distortion effect to your audio. One thing of note is that adding Distortion can cause your audio to “clip” which is where the audio passes through the 0dB ceiling. This can cause glitches and pops in speakers and headphones which can be uncomfortable for the listener. Within the Distortion dialogue, you can use the “clipping level” slider to manage this effect, lowering the value to decrease the amount of clipping in the affected track.
Fading In and Out in Audacity
As a final pair of Audacity effects that are extremely useful, we have the effects “Fade In” and “Fade Out”. These are useful when creating a clip to go into a podcast or other work.
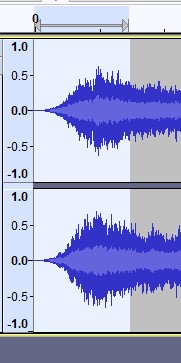
1. Select a section in the audio. Select a section that would make an interesting segment for a podcast.
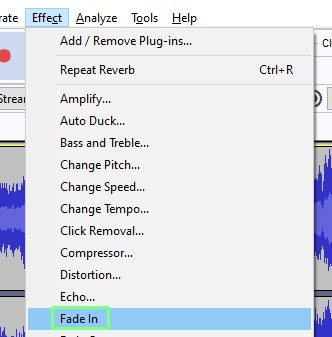
2. Click on Effects >> Fade In.
The fade effects differ in that you don’t get a dialog box or any user controls. The effect simply creates a volume gradient increasing from zero to the clips inherent volume level across the length of your selection.
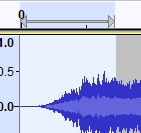
Adding a fade out is handled in the same manner.
1. Highlight the end of the segment to fade out.
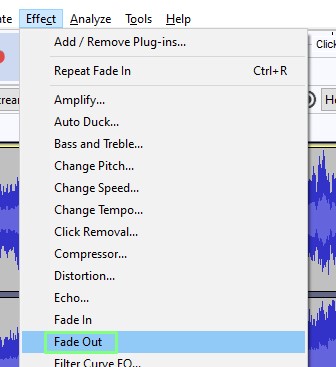
2. Go to Effects and select Fade Out. Over the selected length, the audio will now gradually fade out to silence over.
As you can see from the “Effects” drop down menu, there is a great collection of built-in effects in Audacity. Each of these effects are worth investigating so that you get a practical sense of what each effect does to your audio.
There are numerous “modulation” type effects, for example “Phaser” and “Wahwah,” which can create sweeping filtered effects in your audio. There are straightforward sounding effects that do exactly what they say in the name such as “Reverse” and “Repeat” and there are other effects, some of which we looked at previously, that allow you to effect the equalisation, remove noise and polish your audio.
Armed with this bundle of effects, whether its a subtle ambience, or a distorted sci fi robot voice you now have enough skills to get the sound you need using this excellent free and open source application.
Jo Hinchliffe is a UK-based freelance writer for Tom's Hardware US. His writing is focused on tutorials for the Linux command line.
