How to Calibrate Your Screen in Windows 11 or 10
Learn how to make colors look more true-to-form on your monitor
It would be nice if every display was calibrated exactly the same way straight from the factory, but the reality is that even though default color profiles are much better than they were a few years ago, taking the time to adjust a few settings can give your screen a little bit more “pop.”
Windows 11 and 10 have a built-in app that can help simplify this process. It won’t offer the same results as professional calibration tools, but it should at least be an improvement over the default settings. (It’s also much cheaper; professional calibration products can be quite expensive.) Here’s how to calibrate your screen in Windows 11 or 10, without breaking the bank. Note that our screenshots come from Windows 11, but the steps are the same in the prior operating system.
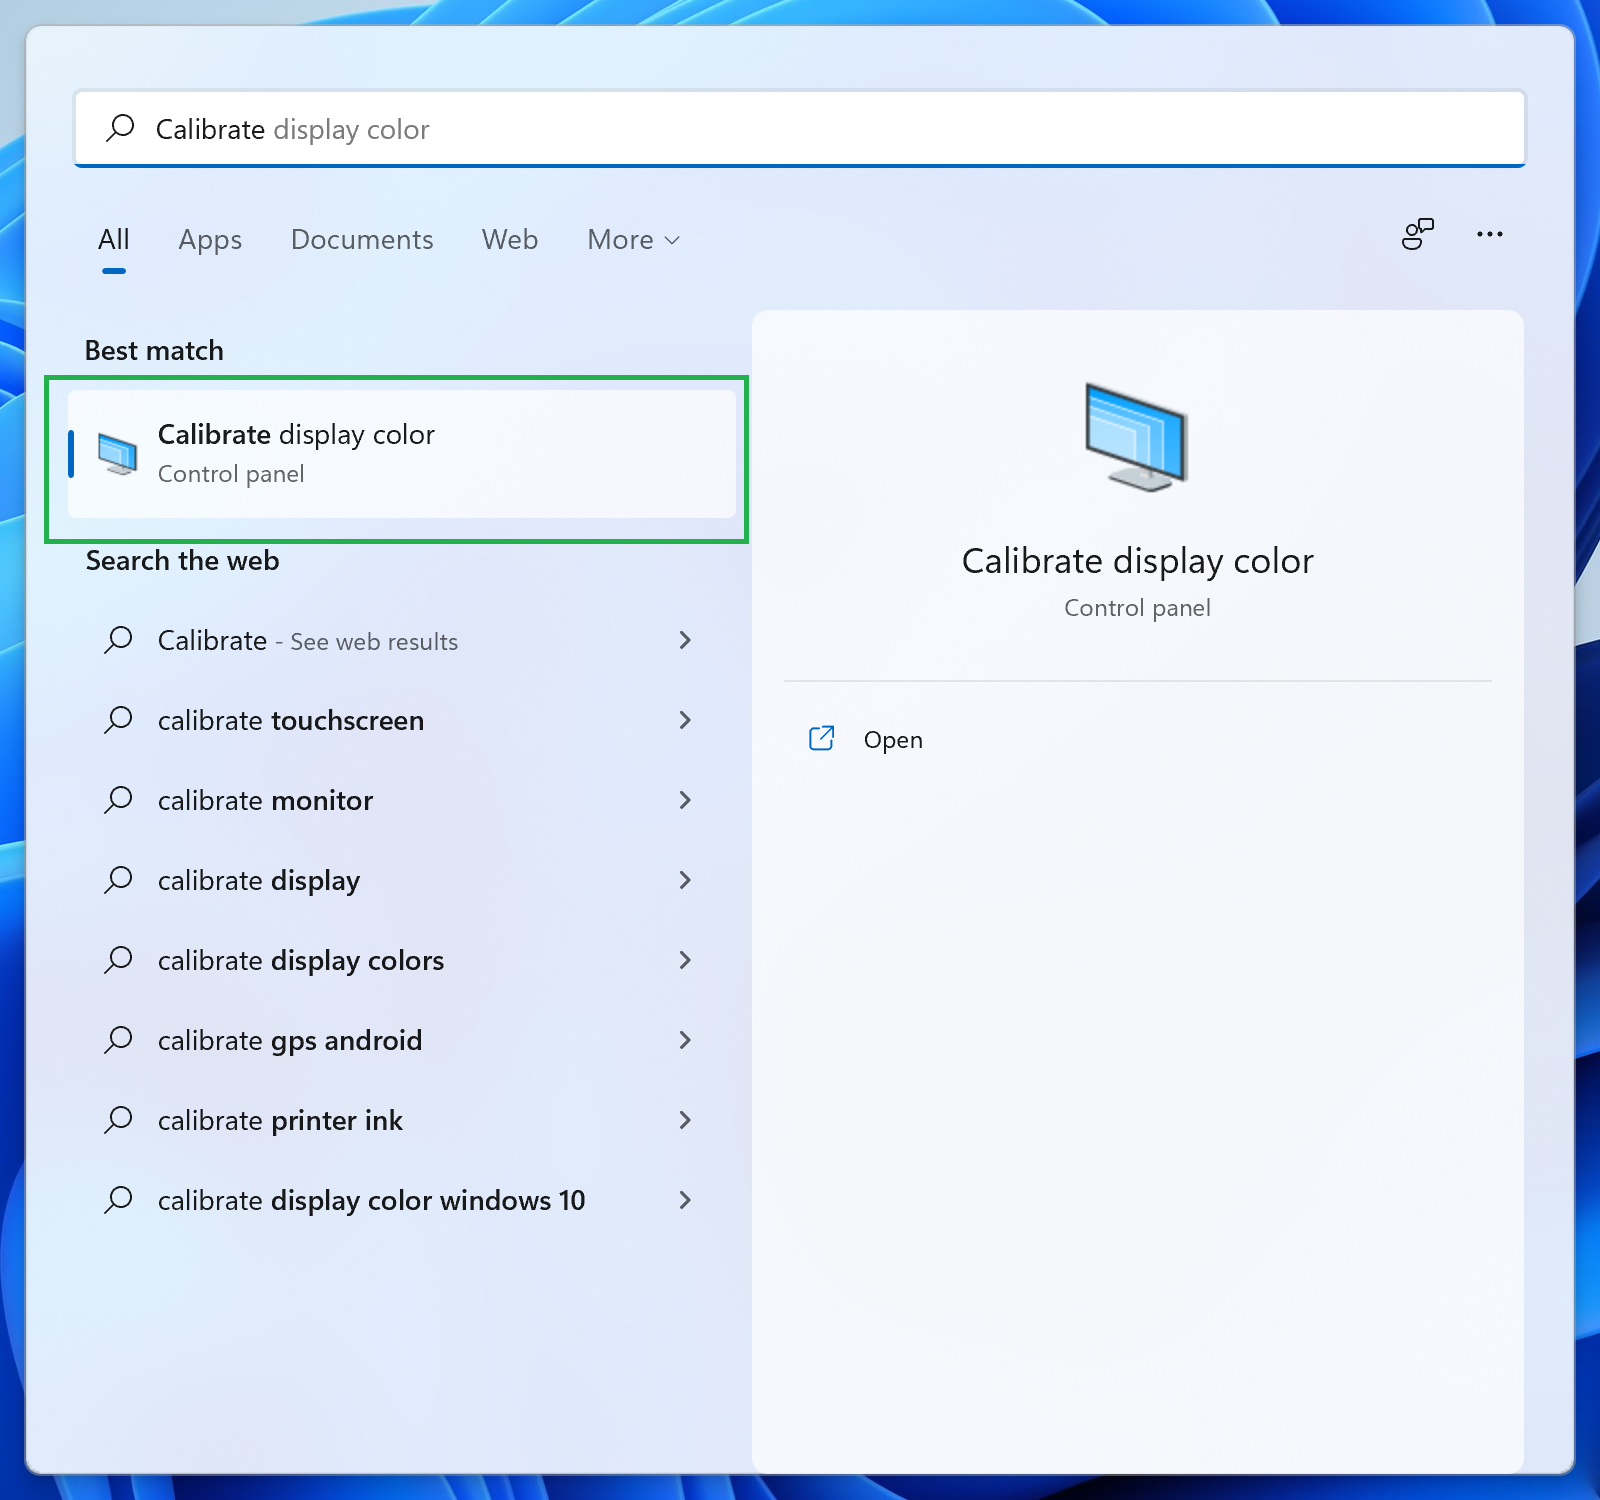
1. Open the ‘Calibrate display color’ page in Control Panel. This is most easily done by searching for “Calibrate” in the Start menu and selecting “Calibrate display color” from the results. Otherwise you’ll have to navigate Settings by going to System > Display > Advanced display and then click “Display adapter properties for [Your Display]” then go to Color Management > Color Management > Advanced before clicking the “Calibrate display” button. Searching for the appropriate page is much quicker, in our experience.
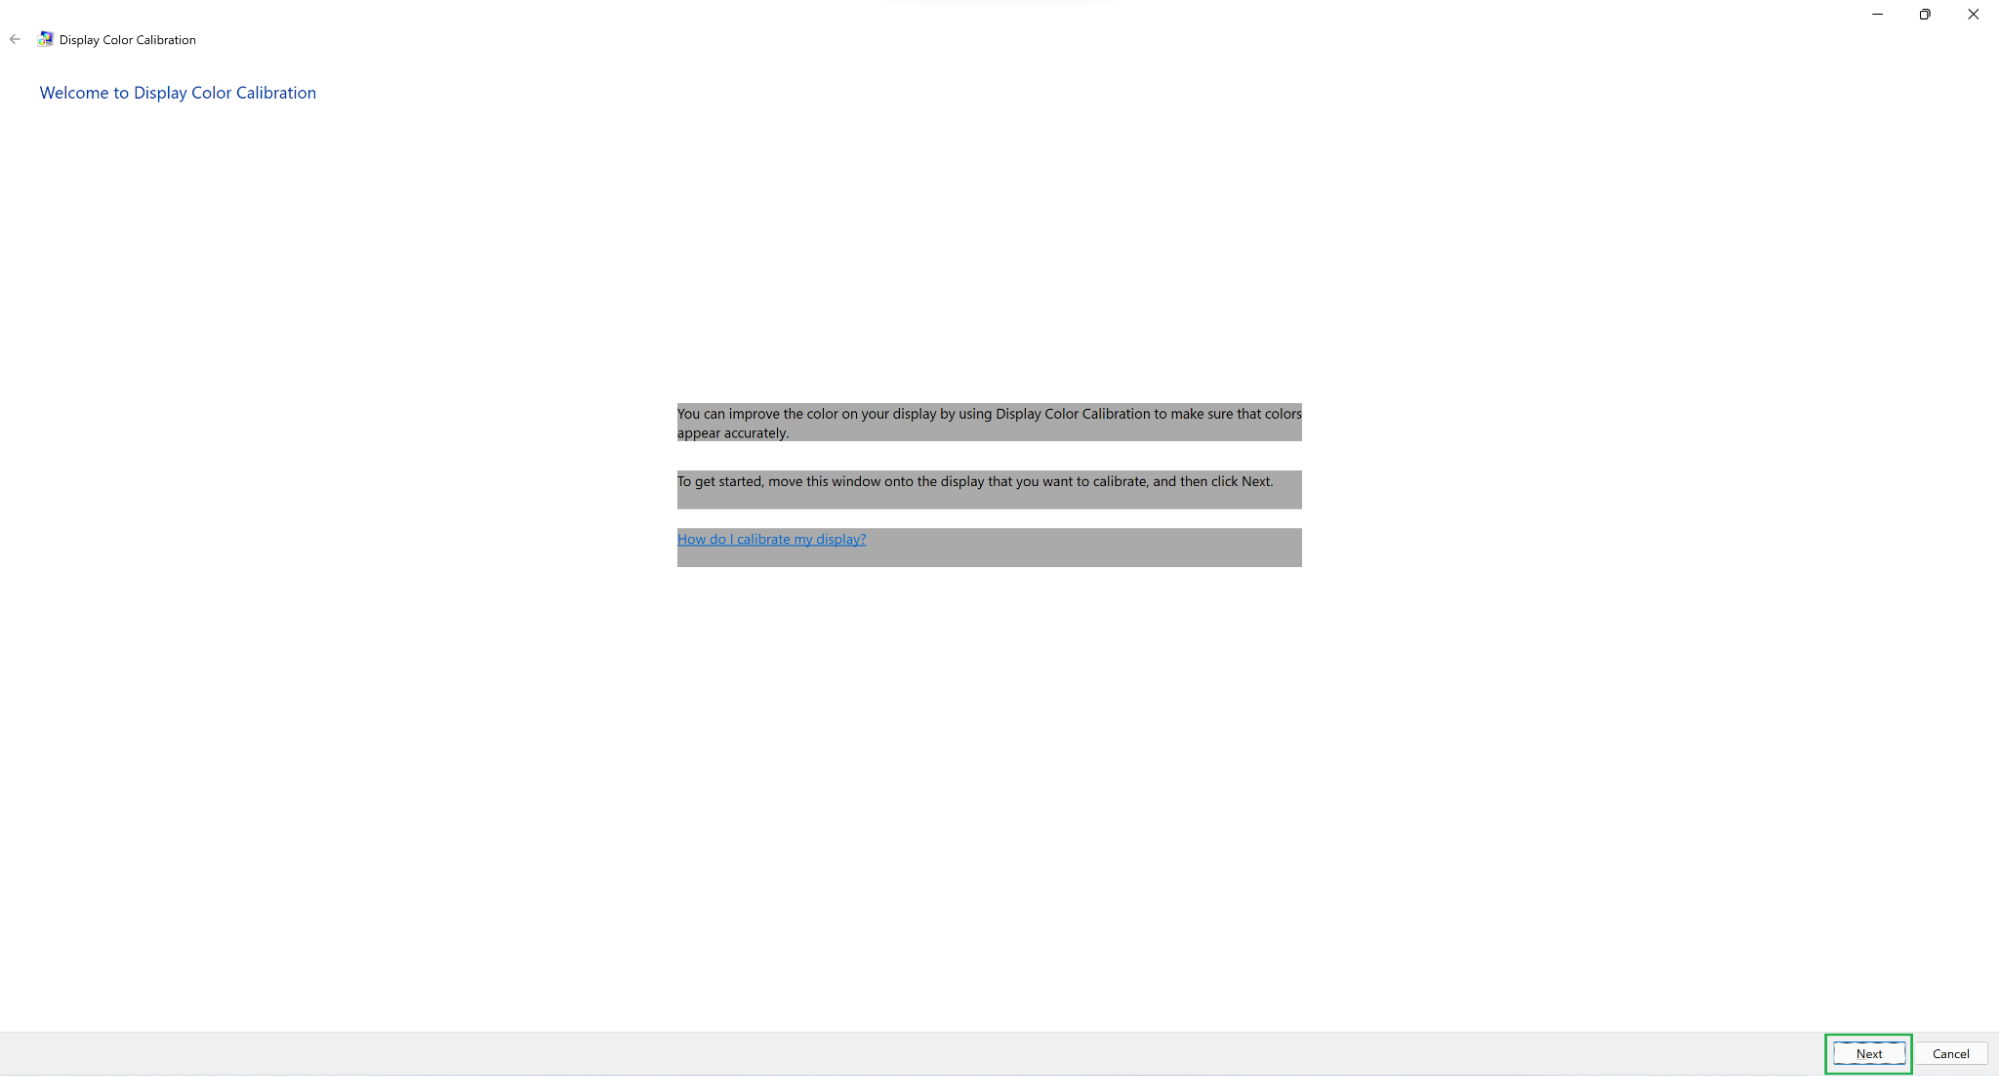
2. Move the window to the appropriate display and click ‘Next’. This won’t be an issue on single-monitor setups, but if you have multiple monitors, you’ll have to drag the window to the display you want to calibrate before you can begin the process. Once the window appears on the appropriate display, you can click the “Next” button.
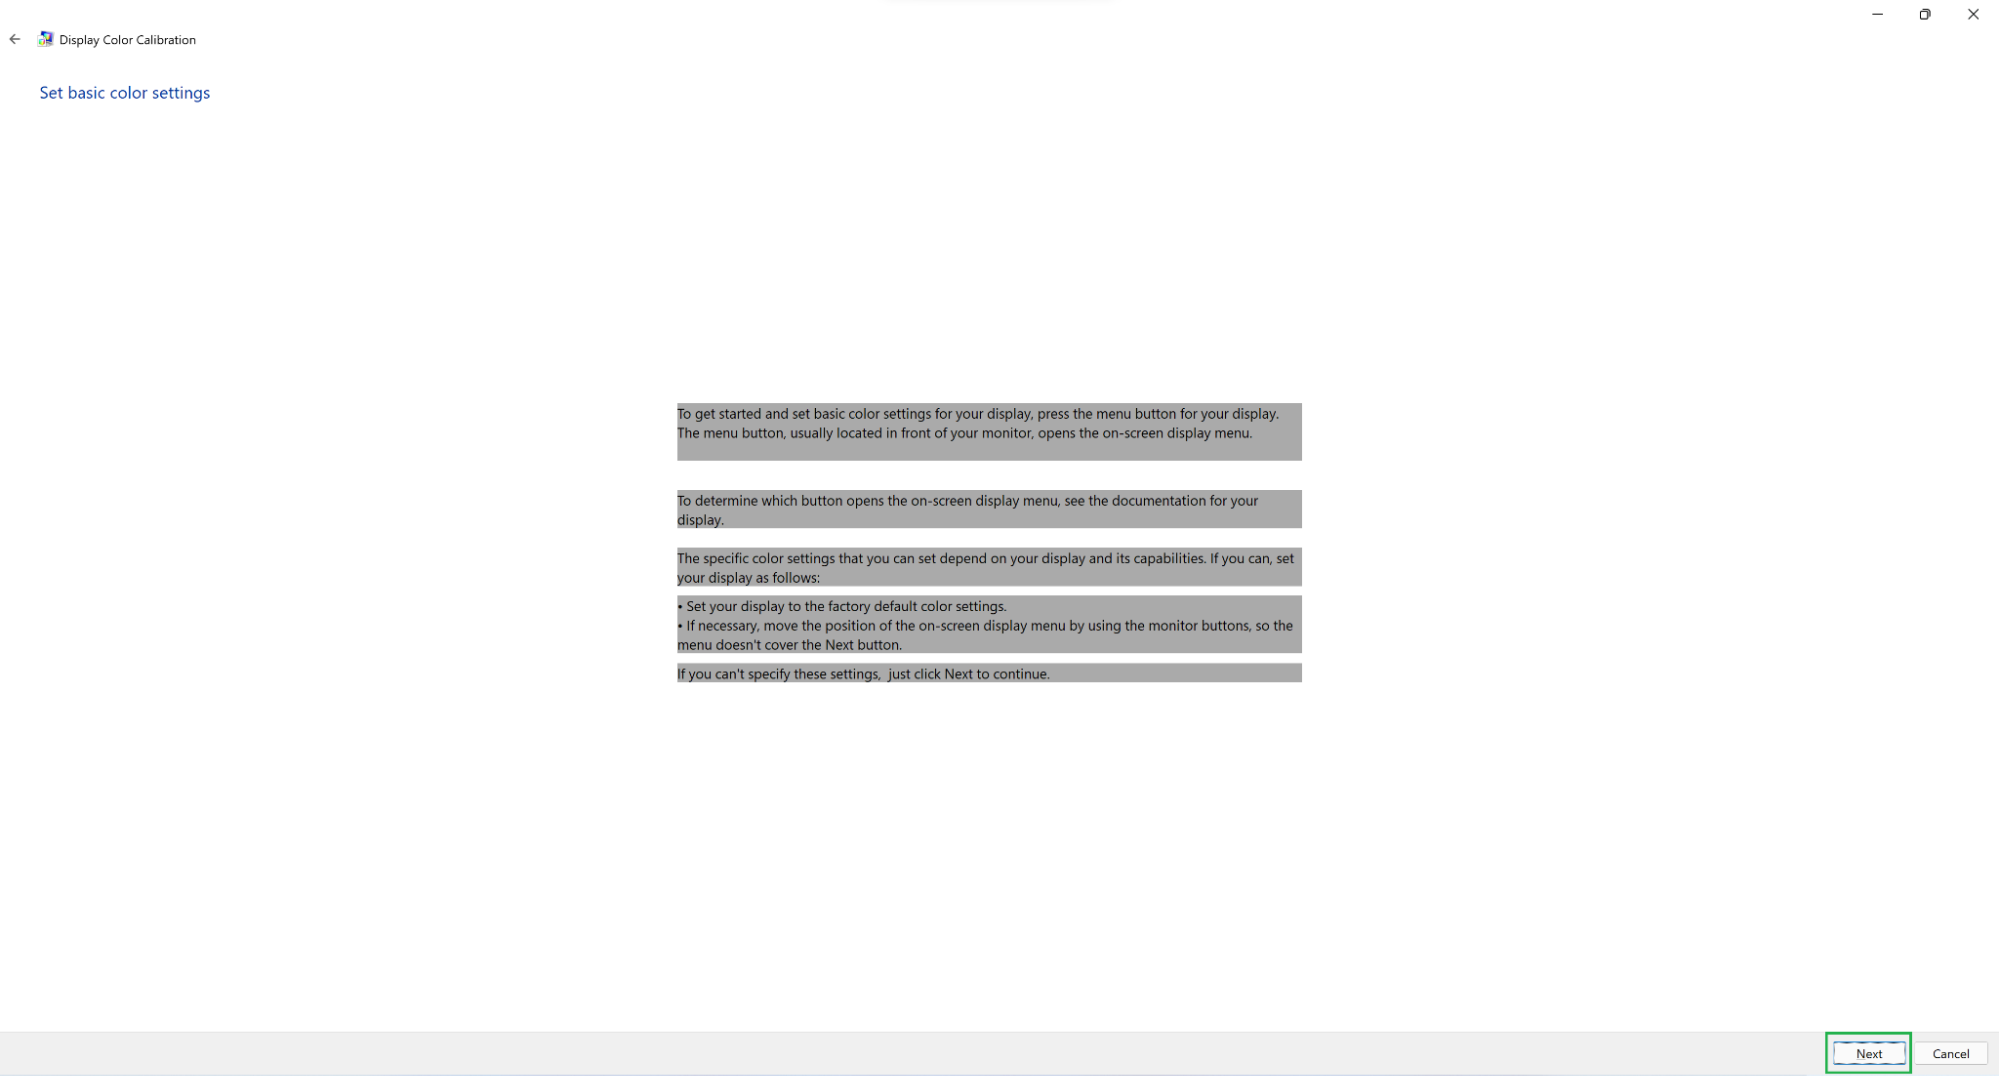
3. Follow the on-screen instructions or click ‘Next’. Windows will helpfully explain that you can manage your display settings on most monitors by pressing some kind of menu button. If you can’t modify those settings to your liking, just click the “Next” button.
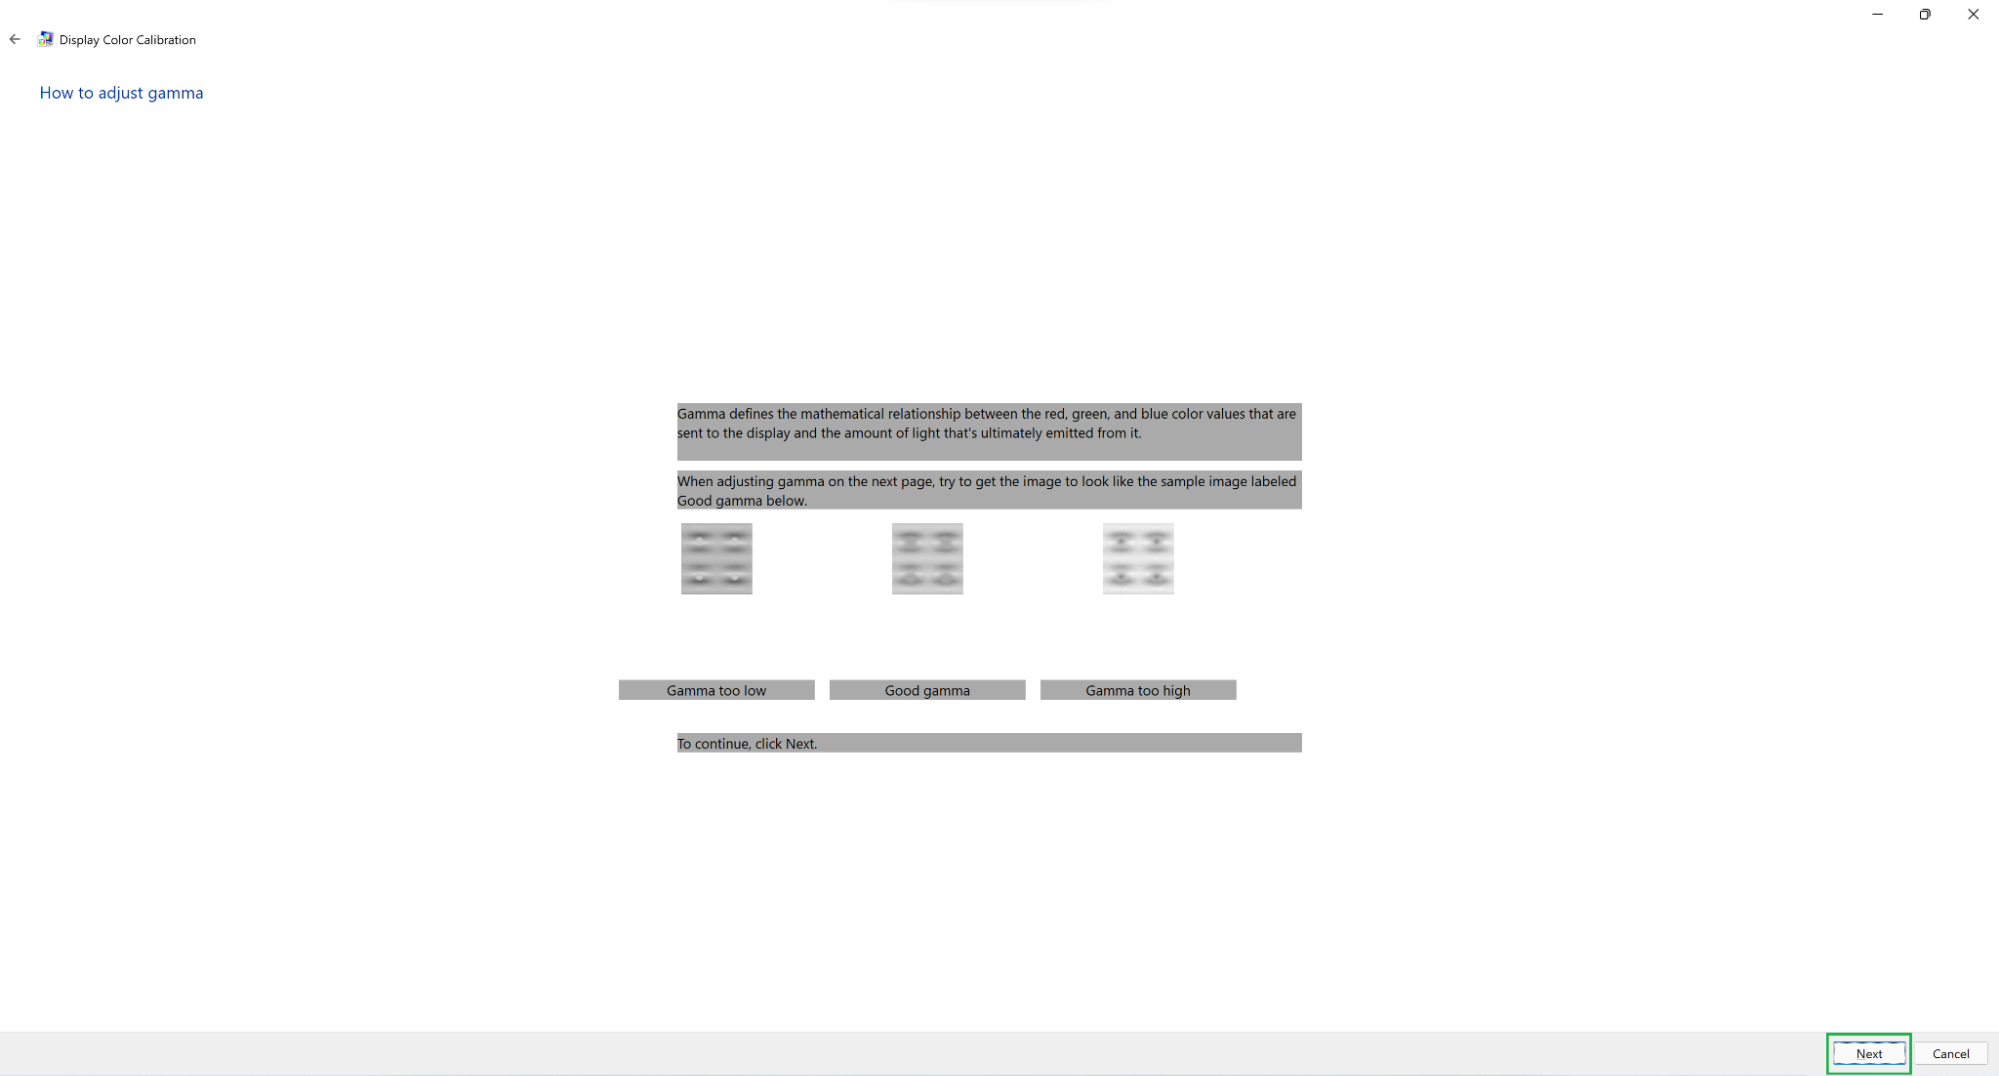
4. Follow the on-screen instructions and click ‘Next’. The app will start by having you adjust your screen’s gamma settings. Three boxes should appear, showing you what it looks like if your gamma is set too low, if it’s set too high, and if it’s set just right. Once you understand the instructions it’s safe to click the “Next” button.
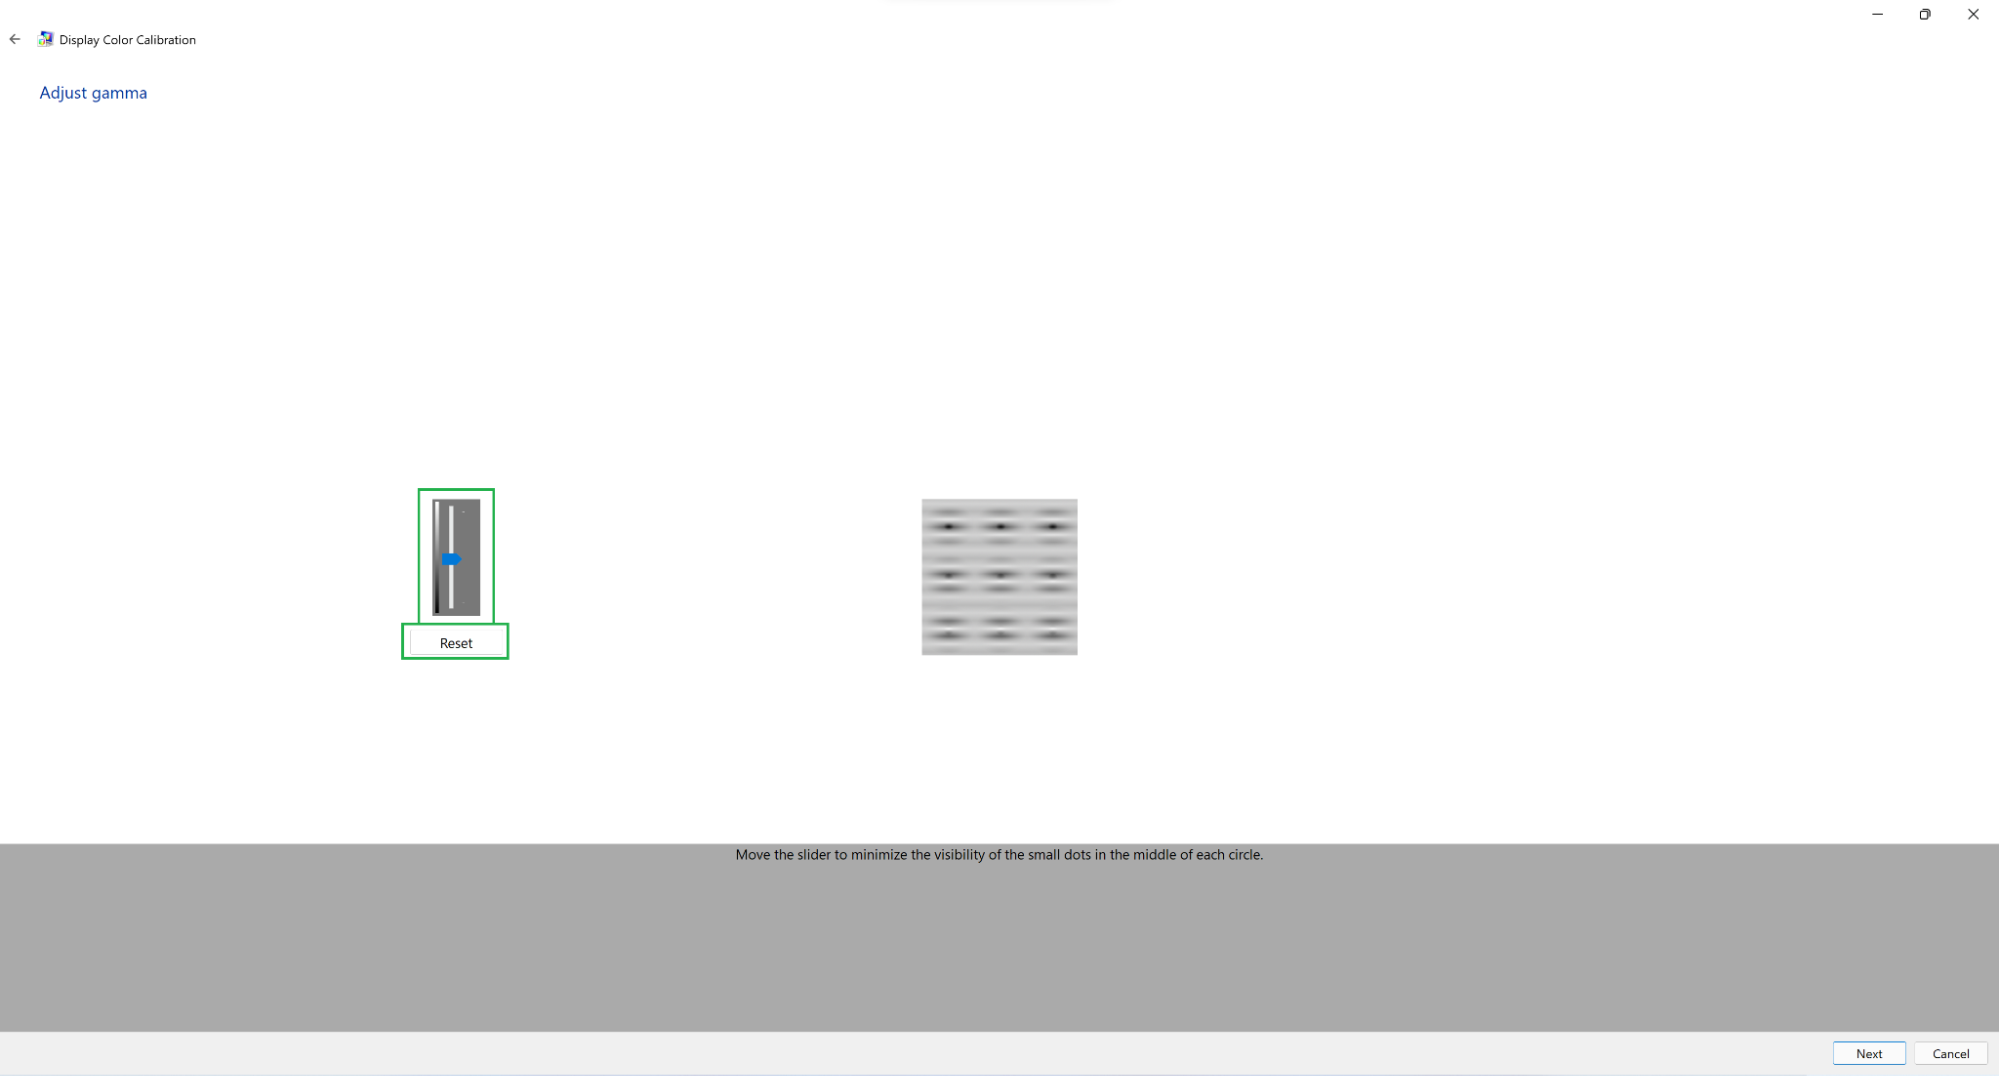
5. Adjust your gamma settings. A slider on the left side of the window should allow you to change your gamma settings by dragging it up or down. (You can also click the “Reset” button to move it right back to the default value.) Once you have something that looks like the correct setting, go ahead and click the “Next” button.
Get Tom's Hardware's best news and in-depth reviews, straight to your inbox.
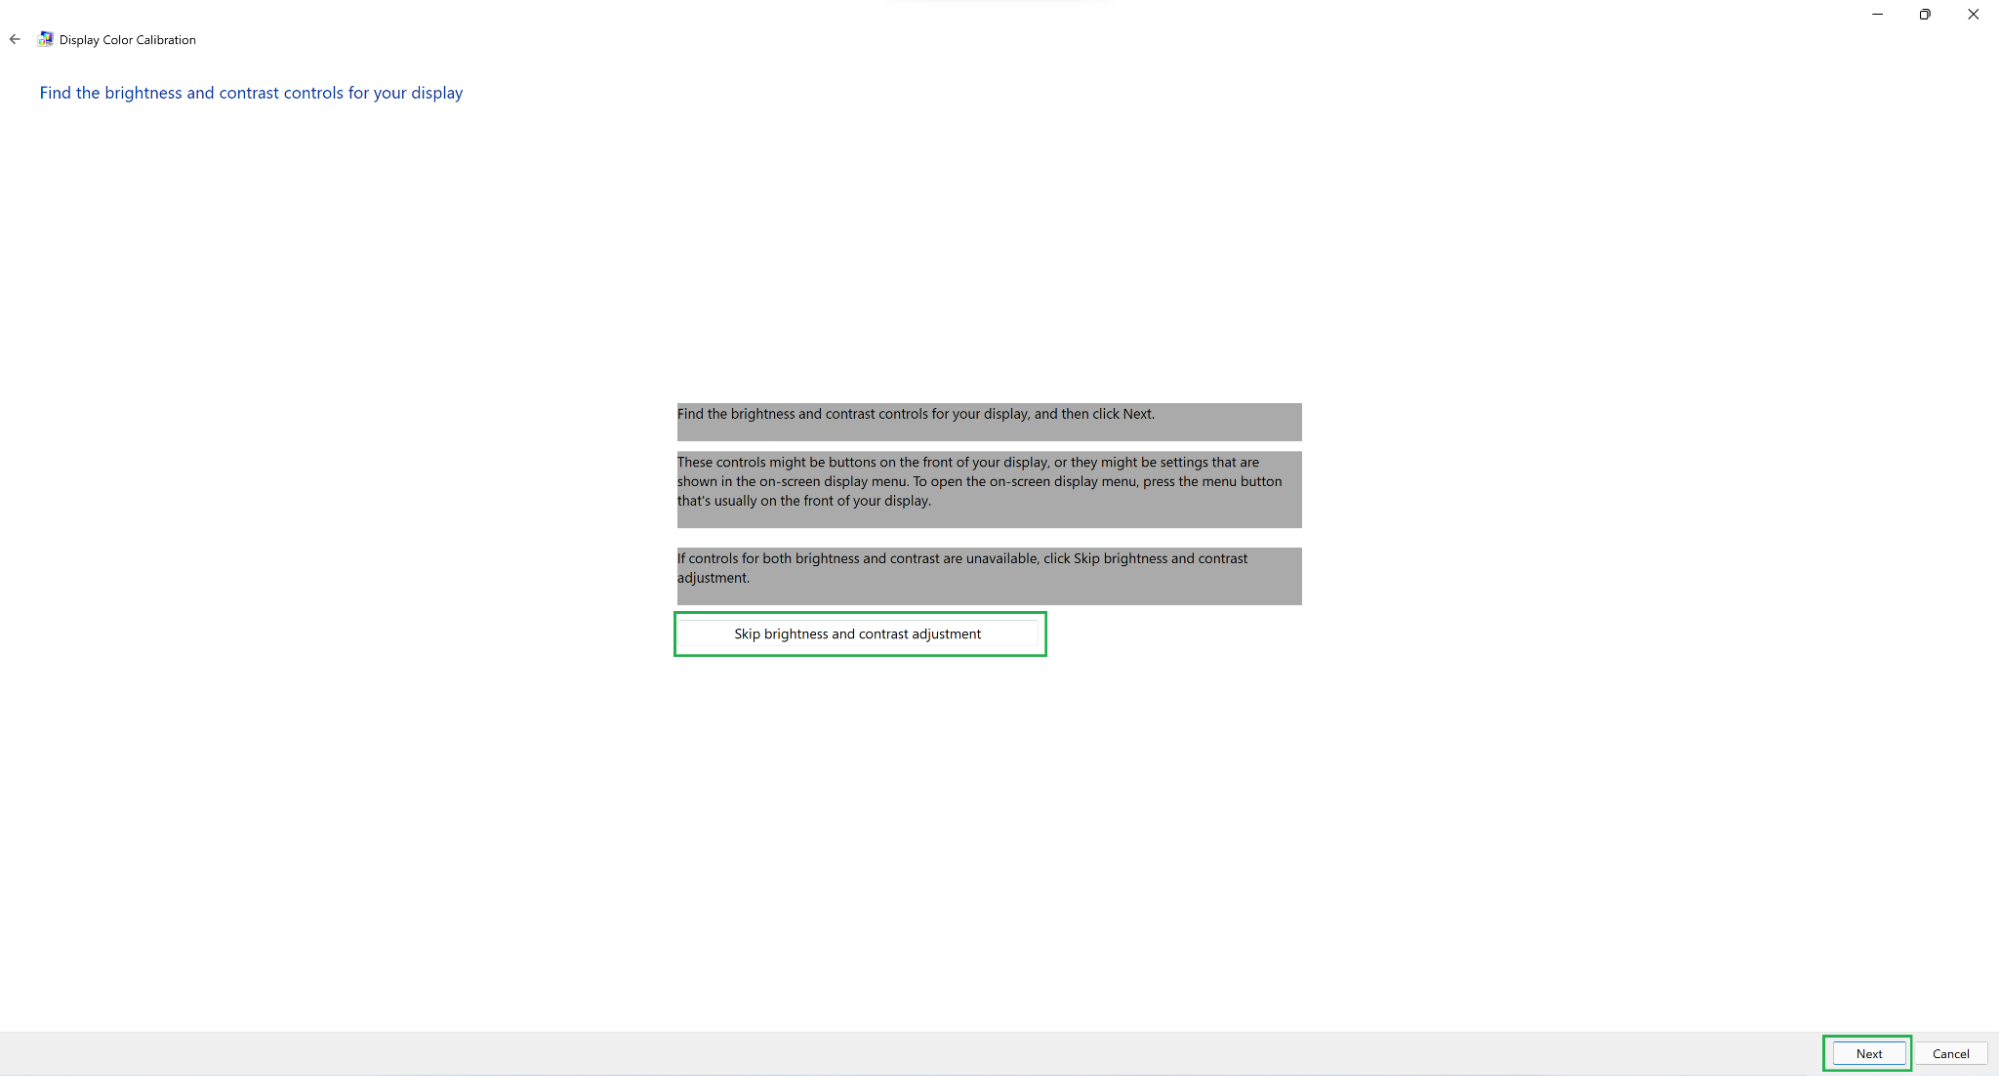
6. Decide if you want to adjust brightness and contrast. Windows offers to allow you to adjust your brightness and contrast settings if those options are available to you on your monitor. If they aren’t, you can click the “Skip brightness and contrast adjustment” button. Otherwise click the “Next” button to continue with the calibration.
7. Follow the on-screen instructions and click the ‘Next’ button. This time Windows should explain how adjusting the brightness settings works. After you read the explanation you can click the “Next” button to move on to the actual adjustment.
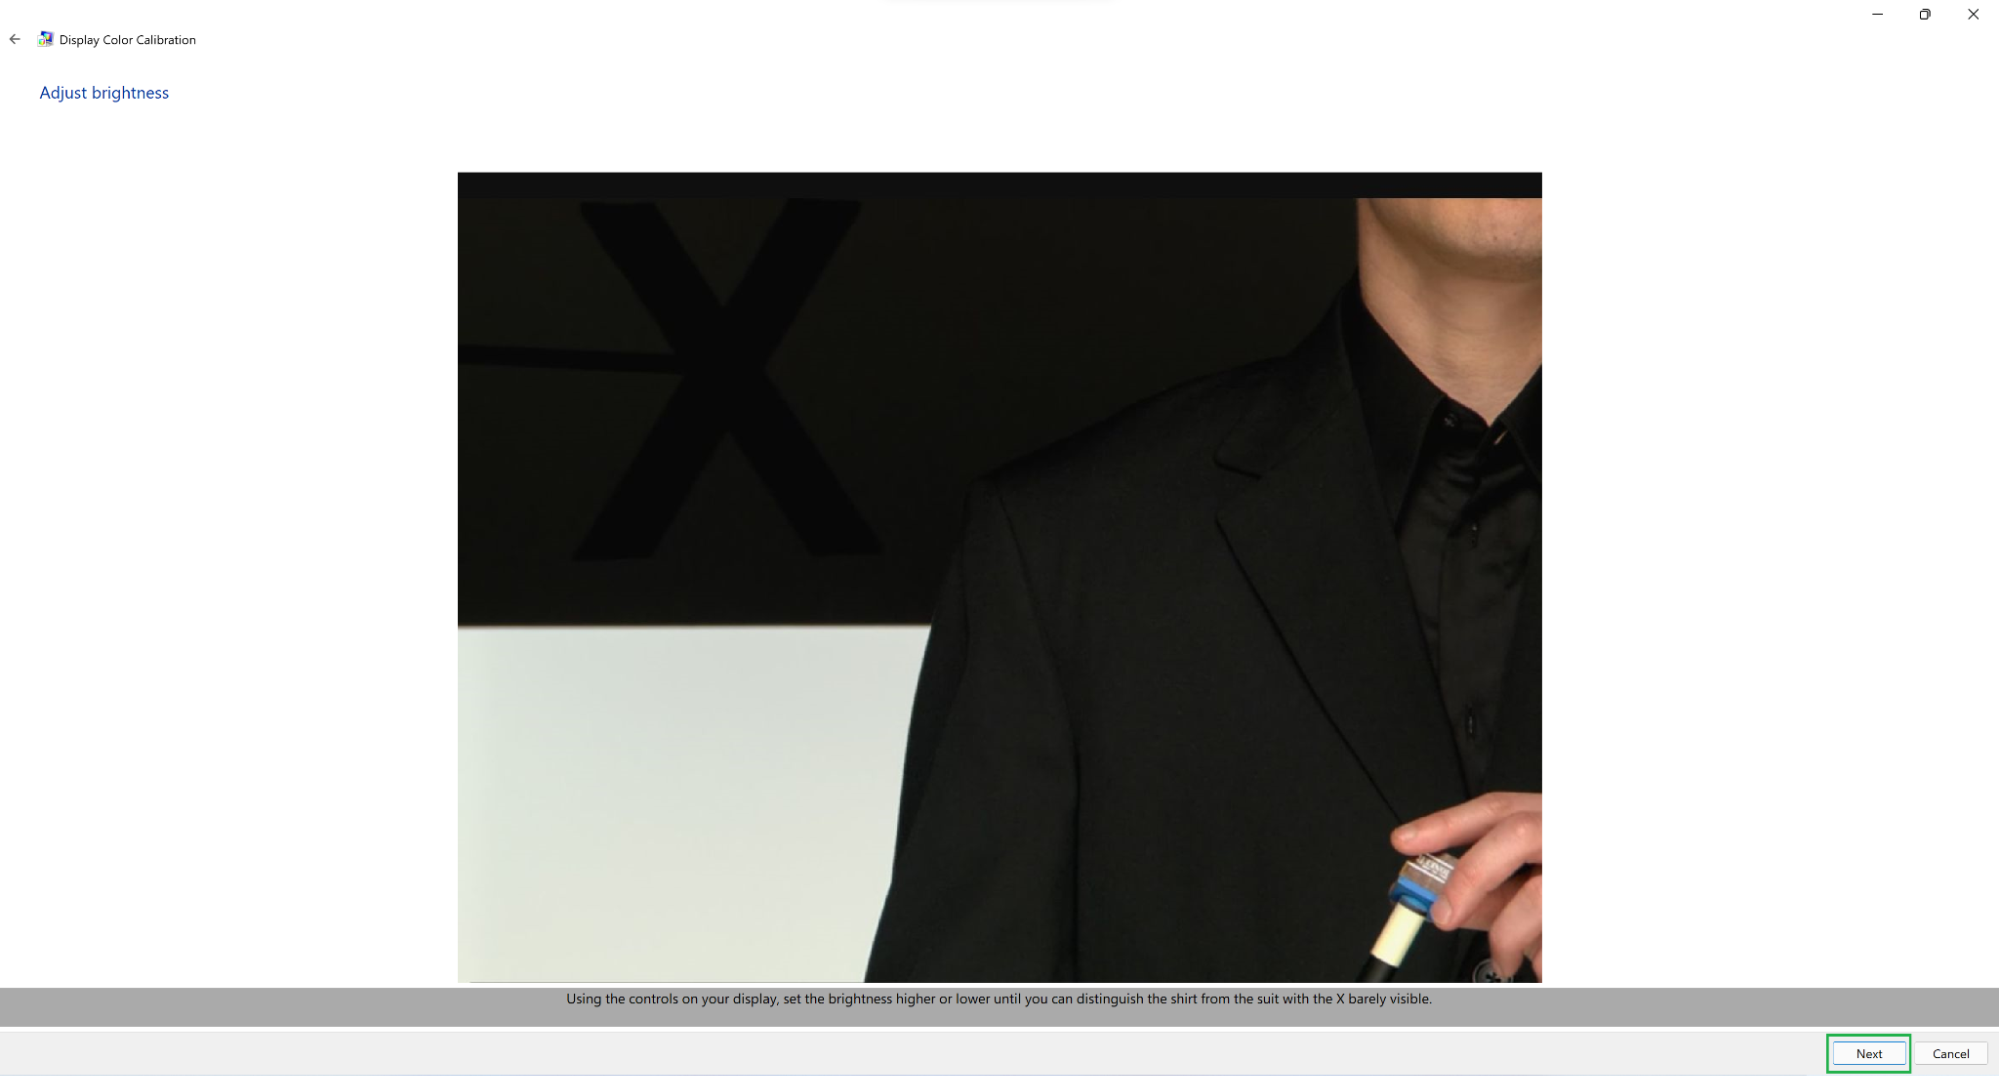
8. Adjust your brightness settings on your monitor. Windows doesn’t offer any on-screen controls for this; you’ll have to adjust the settings on your monitor while using the provided image as a reference. Click the “Next” button when you’re done.
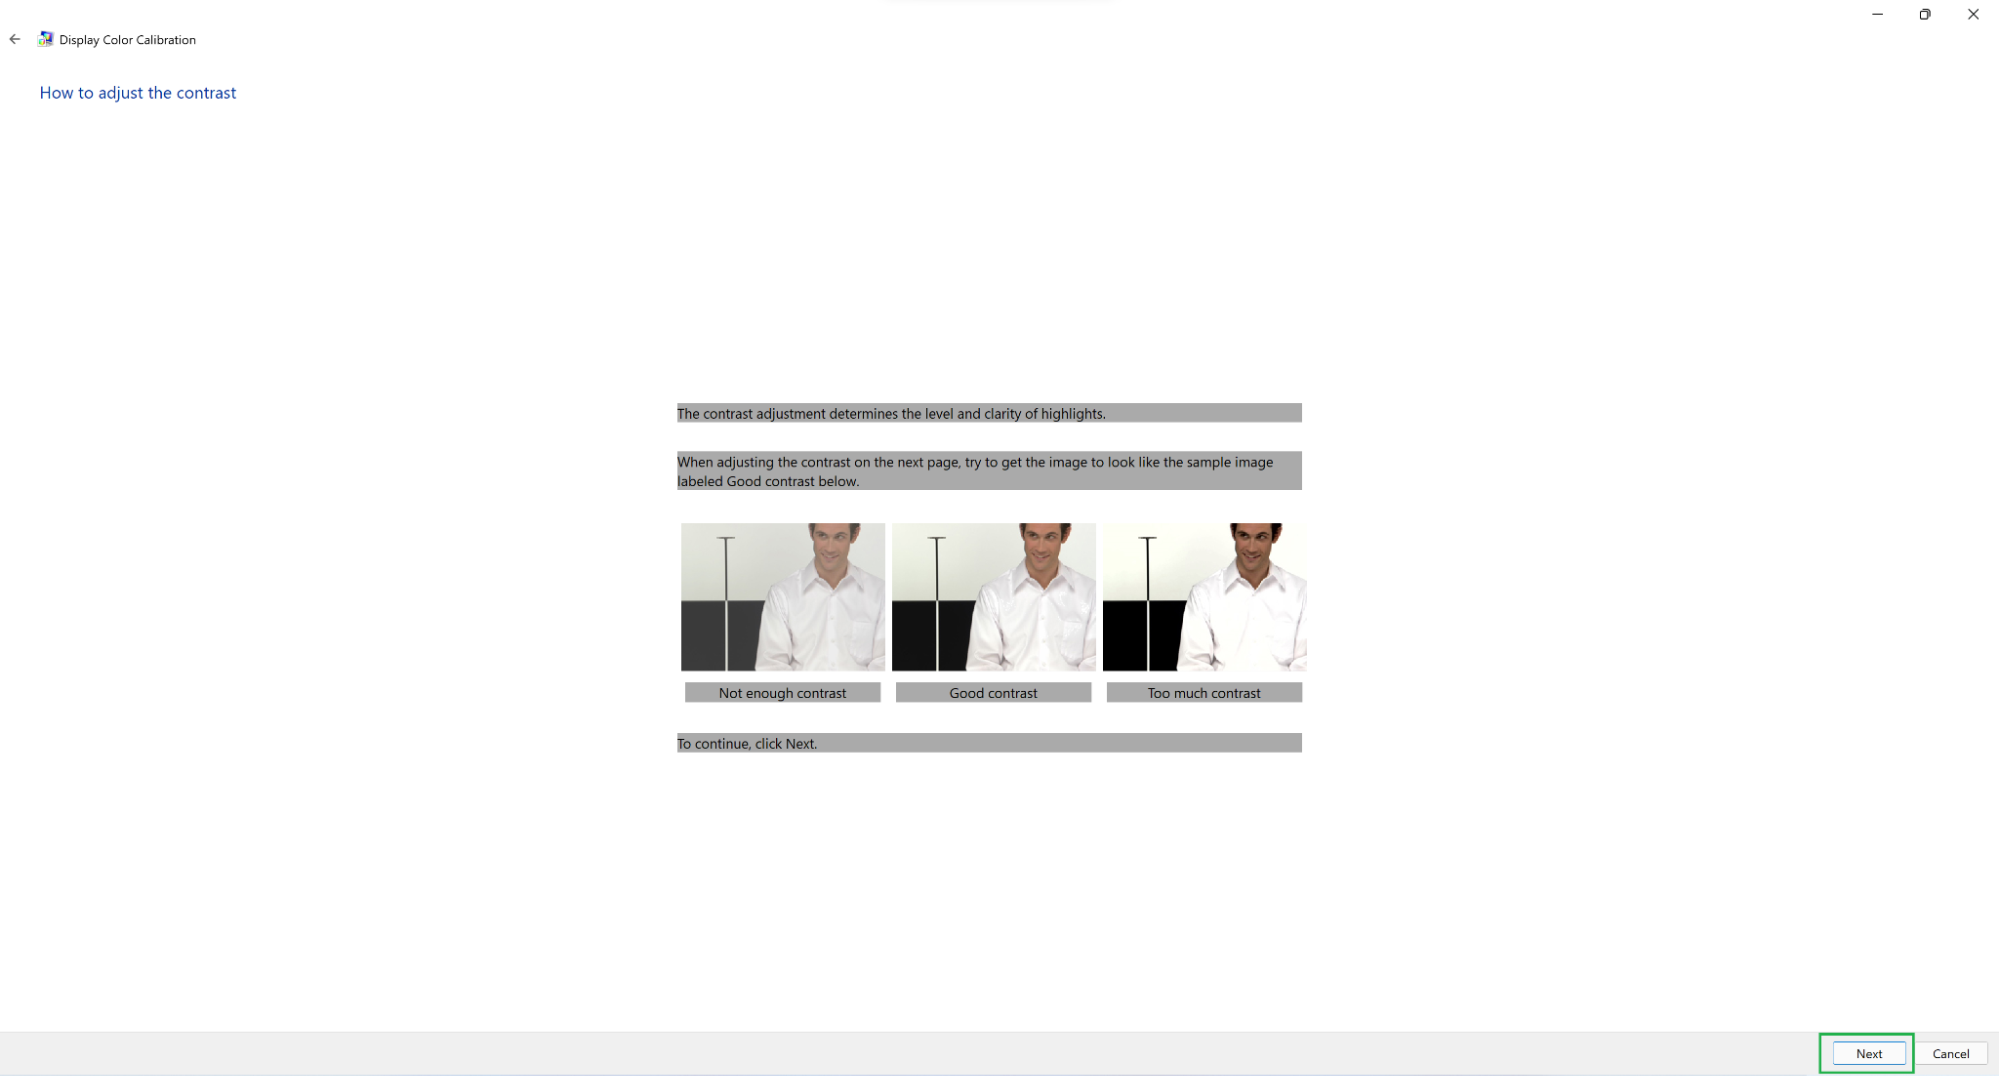
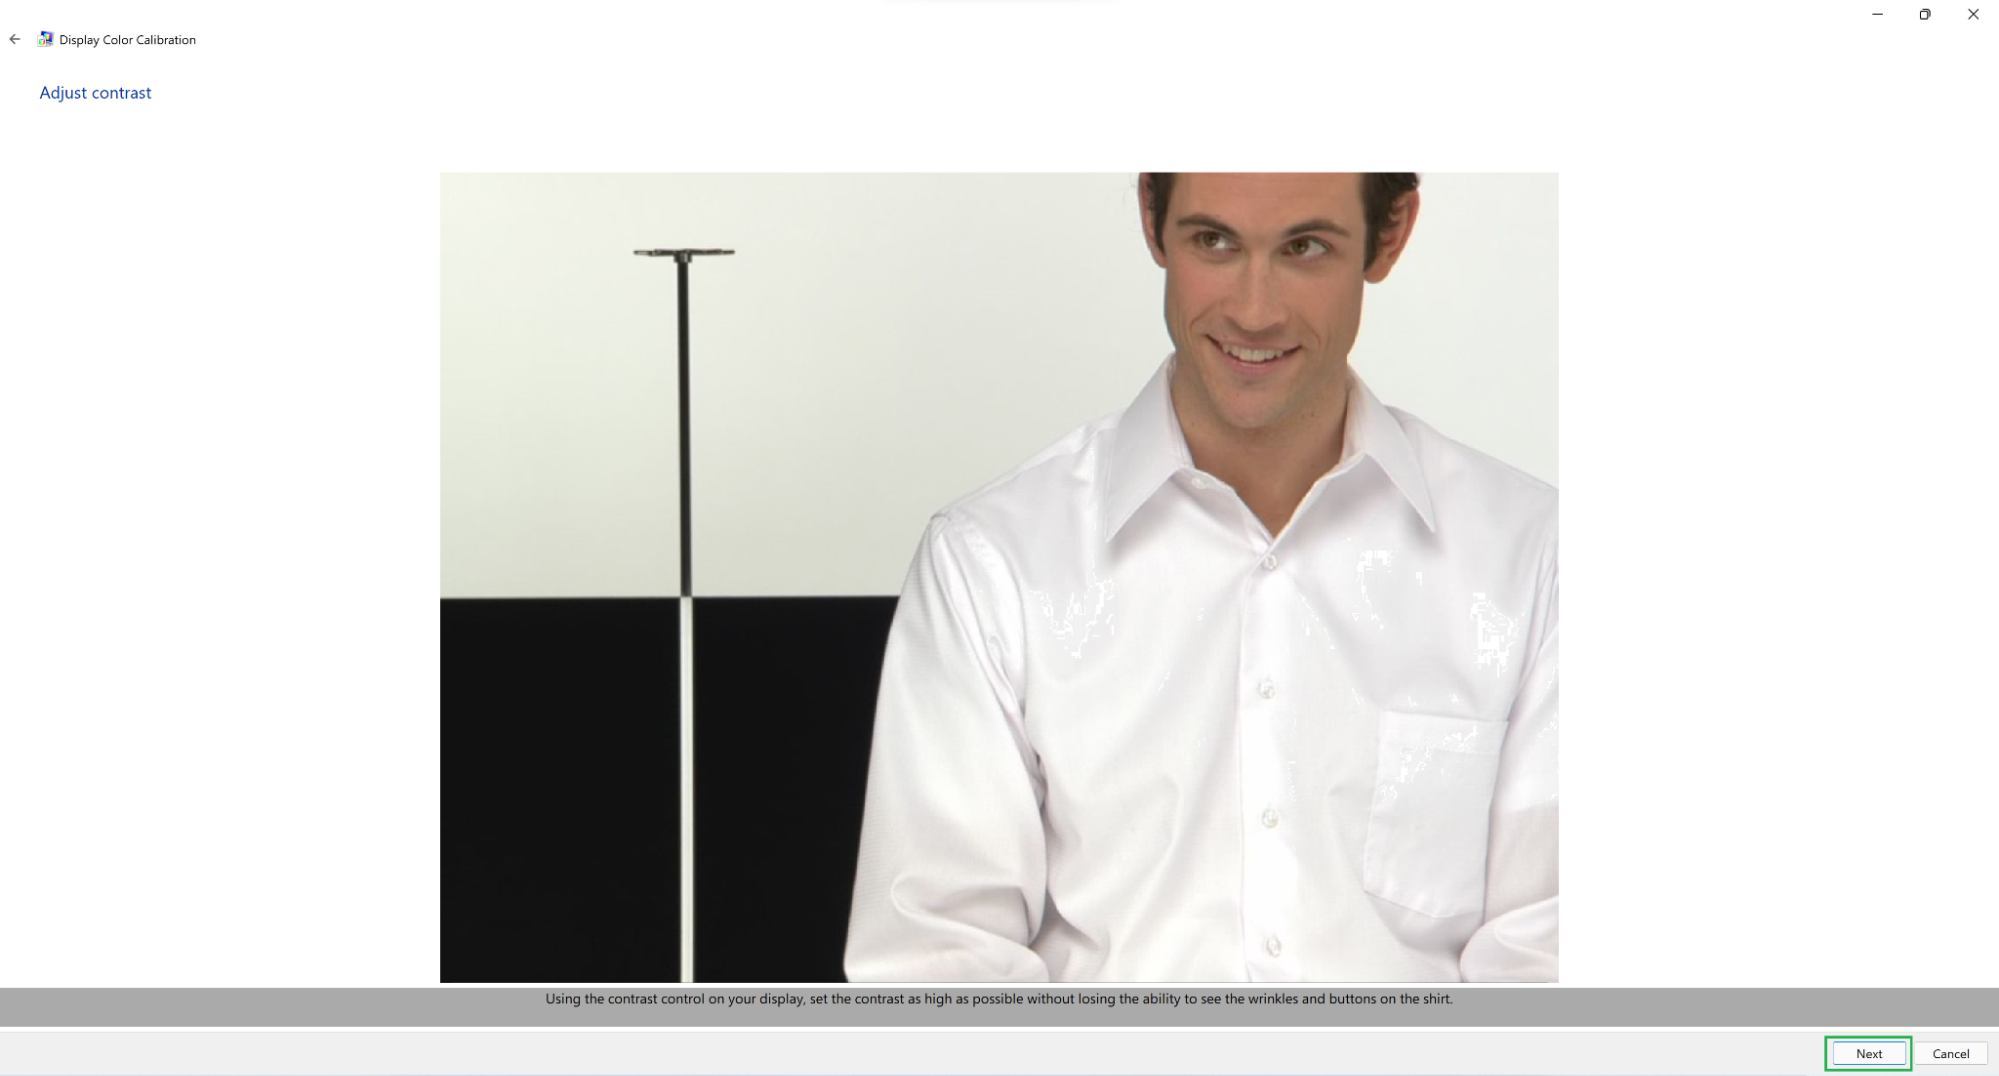
9. Follow the on-screen instructions and click the ‘Next’ button. Now you should see Windows’ explanation for how adjusting the contrast settings works. After you read the explanation you can click the “Next” button to move on to the actual adjustment.
10. Adjust your contrast settings on your monitor. Windows once again doesn’t offer any on-screen controls for this; you’ll adjust the settings on your monitor directly based on how the reference image looks. Click the “Next” button when you’re done.
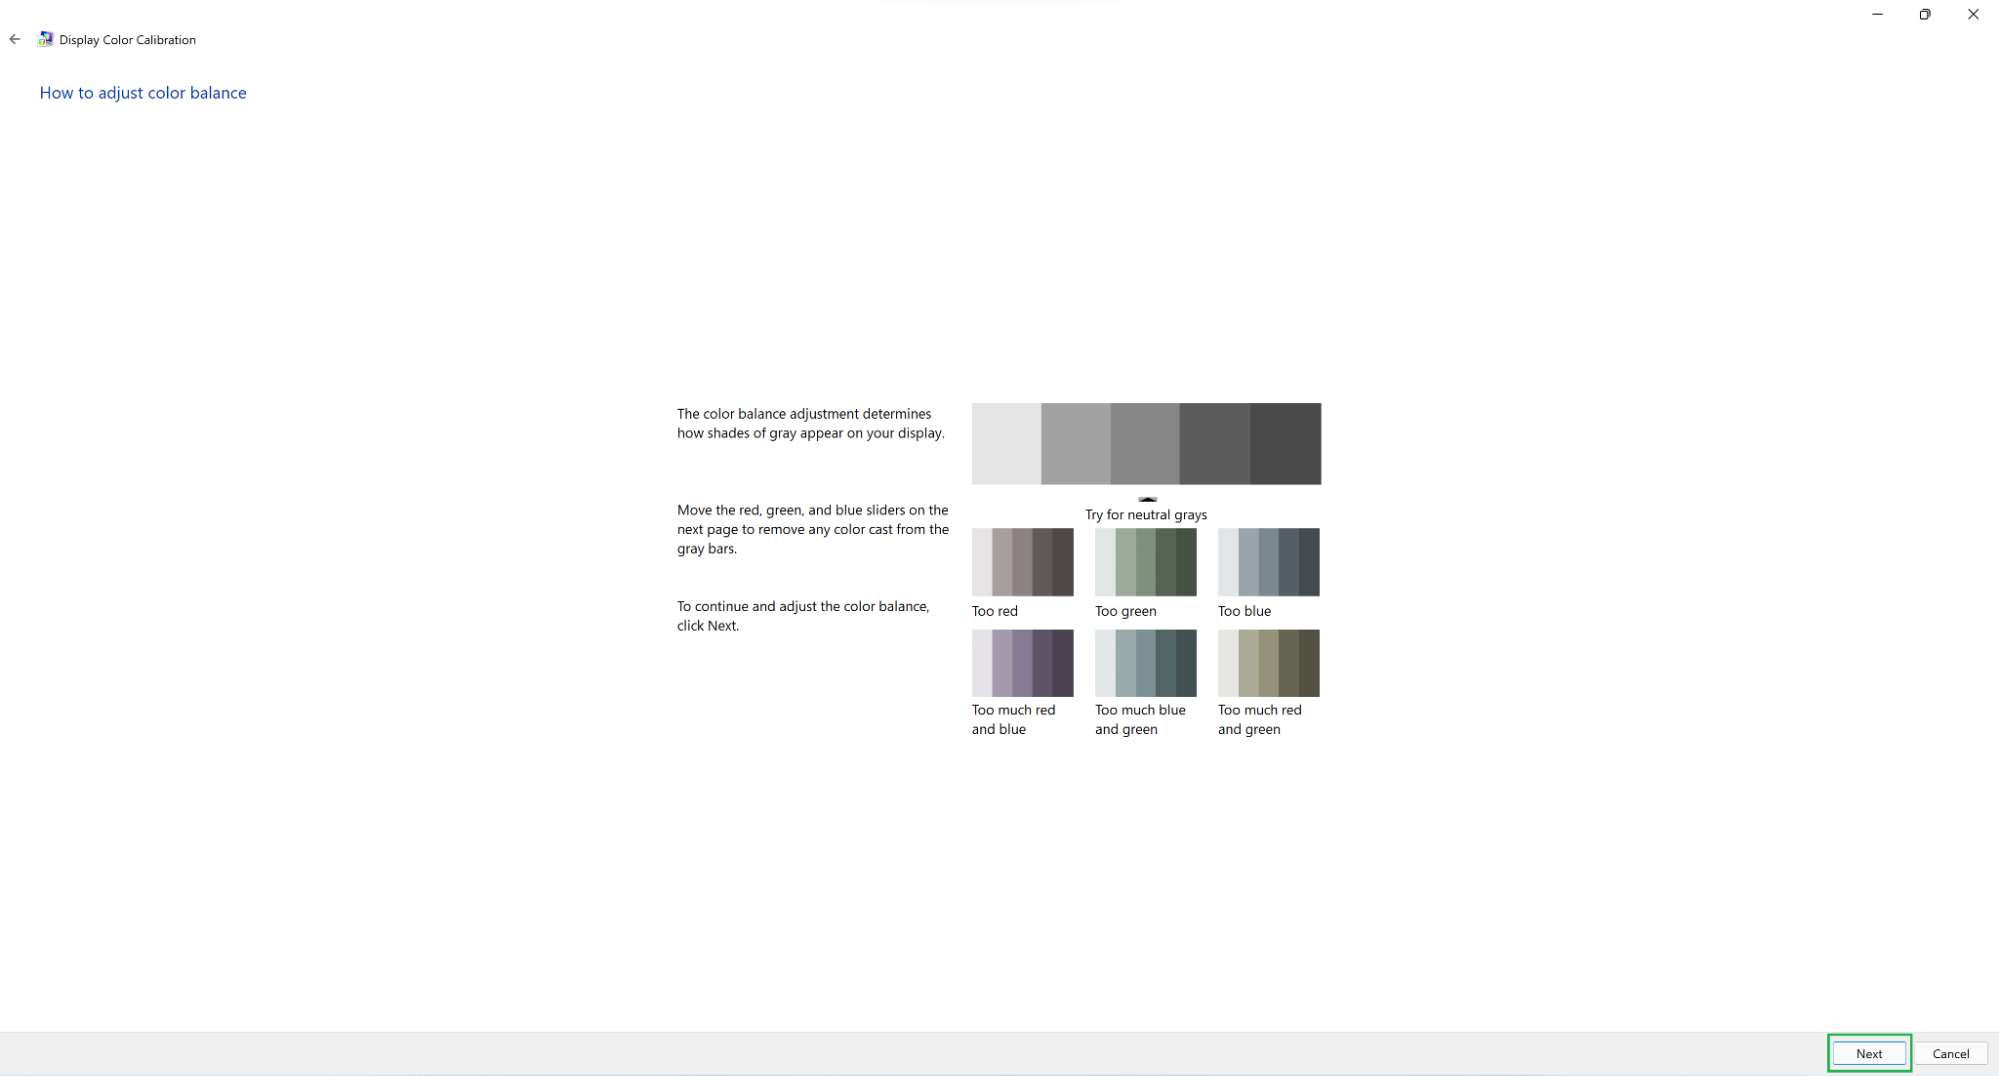
11. Follow the on-screen instructions and click the ‘Next’ button. Windows should now explain how color balance settings work. Read them and click the “Next” button.
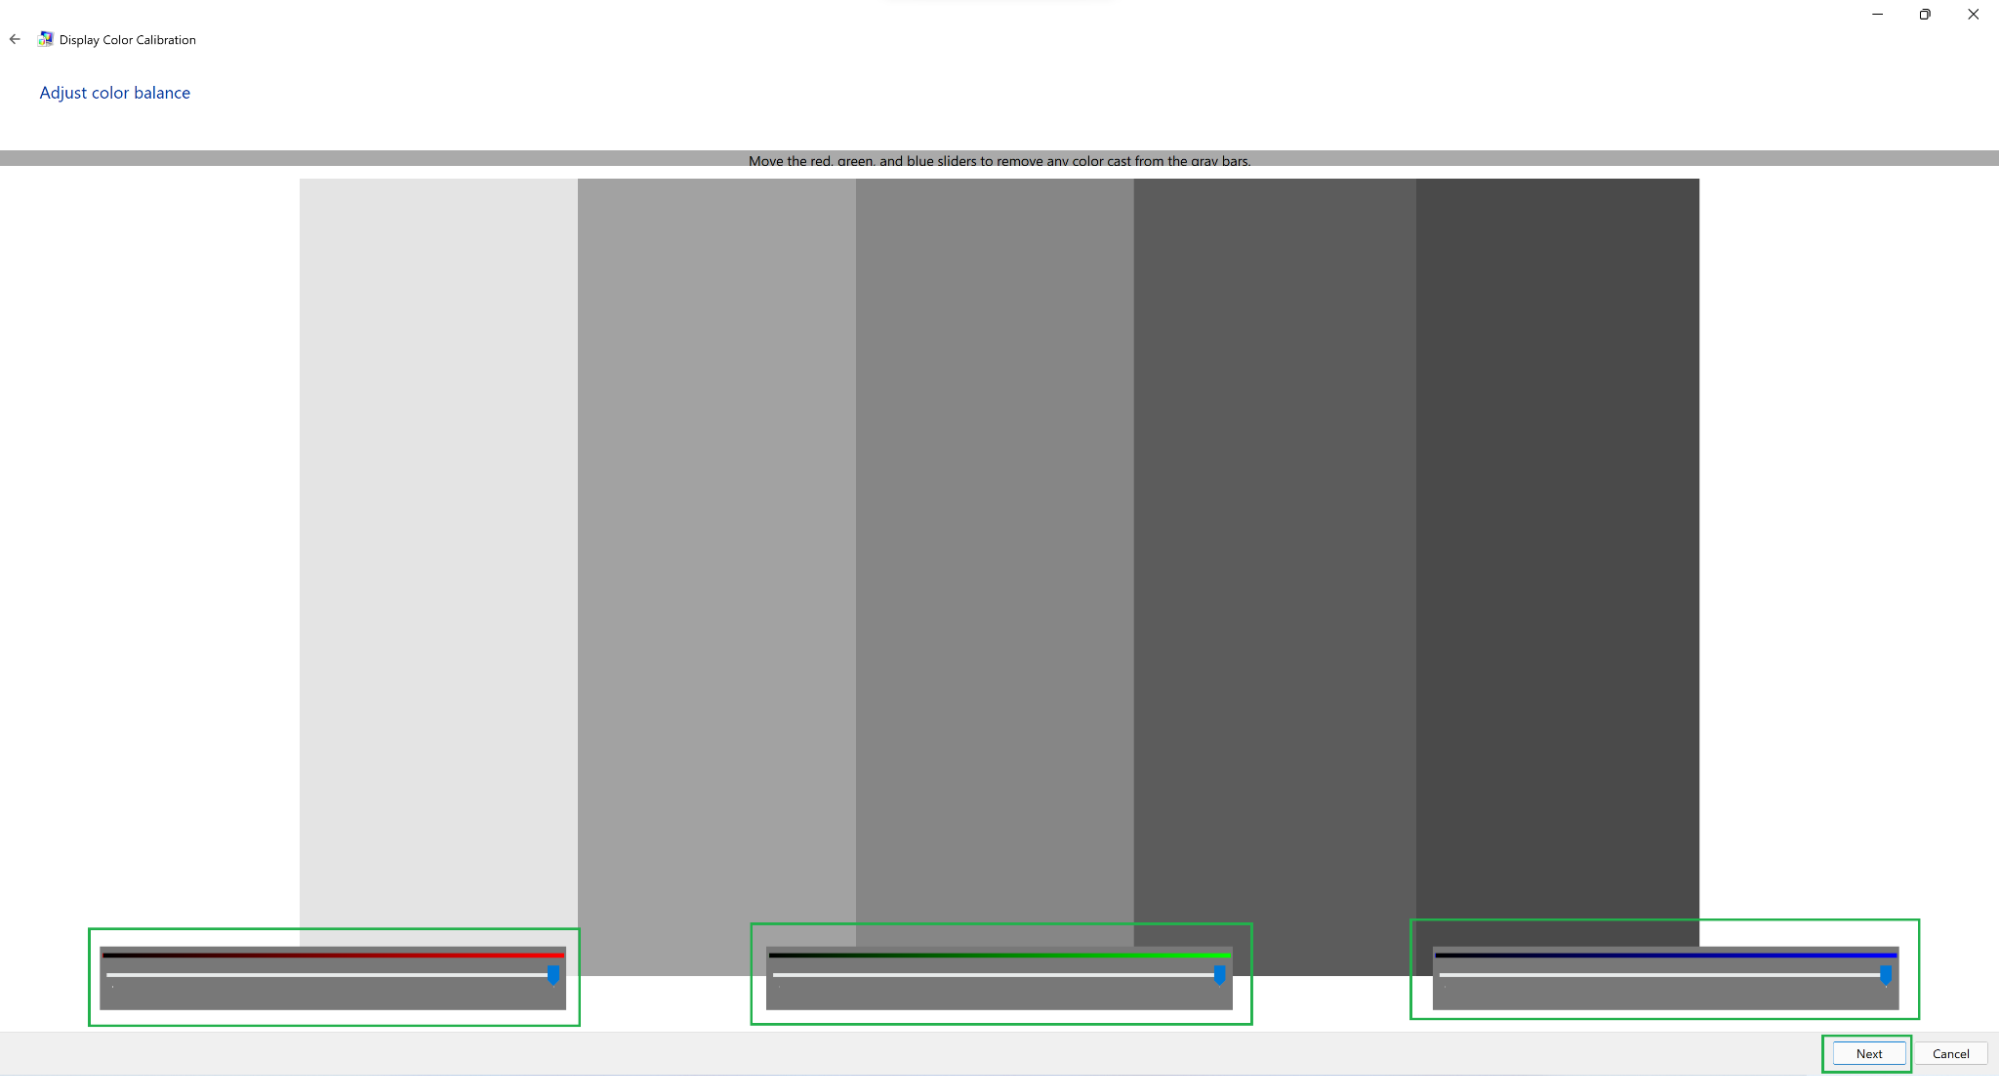
12. Adjust the sliders as required. This time Windows will offer not one but three sliders you can drag to adjust the amount of red, green, and blue shown in the gray bars. Remember the bars are supposed to be gray; seeing any tint means the colors aren’t balanced correctly. Click the “Next” button when you’re done.
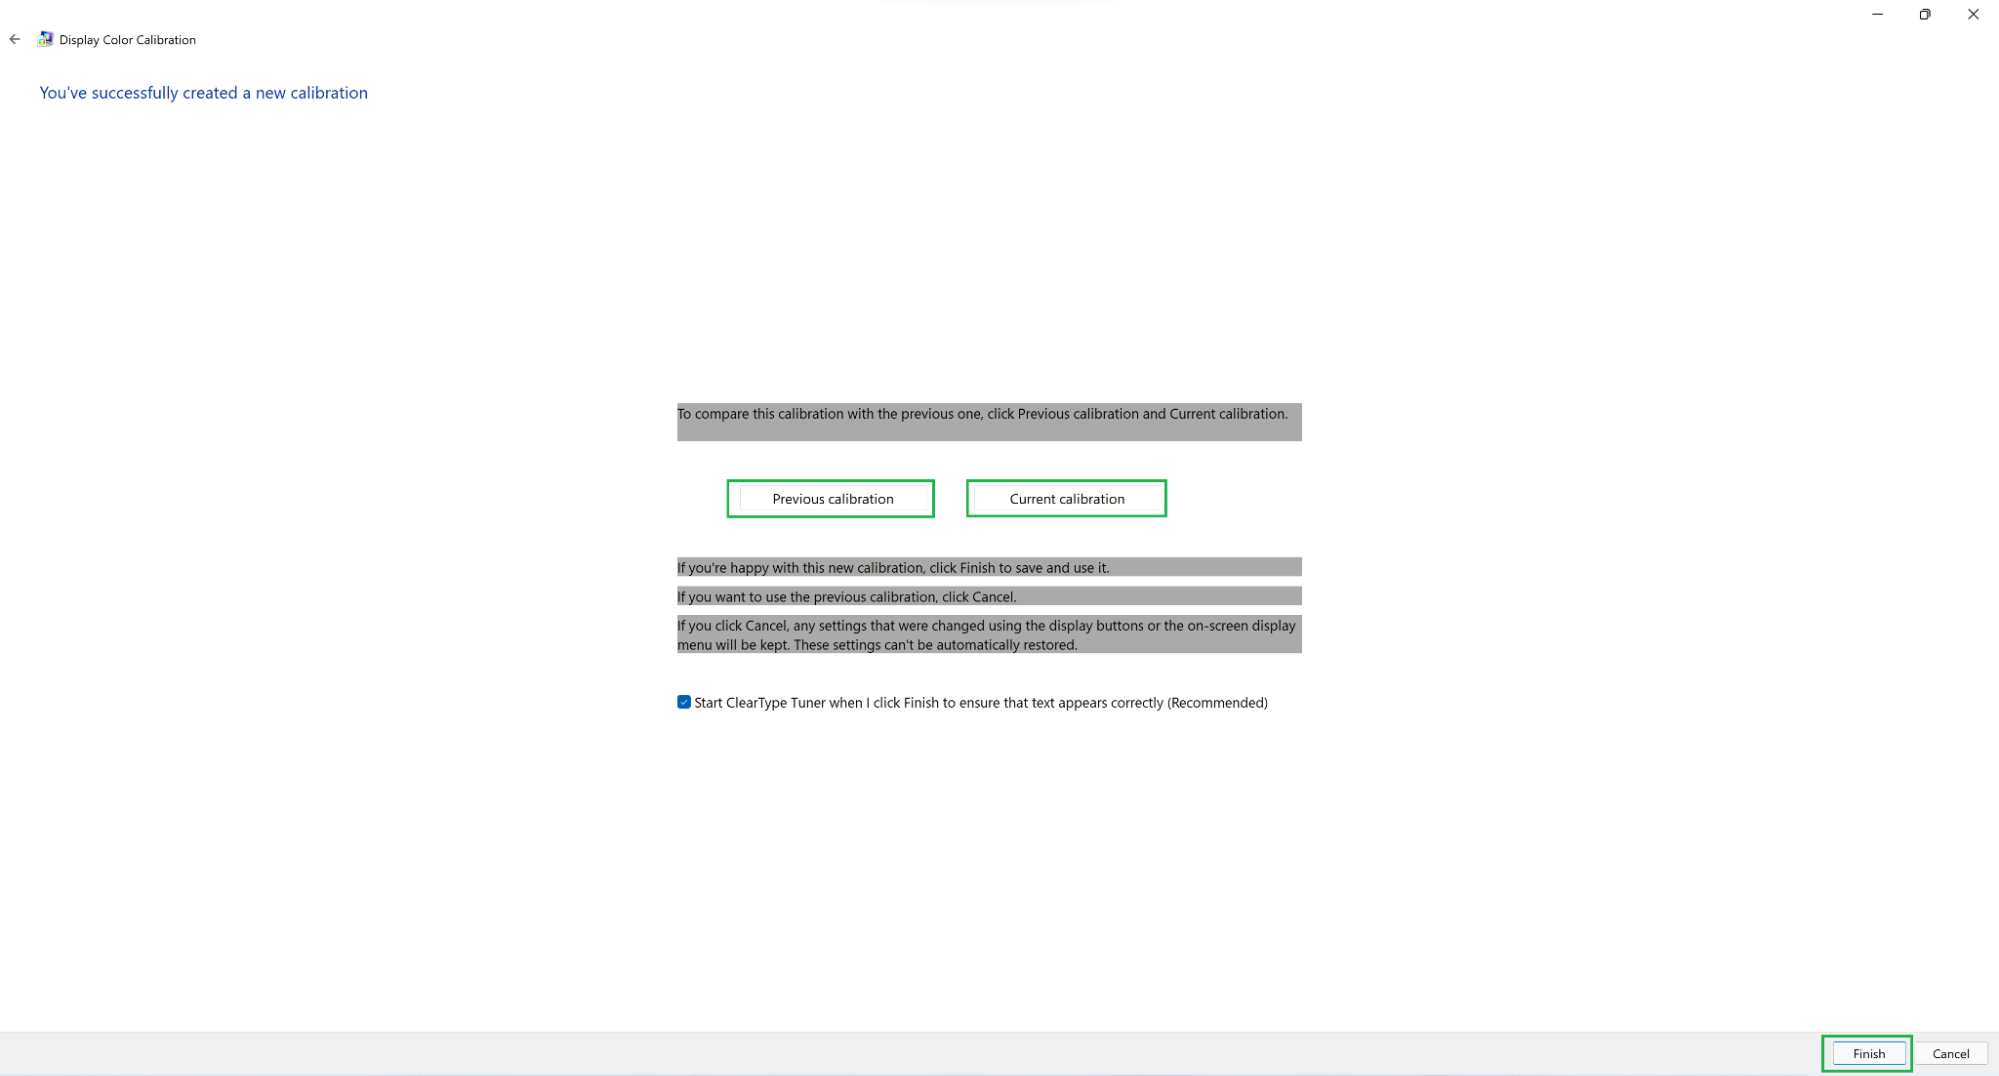
13. Compare your new settings to your old ones. Display Color Calibration will now present you with two buttons: “Previous calibration” and “Current calibration”. You can click either one to make sure you like the changes you made. Clicking the “Finish” button enables the new calibration; clicking the “Cancel” button uses the old settings.
Your screen is now calibrated! Windows 11 can’t handle everything, which is why the brightness and contrast sections are optional, but even adjusting the gamma and color balance settings can make a difference. Now you have a choice to make: Move on to the ClearType Tuner, which changes how text is displayed, or leave all these display settings aside so you can use your newly calibrated monitor to look at something other than display management tools.
More Windows 11 Tutorials:

Nathaniel Mott is a freelance news and features writer for Tom's Hardware US, covering breaking news, security, and the silliest aspects of the tech industry.
-
Johnpombrio This guide is completely unusable for the Insider DEV version of Win 11. The menus are completely different and make no sense of what I see on my screen. Hard pass.Reply -
mac_angel I tried it with Windows 11 and from the first page, clicking Next, it pops up, "This display currently uses a wide-gamut color profile. The Display Color Calibration will created a color profile with a conventional gamut, which may be a poor fit...."Reply -
mac_angel Reply
I have Windows 11. I used the search function, "Calibrate Color Display". Auto search found it before I finished typing. It will go full size and give the options in the steps in the article. Look down at the bottom right for "Next".Johnpombrio said:This guide is completely unusable for the Insider DEV version of Win 11. The menus are completely different and make no sense of what I see on my screen. Hard pass.
It doesn't seem to work with HDR though. -
pgde Replymac_angel said:I tried it with Windows 11 and from the first page, clicking Next, it pops up, "This display currently uses a wide-gamut color profile. The Display Color Calibration will created a color profile with a conventional gamut, which may be a poor fit...."
I have the same problem with Win10.
