How to use Google Stadia on Raspberry Pi
Google’s game-streaming service can run on a Raspberry Pi 4.

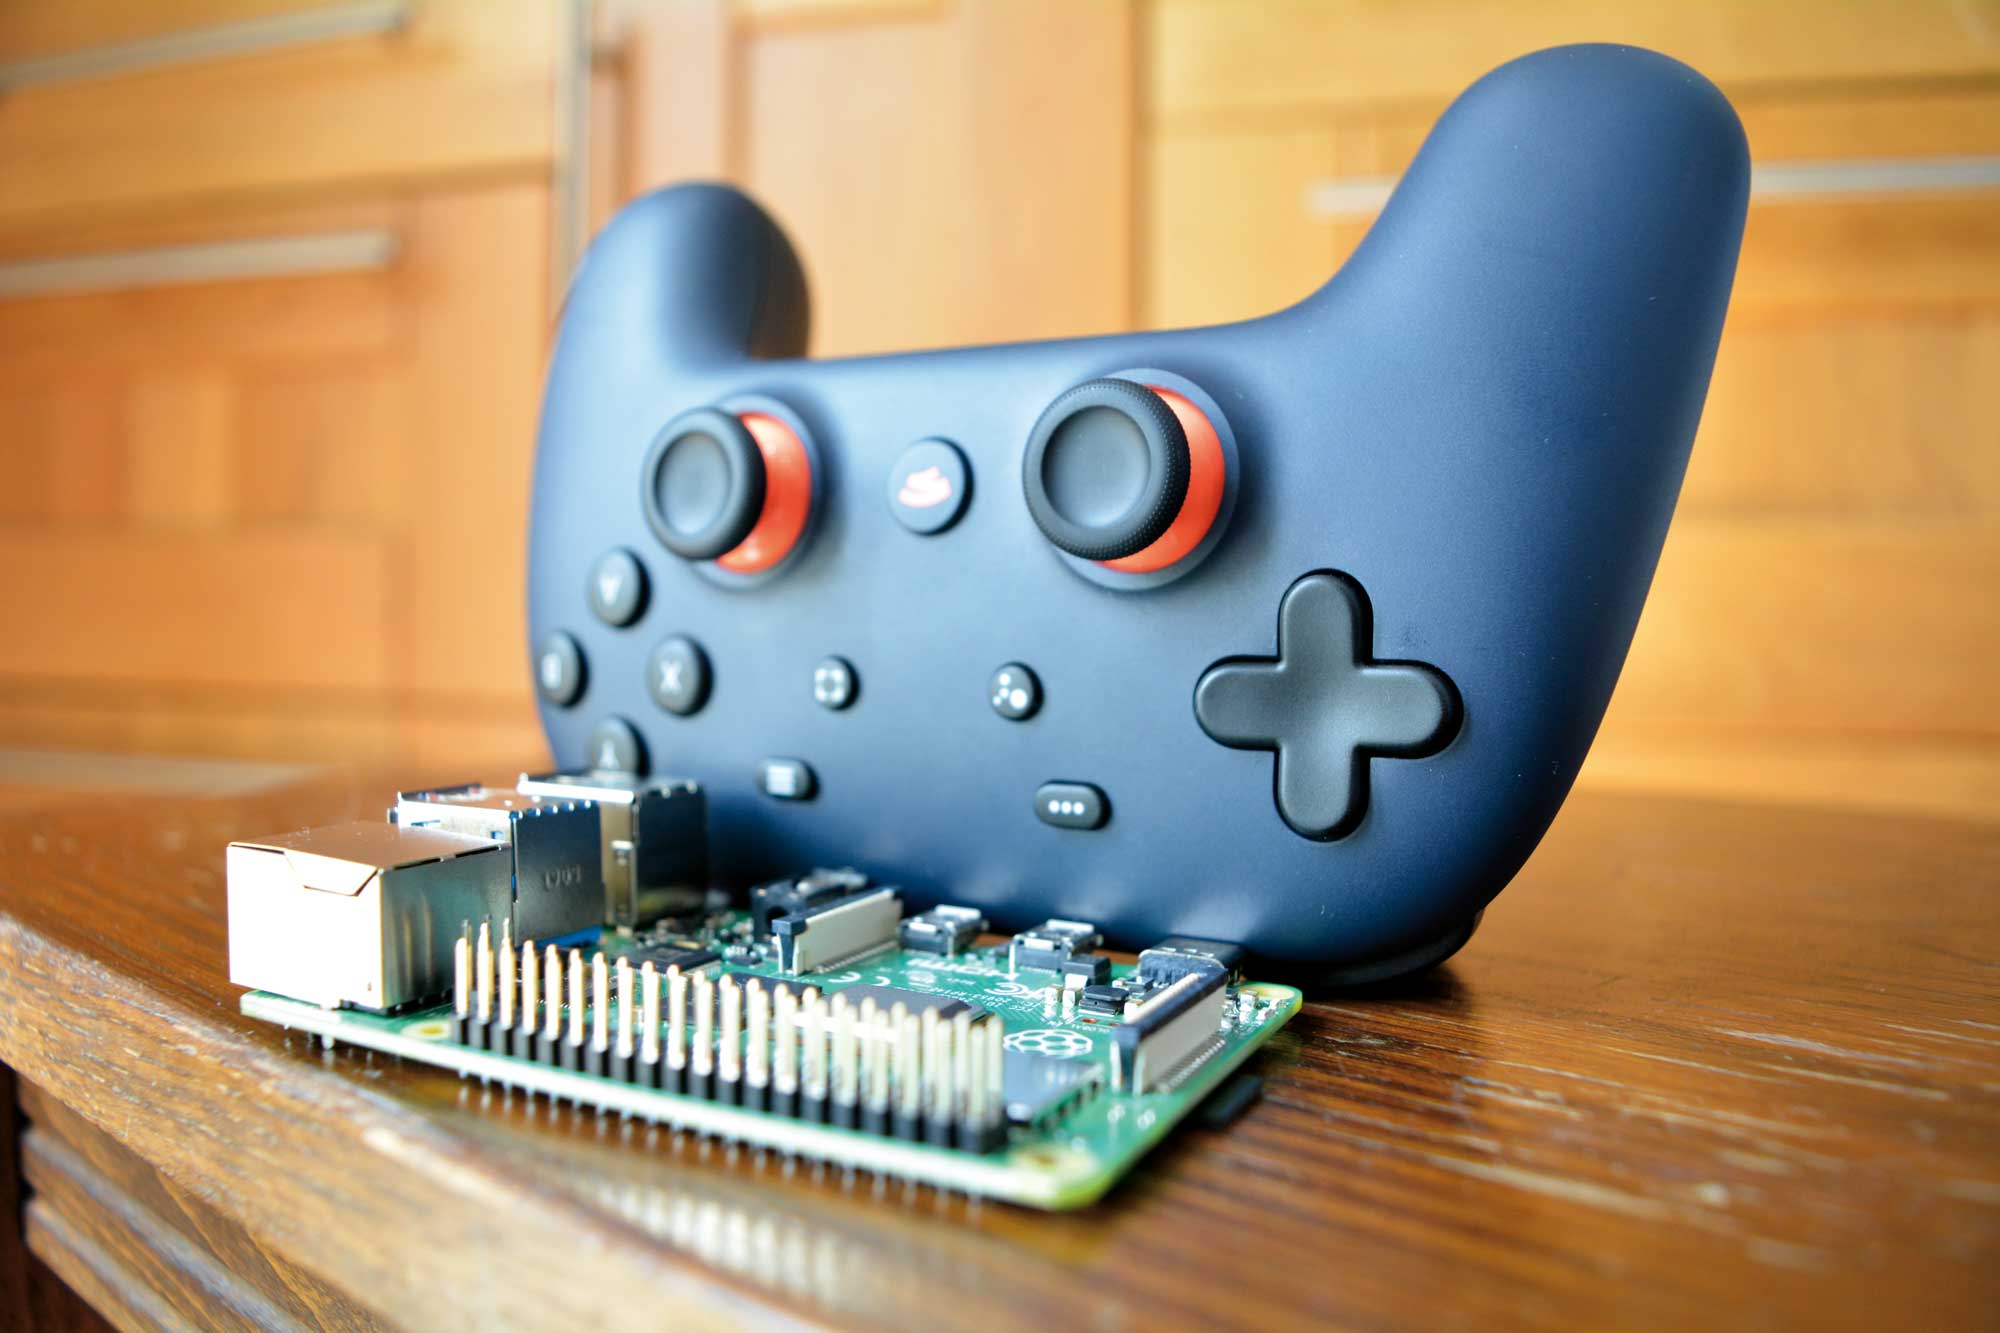
Despite its size and low power, the Raspberry Pi has proven to be a useful addition to any game streaming setup. While it won't run modern games, it can stream them from a PC with Steam or Parsec, but with Google Stadia, you don’t even need a PC. Using its Chromium web browser, a controller and a strong Internet connection, the Raspberry Pi 4 can play any of Stadia’s AAA games.
What You’ll Need to Use Stadia on a Raspberry Pi
- Raspberry Pi 4 (preferably 4GB). It’s just too resource-intensive for an earlier model.
- Good Ethernet connection. This won’t work well at all over Wi-Fi.
- A game controller. You could use Stadia’s own controllers or one of your choosing. These work better over a wired connection to the Pi.
Limitations of Stadia on Raspberry Pi
While connecting a Raspberry Pi to Stadia is straightforward, the results aren't always perfect. The Raspberry Pi 4 is just about able to deal with streaming Stadia games, but in our experience, there is some noticeable lag. Your mileage may vary on this; it will depend on what games you're playing as much as the natural limitations of the Raspberry Pi.
The fact this works at all is somewhat amazing. Making Stadia available on as many platforms as possible via apps and the Chrome browser appears to be a key distribution strategy for Google, so there's a chance that future updates might improve Pi streaming.
Preparing Your Raspberry Pi for Stadia
To improve the changes of everything working, you'll not only need a powerful Raspberry Pi and a strong Ethernet connection, but also the least resource-heavy operating system install. For testing we used Raspbian Buster Lite with the Xfce desktop, which is lighter weight than the regular Raspbian GUI. You can install Xfce by using these commands:
sudo apt install xserver-xorg
sudo apt install xfce4 xfce4-terminal
Since Raspbian Lite doesn’t come with a browser, you’ll also need to install Chromium by entering:
sudo apt install chromium-browser --yesIf you have a fan such as the Pimoroni Fan Shim, we also recommend that you try overclocking your Raspberry Pi 4 to 2,000 MHz. This isn’t a requirement, but it could help with performance.
Get Tom's Hardware's best news and in-depth reviews, straight to your inbox.
When it comes to controllers, almost anything will do, but you’ll want a wired connection to them. The Stadia controllers are the best option here, connected via USB cable. While they usually connect via Wi-Fi to the remote game server, this won't sync correctly with browser access on any platform.
Other controllers are supported by Stadia, including the Xbox One handset and the PS4 controller. Again, you'll need to use them in cabled mode rather than over Bluetooth. Some third-party generic USB controllers will also work, but ensure they have two thumb sticks, D-Pad, and triggers --- basically the modern controller configuration.
How to Use Stadia on Raspberry Pi
After you’ve prepared your Raspberry Pi 4, connected it to Ethernet and attached a controller, it’s time to get started. First, Log into Stadia by visiting https://stadia.google.com. If you don't already have a Stadia account, sign up for one. There’s a free trial period with some free games for you to try, but after that ends, there’s a monthly fee and you’ll need to buy games.
Next configure a controller, using Stadia’s on-screen menus. To play games on Stadia you need a game controller that can be routed via Chromium.
Finally, select a game on the Stadia page and click the Play button to start. You may experience some lag as we did during testing.
Stadia Performance on Raspberry Pi

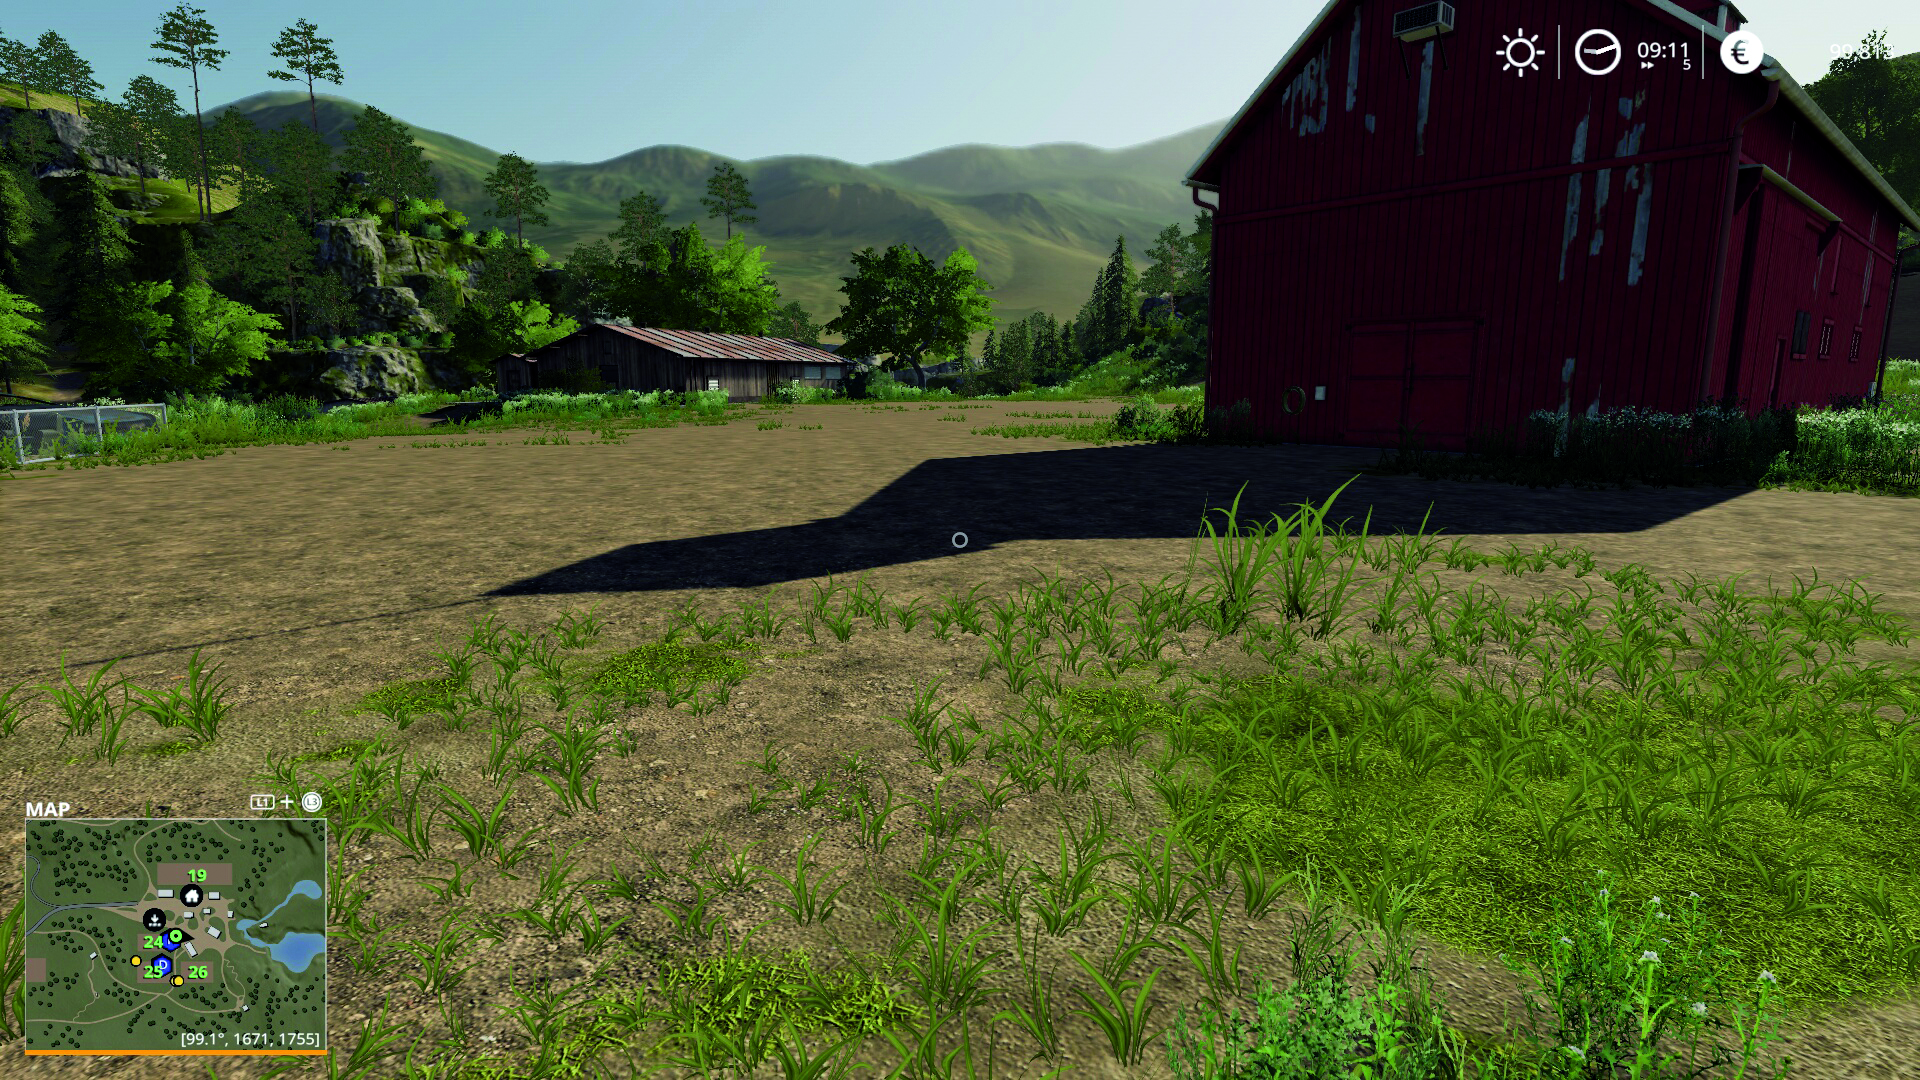
We've found that some games perform better than others. So, avoid high octane thrills like Thumper, or Samurai Showdown, in favour of puzzles or strategy titles like Spitlings or Faming Simulator 19. Destiny 2, curiously, is reported to play well with the Raspberry Pi 4.
Following Steam Link and Parsec, Stadia is just another way to play PC and console-standard games on the modest Raspberry Pi. While lag was a problem when we tested, there is a feeling that things might improve, making the Raspberry Pi a competent alternative to a Chromecast Ultra as a dedicated Stadia device.
As with many Pi projects, your mileage may vary. At worst, you'll get a buzz of satisfaction from accessing Stadia on your Raspberry Pi; at best, you can run a virtual farm.
This story originally appeared in issue 264 of Linux Format Magazine.