How to Build a Raspberry Pi Pico-Powered Camera Button
Use a Pico and a button to fire your phone’s camera from a distance.
Get Tom's Hardware's best news and in-depth reviews, straight to your inbox.
You are now subscribed
Your newsletter sign-up was successful
Capturing that special moment can be tricky especially for that important shot. What if we could make our own camera trigger using a Raspberry Pi Pico? In this tutorial we will make a simple trigger using a Raspberry Pi Pico and a few components. The code for the project is written in CircuitPython, a version of MicroPython from Adafruit that enables us to turn our Raspberry Pi Pico into a USB device, in this case a mouse. We can then press a real button to trigger the camera to take a picture.
This project is ideal for capturing nature shots. Our Android device can be positioned near to where the animal feeds or drinks and, using a long USB cable, we can be hidden out of sight and not scaring the creature. It can also work for selfies / group portraits that require you to stand further back from the camera.
For This Project You Will Need
- Any RP2040 board, we chose Pimoroni’s Tiny 2040
- Android phone
- 1 x Push button
- 1 x Breadboard
- 2 x Male to male jumper wires
- USB lead and adapter to connect your Android device to the Raspberry Pi Pico
Building the Hardware for Pico-powered Camera Button
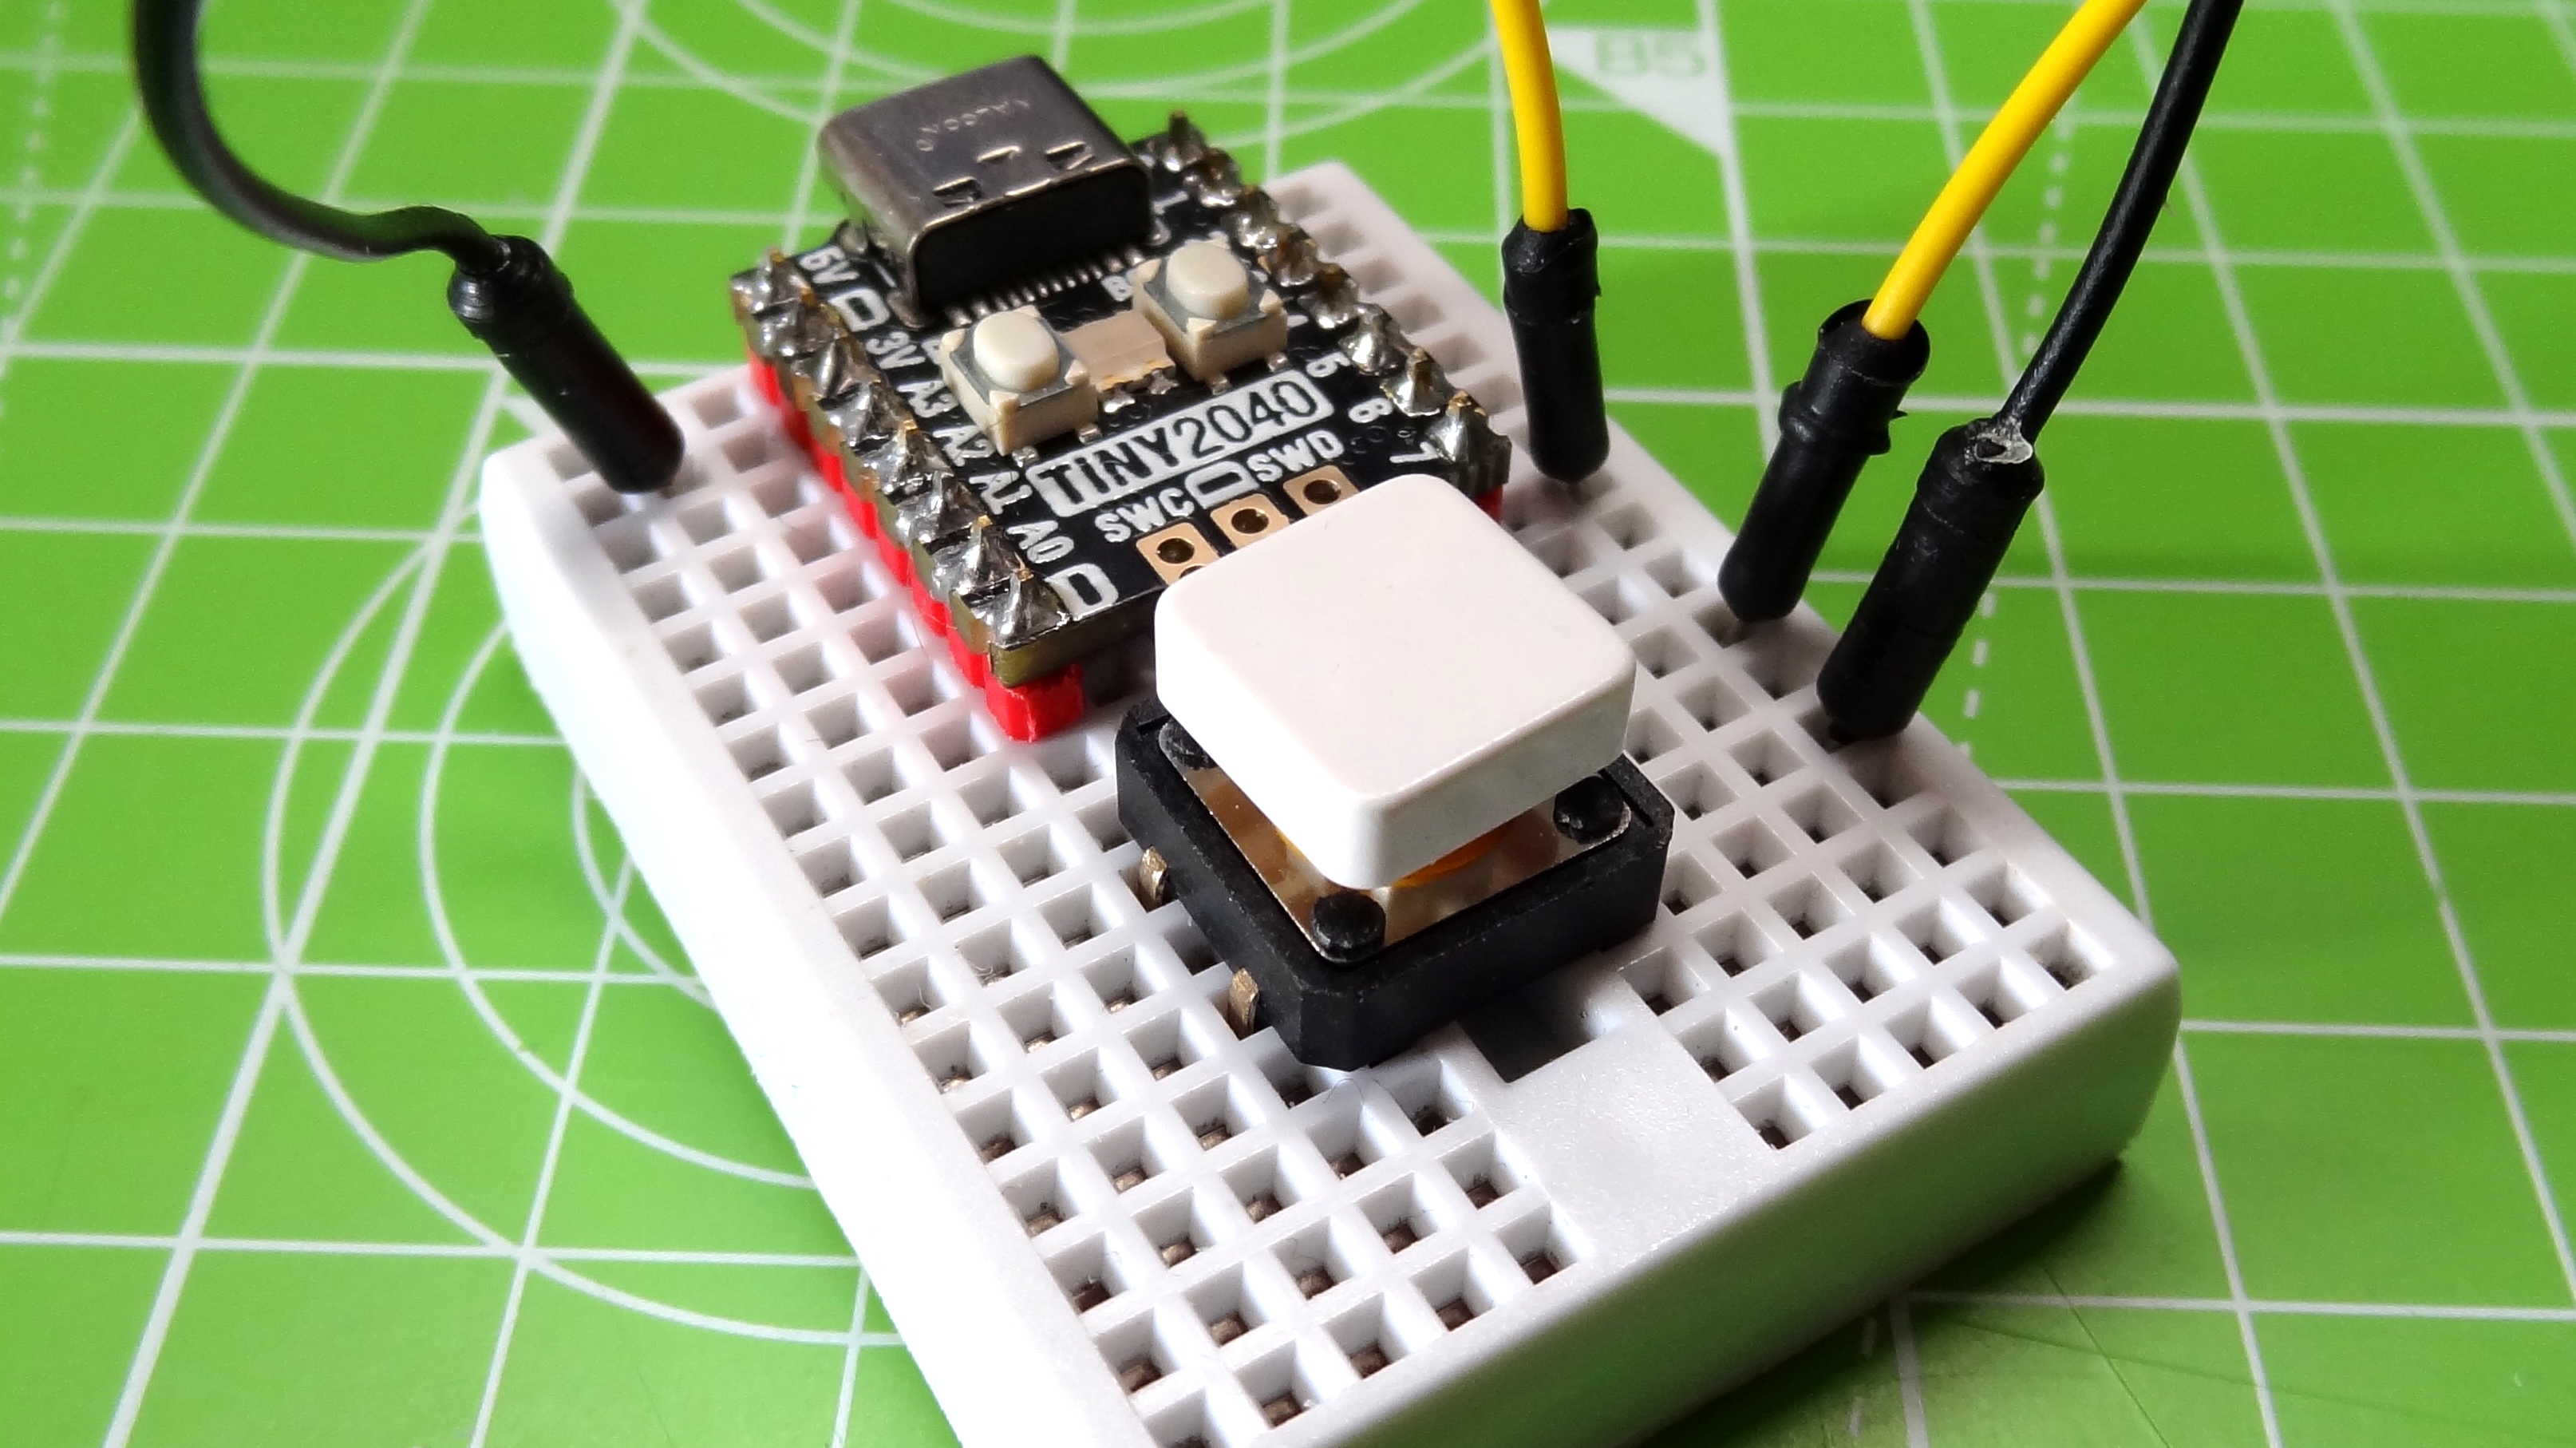
The hardware build for this project is extremely simple, it features a push button, sometimes called a momentary switch, which connects two GPIO pins when pressed. For this build you will need to solder GPIO pins to your Pico or other RP2040 board.
1. Insert your Raspberry Pi Pico (or RP2040 board) into the breadboard so that the USB port faces away from the breadboard.
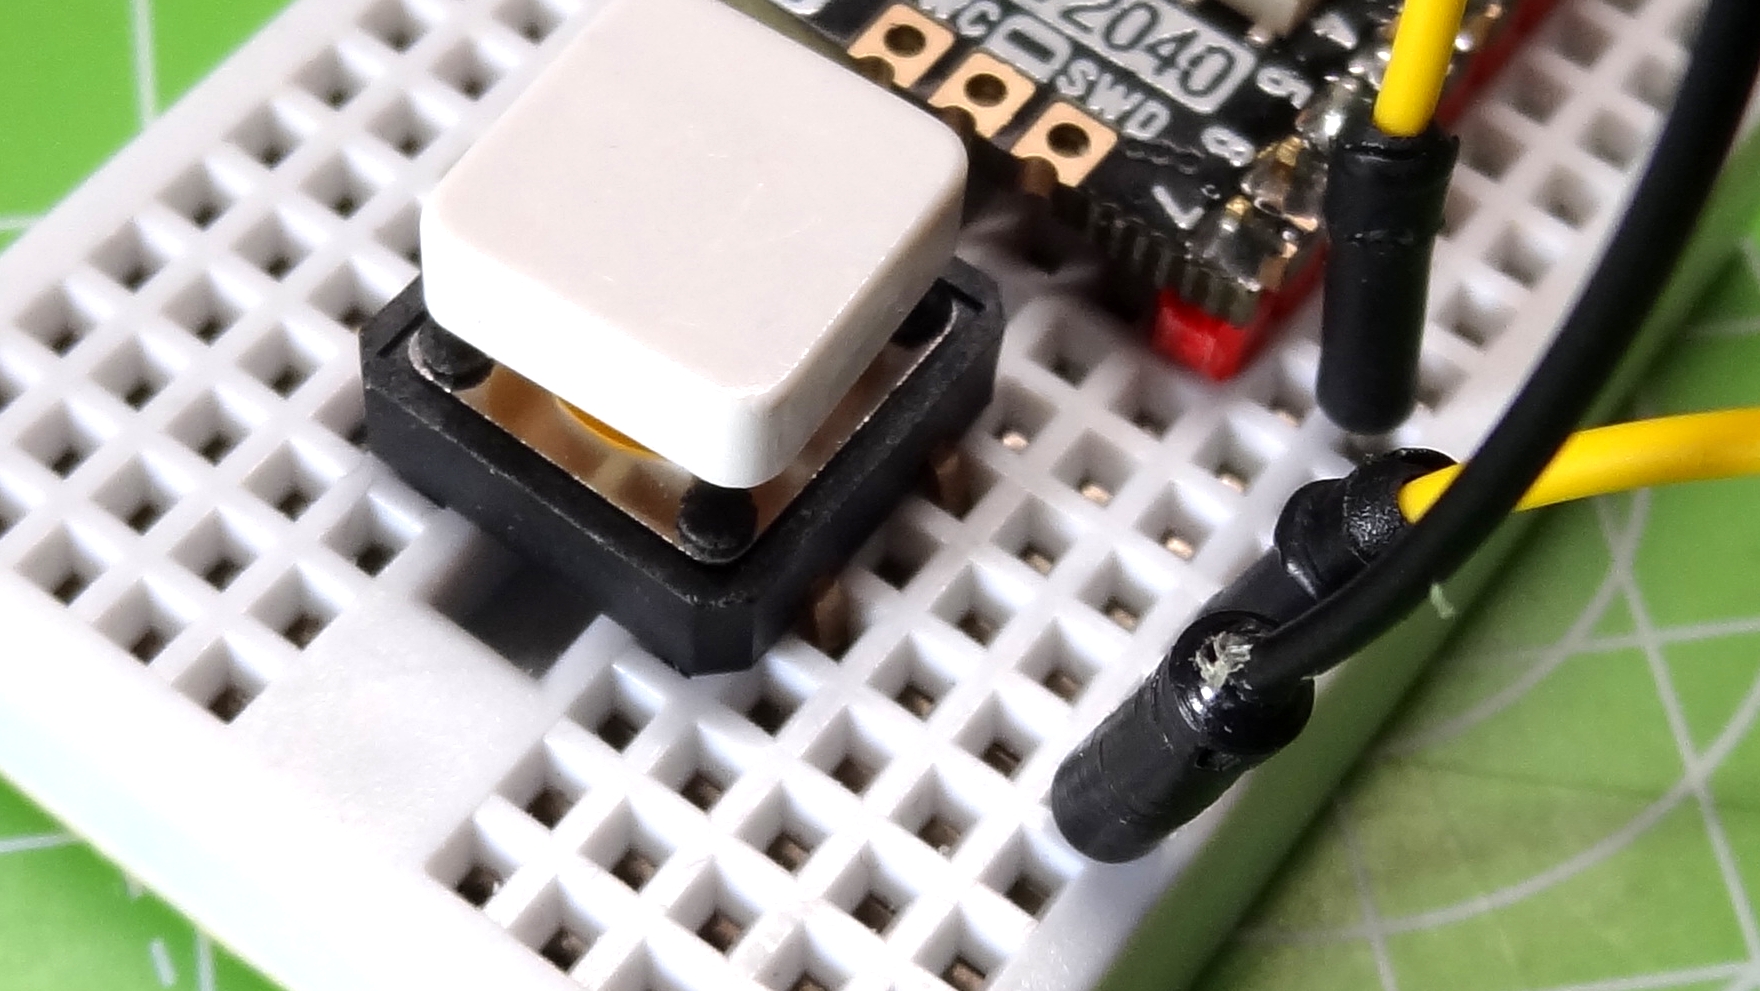
2. Insert the push button into the breadboard so that it sits over the center of the board.
3. Connect GPIO 7 on the Pico to a leg on the pushbutton using the breadboard.
4. Connect any GND pin to a leg on the same side of the pushbutton.
Get Tom's Hardware's best news and in-depth reviews, straight to your inbox.
Flashing CircuitPython to Your Pico (RP2040 Board)
Before we can write any code, we need to flash the latest version of CircuitPython to the board.
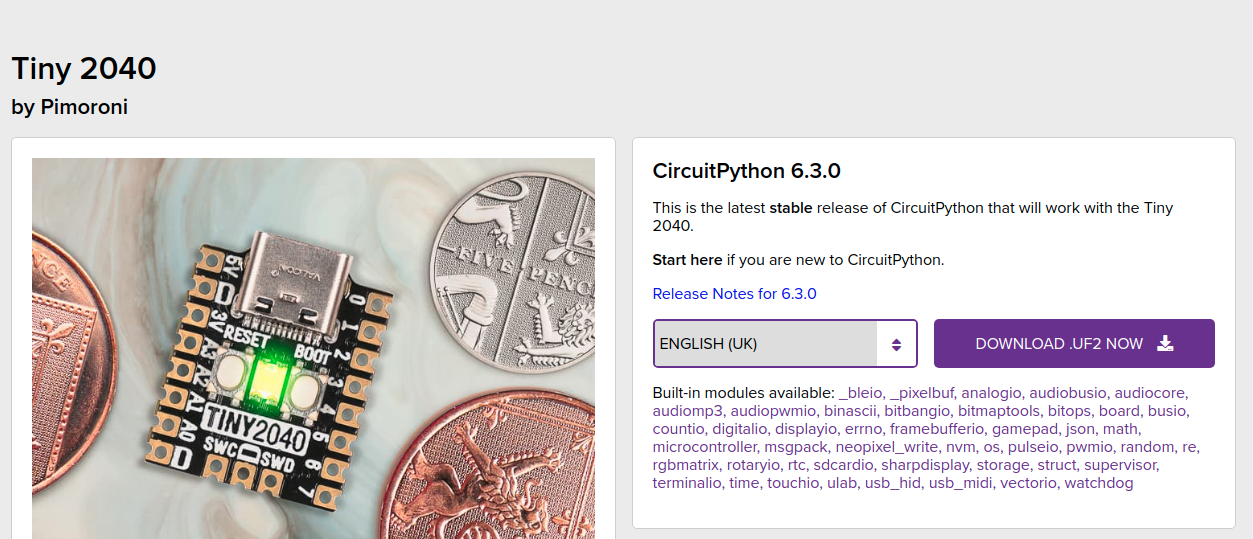
1. Navigate to https://circuitpython.org/downloads and search for your RP2040 board. In our case it was Tiny 2040.
2. Download the latest stable version of CircuitPython for your board. At the time of writing it is 6.3.
3. Holding the BOOTSEL / BOOT button on your Pico while connecting your Raspberry Pi Pico to a USB port on your computer. A new drive, RPI-RP2 will appear,
4. Copy the downloaded UF2 file to this drive. In a few moments the drive will appear as CIRCUITPY confirming that installation was successful.
5. Go to the CircuitPython libraries page and download the bundle for your version of CircuitPython. At the time of writing this was version 6.3 and so we downloaded the bundle for 6.x.
6. Extract the contents of the download to a folder, then open that folder.
7. Inside the folder is a sub folder, lib. Open the lib folder and you will see all of the libraries for CircuitPython.
8. Copy the adafruit_hid folder from here to the lib folder on the CIRCUITPY drive. If there’s no /lib folder on your CIRCUITPY drive, create one.
Hardware setup is now complete and our board is ready to be programmed. To write the code for this project we can use Mu, Thonny or Visual Studio Code.
Programming Your Pico-Powered Camera Button
1. Open code.py found in the CIRCUITPY drive. This is the code that will be run every time the board is powered up. Right now the code is a simple “Hello World” printed to the Python shell. Delete that code.
2. Import three libraries of pre-written code. The first is time and it is used to add a delay to our code. The second is usb_hid, which configures our Raspberry Pi Pico to behave like a USB device. The third is adafruit_hid.mouse which we use to convince our Android device that we have plugged in a USB mouse.
import time
import usb_hid
from adafruit_hid.mouse import Mouse
3. Import two more libraries. Board is used to control and communicate with the GPIO. The final library is digitalio used to set the status of a GPIO pin.
import board
from digitalio import DigitalInOut, Direction, Pull
4. Create an object mouse, which is used to simulate mouse movement and button clicks.
mouse = Mouse(usb_hid.devices)
5. Configure the push button, connected to GPIO 7 to be an input, and set the pin state to up. This sets the pin as “on” (True) and, when we press the button, it connects that pin to GND, effectively pulling the pin low (off / False) giving us a trigger to take a picture.
button = DigitalInOut(board.GP7)
button.direction = Direction.INPUT
button.pull = Pull.UP
6. Add a two-second pause to the code and then instruct the mouse pointer to move along the horizontal axis (x) for 380 pixels. The vertical (y) axis is left at zero. This moves the mouse cursor across the screen to where the trigger button is in your camera app. You will need to tweak this value for your Android device.
time.sleep(2)
mouse.move(x=380, y=0)
7. Create a loop that will constantly run our code. Inside the loop we use a conditional test that will check the value of the GPIO pin connected to our push button.
while True:
    if button.value == False:
8. Write the condition so that, If the button has been pressed, it will trigger the code to press the left mouse button on the trigger / shutter button to take a photograph. A short pause of 0.1 seconds prevents an accidental double click of the button.
        mouse.click(Mouse.LEFT_BUTTON)
        time.sleep(0.1)
9. Write an else condition which is triggered when the button is not pressed, and it simply uses pass to let the loop go round with no interruption.
else:
        pass
10. Save the code and the board will automatically launch the code. After a few seconds the mouse cursor will move to the right. Pressing the push button will press the left mouse button.
Complete Code Listing for Pico-Powered Camera Button
import time
import usb_hid
from adafruit_hid.mouse import Mouse
import board
from digitalio import DigitalInOut, Direction, Pull

mouse = Mouse(usb_hid.devices)

button = DigitalInOut(board.GP7)
button.direction = Direction.INPUT
button.pull = Pull.UP
time.sleep(2)
mouse.move(x=380, y=0)
while True:
    if button.value == False:
        mouse.click(Mouse.LEFT_BUTTON)
        time.sleep(0.1)
    else:
        pass
Using the Pico-Powered Camera Button
This will depend on your Android device. In our case we have an Android with USB-C and our Tiny 2040 also uses this connection. We used a USB-C to USB-C wire and the cellphone powered our Tiny 2040.
1. Open your camera app with your phone in landscape mode.
2. Connect the Raspberry Pi Pico or RP2040 board.
The mouse cursor will move to the right of the screen and it should be on or near the shutter / trigger button of your camera app. If this is not the case, unplug the Raspberry Pi Pico and edit the code to add or subtract pixels from the x axis of mouse.move(x=380, y=0) save and then connect the Pico to your cellphone. Repeat this process until you are satisfied.
3. Line up your shot in the camera app.
4. When ready press the push button to take a picture.

Les Pounder is an associate editor at Tom's Hardware. He is a creative technologist and for seven years has created projects to educate and inspire minds both young and old. He has worked with the Raspberry Pi Foundation to write and deliver their teacher training program "Picademy".


