How to Run a Linux OS on your Chromebook
Run full Linux alongside Chrome OS.
Chromebooks have come a long way and, in certain circumstances, they are now competent productivity machines out of the box. However, sometimes you need a more full-featured operating system than Chrome OS – Linux, for example – to do your work and run offline software.
In the past, there were many hacks to run Linux on your Chromebook, Crostini is an early example of such. But now Chrome OS has a built-in means to run Linux virtual machines with little configuration needed by the end user. Best of all, we can even run Linux GUI apps such as GIMP, Inkscape and LibreOffice.
In this how to, we shall learn how to install Linux on a Chromebook that’s running the latest version of Chrome OS. We will also learn how to search for, and install software using the package manager. Lastly we shall learn how to share files and directories between Chrome OS and the Linux virtual machine.
Note that some lower spec Chromebooks may struggle with Linux, chiefly because we are running a Linux OS inside of a container on top of the Chrome OS install. It does work, I tested it on my Lenovo Chromebook with just 4GB of RAM, but don't expect stellar performance.
Updating Your Chromebook
Making sure that your Chromebook is up to date is the first part of the process. Typically Chromebooks will keep themselves updated, but it is always best practice to update before undertaking any major tasks.
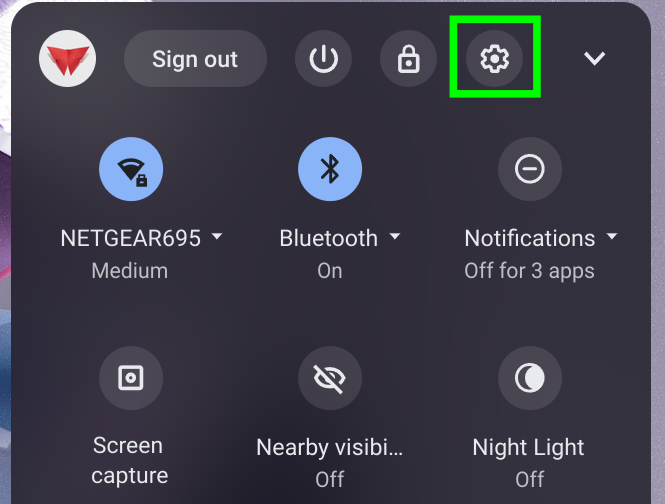
1. Click on the settings menu cog found via the bottom right menu.
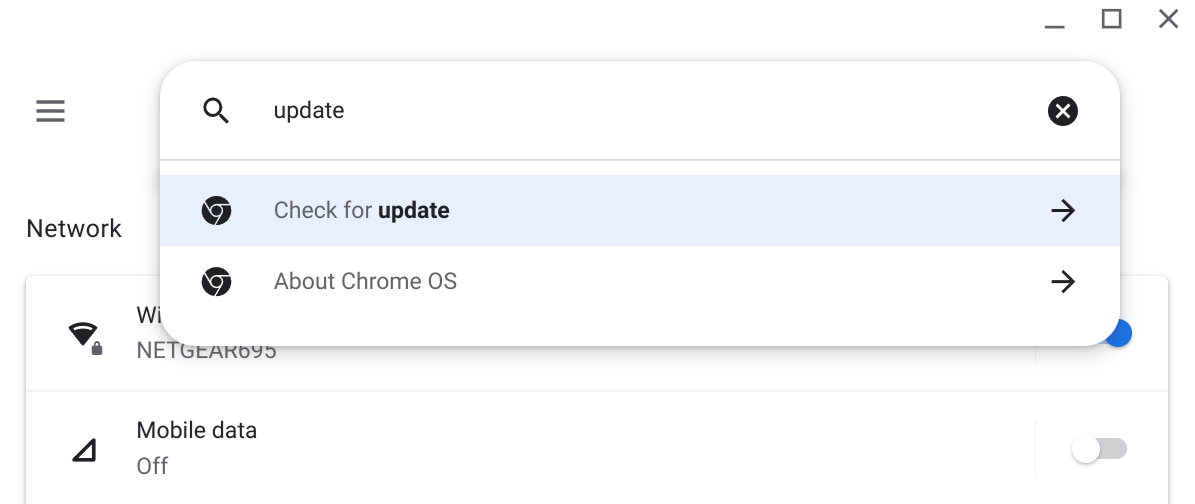
2. Using the search field, search for update.
Get Tom's Hardware's best news and in-depth reviews, straight to your inbox.
3. Select “Check for update”.
4. Click on Check for updates. Your Chromebook will either start an update process or tell us that our machine is up-to-date.
To start the Linux install process
1. Click on the settings menu cog found via the bottom right menu.
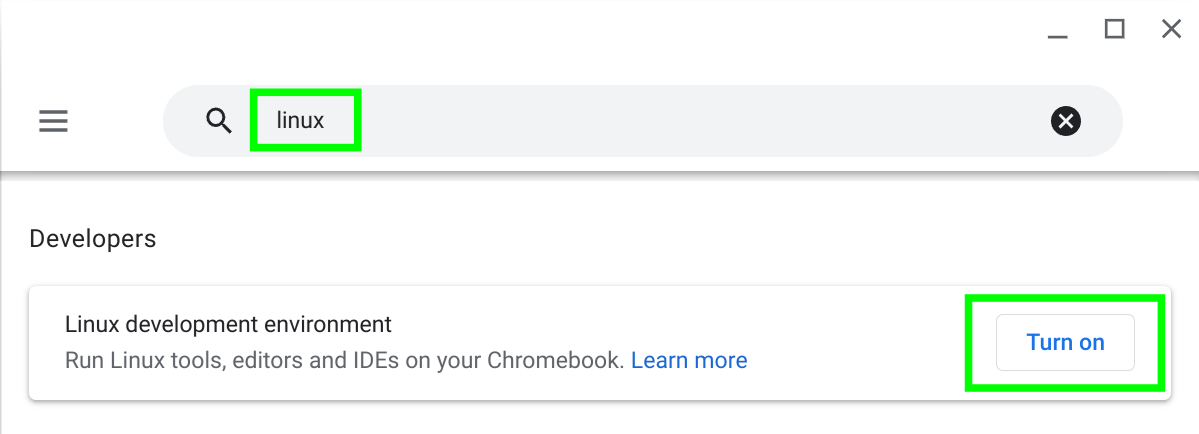
2. Search for Linux and under Linux development environment, click on Turn On to start the install process.
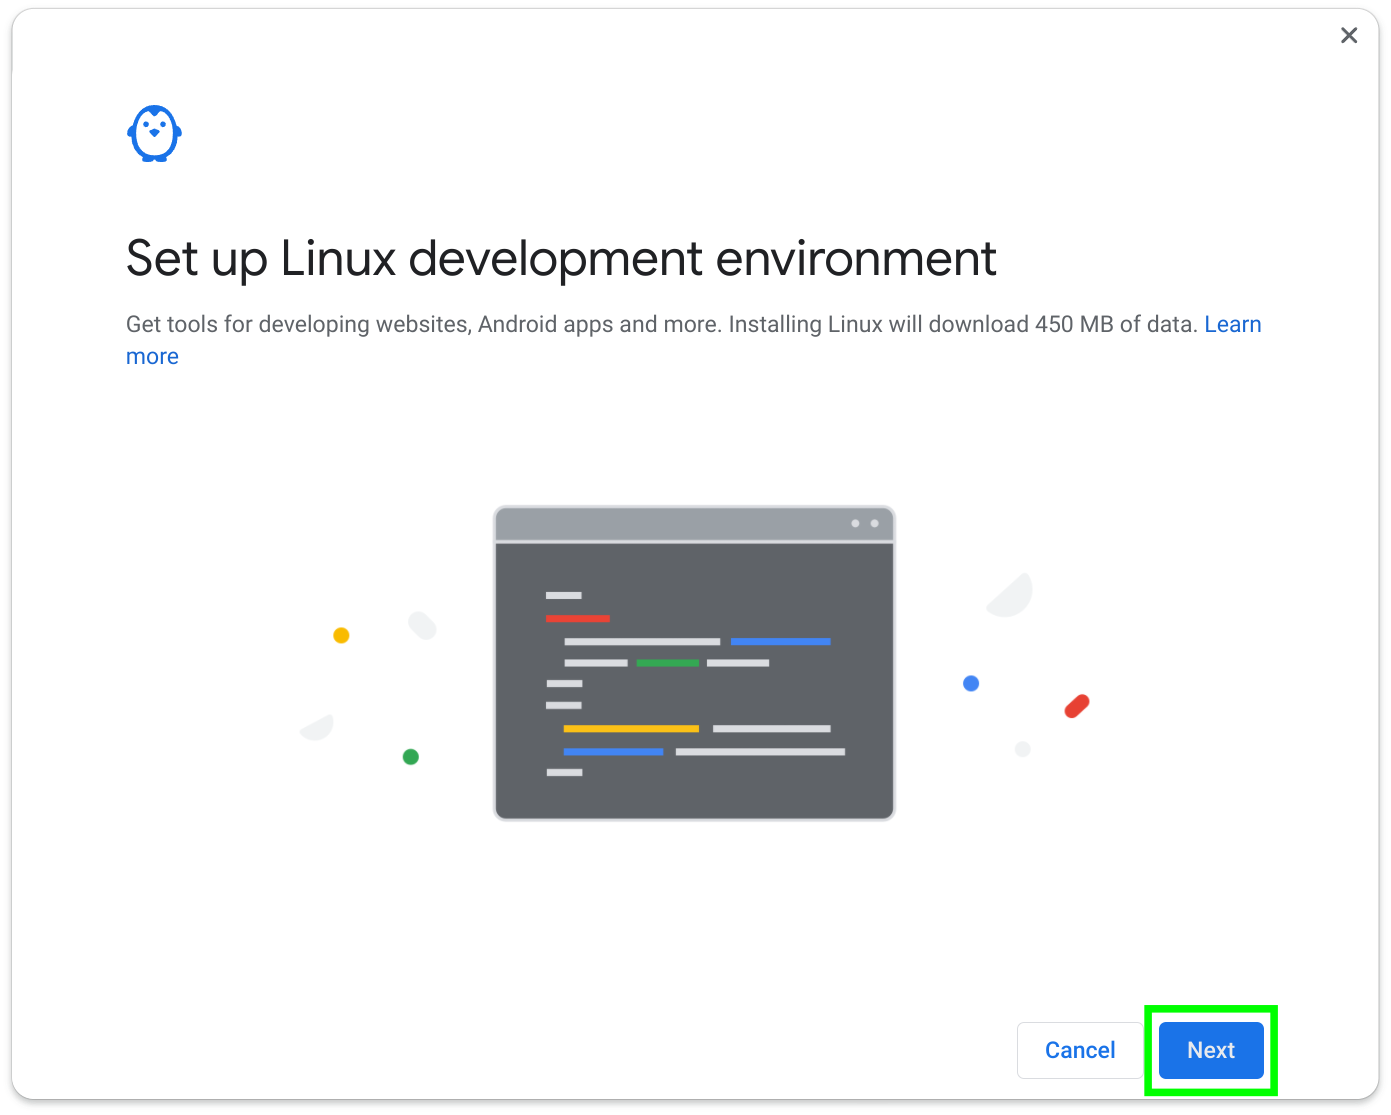
3. Click on Next to set up the environment.
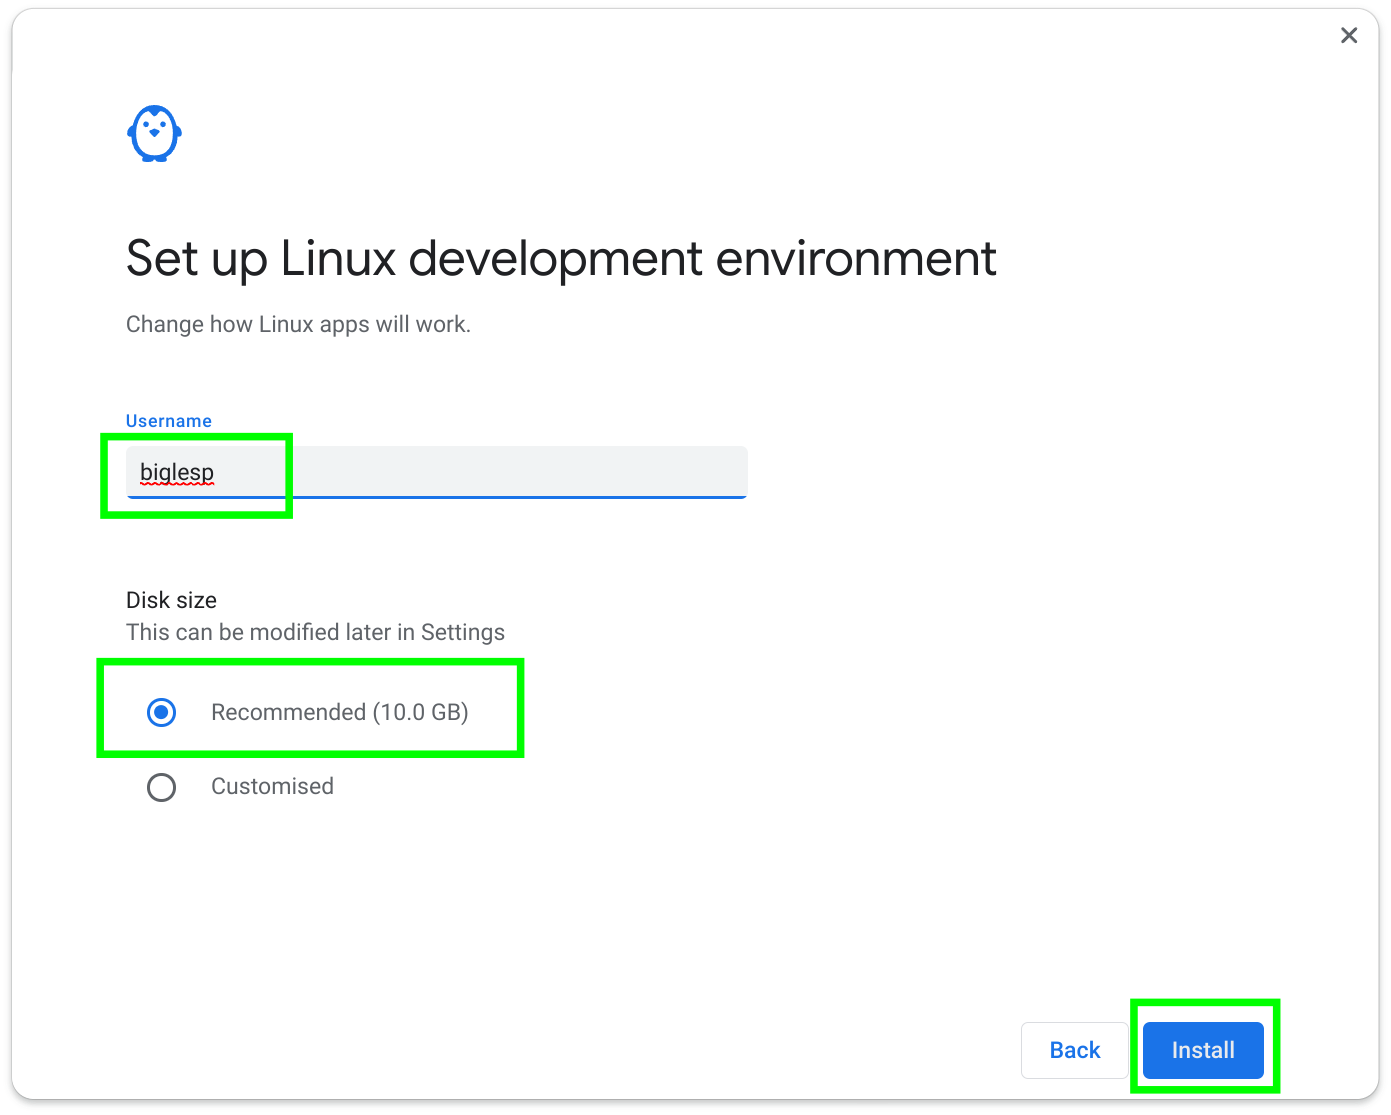
4. Create a user account, and set the disk size. Click on Install and wait for the installation to complete. We stuck to the default 10GB disk image.
Using the Linux Development Environment
The Linux development environment is essentially a virtual machine running a Debian-based Linux distribution. This means that we can manage the installation of applications using the APT package manager.
To make sure that our Linux development environment is up-to-date we shall update the software repositories and upgrade the installation.
1. Update the list of available repositories. This is the list of available software, and the update will compare the lists on our Chromebook with those on the remote server. If the remote server has a newer list, then our list will be updated.
sudo apt update2. Upgrade the software on your Linux development environment. This may return that there are no updates, but if there are it will download and install the packages.
sudo apt upgrade -yTo install software we again use APT.
1. Use search to search for an application or tool. In this case we are going to search for the GIMP image editor.
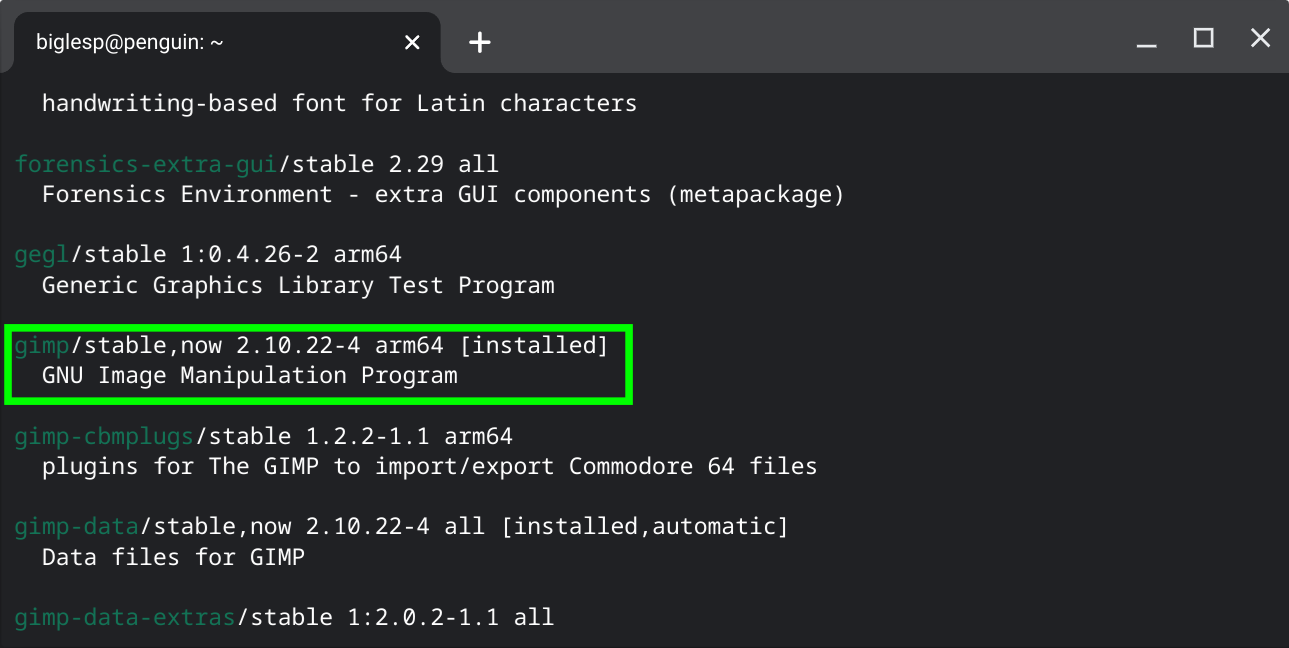
sudo apt search gimp2. Scroll through the list of returned applications and you should see GIMP. This means that we can install the application.
3. Use the install command to install GIMP. This will take a few moments to install.
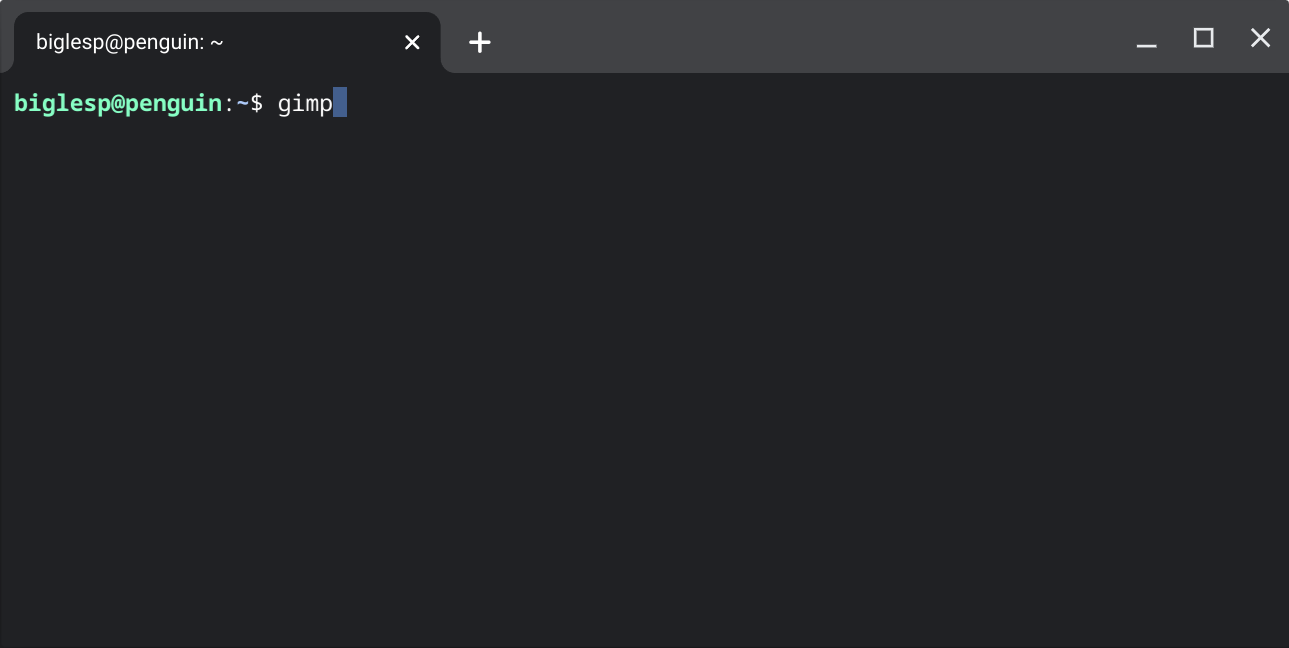
sudo apt install gimp4. Start GIMP from the terminal.
gimpRunning Linux Apps in Chrome
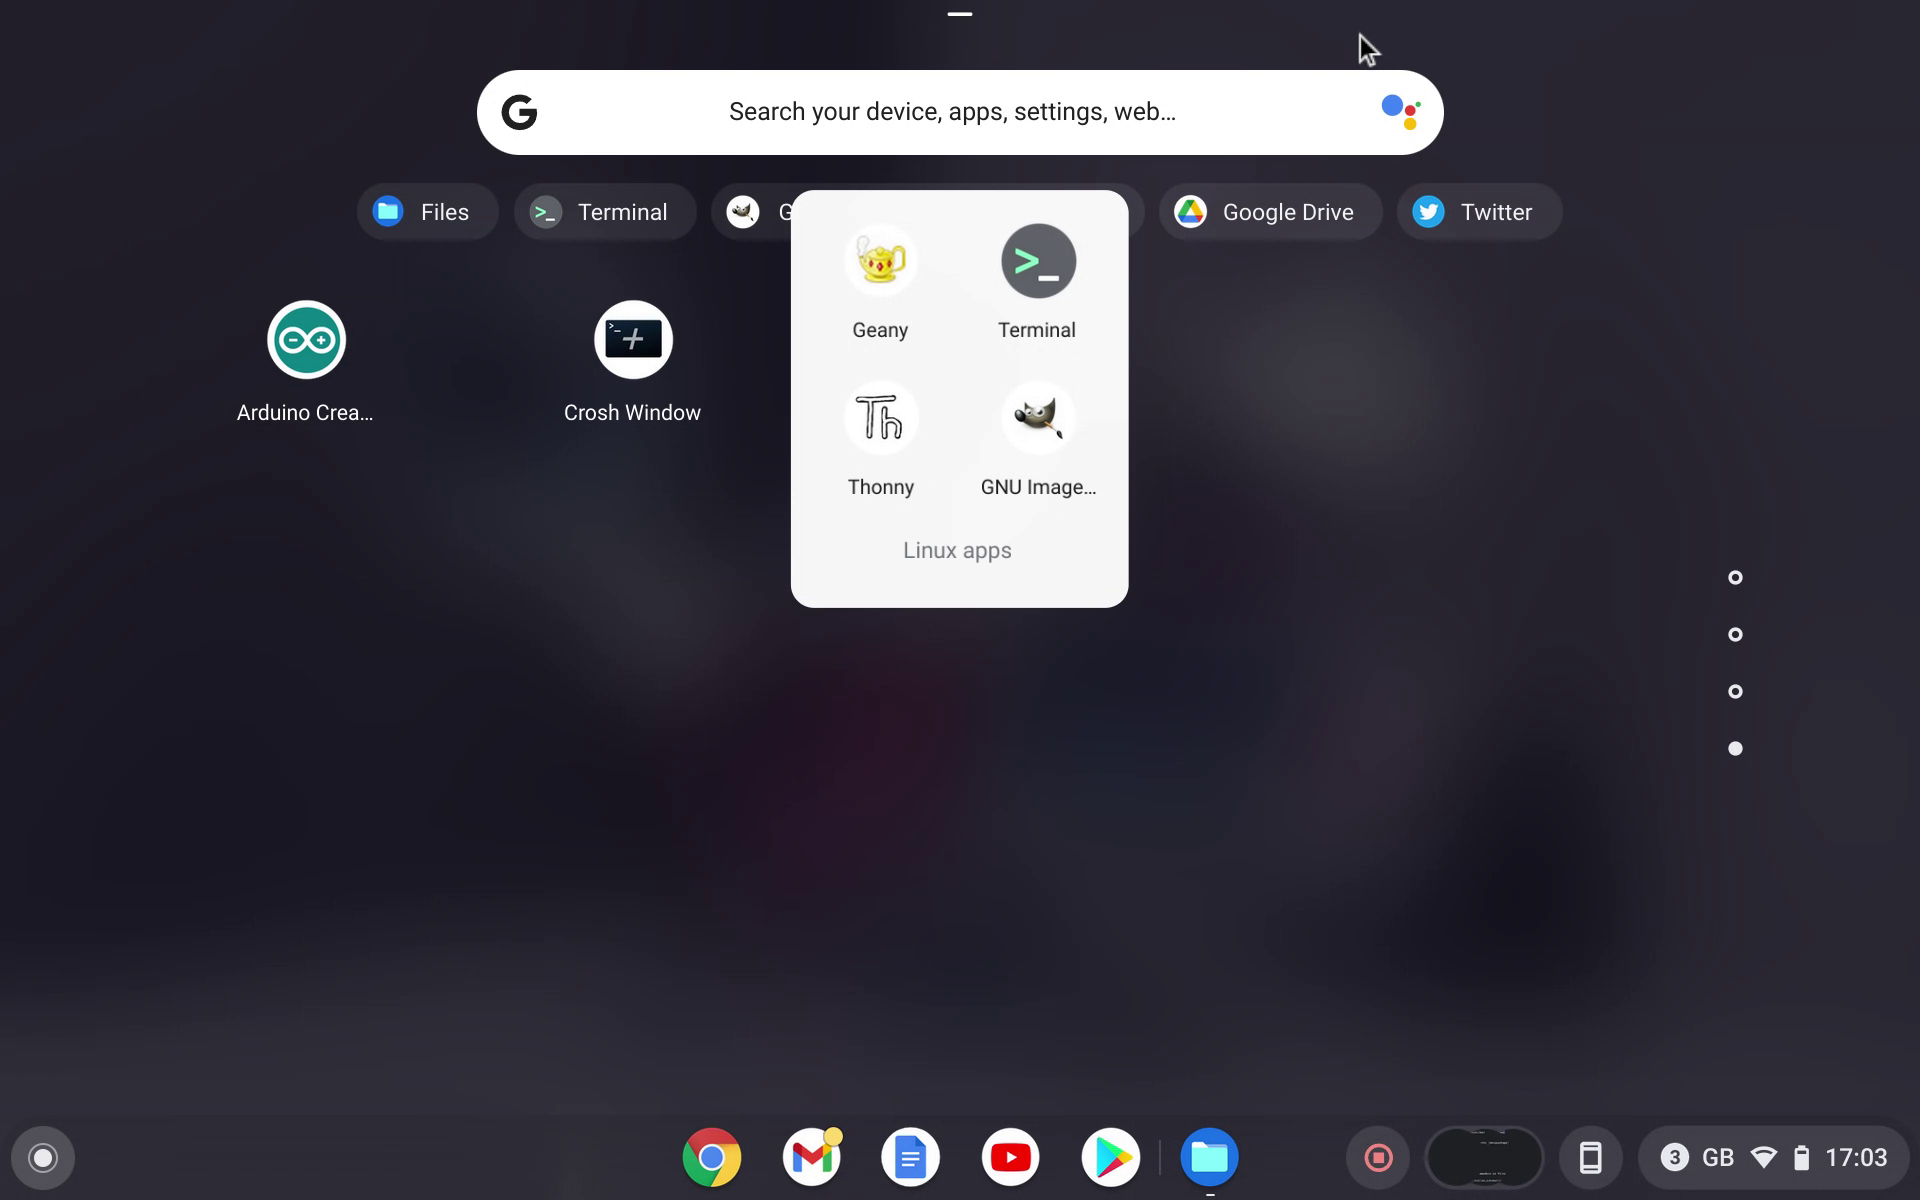
When a Linux app is installed, Chrome will add it to the “Linux Apps” group. We can also access the Linux terminal via this group. Essentially, when an application is selected, it will start the Linux virtual machine and then start the application.
To start a Linux app
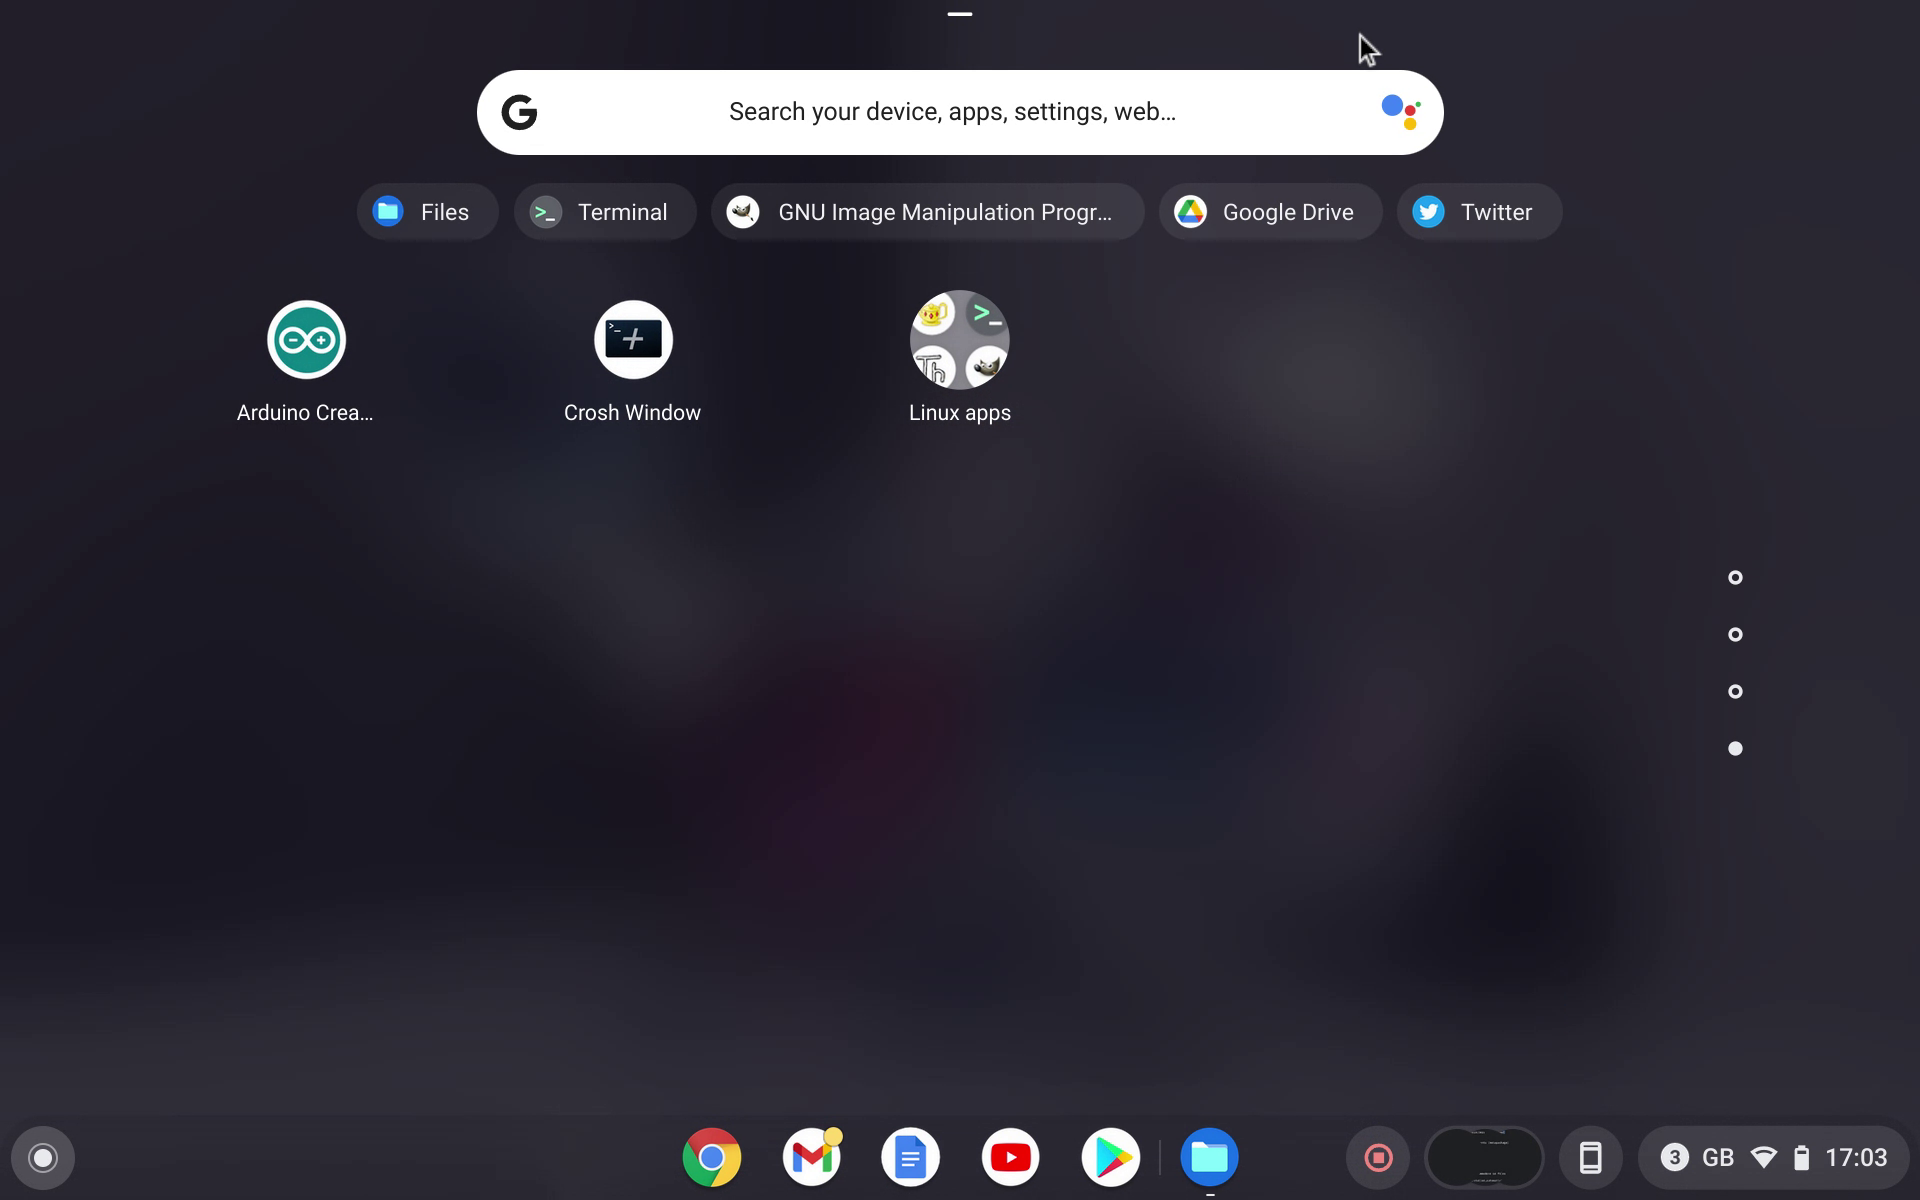
1. Access the apps menu. We can access this via the search button on our keyboard, or by swiping from the bottom to the top of the screen.
2. Scroll to the end of the installed applications.
3. Click on Linux Apps, a group of applications that are installed in the Linux development environment.
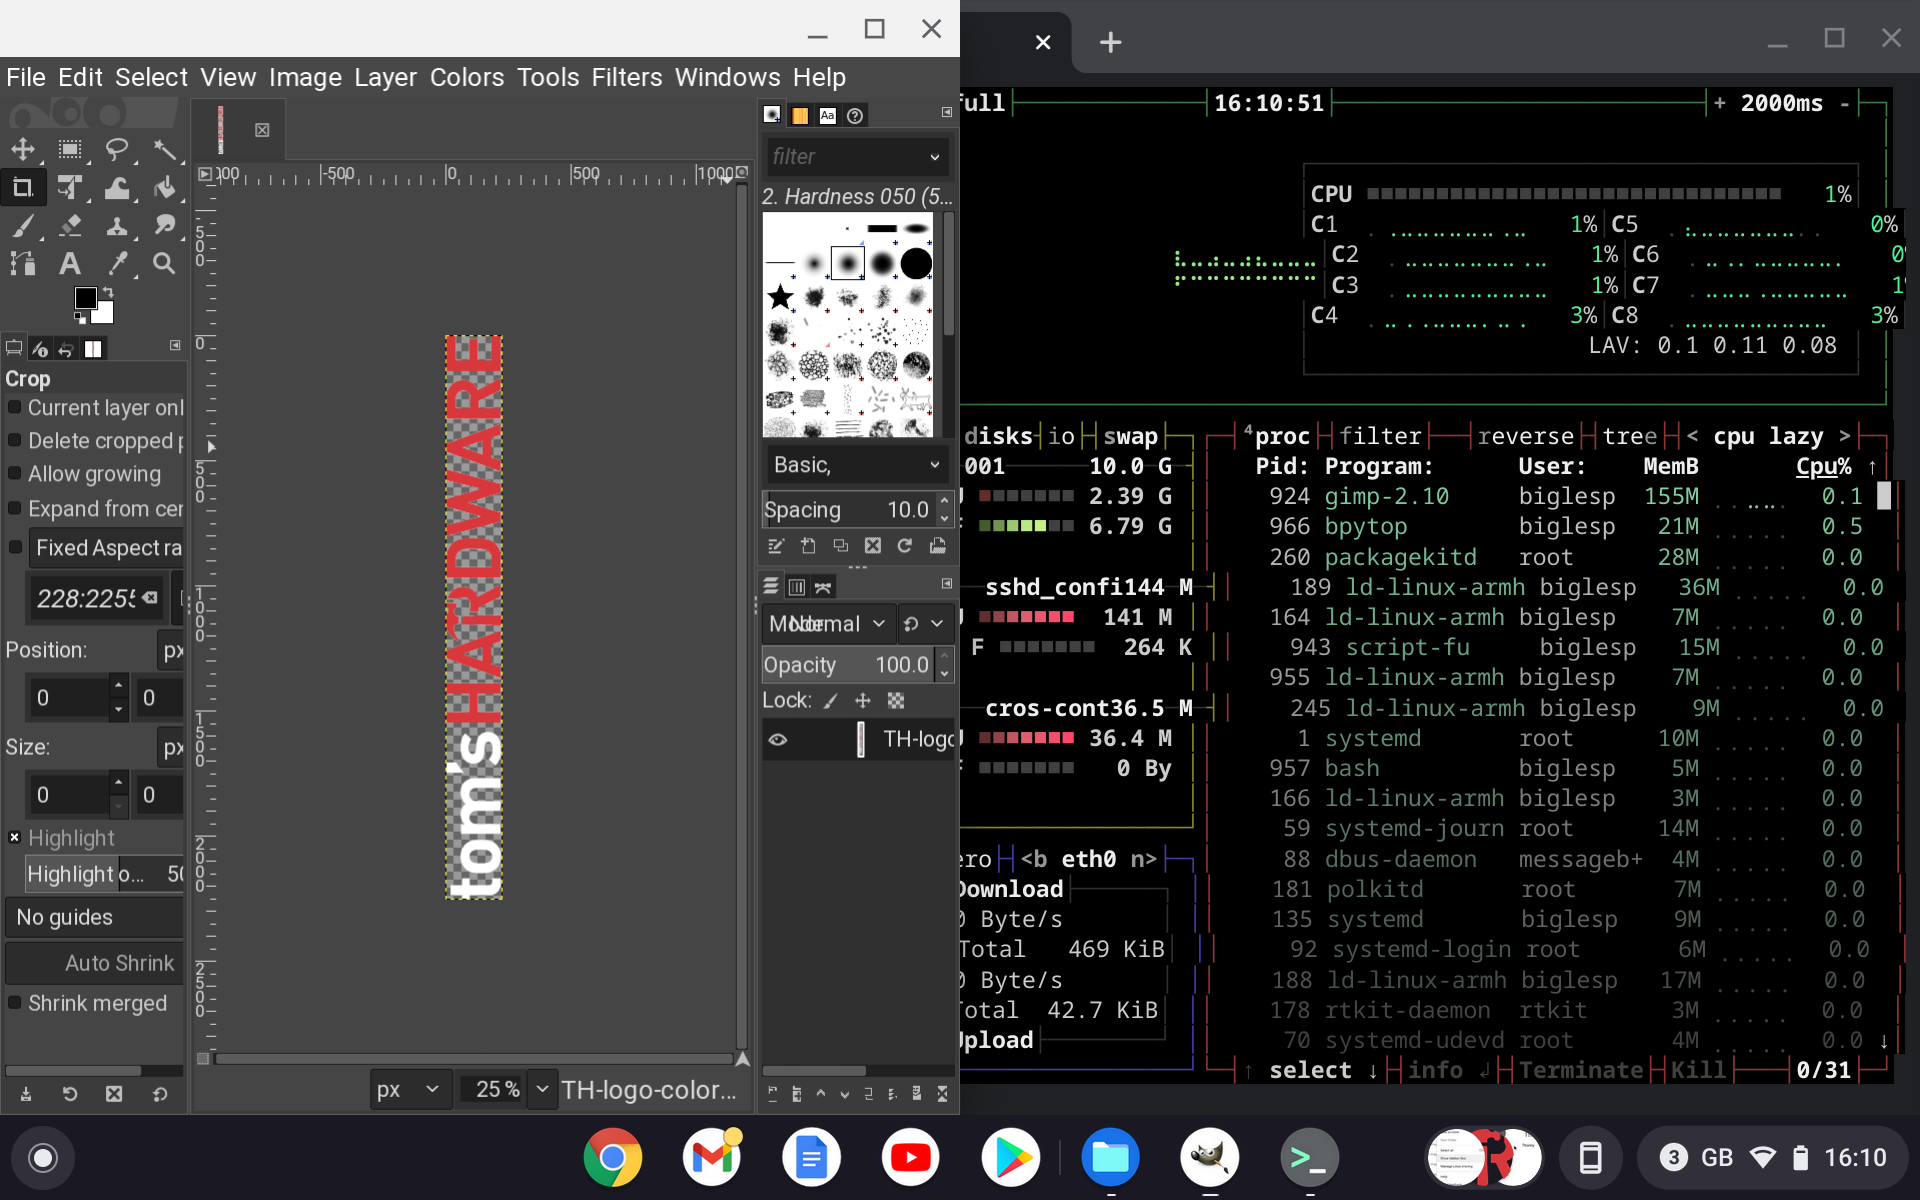
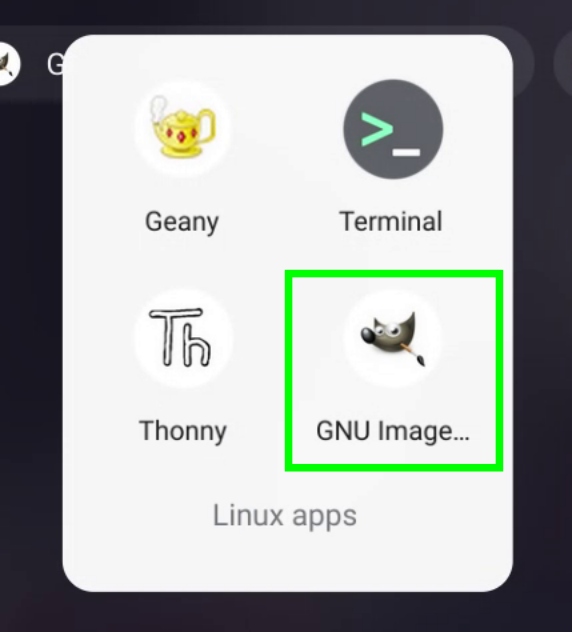
4. Click on GNU Image to launch GIMP.
Sometimes there is a file / directory that we want to share between the two operating systems and for this we have two ways to work with files and directories across both.
To share an individual file
1. Open the Files application.
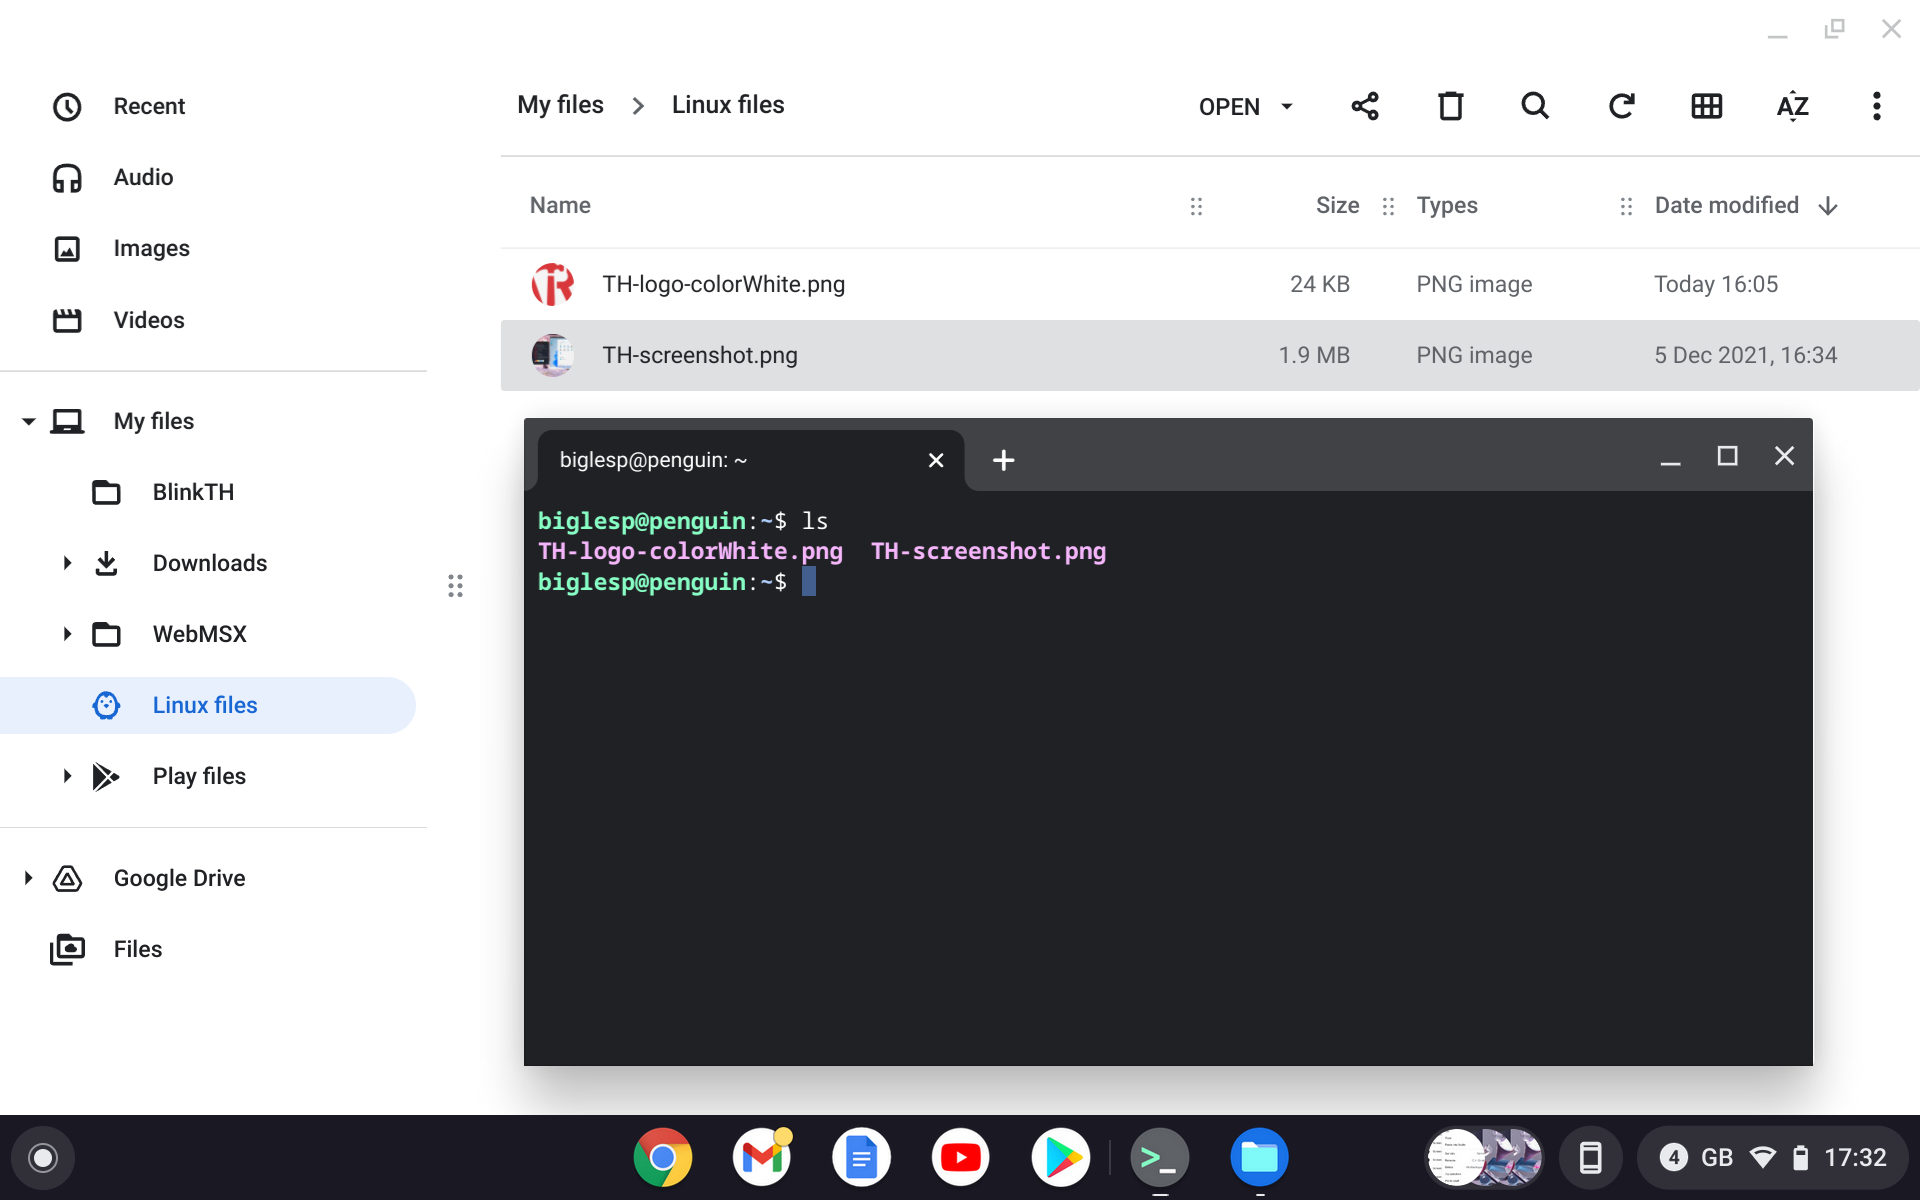
2. Locate the file that you wish to share and drag it to the Linux Files directory. This directory was created when we installed Linux.
3. Open the Linux Terminal and use ls to list the contents of the directory. By default, the files shared via Linux Files are stored in our home directory.
To share a directory
1. Open the Files application.
2. Navigate to My Files.
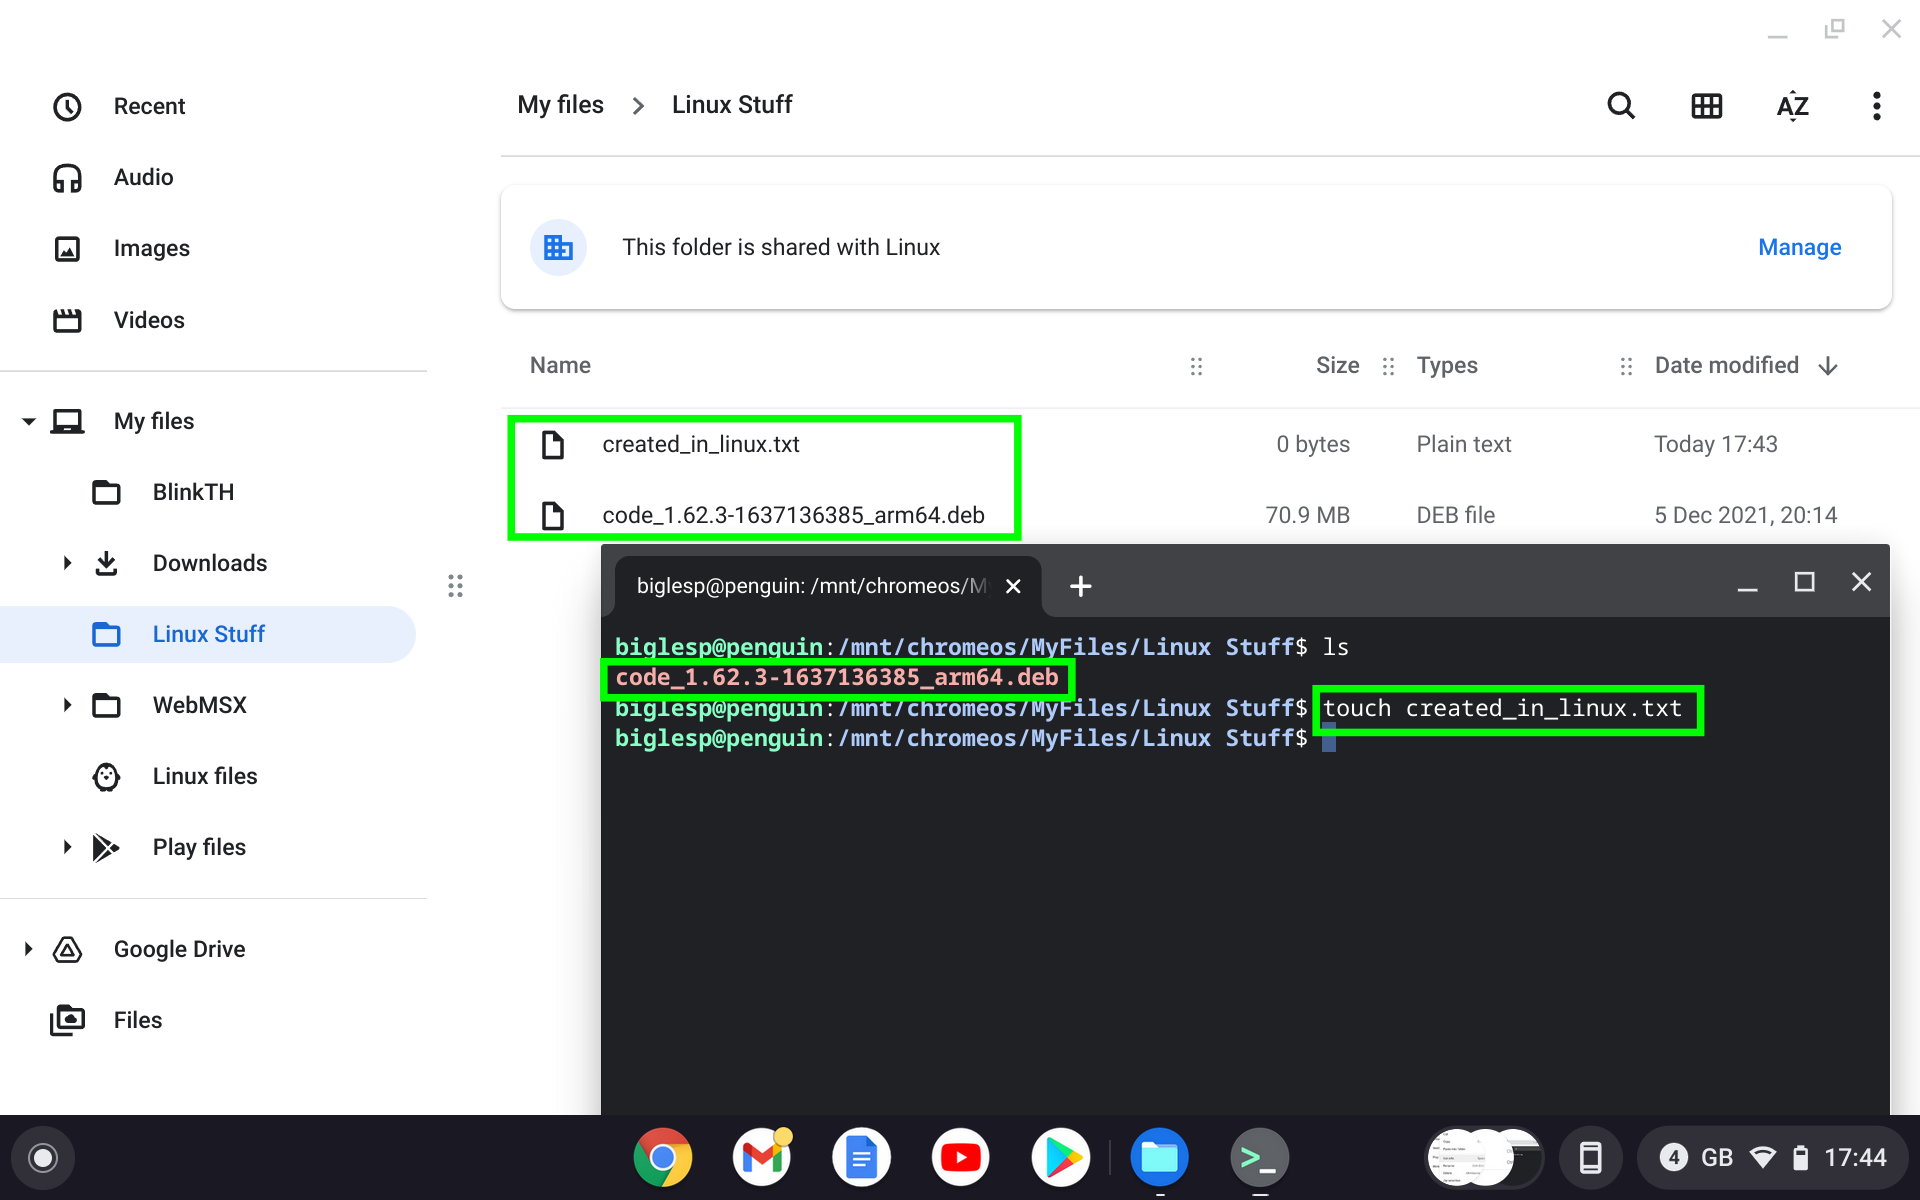
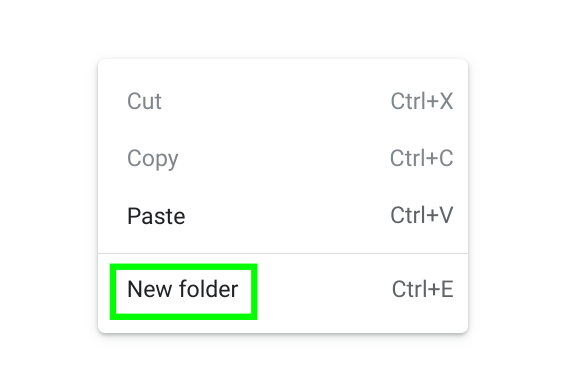
3. Create a new folder, Linux Stuff.
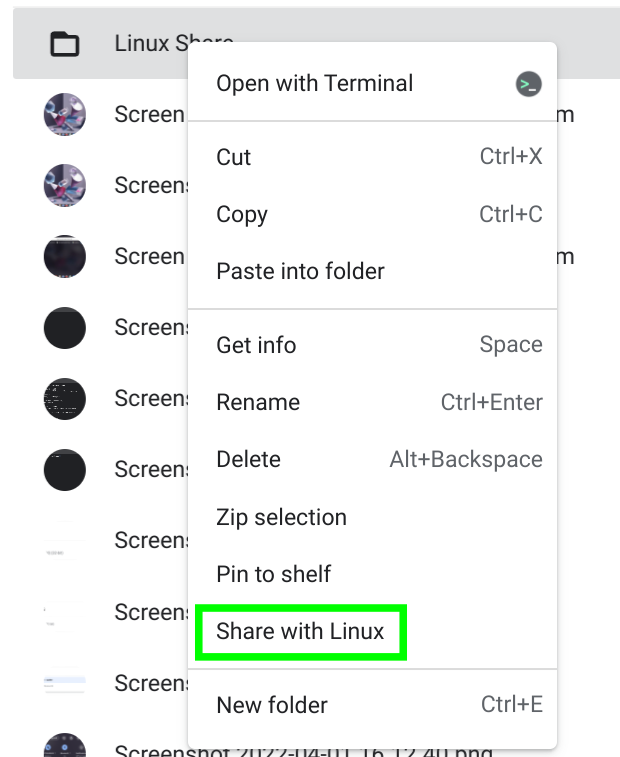
4. Right click and select Share with Linux. This will make the directory available as a shared folder with Linux.
5. Open the Linux Terminal.
6. Navigate to the shared directory. The directory is mounted inside /mnt/Chrome OS/MyFiles/Linux Stuff. Use the TAB key to auto-complete the path.
cd /mnt/Chrome OS/MyFiles/Linux StuffAny files created in Linux or Chrome OS will be available and updated here.

Les Pounder is an associate editor at Tom's Hardware. He is a creative technologist and for seven years has created projects to educate and inspire minds both young and old. He has worked with the Raspberry Pi Foundation to write and deliver their teacher training program "Picademy".
-
CajunMoses You can mount your Google Drive onto the Chromebook's file system. Then, you can share your file system's Google Drive folder with Crostini. Seems easy, which it should be and is. But it's just part of the genius of Chromebooks. In a true Linux distro, on the other hand, I found that it's just about as easy as it is on a Chromebook only if you use one type of desktop environment. It builds in similar automation. But if you use a distro that's based on the very popular KDE Plasma desktop environment, you're in for a very rough ride indeed. (But rclone does accomplish the same thing if you're willing to suffer through the command line installation and setup and then a create a shell script file that runs at OS startup.)Reply
