 Join Tom’s Hardware today


If you are building a robot, sensor platform, weather station then you don’t want the code to stop running when you disconnect from the terminal, and nohup is just the thing for you.In this how-to, we will learn how to use nohup via a series of examples
There are times when you want to run a command, and leave it running even after you close a terminal window / SSH session. The simplest way is using nohup (no hangups) which will run any command or executable script long after we close the terminal.
Basic Nohup Use in Linux
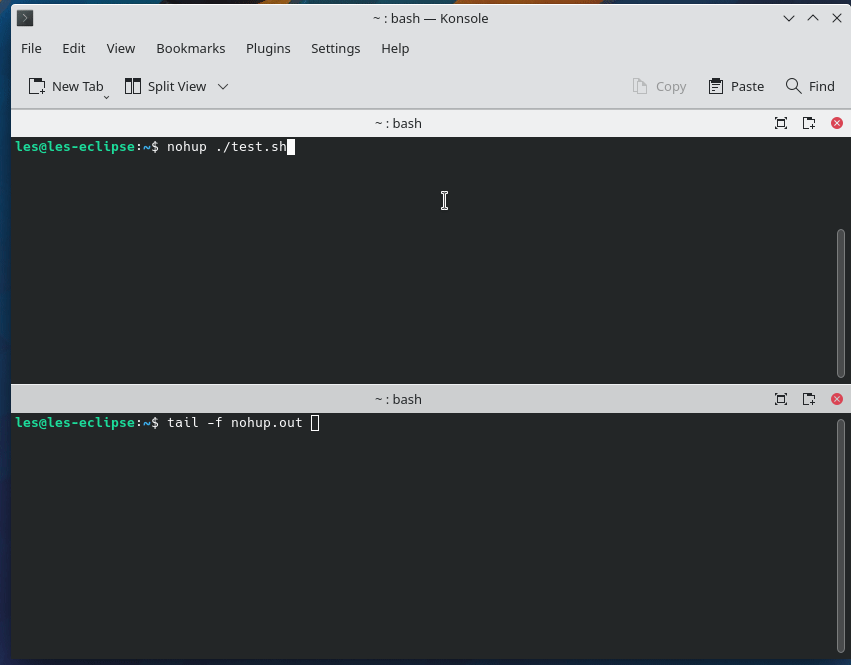
At its most basic, nohup can be used with only a single argument, the name of the script / command that we want to run. For example if we had a Bash script called test.sh we could run it as so.
nohup ./test.shIf the script / command produces standard output, then that output is written to nohup.out and not the terminal. To check the output we can use tail to follow the updates made to the file.
tail -f nohup.outAn Example of Nohup Use
We created a simple Bash script that every second prints a message to the screen, and updates the value stored in the variable n. Here is the code for that file, called test.sh.
#!/bin/bash
n=0
while true
do
  echo "I keep counting"
  echo $n
  n=$((n+1))
  sleep 1
done
1. Open a text editor and paste the example code.
2. Save the file to your home directory as test.sh.
3. Open a terminal and set test.sh to be executable.
chmod +x test.sh4. Test that test.sh is executable by running the command. If successful press CTRL + C to stop.
5. Use nohup and use the test.sh as an argument. Note that we need to use ./test.sh to tell the system where to find the script. The only output in the Terminal is “ nohup: ignoring input and appending output to 'nohup.out' “
nohup ./test.sh6. Open another terminal and use the tail command to follow the updates made to the nohup.out file. You should see “I keep counting” and a number counting upwards scroll across the screen.
tail -f nohup.out7. Close the terminal running nohup. If asked to confirm closure, select Yes. The terminal running tail -f will keep running, showing that nohup is still running the script. We confirmed this by running htop and searching for test.sh.

Redirecting the Nohup Output

Nohup has a limitation. By default it writes to nohup.out, so if we had two instances of nohup being used, they would both write to the same file.
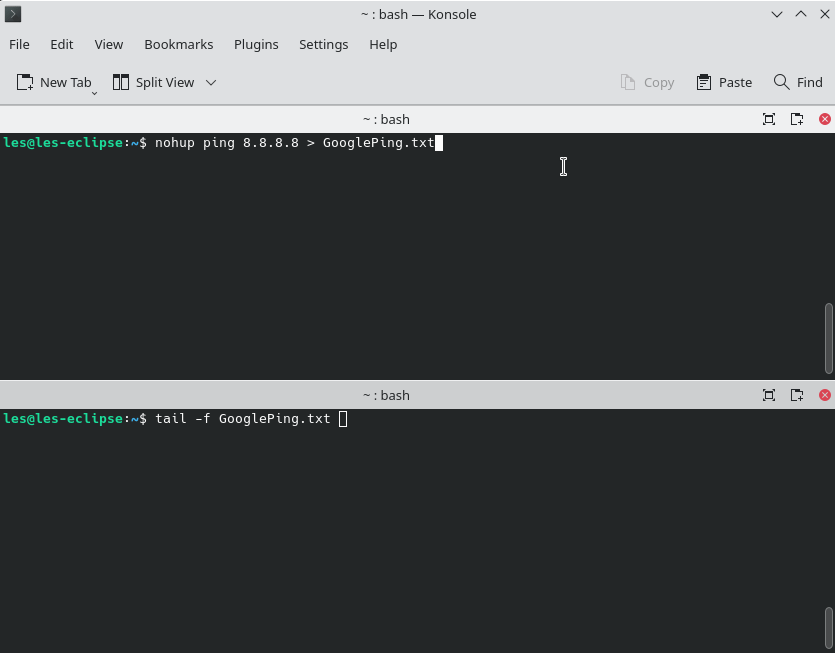
To get around this we can use redirection to send the output to another file. So let's use nohup along with the ping command to ping one of Google’s DNS servers, and save the output to GooglePing.txt.
1. Open a terminal window.
2. Using the nohup command, use ping 8.8.8.8 as an argument. This will ping one of Google’s DNS servers every second, a useful connectivity test.
nohup ping 8.8.8.8 > GooglePing.txt3. Open another terminal and use tail to follow the output of GooglePing.txt. Press CTRL+C when you are ready to stop the tailing the output.
nohup ping 8.8.8.8 > GooglePing.txt4. In the nohup terminal, press CTRL+C to stop the ping command.
Running a Nohup command in the background
When nohup runs it grabs control of the terminal, effectively disabling it. But with a little more Linux magic we can put the command into the background. By placing the command into the background we can carry on using the terminal.
We’ll reuse the ping example to illustrate.
1. Open a terminal window.
2. Using the nohup command, use ping 8.8.8.8 as an argument then add & to send the command to the background. Note that the output of running this command will be a process ID (PID). We will need this later.
nohup ping 8.8.8.8 > GooglePing.txt &
3. Open another terminal and use tail to follow the output of GooglePing.txt.
4. In the nohup terminal press Enter to return to the prompt. The nohup command returns control to us, but the prompt is not present. By pressing Enter we can see the correct terminal prompt.
5. Use the kill command along with the process ID to terminate the background process. If the process is no longer required it is best practice to kill it in order to preserve resources. If we left this example to run it would continually ping Google’s DNS server until the computer was switched off.
kill 28365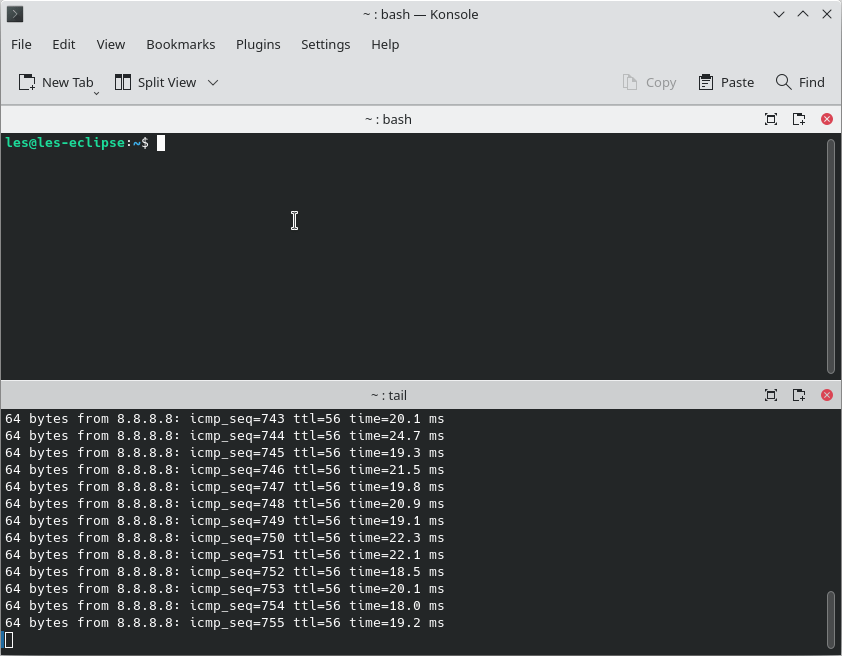
Related Tutorials
