
Grab and drink, sit back and relax to just over 12 minutes of pure joy. Merging Lego and our favorite microcontroller, the RP2040 as featured in the Raspberry Pi Pico. The project's creator, AncientJames is no stranger to these pages, having made an STM32 version in mid 2022. The goal is to integrate an RP2040 board inside a replica of the Lego Space series computer terminal, but AncientJames goes way beyond that goal to bring us an utterly delightful build process.
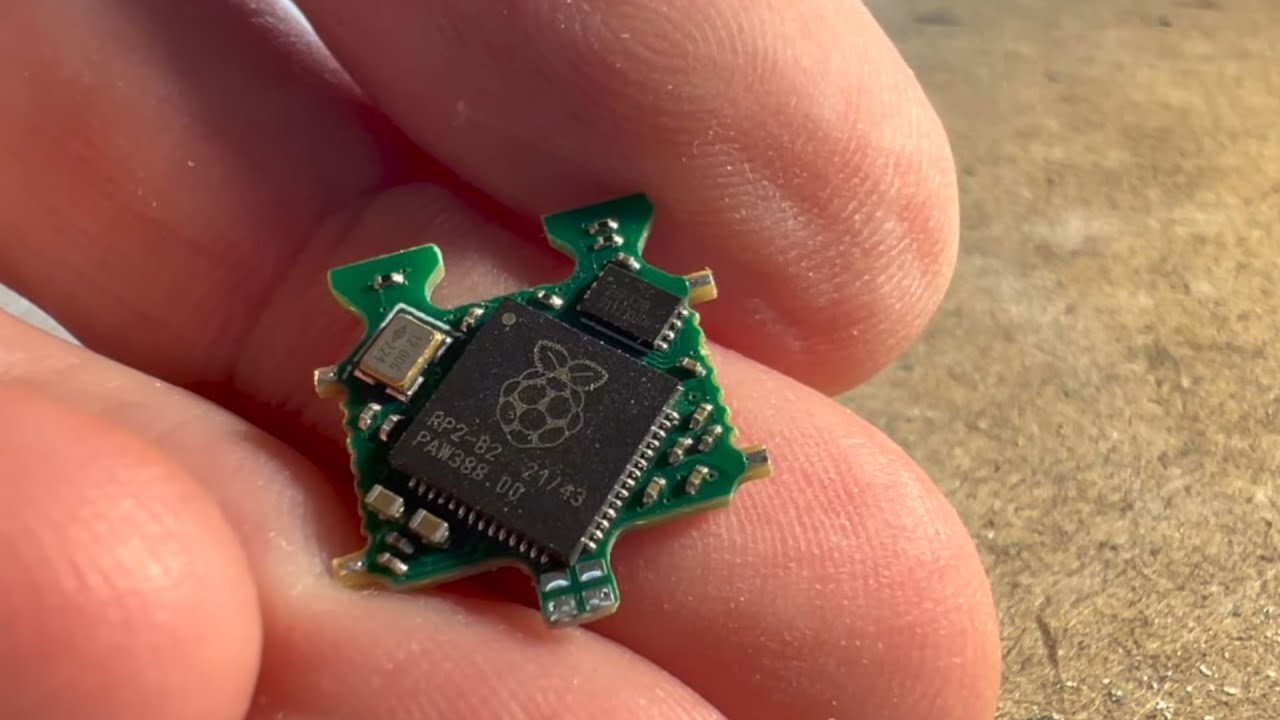
AncientJames' video starts with removing a series of RP2040 based PCBs from a panel. A little light sanding to remove any burrs and we are then left with the task of soldering the panels that make up the terminal. AncientJames has cleverly created a 3D printed jig (which any of our Best 3D Printers could easily print) that holds the parts in place as they solder. Their choice of soldering iron appears to be the TS80P, which we reviewed as part of our guide to the Best Soldering Irons and Stations. The TS80P is a decent iron, but in our review we found that the newer TS101 is a much better choice if you are looking for a smart soldering iron. The final piece of careful soldering is a .42 inch OLED display with a flat flex connector and a razor sharp 72 x 40 pixel resolution. The resolution may be small, but the quality is crystal clear. Another custom jig is pressed into service as a means to secure the screen to the PCB while a blob of epoxy dries.


A quick test shows a series of space-themed animations, harking back to the history of the Lego Space theme, and sci-fi itself. We're sure that we saw a starfield reminiscent of the Star Trek movies, and the Nostromo's (Alien) landing guidance graphics.
But the build is far from over. Another 3D printed jig appears and this time it provides a negative mold for a resin pour. The resin is colored a wonderful dark blue and then placed into a vacuum chamber to remove any air or bubbles. After that the resin is poured into the mold and the RP2040 computer is firmly placed using the jig and a few Lego axles. Once cured, the RP2040 Lego terminal is removed from the mold and any flashings are sanded away.
The end product is an almost perfect facsimile of a Lego computer terminal, except this one does has a computer inside. Attached to a Lego power brick we see the terminal come to life, taking 3V power from the contacts embedded in the power brick via two carefully placed PCB connectors in the custom designed RP2040 PCB. Pressing the studs on top of the terminal will cycle through the available animations. As we didn't see any push buttons in the PCB, our assumption is that the touch controls are based on capacitive touch.
This project is delightful, and you can see more on AncientJames' YouTube channel. We went back to AncientJames' Twitter account, but it seems that it has now been deleted. A crying shame to lose the history of this fascinating project.
