How to Set Up a Raspberry Pi Web Server
Host a website from your Raspberry Pi.
One of the most popular uses of the Raspberry Pi is as a web server that lives on your local network. Whether you need an Intranet for your office or a small server for doing web development, the Pi is a great choice. In fact, at Tom’s Hardware, we have a local Pi web server that we use to deliver the content for our laptop battery test, which involves continuous surfing over Wi-Fi.
To get your web server working, you’ll need a Raspberry Pi that’s connected to your local network and running a fairly-recent version of the Raspbian operating system. These instructions will work on just about any model, including the powerful Raspberry Pi 4 and diminutive Raspberry Pi Zero W. If you need to install Raspbian, see our tutorial on how to set up a Raspberry Pi or, better yet, how to do a headless install (no keyboard or screen required).
1. Navigate to the command prompt / terminal. You can get there by hitting CTRL+ALT+T from the Raspbian desktop or connecting remotely via SSH if you have that configured. Some users also configure the Raspberry Pi to boot directly to the command prompt.
2. Update your packages by typing
sudo apt-get update
This will make sure that you get the latest versions of every file you download after this.
3. Install apache2 with the command:
Get Tom's Hardware's best news and in-depth reviews, straight to your inbox.
sudo apt-get install apache2 -y
4. Install php for your sever by typing:
sudo apt-get install php libapache2-mod-php -y
5. Install mariadb so you can use a mysql database with your website. You start by typing:
sudo apt-get install mariadb-server
Then, after the download is finished. You must do the formal install by typing:
sudo mysql_secure_installation
You will be asked for a root password. You can leave it blank.
6. Install the php-mysql connector so php pages can access the DB.
sudo apt install php-mysql
7. Restart apache2 so all of the changes are running.
sudo service apache2 restart
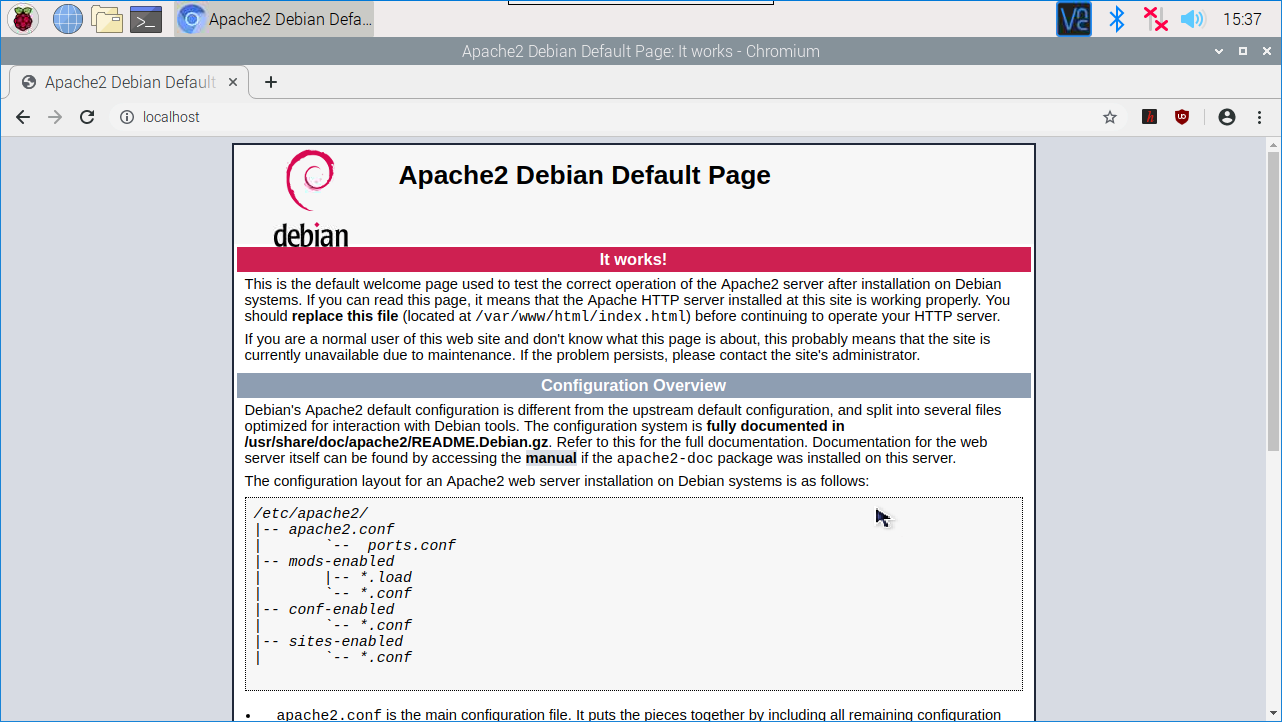
8. Test your server. On the Raspberry Pi itself, you should be able to go to http://localhost and see a test page. From another computer on the same network, you should be able to get there by visiting http://raspberrypi.local or http://raspberrypi, provided that your Raspberry Pi's hostname is raspberrypi.
9. Build your website by putting html or PHP files in the /var/www/html directory.
Changing Your Server's Host Name
By default, your Raspberry Pi's host name is "raspberrypi." But that's not only a boring address for a website, but it's problematic if you have more than one Pi on your network. Fortunately, it's each to change the host name to something else.
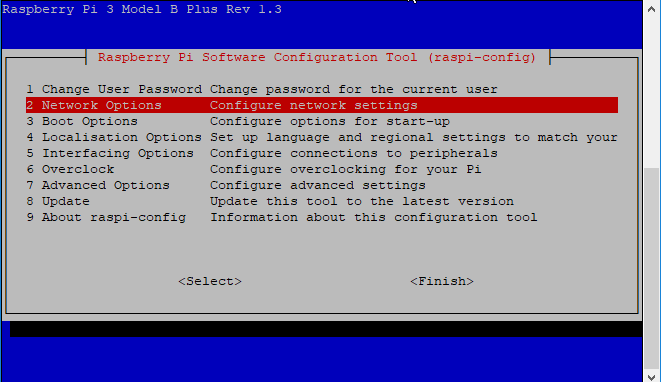
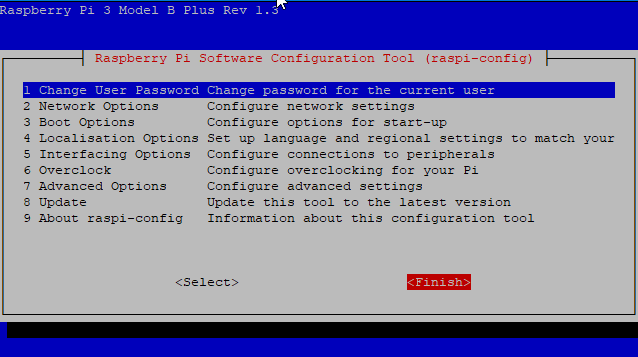
1. Enter the Raspberry Pi Configuration tool by typing this in the terminal.
sudo raspi-config
Alternatively, you can launch the windowed version by navigating to Preferences->Raspberry Pi Configuration from the start menu, but why like doing it via the command line utility instead.
2. Select Network Options
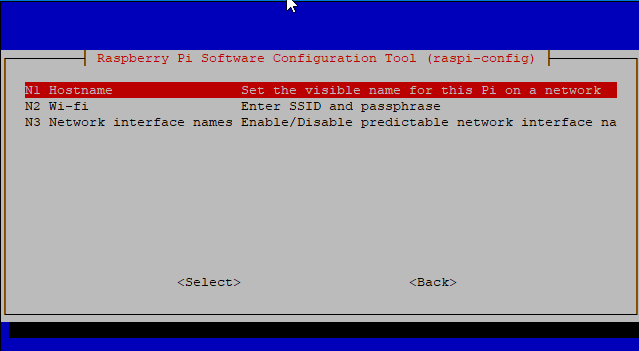
3. Select Hostname
4. Tap Ok
to get past a warning about not using characters other than letters, numbers or a hyphen (but only if the hyphen is in the middle of the name).
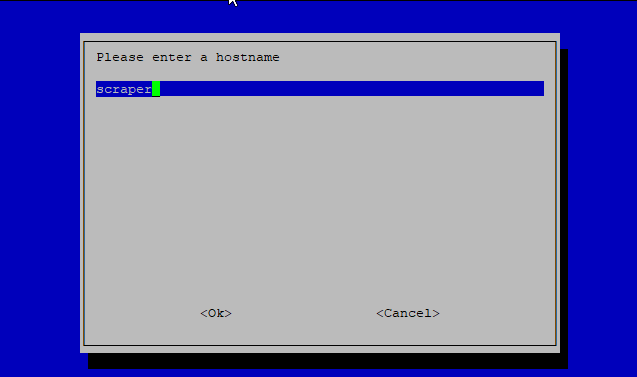
5. Enter your hostname and hit Ok.
6. Select Finish.
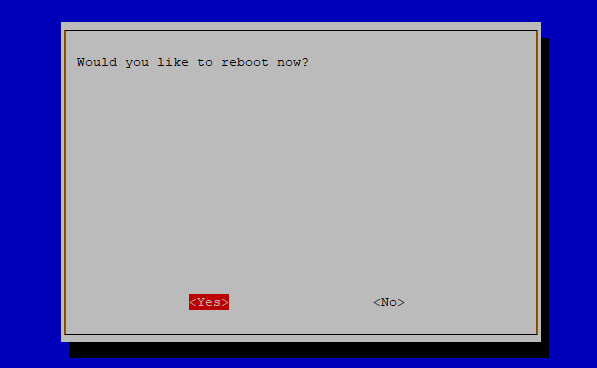
7. Select Yes when prompted to reboot.
After you reboot, your Raspberry Pi will have its new name.
How to Set Up FTP on Your Pi Web Server
You won't have much of a web server if you don't put some web pages and media files in the /var/www/html folder. And while you could do all of your web development on the Pi, most people will probably want to write the code on their primary PCs and then copy it over. And one of the best ways to do that is via FTP. Here's how.
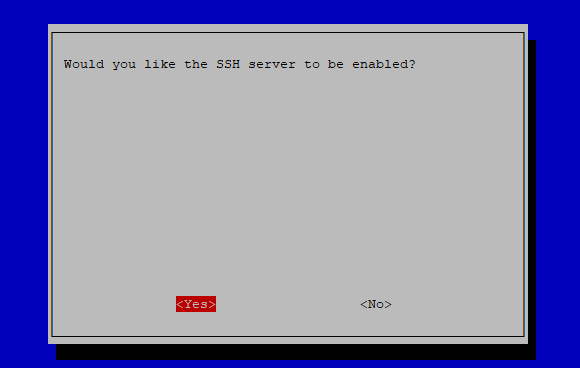
1. Enable SSH on your Raspberry Pi if you haven't already. You can do that by navigating to the Interfacing Options->SSH menu from rasp-config. Or, if you're on the desktop, you can go to Preferences->Raspberry Pi Configuration and click on the interfaces tab.
2. Change the permissions for the /var/www/ folder (and all folders under it) so you can write files to it. To do this, you must enter the following commands.
sudo chown pi /var/www/html
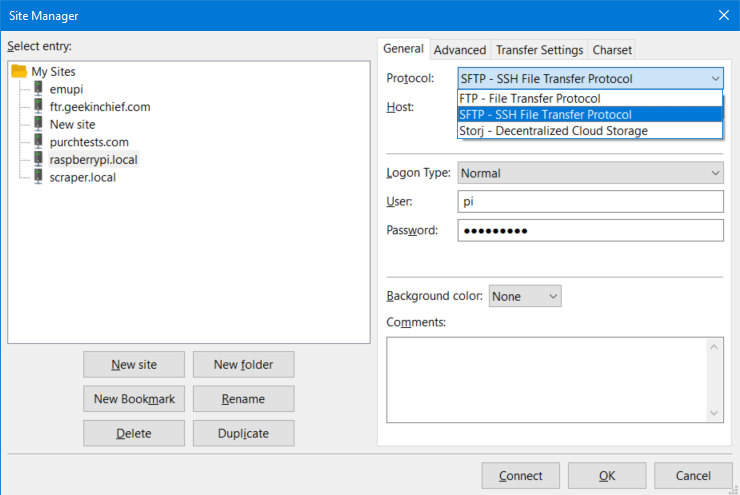
3. Use an FTP client on your PC and make sure to set it to use SFTP protocol, not just plain FTP. If you're using Windows, we recommend Filezilla, which is the leading free FTP app.
The default username and password are "pi" and "raspberry" as they are for SSH.
Avram Piltch is Managing Editor: Special Projects. When he's not playing with the latest gadgets at work or putting on VR helmets at trade shows, you'll find him rooting his phone, taking apart his PC, or coding plugins. With his technical knowledge and passion for testing, Avram developed many real-world benchmarks, including our laptop battery test.
-
swilliams284 This seems to be a less than great piece of adviceReply
"You will be asked for a root password. You can leave it blank. "
I'm not a Linux guy in any way, shape or form, but having a null password for anything root related seems to be a bad idea. (even if just on an intranet)
Feel free to edumacate me if I'm missing something
