How to remote control your Raspberry Pi from a browser with Raspberry Pi Connect
All of your Raspberry Pis, under your control
Raspberry Pi has announced Raspberry Pi Connect, its take on a remote desktop session, like VNC and RDP. The difference with Connect is that it runs from a web browser, so we can be anywhere in the world and login to our Raspberry Pi back home.
This project will only work on Raspberry Pi 4, Raspberry Pi 5 and the Raspberry Pi 400 as it requires a 64-bit version of Raspberry Pi OS. Other than that, all you need is a network connection for your Raspberry Pi and this guide to control your Raspberry Pi.
1. Power up your Raspberry Pi to the desktop and open a terminal.
2. Update and then upgrade the software on your Raspberry Pi. The update command will check your list of installable packages against the latest list on the remote server. The upgrade command will then download and install the updates. Using the -y switch automatically accepts to install all the updates.
sudo apt update && sudo apt upgrade -y3. From the terminal, install Raspberry Pi Connect (rpi-connect.)
sudo apt install rpi-connect4. Reboot your Raspberry Pi for the installation to take effect. Raspberry Pi Connect is a background service that waits for connections. The service starts when the Raspberry Pi boots.
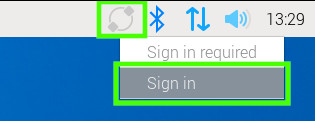
5. In the top right corner of the desktop, look for the Raspberry Pi Connect icon. Click on the icon and select Sign in.
Get Tom's Hardware's best news and in-depth reviews, straight to your inbox.
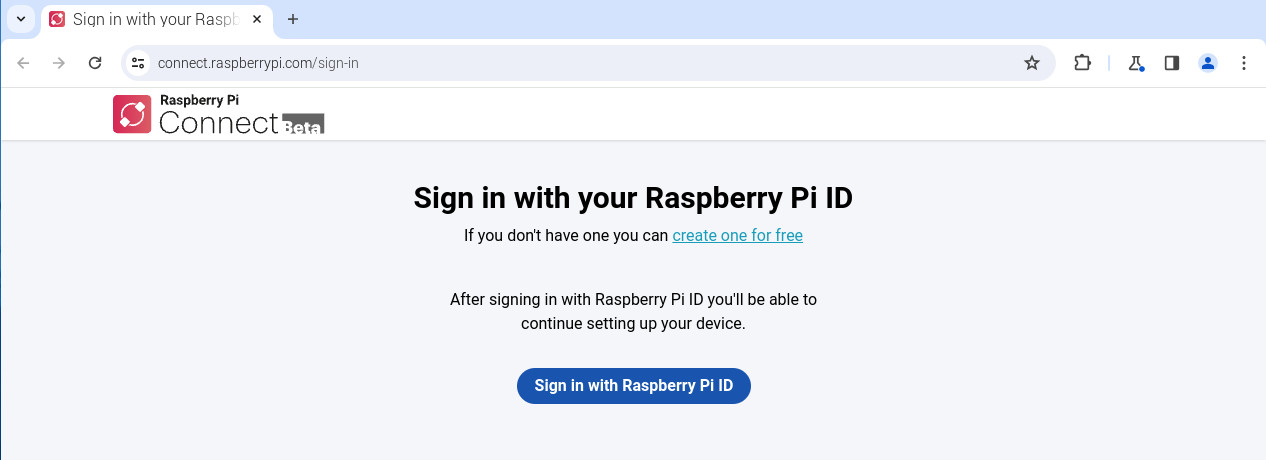
6. Follow the verification URL and sign in, or sign up to the Raspberry Pi ID service.
7. Give your Raspberry Pi a device name. Make this descriptive, for example if it is a weather station, name the device Weather-Station.
8. The Raspberry Pi is now available for connection. On another computer, open a web browser to Raspberry Pi Connect and sign-in.
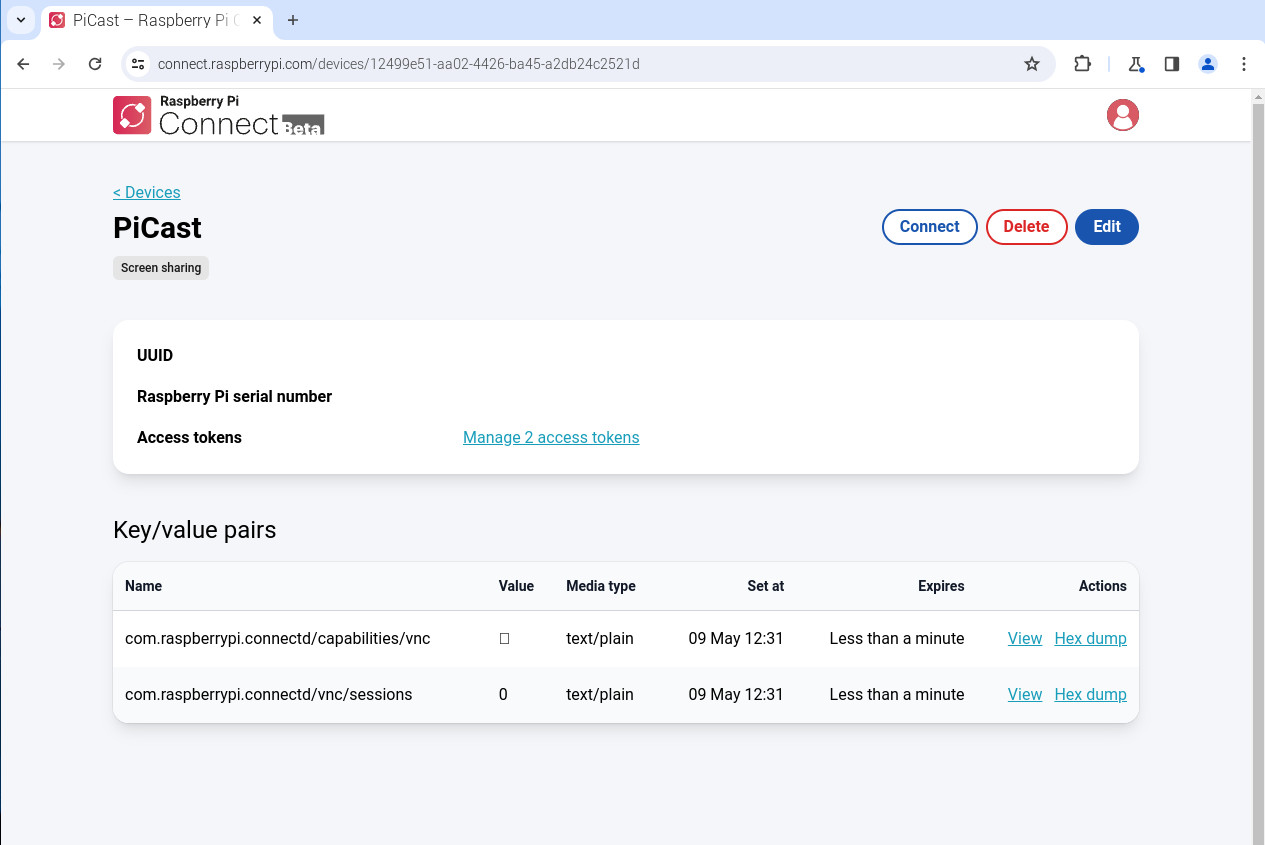
9. Select the Raspberry Pi from the list of devices. The browser will connect to your running Raspberry Pi in a few seconds. You can repeat the above steps to add more Raspberry Pi devices to the list, enabling control of many Pis from anywhere in the world.
Using Raspberry Pi Connect
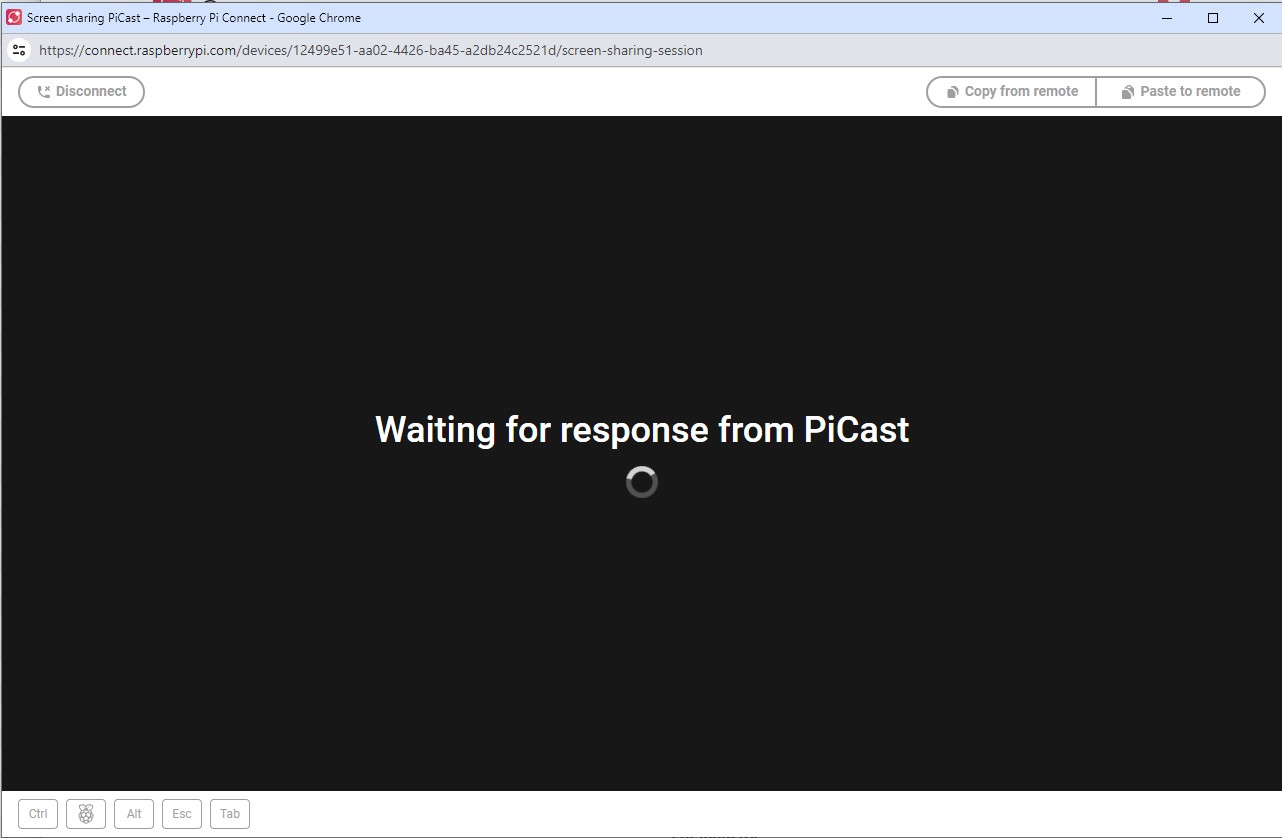
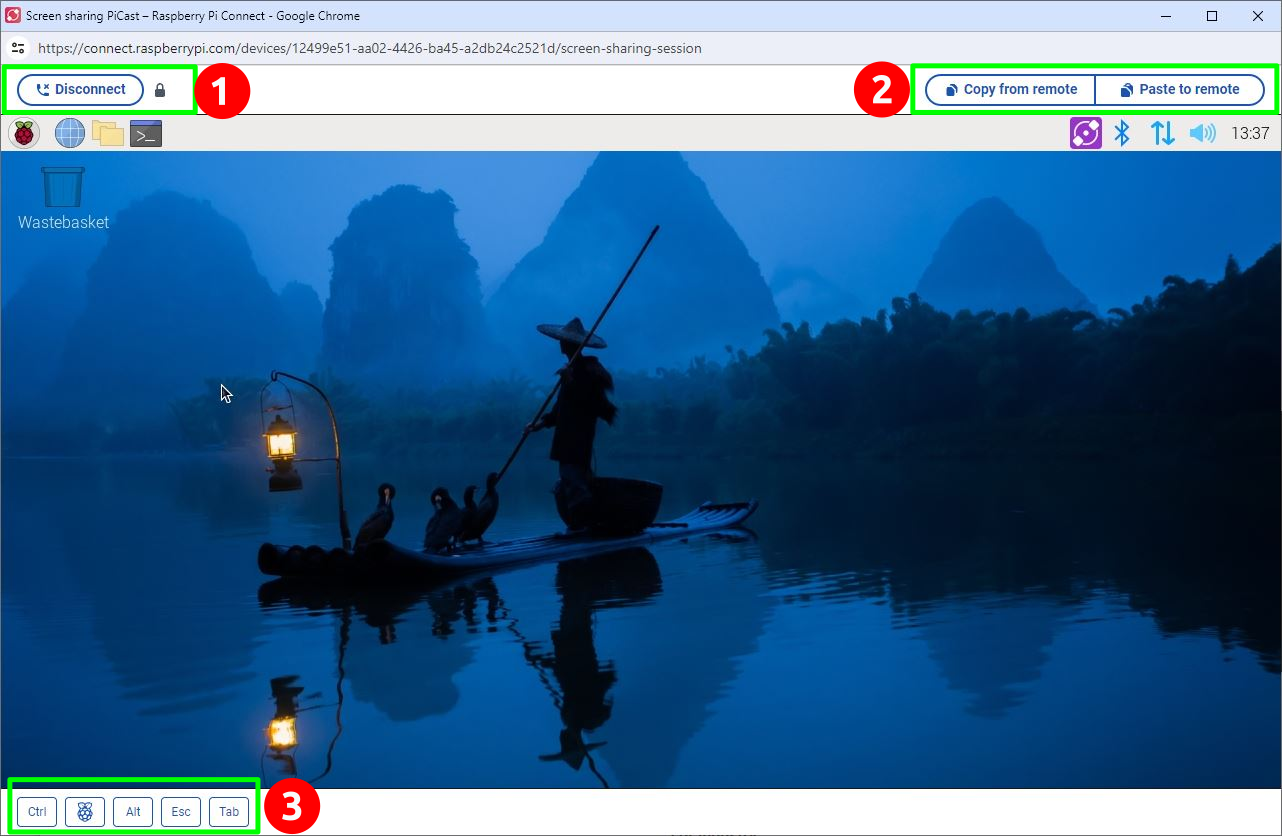
The Raspberry Pi Connect user interface wraps around the Raspberry Pi OS desktop in much the same way that RealVNC would offer extra functions for your session. Raspberry Pi Connect keeps it simple with only three areas for use.
1. Disconnect: This will end your session but the Raspberry Pi will remain powered up. Hovering over the padlock will show the connection status. For our local connection it was peer to peer.
2. Copy and Paste: These functions enable copy and paste functionality between the remote Raspberry Pi and client machine. They will copy / paste from the clipboard of the respective machine.
3. Keys: These keys mimic pressing the respective keys on your keyboard. The Ctrl, Super (Raspberry) and Alt keys are sticky, ESC and Tab will release when pressed.
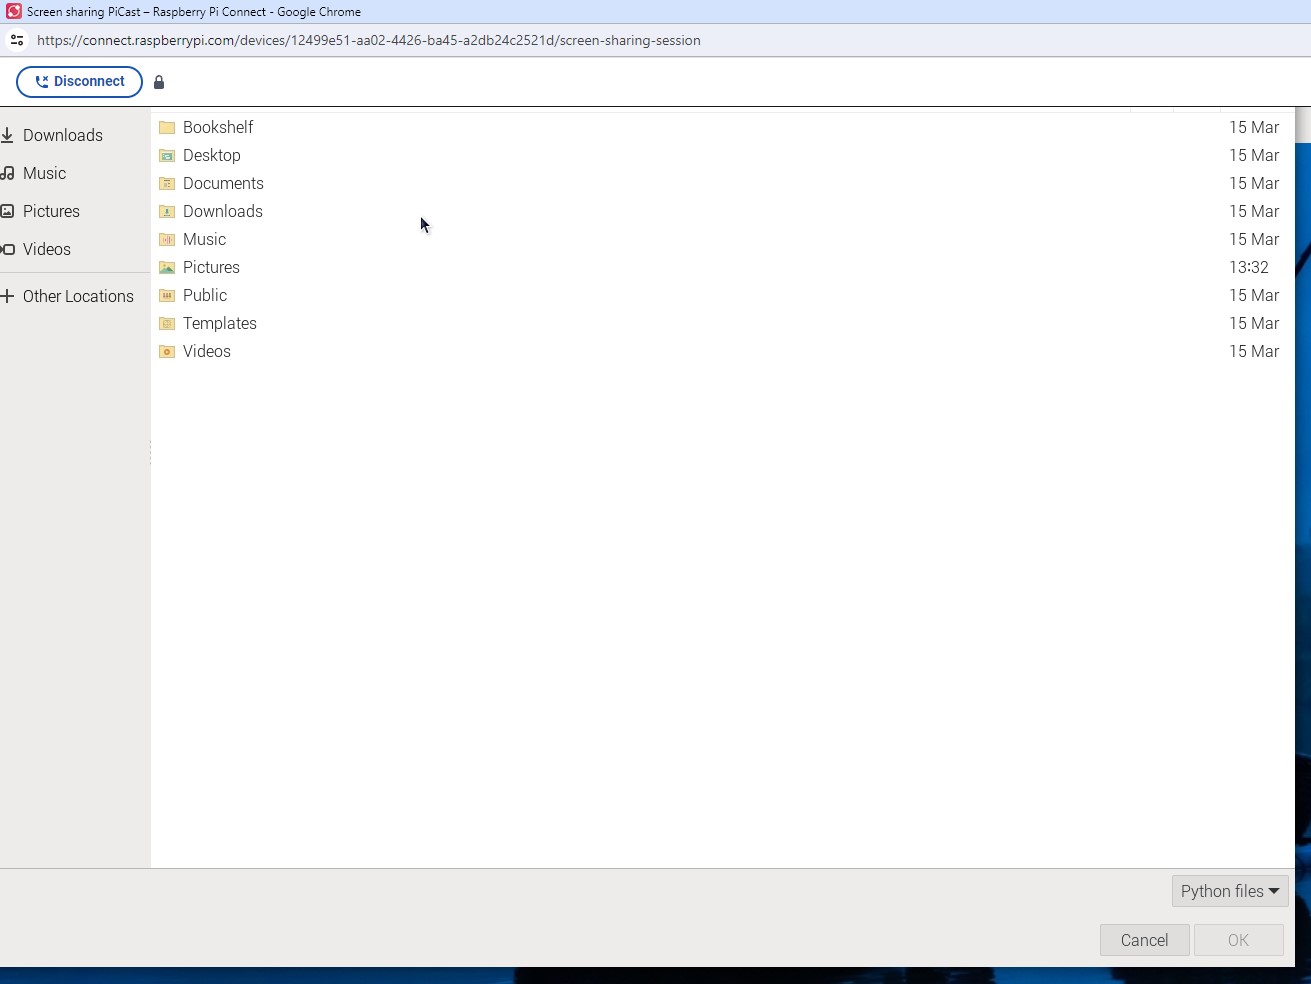
The browser window will scale to match the resolution of your client system. This can be beneficial, but we have encountered a bug where the top section of Thonny’s dialog box was missing. This was a big issue as that is where we need to write the filename when saving. We got around this by simply typing the name and pressing Enter.
Other than that issue, everything works as if we are sitting in front of a Raspberry Pi. On our home network there was a little lag, noticeable when moving windows and clicking on UI elements. That said, there was nothing horrifically slow. A delay will be introduced should you use Raspberry Pi’s TURN server.
We tested using the GPIO via Thonny and everything went smoothly, we can see this approach being used in the classroom where space and equipment is at a premium.
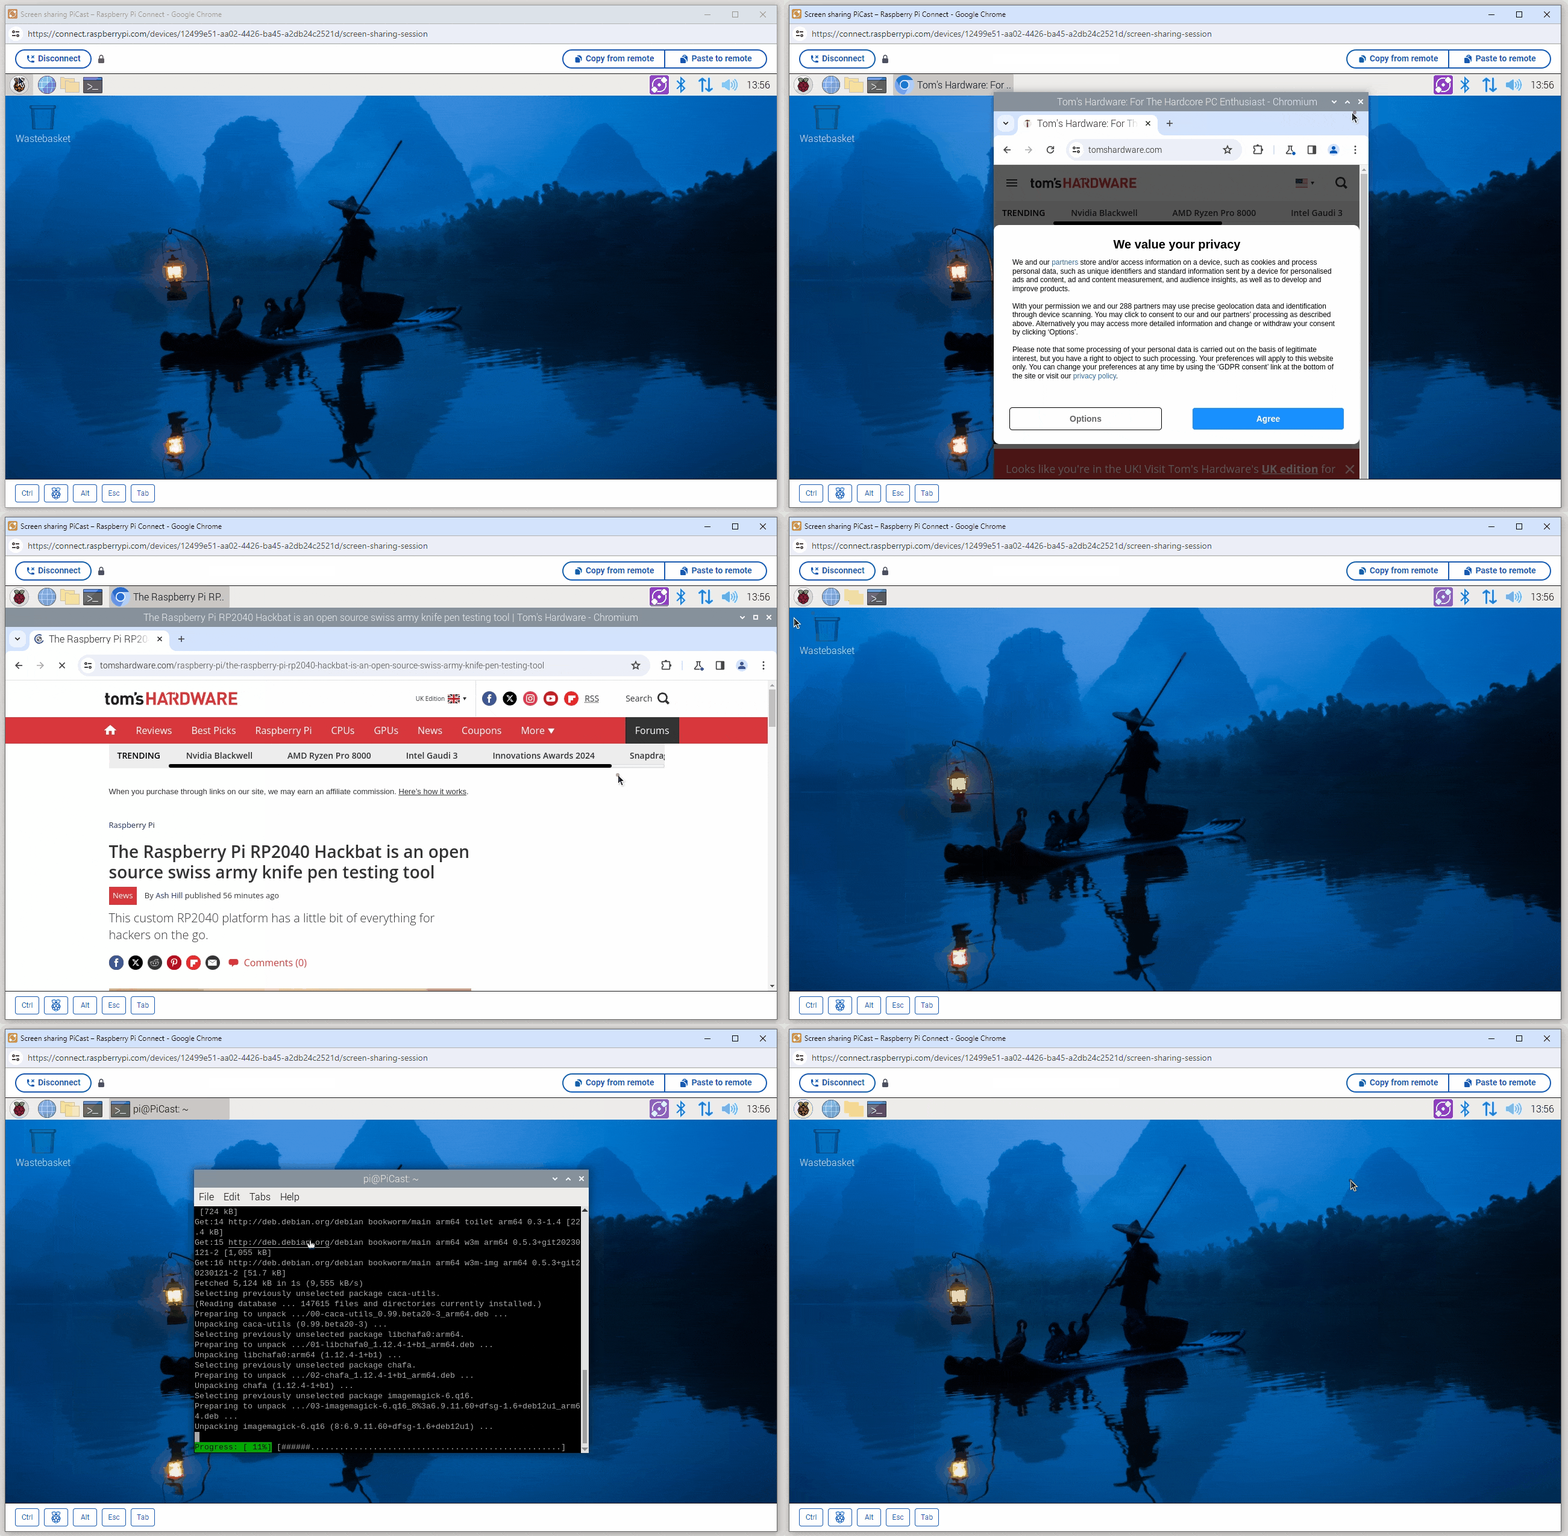
Using the official Raspberry Pi Camera was also possible, something that we demonstrated on our show, The Pi Cast. There was a little lag, but the video stream was fine for most use cases.
We tested using a Raspberry Pi 5 connected to our home network via Ethernet, a Windows 10 PC also connected via Ethernet, and an Android smartphone connected to the same session over a 5G mobile connection.
The smartphone interface was cramped but we could use it in a pinch. Clicking the main menu was fast enough, but moving a window around the screen was laggy. Useful for remotely controlling a project, editing some code and managing your builds.
For a beta, Raspberry Pi Connect shows great promise and we can see it being used in a plethora of future Raspberry Pi projects.

Les Pounder is an associate editor at Tom's Hardware. He is a creative technologist and for seven years has created projects to educate and inspire minds both young and old. He has worked with the Raspberry Pi Foundation to write and deliver their teacher training program "Picademy".
-
PrivilegeYT I understand that some people may find this super convience but please don't take shortcuts. Exposing your entire machine to the wan is super insecure not to mention that the X11 desktop gui does have security exploites that will not be patched as the project is not really maintained anymore.Reply

