Building a Low-Power Home Theater PC System
Motherboard, Drive, And Power Supply Installation
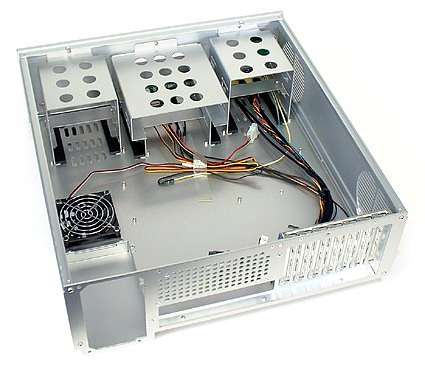
Drive installation requires the removal of three drive cages, each locked onto sliding brackets with one screw.
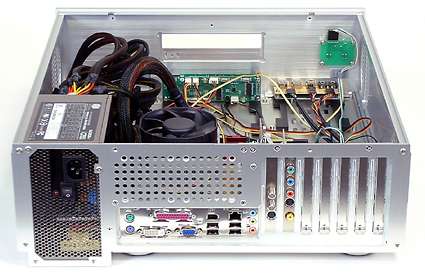
With the drive cages removed, the motherboard and power supply slip into place. Snap-in port cover plates are included with modern motherboards to support their nonstandard port placement, and must be installed prior to final motherboard fitting. First time builders will also want to make sure that they've installed only those standoffs (mounting posts) that align with the motherboard's mounting holes - improperly located standoffs could cause a short-circuit on the back of the motherboard.
Next it is time to connect the front panel and power connections to the board, as several connectors may later be hidden beneath drives. Those not familiar with this procedure should consult the appropriate owner's manuals. Be sure to double-check all connections - including the 4-pin or 8-pin ATX12v connector - before continuing.
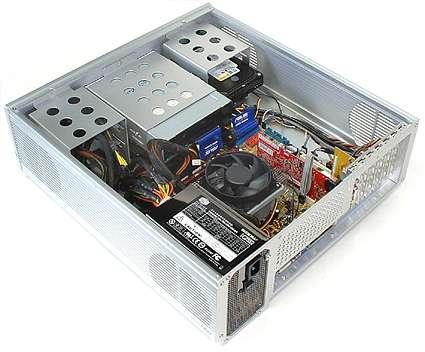
Adding the drives cages and drive cables is the final step before "test firing" the system and closing it up.
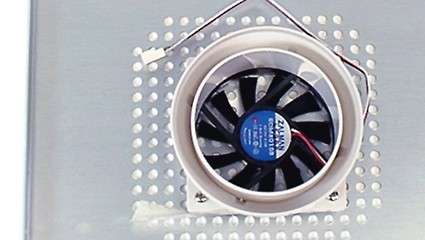
The HD135 case also includes a lid-mounted fan and duct over the CPU. Normally we'd have adjusted this duct to fit close to our CPU cooler while closing the unit, but this duct was too thick to fit over the mid-height Waturbo and was thus removed.
Get Tom's Hardware's best news and in-depth reviews, straight to your inbox.
Current page: Motherboard, Drive, And Power Supply Installation
Prev Page Bringing It All Together Next Page Finished?


