Tom's Hardware Verdict
There is alot to like about Servo 2040. The hardware and software are great and the choice between MicroPython and CircuitPython means we have the best of both worlds. Its nicheness will work against it, but for those that need a tiny robot platform, this is it.
Pros
- +
+ Excellent hardware
- +
+ MicroPython support is fantastic
- +
+ 18 Servos at once!
- +
+ Strong CircuitPython Stemma QT / Qwiic support
Cons
- -
Niche product
- -
Mediocre MicroPython Stemma QT / Qwiic support
Why you can trust Tom's Hardware
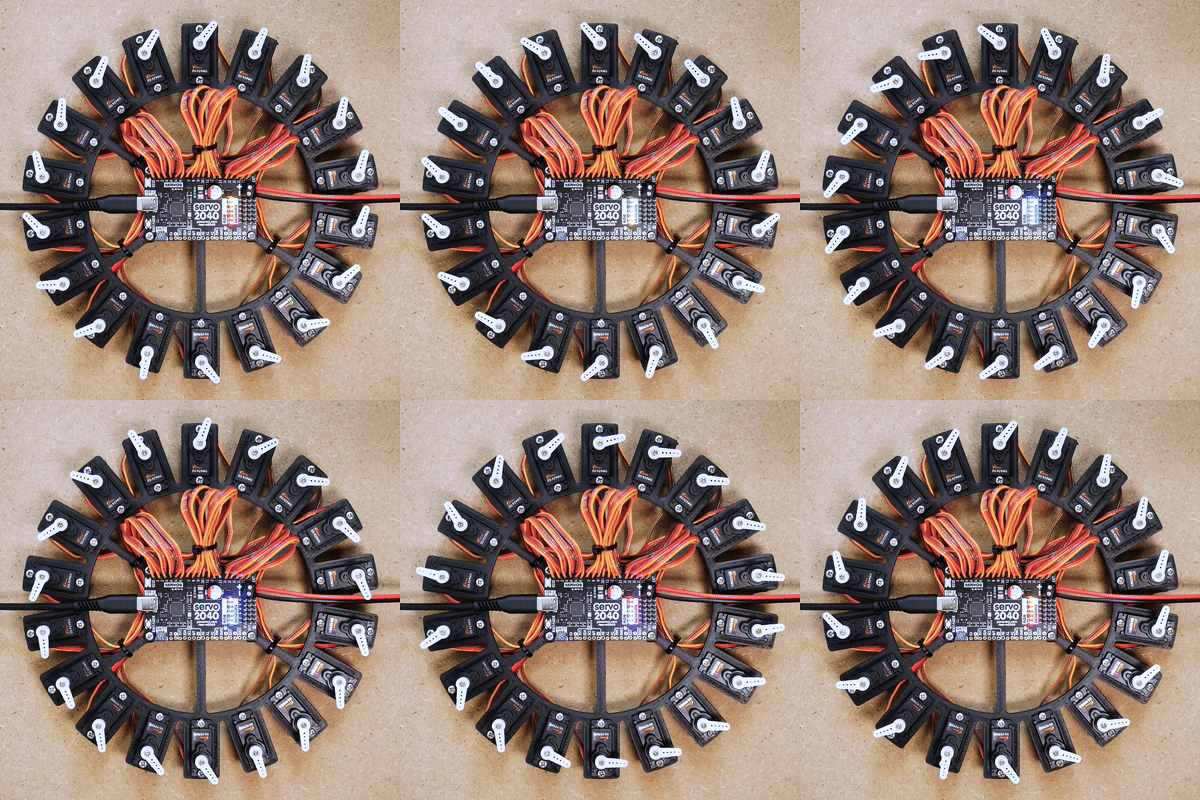
The latest board from Pimoroni’s workshop is something of a labor of love. The £24 ($25) Servo 2040 is a Pimoroni product, but it is really the work of Dr Chris Parrott, Roboticist and Product Engineer at Pimoroni. Powered by the RP2040, a chip which is beating the current chip shortage, Servo 2040 wears its purpose as part of its name. Designed to control up to 18 servos, and work with up to six analog inputs, this is a serious board backed up by a seriously well crafted software library.
Servo 2040 features QWST, a connector compatible with Stemma QT and Qwiic (and Pimoroni’s own Breakout Garden boards via an adaptor). This connector choice opens up Servo 2040 to a world of sensors and inputs, all easily connected via the dedicated connector.
In this board, the power of the RP2040 is harnessed to create precision in movement. So if you want to make things move, with style, then Servo 2040 should be on your purchase list.
Pimoroni Servo RP2040 Specifications
| System on Chip | RP2040 (Dual Arm Cortex M0+ running at up to 133 Mhz with 264kB of SRAM) |
| Storage | 2MB of QSPI flash supporting XiP |
| GPIO | 18 x Servo header pins |
| 6 x Analog sensor inputs | |
| Qw/ST Stemma QT / Qwiic connector | |
| Unsoldered headers for | |
| 3 x Analog inputs, I2C, Debug, 5V, 3V3, Boot, Reset | |
| Features | Onboard voltage and current sensing |
| 6 x WS2812 / NeoPixels | |
| Boot / User button | |
| Reset Button | |
| Power | USB-C 5V |
| Screw terminals for supplying external power with reverse polarity protection, 10A max continuous current | |
| Dimensions | 62 x 42 mm |
Using Pimoroni Servo 2040
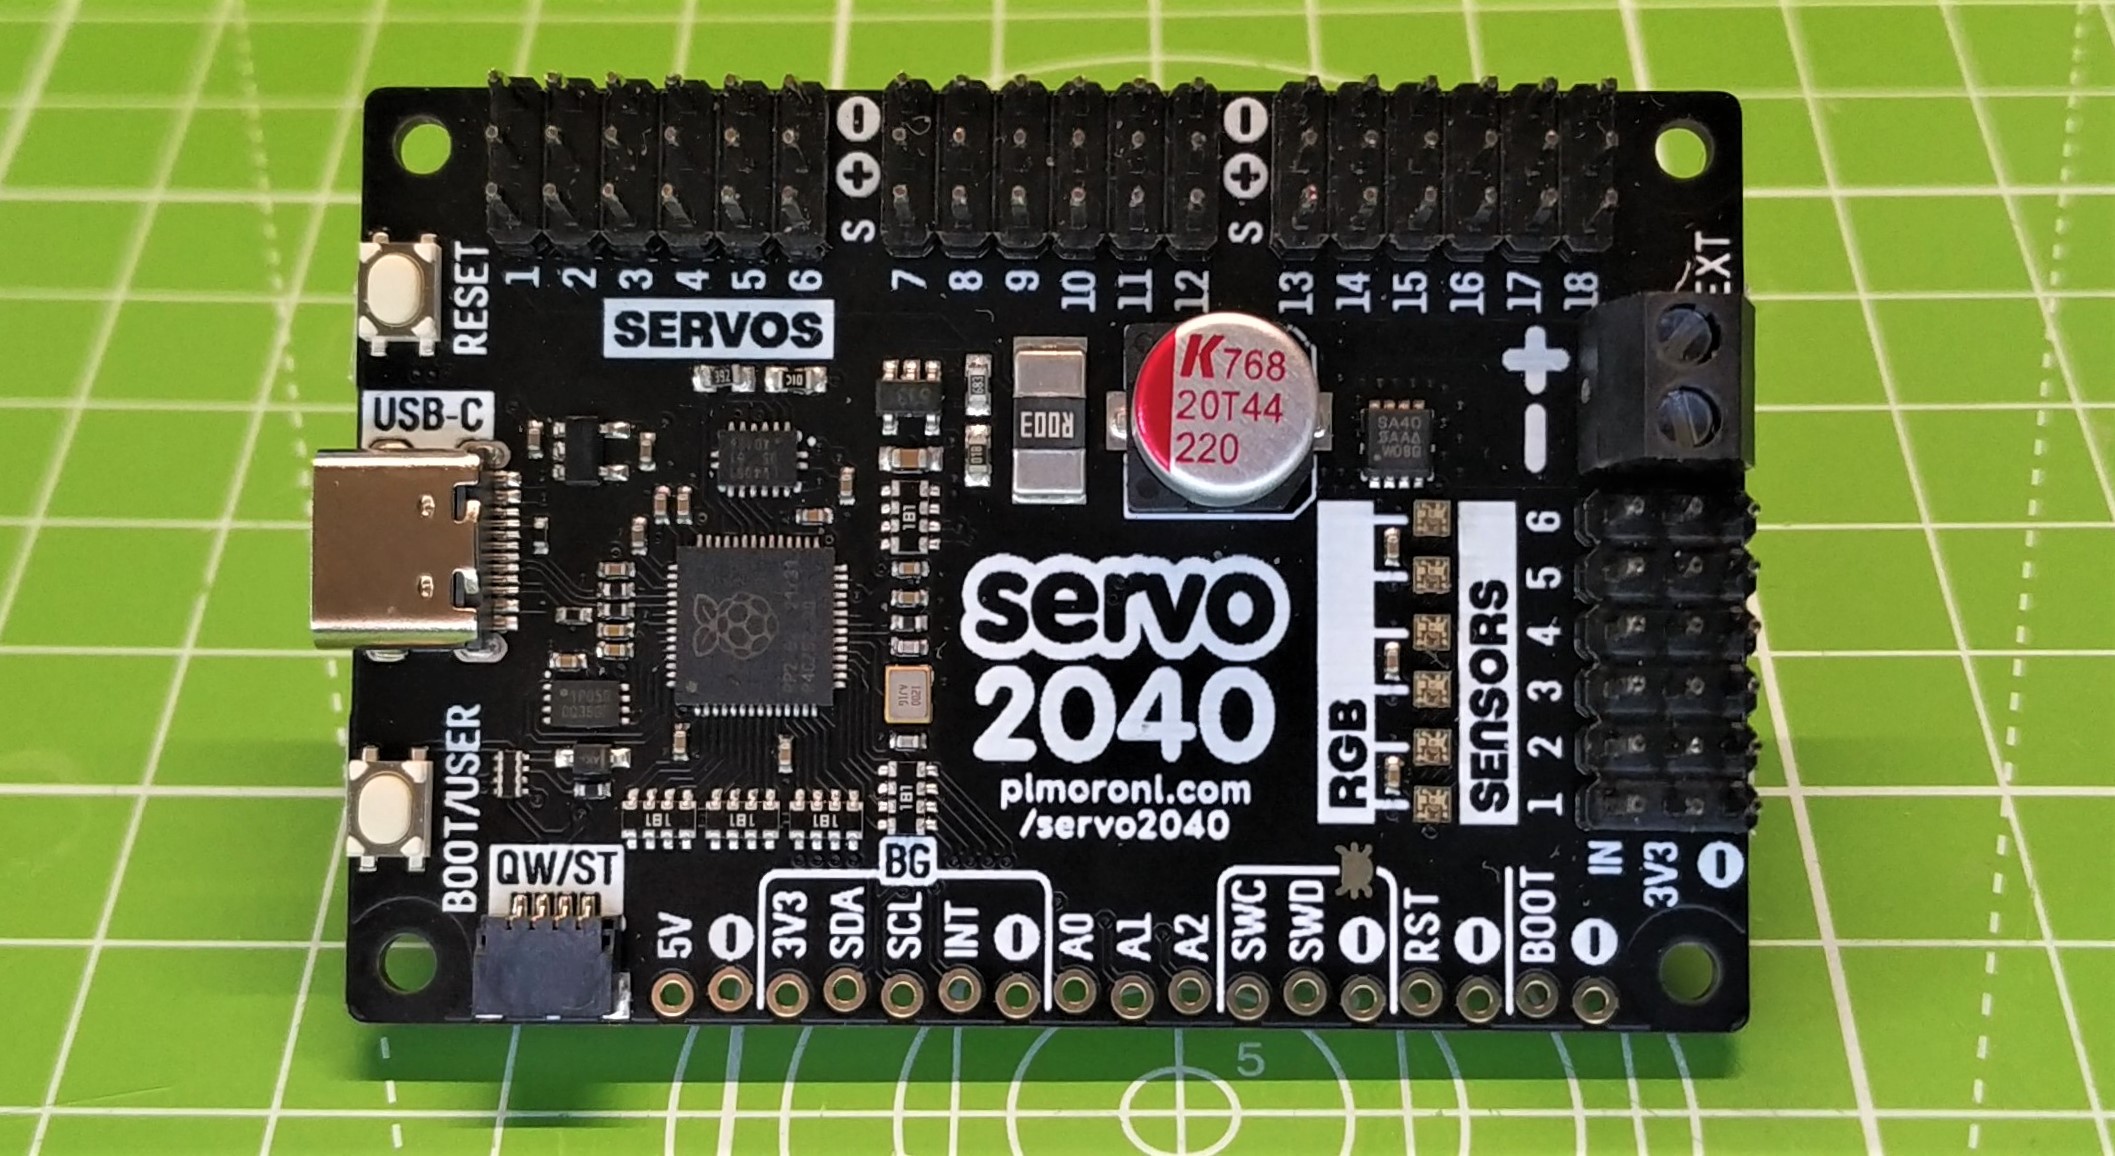
We’ll start with the board layout. Being slightly longer and almost double the width of a Raspberry Pi Pico, Servo 2040 is a densely packed board. The 18 servo outputs feature three pins for each output. The three pins are the Signal, Voltage and GND connection and servos tend to have color-coded connectors to show orientation. If you get it wrong, no big deal; they are designed for the casual mishap. The headers are typical 2.54mm pitch and we can easily connect 18 servos, creating noodles of servo cables across your bench.
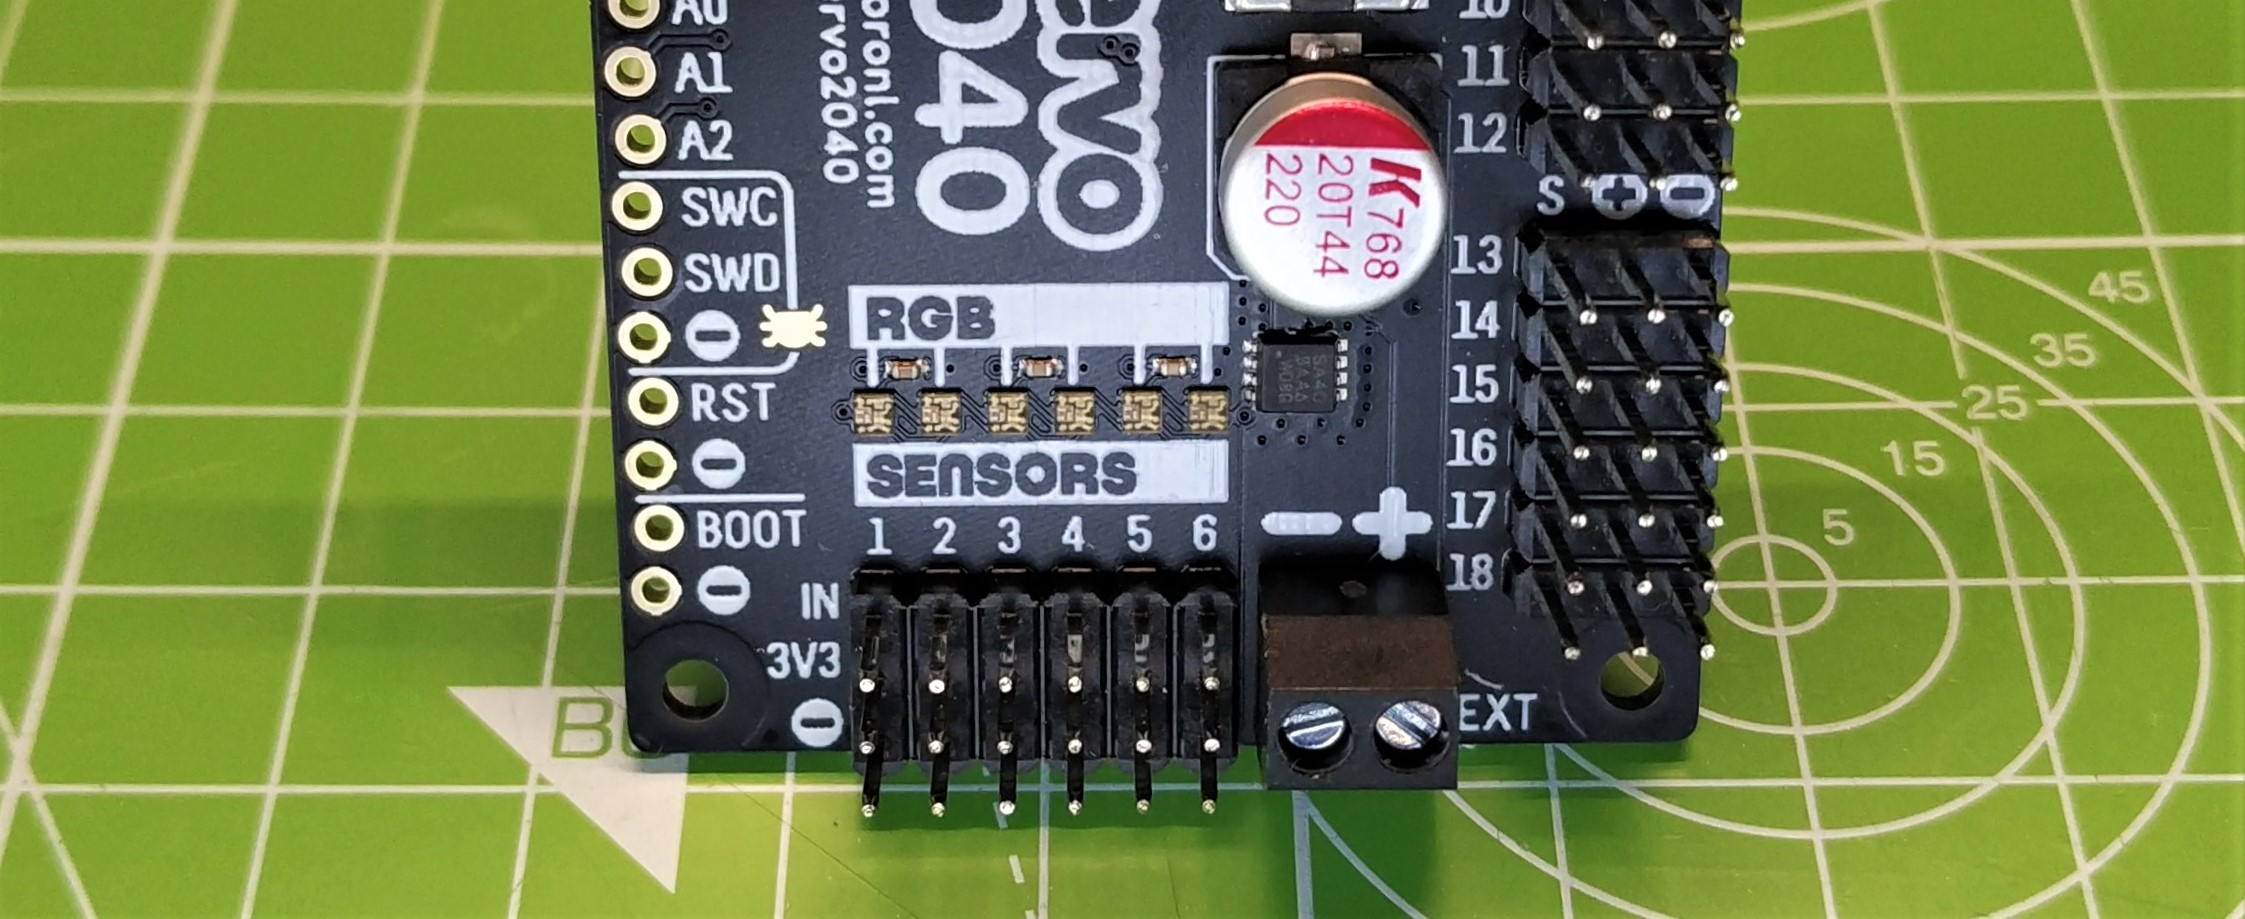
Six more headers are located at the end furthest from the USB-C port. These six headers are for analog inputs. Input, voltage and GND are clearly marked on the board’s silkscreen. On the side opposite the servo headers are some unsoldered pins to access extra I2C, analog and power pins, should you need them. Pimoroni has included a QW/ST (StemmaQT / Qwiic) connector, which we shall test later. There are six RGB WS2181 “Neopixel” LEDs which are easily controlled via code. These LEDs can be used to indicate errors, status or to make rainbows.
We tested the Pimoroni Servo 2040 using MicroPython and CircuitPython. Pimoroni has created a new version of its MicroPython release which provides support for Servo 2040, and it seems that roboticist and developer Chris Parrott has poured a lot of love into the software that supports this project. The MicroPython modules for Servo 2040 are well documented and robust. We are seeing great hardware and software backed by great documentation.
For our MicroPython test, we elected to use the Pimoroni’s version which also supports CircuitPython libraries. We wanted to test a few Stemma QT devices with MicroPython and this seemed like a great fit. We ran through Pimoroni’s examples, testing single and multiple servos. Everything went extremely smoothly.
Get Tom's Hardware's best news and in-depth reviews, straight to your inbox.
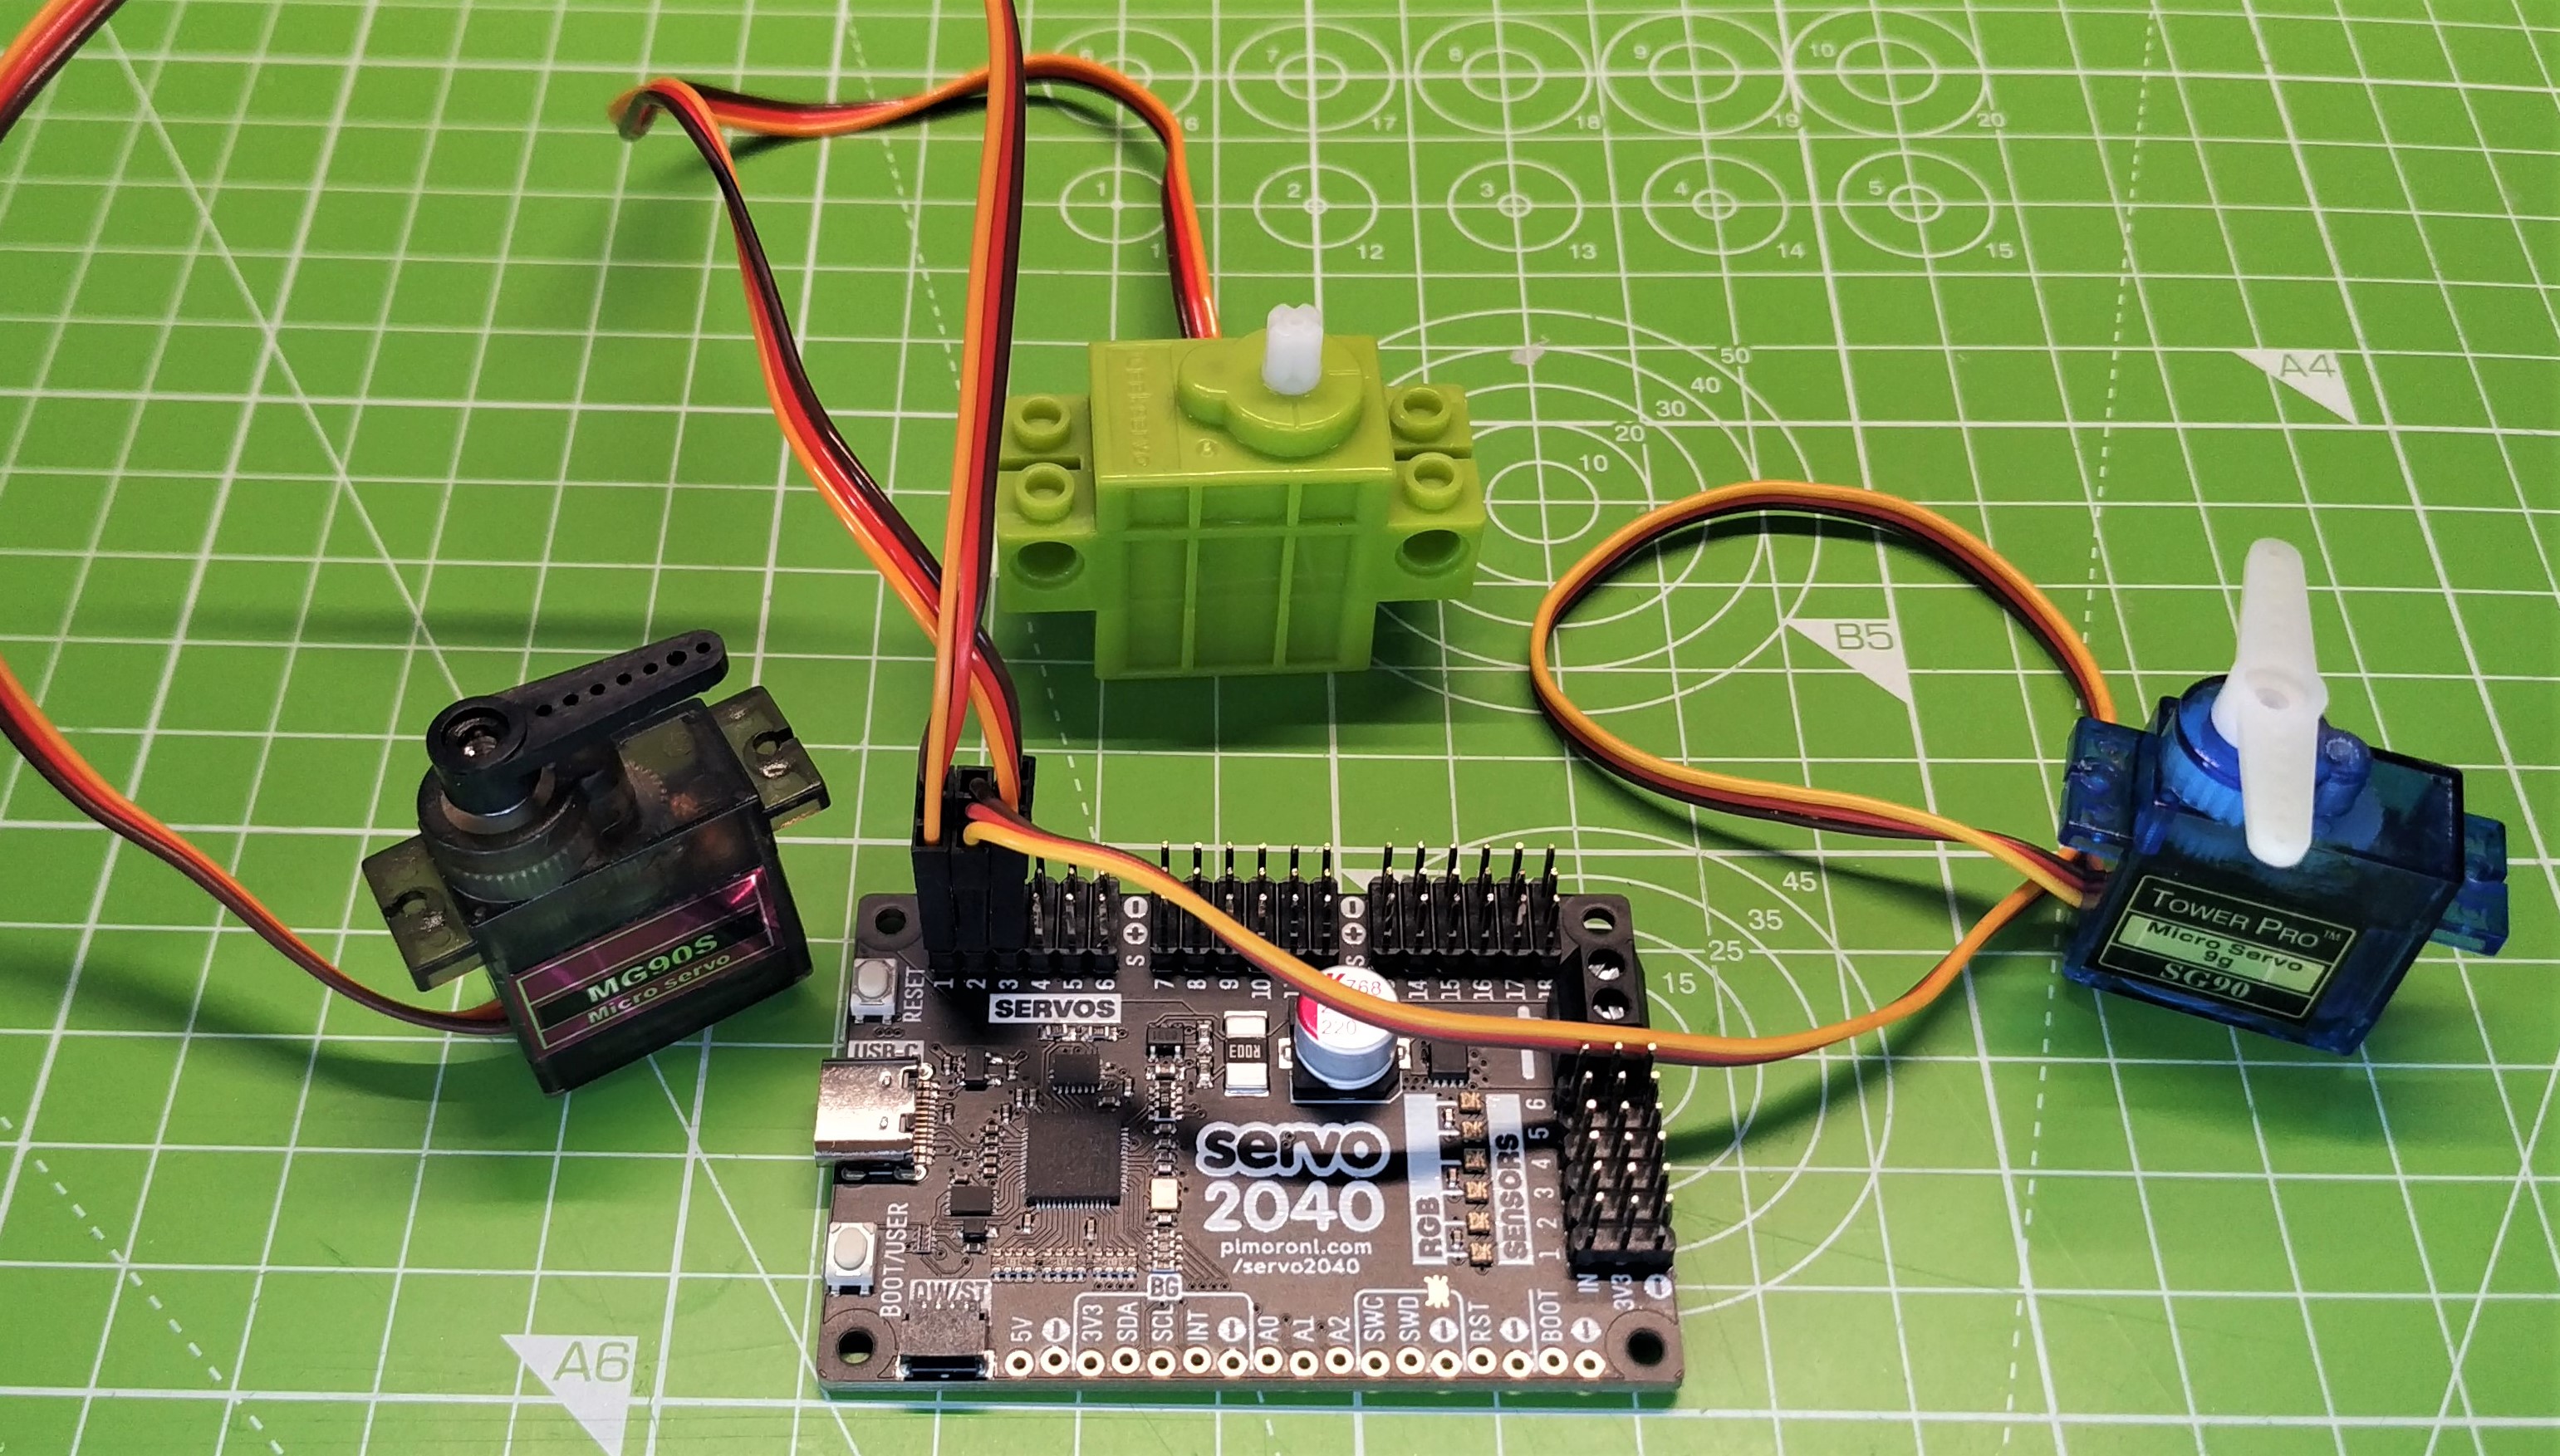
We tested a series of cheap SG90 plastic geared servos and found that Servo 2040 was able to control each of them with a high degree of accuracy. We also tested an MG90S servo, a higher quality metal servo which also worked well. These two servos have only 180 degrees of movement and so we dug into our bits box and found two Lego compatible continuous servos. They work in a similar manner to a DC motor but are much slower and more precise. We’re glad to say that our continuous servos also worked with no issues.
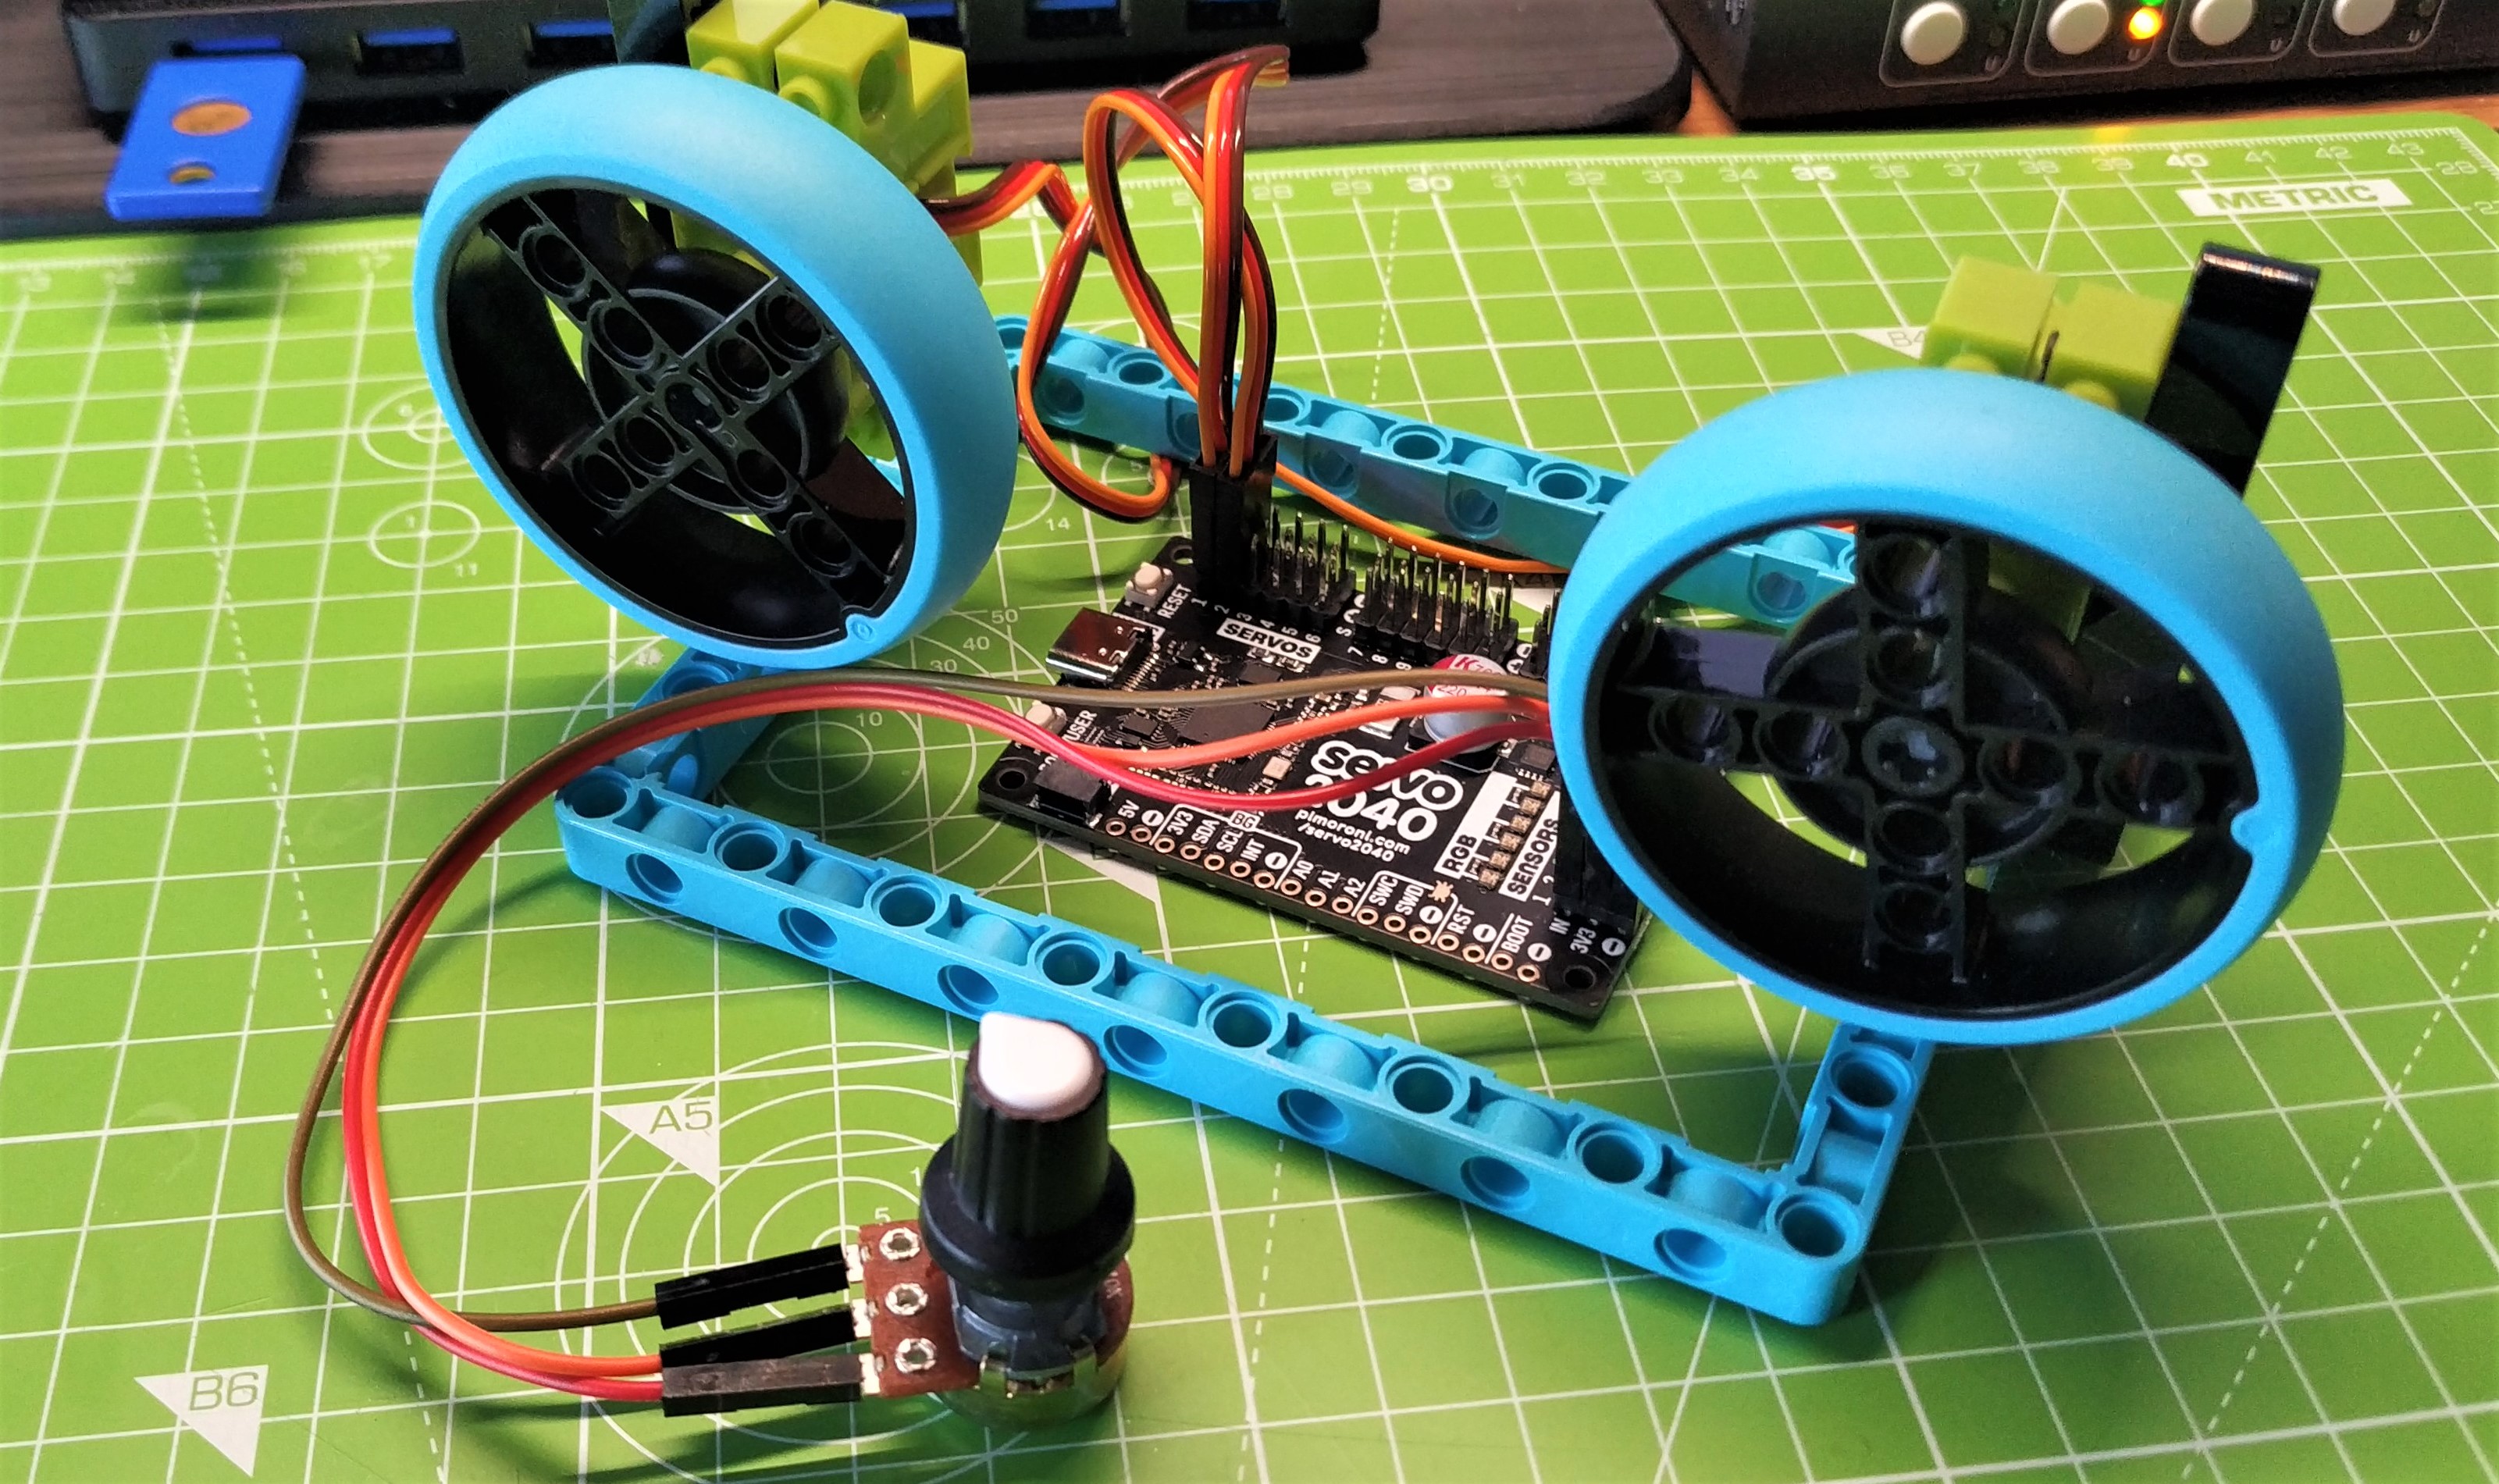
To take the tests further, we connected a 10K Ohm potentiometer and one of the analog inputs and, using a little math and Servo 2040’s API, we created a crude speed controller for the continuous servos.
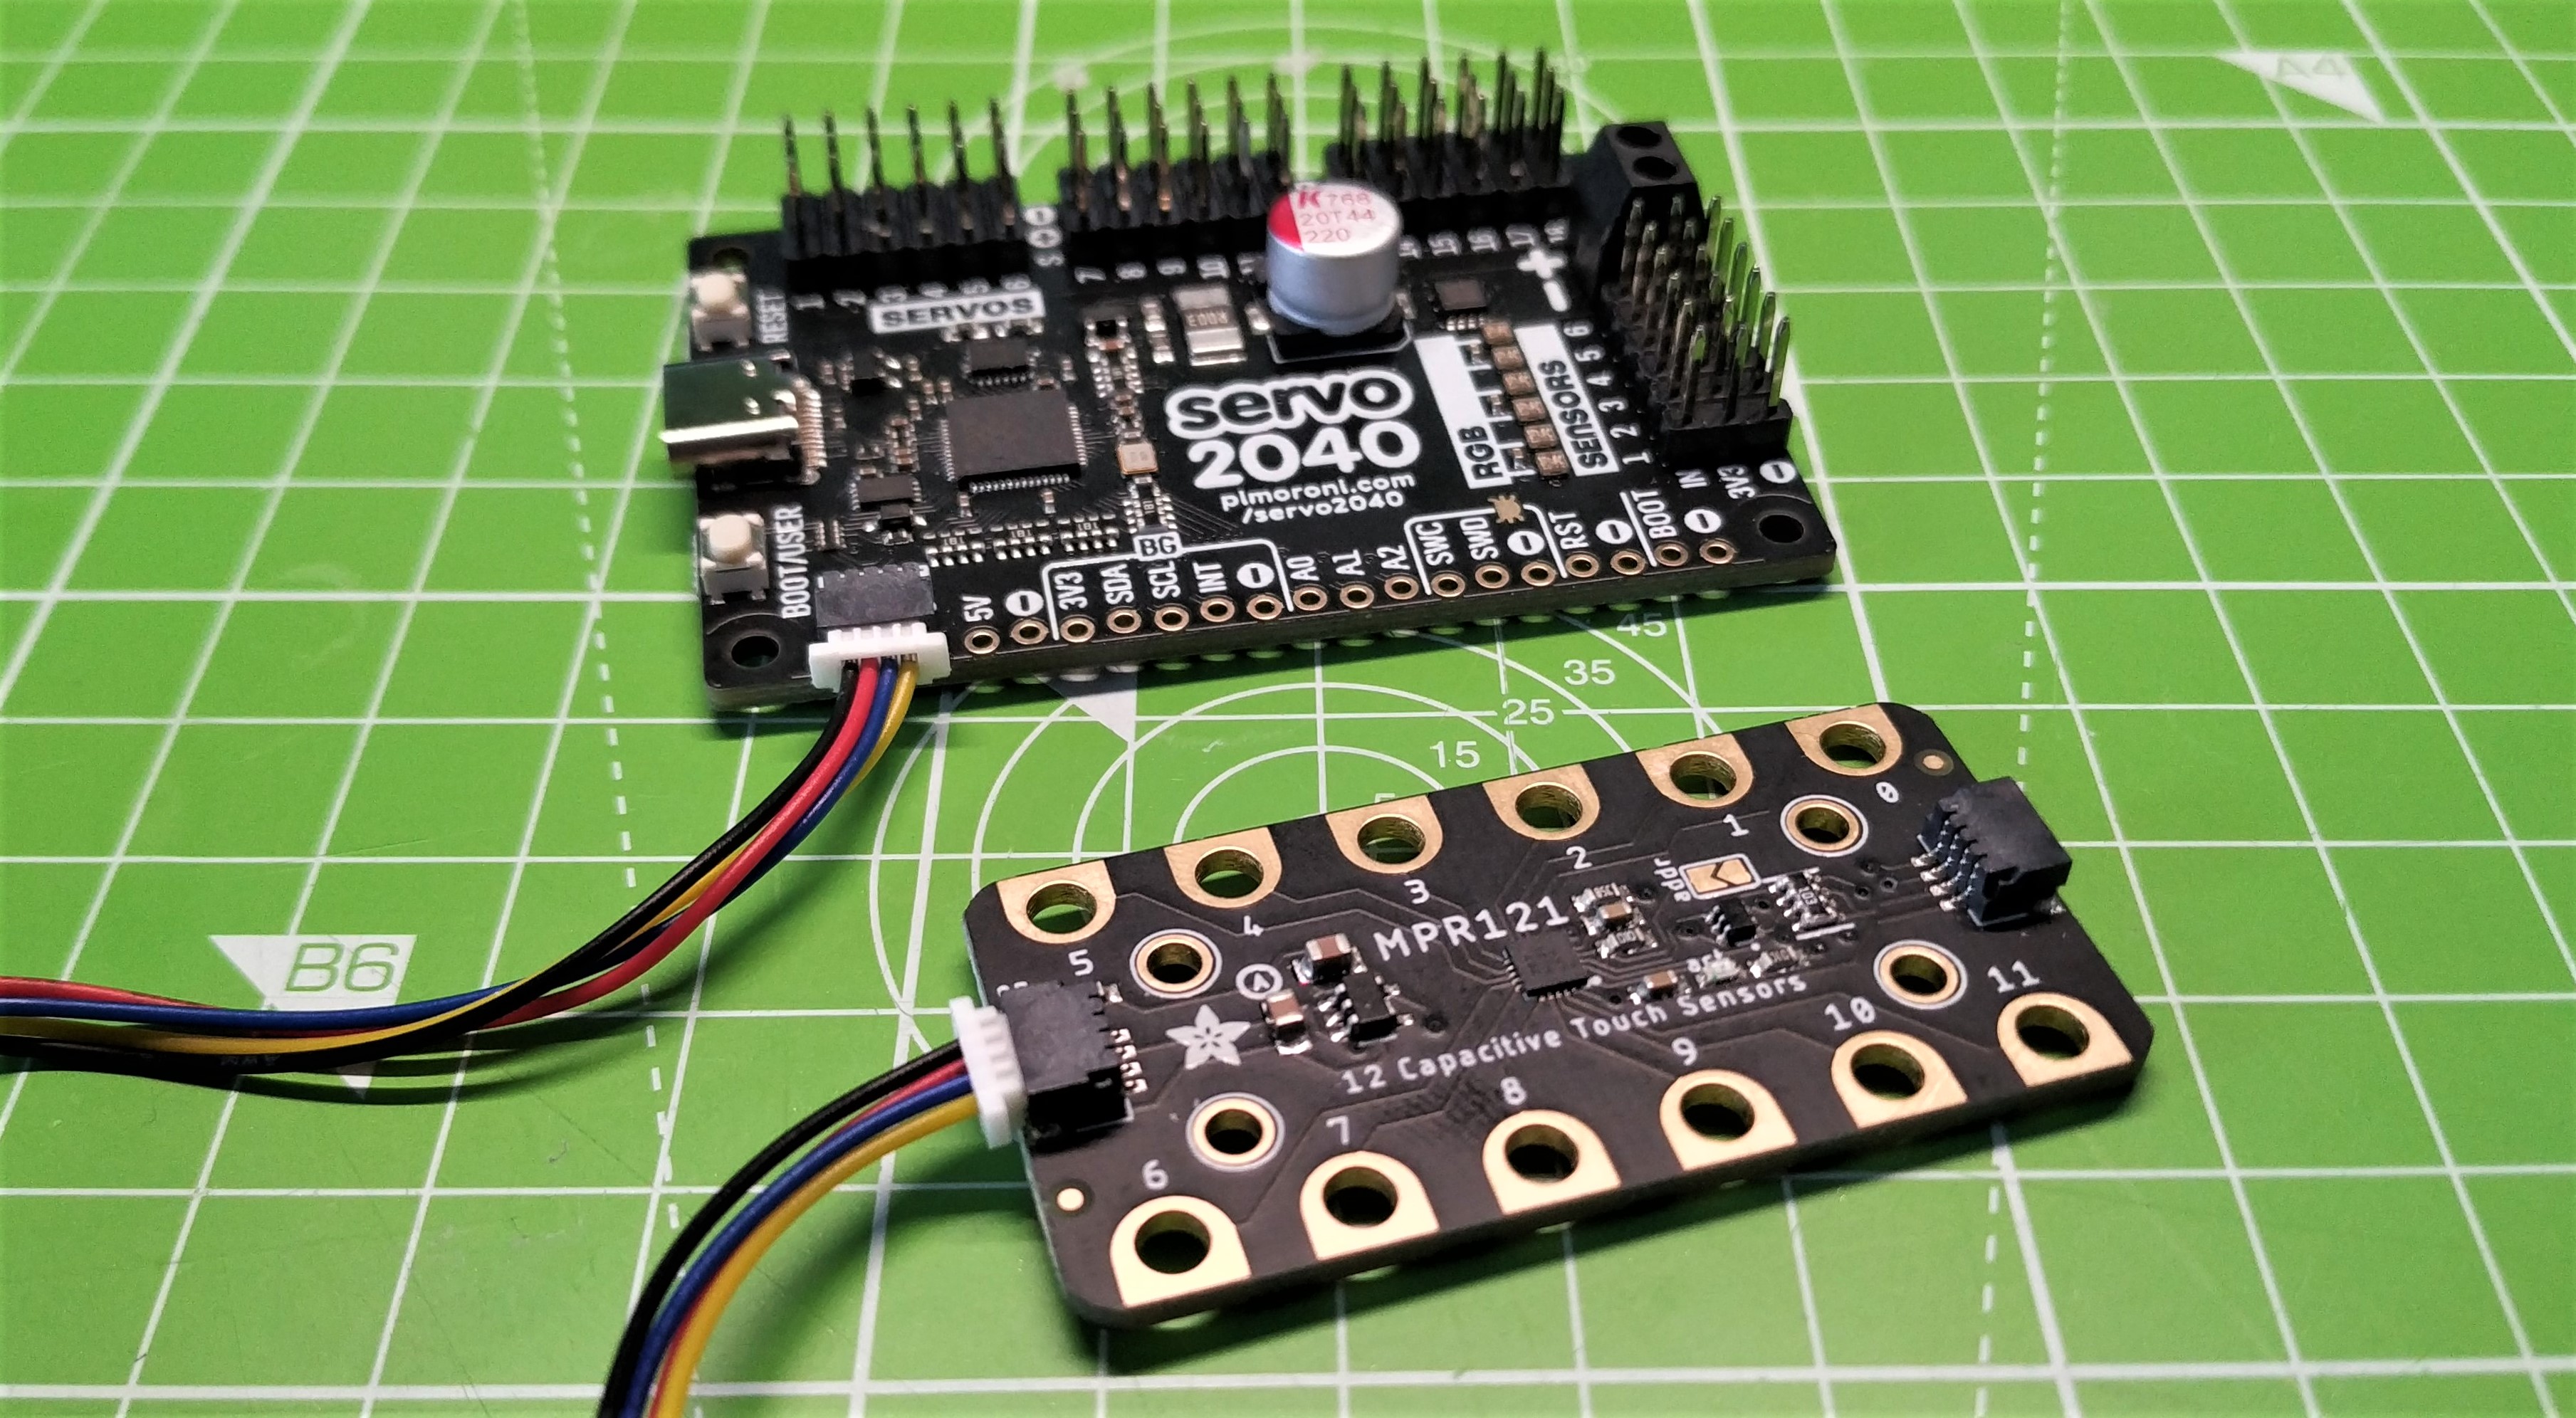
We also connected up an Adafruit MPR121 capacitive touch board via the QW/ST connector and loaded the corresponding Python dependencies (Adafruit Bus and the MPR121 module) and changed the I2C pins to match those of the Servo RP2040. Sadly we couldn’t get this to work and it seems that the I2C pins are not detected. An issue has been raised and hopefully this will be fixed in the future.
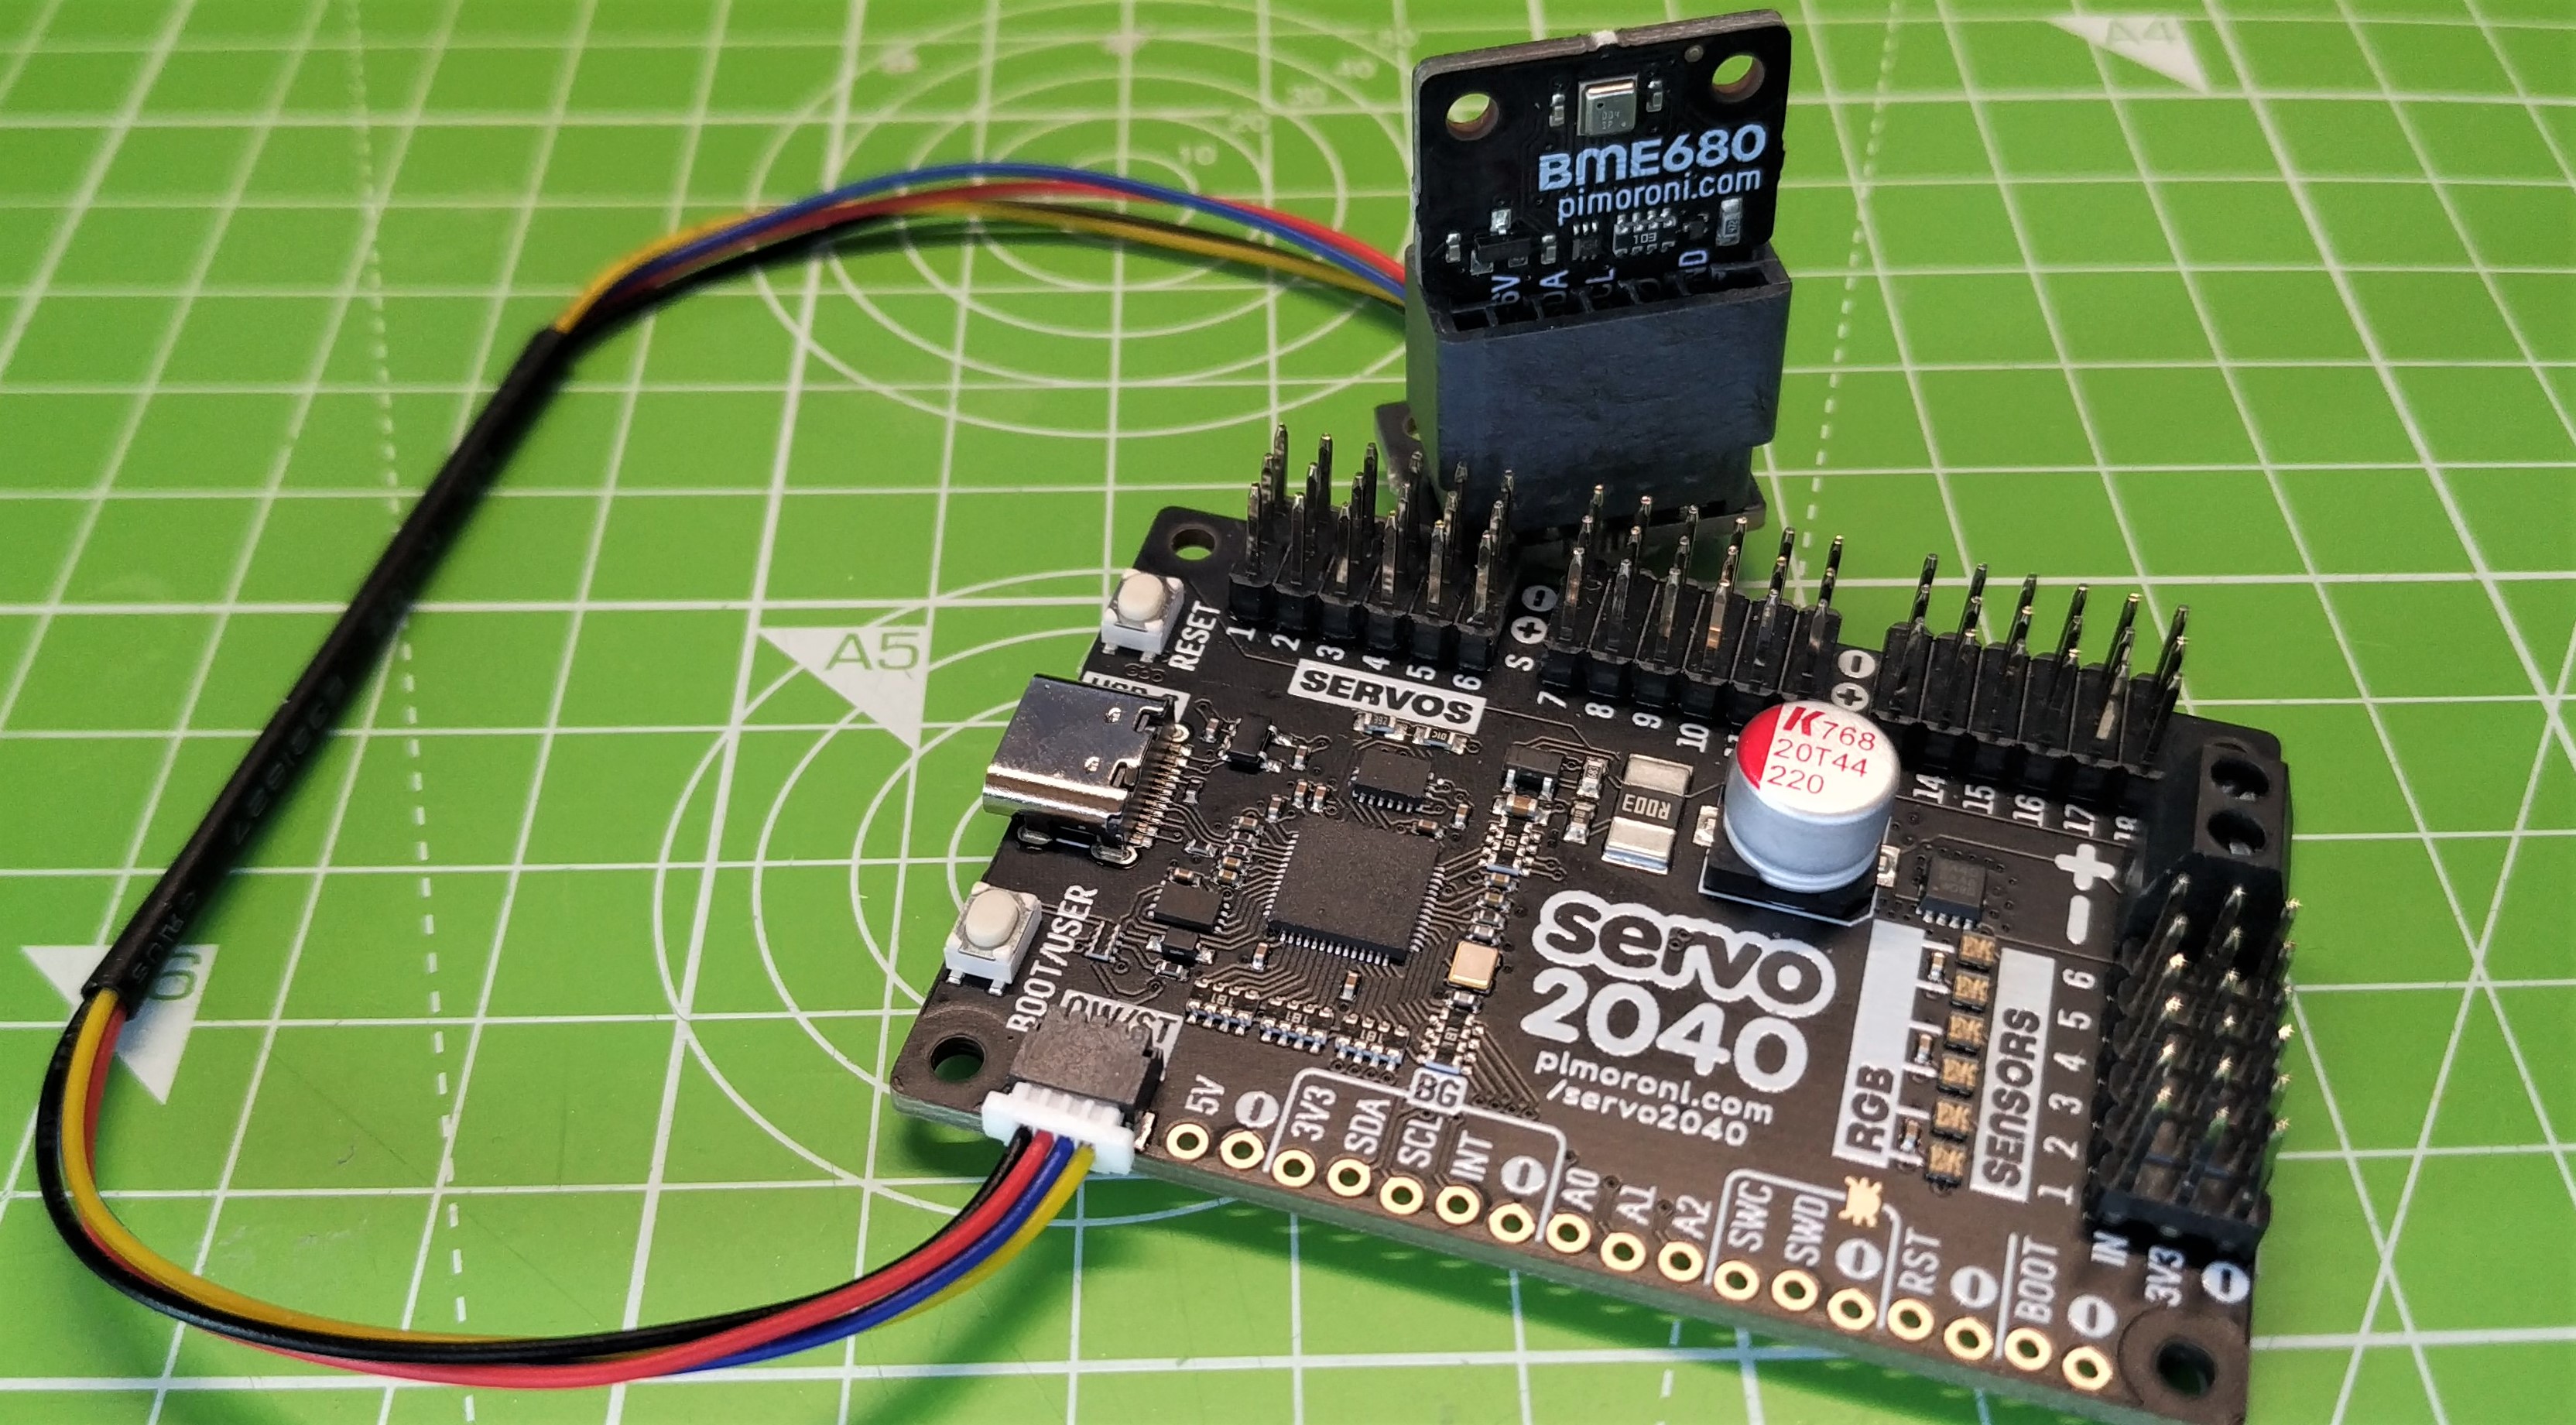
We looked through the list of Stemma QT devices supported by Pimoroni’s MicroPython build and noted that the BME688 was there. We connected up and wrote a quick test script to confirm that we could indeed get the temperature, proving that the QWST connector was working to spec.
This quick win fuelled our need to prove that Servo 2040 could work with more Stemma QT boards, so we downloaded a beta version of CircuitPython 7 for the Servo 2040. The info page advised us that we could only control 16 servos, versus MicroPython’s 18, an acceptable loss. We tested a series of CircuitPython examples and everything worked as expected. It was only when we tested our continuous servos that we noticed that they never stopped. CircuitPython handles this type of servo a little differently and, with a tweak to our code, we were good to go.
We tested the QWST connector with an MPR121, installing the dependencies and tweaking some example code so that touching the MPR121 inputs controlled two servos. Everything worked and it seems that CircuitPython is a viable alternative to MicroPython for this board. Just note that the MicroPython release is from Pimoroni and, as such, it has a much more granular level of servo control. CircuitPython is much more of a general purpose alternative. If you need Stemma QT / Qwiic and can afford to lose two servos, then go for it.
Pimoroni Servo 2040 Projects
As this board was devised by a roboticist, you can guess what projects they had in mind. As a robot platform it is ideal. Four continuous servos, some sensors and a battery pack are all you need to turn the Servo 2040 into a competent robot. With all the extra servo options we can easily build Servo 2040 into a small scale industrial robot, think car assembly lines and you get the idea.
Servo 2040 follows a trend that Pimoroni has really taken to heart: creating bespoke boards based on the RP2040, a plentiful chip even in the current chip shortage. Badger 2040, Interstate 75, PicoSystem, Plasma 2040 are all examples of the versatility afforded by the RP2040, and the ingenuity of Pimoroni’s team.
Bottom Line
The Pimoroni Servo 2040 was built to control servos, and it does this with ease and finesse. The hardware is bulletproof, well designed and thought out with a roboticist mindset. Servo 2040 is niche in that it mainly appeals to users who want to build robots or just make servos move. However, if you need to use a lot of servos at once, it’s hard to beat the Servo 2040 in terms of price, functionality and ease of use.
MORE: Best RP2040 Boards
MORE: Best Raspberry Pi Projects
MORE: Raspberry Pi: How to Get Started

Les Pounder is an associate editor at Tom's Hardware. He is a creative technologist and for seven years has created projects to educate and inspire minds both young and old. He has worked with the Raspberry Pi Foundation to write and deliver their teacher training program "Picademy".
