Tom's Hardware Verdict
Well made, if slightly lacking in portable features. Ideal for your embedded projects, if you can afford the price tag.
Pros
- +
+ Form factor
- +
+ GPIO access
- +
+ Clear and bright touchscreen
- +
+ Powerful Compute Module 4
Cons
- -
No battery
- -
Camera access
- -
Micro SD access
- -
No speaker
Why you can trust Tom's Hardware
Seeed seems to be on a run right now. We recently reviewed Seeed’s dual gigabit ethernet carrier board and found it to be a handy piece of kit. But for Seeed’s next carrier board we see a different direction, an all in one device that integrates the Compute Module 4 into a portable chassis, designed for industrial and embedded applications.

Seeed’s reTerminal harnesses a Raspberry Pi Compute Module 4 with 4GB of RAM and a 32GB eMMC inside a plastic housing dominated by a 5 inch capacitive touchscreen. Despite the form factor we still have access to the GPIO and two camera connectors, but there are some issues that we will address in the course of the review. At $195, reTerminal is an investment rather than an impulse purchase, but what can we do with it and why would we spend that much on what is really a Raspberry Pi 4? Let's find out.
Seeed reTerminal Specifications
| Raspberry Pi Compute Module 4 | Broadcom BCM2711 quad-core Cortex-A72 (ARM v8) 1.5 GHz | Row 0 - Cell 2 |
| 4GB RAM | Row 1 - Cell 2 | |
| 32GB eMMC | Row 2 - Cell 2 | |
| Wi-Fi / Bluetooth 5.0 | Row 3 - Cell 2 | |
| Micro SD card reader | Row 4 - Cell 2 | |
| Display | 5-inch 1280 x 720 LCD Capacitive touch panel with multi-touch support. | Row 5 - Cell 2 |
| Built-in Modules / Sensors | NXP Semiconductors PCF8563T Real Time Clock STMicroelectronics LIS3DHTR | Row 6 - Cell 2 |
| Accelerometer | Row 7 - Cell 2 | |
| Microchip ATECC608A Hardware Based Key Storage | Row 8 - Cell 2 | |
| Levelek LTR-303ALS-01 Light Sensor | Row 9 - Cell 2 | |
| Microchip MCP23008-E IO Expansion | Row 10 - Cell 2 | |
| Connections | Full 40 pin GPIO | Row 11 - Cell 2 |
| 2x USB 2.0 | Row 12 - Cell 2 | |
| Micro HDMI | Row 13 - Cell 2 | |
| USB C | Row 14 - Cell 2 | |
| Gigabit Ethernet | Row 15 - Cell 2 | |
| Camera mount | Row 16 - Cell 2 | |
| Dimensions | 5.5 x 3.7 x 0.8 inches (140 x 95 x 21 mm) | Row 17 - Cell 2 |
Using the Seeed reTerminal
Let's start with the elephant in the room. Seeed’s reTerminal feels like a slightly chunky tablet, but it lacks a battery. Sure we can add a USB battery via the USB C port, but there is no space inside reTerminal to add an internal battery.
The best way to use reTerminal is at your desk, or embedded into a project with a reliable power source. With Raspberry Pi OS pre-installed onto the 32GB eMMC, we are ready to build projects with little friction, power up and go.
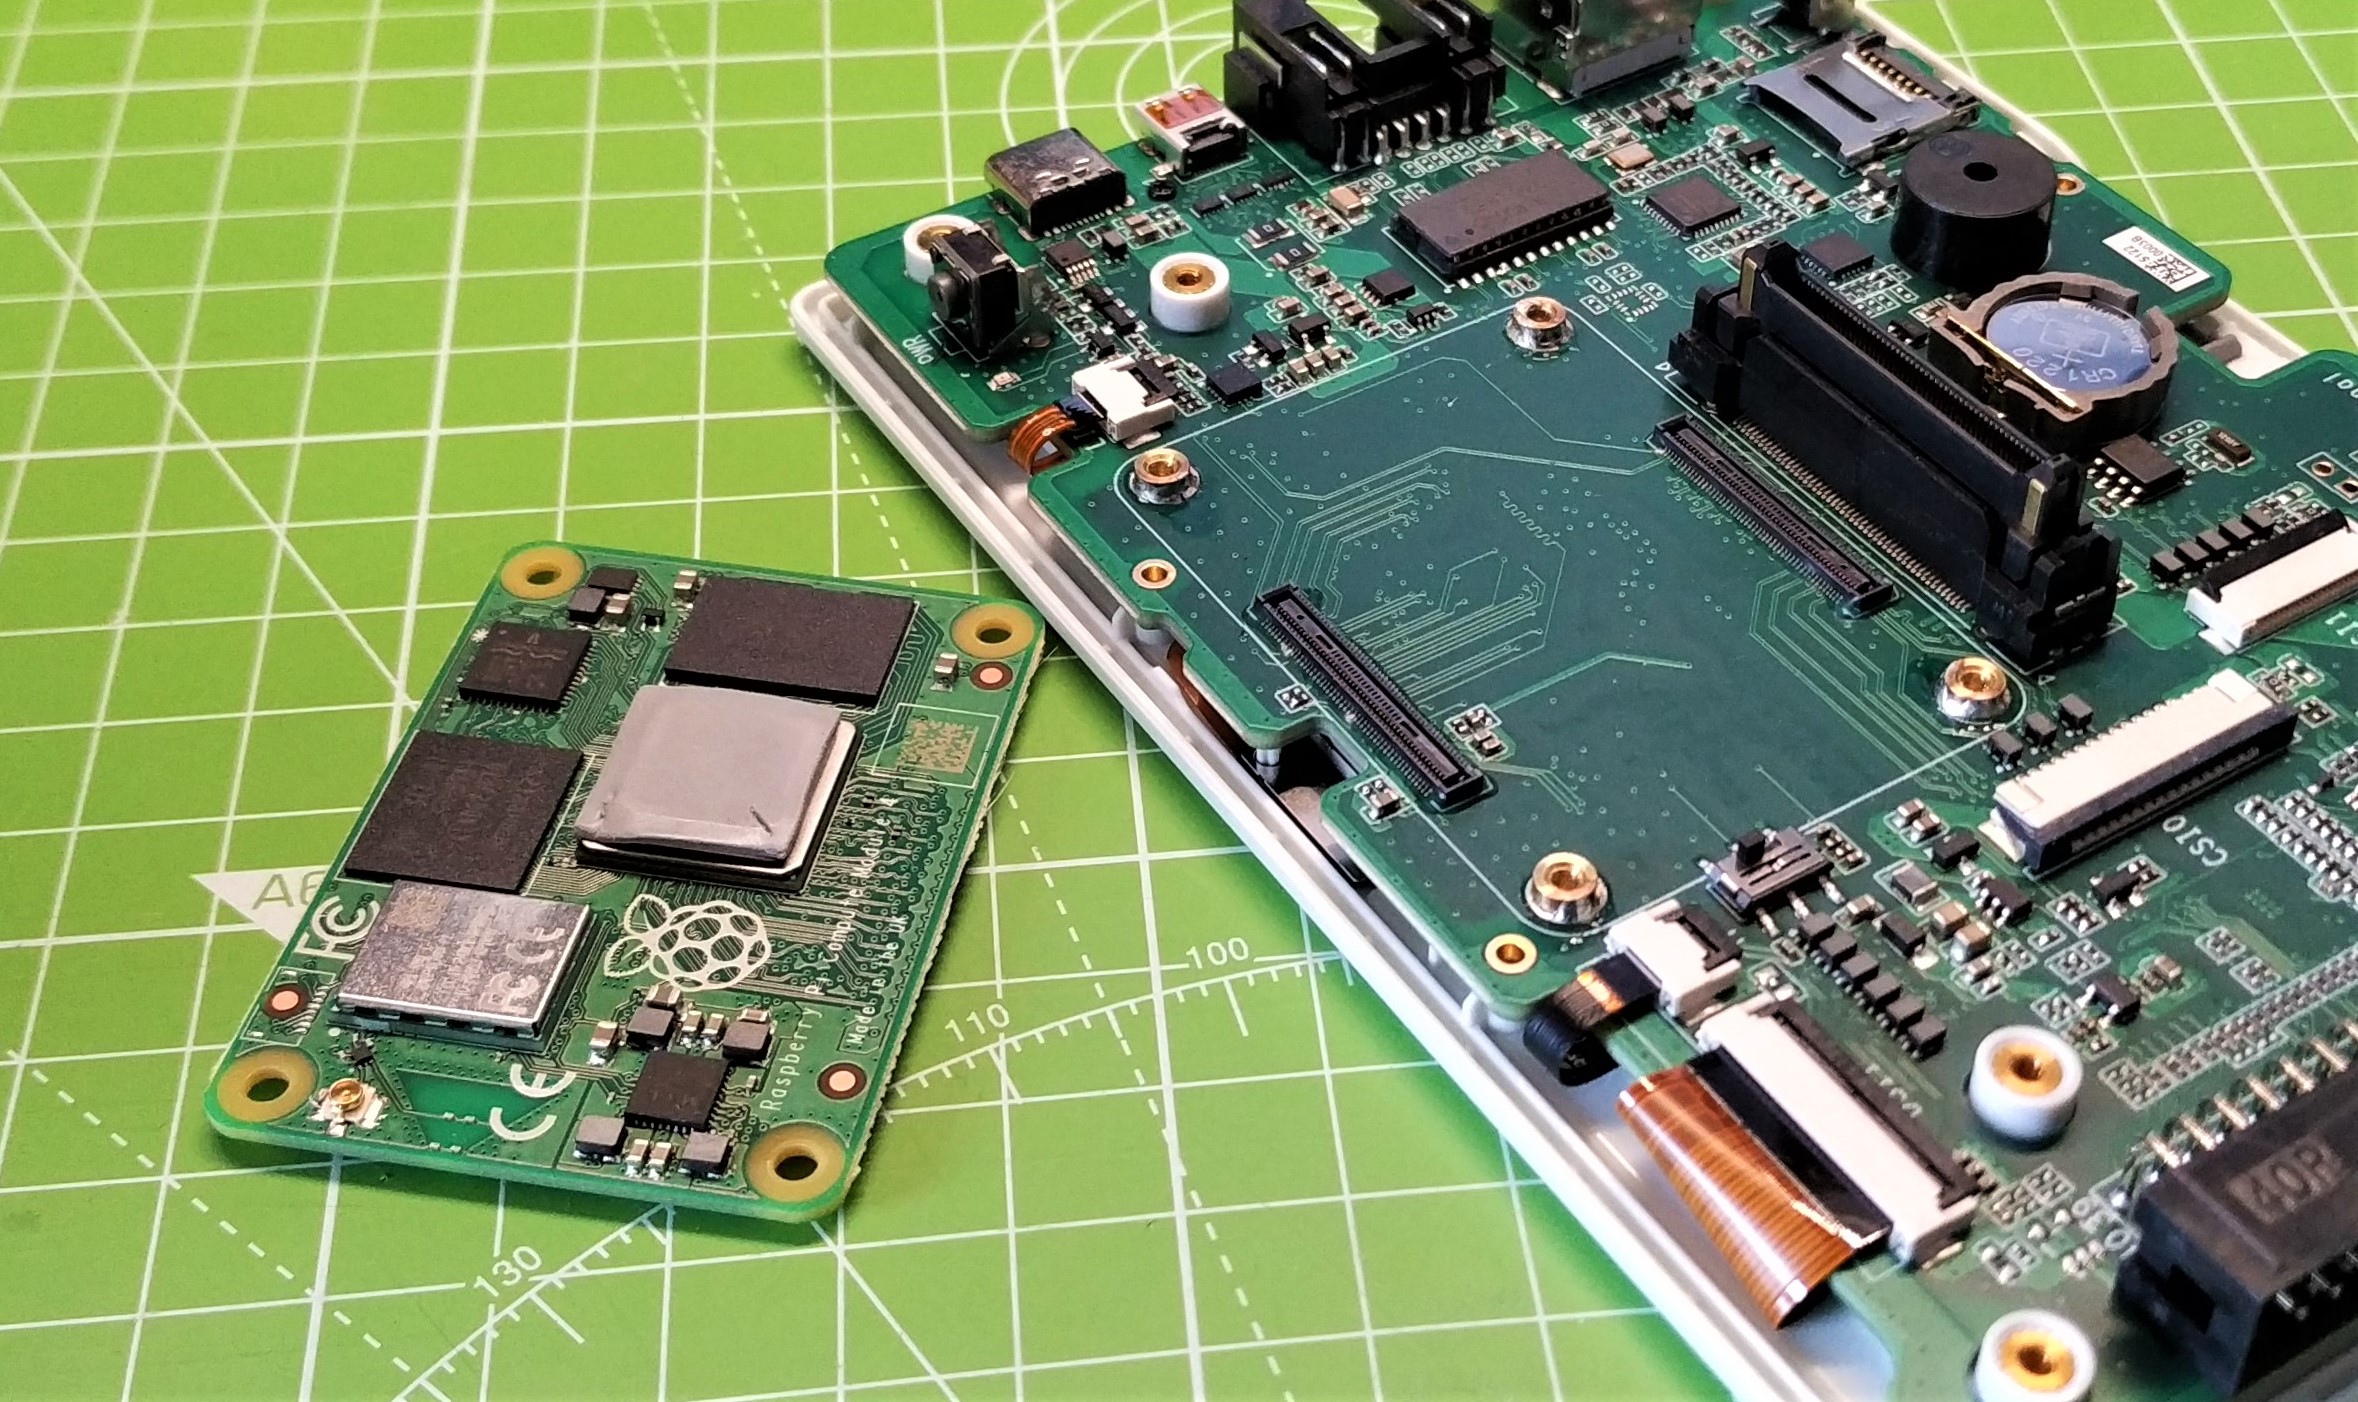
The look and feel of Raspberry Pi OS on the reTerminal is no different to the experience of a 4GB Raspberry Pi 4. The provided Compute Module 4 can be easily swapped out for another variant; all we need to do is remove the many screws holding the case together, then remove the four screws which secure the Compute Module 4 to the carrier board.
The 5-inch, 1280 x 720 screen is clear and bright, even for old eyes such as ours. It supports multi-touch input and is surprisingly accurate, enabling us to easily open and close windows and navigate menus in lieu of a mouse. That said, a wireless mouse and keyboard are a great addition to this device. Underneath the screen are four buttons, F1, F2, F3 and a green “input / enter” button. These buttons are mapped to a,s,d,f keys on the keyboard which means that can be easily used in your code based projects. If you were thinking of using reTerminal as a media player, well you had better invest in a Bluetooth speaker, as the only onboard speaker is a simple buzzer.
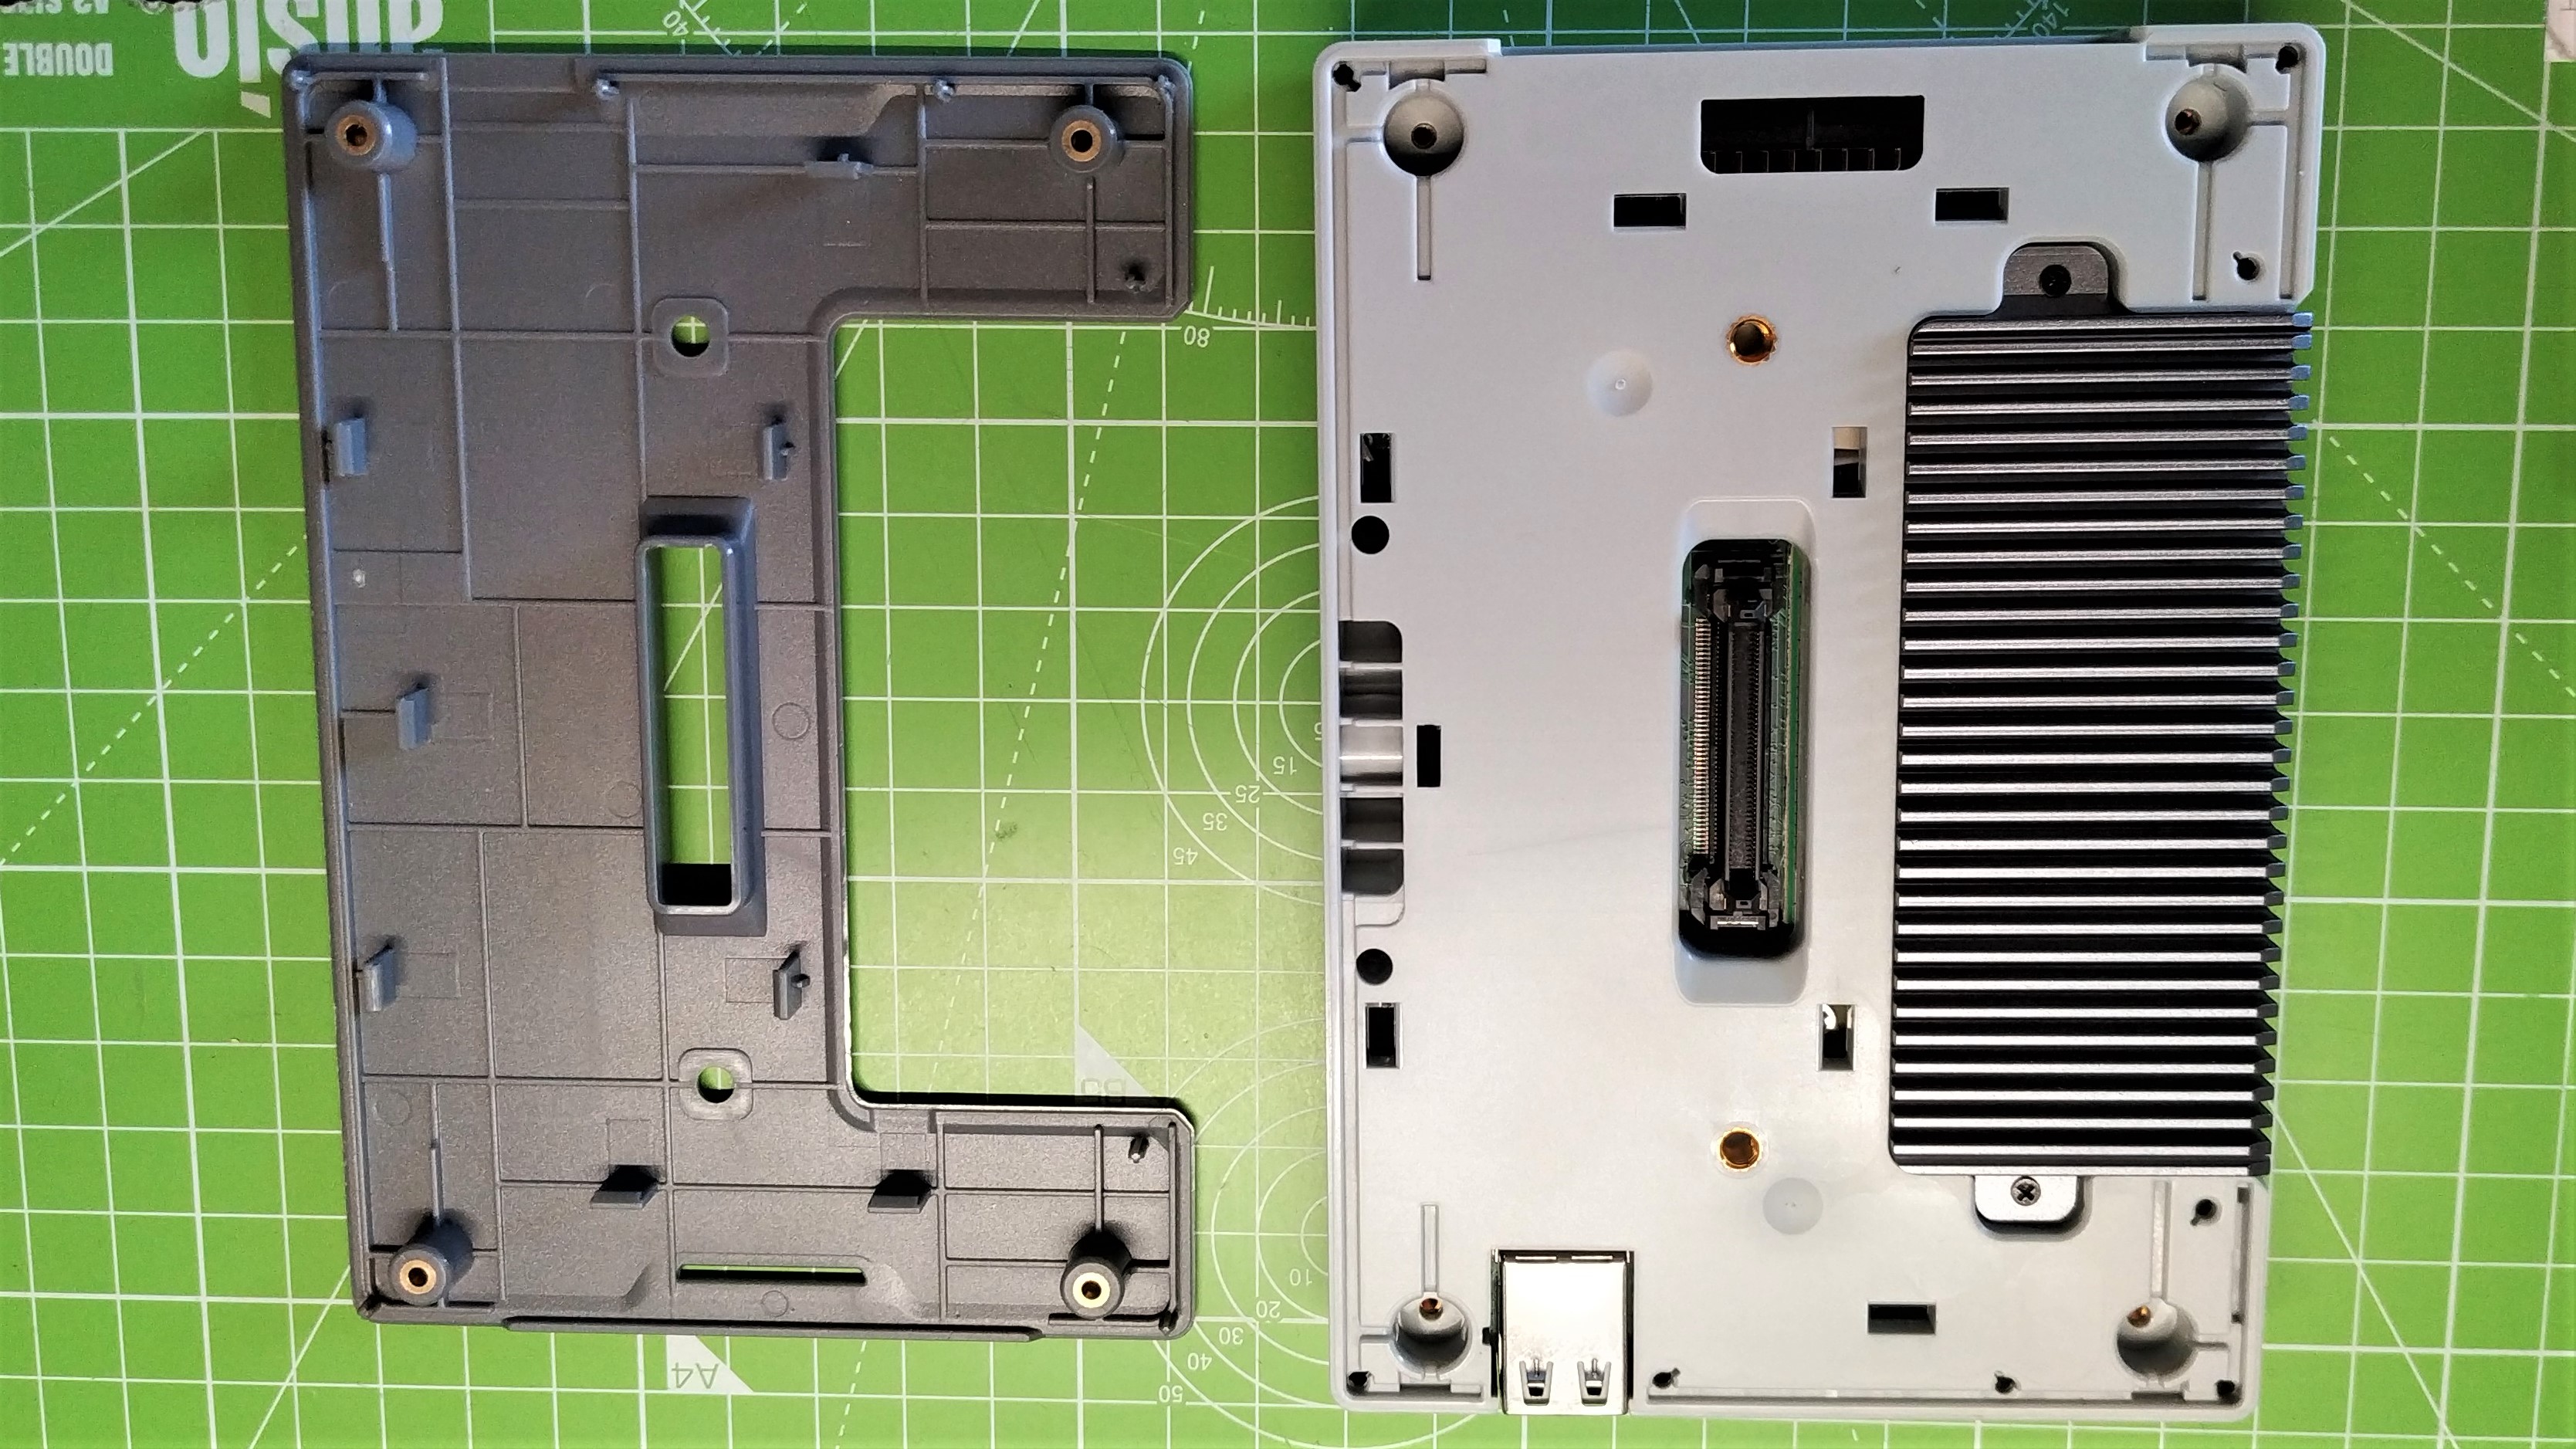
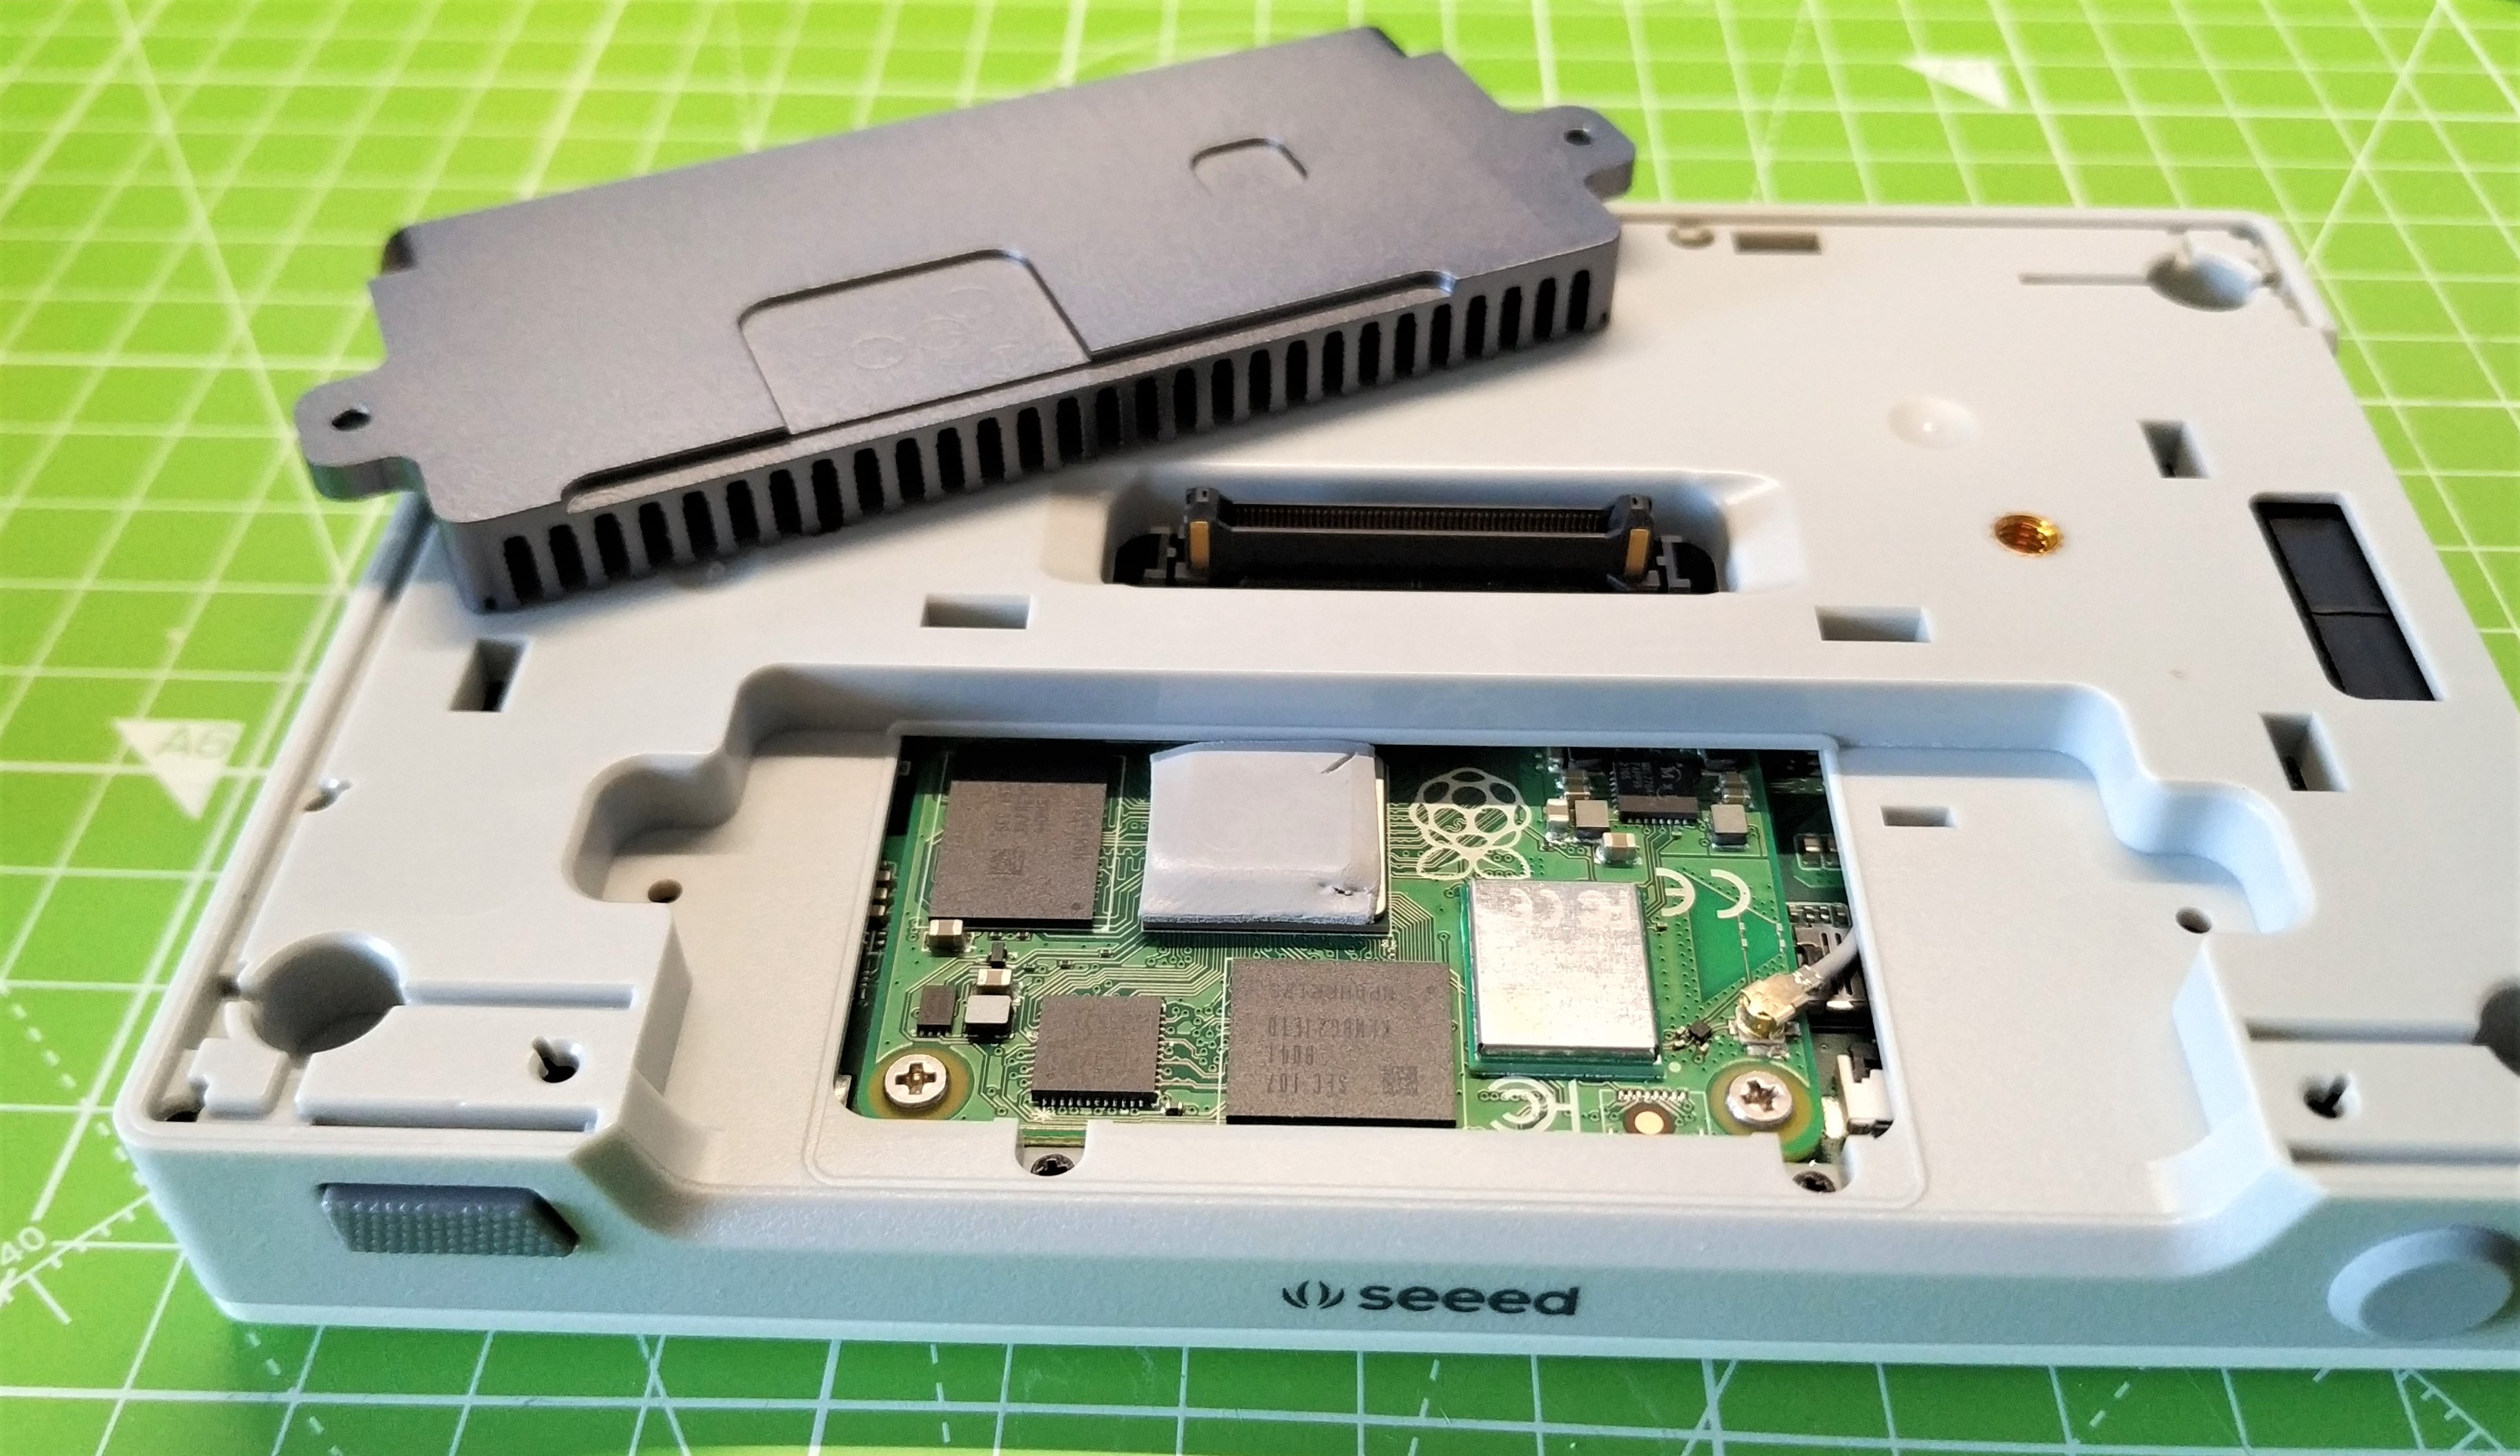
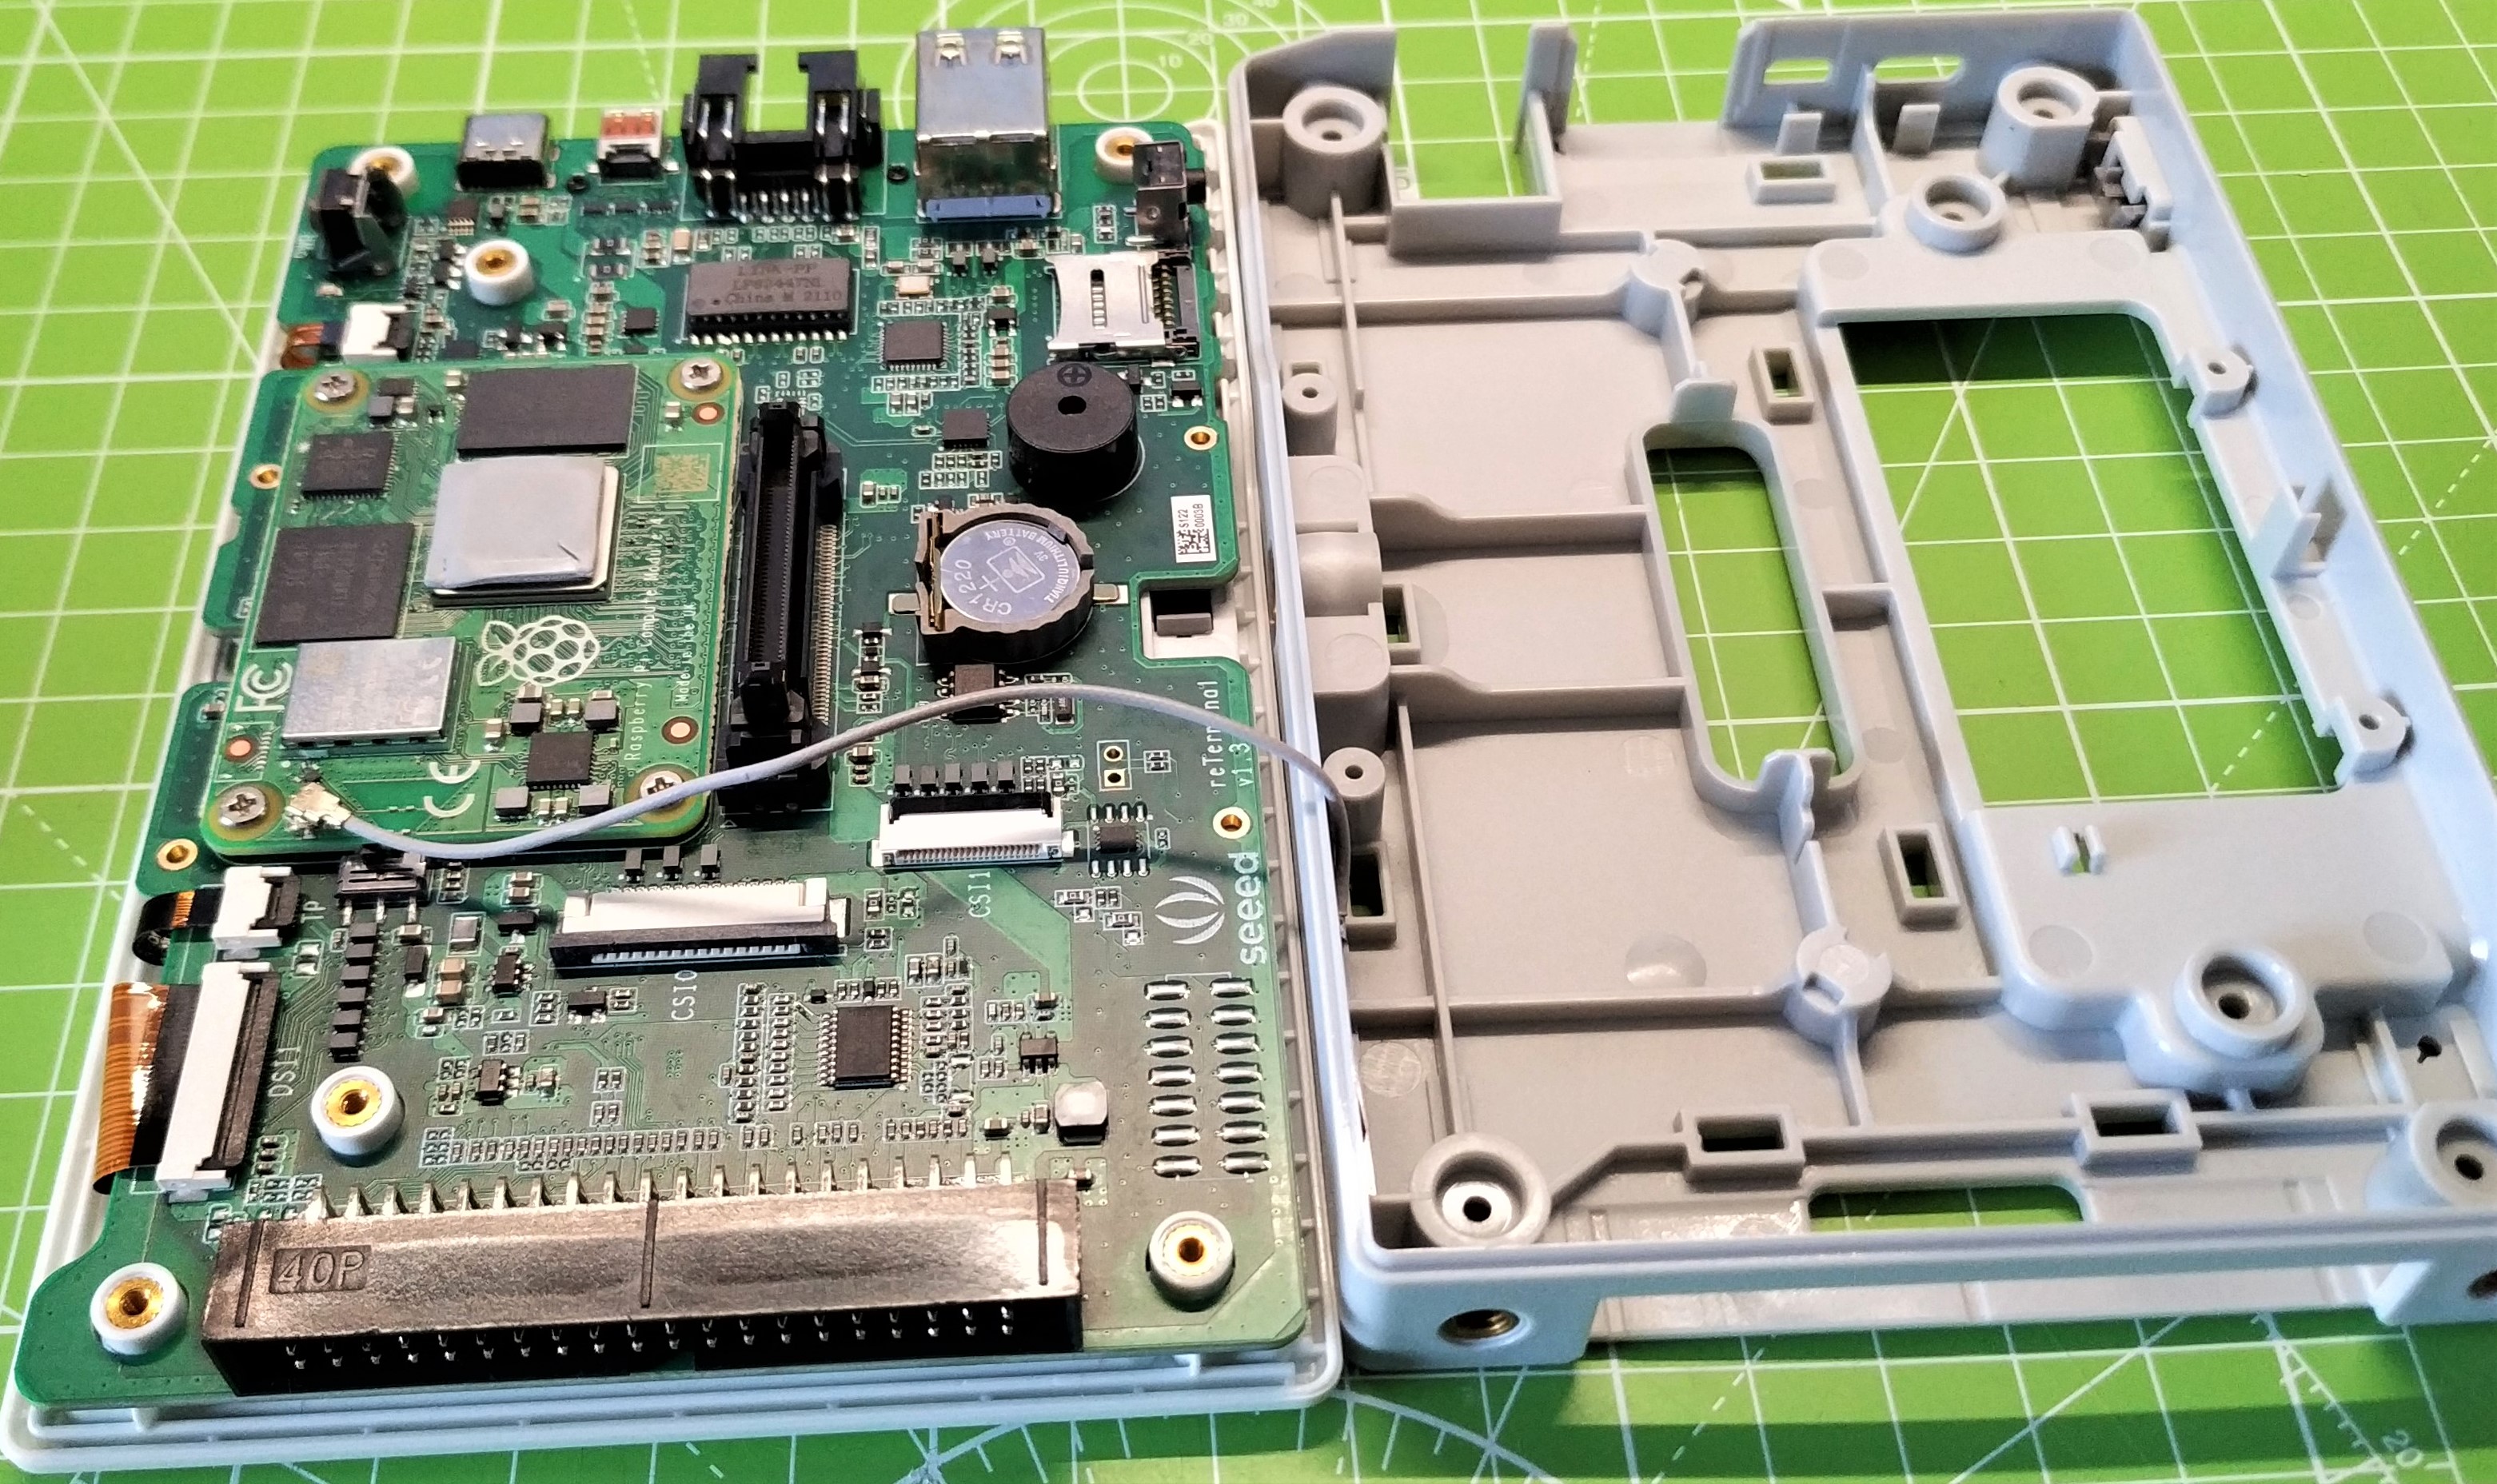
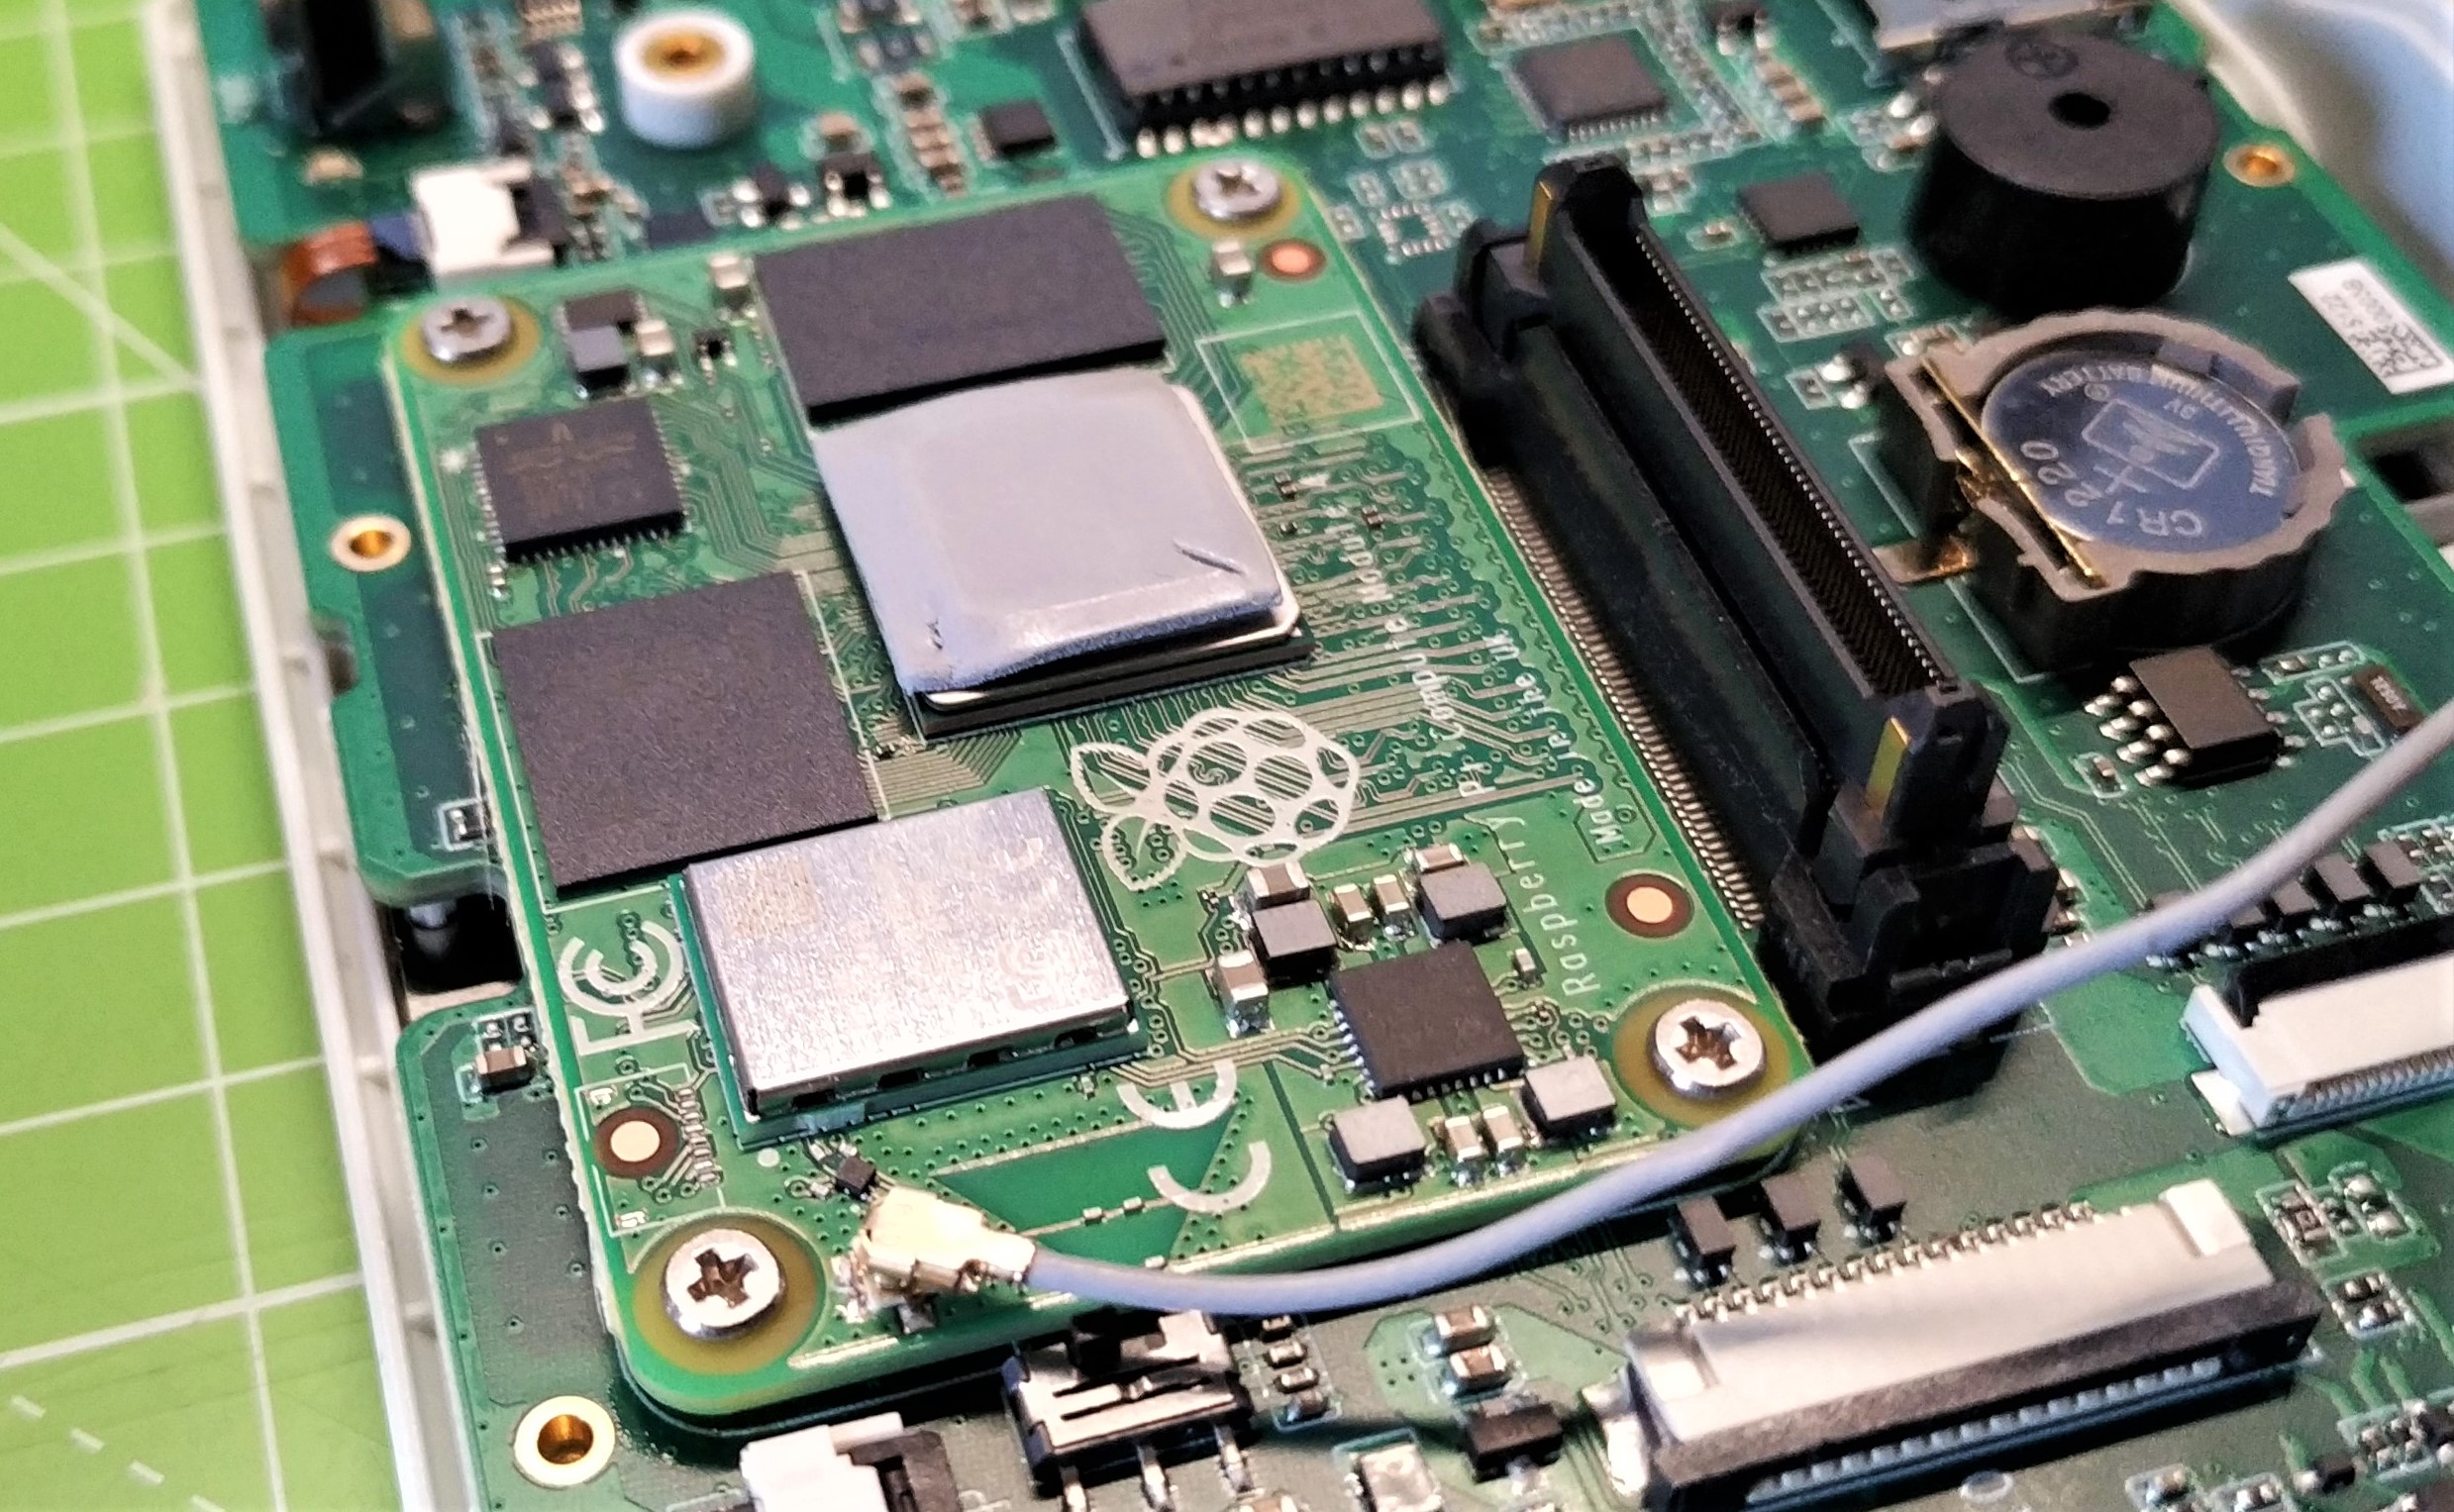
Getting inside reTerminal is easy, but it can be a daunting experience. First we have to remove the four dust caps at the corners of the unit’s underside. Then gently pry the light grey plastic backing off, take care near the center as it will flex and feel very fragile. Then remove the heatsink and finally remove the inside plastic case, taking care not to wrench the Wi-Fi antenna off.
Get Tom's Hardware's best news and in-depth reviews, straight to your inbox.
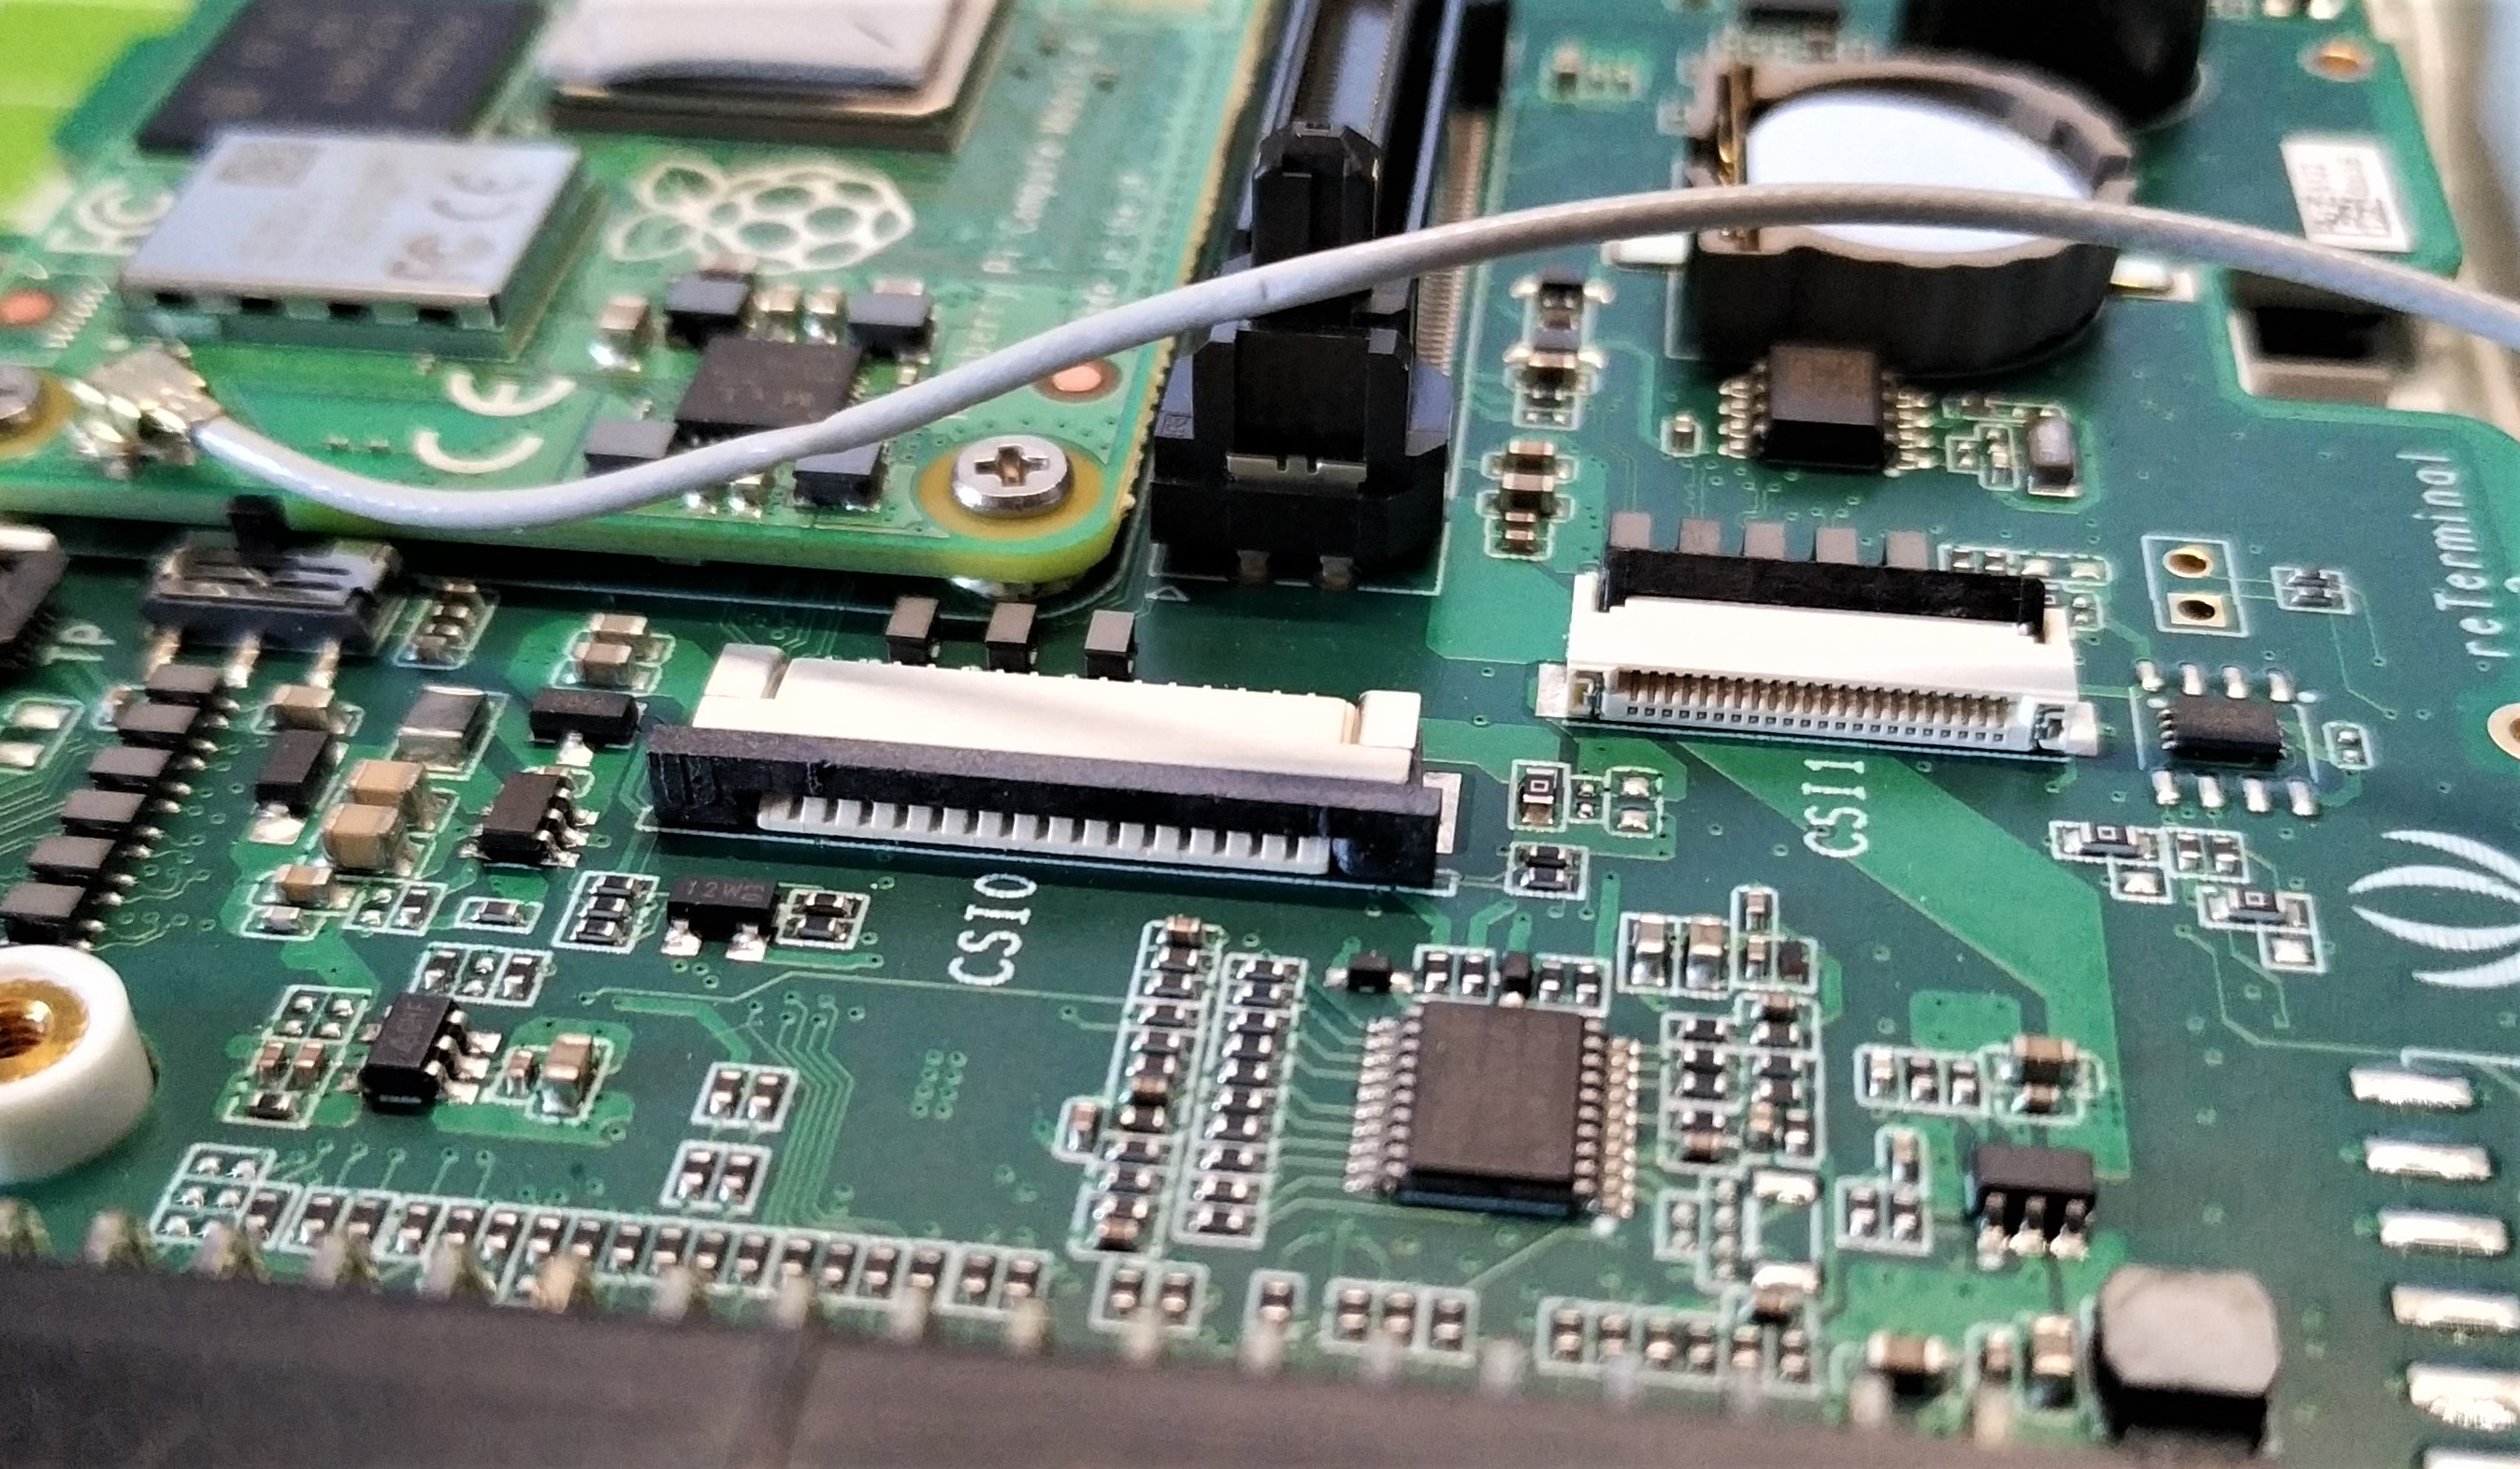
Once inside, we can see the familiar connectors of the camera (CSI0) and a smaller Raspberry Pi Zero centric camera connector (CSI1). Connecting a camera is relatively easy but do take care of the black plastic locks, and make sure that the gold pins of the camera’s flex cable are pointing upwards and not down to the board.
We inserted the camera cable incorrectly, even after checking the connection, and it caused a short that saw the unit draw 1.4A of power and quickly heat up. The camera’s flex cable will also need to be threaded through a slot in the outer case and this does leave the camera flapping around in the breeze. A camera mount / holder would’ve been a great addition.
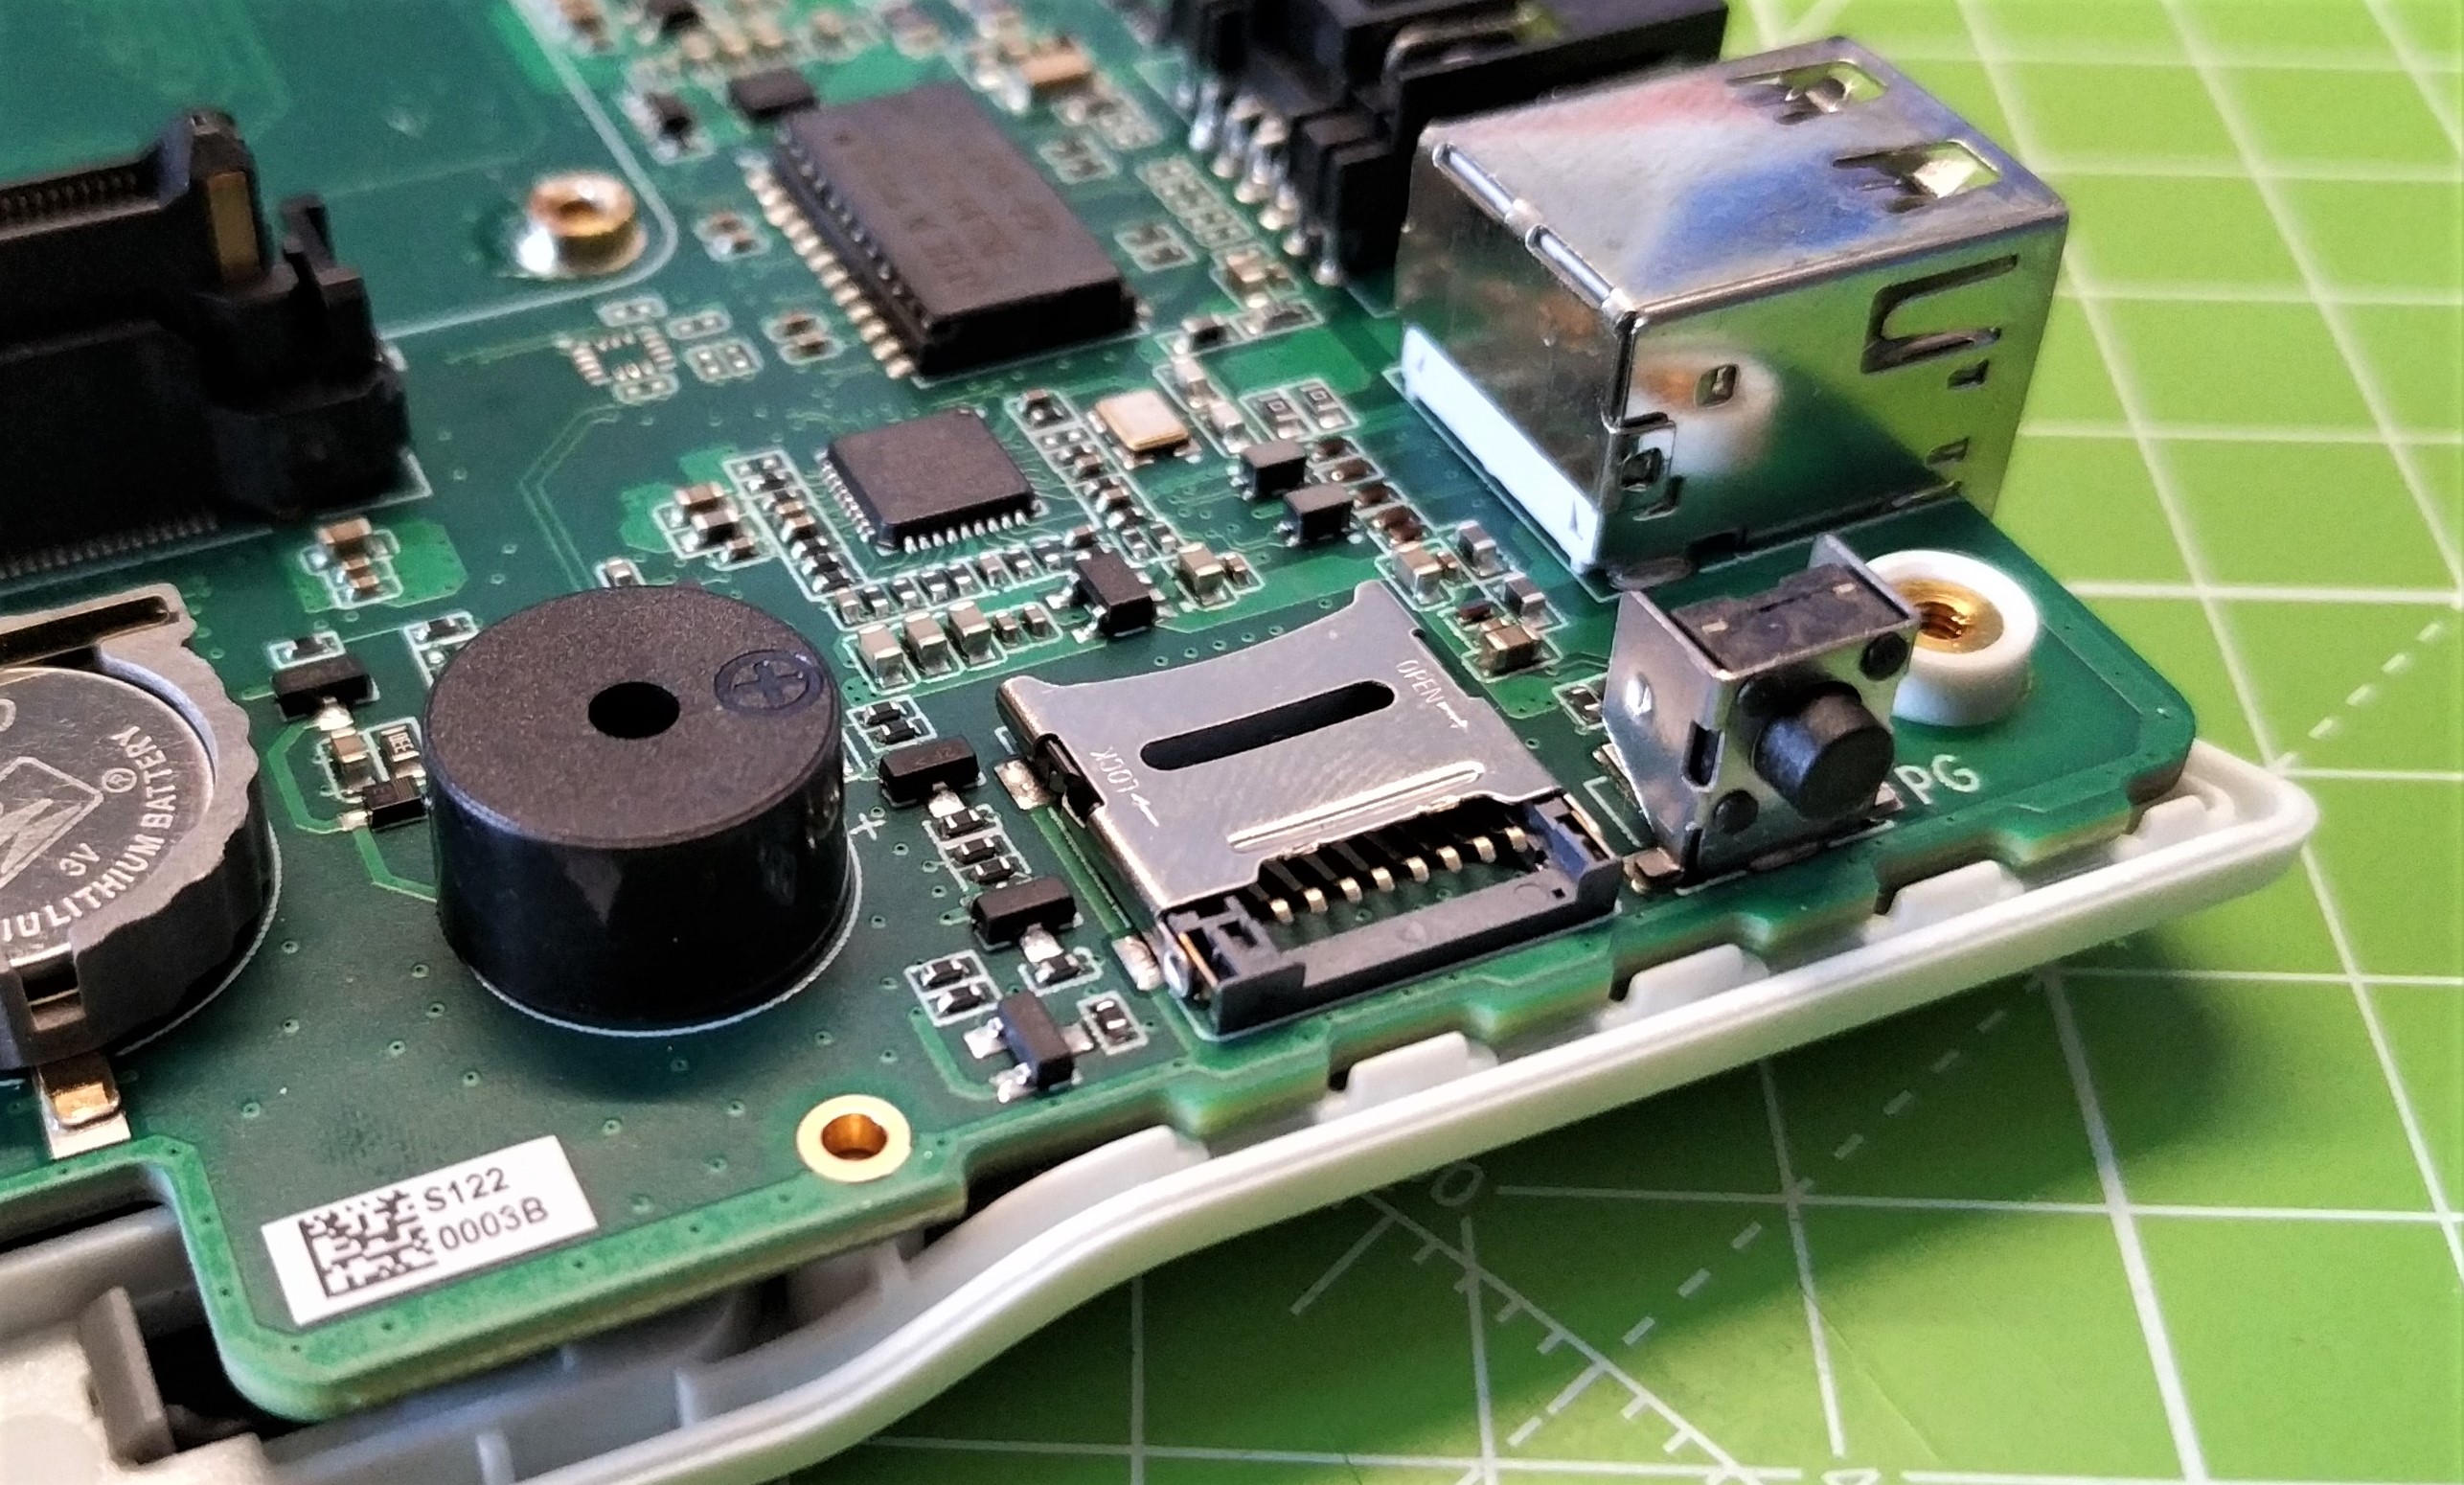
The microSD card slot (see best microSD cards for Raspberry Pi) is something of an issue in that we can only access it by removing the case. In an industrial setting, we get it, keeping ports tucked away reduces the risk of unsolicited code being run, but the USB ports are an easy target for those kinds of attacks. It would’ve been great to have the microSD card accessible via the outside of the case, but for now we can treat it as an additional storage option rather than a boot device.
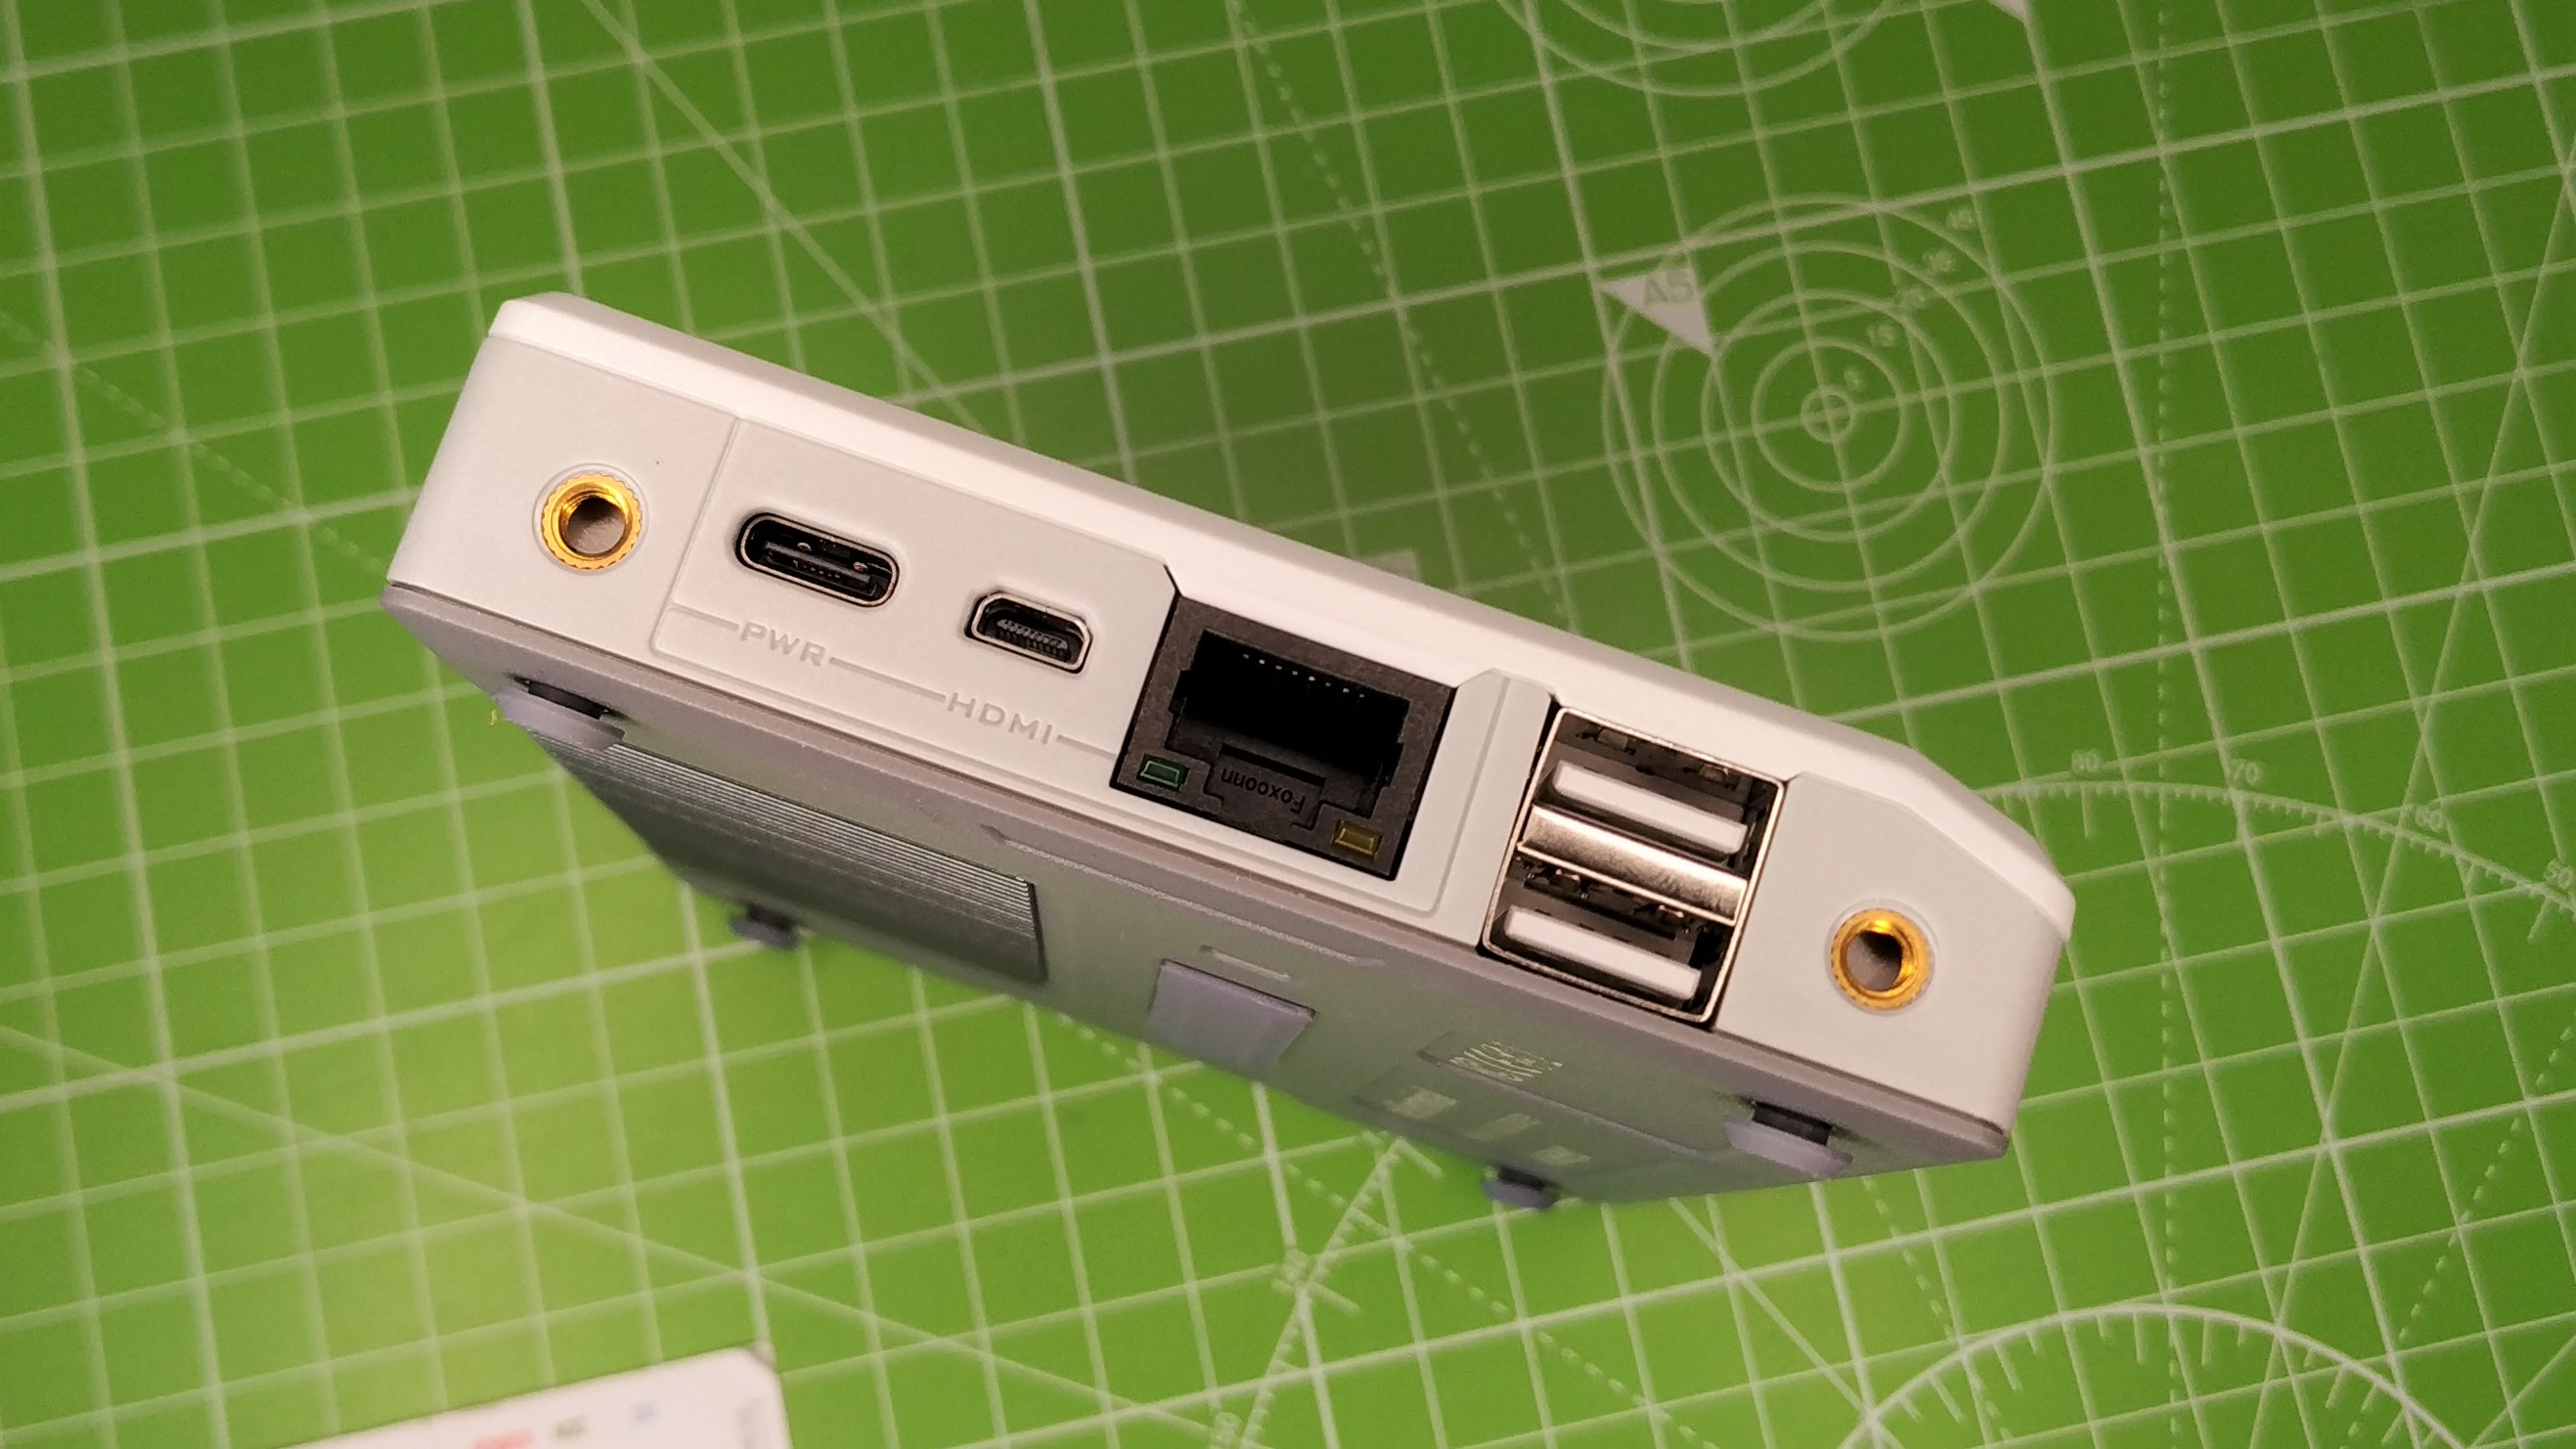
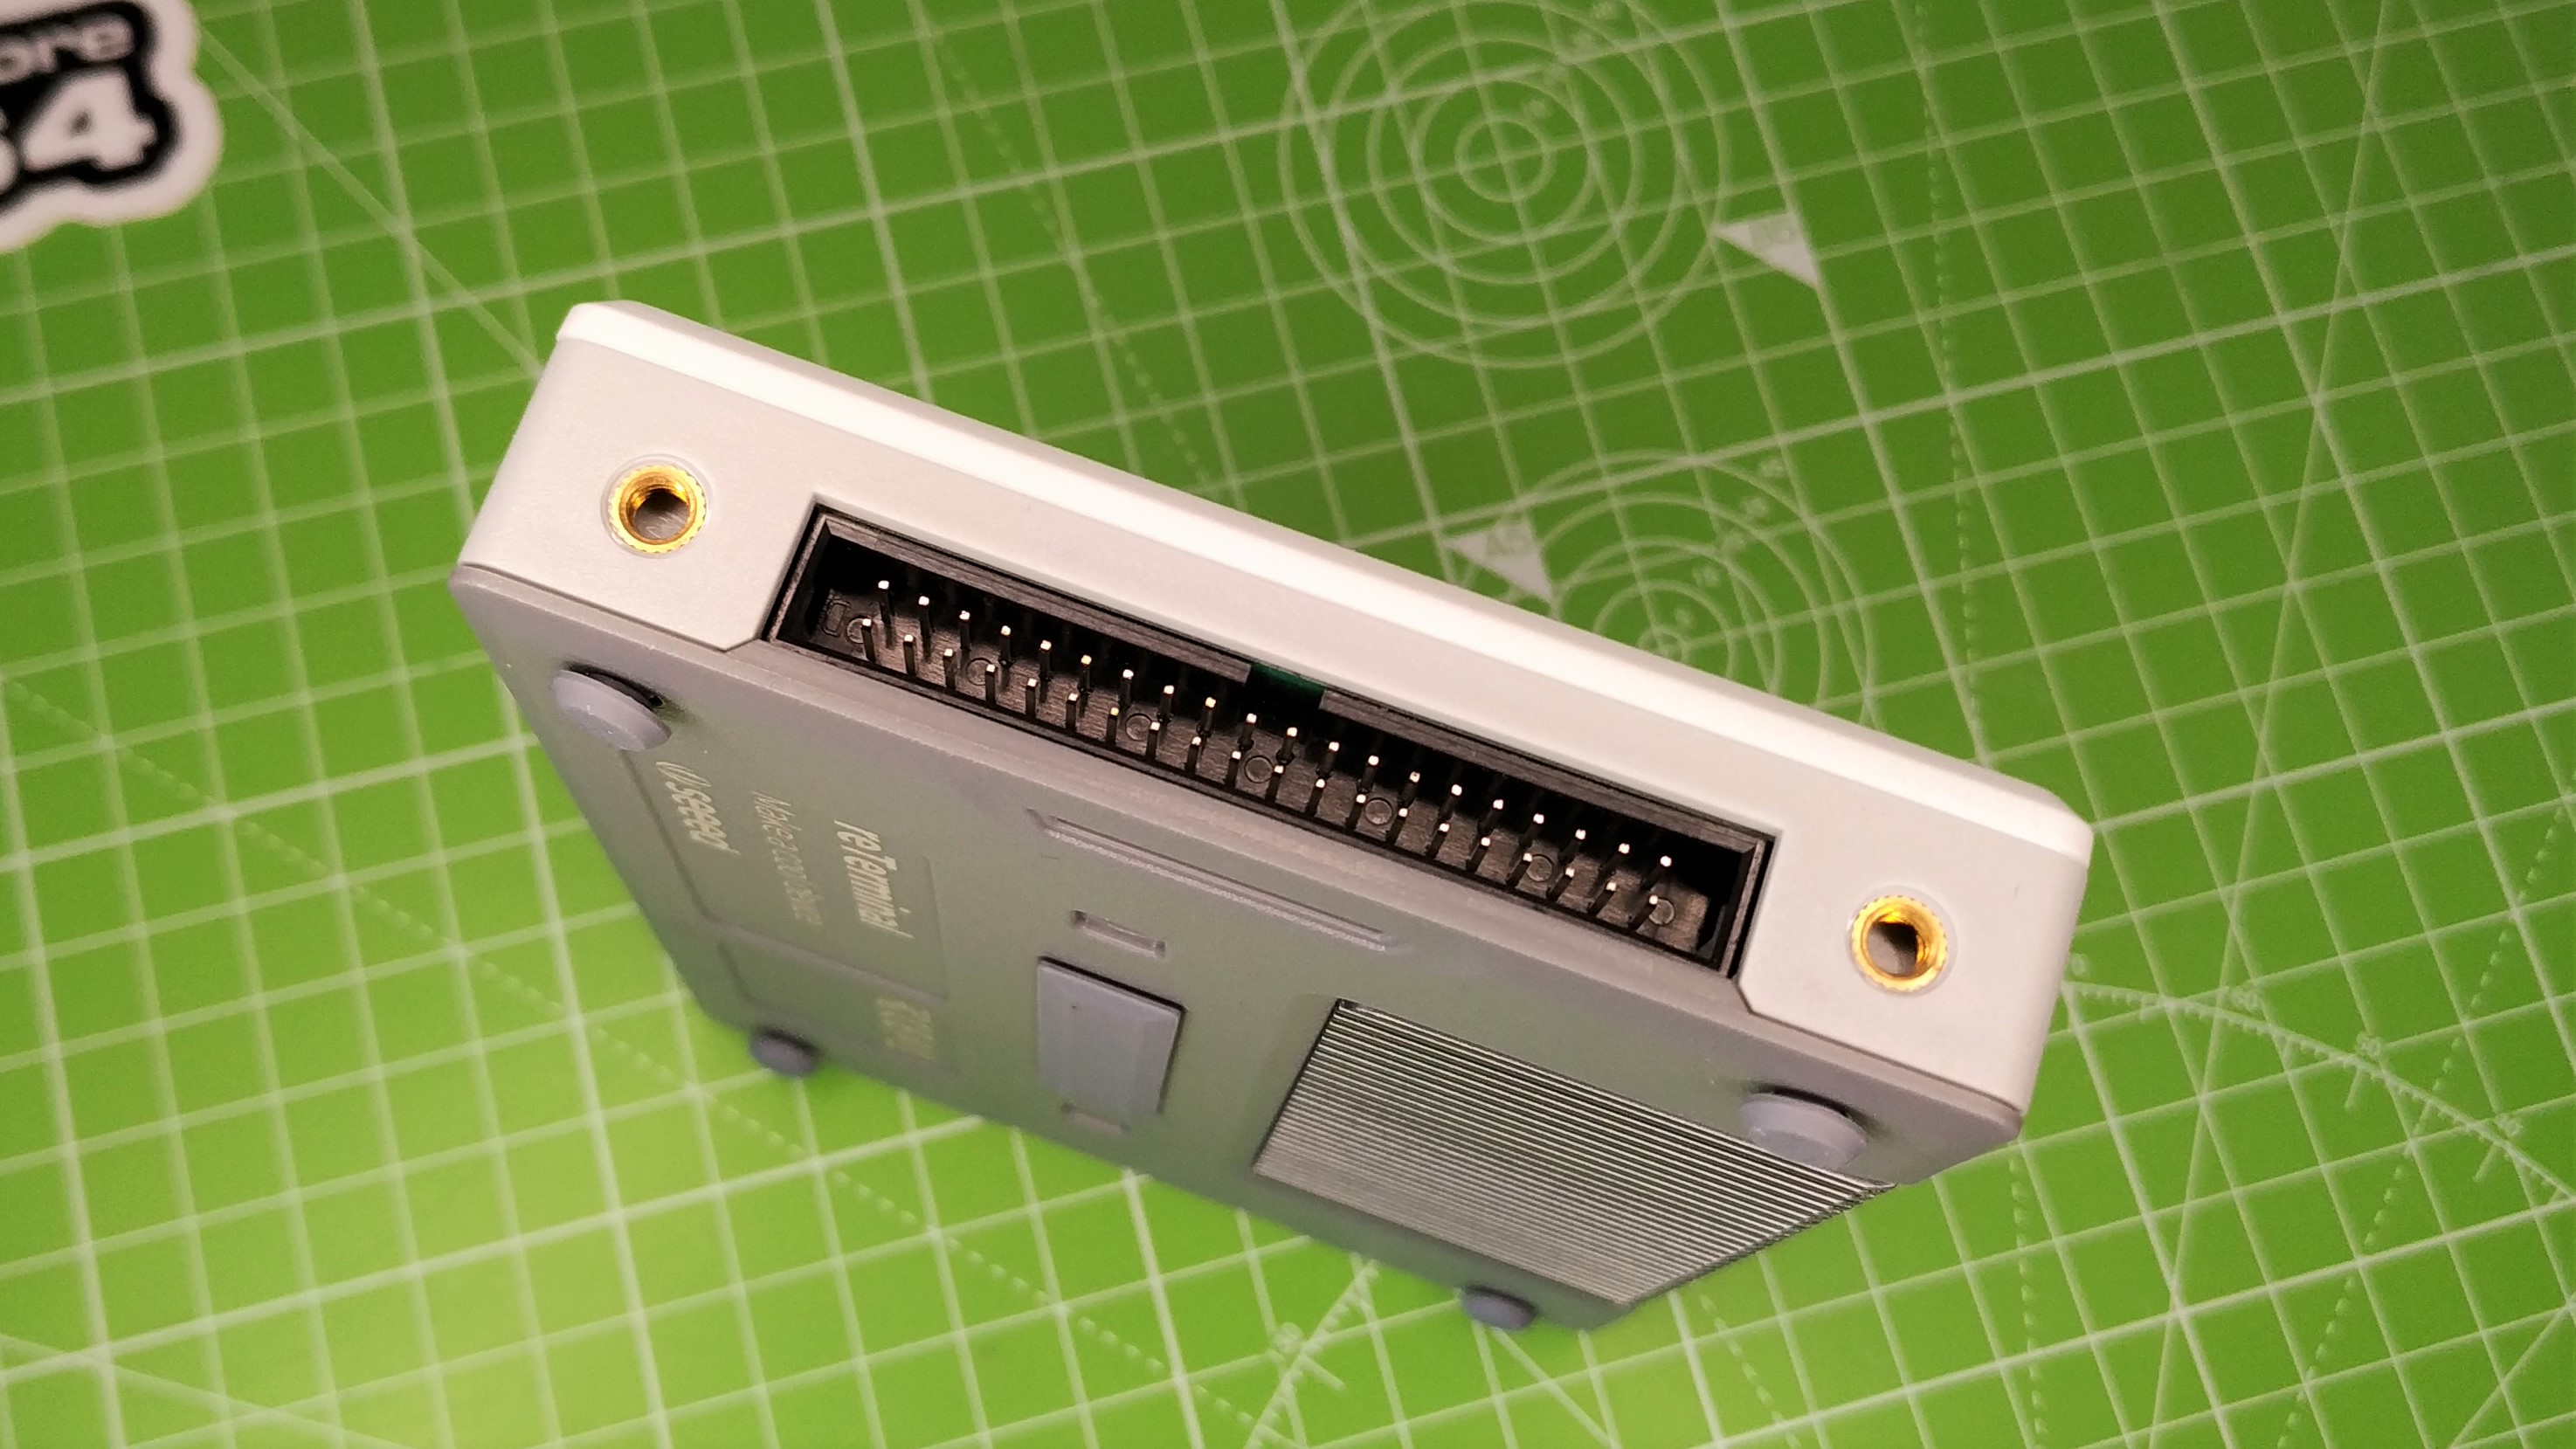
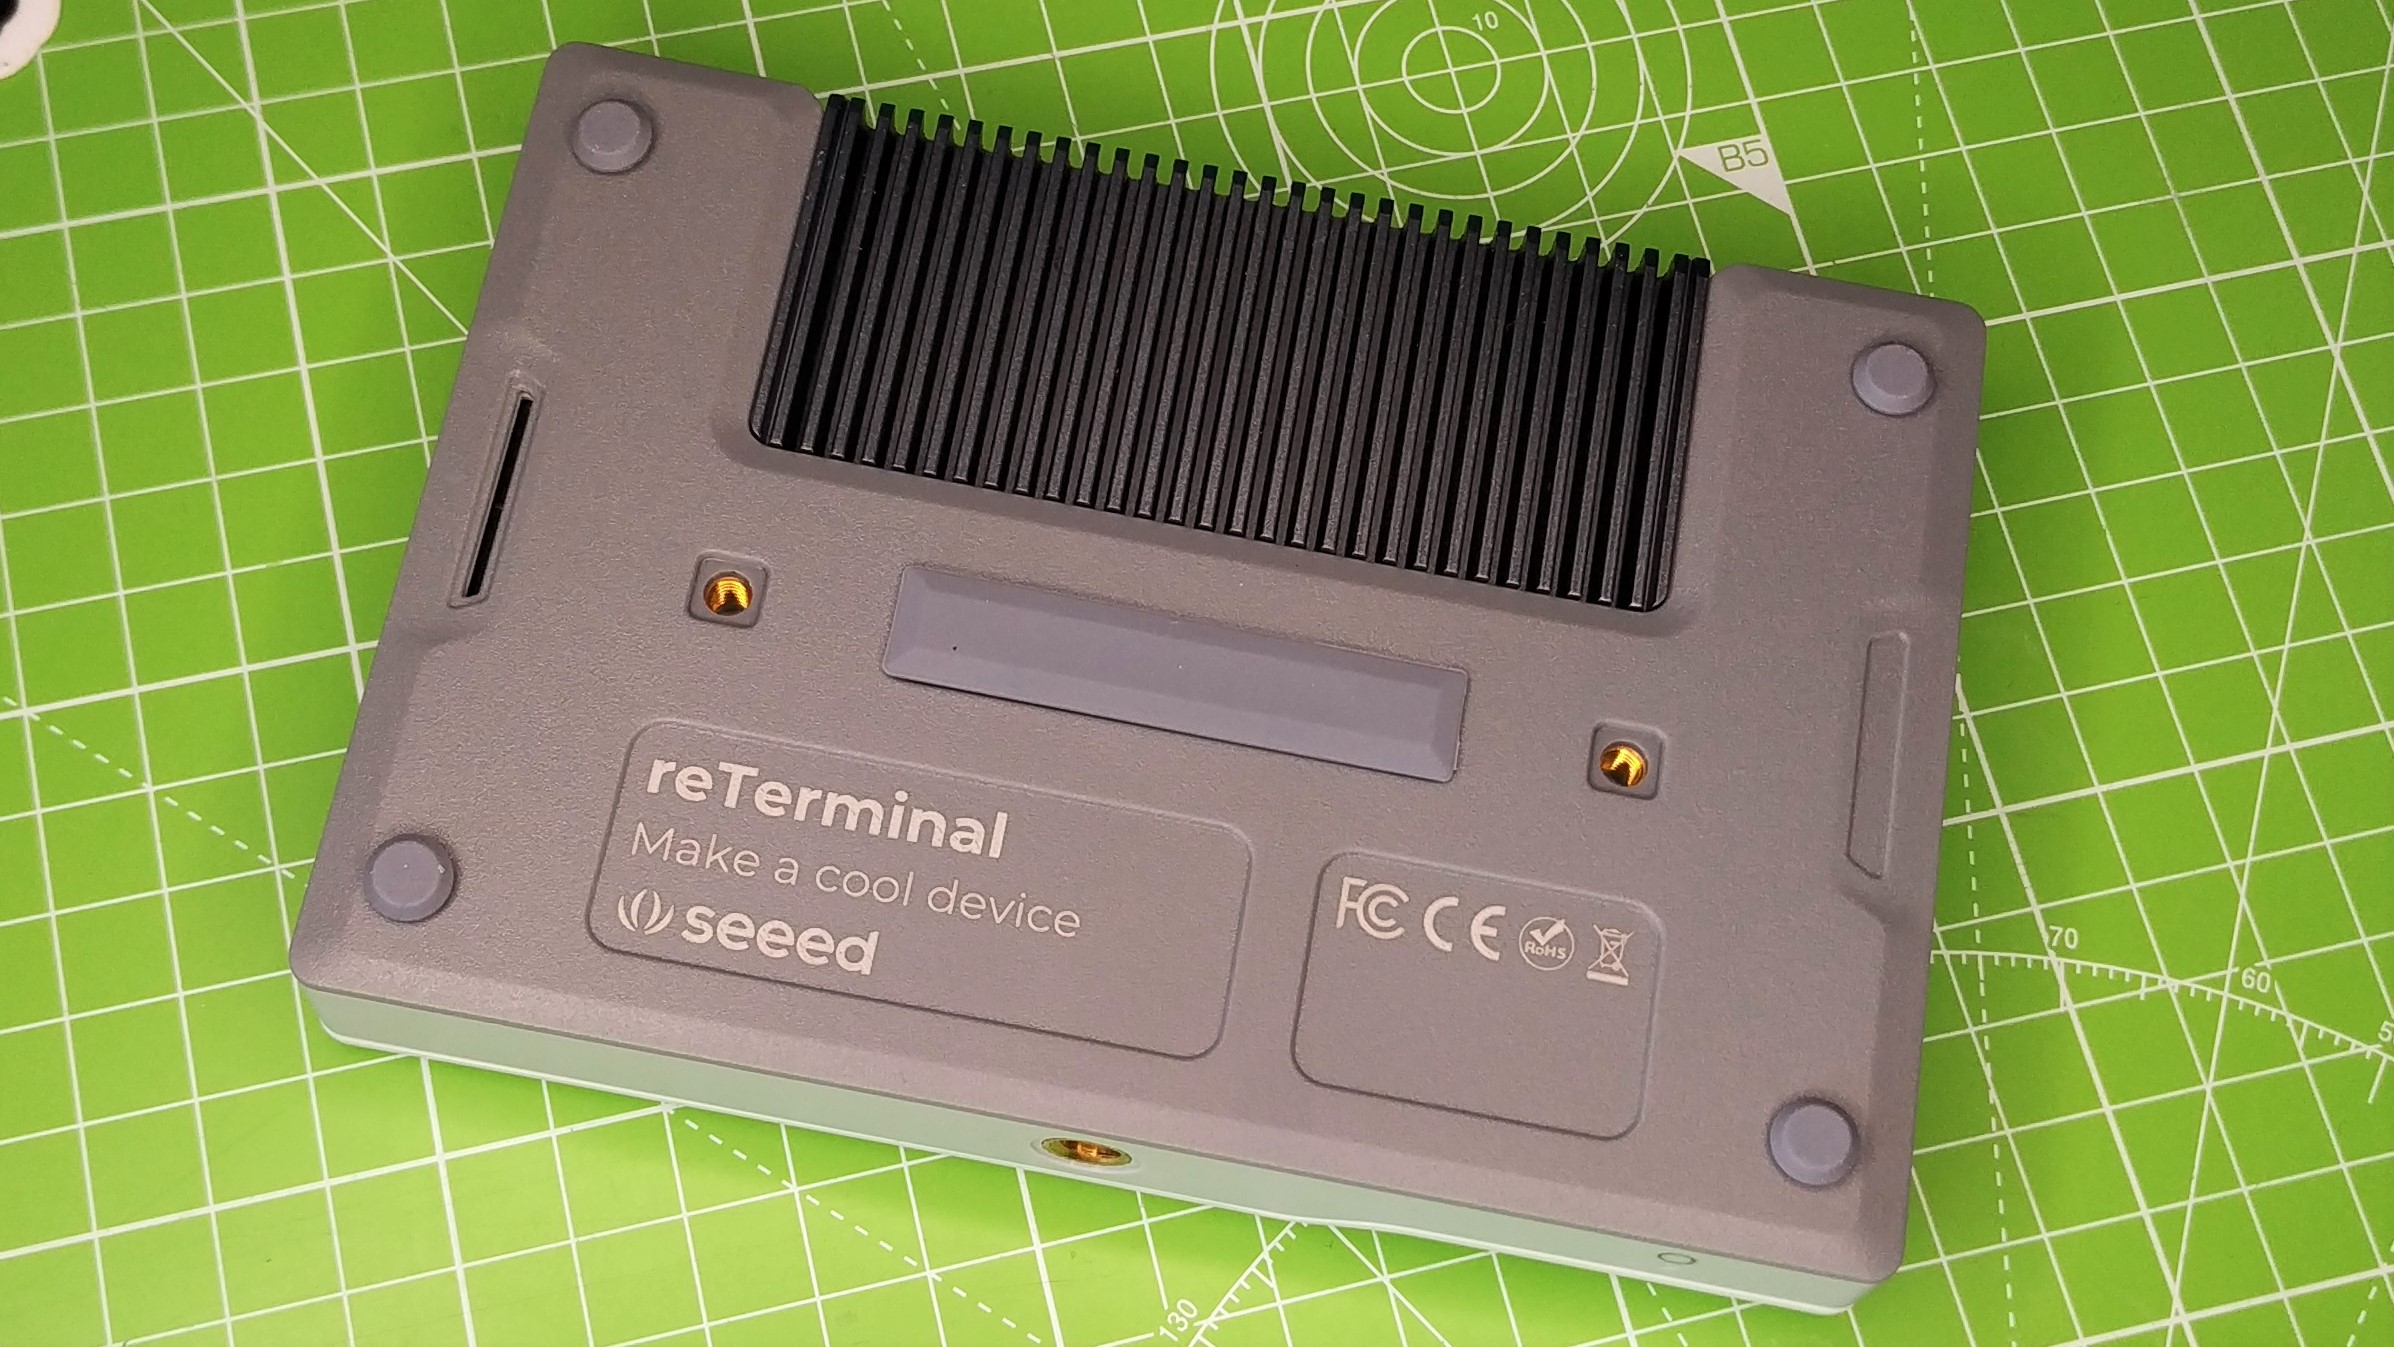
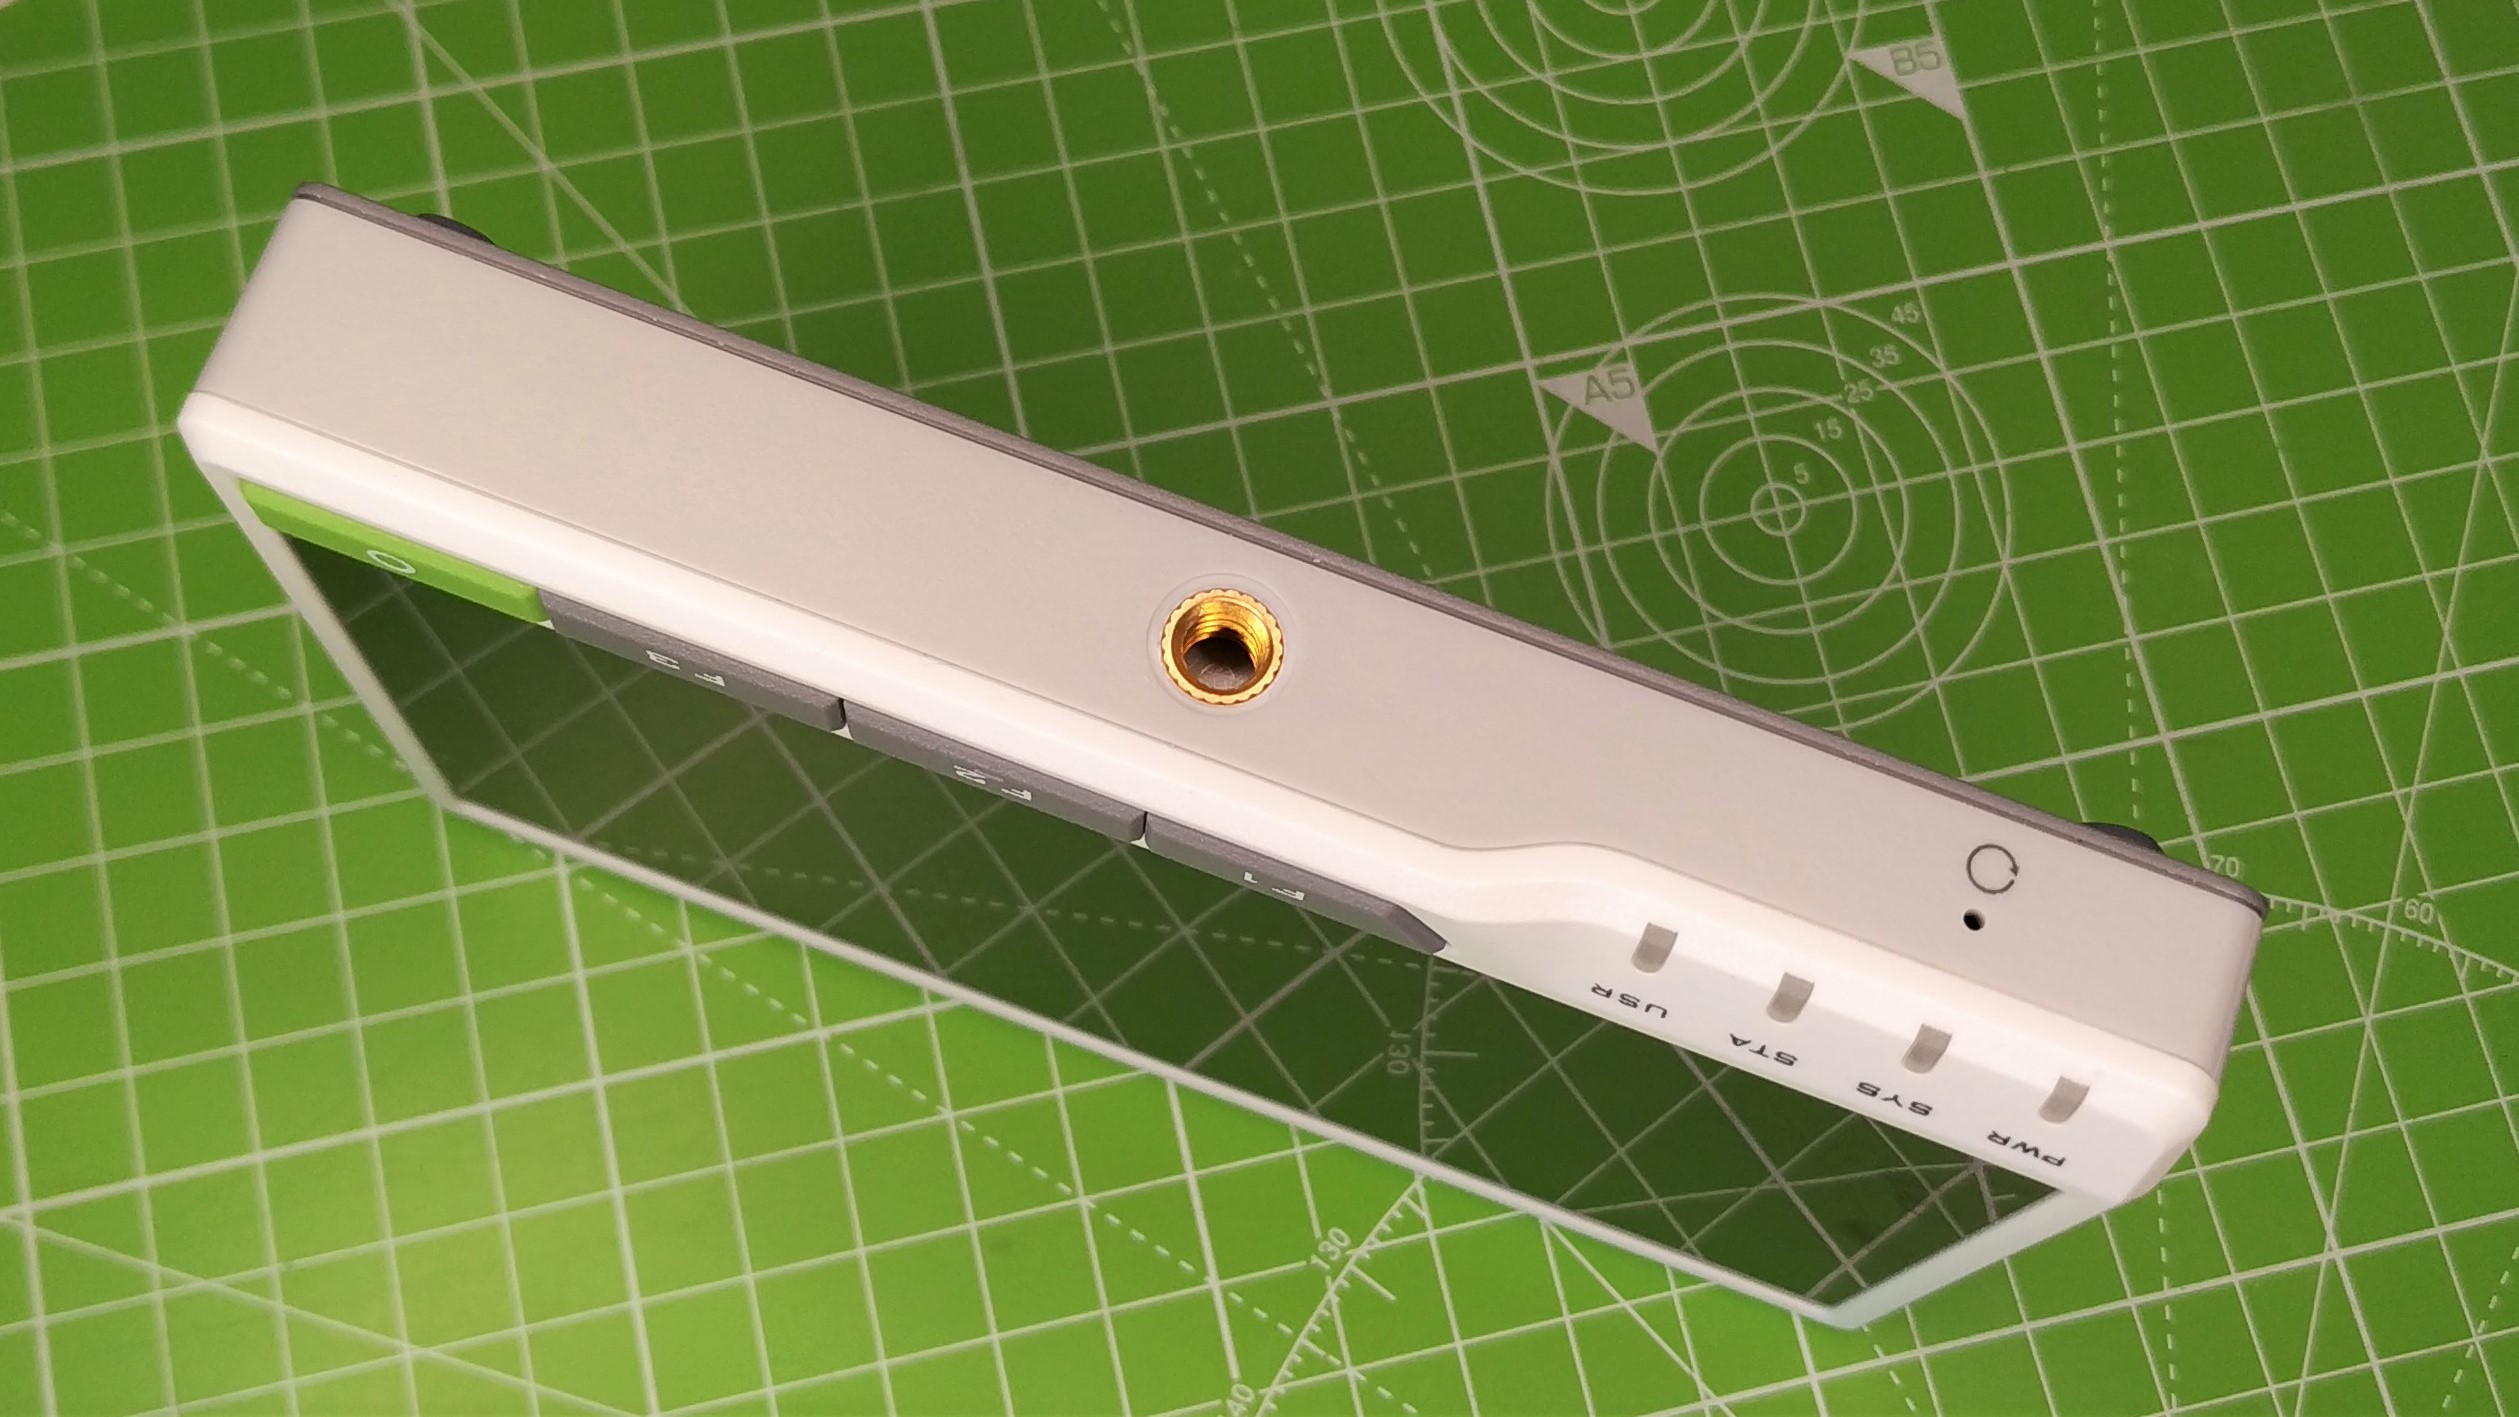
On the sides of the reTerminal are four M4 screw points, designed for use with modules that provide extra functionality for example LoRaWAN, Industrial IO and PoE. We didn’t have any accessories to test so we cannot provide any further information but the idea of securely connecting an add-on is appealing.
The single camera mount on the bottom of reTerminal is a useful means to mount reTerminal to a tripod or bracket, keeping the unit in easy reach, but out of the way. On the underside we have a large industrial connector, which breaks out a PCI-e 1 lane host, USB 2.0, 26 GPIOs and PoE. Sadly we have nothing to connect it to so we were unable to test.
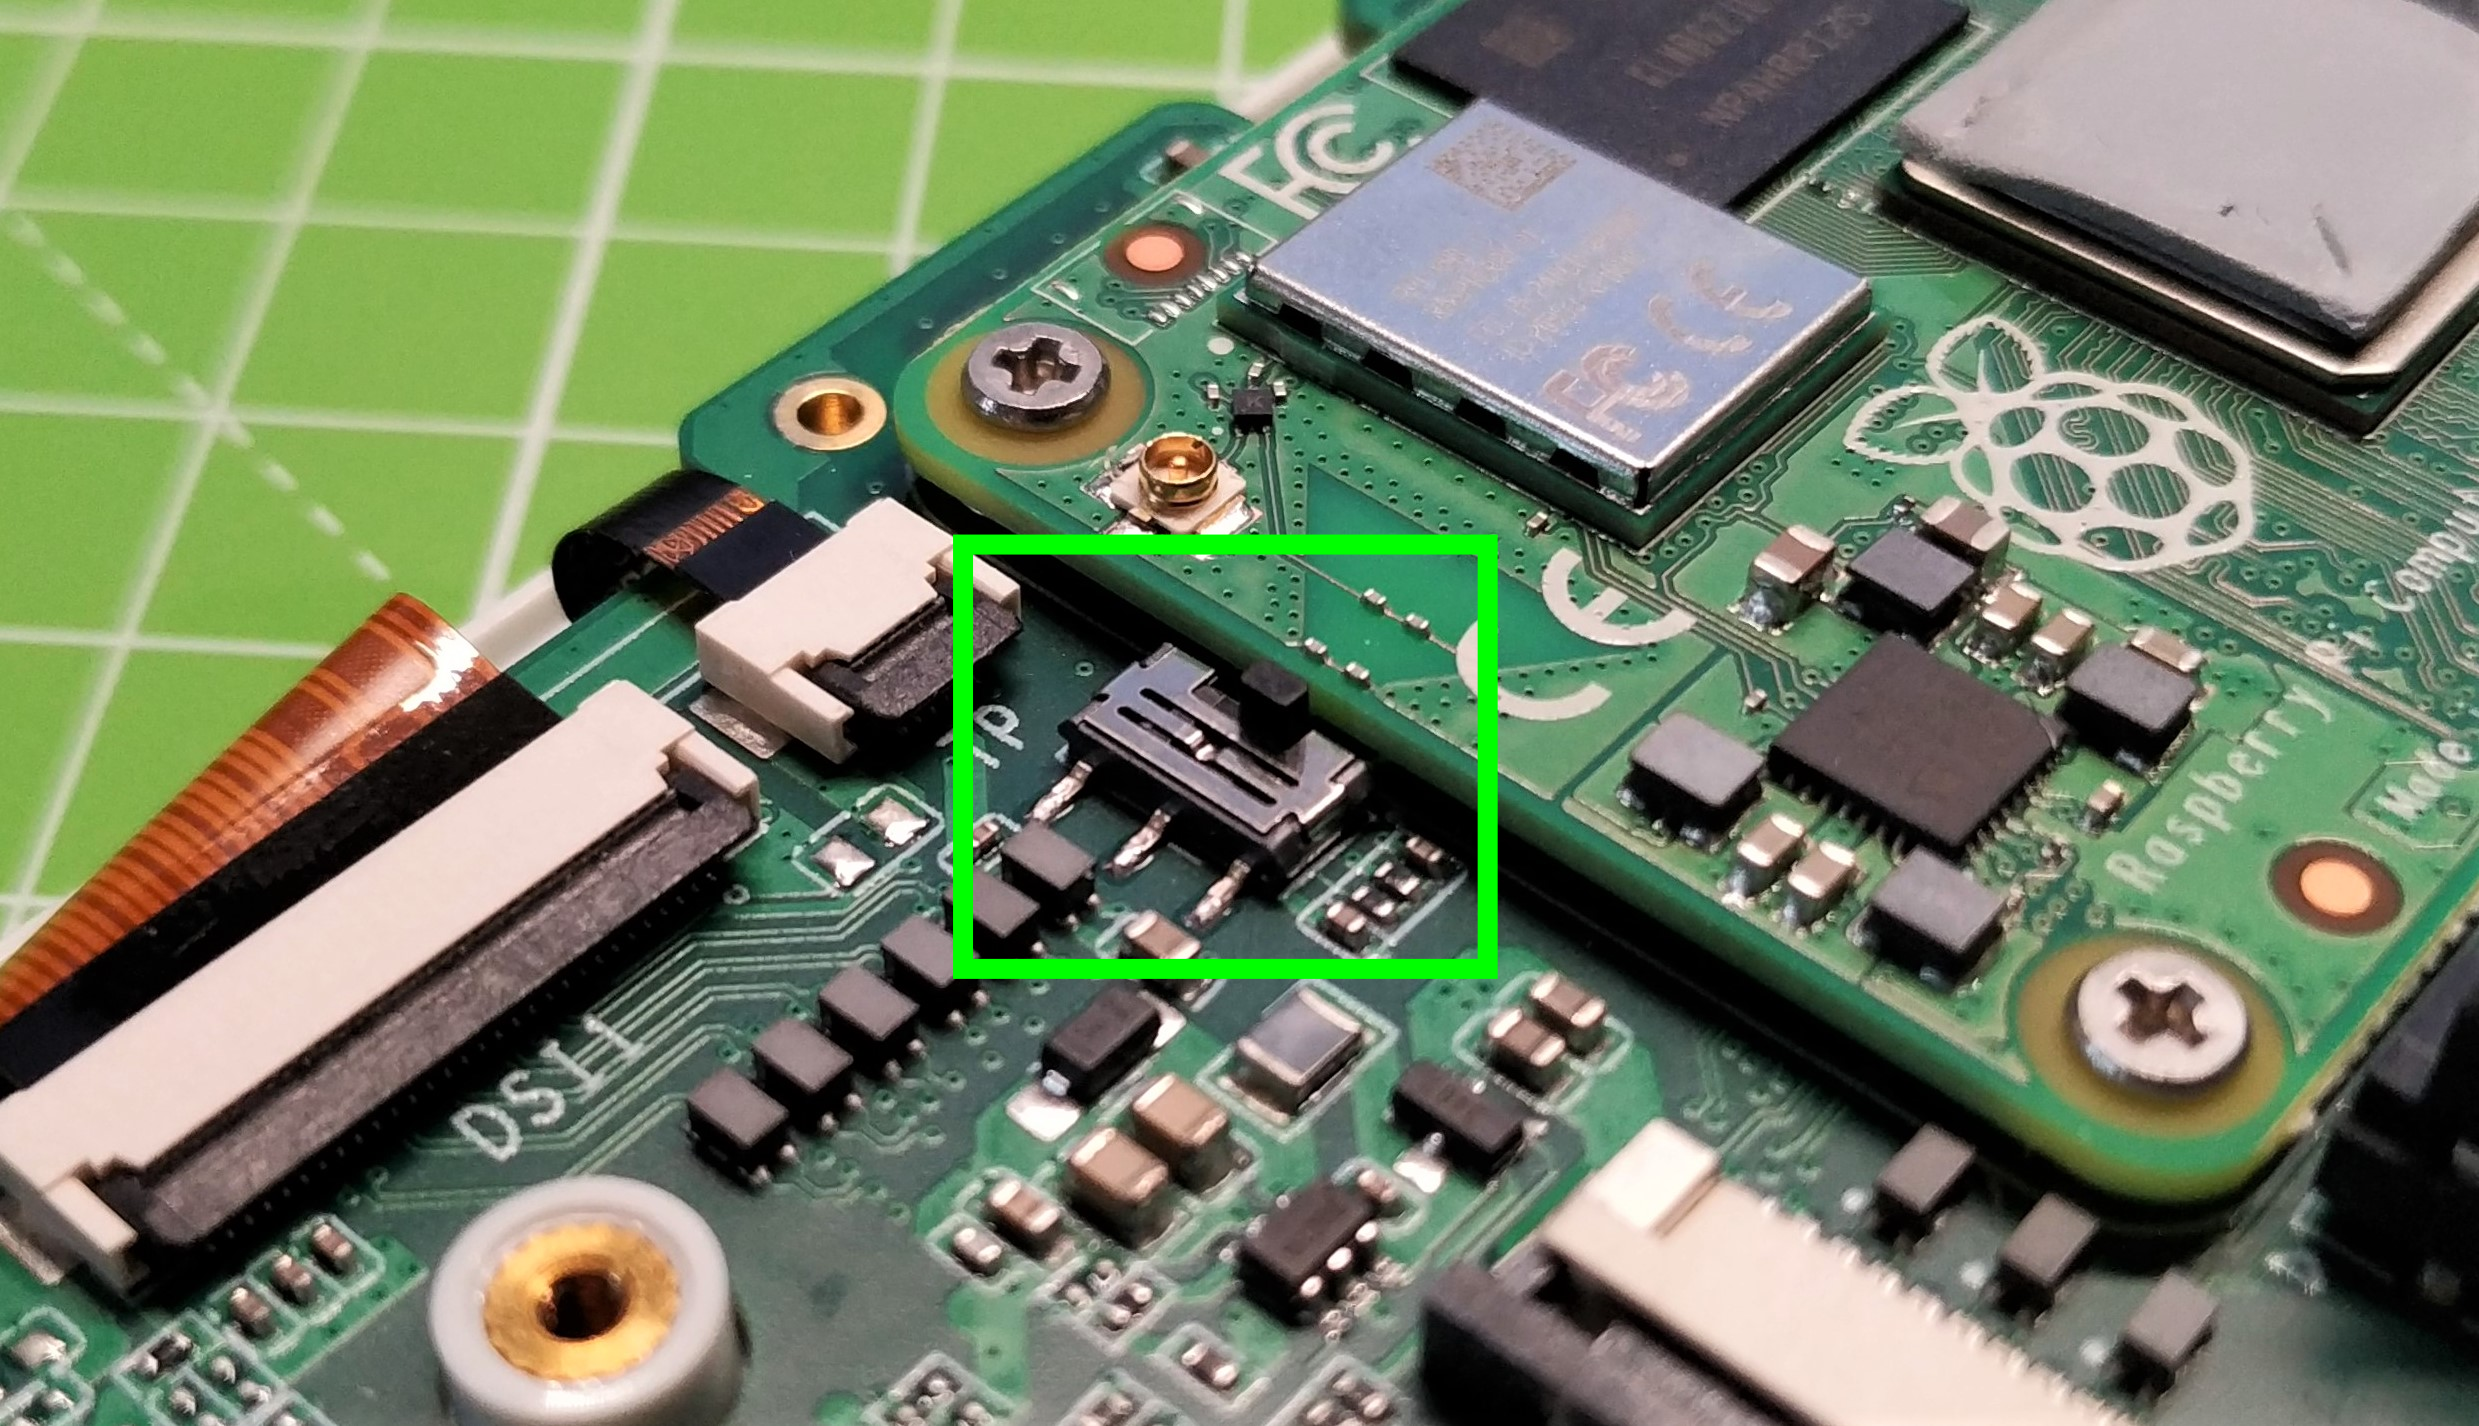
Flashing an OS onto the eMMC of the Compute Module 4 is a little trickier than a microSD card. Seeed’s reTerminal comes with the latest Raspberry Pi OS installed to the 32GB eMMC, but should we wish to use another OS, or freshen up an old install, we first need to flick a switch next to the Compute Module 4, enabling it for USB flashing. Connect the reTerminal to a Windows machine via the USB C port. We then need to follow the official documentation to enable our Windows machine to see the reTerminal and then we can flash an OS using the official Raspberry Pi Imager.
Using the GPIO requires an external breakout board, such as Pimoroni’s HAT Hacker HAT. We connected a breakout and then used a Pimoroni Explorer HAT Pro and a Sense HAT. Both worked with no issues. The GPIO is as accessible and easy to use as it is on a typical Raspberry Pi.
Use Cases for the Seeed reTerminal
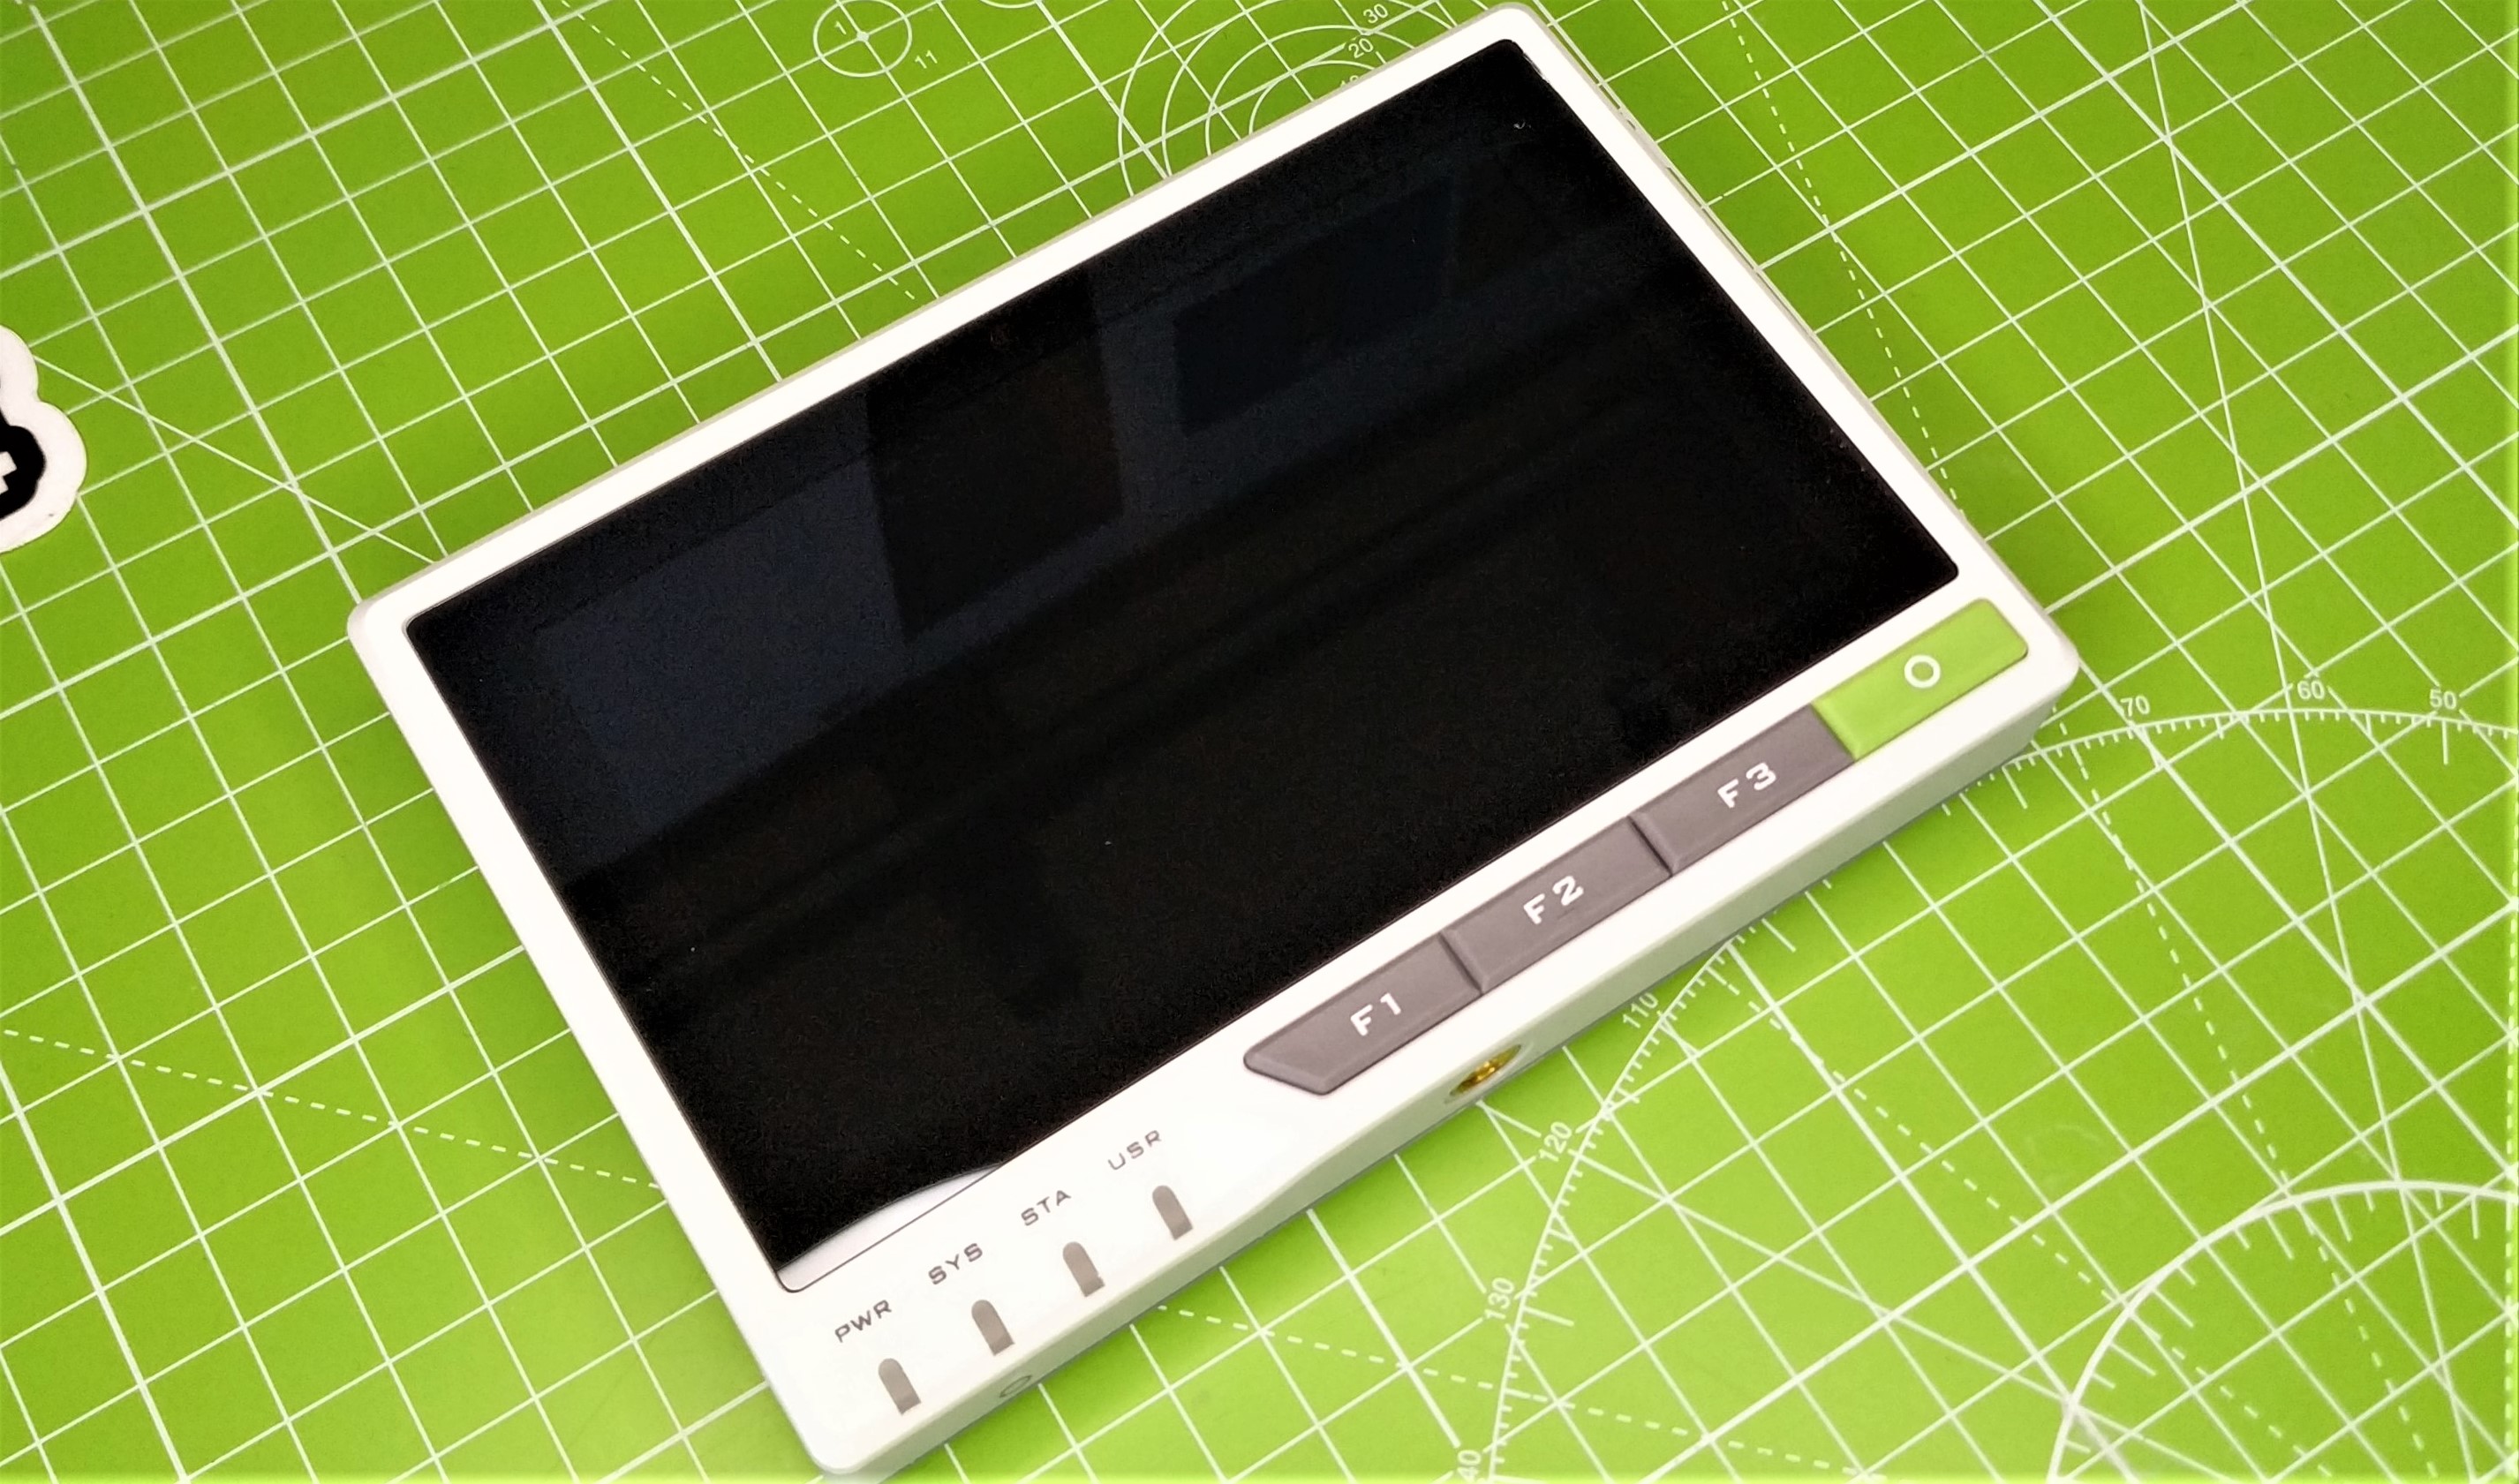
The form factor and camera mount attachment mean that reTerminal is destined for use in interesting places. In an industrial setting, reTerminal will be at its best. Able to work with off the shelf sensors and components used to monitor industrial processes, plus we have the power of a Raspberry Pi 4, condensed into a small package.
For home users, this is where the line blurs a little. At $195, including the Compute Module 4, Seeed’s reTerminal is for die hard Pi users and those looking to scratch an itch for their embedded projects. Sure reTerminal can be embedded into a robot, and the five inch touchscreen provides an ideal interface to control and view the status of your creation.
Bottom Line
$195 is a lot of cash to spend on a Raspberry Pi Compute Module 4 product. Seeed’s reTerminal is a well put together, solid and responsive piece of kit. The form factor is excellent and the 5-inch touchscreen display is just enough for most projects. The letdowns for reTerminal are the limited access to the camera ports and the microSD card and the lack of a battery. But if you can work round these limitations, then perhaps you have the ideal Pi for your next project.

Les Pounder is an associate editor at Tom's Hardware. He is a creative technologist and for seven years has created projects to educate and inspire minds both young and old. He has worked with the Raspberry Pi Foundation to write and deliver their teacher training program "Picademy".
